
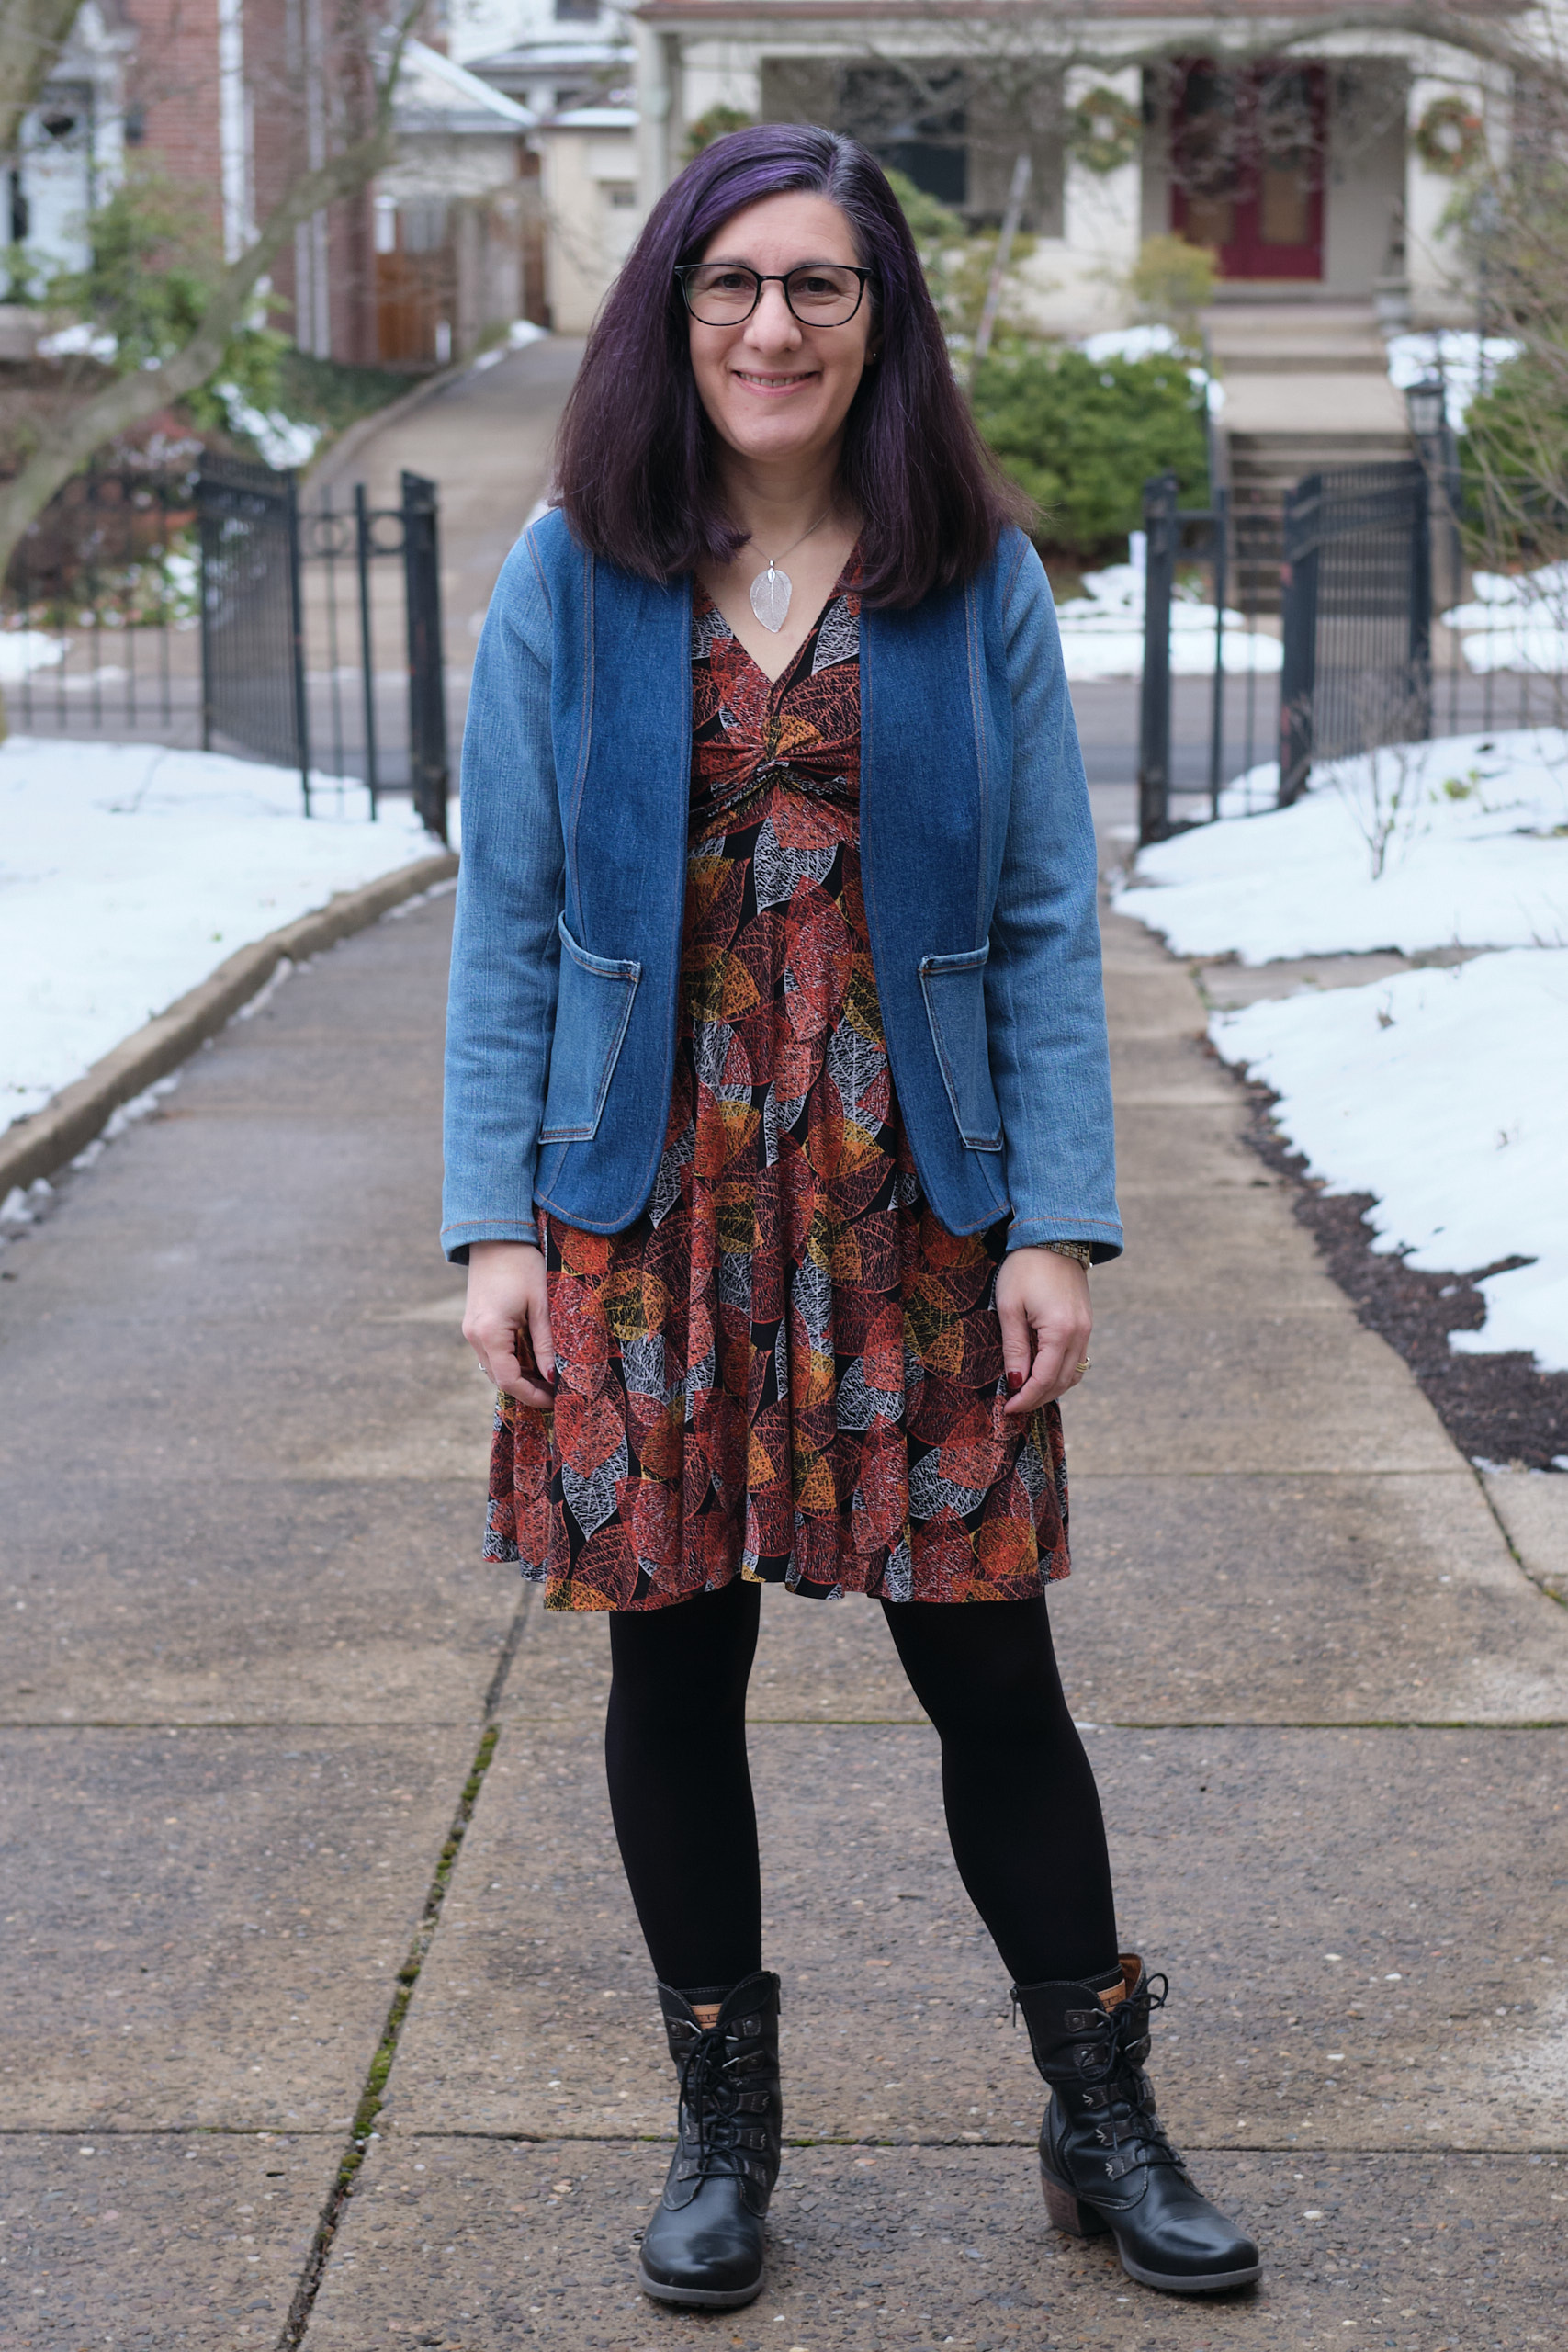
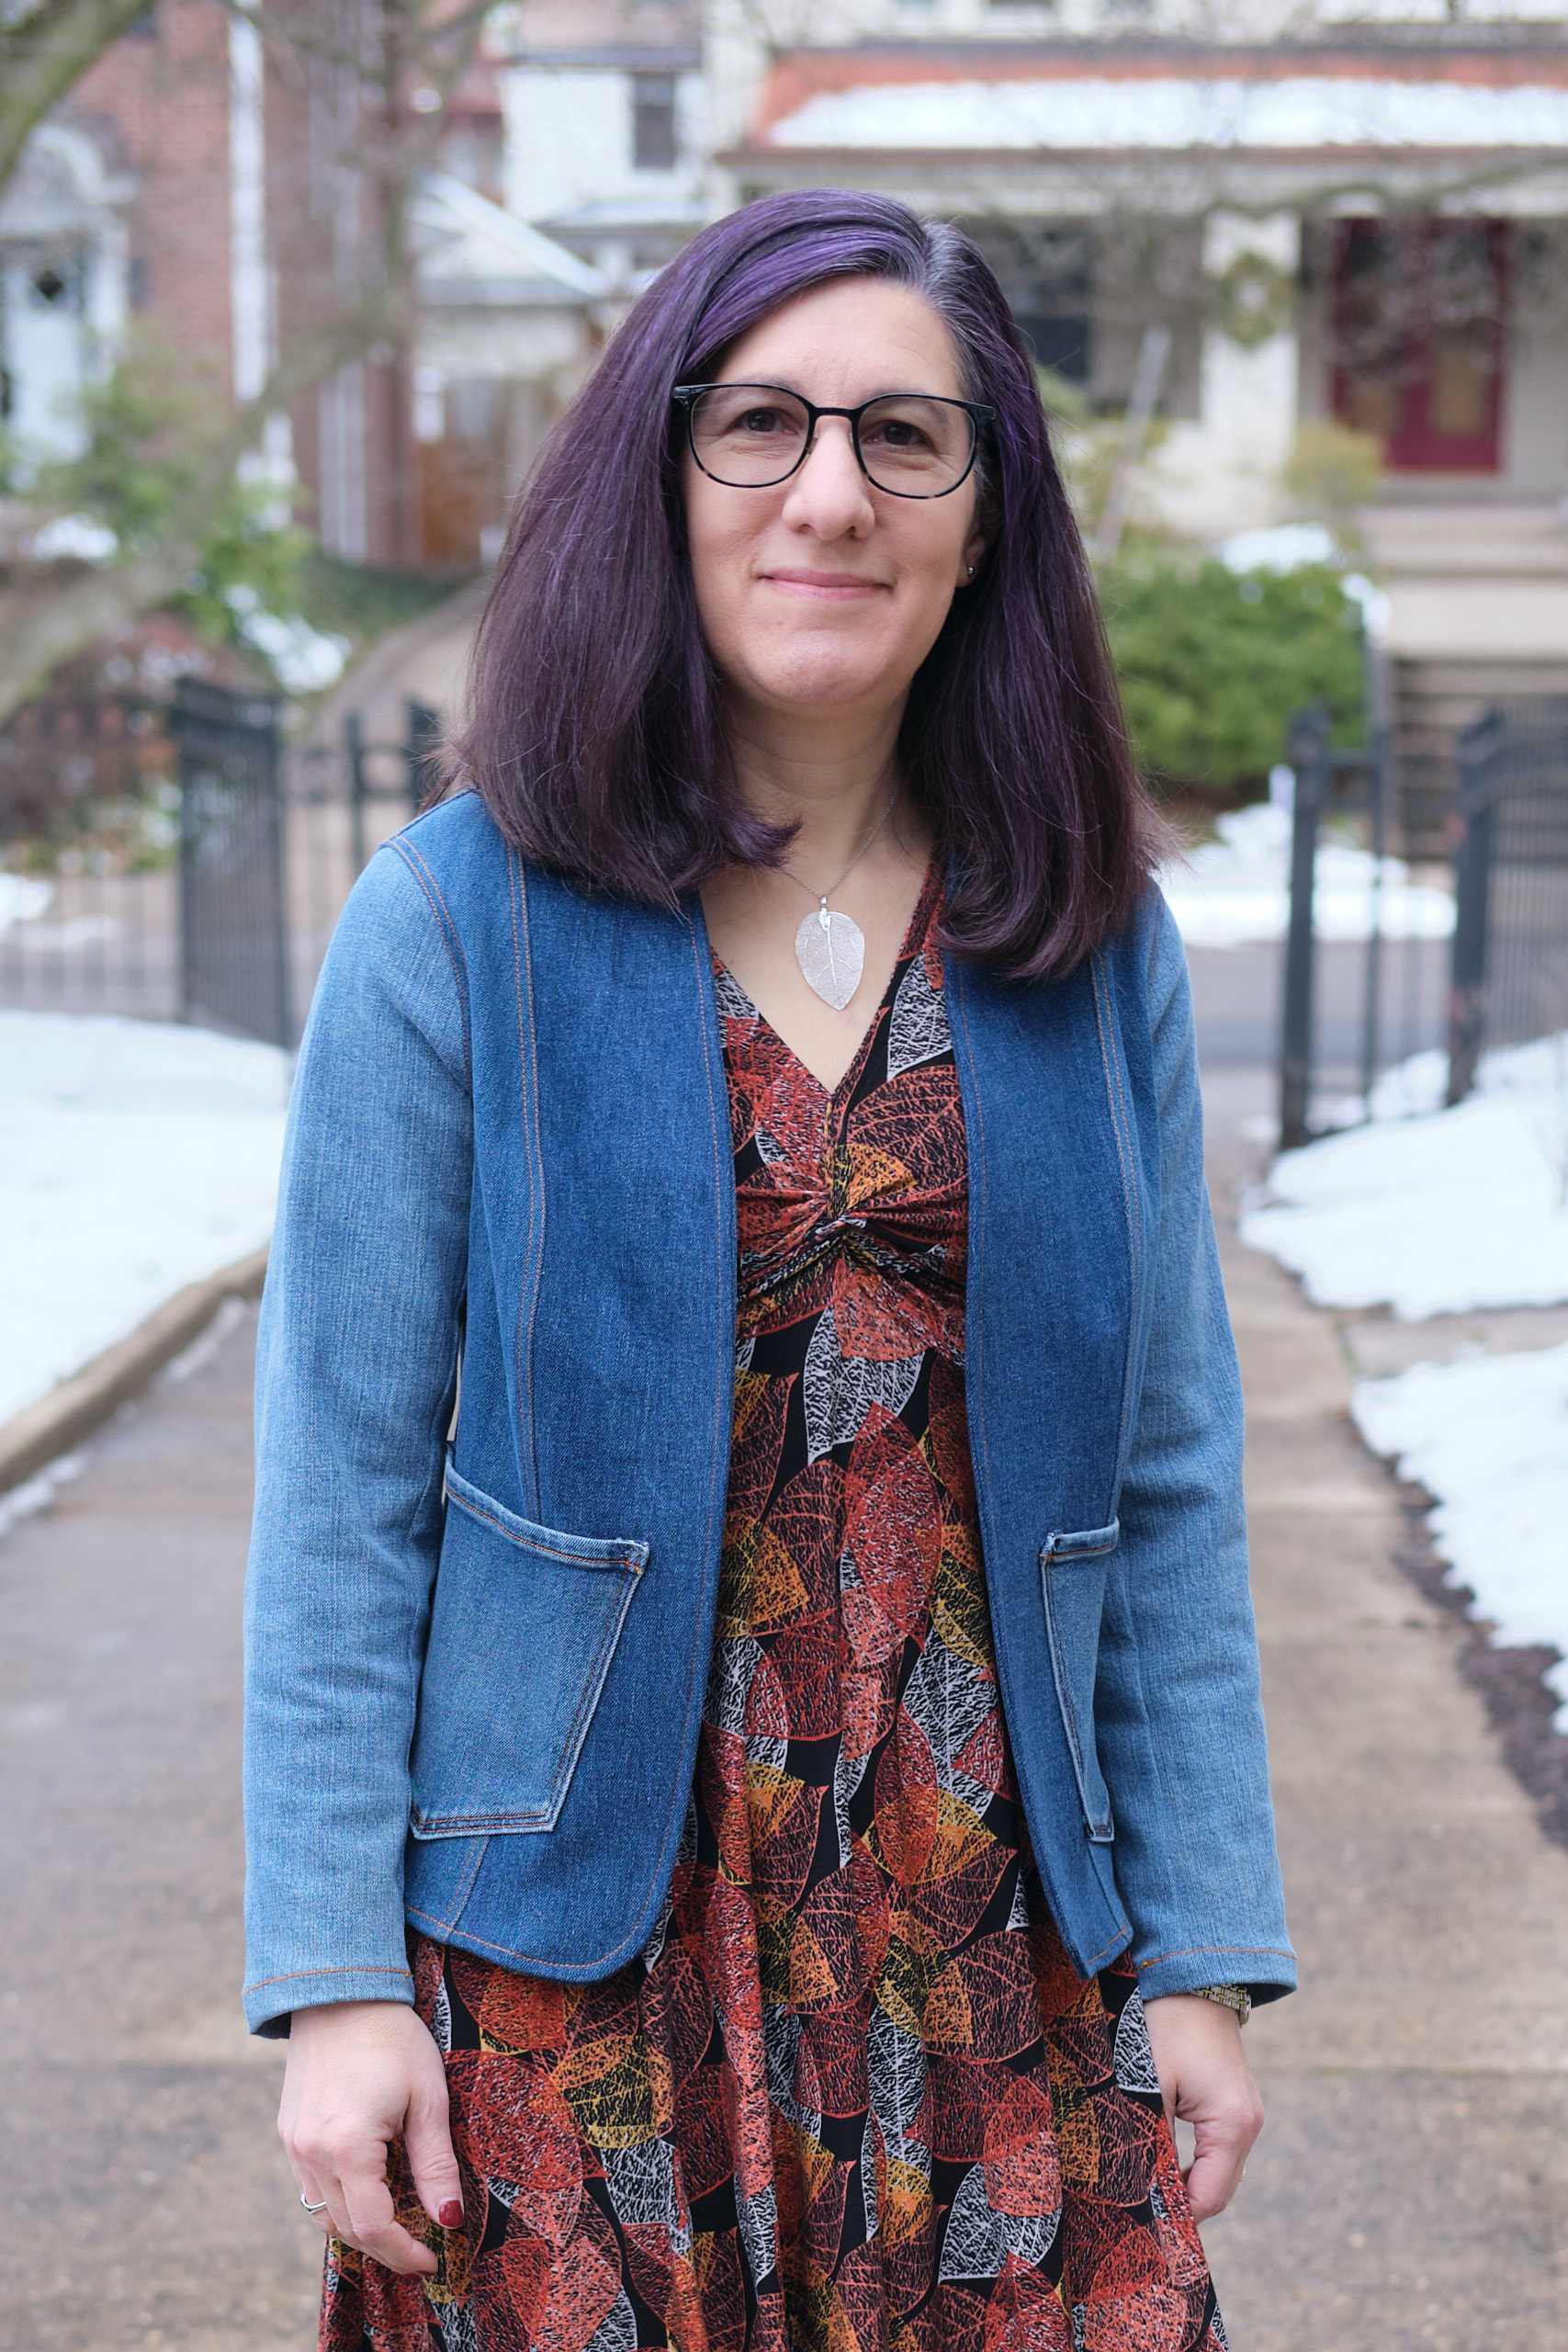
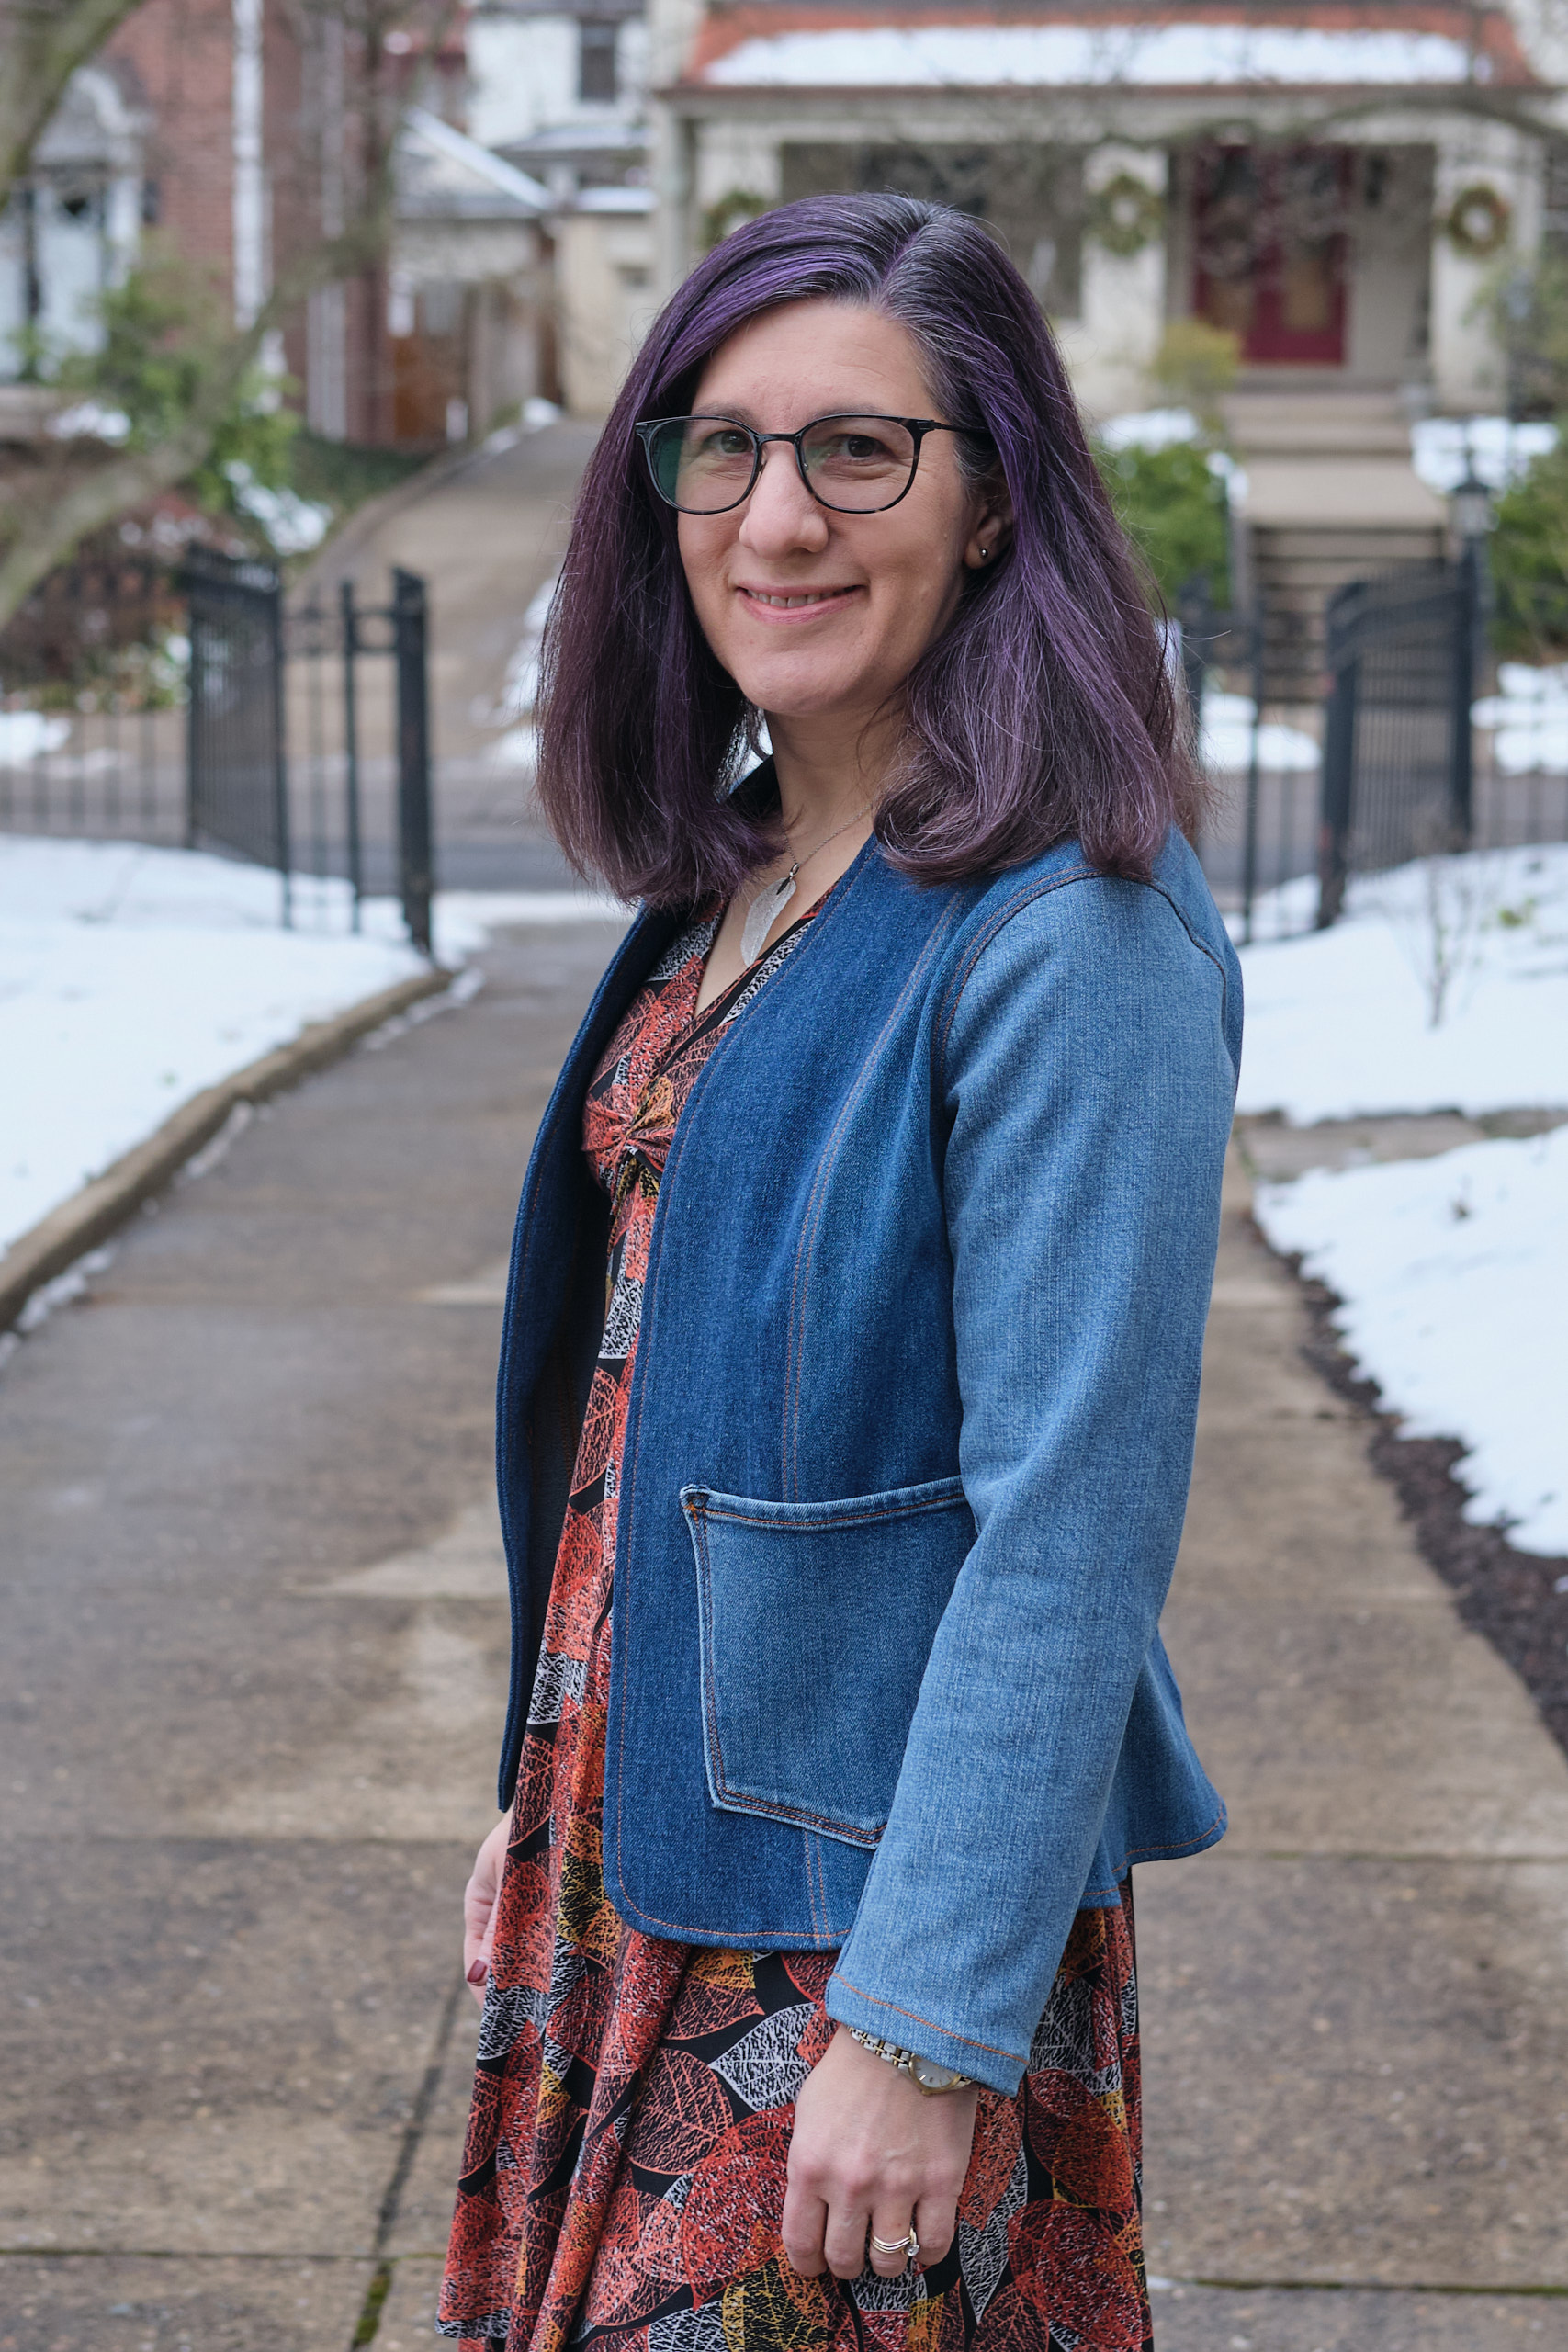
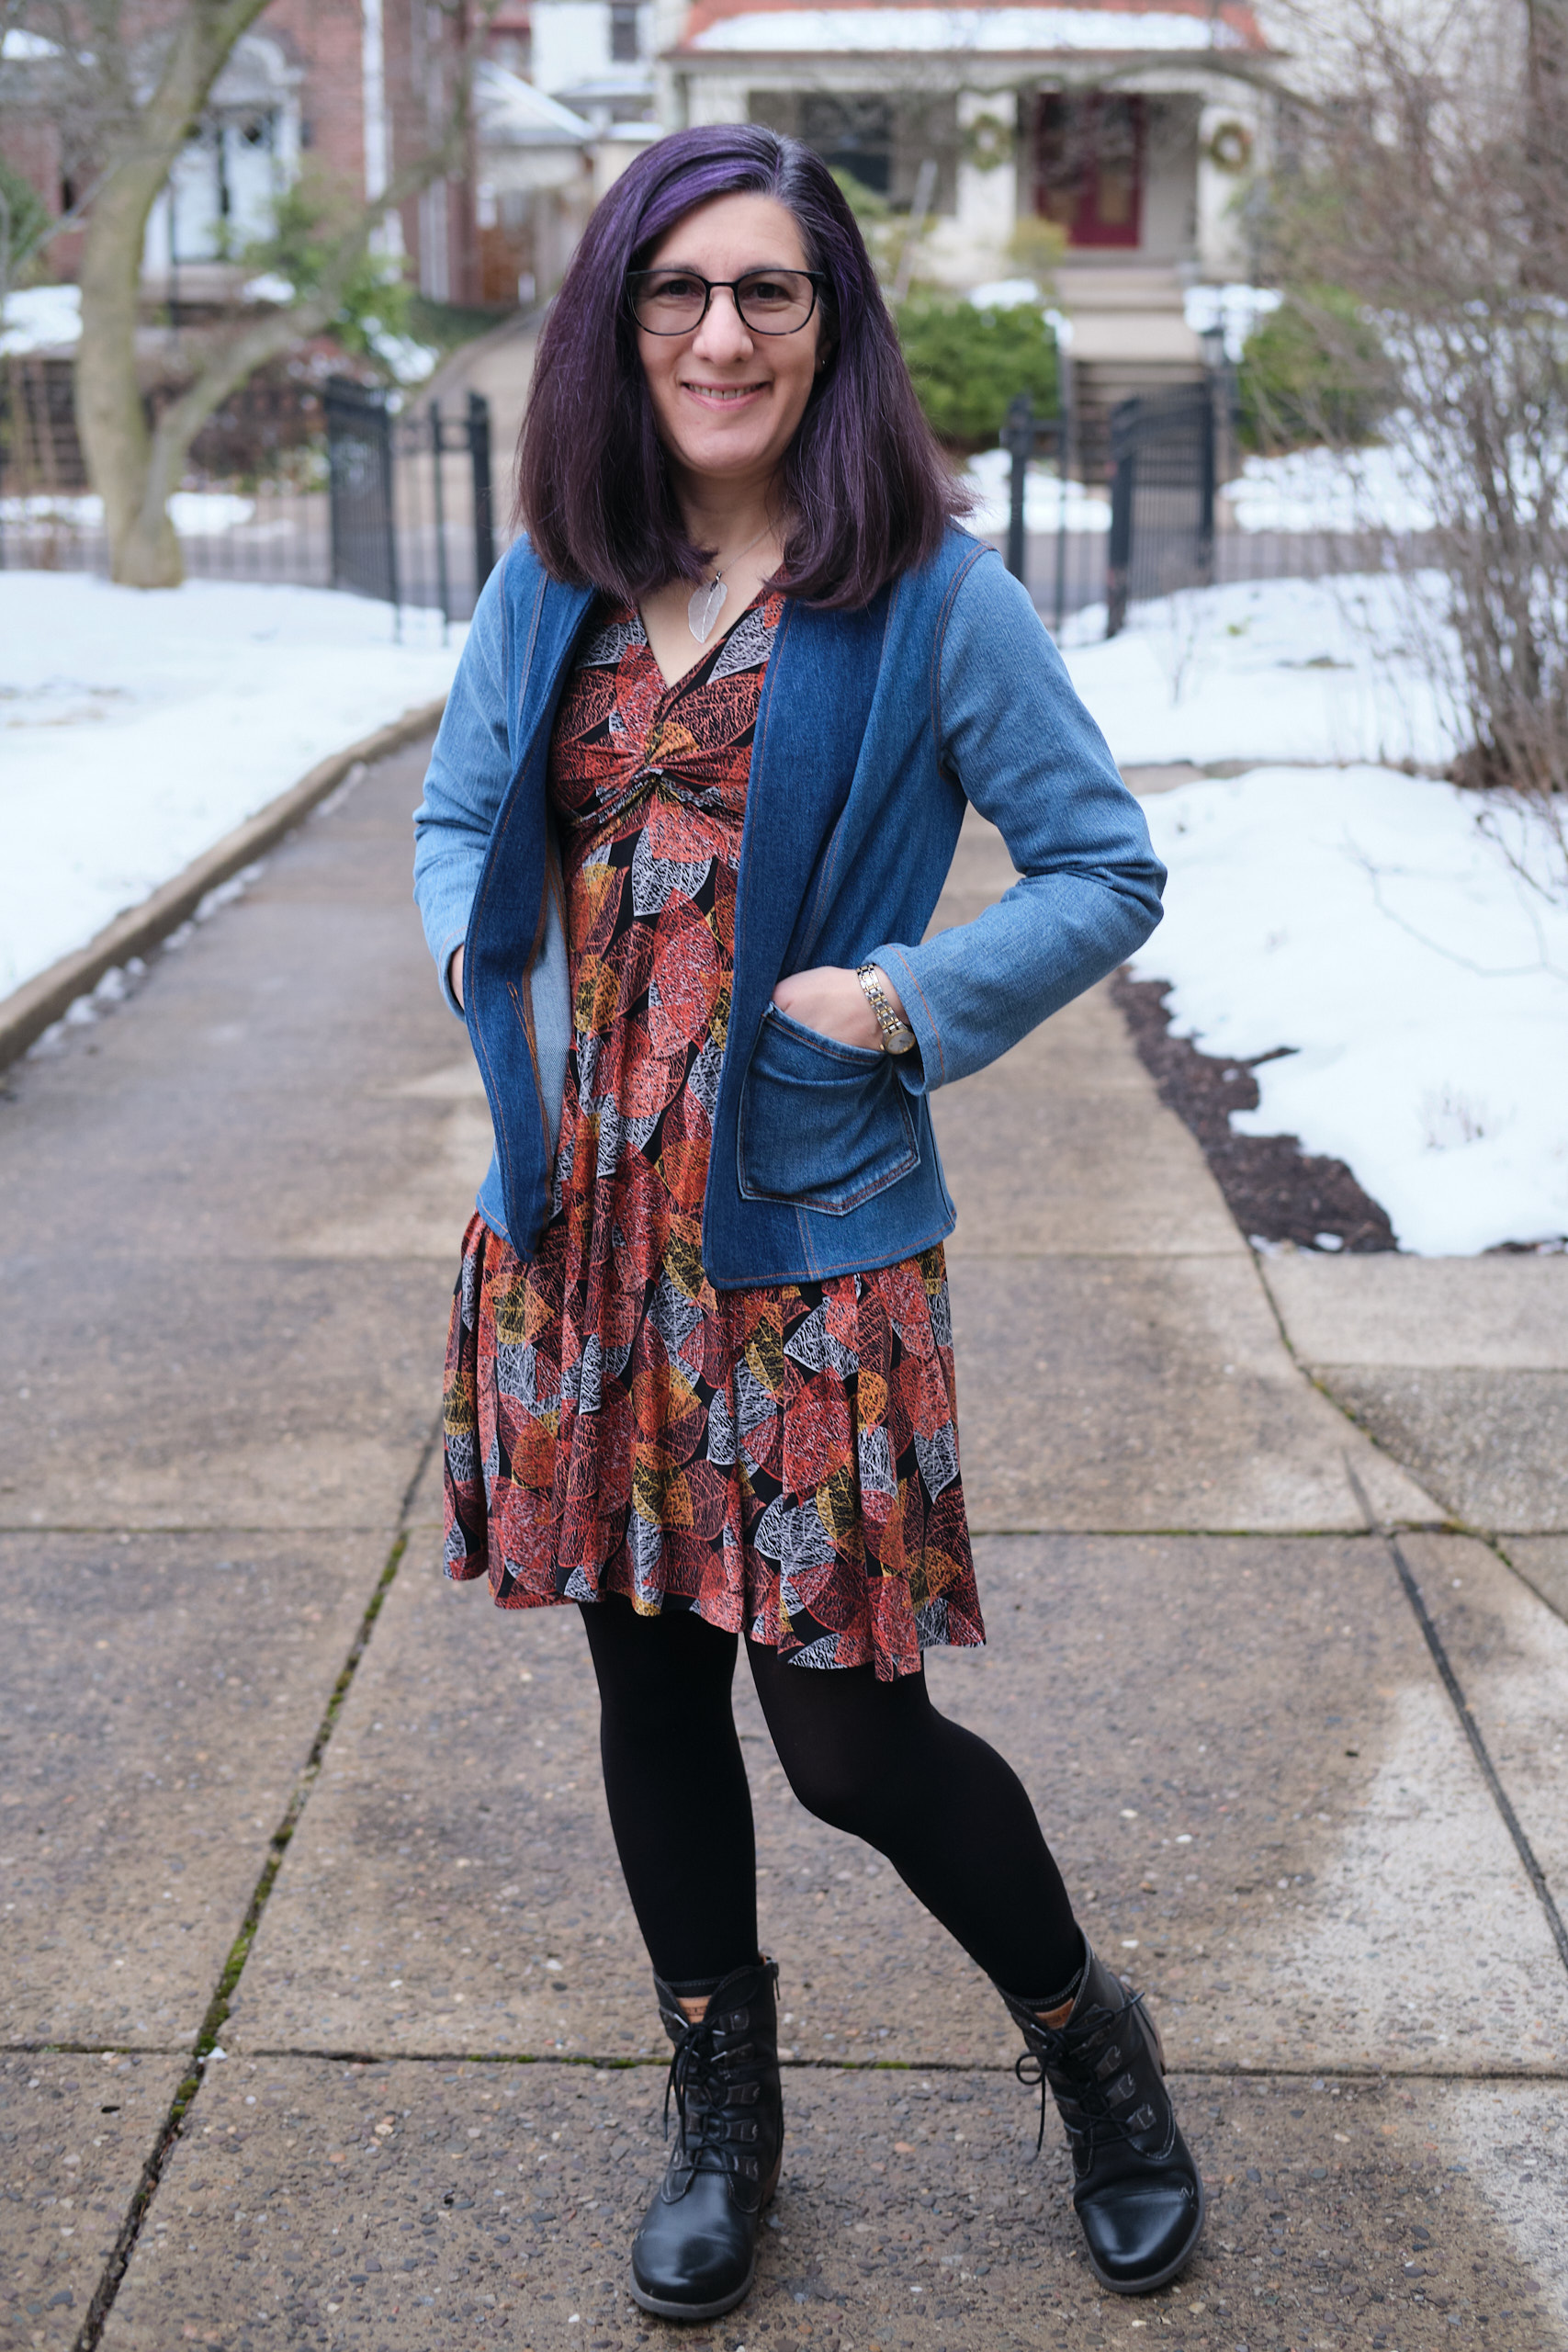
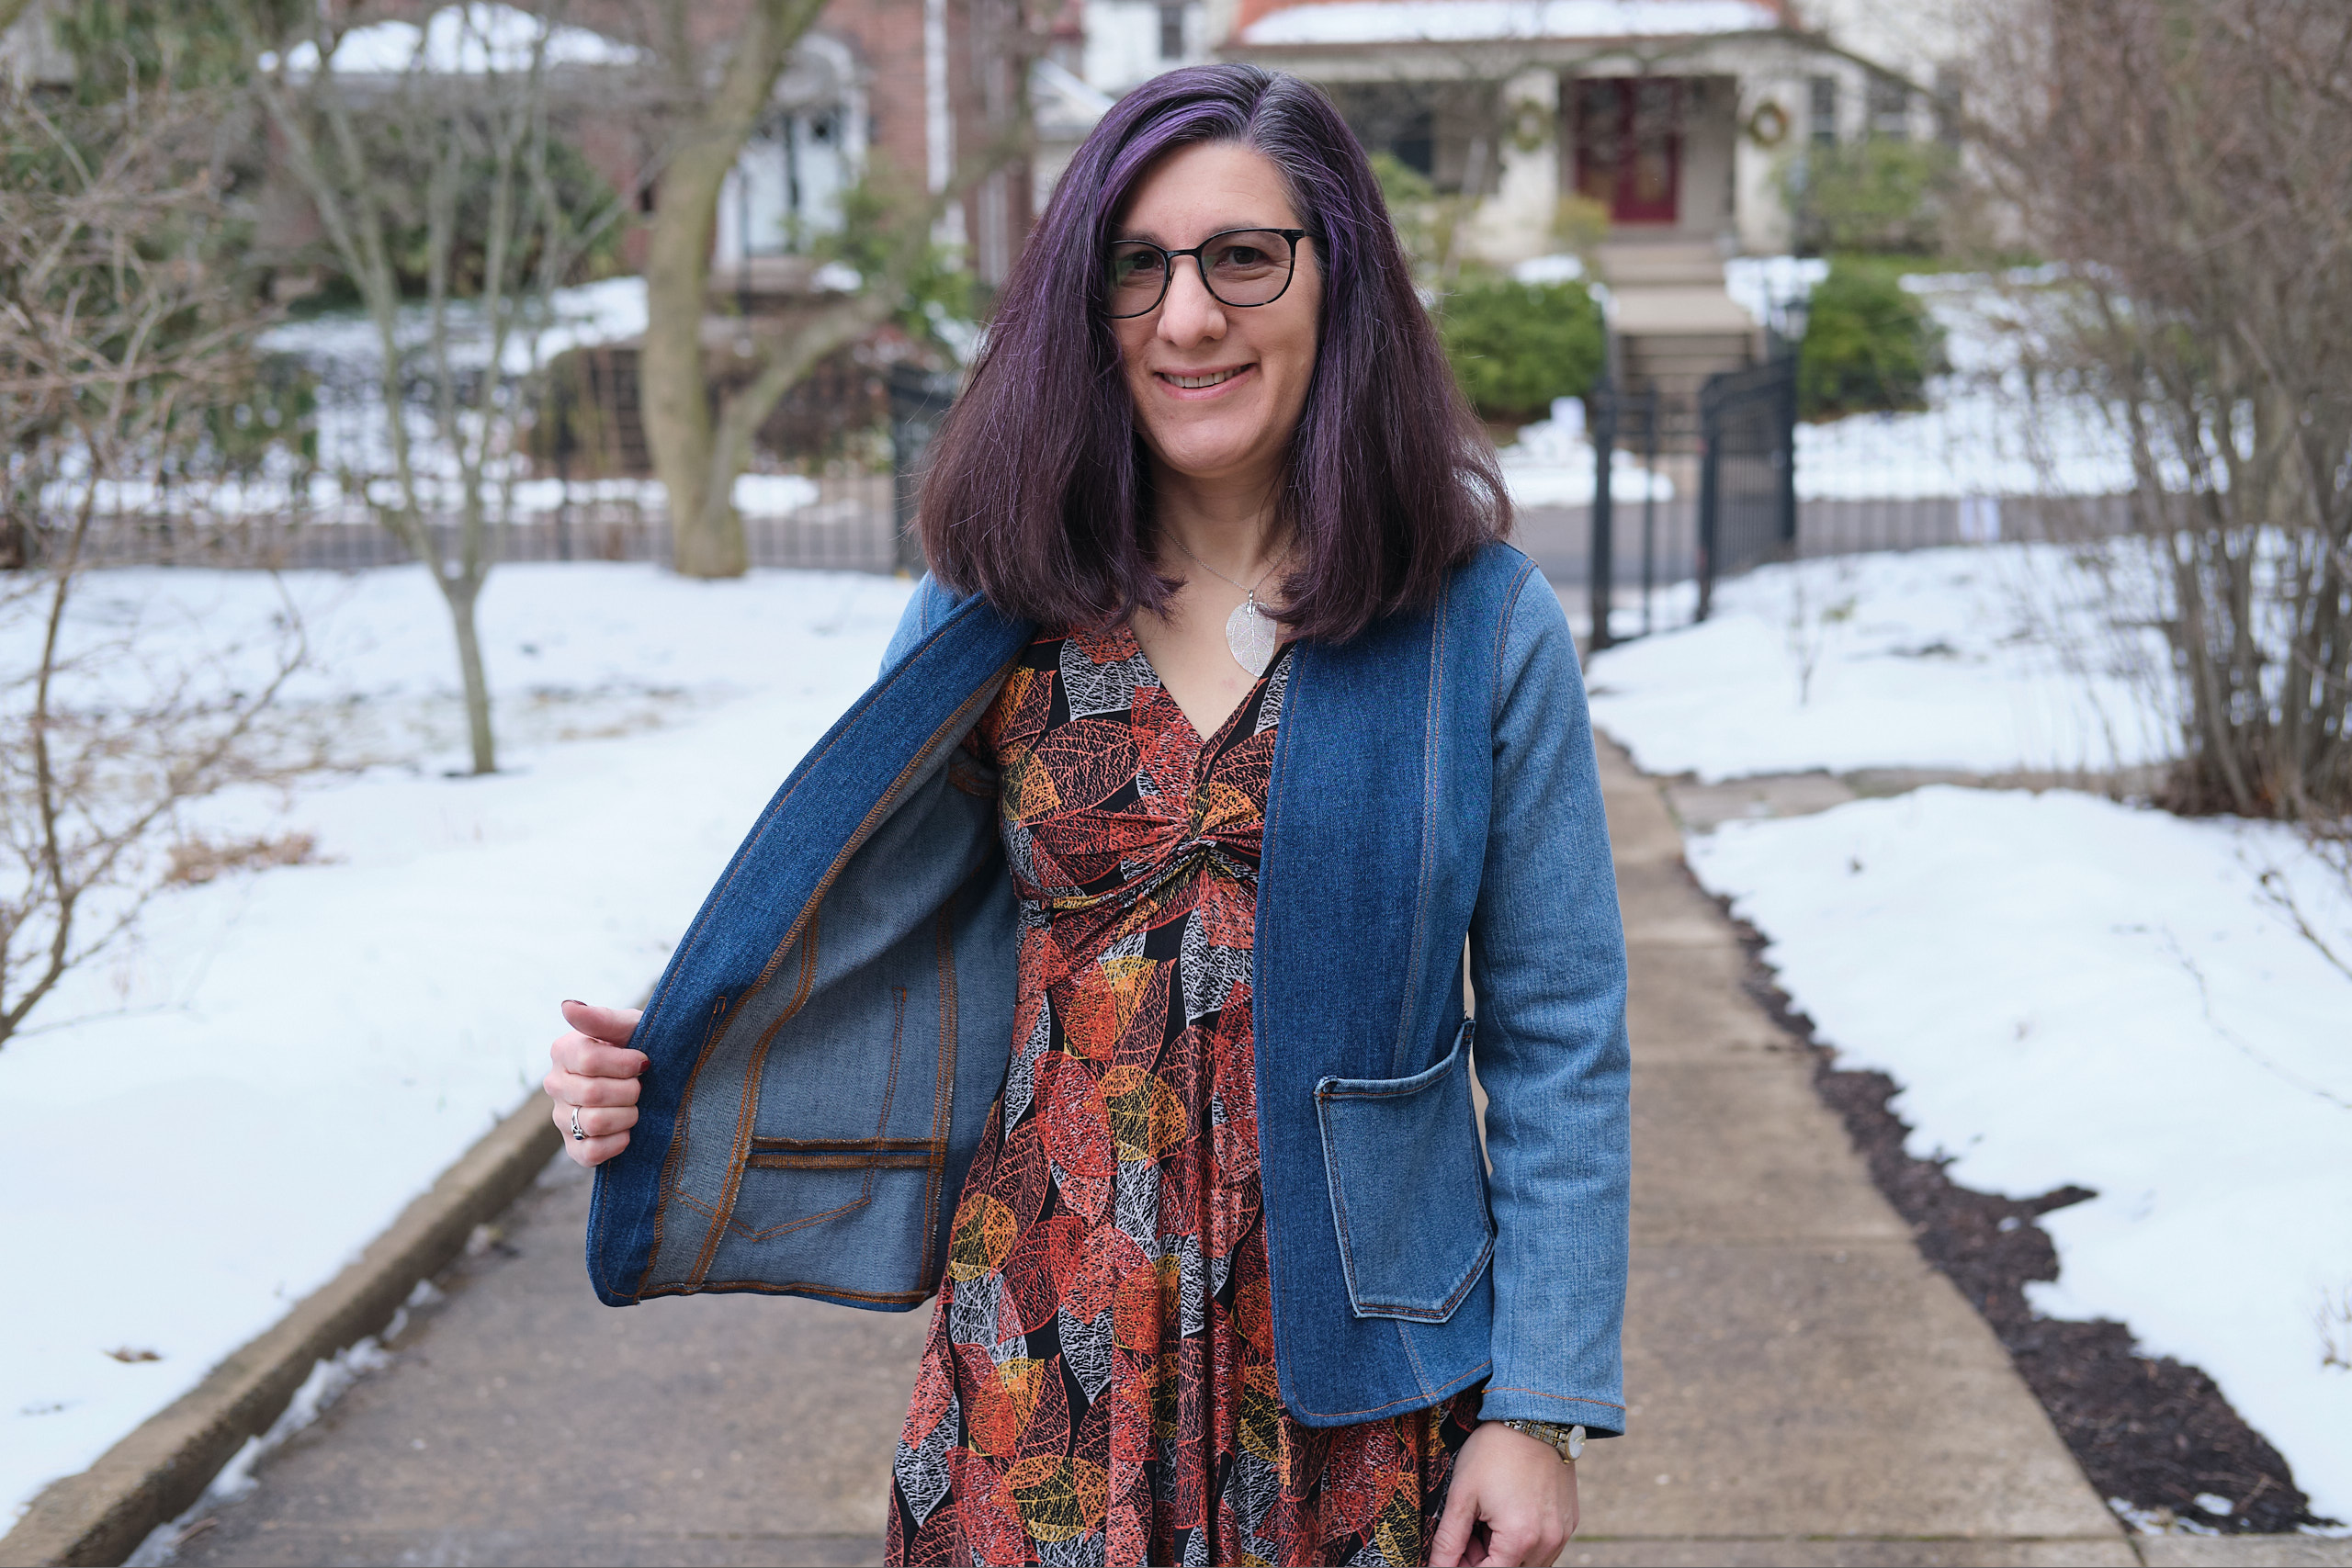
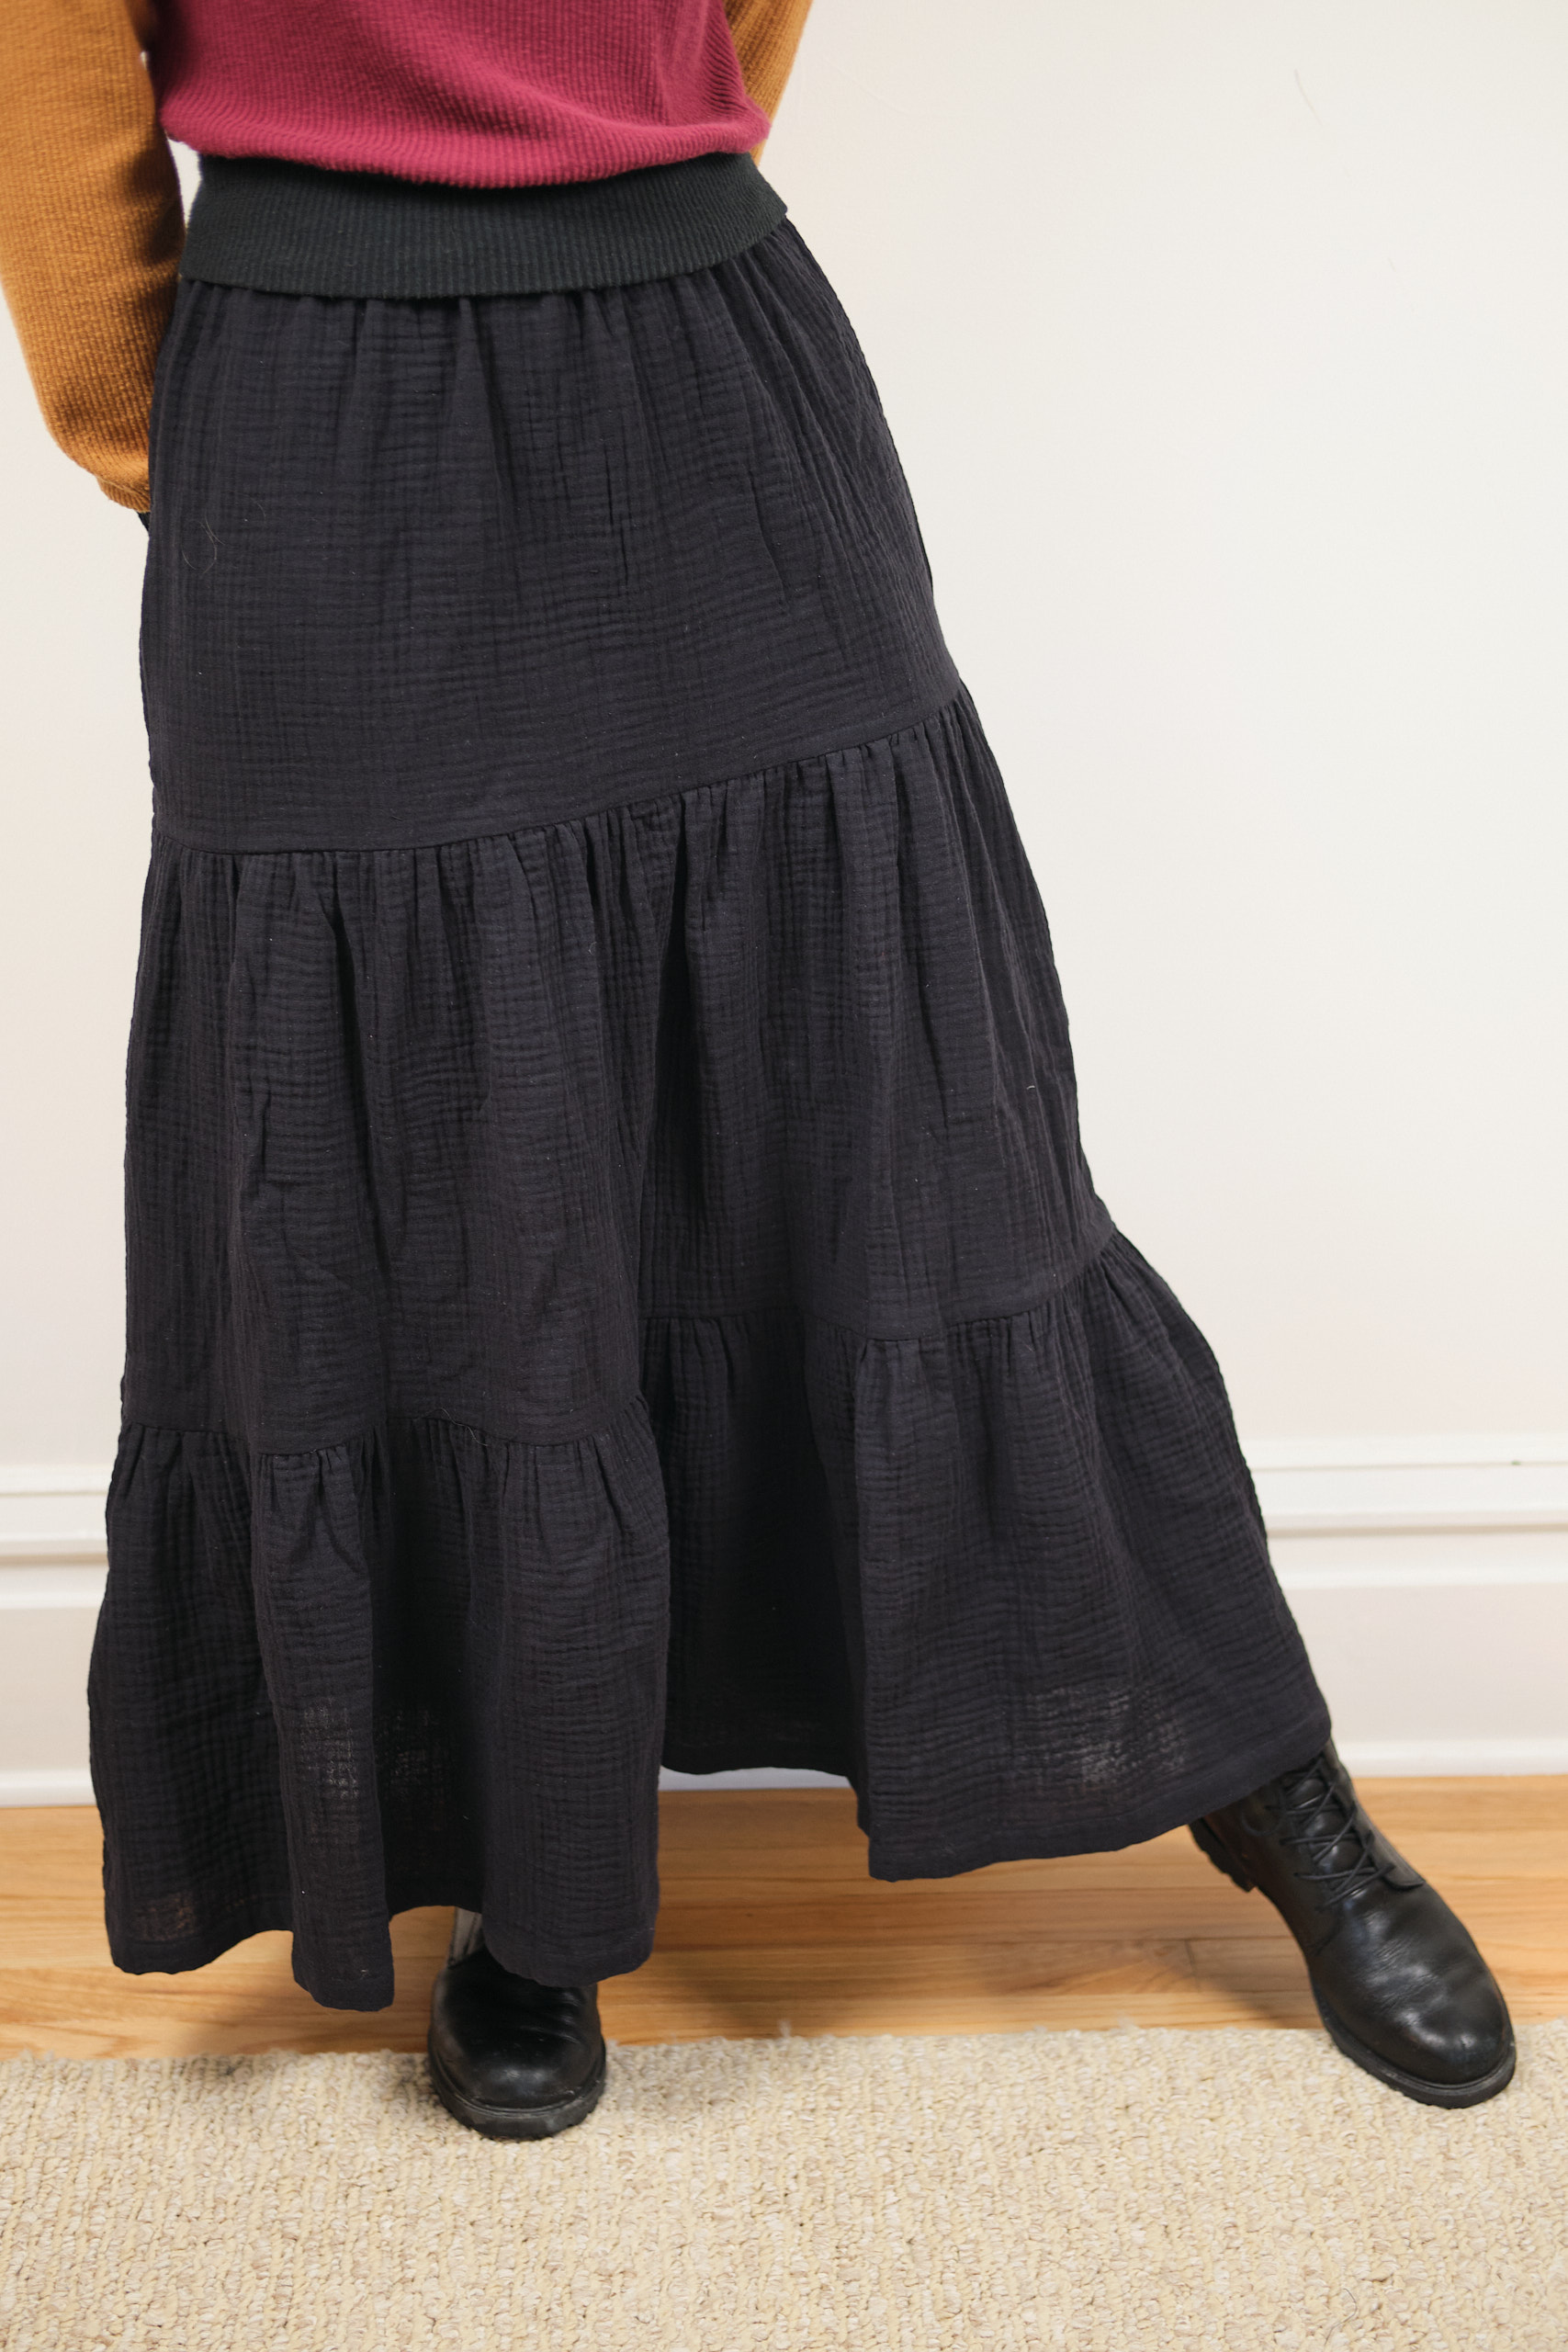
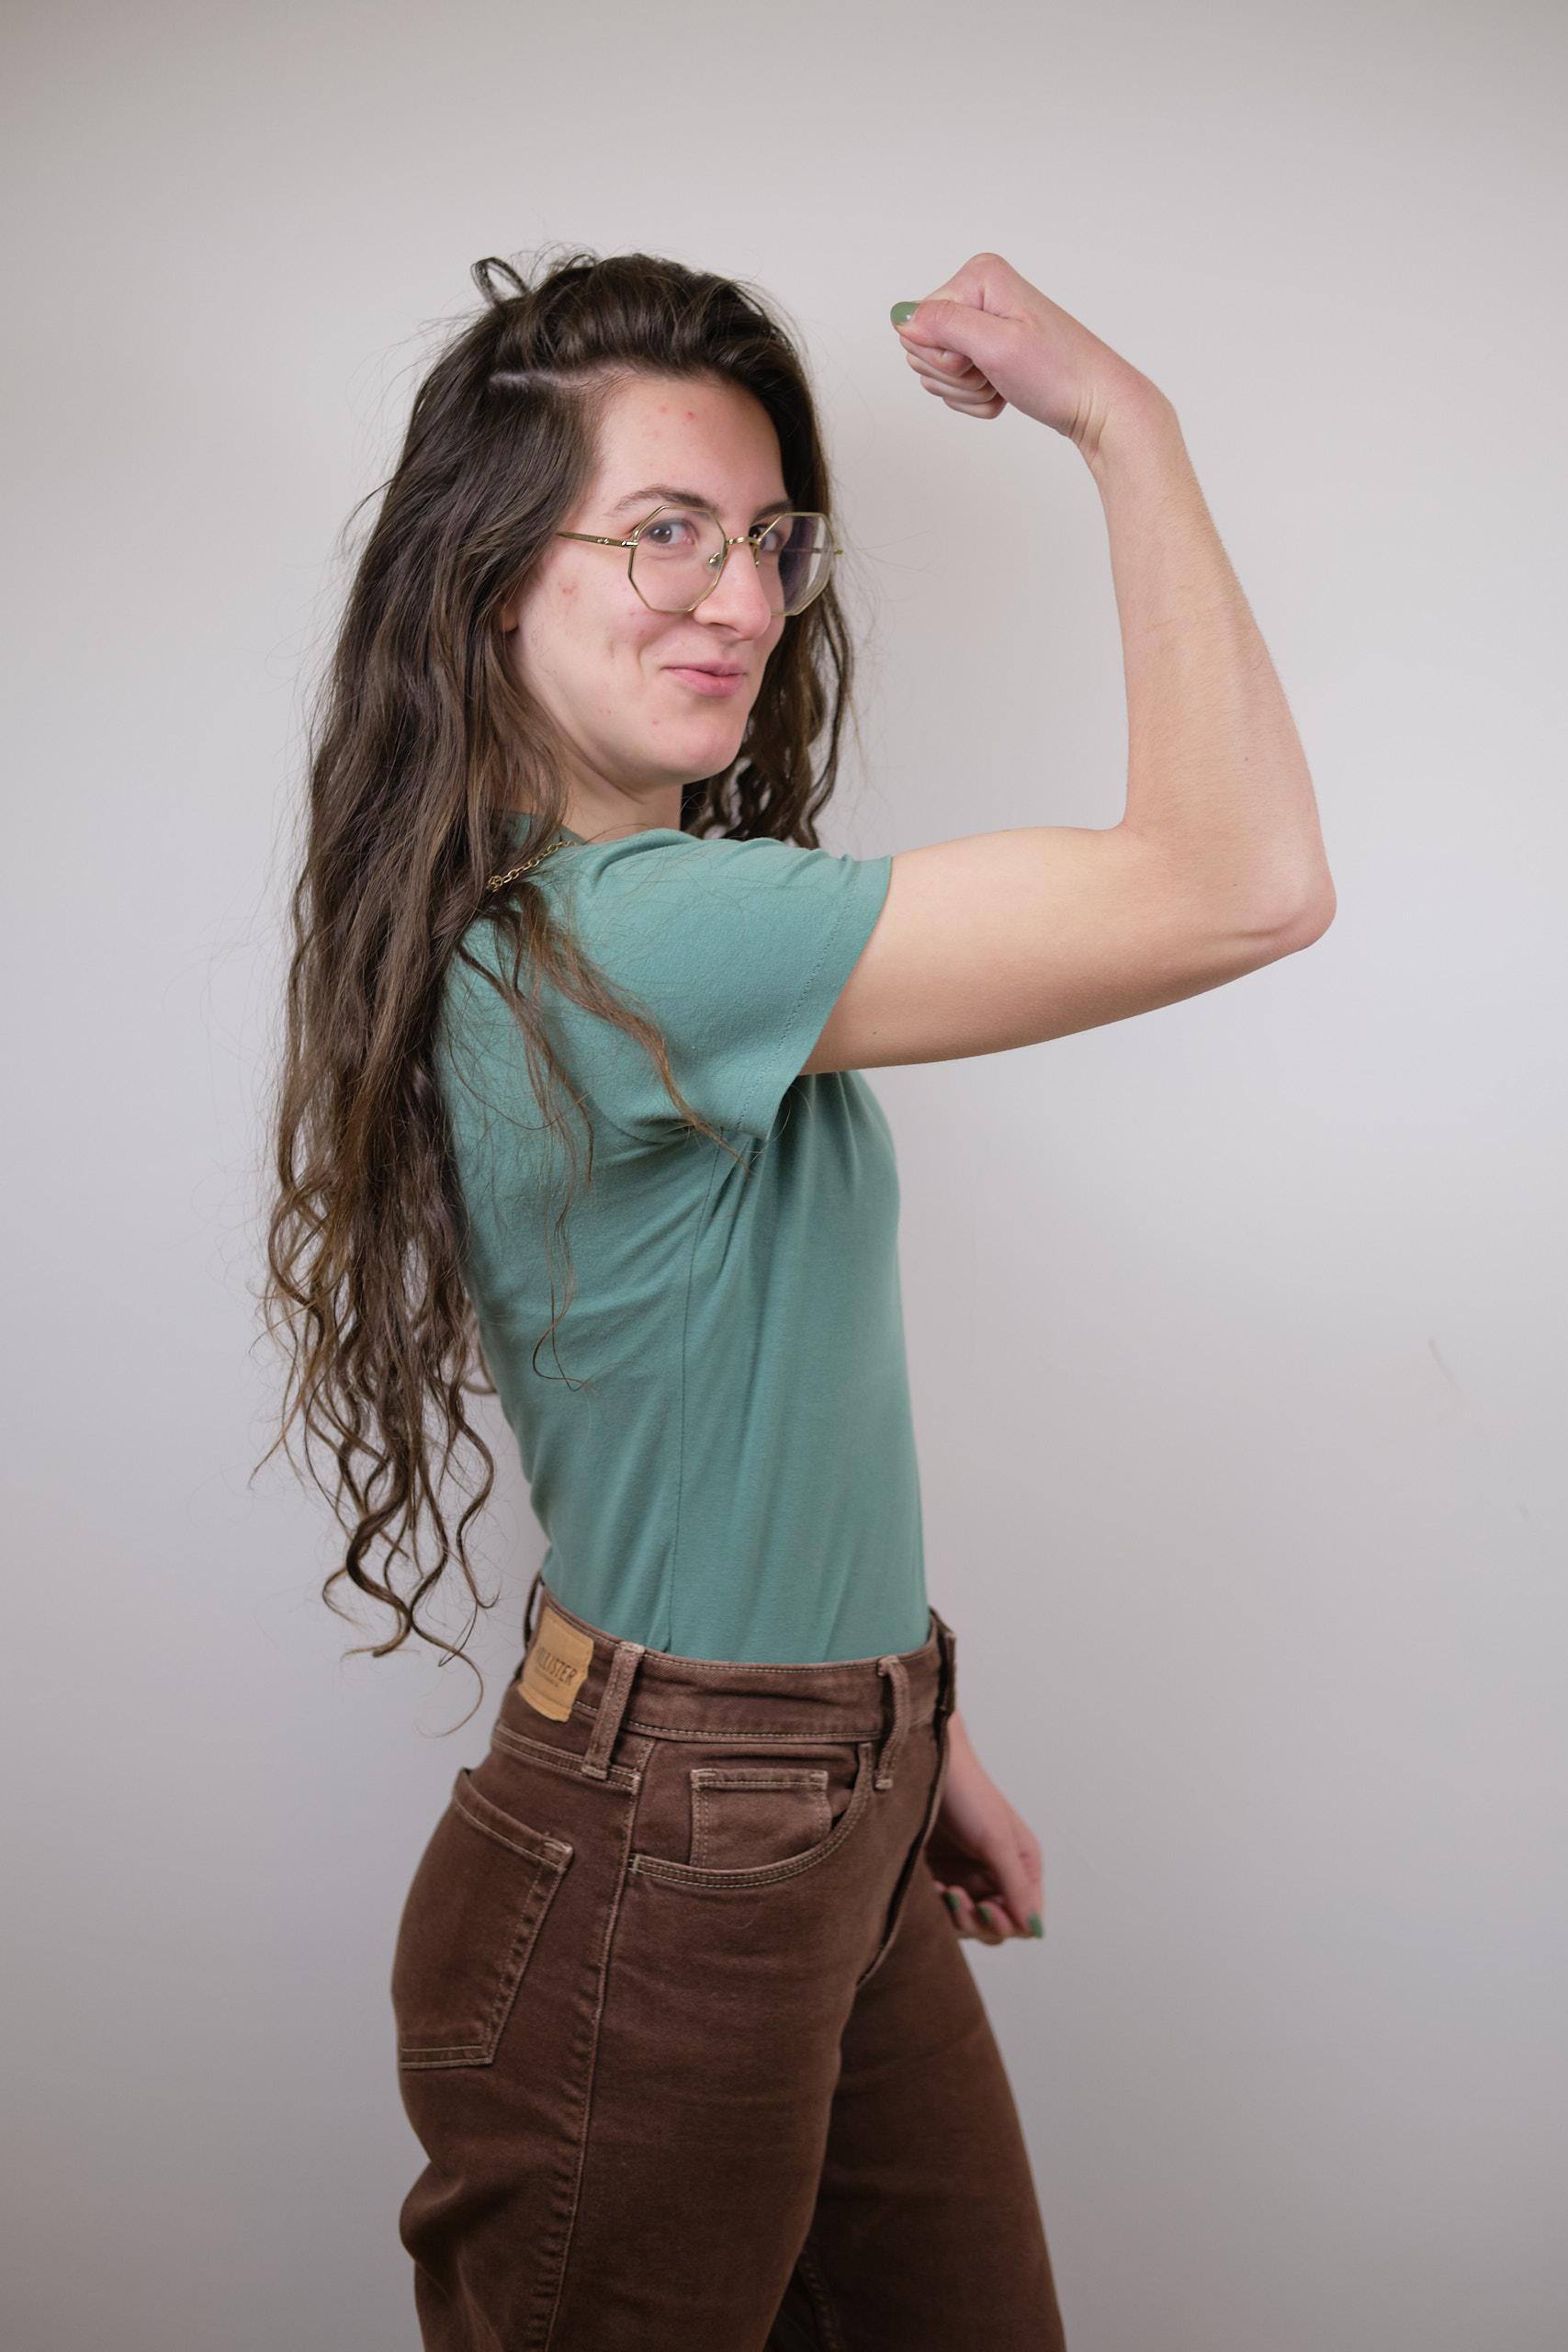
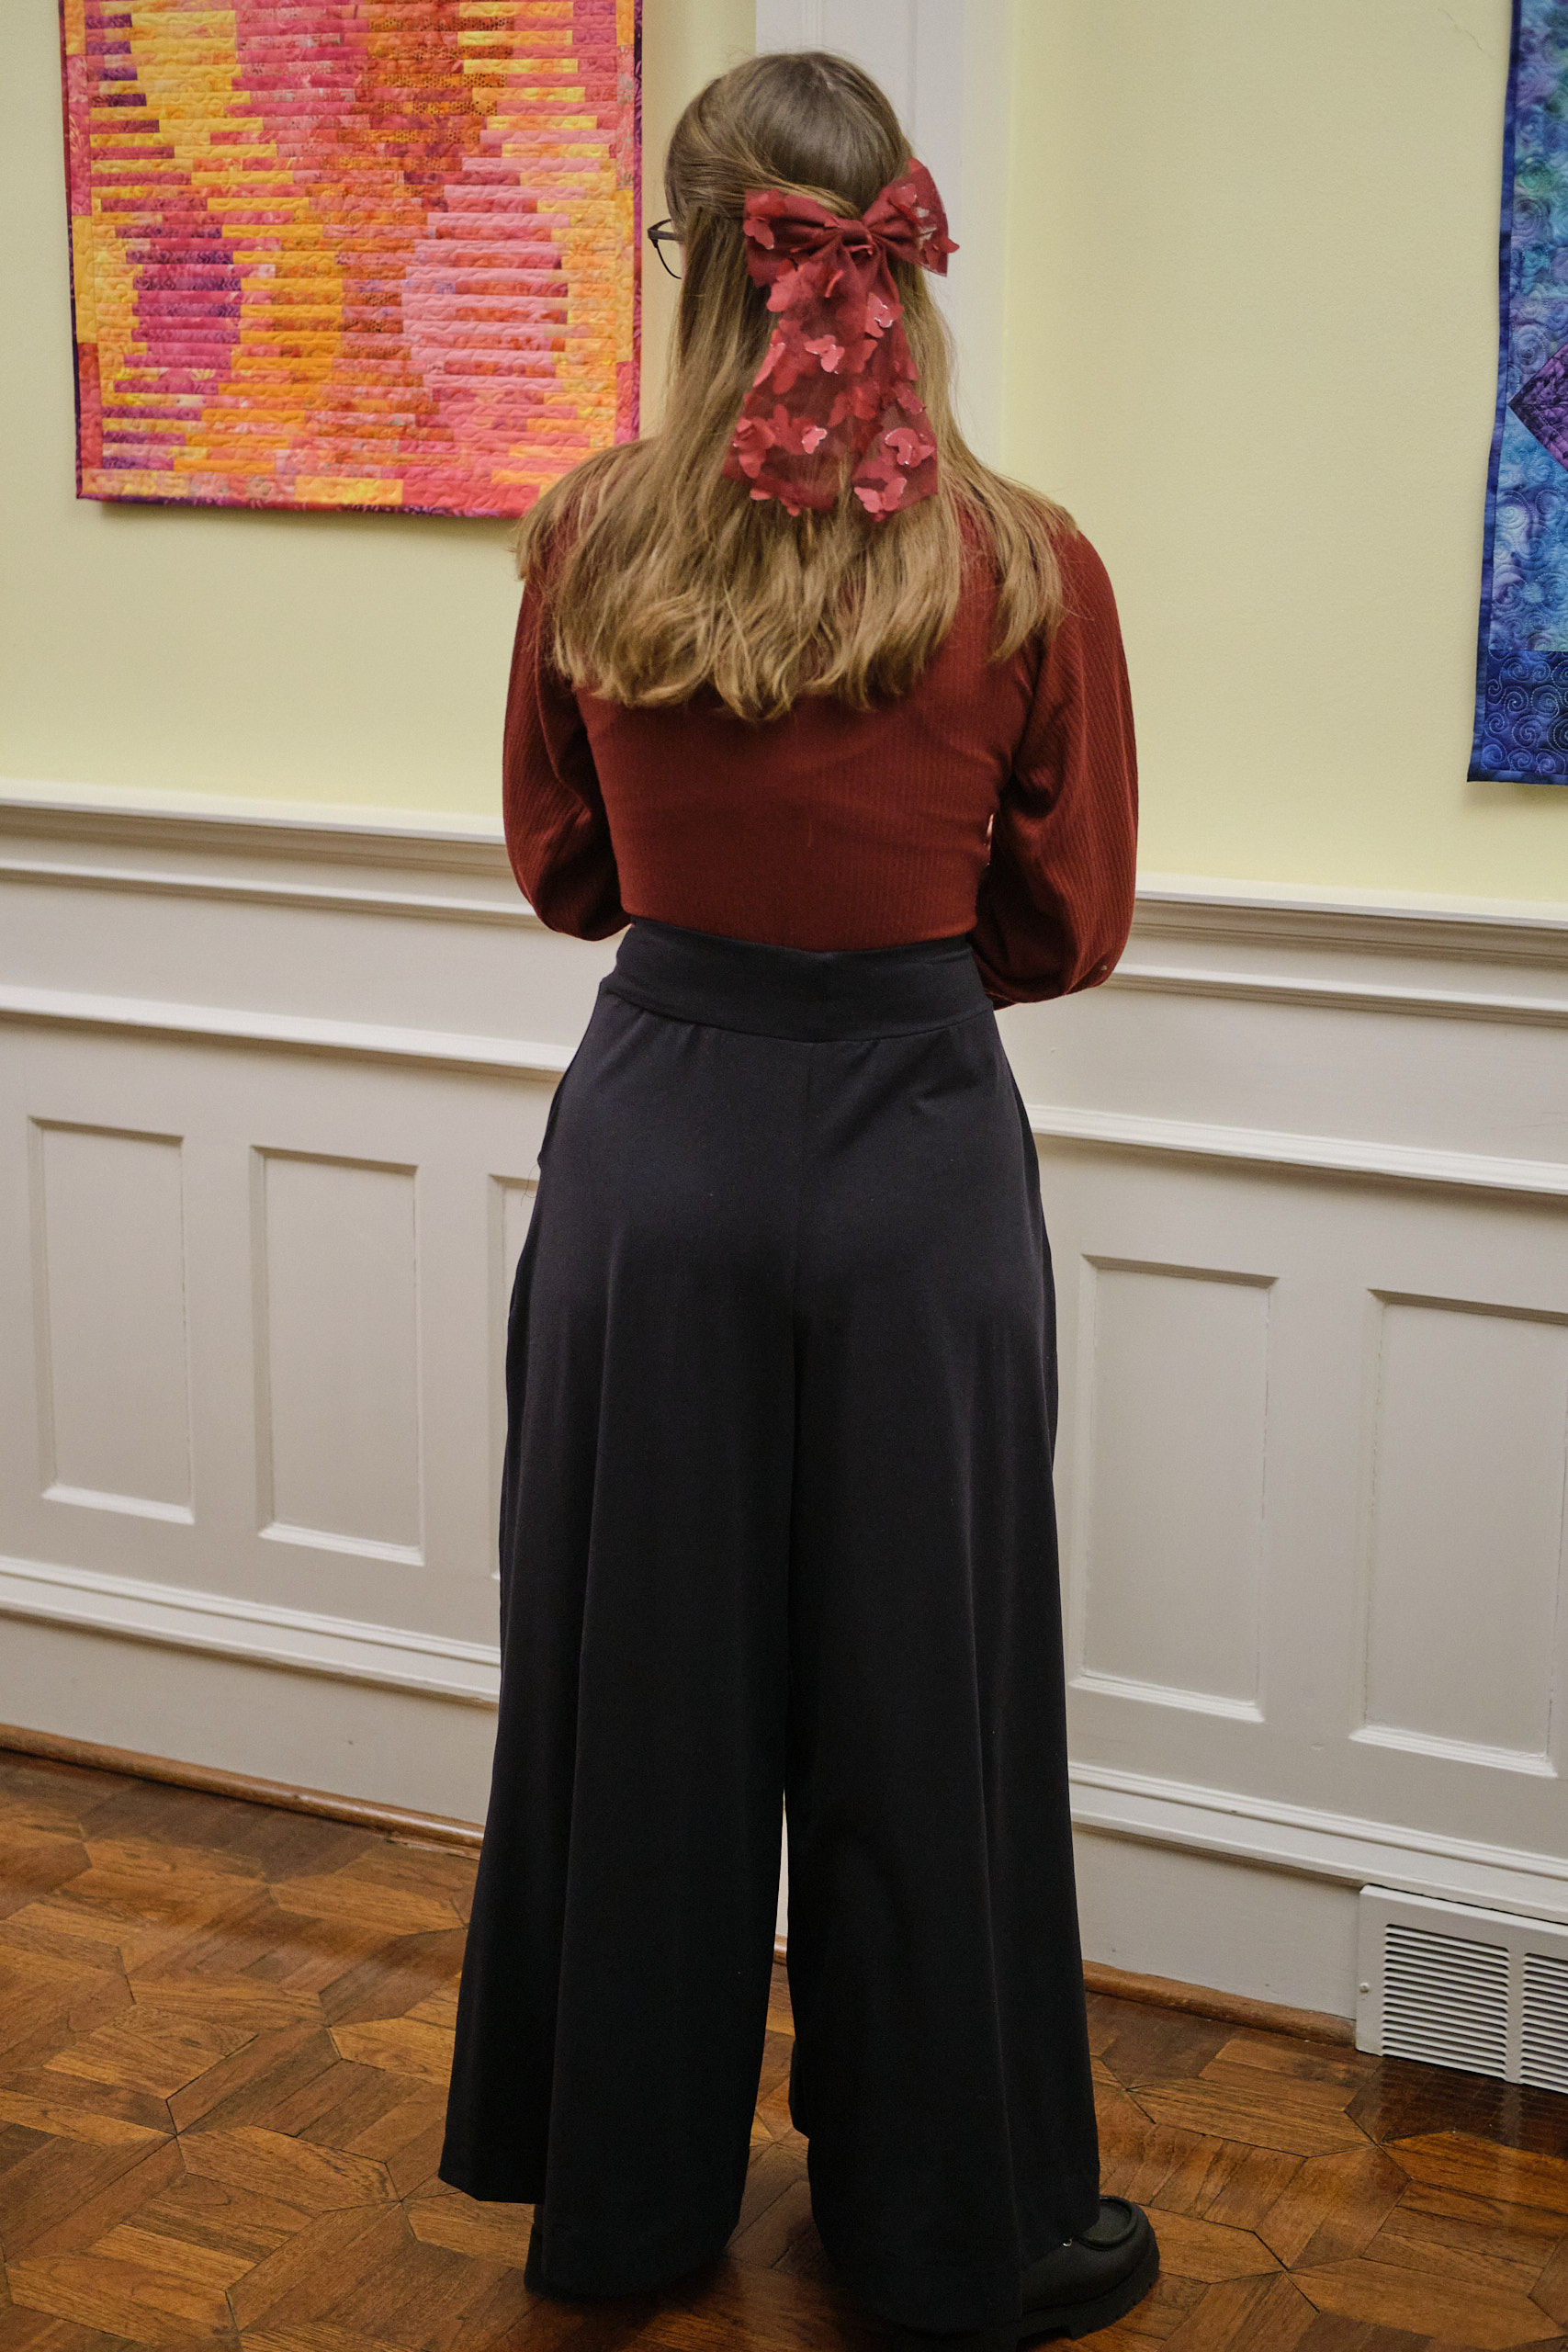
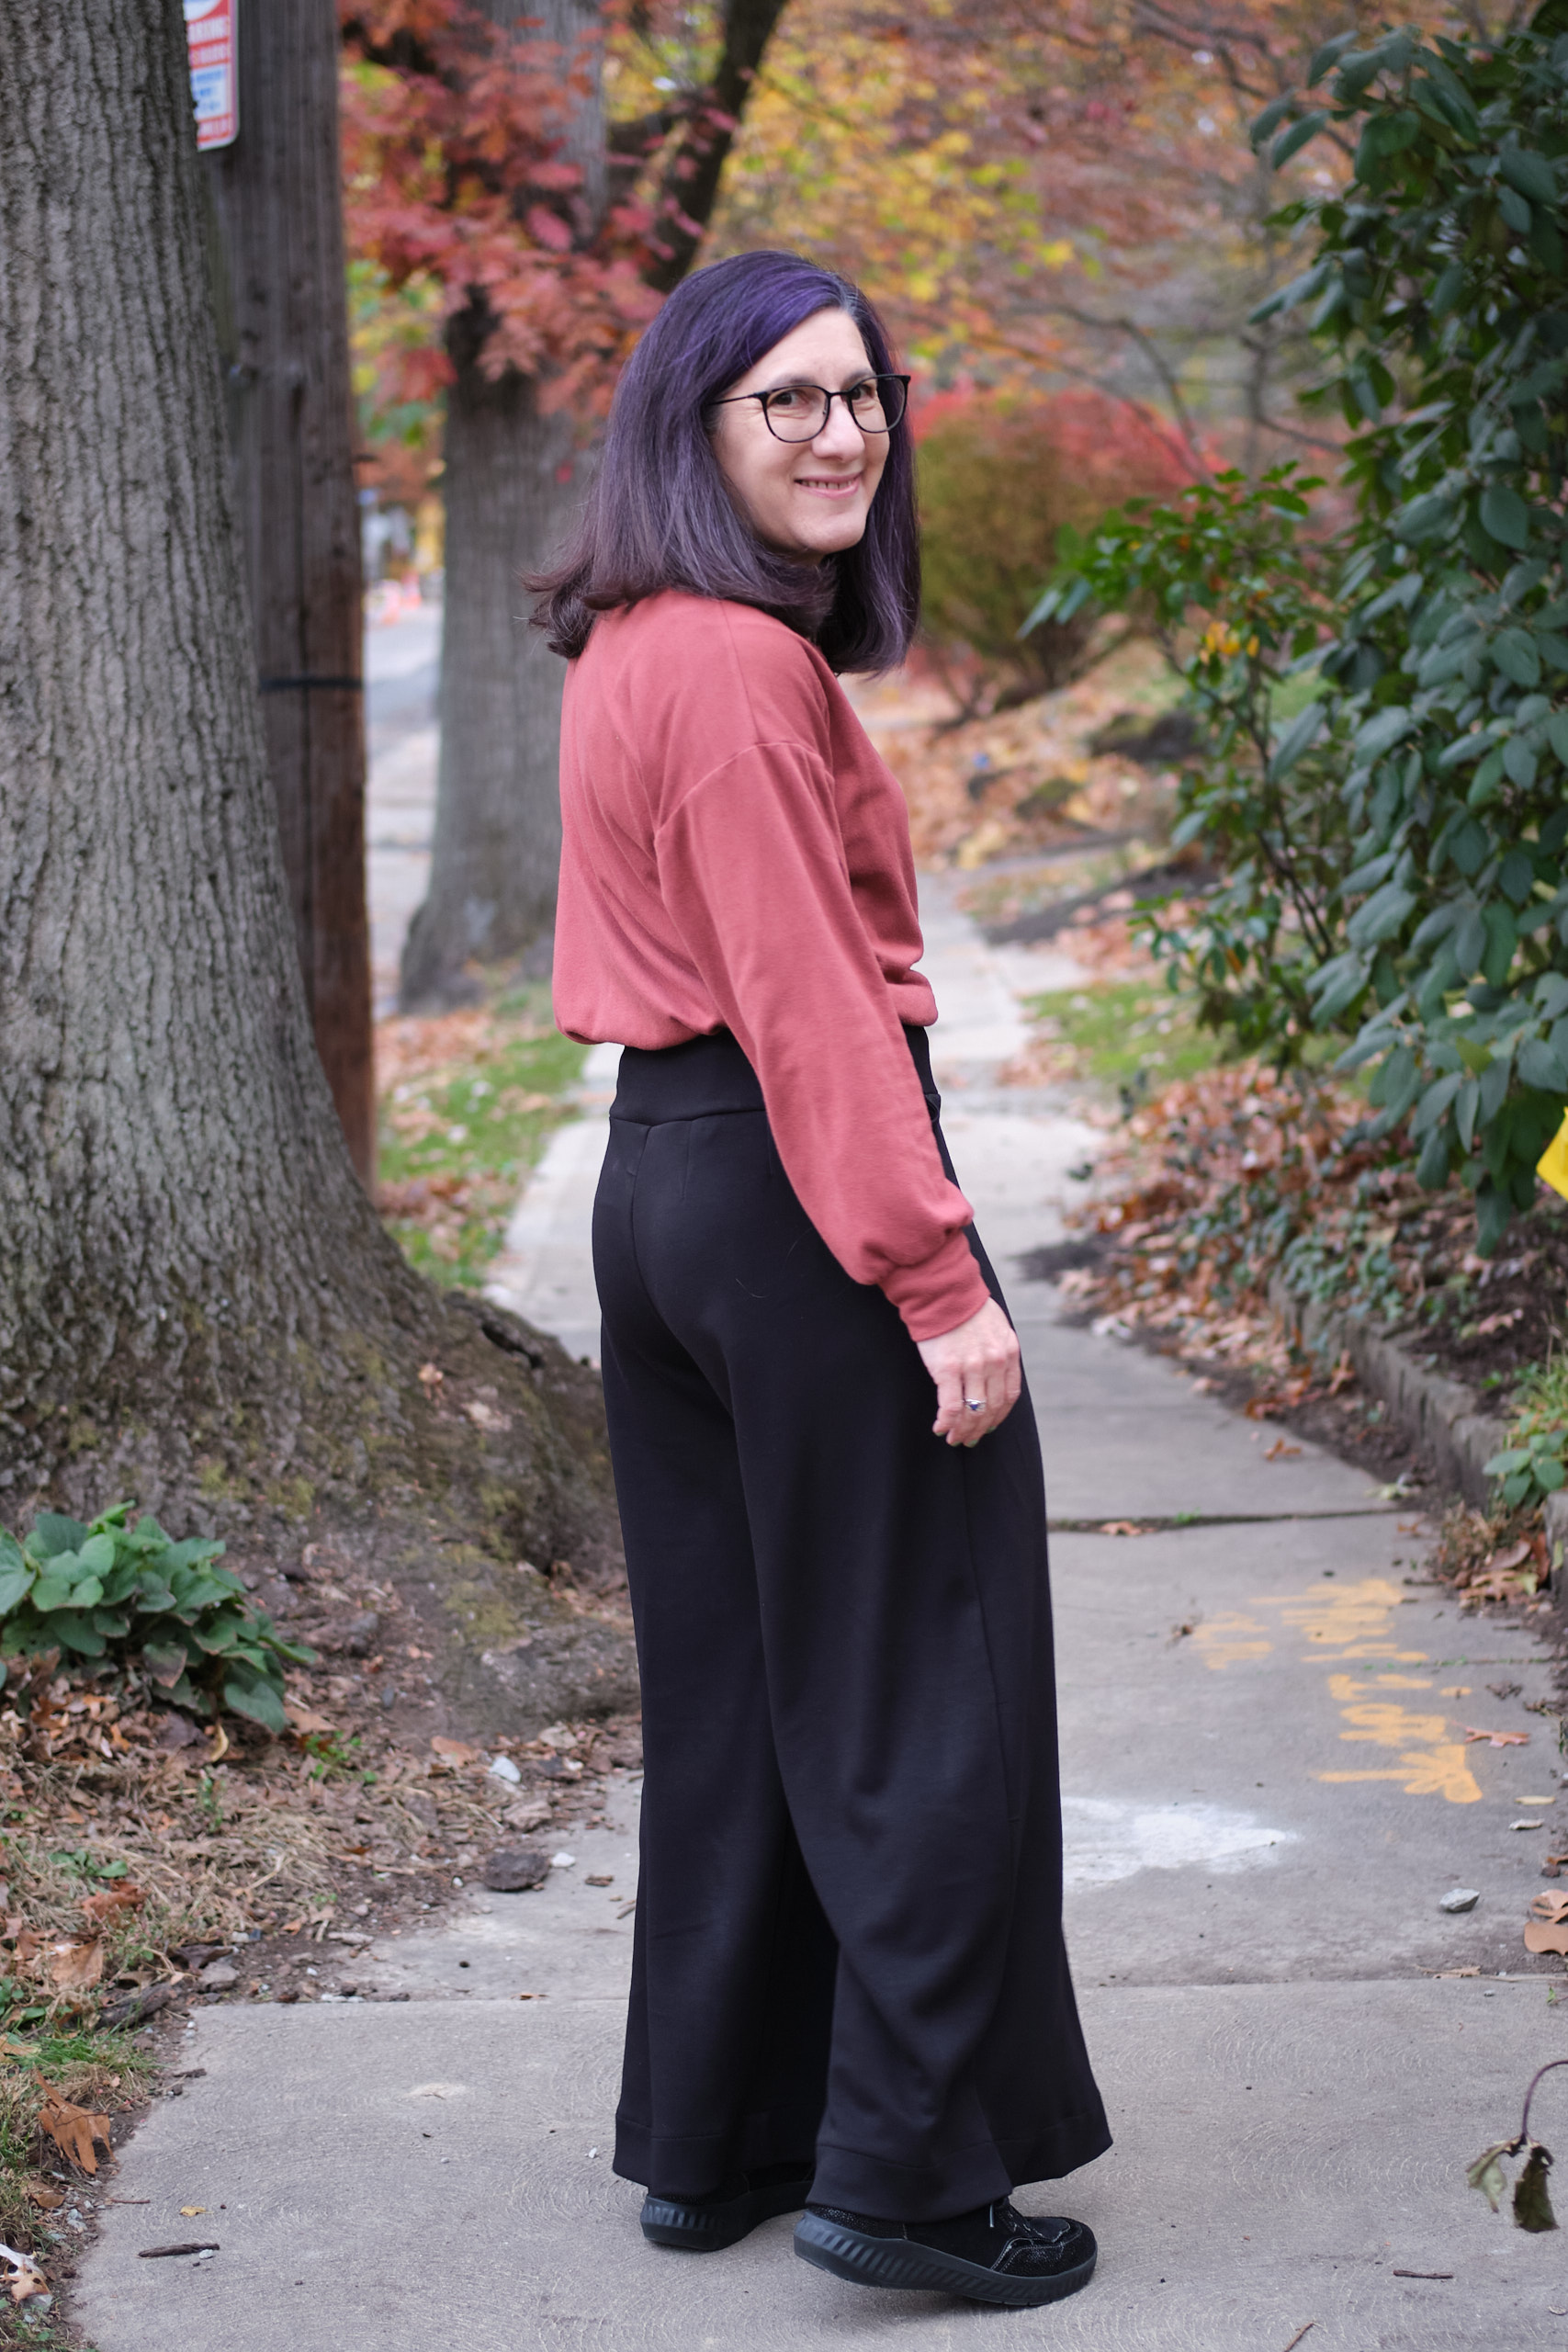
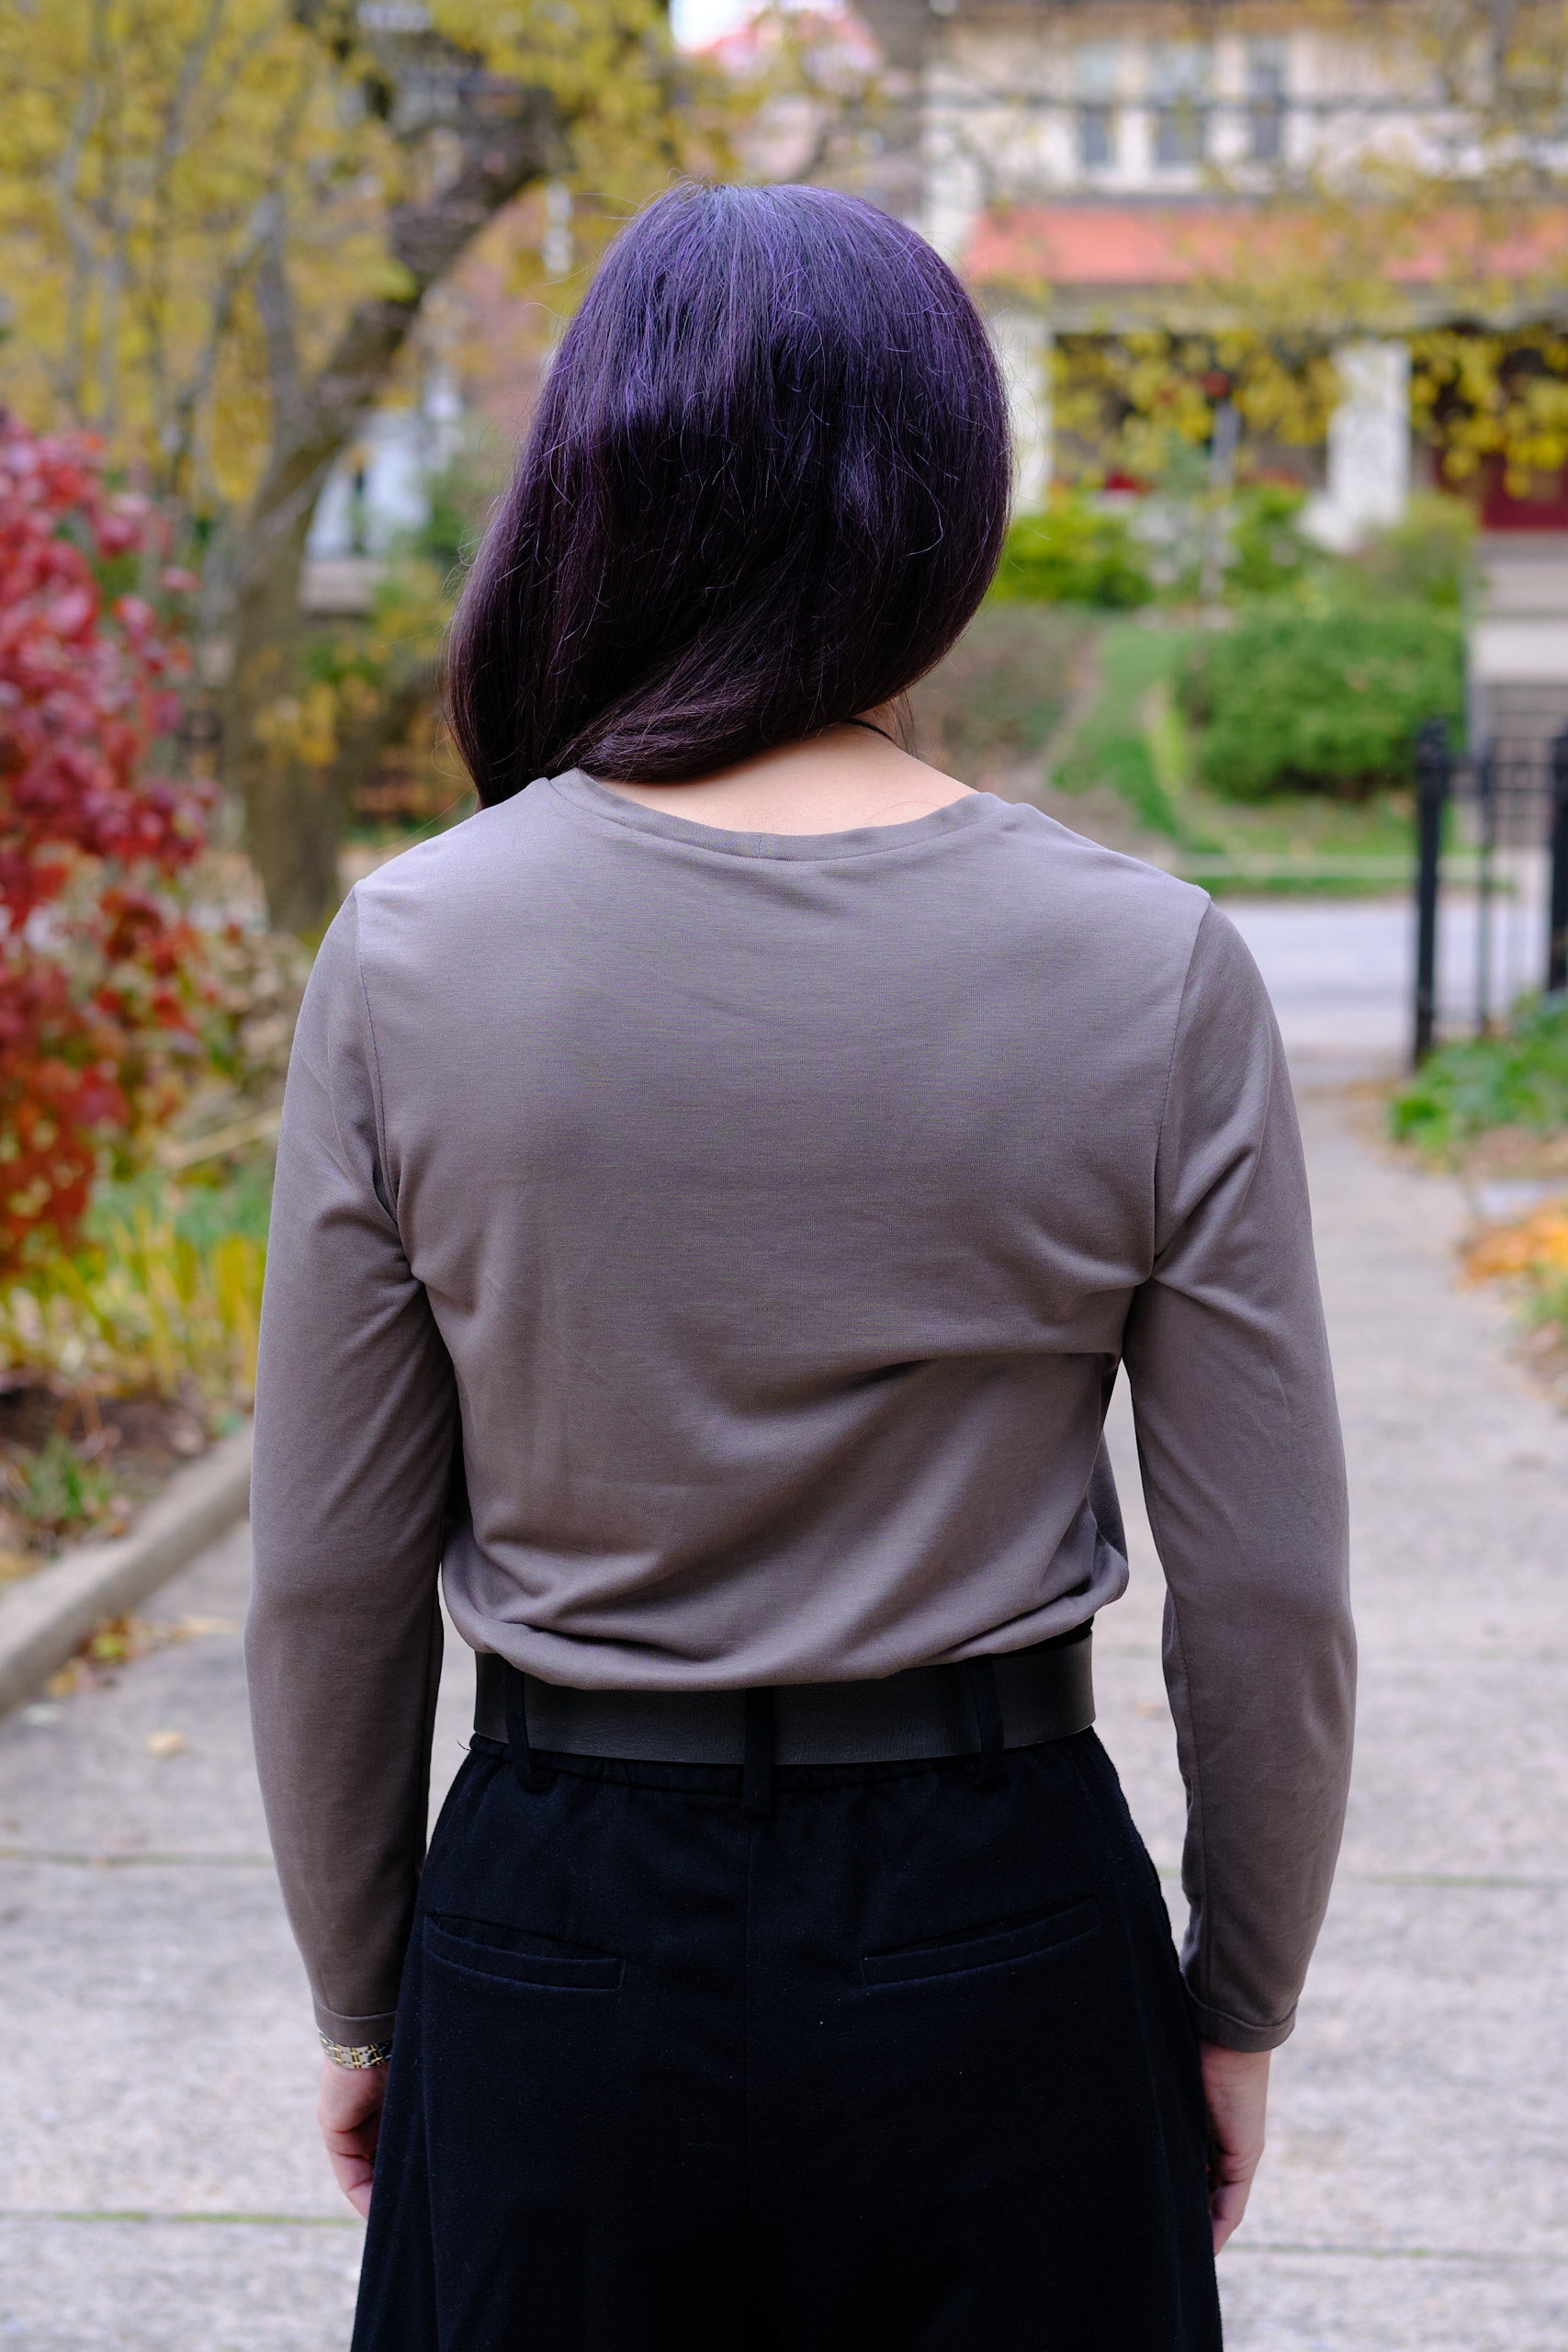
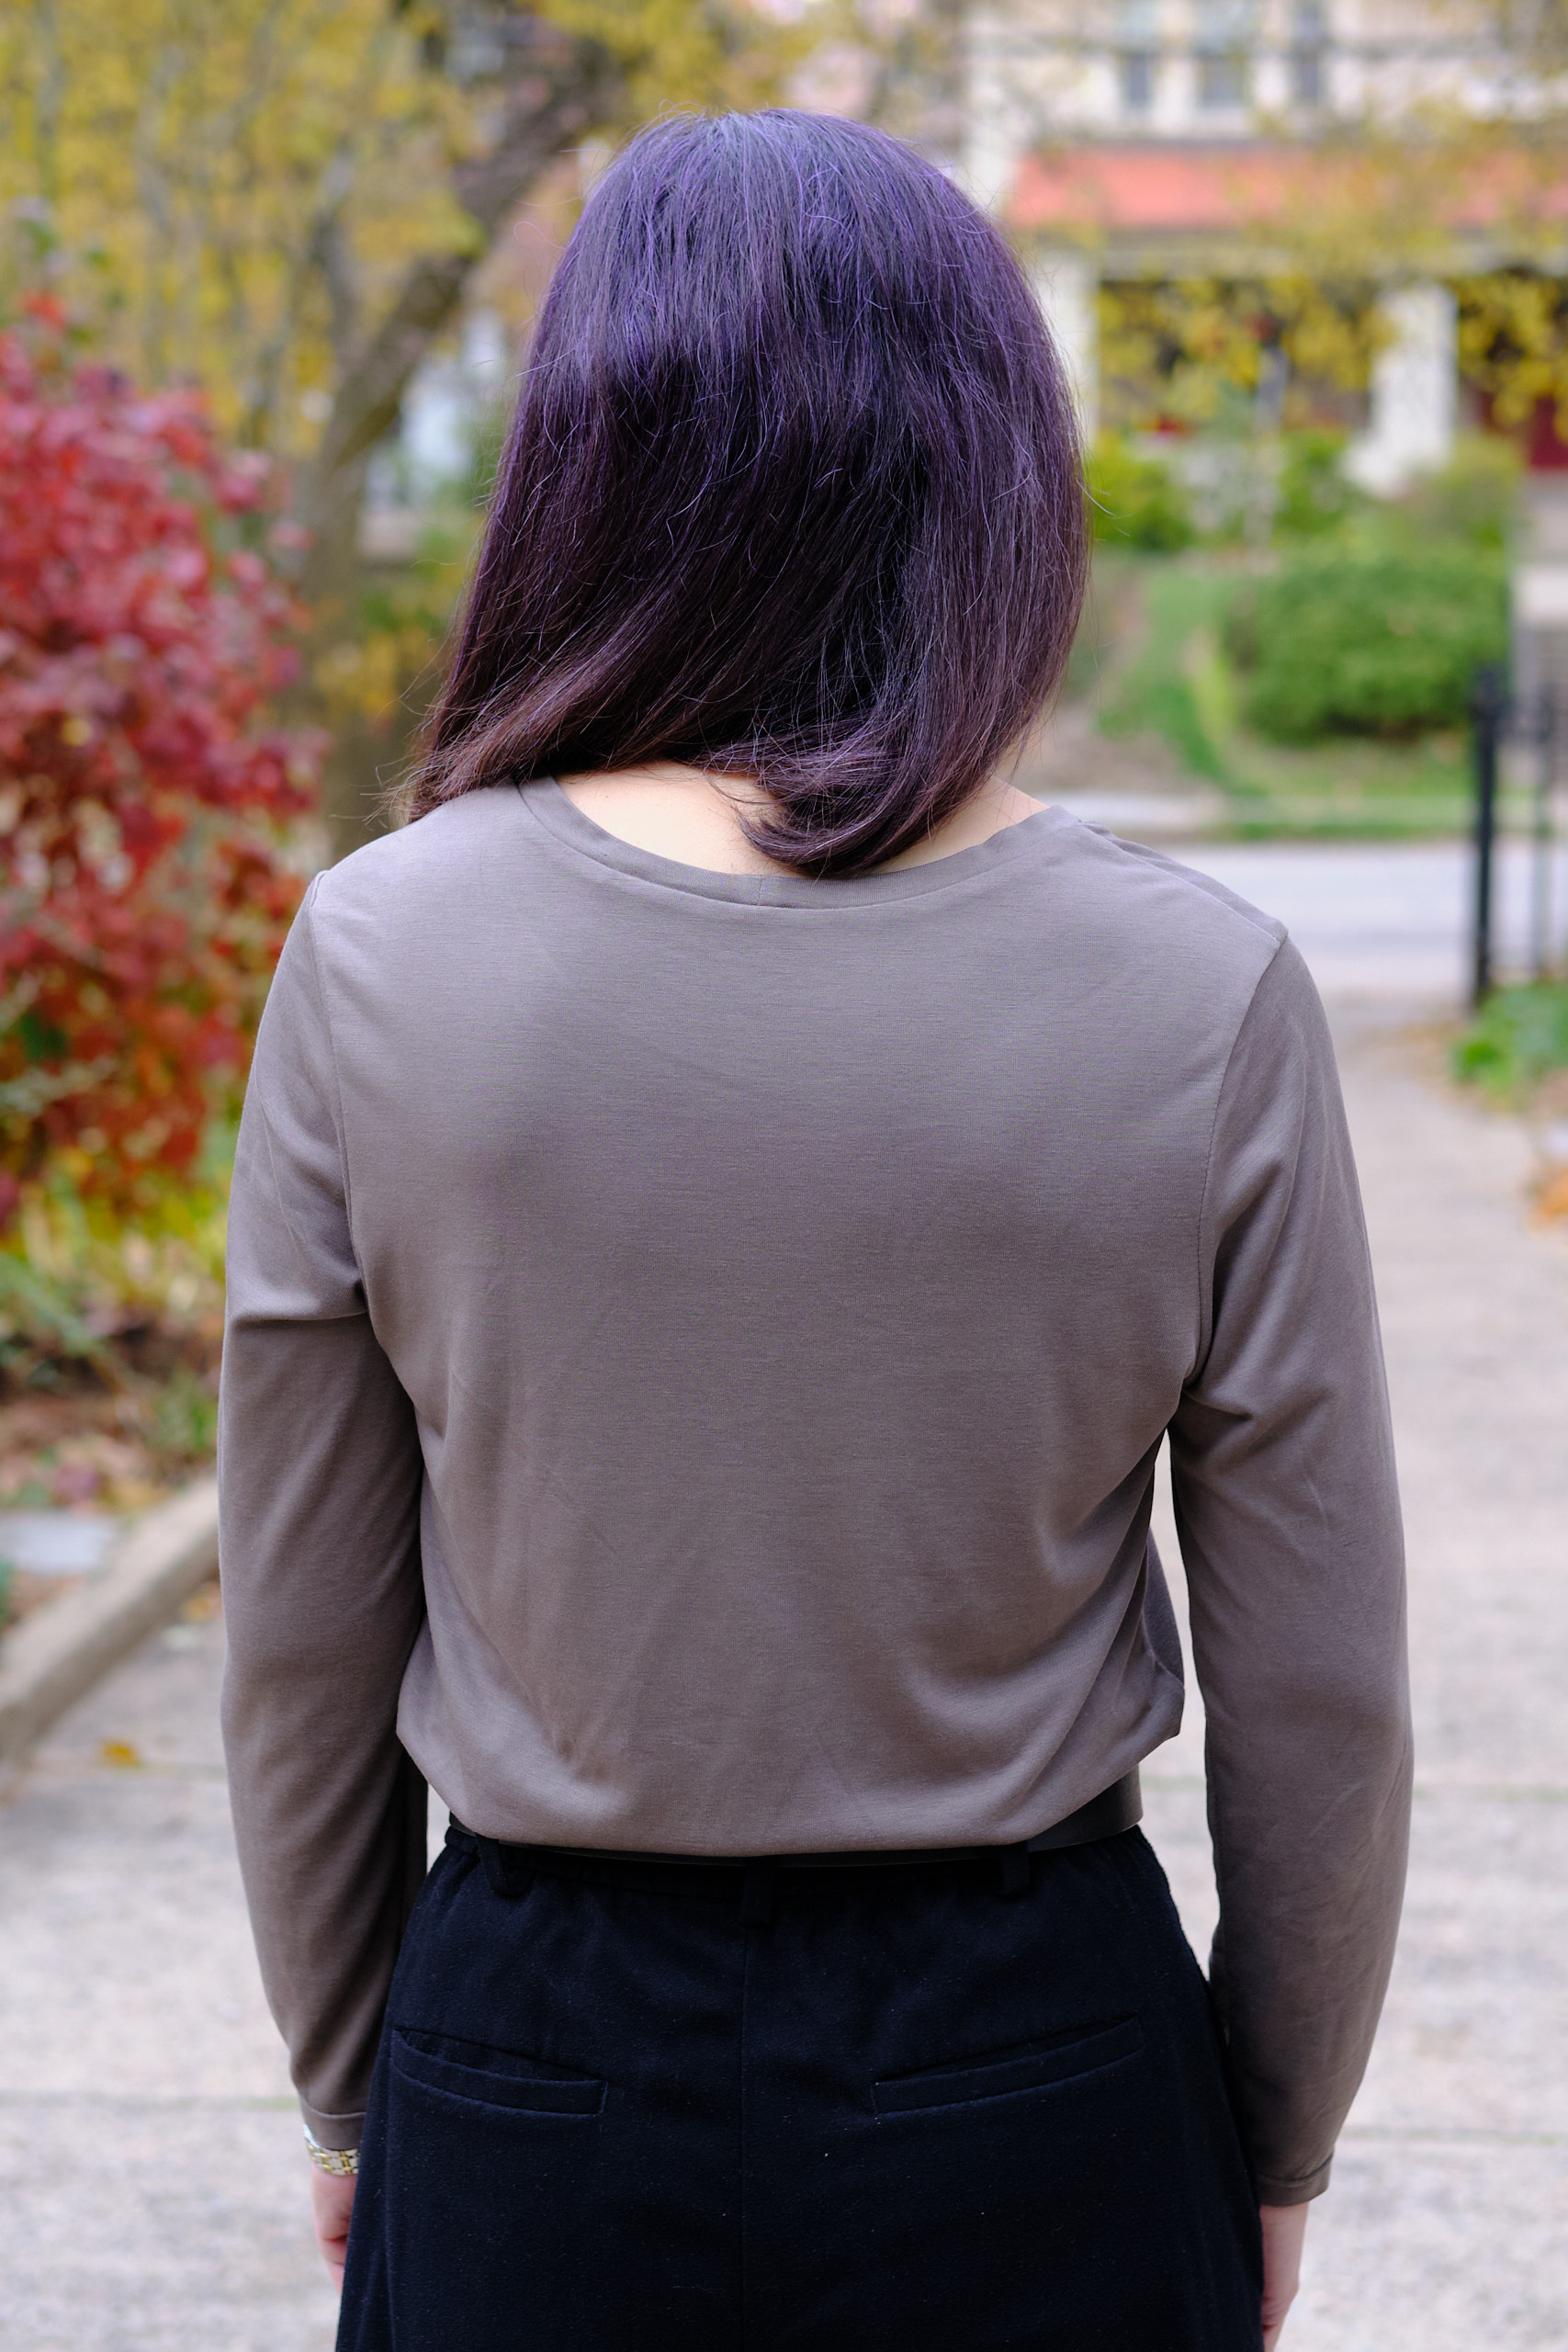
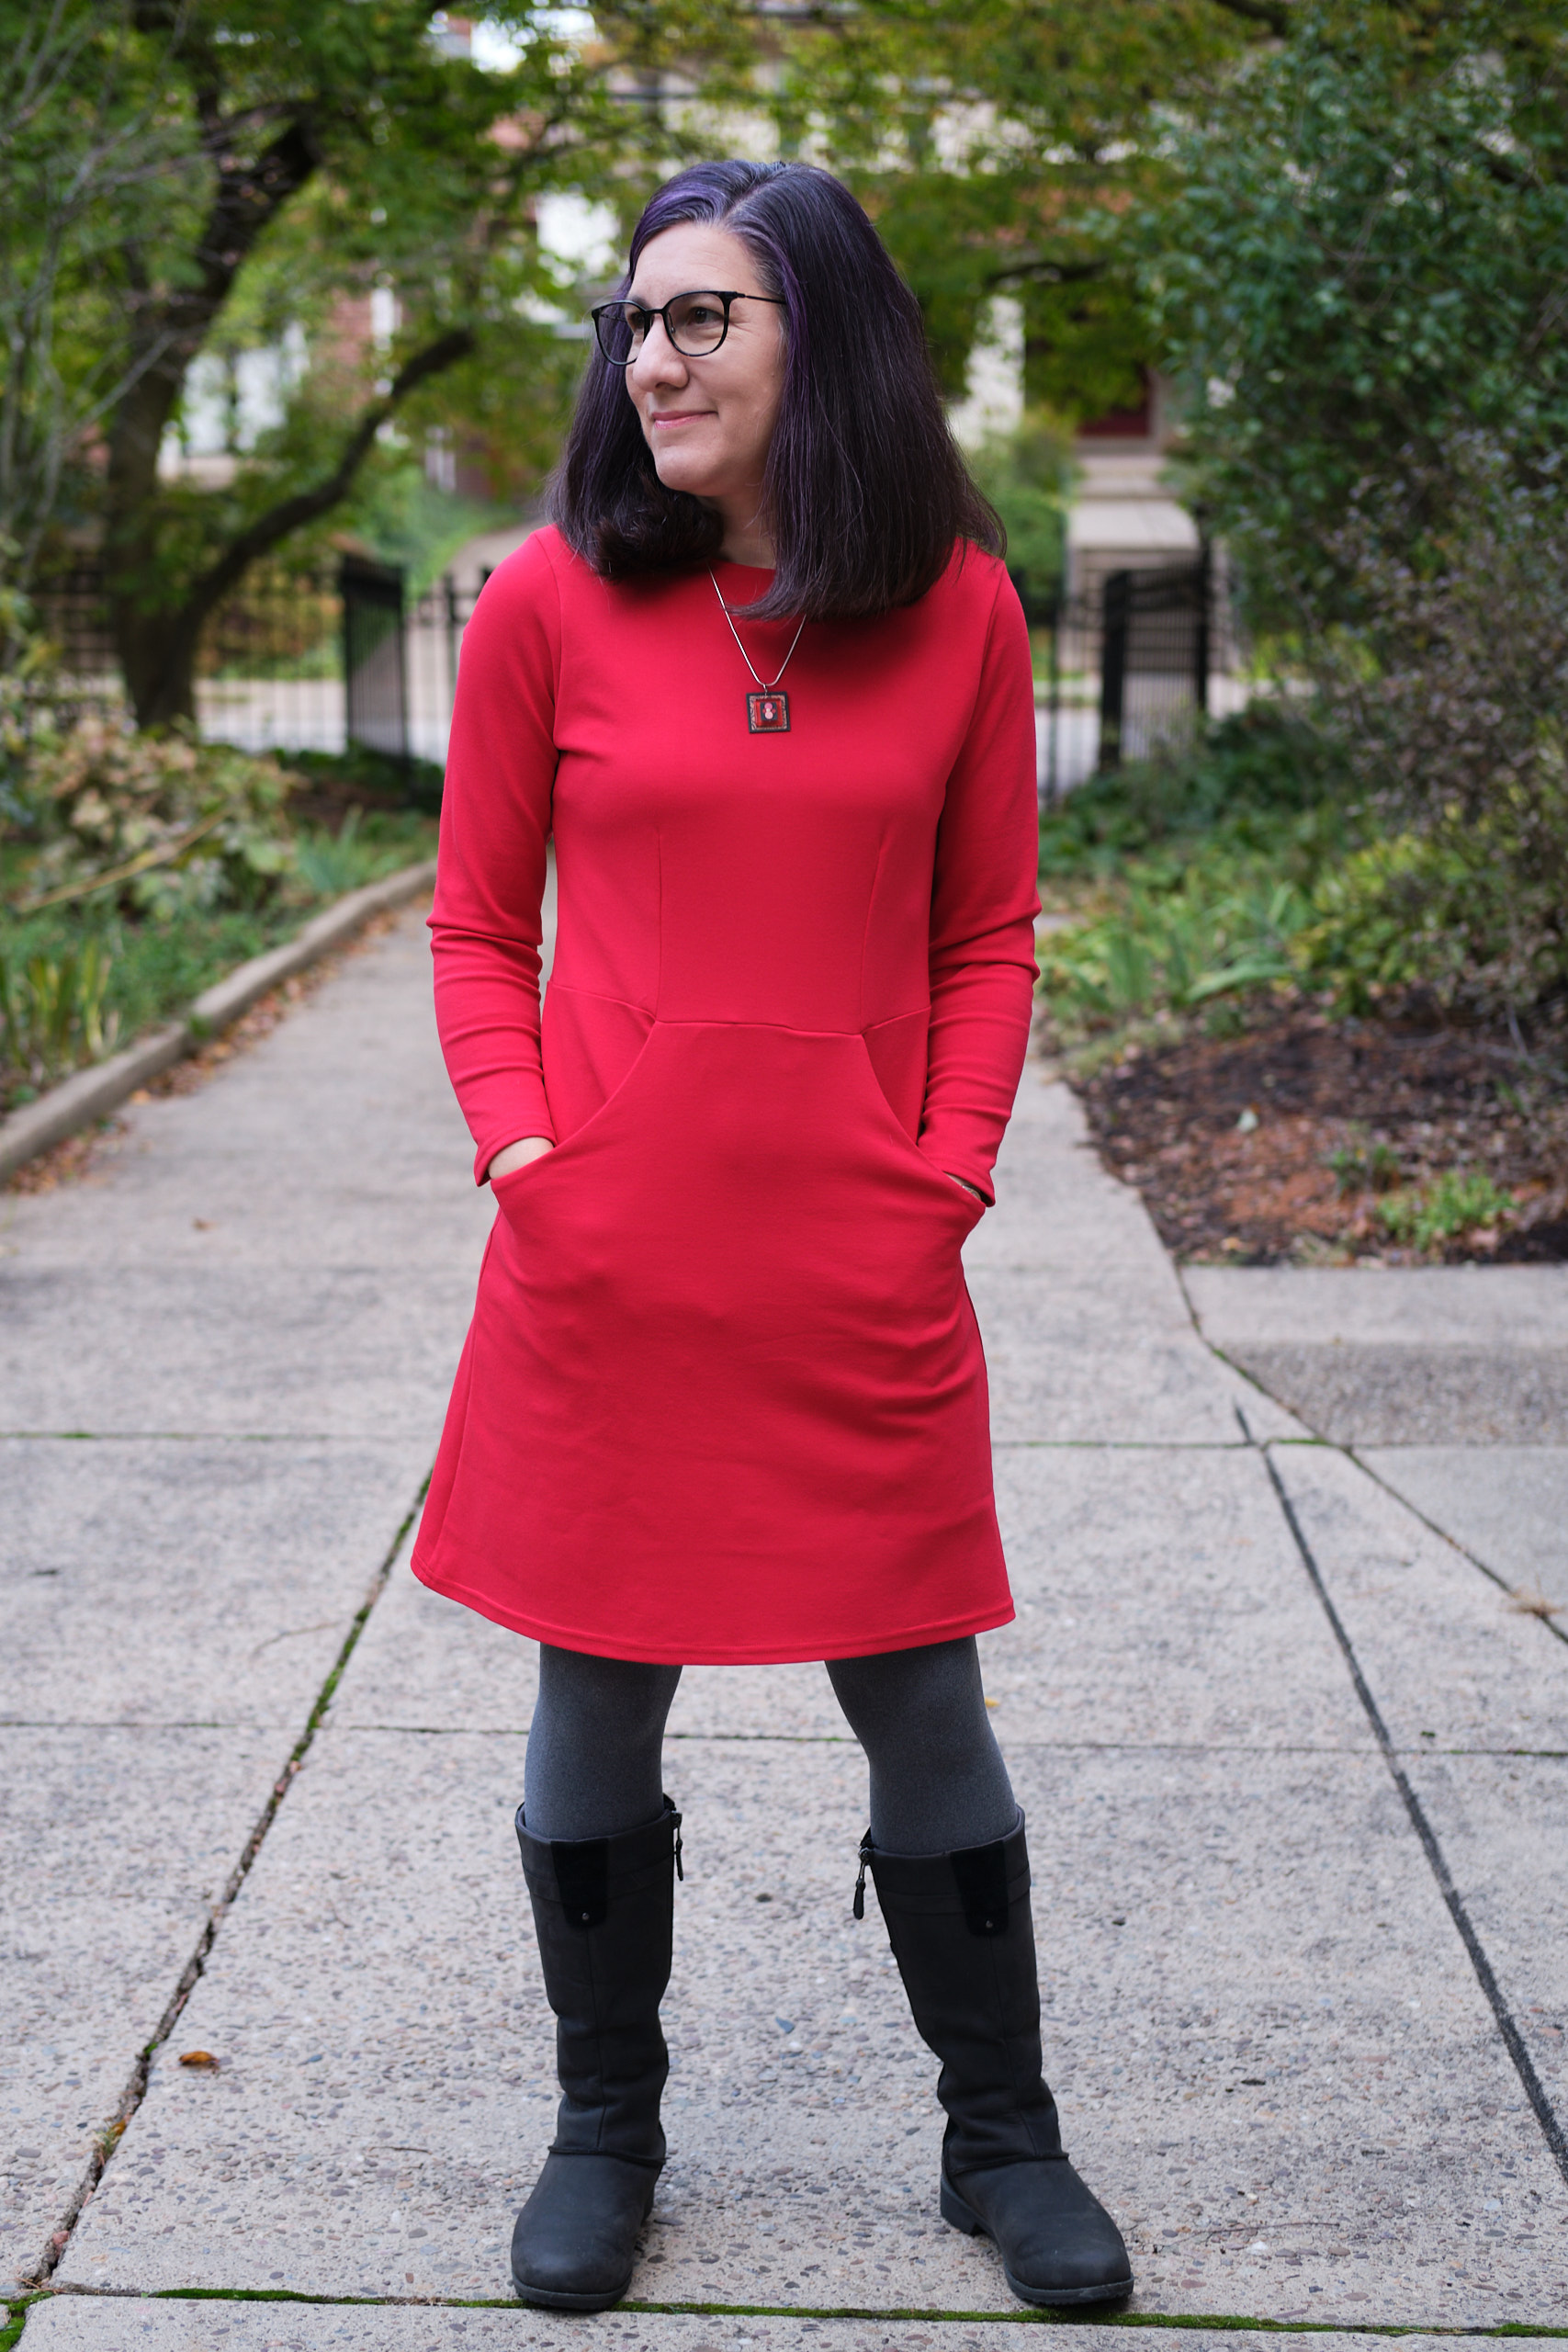
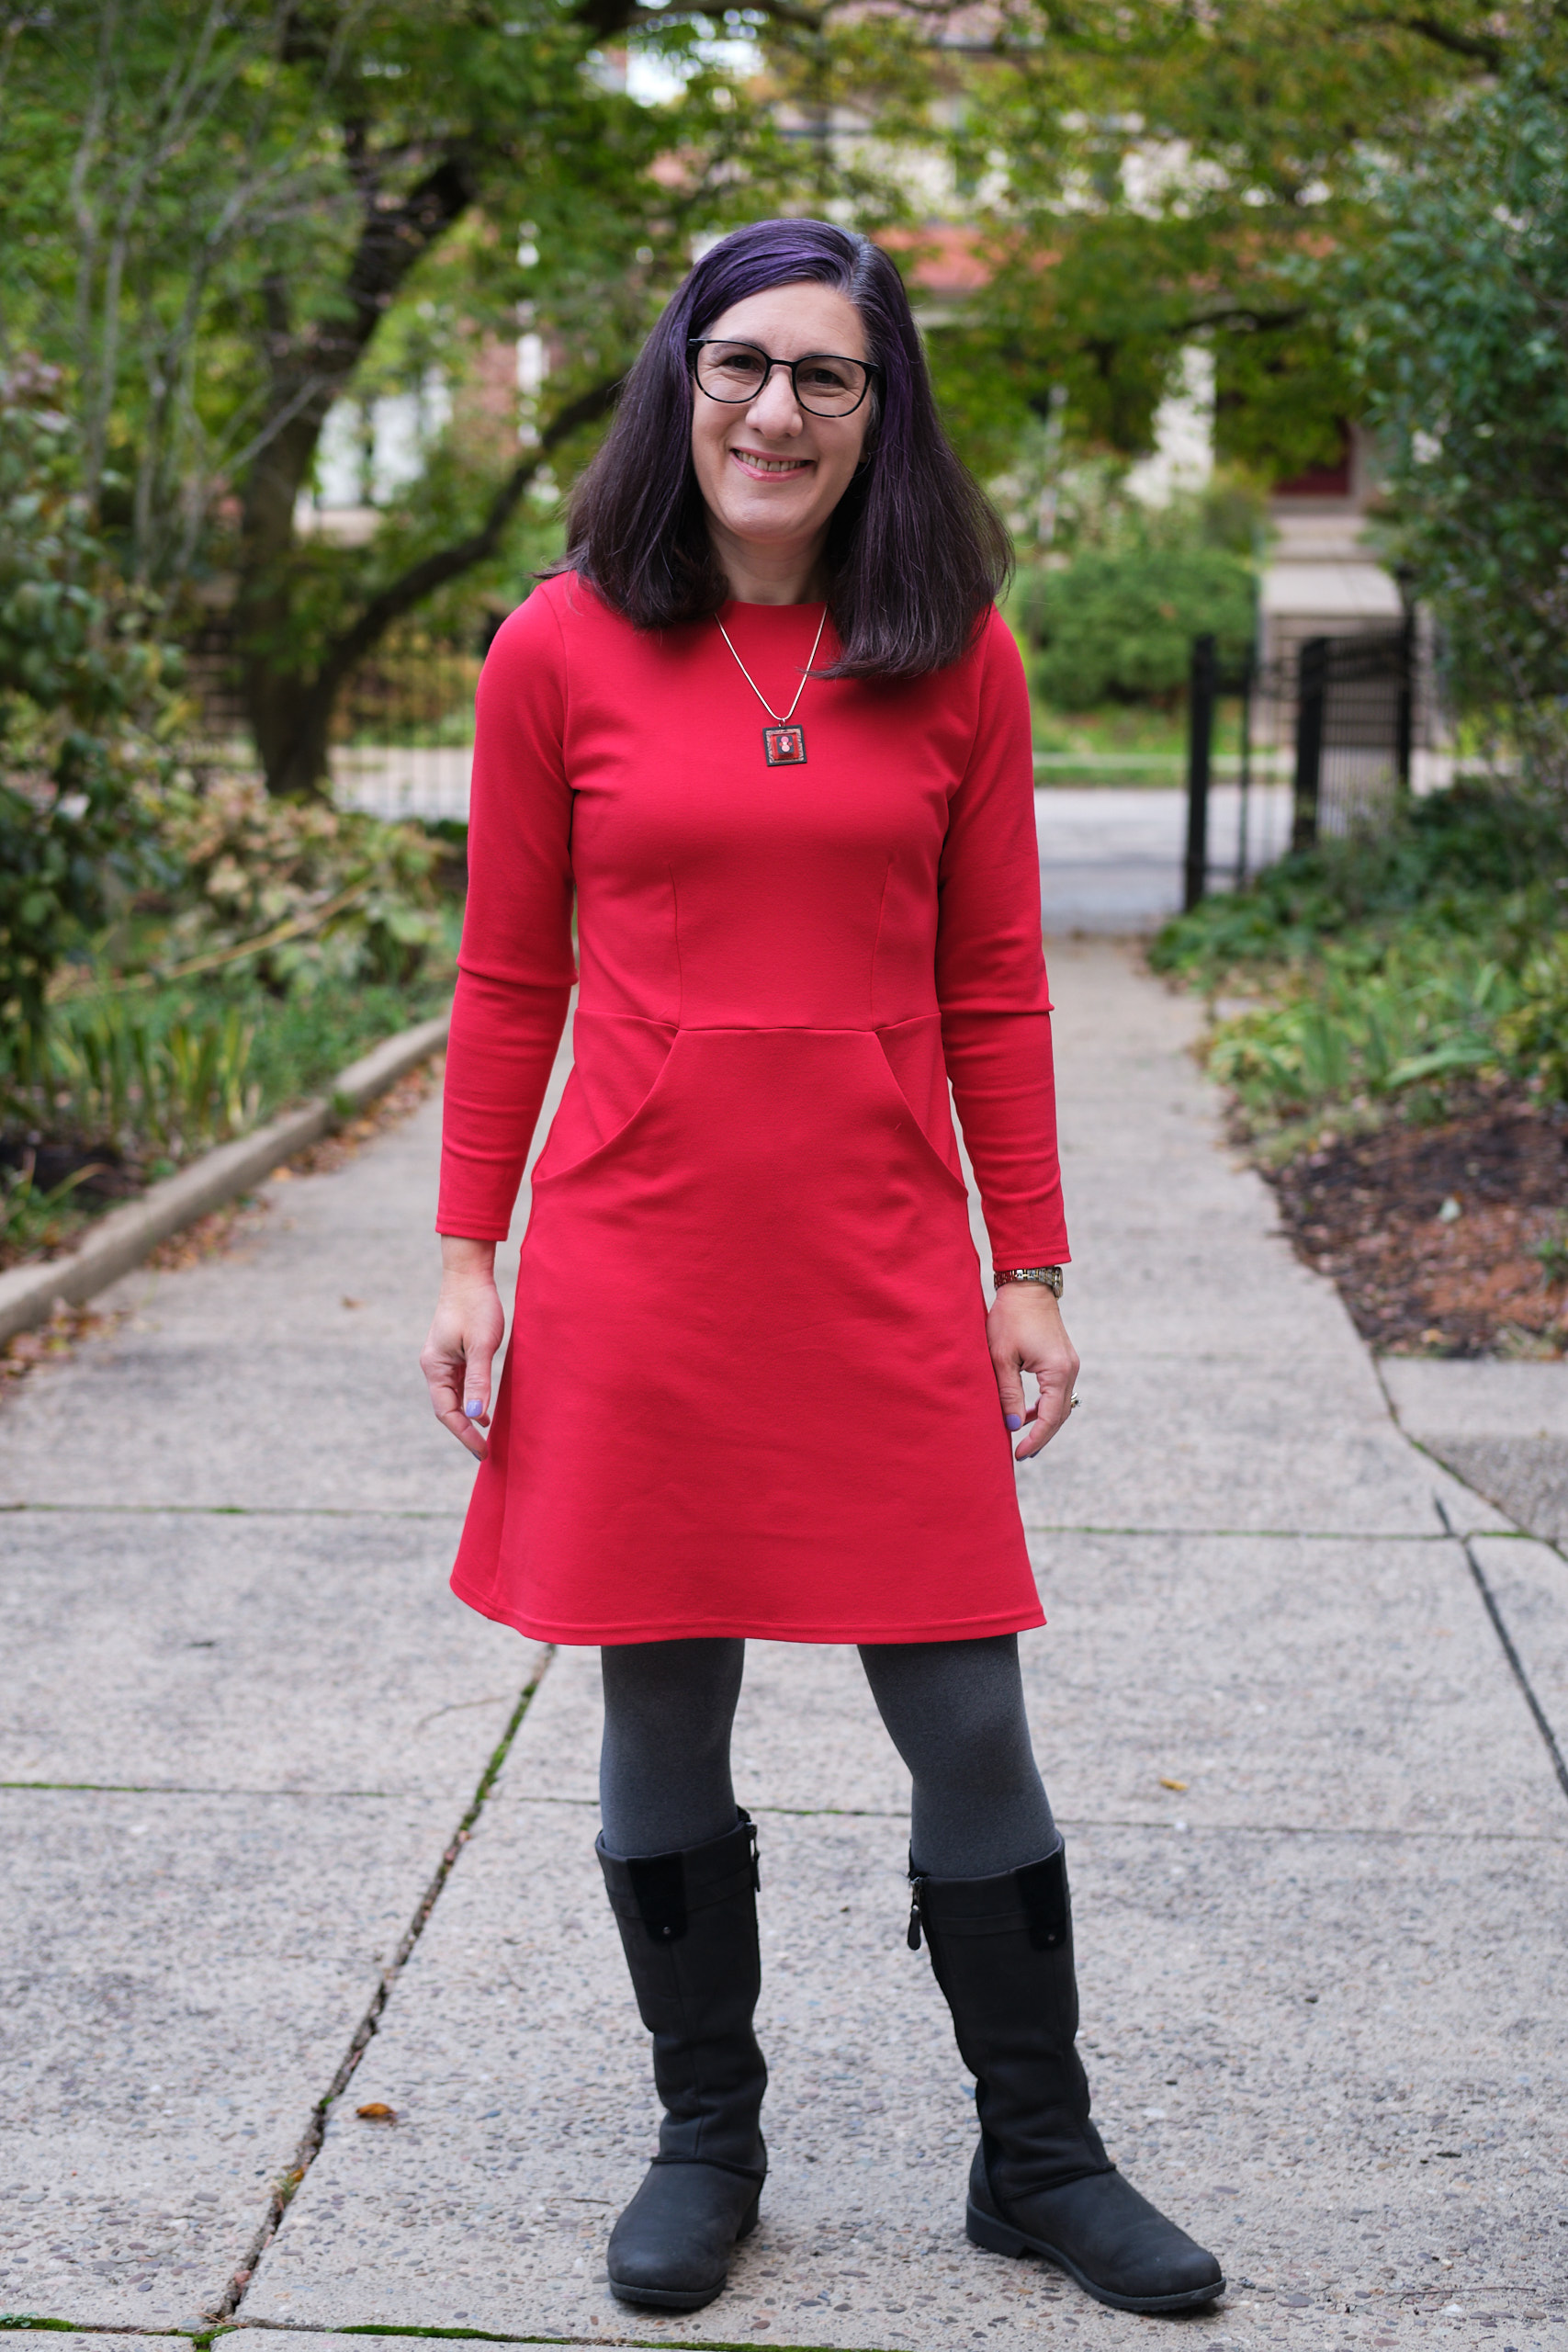
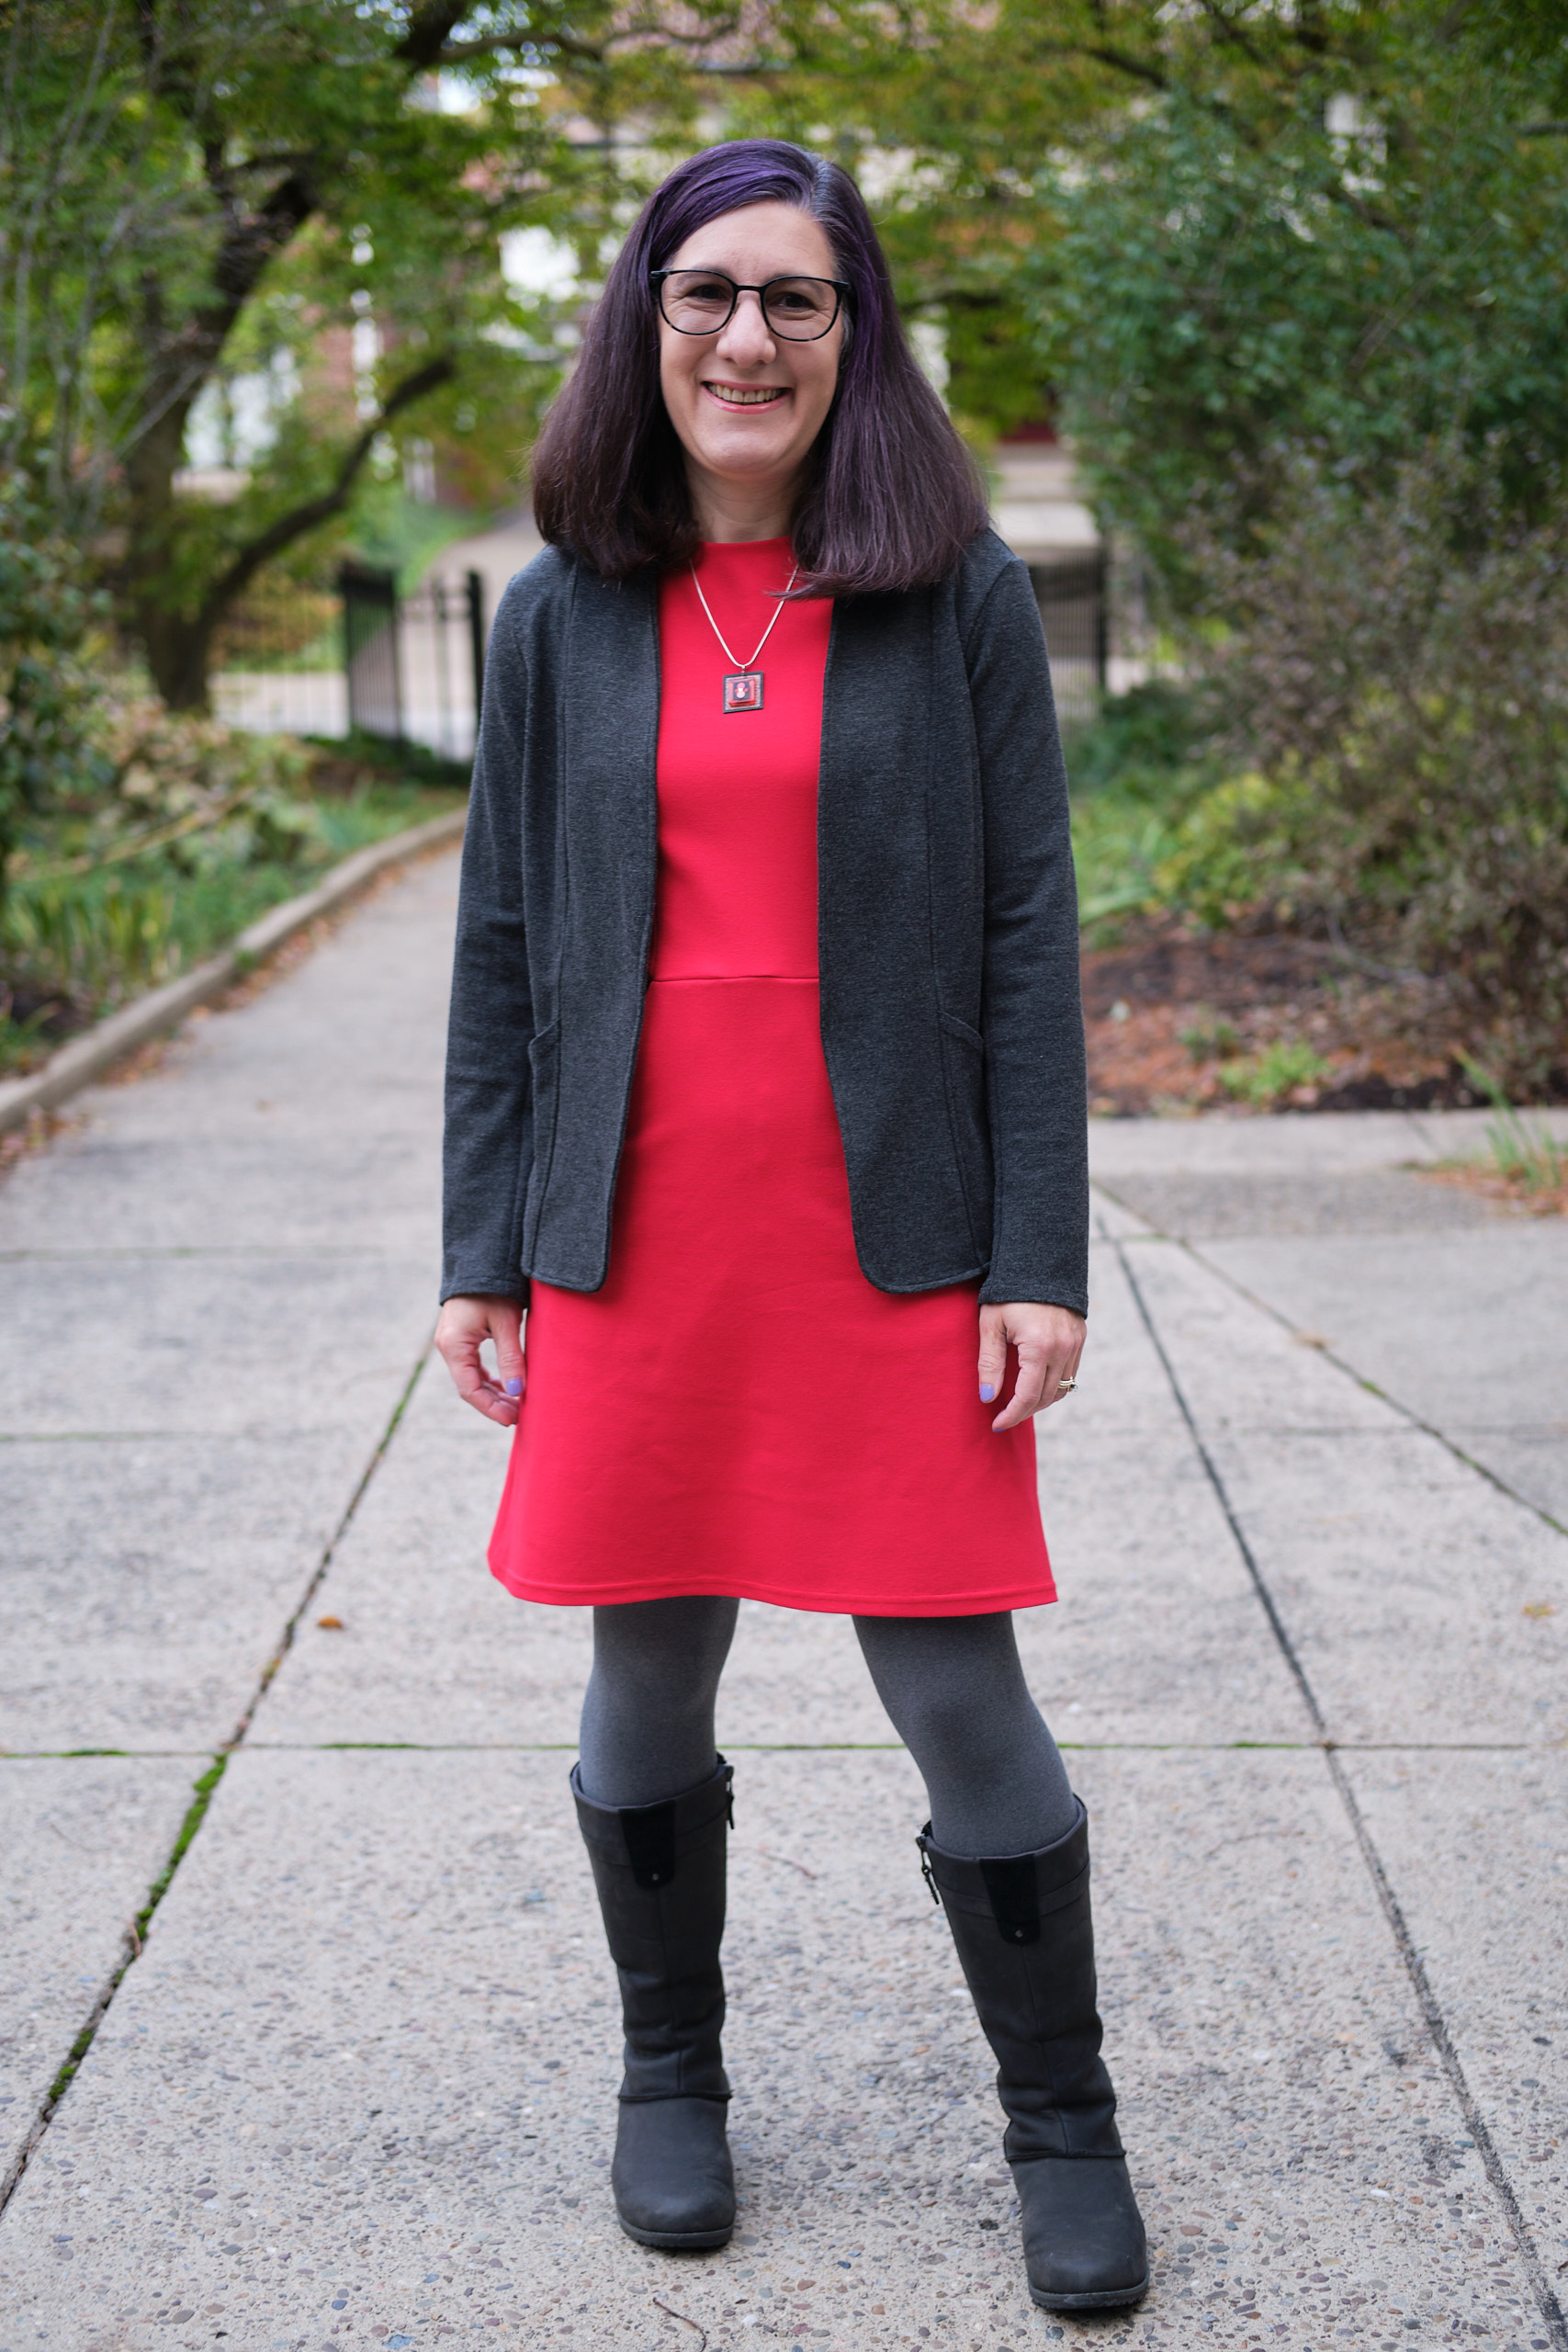
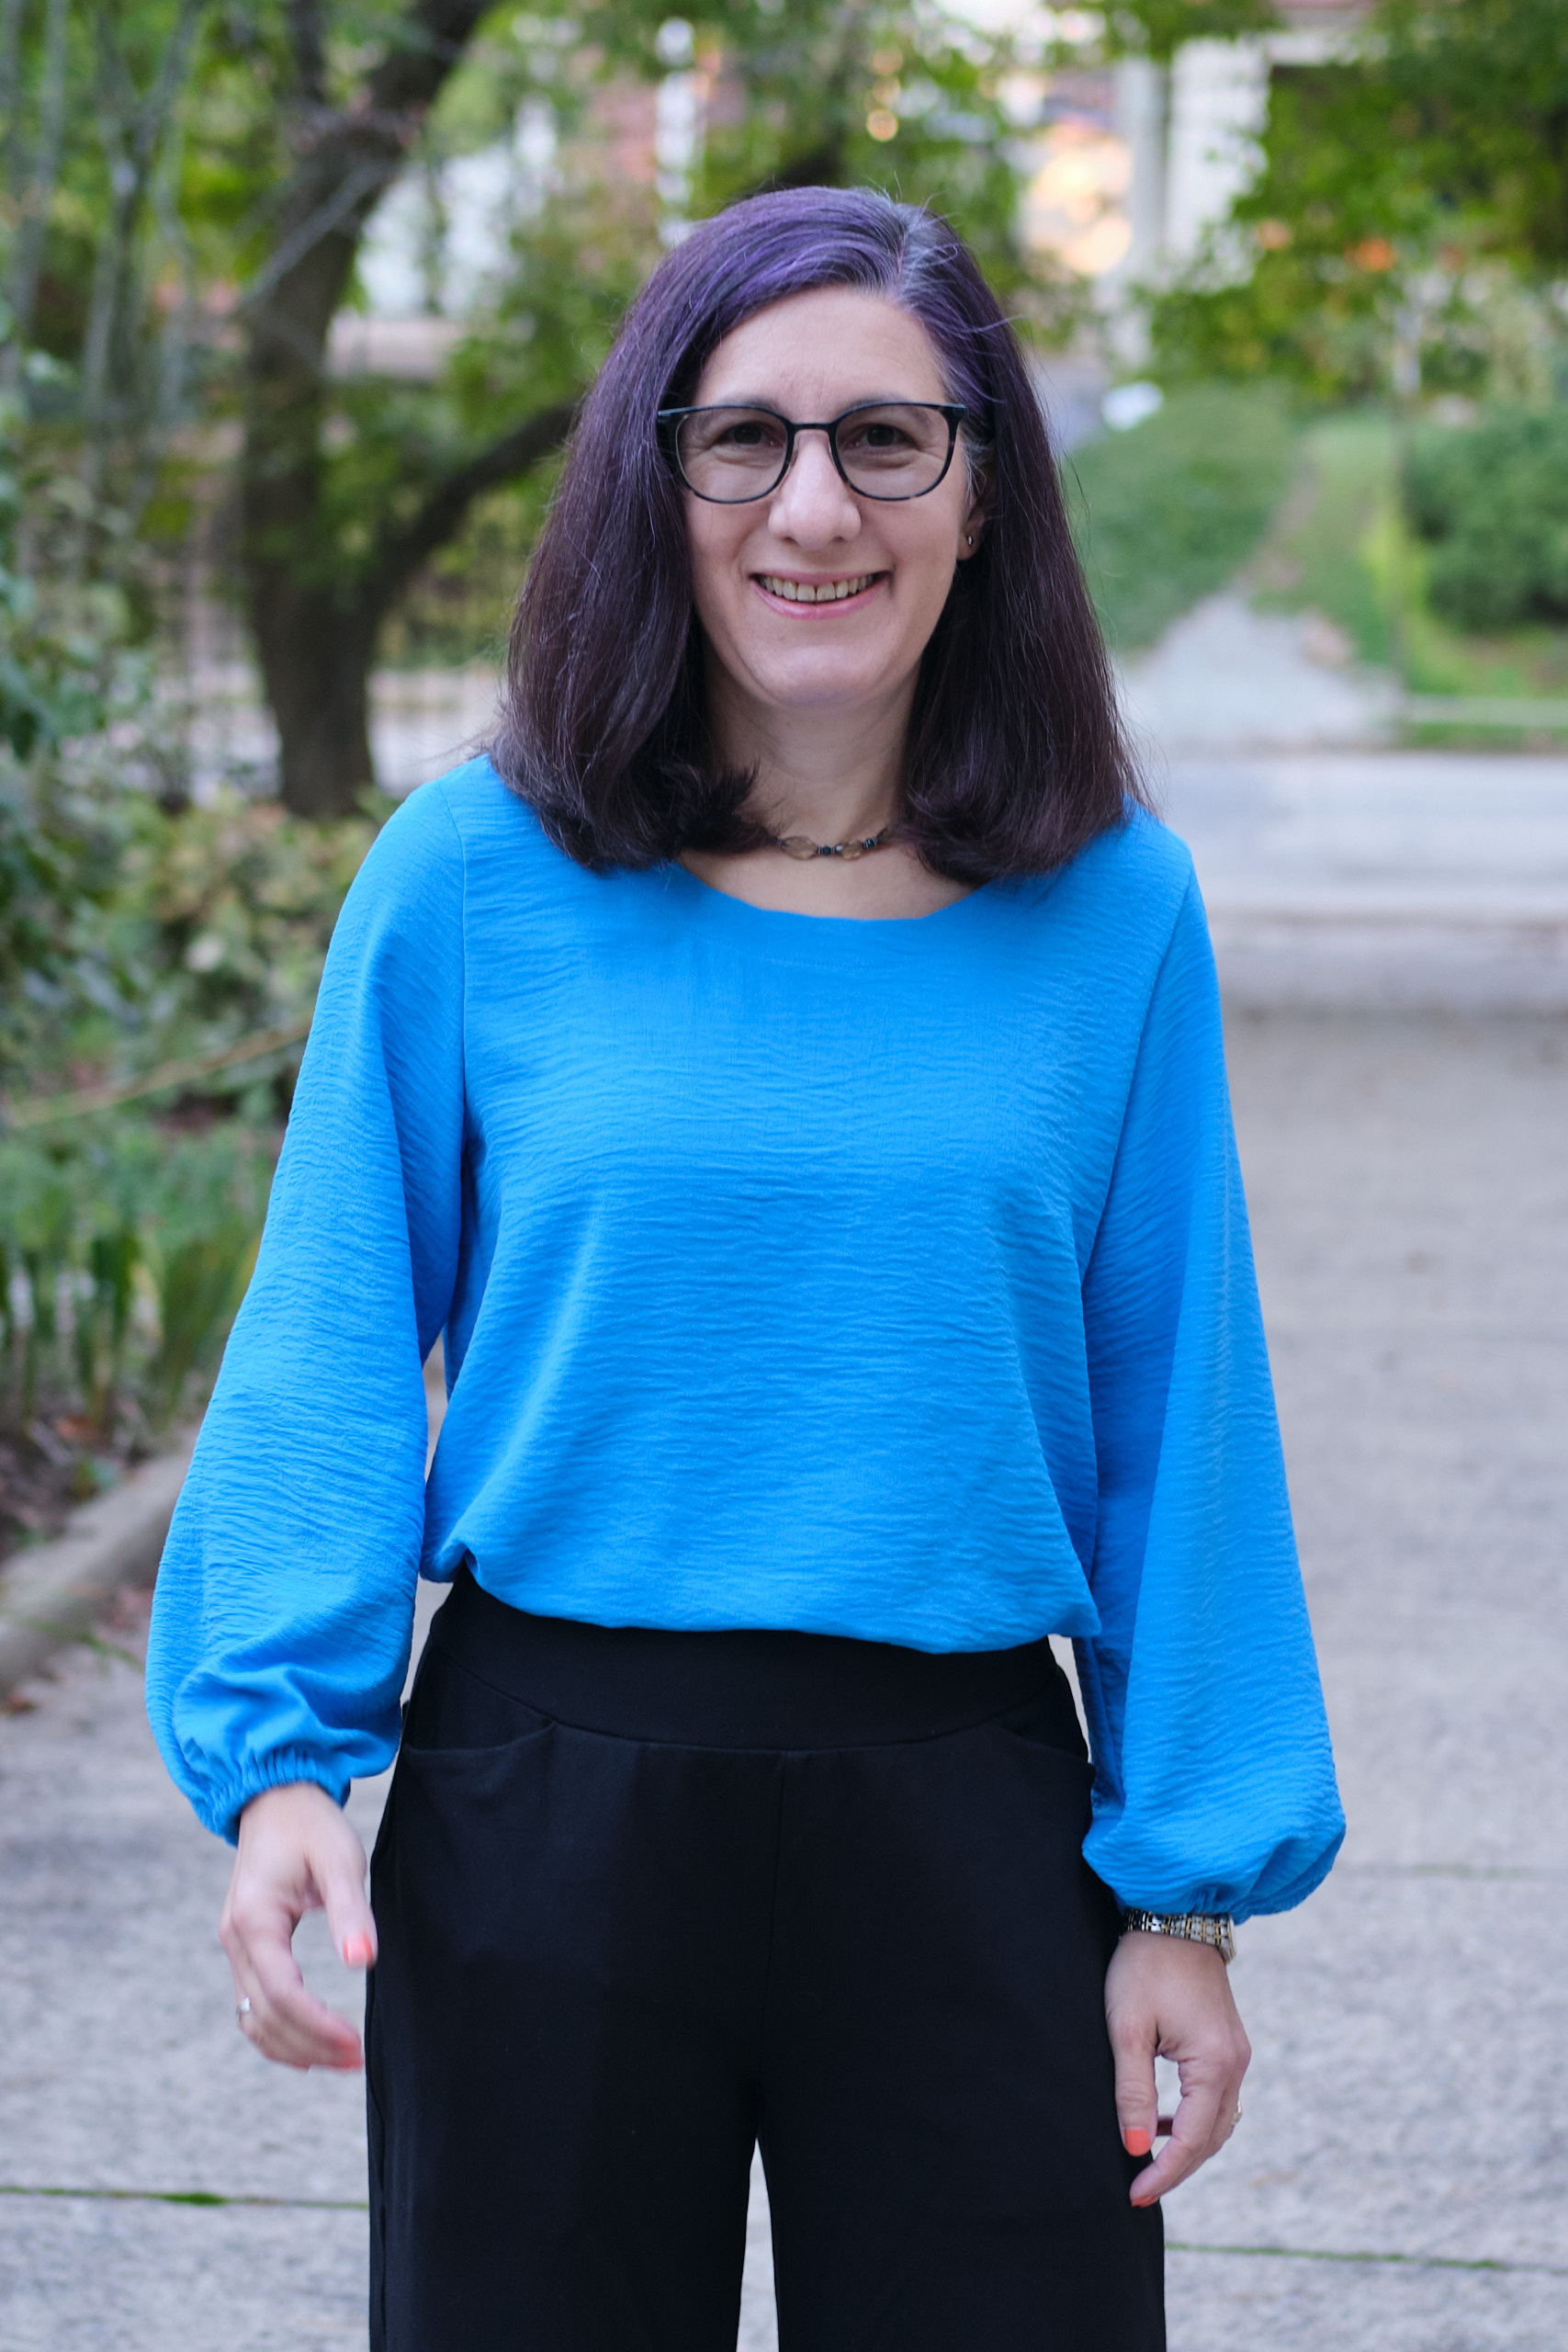
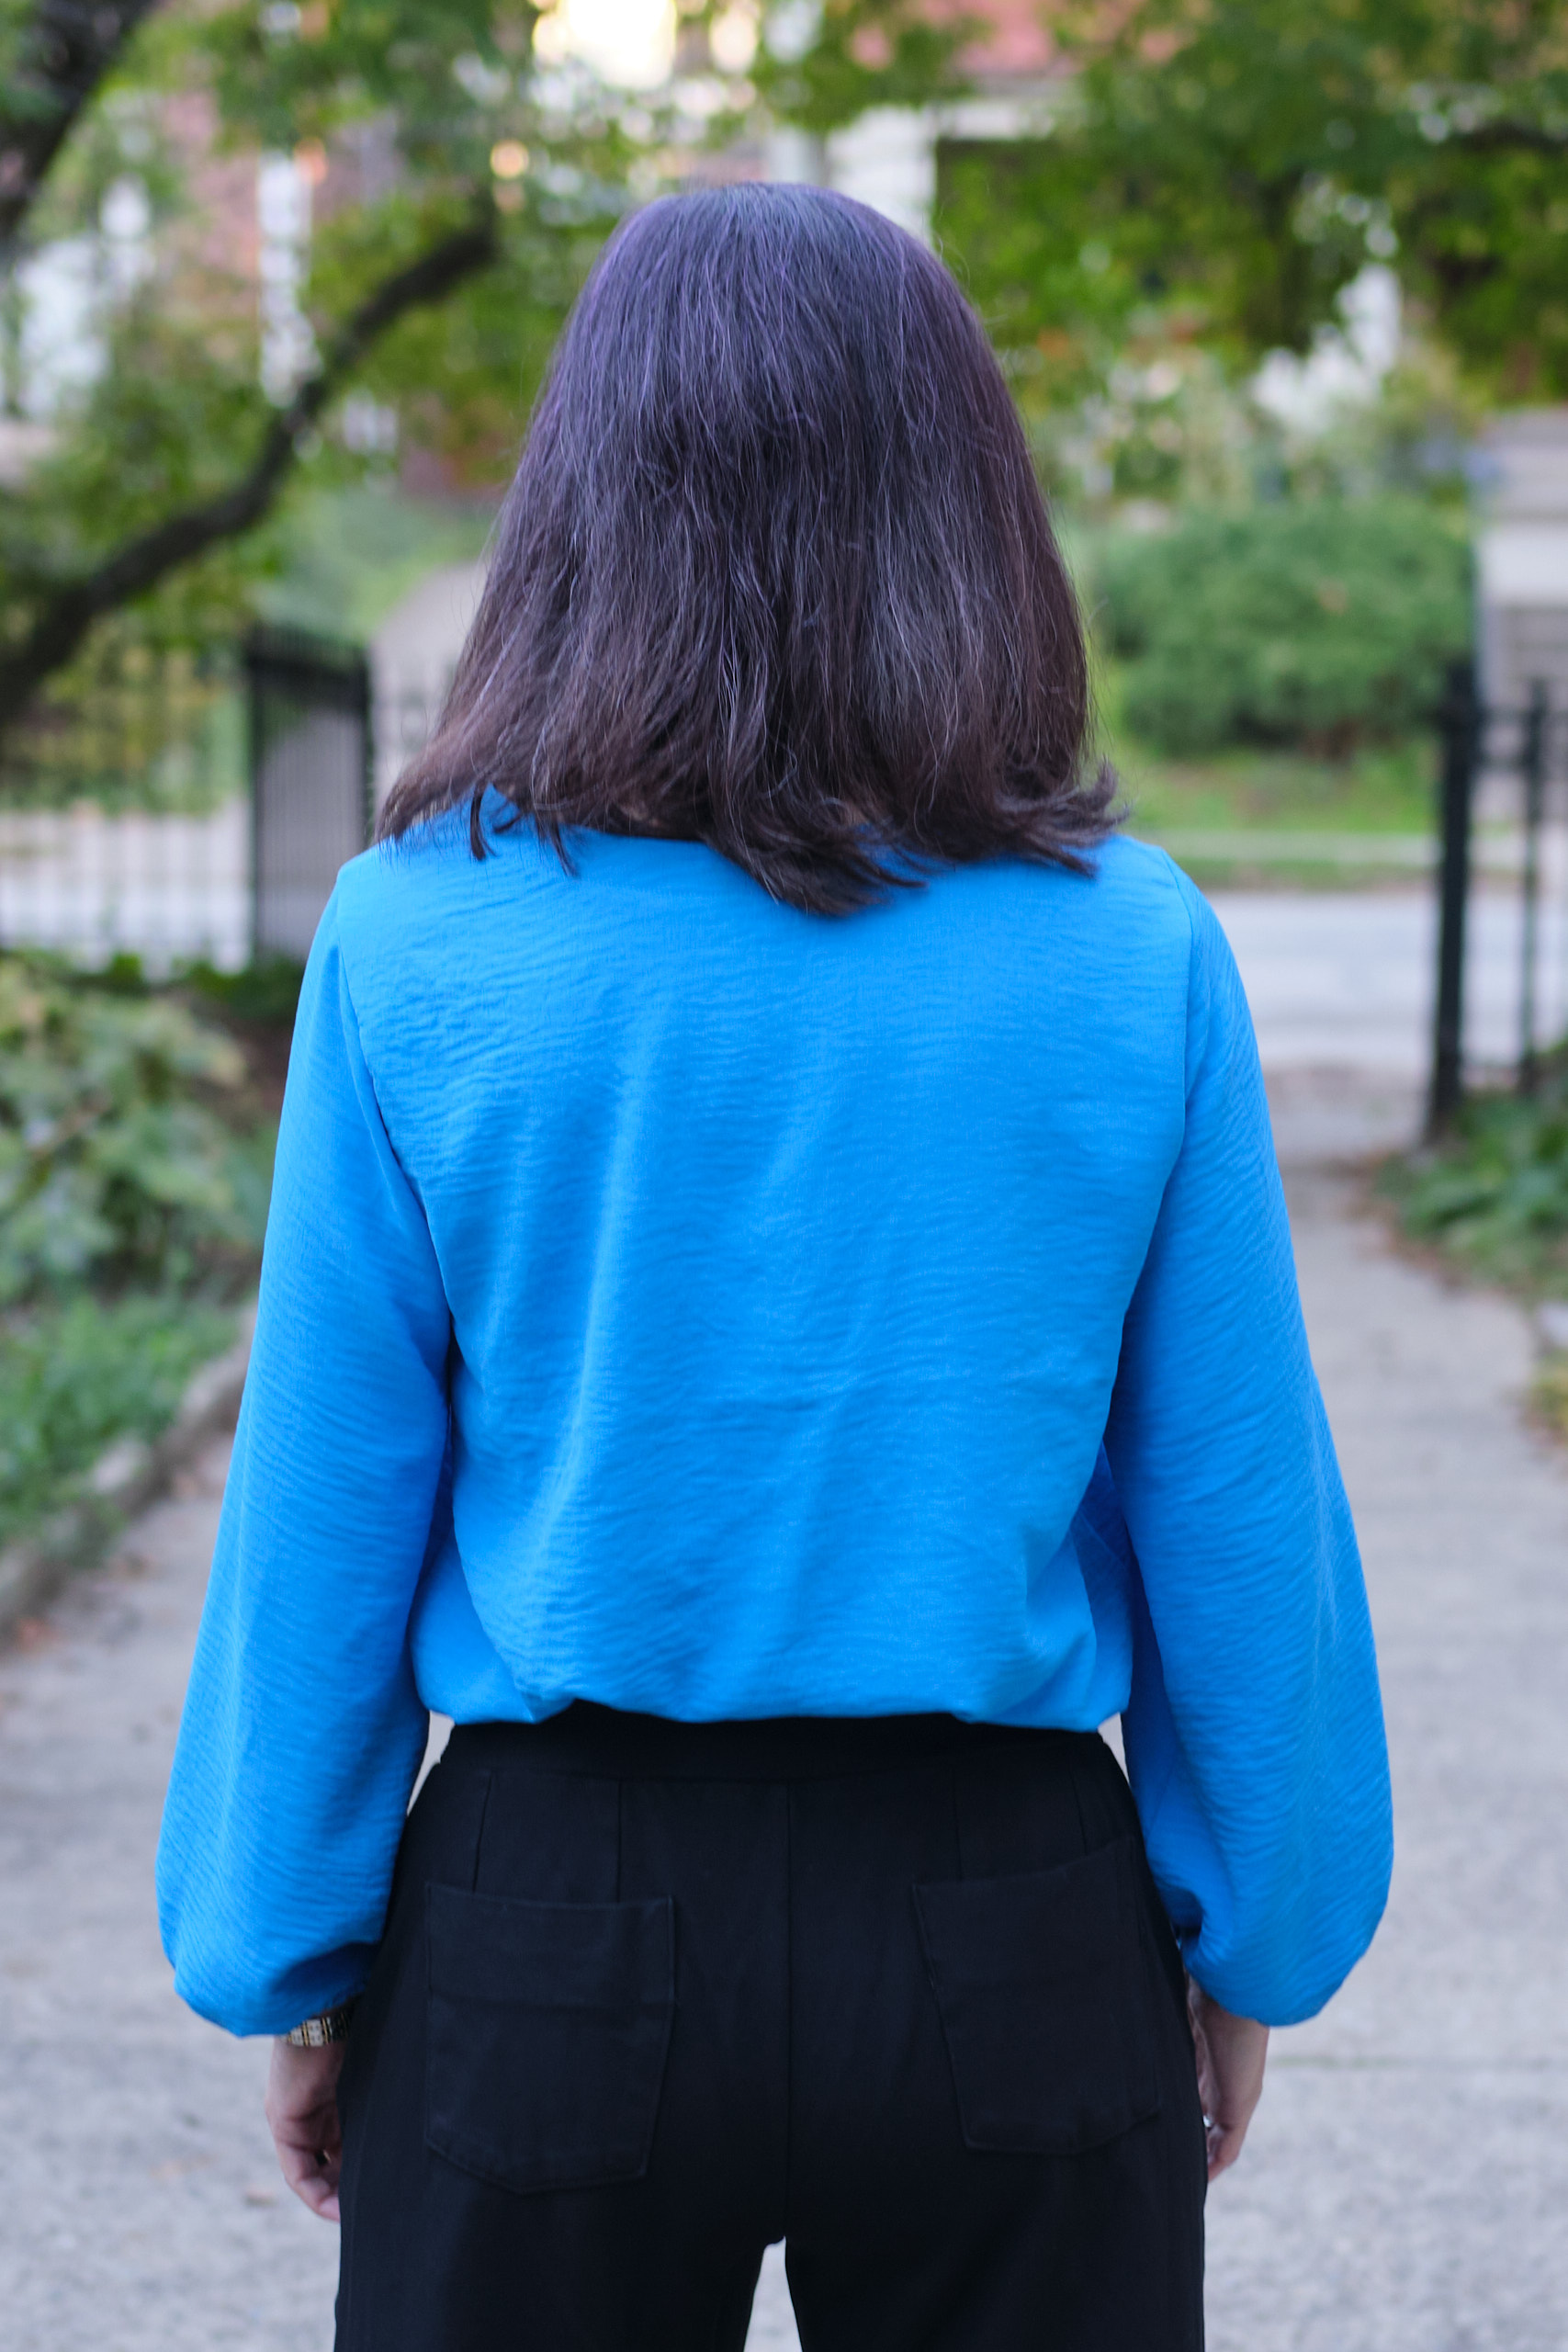
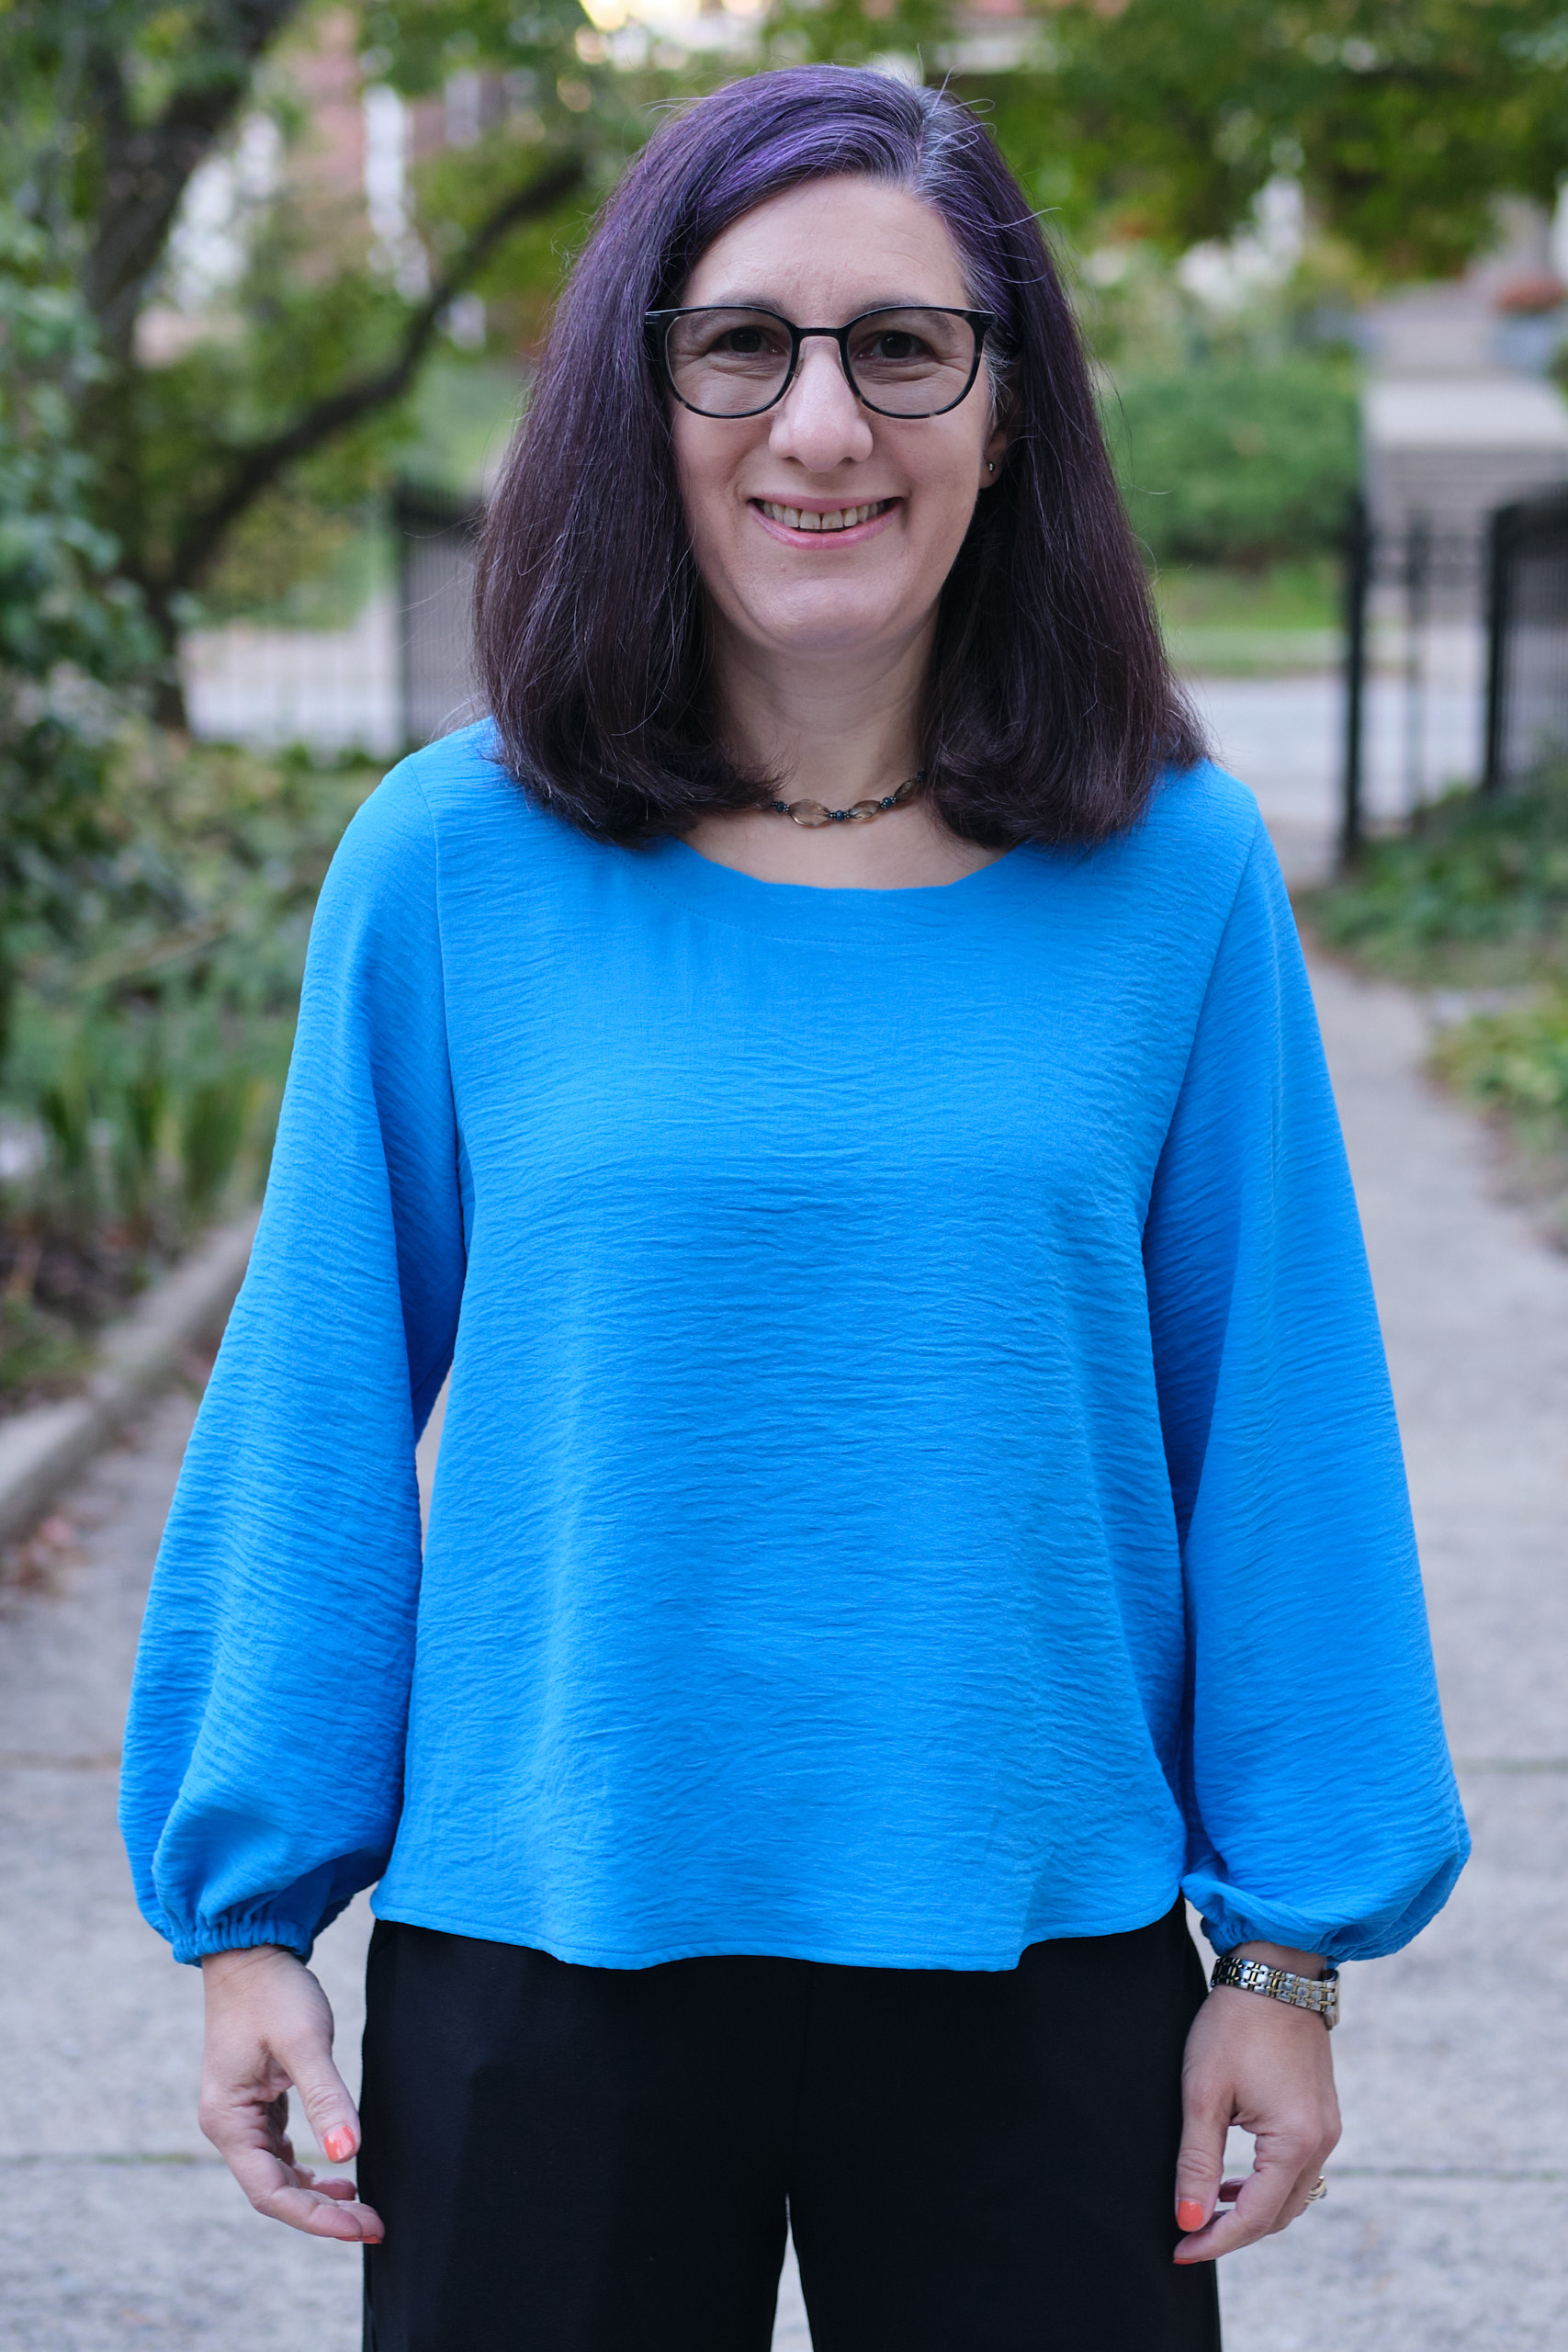
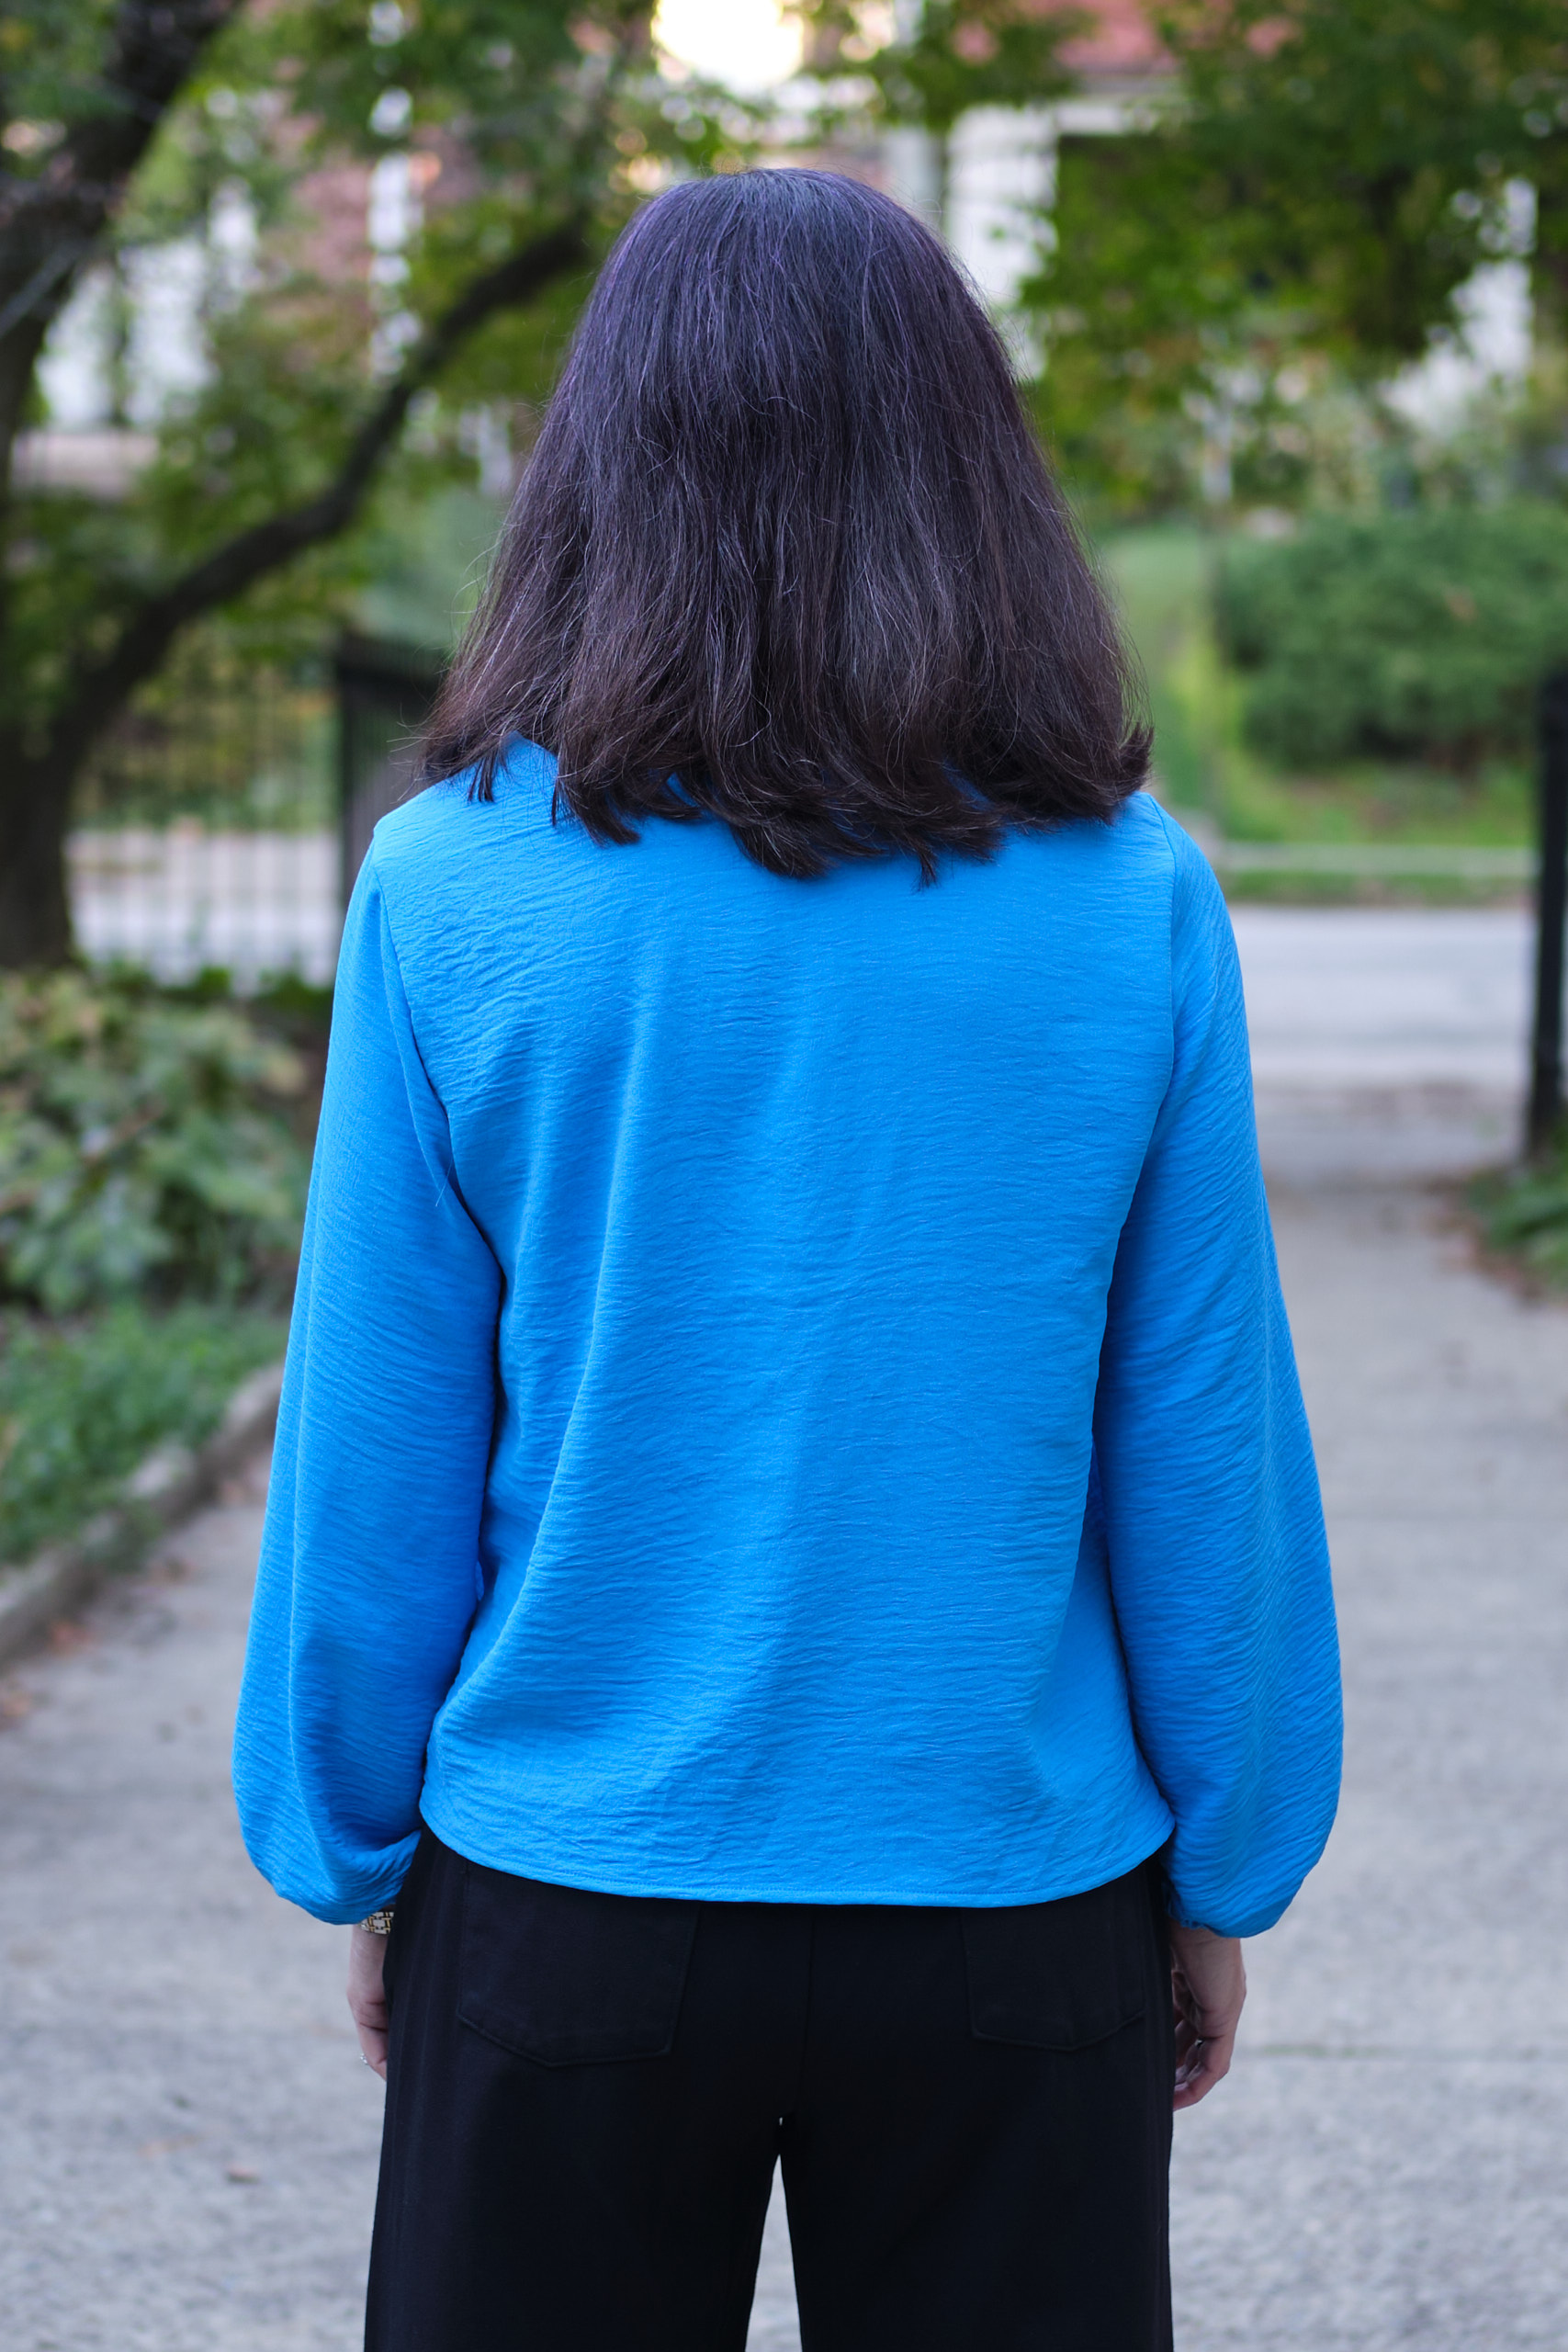
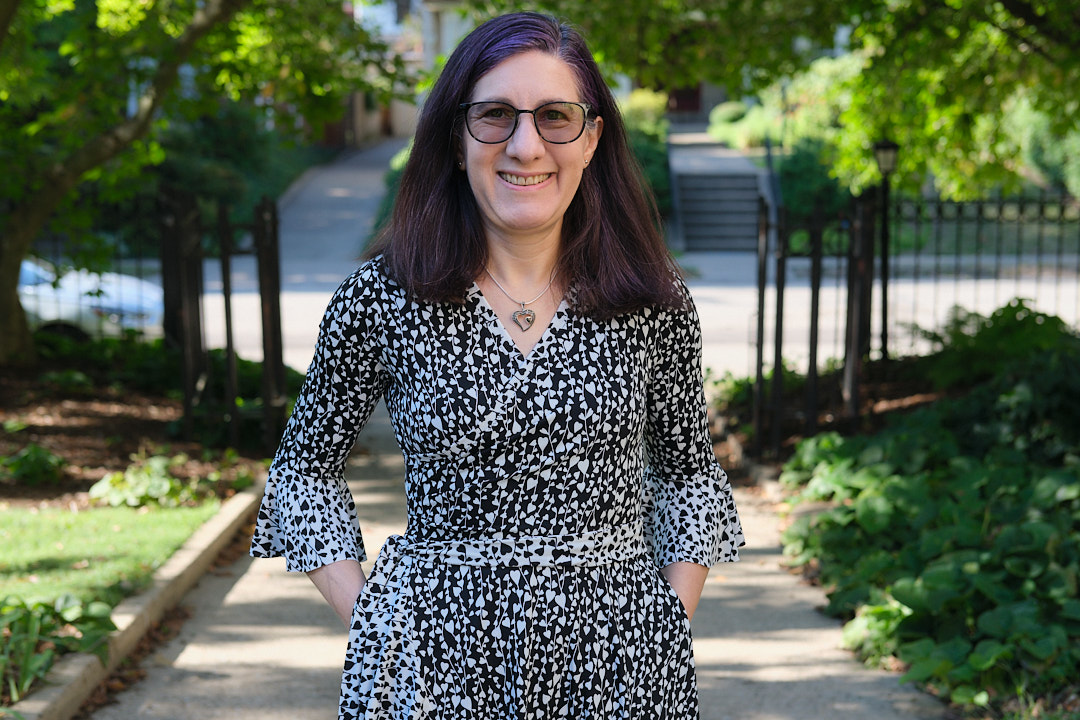
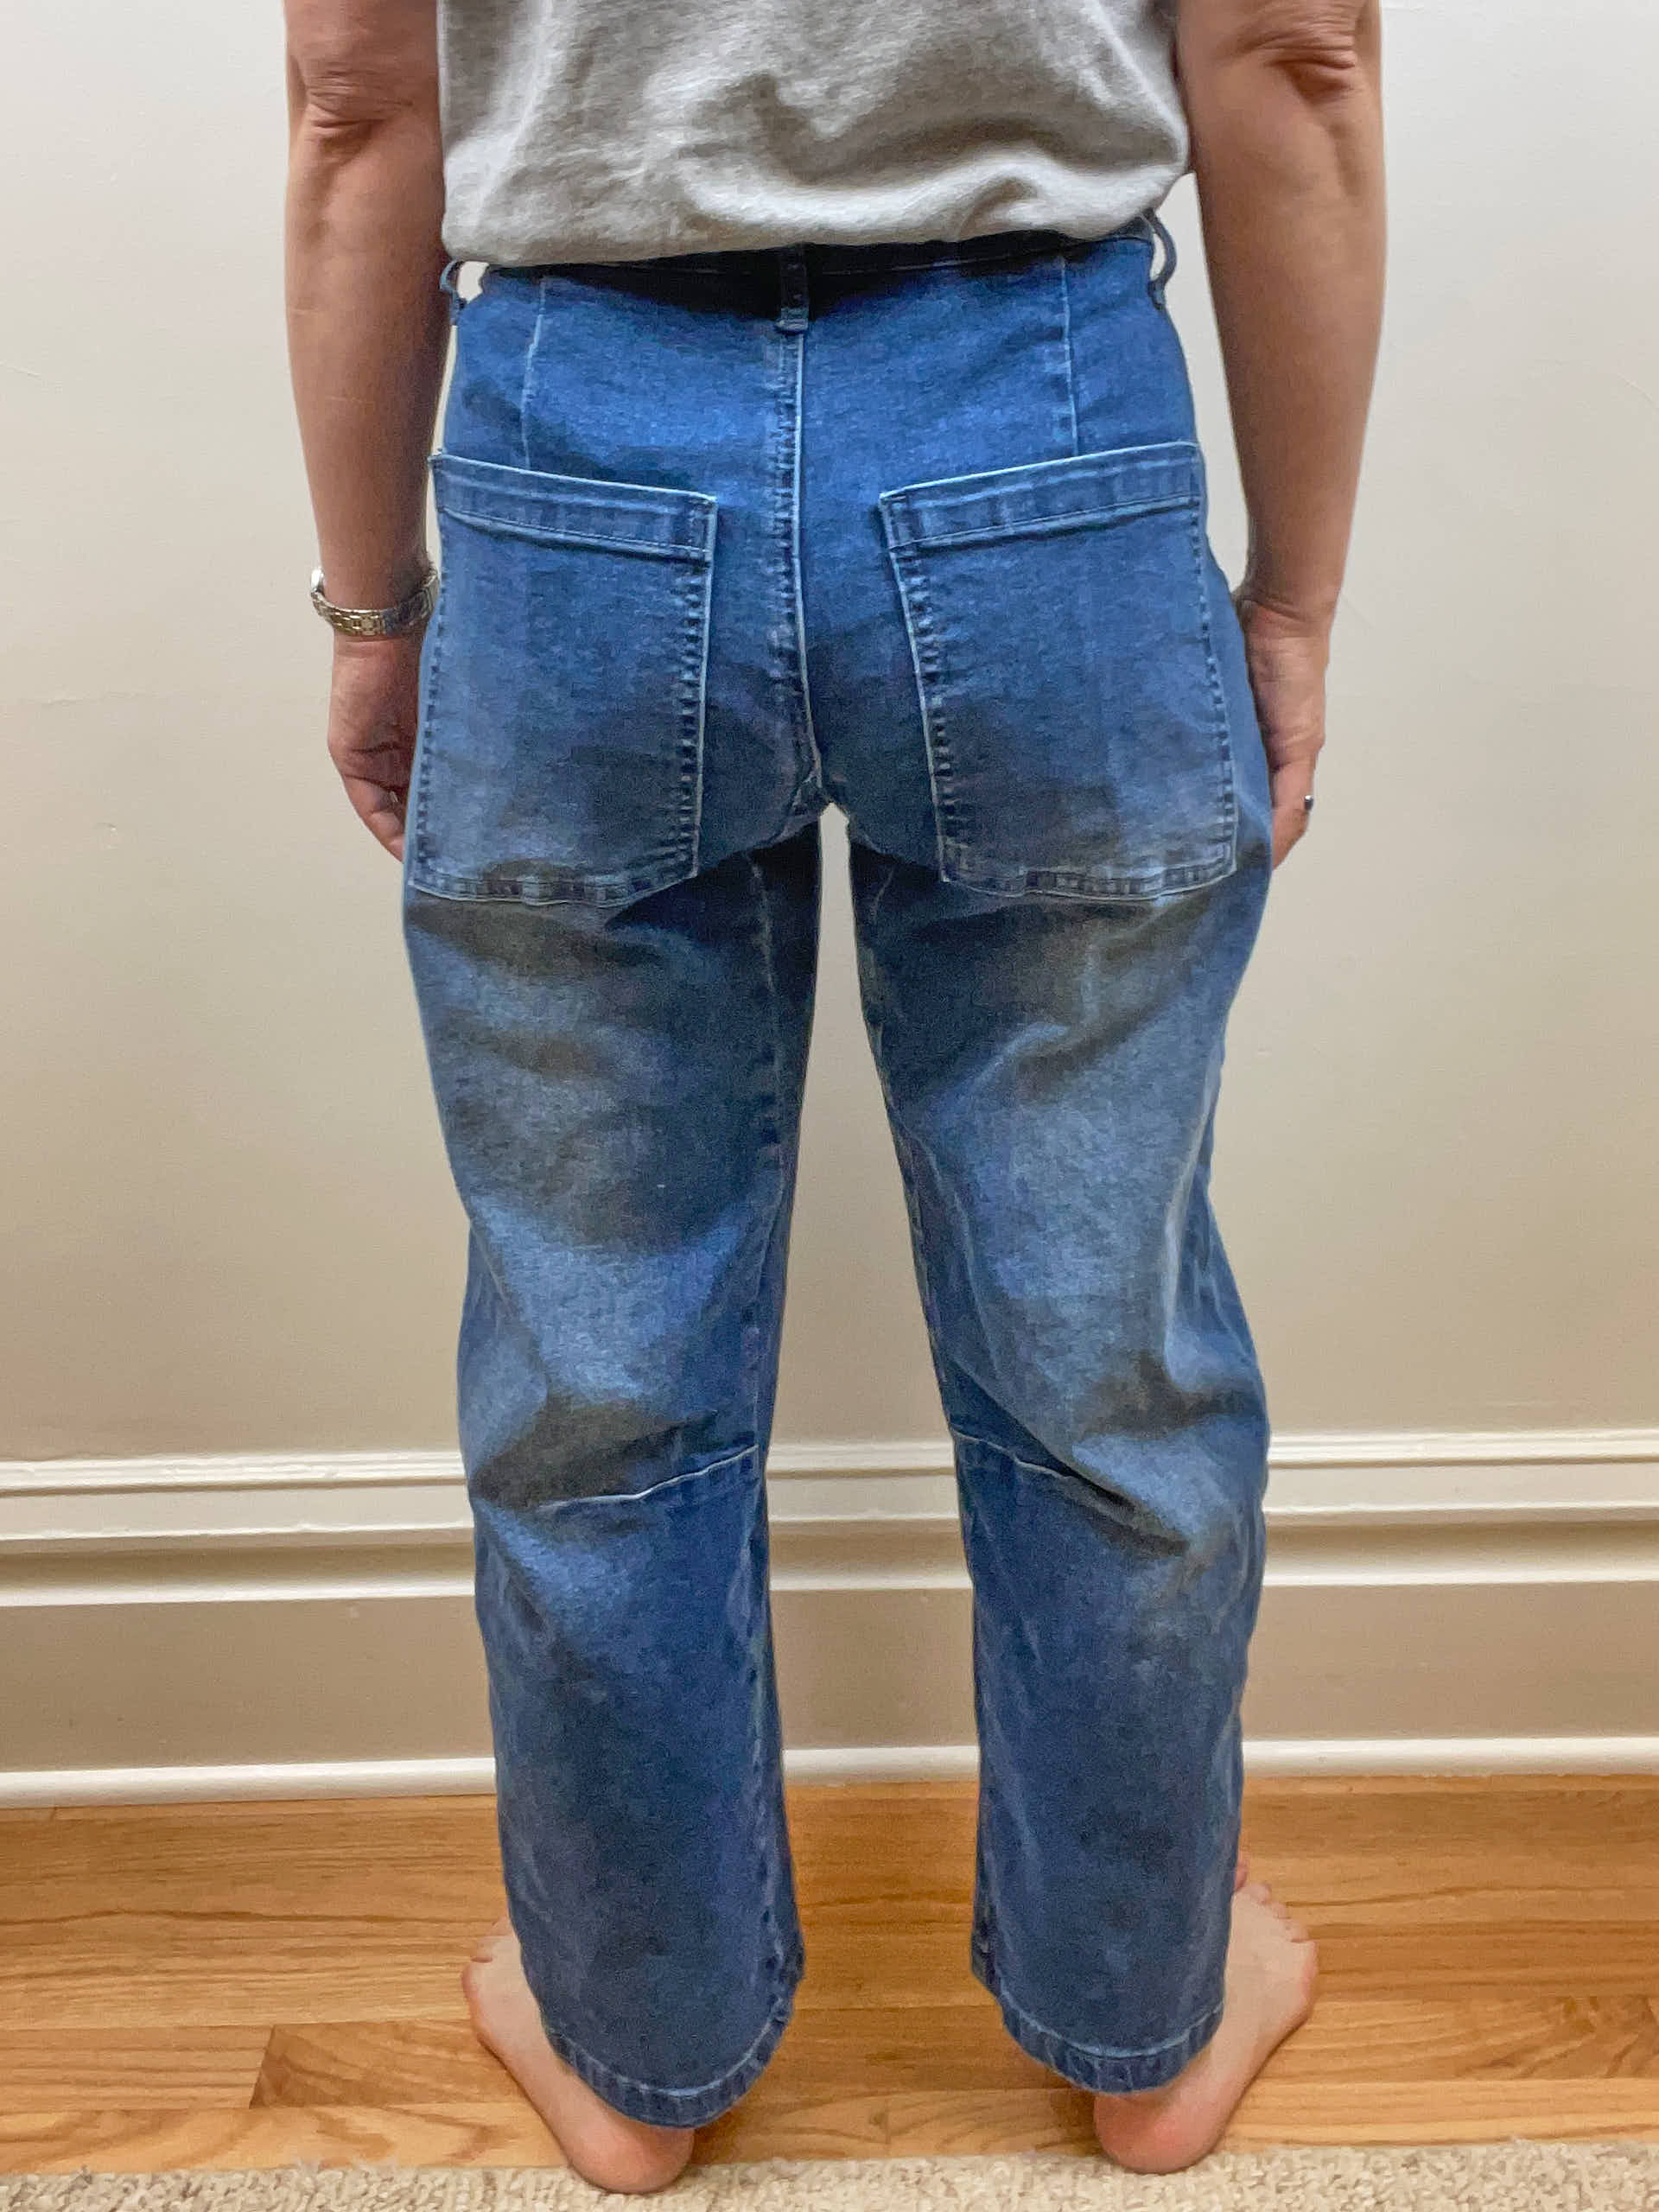
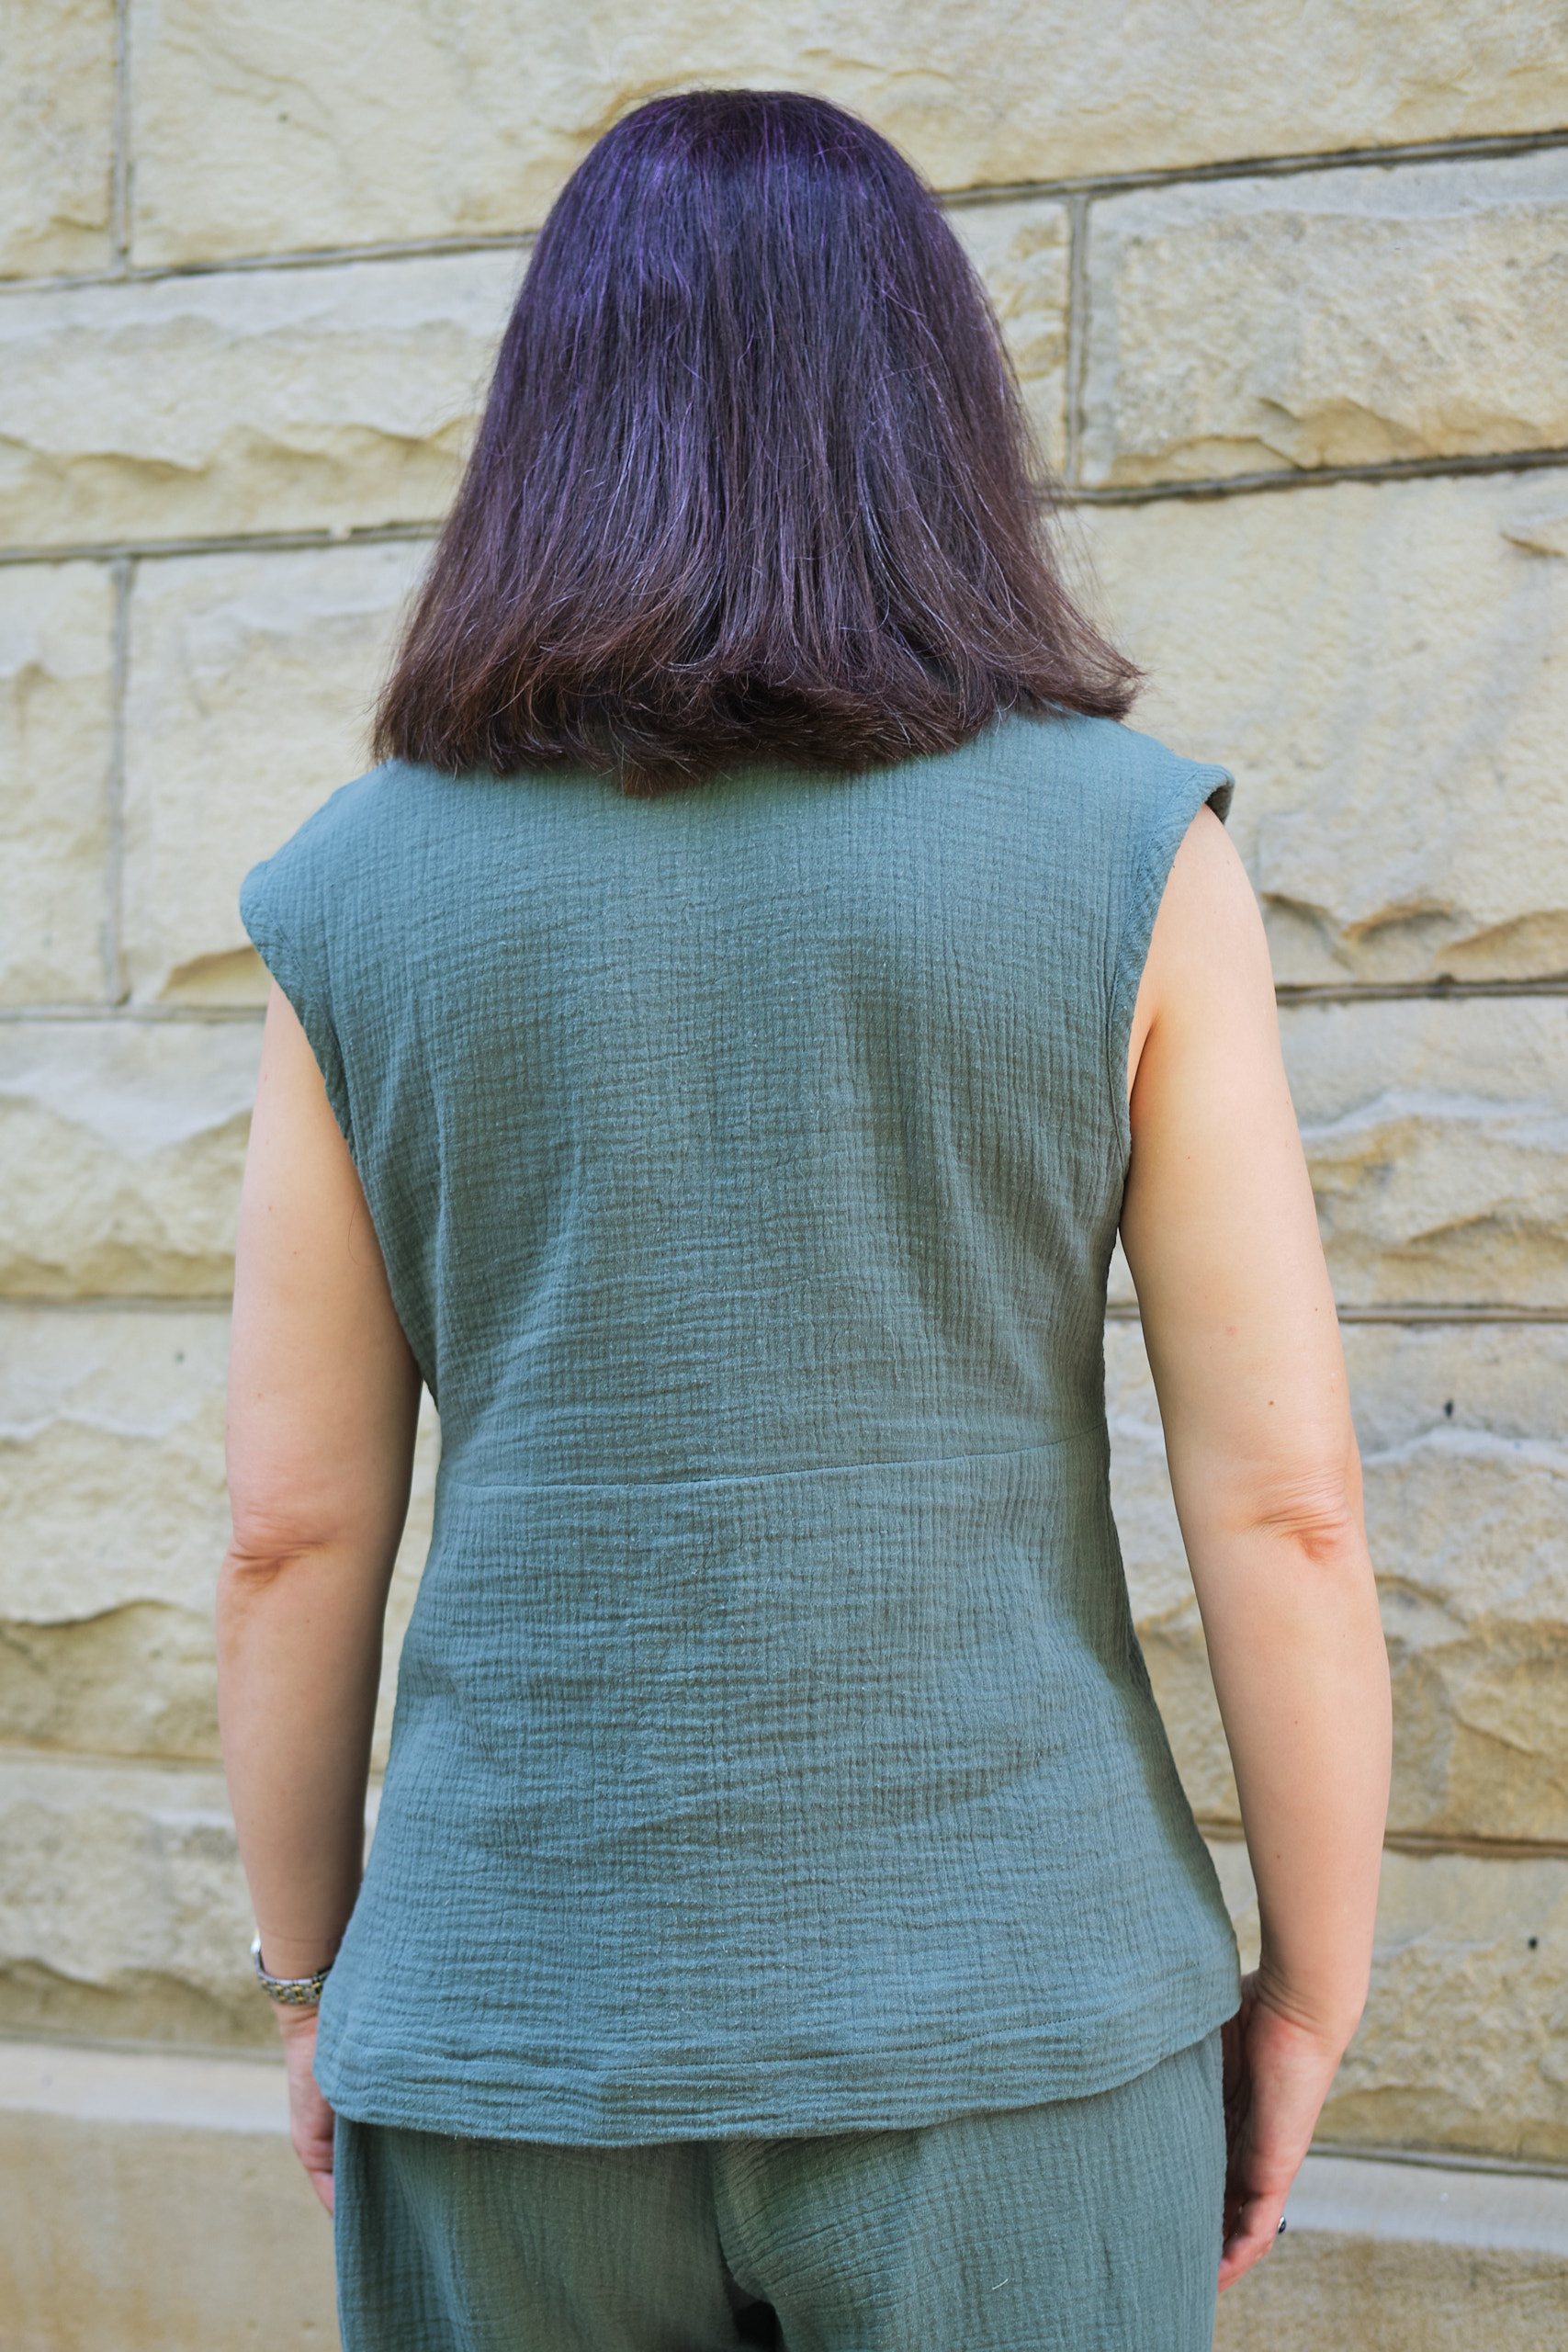
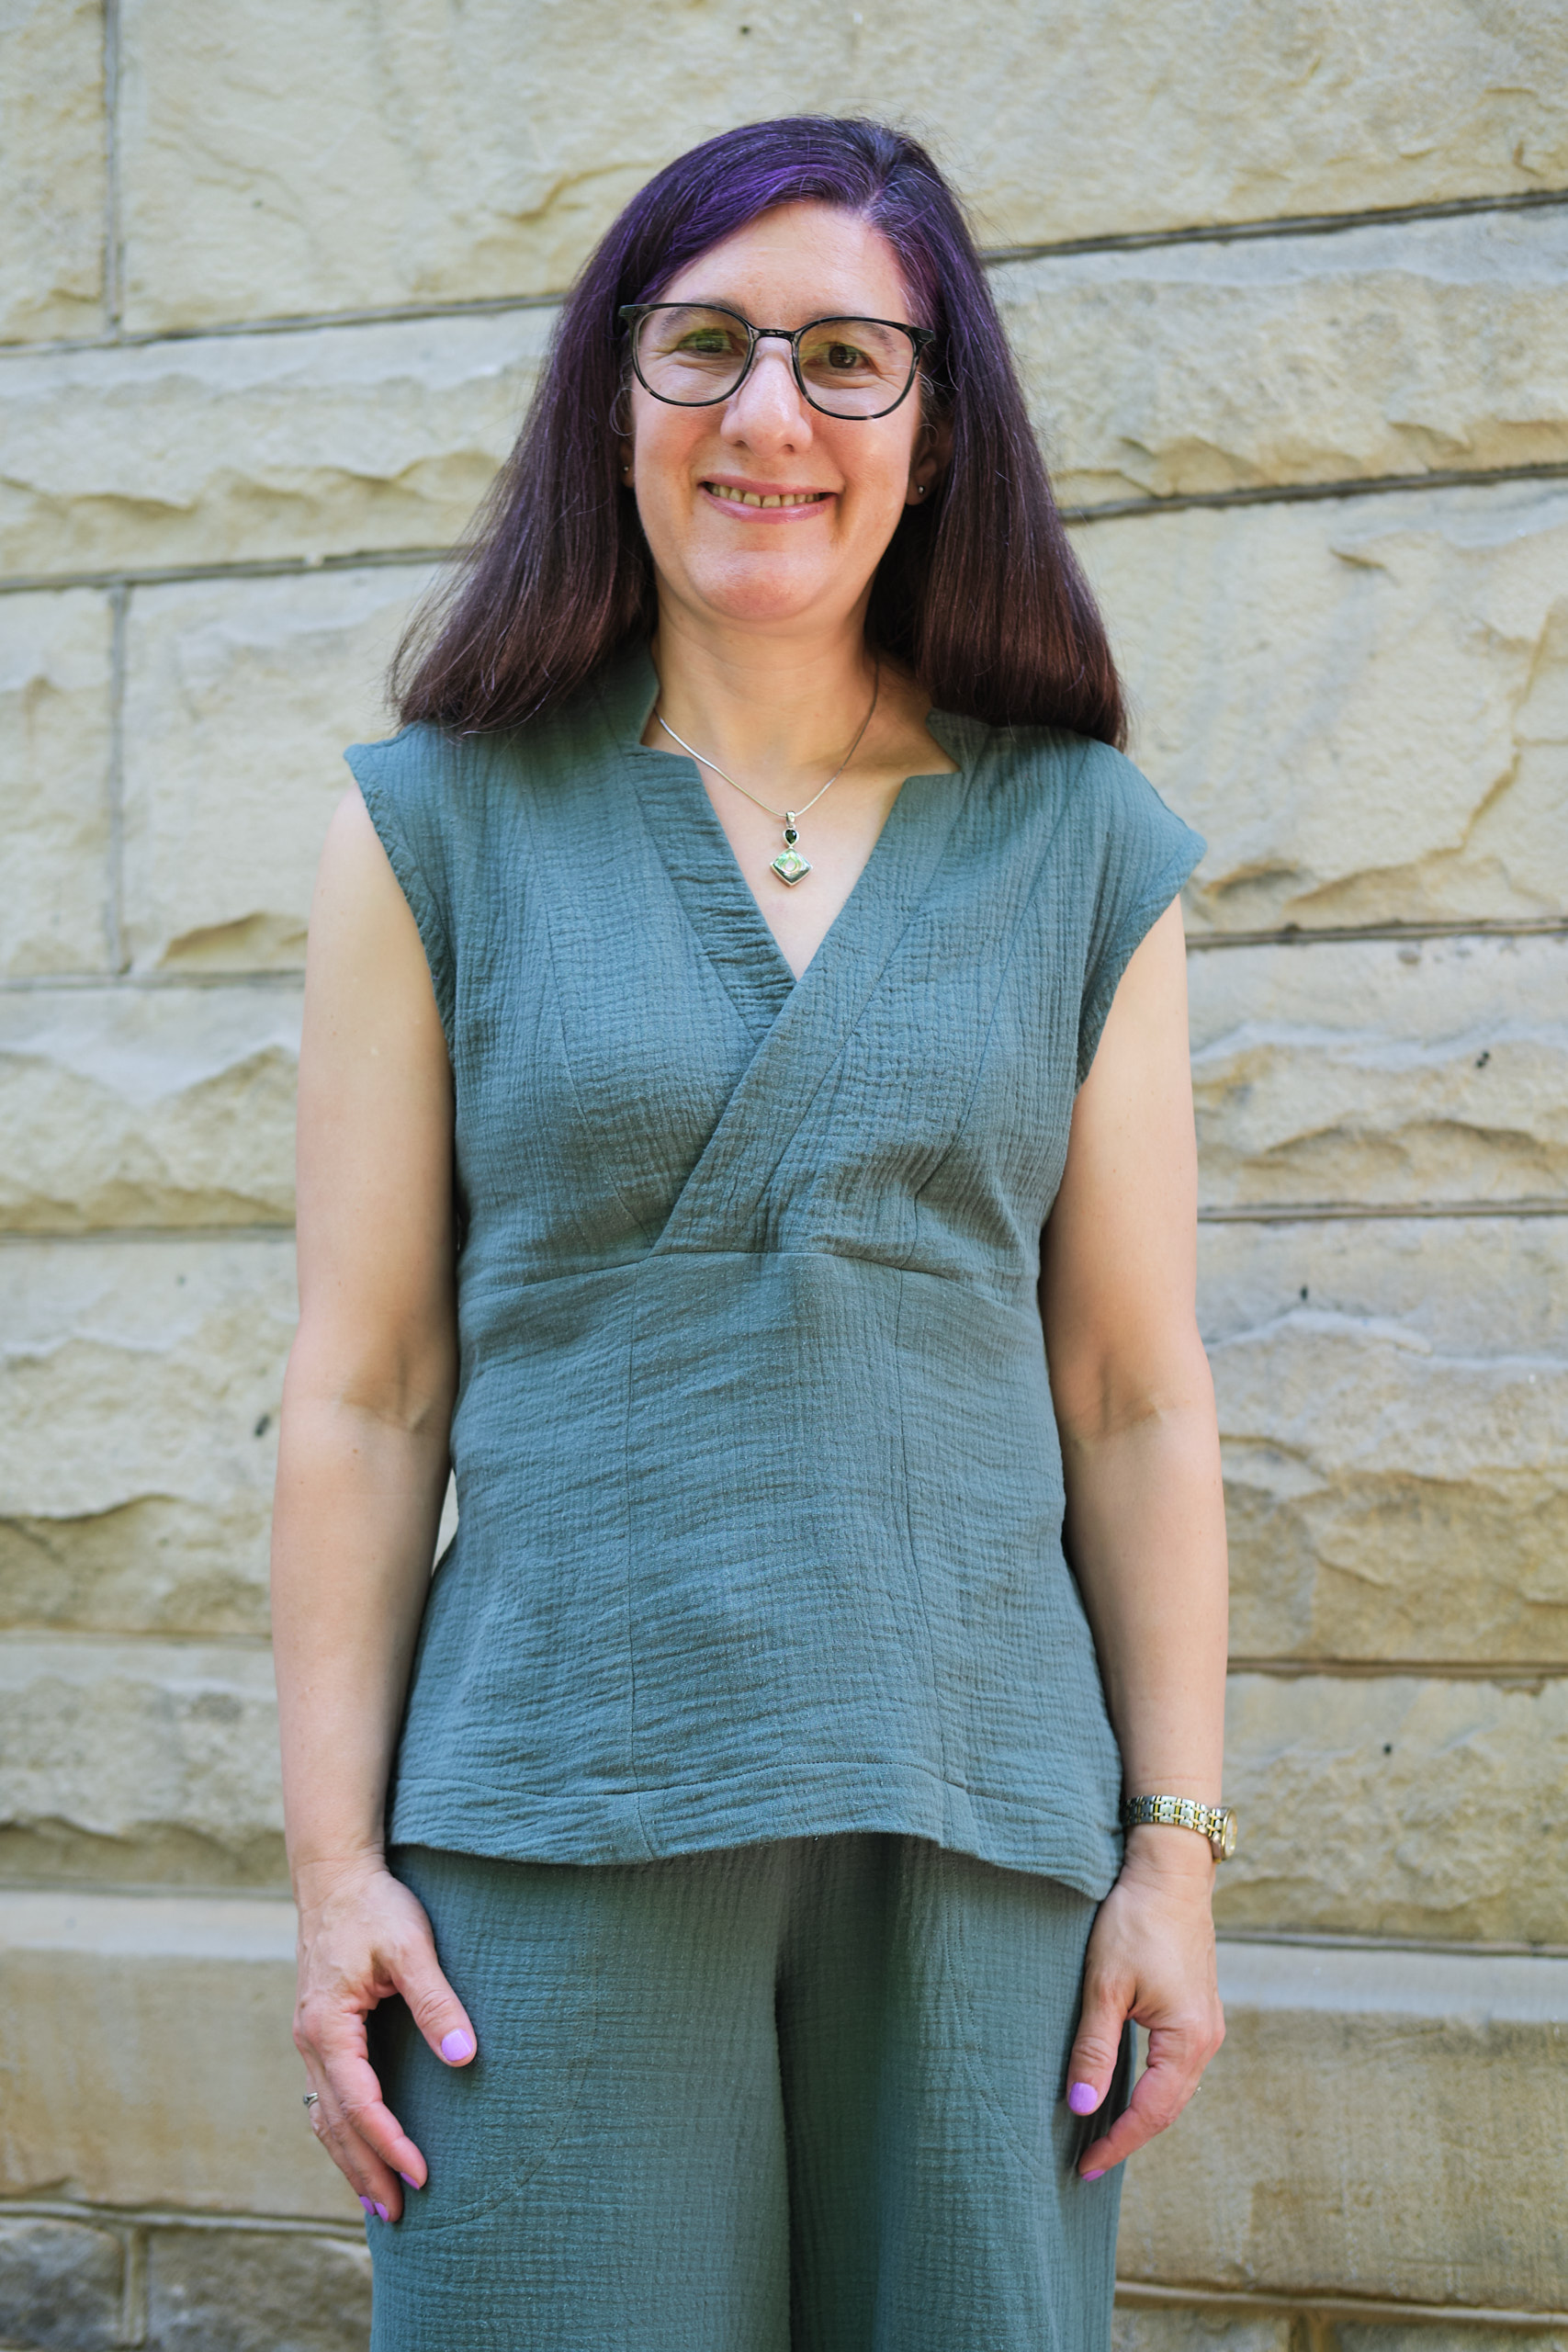
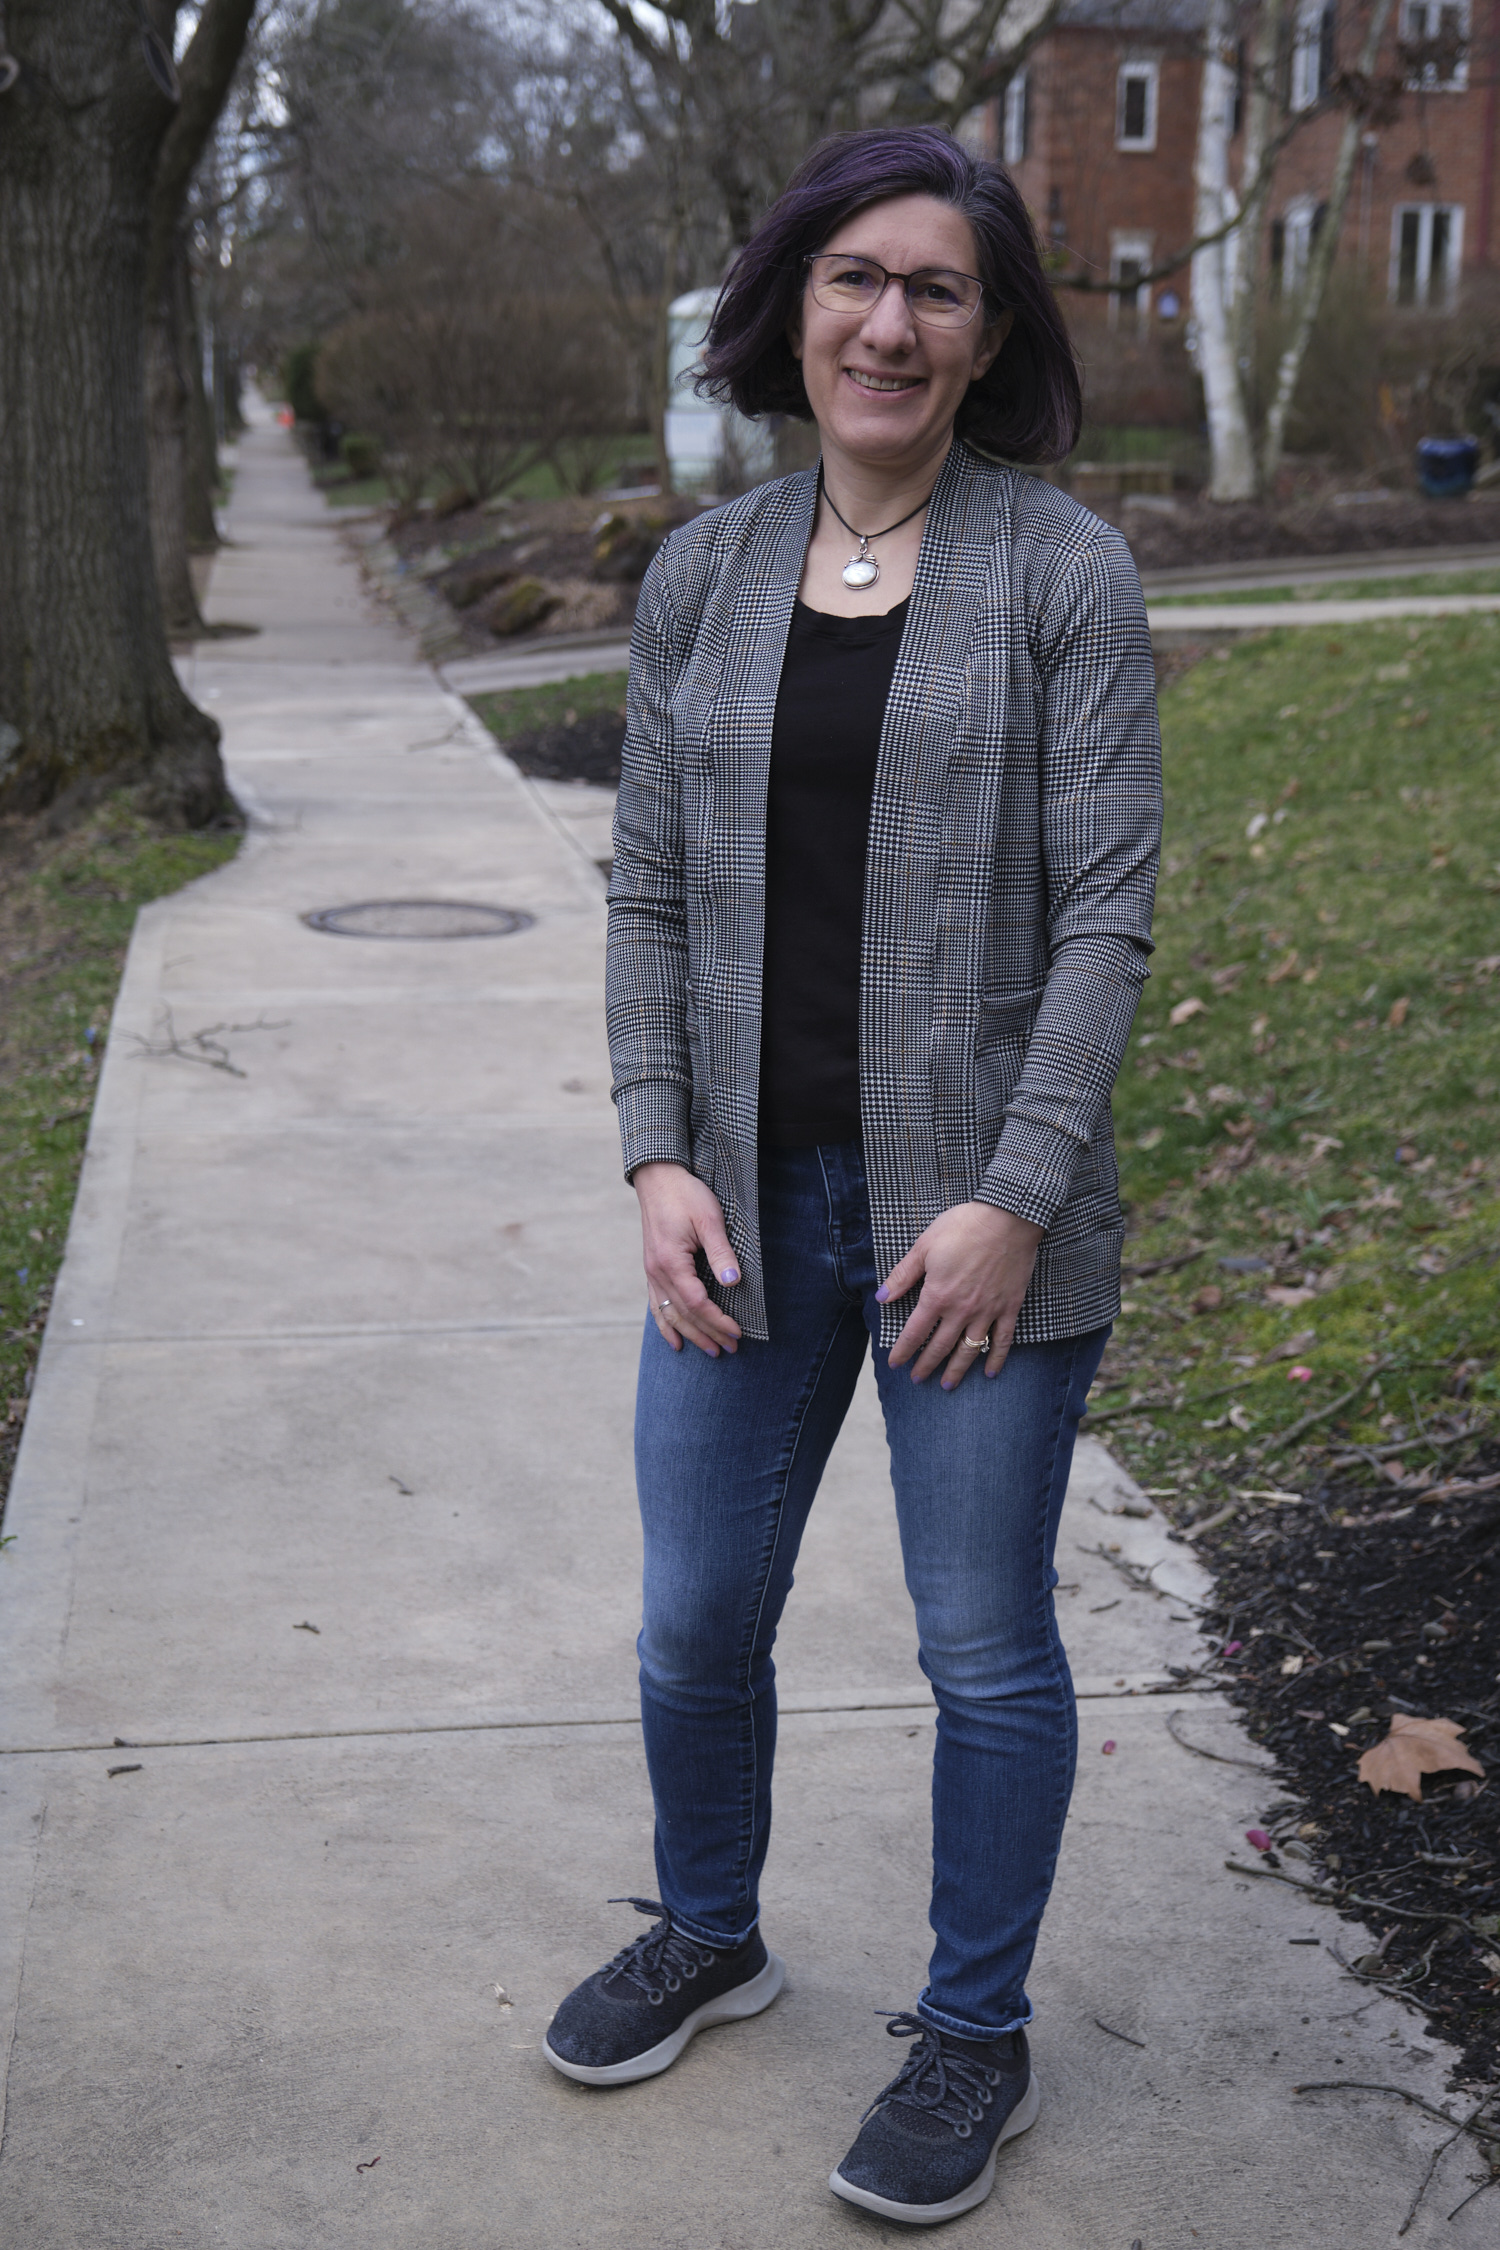
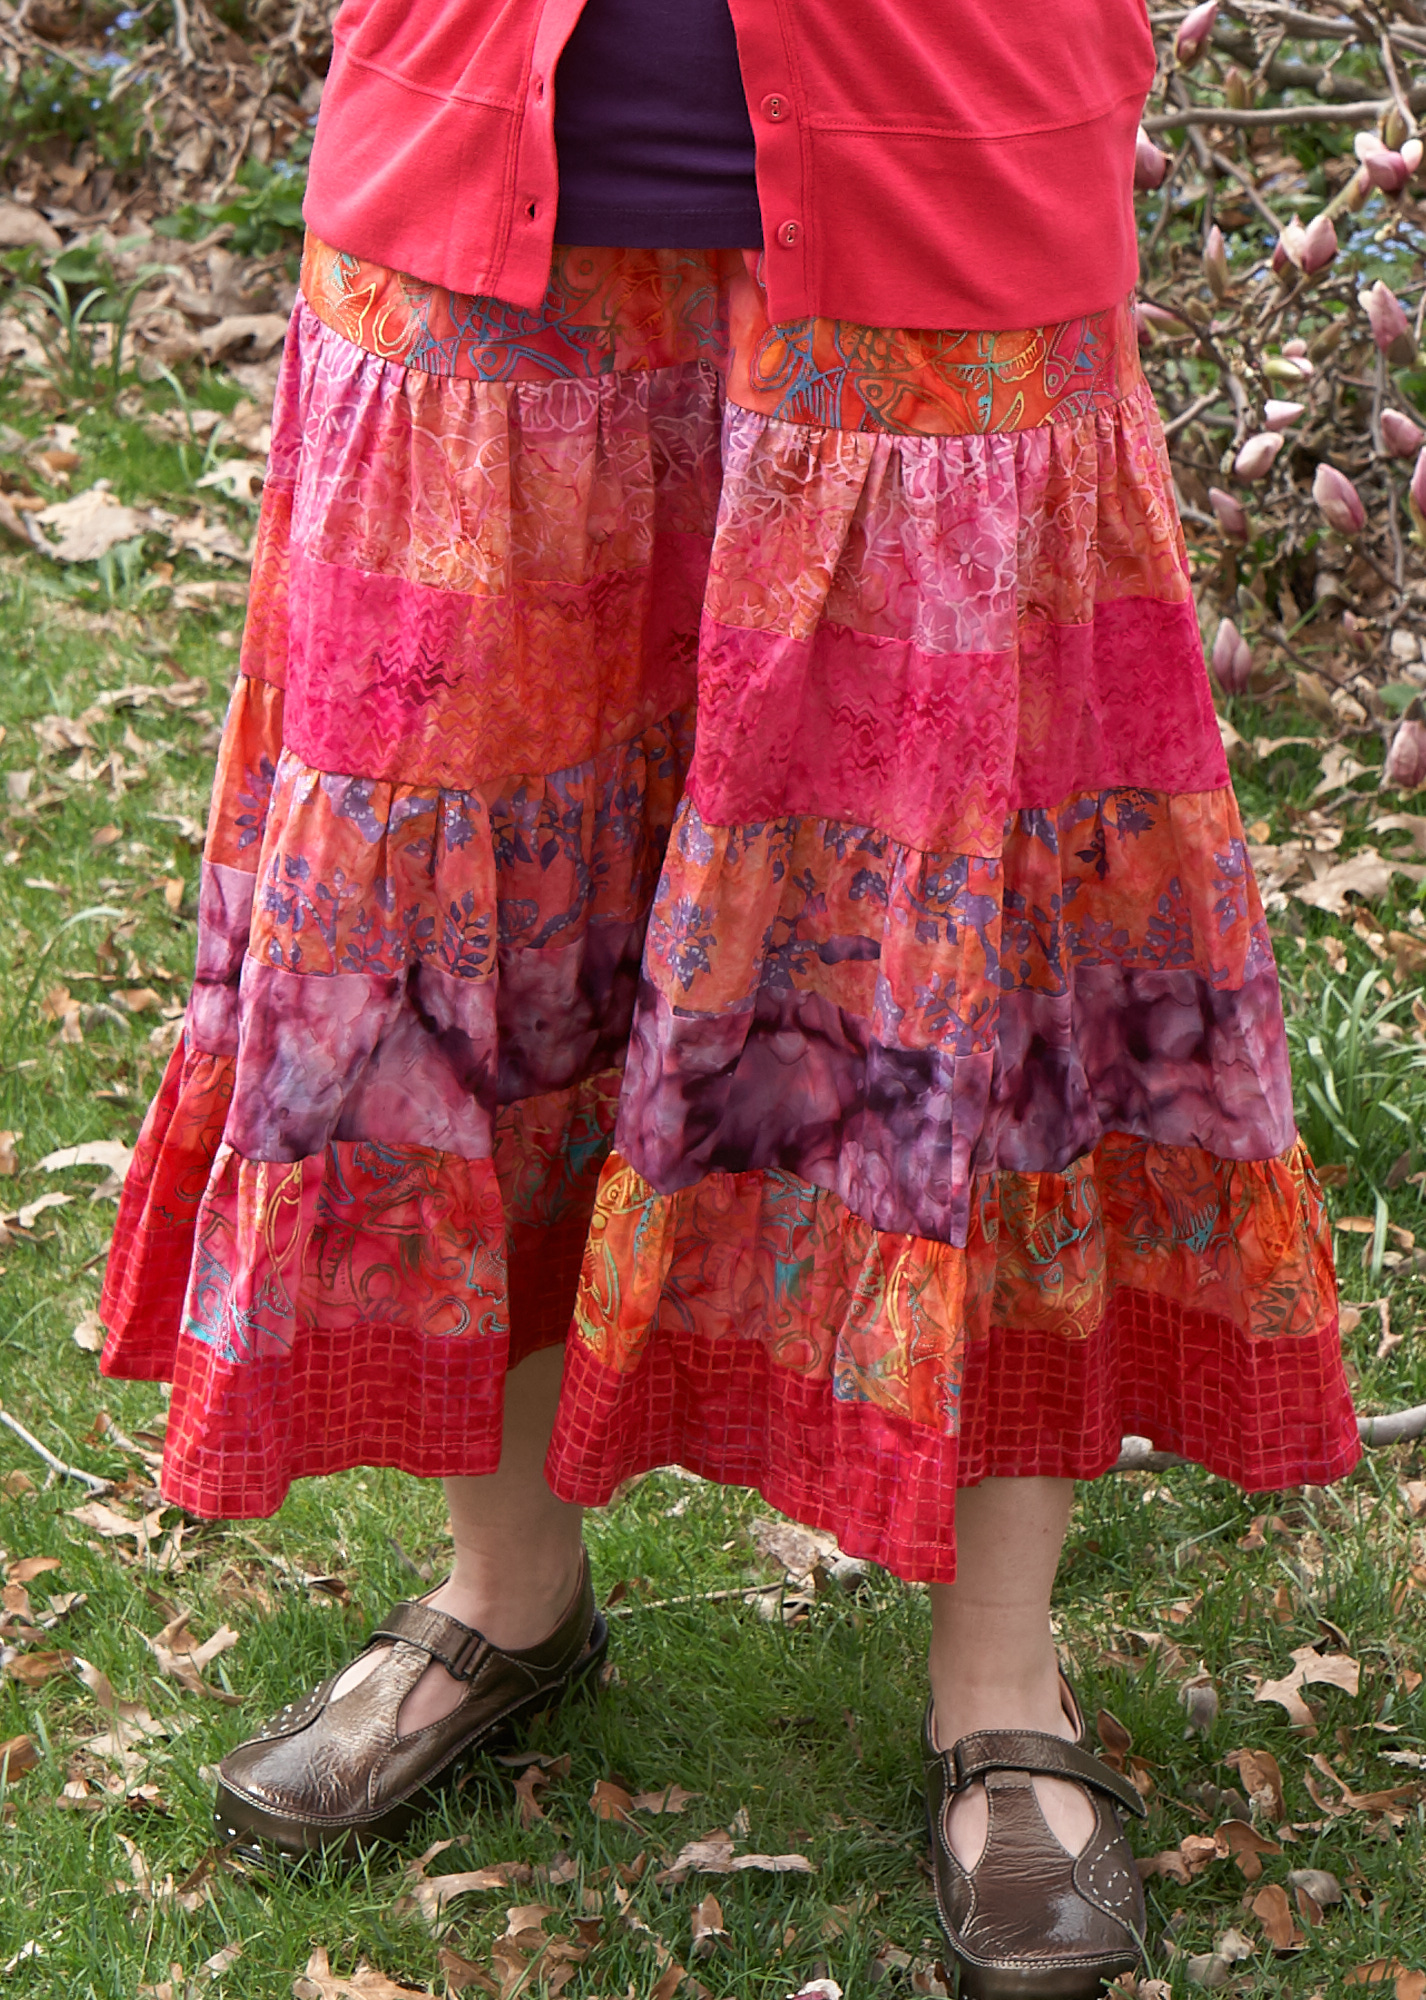
Boo & Lu Onyx blazer, size 4 with small bust adjustment, shortened waist and sleeves, lower back neck facing, repurposed jeans pockets. Made from three pairs of thrifted jeans.
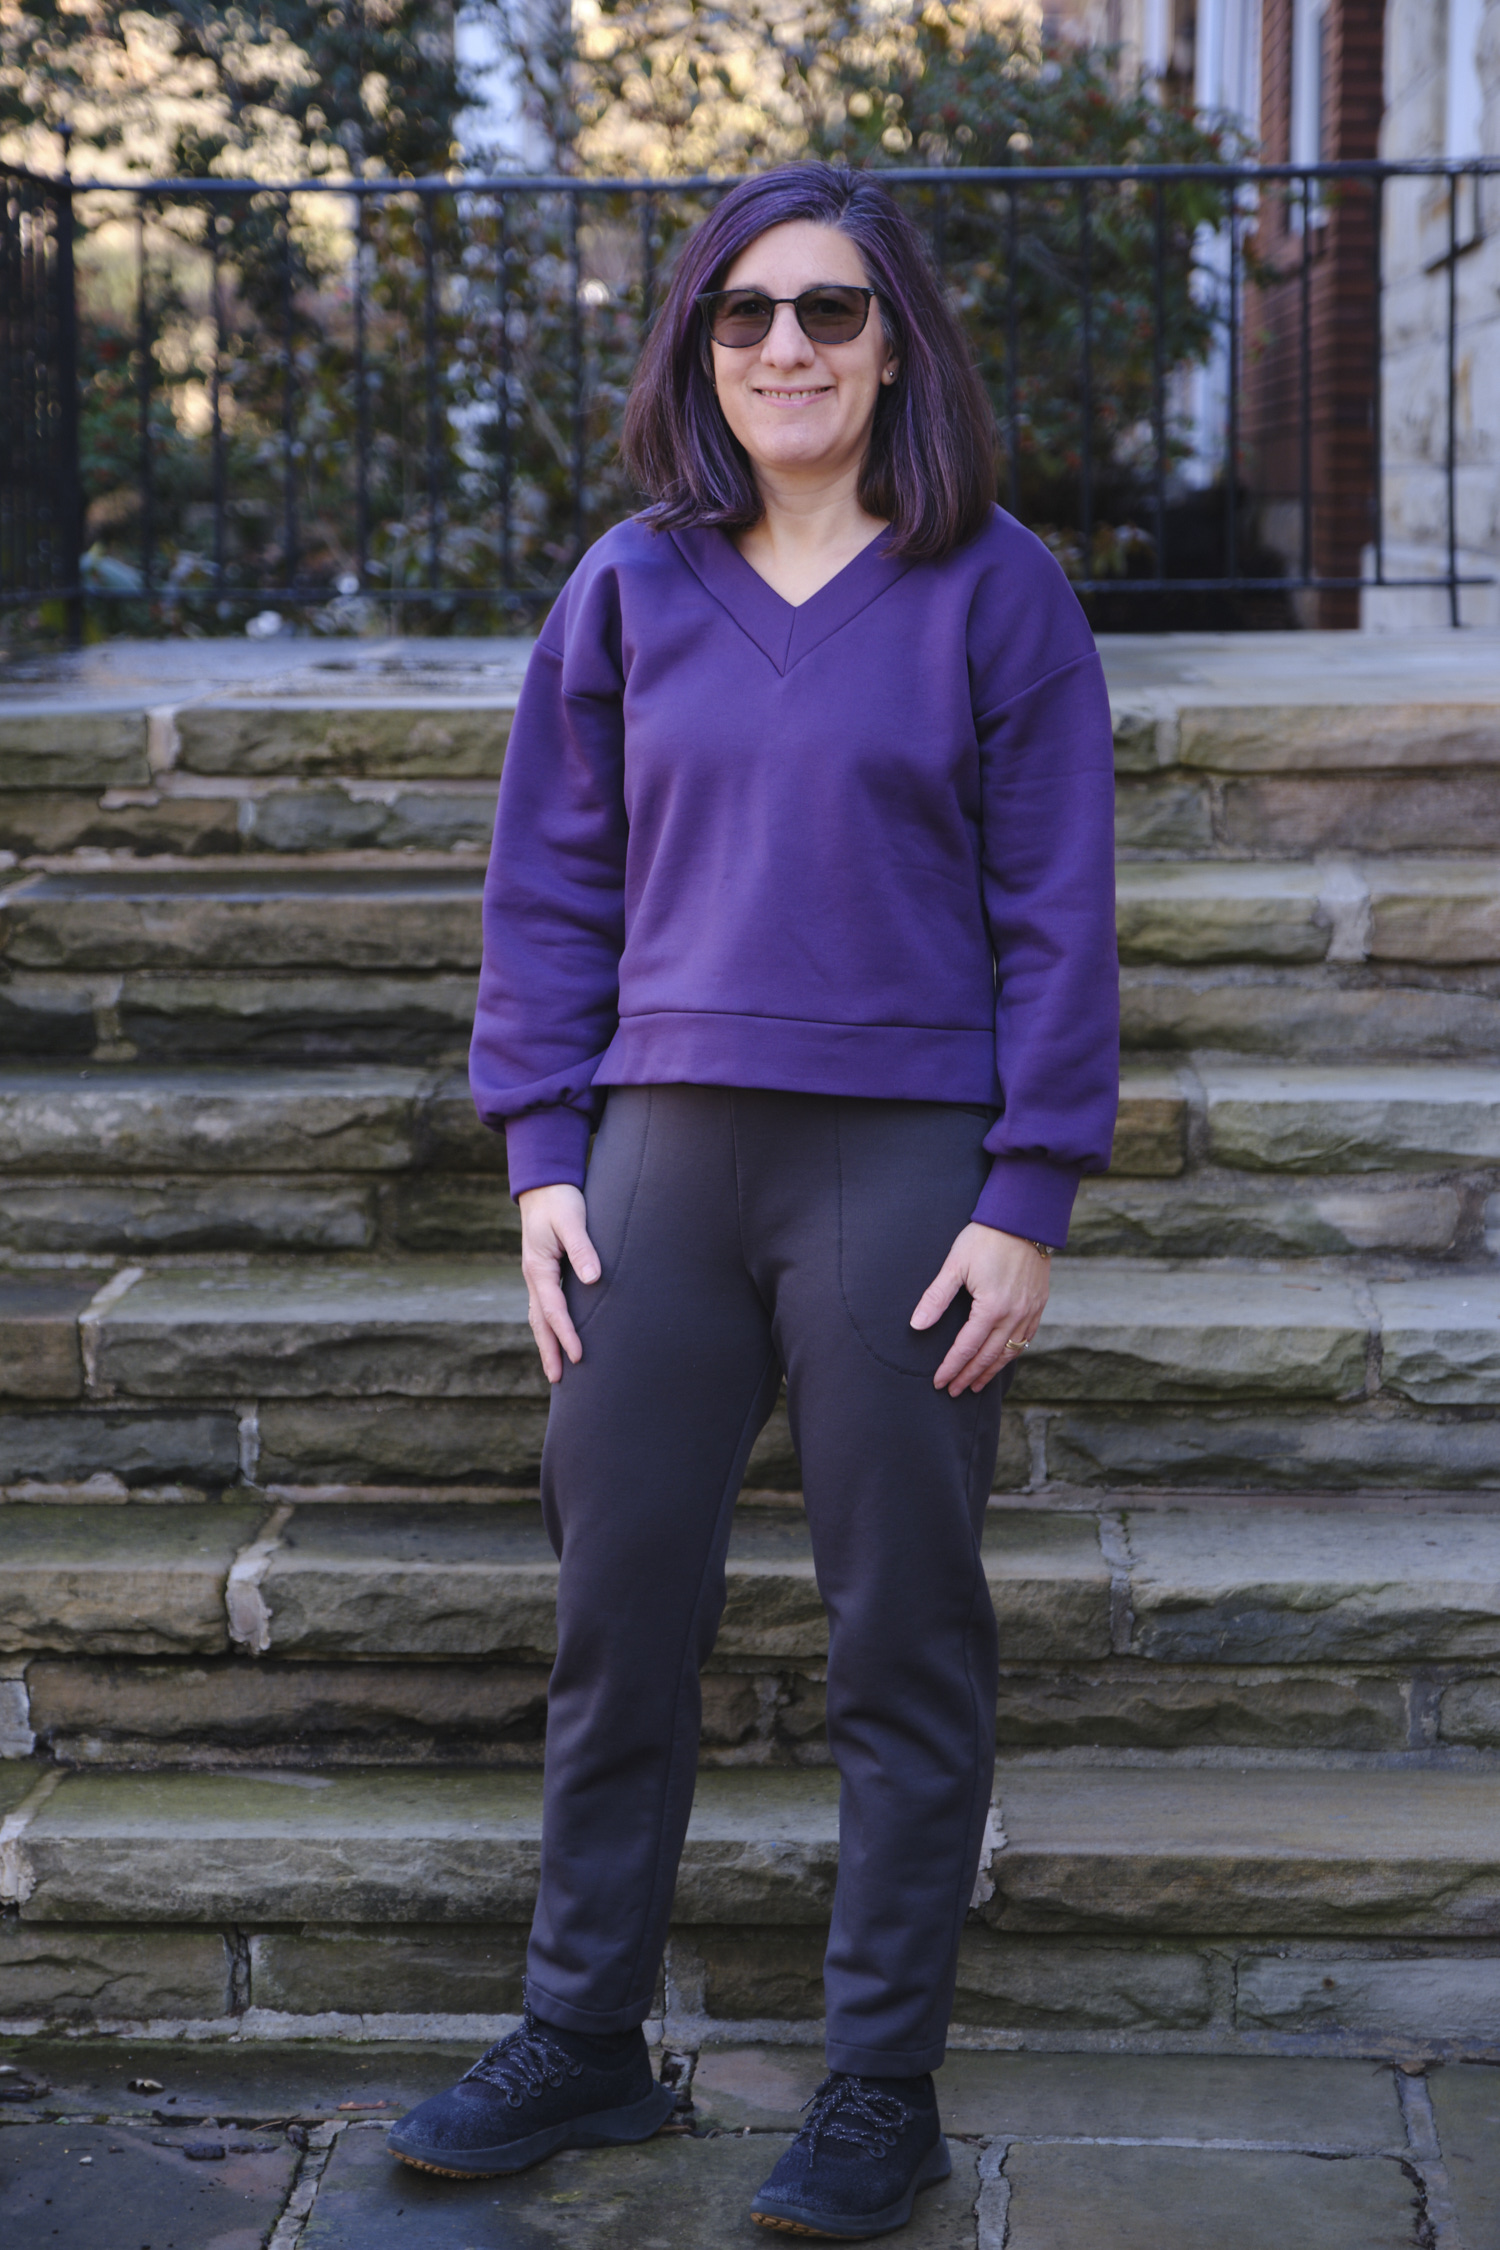
I made four Boo & Lu Onyx blazers in 2025, including a black ponte tulip style, a purple scuba suede cropped style, and grey ponte and magenta ponte hip length with pockets. The first one had some fit issues, the second one is better, and the last two fit me just about perfectly. I could have stopped there, but I couldn’t stop thinking about the fabulous upcycled denim Onyx made by Brenda Hennis Verbaan out of three pairs of old jeans.
I used to love wearing denim jackets, which seem to go with just about everything, but I’ve found their collars increasingly uncomfortable. So the thought of a collarless denim jacket in a bit dressier blazer style was appealing. Unfortunately, I seem to have already given away most of the discarded jeans in my household and those that I could find were either full of holes and paint spots or ridiculously skinny and thus had very little fabric to work with.
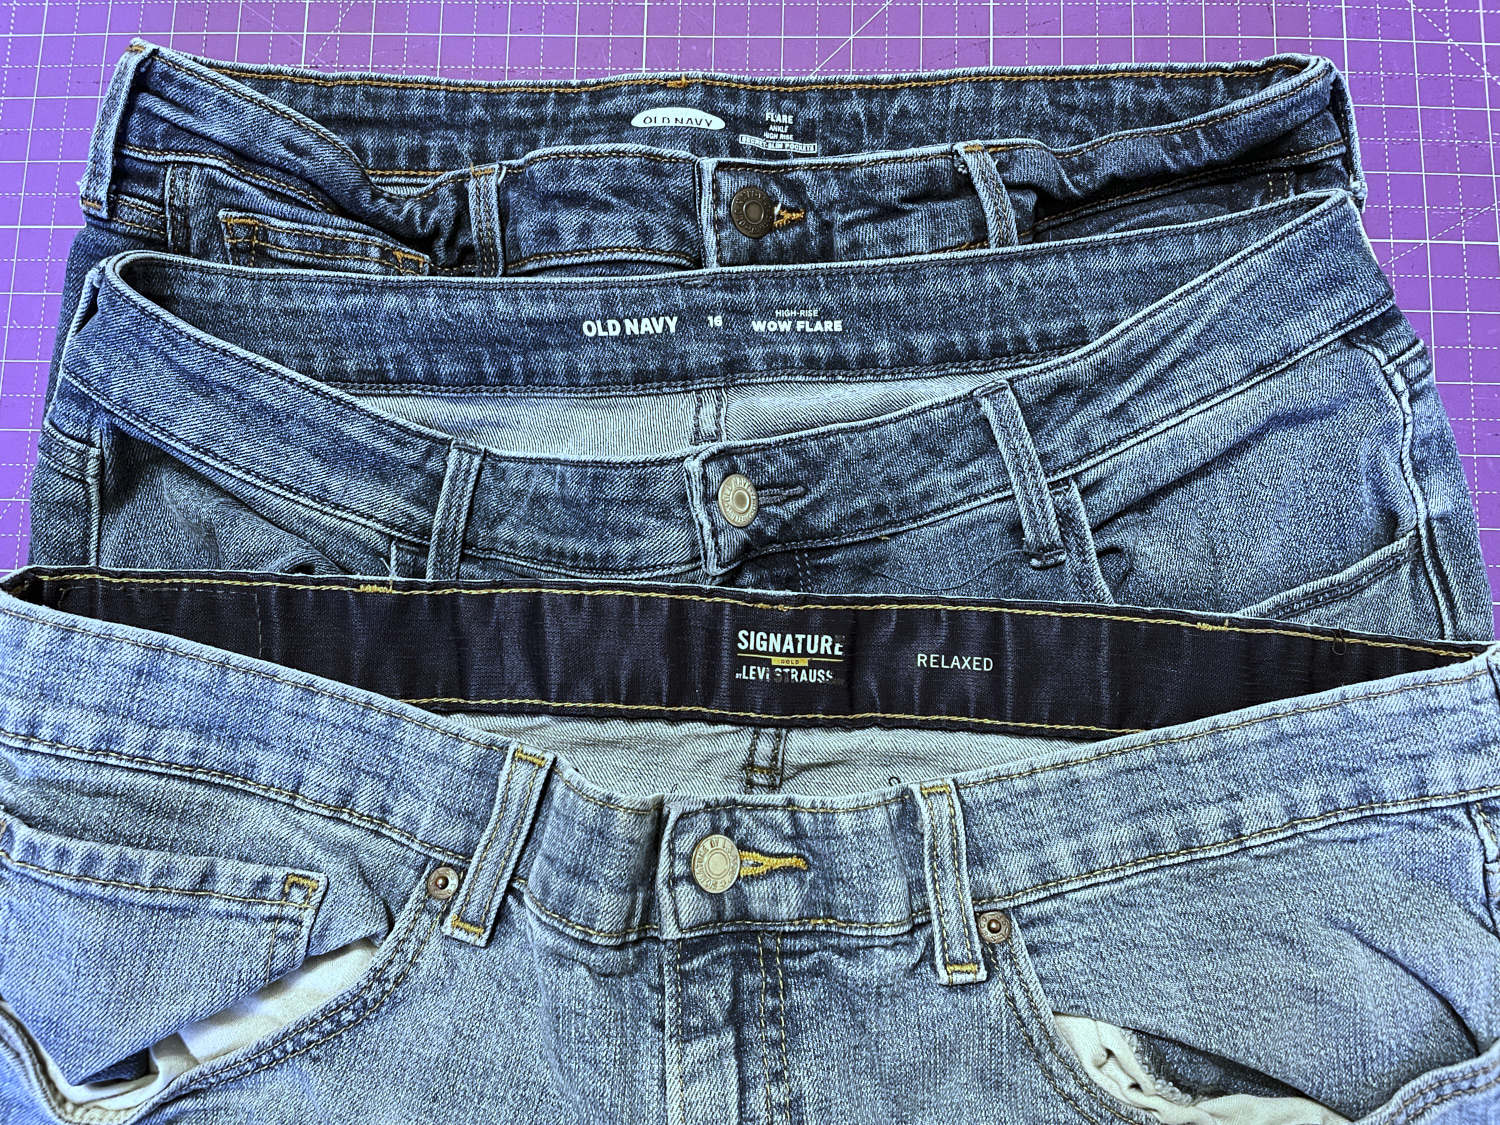
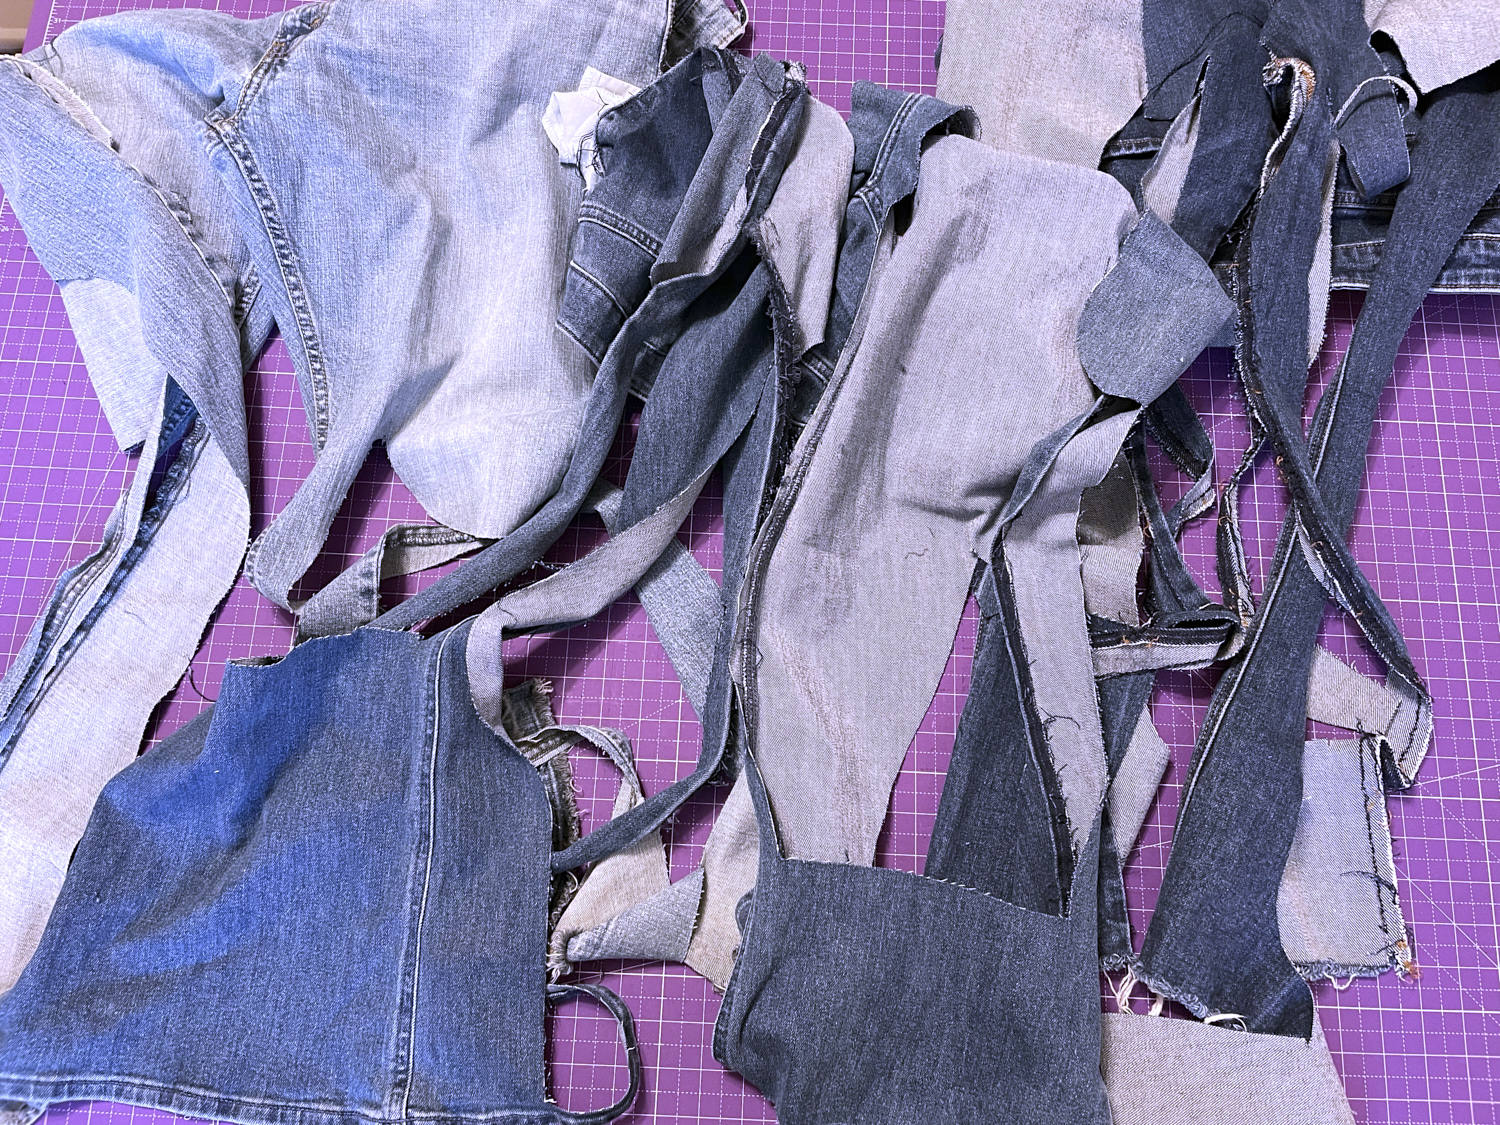
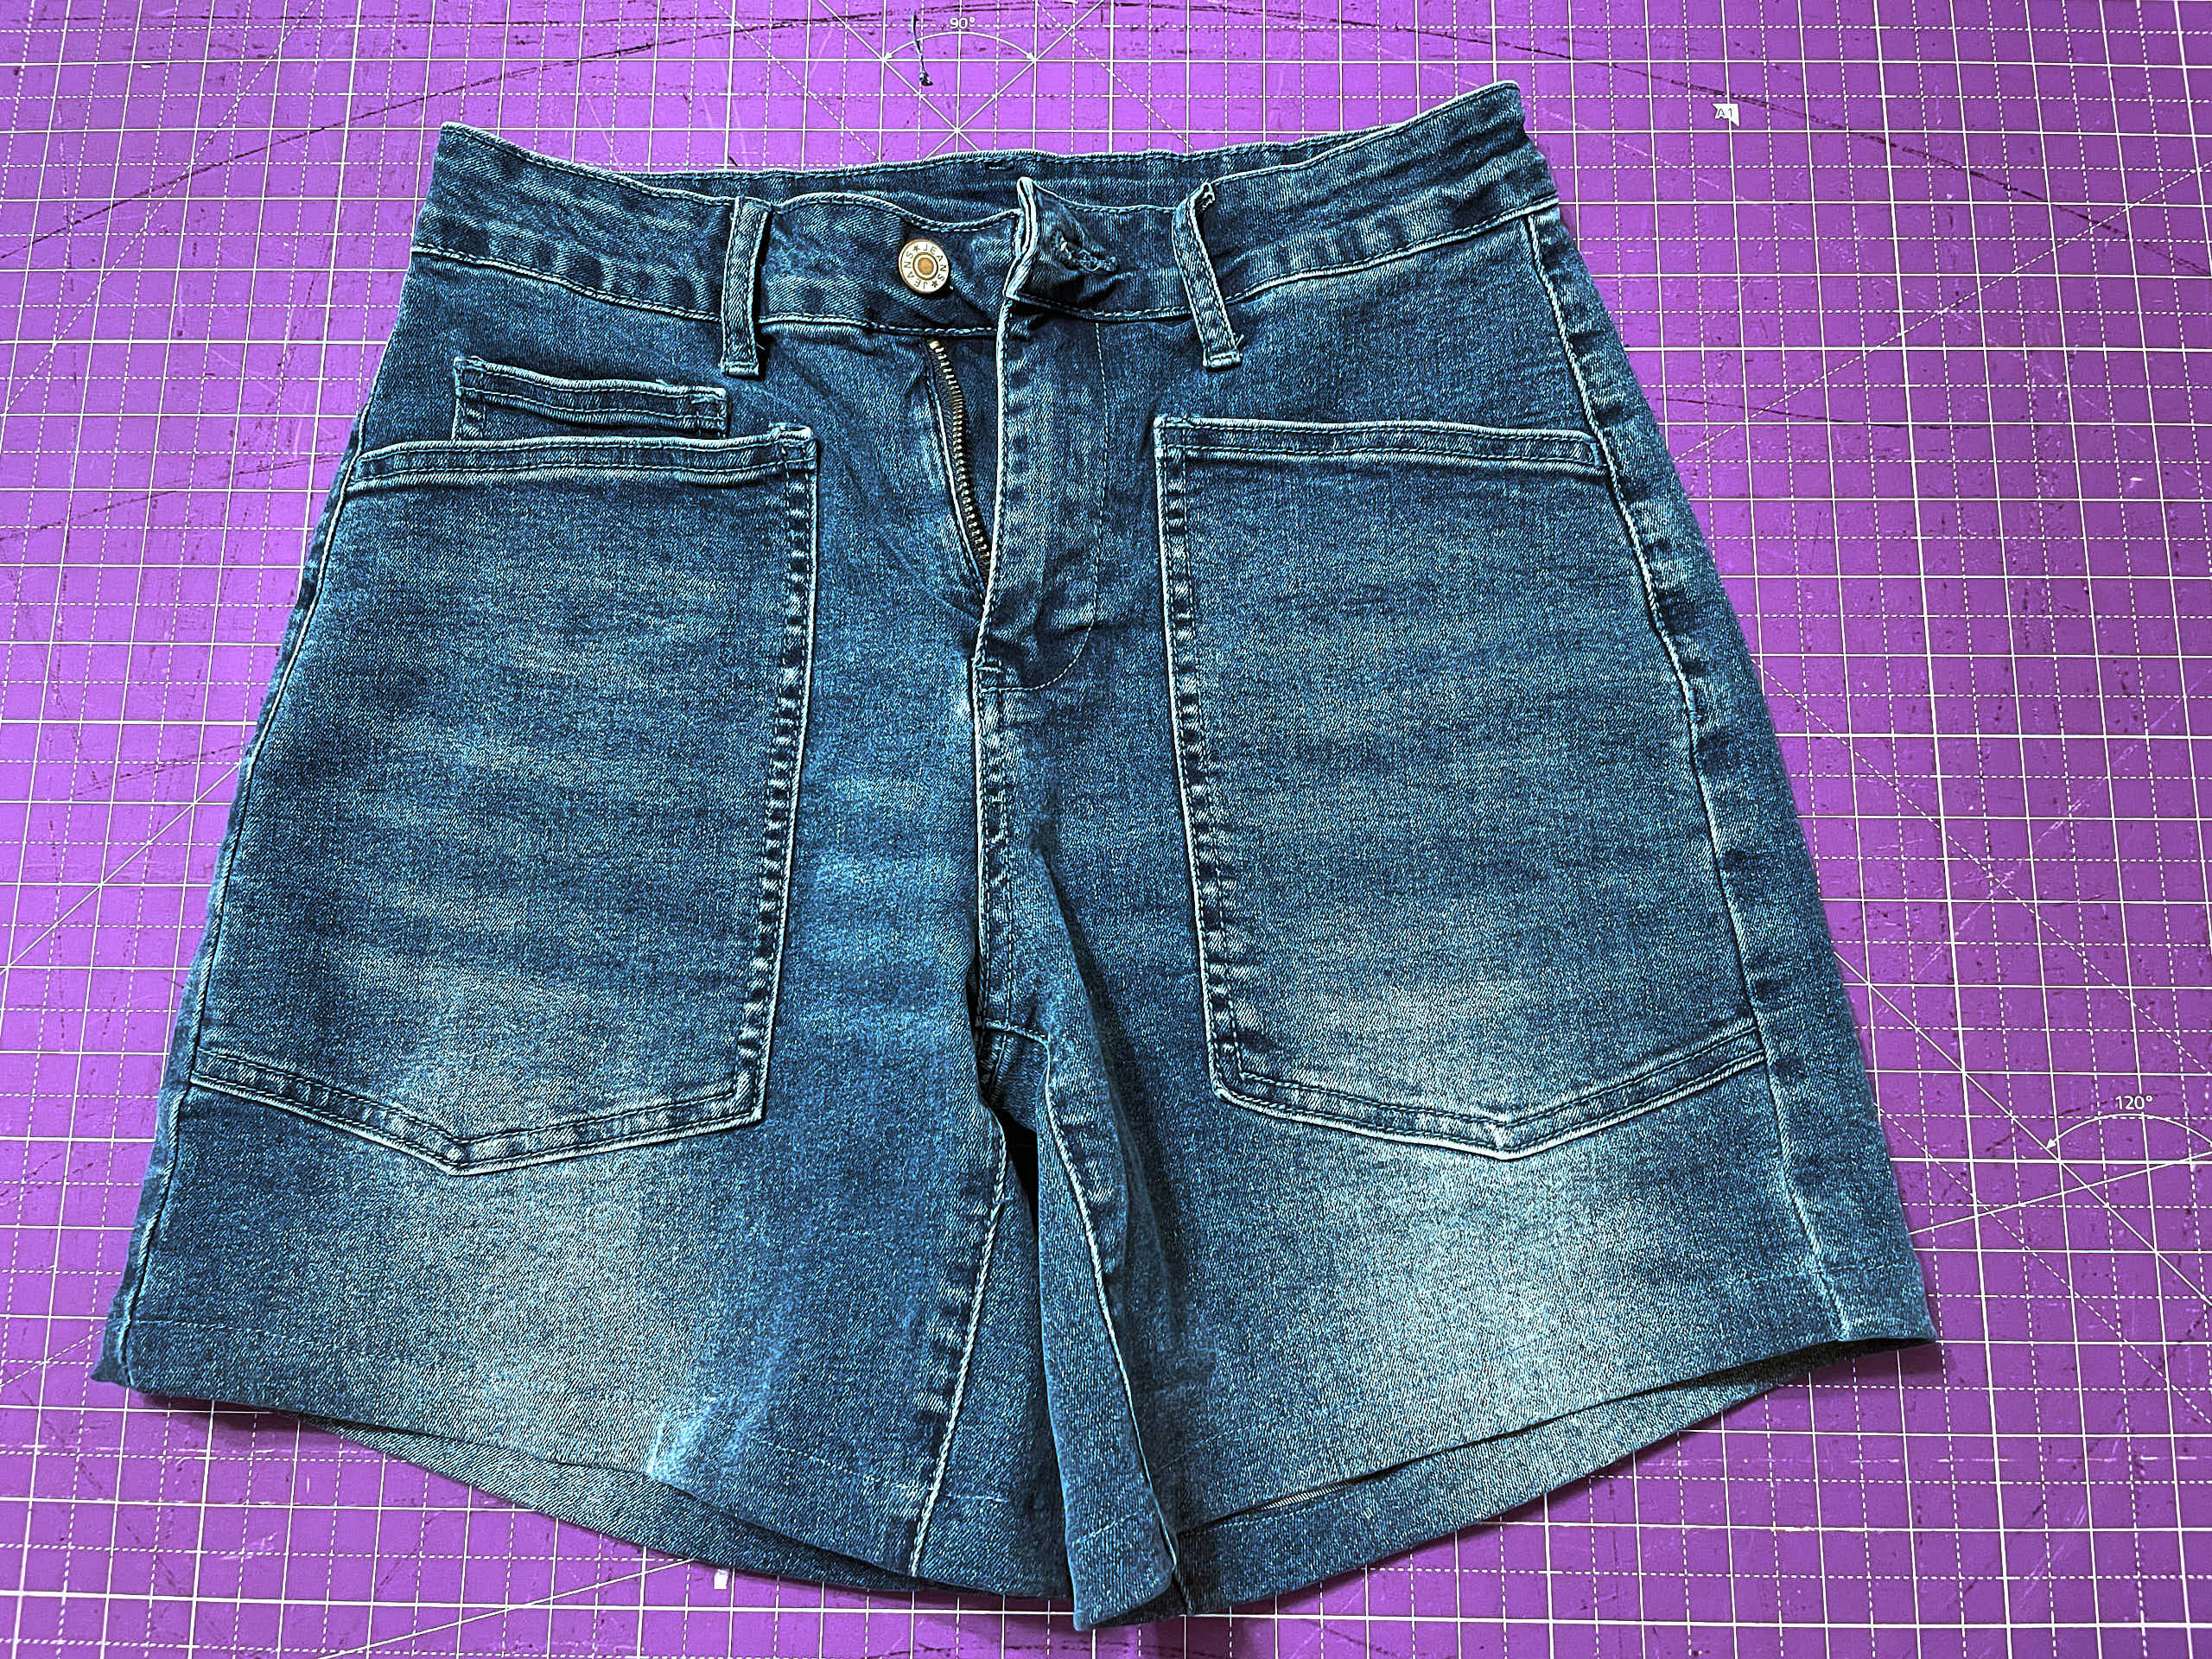
Last fall, when I was visiting my daughters in Boston, we went to a thrift shop and I asked them to help me find three pairs of inexpensive jeans I could cut up. I looked for jeans that were less than $10 a pair, medium-weight, slightly stretchy denim, in large sizes. I collected a pile of jeans that met these criteria and sorted them from lightest to darkest. Then I selected three pairs with distinctly different shades of blue that went well together. They were $6 each and with the $6 coupon I picked up on my way into the store, I paid a total of $12 for all three pairs.
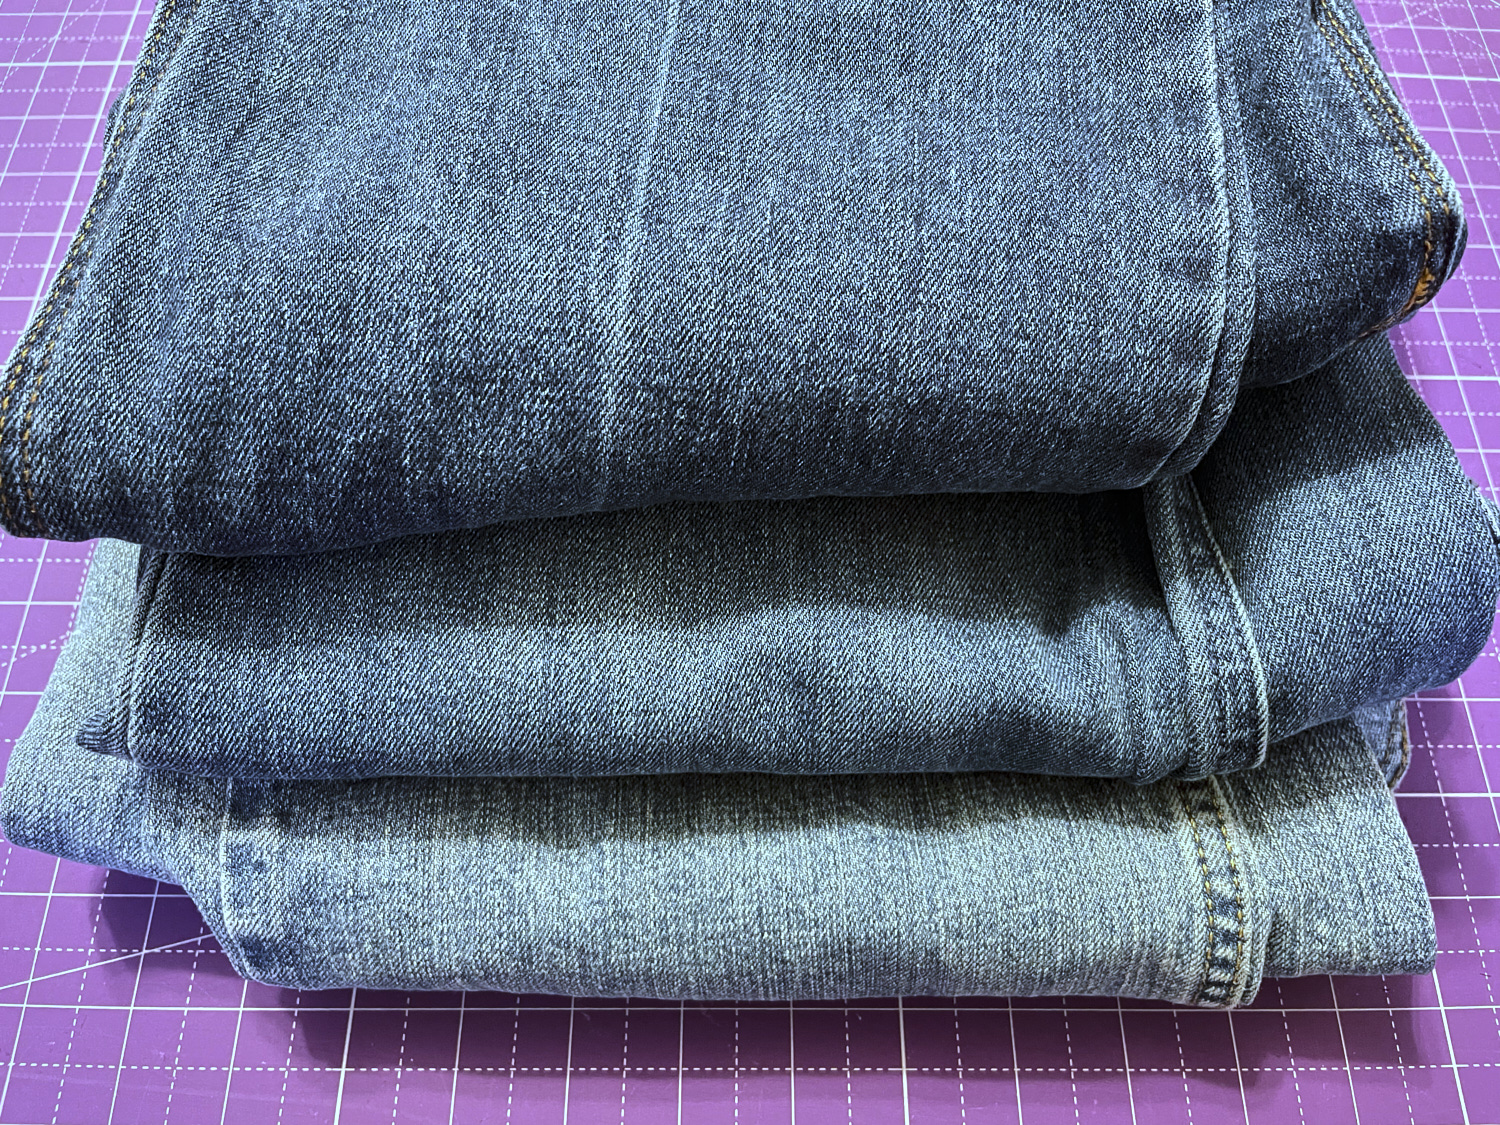
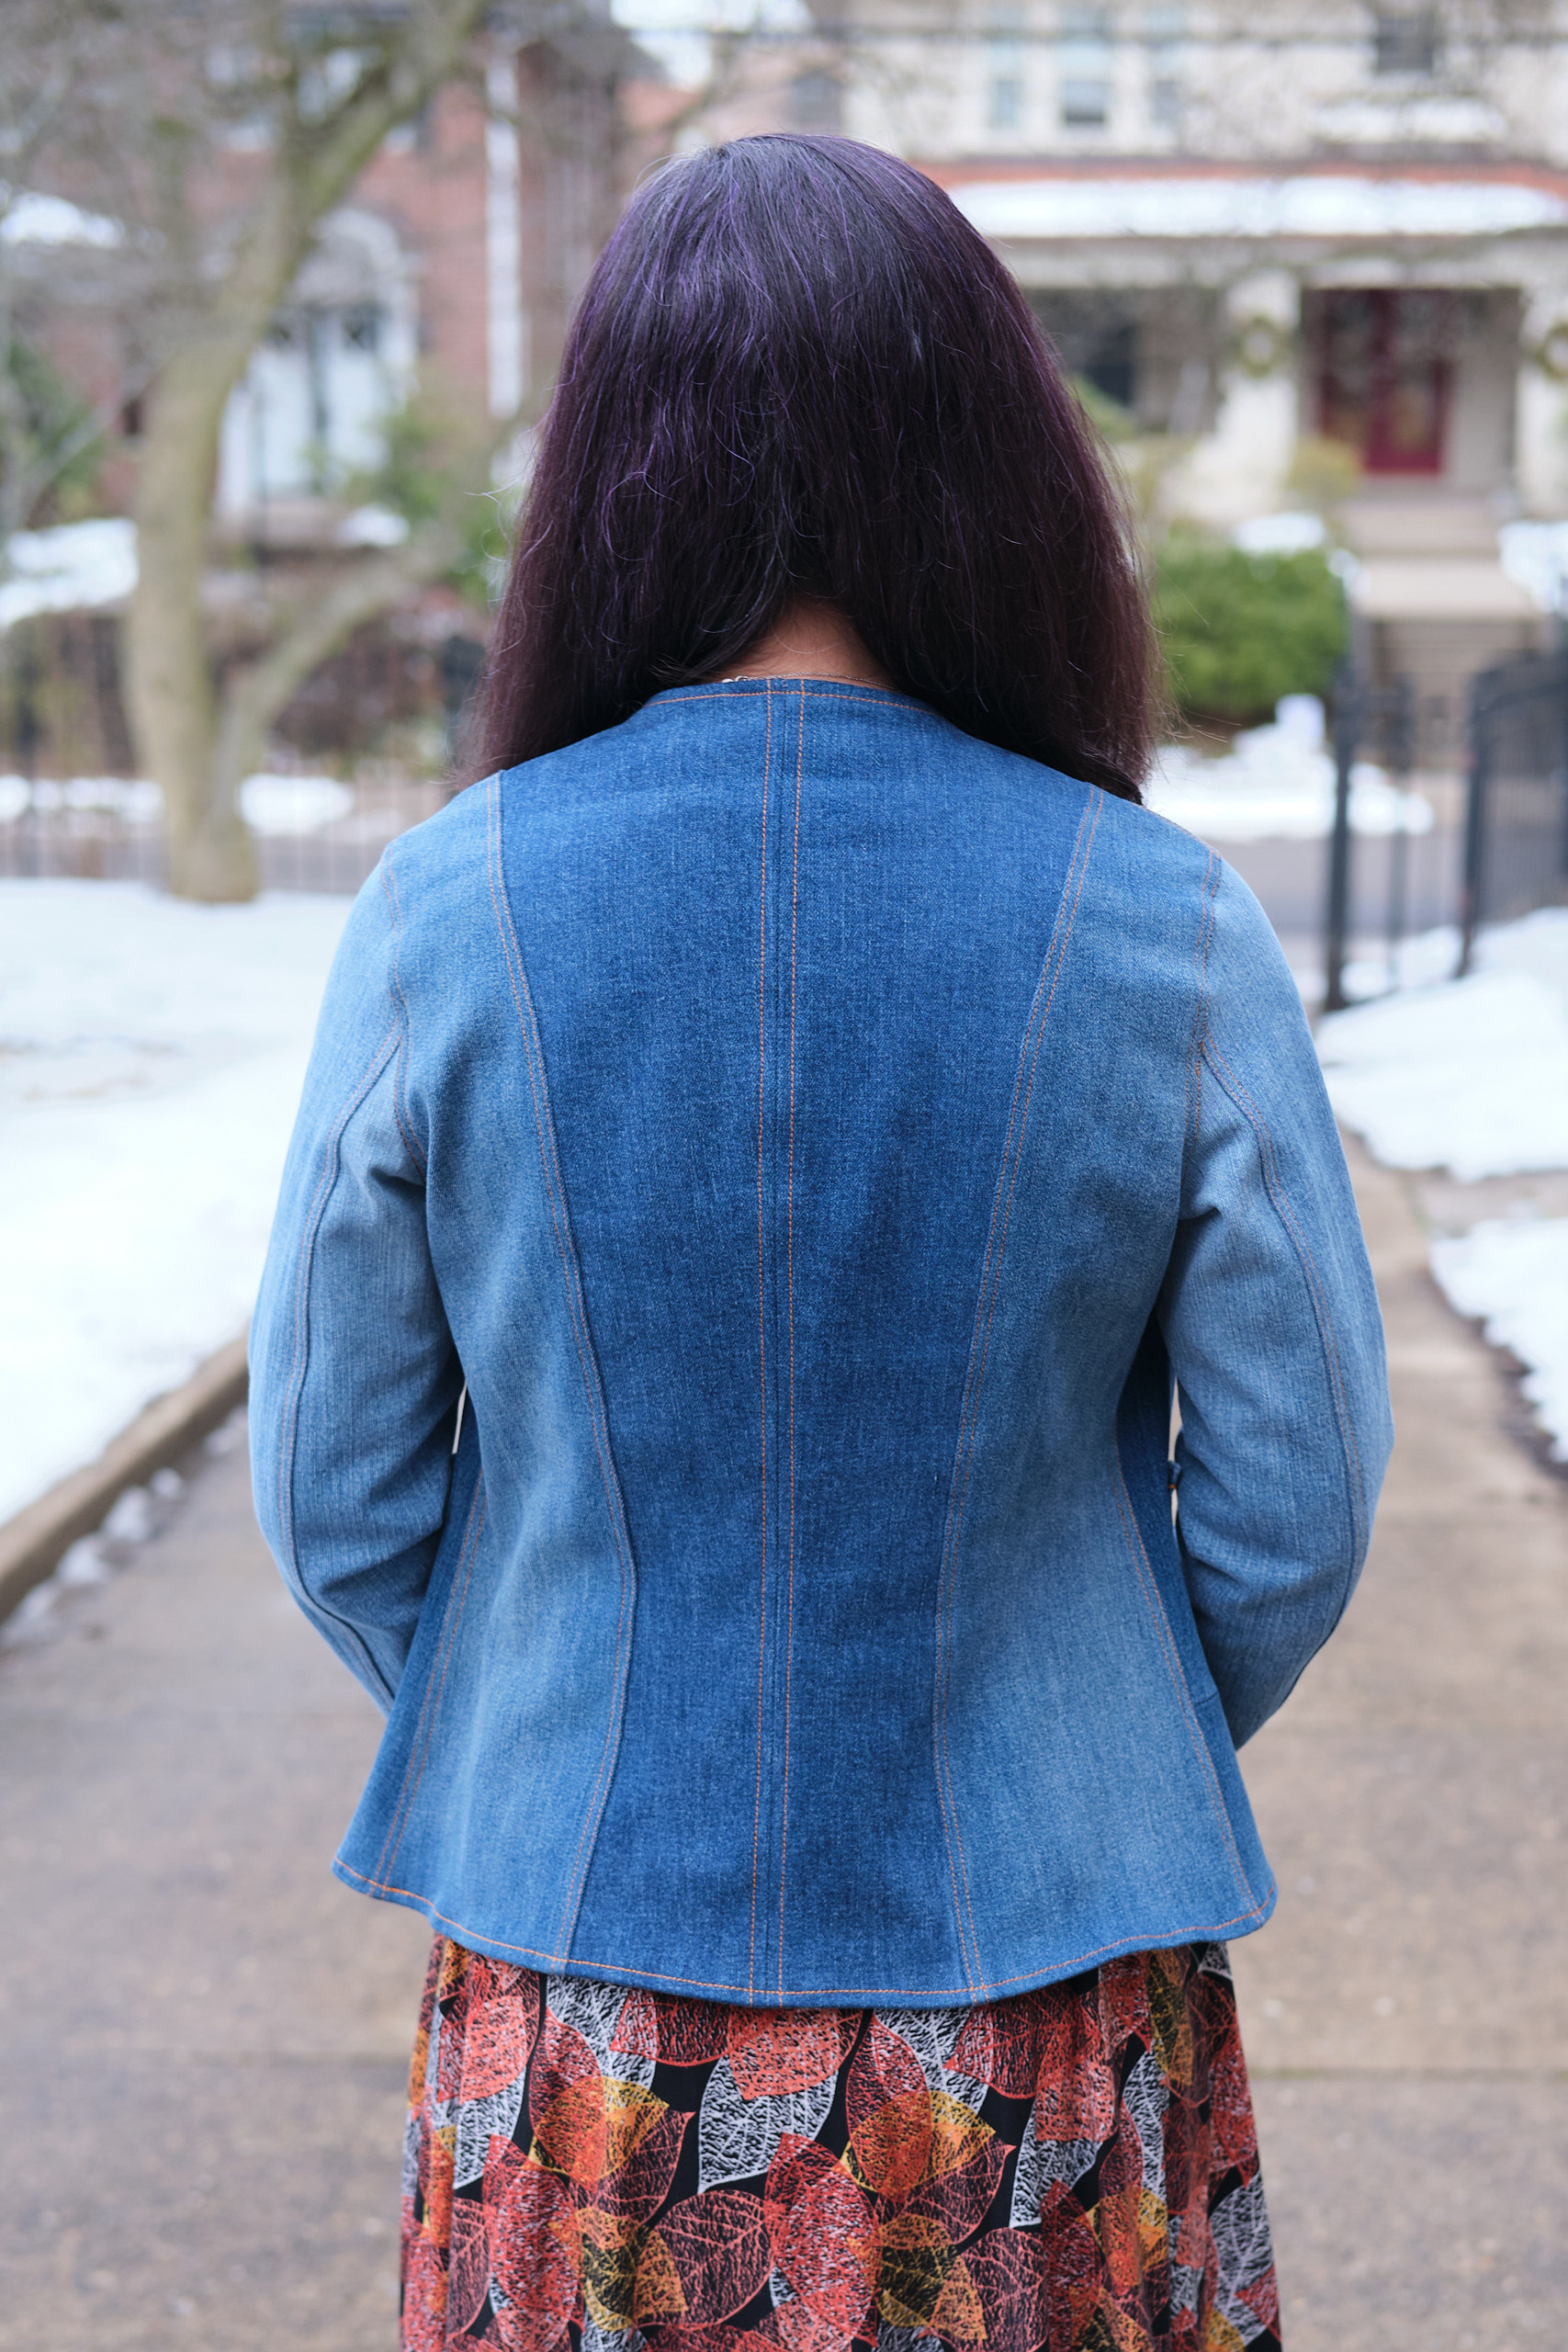
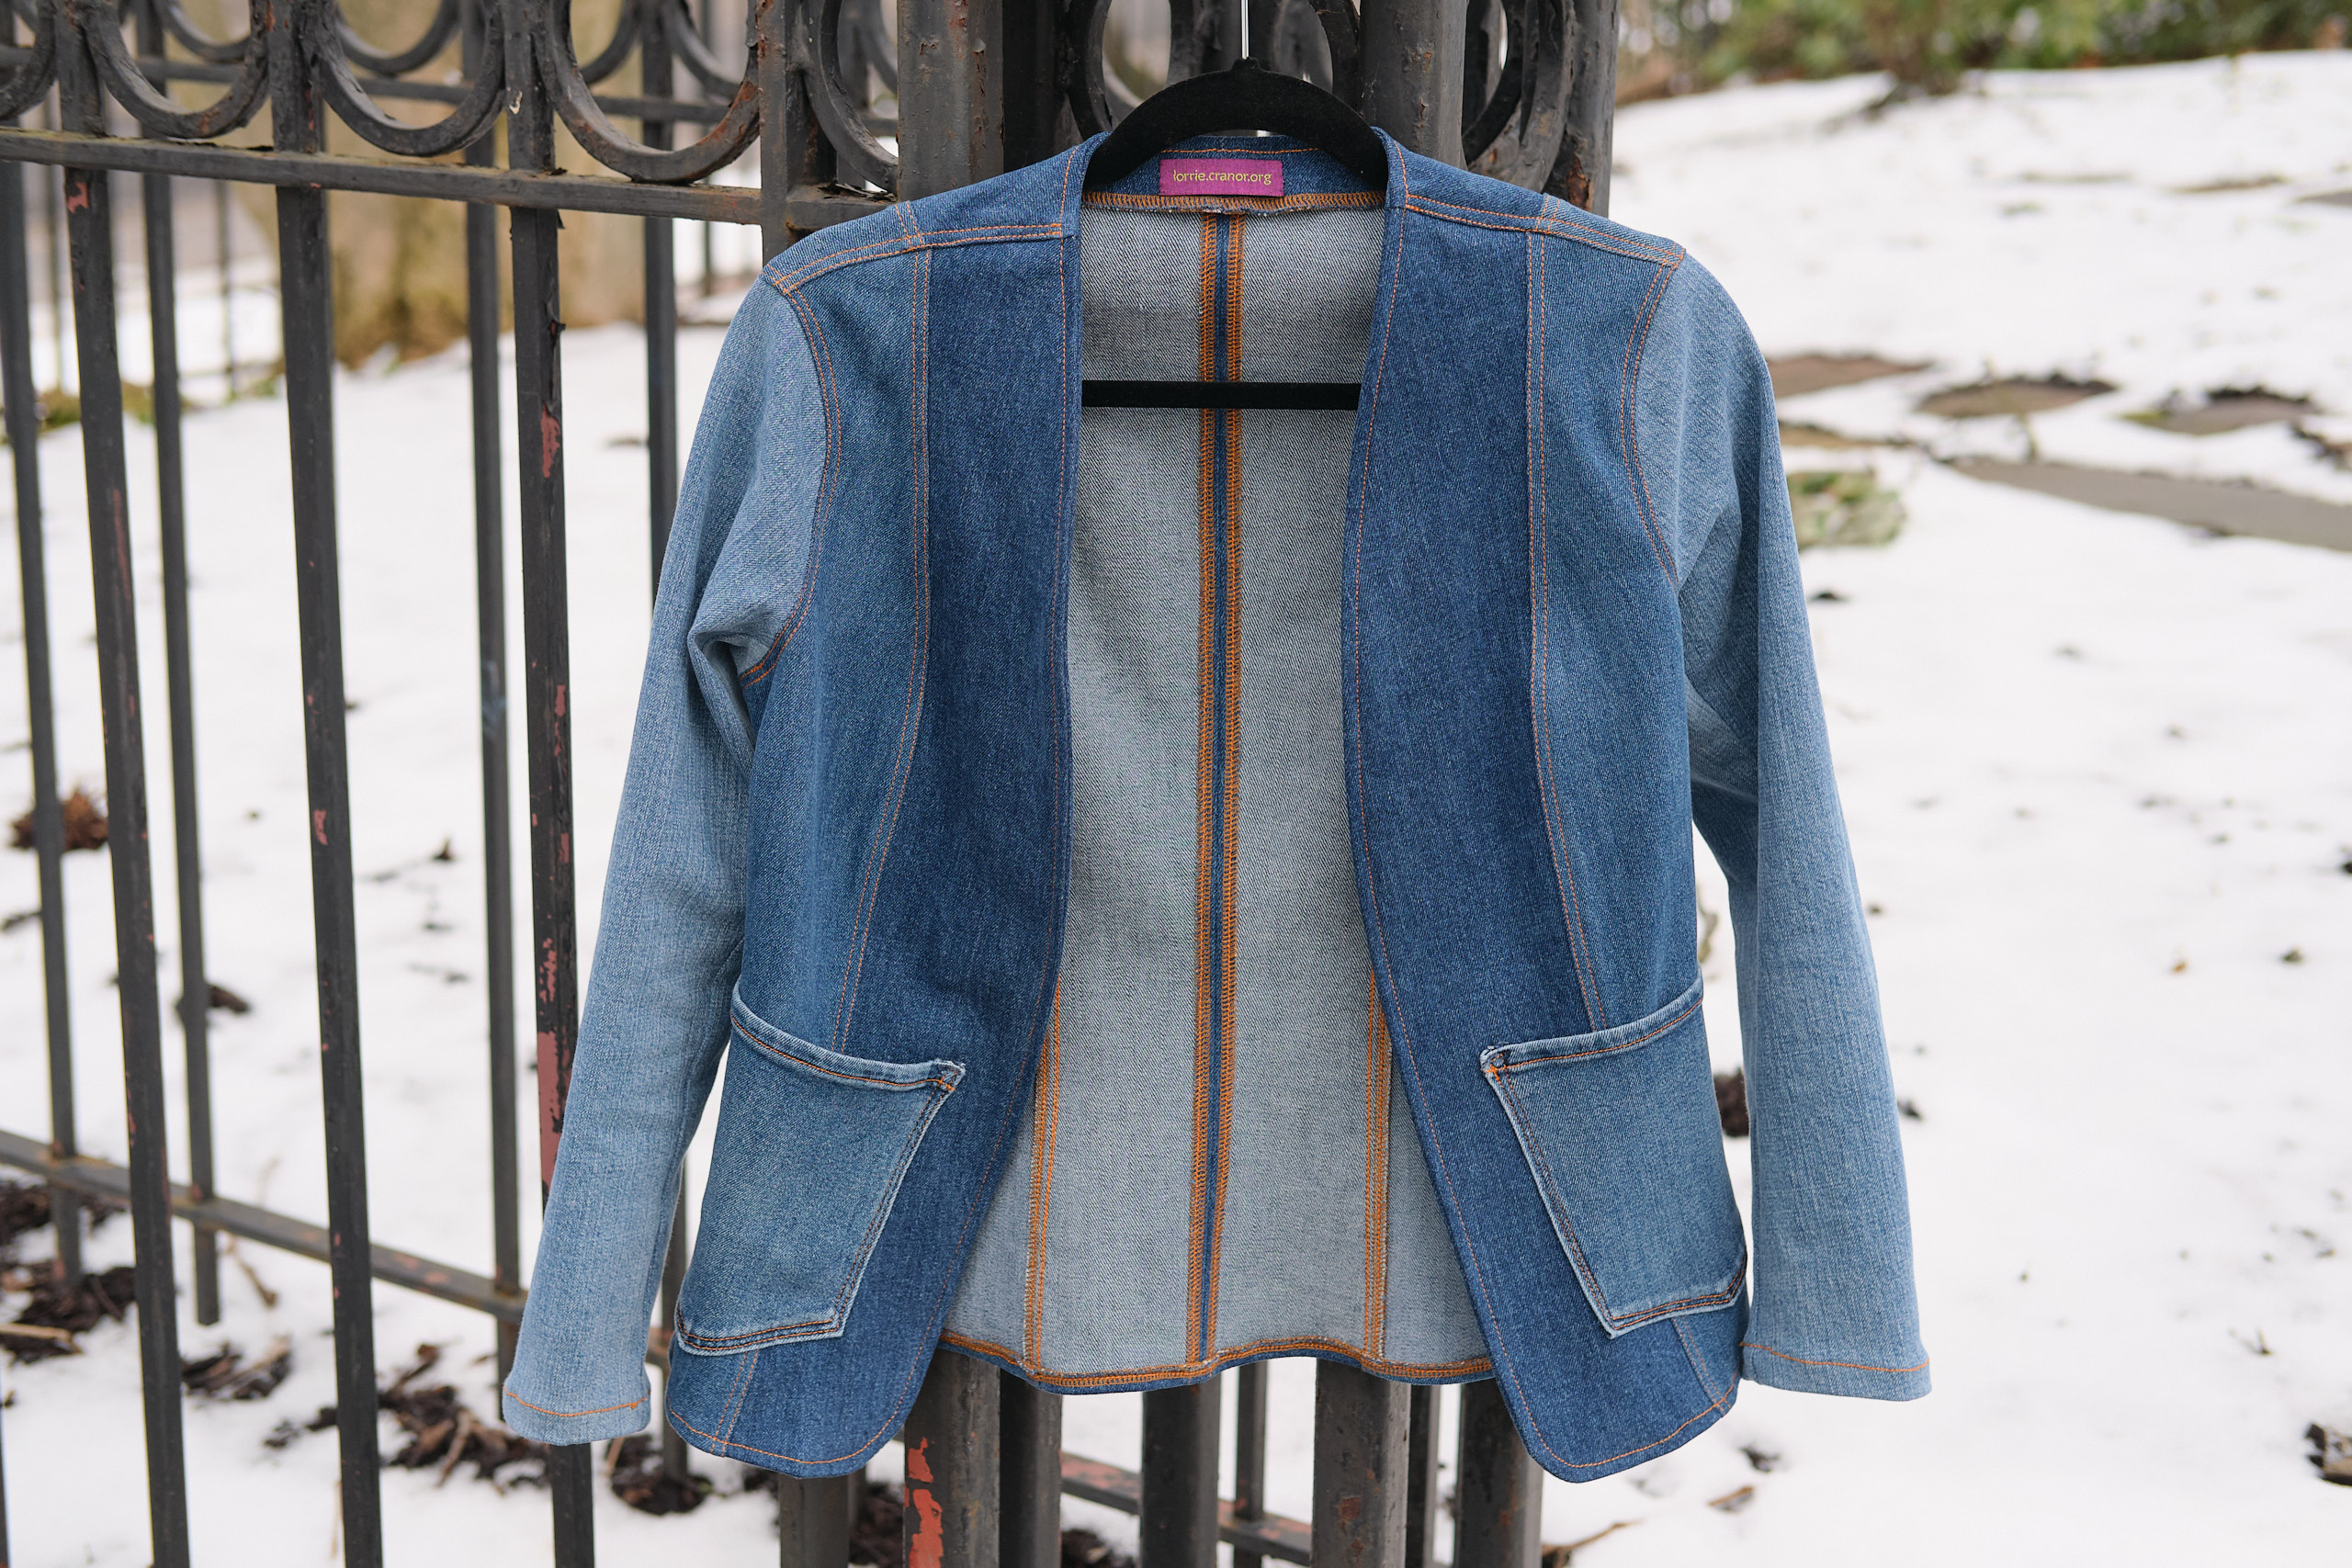
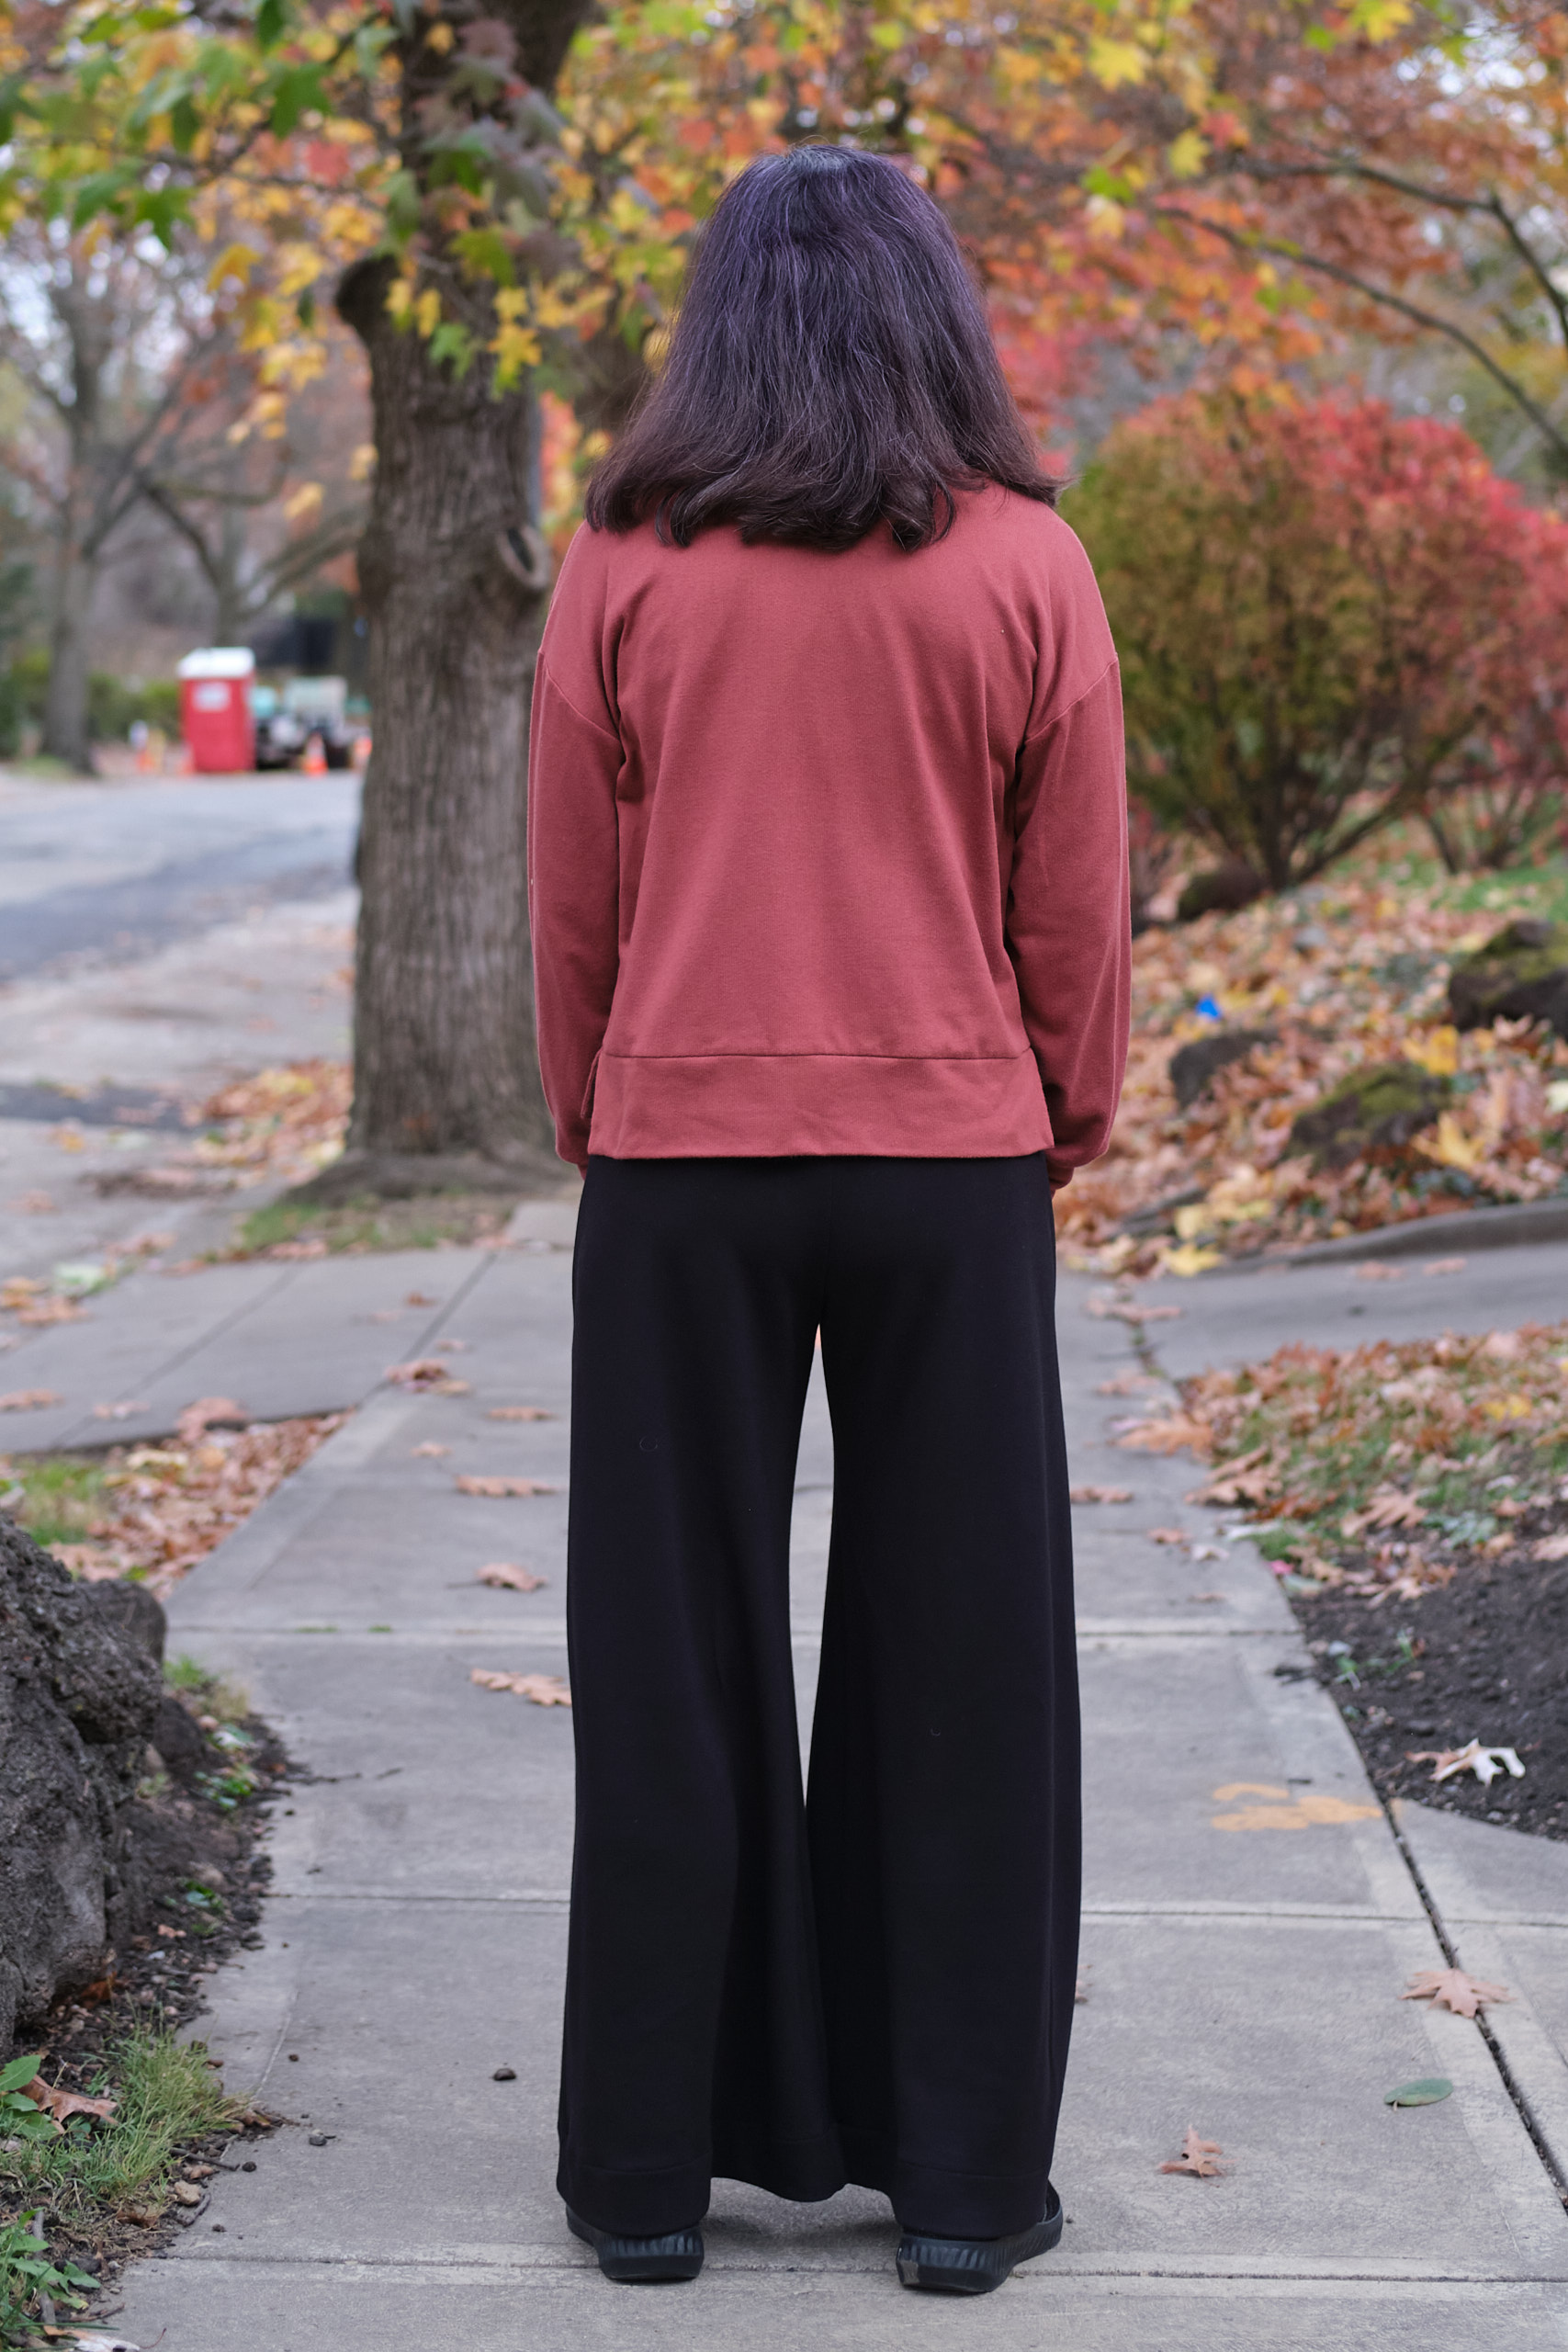
I didn’t get around to working on the jacket project until New Year’s Day. First, I spent a lot of time debating the color placement and where to place each pattern piece. I decided to go with a symmetrical color arrangement and place the pieces from the darkest in the center to the lightest on the sleeves.
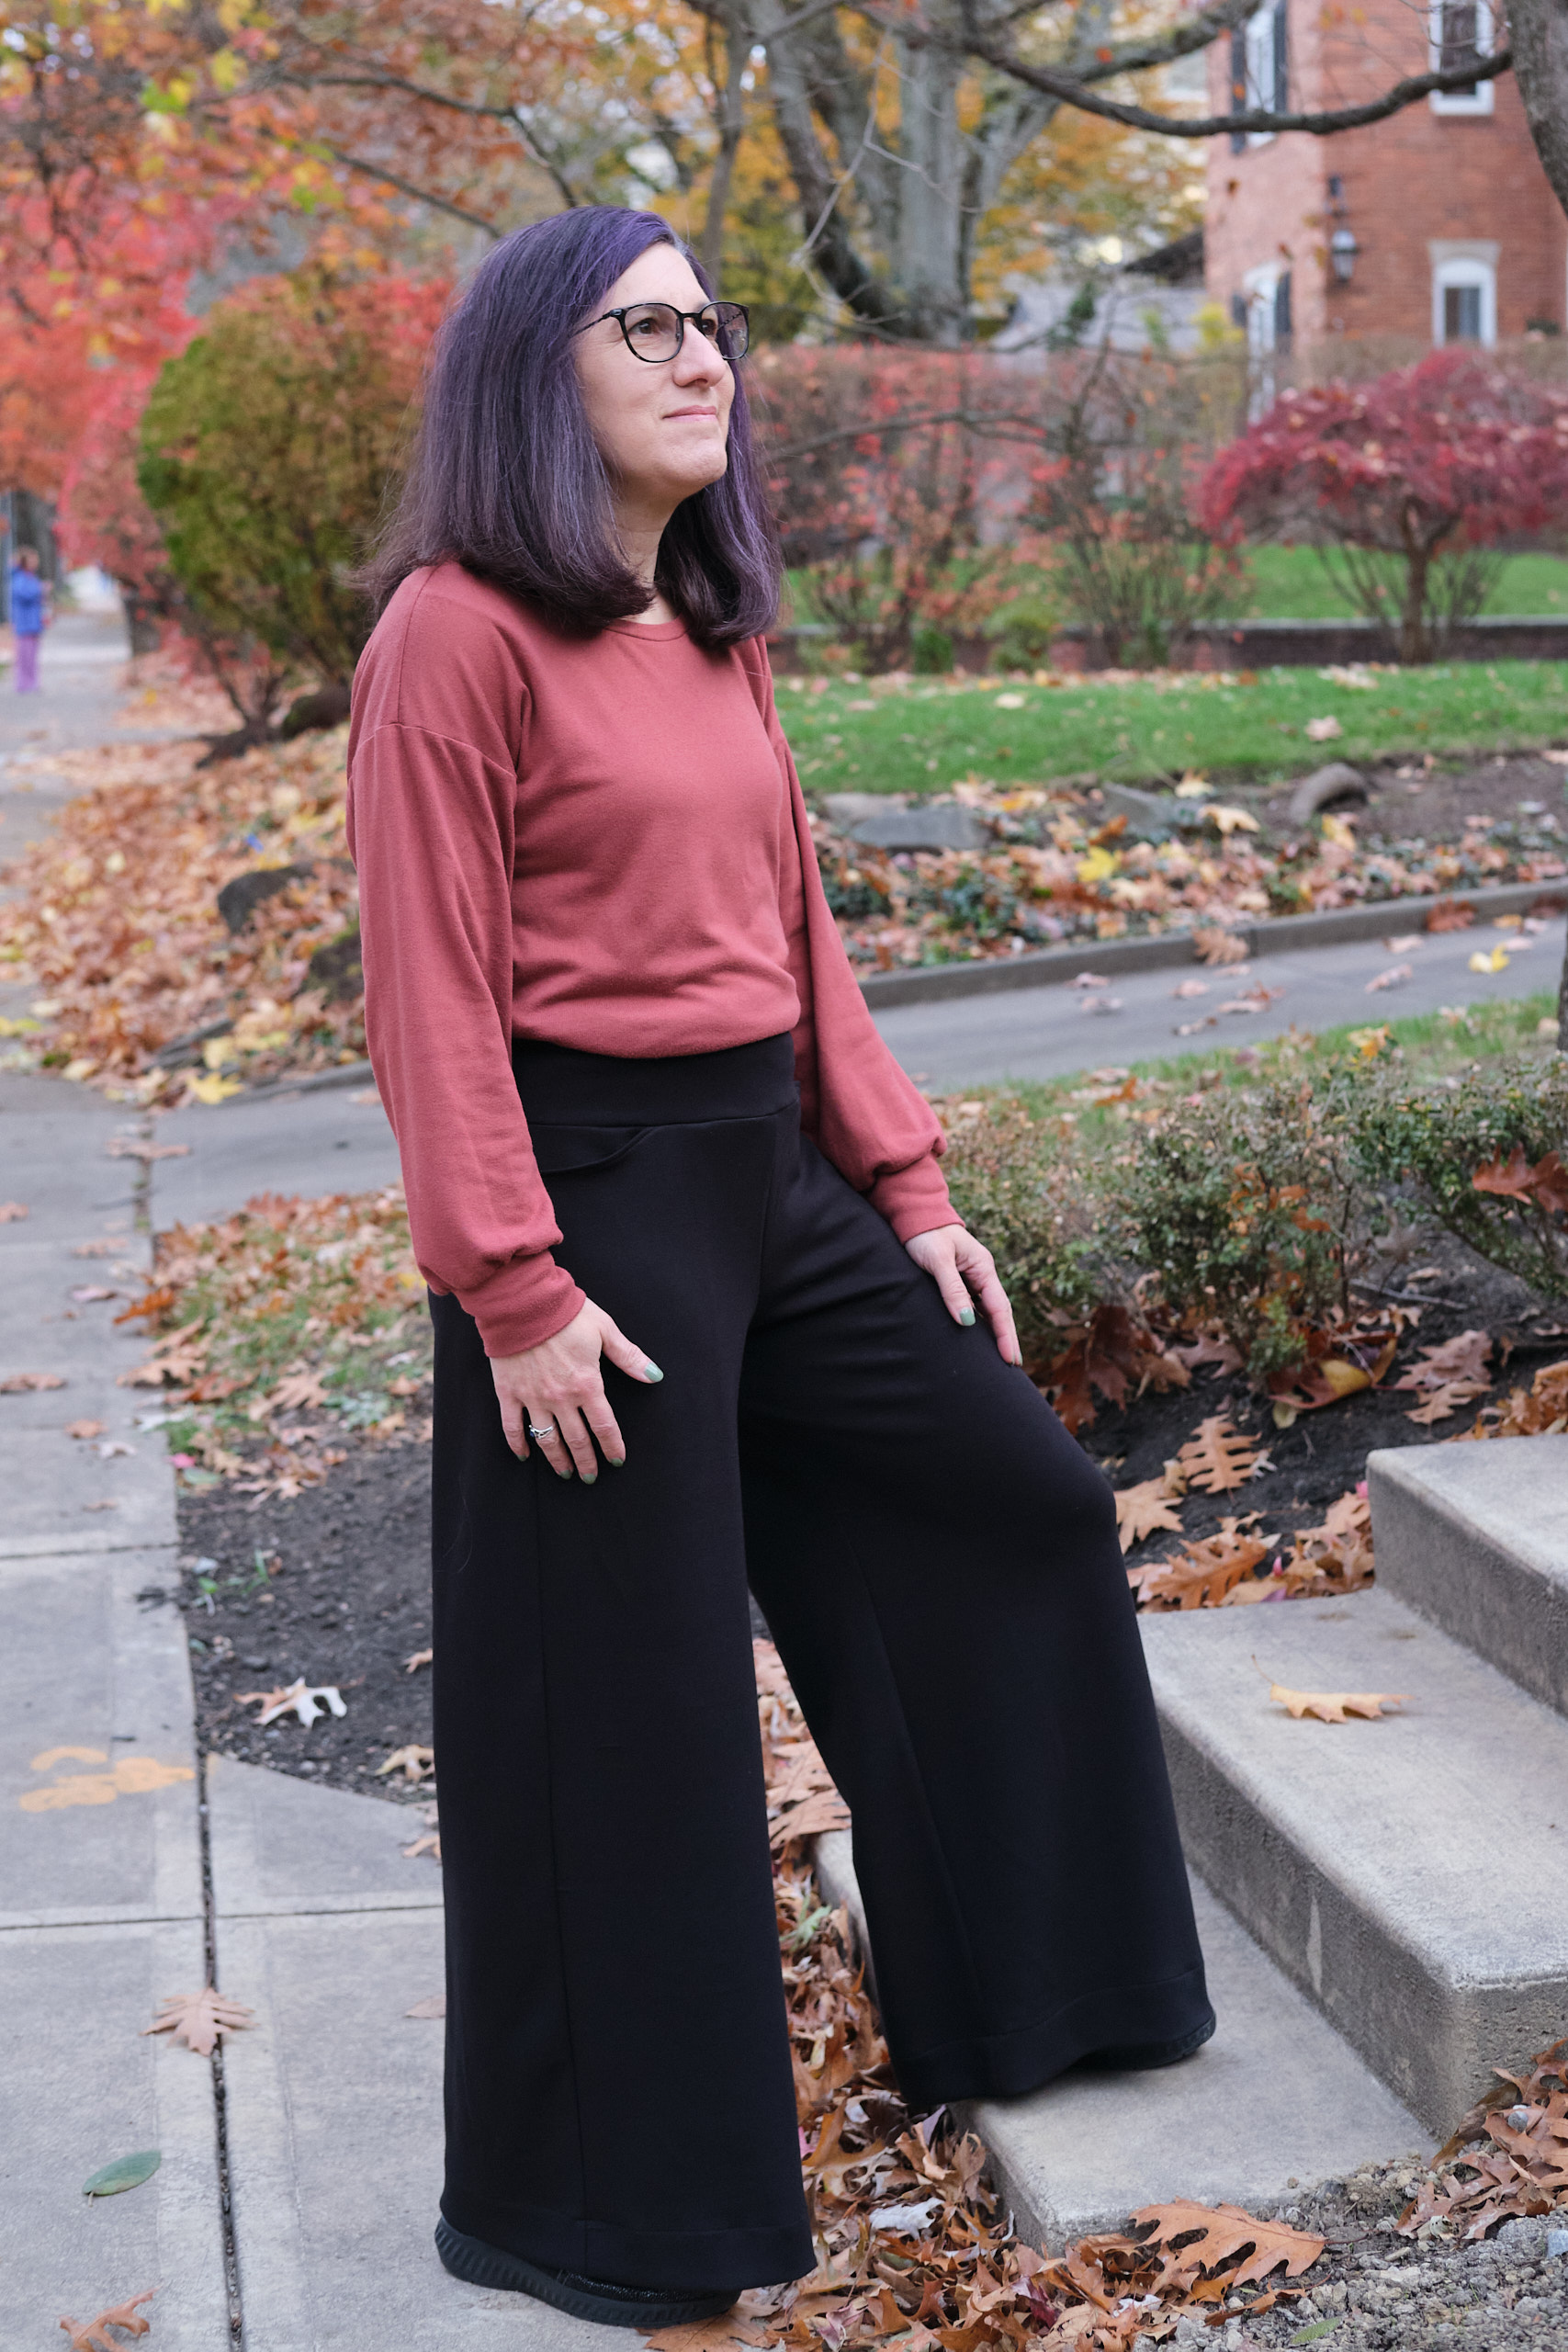
I previously spent a lot of time working out adjustments to the size 4 hip length version of the jacket pattern to fit me better. These worked great on my grey and magenta ponte jackets so I used the same pattern file I had already prepared with all of these adjustments: small-bust adjustment (performed by redrawing the inner curve on the side-front pieces to have less of a contour and then shortening the center front pieces to match the length of the new curve), sloped-shoulder adjustment (3/4 inch), round-back adjustments (two 5/8-inch adjustments near top and bottom of arscye), back neckline lowered by about 3/4 inch, bottom hem and sleeves shortened by 2 inches. The only thing I did differently was using the jeans pockets rather than the pattern pocket pieces and using the normal pattern facings rather than the wider facings I used previously. There’s always a risk that a pattern fitted with one type of fabric won’t fit right when cut from a very different type of fabric. Thankfully, my denim version seems to fit pretty much the same way as the ponte.
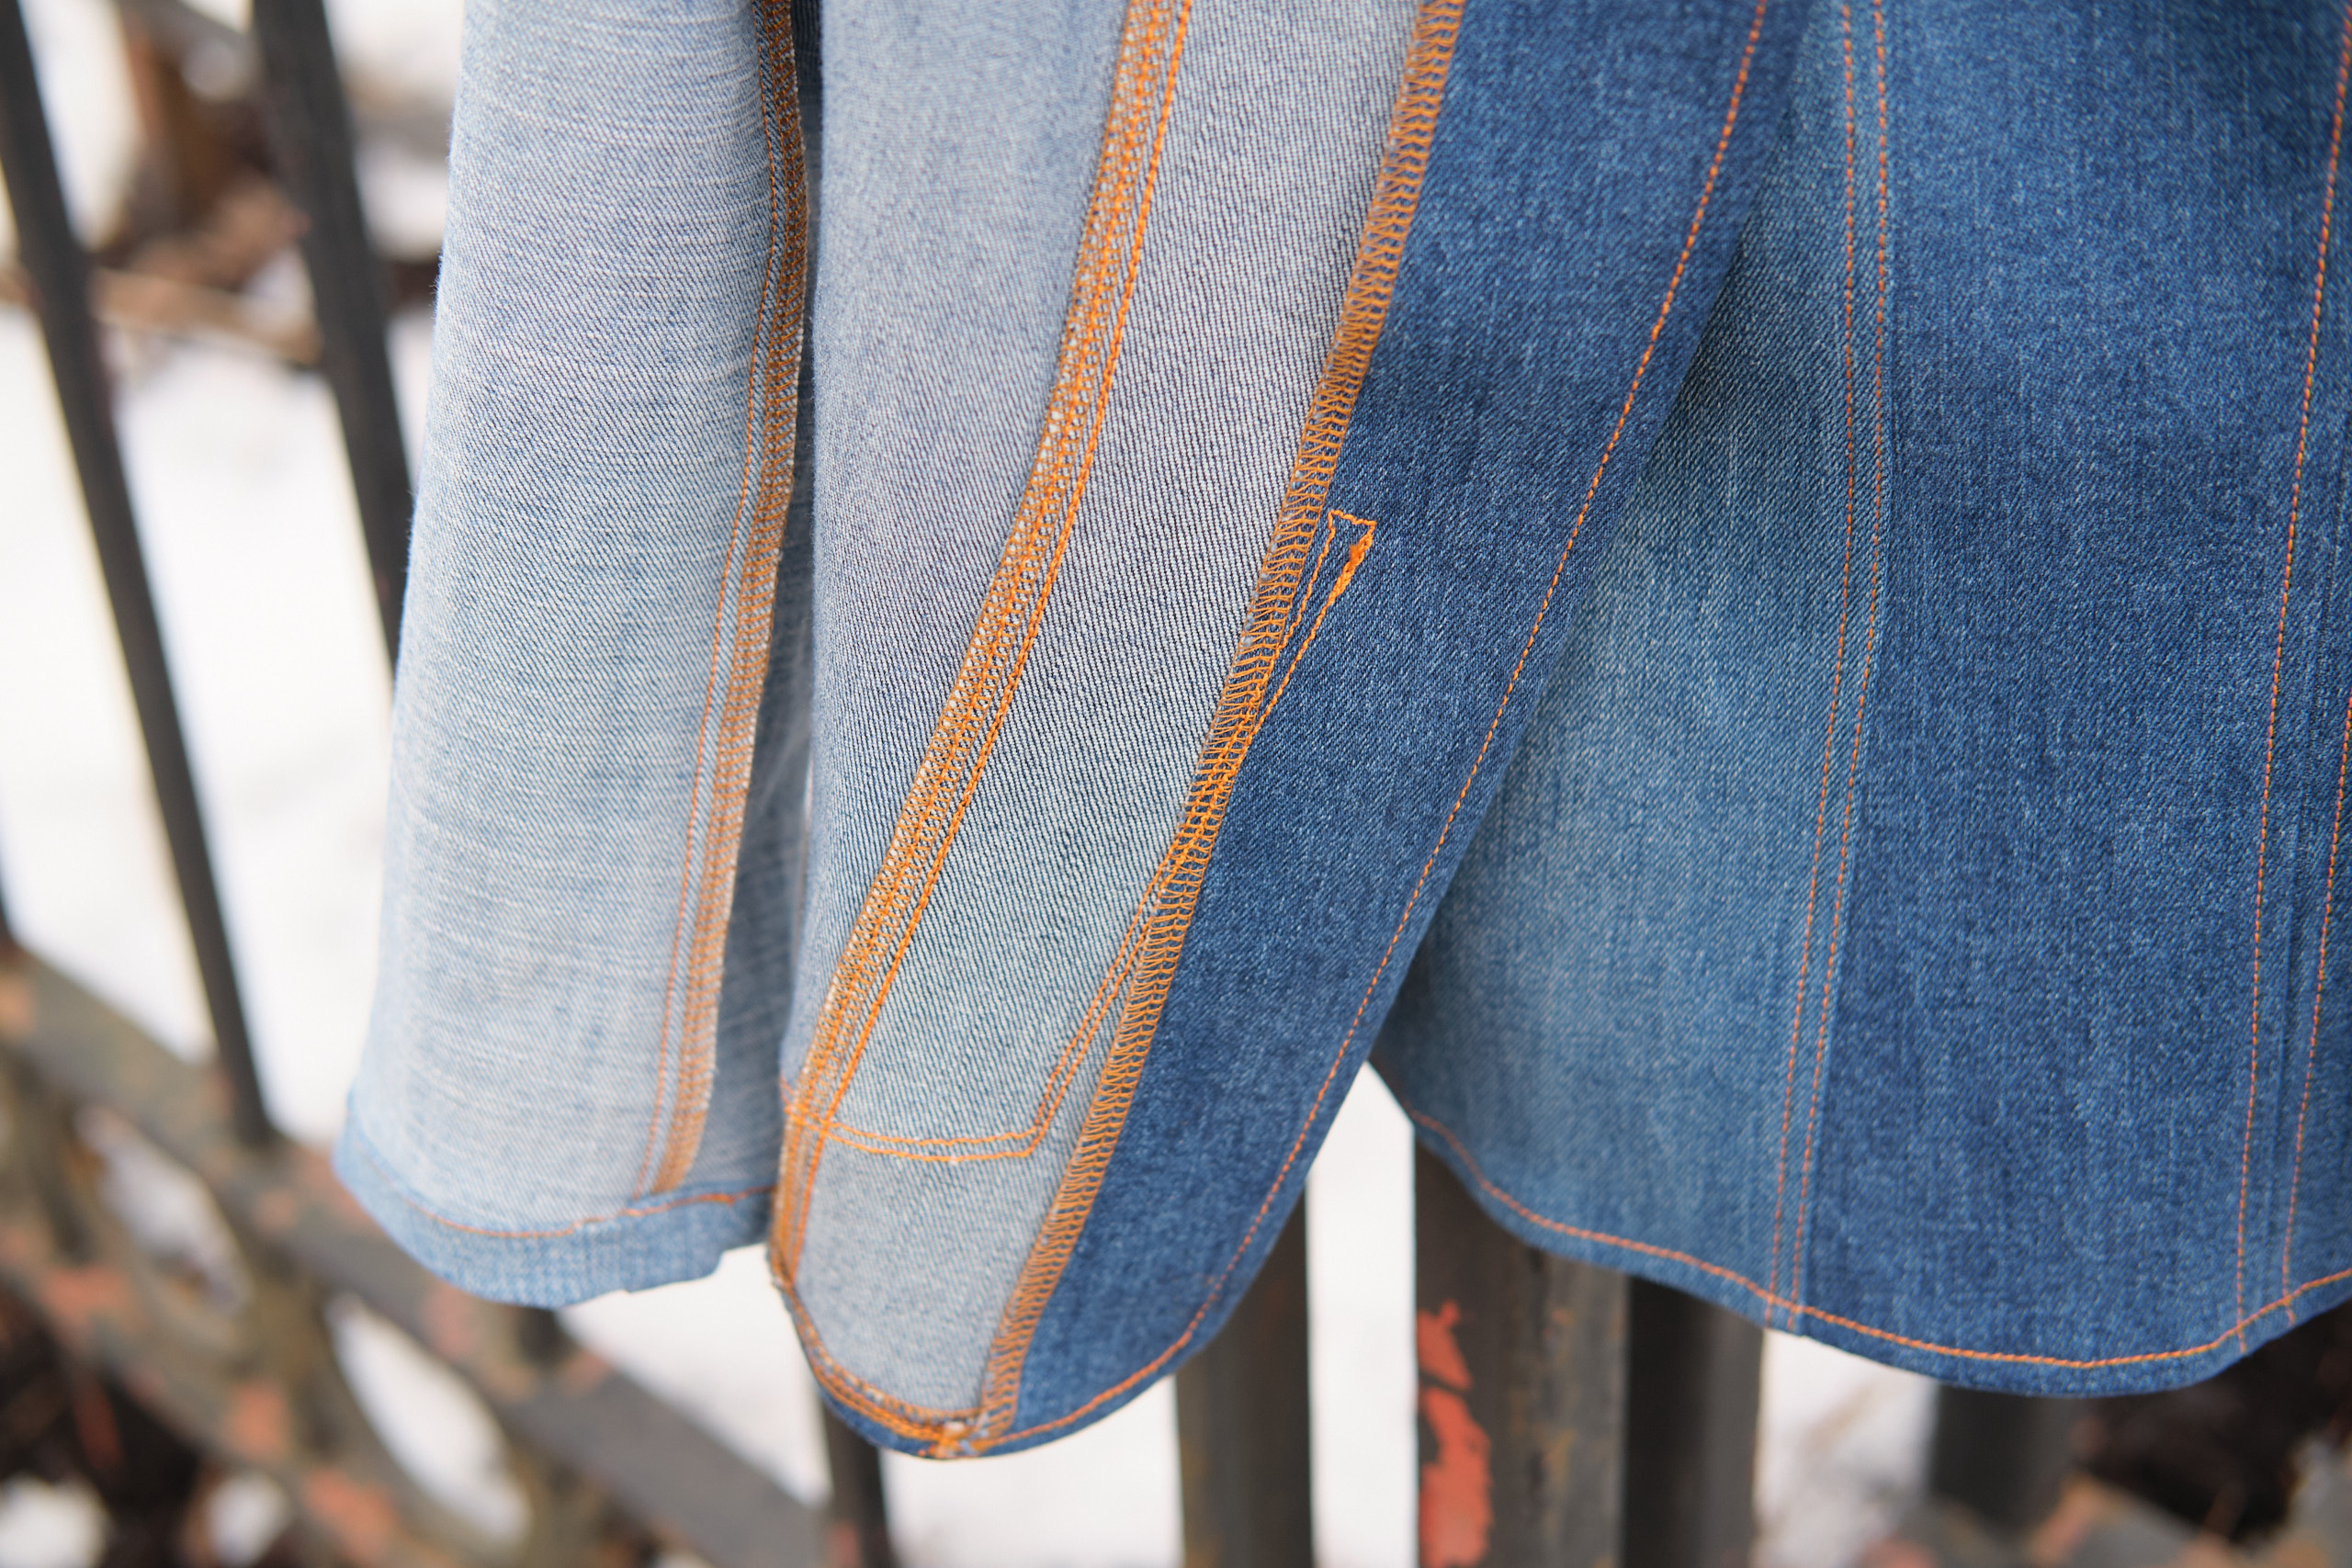
I carefully cut out all the pieces, making sure to pair pieces from the left and right legs of each pair, cut at approximately the same height on the leg. I accidentally cut one of the front side pieces too short and wasn’t going to be able to cut a piece of a similar color at the full size so I just cut the missing part and spliced them together. I knew most of this seam would be under a pocket and hardly noticeable.
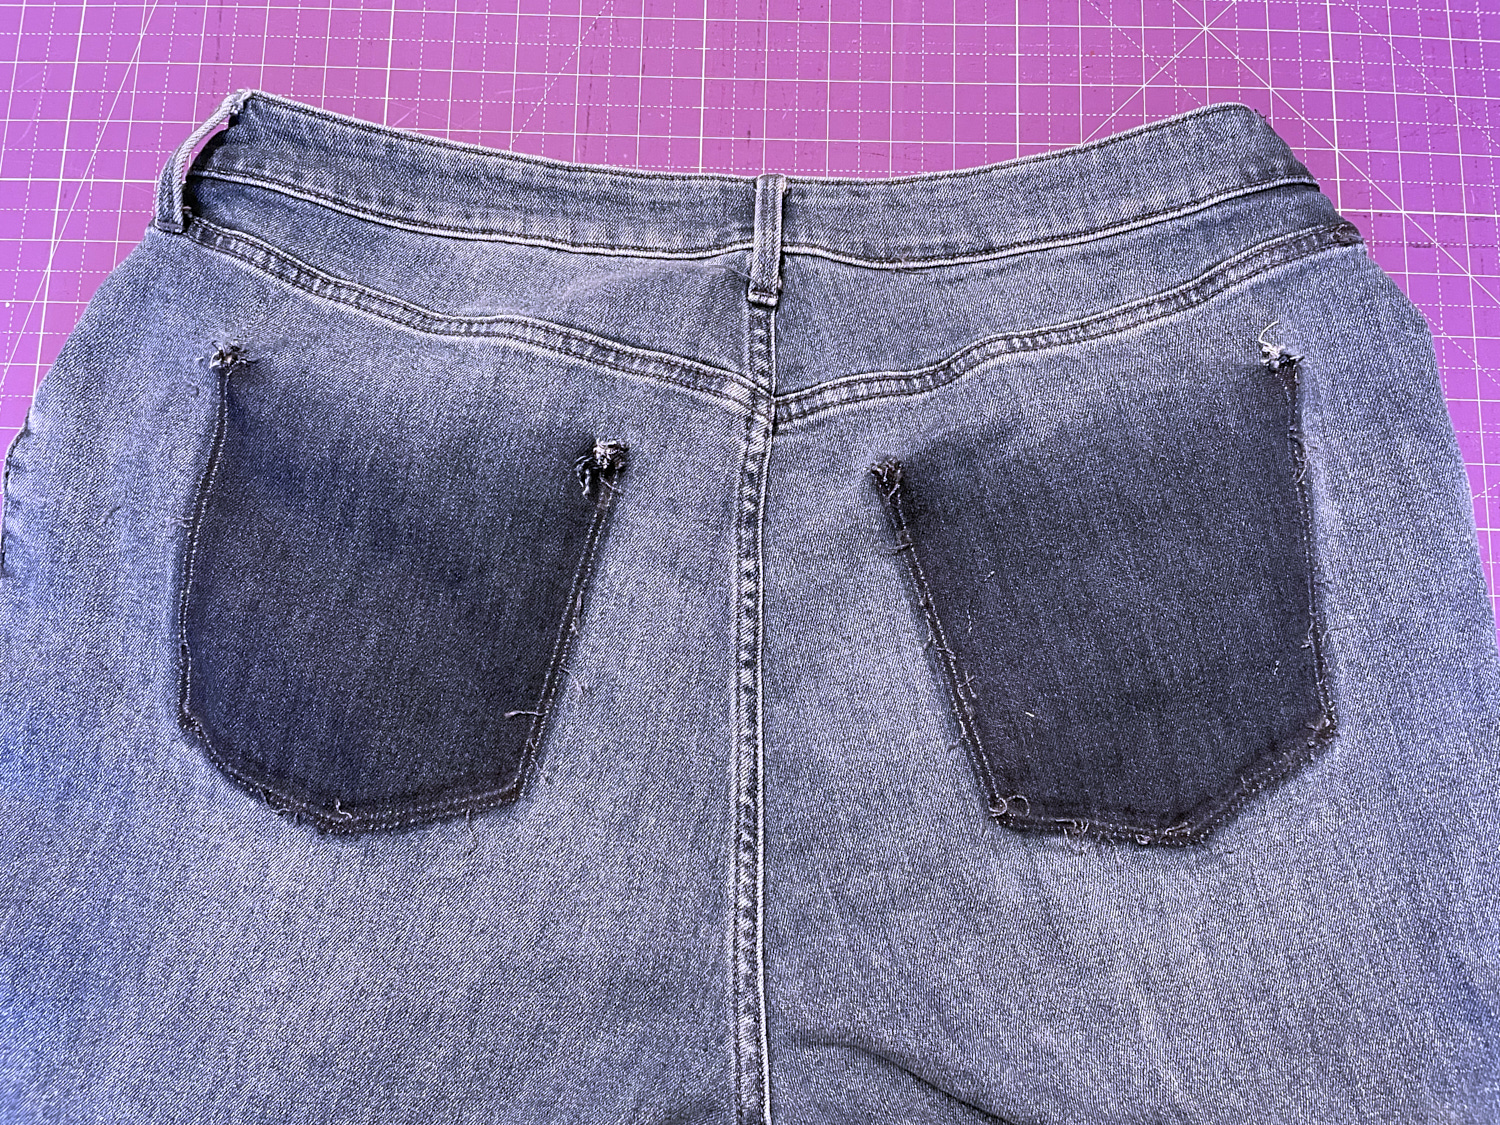
Rather than using the pocket design included in the pattern, I decided to use the rear pockets from one pair of jeans. I carefully unpicked them and removed all the top stitching. Unpicking pockets from jeans is mostly easy as they are attached with a chain stitch that easily unravels – except for the corners, which are thoroughly attached with a bartack and require some effort and a bit of elbow grease to remove. I ended up using most of the legs of all three pairs of jeans. There is still a little bit of leg fabric and seat fabric that might be used for other projects that can use smaller pieces.
I also spent some time studying the stitching on different brands of jeans and denim jackets to see what color top stitching thread is used and where the top stitching is placed. I also read some blog posts on jeans anatomy. Some jeans match the top stitching to the denim color, others use a light yellow gold, and still others a more orangy gold. I’m sure there are other variations too. I observed that most jeans top stitching is done in two parallel lines, and generally as a chain stitch. Of course, it can’t be done everywhere because once you close both sides of a pant leg or sleeve, it is no longer possible to topstitch. Thus, one side is topstitched while the leg or sleeve is still open and the other side doesn’t get topstitched. I noticed that jackets don’t usually have topstitching on the side seams, but there is no practical reason not to do it so I decided to do it anyway.
I threaded my sewing machine with 30 weight polyester topstitching thread in a golden orange color that I thought would nicely “pop” against the blue denim. After some tests on denim scraps, I decided I would use the topstitching thread for piecing as well so as to avoid lots of thread changes. I set a slightly longer-than-normal stitch length of 3. I did not opt for chain stitching as that would have required lots of resets on my serger. I found I could achieve the parallel topstitching lines by stitching very close to the seam with my edge foot with the needle shifted 3 clicks, and then a quarter inch over using my quarter-inch quilting guide foot. I threaded the serger with four spools of regular polyester overlocking thread in a similar color as the topstitching thread.
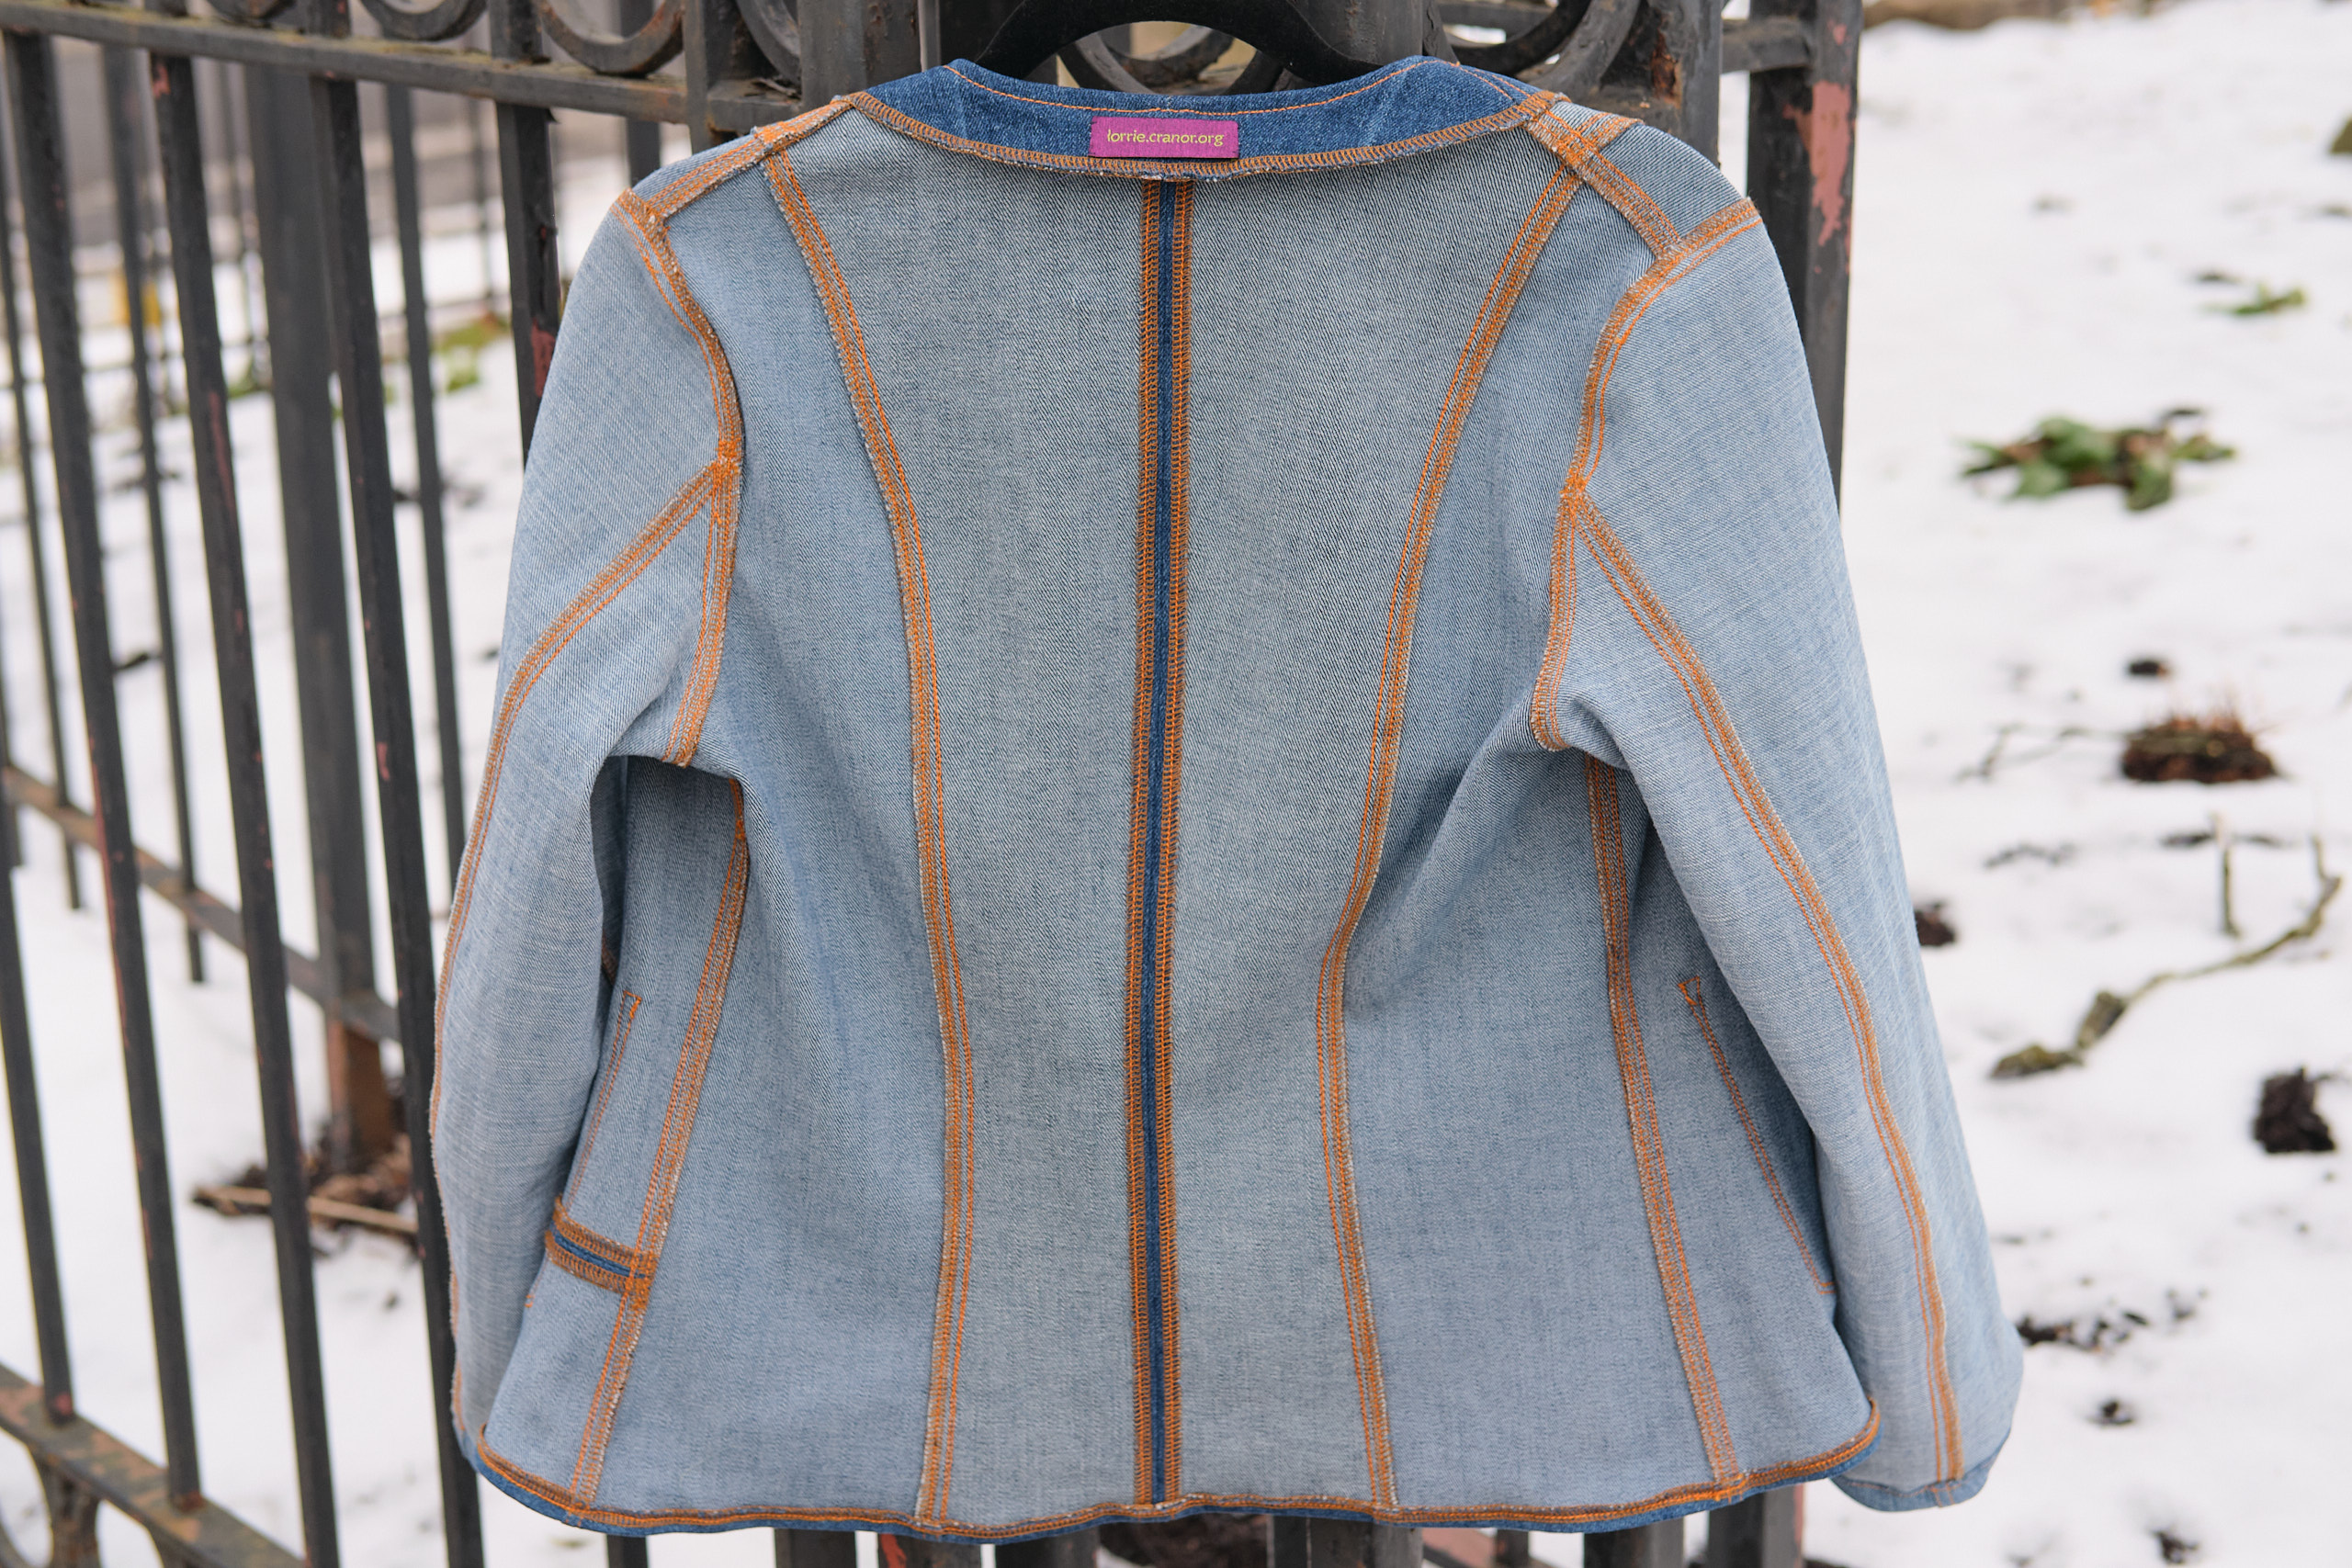
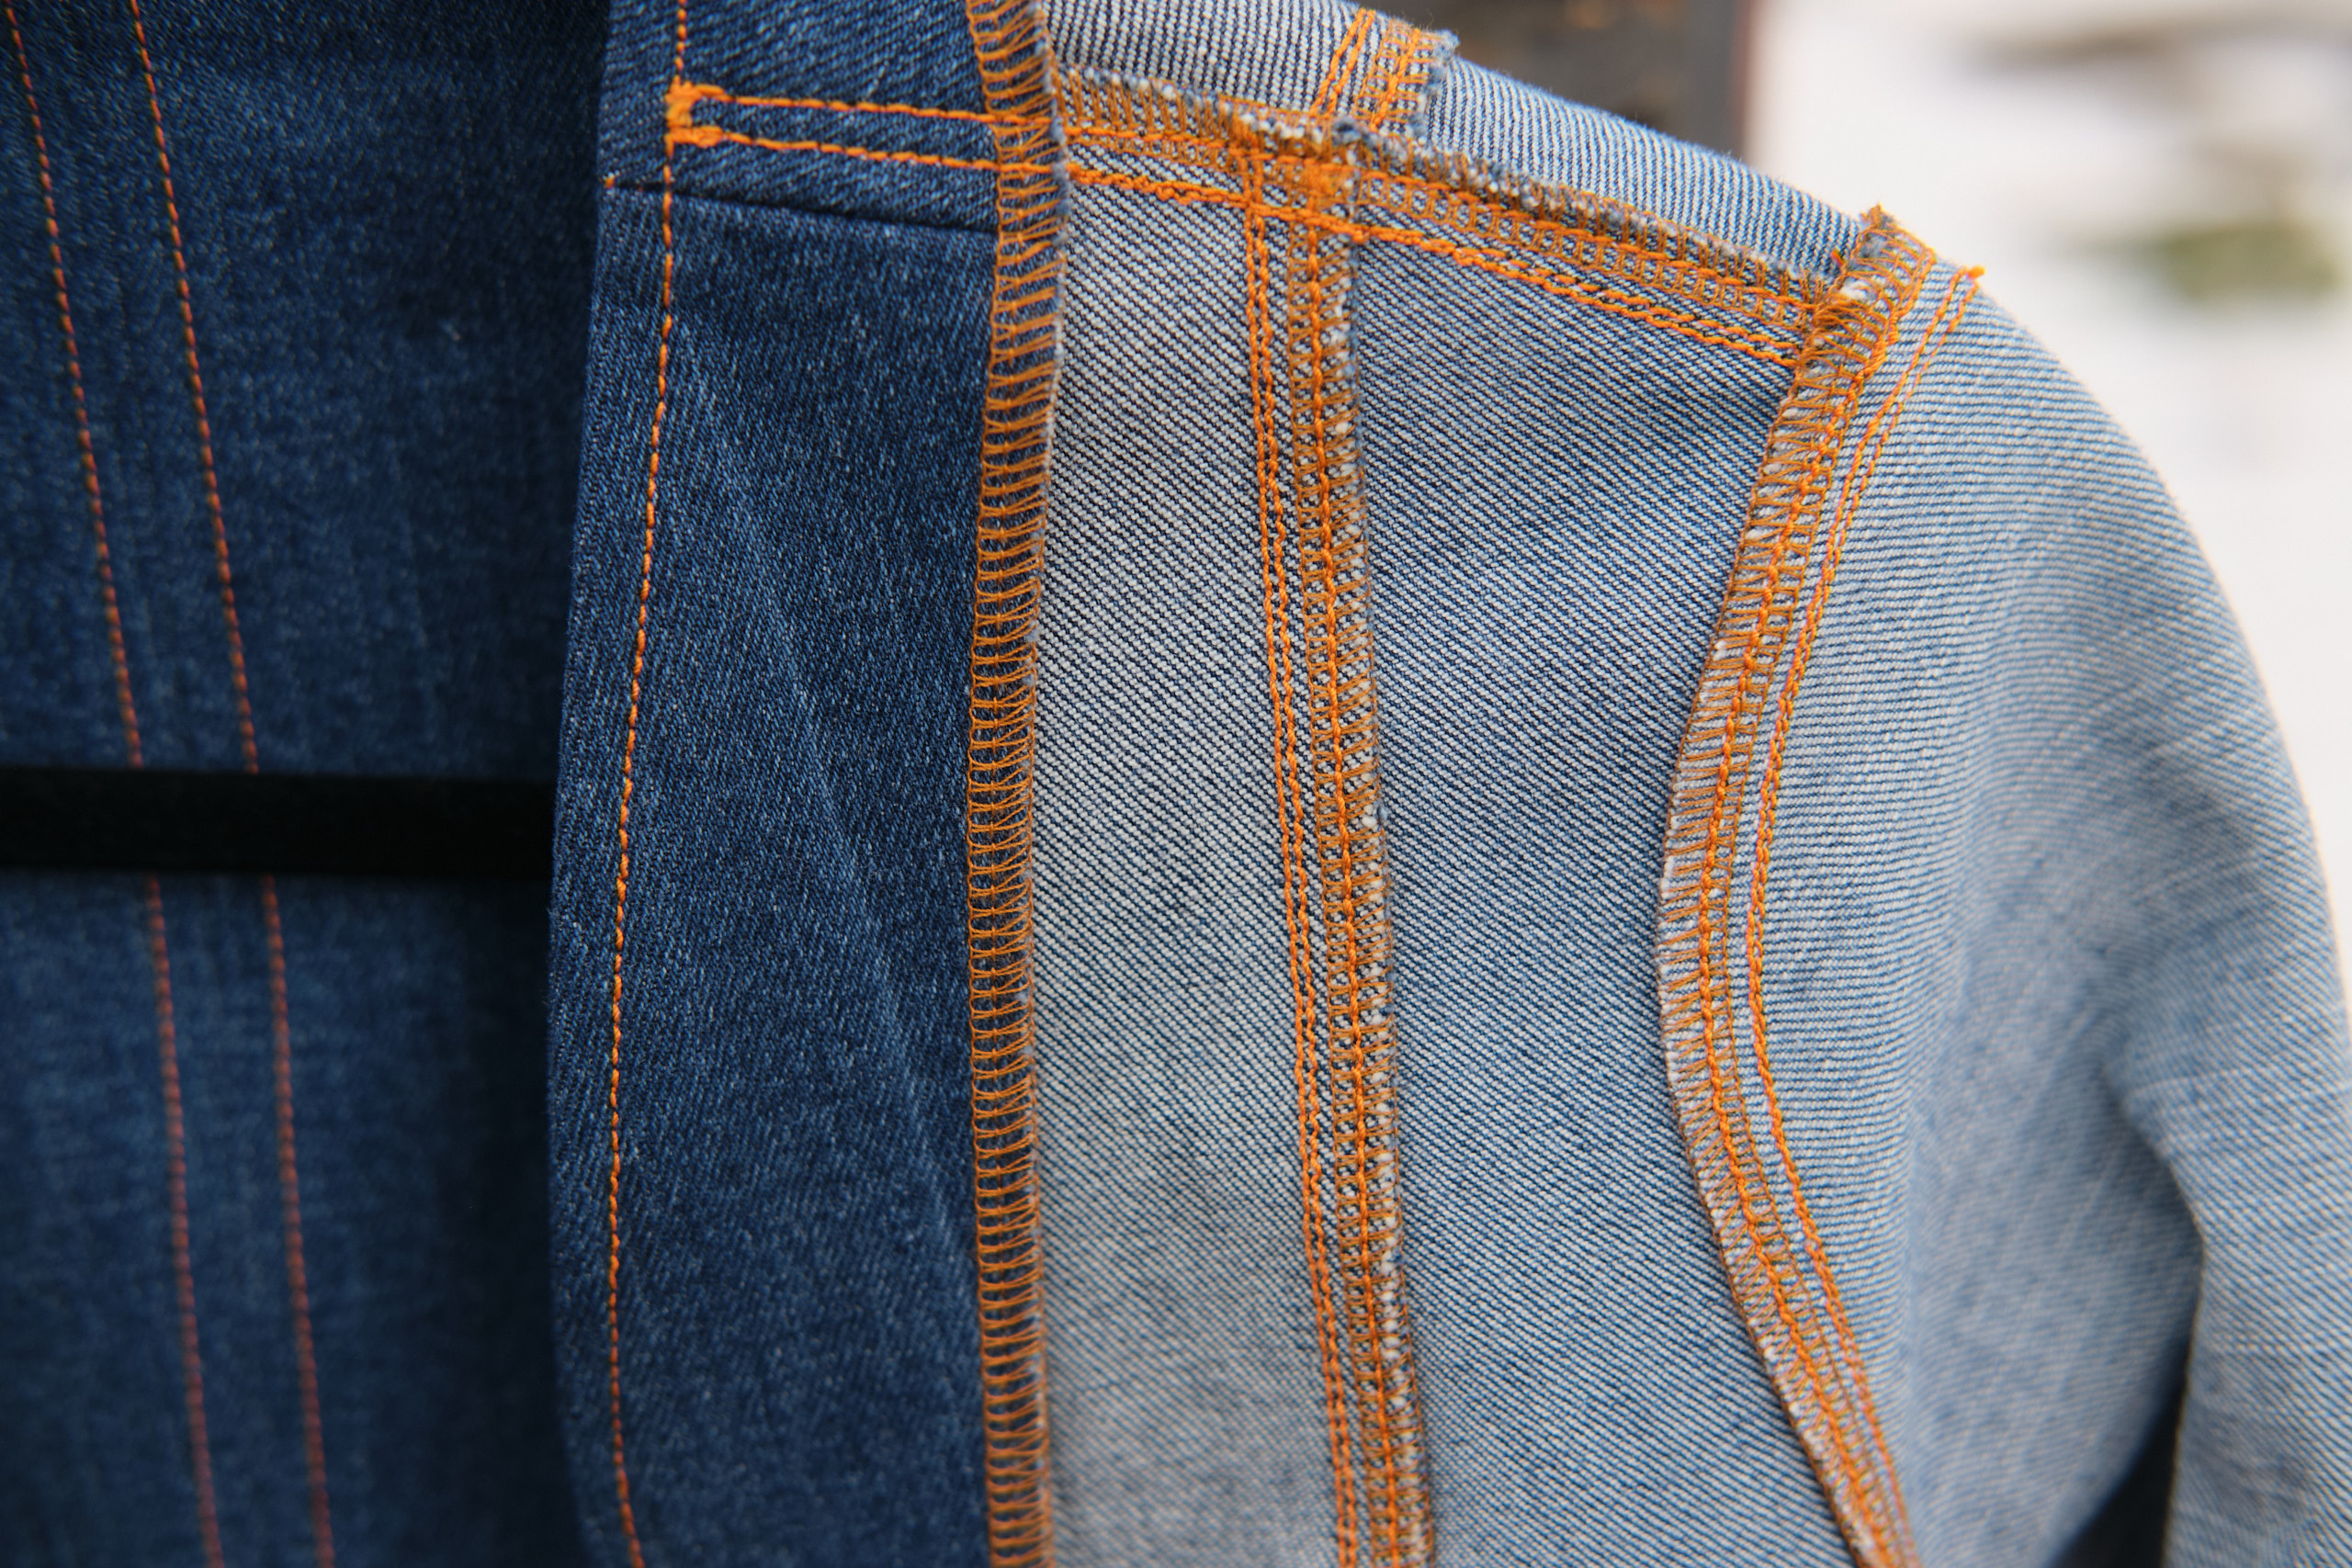
The pieces of the jacket were easy to sew together and the topstitching looked awesome. It took a while as I stitched most seams four times: first I joined the fabric with a 3/8-inch seam allowance on my sewing machine, then I cleaned up and overlocked the edges (without trimming fabric, just stray threads) on my serger, then pressed the seam with steam, then I sewed the two parallel lines of topstitching. It was a lot of work, but also somewhat meditative to sew.
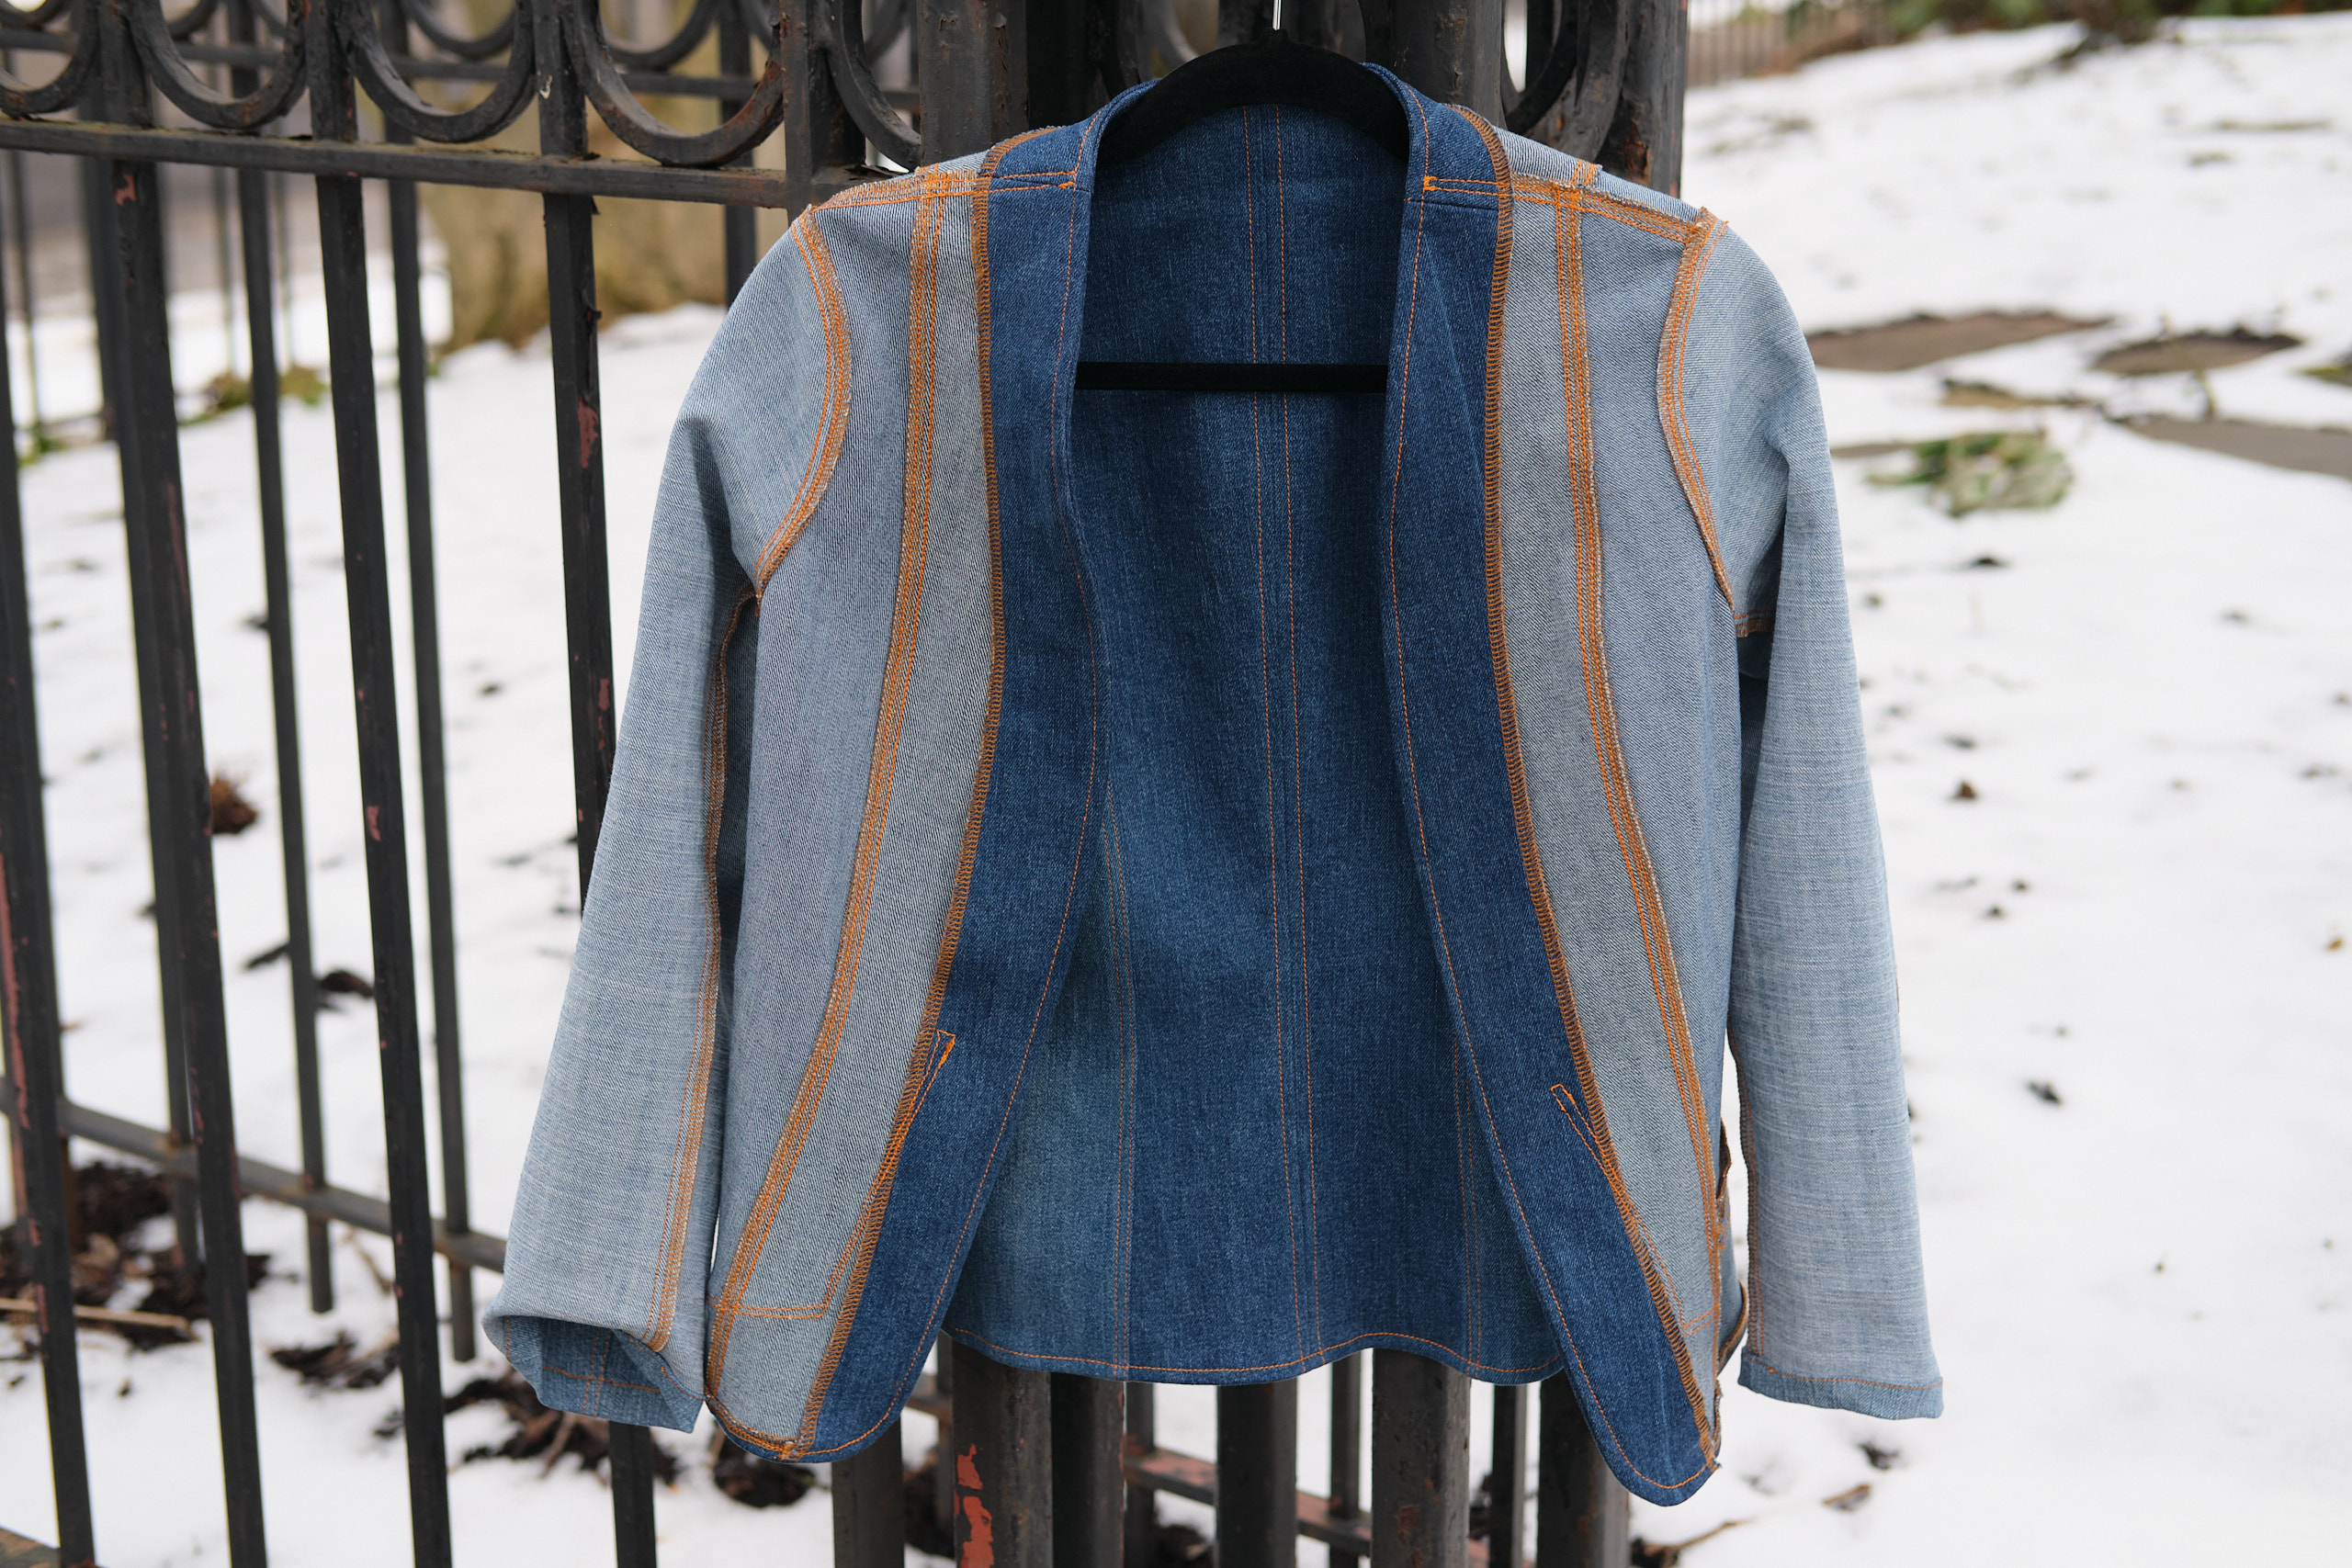
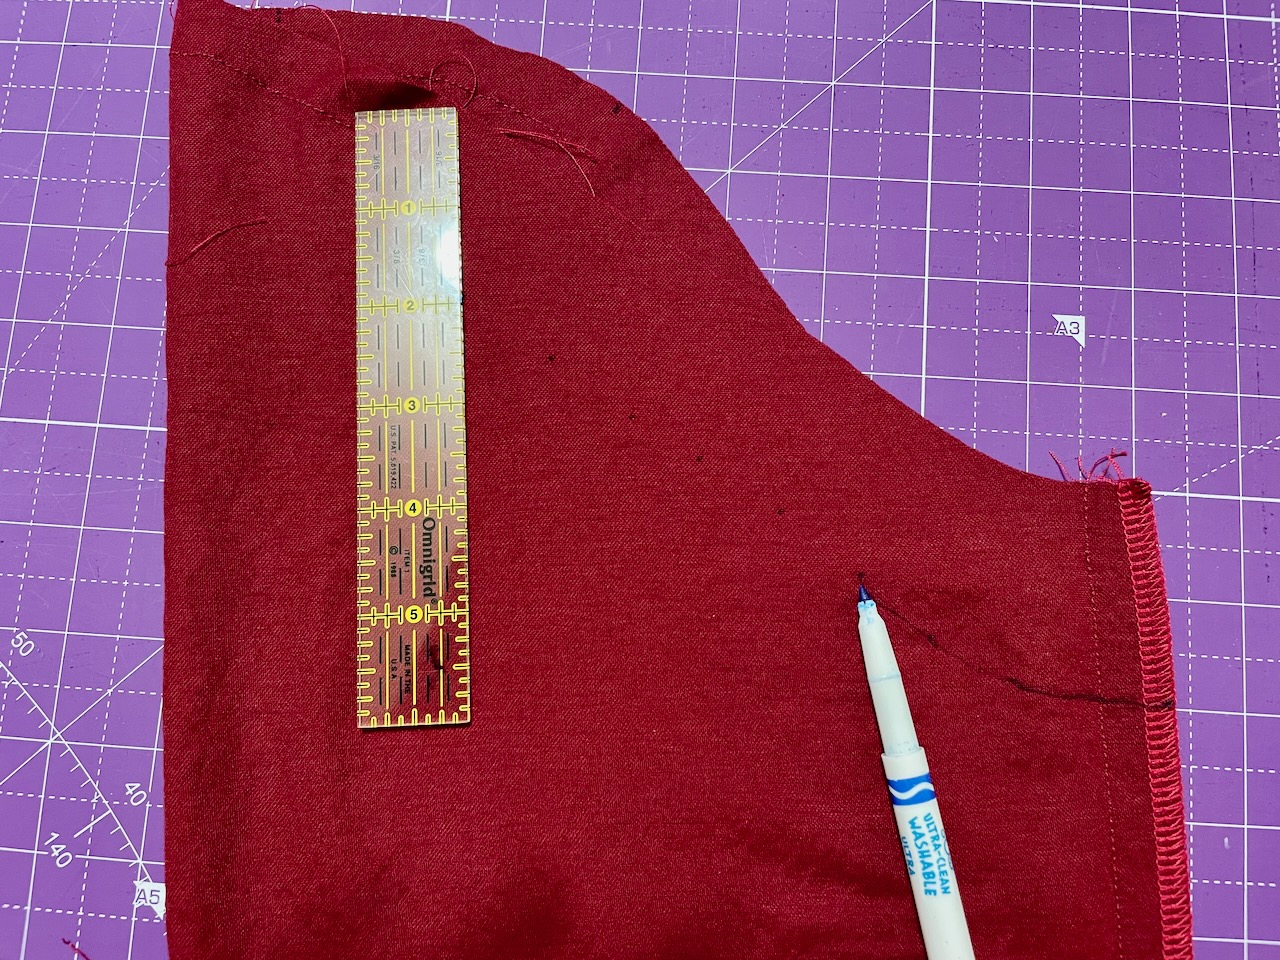
The facing pieces were more problematic. I debated whether the fusible interfacing was needed and also whether I should make the facing out of denim or a lighter fabric. I eventually opted for denim with the fusible interfacing, as recommended in the pattern instructions. I cut the facings as the pattern specified and did not make them wider as I had with the last two jackets. I had previously had trouble using non-stretch interfacing with stretchy ponte knit fabric. This time I didn’t think that would be a problem since I was using woven fabric. However, the denim I used has a bit of stretch. I don’t fully understand how it happened, but after fusing the interfacing onto the facings and sewing the three facing pieces together, the facings ended up slightly longer than the jacket front pieces they were supposed to attach to. I decided to sew them on anyway and figured I could trim the bottoms. But I noticed as I was sewing with the interfacing side on the bottom, the jacket was stretching to match the size of the facings. But I could see if I was not careful it would stretch too much. With some careful flipping and a bit of unpicking I was eventually able to get the jack front and facings to match each other. This was a complete trial and error approach and not the ideal way to do it. There are some very thick layers where the interfaced pieces join. I’m still not sure what approach would have been better, but probably not what I did. Nonetheless, it all came together, I was able to iron it all flat, and it looks fine. I top stitched across the shoulder seam, which helped hold the facing in place. The pockets also ended up holding the facing down and so far I haven’t had the problem I had with the ponte jackets where the facing doesn’t lie flat and requires gluing.
I followed the pattern steps a bit out of order and sewed the whole jacket together before I started working on the sleeves. The order really doesn’t matter and I just wanted to be able to try it on without the sleeves and see how it was coming together. The sleeves went together easily. I topstitched the outer sleeve edge. I was also able to easily set the sleeve heads into the armscye without any need for ease stitches. I sewed a 3/8-inch seam on my sewing machine and then overlocked the edges of the armscye. I then topstitched all the way around the armscye. I hemmed the sleeves by folding under 1/4 inch and then again at 3/4 inch and top stitched.
The final step was adding the pockets. First I topstitched the top edge of the pocket where they had been previously topstitched (but I had removed all the thread). I tried on the jacket and pinned the pockets where I wanted them. Then I took off the jacket and measured carefully and repositioned slightly so they would be symmetrical. I followed the dark line from where the previous top stitching had been and top stitched a pair of parallel lines around the pocket edges. Then I pressed everything again and I was done!
The topstitching thread is heavy, and a bobbin doesn’t hold a lot of it. I had to reload my bobbin twice. I also used a lot of steam when pressing my seams. I lost track of how many times I had to refill my iron. I managed to get through the whole project without breaking a needle, which was good because I was using my last topstitching needle.
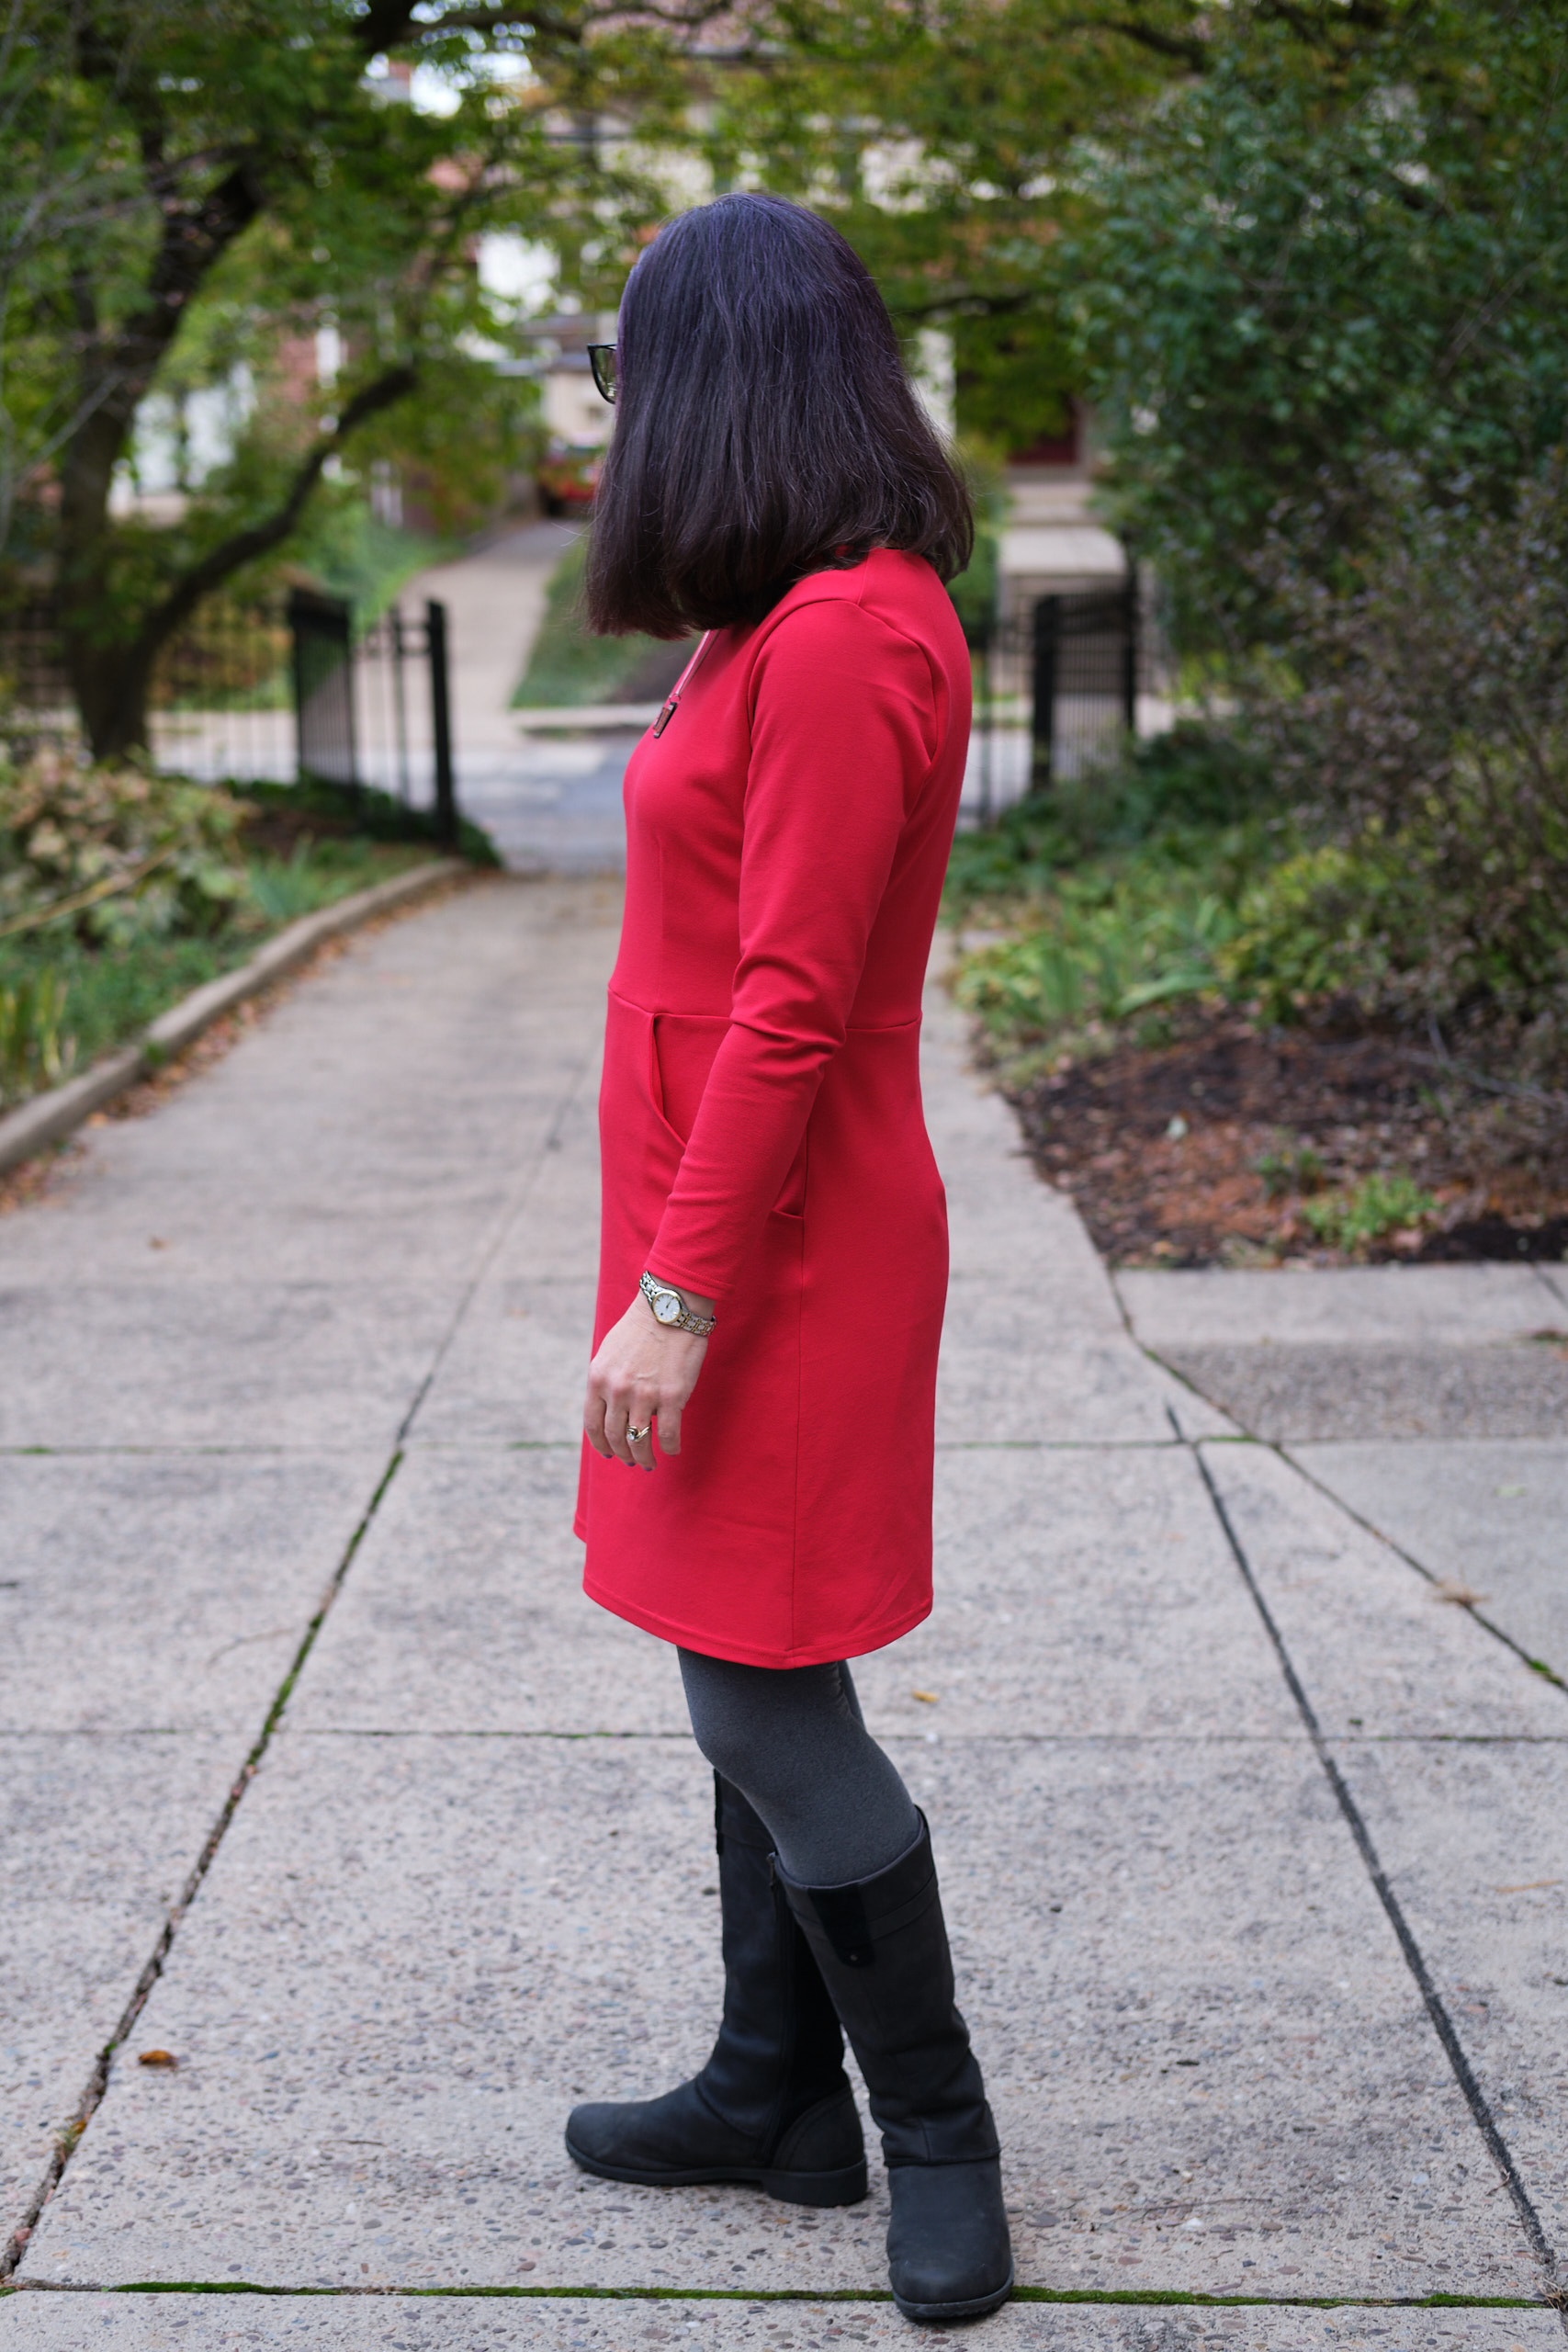
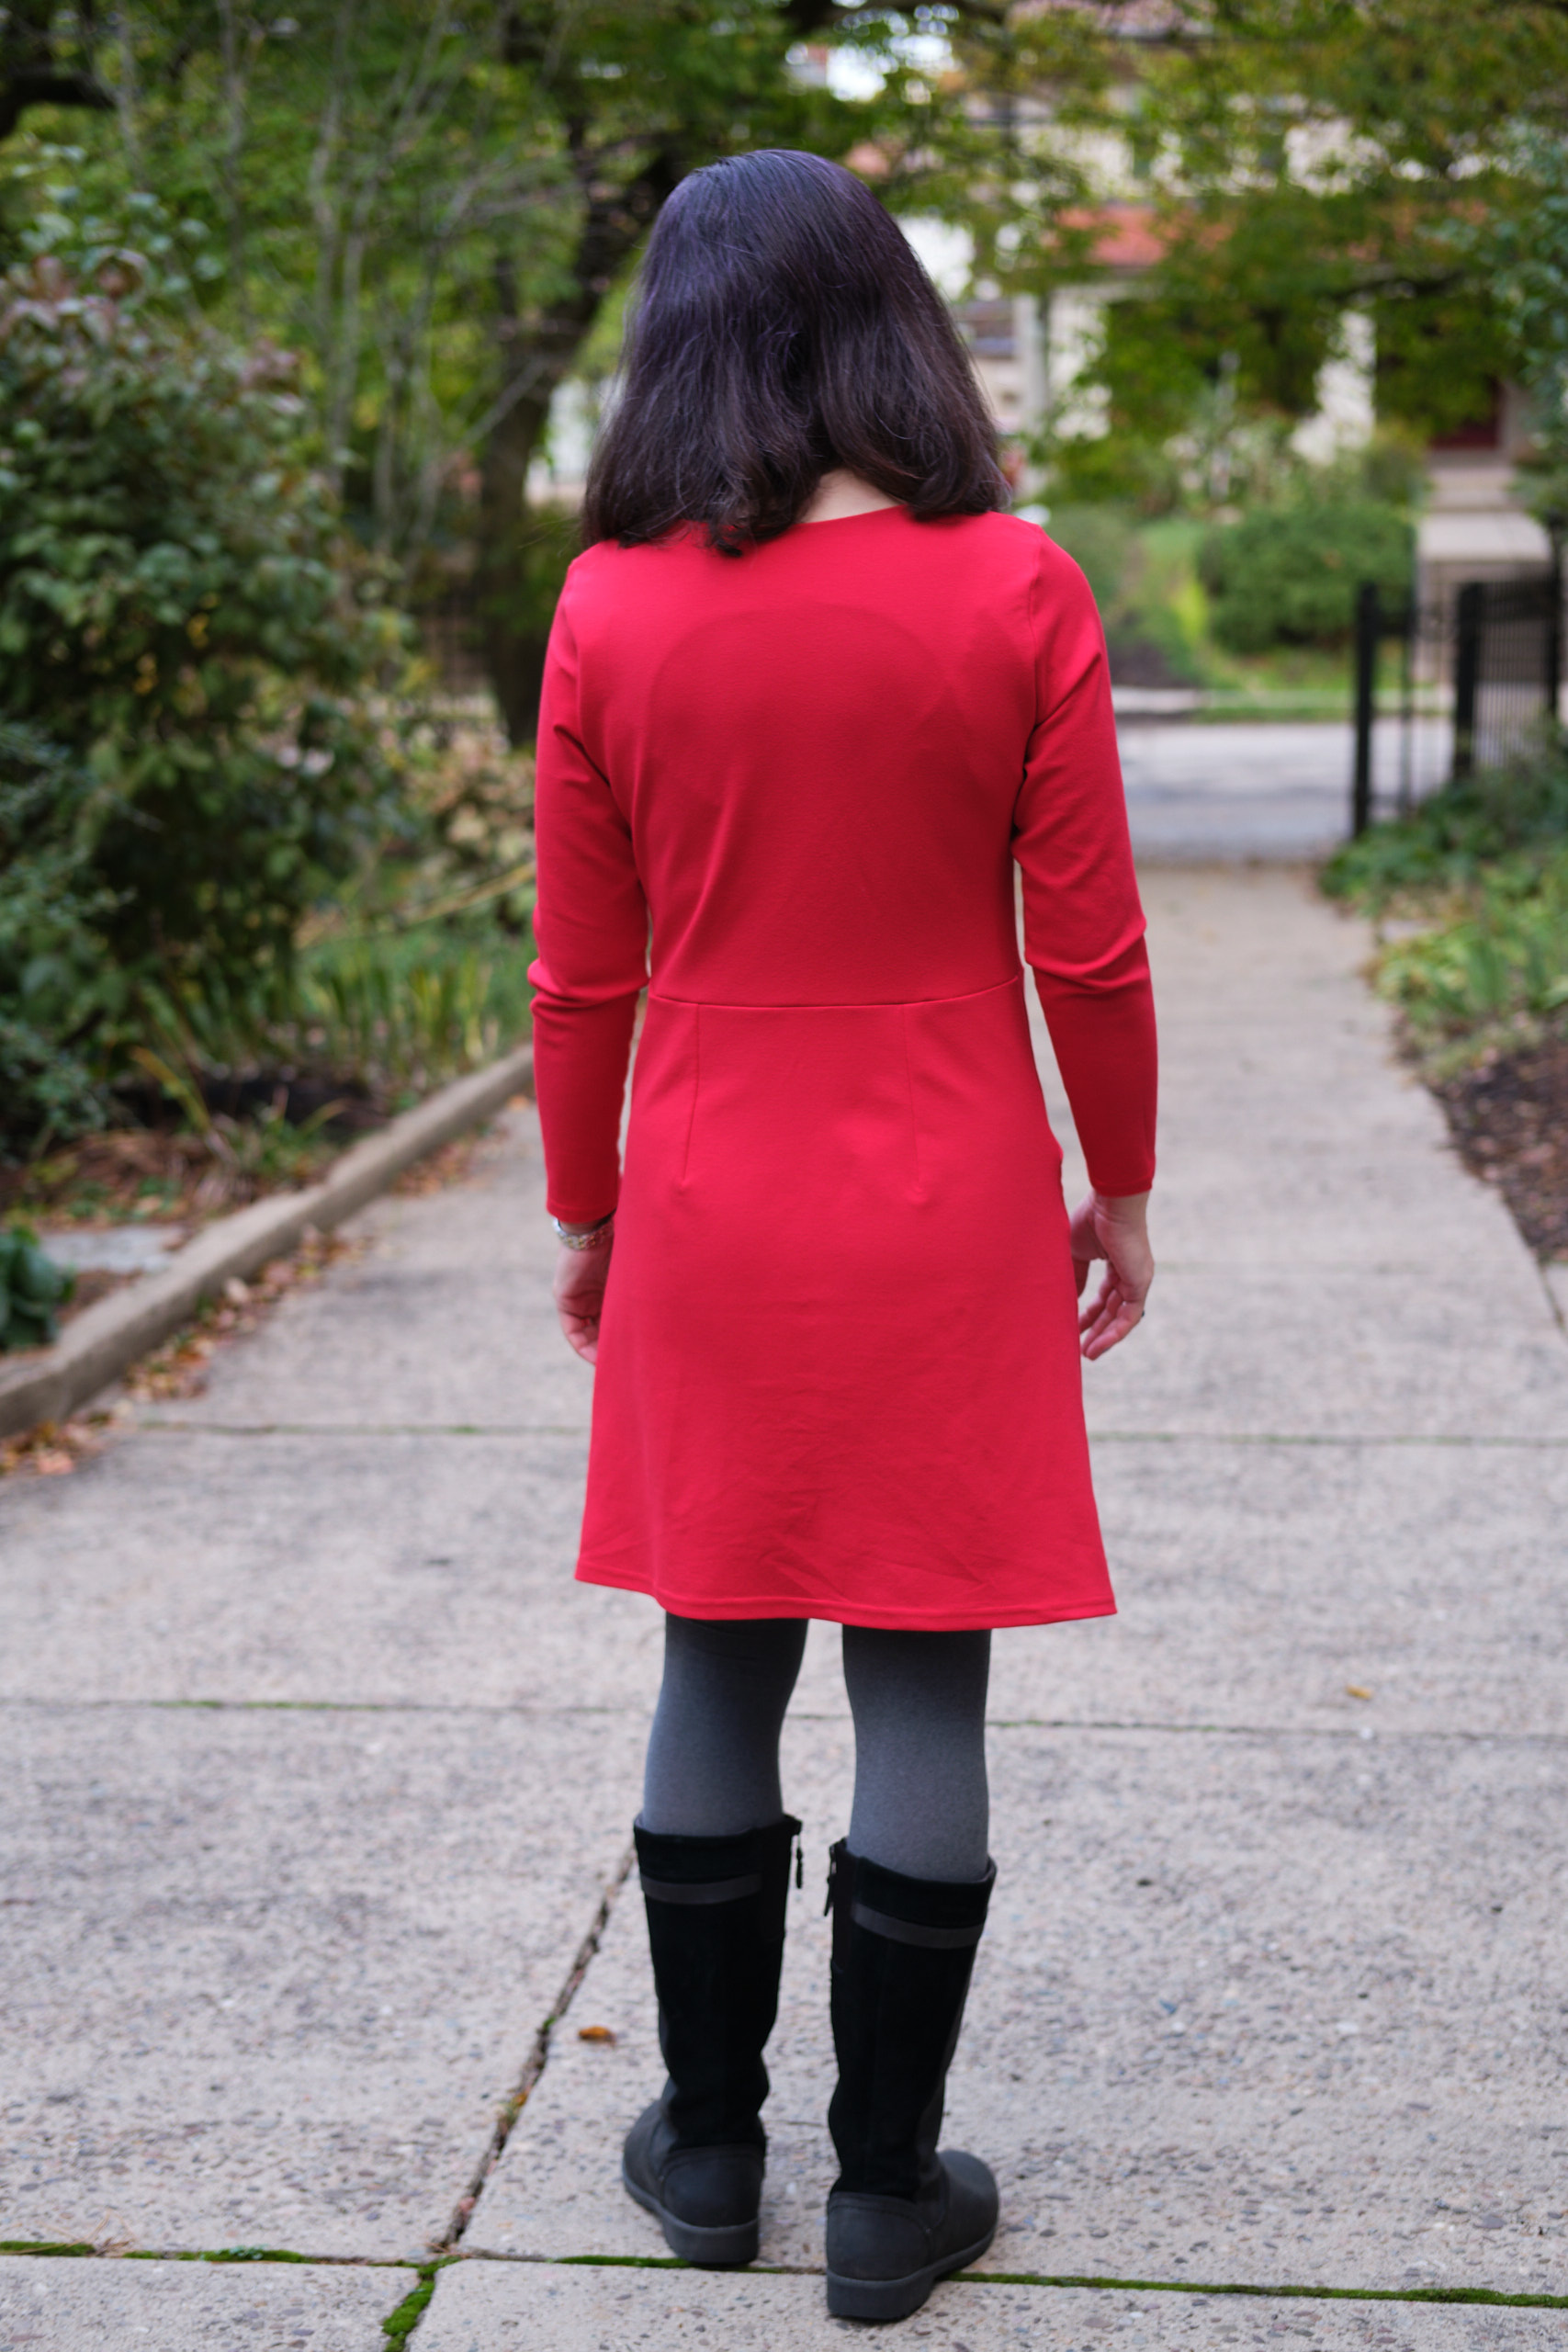
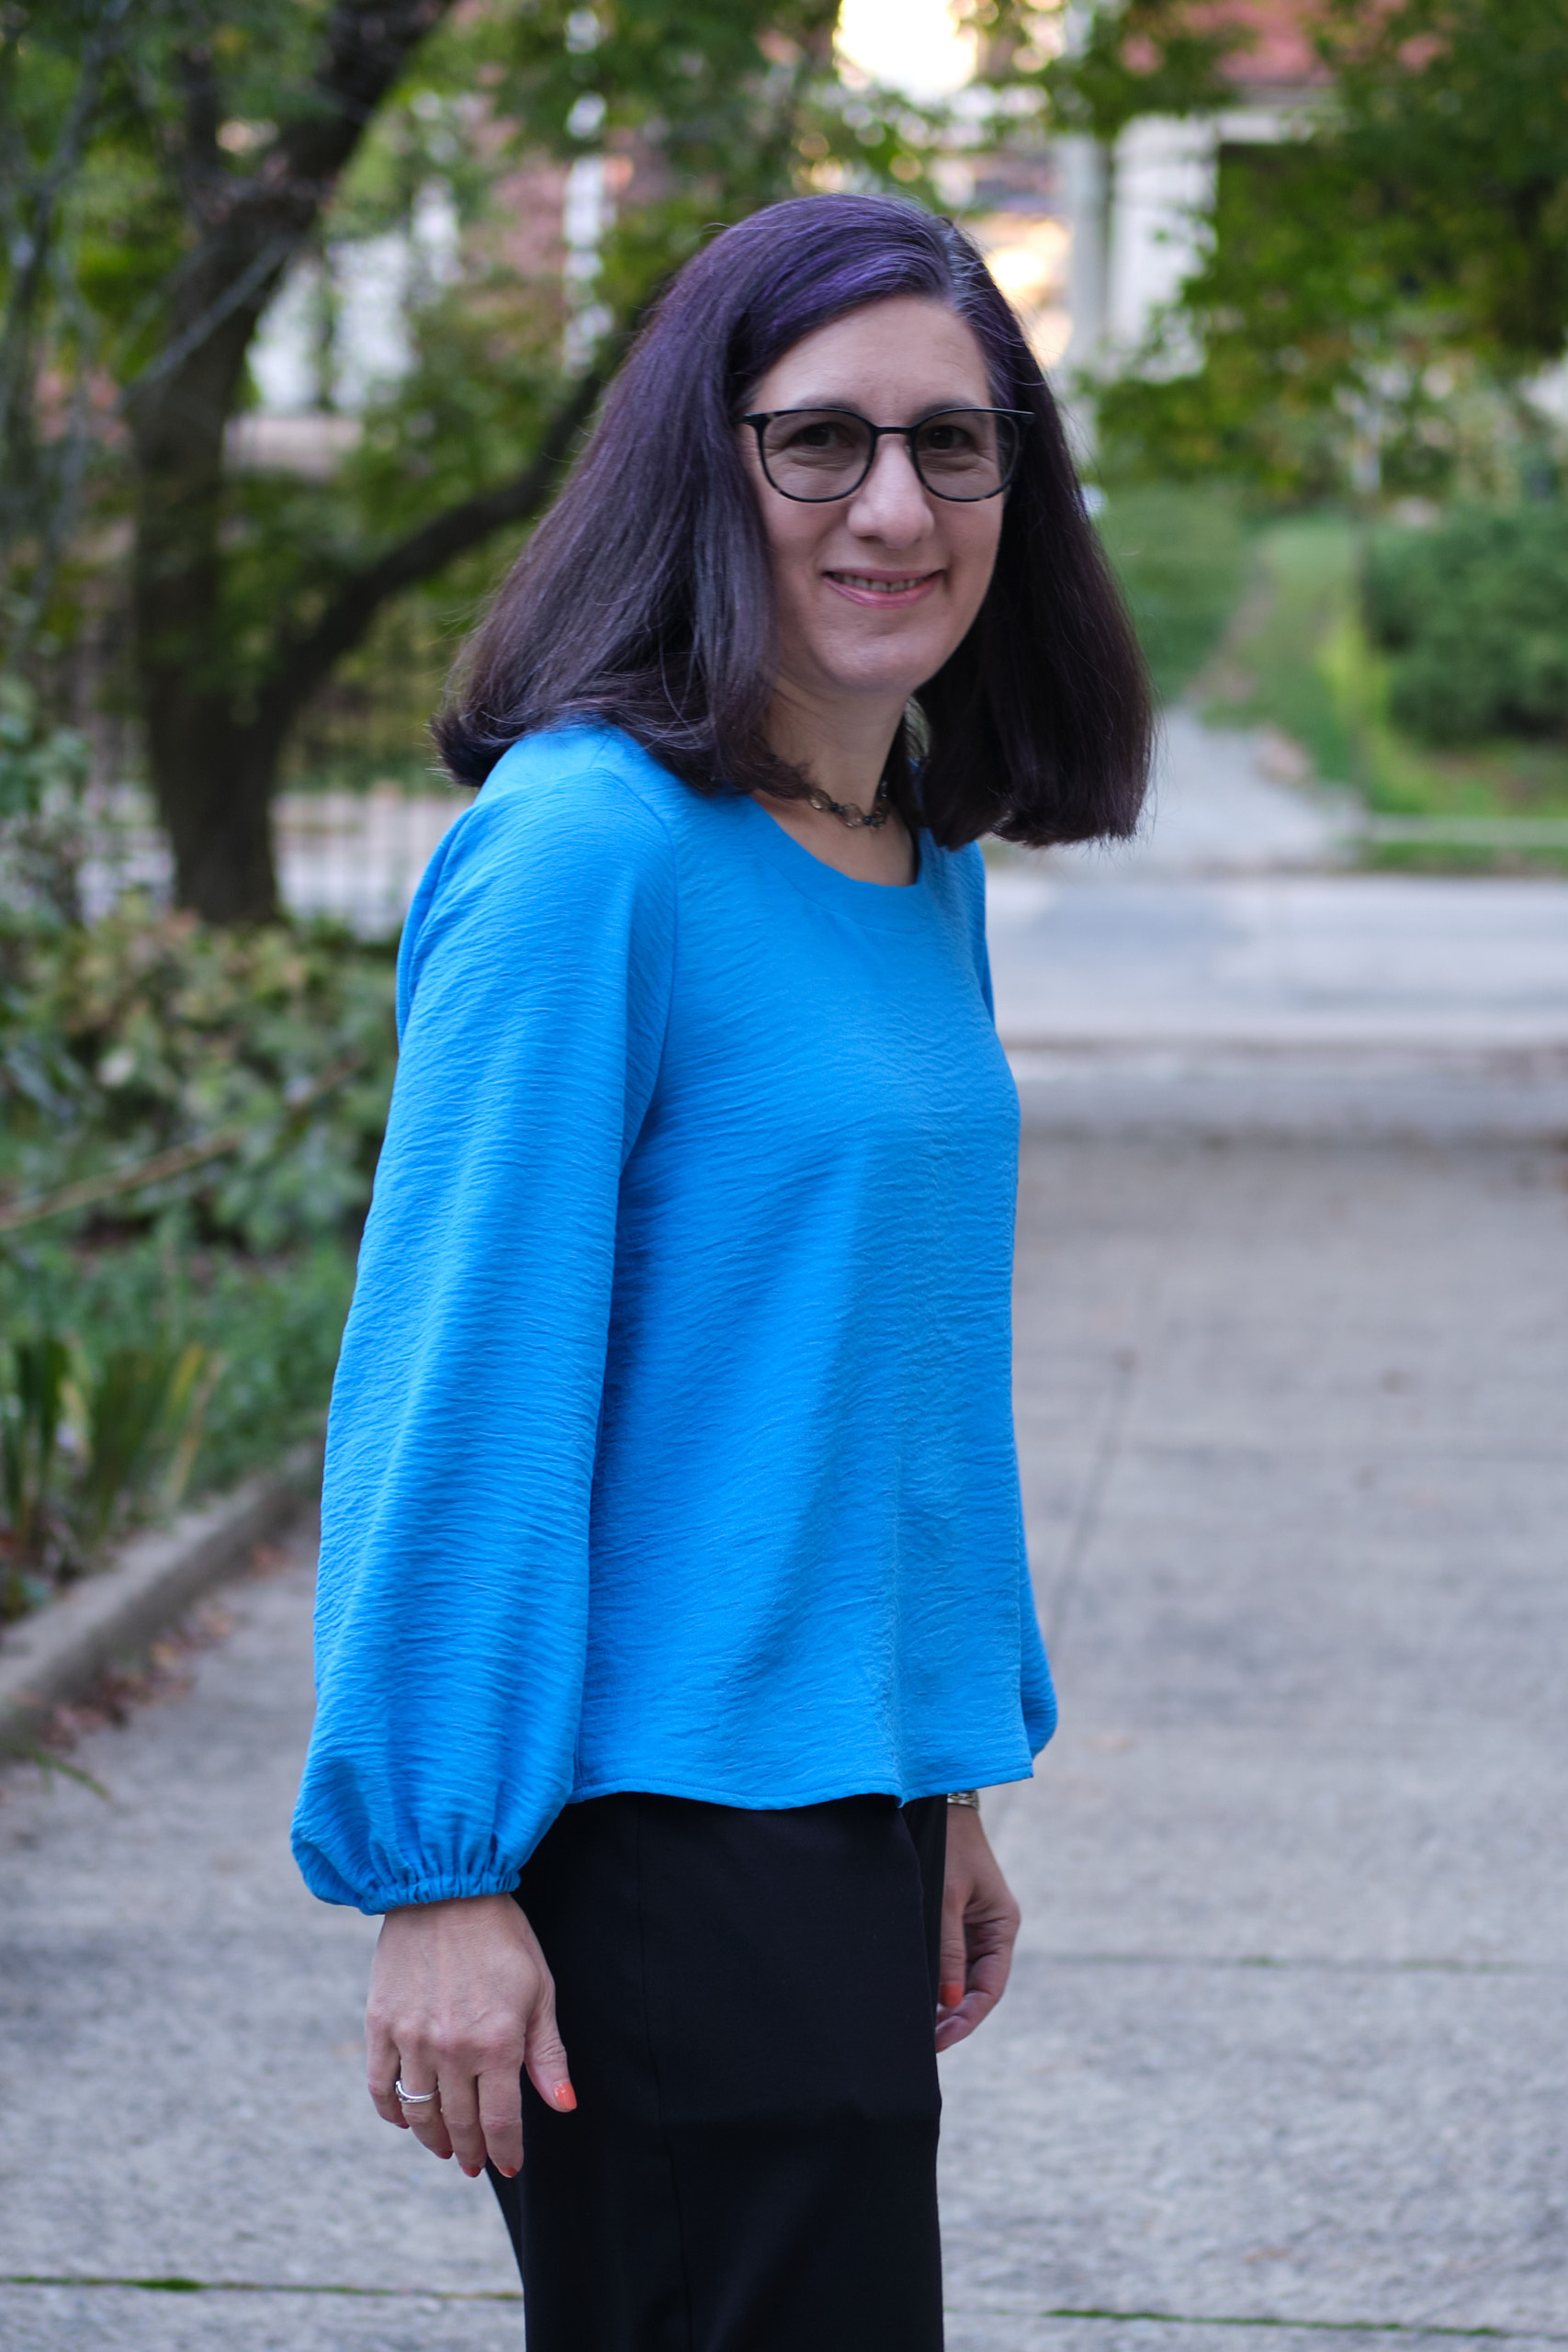
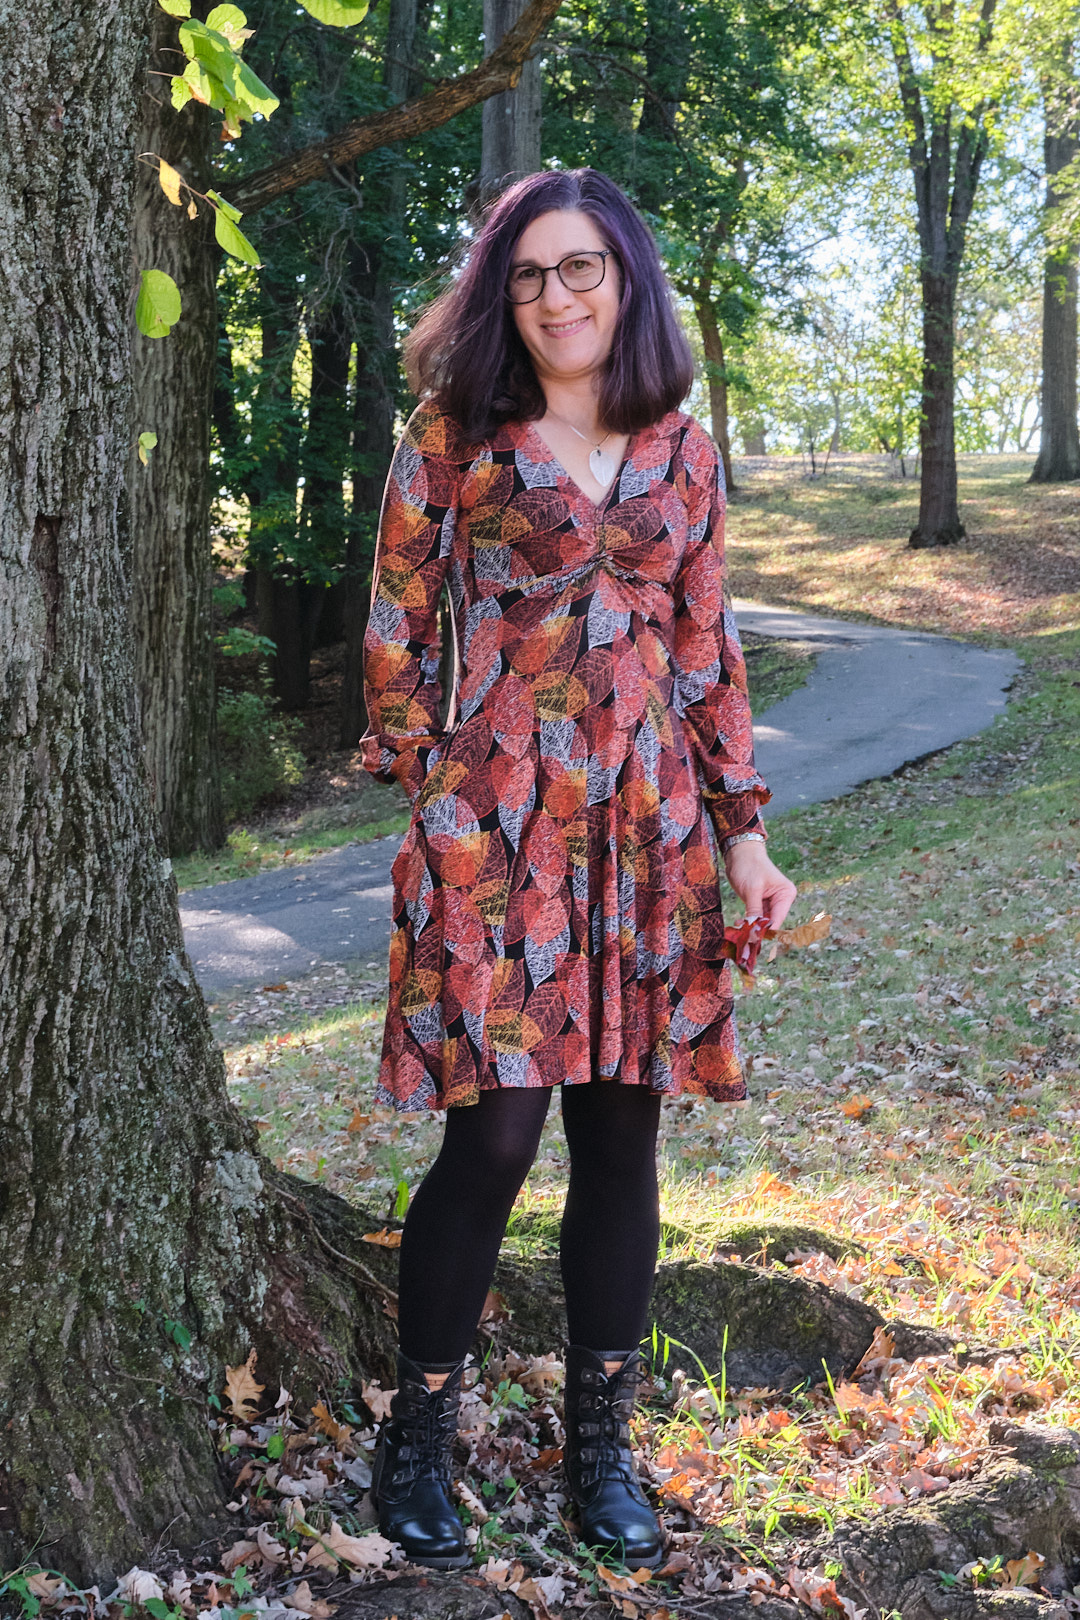
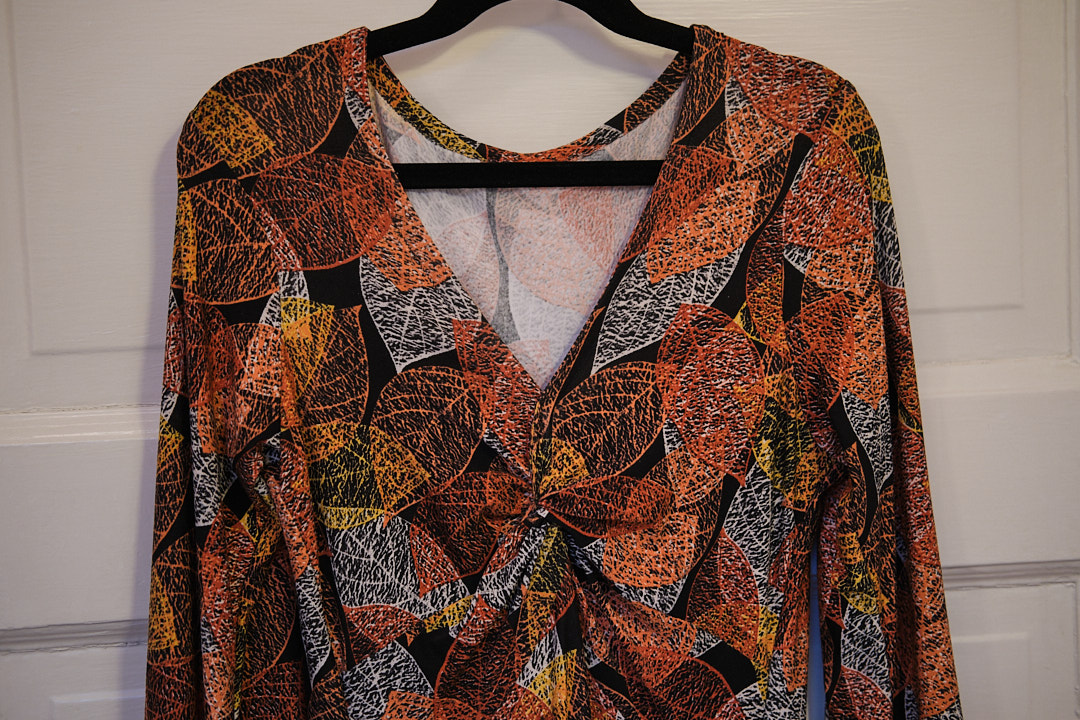
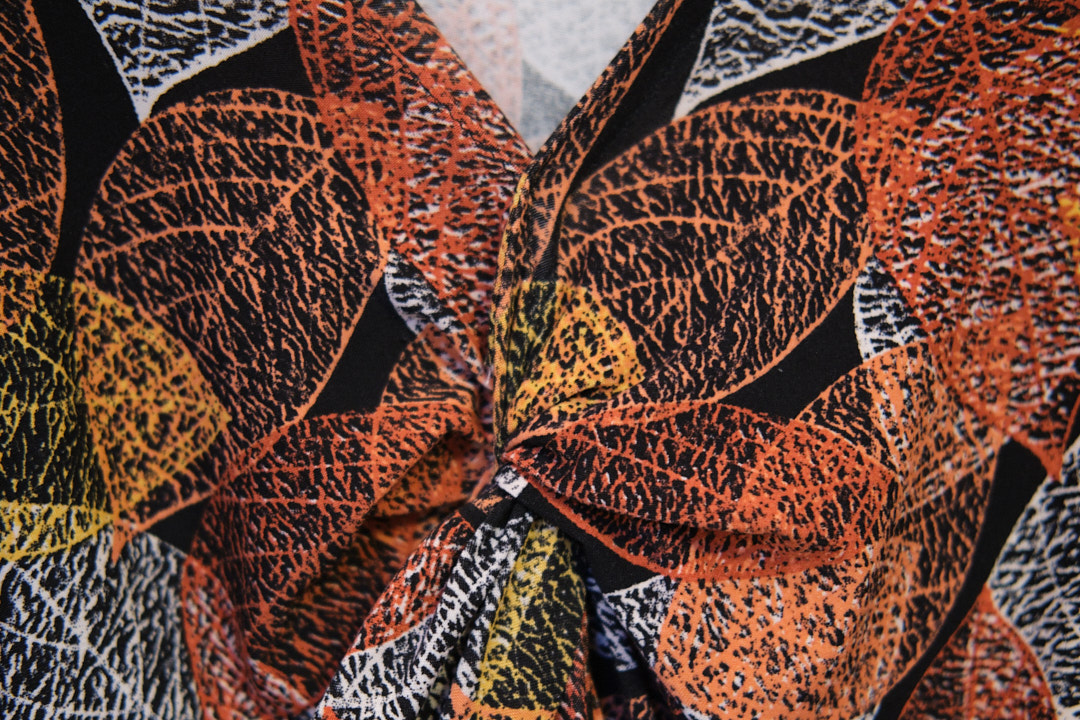
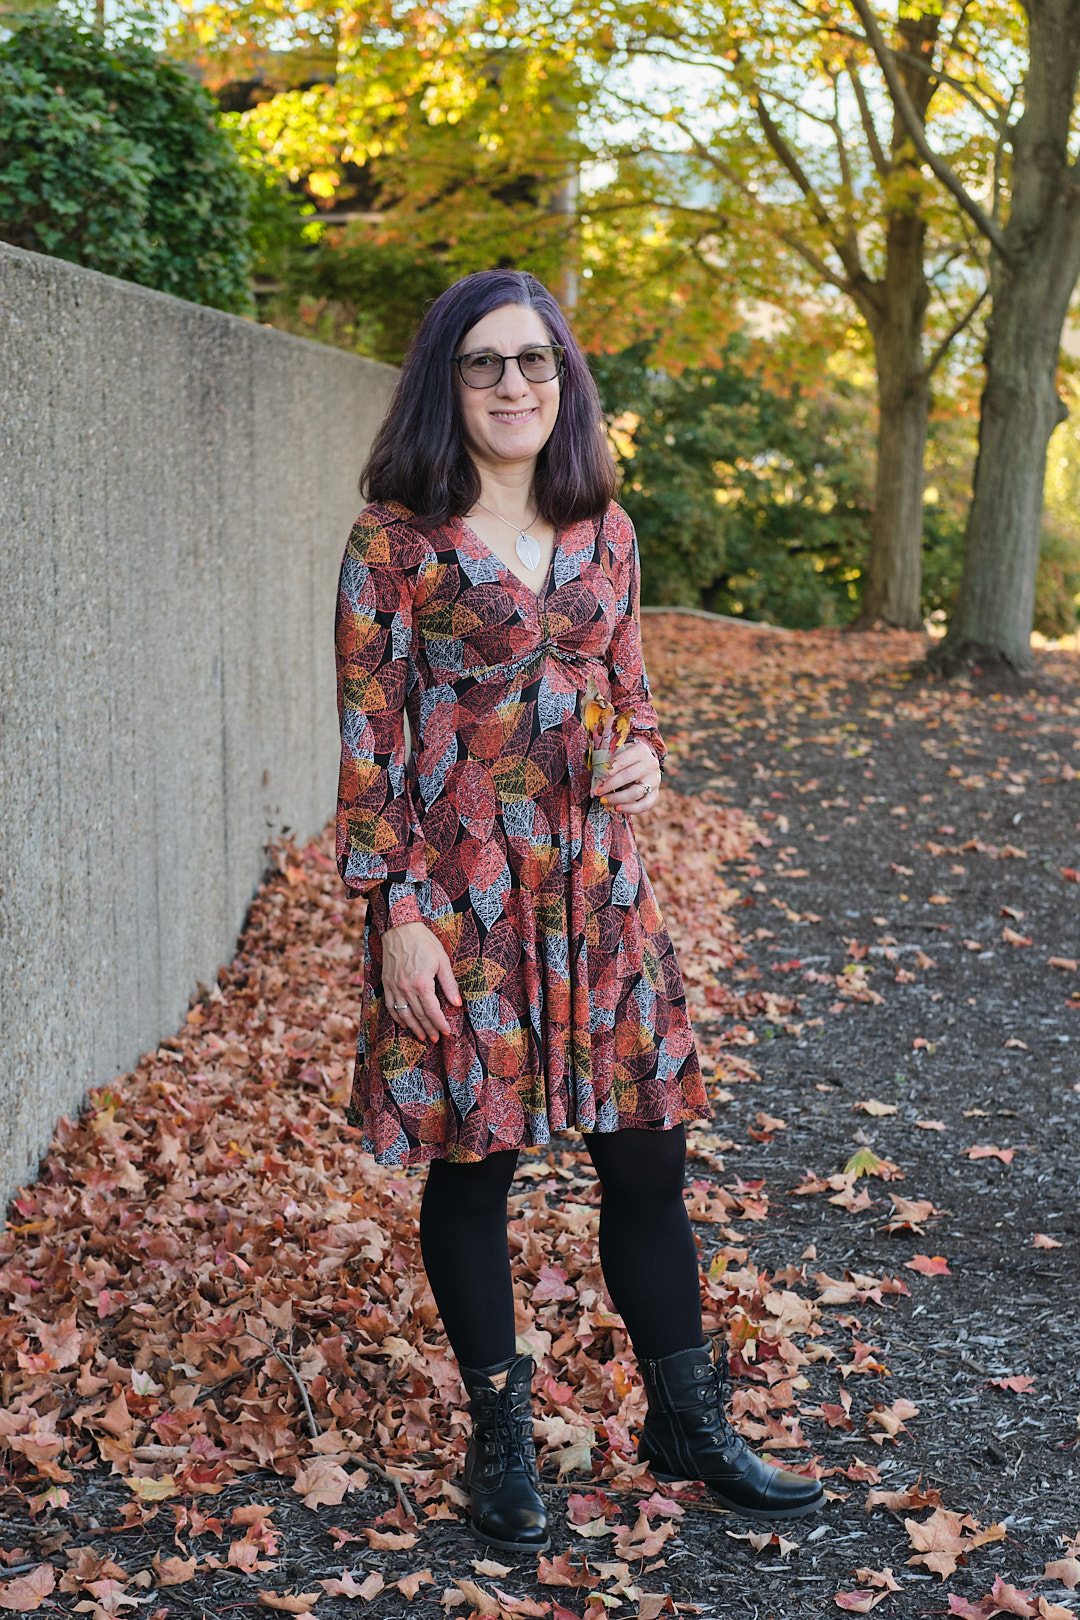
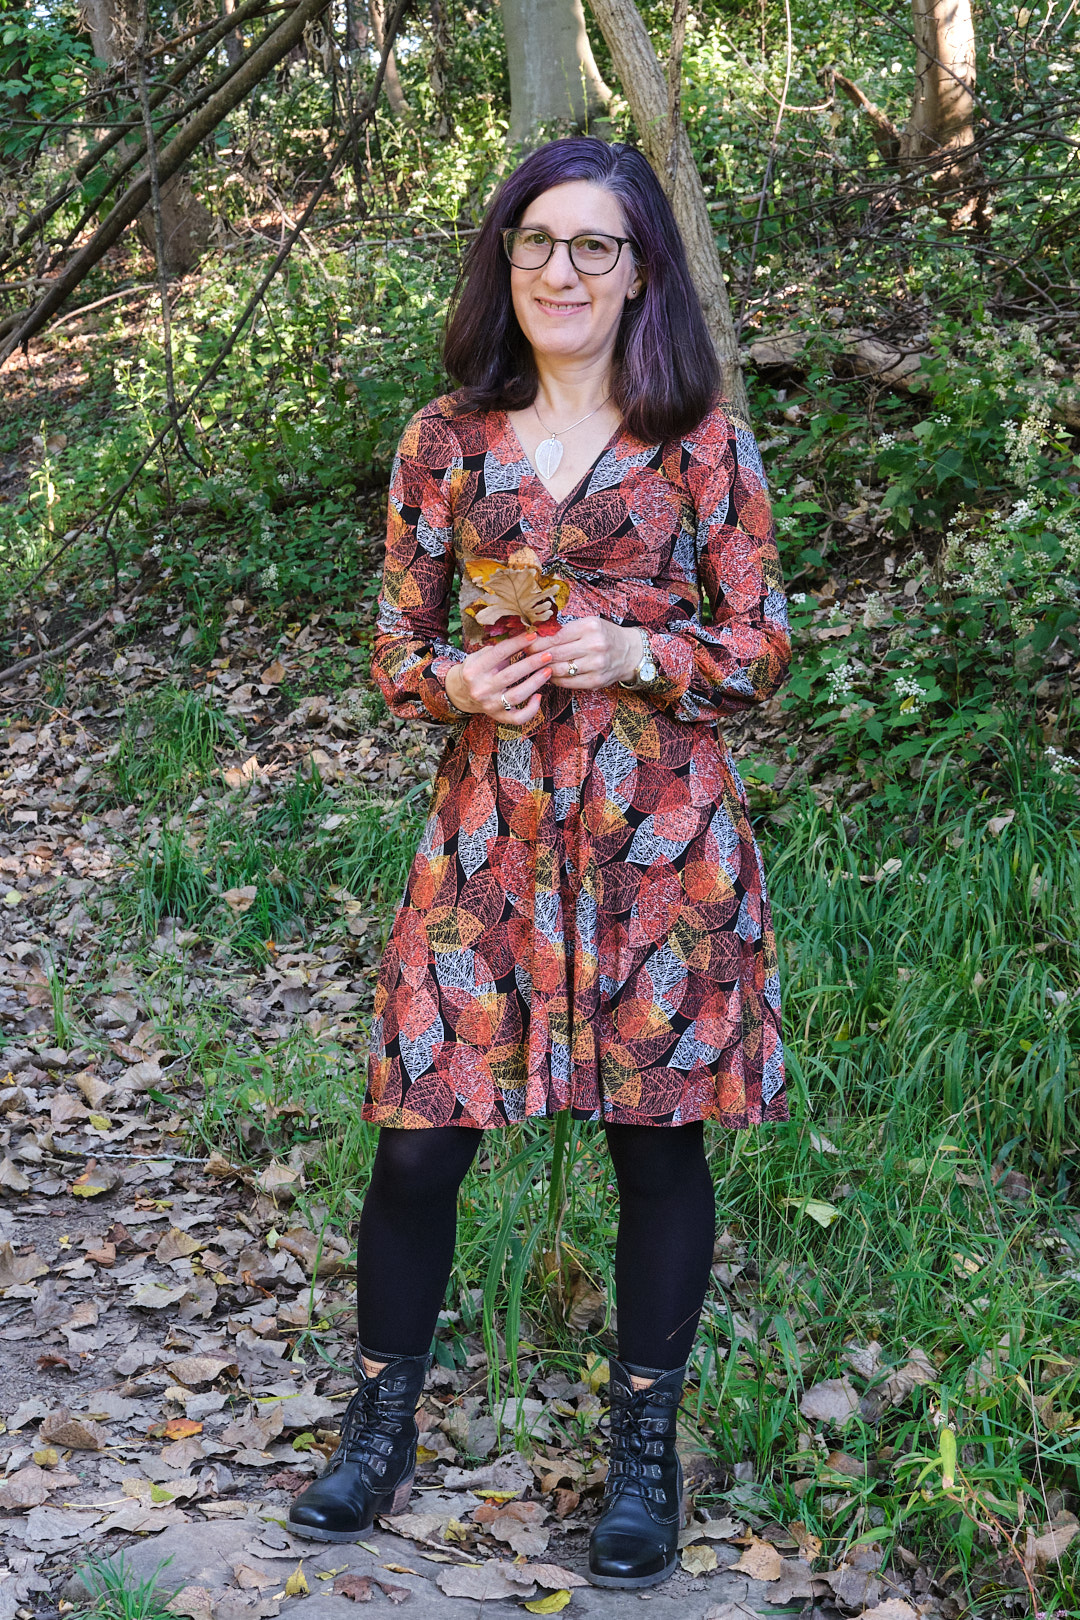
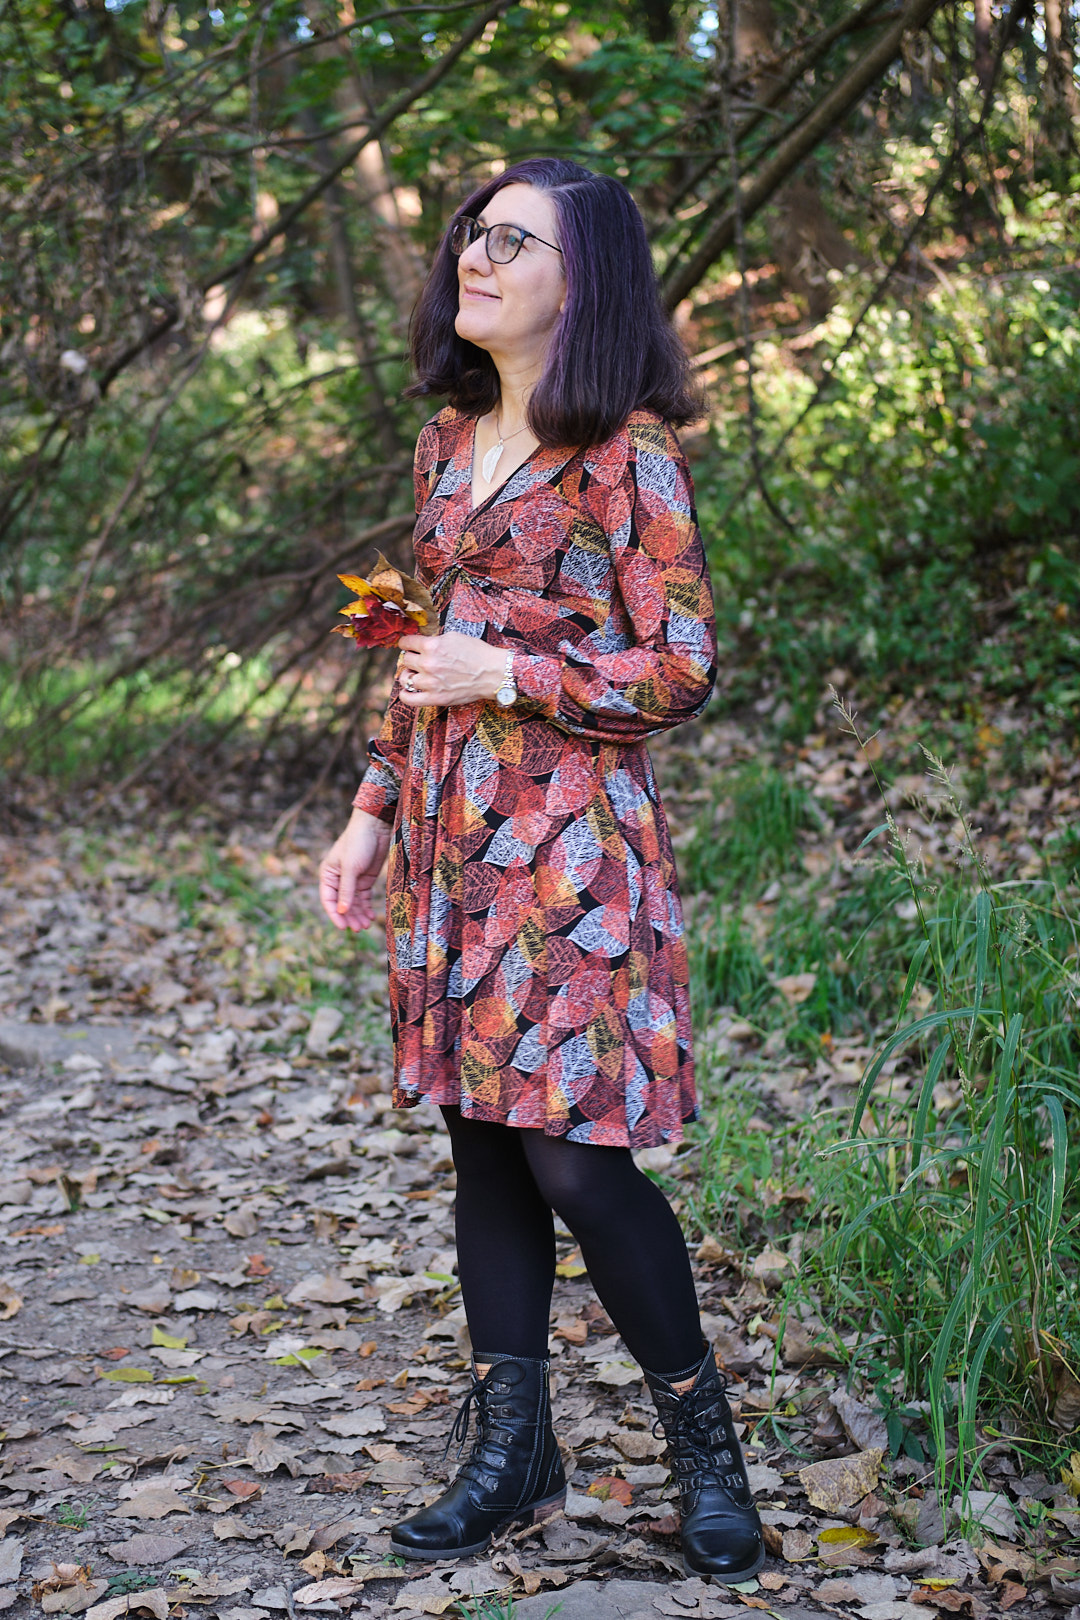
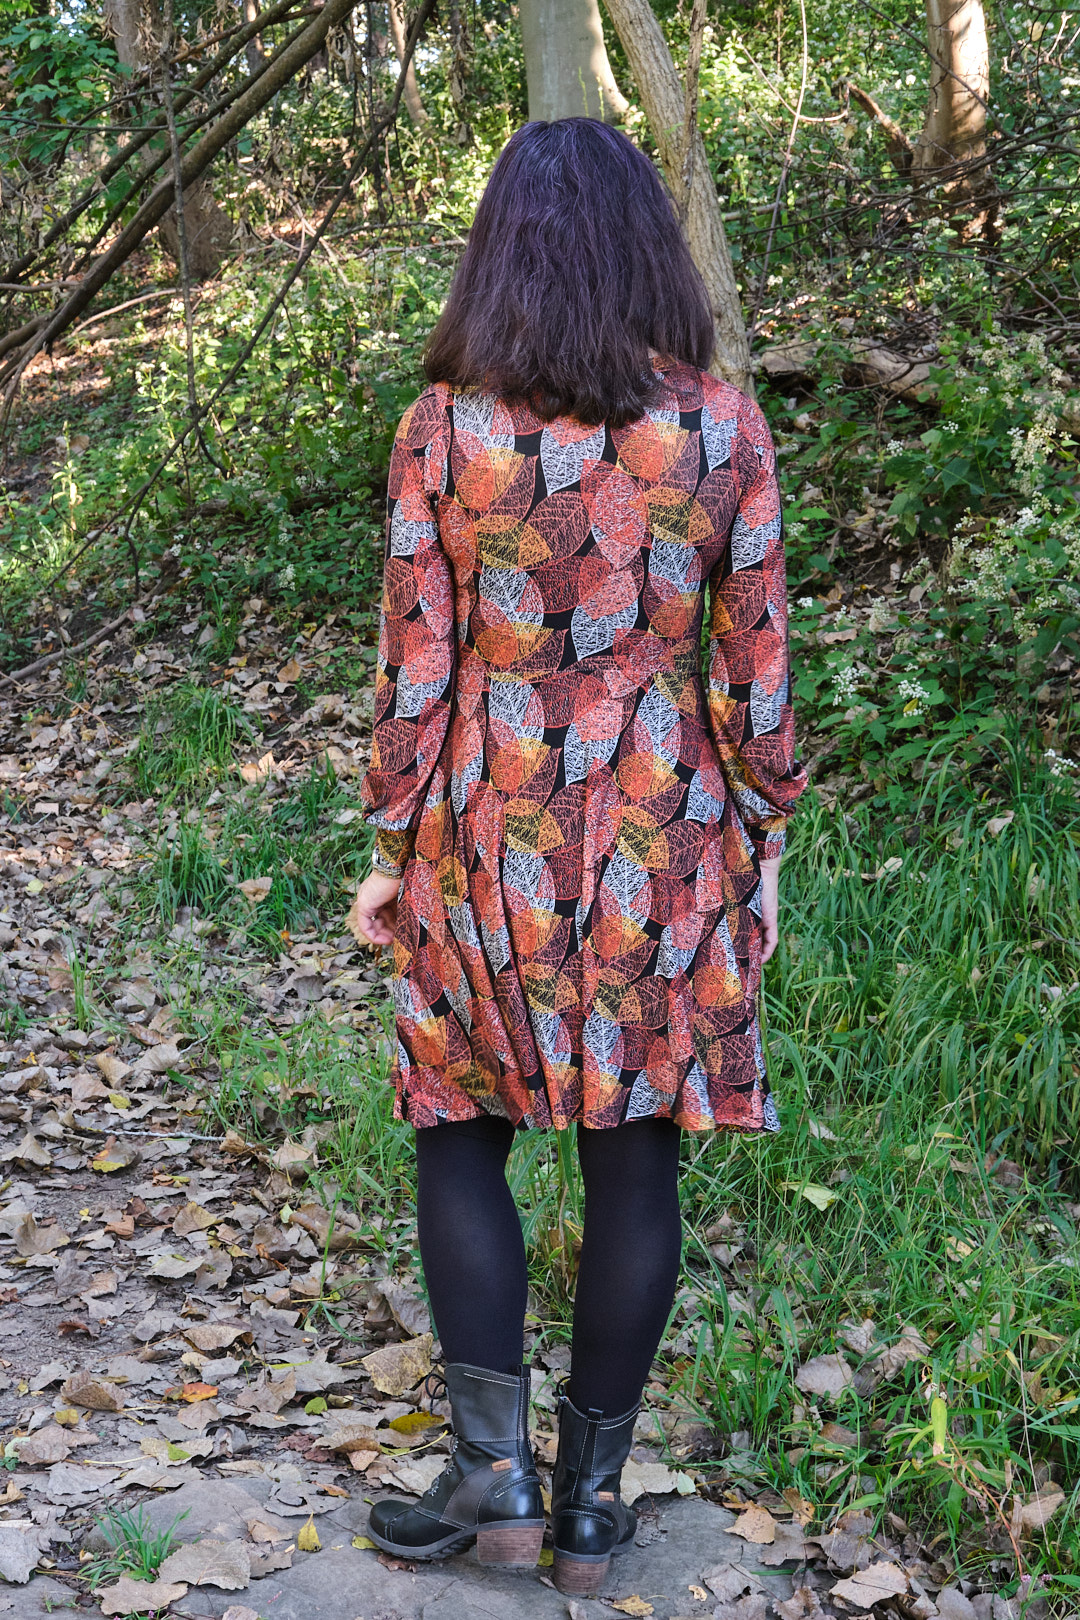
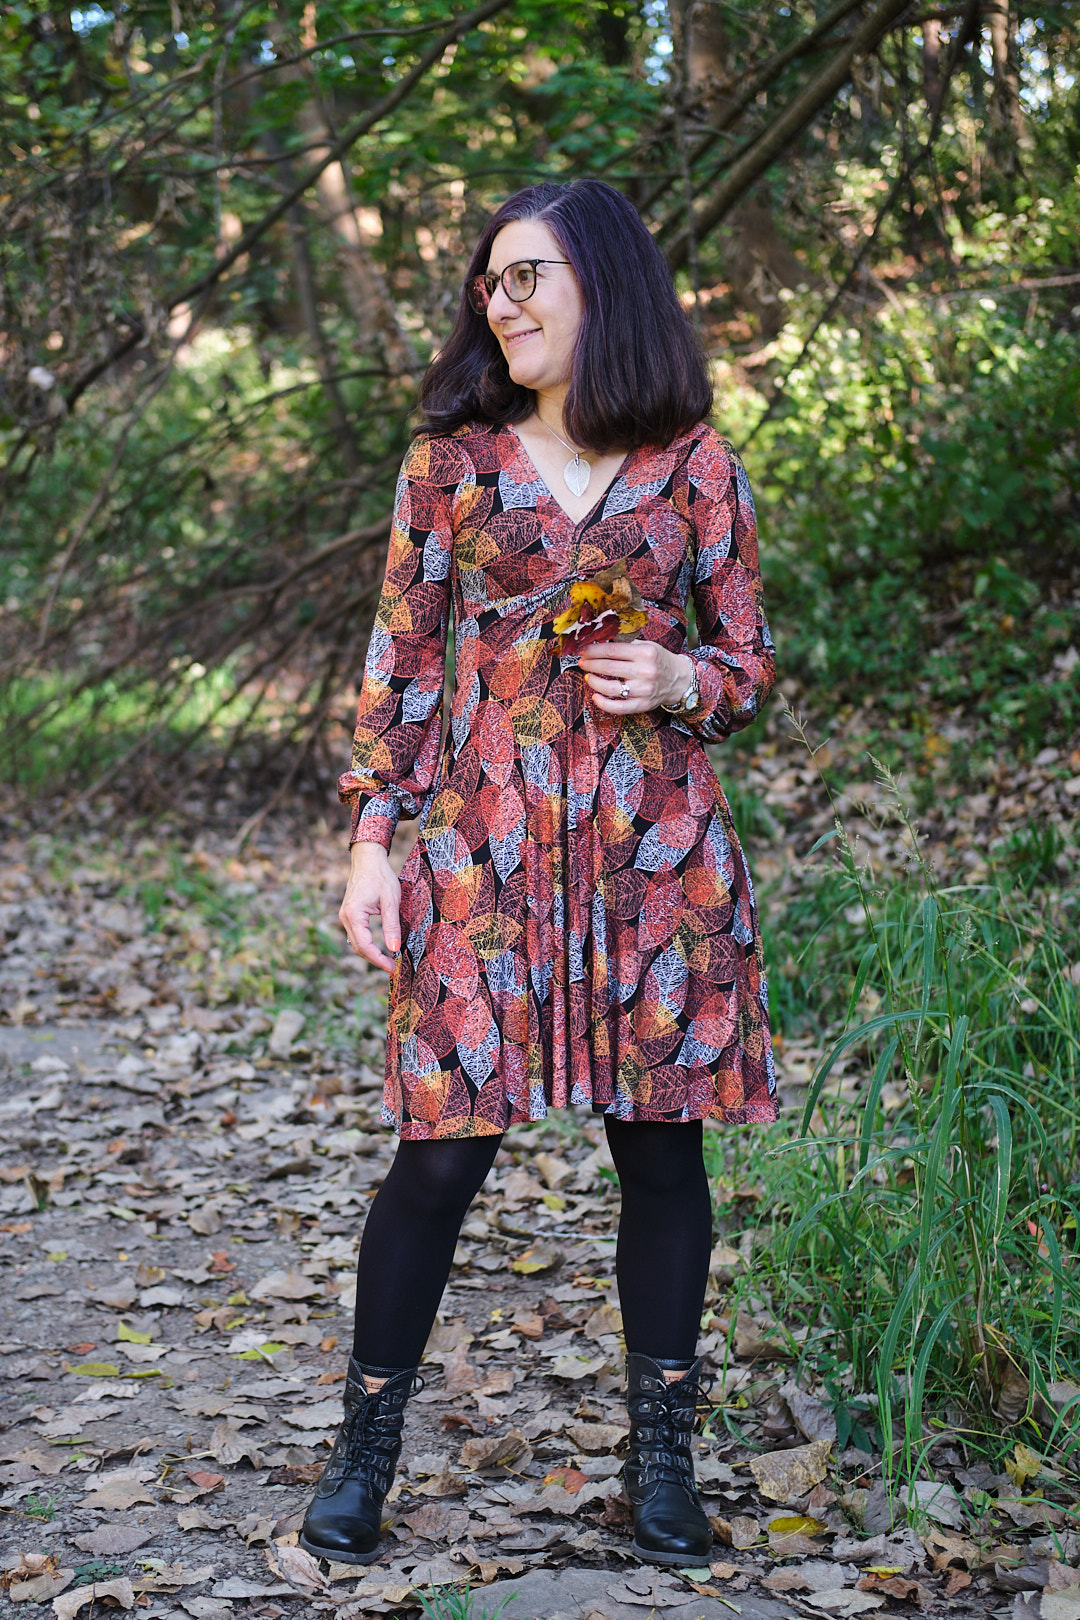
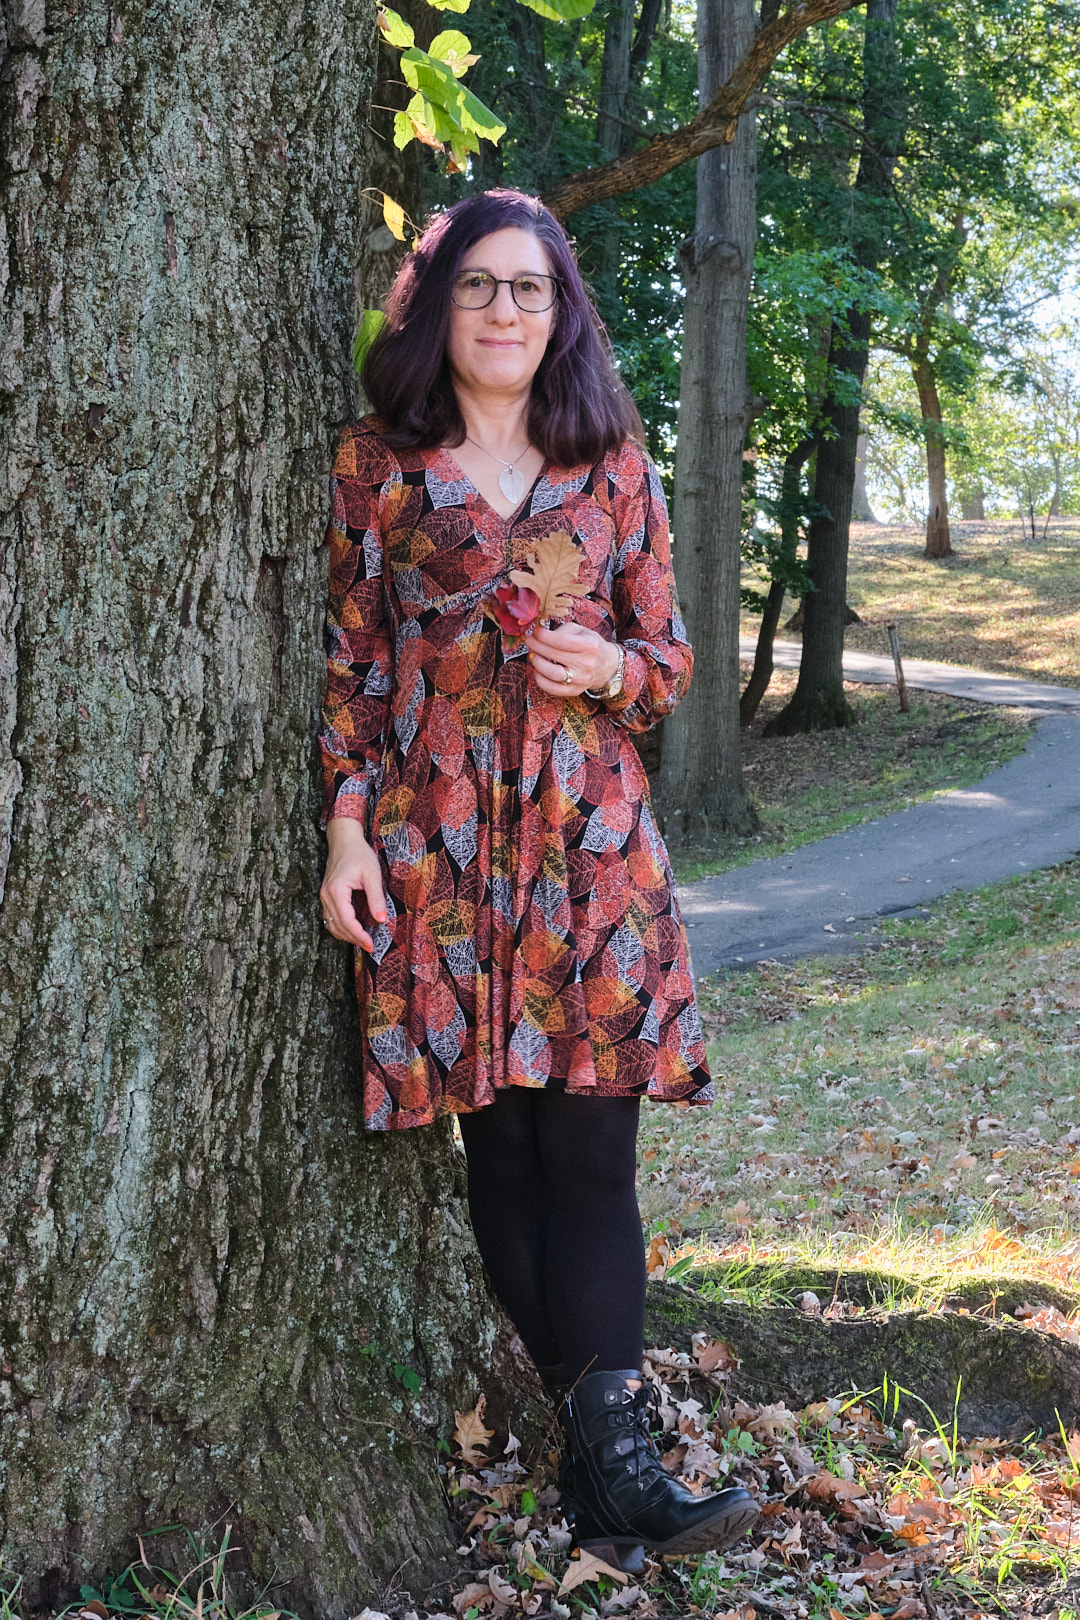
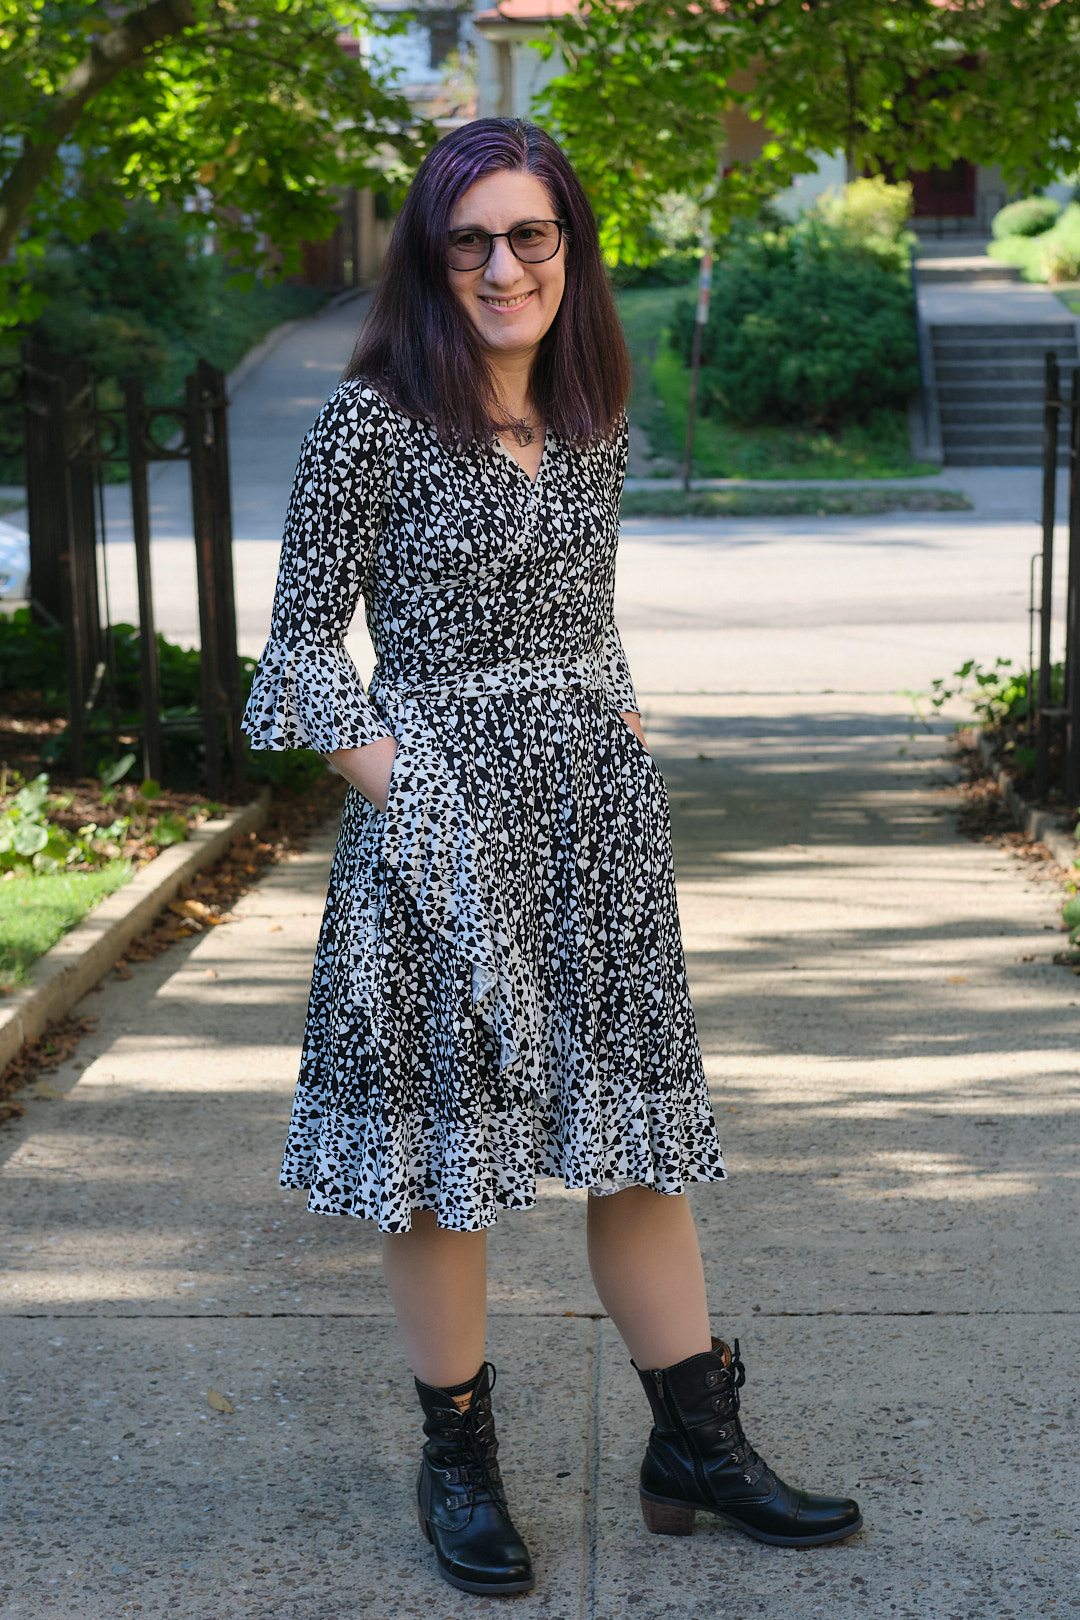
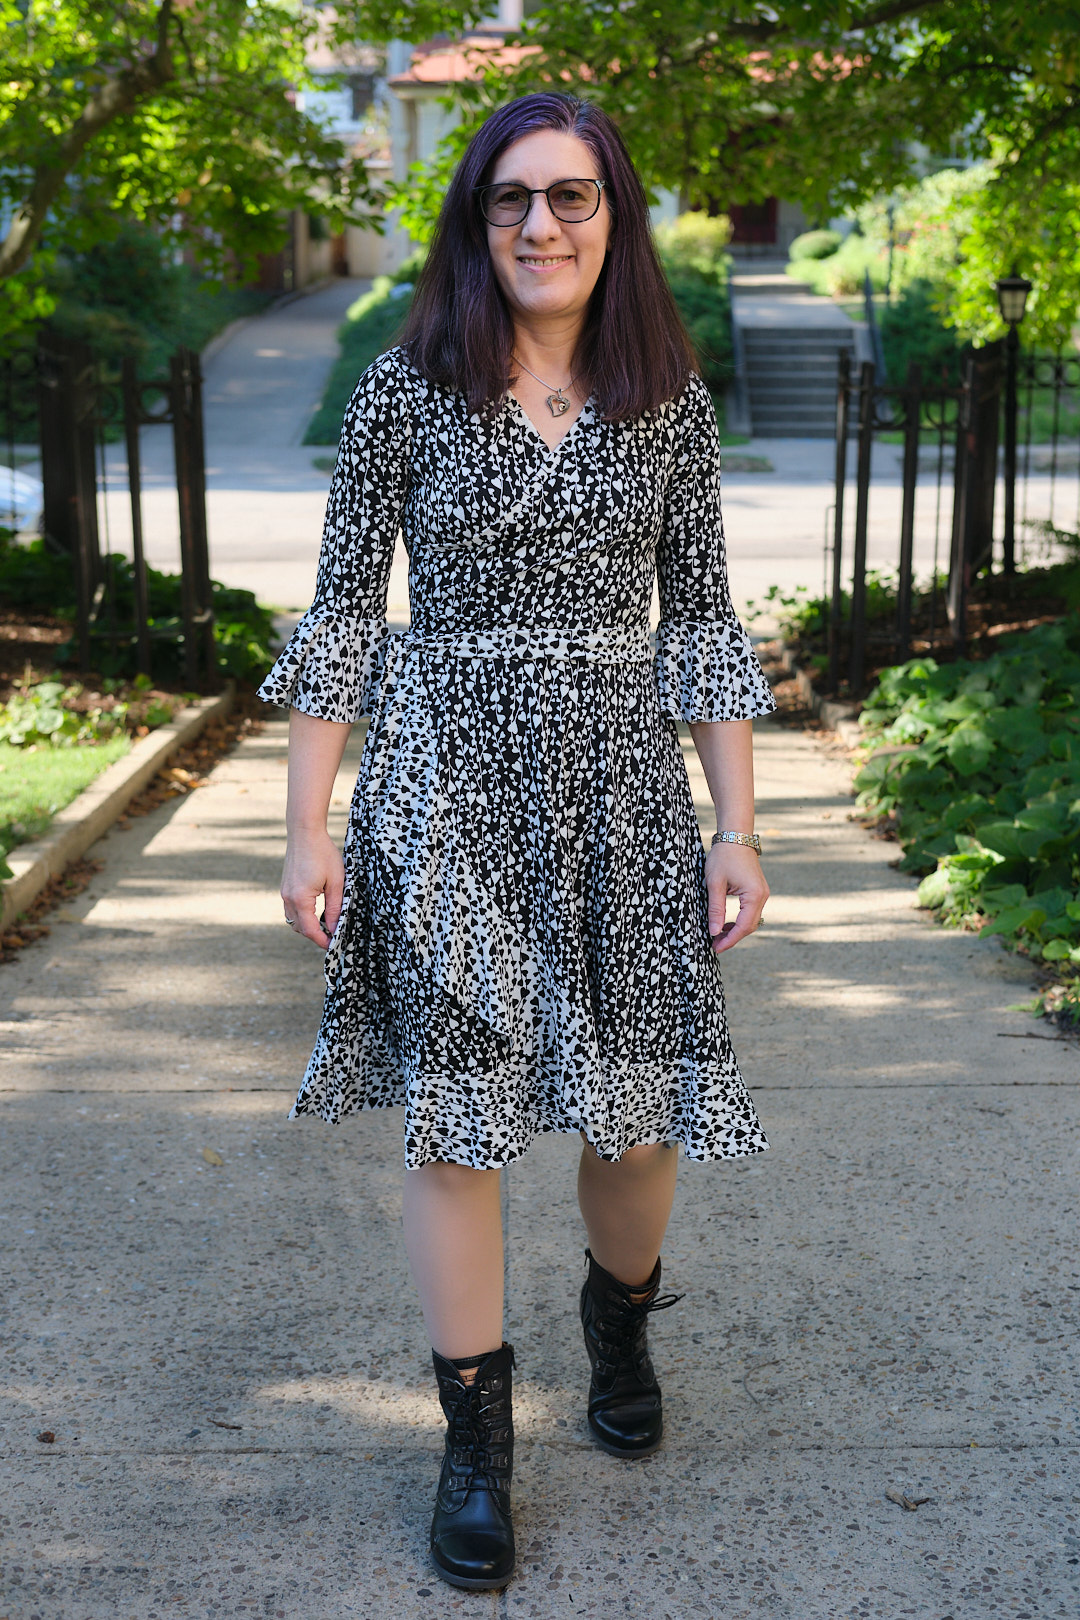
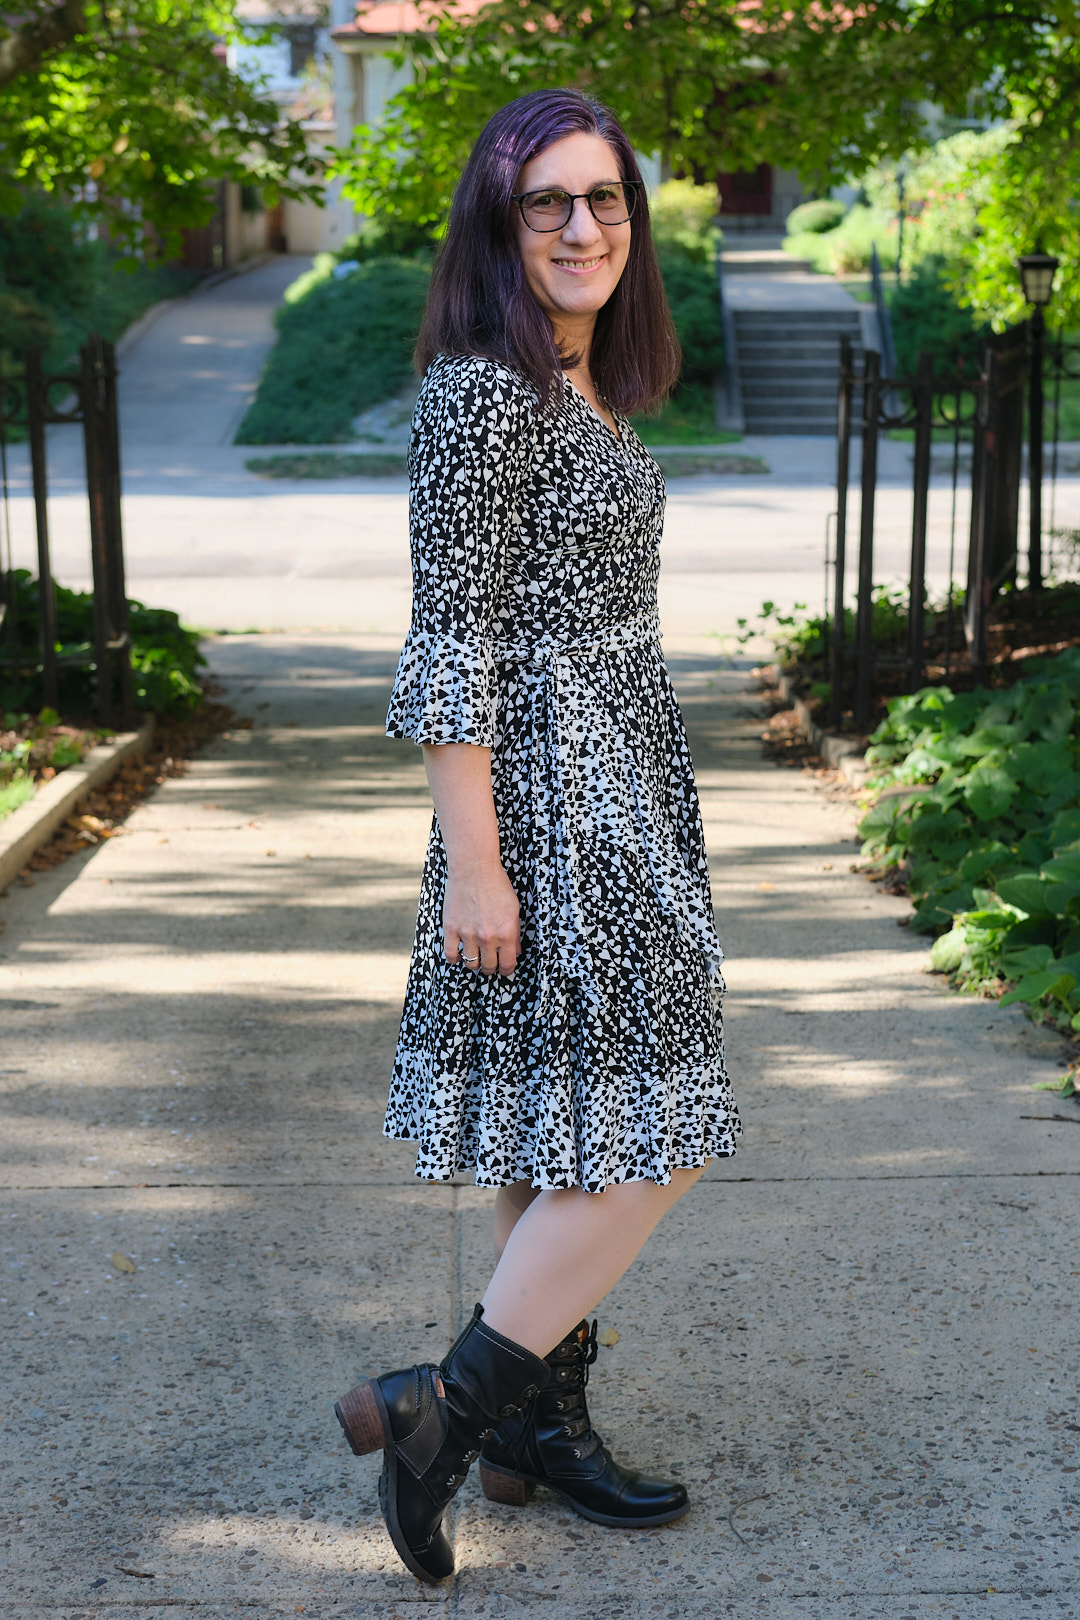
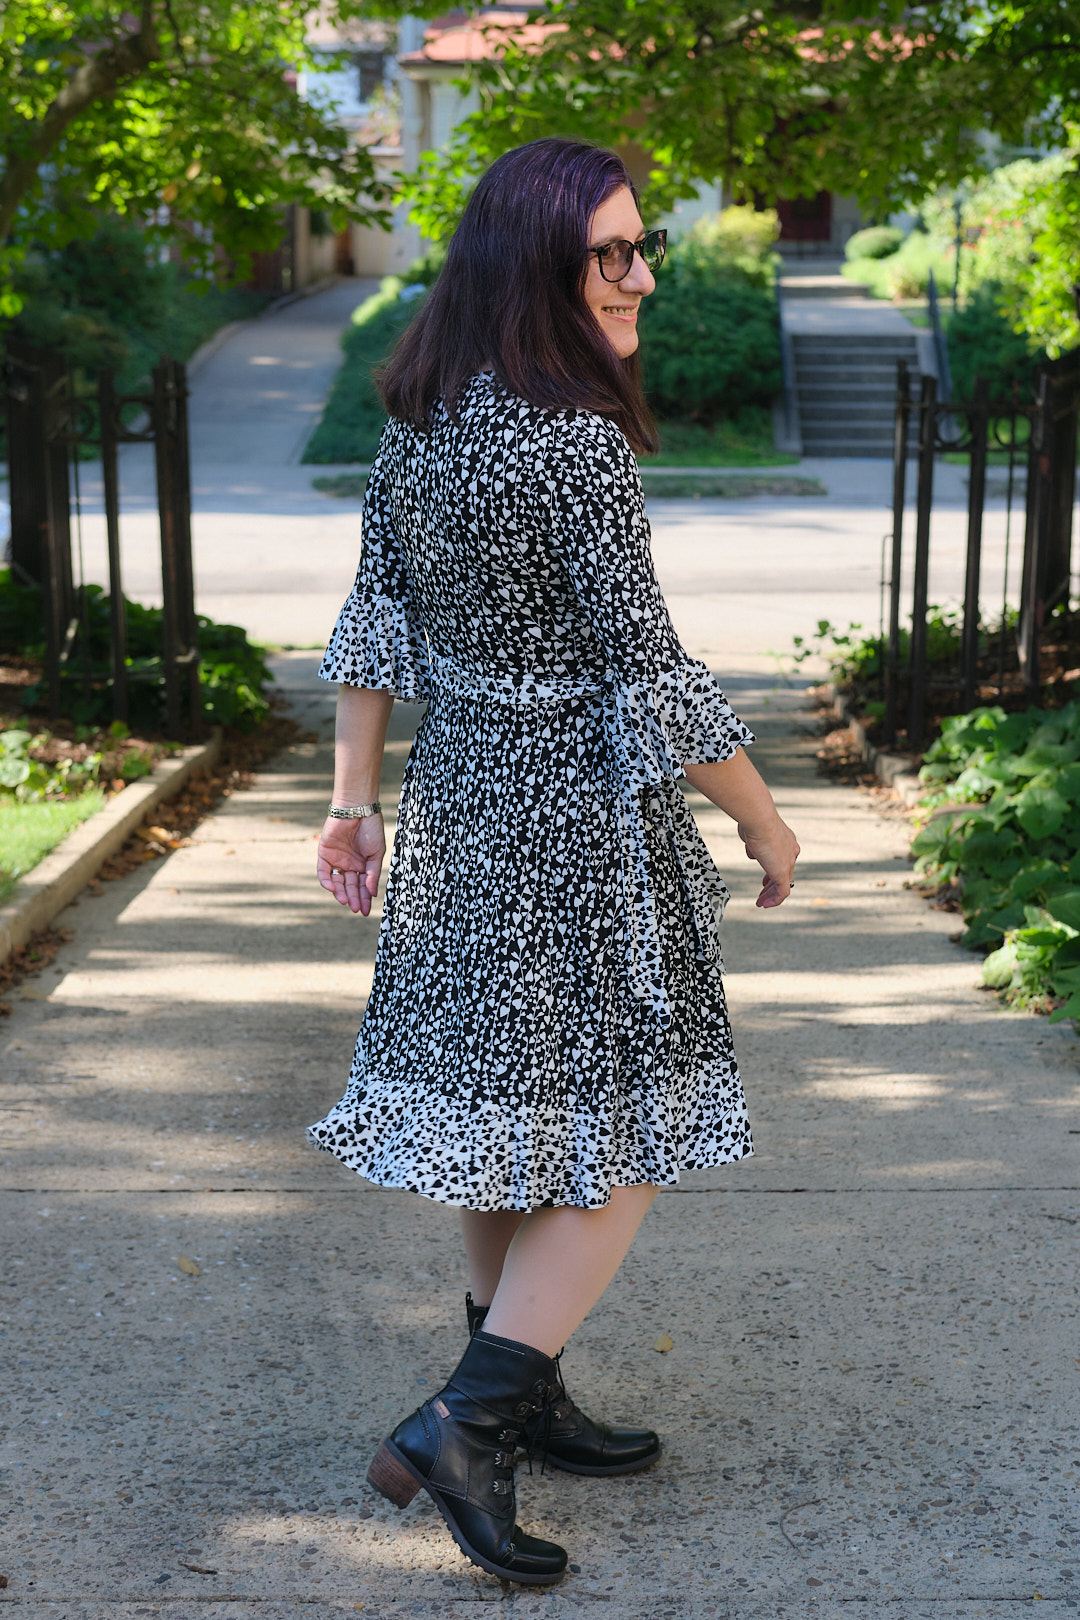
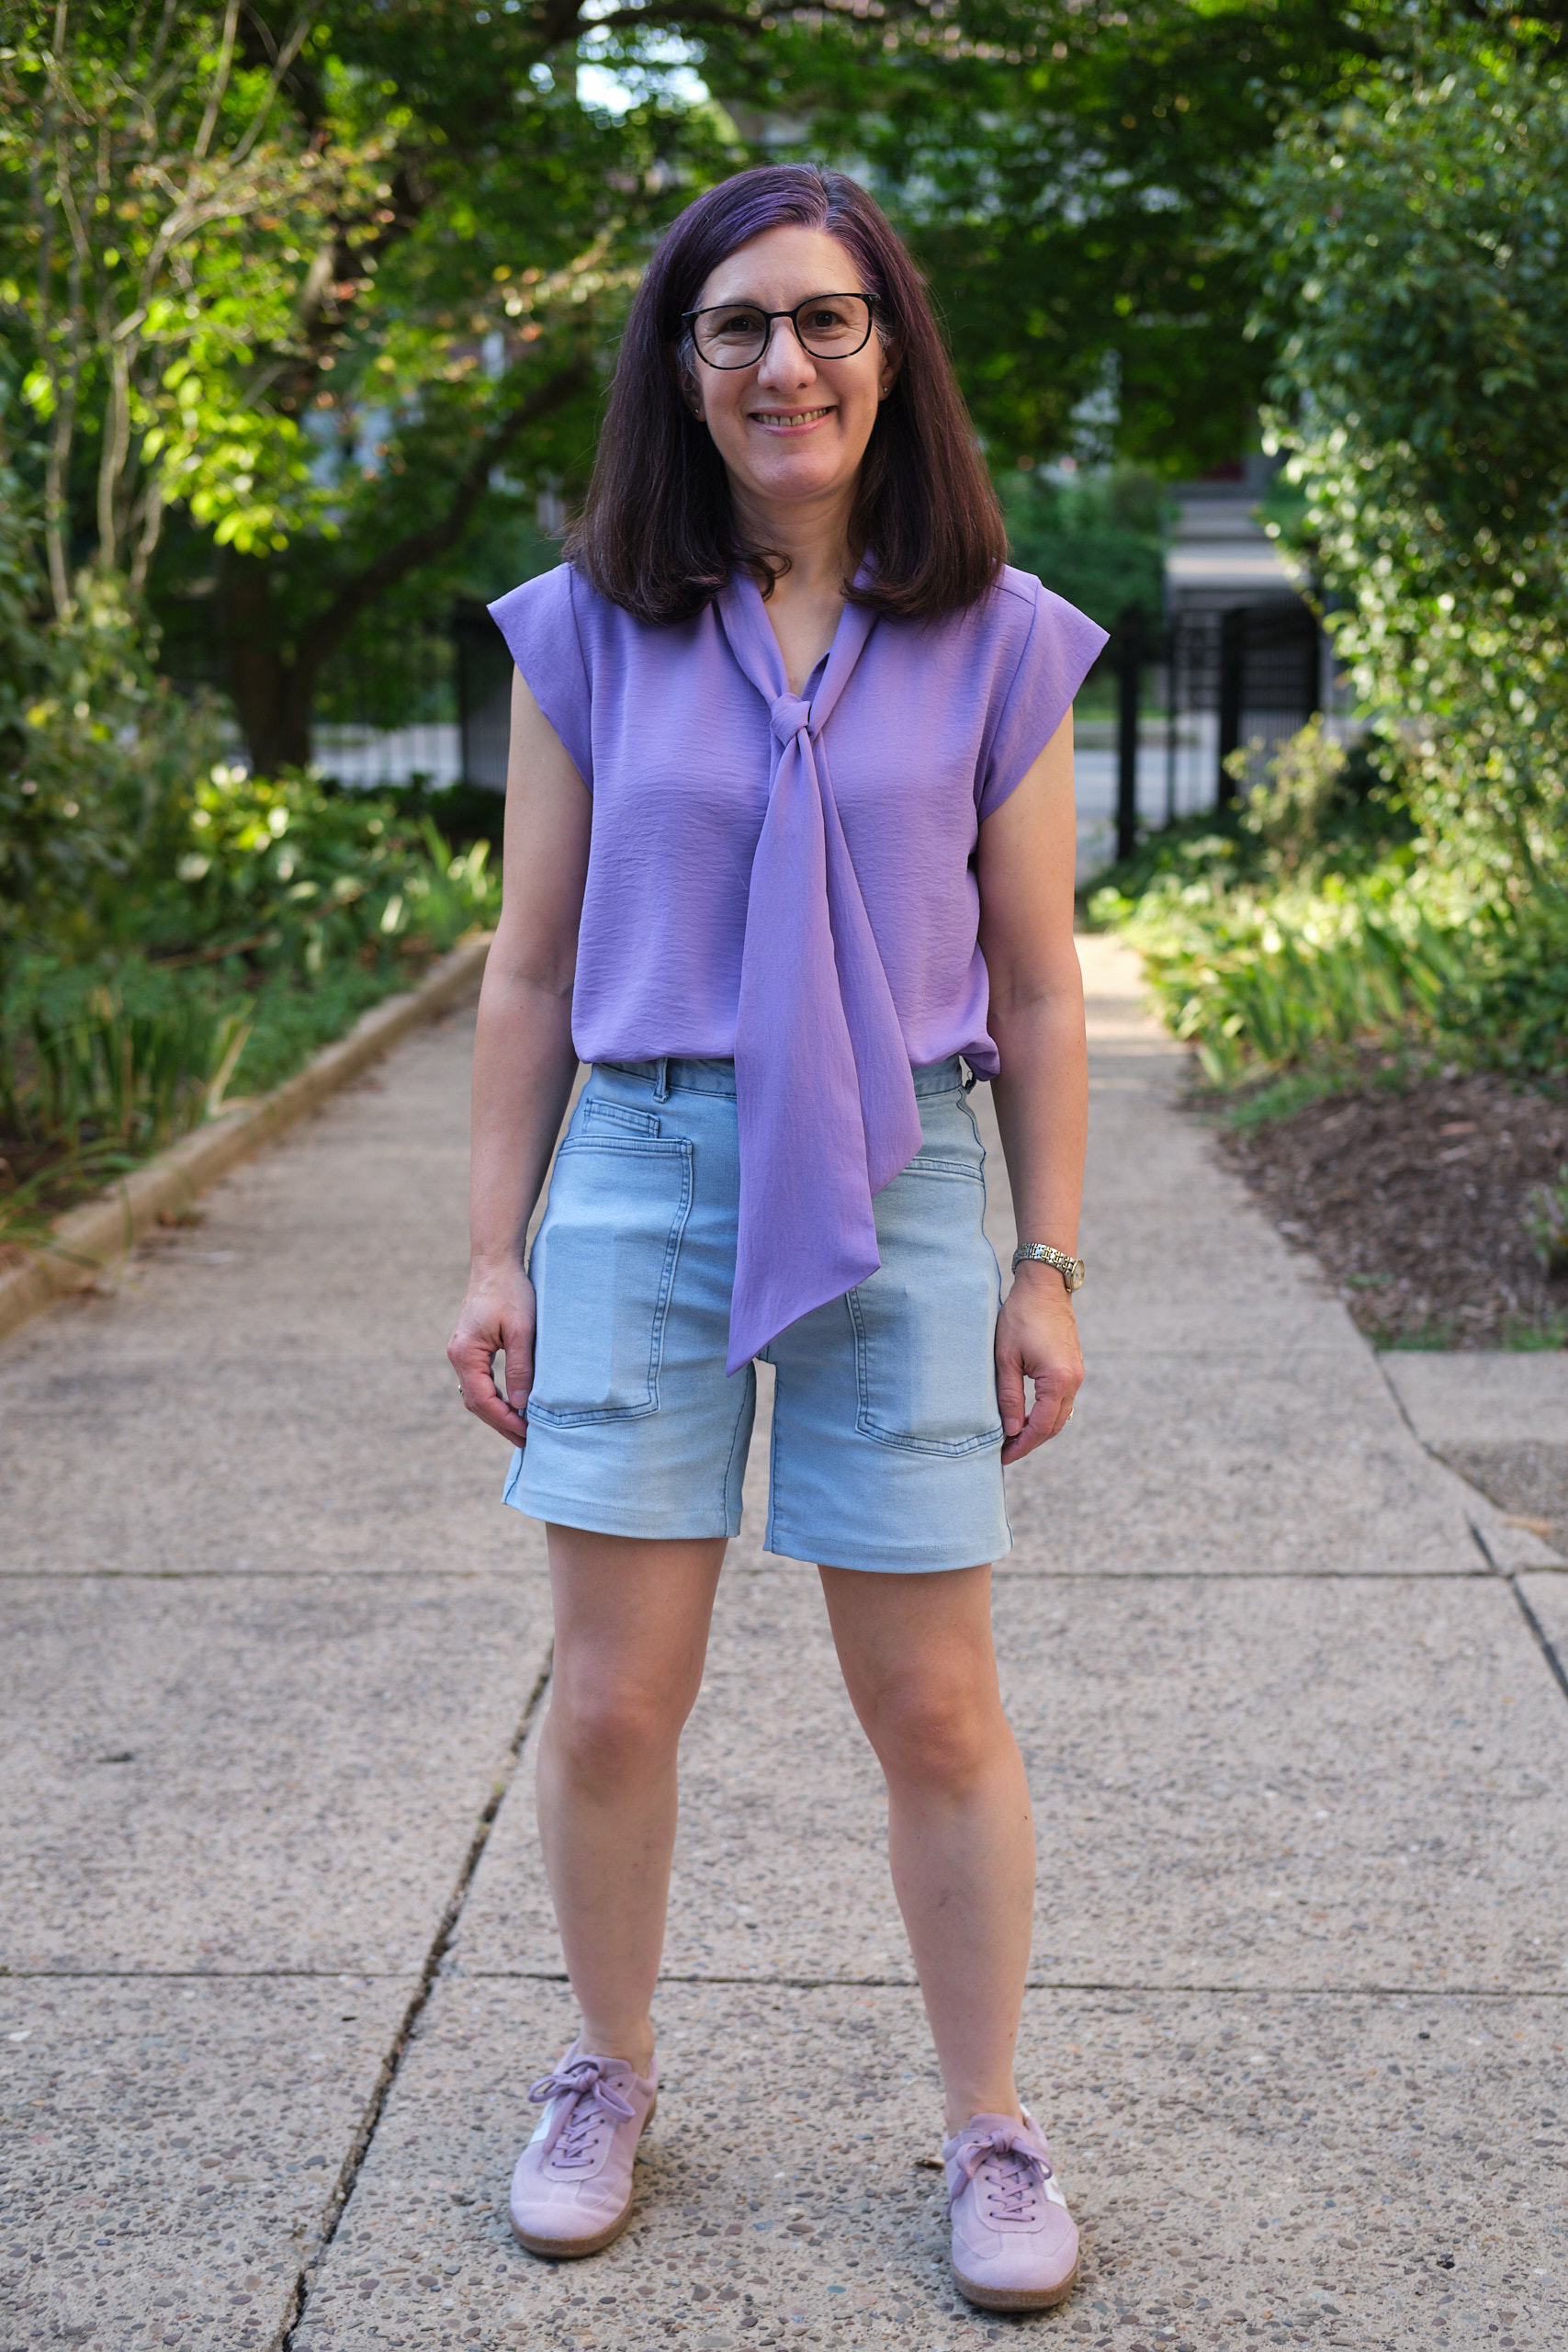
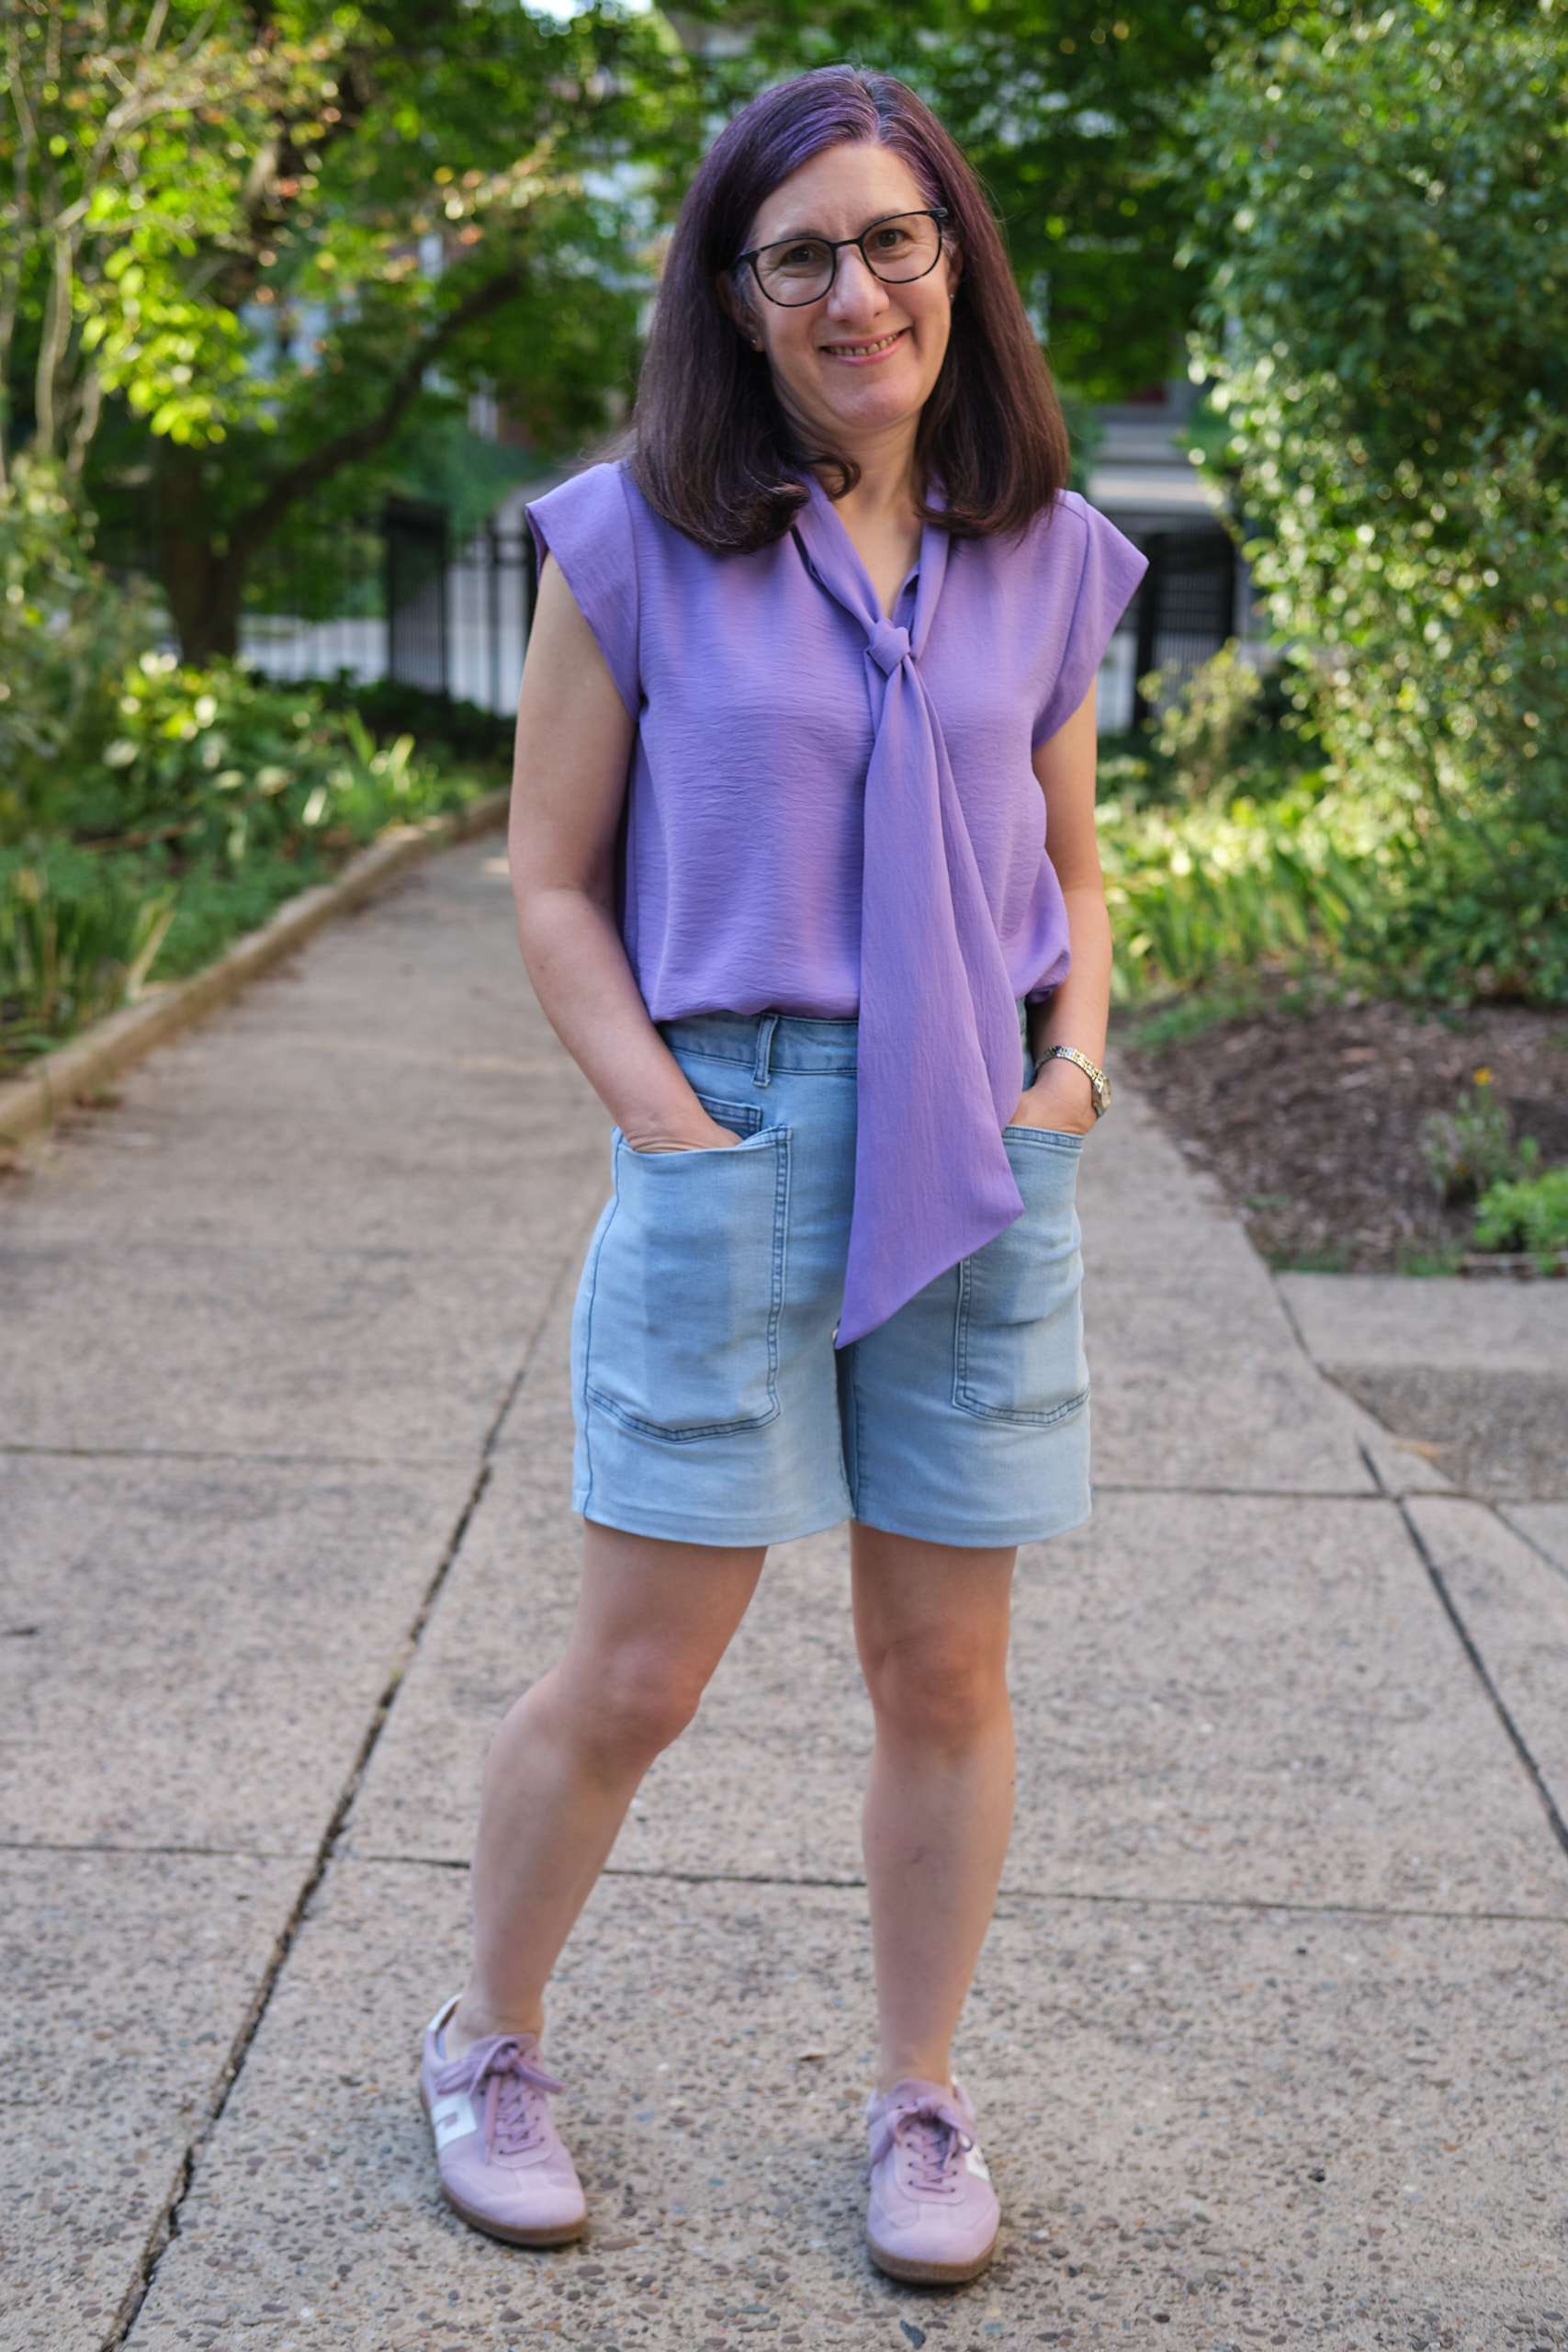
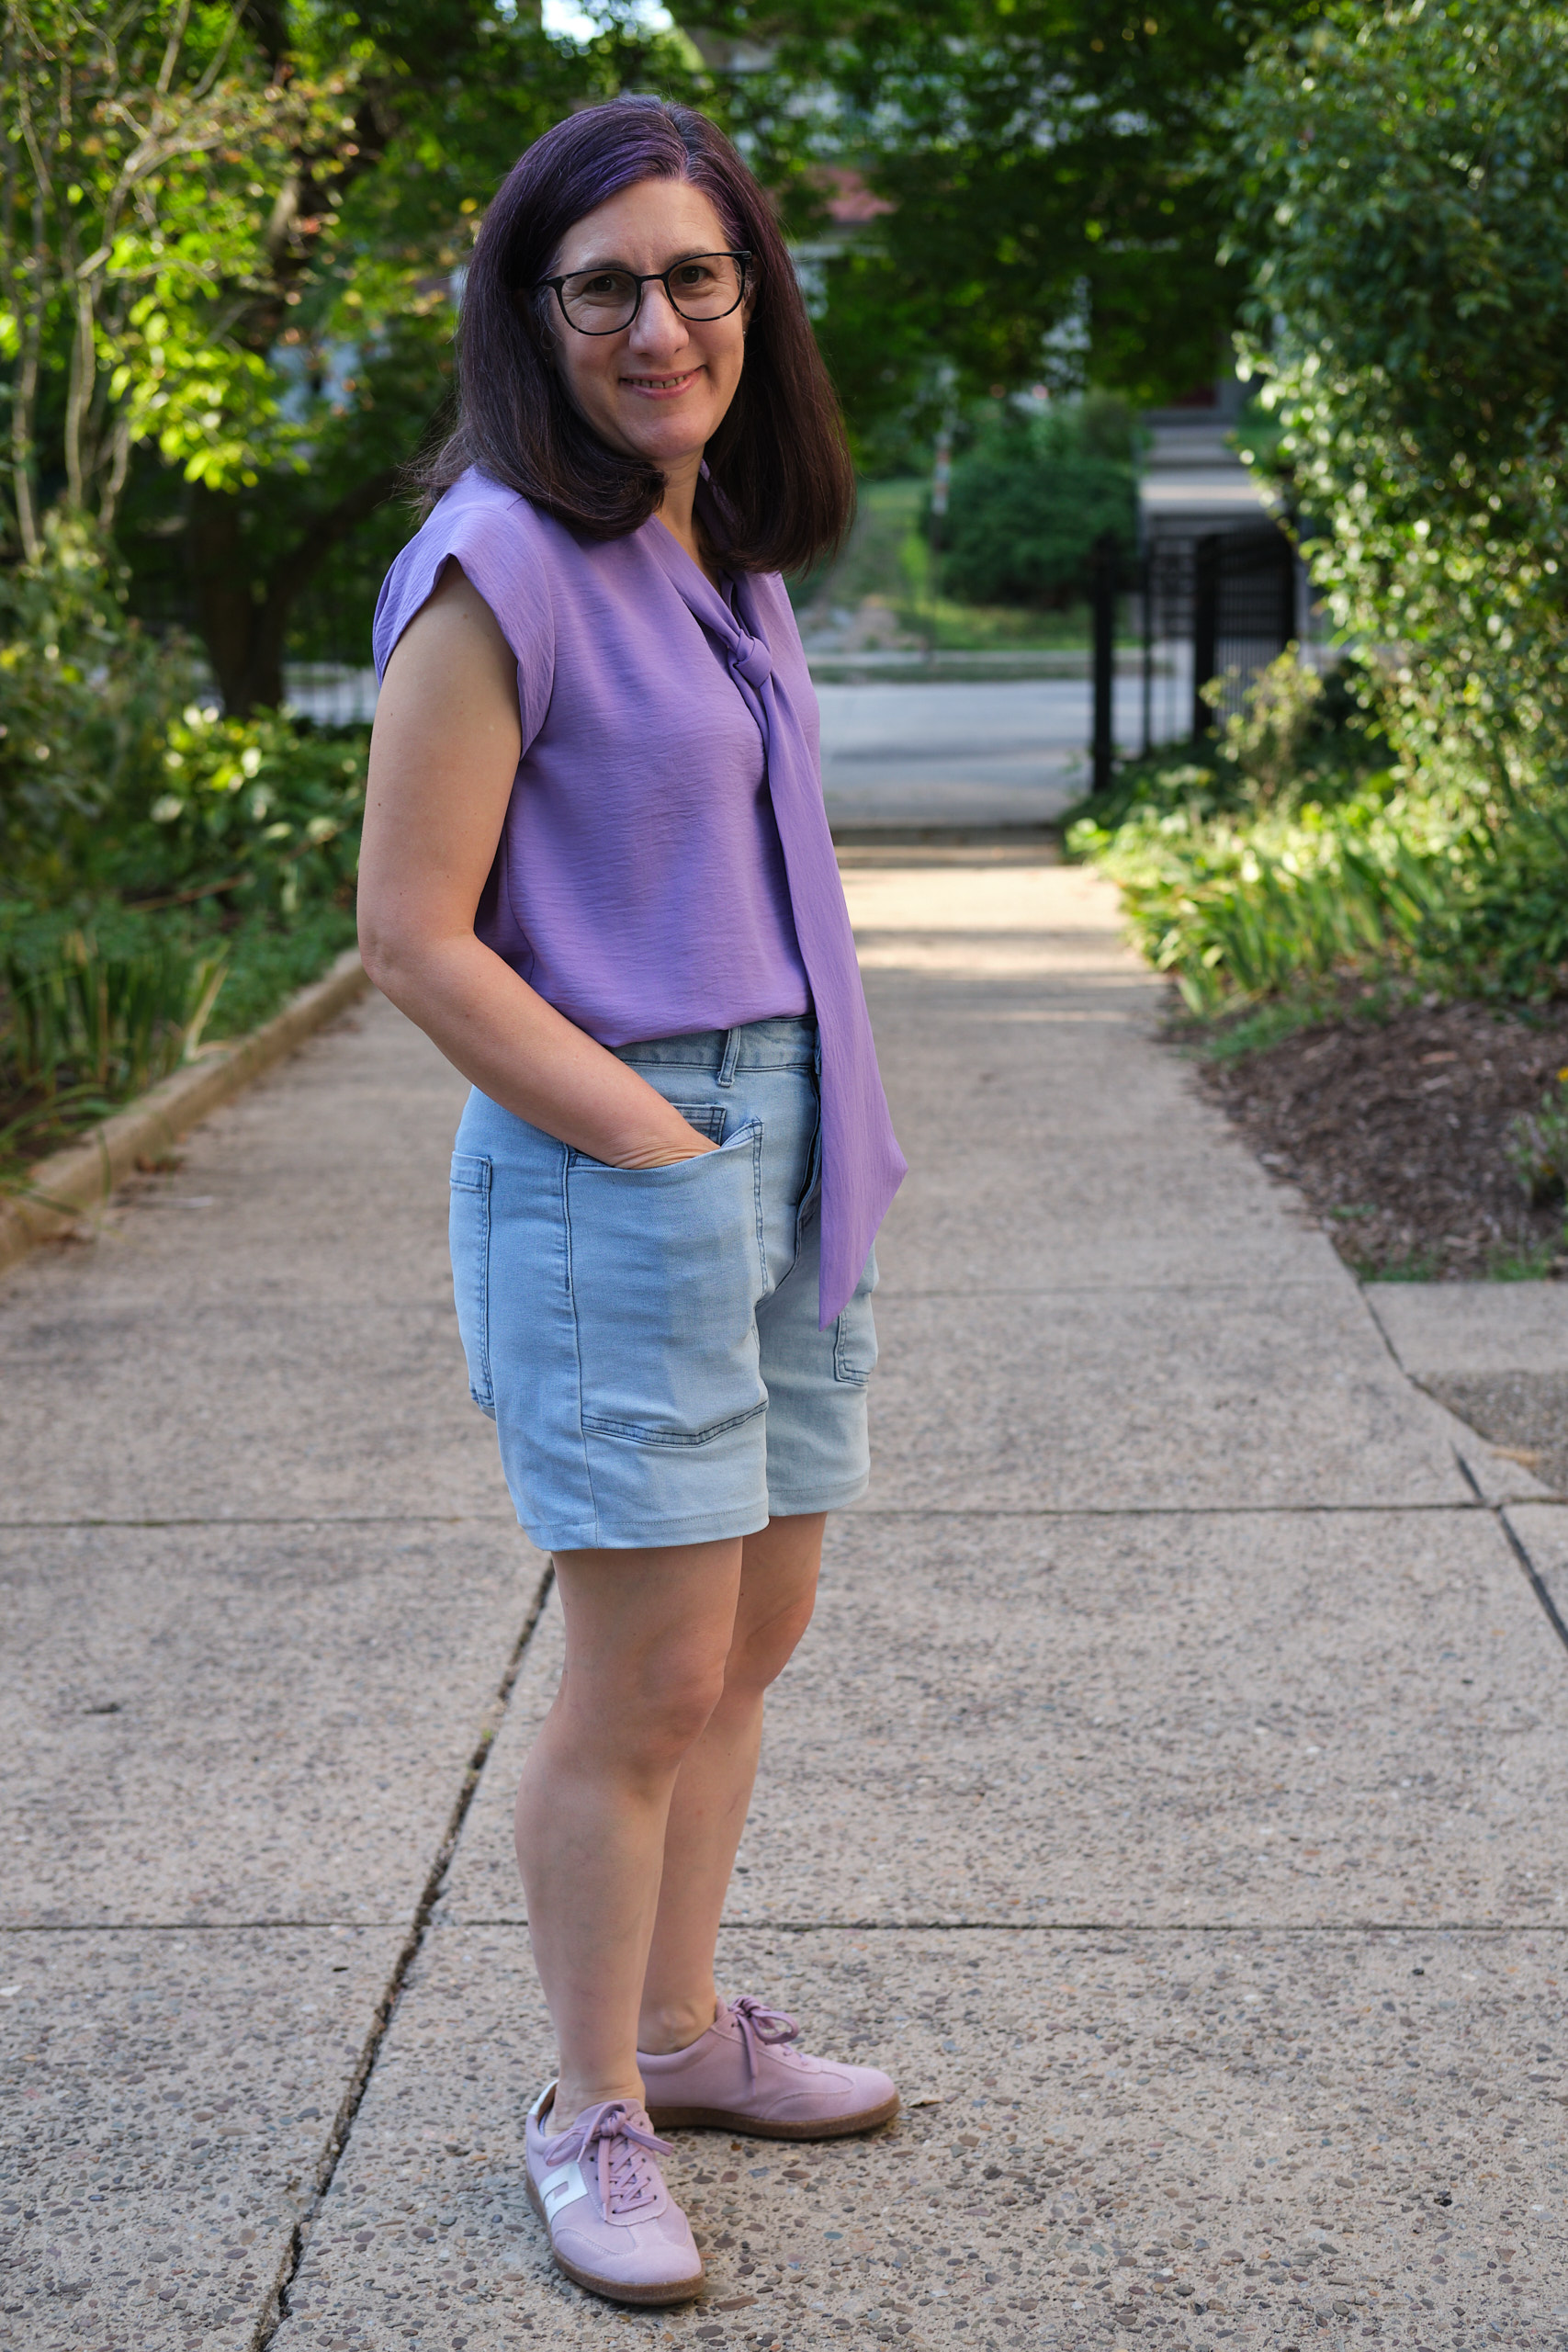
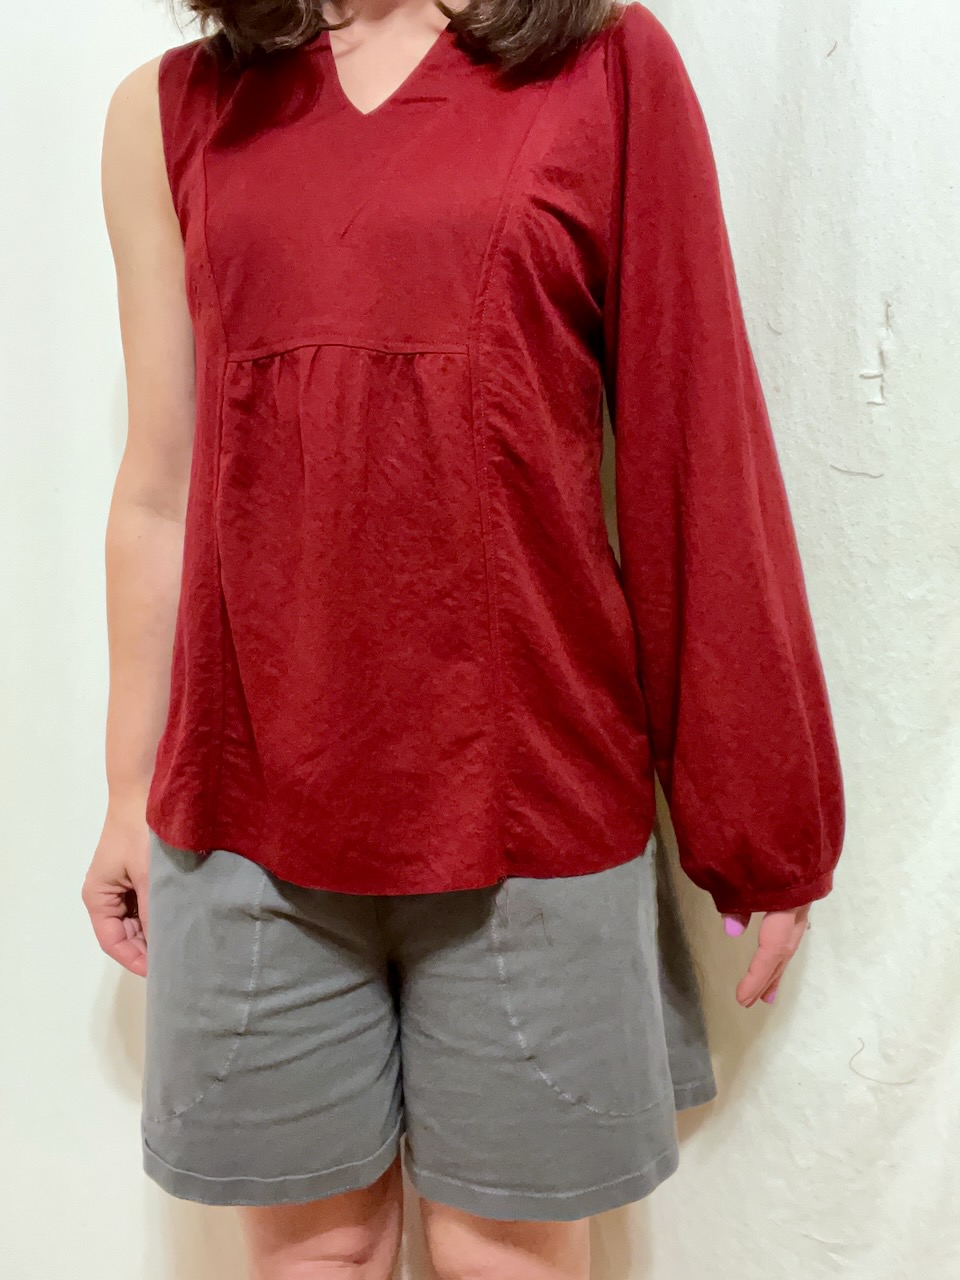
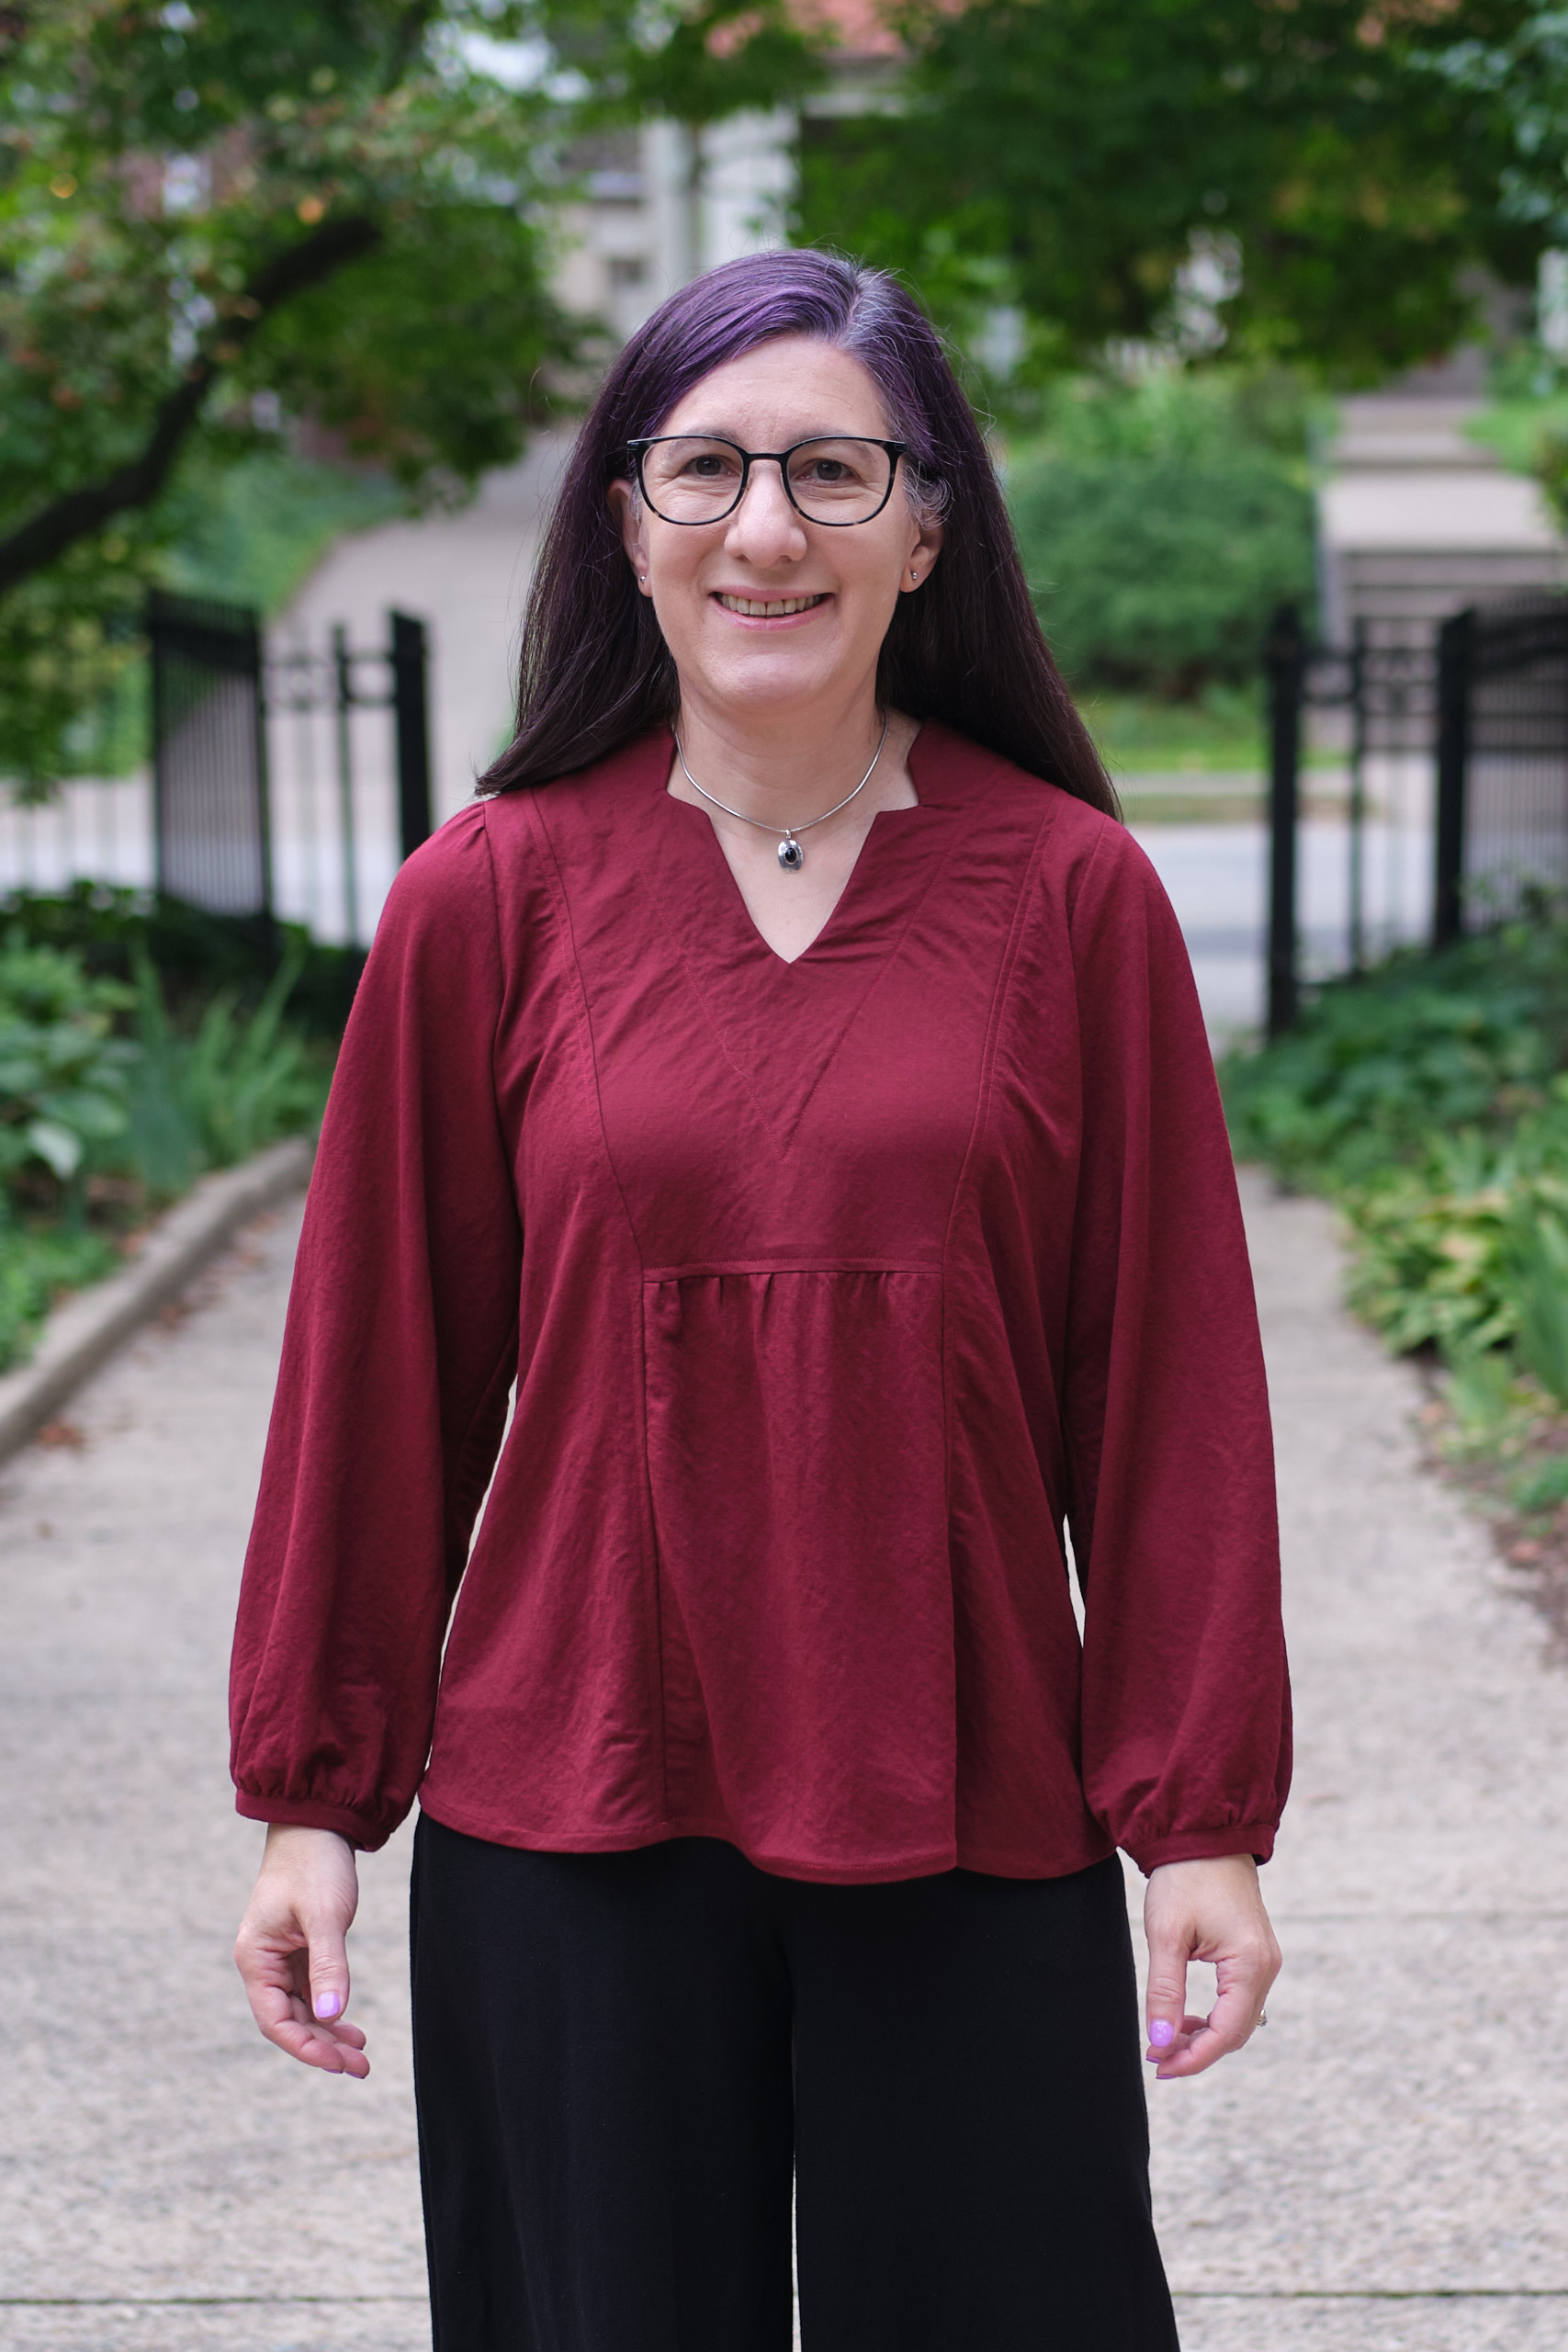
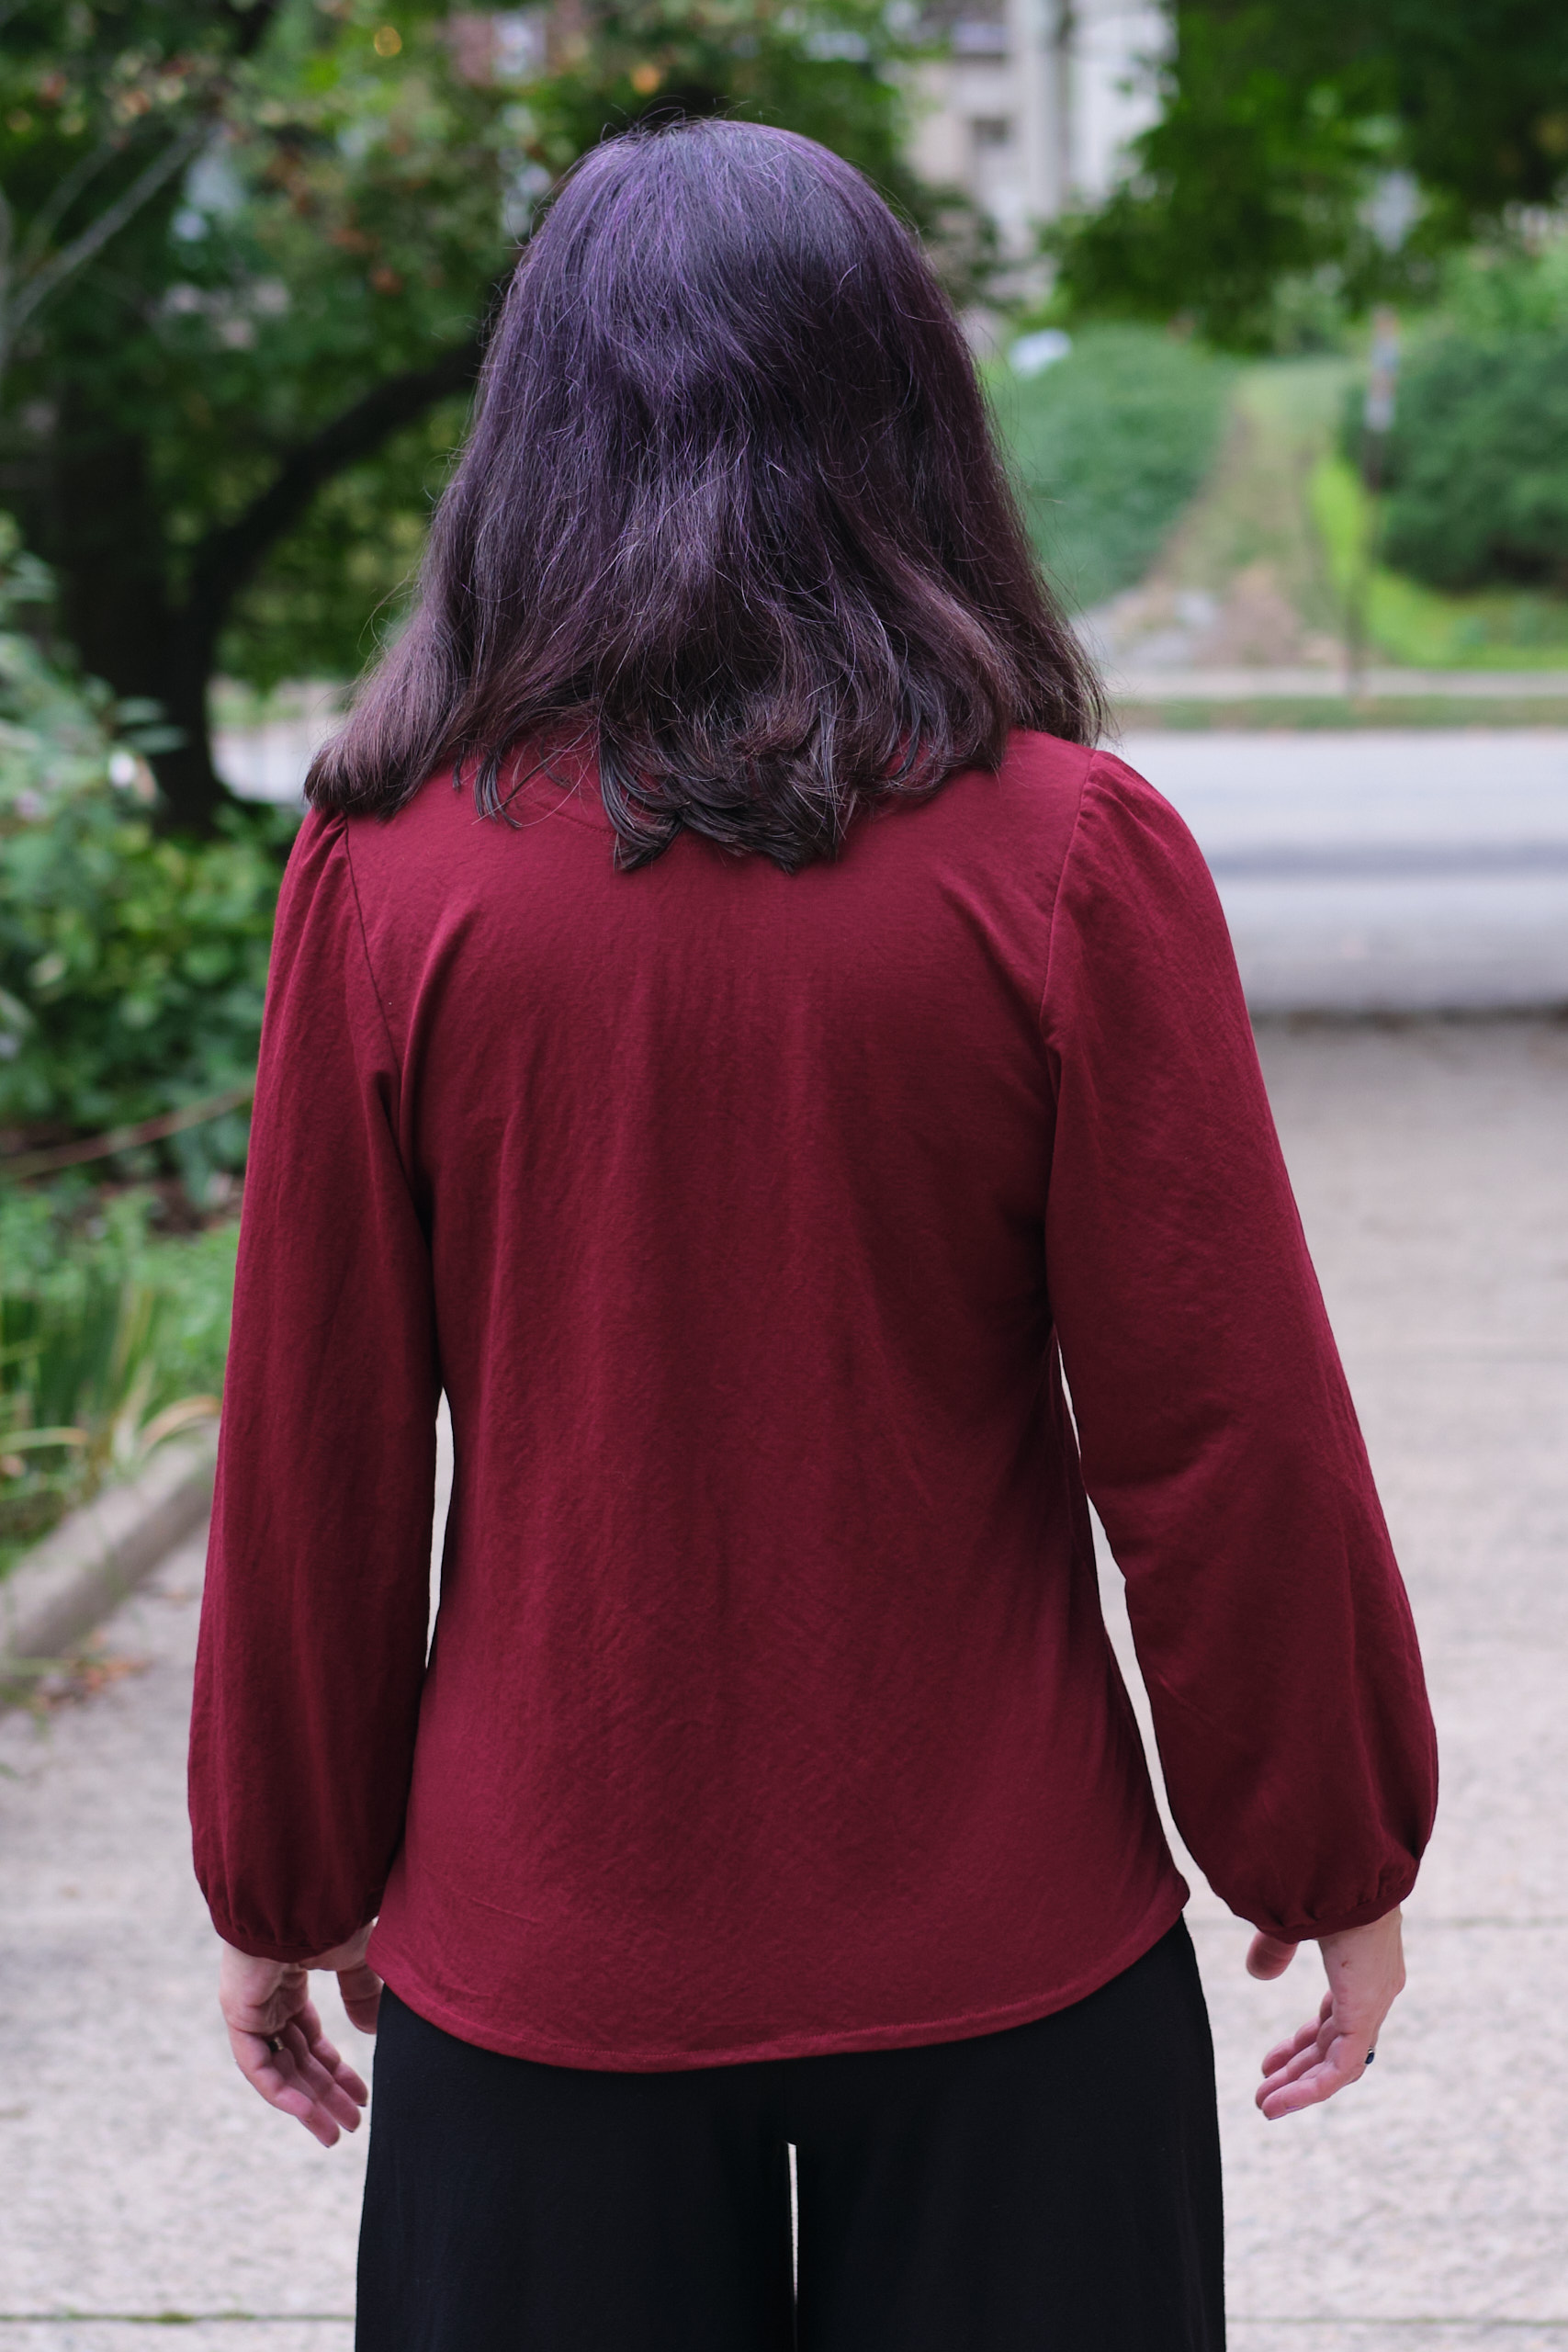
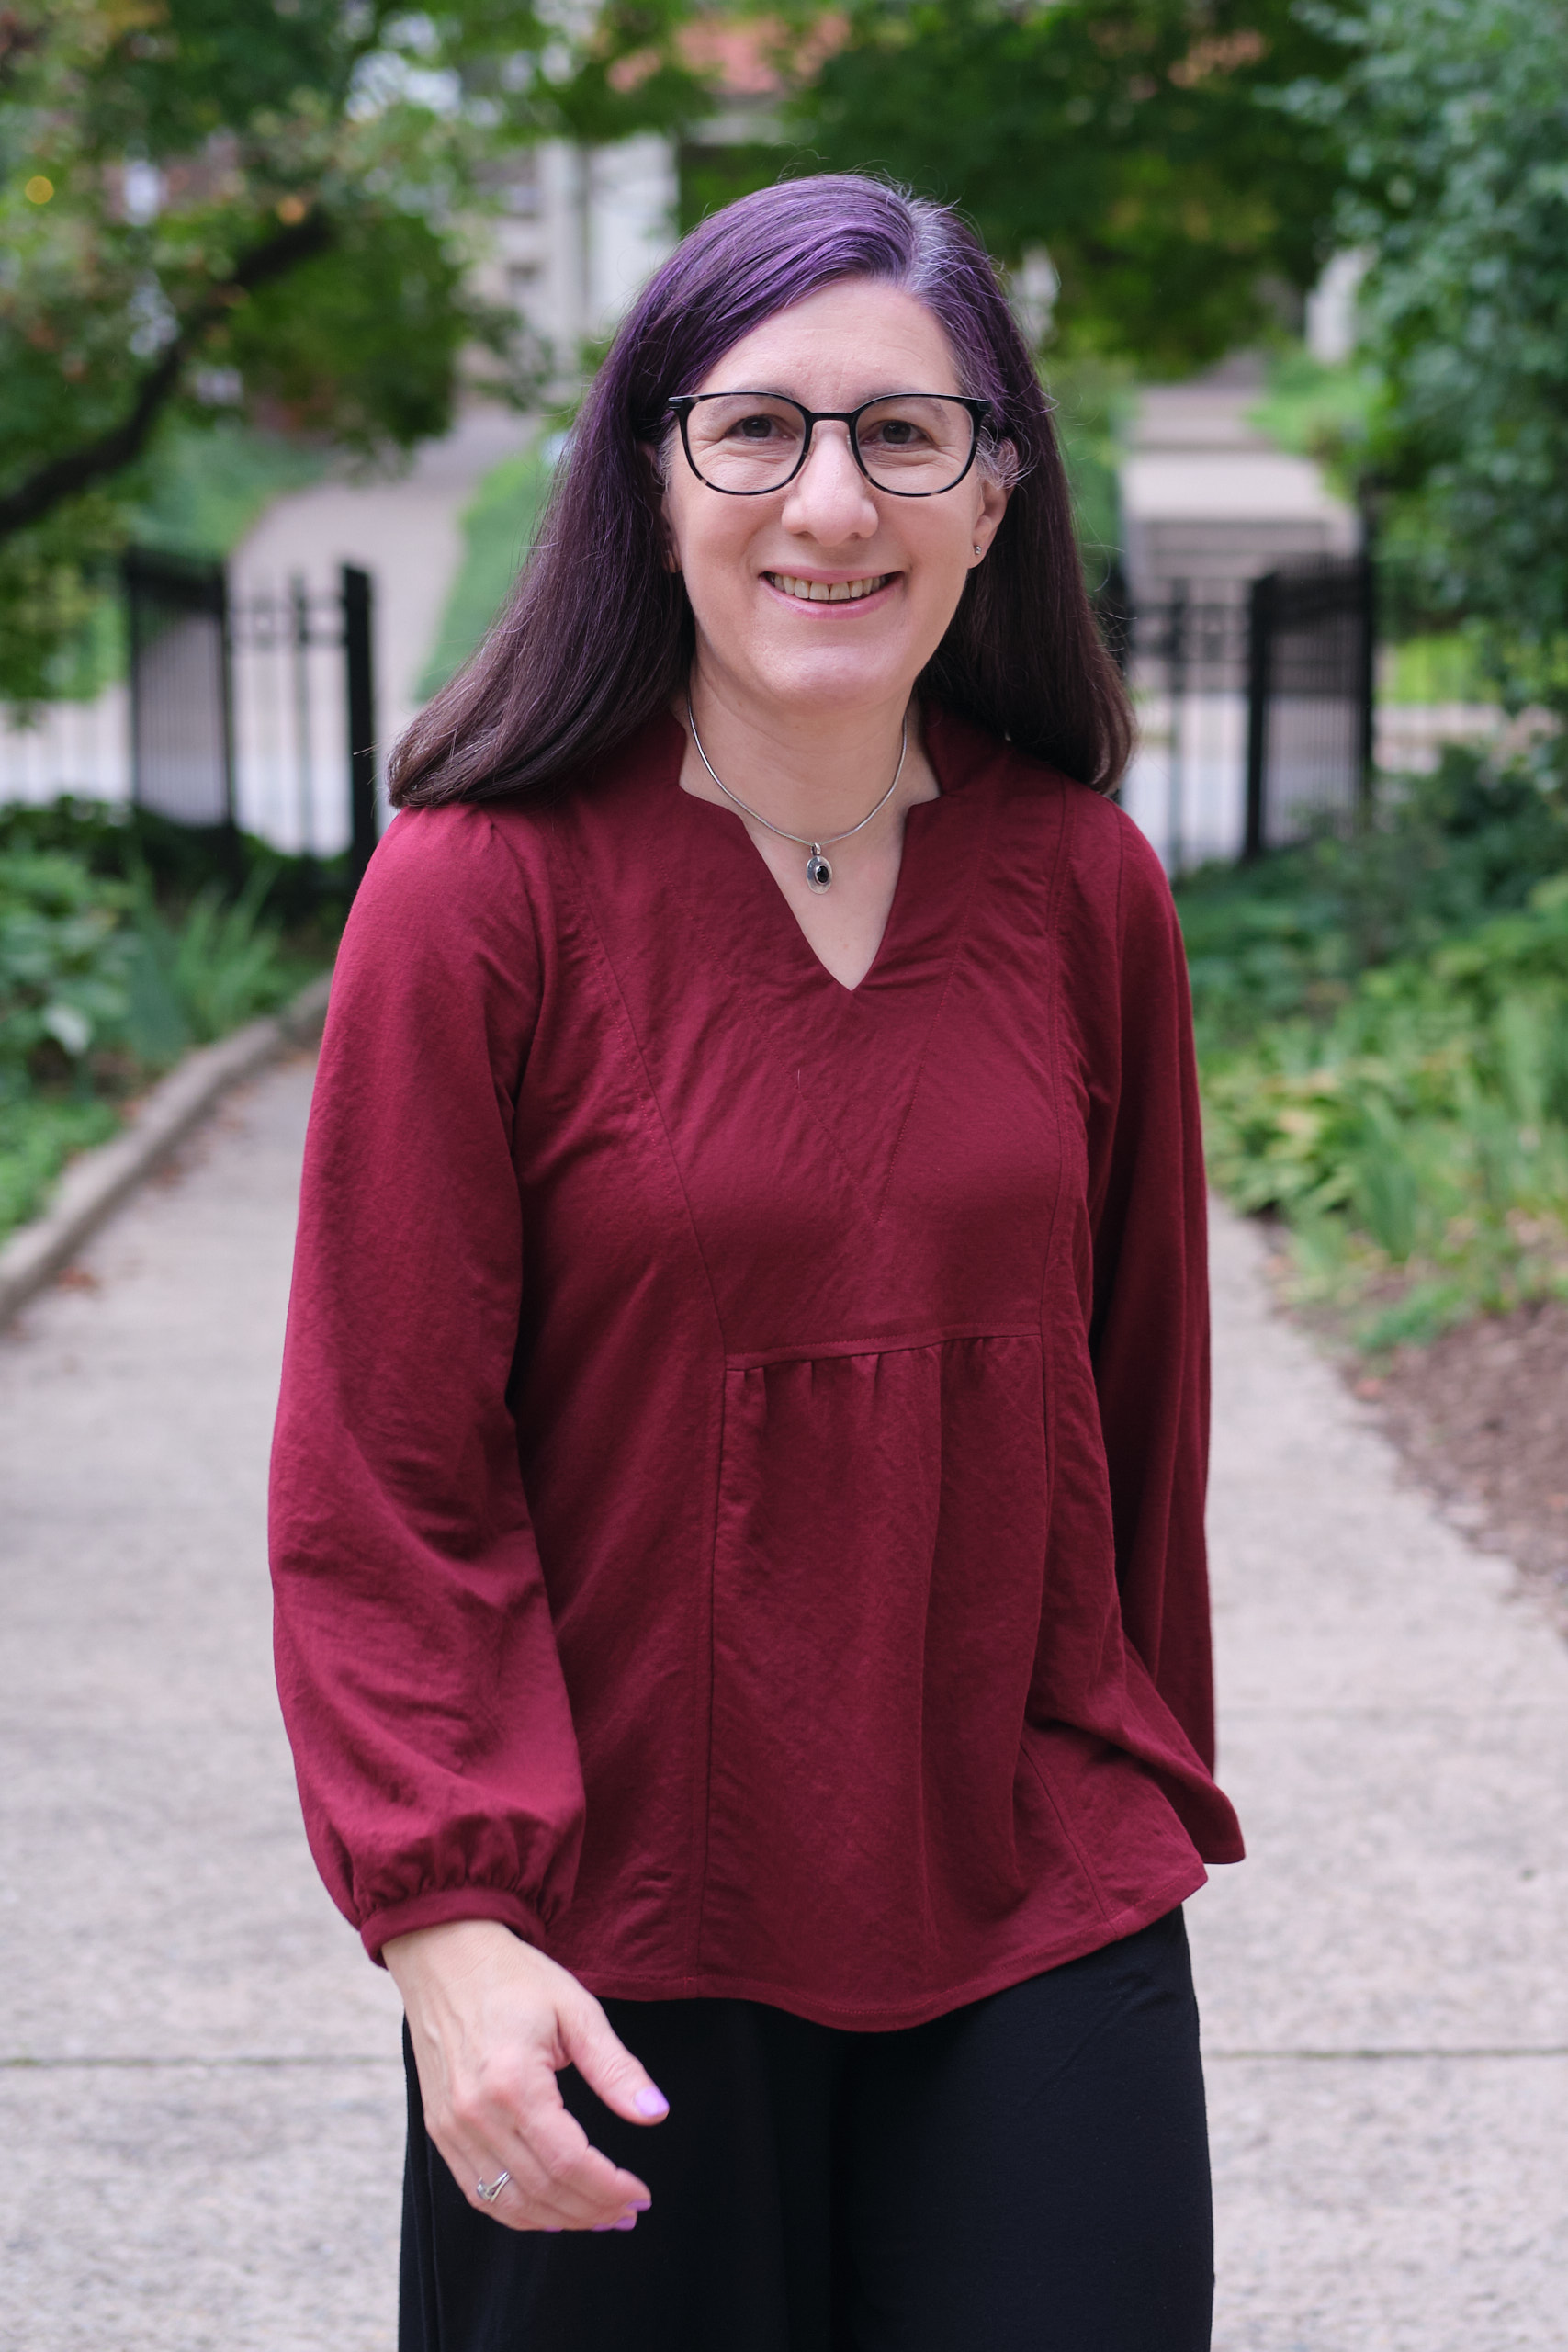
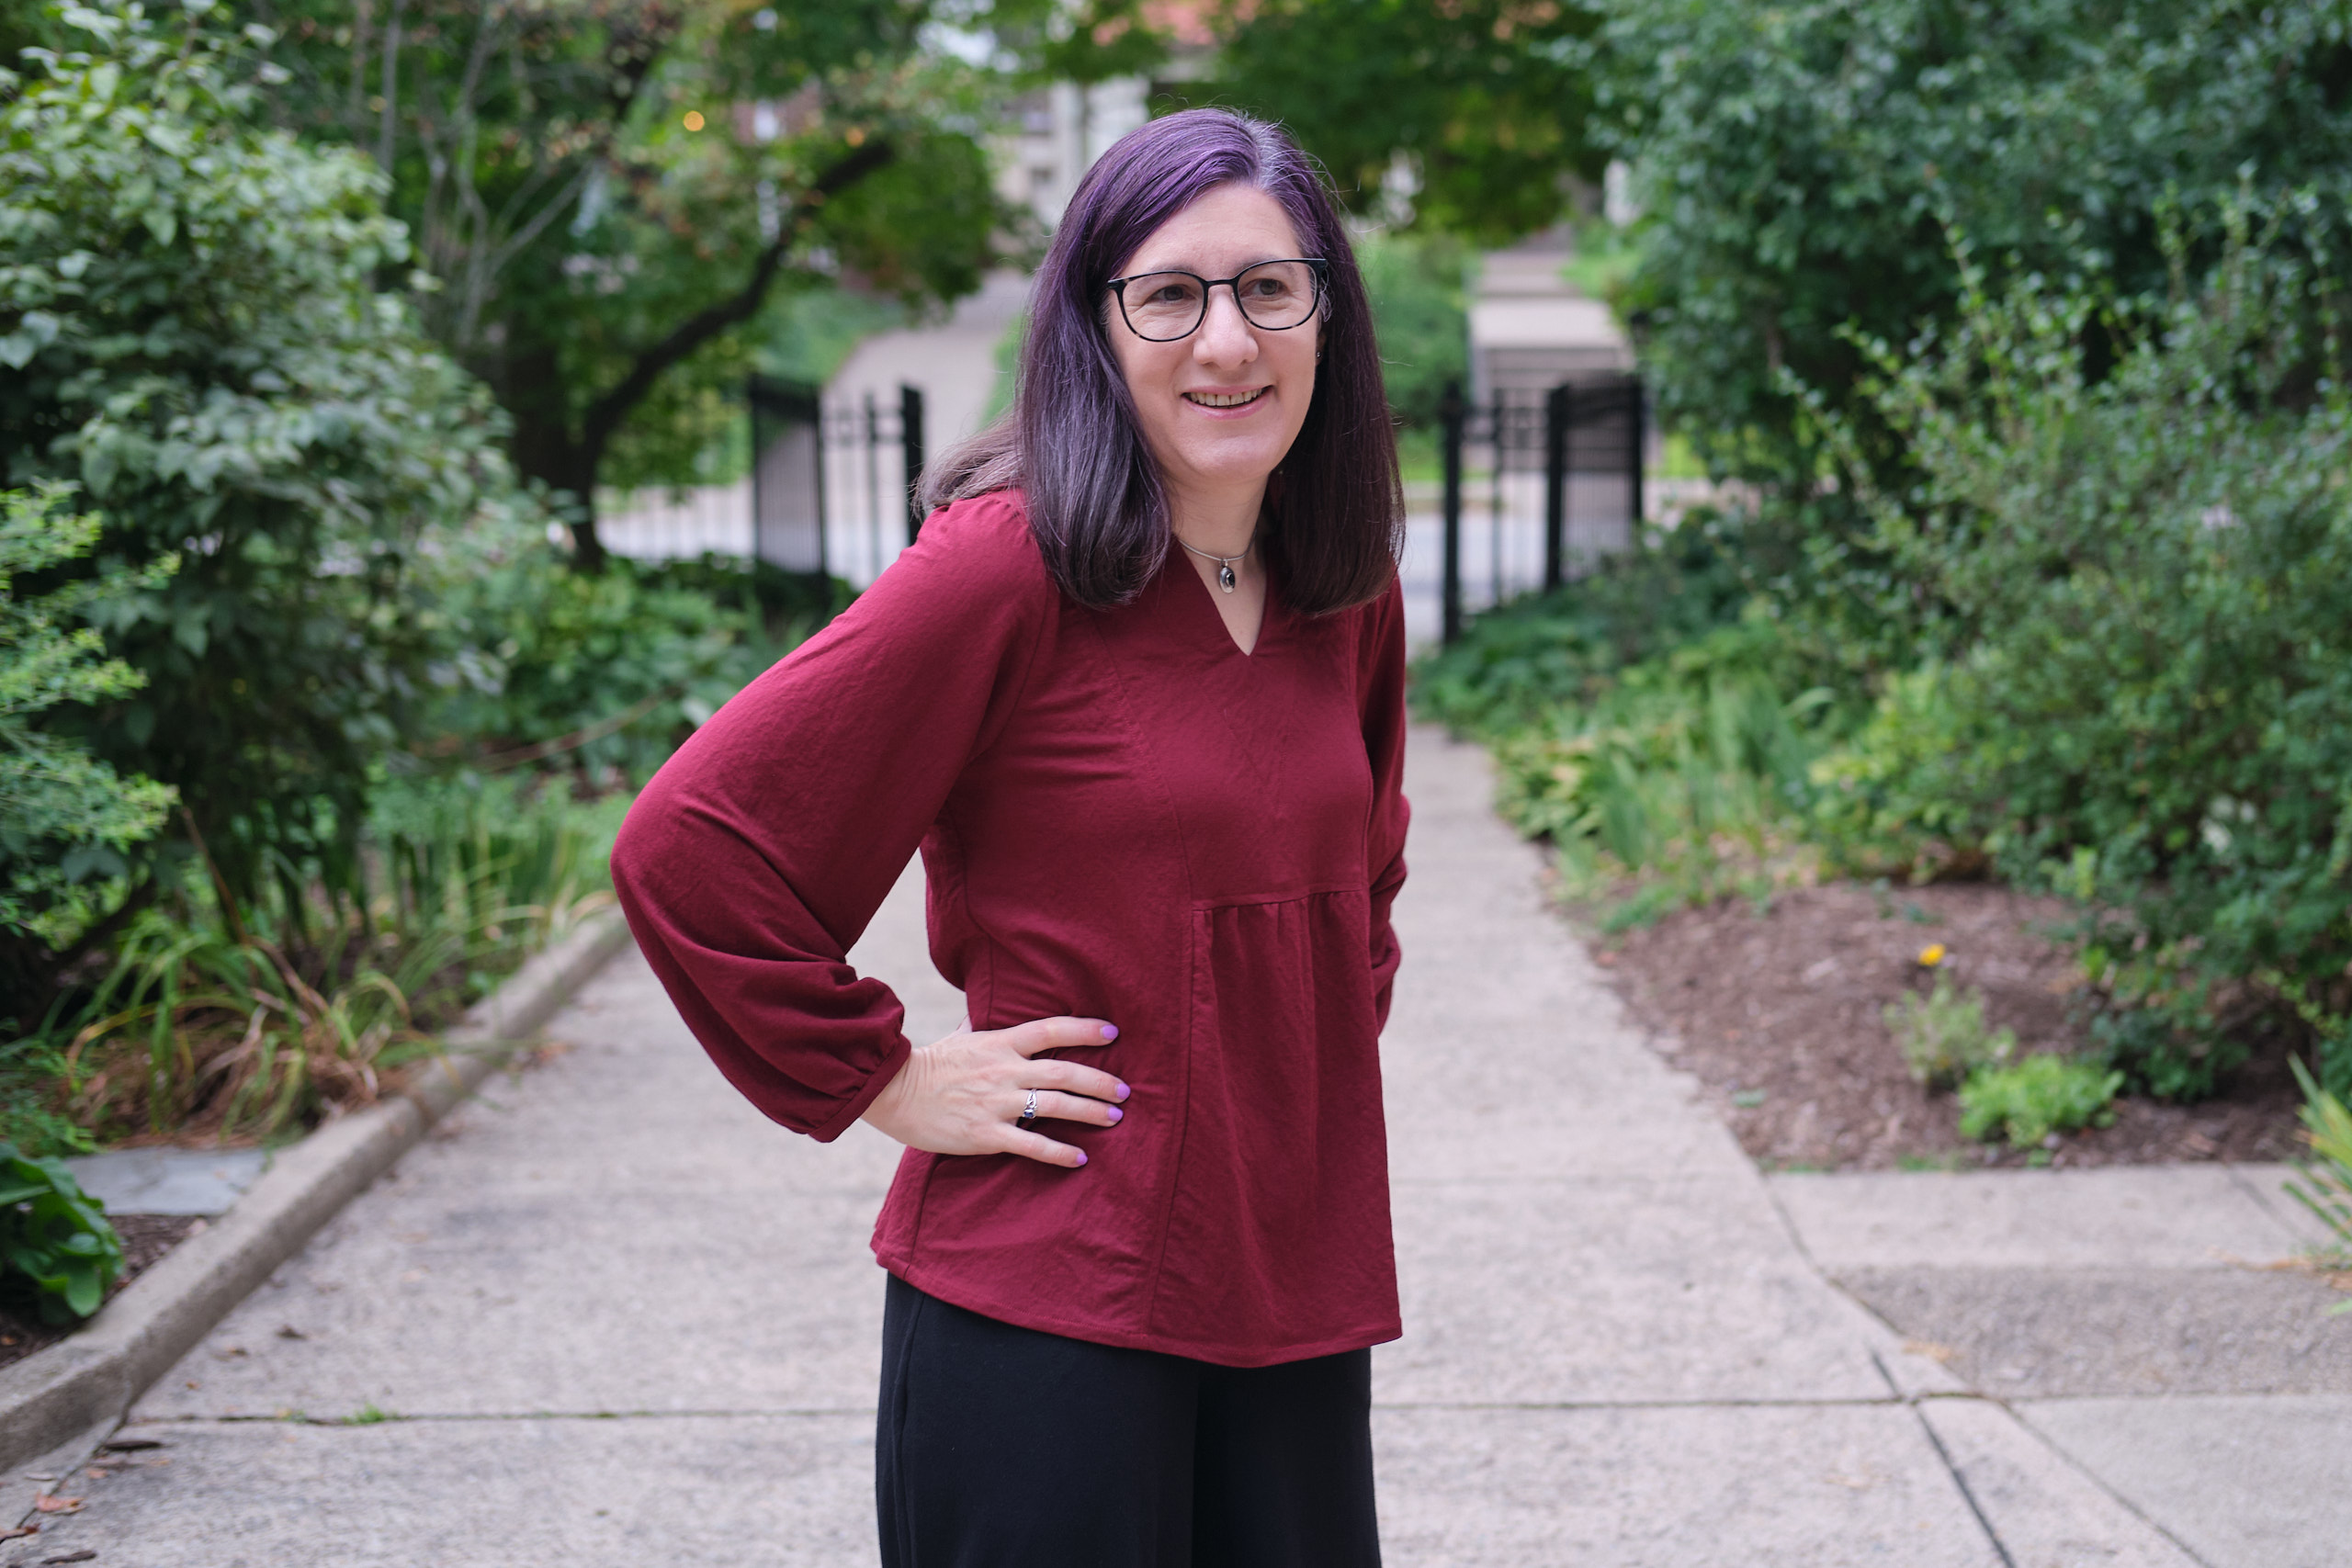
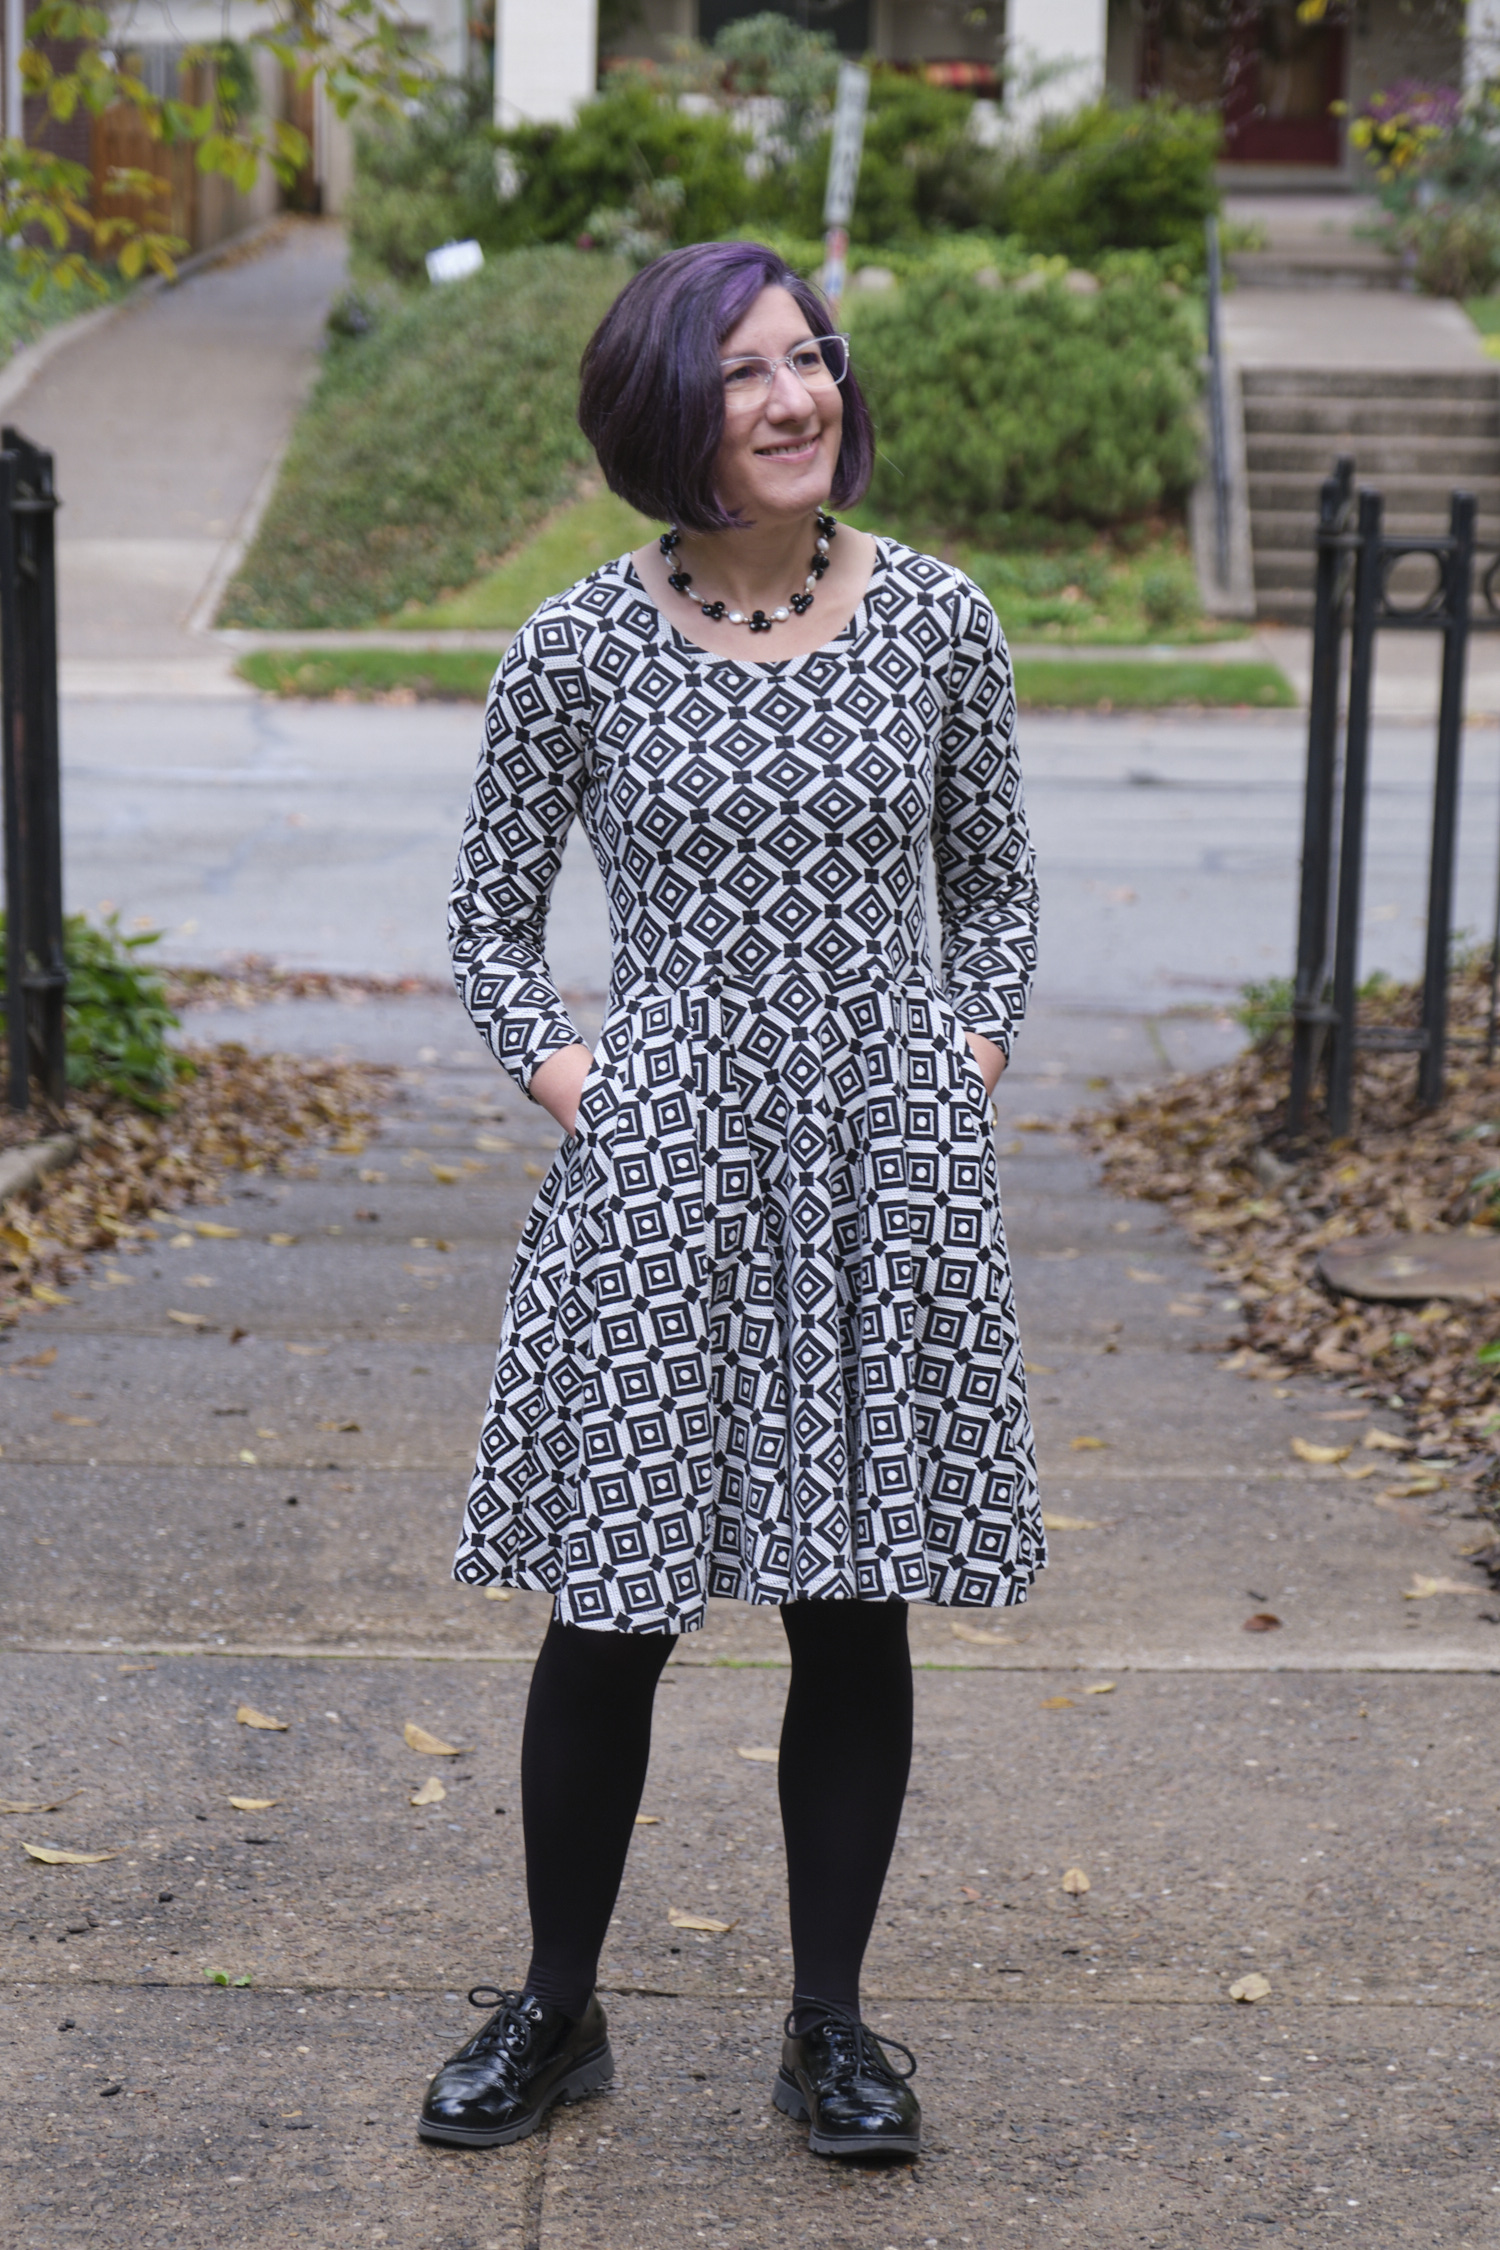
I’m really happy with how this came out and I know I will wear this jacket a lot! I’m modeling it here with my Boo & Lu Blizzard dress, but it also looks great with pants, and even jeans.


