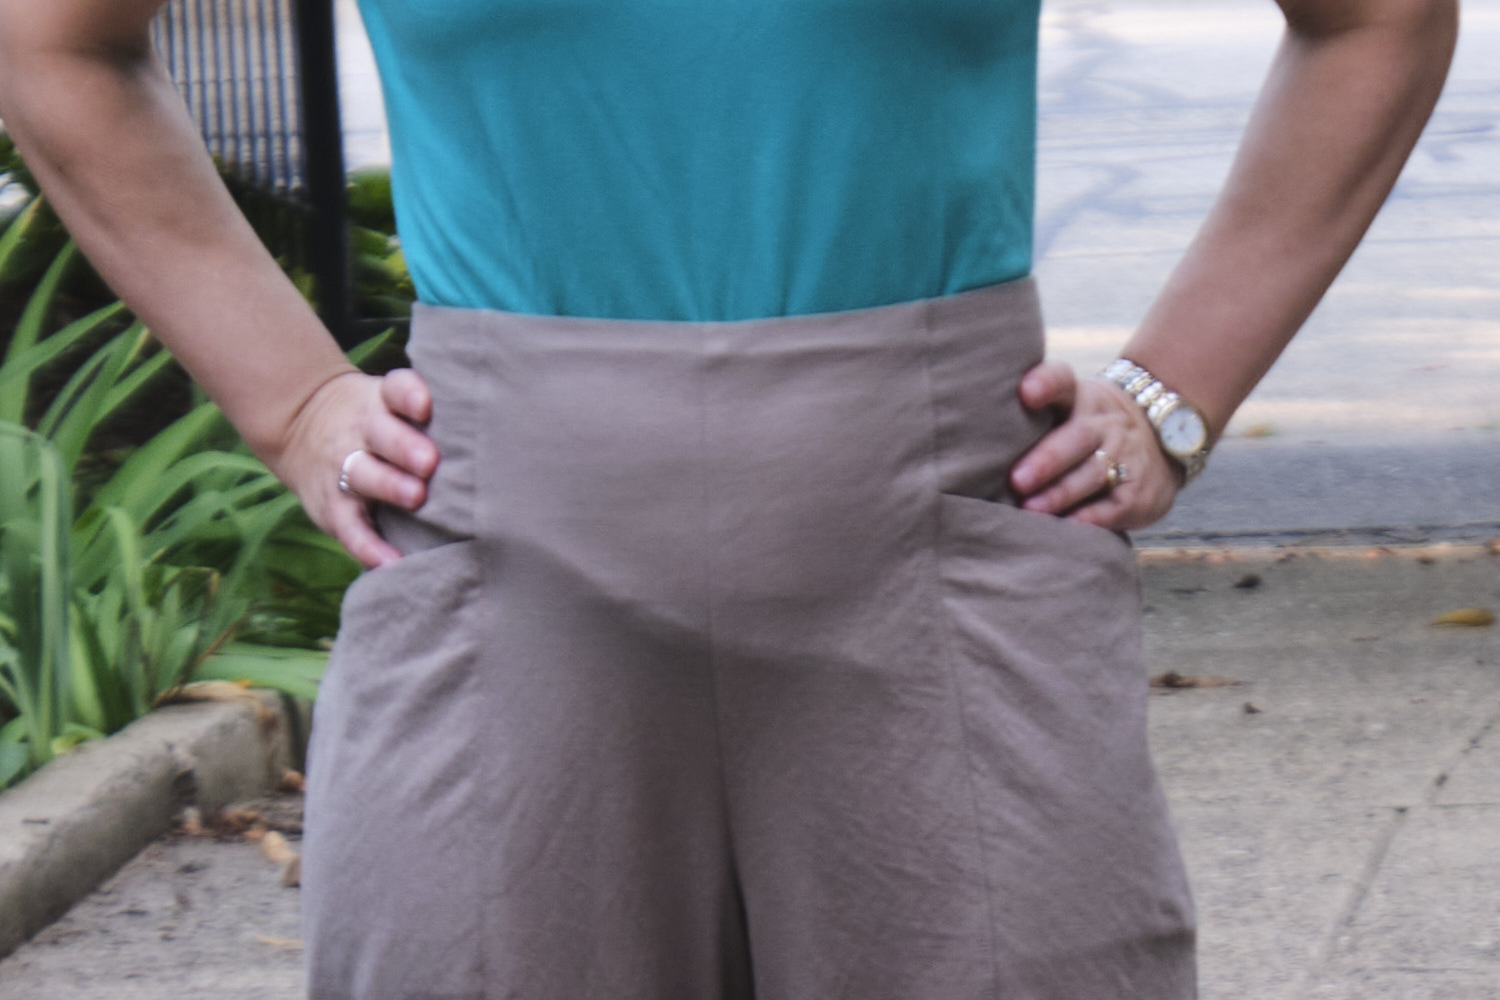
Back in August I tried out the Pietra Pants and Shorts pattern from Closet Core Patterns. A friend made a couple of pairs of these pants and the pocket design immediately caught my eye.
Closet Core does not seem to offer projector files, so I used their copyshop pattern, designed to be printed on two A0 pages. I used Affinity Designer to select the layer for the size I wanted, thicken the lines, copy and paste the pieces onto one large page, and rotate them all in the correct direction for cutting. This was pretty easy to do.
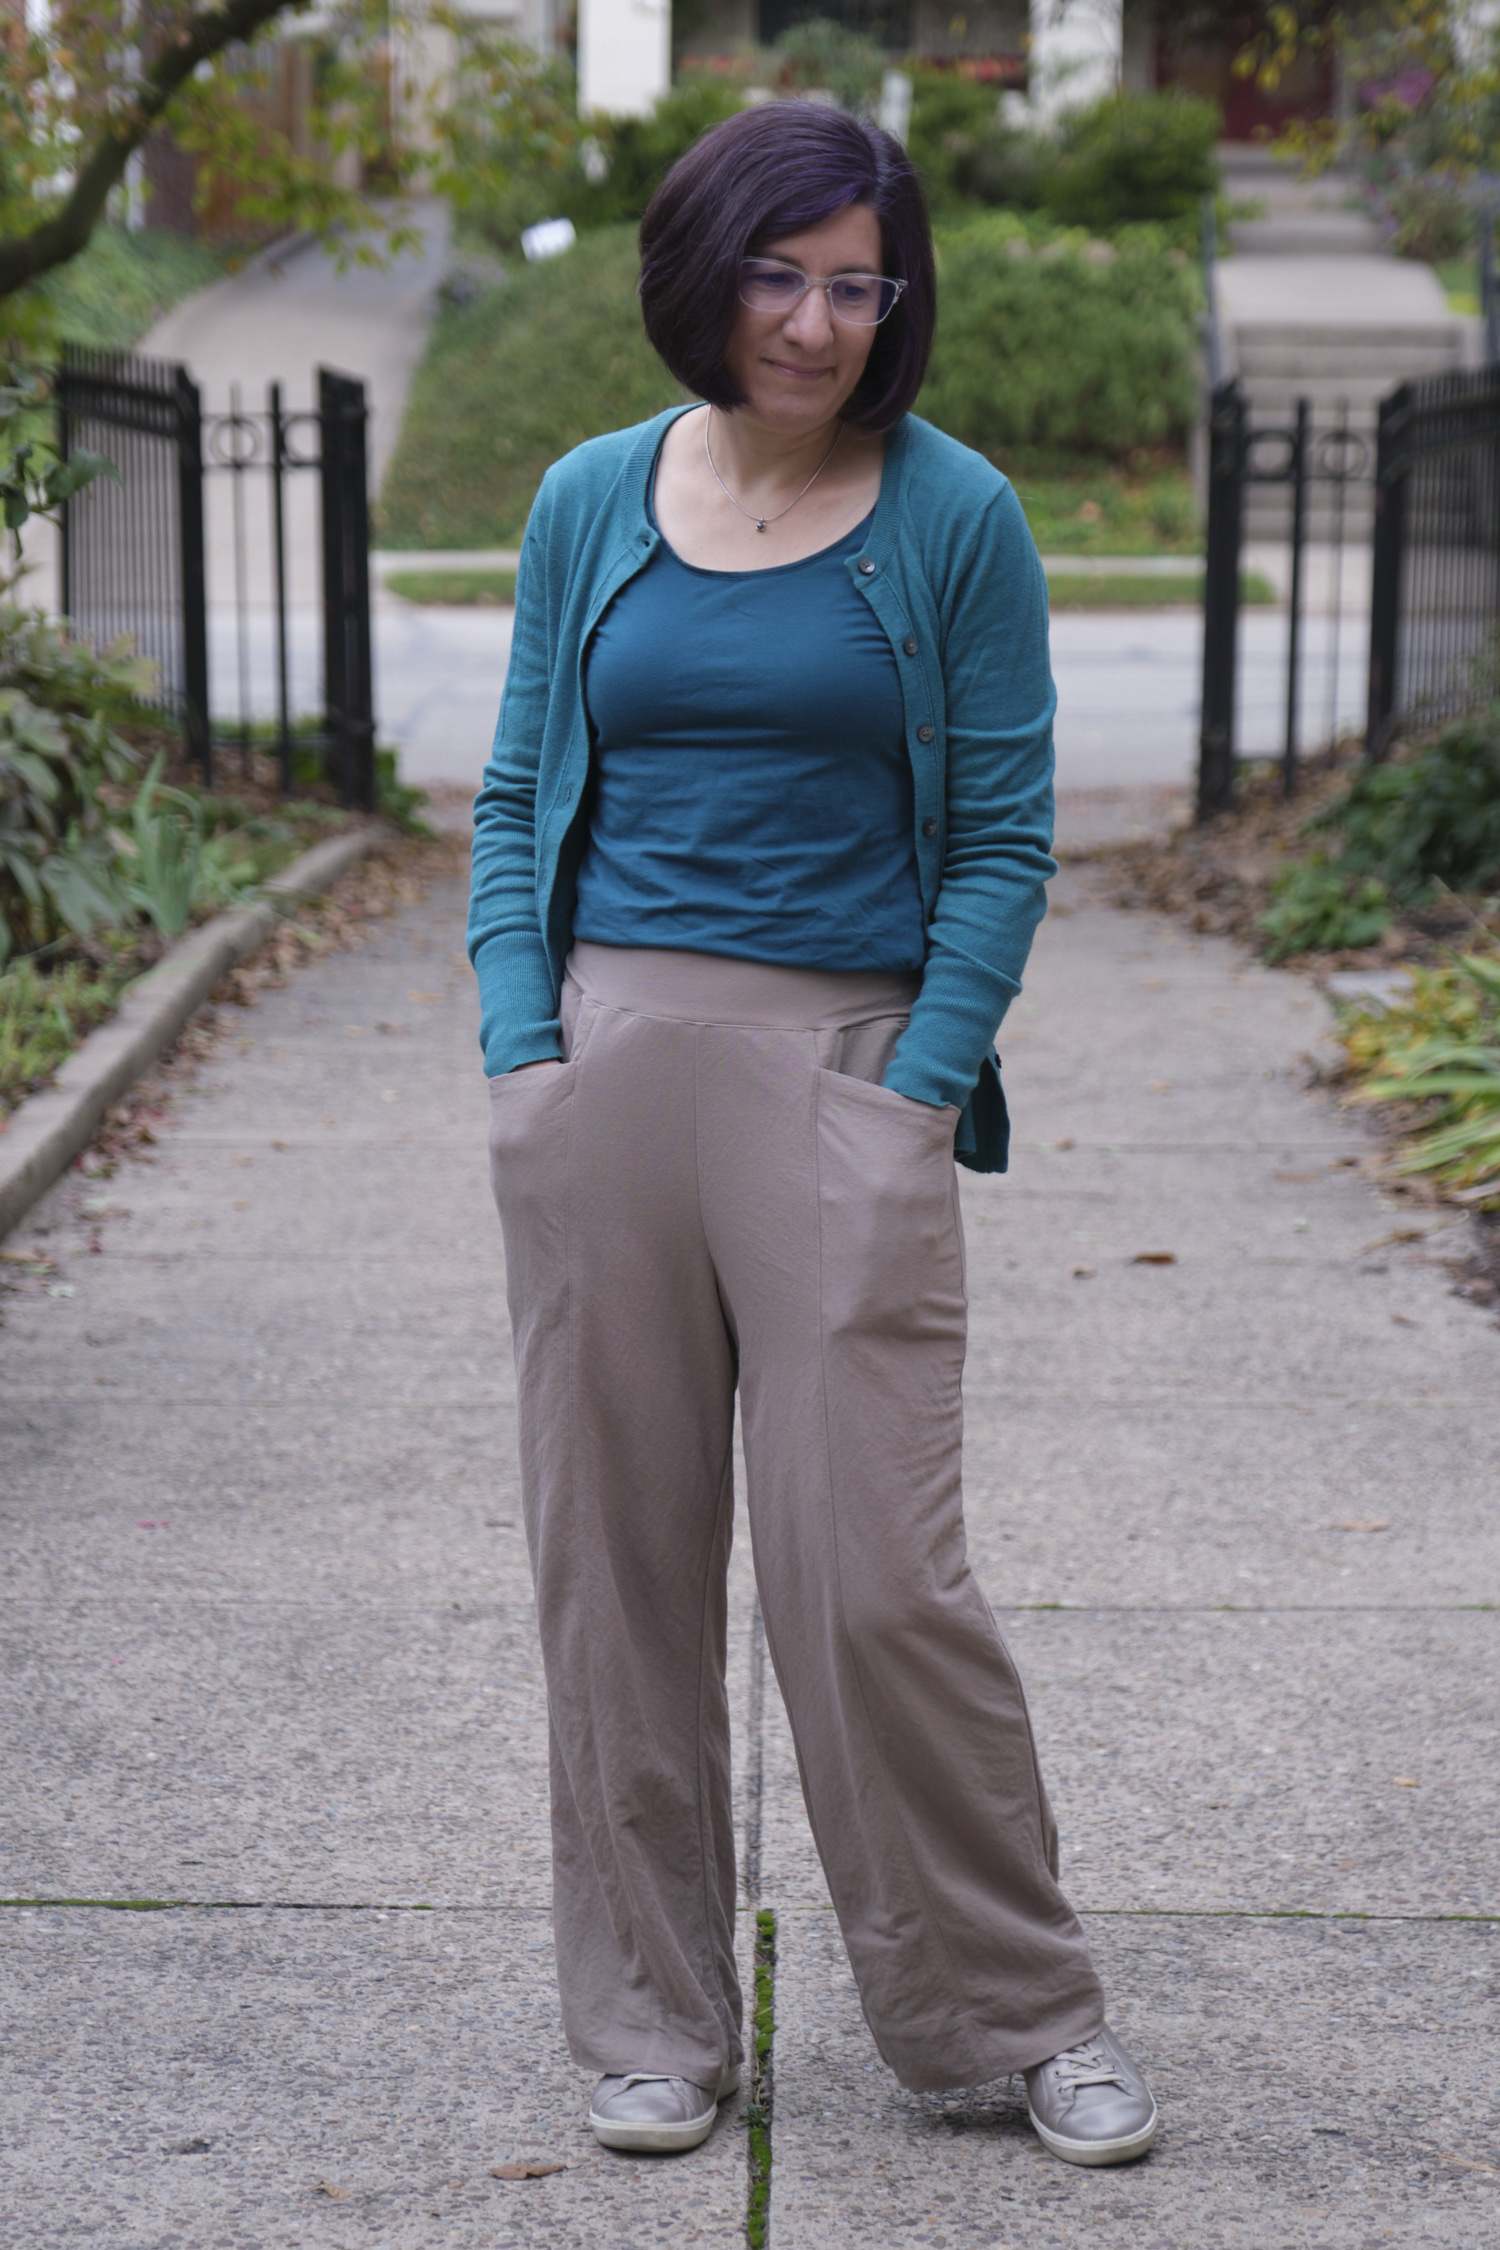
The pattern did not come in a petite size, but as I like high-rise pants, the only modification I thought would be needed for my short stature was to shorten the pants. I cut out size 6, but shortened the bottom hem of all the pieces by 4.5 inches. I made view A, the wide leg pants. There are also instructions for tapered leg pants and shorts.
Although the pattern was designed for lightweight woven fabrics, I used Pylos Liknit fabric, which is actually a knit fabric. But having used Liknit for two other pairs of pants, I knew it doesn’t stretch a lot and is fairly stable, so I decided to treat it as if it was woven. I used the linen colorway. The main part of the Pietra pants that you don’t want to stretch is the front waist band, and since that is interfaced, there wasn’t any issue with unwanted stretching. I think this fabric worked out well for this pattern. But I had a lot of trouble with the back of the waist band and it is possible the fact that it wasn’t actually a woven contributed to the difficulties I had, but I’m not sure.
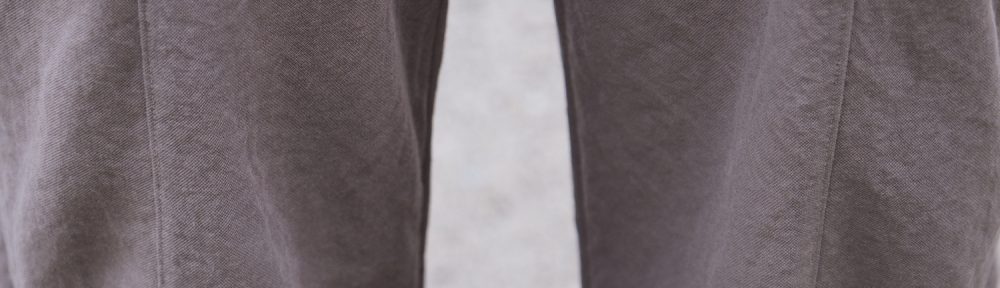
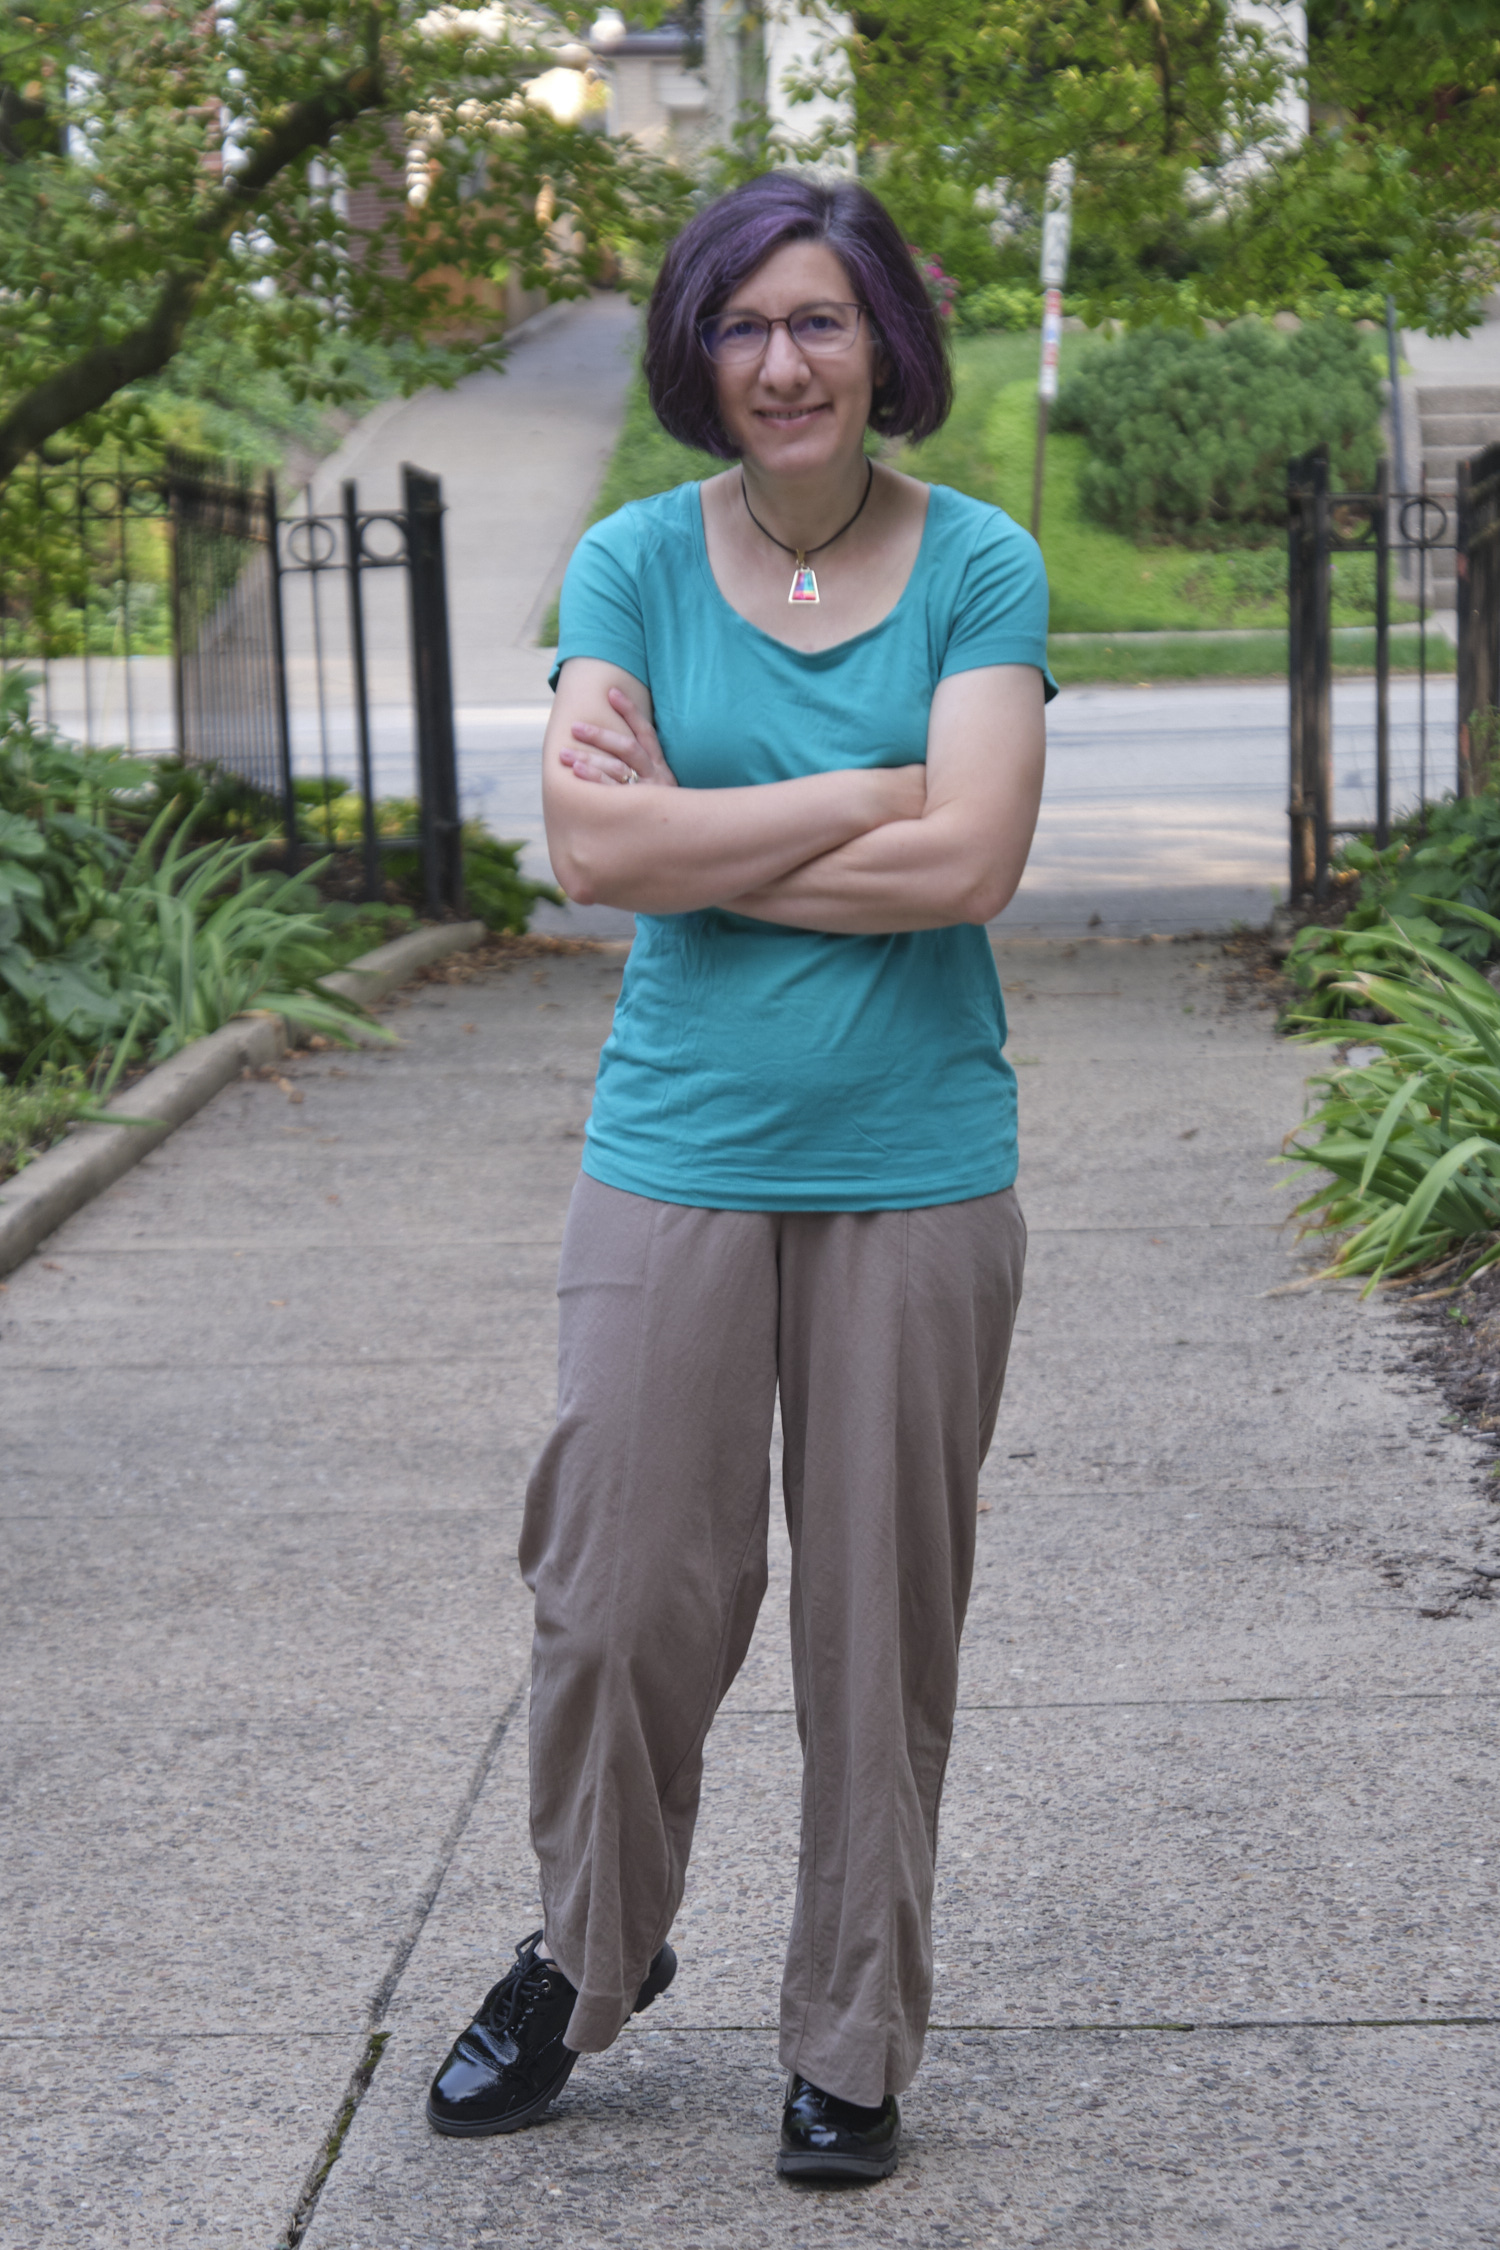
The instructions were clear and easy to follow for the most part and the pattern is nicely drafted. The pocket and waistband are a bit tricky, and some of the construction is not completely intuitive. However, I found if I carefully followed the instructions, used the diagrams, basted all the seams where the instructions recommended basting, and matched all the notches (I marked the notches on my fabric with my trusty Crayola washable fine-point markers), it all came together the way it was supposed to. The result is a very clean and professional look in the front. I topstitched the front leg seams, which was optional, but I thought it gave a nice finished look.
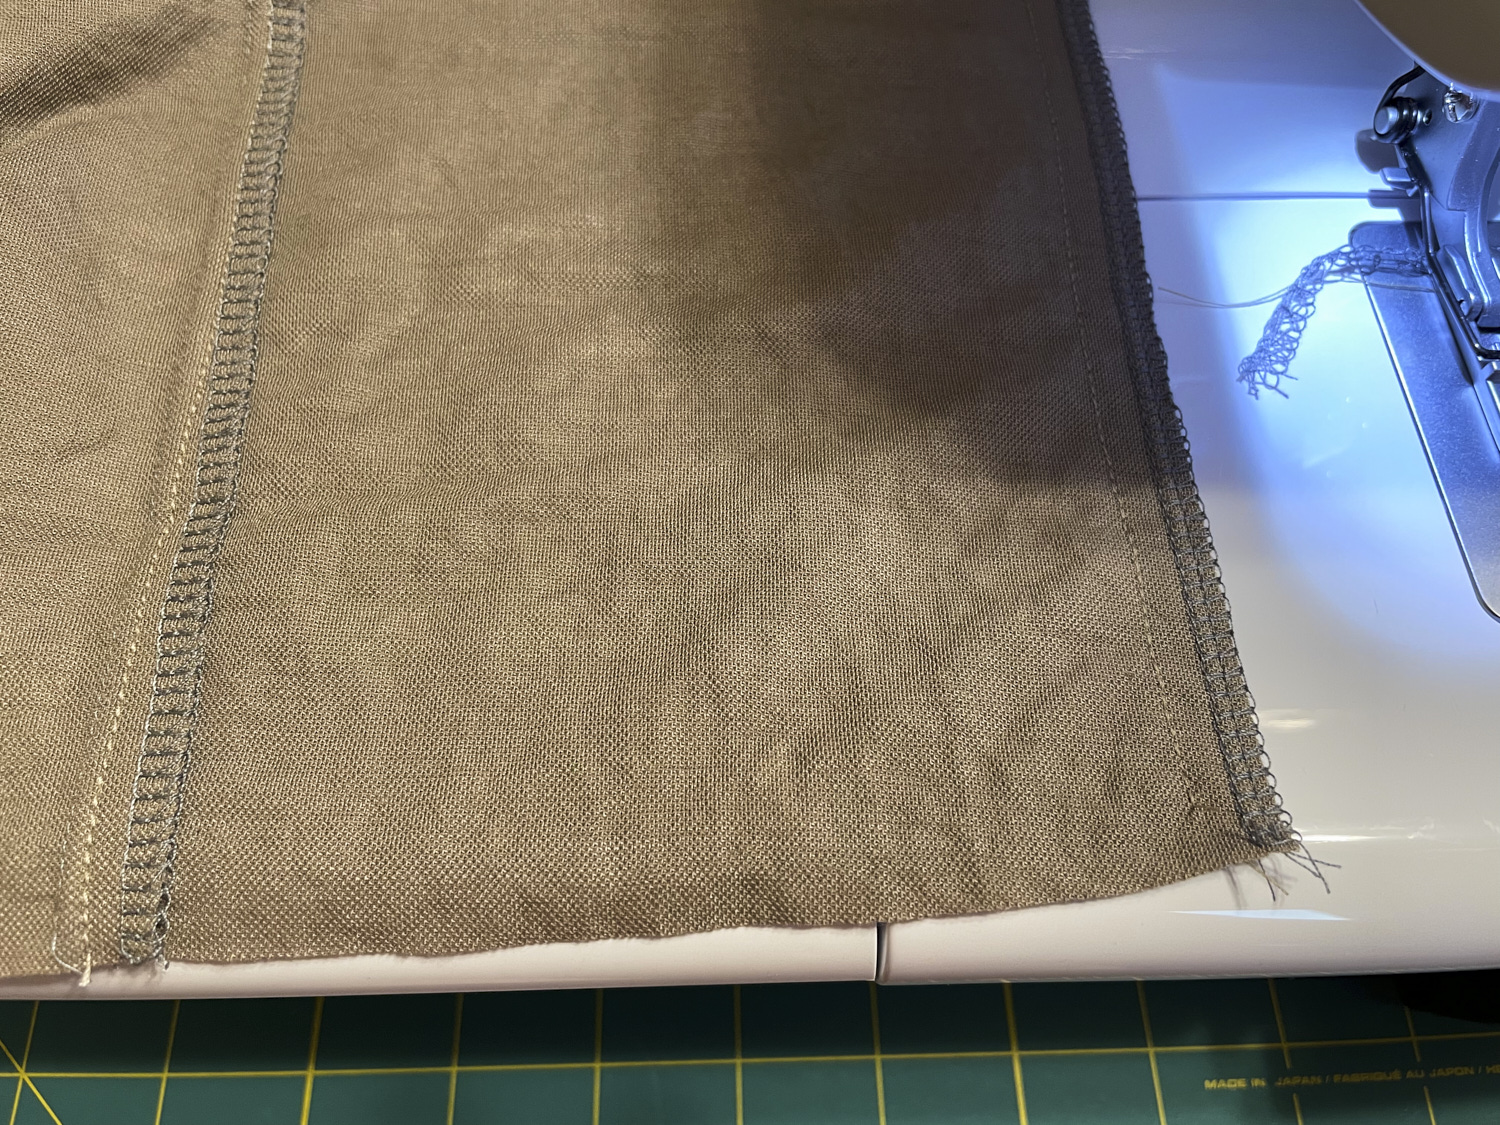
I sewed all the seams with my regular sewing machine at 5/8 inch as instructed, and trimmed to 3/8 inch and serged in one step with my serger. This is only my second serger project and the first one with any major amount of trimming, so I’m still fascinated by watching the trimmings slide into the bucket. The pattern didn’t specify trimming on the inner our outer leg seams but I went ahead with that as I had for the other seams.
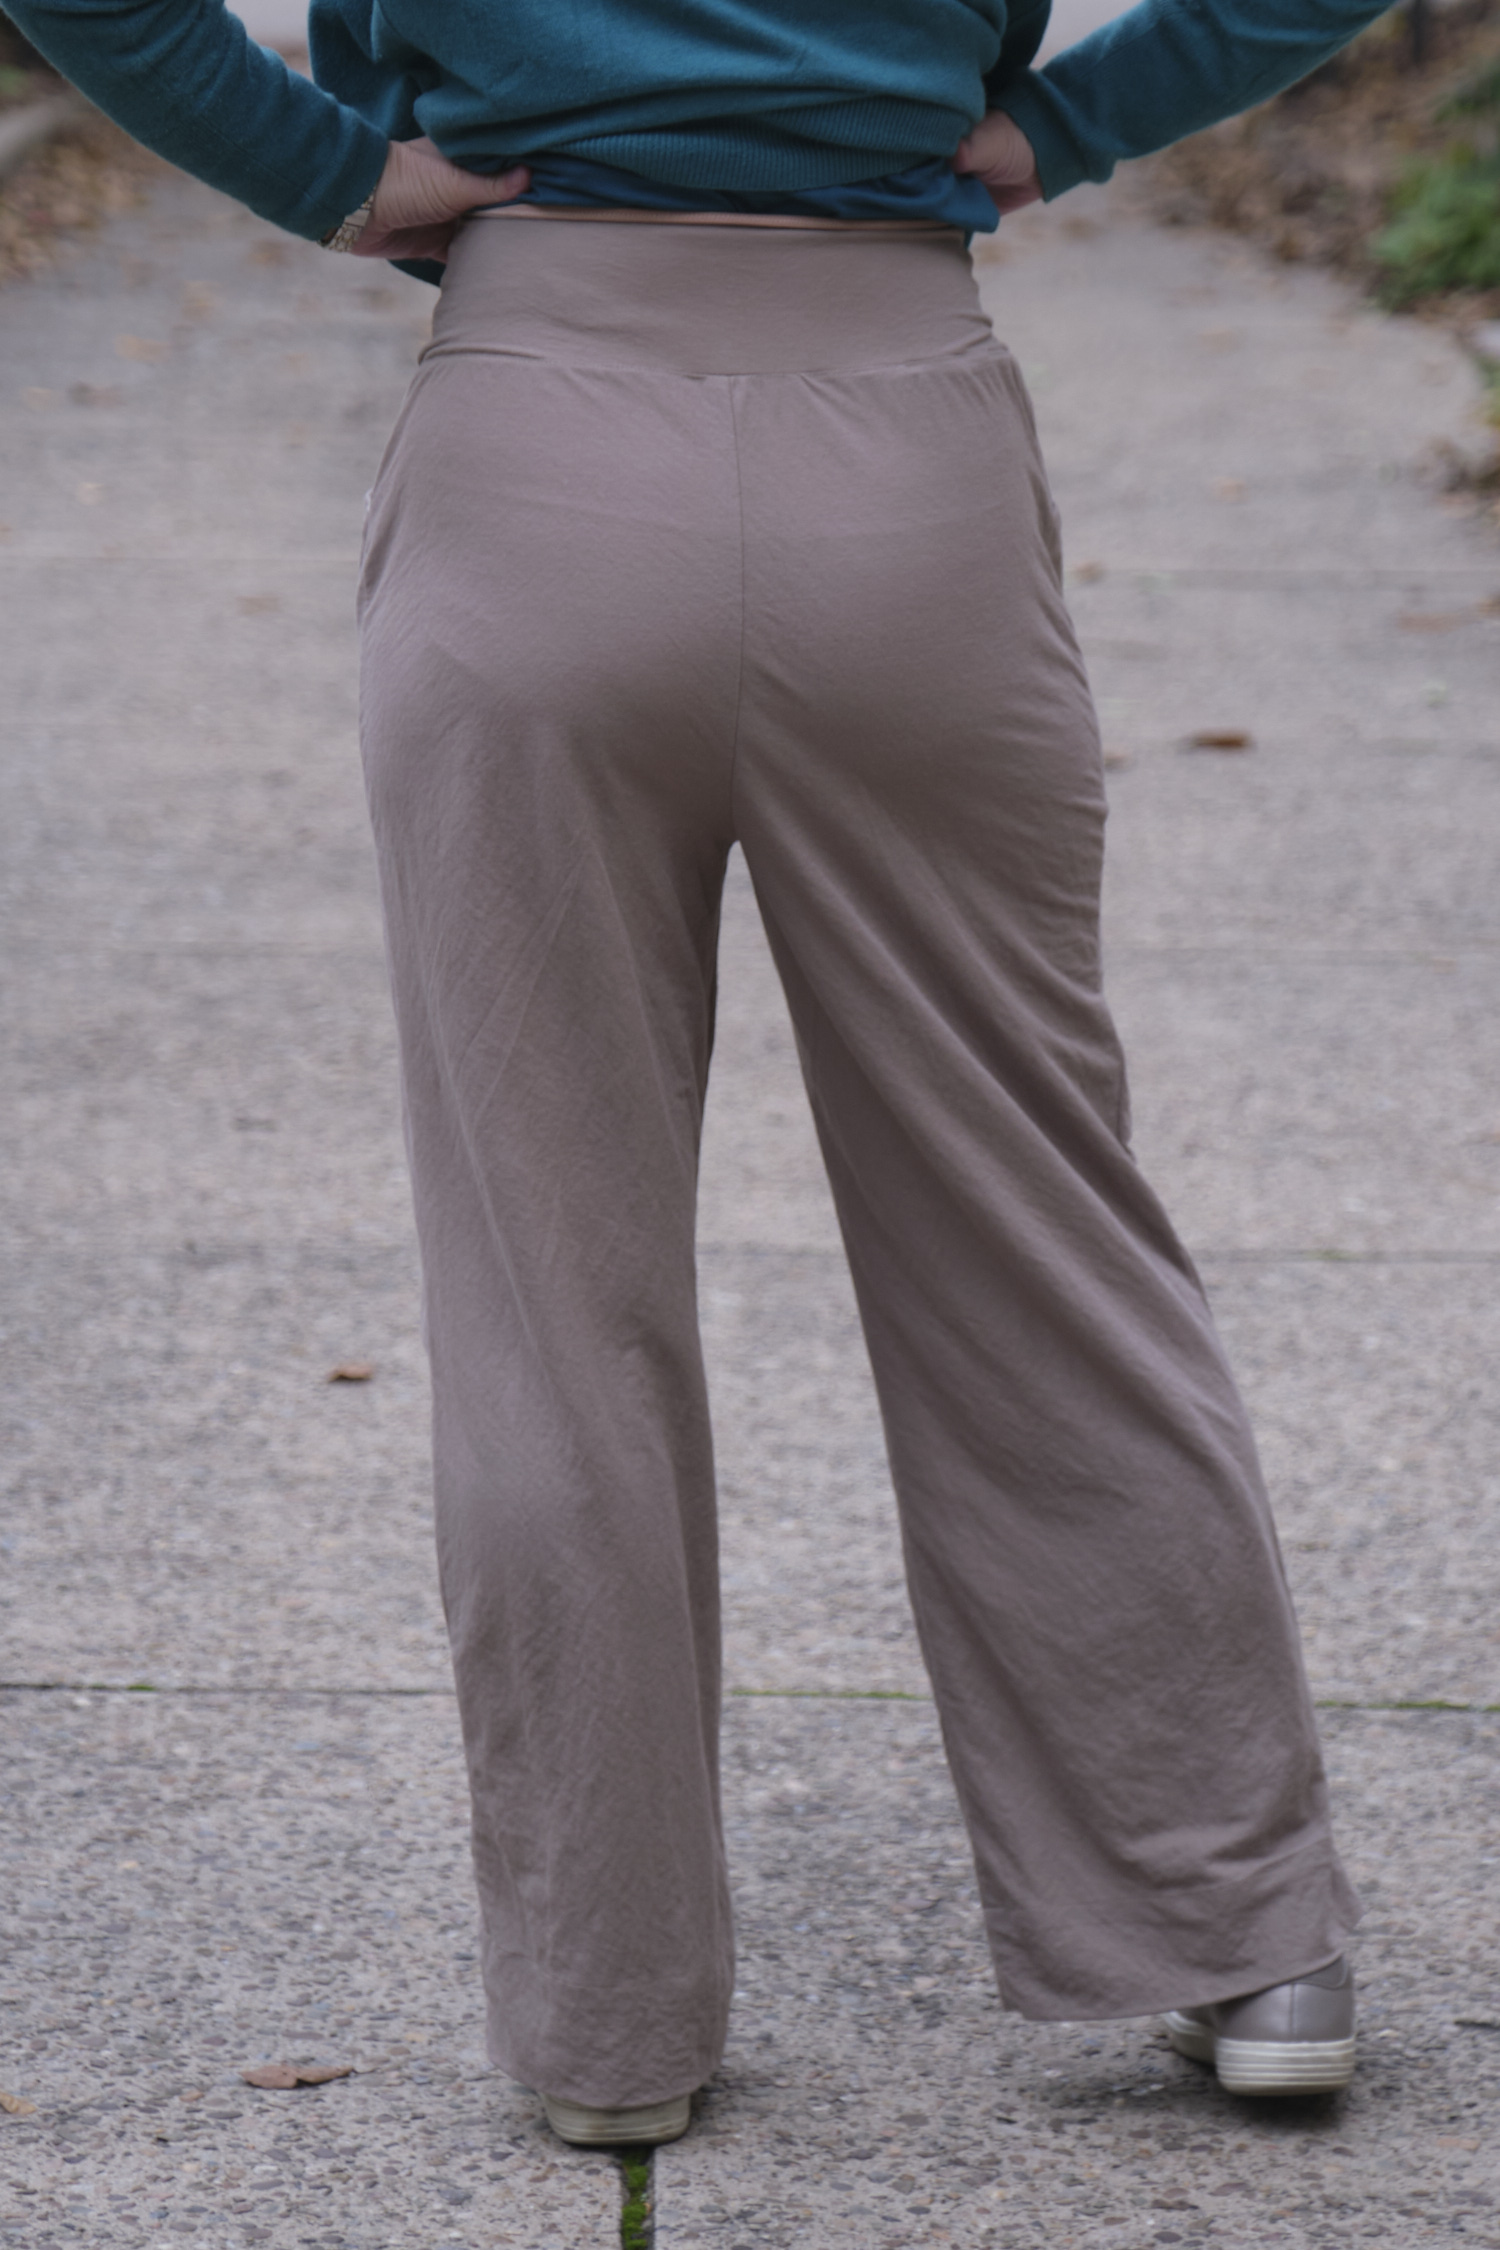
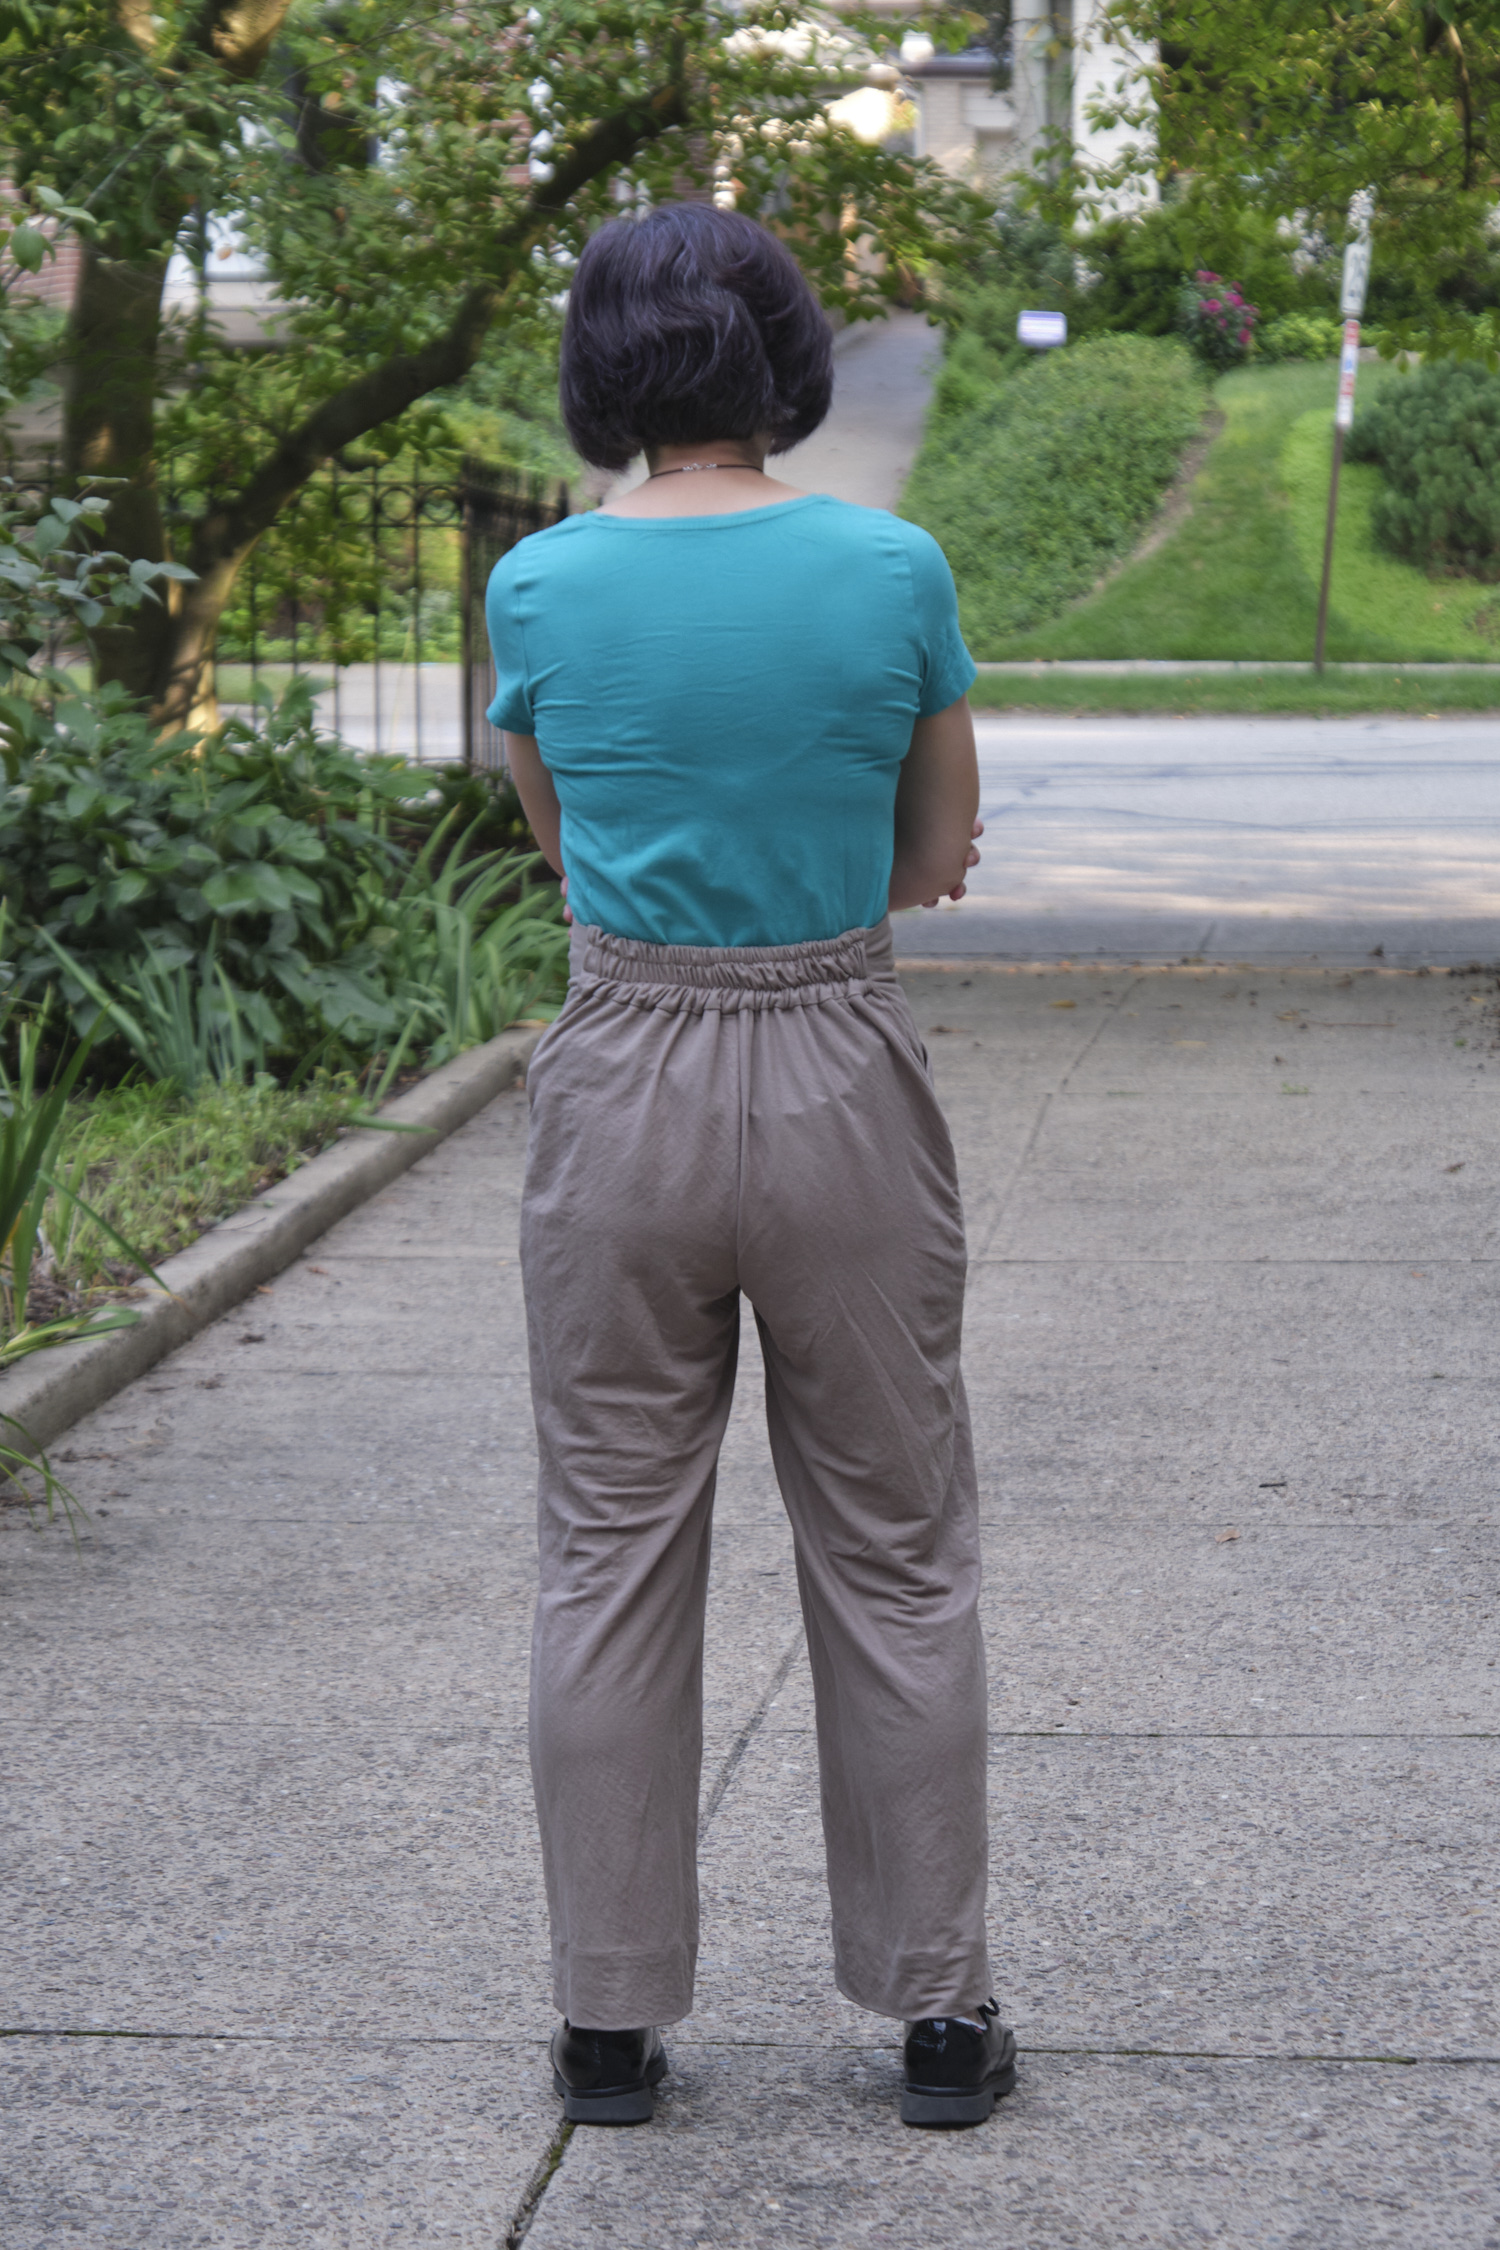
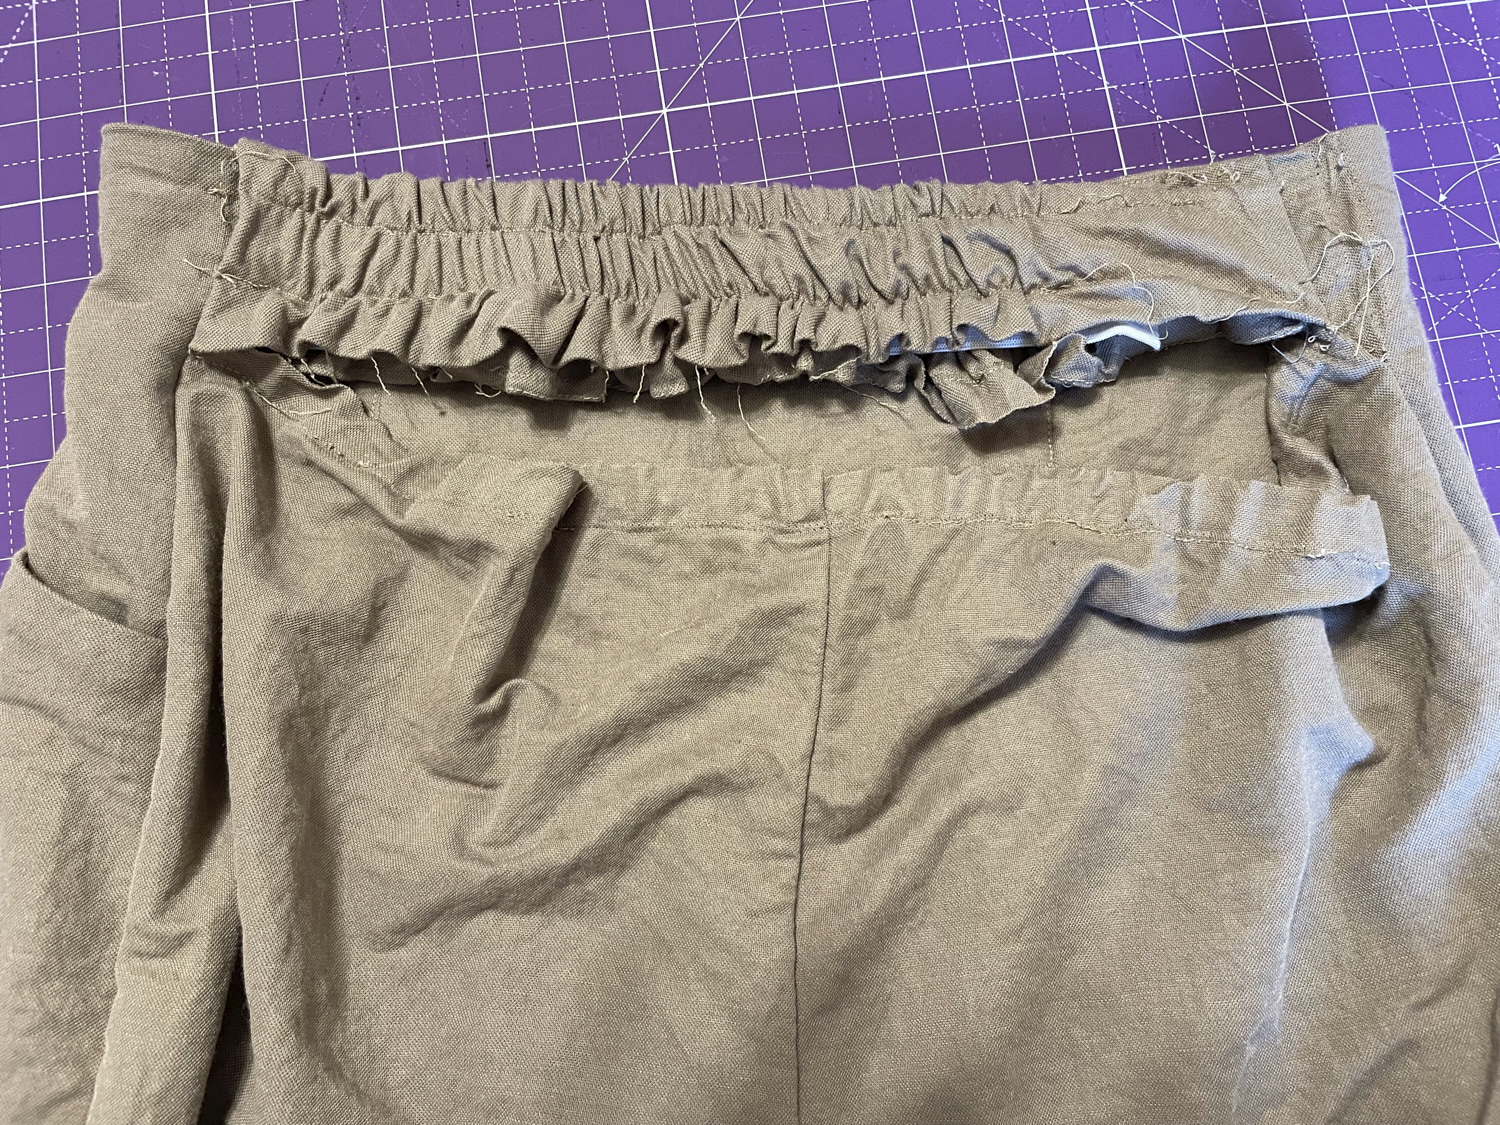
Everything went really well until I got to installing the waist elastic. For a size 6, the instructions said to use 12 inches of 2-inch wide elastic. I attached one side and pinned the other and tried on the pants. The waist was way too big. I pinned the elastic shorter, but the front of the pants pulled to the back. I decided some grading was in order. I unpicked part of the inner waistband seam so I could grade both sides of the waist by .75 inches, bringing the new line of stitching down about 6 inches to right above the pockets. I probably could have graded it even more. Then I shortened the elastic to 10.5 inches and sewed it into the waistband. The instructions direct you to sew two parallel rows of stitching in the back waistband, through the elastic, while stretching the elastic. This was easier said than done. I could have used some more hints about how to achieve this. In the end I got it done, but my back waistband looks messy. That said, even if I had sewn it well, I think this style of gathered waistband would look messy, and it pulls the front more than I would like, which is not very flattering. With an untucked shirt it looks much better.
The instructions call for a 2-inch hem, but I ended up doing a 2.5-inch hem to get it to the right length. Of course, I could have trimmed .5 inches off before I hemmed it.
The pants didn’t take that long to make and they are very comfortable to wear. I love the fit of the high waist, but I really don’t like the look of the back waistband, and the way the elastic pulls the front in, it ends up not being all that flattering against my tummy. As long as I keep my shirt tucked in, I think the pants look pretty good.
I’m apparently not the only one who has had some trouble with the elastic waist. Closet Core offers instructions for adding a zipper, and other bloggers have reported having to redo the waist with darts. I think the elastic works better on some figures than others, and may also work better with some types of fabric. I considered adding a zipper, as suggested for those with smaller waists in proportion to hips, but figured it would make these otherwise comfy pants less comfortable. So Instead I decided to unpick the back waistband and chop off the top 2 inches of the pants so I could add a yoga waistband. It was a shame to cut into the beautiful finished front panel, but this seemed like the best way to turn these into pants I would actually wear.
I constructed a 3-inch yoga waistband using the Sinclair Cleo pattern I have used successfully for other Liknit pants. Since the Liknit has some stretch to it I was able to make the outside of the yoga waistband in the same fabric as the rest of the pants. I used beige QUAD Performance Jersey Knit for the inside of the waistband for a nice snug fit and didn’t add any elastic. I basted the waistband in place, tried it on, unbasted, made some adjustments, rebasted, tried it on again, and then surged the waistband to the pants. I topstitched the seam in place.
I think the pants look a lot better now. I still love the Pietra pockets and the front leg seam, but now the waistband looks good too. I might make another pair in another fabric (maybe a ponte) with the yoga waistband modification, perhaps only 2 inches next time. By the time I got around to doing this modification the Fall weather had kicked in so it is getting a bit chilly here for such light weight pants, but I expect I will wear them a lot next summer.