When I started sewing clothes again last summer I read lots of sewing blogs and joined some sewing-related Facebook groups. I bought some PDF patterns (and downloaded some free ones) and printed them out and taped them together. It took a while to tape them all together and get ready to sew, but it was still more convenient than having to go to a store to buy a physical pattern or wait to have it shipped. But I noticed that some of these patterns came with “projector files” and people in the Facebook groups were talking about projecting their patterns. Intrigued, I started reading up on projector sewing and found a great projector sewing website with lots of good information about how choosing a projector, mounting it, calibrating it, etc.
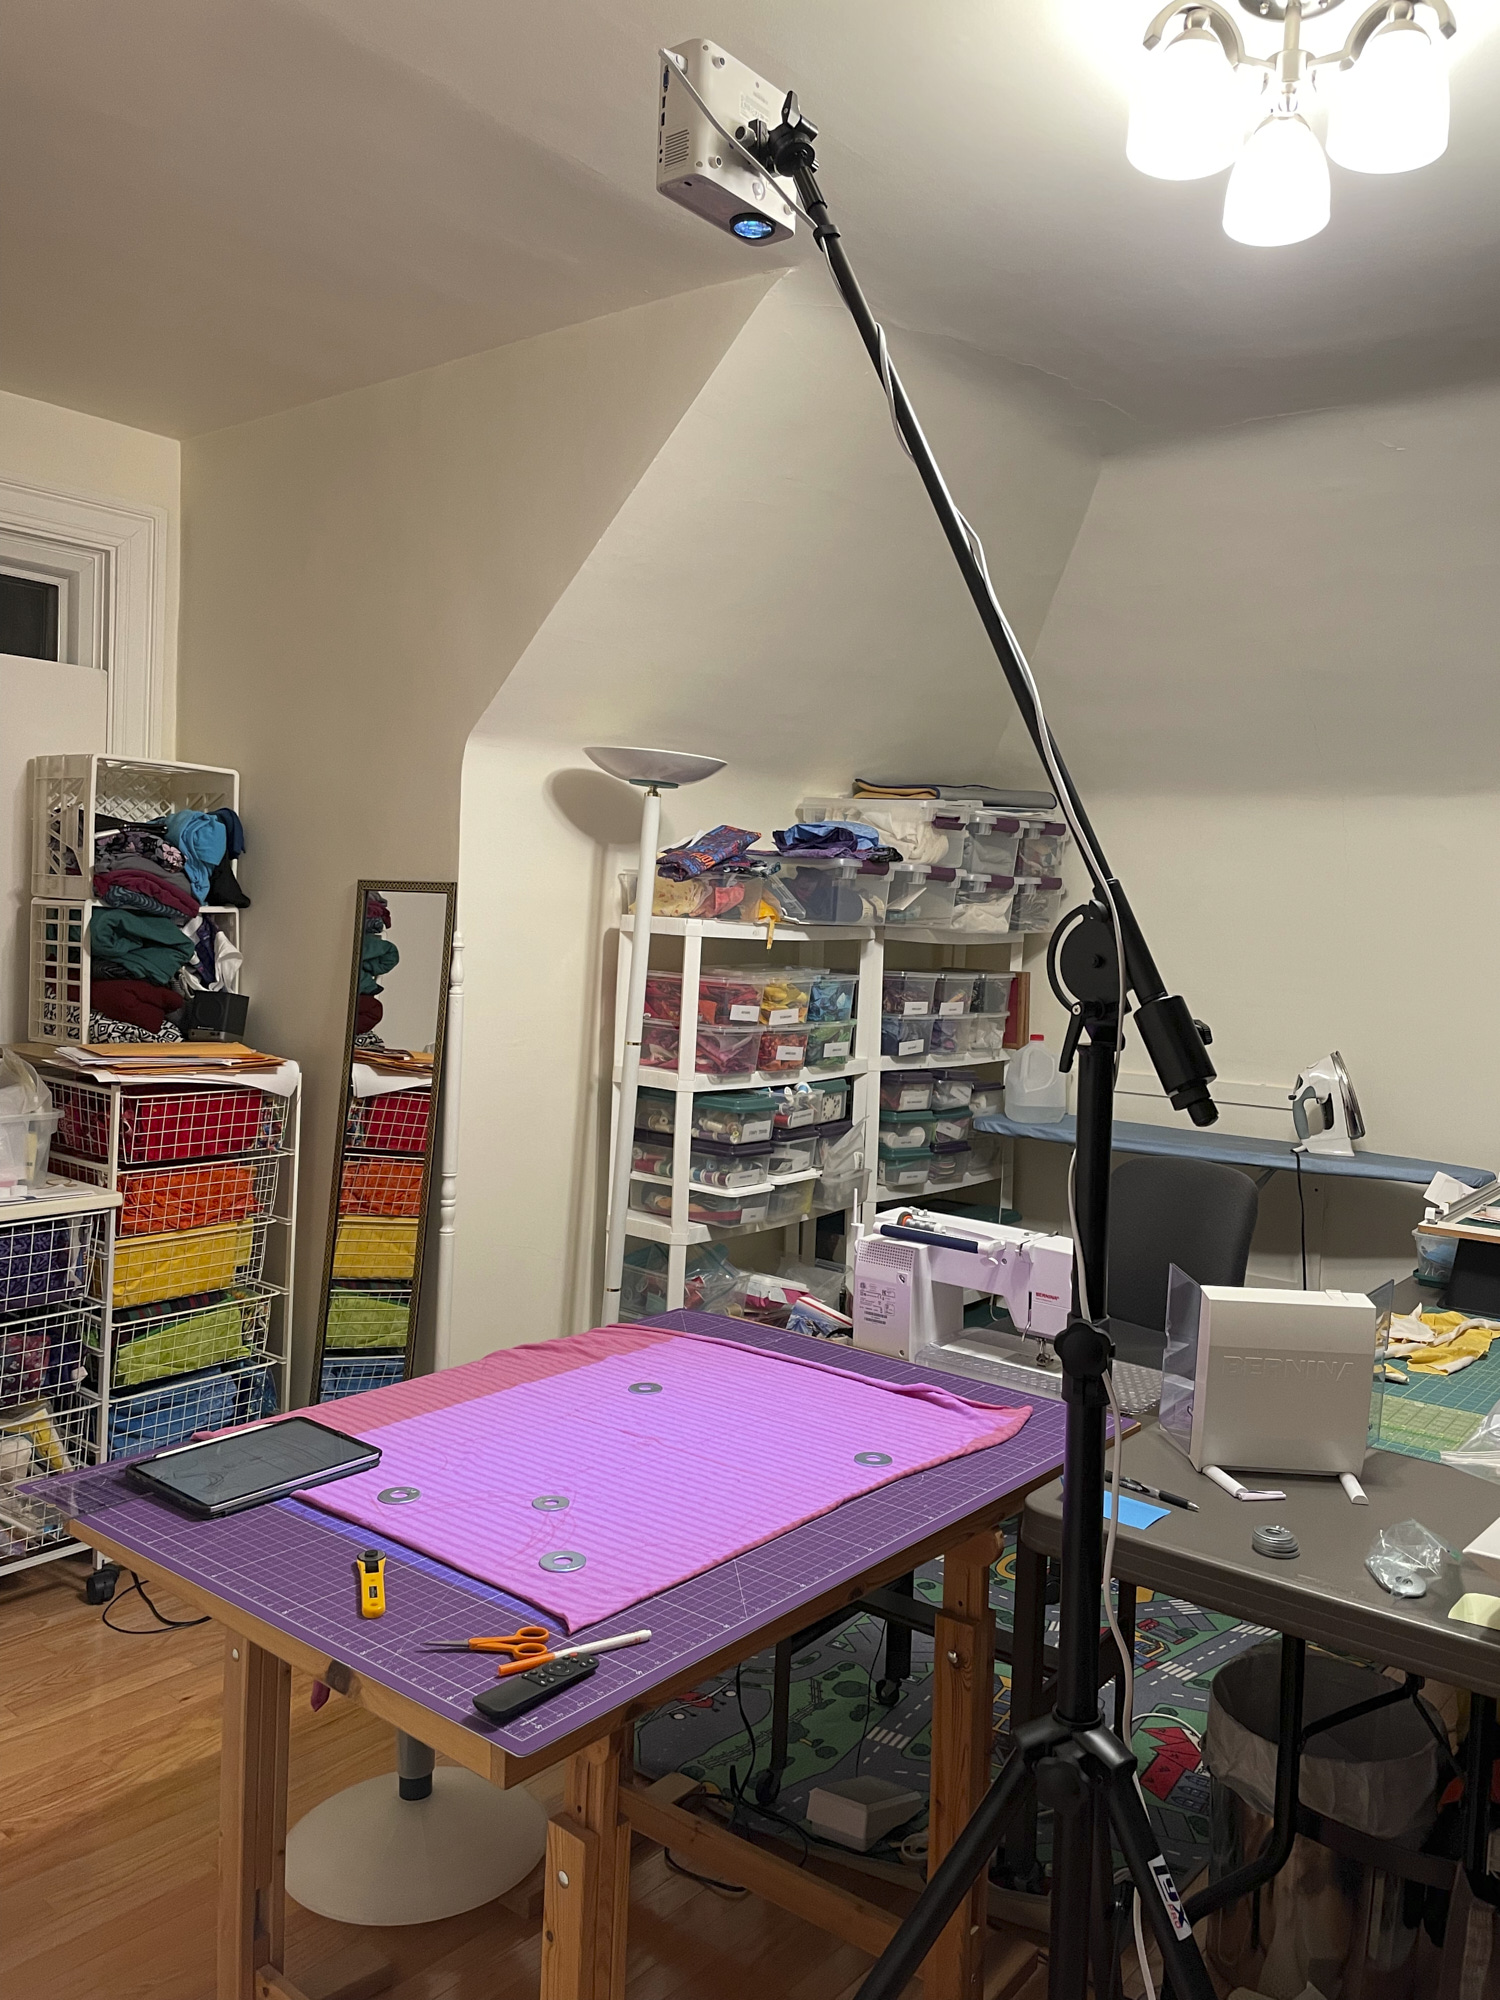
For my birthday last February, I decided to get an inexpensive projector and asked my husband to figure out how to mount it. I selected an inexpensive Alvar mini-projector, which weighs less than 4 pounds, and has wifi and bluetooth. It was on sale for $87. My husband didn’t want to drill holes in the ceiling, so he bought me a 15-pound microphone boom stand to mount the projector on. It was difficult to level the projector that way. So we added a tripod ball head so we could easily adjust the projector to be level with the tabletop. With this setup, my projector is suspended about 61 inches above my tabletop.
I put my cutting mat on the table, connected my laptop to the projector via bluetooth, and projected a pattern and started cutting it out with a rotary cutter. I discovered that the projected image kept freezing periodically, which got kind of annoying. After some trial and error and reading advice on the Projectors for Sewing Facebook group, I switched to projecting from my iPad instead, which solved the freezing problem. I bought Affinity Designer (AD) for my iPad to use for editing and projecting patterns. Calibration was a bit tricky, but I used the calibration tool and followed the instructions on the projector sewing website. It has been three months since I calibrated and the calibration seems to be holding fine. Another problem I ran into was my table wobbled a bit, especially when I leaned on it while cutting. I tightened up all the bolts in the table legs and now my table doesn’t wobble.
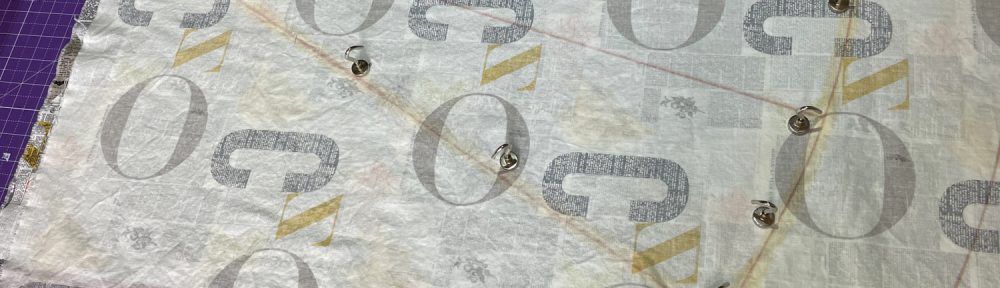
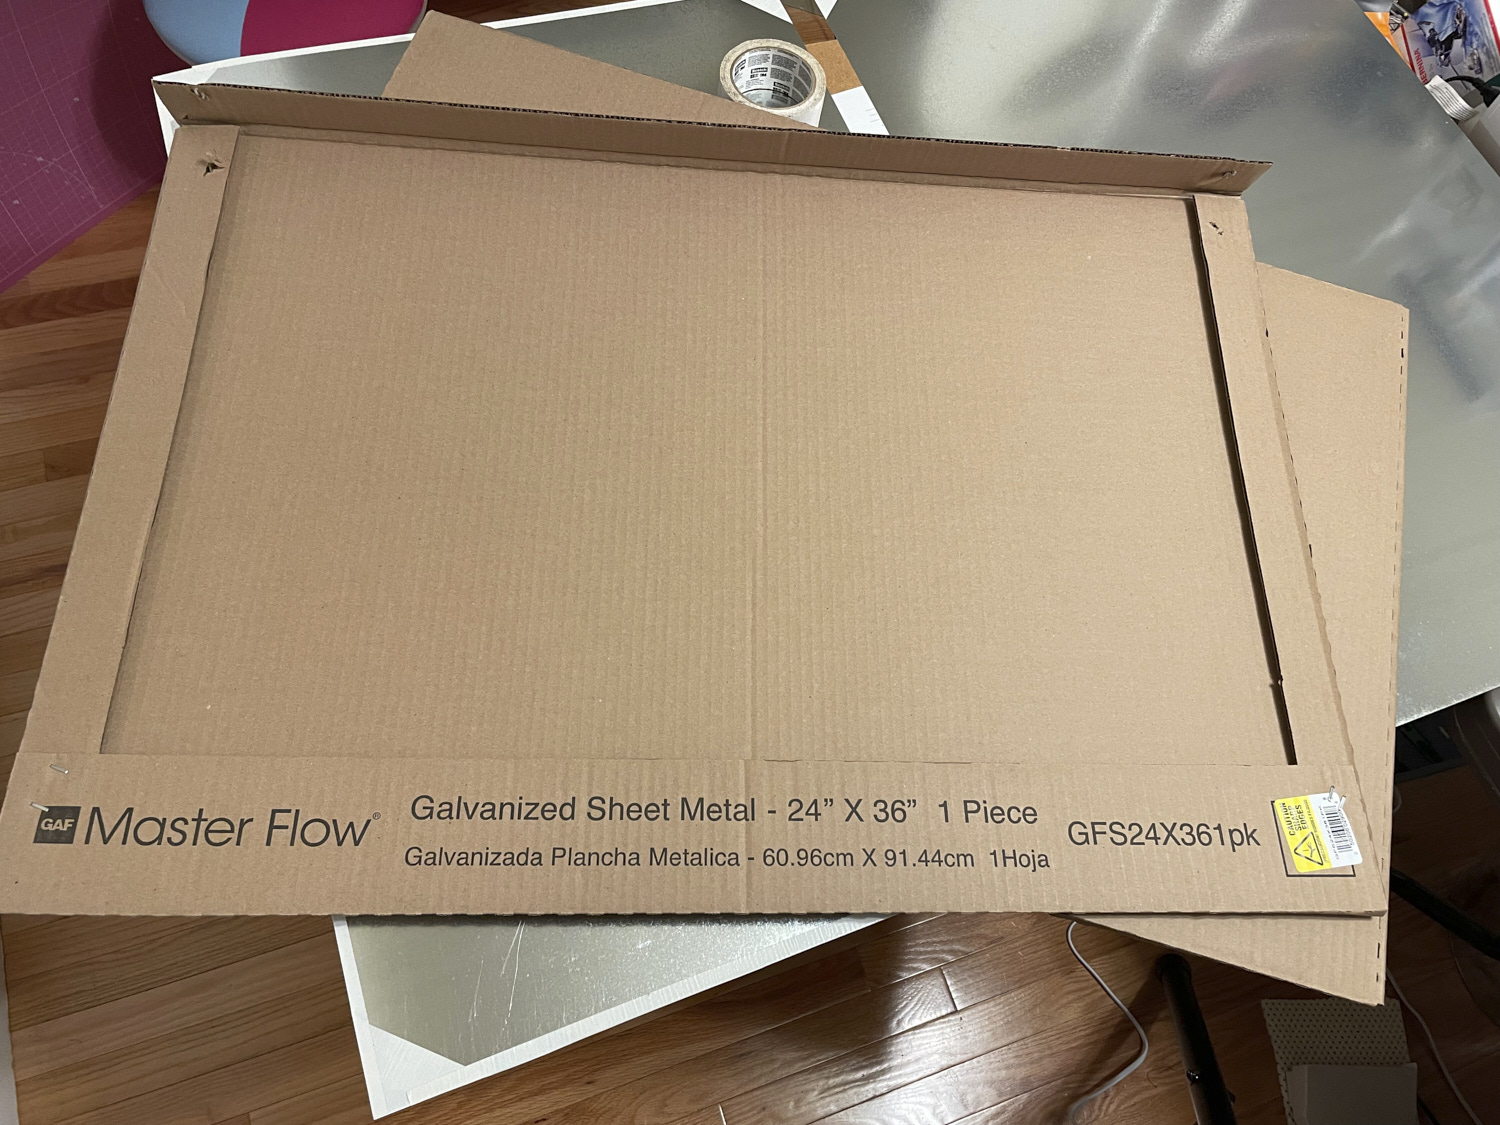
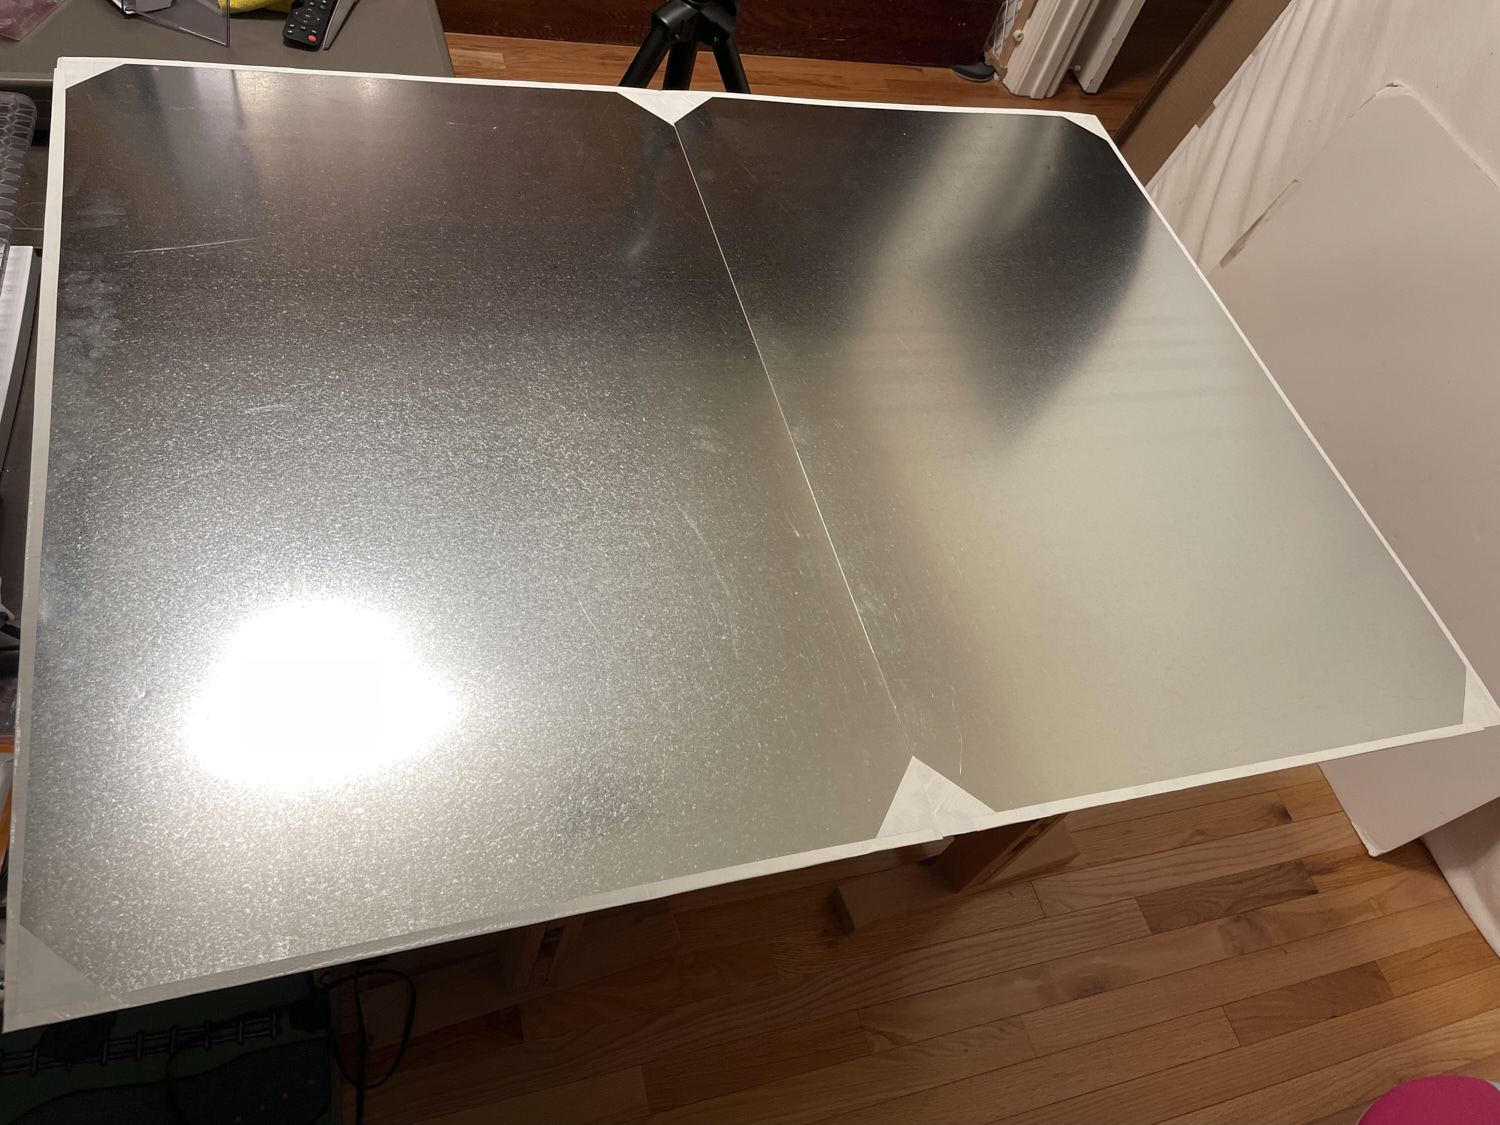
Initially I used a set of large washers I bought at a hardware store to hold my fabric in place while cutting. But I noticed some of the projector sewing folks talking about magnets. It had never occurred to me that you could put metal under a cutting mat and magnets would stick to it. I went to Home Depot and bought two of the least expensive 24×36 galvanized steel sheets I could find (about $15 each). I duct taped them together and added tape around the sharp edges so I wouldn’t cut myself. Then I slid them under my cutting mat. I bought a box of 25-lb rare earth magnetic hooks to hold down fabric. The magnets are strong enough to hold multiple layers of fabric. And the hooks are nice for easily grabbing and lifting the magnets.
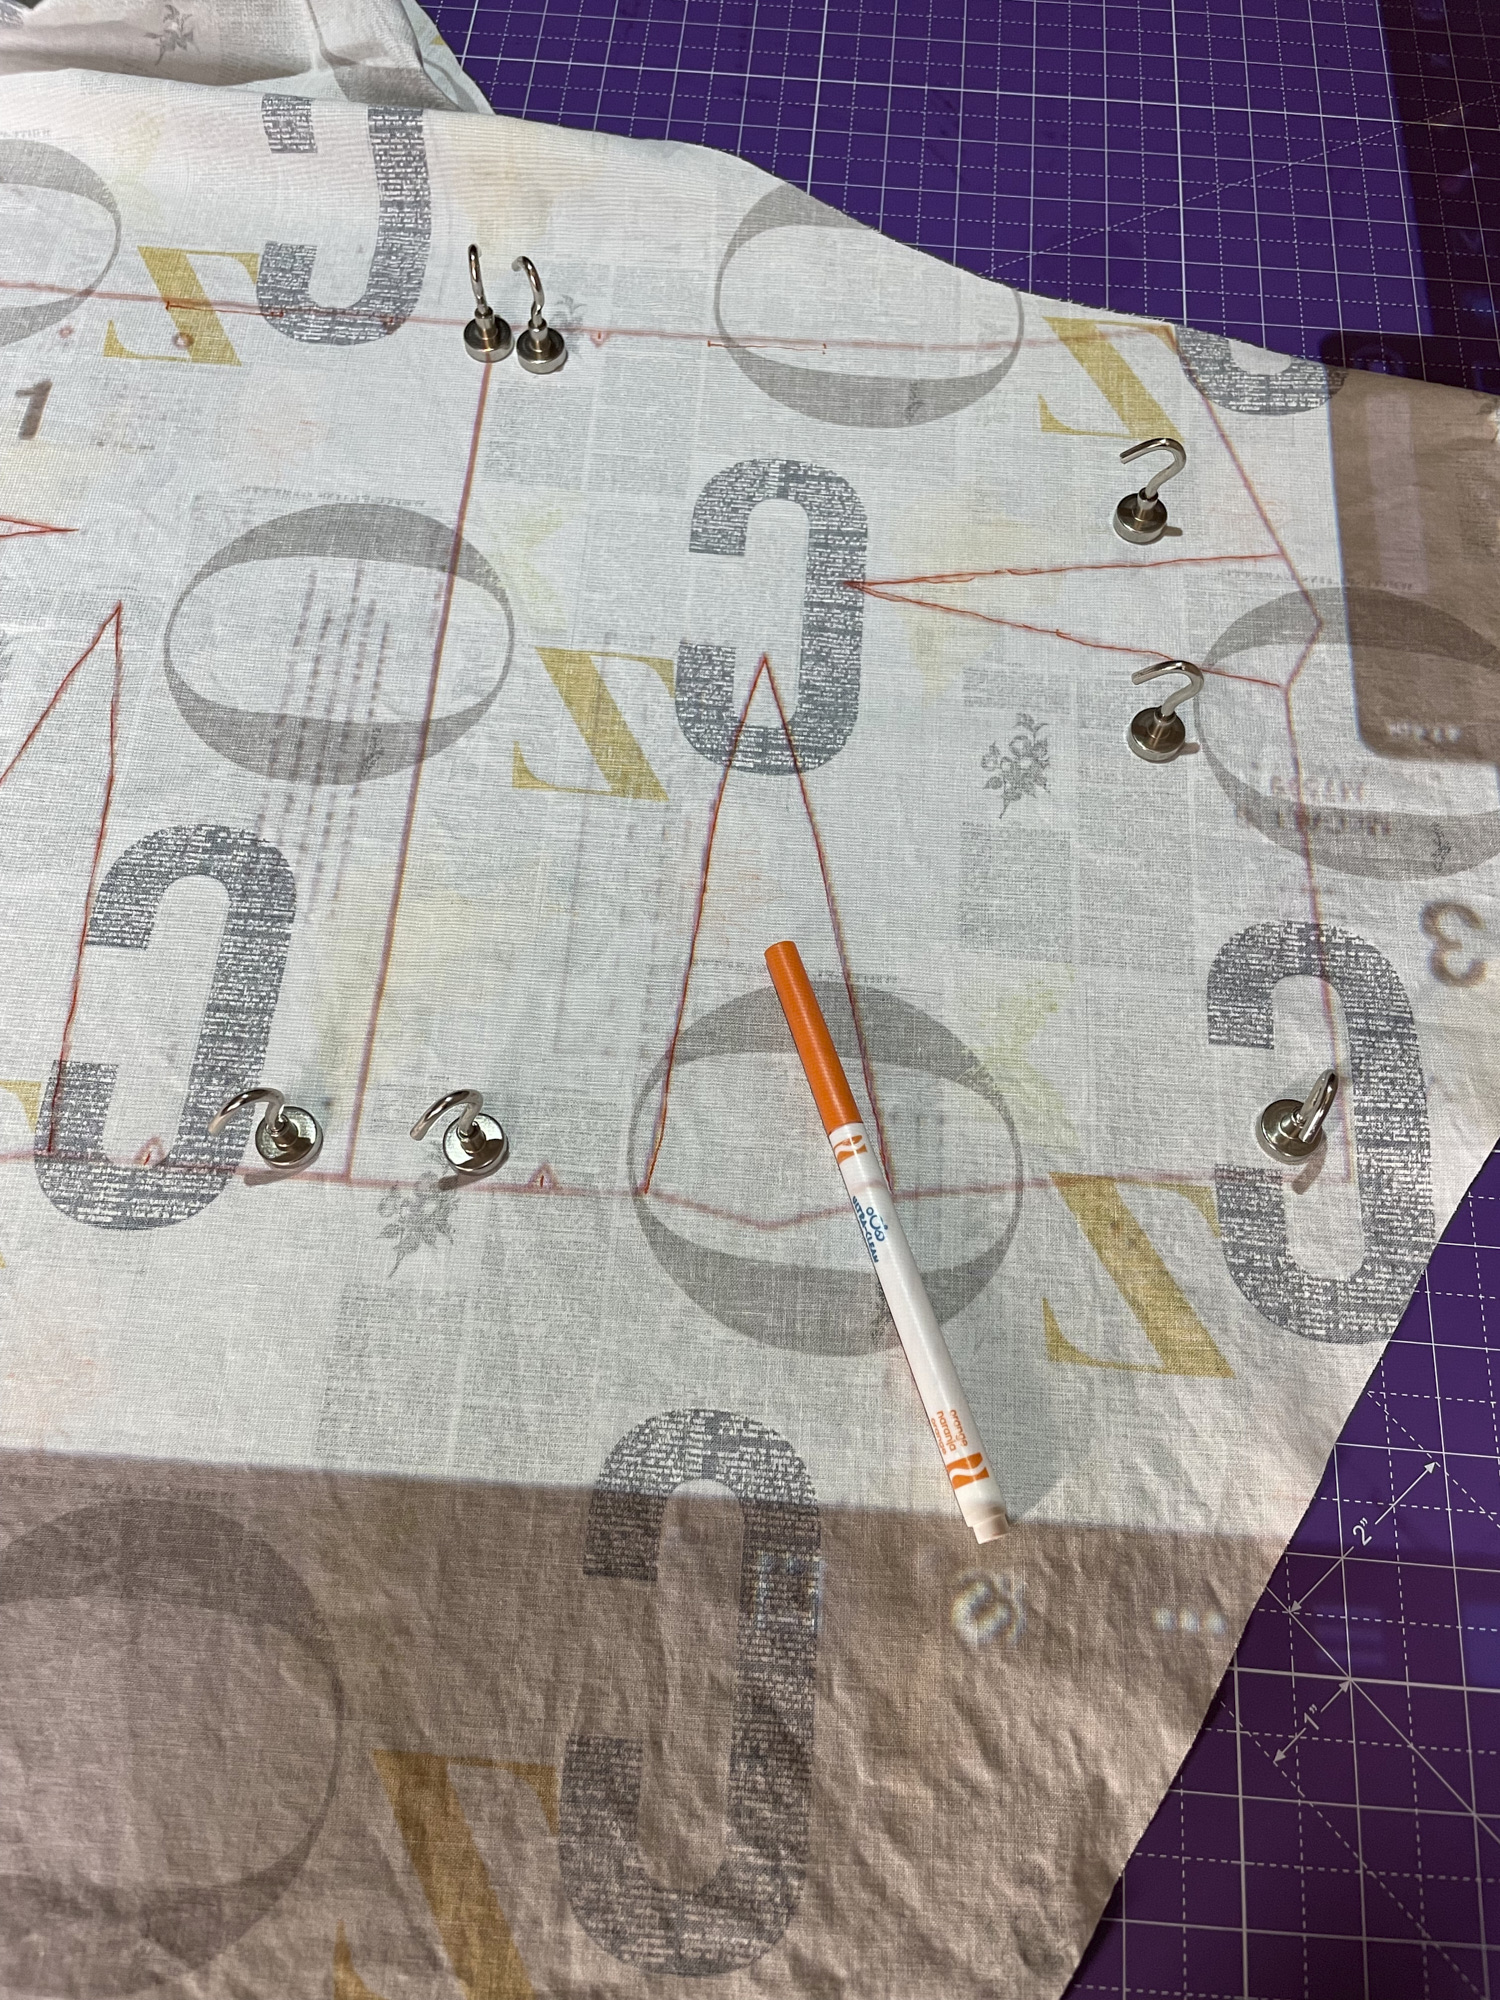
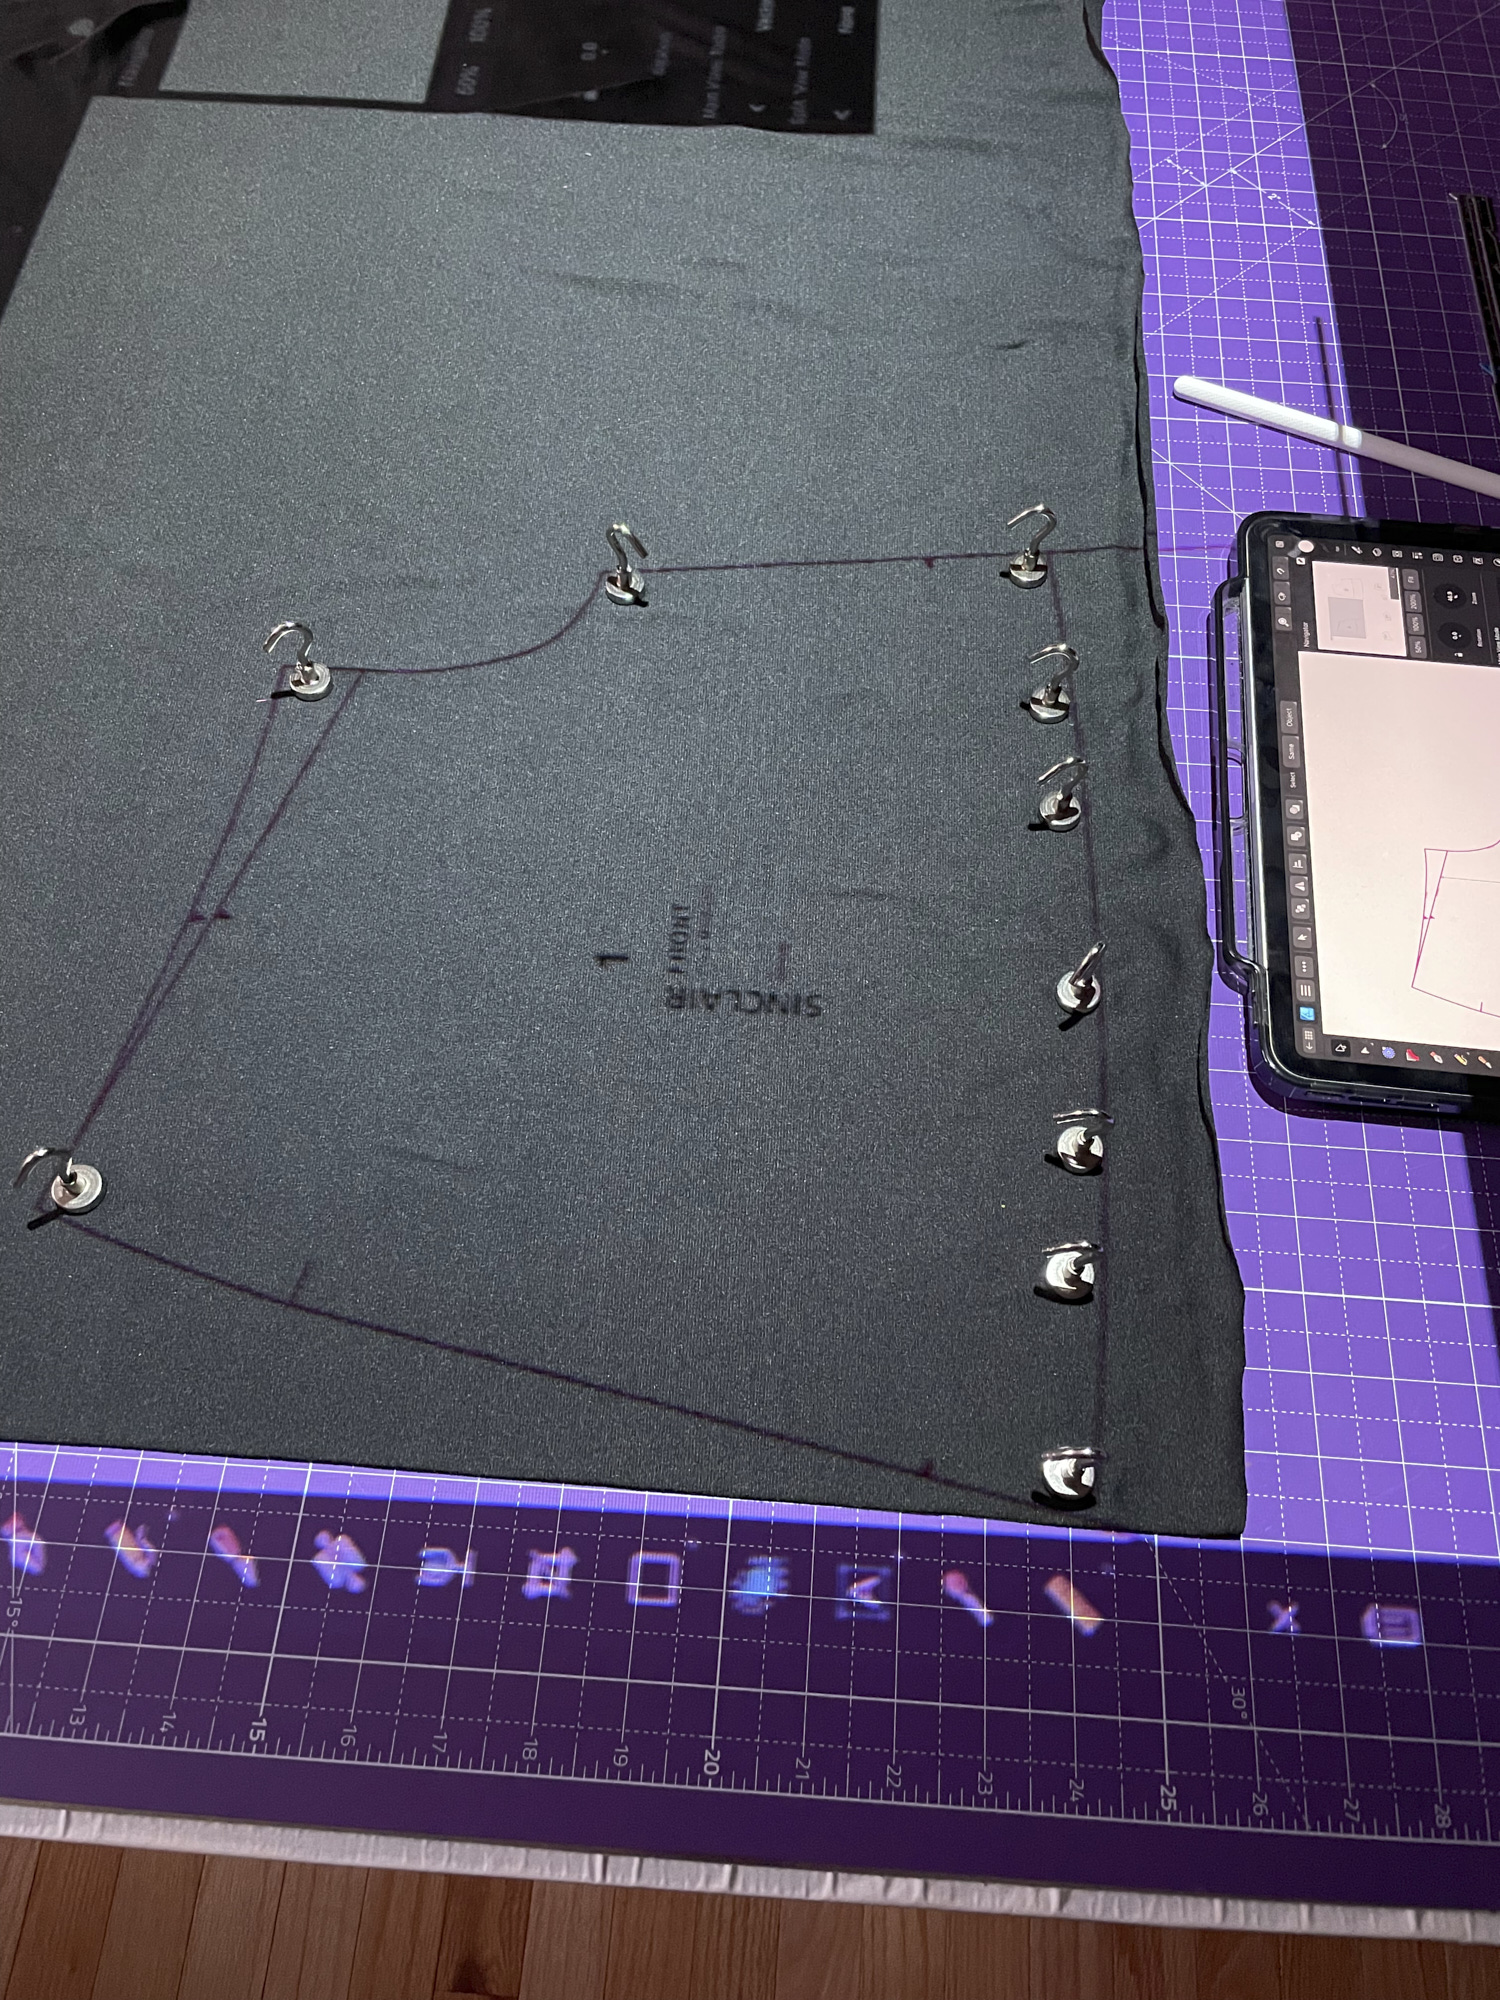
I use Crayola washable markers or white pencil (for dark fabric) to mark notches, darts, etc. on fabric, traced off the projected image.
Some of the PDF patterns I wanted to use were not designed for projecting. But I discovered PDFStitcher, which is free software, developed by a sewist, that stitches the pages of PDF files together. It also has some extra features such as allowing you to thicken and change the colors of lines, or select only the size layers you need. It works great!
Projector sewing is definitely a game changer! Now that I have this setup I don’t want to go back to paper patterns. For patterns that don’t require any alterations, I can quickly project, cut, and sew. For those that I want to modify, I’ve gotten fairly proficient at adding annotations to patterns on my iPad with AD and can use this approach to quickly lengthen, shorten, grade, change the neckline, etc. without having to cut and tape pattern pieces. I can even create pattern mashups, cutting and pasting elements from one pattern to another. This works even with dark fabric. The projector is usually bright enough, even without covering the window in my sewing room, although I do usually turn off the overhead light when using it. For cutting pieces that are larger than the projection area, I cut part of the pattern and then slide the image and cut the rest of it. You can add an alignment mark to the PDF and mark it on the fabric to make this easier.
Another projector trick is to draw or alter pattern pieces by placing a physical object (e.g. a pocket) on the table where the image is projected and drawing it on the iPad. You can see the projected drawing on top of the real object and adjust the lines of the drawing until they align with the real object. This is a good way to copy elements of exiting clothes or to add adjustments previously made on paper patterns to the PDF patterns.
October 2024 Update: I realized I was leaving pixels literally on the table, which was annoying when it meant that I couldn’t cut a whole pants leg without shifting the fabric. My table and cutting mat are big enough (especially since I’m short and my pants are not that long), but the projected image was not. I started by adjusting my tripod and raising my projector a few inches until it hovered just below the ceiling. That got me a couple more inches in my projected image, but still not enough. I noticed that when I turned my projector on it projected a 16:9 image but when I connected my iPad to it the image was only 4:3. Thus I was not using the full length of the image. I had switched to my iPad rather than my laptop because when I first started projector sewing my laptop caused the projector to freeze. However,16 months later I have a new laptop and am using Affinity Designer on my laptop too so I decided to try the laptop again. This time no freezing, and I was able to project a 16:9 image and use the full length of my cutting mat and cut each pants leg in one go!