My first pair of Pattern Emporium Urban Wide Leg pants came out great in purple ponte. However, I thought I could make the waist band fit me a bit better and improve the pockets. I made another pair in black ponte but this time I changed the waistband to a contour and flattened the top of the front pockets. These were even better, but I felt the waist could be more fitted while still leaving more ease through the seat and legs. So for my third pair I used the low-rise pattern instead of the high-rise pattern, but added an extra inch to the height of the contour waistband piece. I also graded in the tops of the pants legs at the side seam on both the front and back pieces. I cut the updated pattern out of a yard and a half of charcoal grey super soft “charming heather” legacy ponte from Zelouf fabric (69.1% Viscose, 27.1% Nylon & 3.8% Elastane). I cut back pockets too but in the end didn’t use them as I wasn’t sure whether they would look good with the low rise. Now that I see how the pants look in the back I think the back pockets would work but maybe a little shorter than the ones I borrowed from the Walk Boldly pants pattern — and I still may add them.

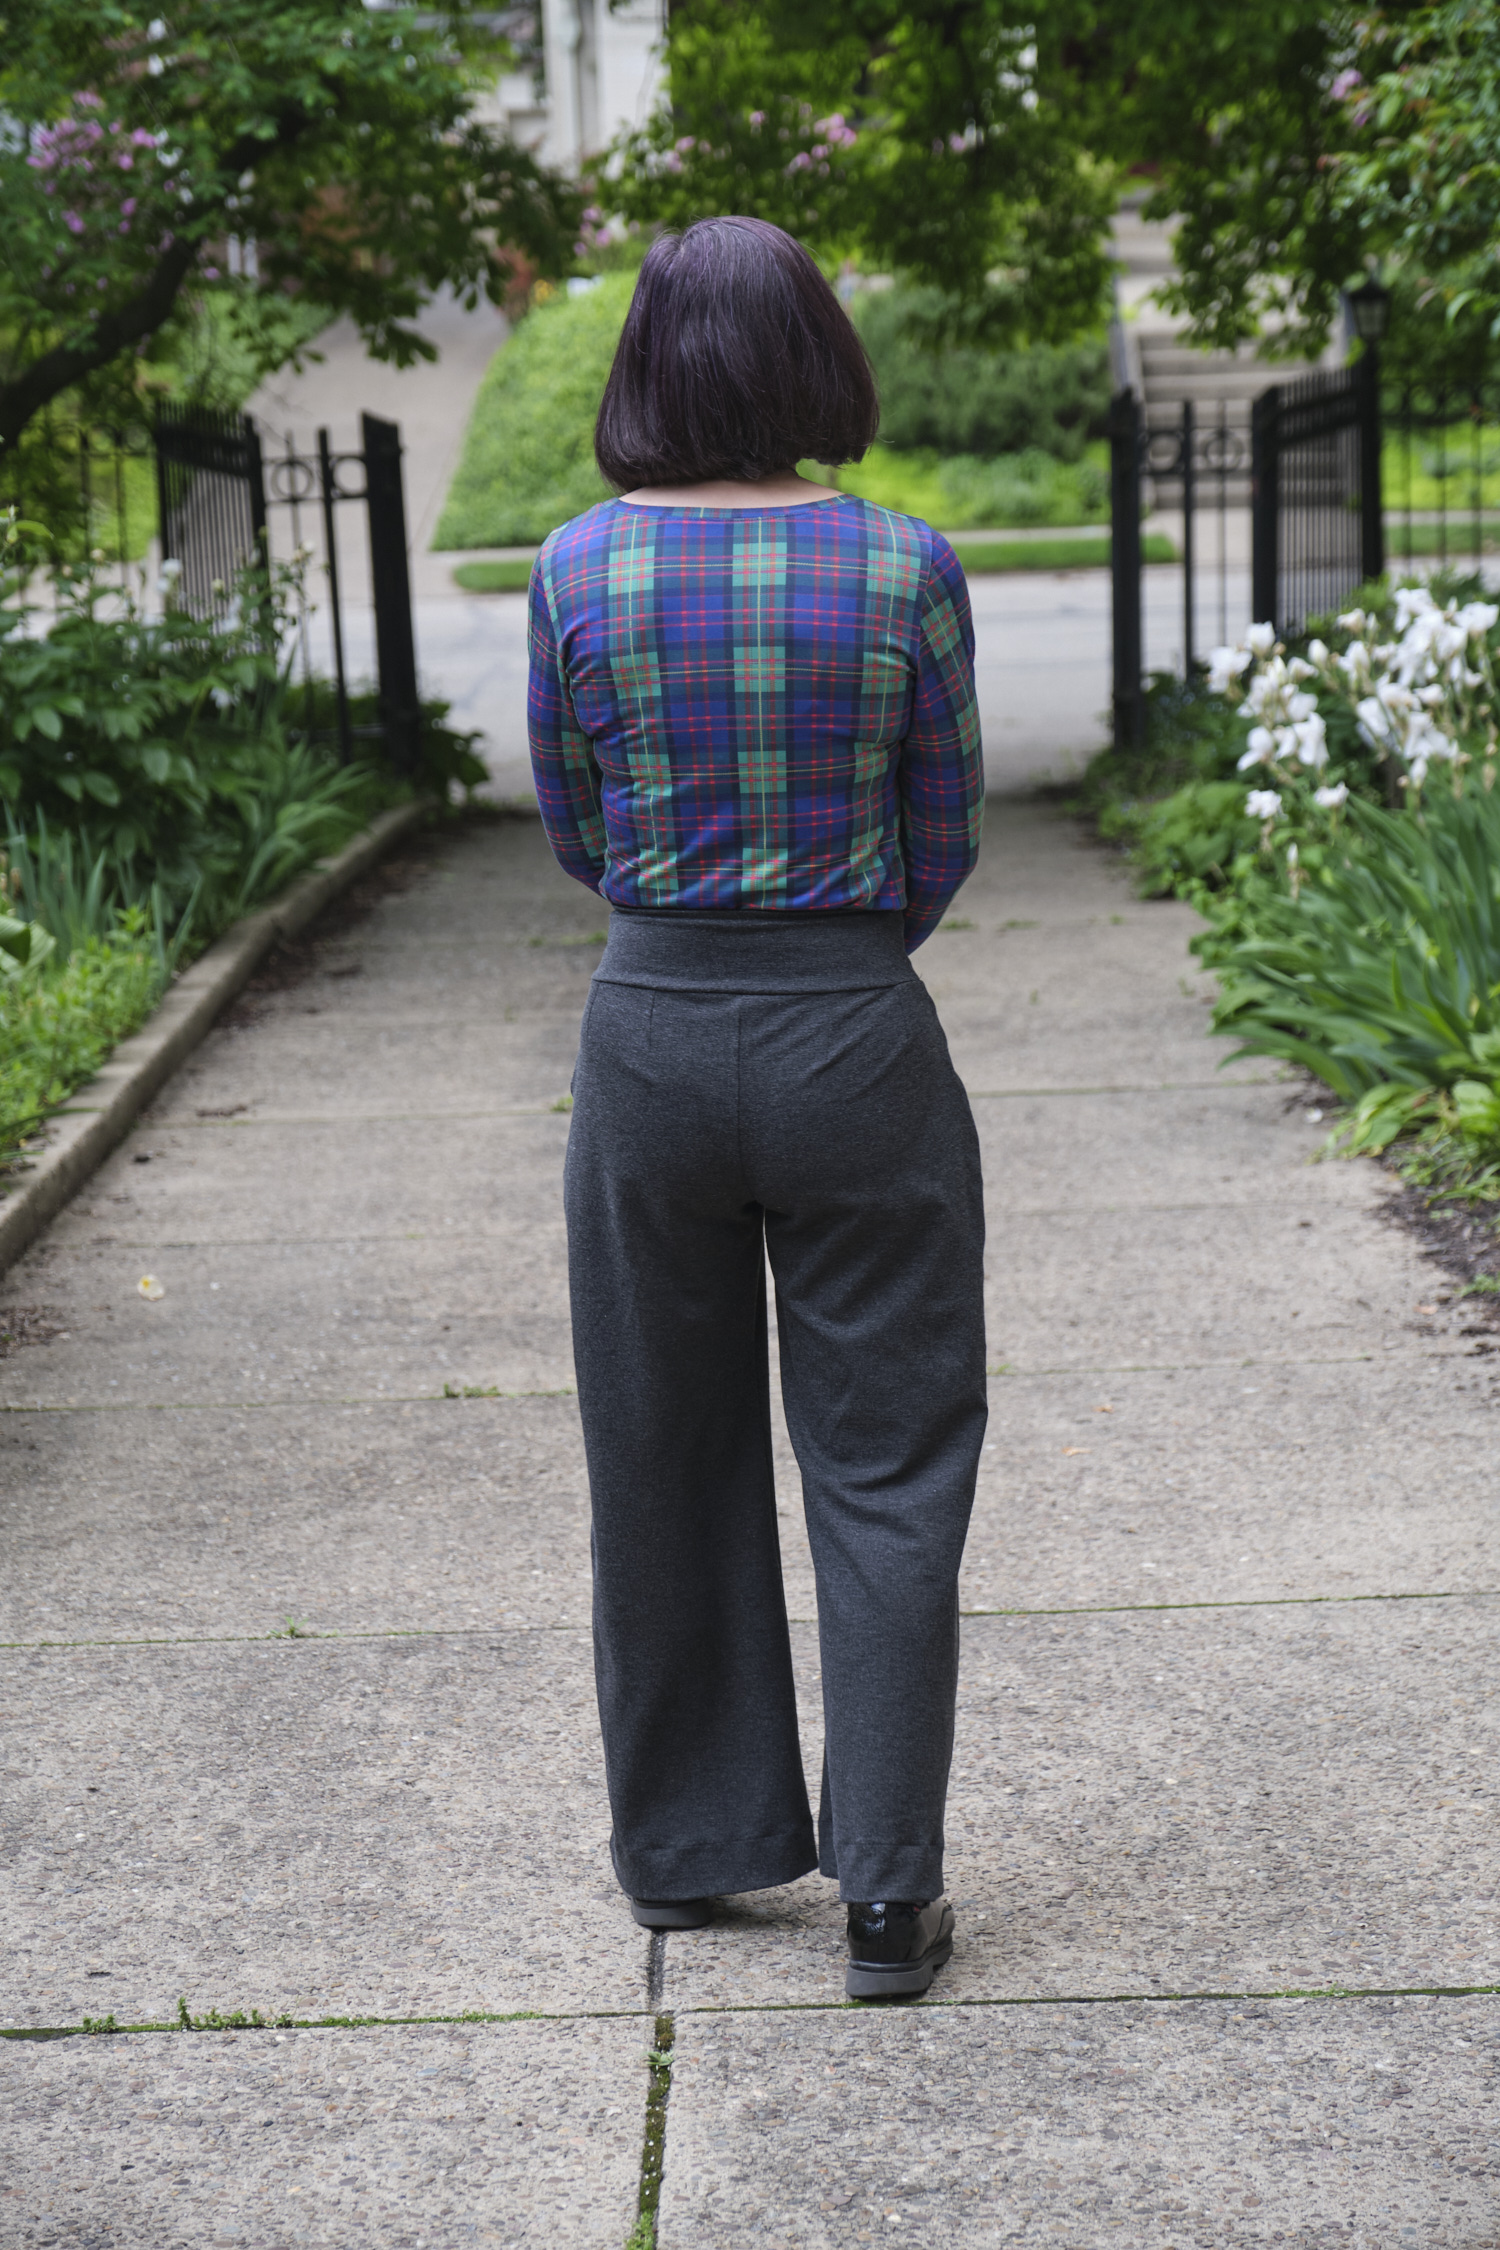
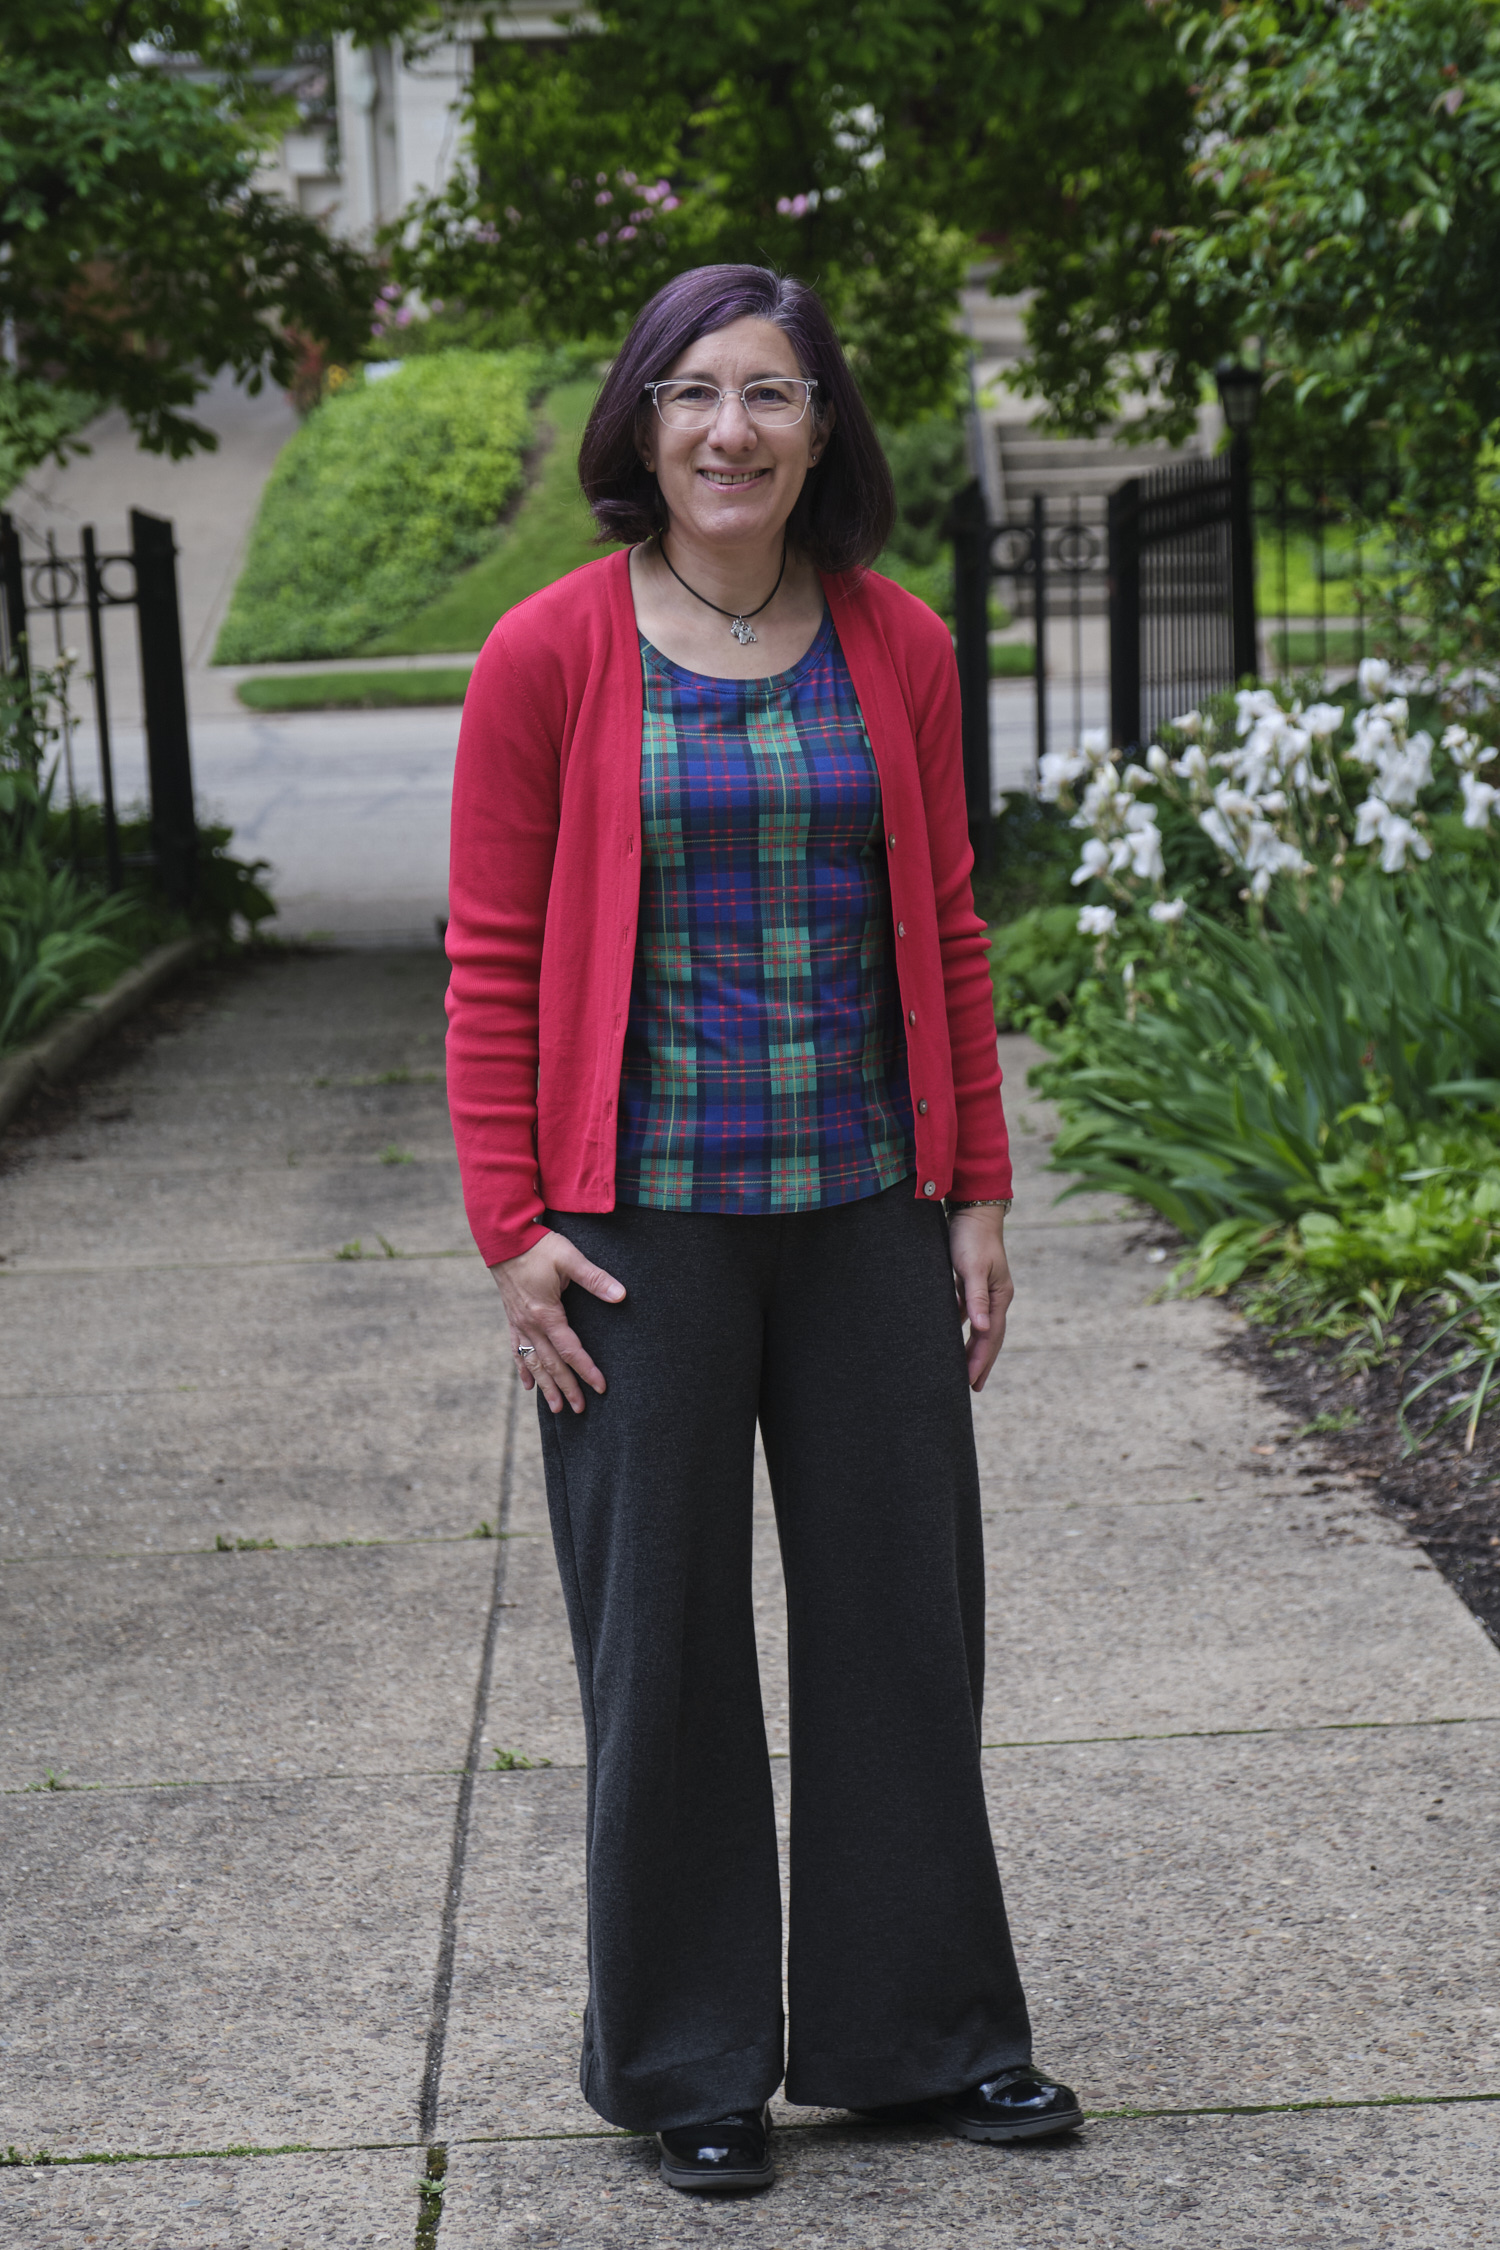
I love the fit of this latest hacked version of Urban Wide Leg pants. The high waist is both comfortable and flattering. I can wear with shirts either tucked or untucked. The waist looks good and the pants stay snuggly in place without pinching. This is also the softest ponte I’ve used so far. (Pants modeled with Sinclair Bondi top in CMU tartan.)
I really like this version and will probably make more with these modifications or try this waist style with the wider Walk Boldly legs. So to summarize what I did, I made the Urban Wide Leg pants, low waist style with jeans pockets in size 10 with the following modifications:
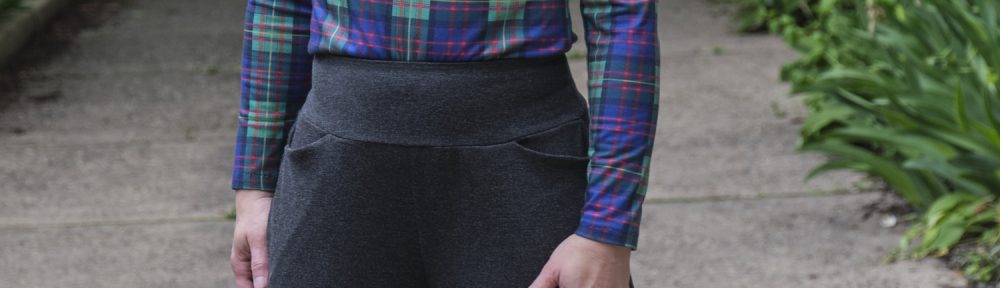
- I changed the waistband into a 3.5-inch tall contoured waistband. I cut separate front and back pieces as well as inner and outer pieces. I used an athletic knit for the two inner pieces. I sewed 3/8-inch elastic to the top seam joining the inner and outer layers and then understitched it to the inner layer.
- I moved the side seams in about 1 inch at the top of the pants and graded them out to the original size 10 side seam line about 5.5 inches below the top.
- I changed the top of the front pockets to be straight diagonal slashes and I lengthened the pocket bags by about .75 inch.
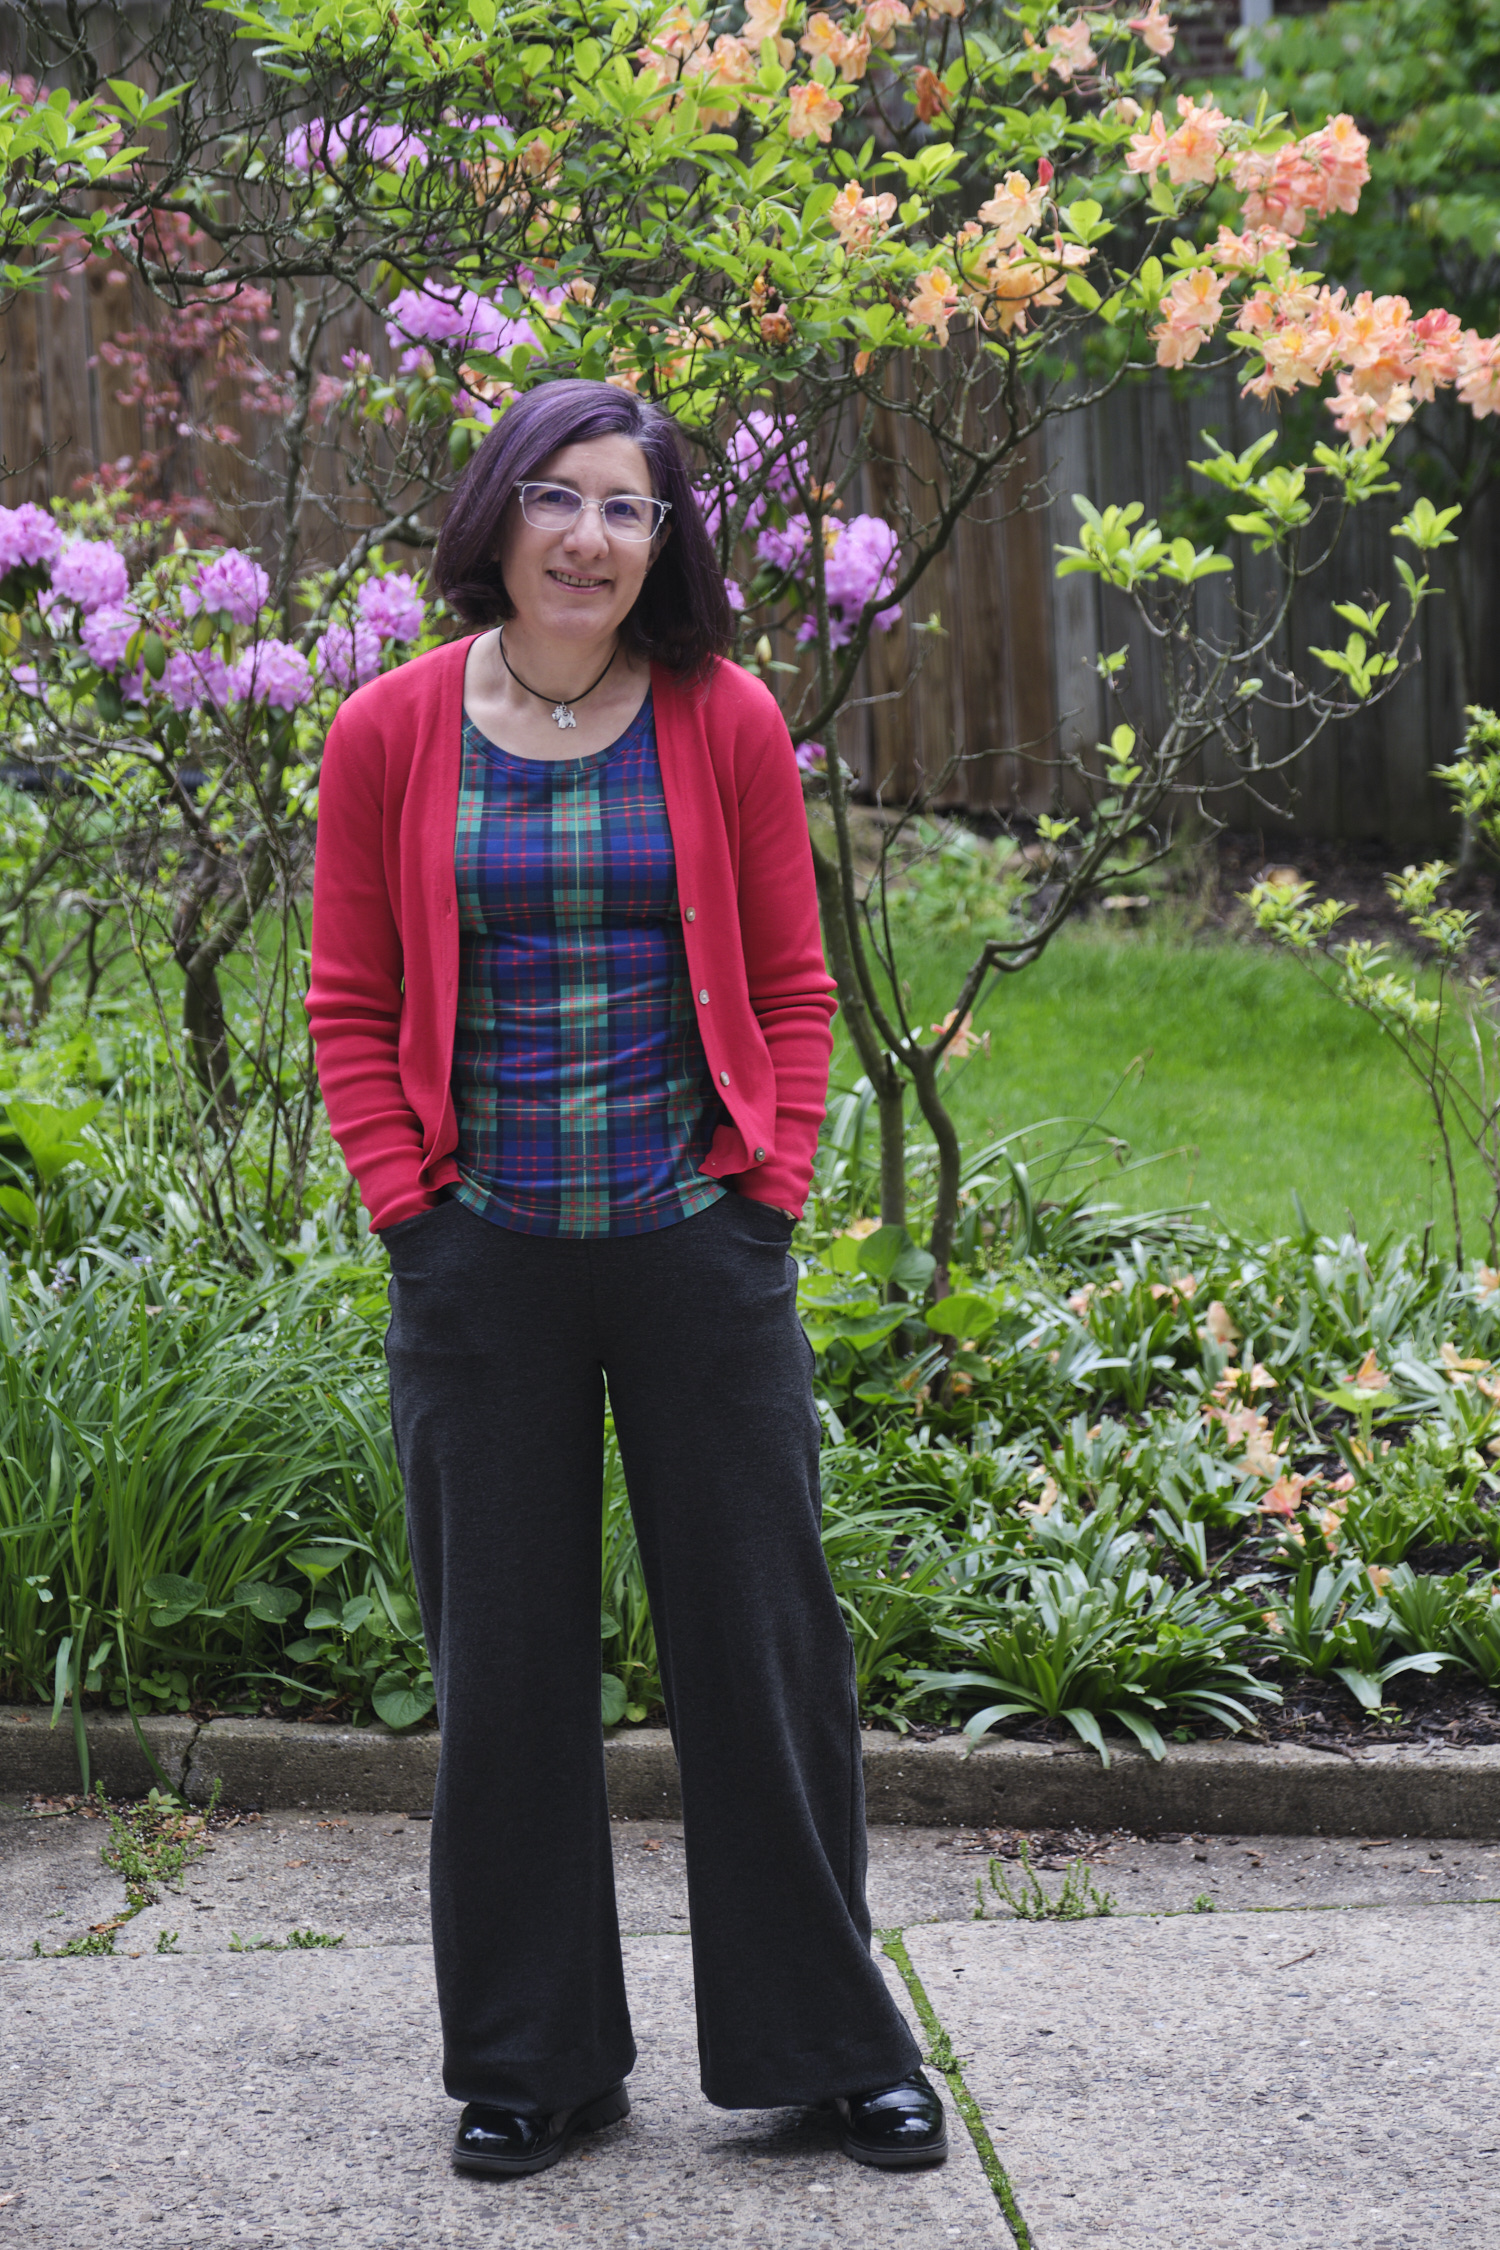
- I shortened the legs by 1.5 inches and then sewed a 2-inch hem to fit my 5’2″ height.