Soho and Loop Sweaters

My past attempts at knitting a sweater ended badly. Some day I may try again, but for now I’m just really happy to buy fabric that has been knitted on a knitting machine and sew it together into a sweater. Today I will show you two sweaters I sewed, both from Sinclair patterns.

I sewed my first sweater last spring using the Sinclair Loop drop shoulder knit top pattern. I used a lightweight black and white polyester sweater knit from Cali Fabrics with 2-way 100% stretch. I sewed it with the basic sleeves, medium scoop neck, and long-line high-low split hem. The pattern has lots of options for sleeves, and even a kangaroo pocket, but I stuck with the basics. The best feature is the split hem, which looks complicated, but is very cleverly designed so all you have to do is cut out the right shape, sew it together, turn it around, and a lovely tailored split hem with a beautifully mitered corner just pops right out.

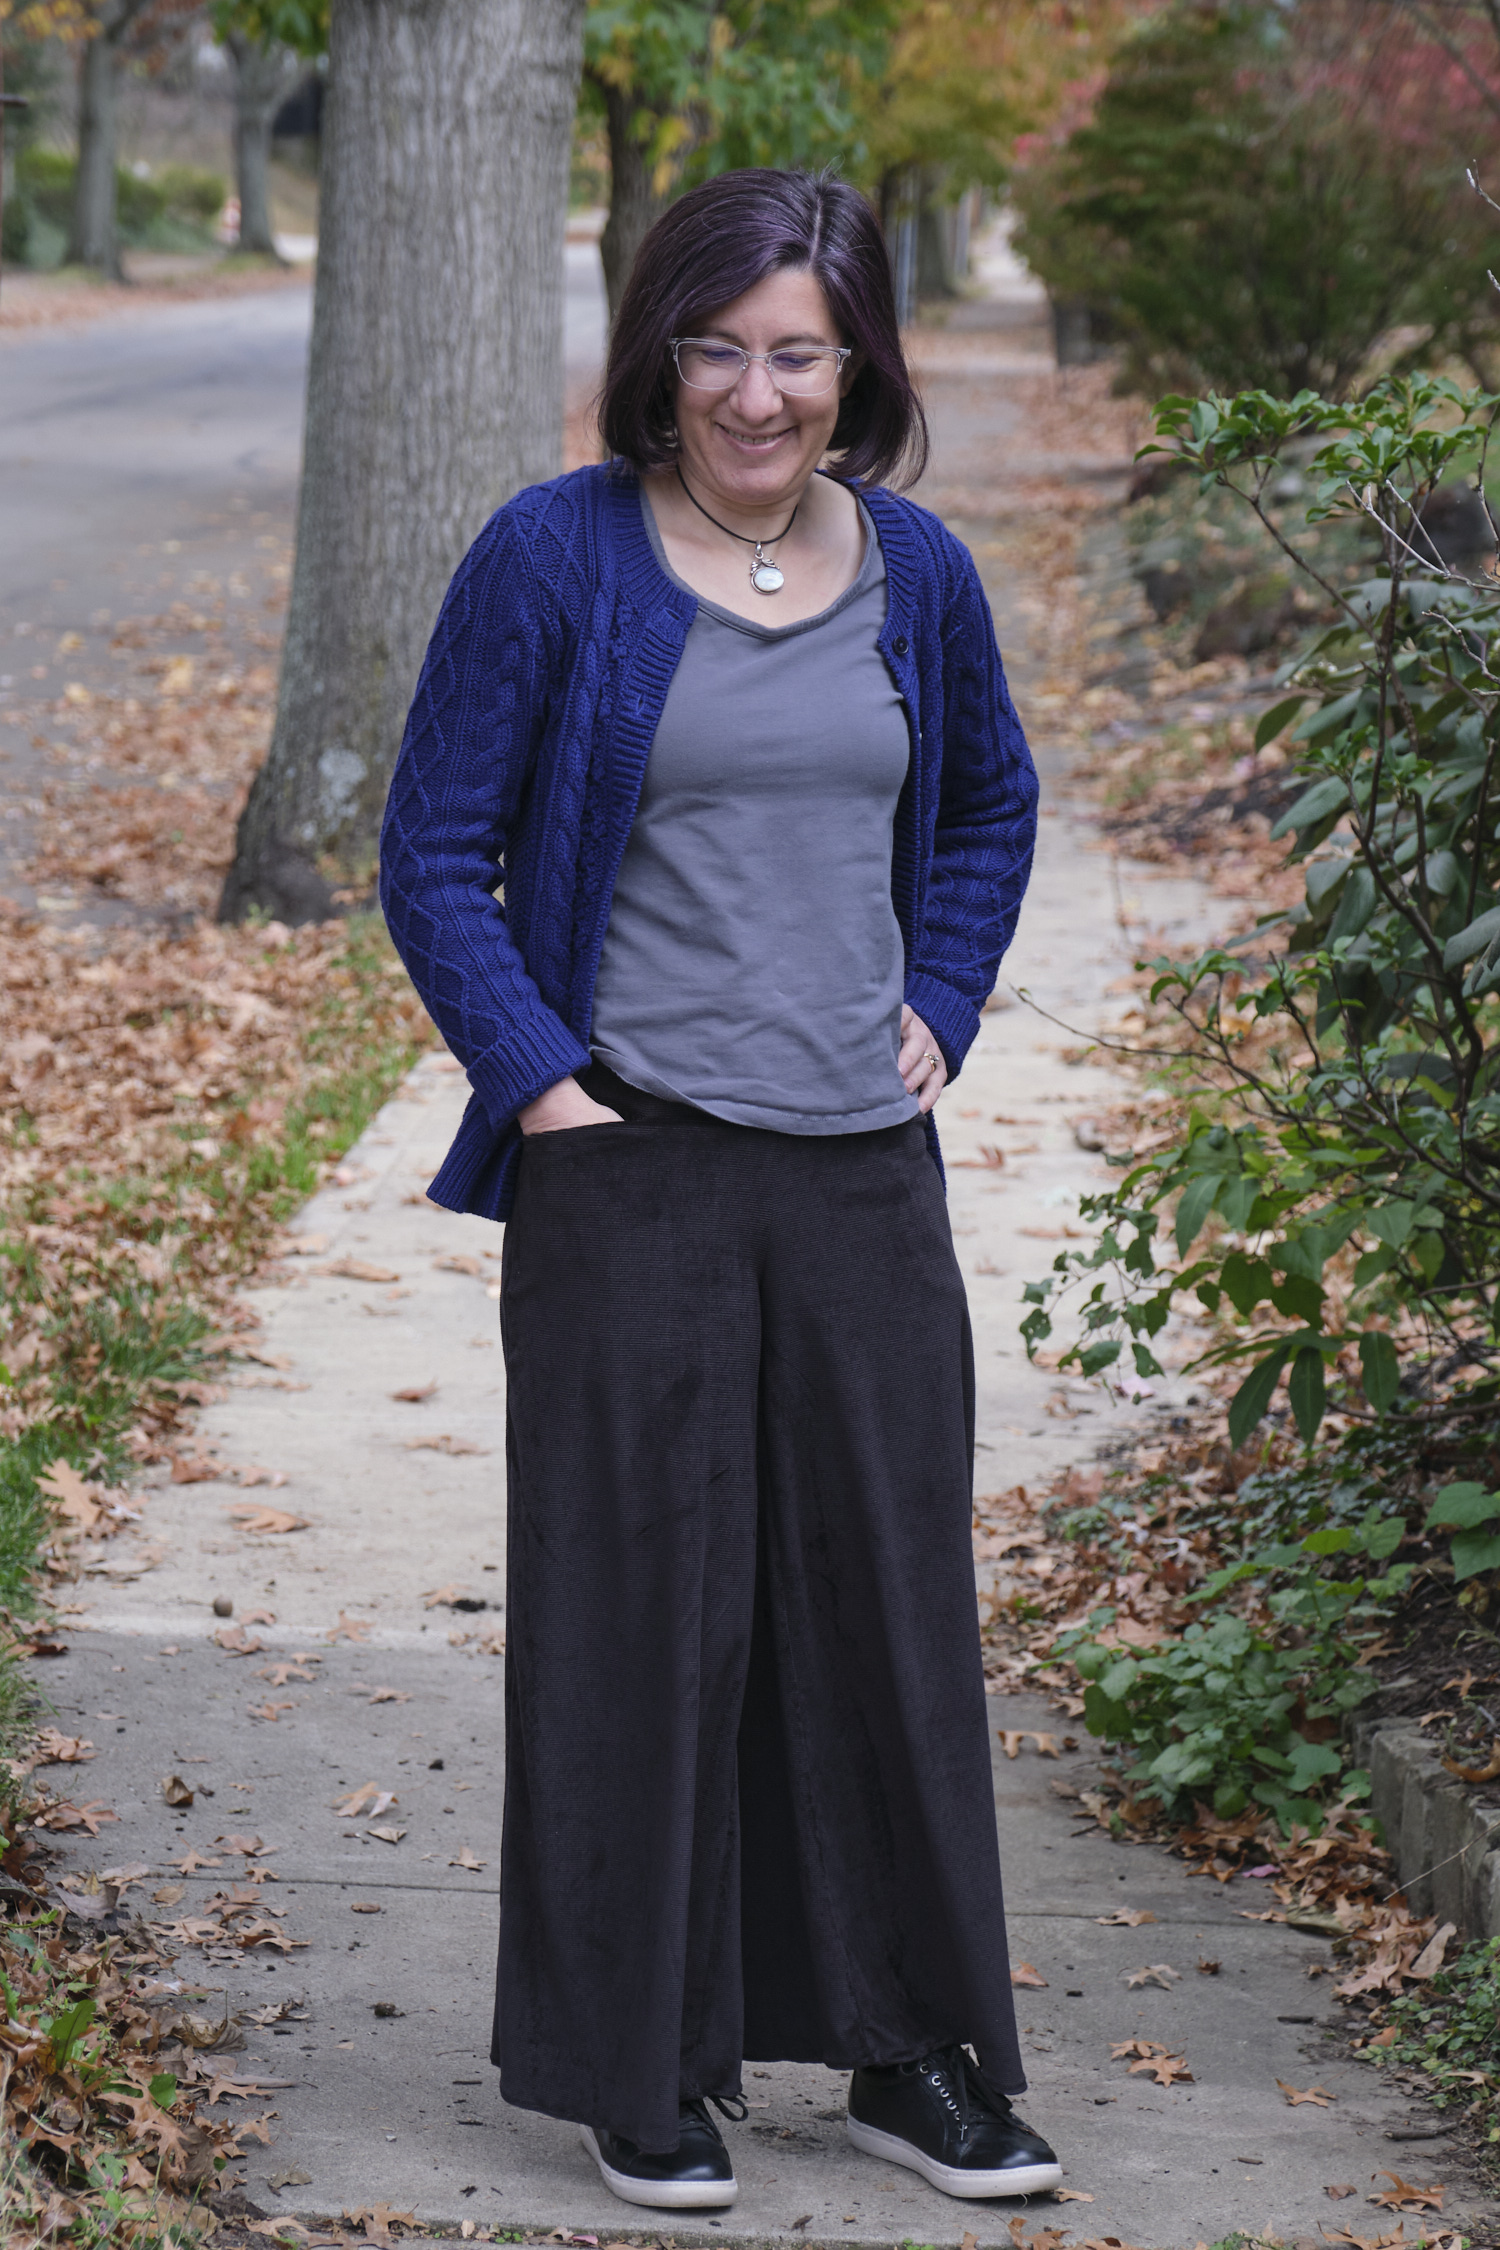
This week I sewed a warmer V-neck sweater using the Sinclair Soho dolman relaxed style top, tunic and mini dress pattern. While the Loop and Soho are both fairly relaxed and have sleeve seams that aren’t right at the shoulder, the Soho drops the seam all the way to just above the elbow and has a wide curve through the arm pit. The bodice also has a little bit of shaping. The loop is a boxier fit. For the Soho, I used a very soft and fluffy marled hunter green brushed rib sweater knit from Surge Fabrics made from polyester, rayon, and spandex. It has a 75% horizontal stretch and minimal vertical stretch.

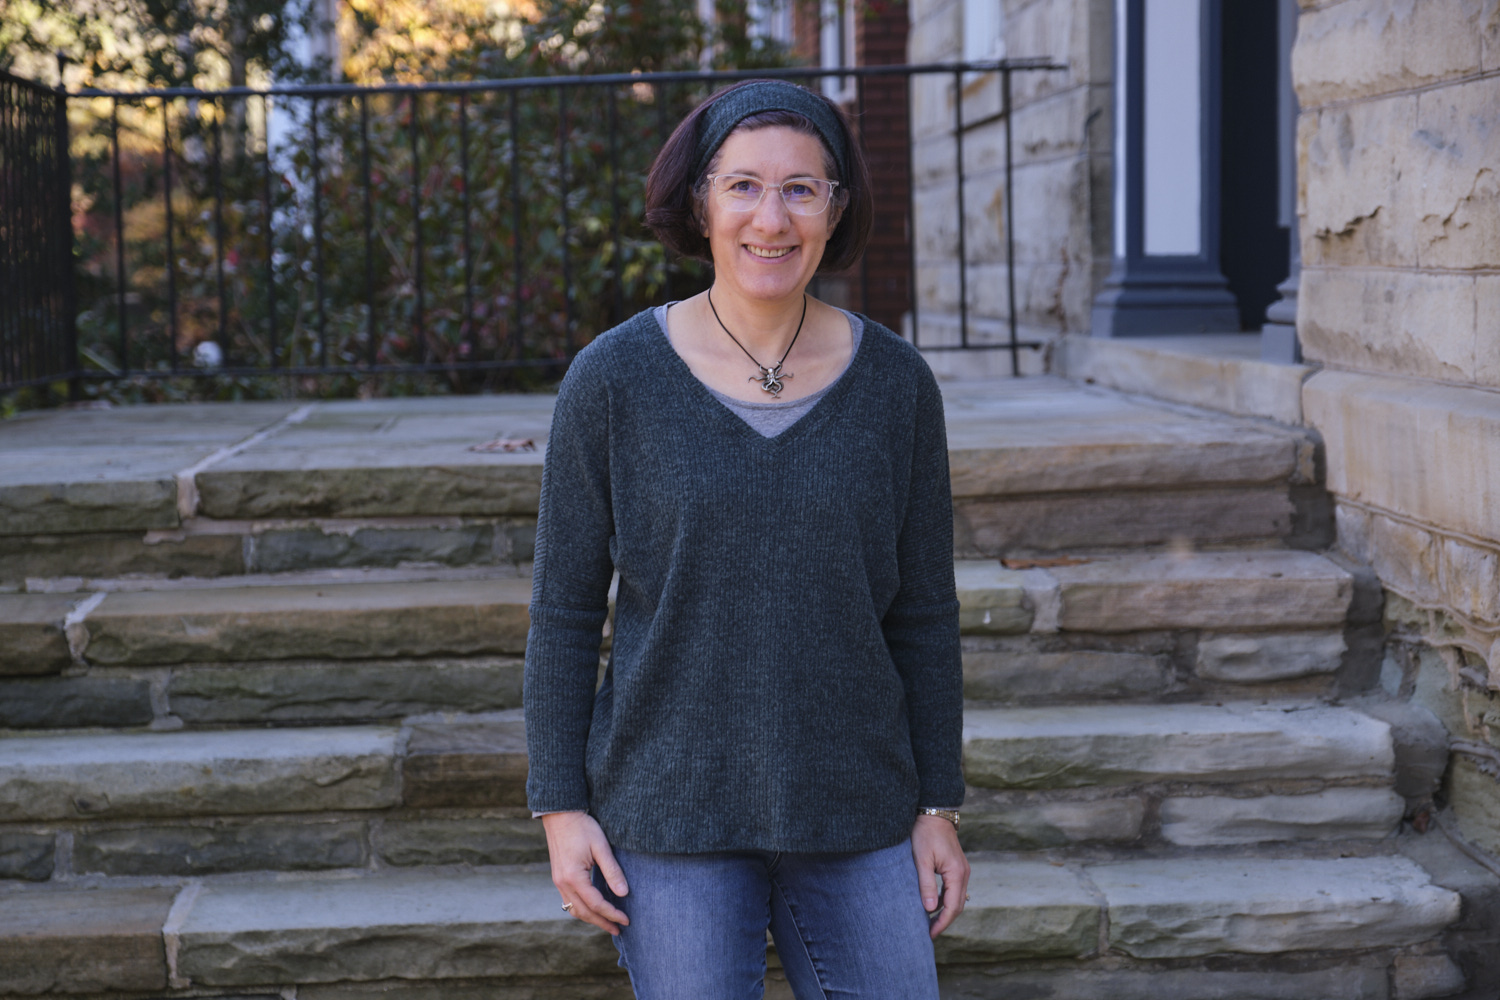
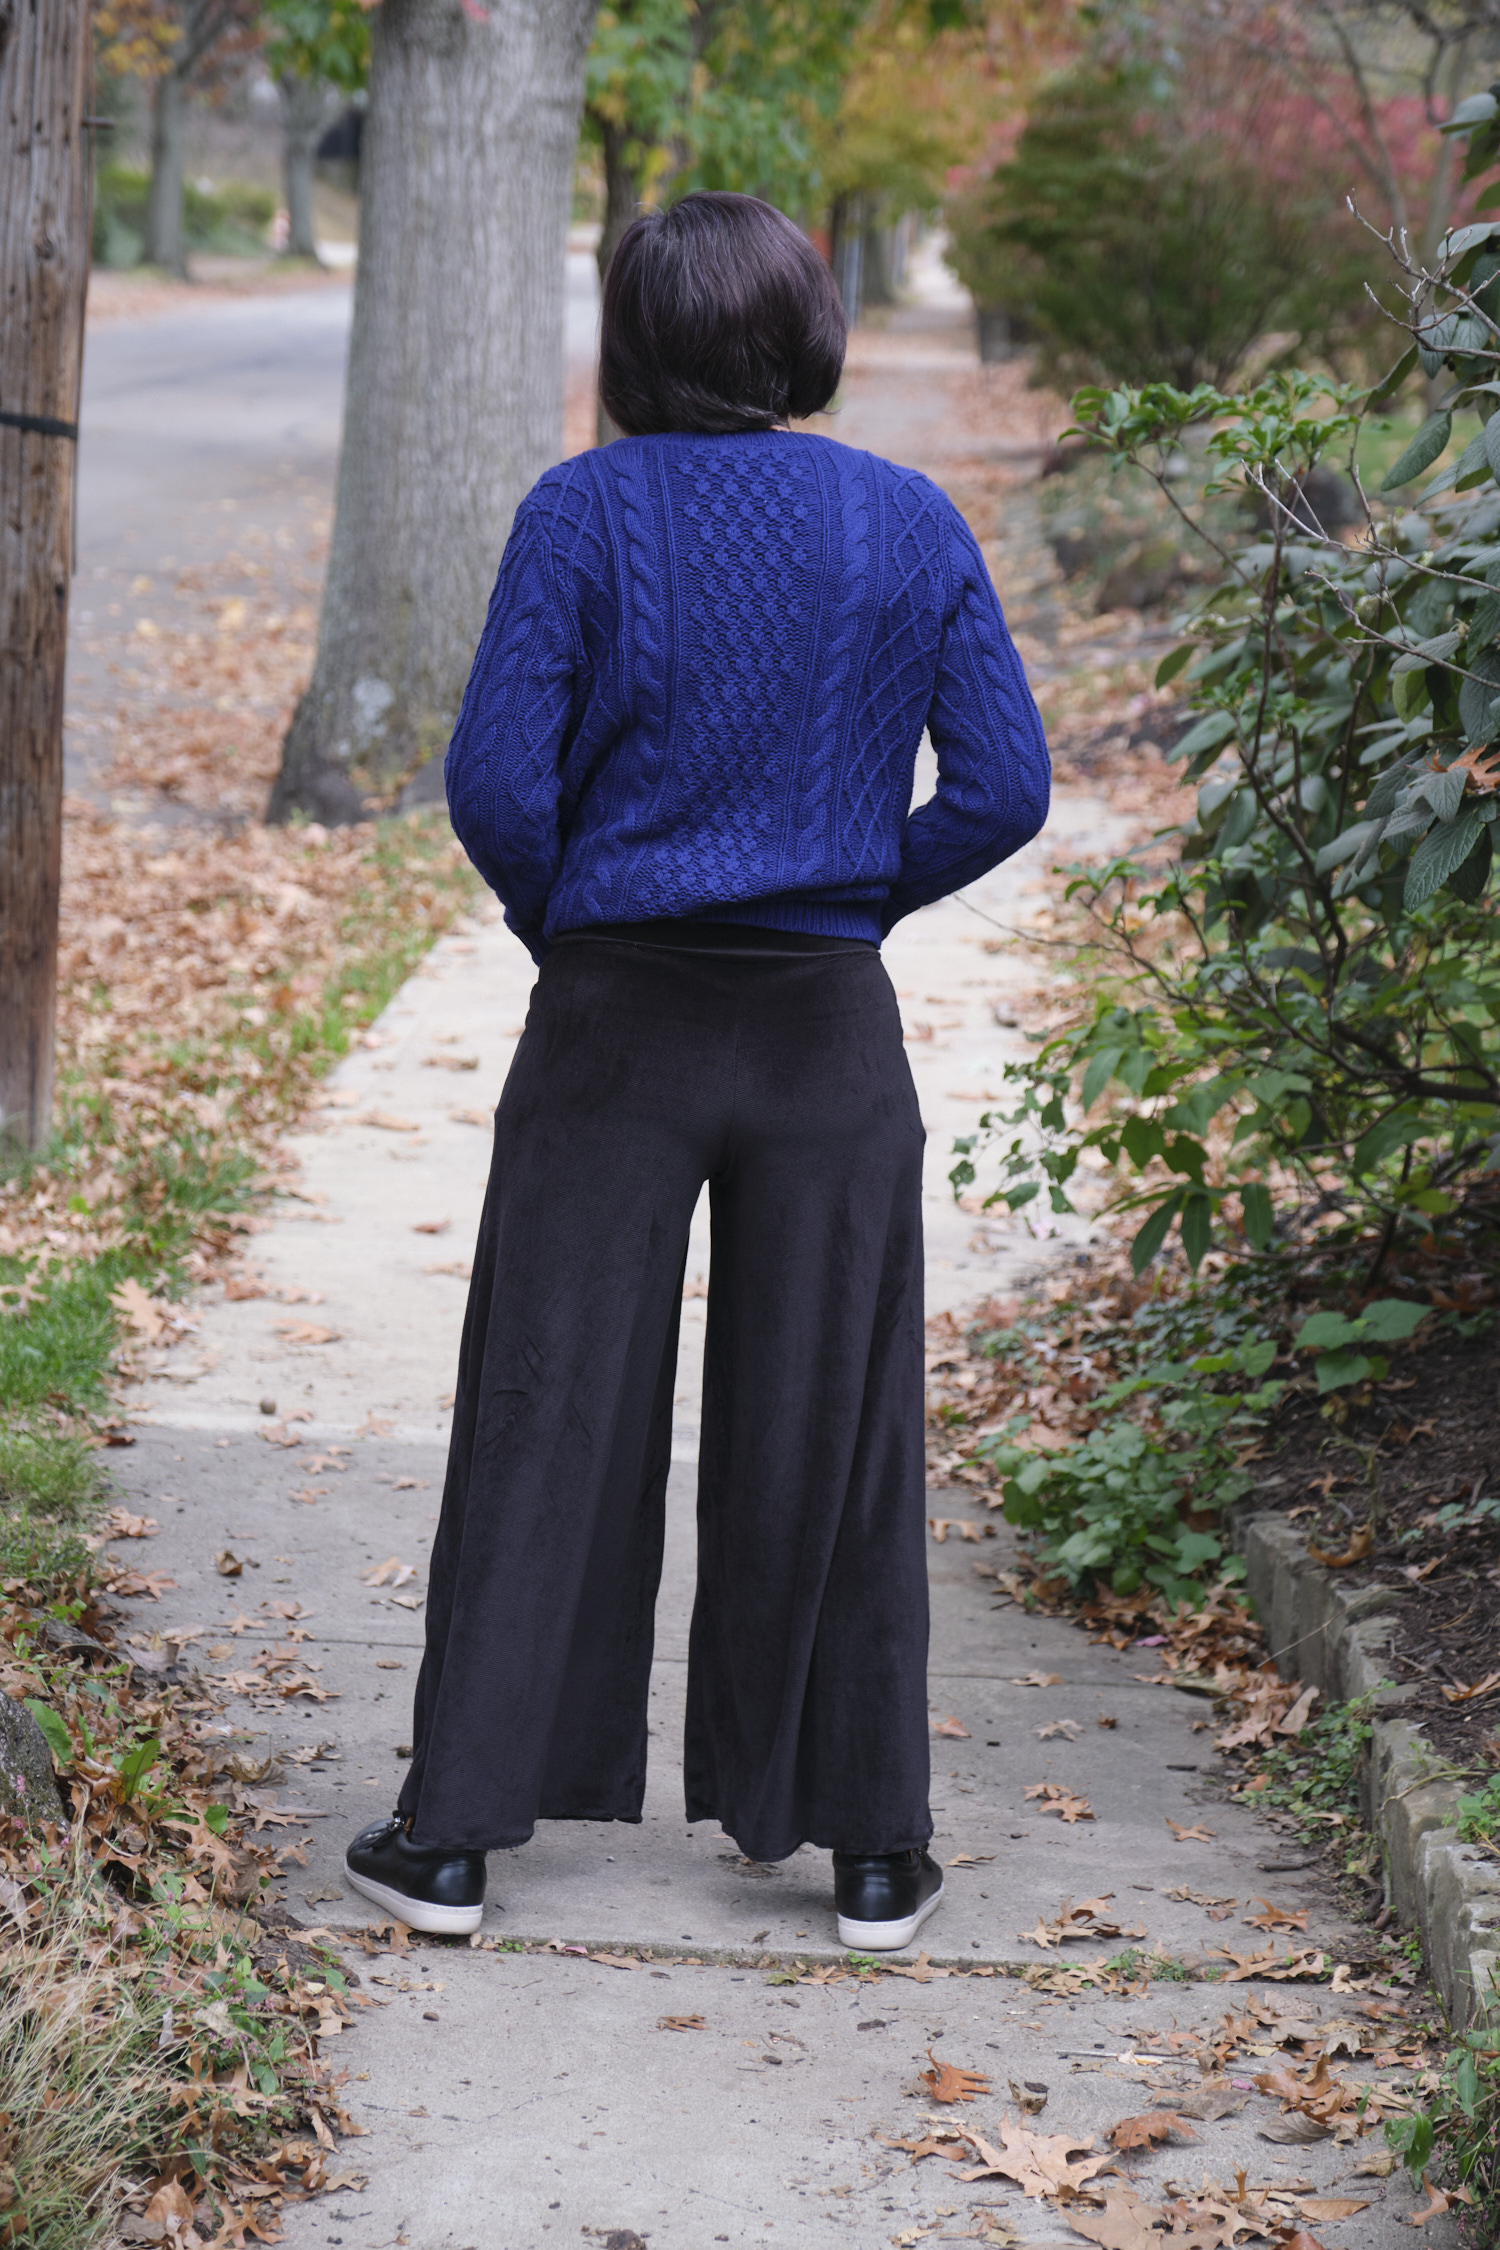
The pattern can be made color blocked, with diagonal stripes, with pockets, with or without a back V-neck, with or without a bottom band, and at various sleeve and hem lengths. I made the most basic version in the regular top length without any pockets, color blocking, bands, or back V, and I cut the front and back on the fold rather than with a center seam. I considered having the ribs run diagonally (check out some fun diagonal stripe looks on the Sinclair website), but was concerned about how it might hang with a lot of horizontal but not vertical stretch, so I took the easy-peasy approach. The ribs run vertically on the bodice and also on the bottom part of the sleeves. I cut out the bottom band but decided not to use it, so I made it into a matching headband.

This pattern sewed up very quickly on my serger (in a couple of hours). The only bit of trickiness was the V-neck. I had never attempted a V-neck before. The pattern has great instructions, although it took me some time to get my head around them. Now that I did it once, it will be even easier next time around. The fact that I was dealing with a very stretchy fluffy knit made the V-neck a bit more challenging, as the instructions call for making a very sharp point at the center of the V, which was hard to do with this fabric, but I got it done. I can see grafting this V-neck onto other patterns too, for example to make a V-neck Loop. It is a fairly low V on me so I might raise it a smidge or shave half an inch off the center seam/fold line.

I did have to shorten the sleeves by about 2.5 inches before I hemmed it. Looking at photos from others who made the long-sleeved version, it looks to me like most of them have sleeves that are a couple of inches too long. That might be the intended slouchy style, but I prefer sleeves that don’t go past my wrists.

The sweater if very soft and comfortable. The fabric feels very light but it is actually quite warm and cozy!

I look forward to trying other variations of the patterns in different sweater knits, and maybe even trying some color blocking or making a longer length for a tunic or sweater dress.

Neck Ties

A while ago I made a bunch of ties and never got around to blogging about them. Here they are. Details on pattern below.

I previously had commissioned a tie-seller on Etsy to make some ties out of my bad passwords fabric. But she isn’t on Etsy any more so I decided to try sewing some times myself. There are lots of tie patterns available online, some of them free. Most require a main fabric, interfacing, and lining, and require some hand sewing along the center back seam. So I was excited to find Bryanna’ Free Neck Tie Pattern and Tutorial that was super easy and can be made without any interfacing or hand sewing (except for tacking down the tie keeper ribbon on the back). I tried it and it was great, but when I came back later to find it I saw that Bryanna had taken down her sewing site some time in 2023. Fortunately, you can still view her tutorial using the Wayback Machine. Unfortunately, you cannot view her pattern. But I had previously saved it and hacked it a bit. So I will share my hacked version of it here.

First I merged the multi-page file into a single page, suitable for projector sewing. For those of you who are printing out your patterns on 8.5×11 pages, sorry this may not work for you. You may be able to print it tiled. The pattern calls for cutting the tie in two long strips diagonally (on the bias). The front is much longer than the back and requires a really long piece. This minimizes the number of ties you can get out of a yard of fabric. The long front piece is also too long to easily project. So I took a segment of the tie front and moved it to the tie back. In my hacked pattern you can see the segment and you can put it on the front or the back as you see fit. Just don’t put it in both places or you will end up with an extra long tie. You do end up with a seam where the front and back connect, but in my experience, even in my hacked short front, the seam does not end up in a visible part of the tie when being worn.

The great part about this pattern is you layer your main fabric and your lining, fold them, and sew the whole thing together in one long seam on your sewing machine. You then turn the whole thing inside out in step 7 and you are basically done. The tricky part, is in the turning the whole thing inside out with a safety pin. You have to feed the thick part of the tie through the narrow neck, and that is not all that easy to do. Just take it slowly and you’ll get there eventually.

Bryanna suggests folding the ends of a 3″ tie keeper and hand sewing them in place. Instead I recommend cutting a 4.5″ tie keeper, folding it in half, and sewing it into the main seam of the tie as part of step 6 (just the ends will be sticking out of the seam at the end of step 6). After the tie is turned right side out in step 7, you will have a tie keeper tucked into the seam, with no raw edges. At that point you just need to flatten it out and stitch down the sides. I think it looks a little neater this way.

After I made a few password ties, I found the cookie fabric and decided to make a tie for my student who was presenting our research paper on cookie consent banners at a conference.

T-shirts for my guy!

I finally sewed something for my husband. Sinclair has a bunch of men’s patterns and the sewists in the Sinclair Facebook group often post smiling photos of their husbands and sons modeling their creations. After Chuck recently went through his drawers and removed a mountain of old long-sleeve t-shirts with holes in them, I decided to sew him some new ones. He loves striped shirts, so I have been on a quest to find good yard-dyed striped fabric in t-shirt weight knits (which is surprisingly difficult, pointers to good sources welcome).

I selected the Sinclair Kai semi-fitted crew neck t-shirt for men pattern. This was very easy to sew and is essentially the same as Sinclair’s Bondi t-shirt pattern for women, but with a different cut and sizing. The instructions for measuring and fitting were clear. I ended up making only a minor adjustment, grading between two sizes on the lower half of the bodice, but the pattern offers instructions for addressing more difficult fitting problems. I also shortened the sleeves and the bodice by about 1.5 inches before hemming. With my serger each of these shirts took only a couple of hours to sew.

For my first Kai, I selected Surge’s Sedona mini stripe jersey in Tuscon sun (a gold color). It is a lightweight stretchy fabric that is a blend of rayon, cotton, polyester, and spandex. It’s great for drapey summer-weight tops (maybe a summer cardigan), but ended up being a little too light and slinky (as Chuck put it) for a long-sleeved men’s t-shirt. It works fine as an under layer, and he was seemed happy with it none-the-less.

For my second Kai, I selected a stretchy rayon/polyester/spandex yard-dyed rib knit in navy and olive. This fabric is also fairly light and drapey, but it is more substantial and has a more suitable weight for a long-sleeved men’s t-shirt. I like this one better. This fabric was fairly easy to sew with, but I found it almost impossible to mark notches with my washable markers, so I ended up improvising the collar band a bit. I probably should have marked the notches with clips.

I think he enjoyed being photographed rather than being my photographer this time. I was excited about using the fall leaves as a backdrop but he was more interested in a photo with our new car.

I’ll make some more Kai t-shirt for him after I find some good cotton-lycra striped fabric.

Stretch velour corduroy palazzo pants

I love my Pylos LiKnit palazzo pants made with my adaptation of the Sinclair Cleo pattern, but they are more of a summer weight and not so good for our chilly Fall weather. So I made a new pair in black Surge’s stretch velour corduroy last week. This is a somewhat slinky corduroy, very soft and a medium weight and horizontal wales. It makes for a super comfy pair of Fall pants (with pockets, of course!), perfect to wear with a chunky sweater. When it gets colder I’ll probably wear tights or leggings under them. Wide-leg pants are very comfortable and cool in the summer because they let the air flow, but that’s less desirable for cold-weather wear and thus may require layering. But either way, these pants are comfy like my pajamas.

I sewed the pants using the same adaptations of the Cleo pattern I used previously, and lined the waistband with Surge’s black quad performance jersey knit. To keep the tops of the pockets from sagging I sewed a strip of clear elastic into the seam allowance of the diagonal seam at the top of the pockets.

I’m also wearing a Sinclair Bondi shirt here I sewed last year and never got around to photographing. This is a grey cotton-lycra fabric. I tried a binding rather than a band on the neck for this one.