What do you do with 12 pounds of tomatillos?

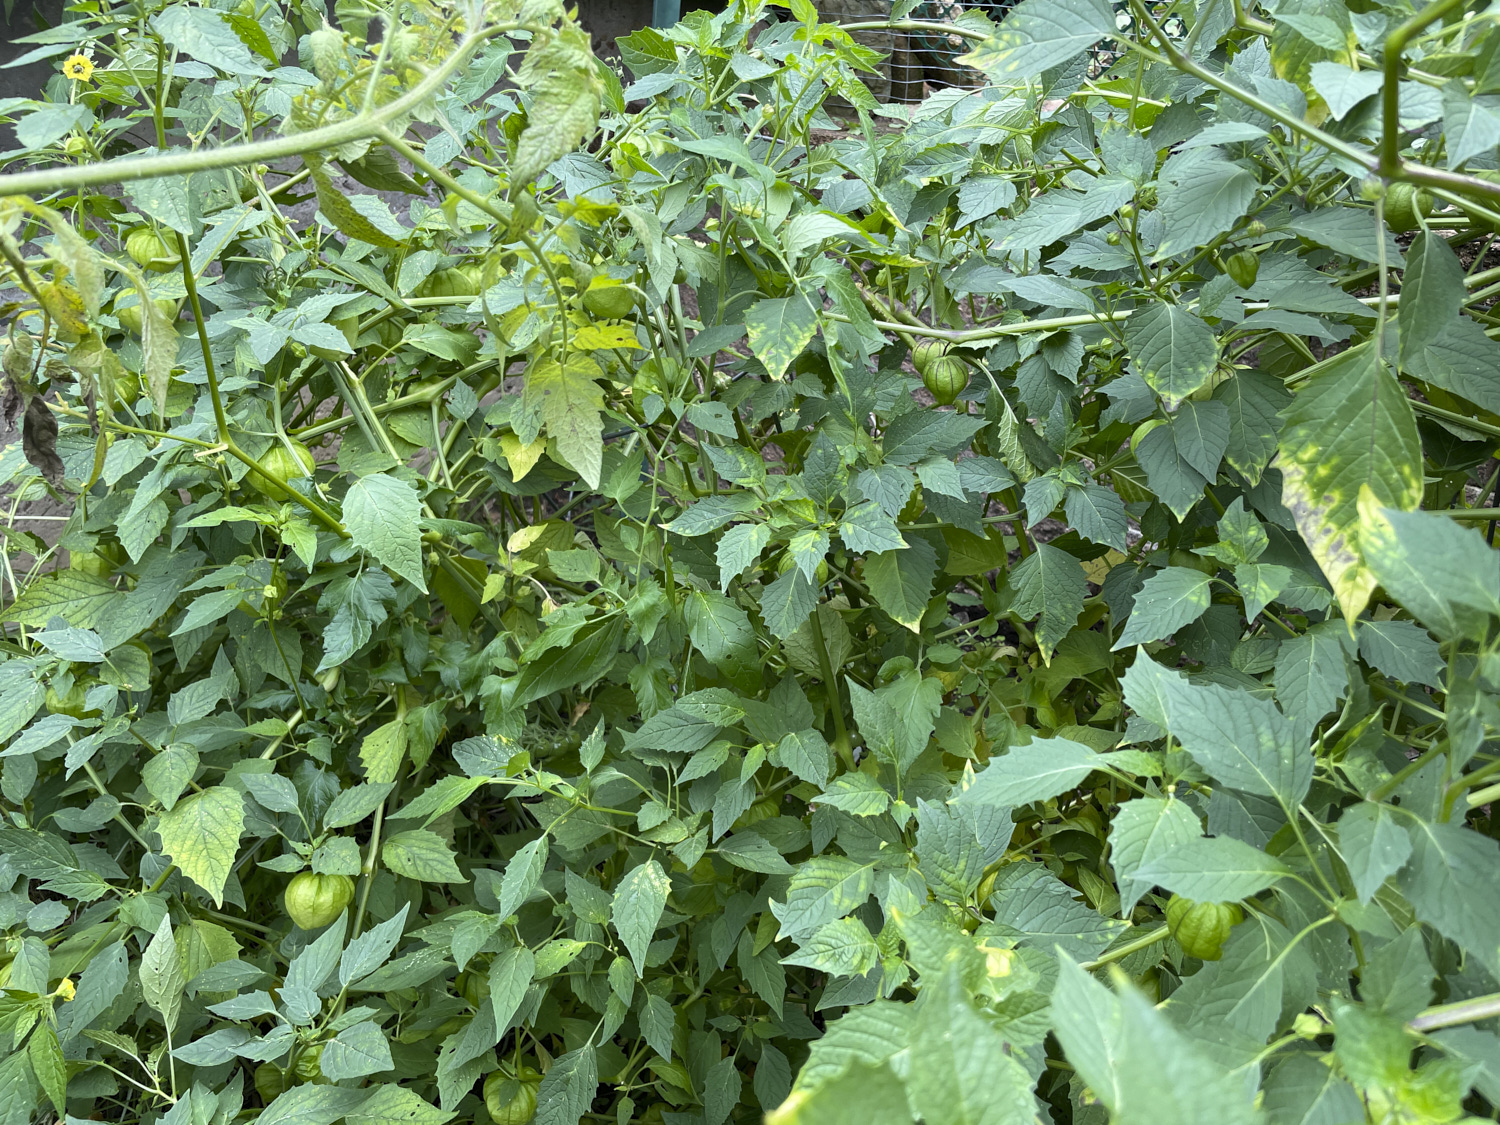
My husband is a big fan of Mexican green tomatillo salsa. As I was struggling to grow vegetables in our small Pittsburgh yard, he suggested I give tomatillos a try. I was skeptical, but I got a couple of tomatillo plants and planted them by the driveway. One flourished and the other did not. I read that you need to have at least two tomatillo plants for cross pollination, so I bought another and soon I had two plants full of tomatillos and later in the season we made salsa. Over the years my tomatillo farm has expanded, and now it takes up a good chunk of the garden above my retaining wall. The plants seem to do well in Pittsburgh weather, and for whatever reason, the critters in my garden seem to mostly leave them alone. I’ve learned to let them grow in pots on my deck until they are about 18 inches high so the young leaves don’t get devoured by beetles. And spraying them with insecticidal soup also helps keep the bugs away. Once they get to about two-feet tall, they seem to do fine. I typically plant about 6 of them now, and I get a few volunteers growing besides them.

The tomatillos are in cages along the back wall. The groundhog ignored them and nibbled on the eggplant leaves instead.

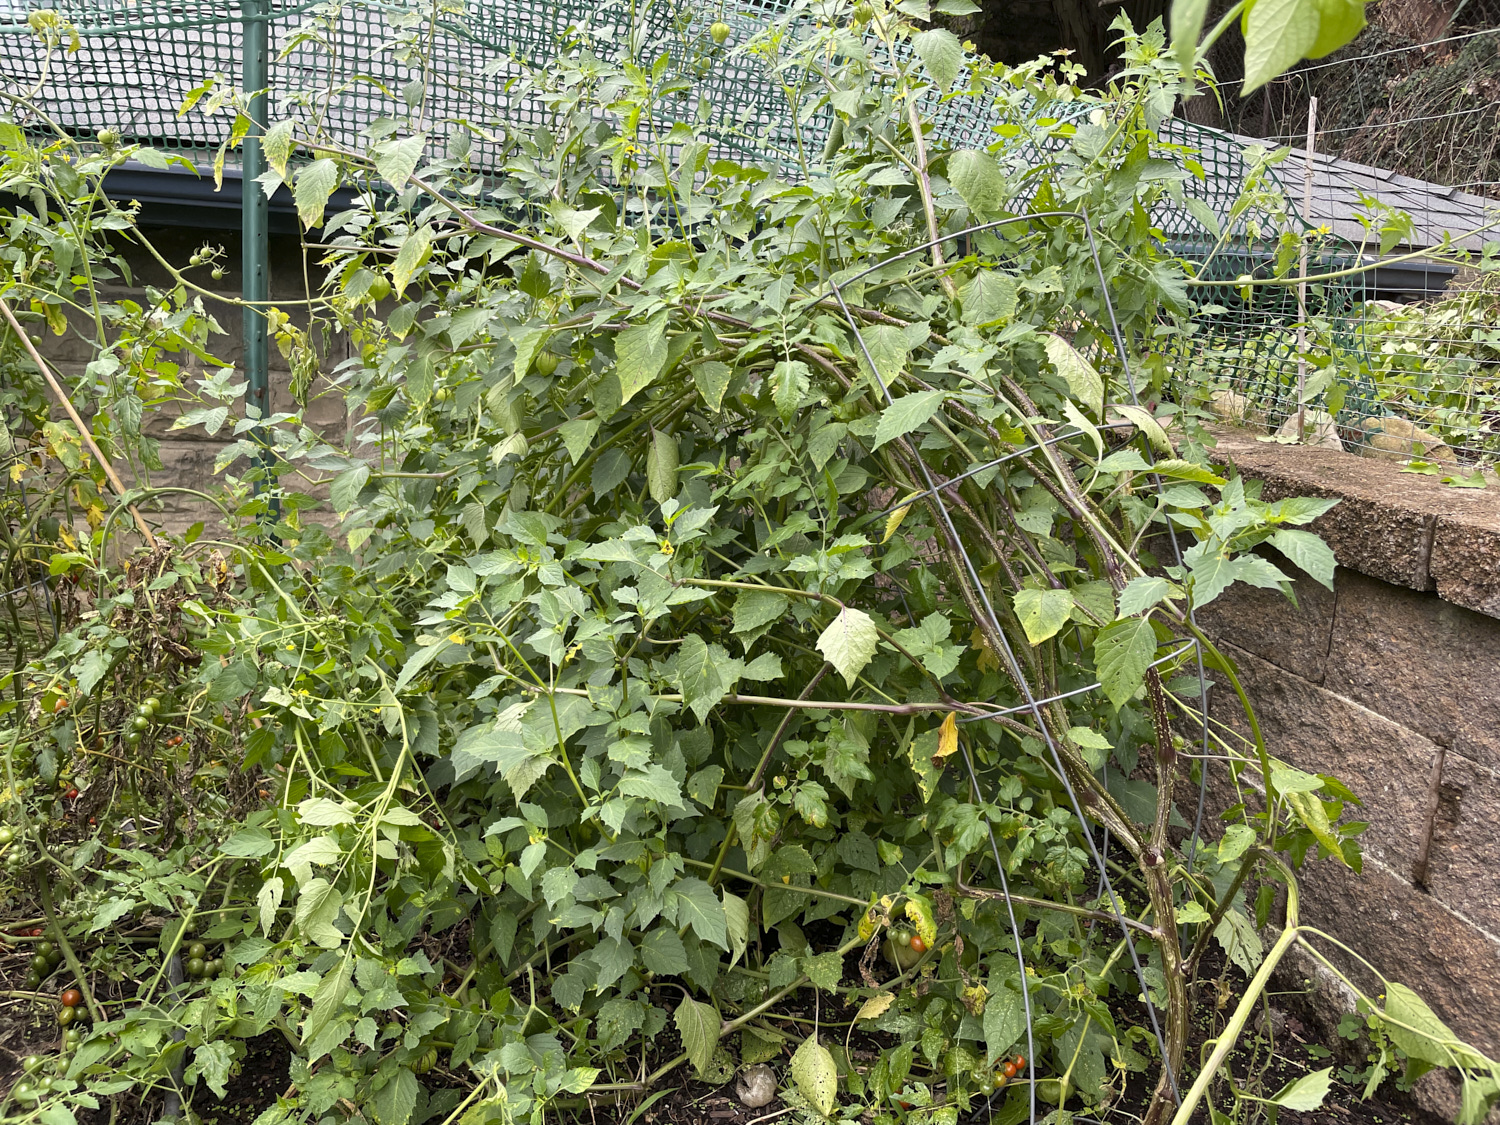
By August, my tomatillo farm is a mess. Most of the plants have outgrown their cages, and some have toppled over and resist my efforts to upright them. This year the adjacent tomato plants have taken over, with lots of volunteers as well. Note to self: next year pull out most of those volunteer tomatoes!

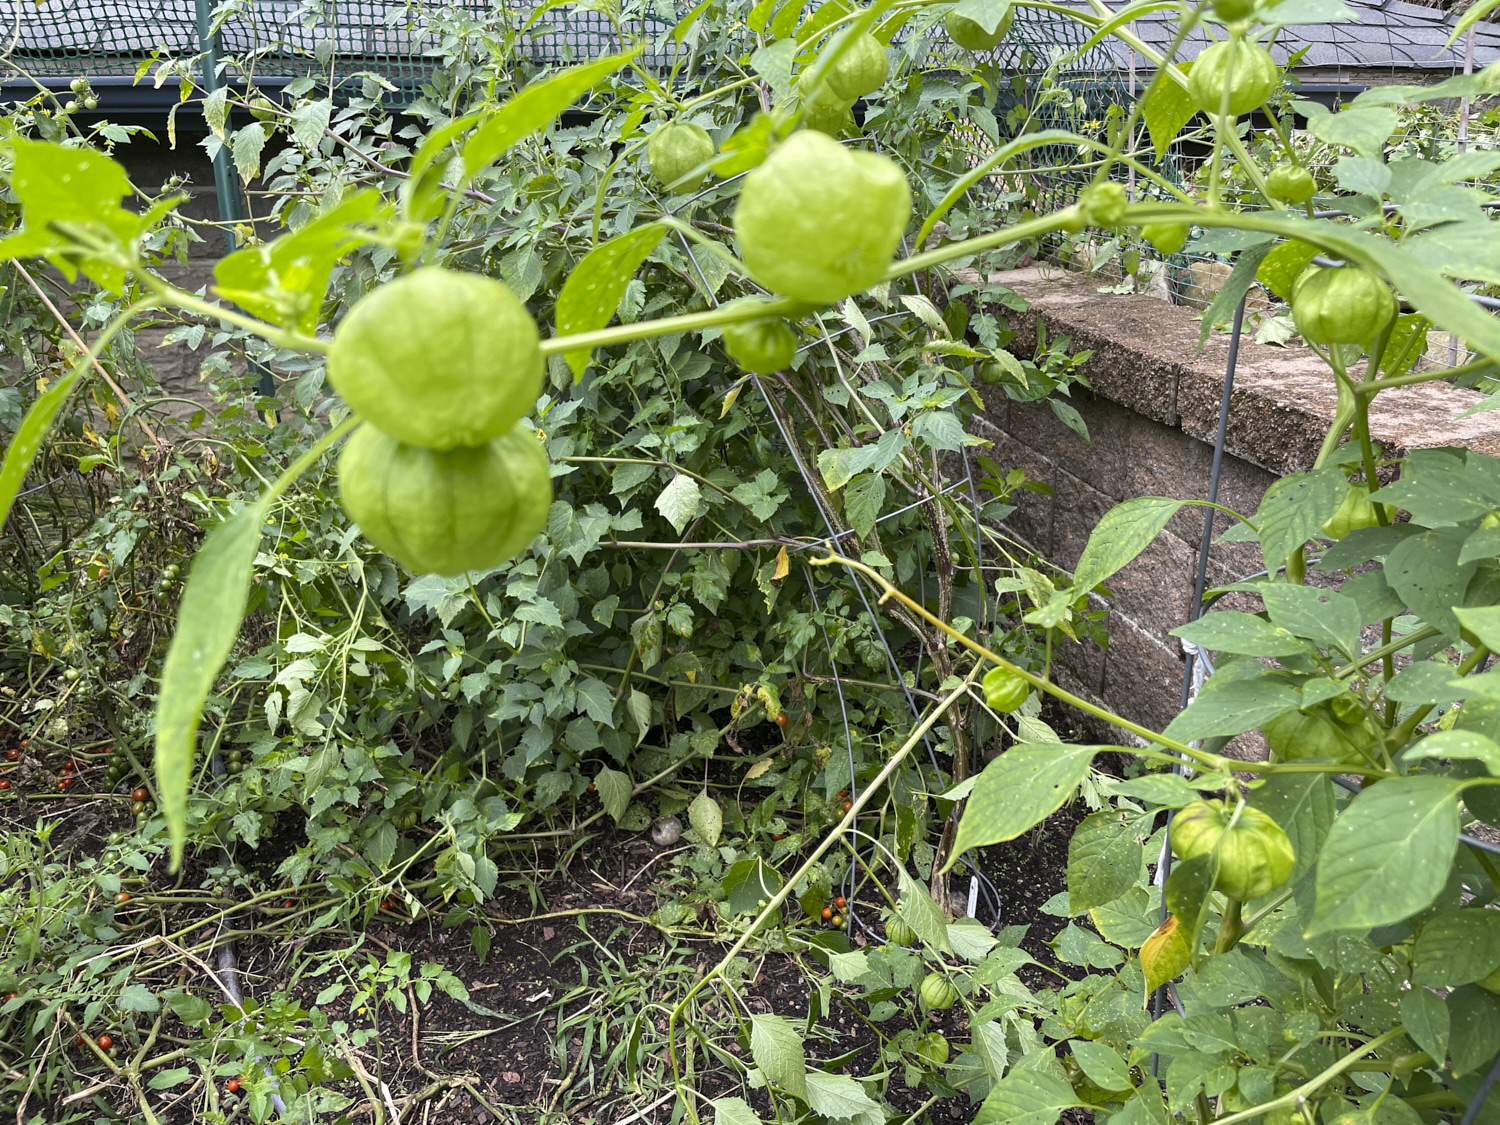
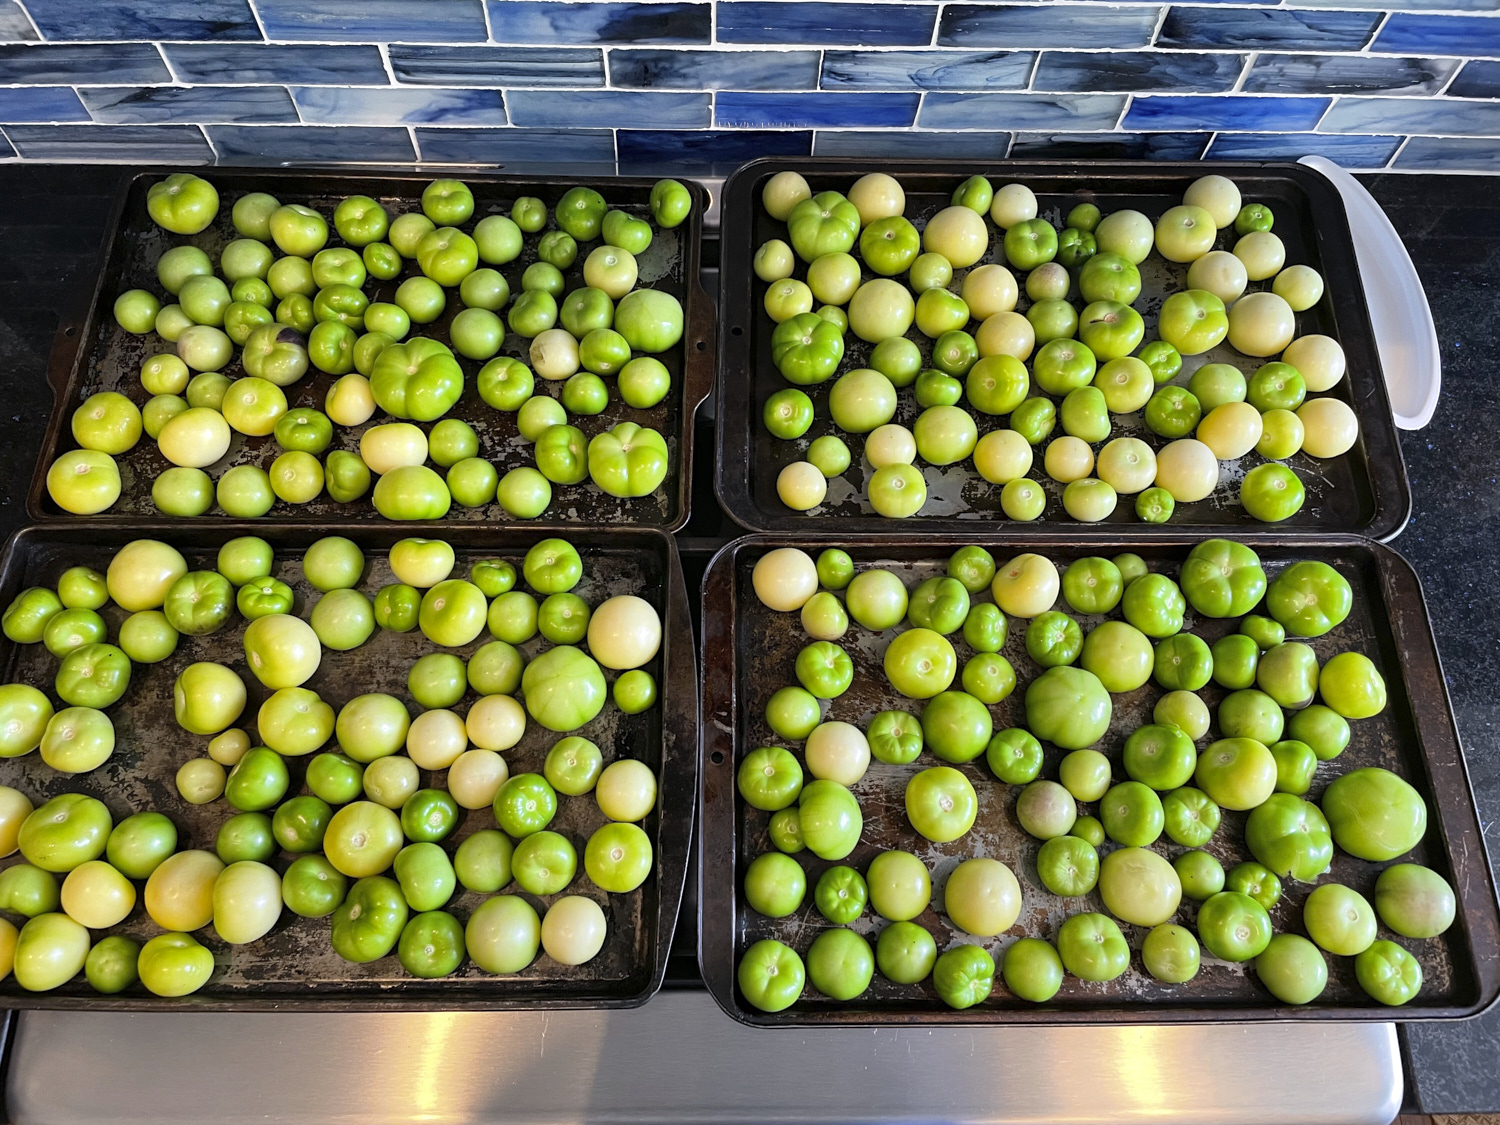
Tomatillos grow in little husks. They are ready to harvest when they fill their husk. Sometimes you can tell they are ready because the bottom of the husk has burst open, revealing bright green or purple fruit. Sometimes you have to gently squeeze the husk to figure out whether it is full. I also collect the fruit that falls off the plan and the fruit growing on branches that have been severed from the plant. The plants grow taller than me, and finding all the ripe fruit requires crawling around under a canopy of tomatillo leaves, buzzing with pollinators.

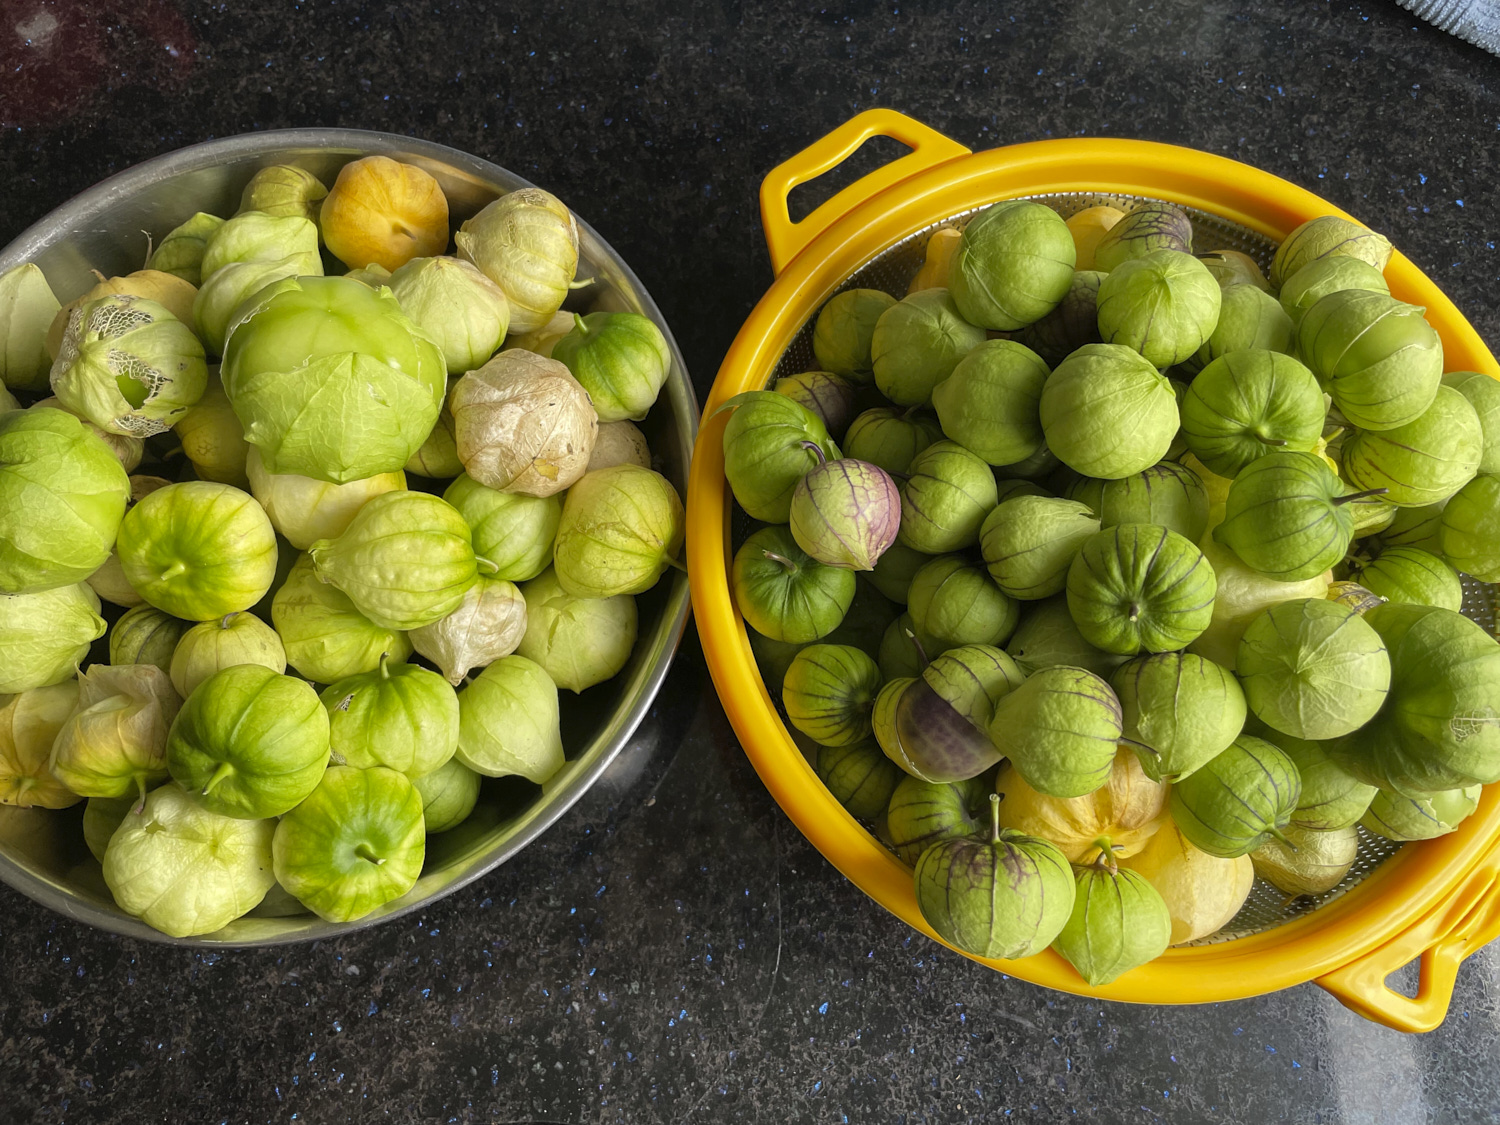
Last year I grew over 30 pounds of tomatillos and this year I’m on track to grow a similar amount. Last week’s harvest was 6 pounds, and this week’s harvest 12. Over the years I’ve experimented with a variety of tomatillo recipes: I’ve pureed them raw, I’ve boiled them, I’ve sauted them, and I’ve roasted them. My current favorite recipe involves roasting all the vegetables together in 3-pound batches and pureying them in my blender. Here are some photos of the process, with the recipe at the bottom of the page.

Tomatillos on the vine. The ones in the foreground are not quite ready to harvest.
About 10 pounds of tomatillos in these two bowls.
12 pounds of tomatillos with husks removed. The husks are sticky and leave your hands sticky too. My husband husked all 12 pounds of tomatillos himself today. I’ll add the garlic for each 3-pound batch to the tray with the tomatillos (to prevent the garlic from burning) and then these will be ready for the oven. I usually roast two batches together at a time along with their peppers and onions.
Here are the peppers, and onions for 4 batches.
Here’s two batches after they came out of the oven. The cilantro and other ingredients are in the background. I measure all the dry ingredients into the little bowls so I can just dump in a bowl with each batch I blend.
I put everything in the blender for one batch except the cilantro. I blend for 5 seconds and then add the cilantro.
I pour the salsa into deli containers and let it cool on the counter before putting lids on the containers and putting them in the freezer.

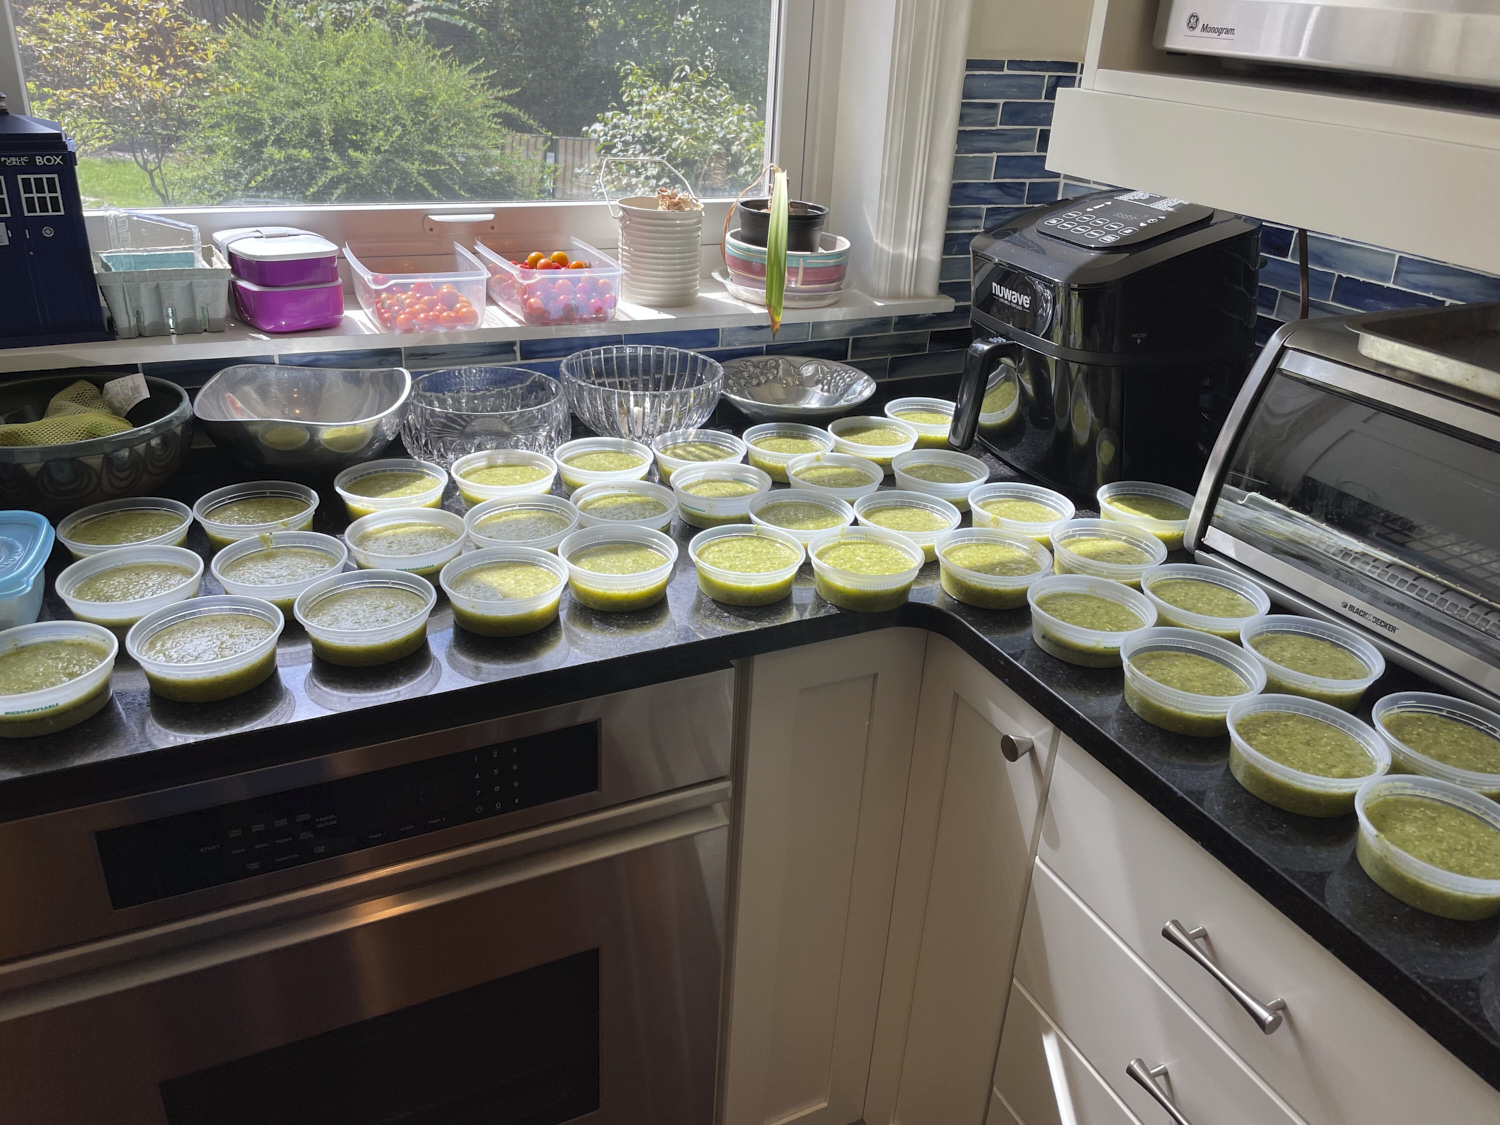
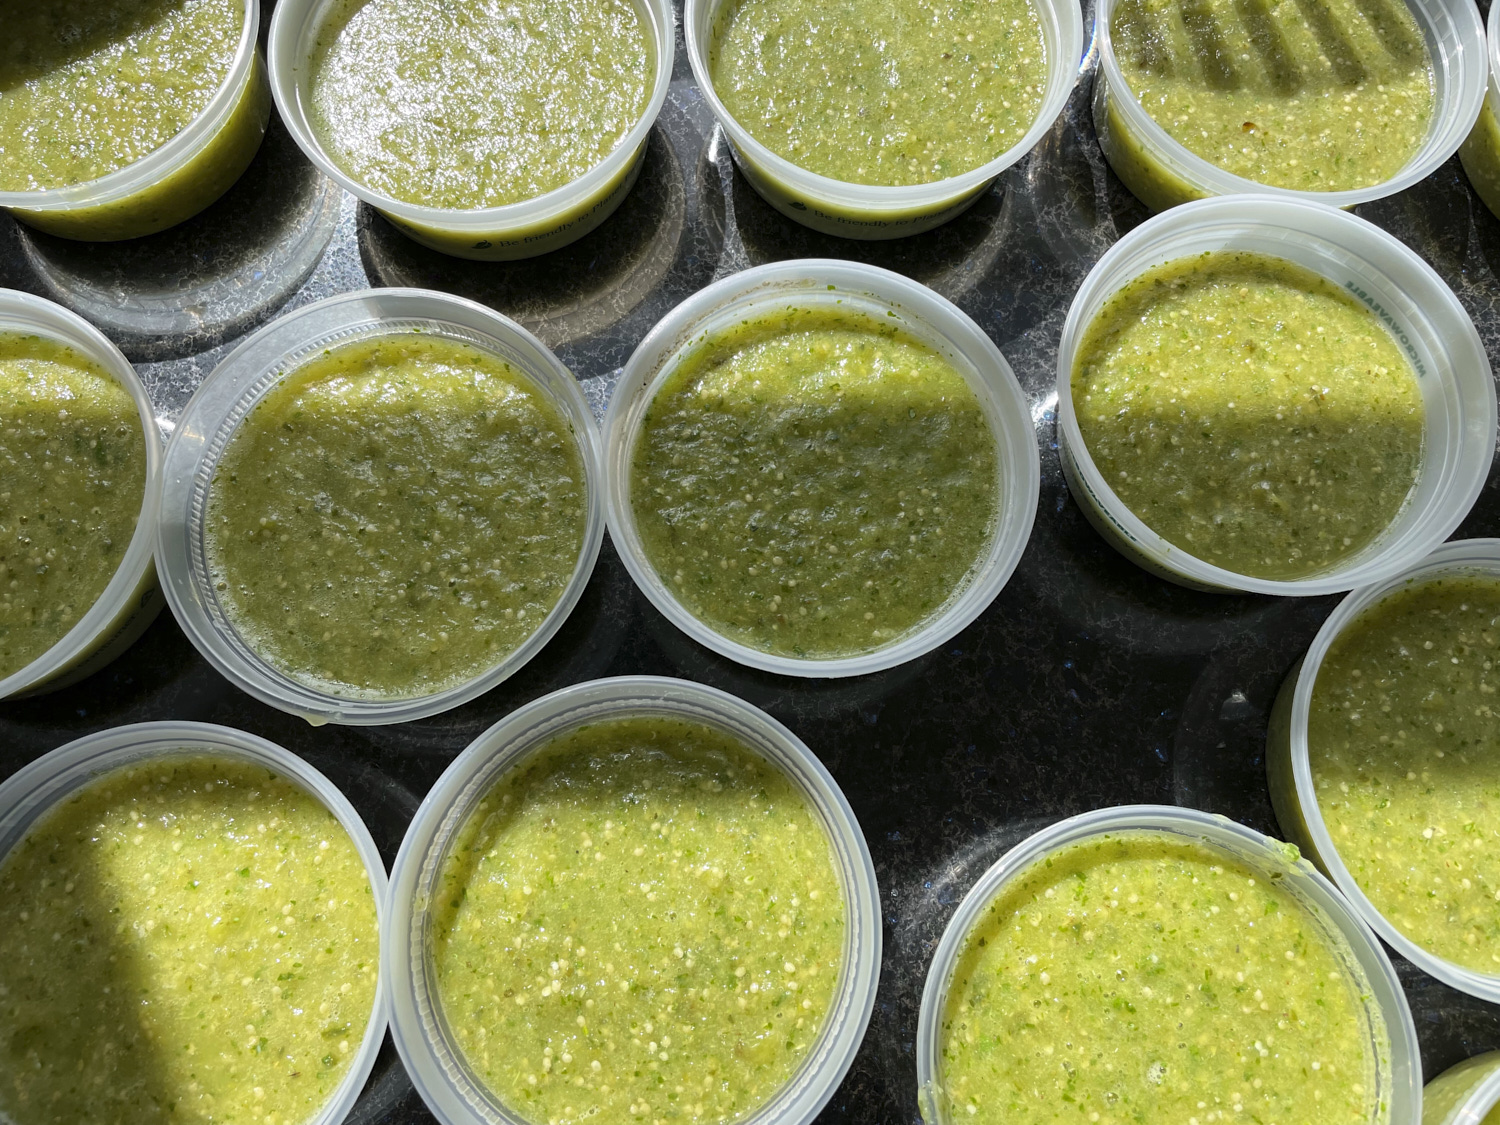
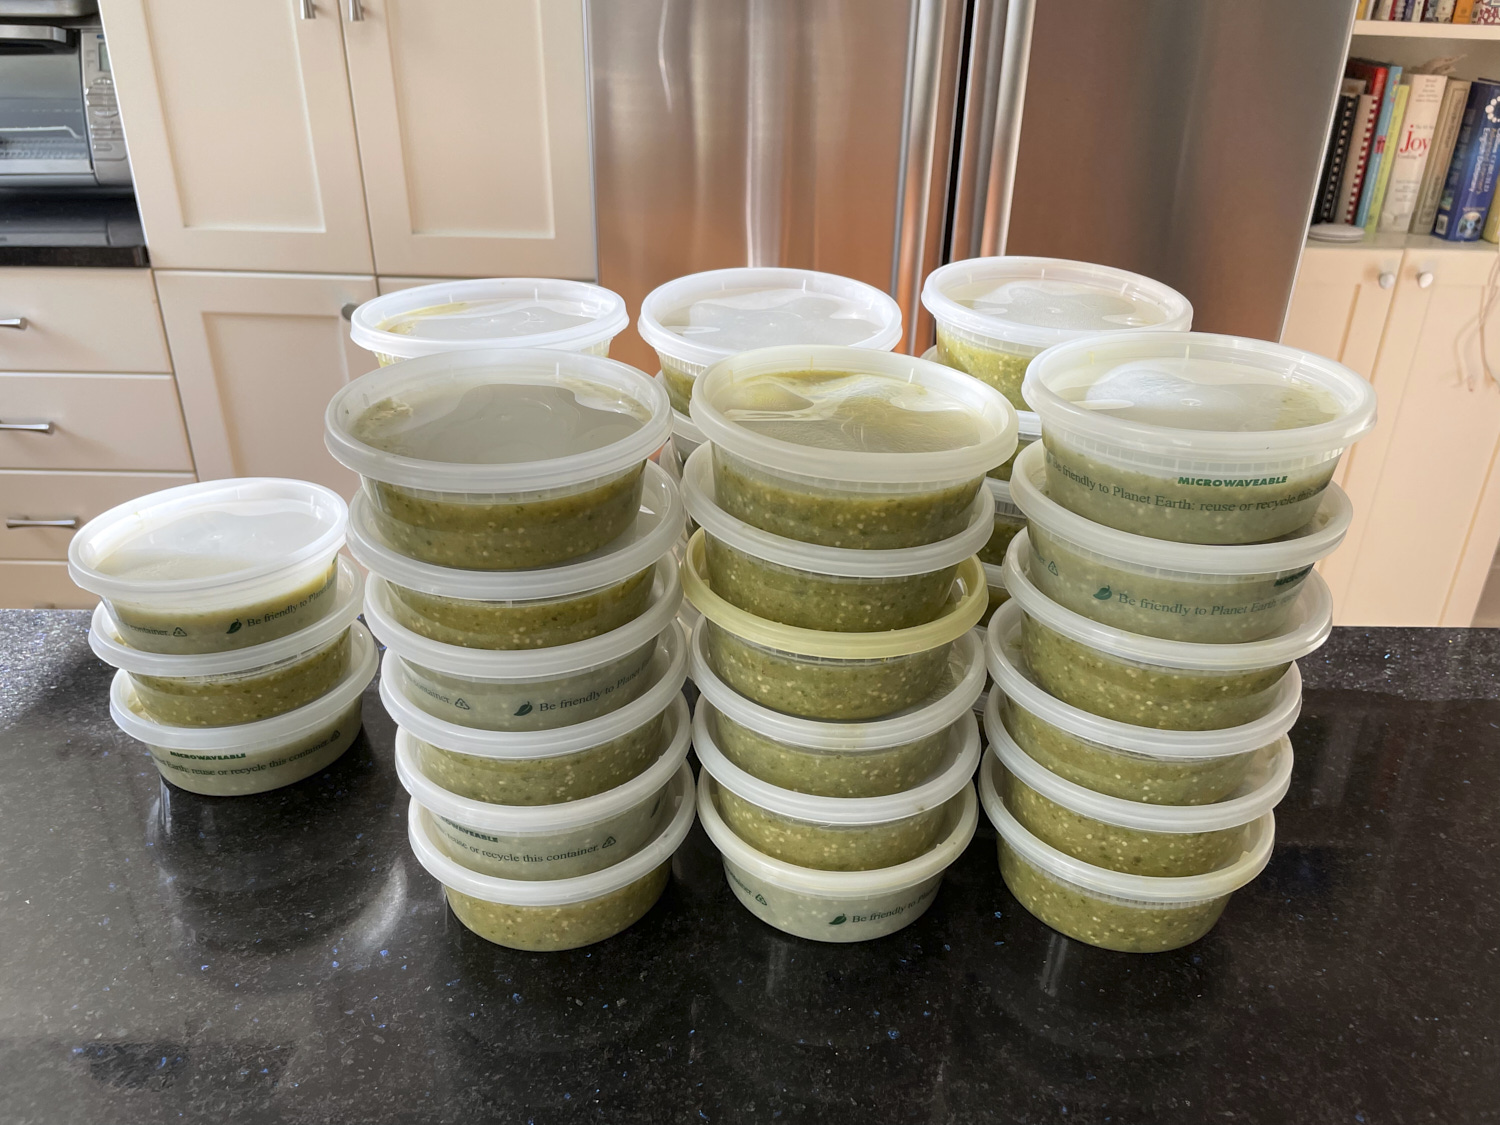
So the next question is what do you do with 40 6-oz containers of tomatillo salsa? We put most of it in the freezer to eat all winter and share with friends. We used it to dip chips, put it on fish tacos, and use it as enchilada sauce. One of my friends said it made a tasty pasta sauce too. It has a tangy taste with just a small bit of heat (but of course you can make it hotter).

Roasted Tomatillo Salsa Verde [PDF]

3 lbs tomatillos, husks and stems removed, rinsed

6 cloves garlic

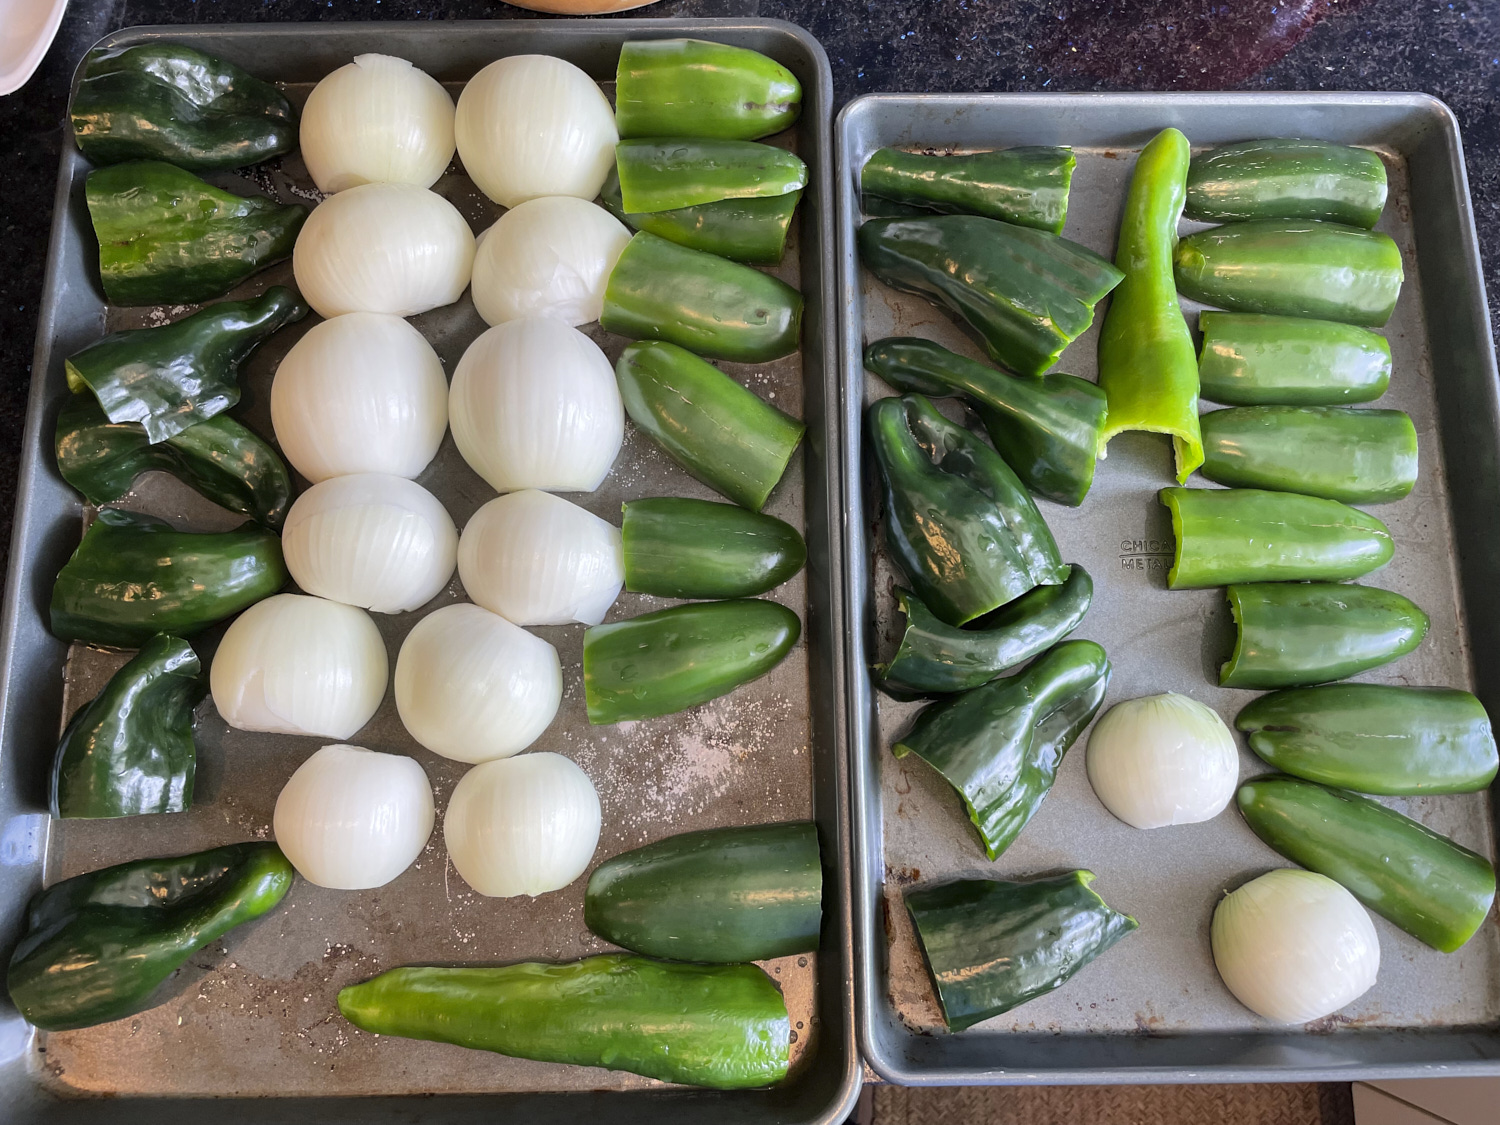
1 large onion or 2 small-to-medium onions, halved

2 Anaheim, poblano or similar medium-hot peppers, seeded and sliced into a few strips

1-2 serrano or jalapeno peppers, seeded and sliced into a few strips (for spicier salsa use more, peppers, spicier varieties of peppers, or don’t remove the seeds)

½ to 1 bunch cilantro (1-2 cups)

1 teaspoon sugar

1.5 teaspoons cumin

3 teaspoons dried Mexican oregano (regular oregano can be substituted but reduce to 2 teaspoons)

½ teaspoon salt

¼ cup lime juice

  1. Preheat oven to 500 degrees
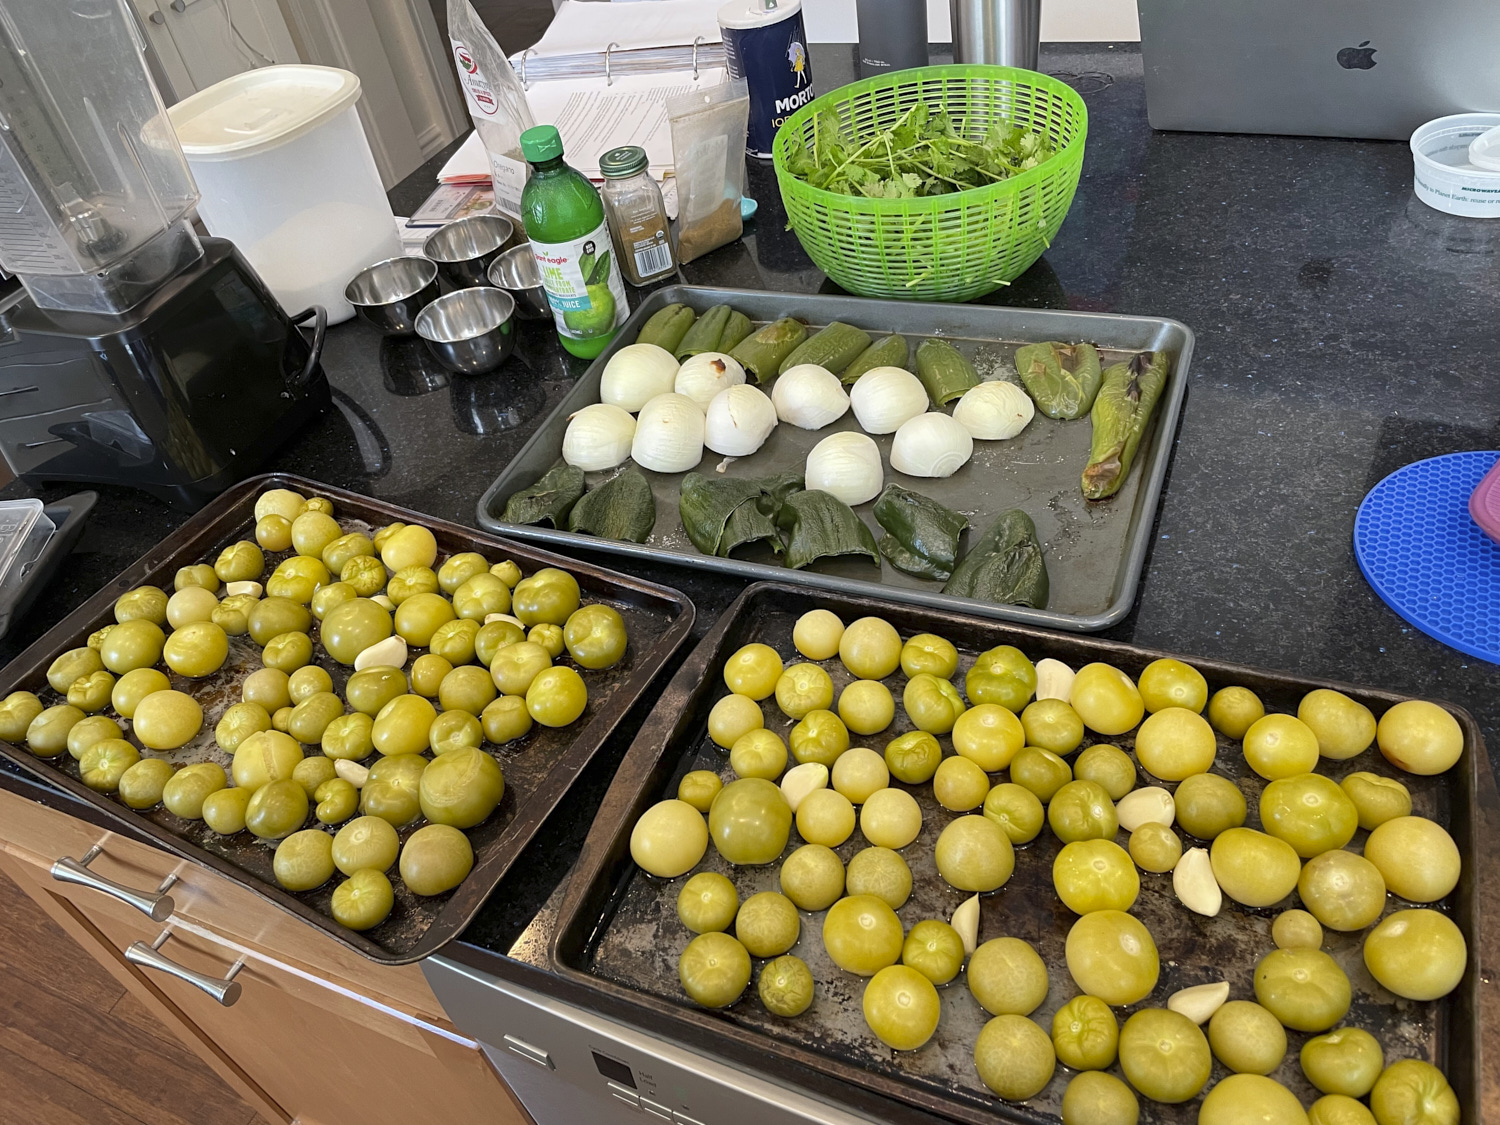
  2. Place tomatillos, garlic, onions, and peppers on 2-3 medium baking sheets and roast for about 20 minutes until tomatillos and peppers are charred and oozing juices. Make sure the garlic roasts between tomatillos so it doesn’t burn.
  3. Take vegetables out of the oven and let cool for at least 10 minutes
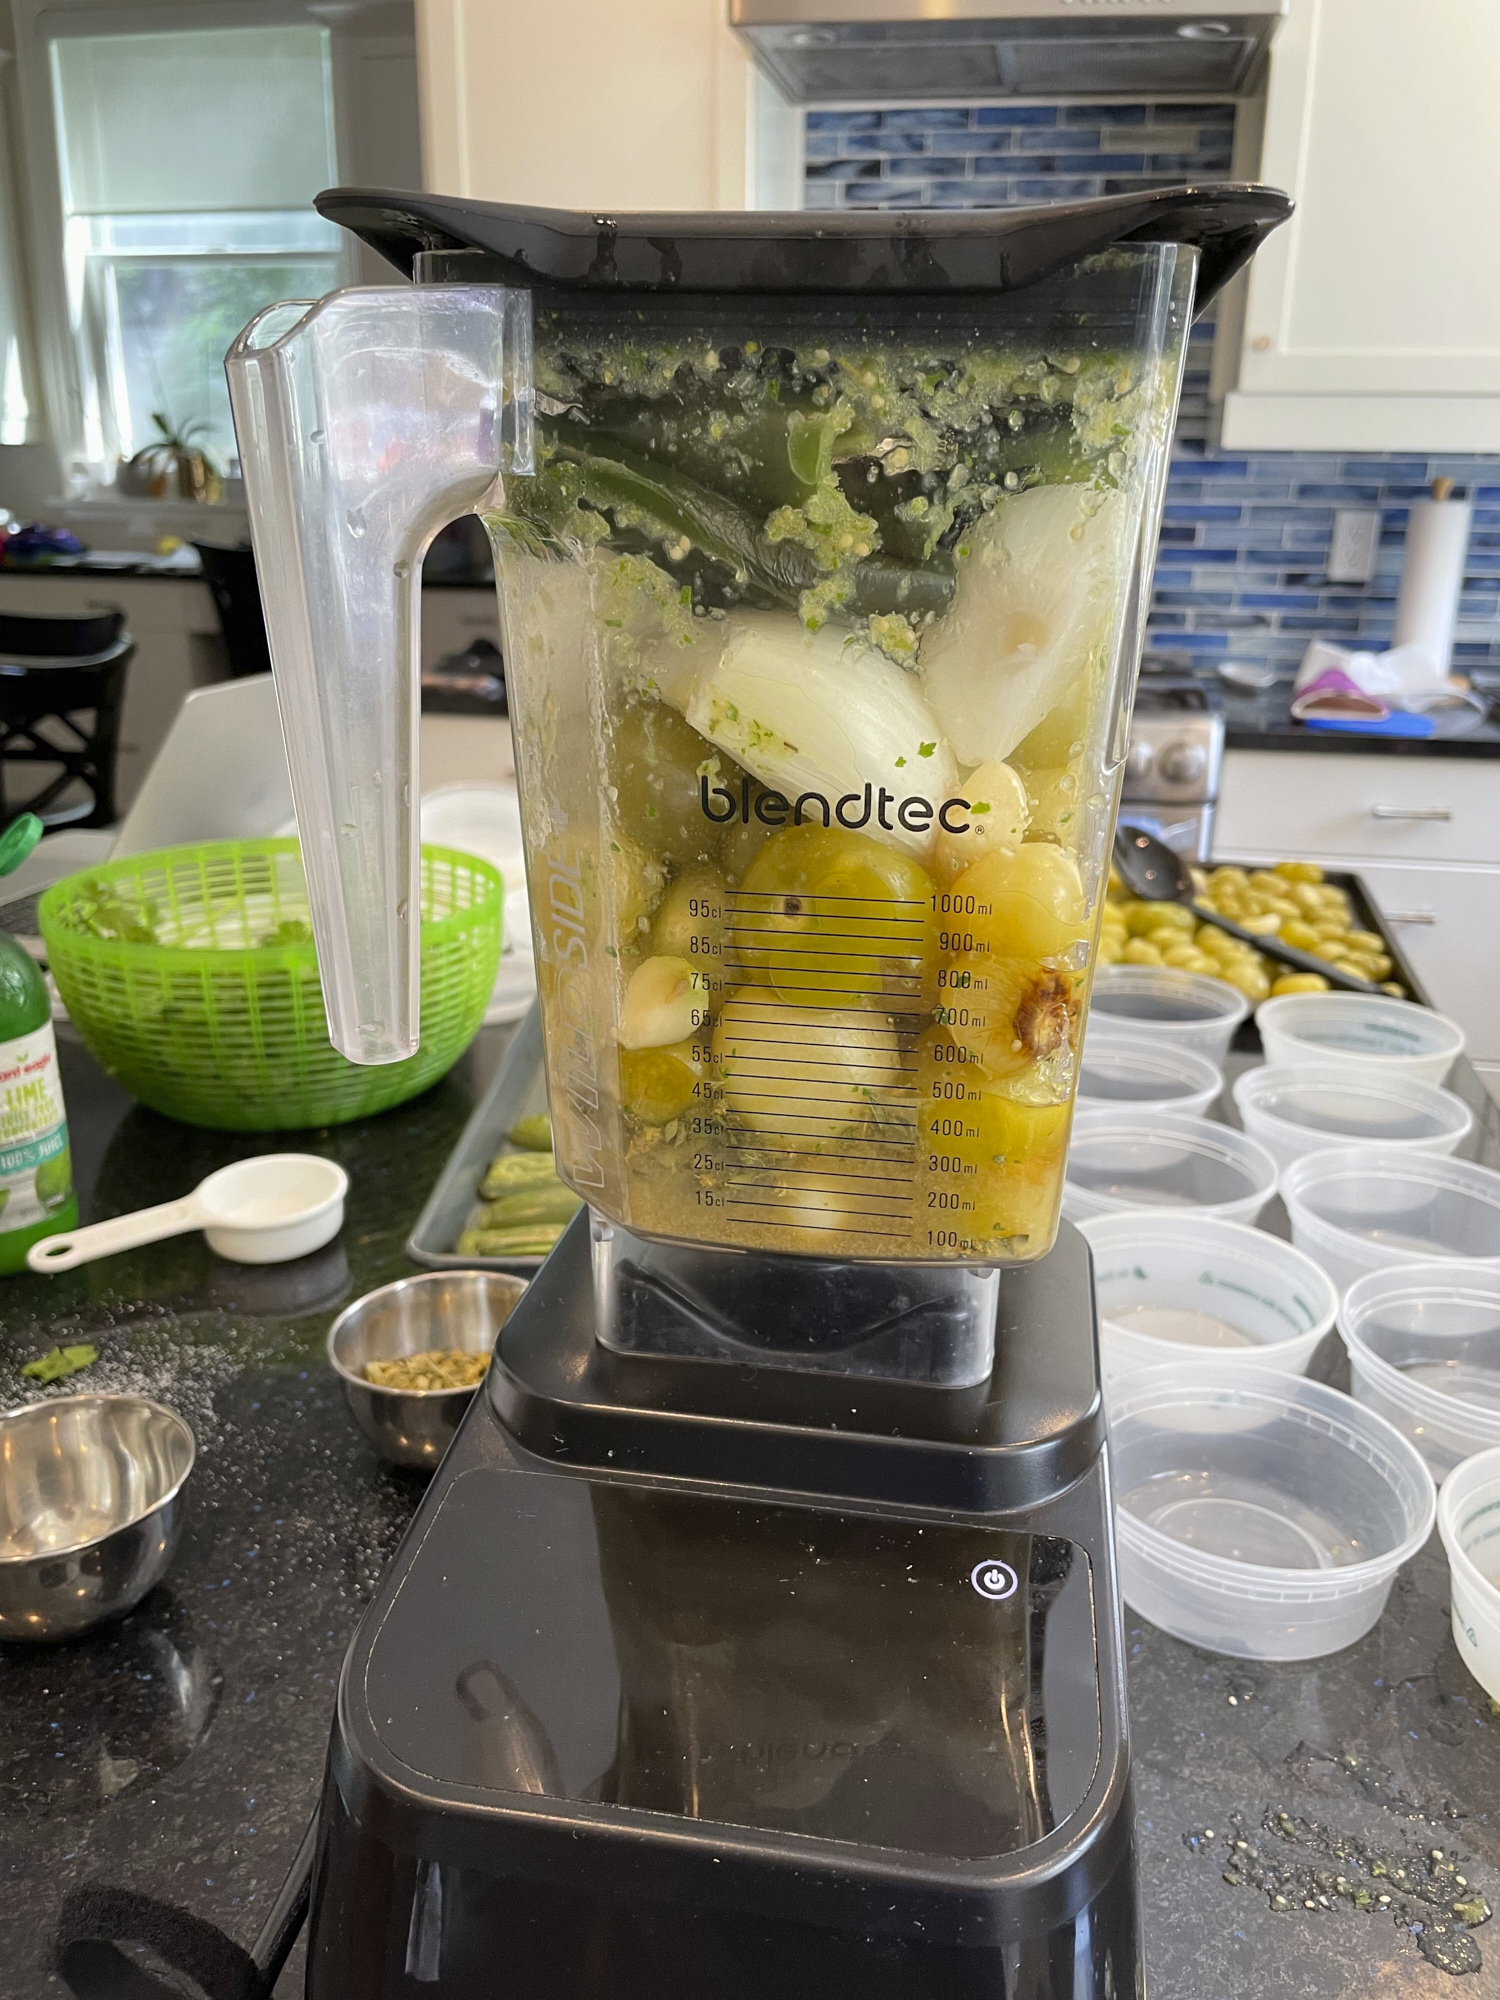
  4. Place roasted vegetables and all other ingredients in blender jar and mix on medium setting to chop, but not puree. Depending on your blender and how chunky you like your salsa you may be able to just run the blender for 5-20 seconds, or you may need to pulse it about 10 times. With my Blendtec blender I like to put in all the ingredients except the cilantro and blend for 5-6 seconds. Then I add the cilantro and blend for 5-6 seconds more.

Makes about 7 cups of salsa, which can be poured into about 10 6-oz containers and frozen.

This salsa is pretty mild. If you like it spicy add more hot peppers. This quantity will fit in a regular Blendtec Wildside+ blender jar but for many standard home blenders this is more than will fit. If you have a smaller blender jar, divide ingredients proportionally and blend in batches. It is easier if you blend each batch together with all its ingredients rather than try to mix batches together later (e.g. blend half the tomatillos, half the peppers, etc. in one batch).

WWW Oatmeal Honey and Pumpernickel Breads

I have two more white whole wheat bread machine recipes to share today: a brown bread and a white bread.

DSCF0439The brown bread is a pumpernickel bread based on one I found on the back of a bag of Arrowhead Mills Organic Rye Flour. The brown color comes from using cocoa powder. Most of us in my house liked the original recipe pretty well, with it’s nice tangy flavor. But some in my house are partial to sweeter breads, and liked it better when I used honey instead of molasses. One lone holdout does not like caraway seeds at all and would not eat it until I made the recipe with flax seeds instead of caraway. Sesame seeds would probably be nice too, or you could leave out all the seeds. Download the recipe for Whole Wheat Pumpernickel Bread here.

Whole Wheat Honey Oatmeal BreadThe white bread is an oatmeal honey bread. This is a basic bread that is simple, but really tasty. I add dry milk for some extra protein and a slightly softer texture, but you can omit the dry milk for a non-dairy version that isn’t much different. Download the recipe for Whole Wheat Oatmeal Bread here.

White whole wheat ricotta bread machine goodness

White whole wheat flour has all the health benefits of regular whole wheat flour, but it is made from a different kind of wheat that is softer and has a milder taste. While regular white flour has little nutritional value, white whole wheat flour is actually good for you!

Shane with his muffin project Shane's science fair projectWhen white whole wheat flour started showing up in stores about 10 years ago, I was intrigued. I followed everyone’s advice and started swapping out a third or a half the white flour for white whole wheat to add whole grains to my baked goods. Nobody in my house seemed to notice. Tentatively, I started increasing the whole grain to white flour ratio, and nobody seemed to notice. Thanks to my son’s award-winning sixth grade science fair project I gathered conclusive, scientific evidence that swapping out all the white flour for whole wheat in chocolate chip cookies and in blueberry muffins makes no difference to a classroom full of hungry sixth graders.

In January I decided to replace my family’s still functional, 20-year-old bread machine with a more modern model. It turns out that the era of bread machine baking has come and gone, and most bread machine manufacturers have not come out with any new models in years. So the Panasonic SD-YD250 we bought is actually the top model of the last decade, but it remains the #1 top seller on Amazon.com. And the new machine turns out to be a big step up from the machine it replaced because it has a bigger pan, warms the ingredients, and doesn’t add the yeast until it is time.

Panasonic bread machine, top view Since acquiring the new machine, I have baked bread 2 or 3 times a week, every week. And I have baked only 100% whole grain bread. Baking whole grain bread is trickier than swapping out the white flour in cookies and muffins, because whole grain flour has less gluten than bread flower, and this affects how much the bread will rise. If you are not careful, breads made with whole grain flour can end up pretty dense. There also aren’t that many bread machine recipes that have been tested with white whole wheat flour, because white whole wheat flour was not widely available back when new bread machine cookbooks were actually being published.

Chuck removing the Whole Wheat Ricotta bread from the bread machineI’ve tried some of the whole wheat recipes in the cookbook that came with my bread machine. We’ve enjoyed the 100% Whole Wheat, Honey Walnut, Whole Wheat Yogurt, and Seven Grain bread recipes from that cookbook. I have followed those recipes as written, except for using white whole wheat flour instead of regular whole wheat, and flax seeds instead of sesame seeds in the yogurt bread. I’ve also tried the 100% whole wheat with honey instead of molasses for a sweeter bread. So far I’ve found that any whole wheat bread recipe can be made with white whole wheat flour and the results are excellent.

I’ve also found some bread machine recipes online, and adapted some bread-flour recipes from some other cookbooks to work with white whole wheat, reduce the amount of fat, and work with my bread machine. In general, bread flour recipes seem to work with white whole wheat if you add gluten or if the recipe includes dairy products (yogurt, cottage cheese, ricotta cheese, or milk). I’ve also successfully removed the butter and oil in a number or recipes and replaced it with apple sauce. As I perfect these recipes, I will share them here.

The first recipe I would like to share is a recipe for Whole Wheat Ricotta Bread that my family loves. Even when I bake the extra large size, it rarely lasts it more than 24 hours in my house. I baked this bread four times in the past couple of weeks to tweak the amount of liquid and experiment with two different kinds of ricotta cheese. Each time it disappeared very fast.

DSCF0210The key to this bread is the ricotta cheese, which makes this bread moist, slightly sweet, and very rich tasting. Use part-skim or low fat ricotta to cut the calories and fat considerably. In my experiments, I found that the part-skim ricotta I used causes the bread to rise a bit more than the low-fat ricotta (that contained less fat). But it is good either way. I haven’t been able to find fat-free ricotta at any of the stores I shop at. I’m guessing that will work well too, but might result in a little bit of a denser loaf. I also made this bread with non-fat greek yogurt instead of ricotta. This was also a lovely bread, but it was not as moist, and did not have the richness or flavor of ricotta bread.

You can download my recipe for Whole Wheat Ricotta Bread here.

Whole Wheat Ricotta Bread, size XL (made with part-skim ricotta)