
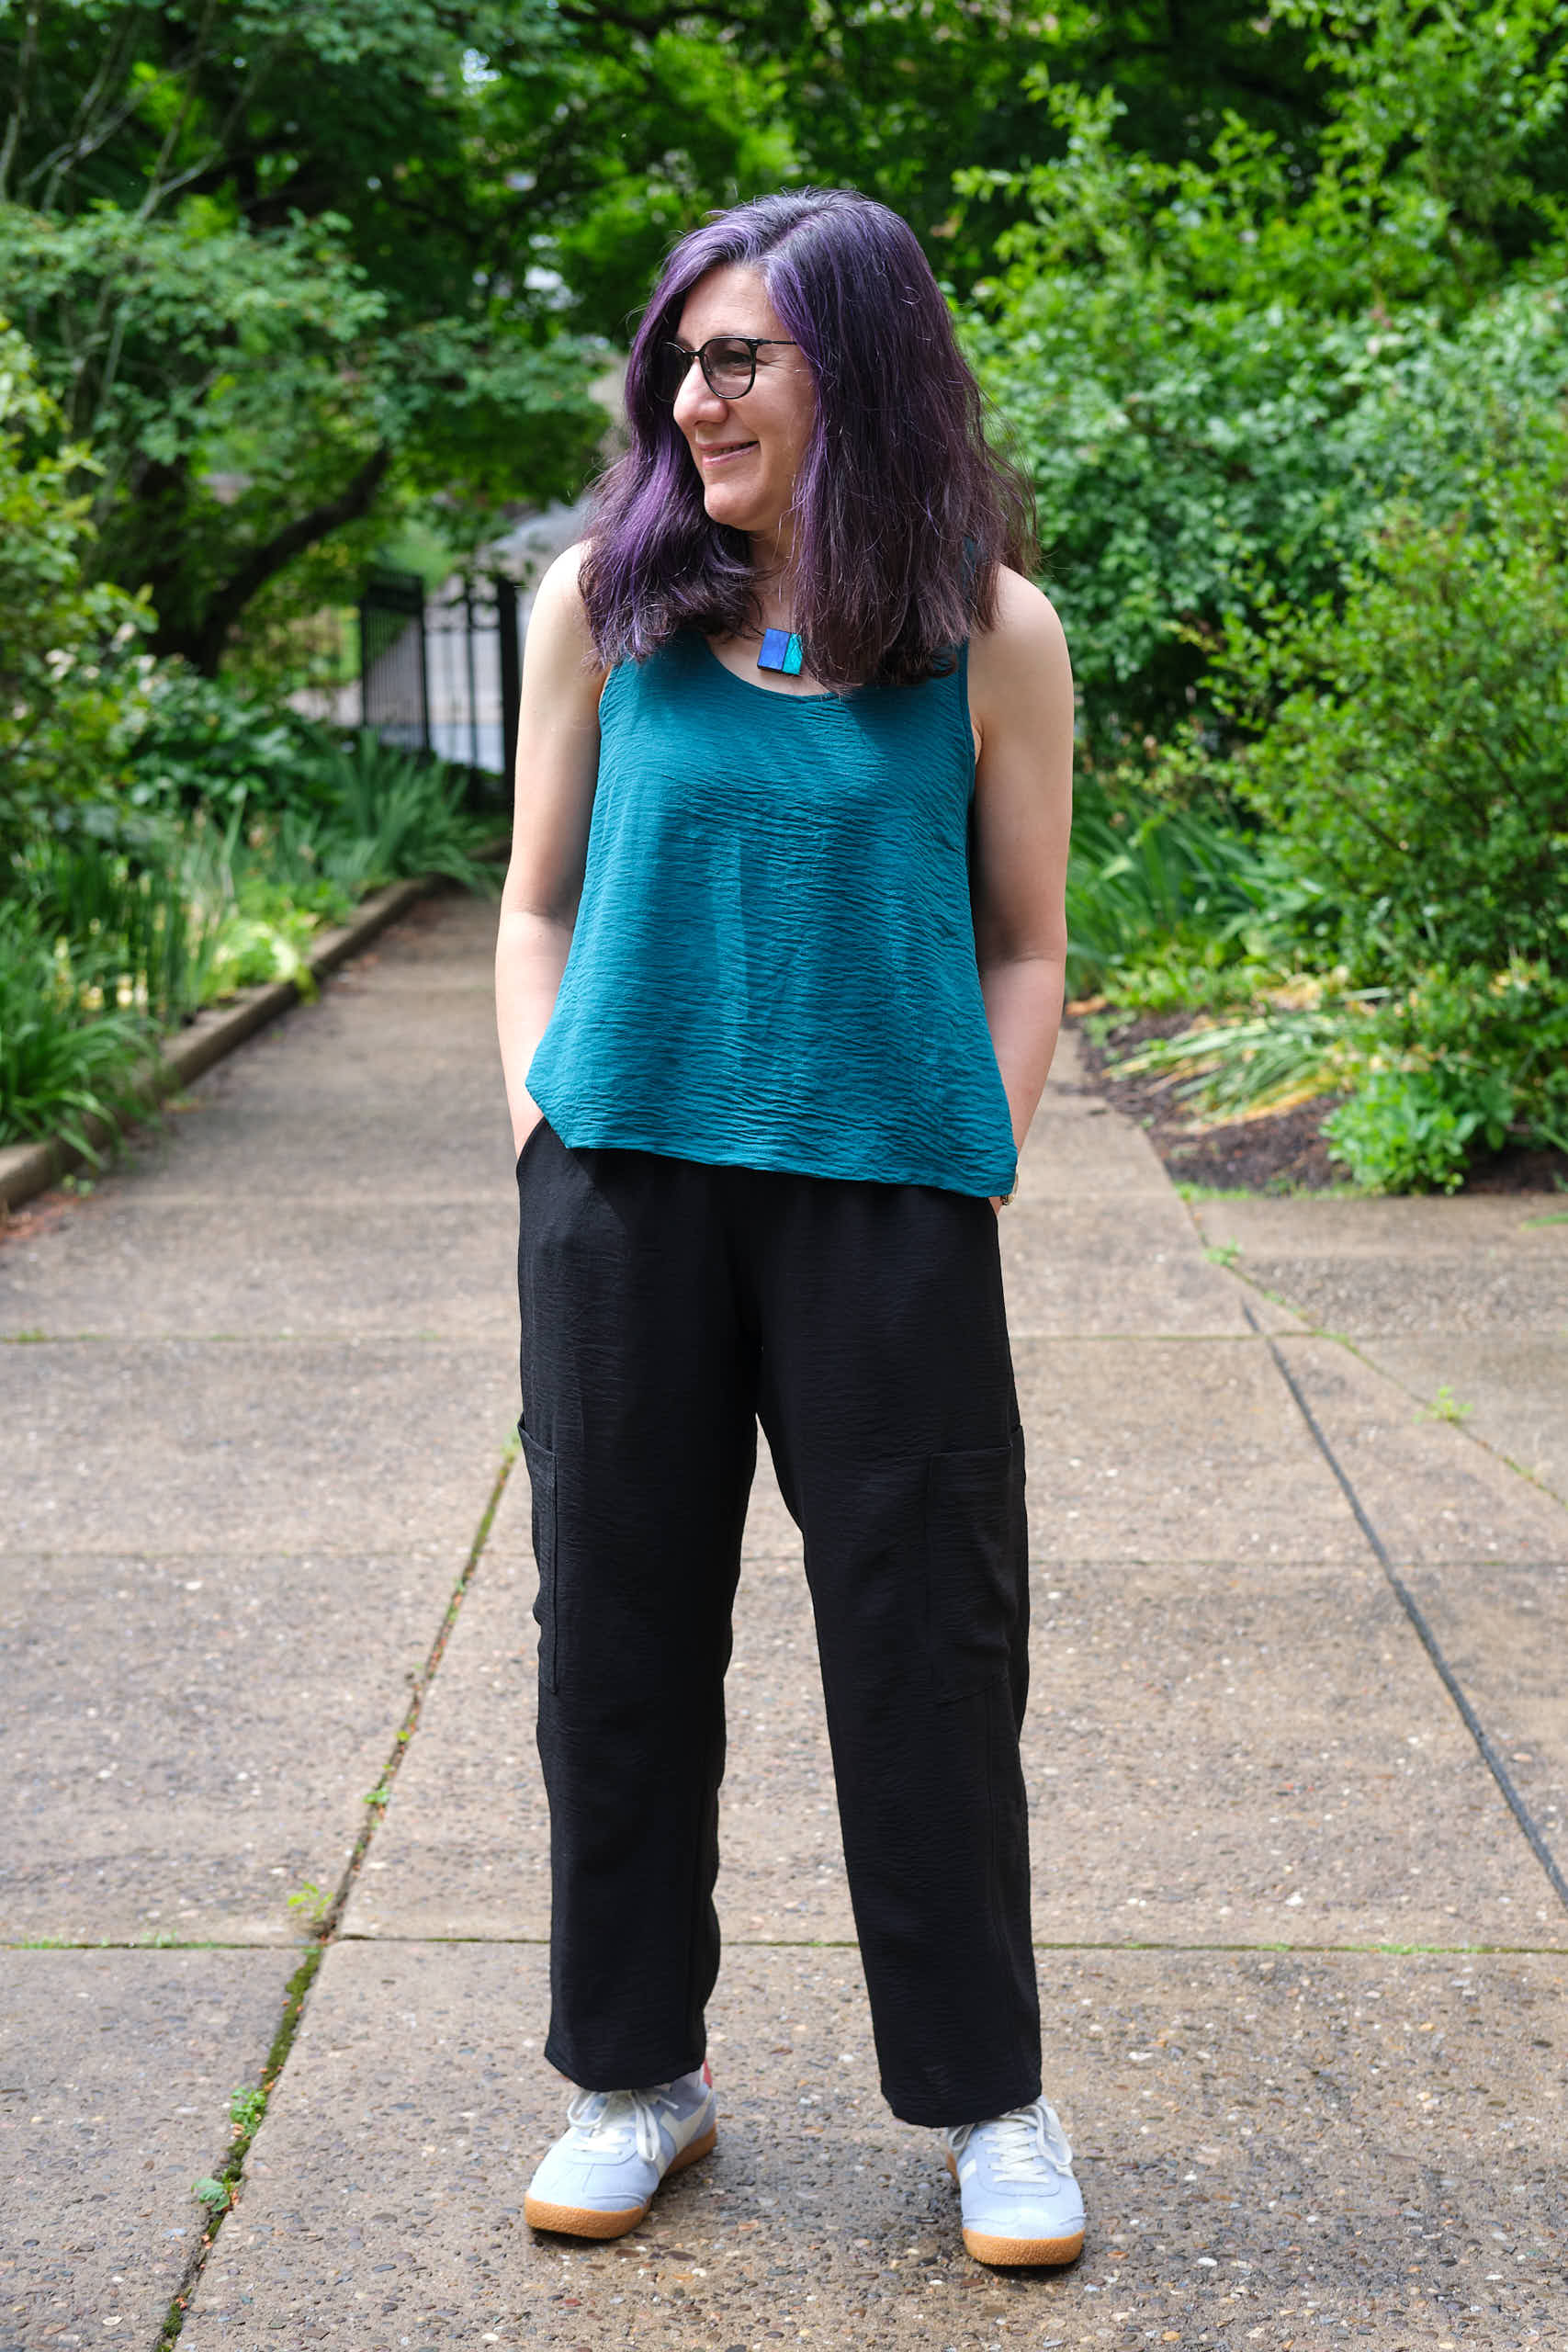
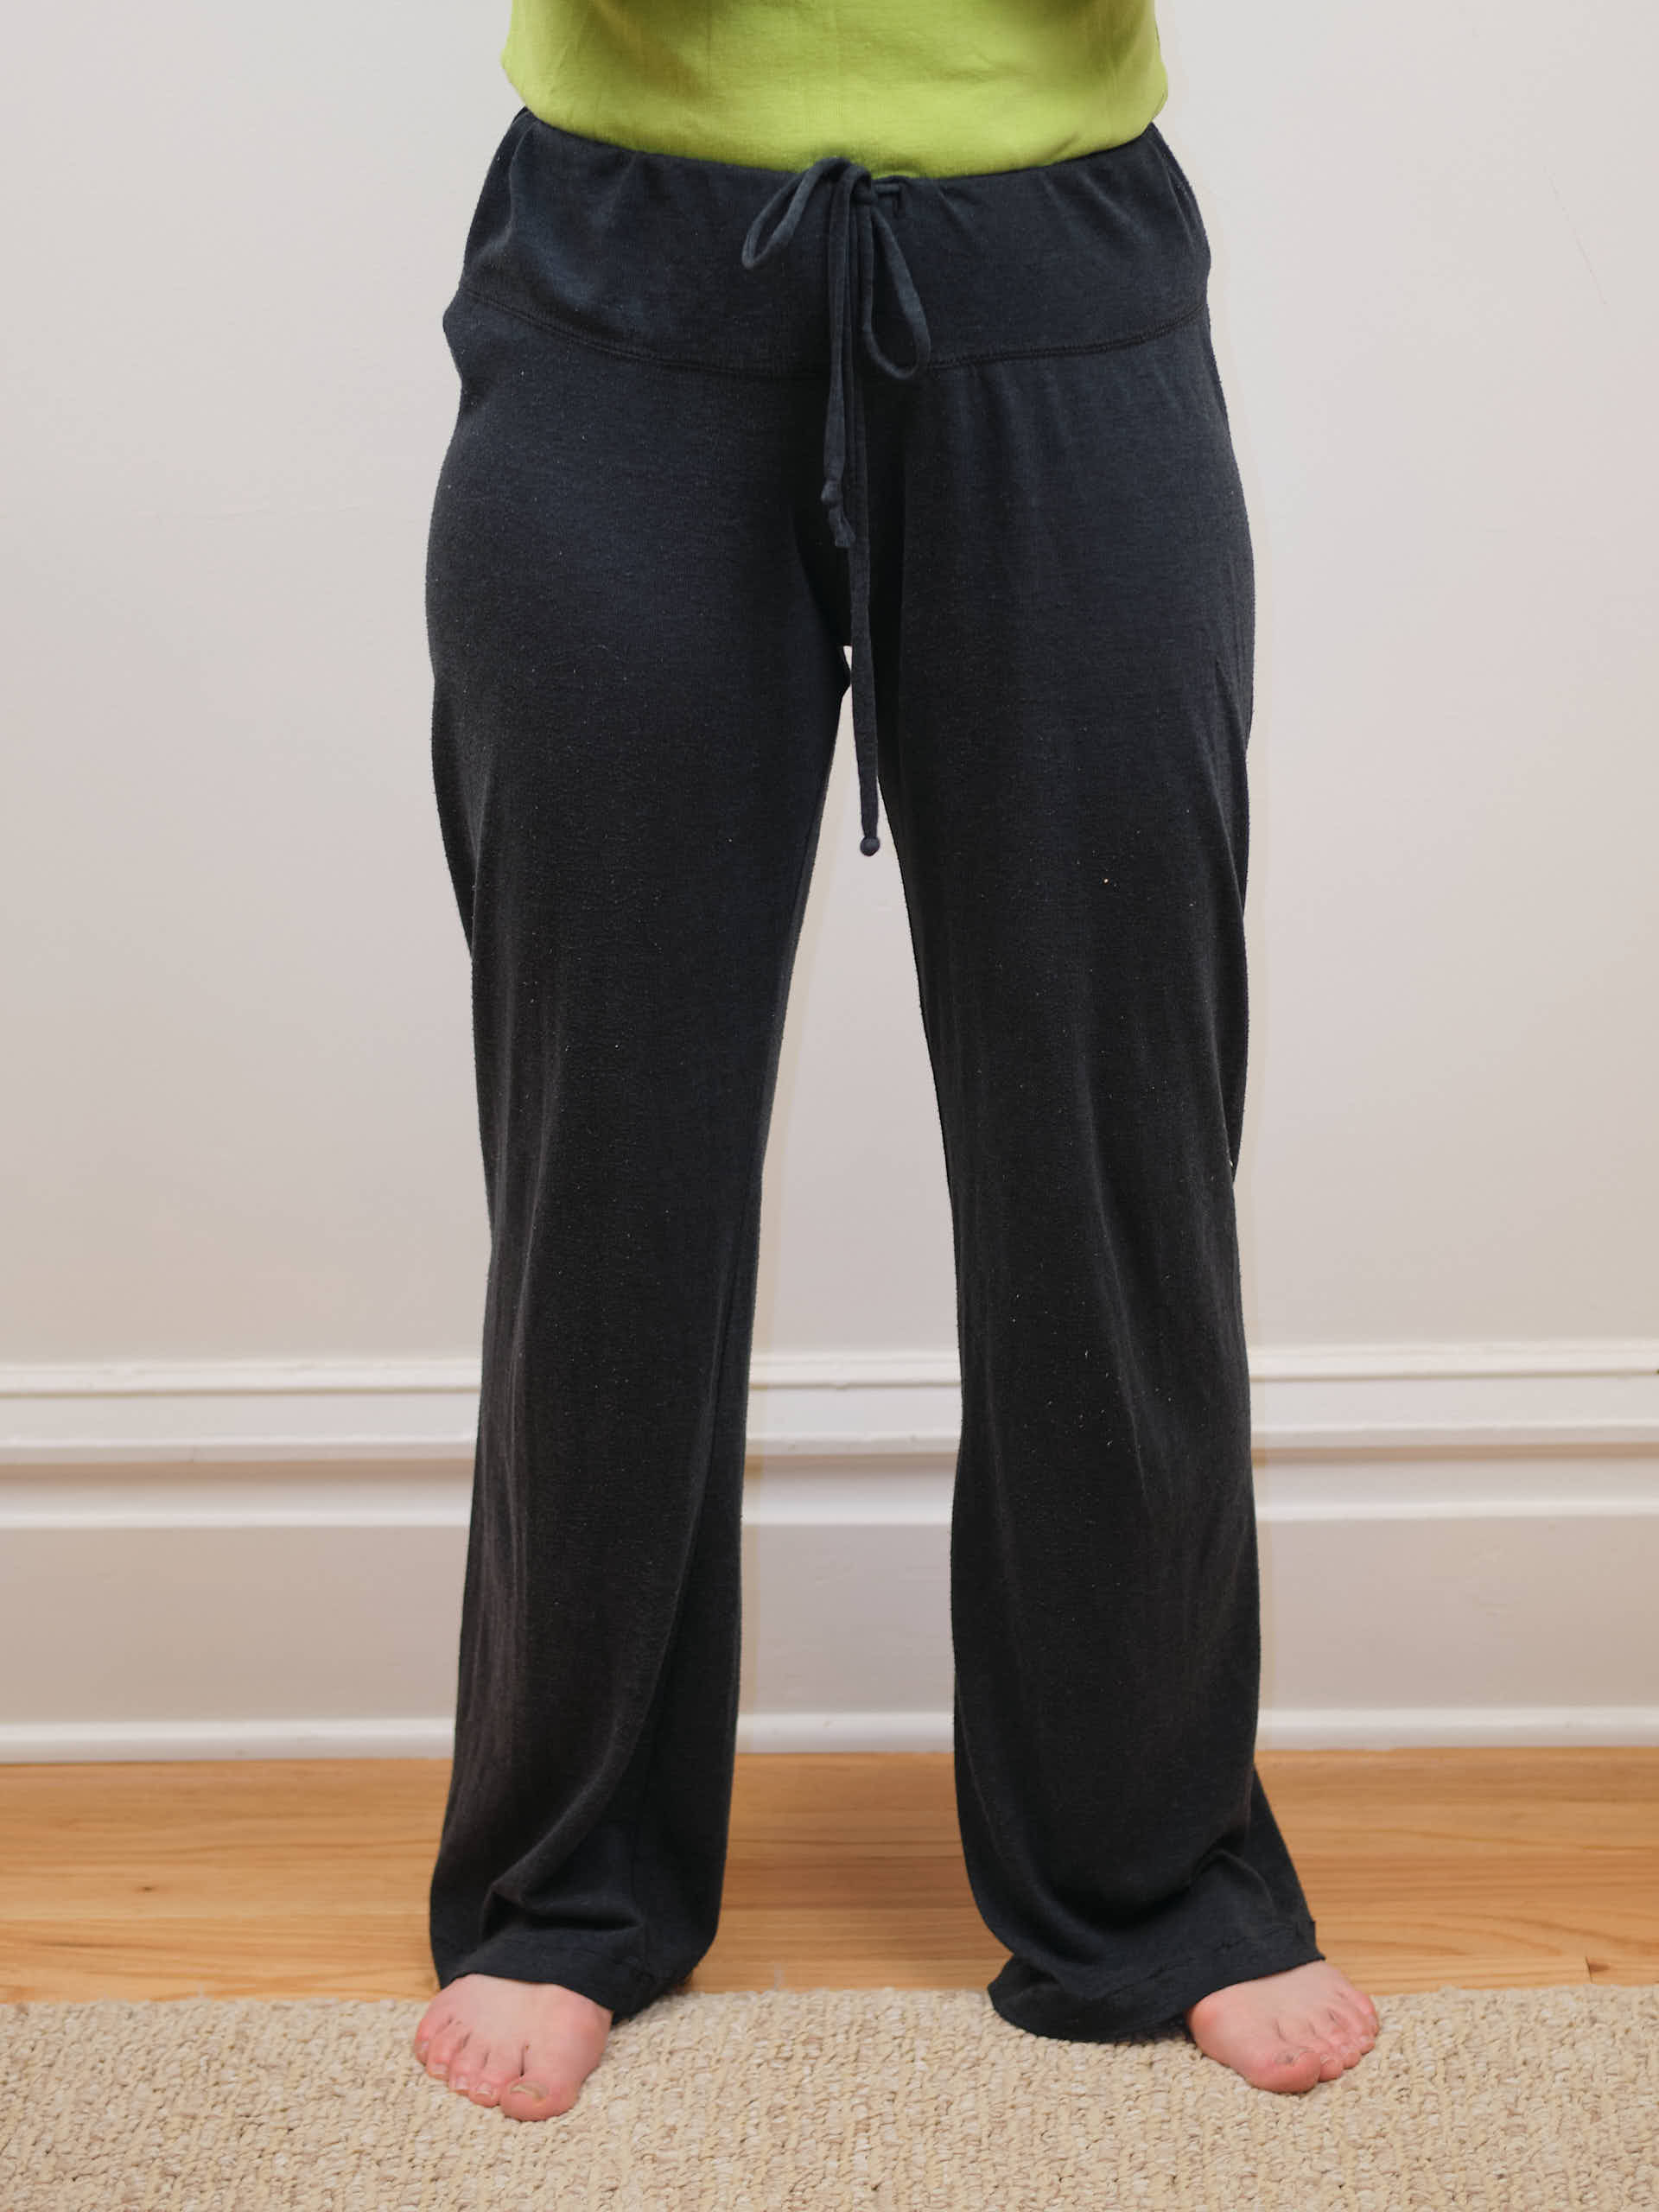
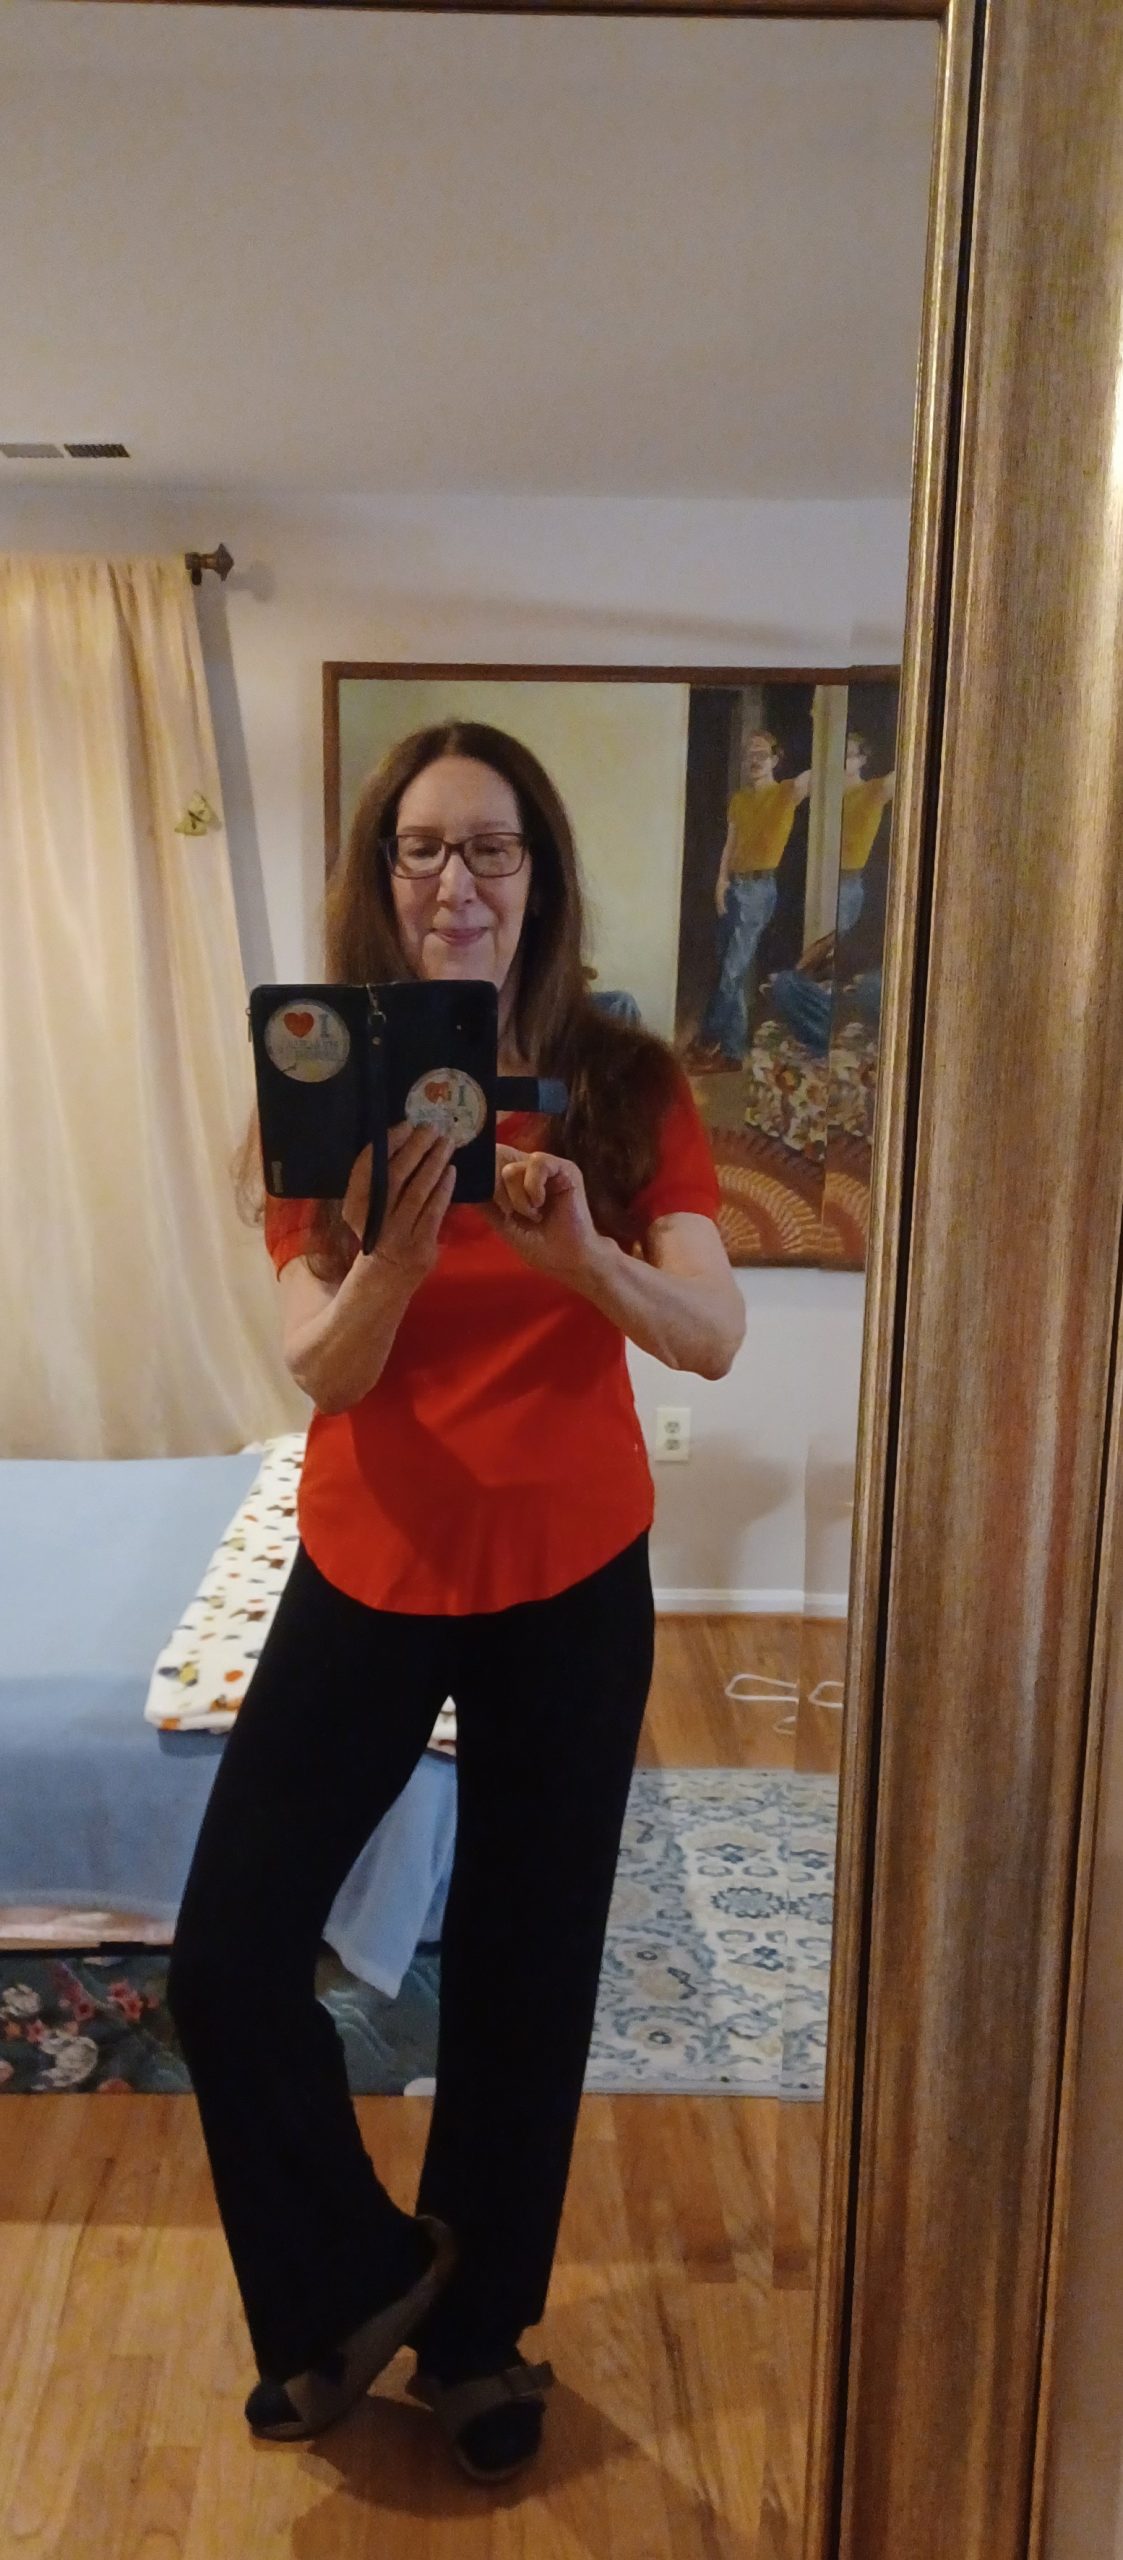
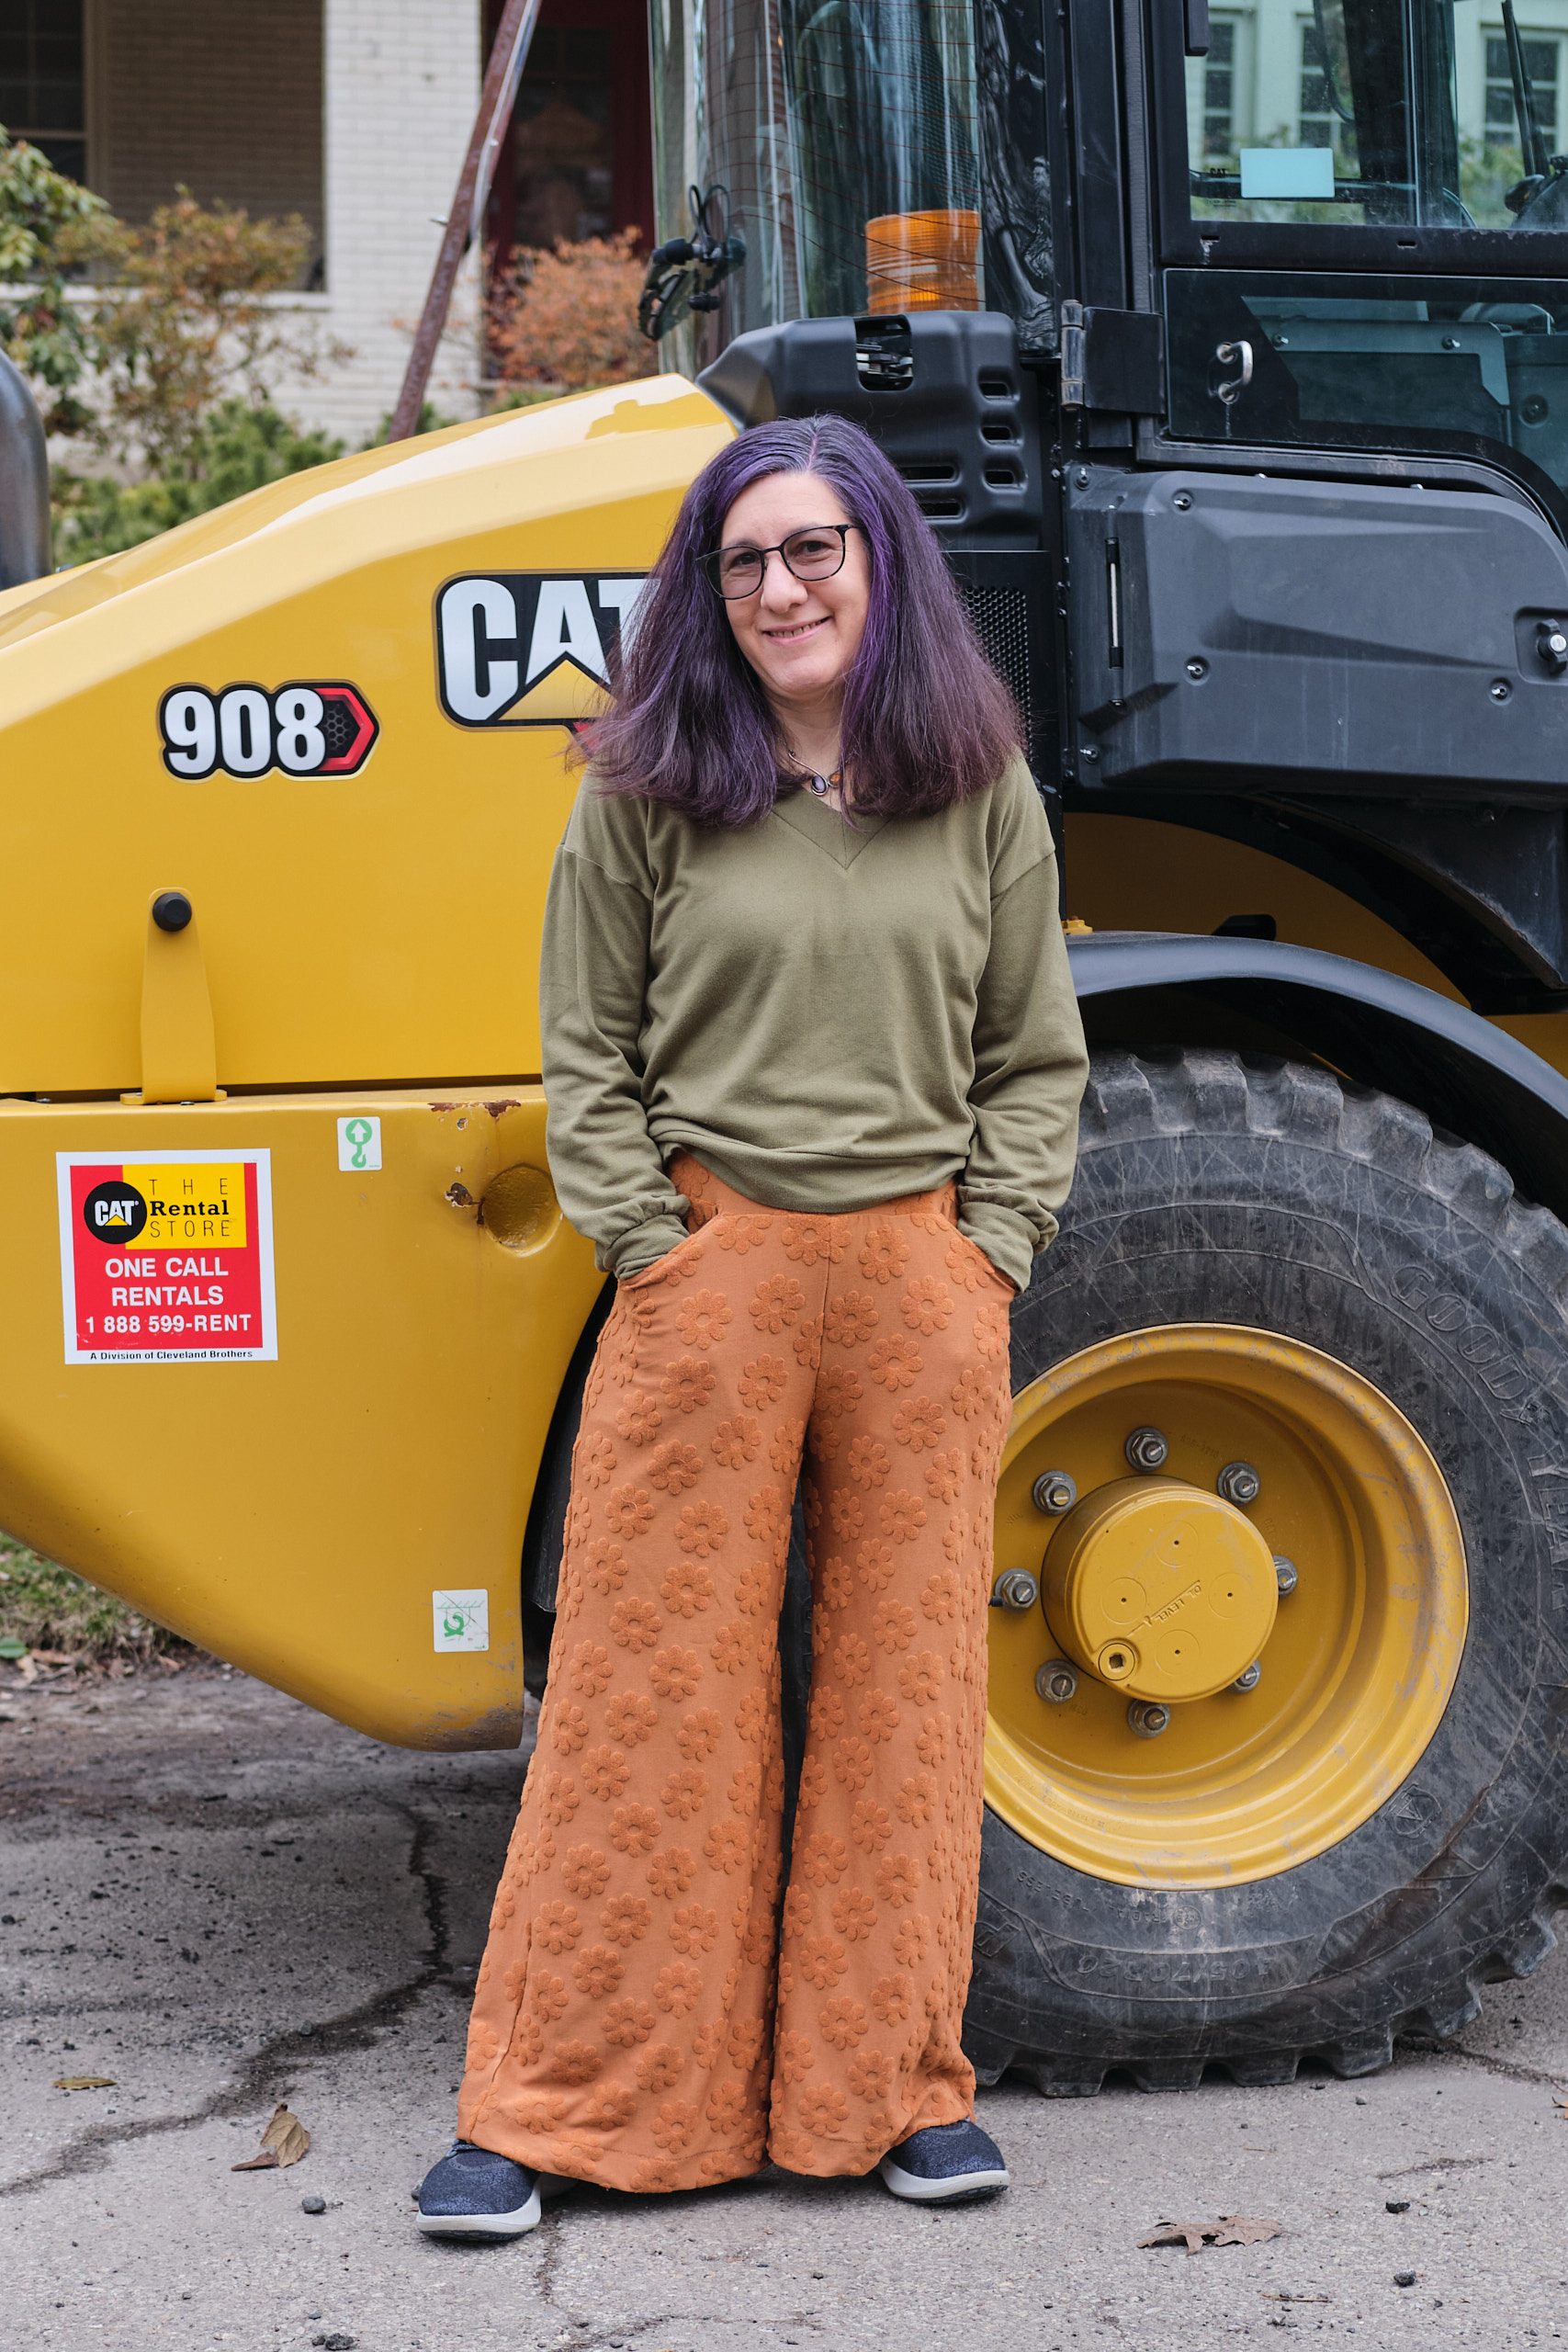
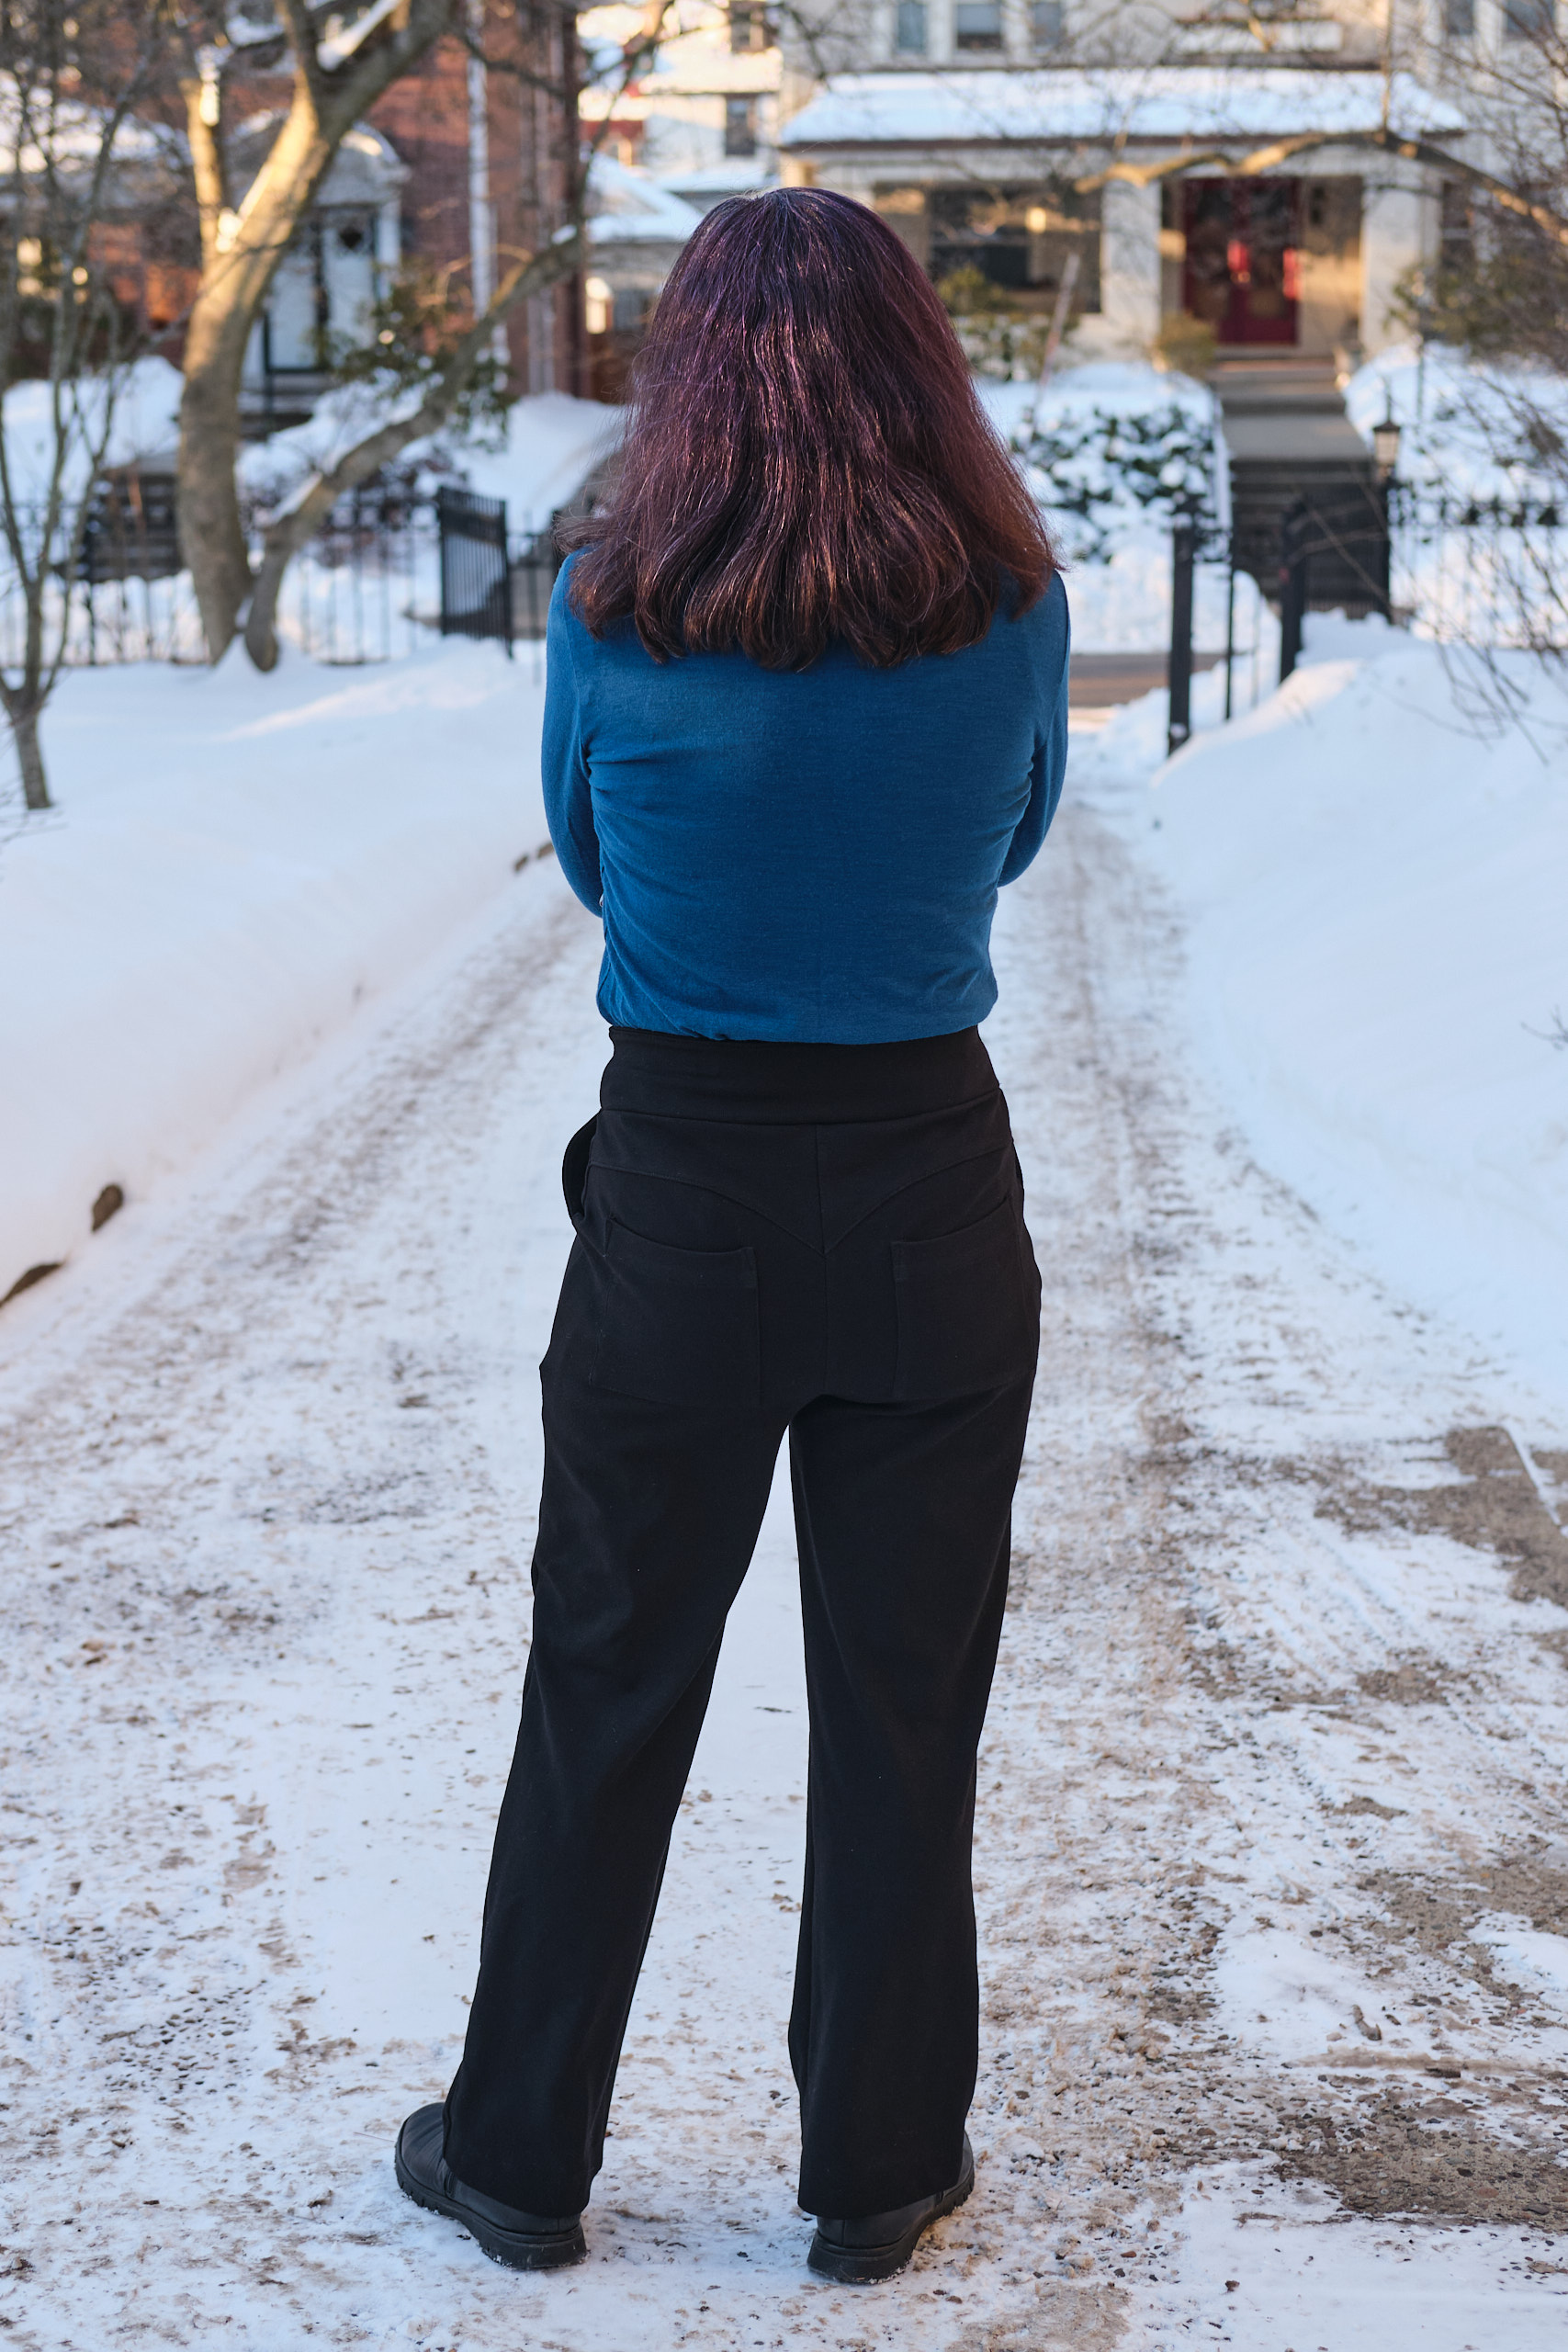
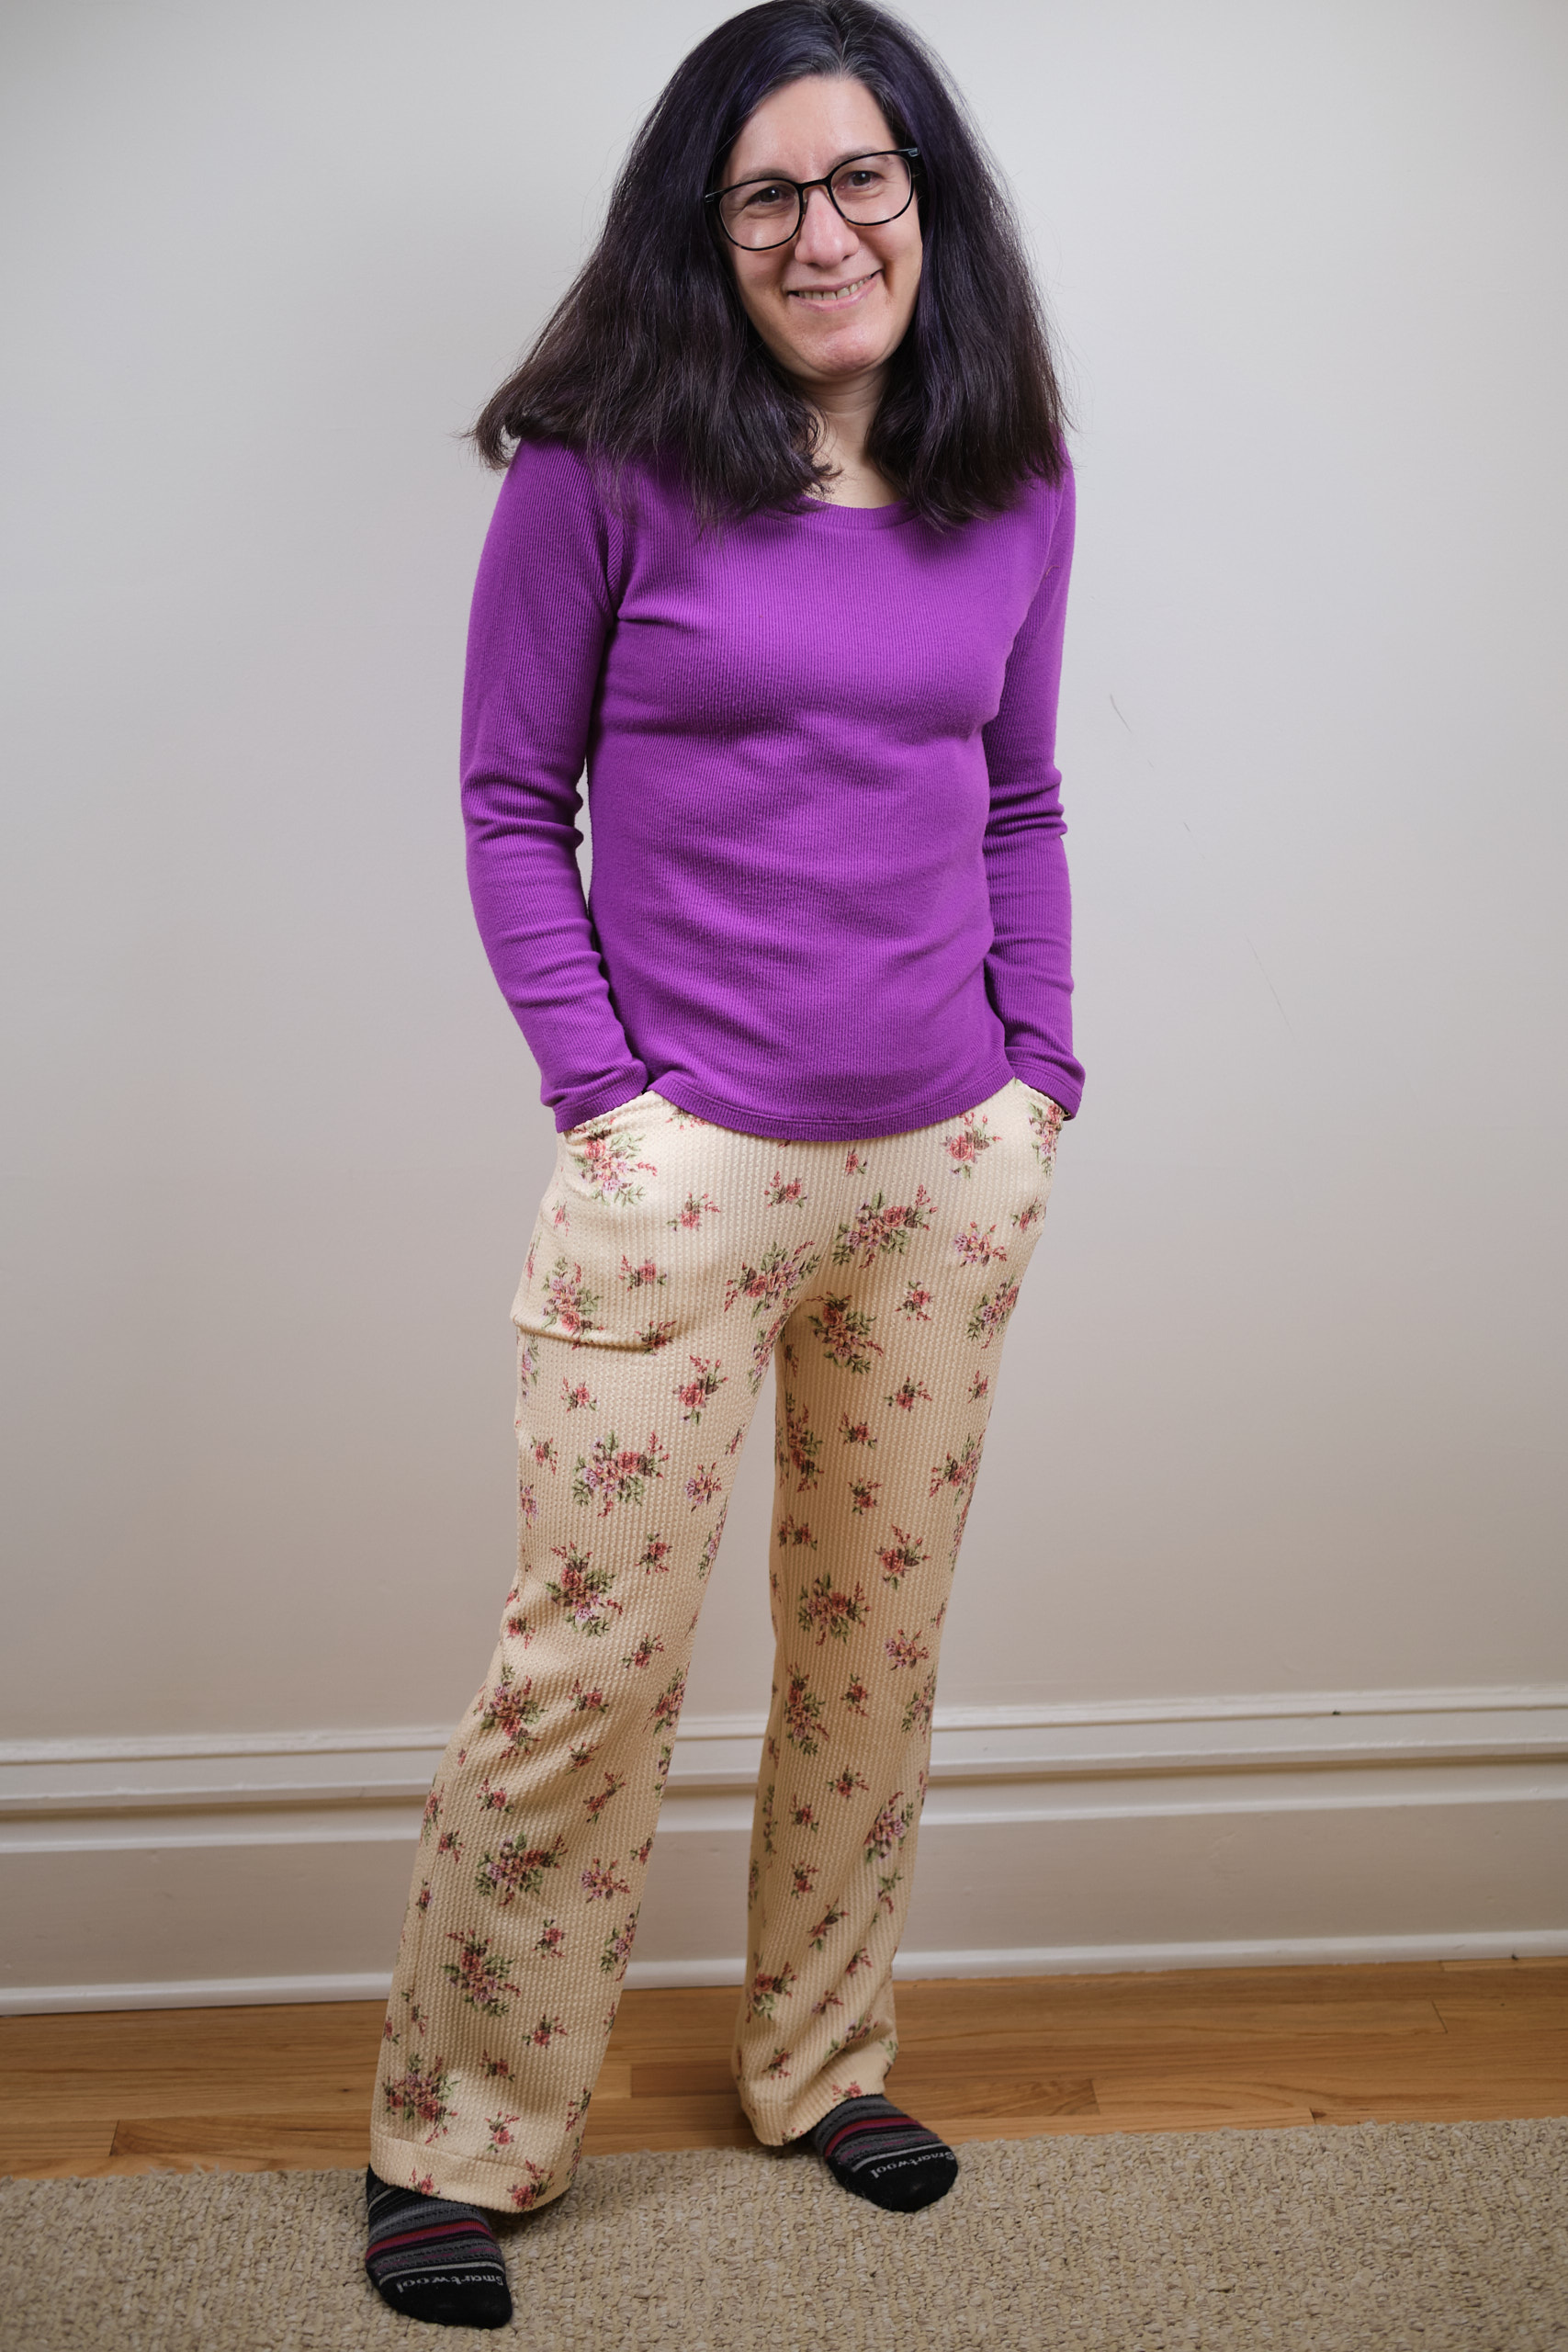
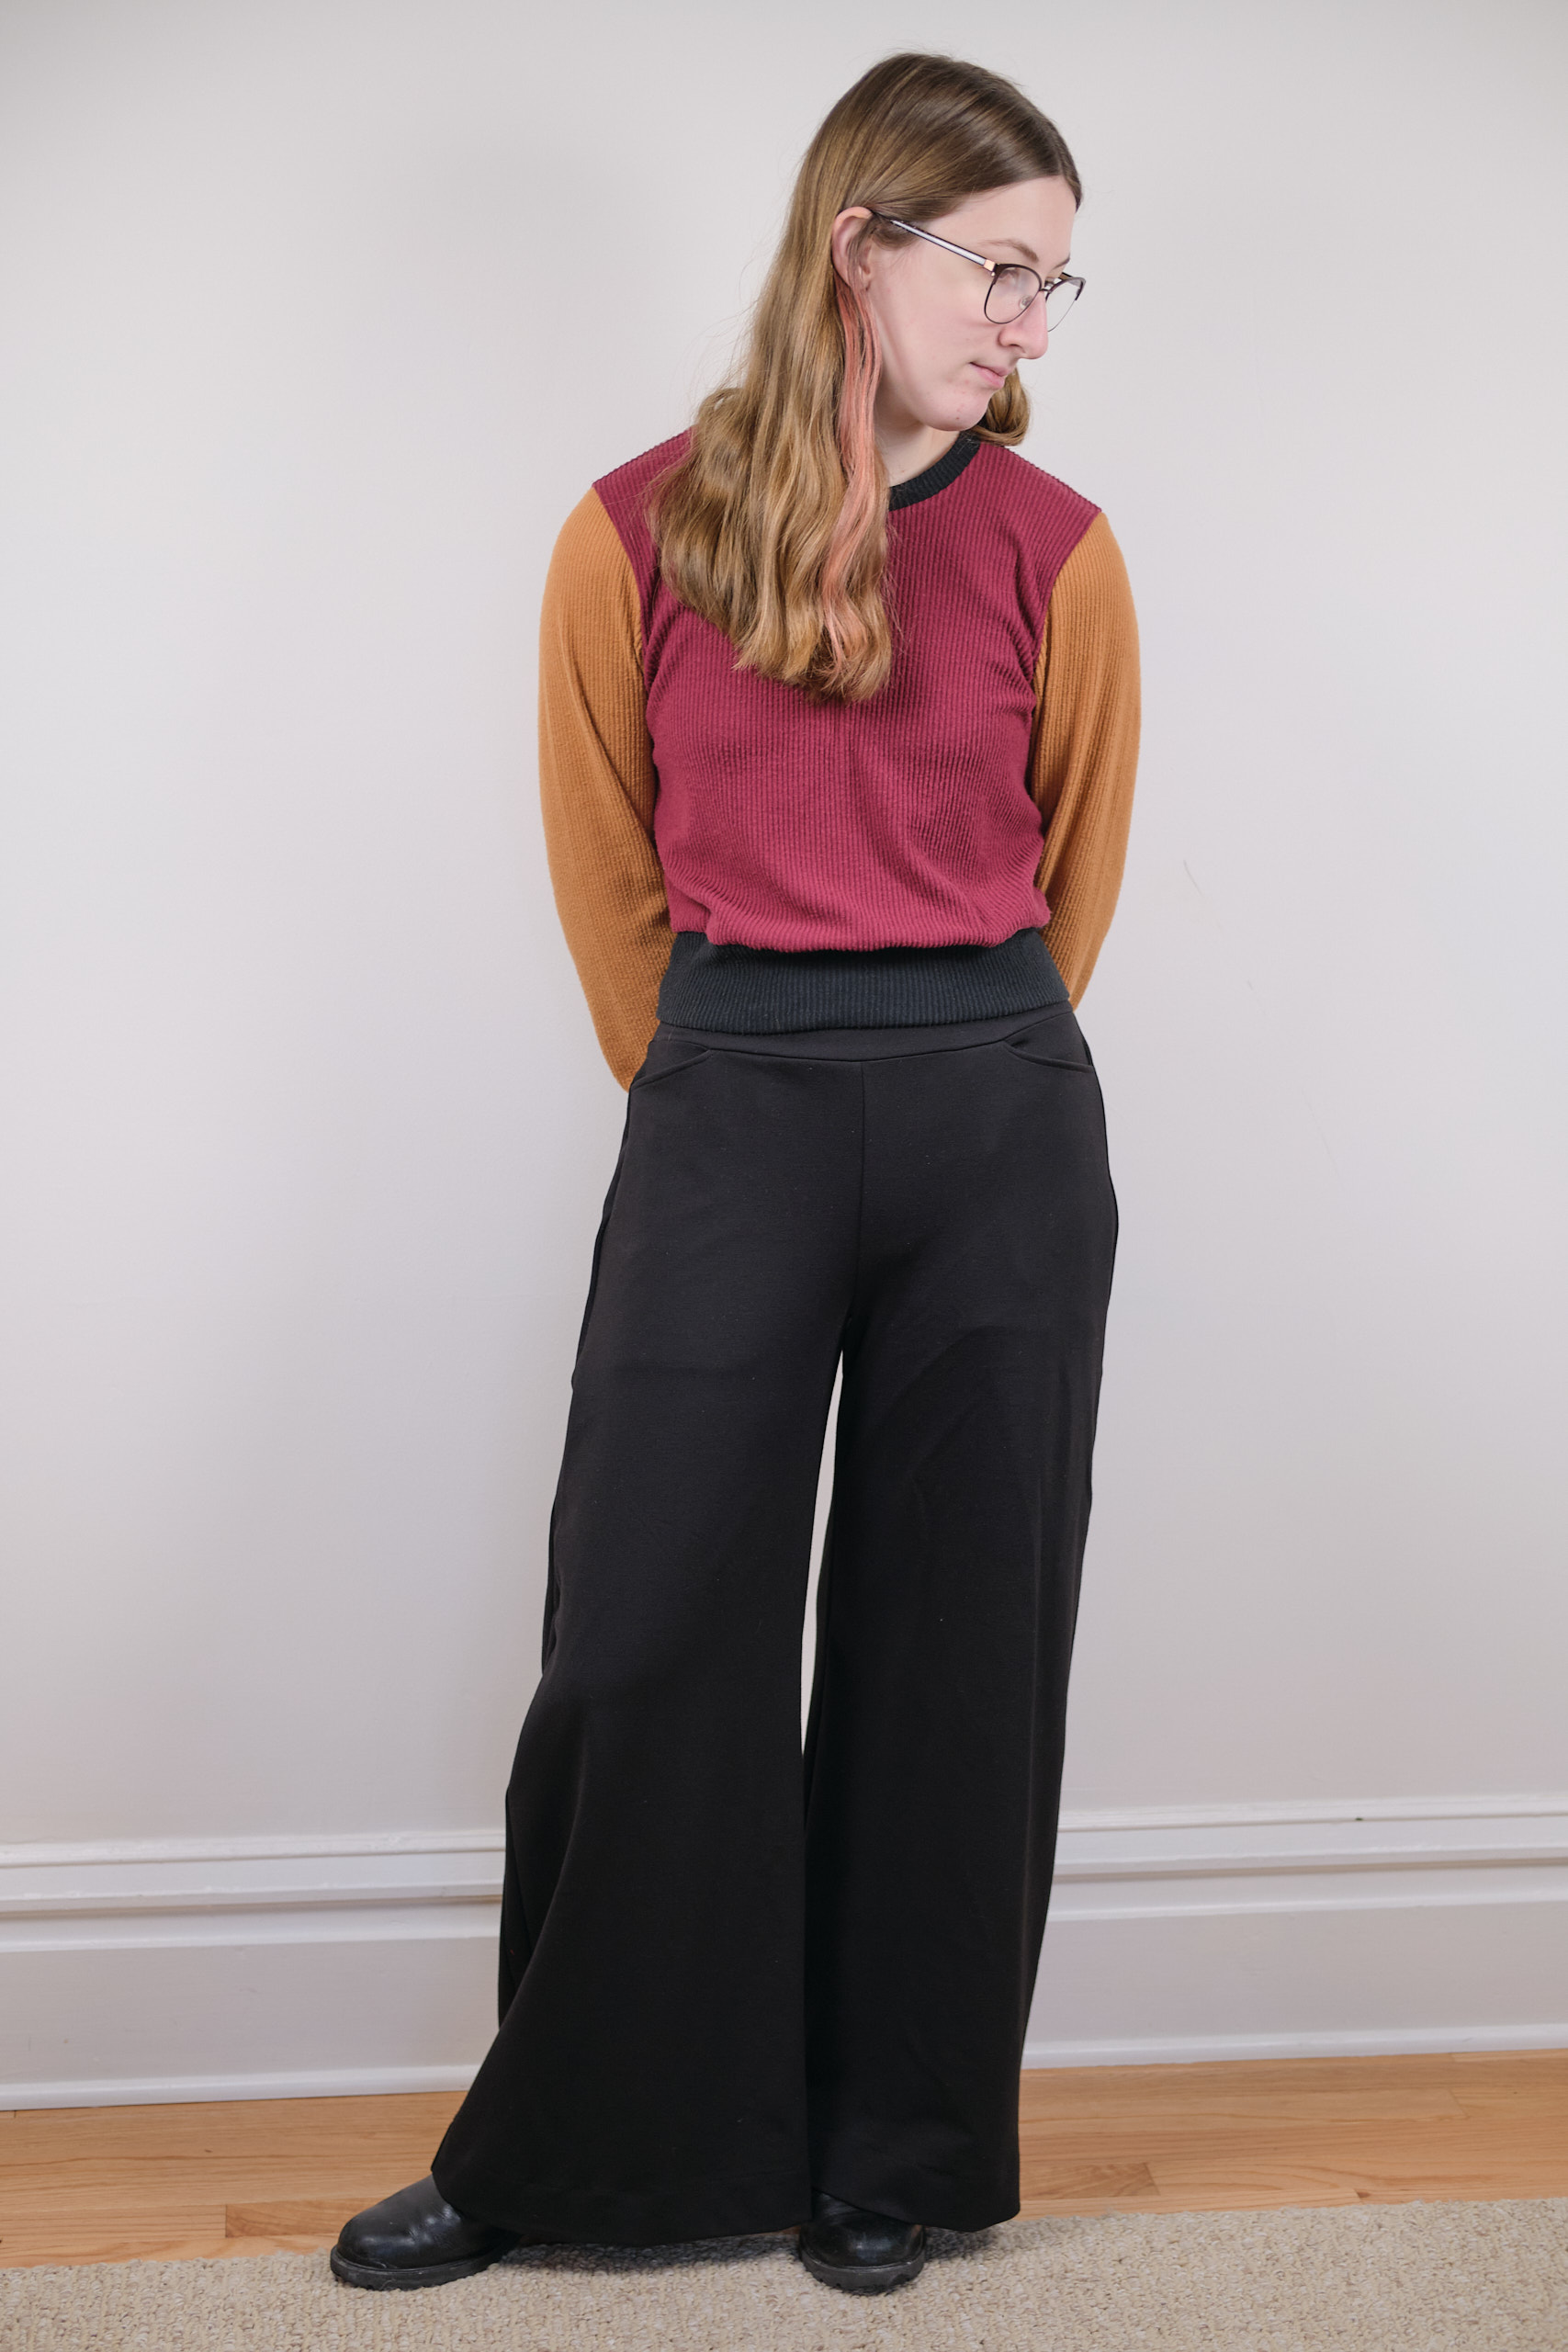
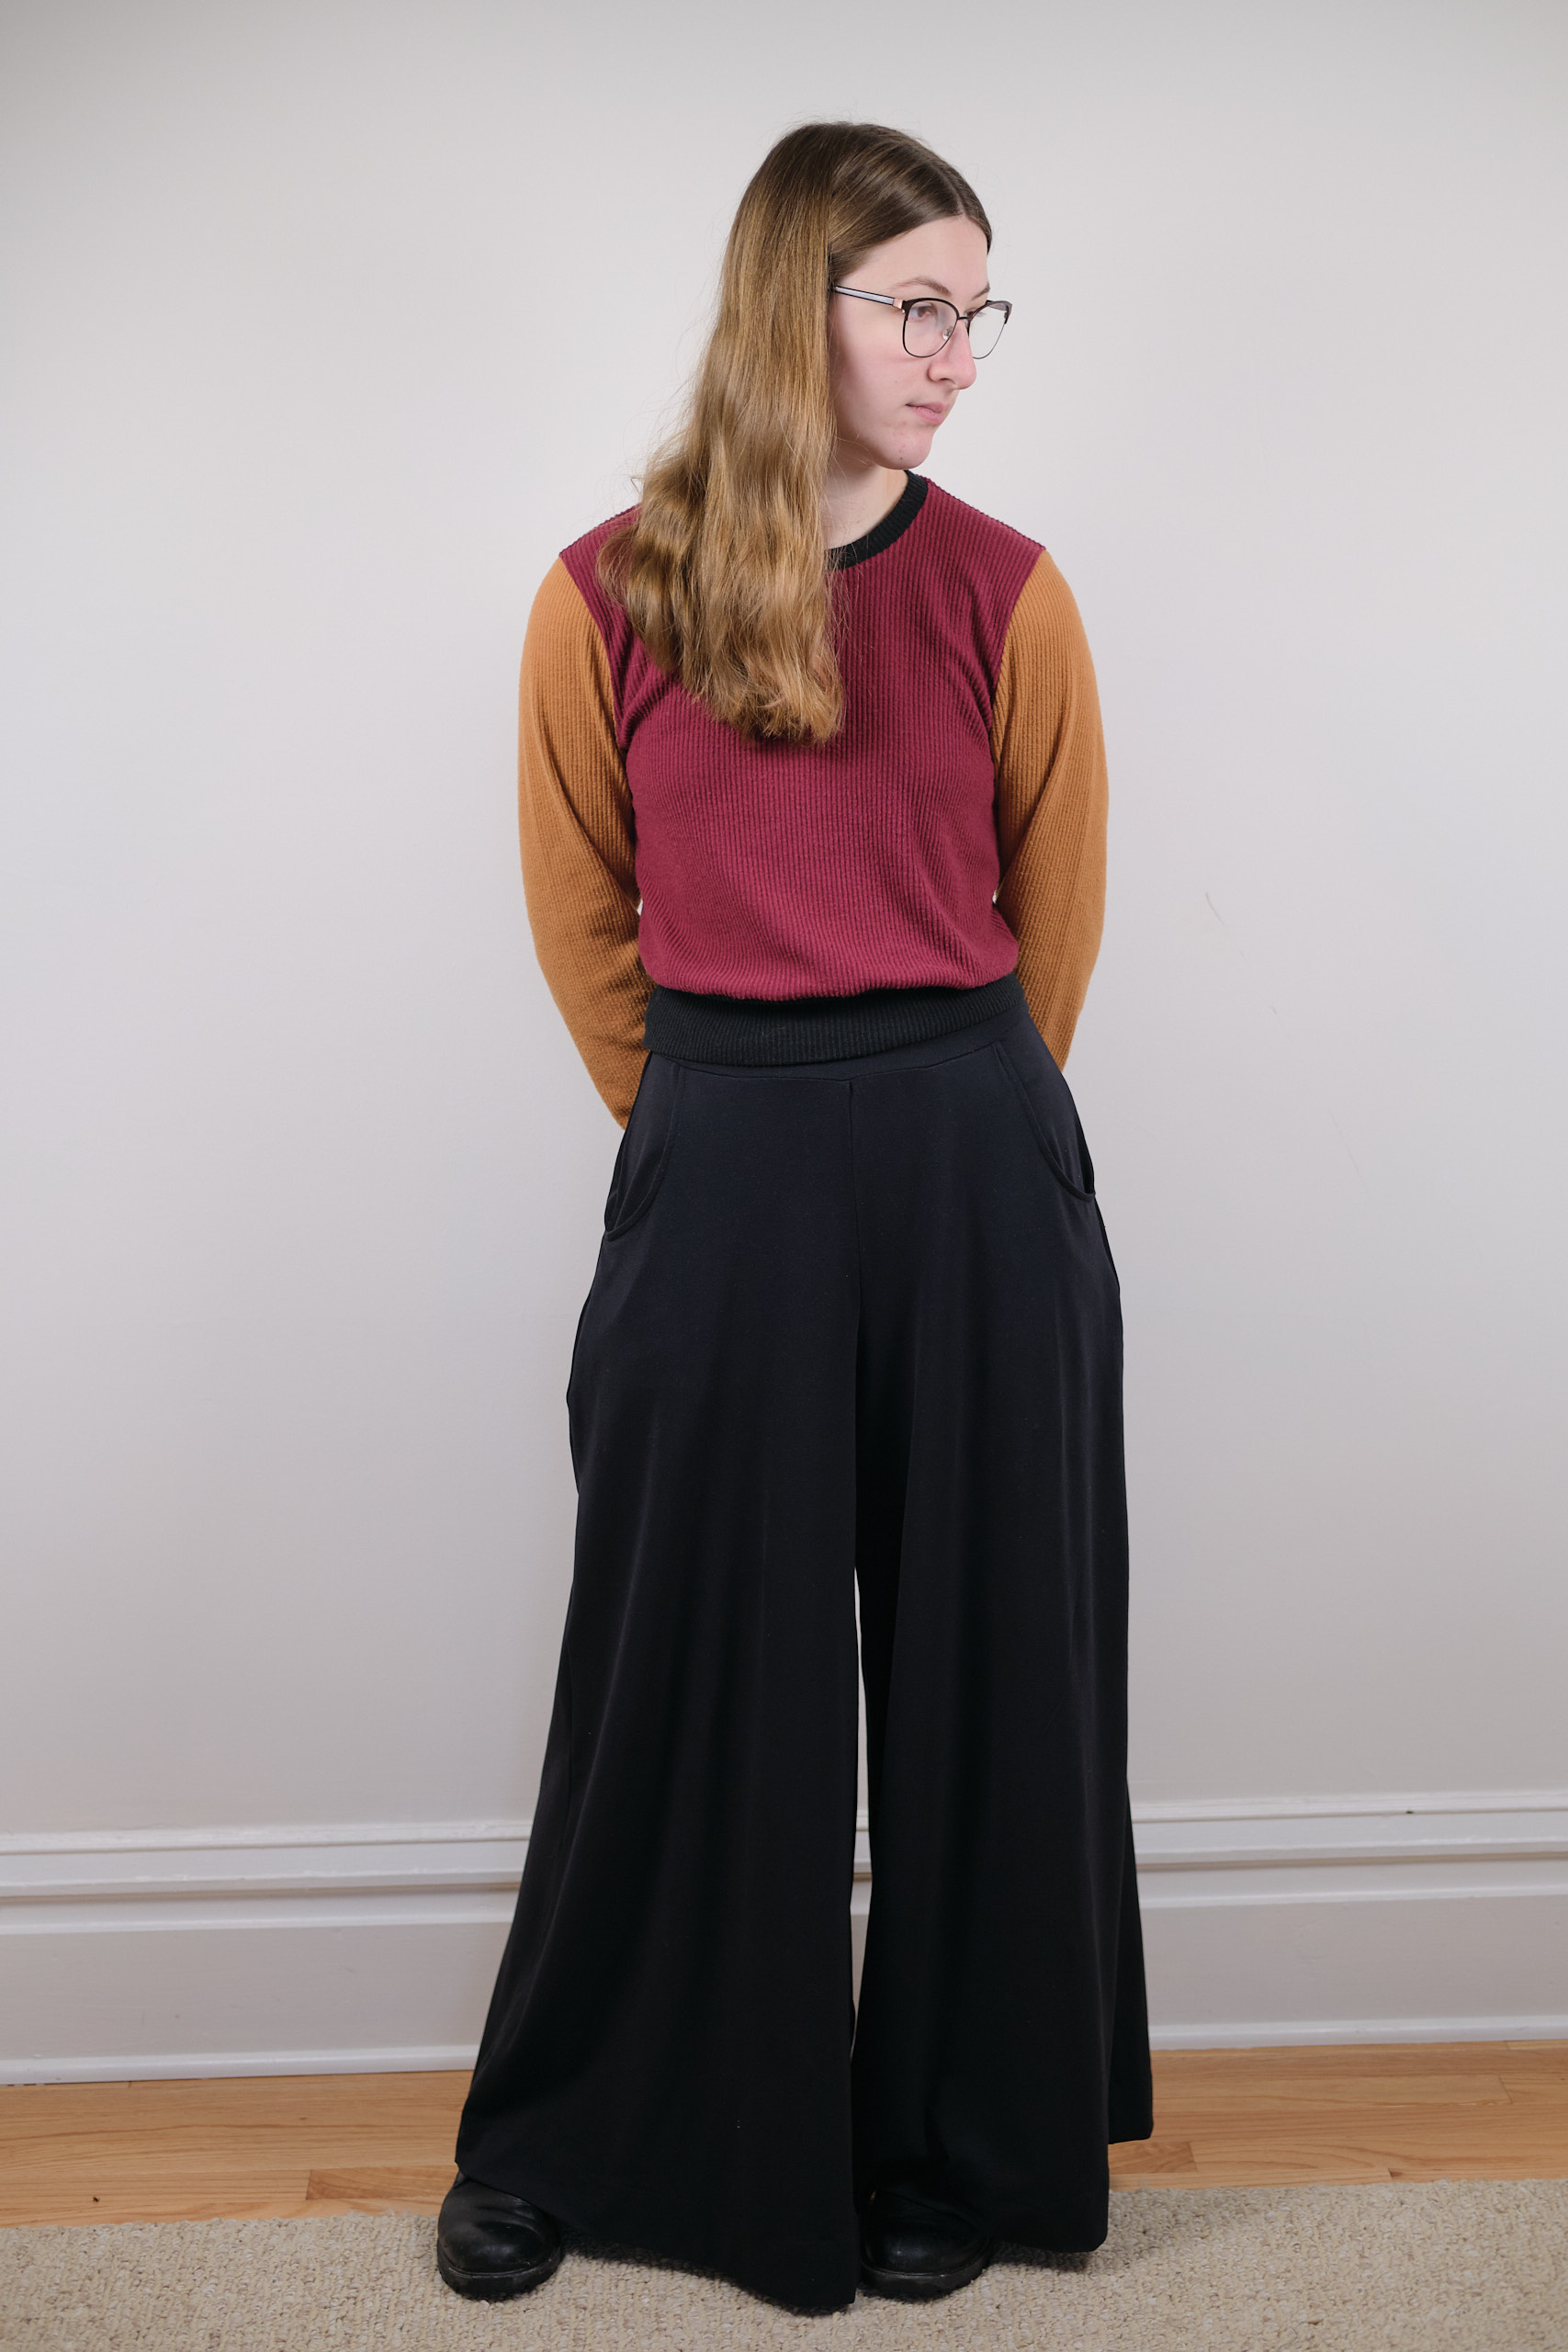
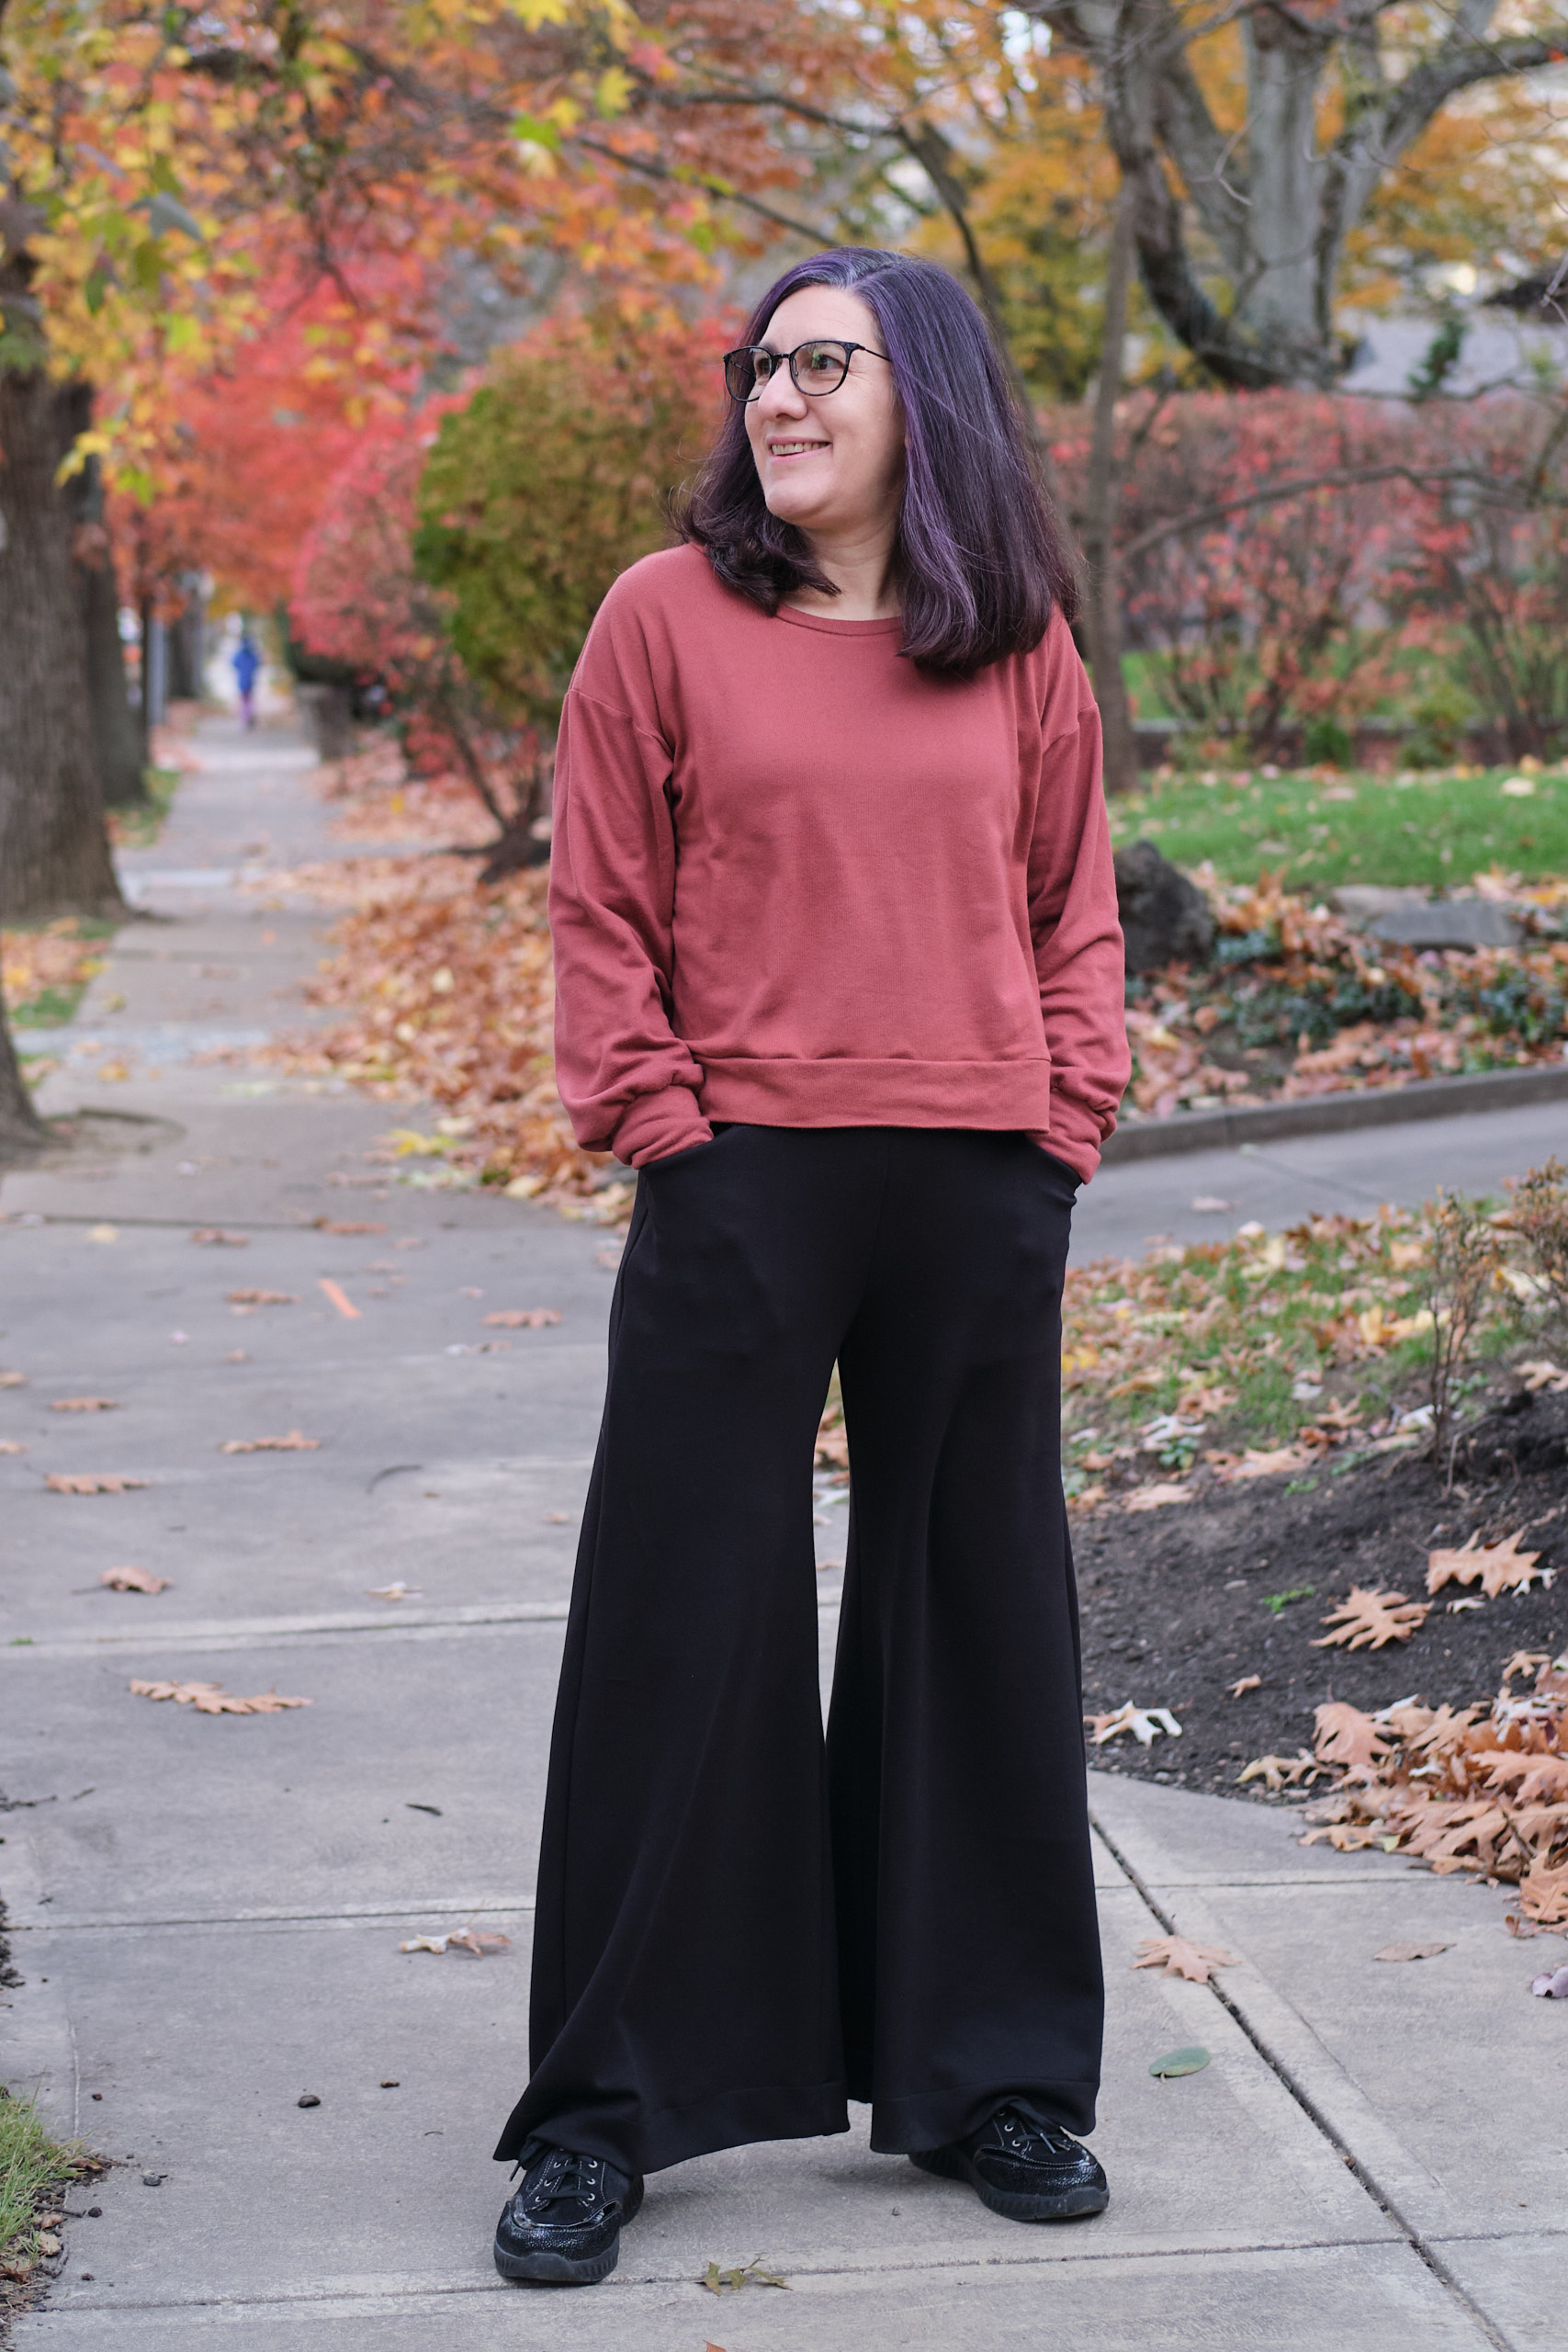
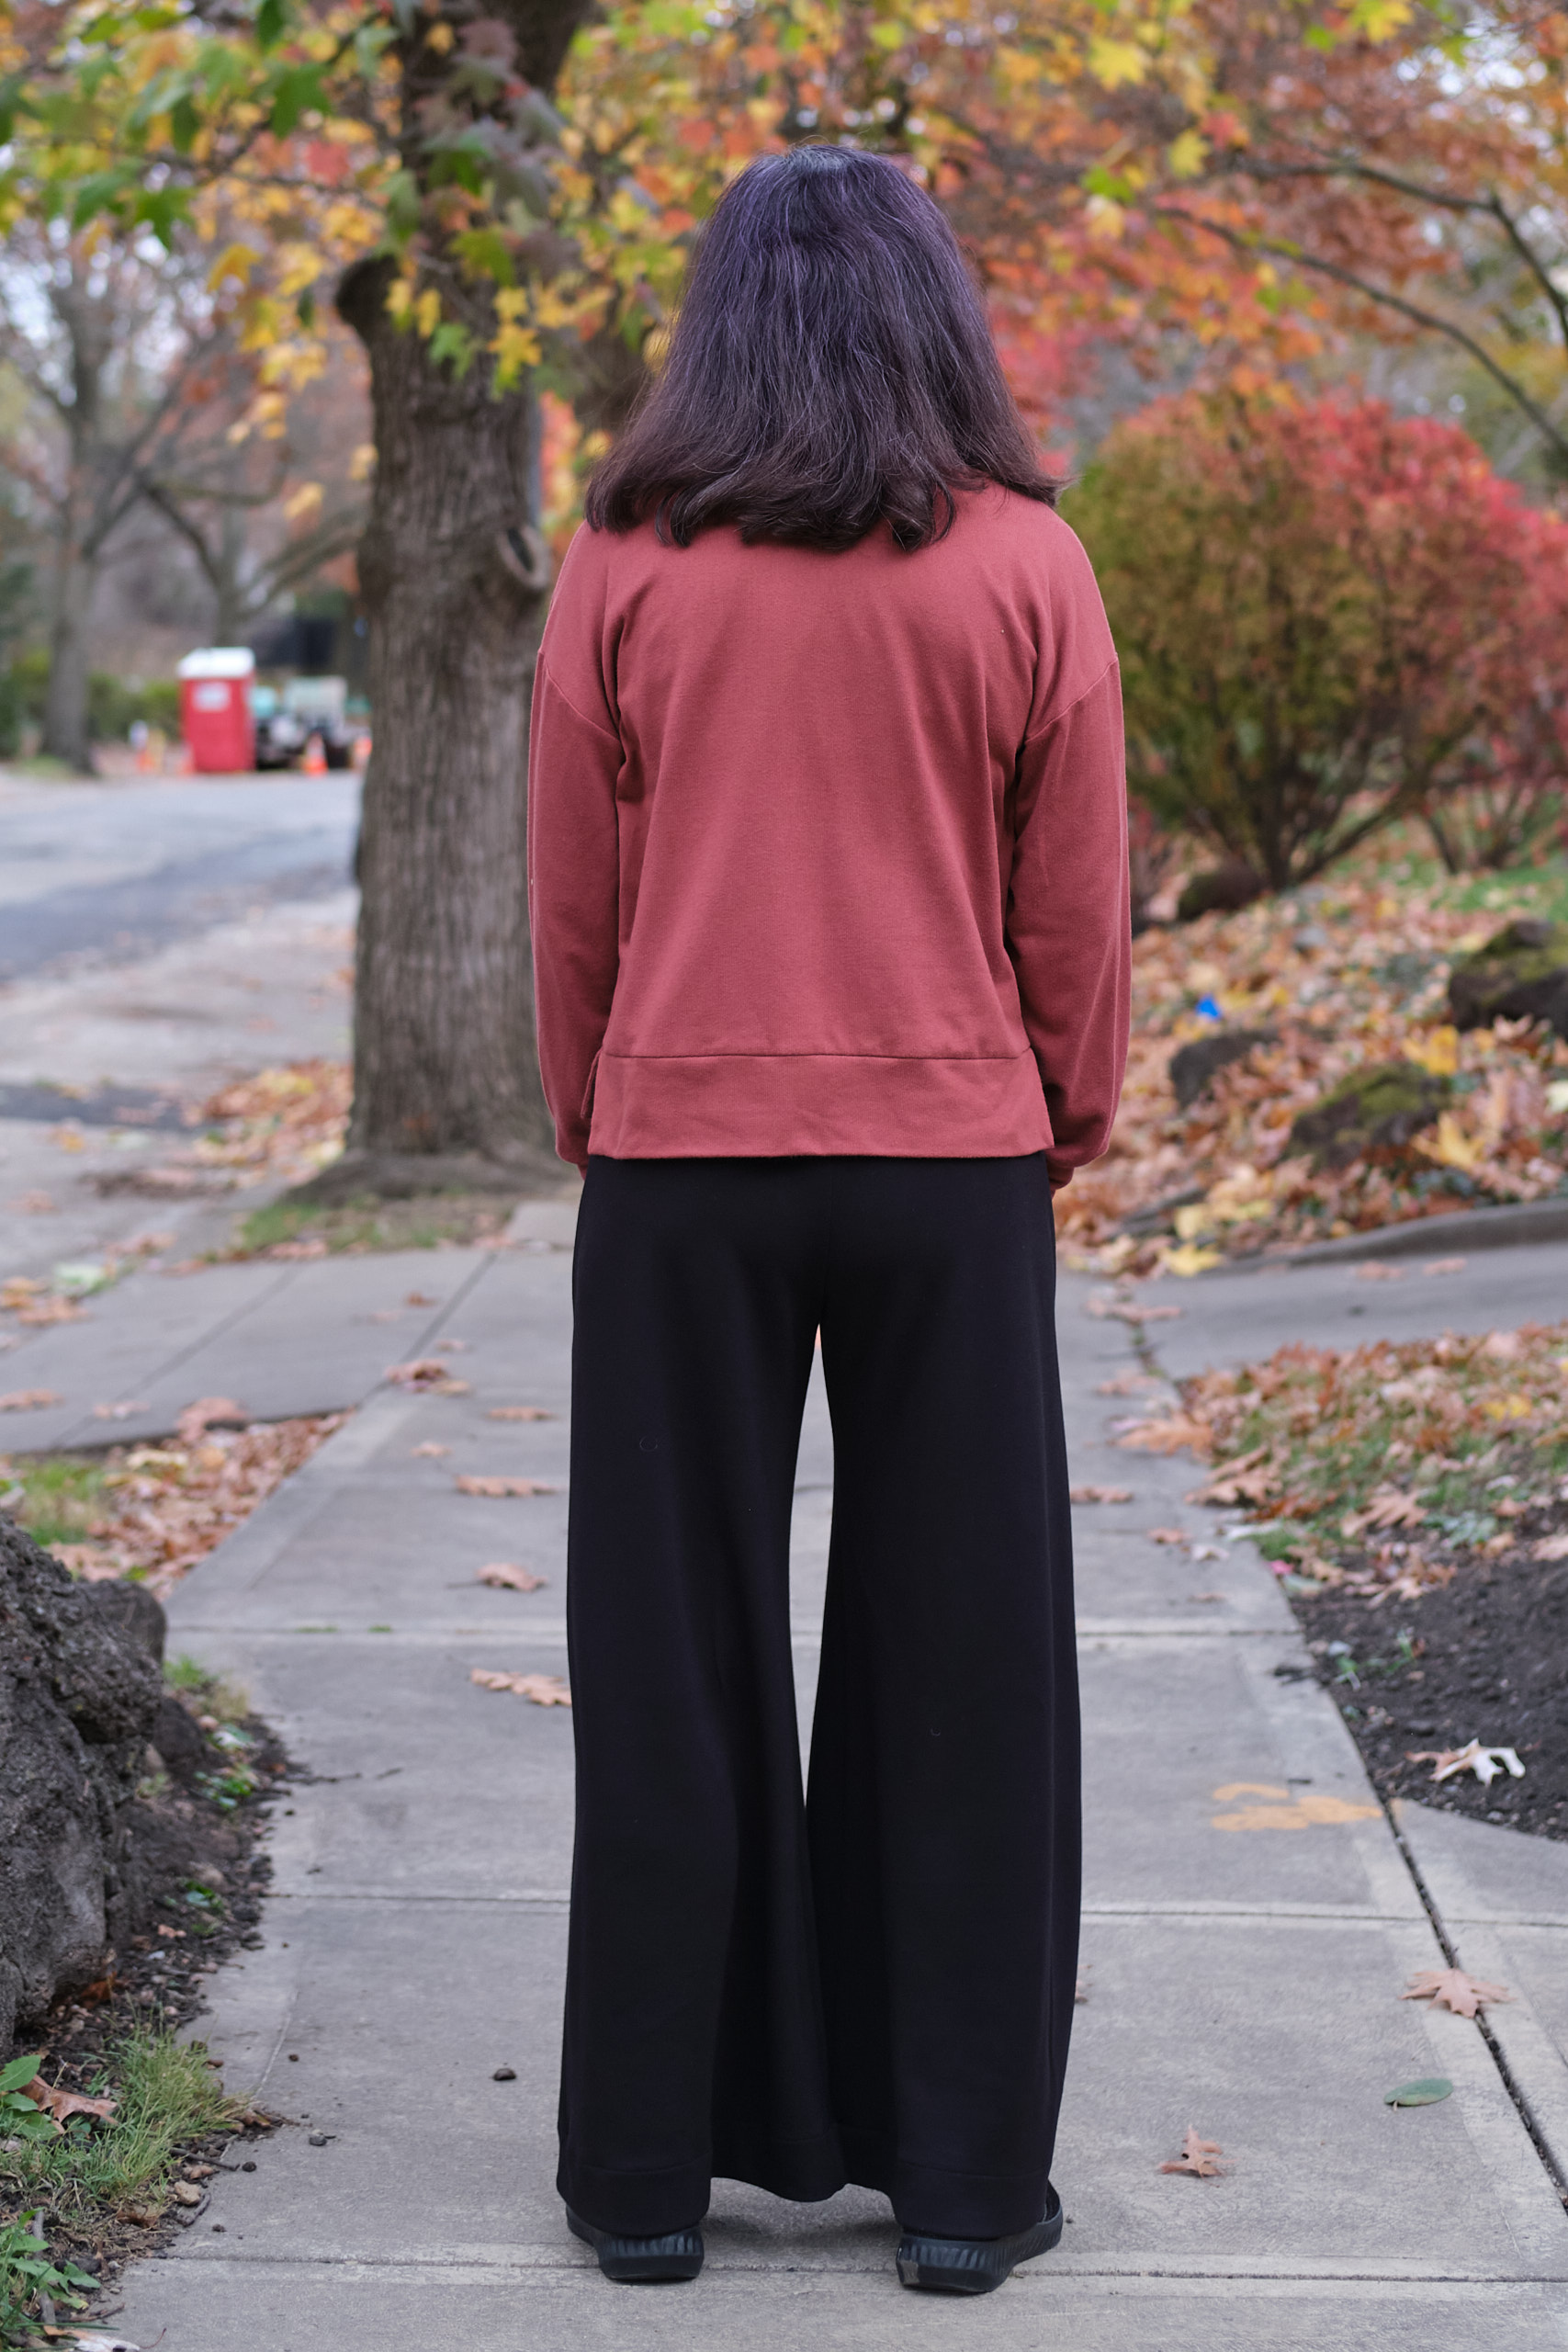
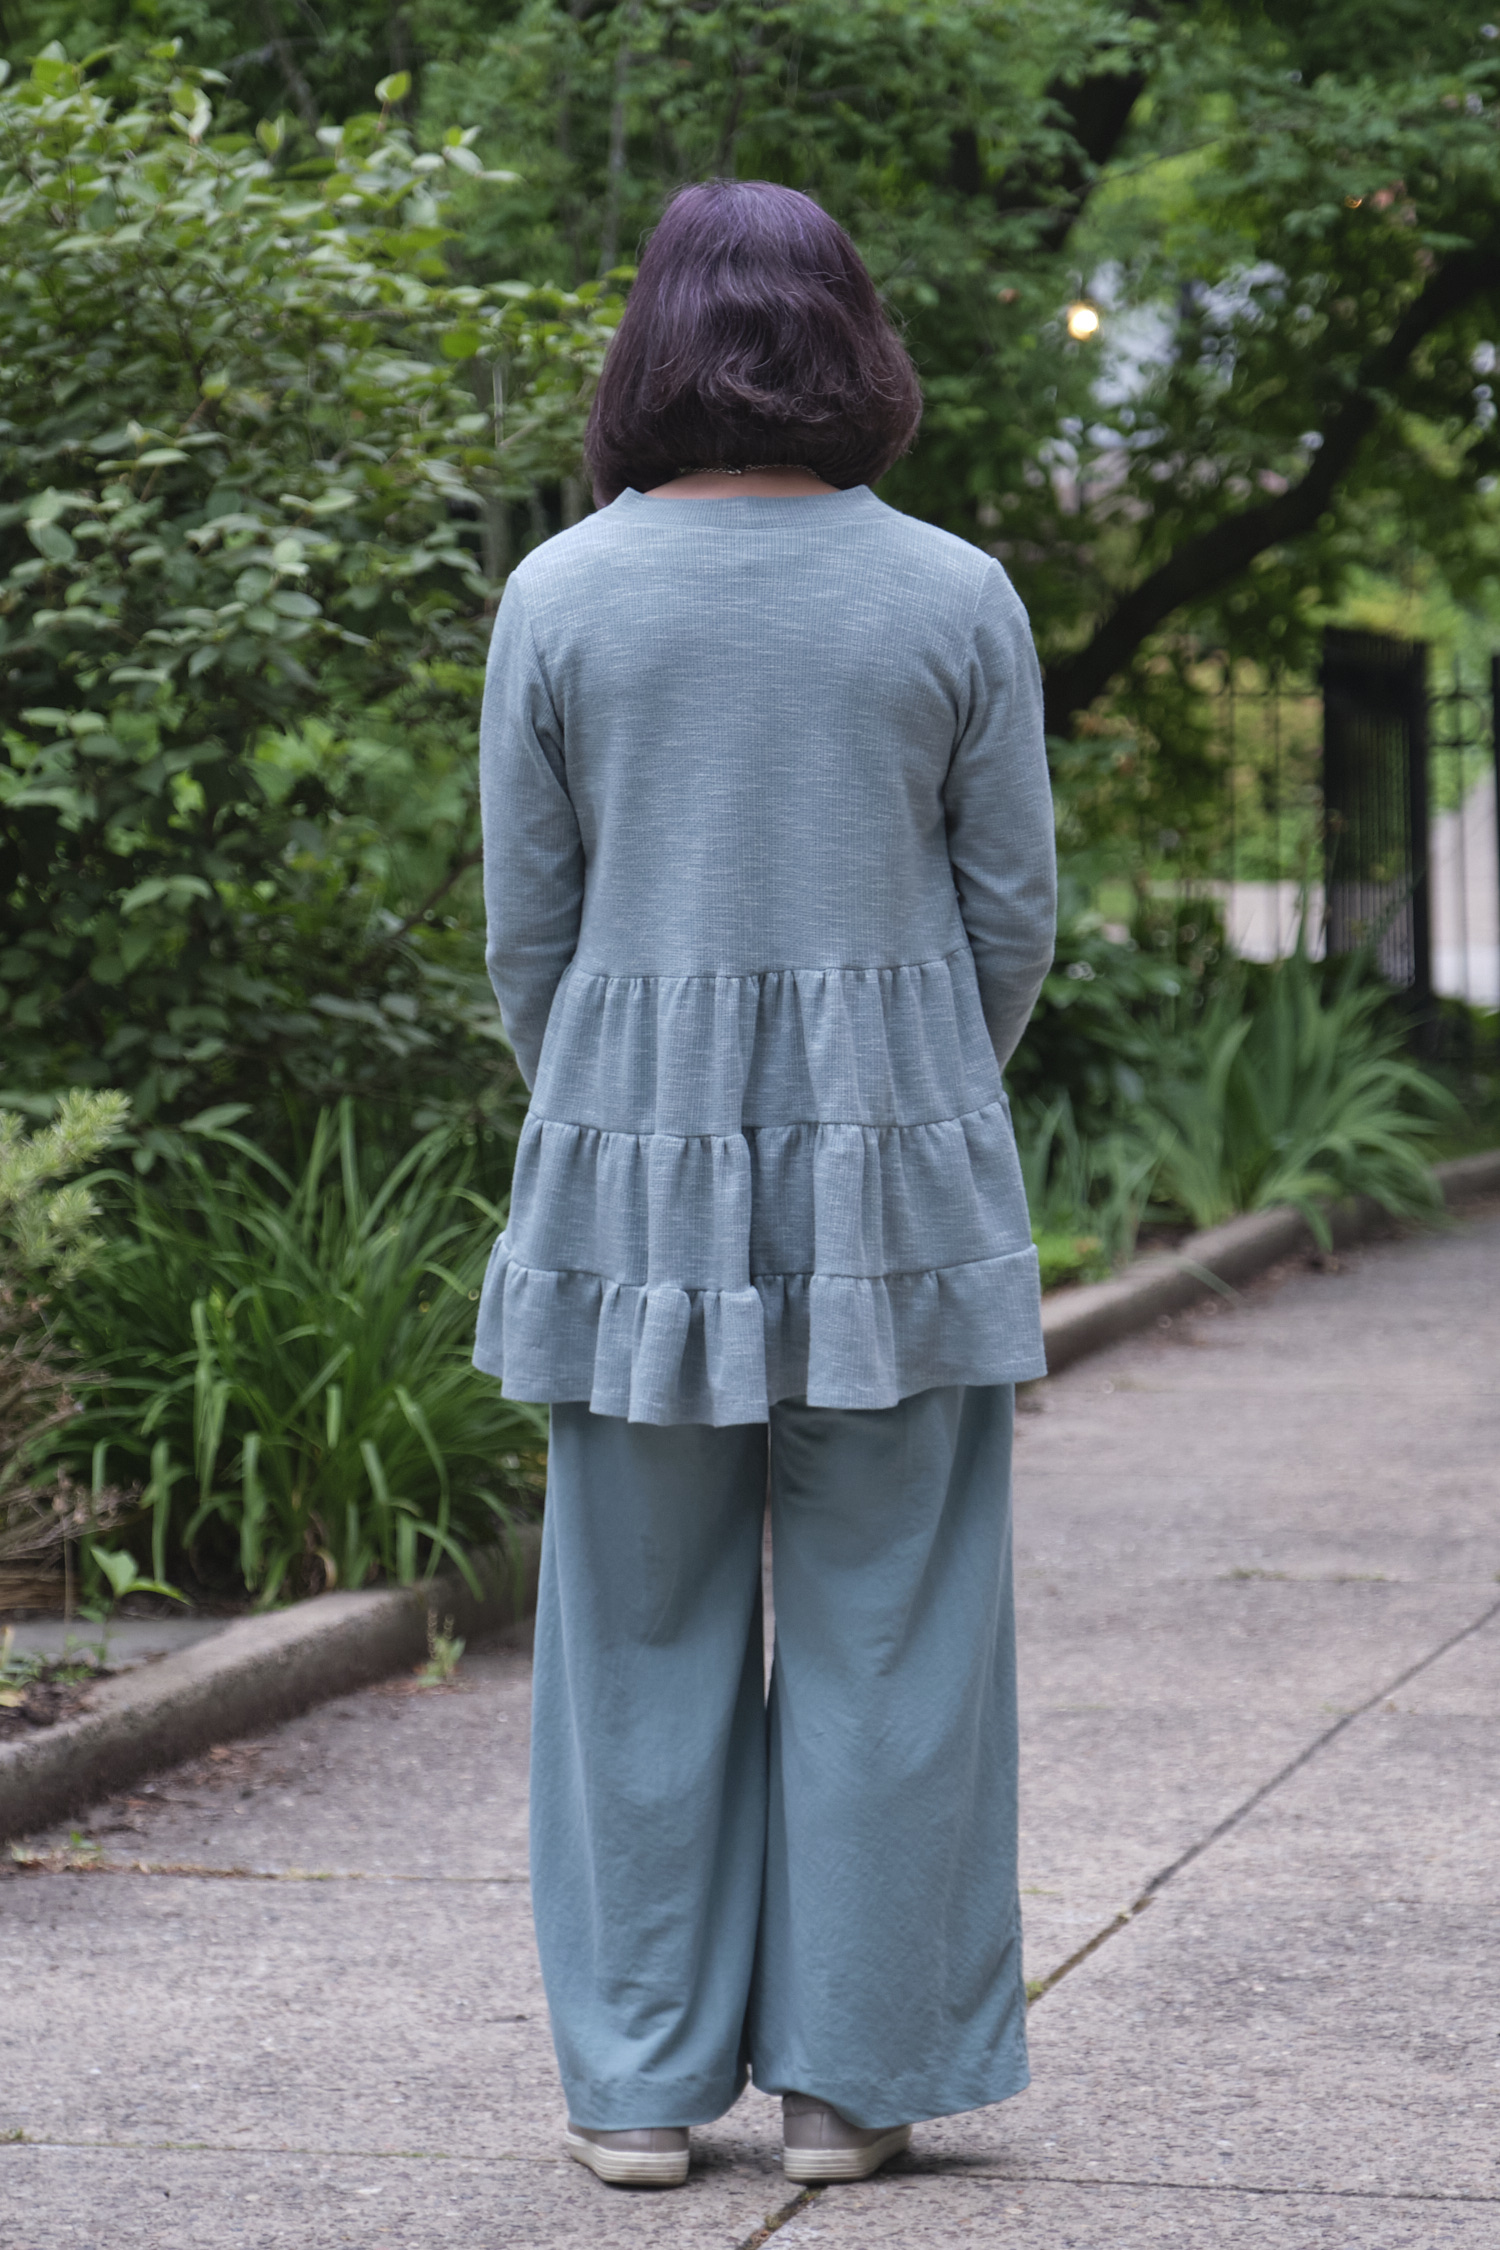
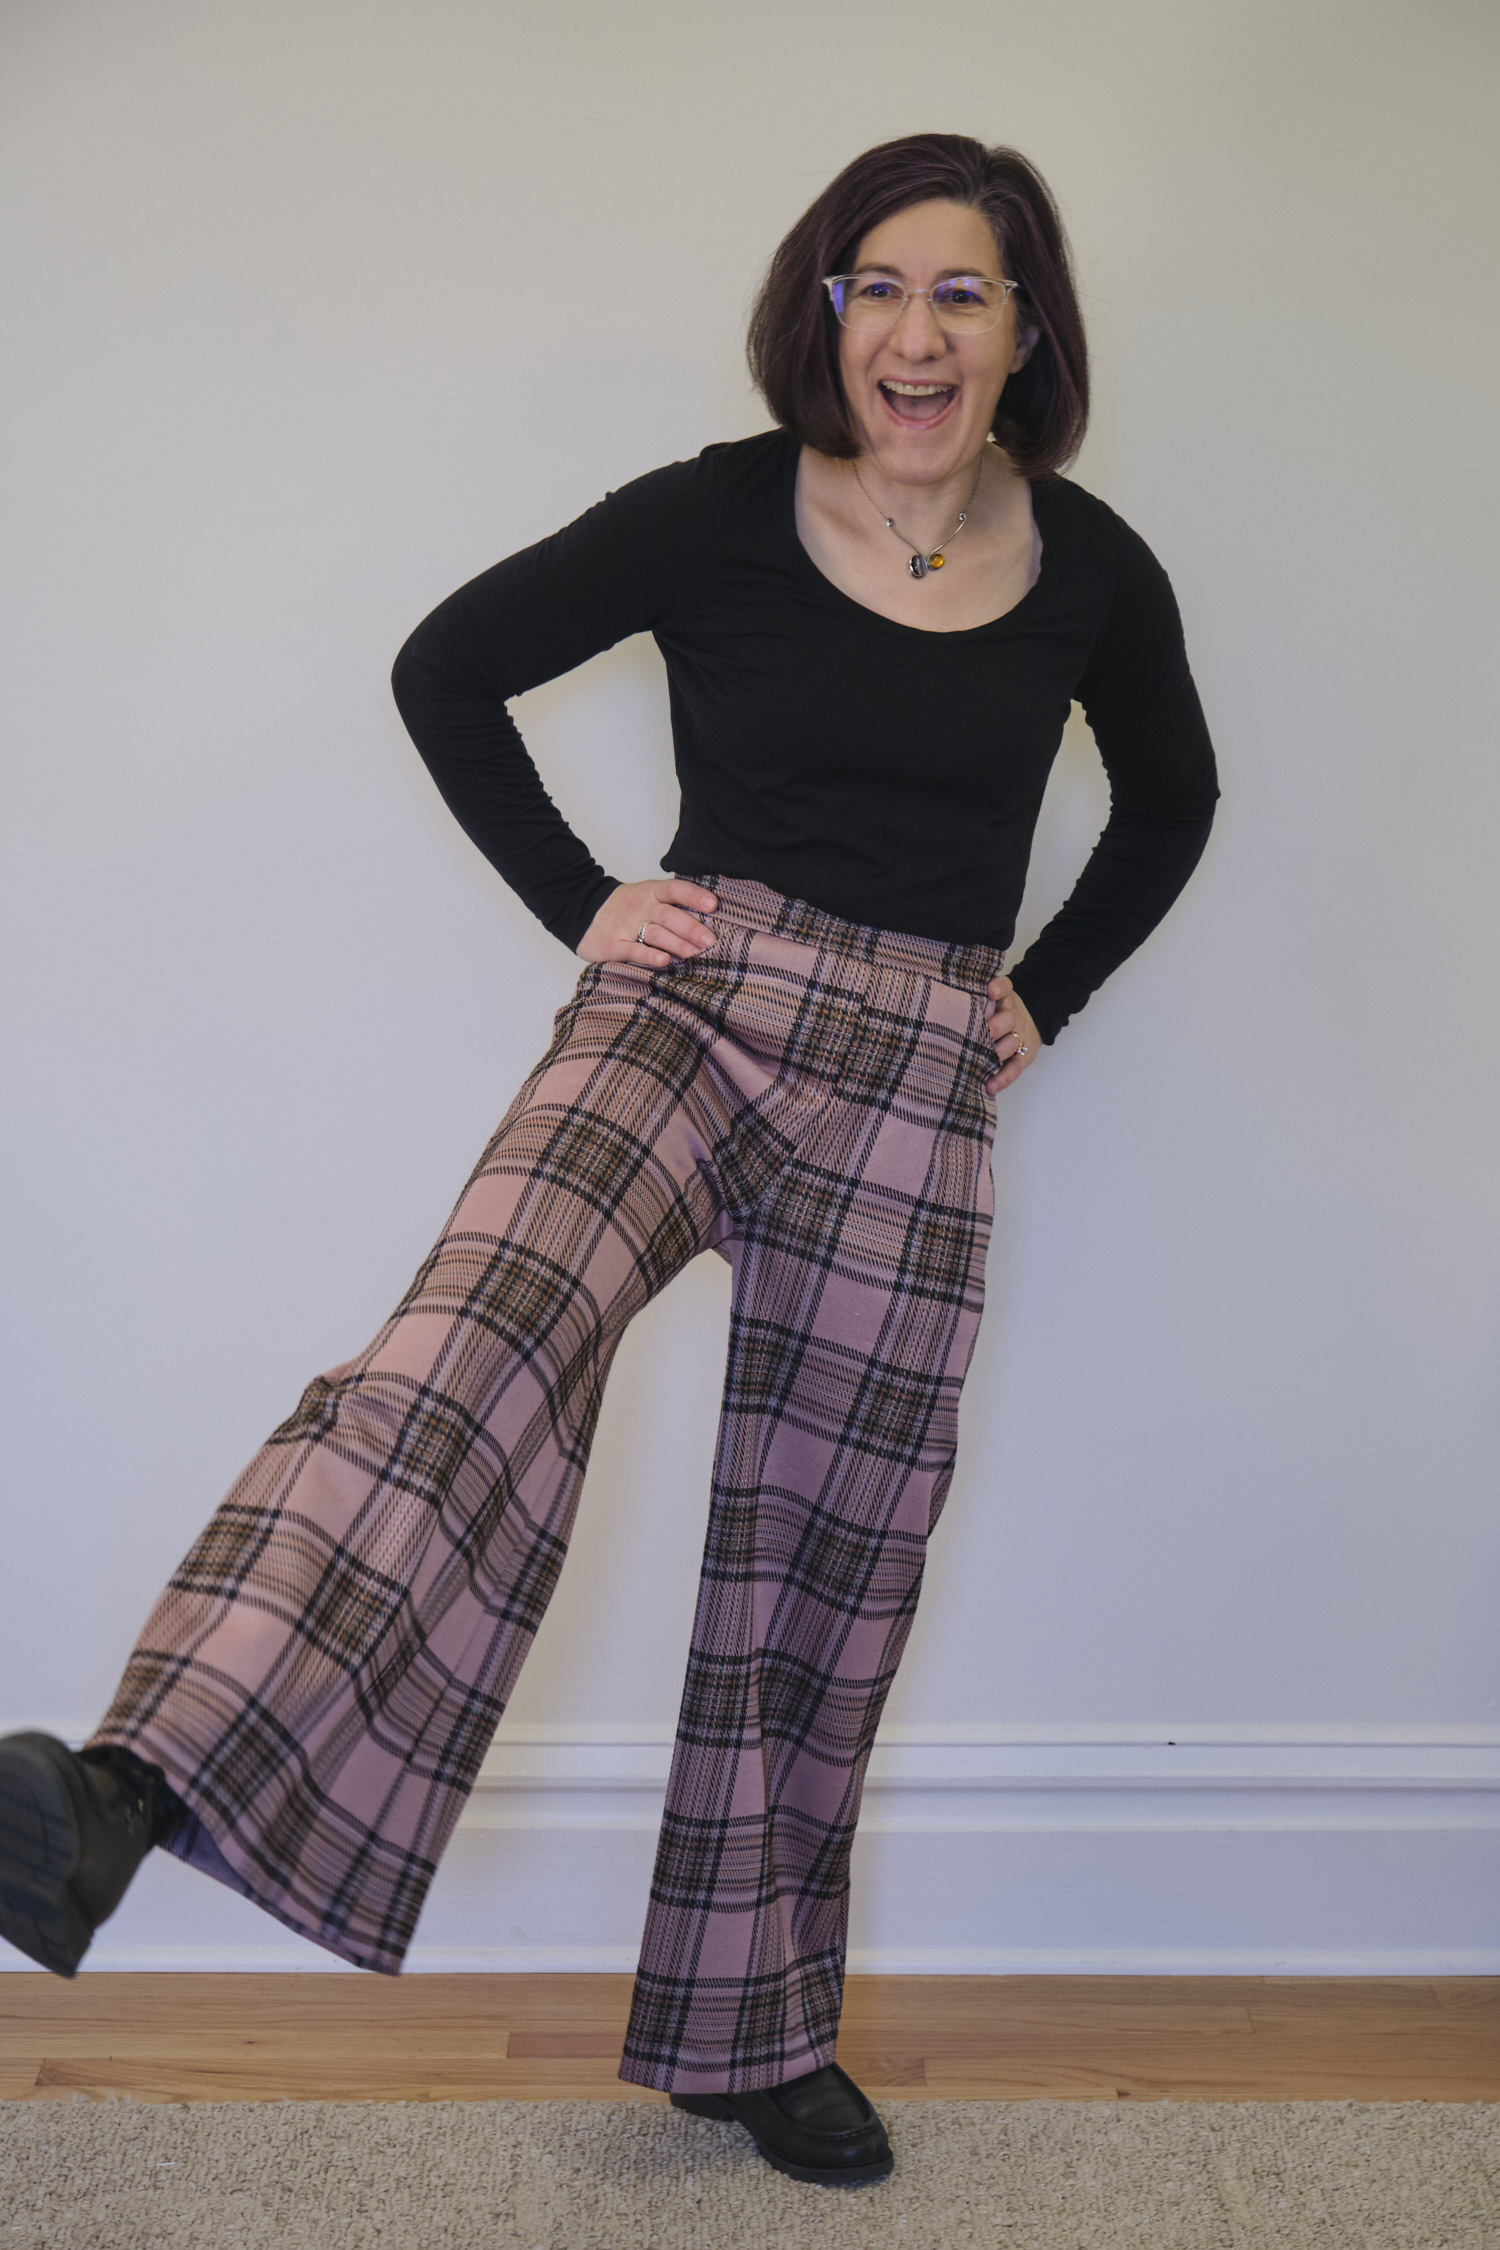
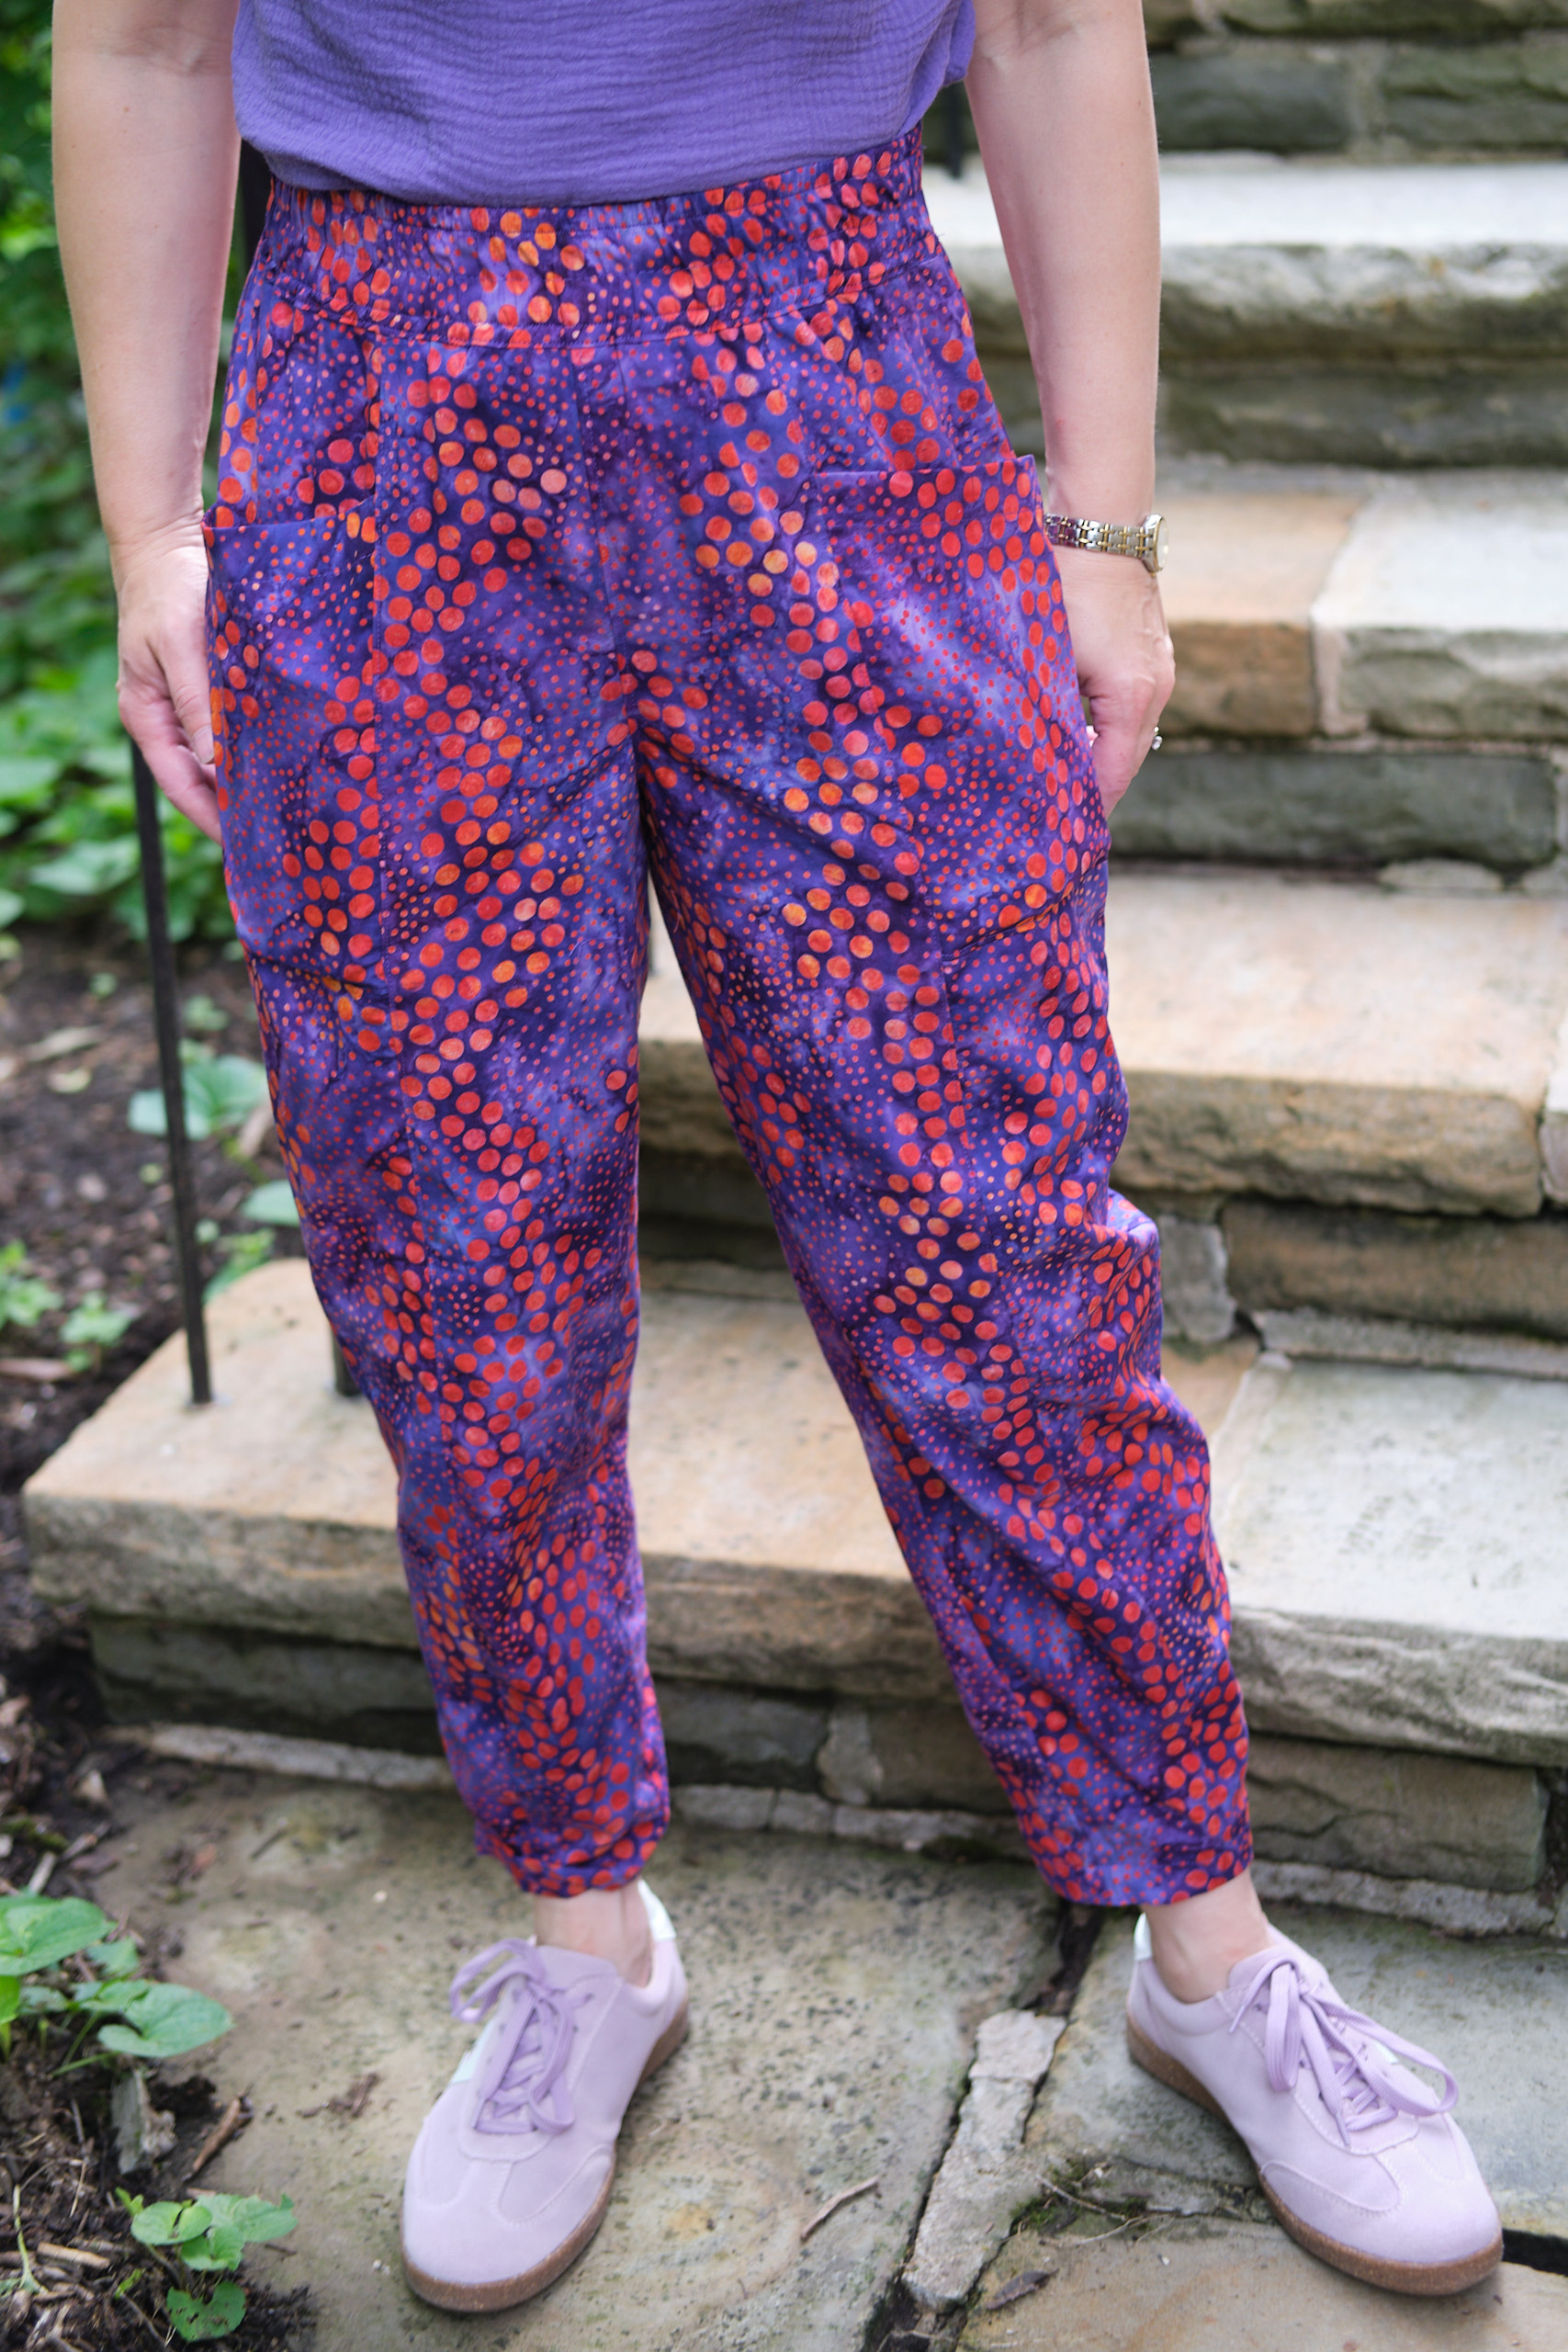
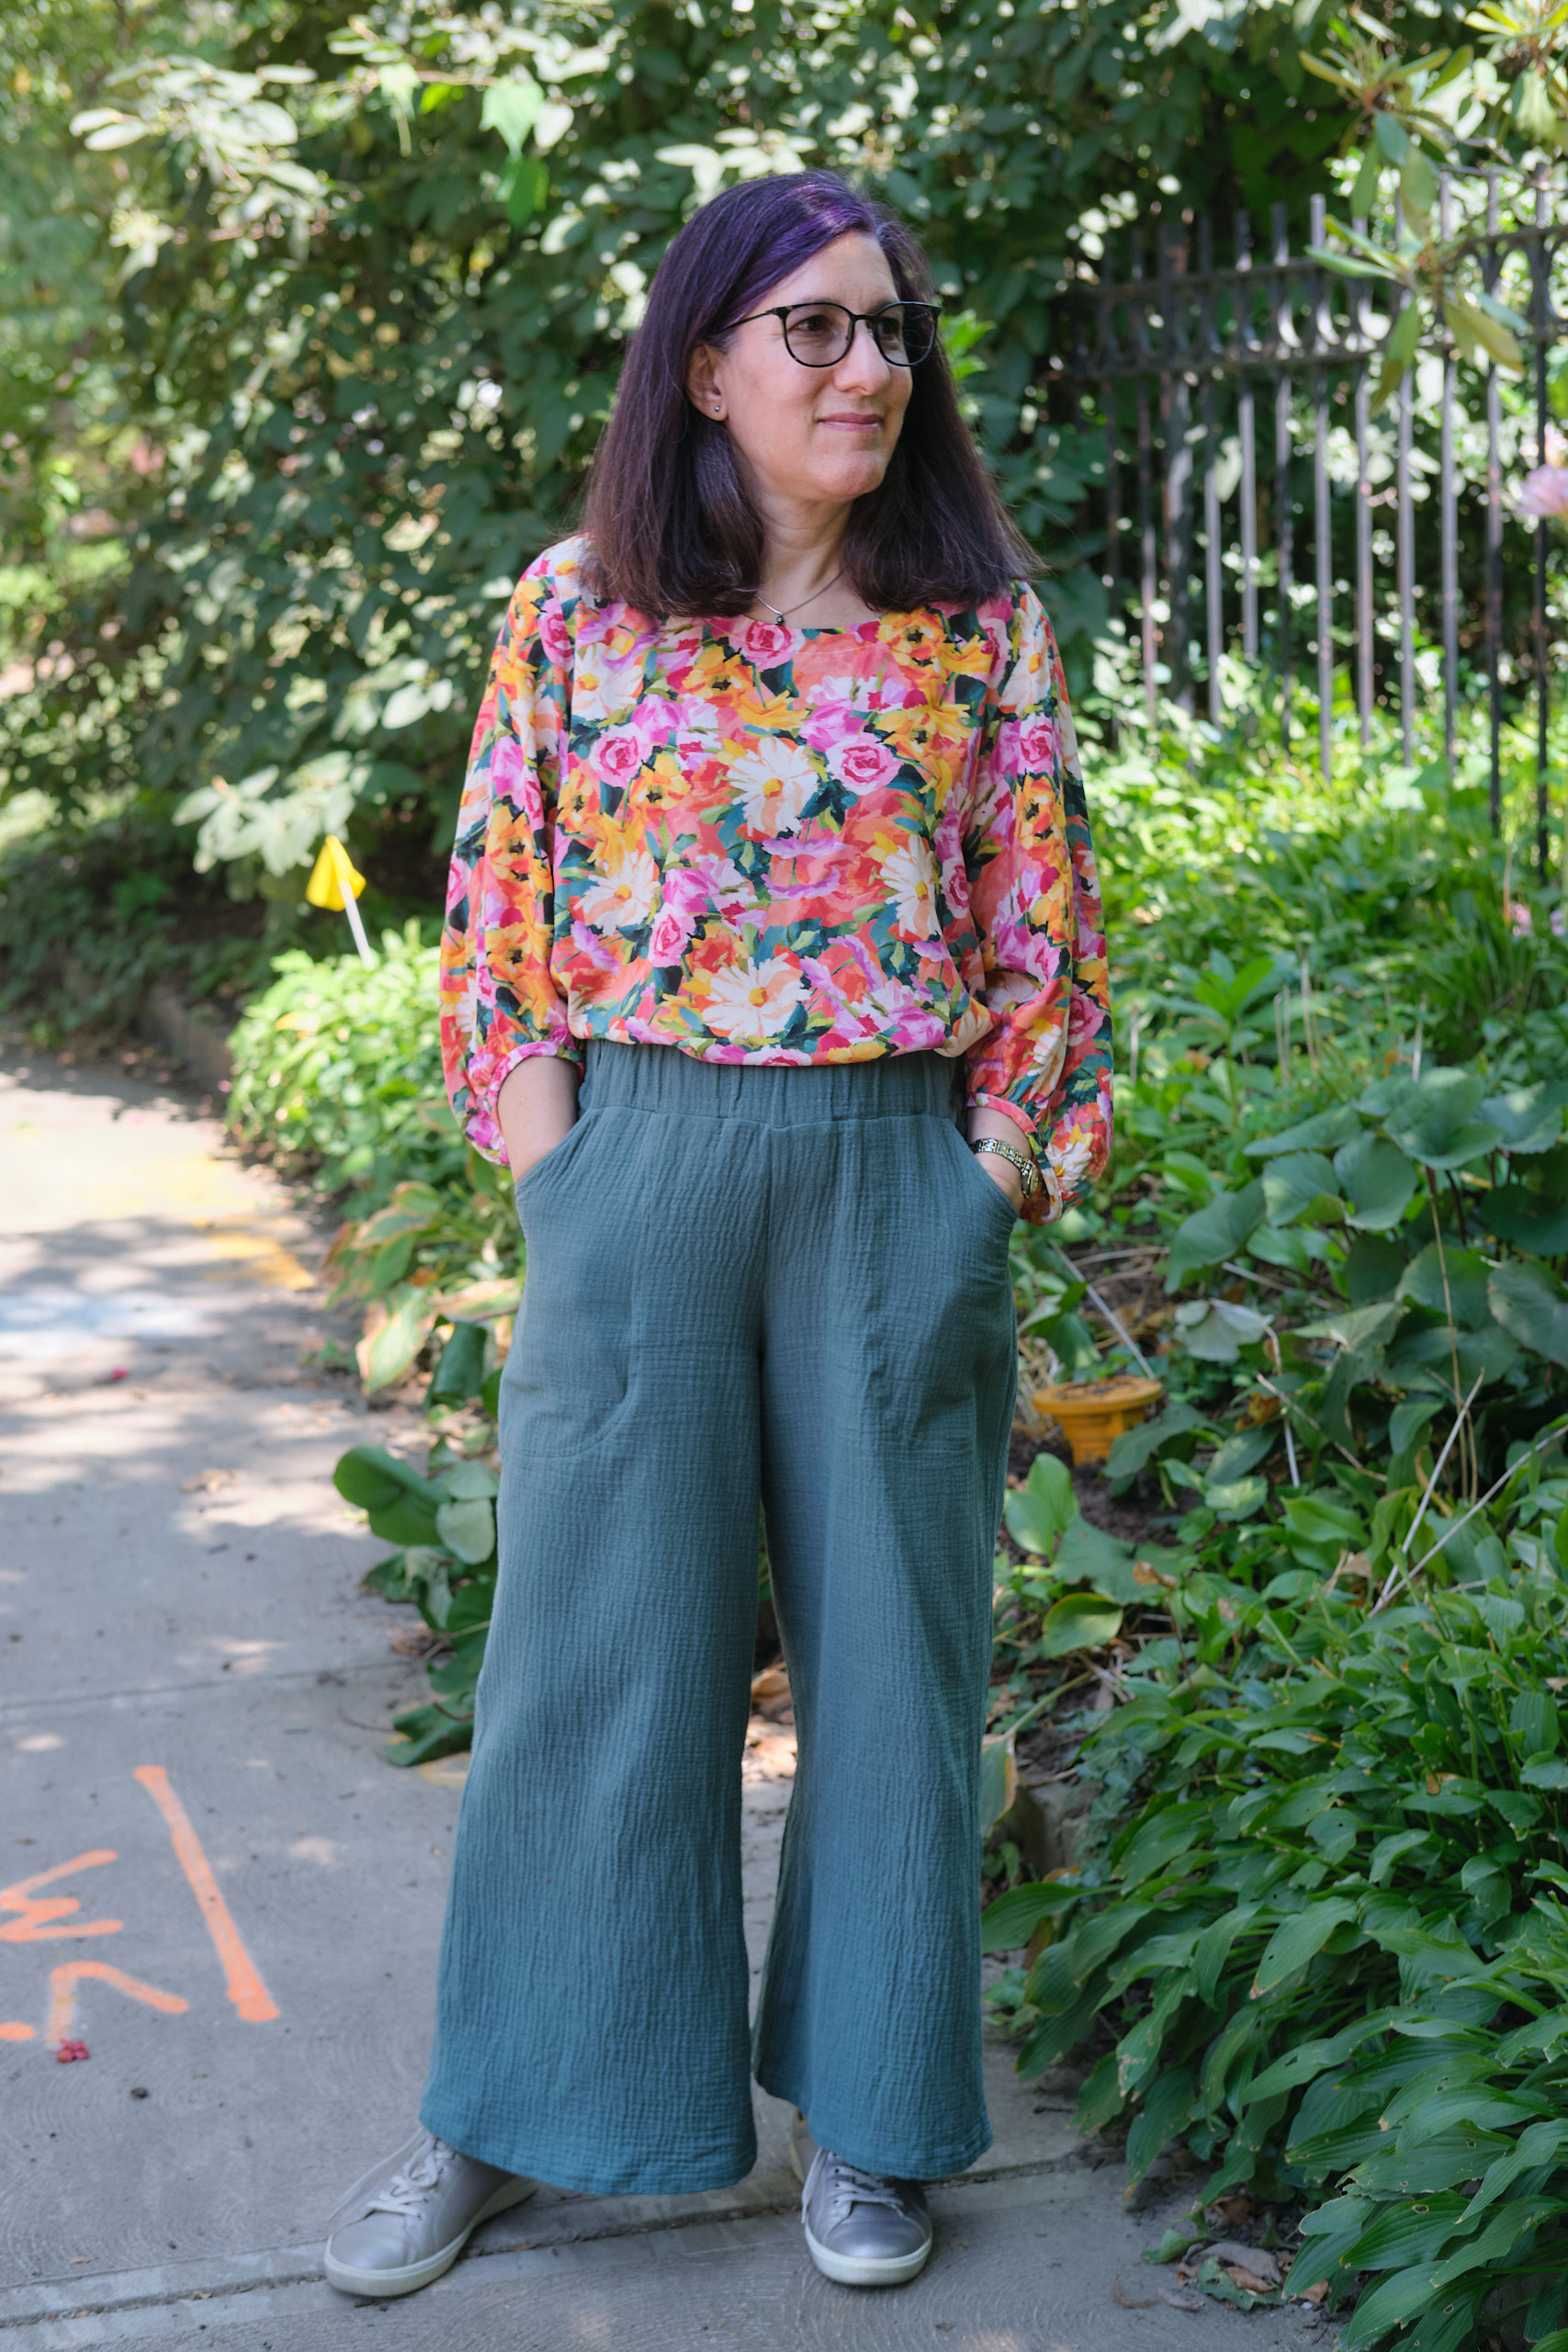
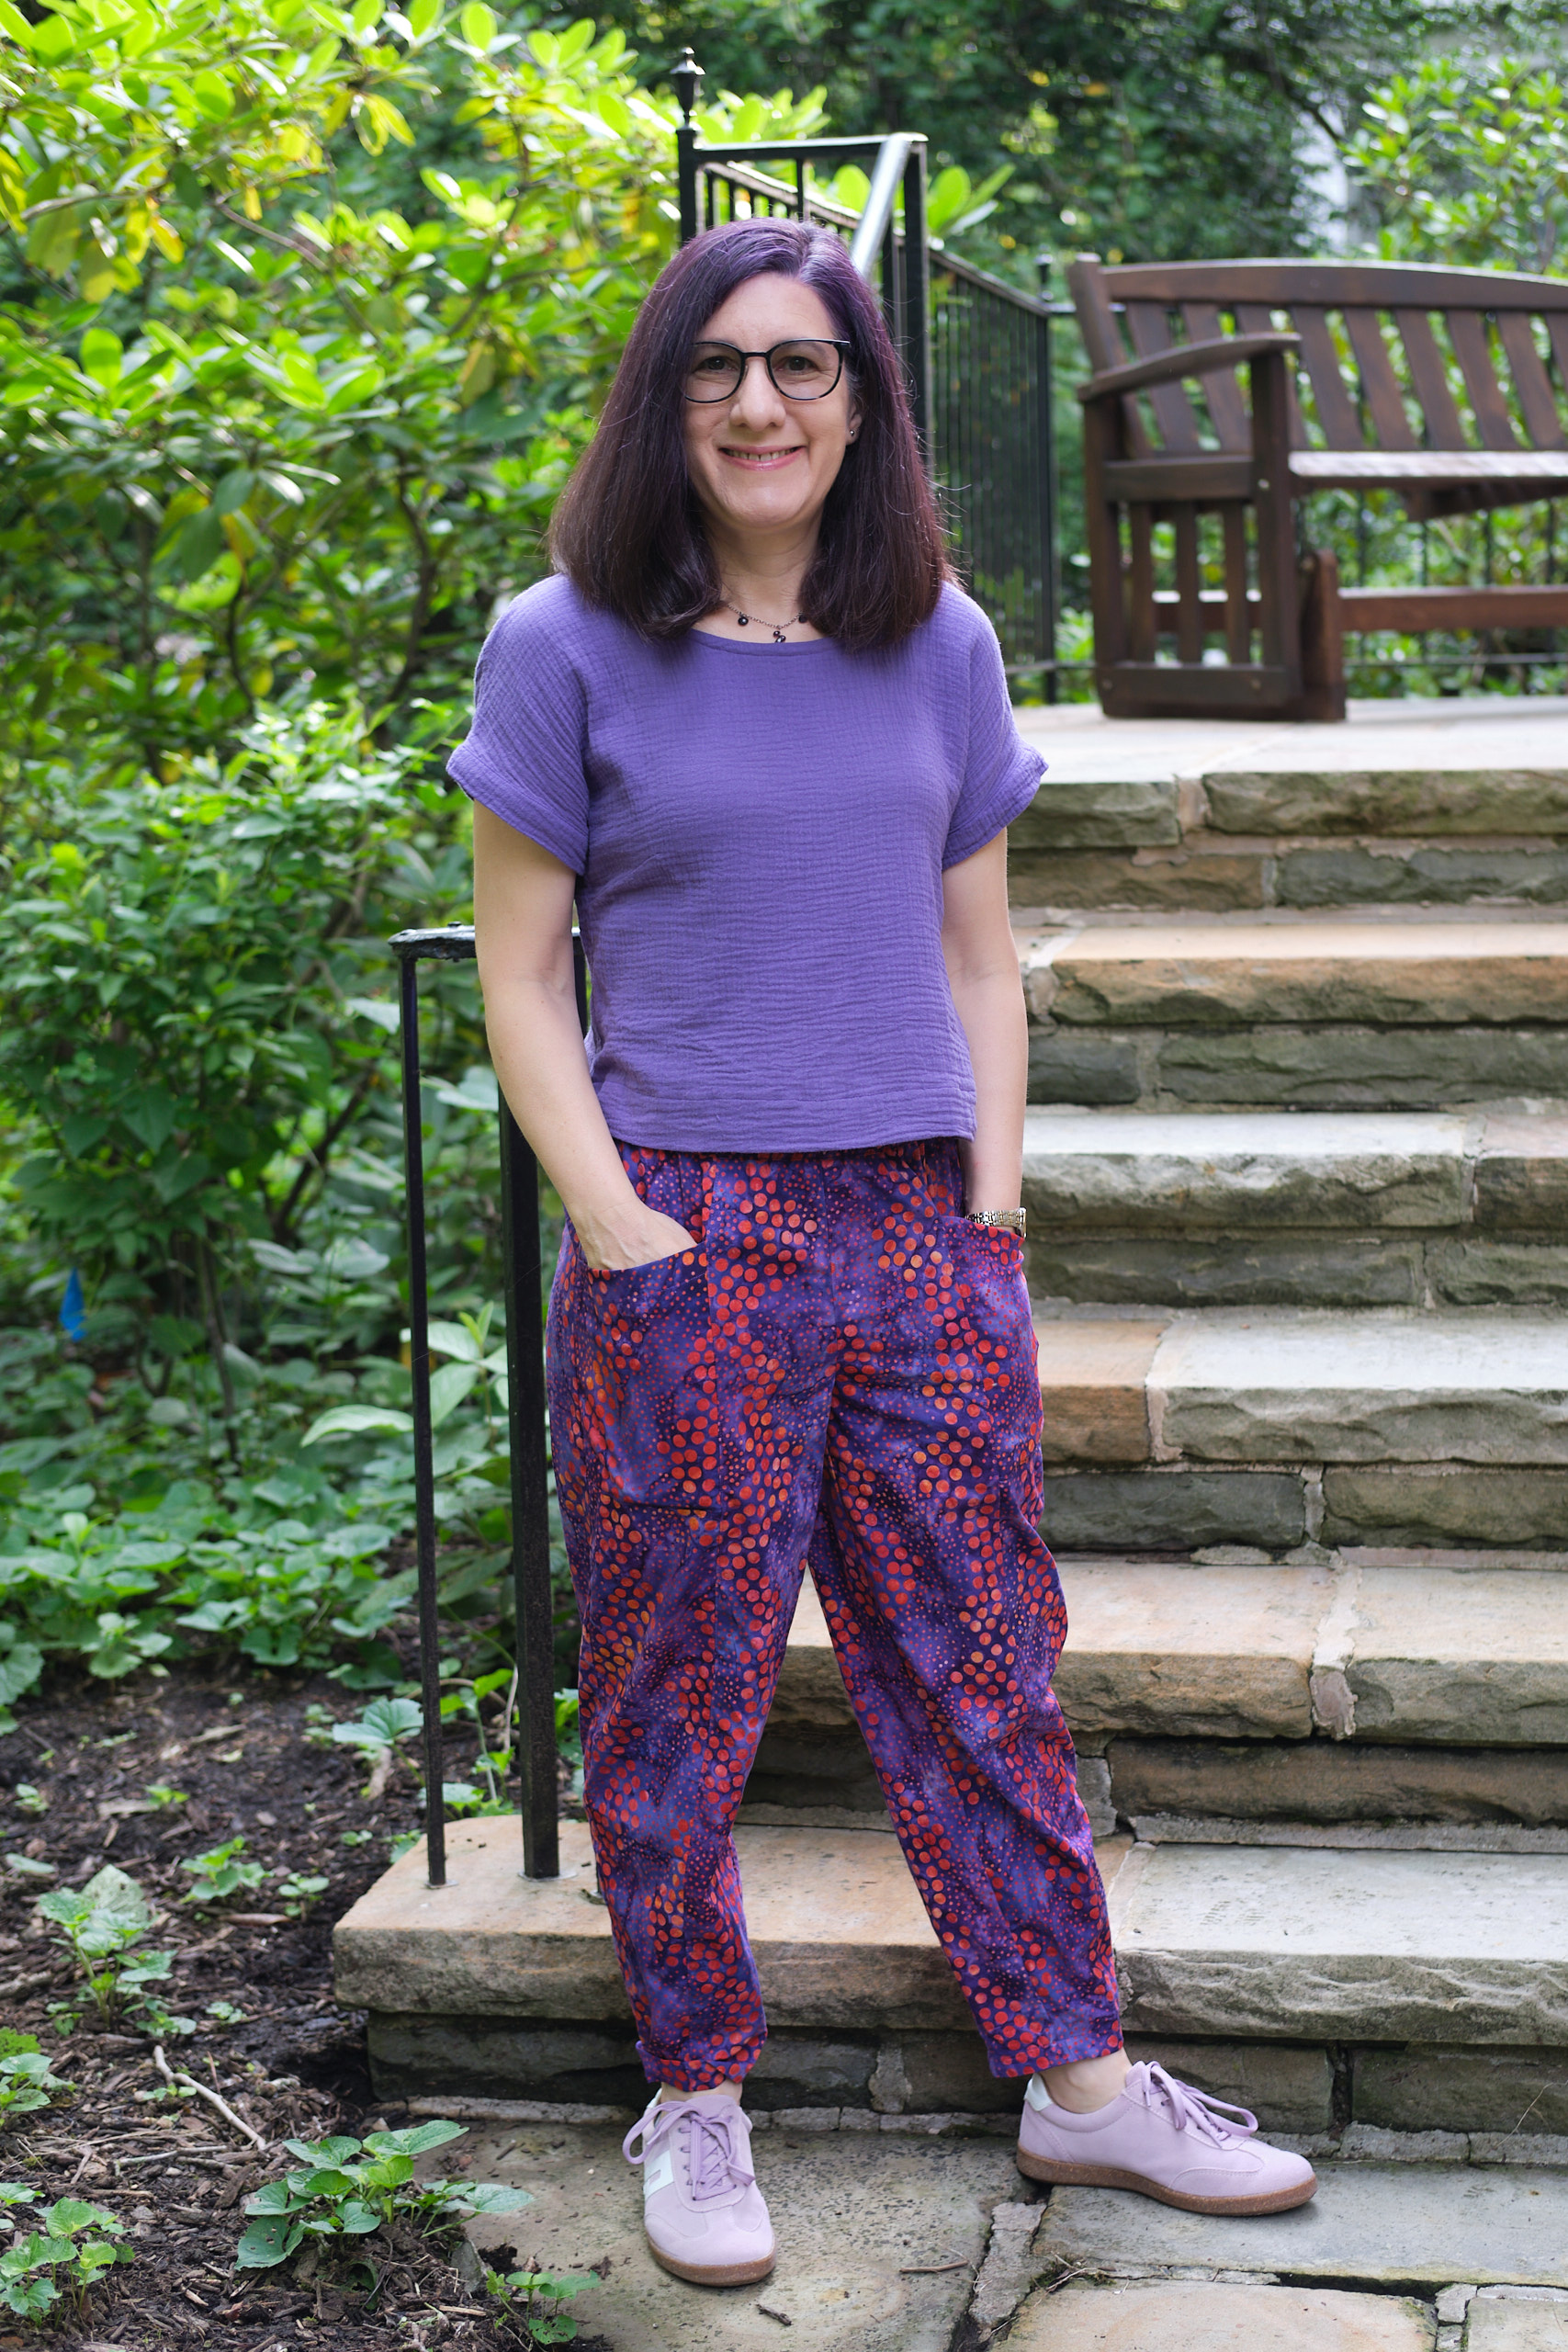
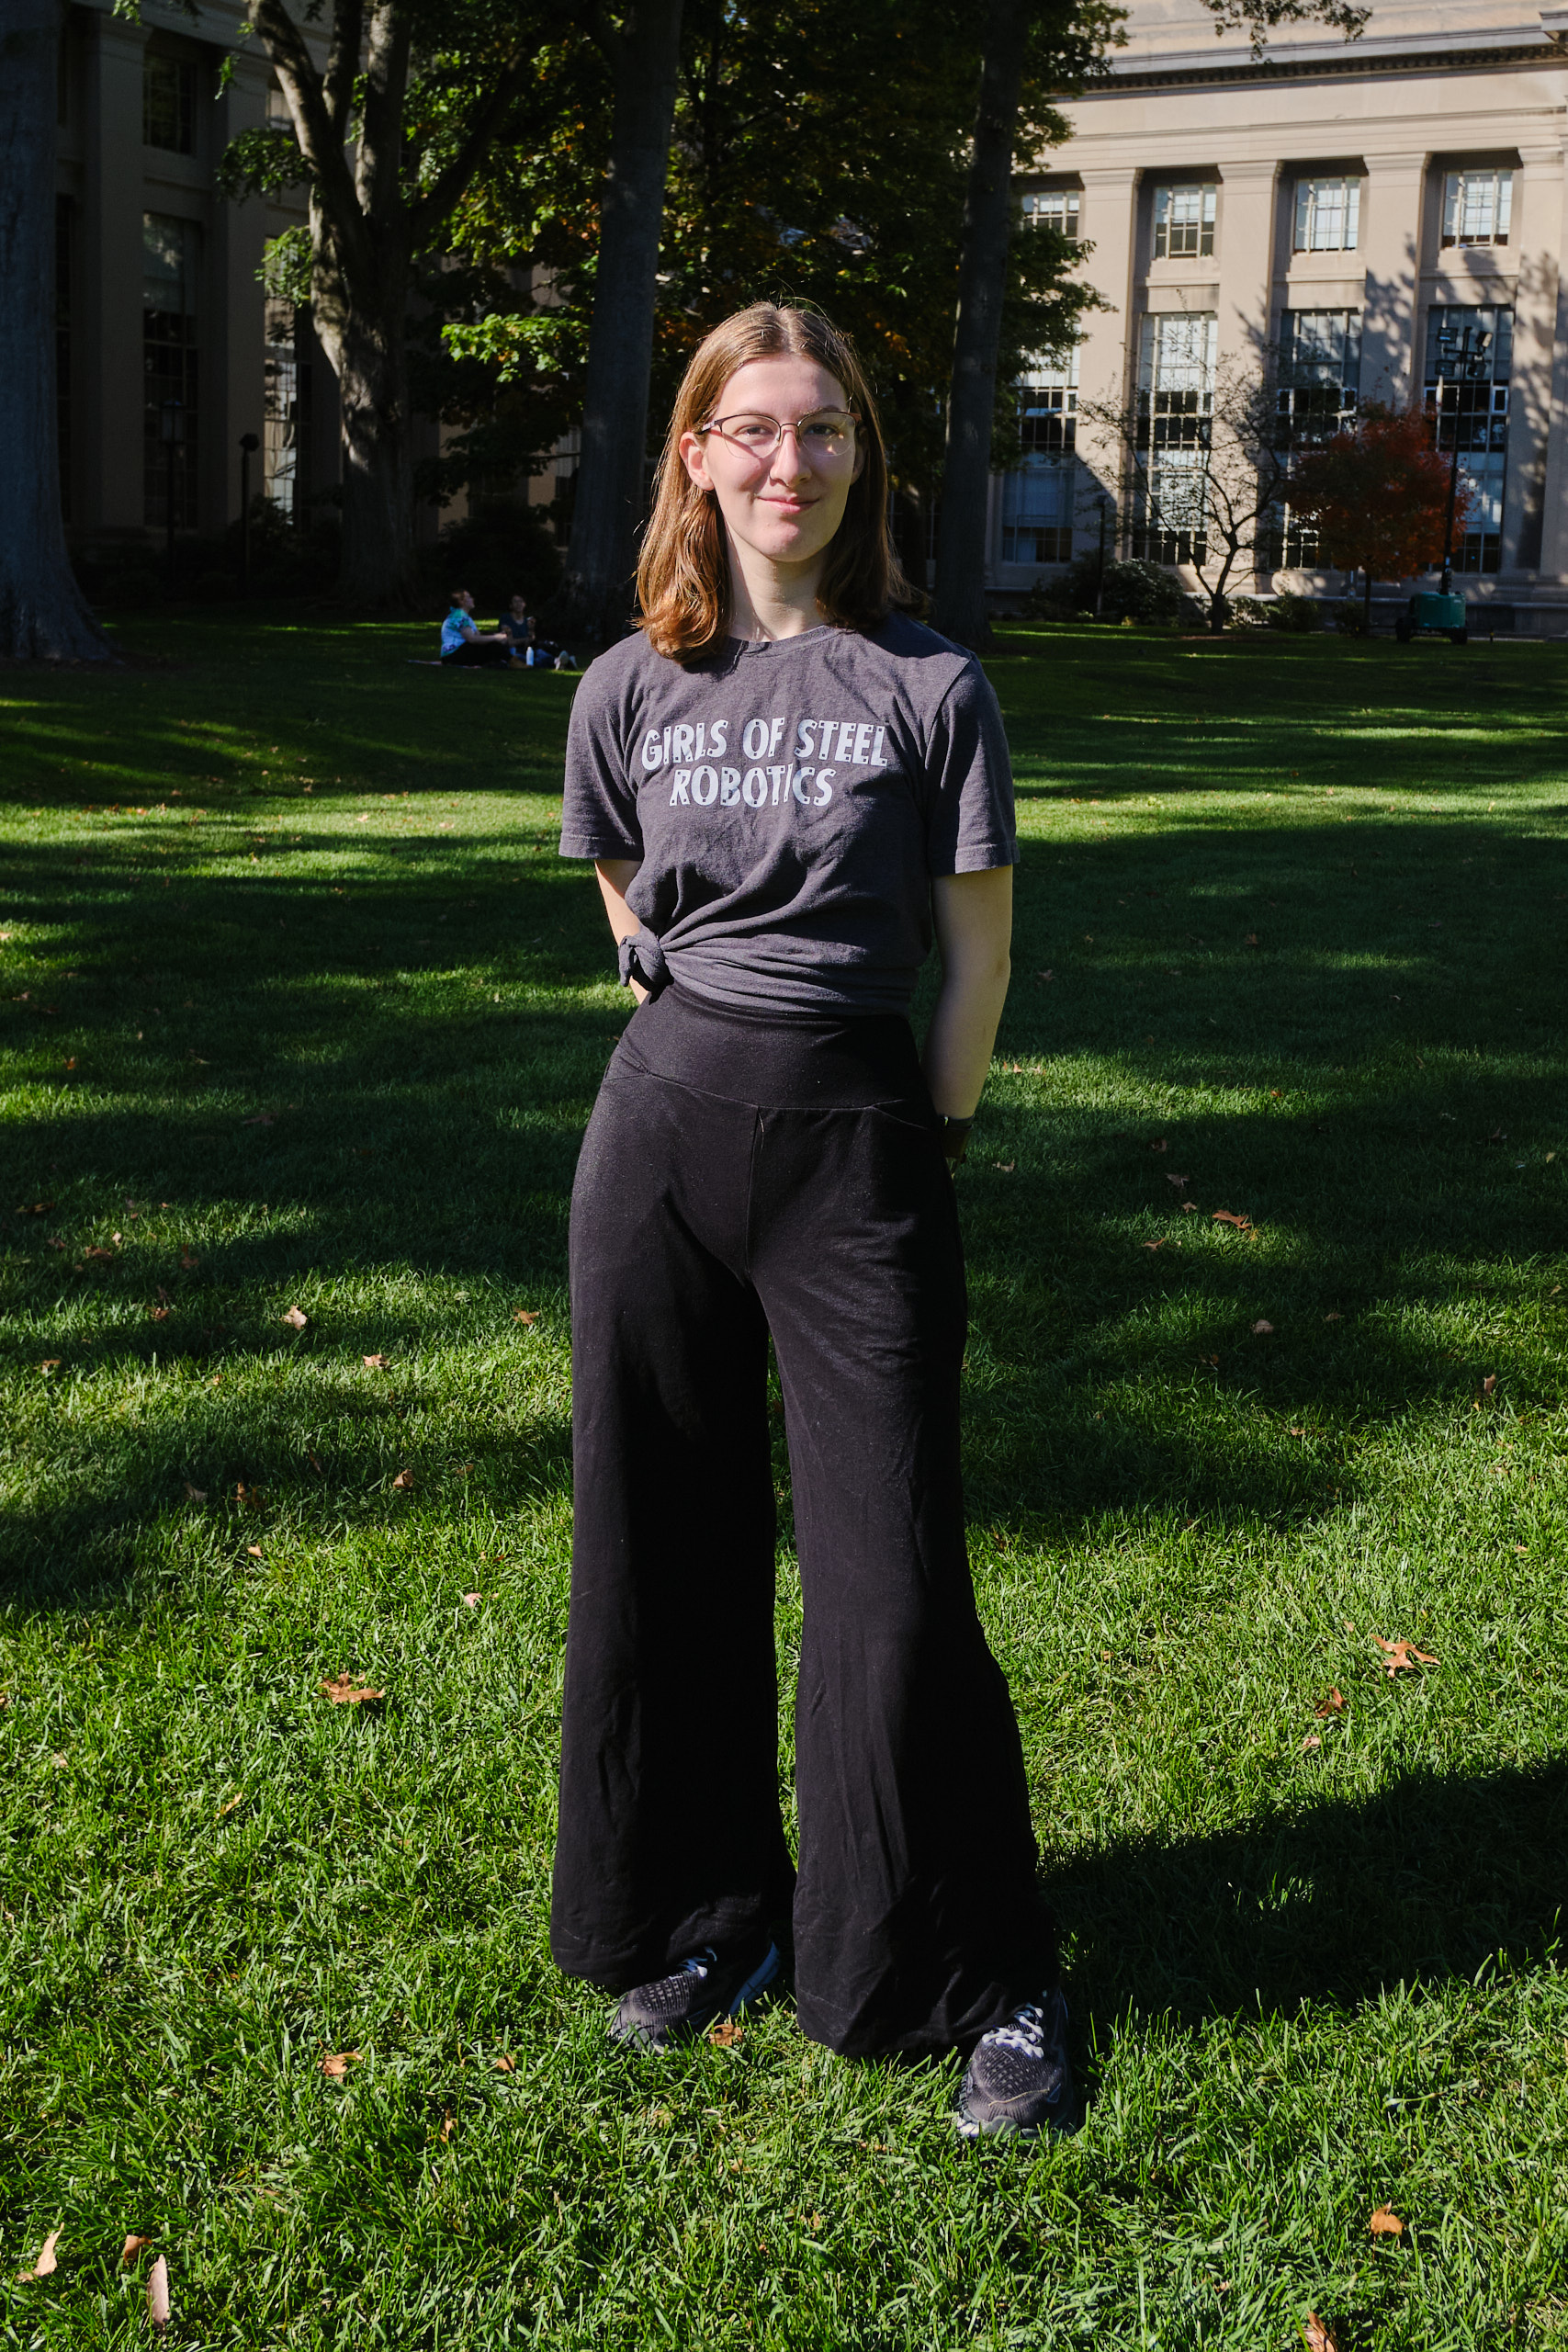
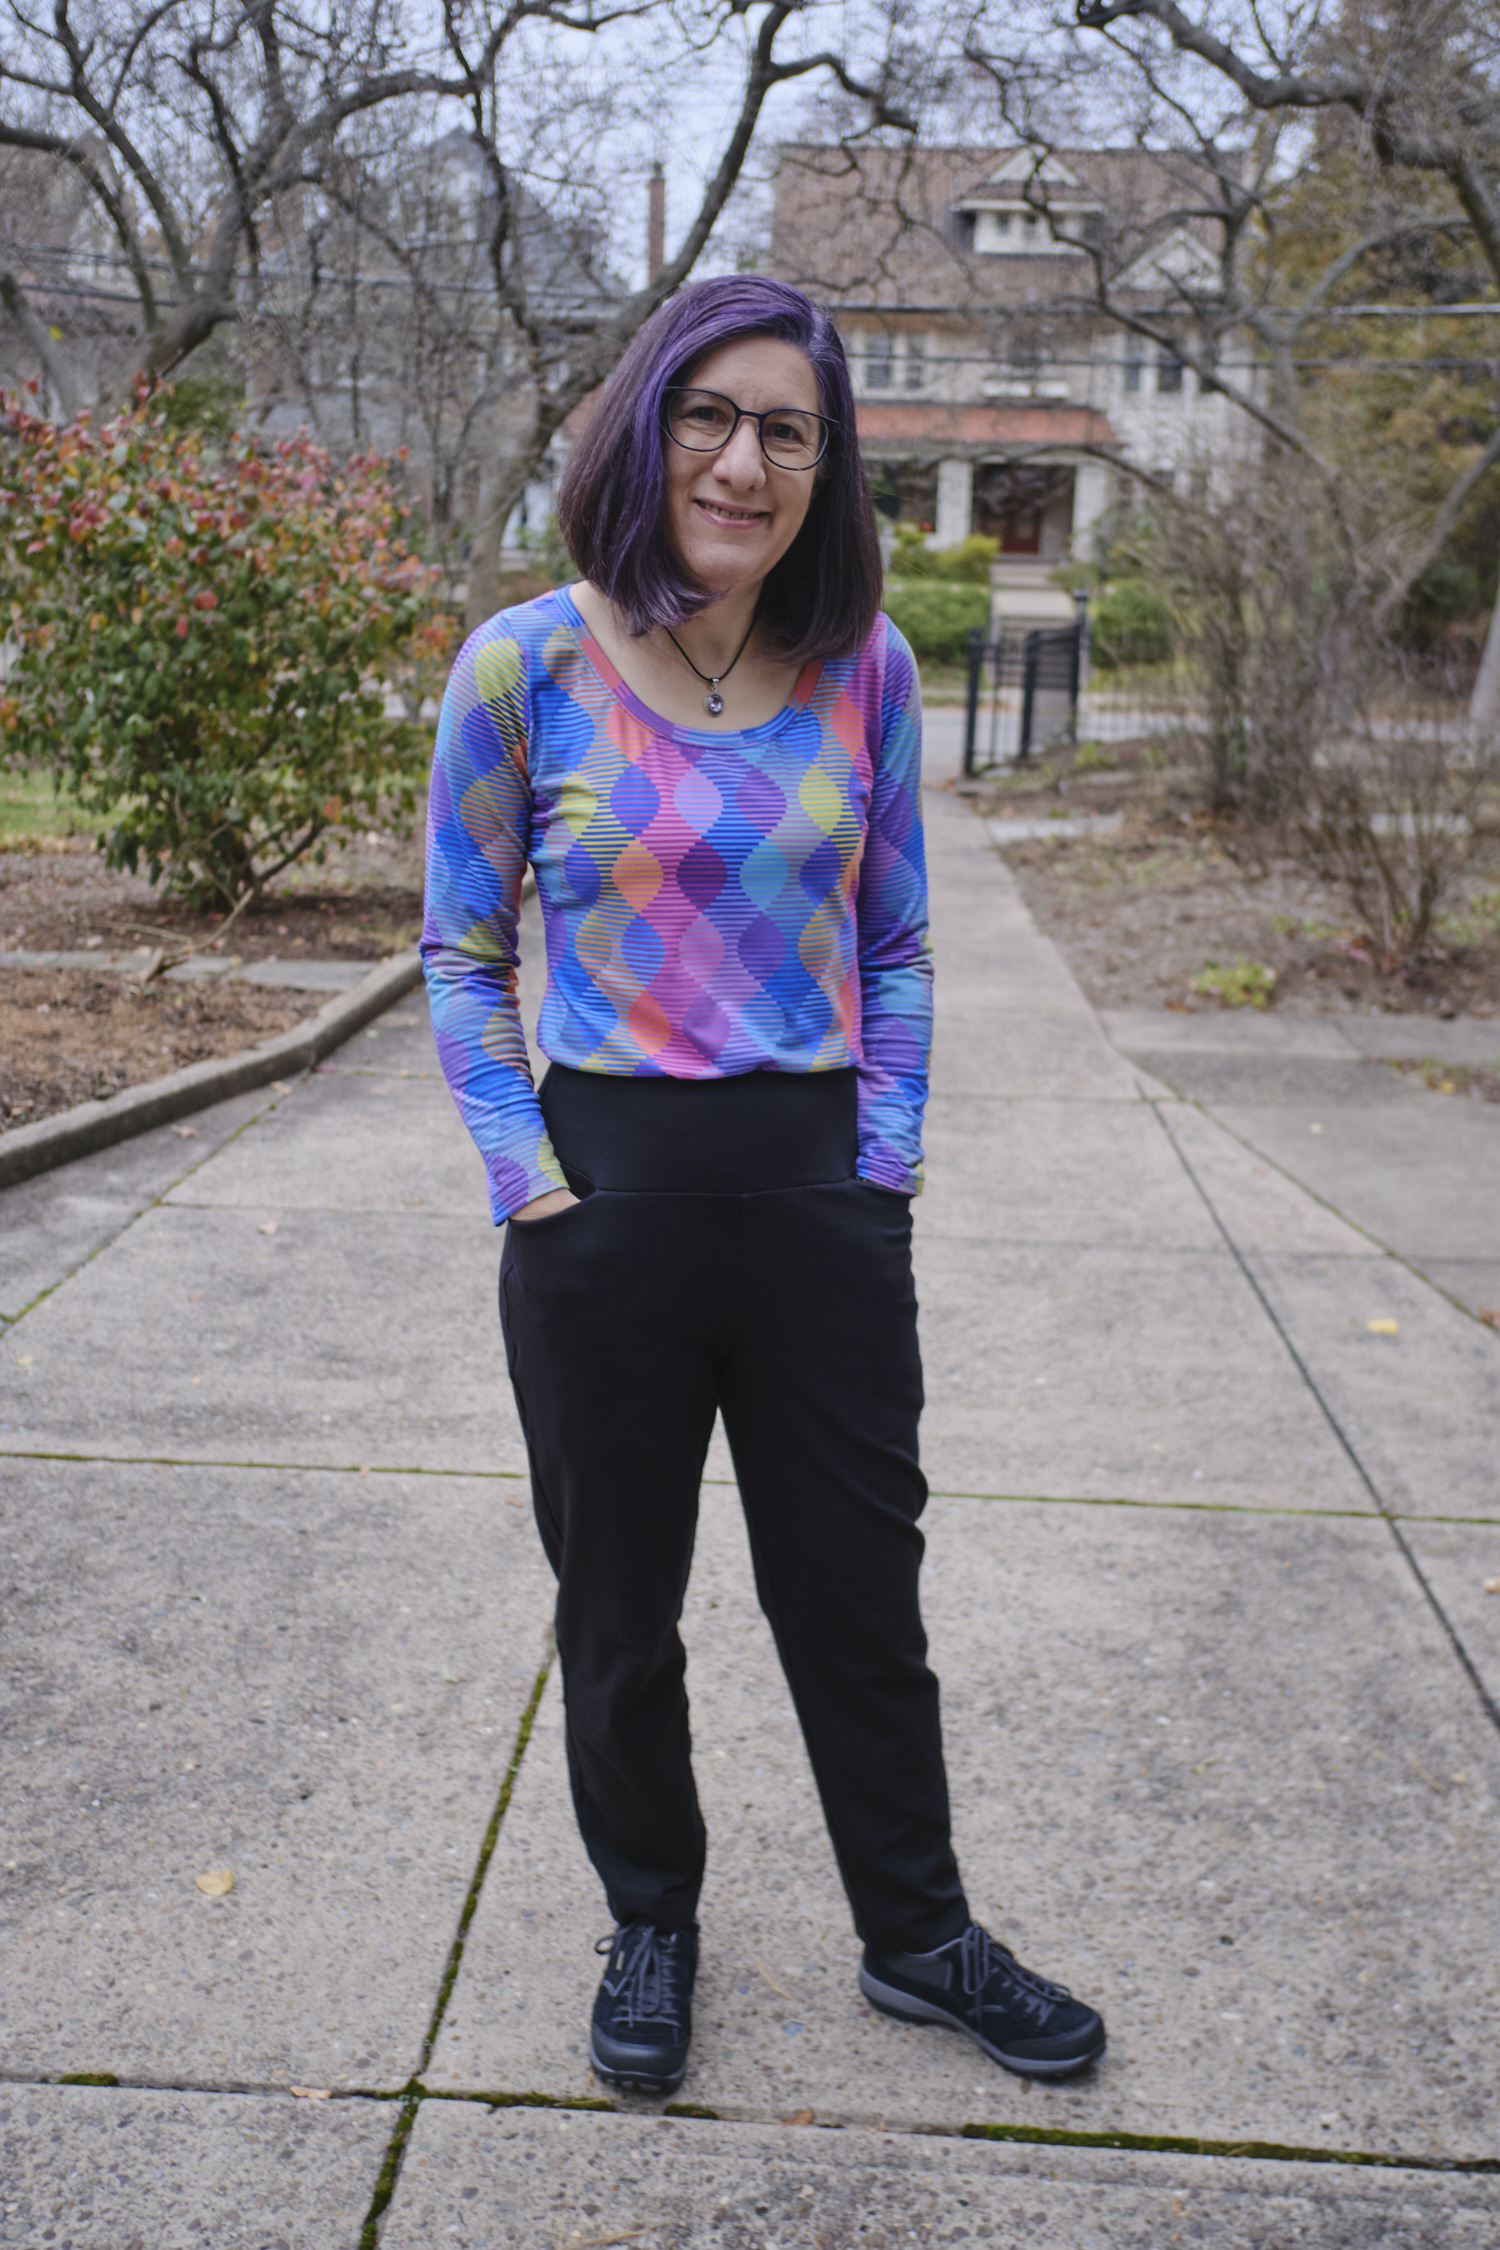
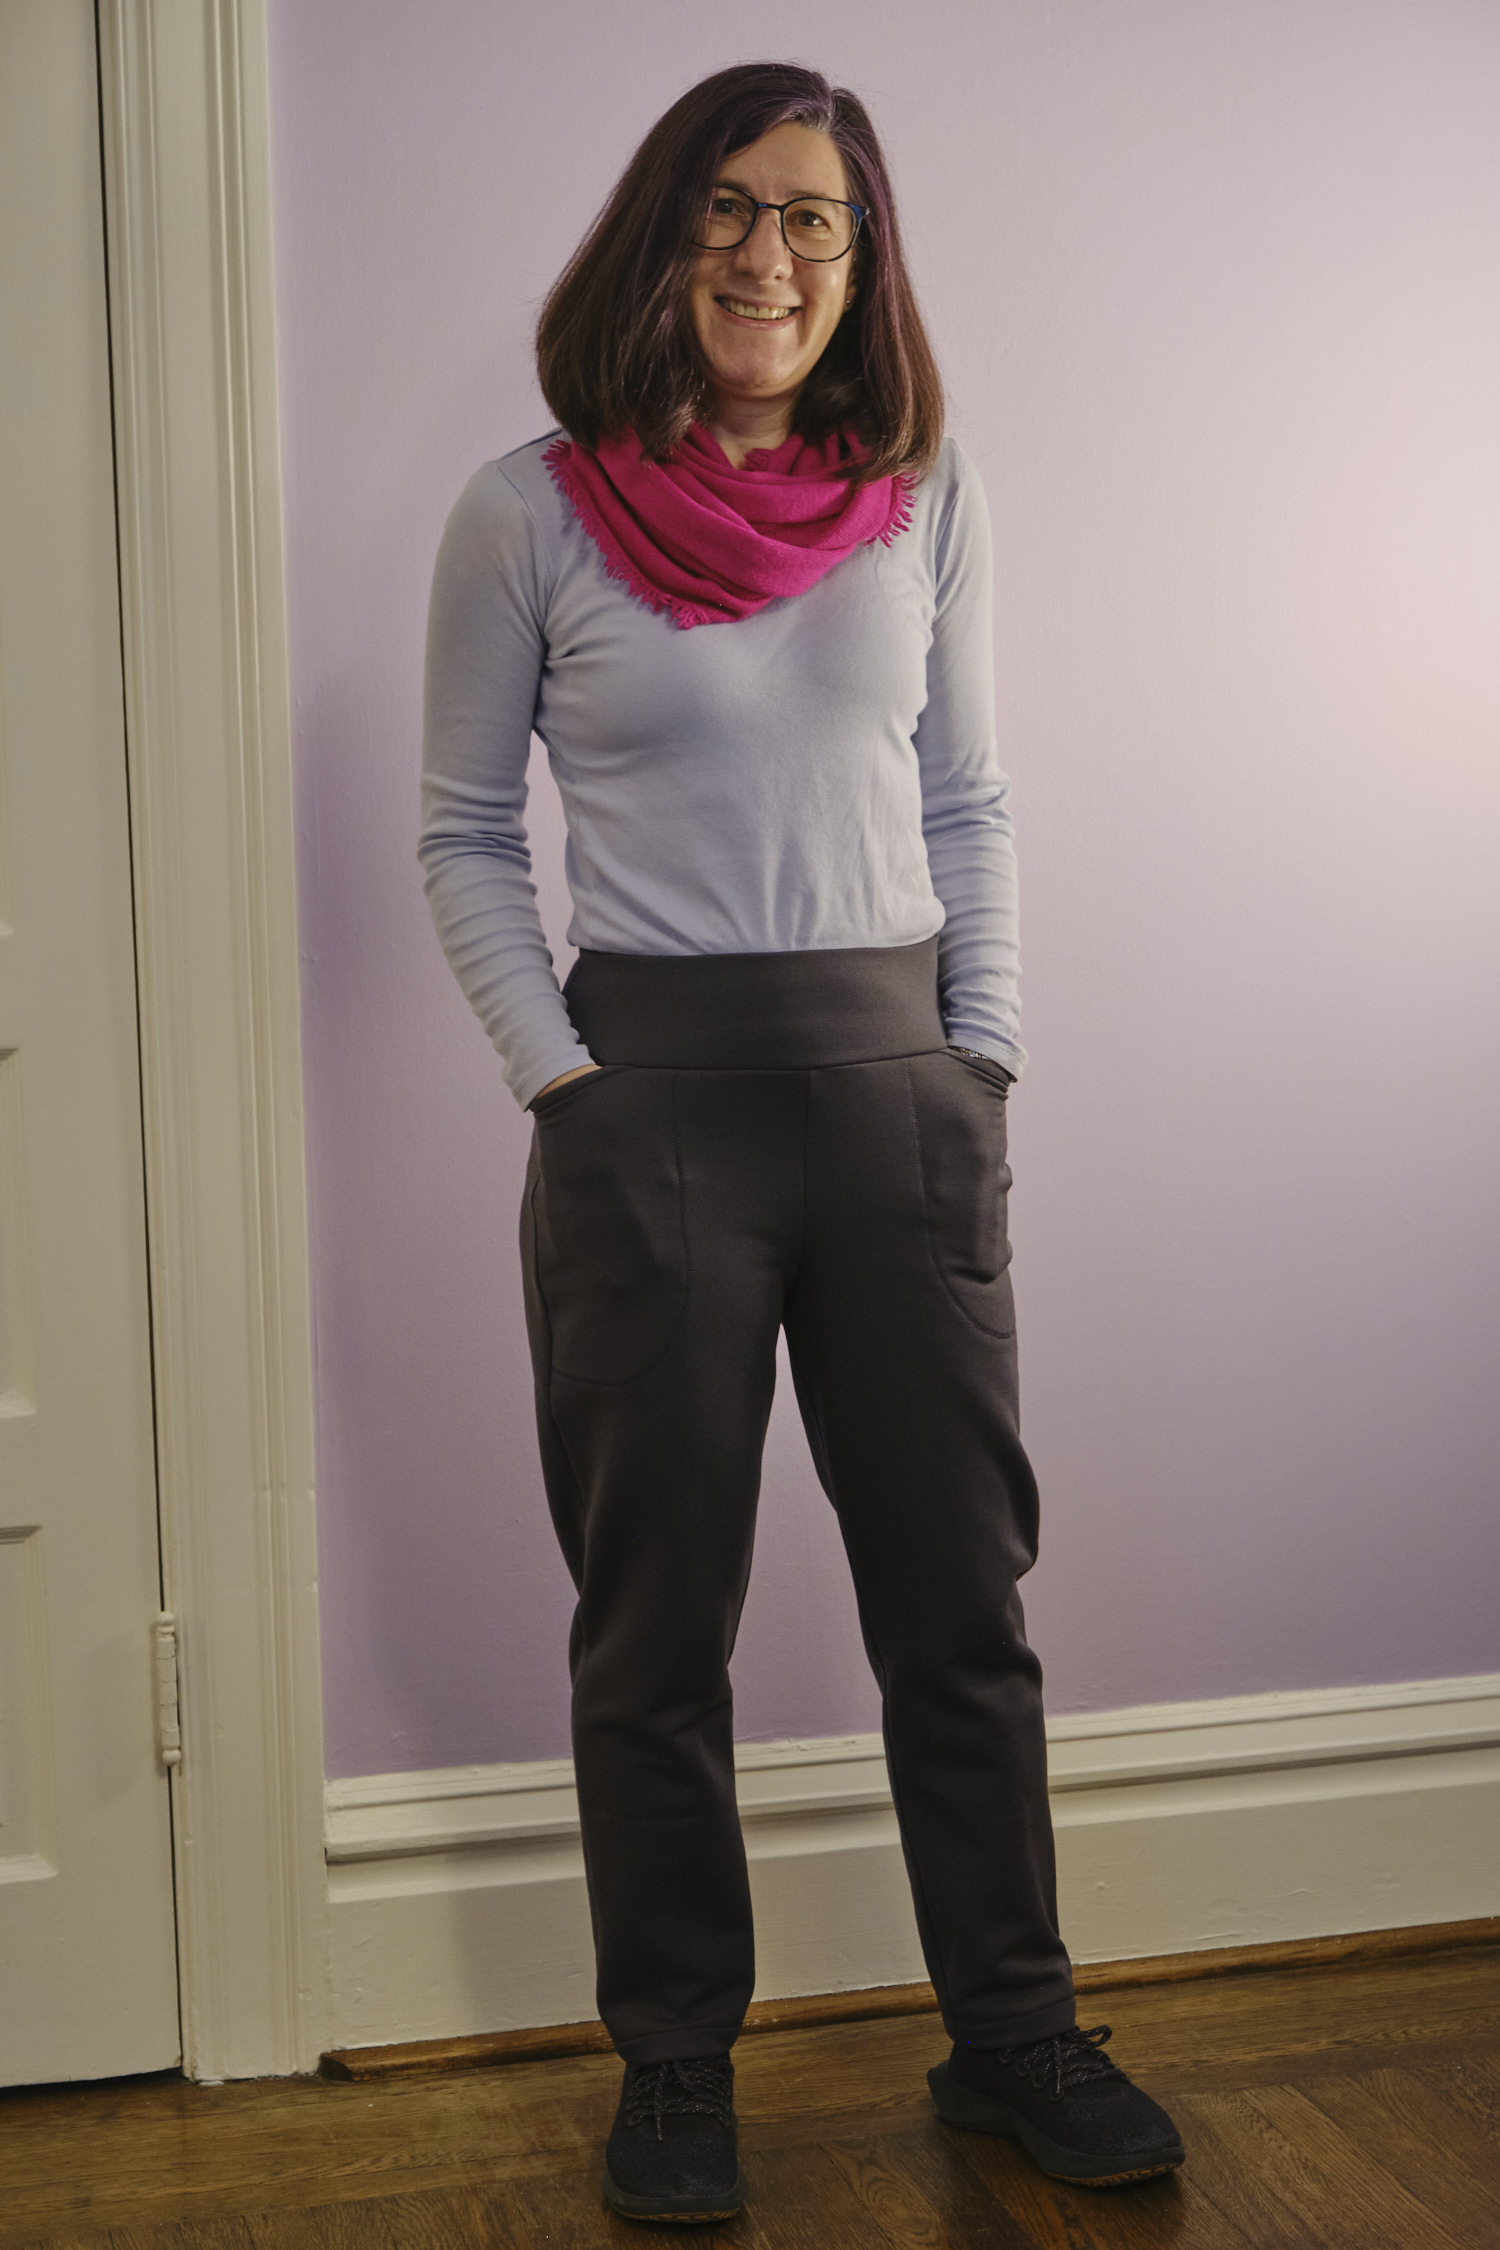
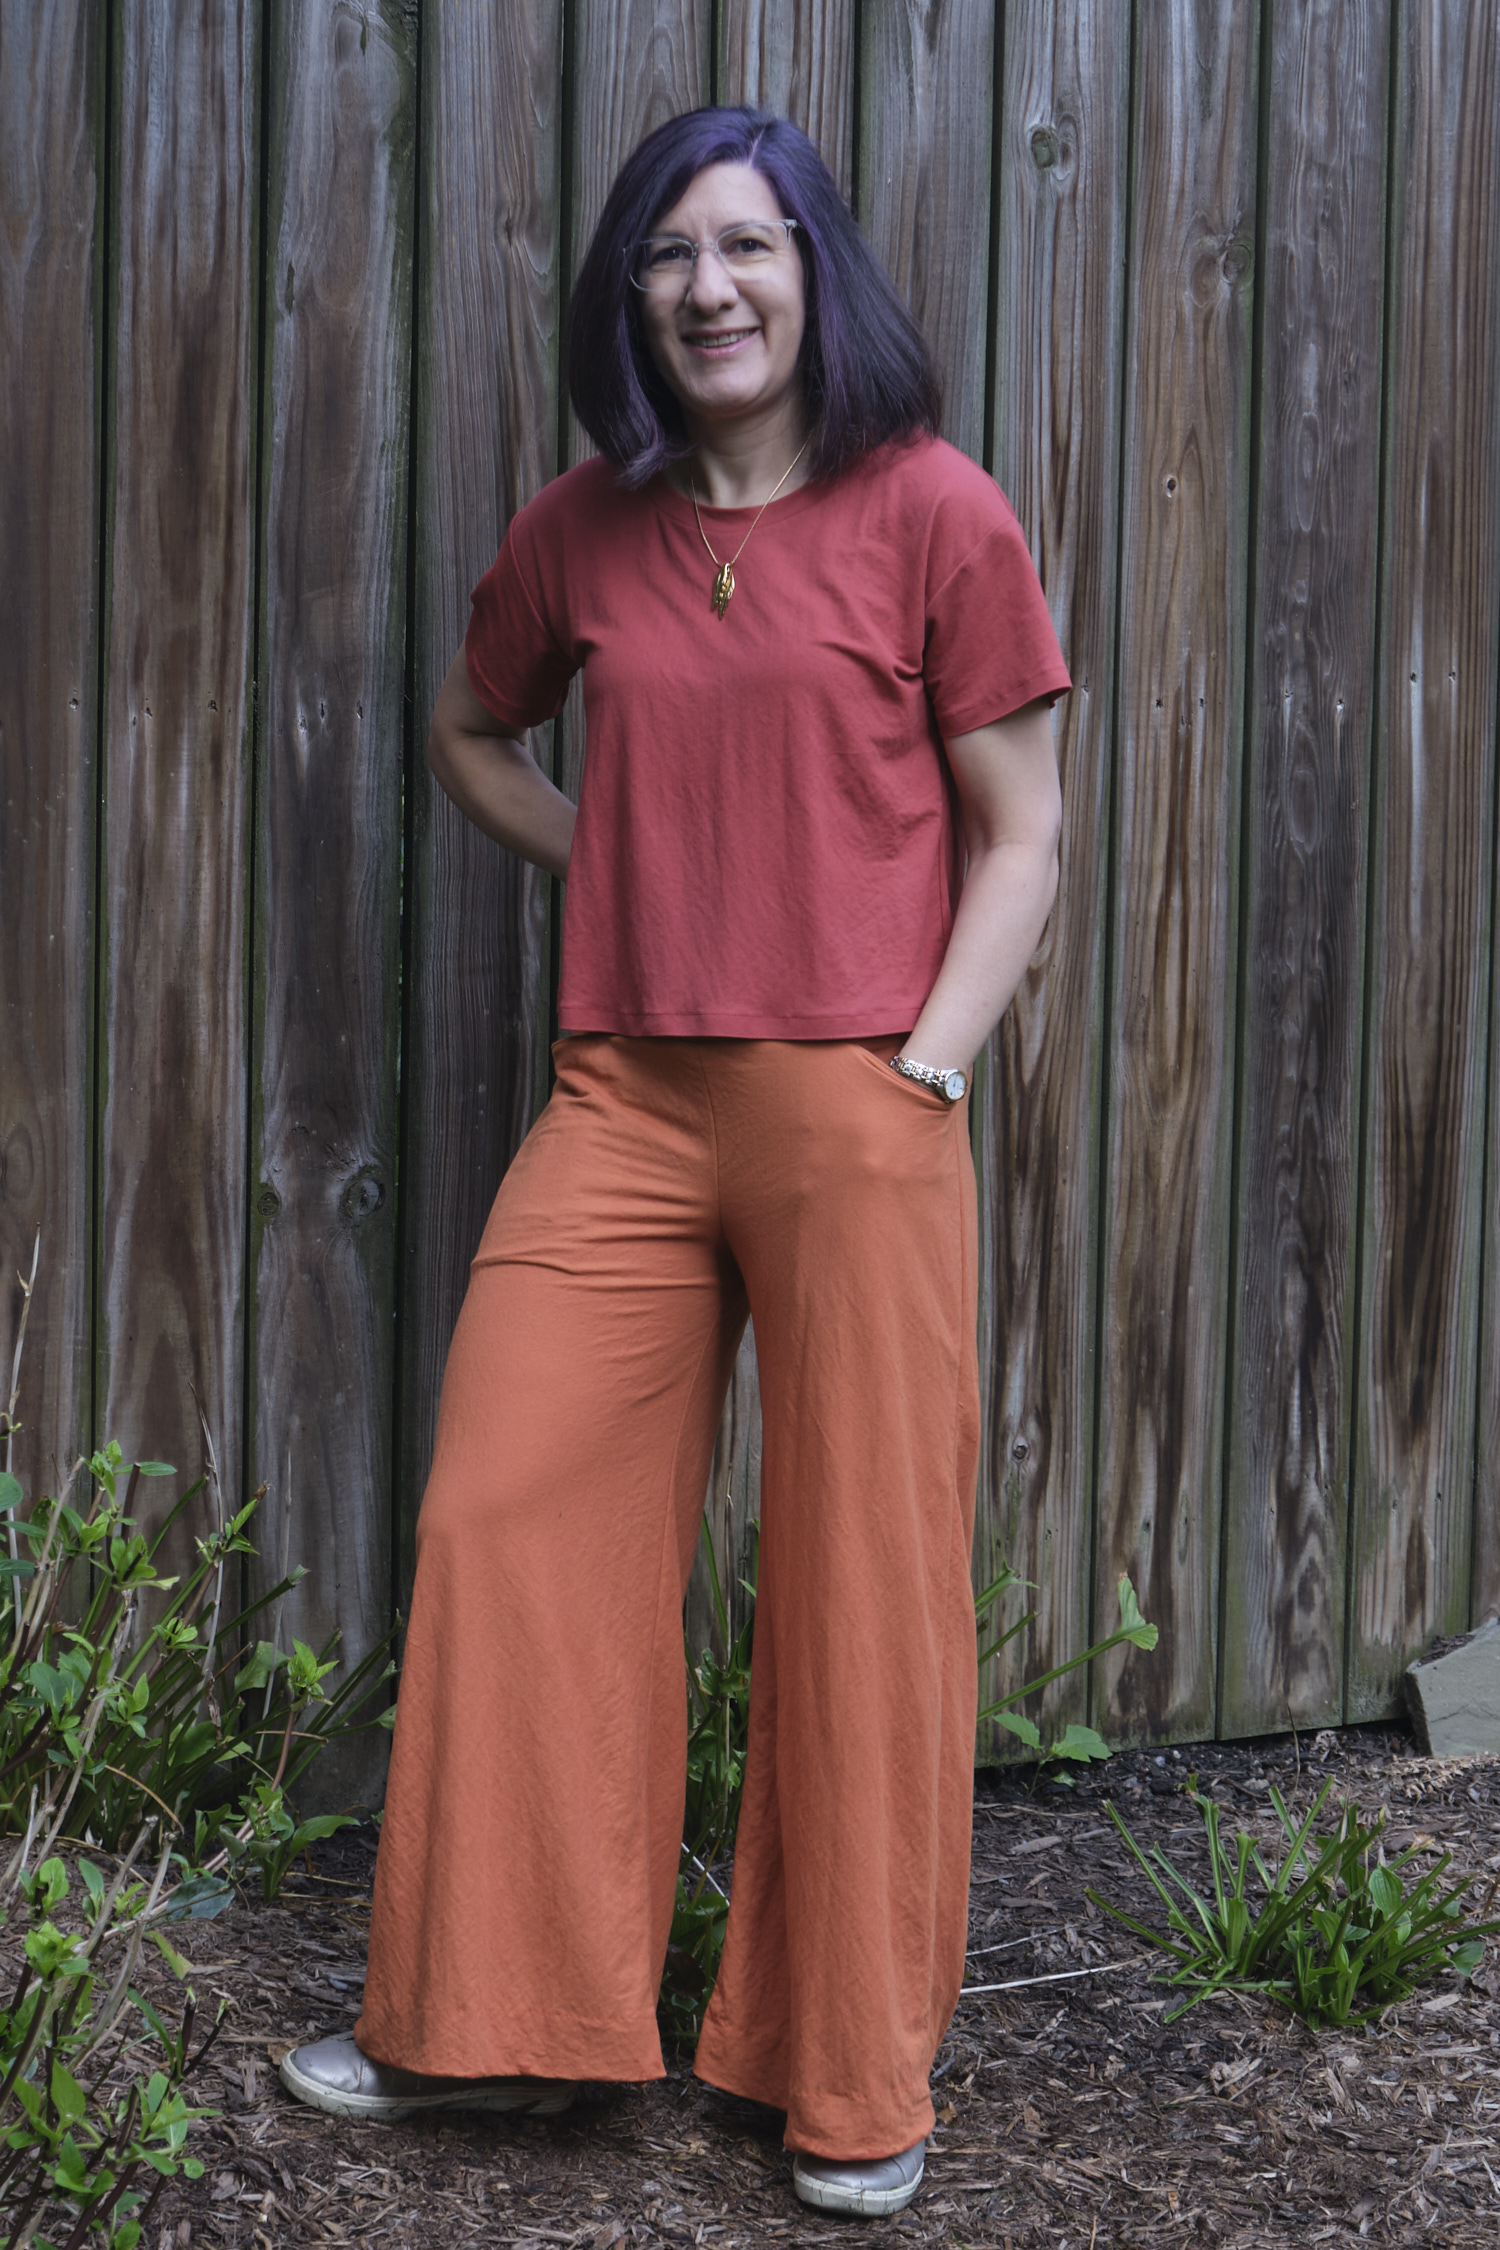
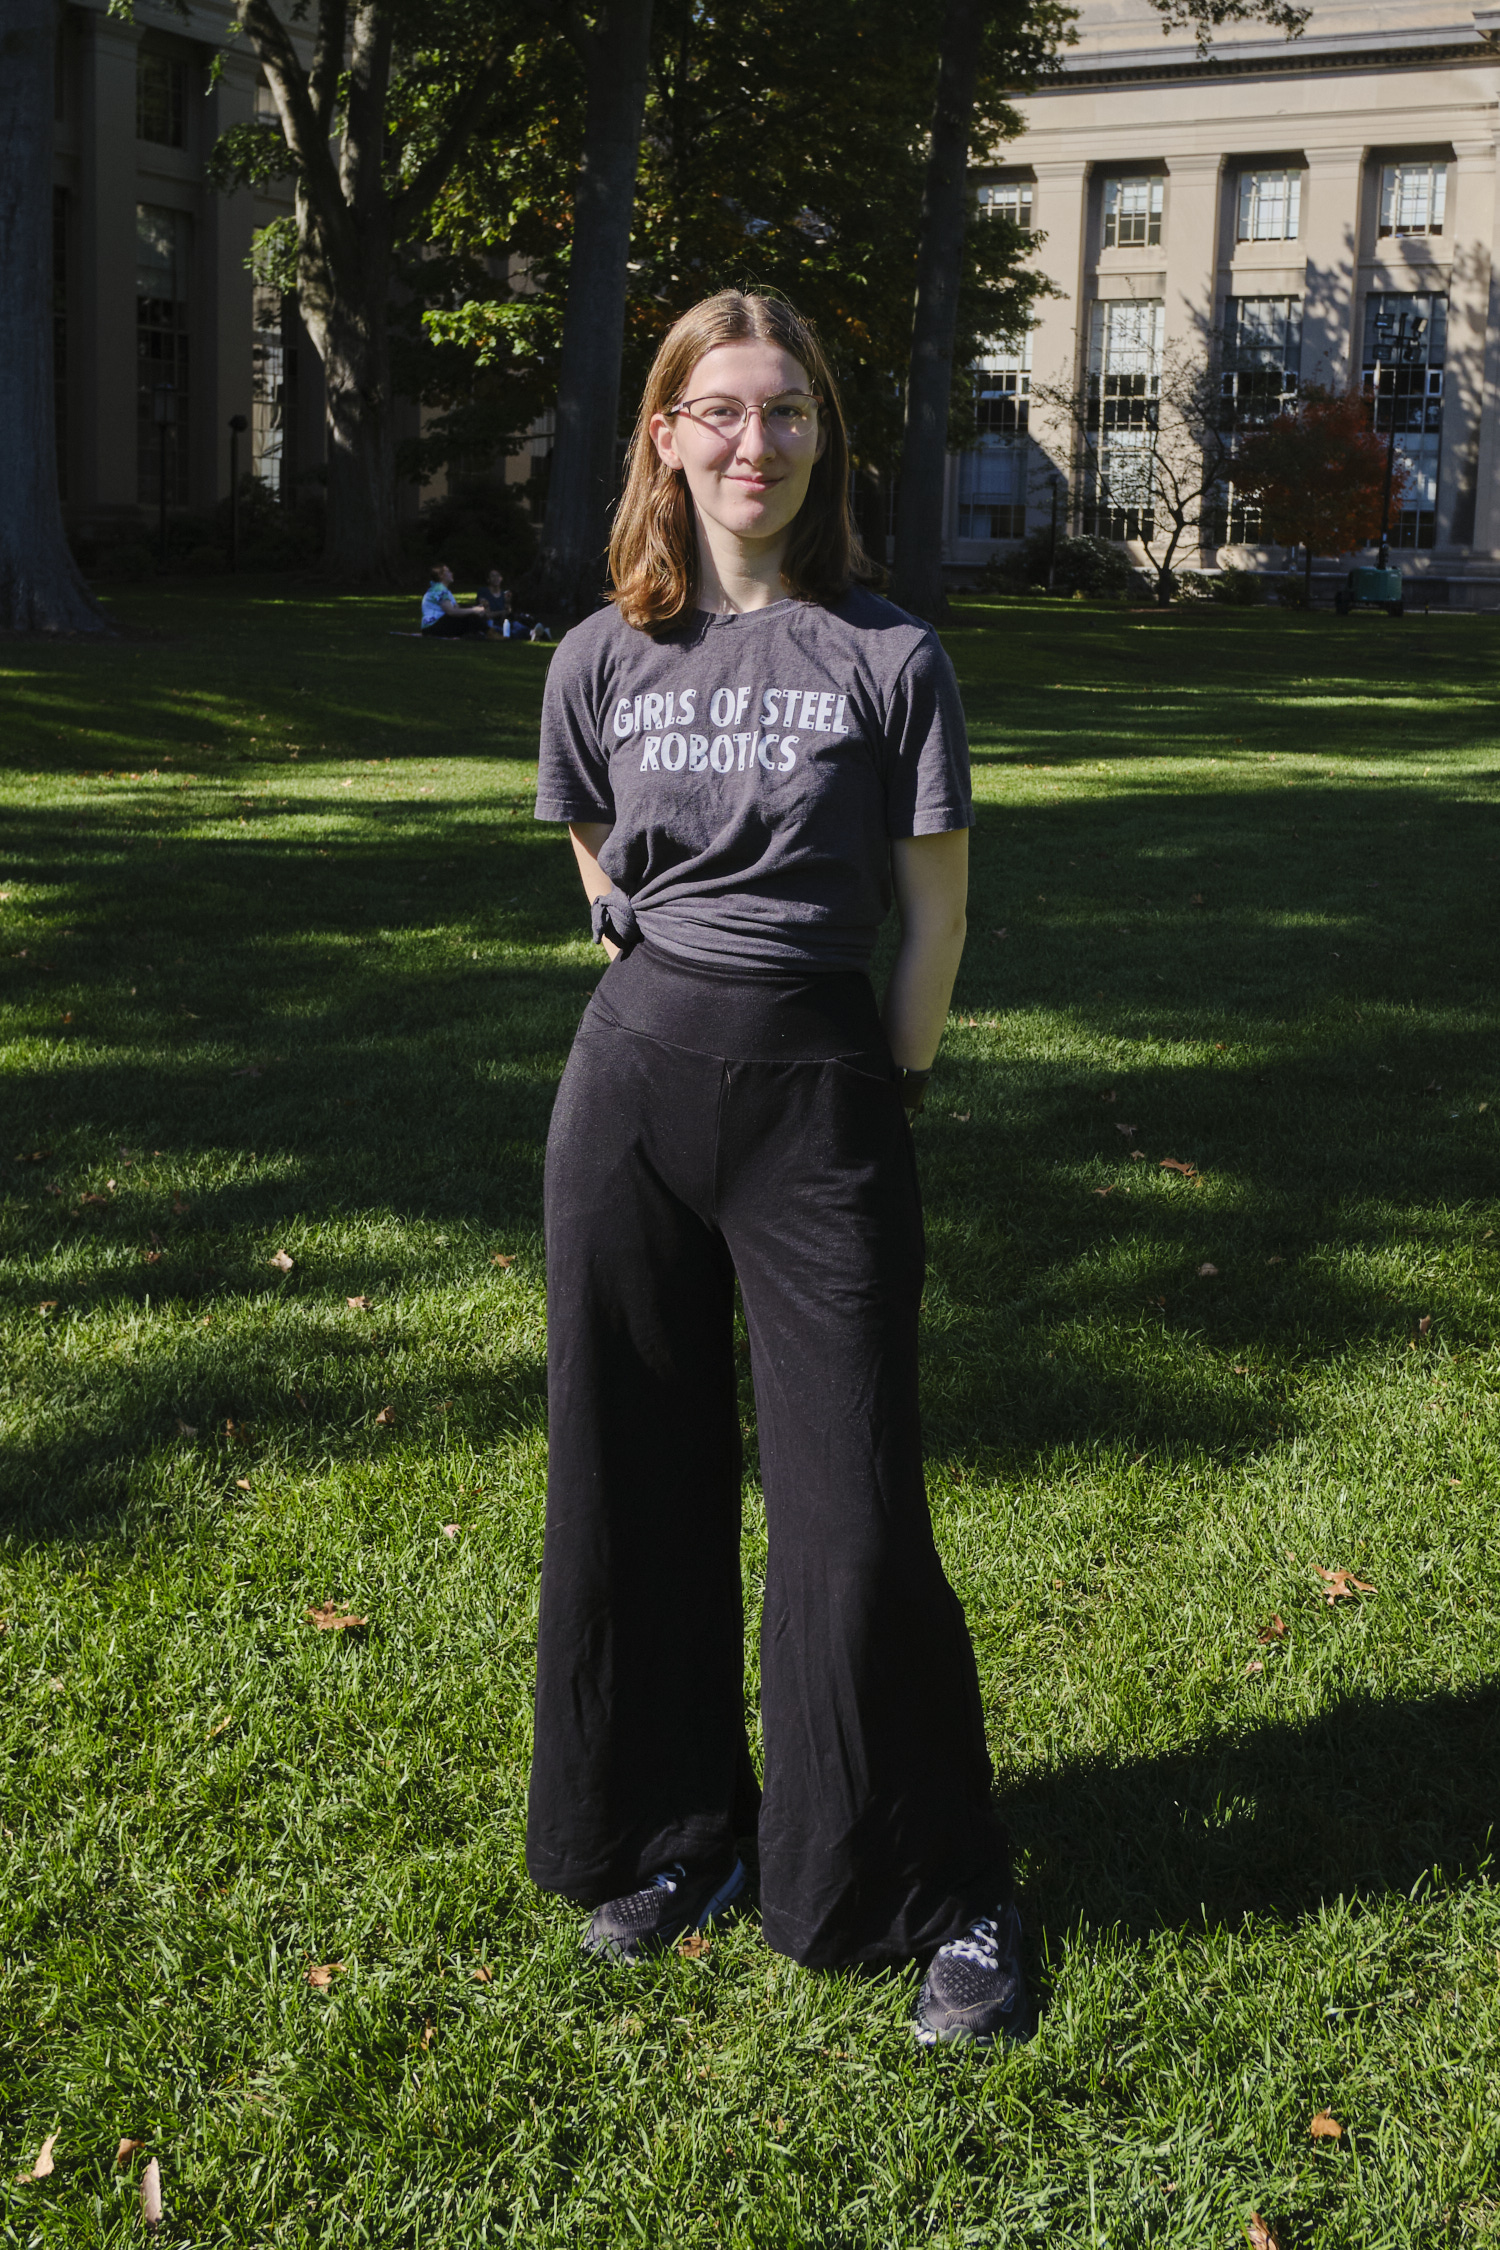
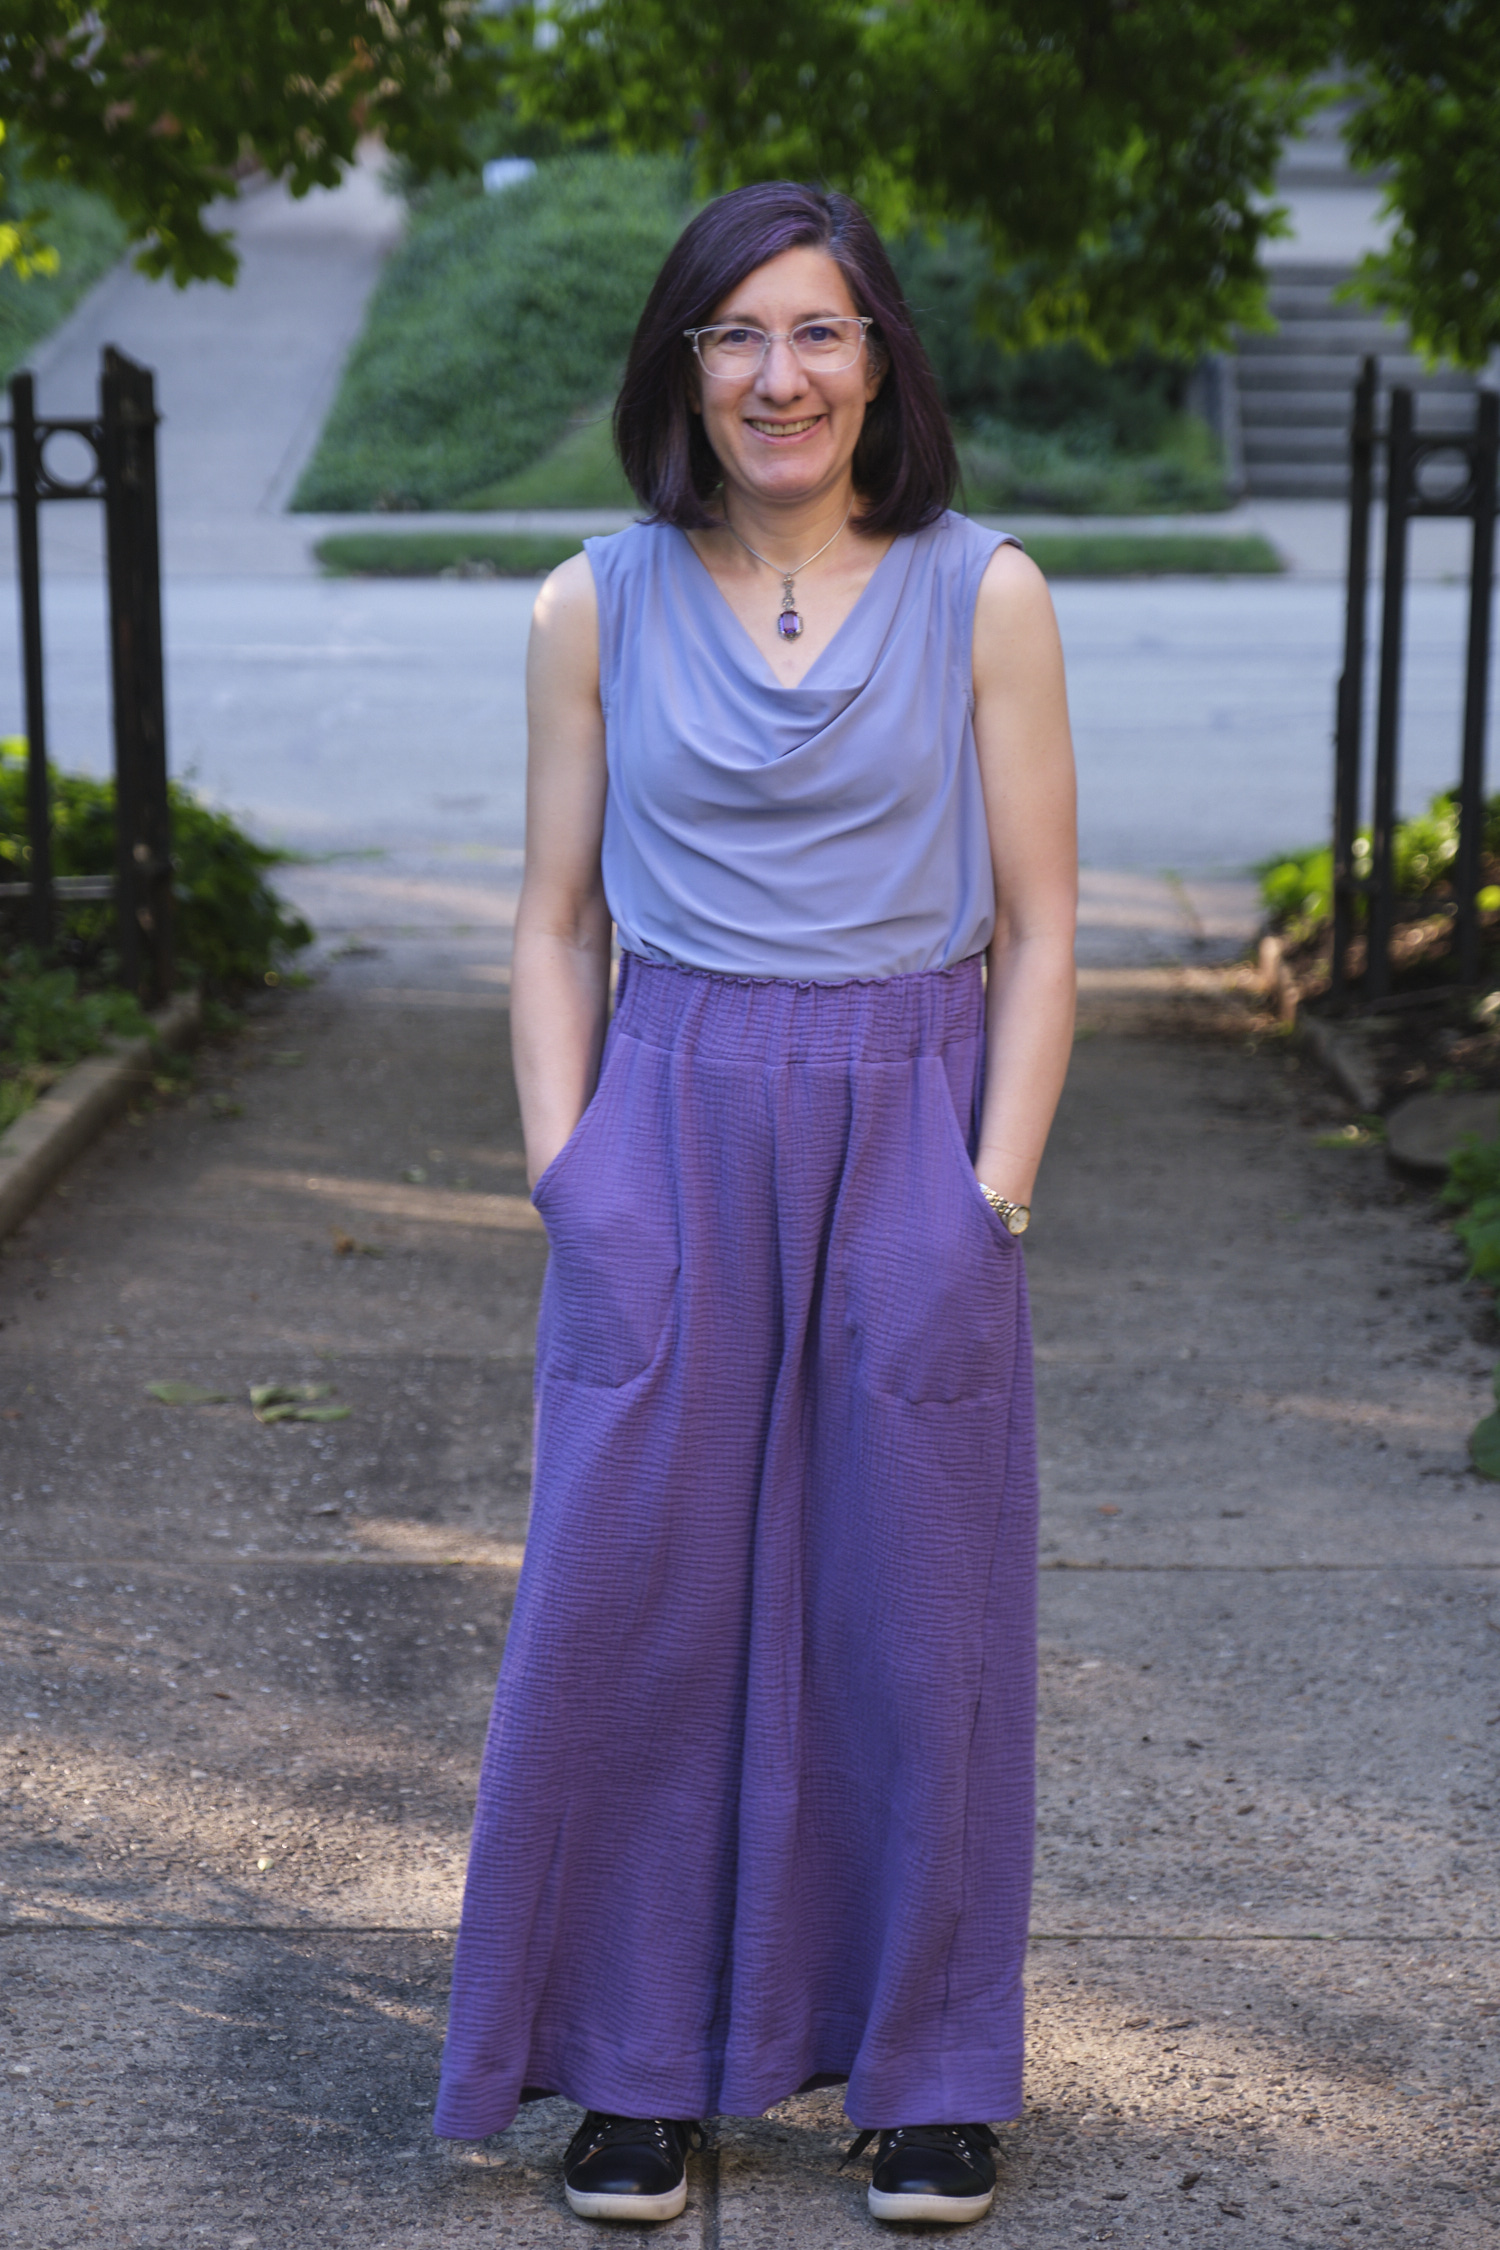
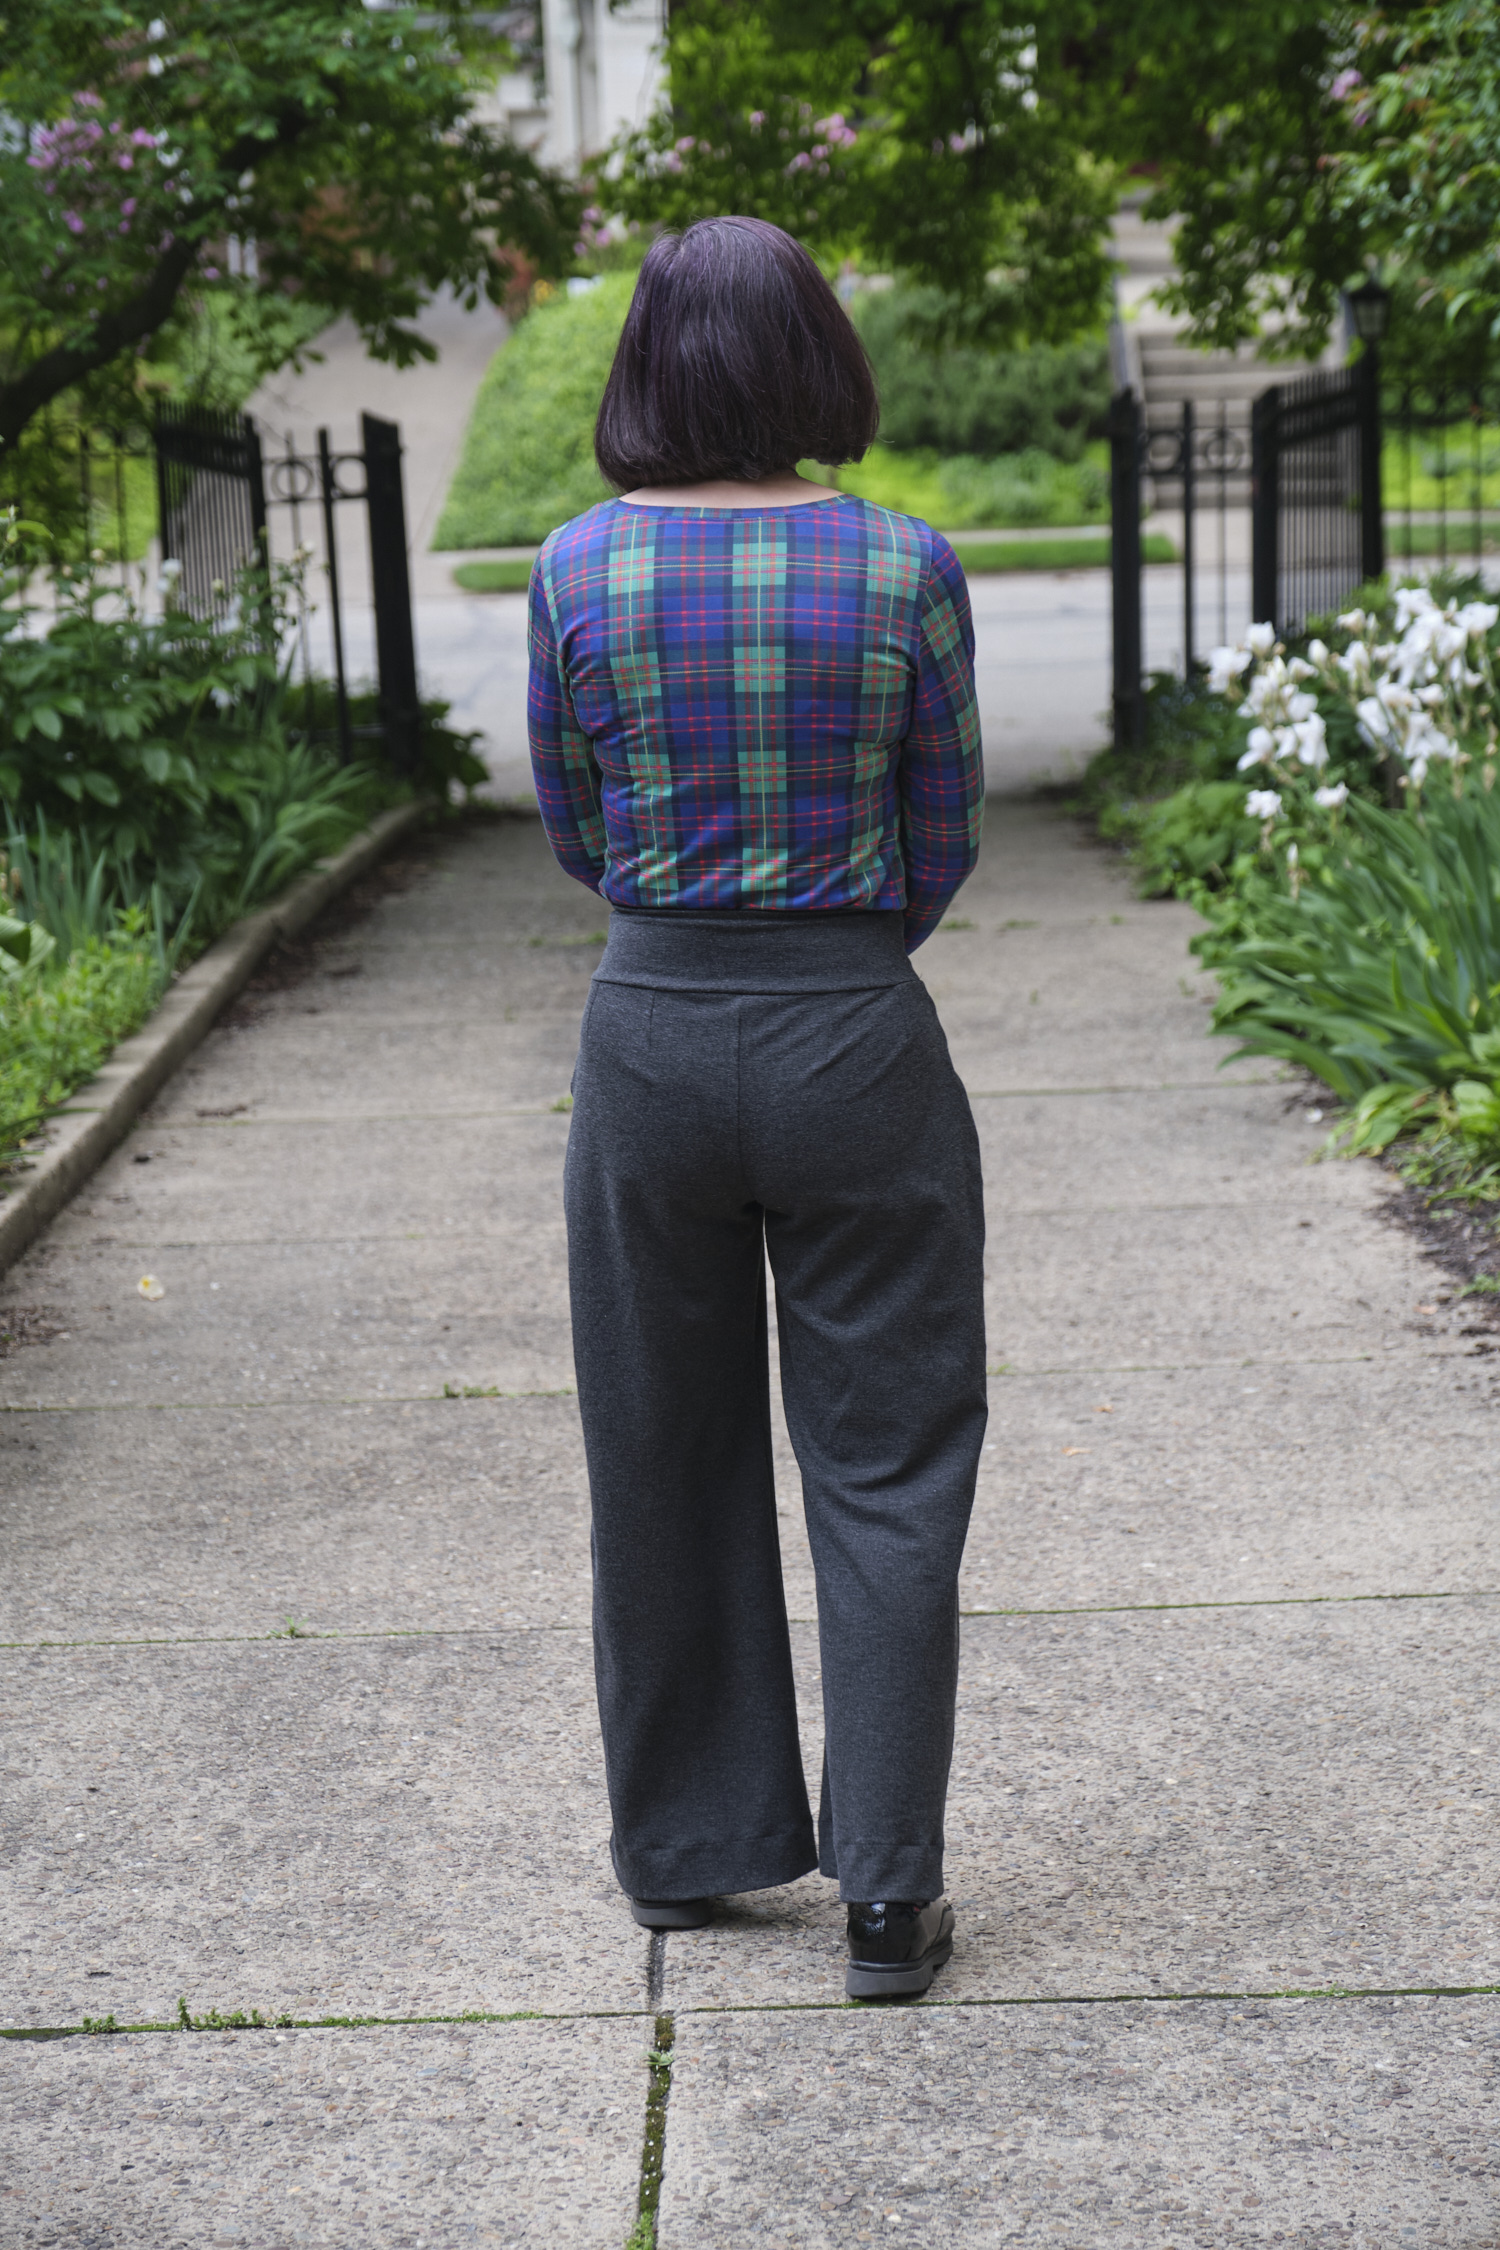
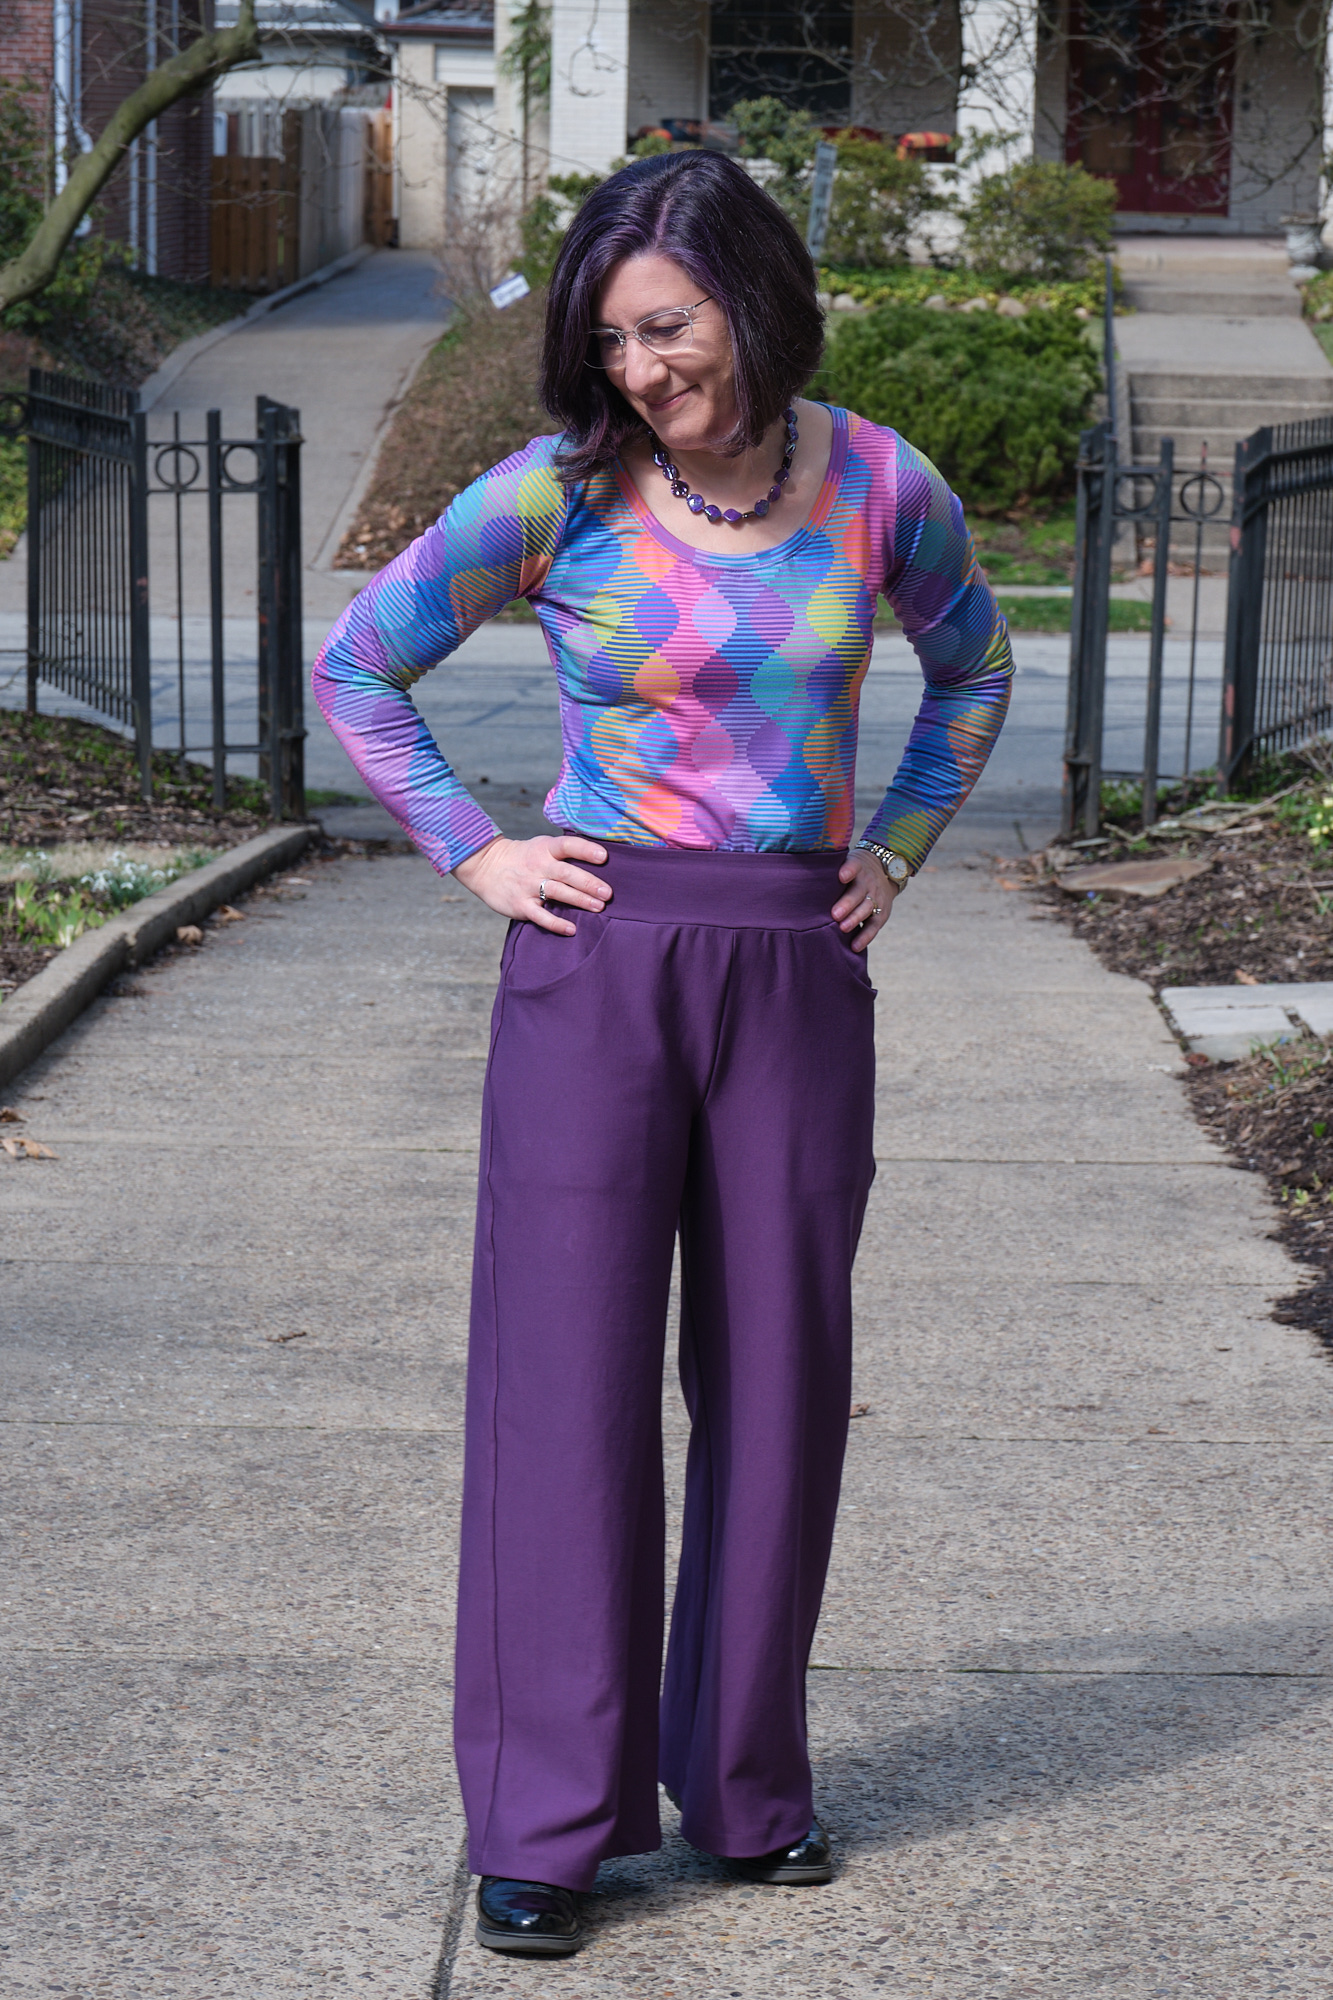
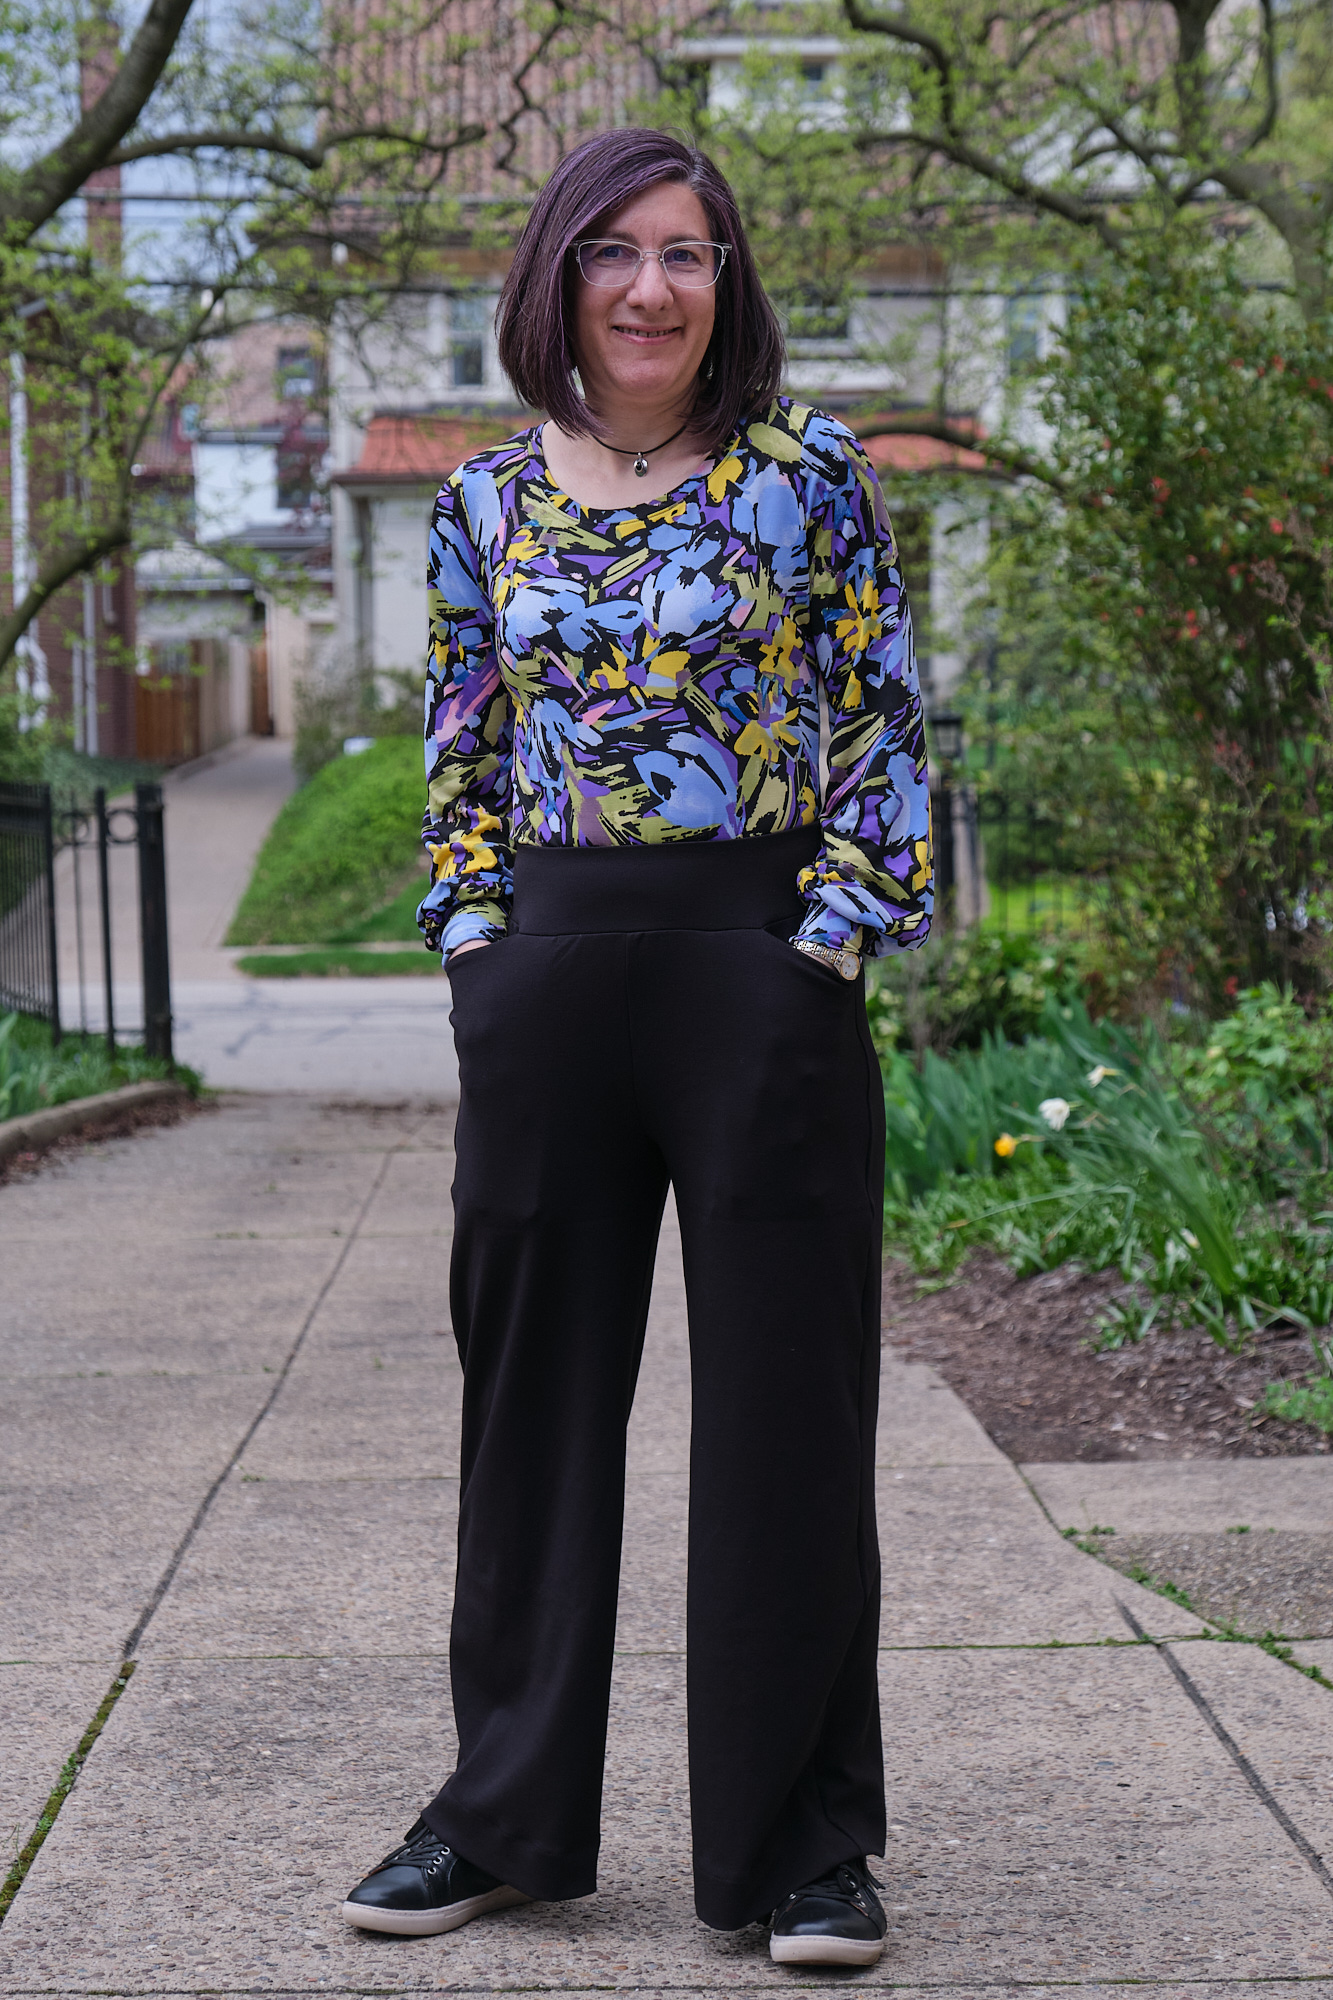
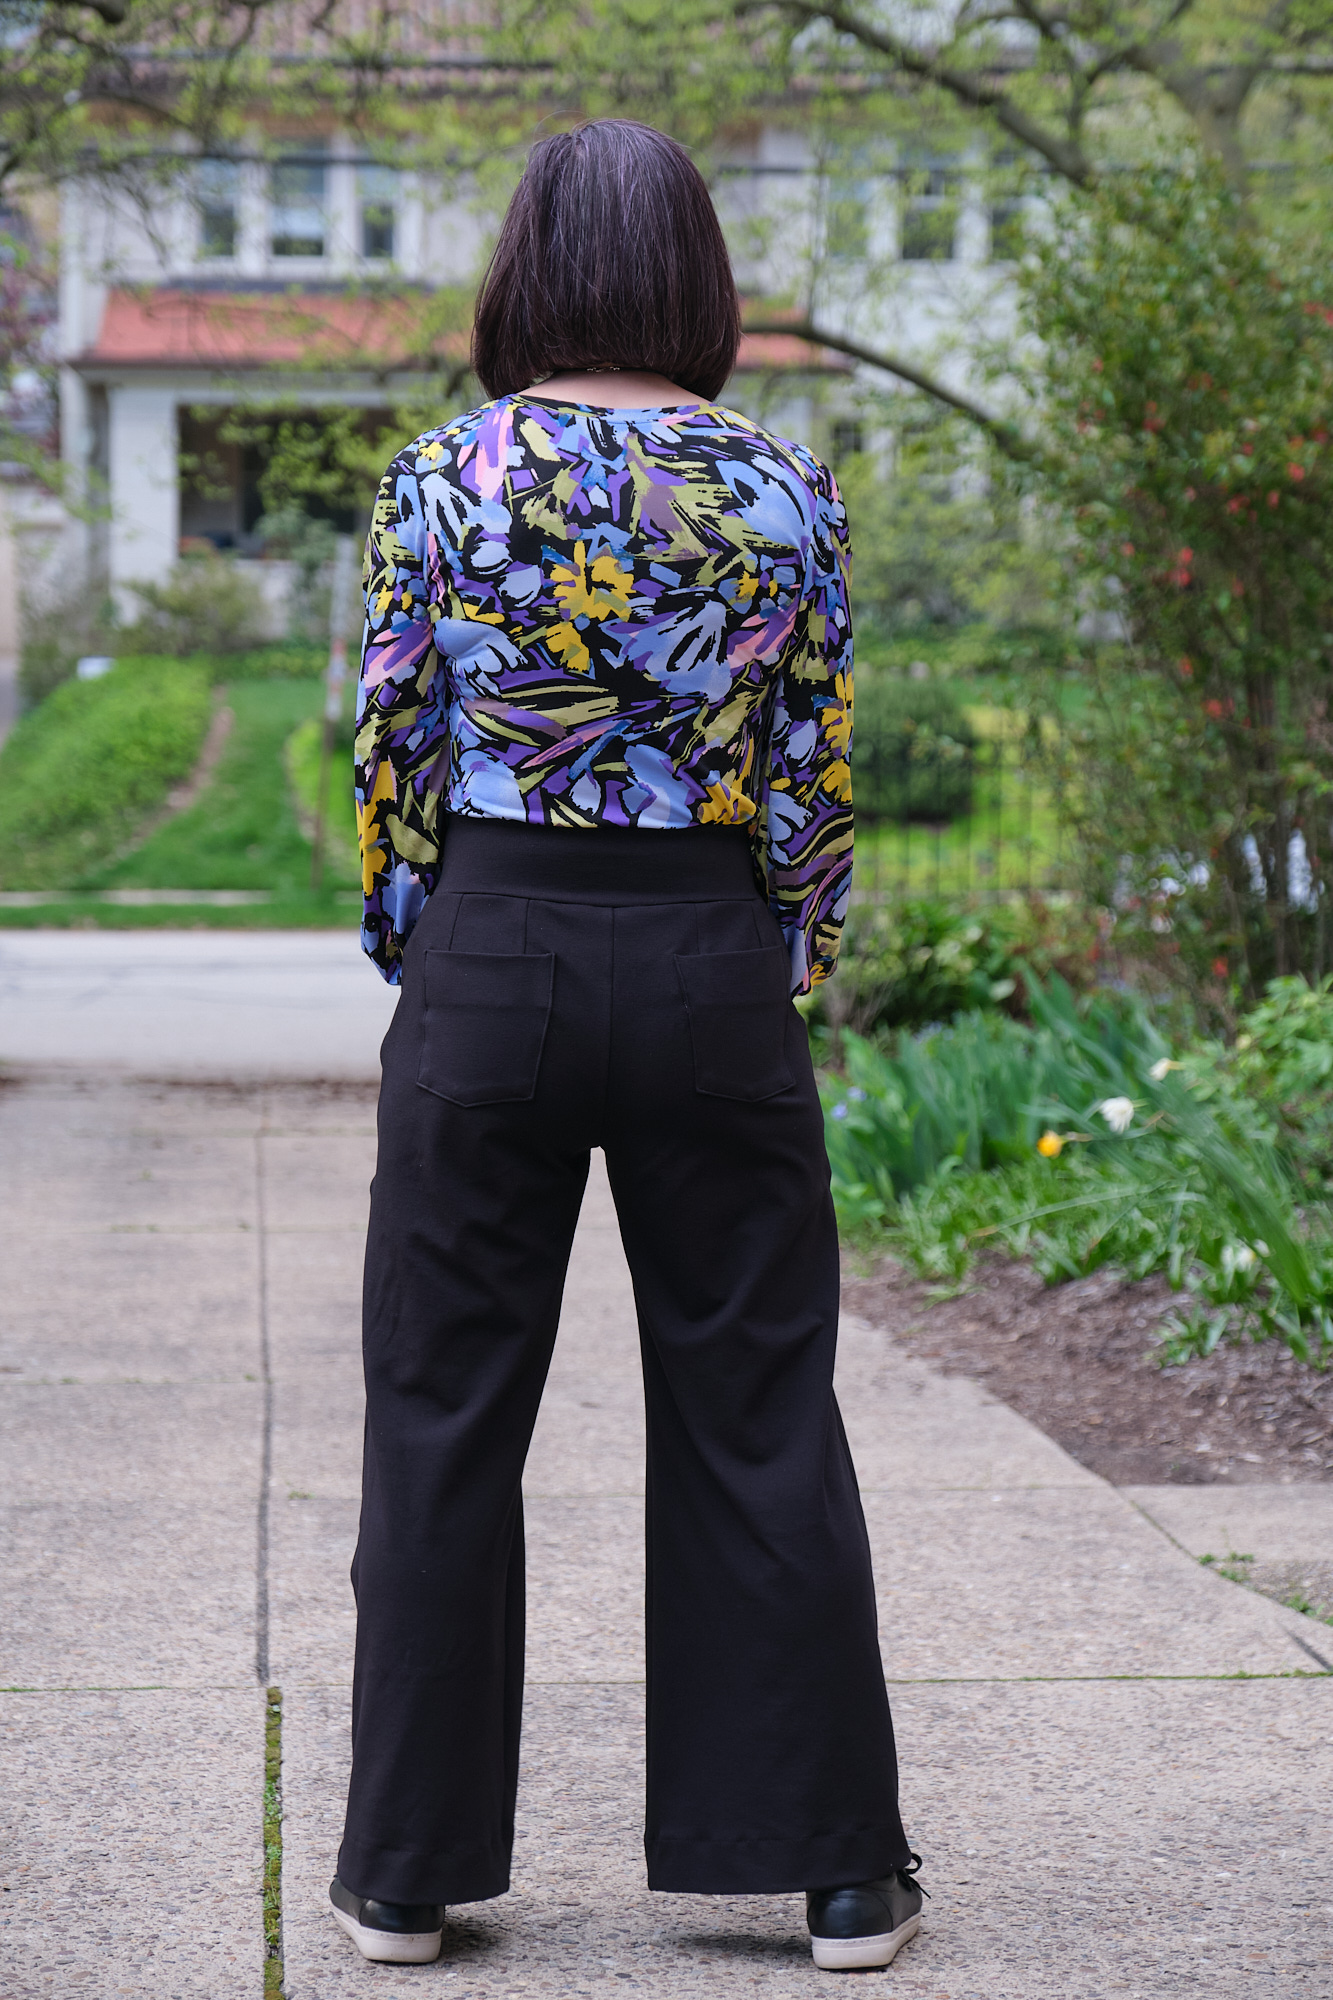
Pattern Emporium Making Moves Subtle Barrel Leg Pants, size AU 10, midrise, short length, 1.5-inch elastic waistband, front, back, and side pockets (with front pocket opening raised 1.5 inches), from 2 yards black polyester airflow.
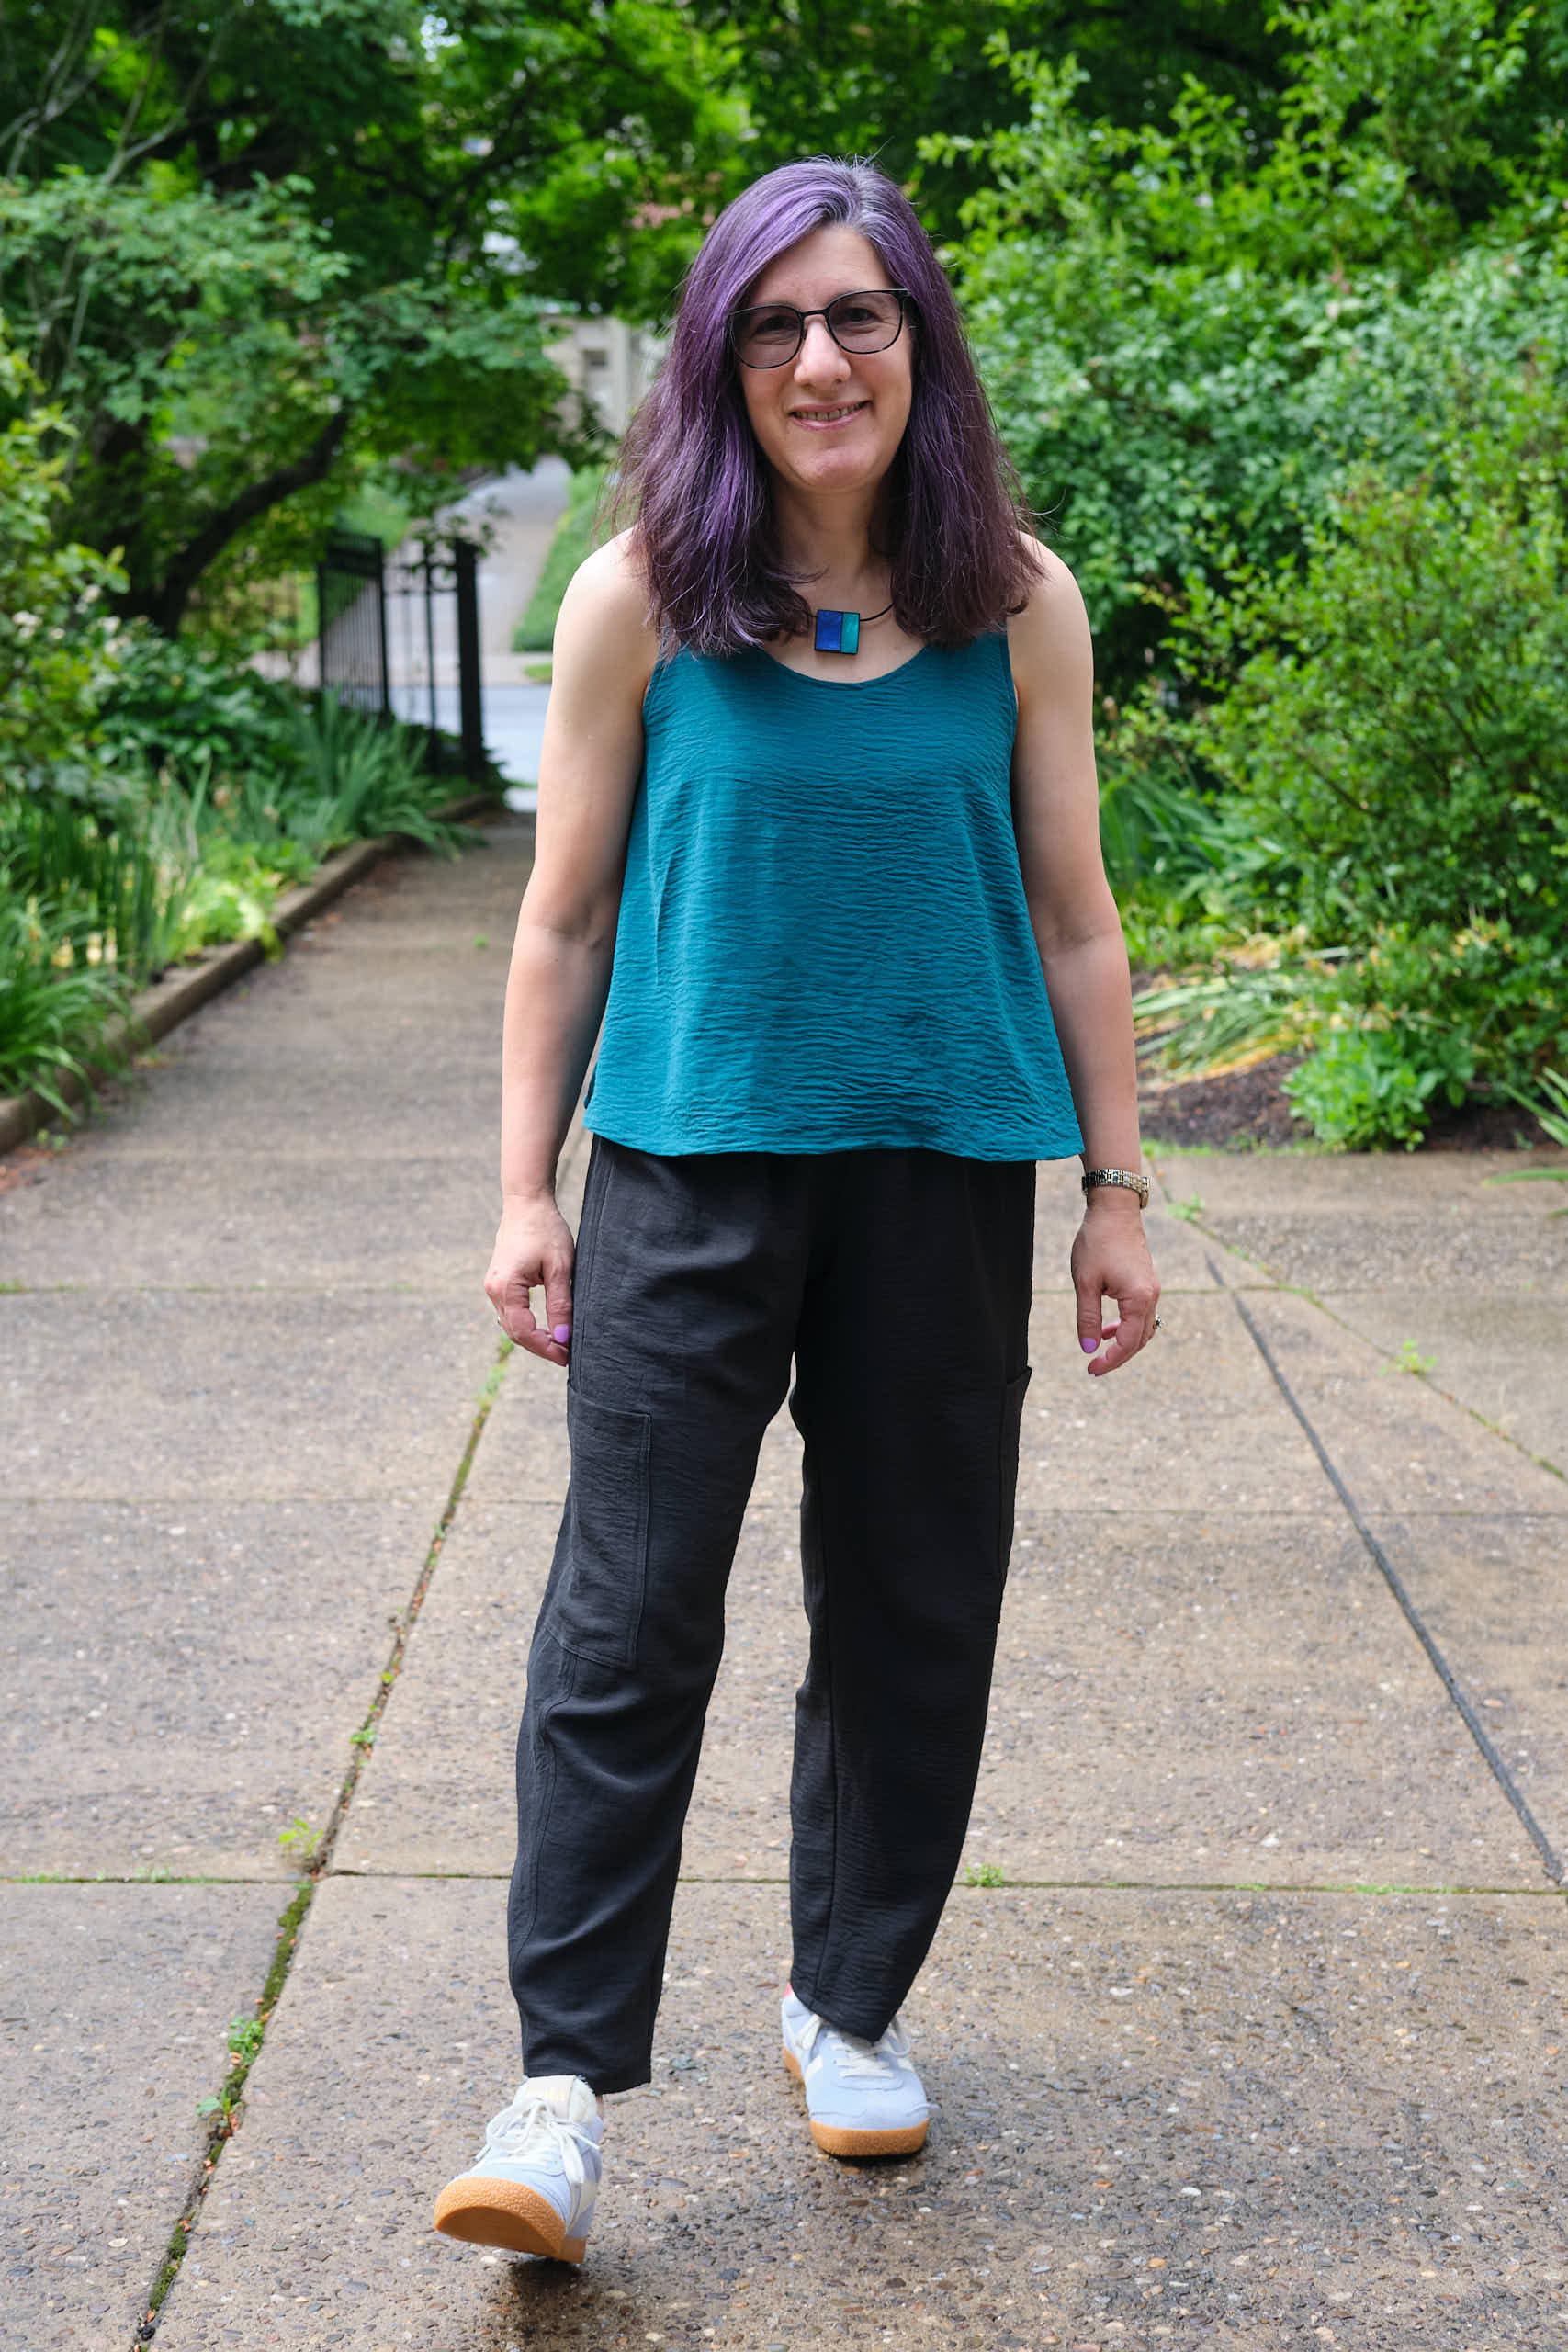
I’ve been wanting to sew a pair of Pattern Emporium Making Moves Subtle Barrel Leg Pants since the pattern was released earlier this year. I finally got around to sewing them up from about 2 yards of black 100% polyester 175 gsm airflow fabric that I got on sale from Mily Mae Fabrics. The airflow has no spandex and thus, officially no stretch, but it does have a bit of give due to the crinkle texture. It requires no ironing, and is less slippery to sew than a lot of other polyester wovens. However, it doesn’t hold a crisp crease when pressed.
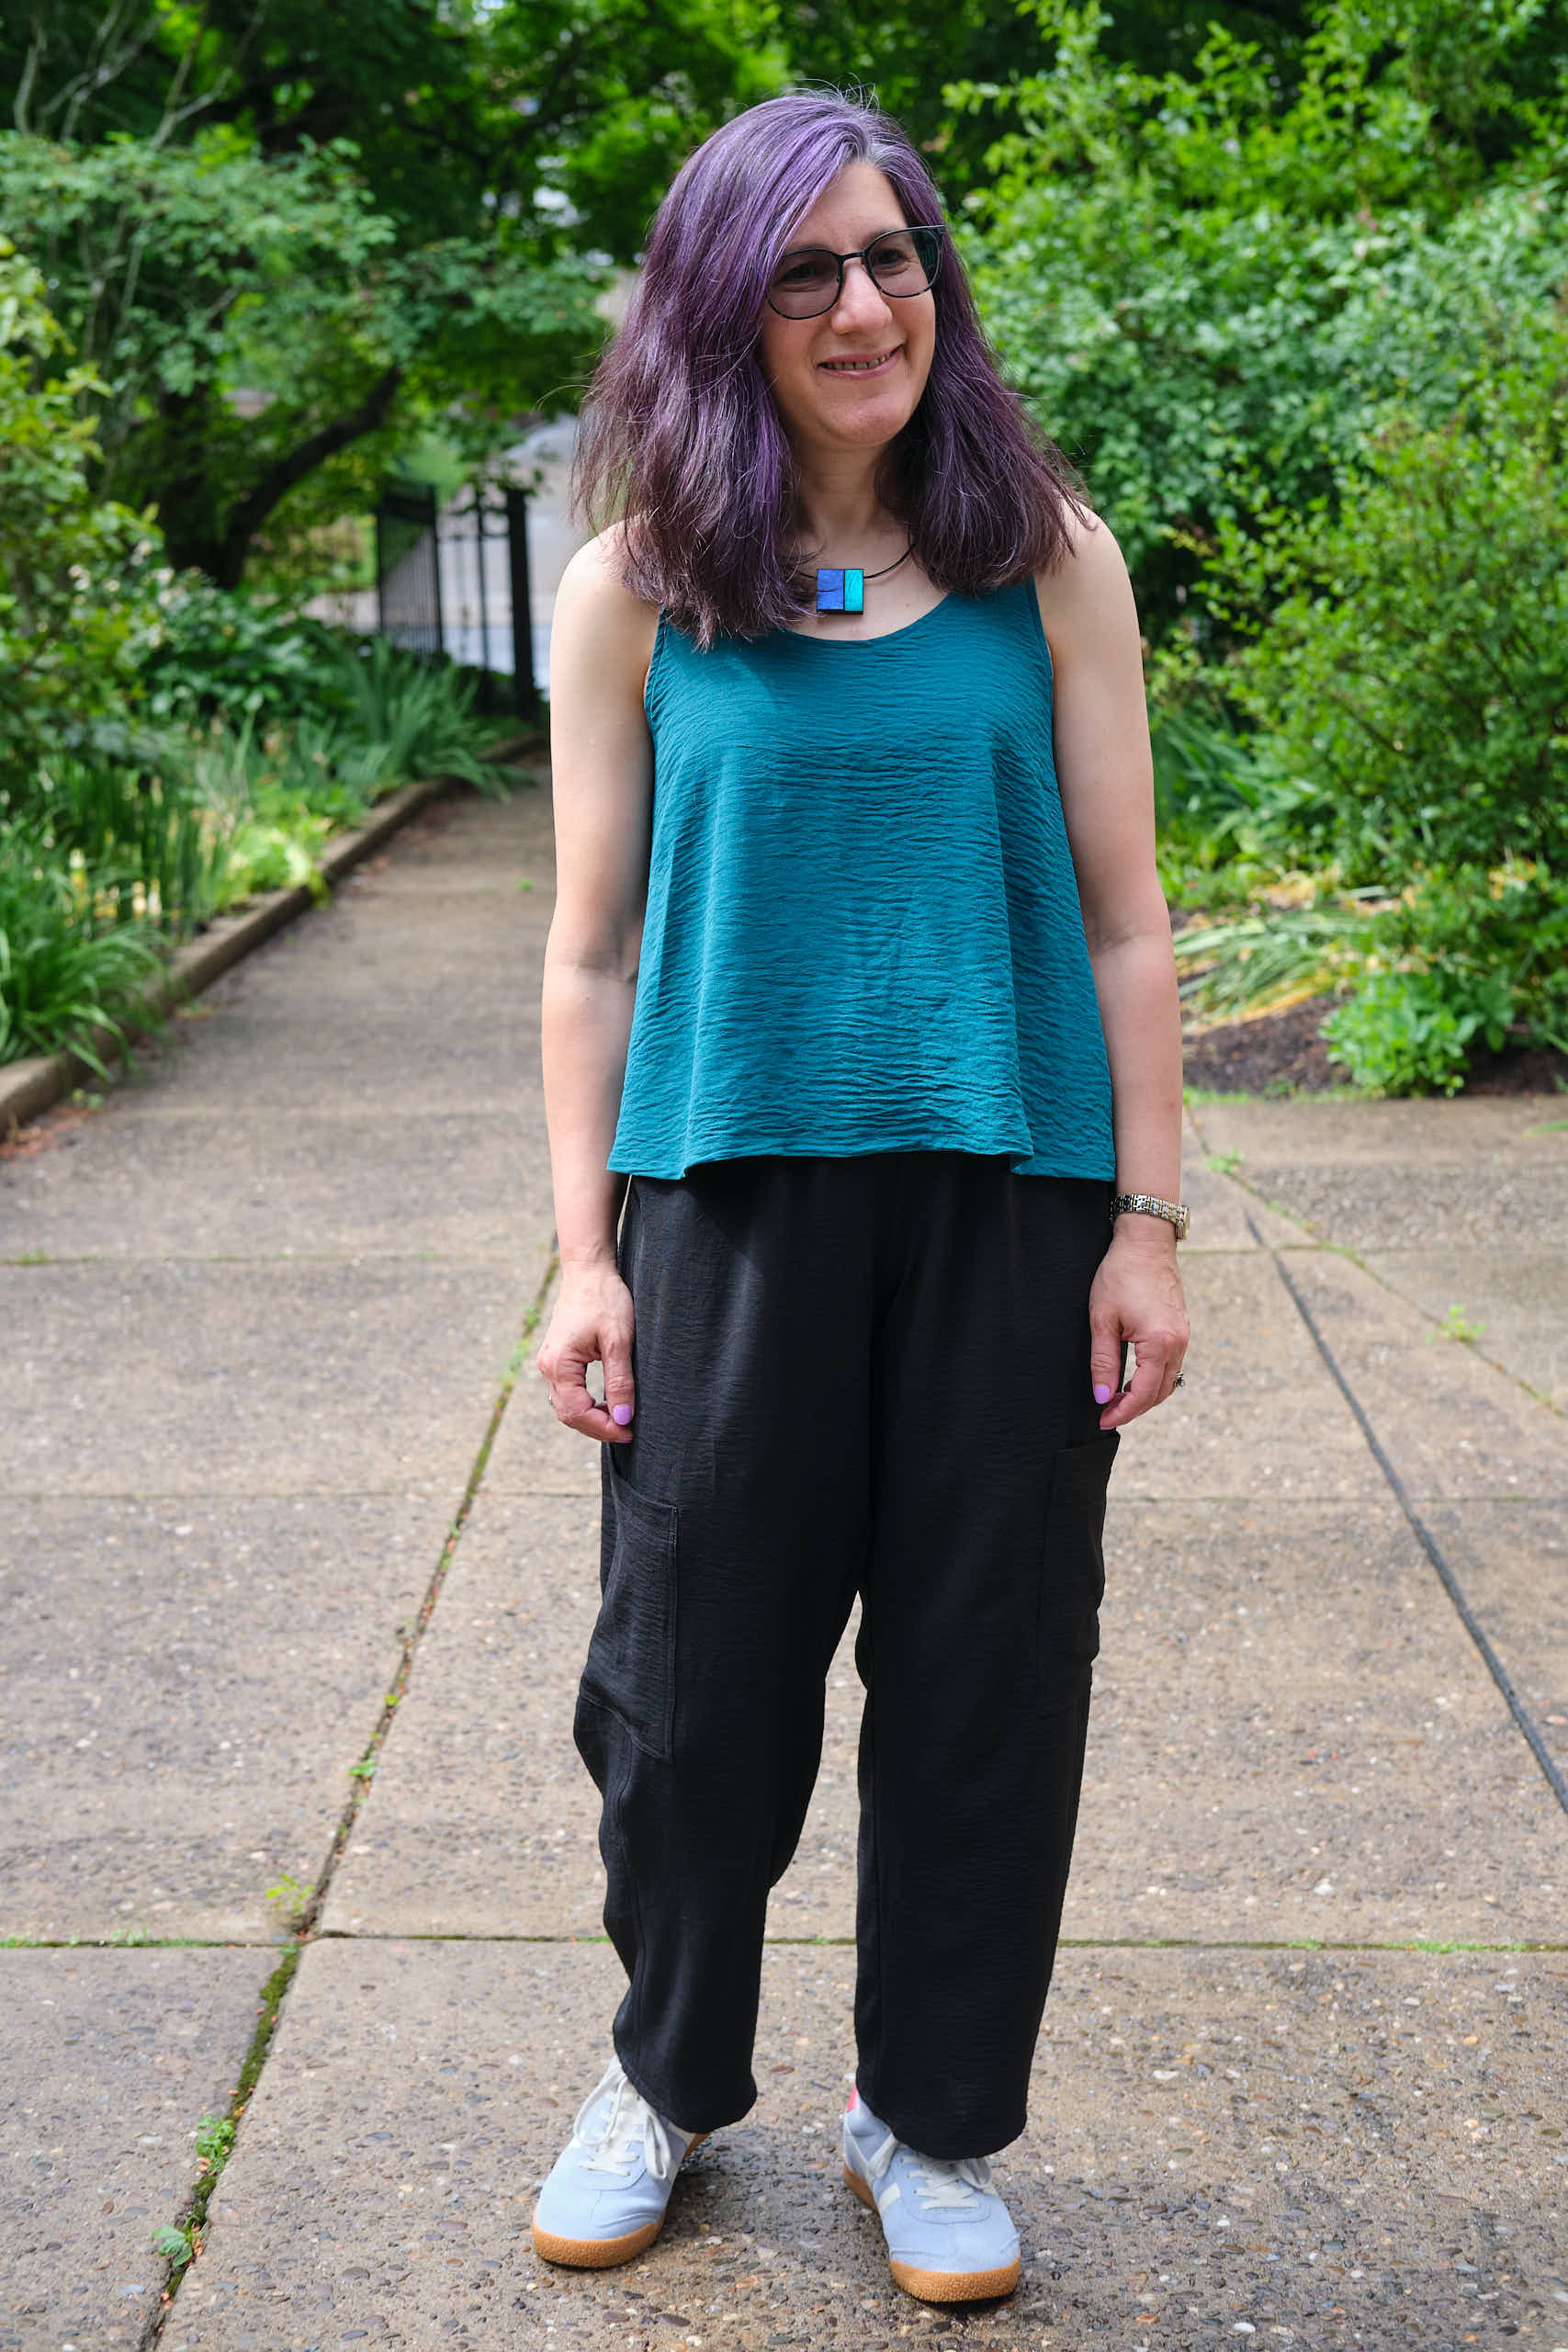
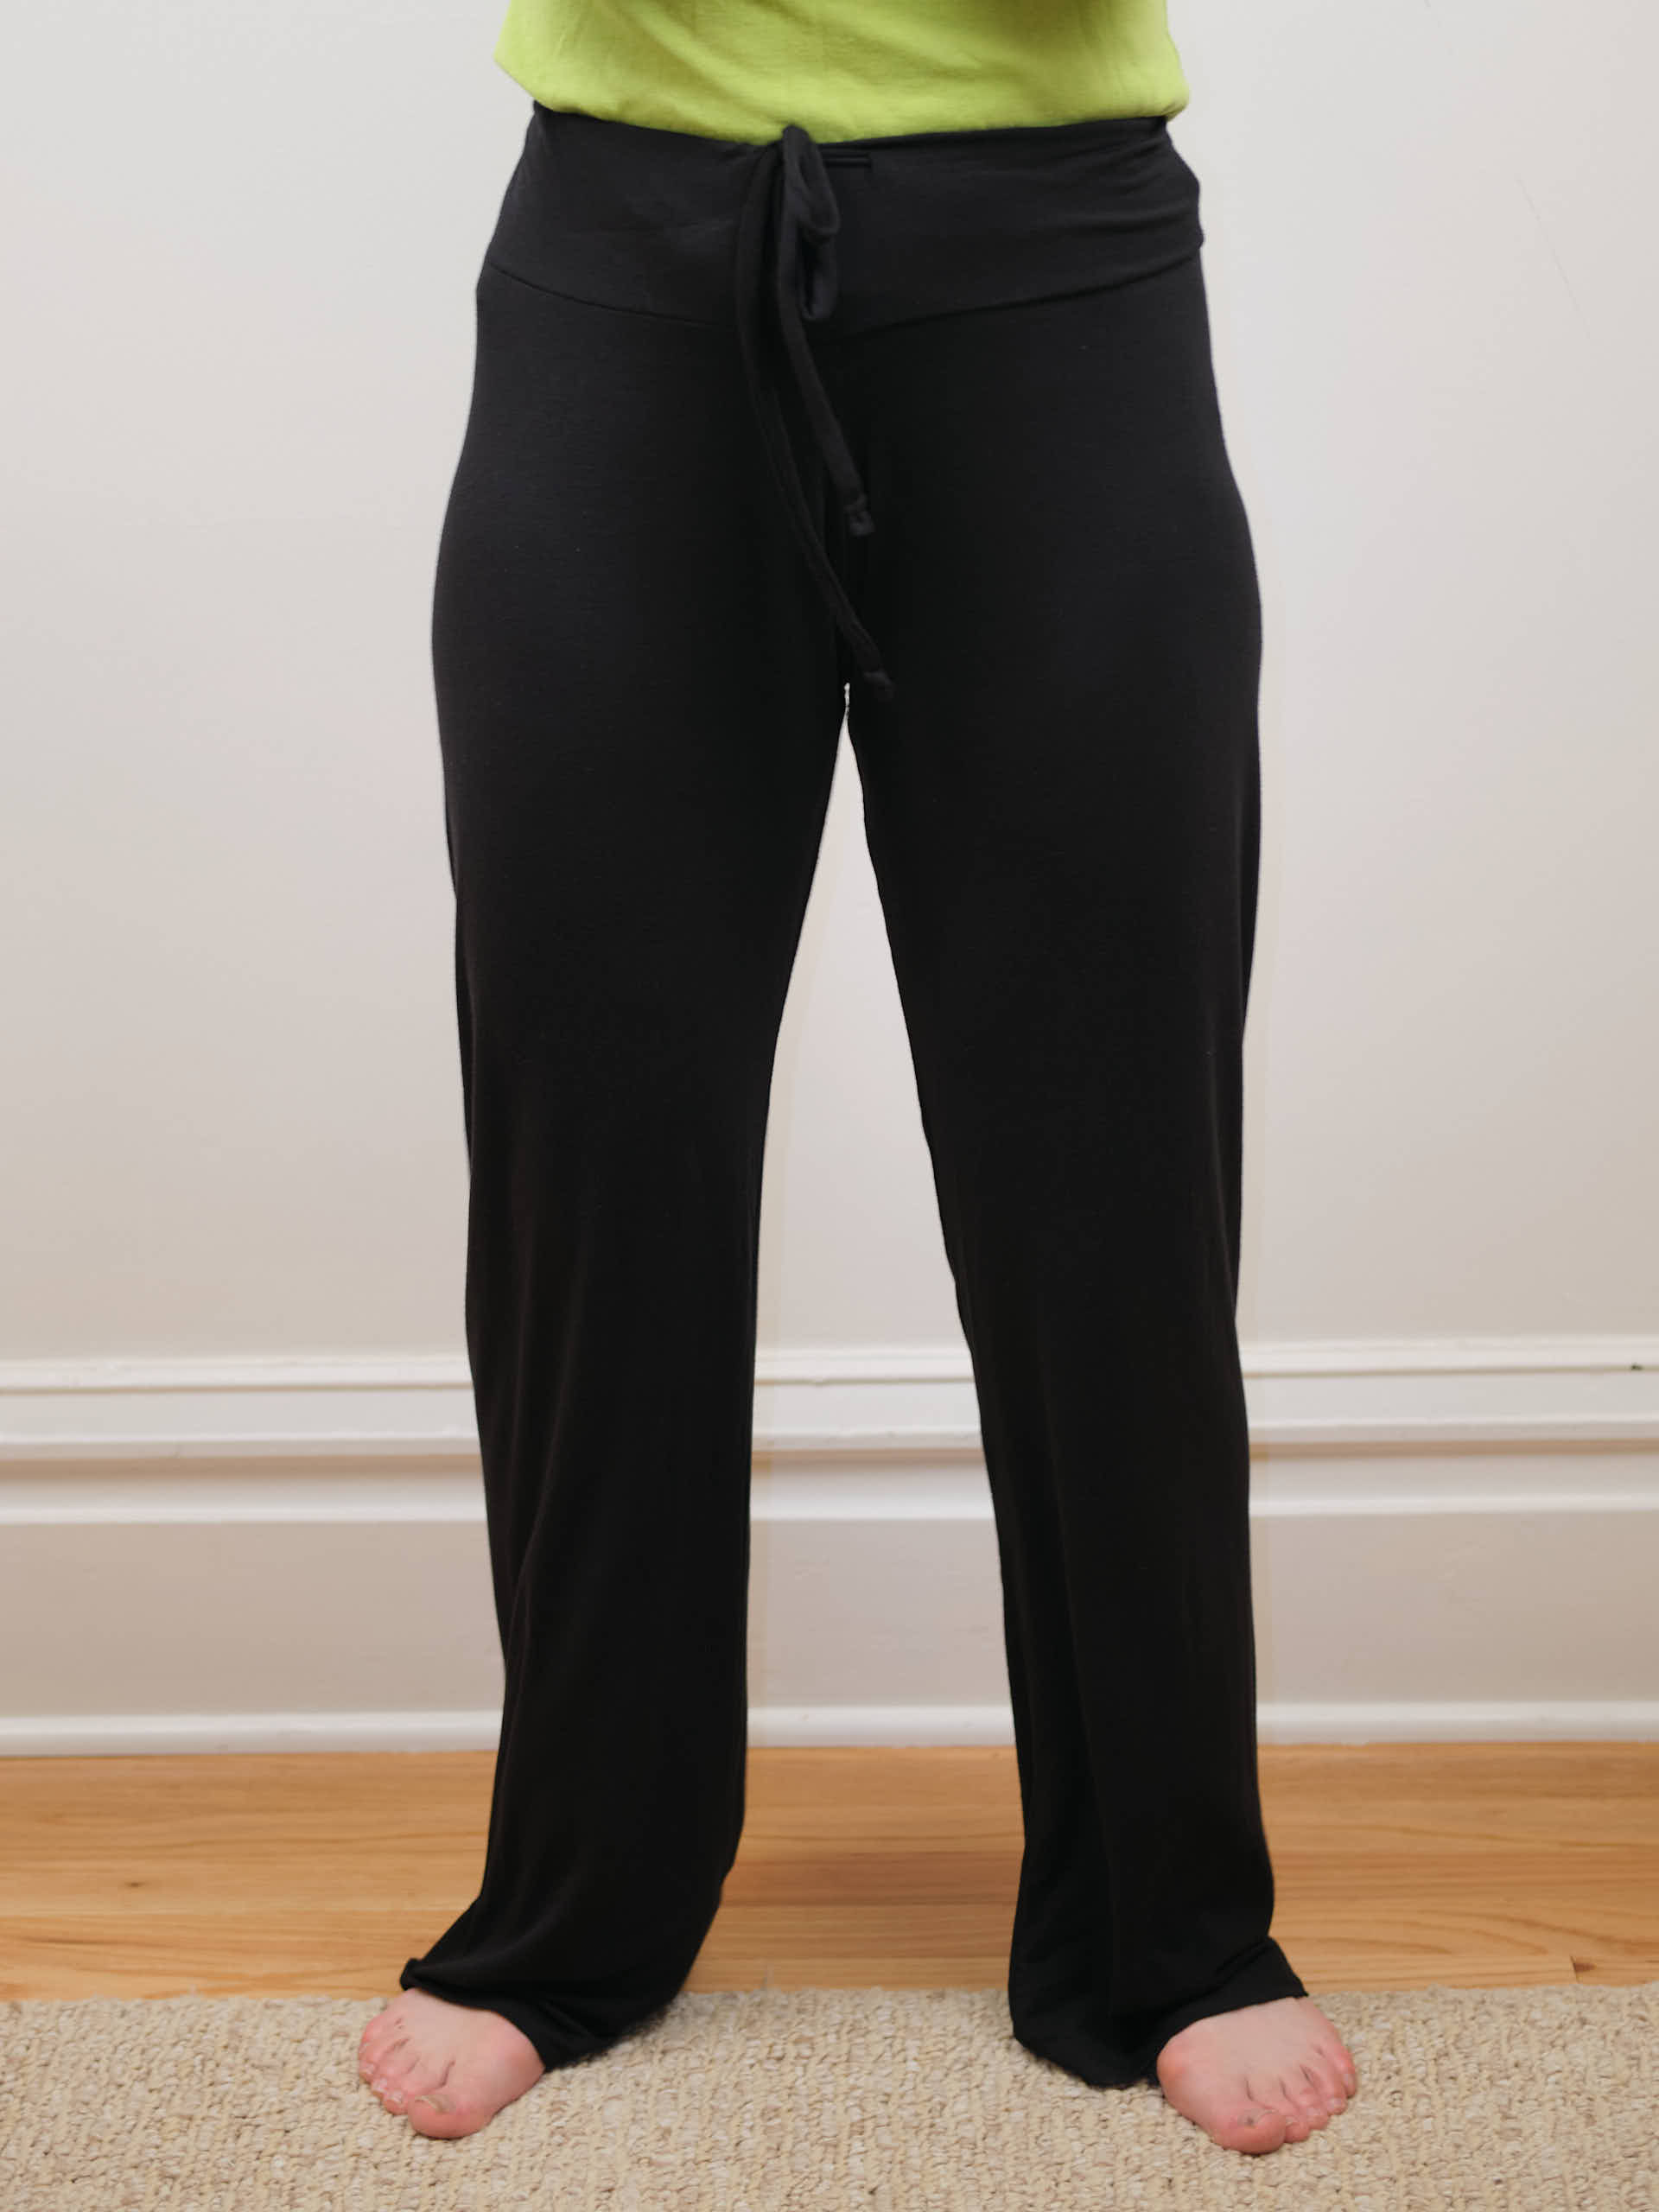
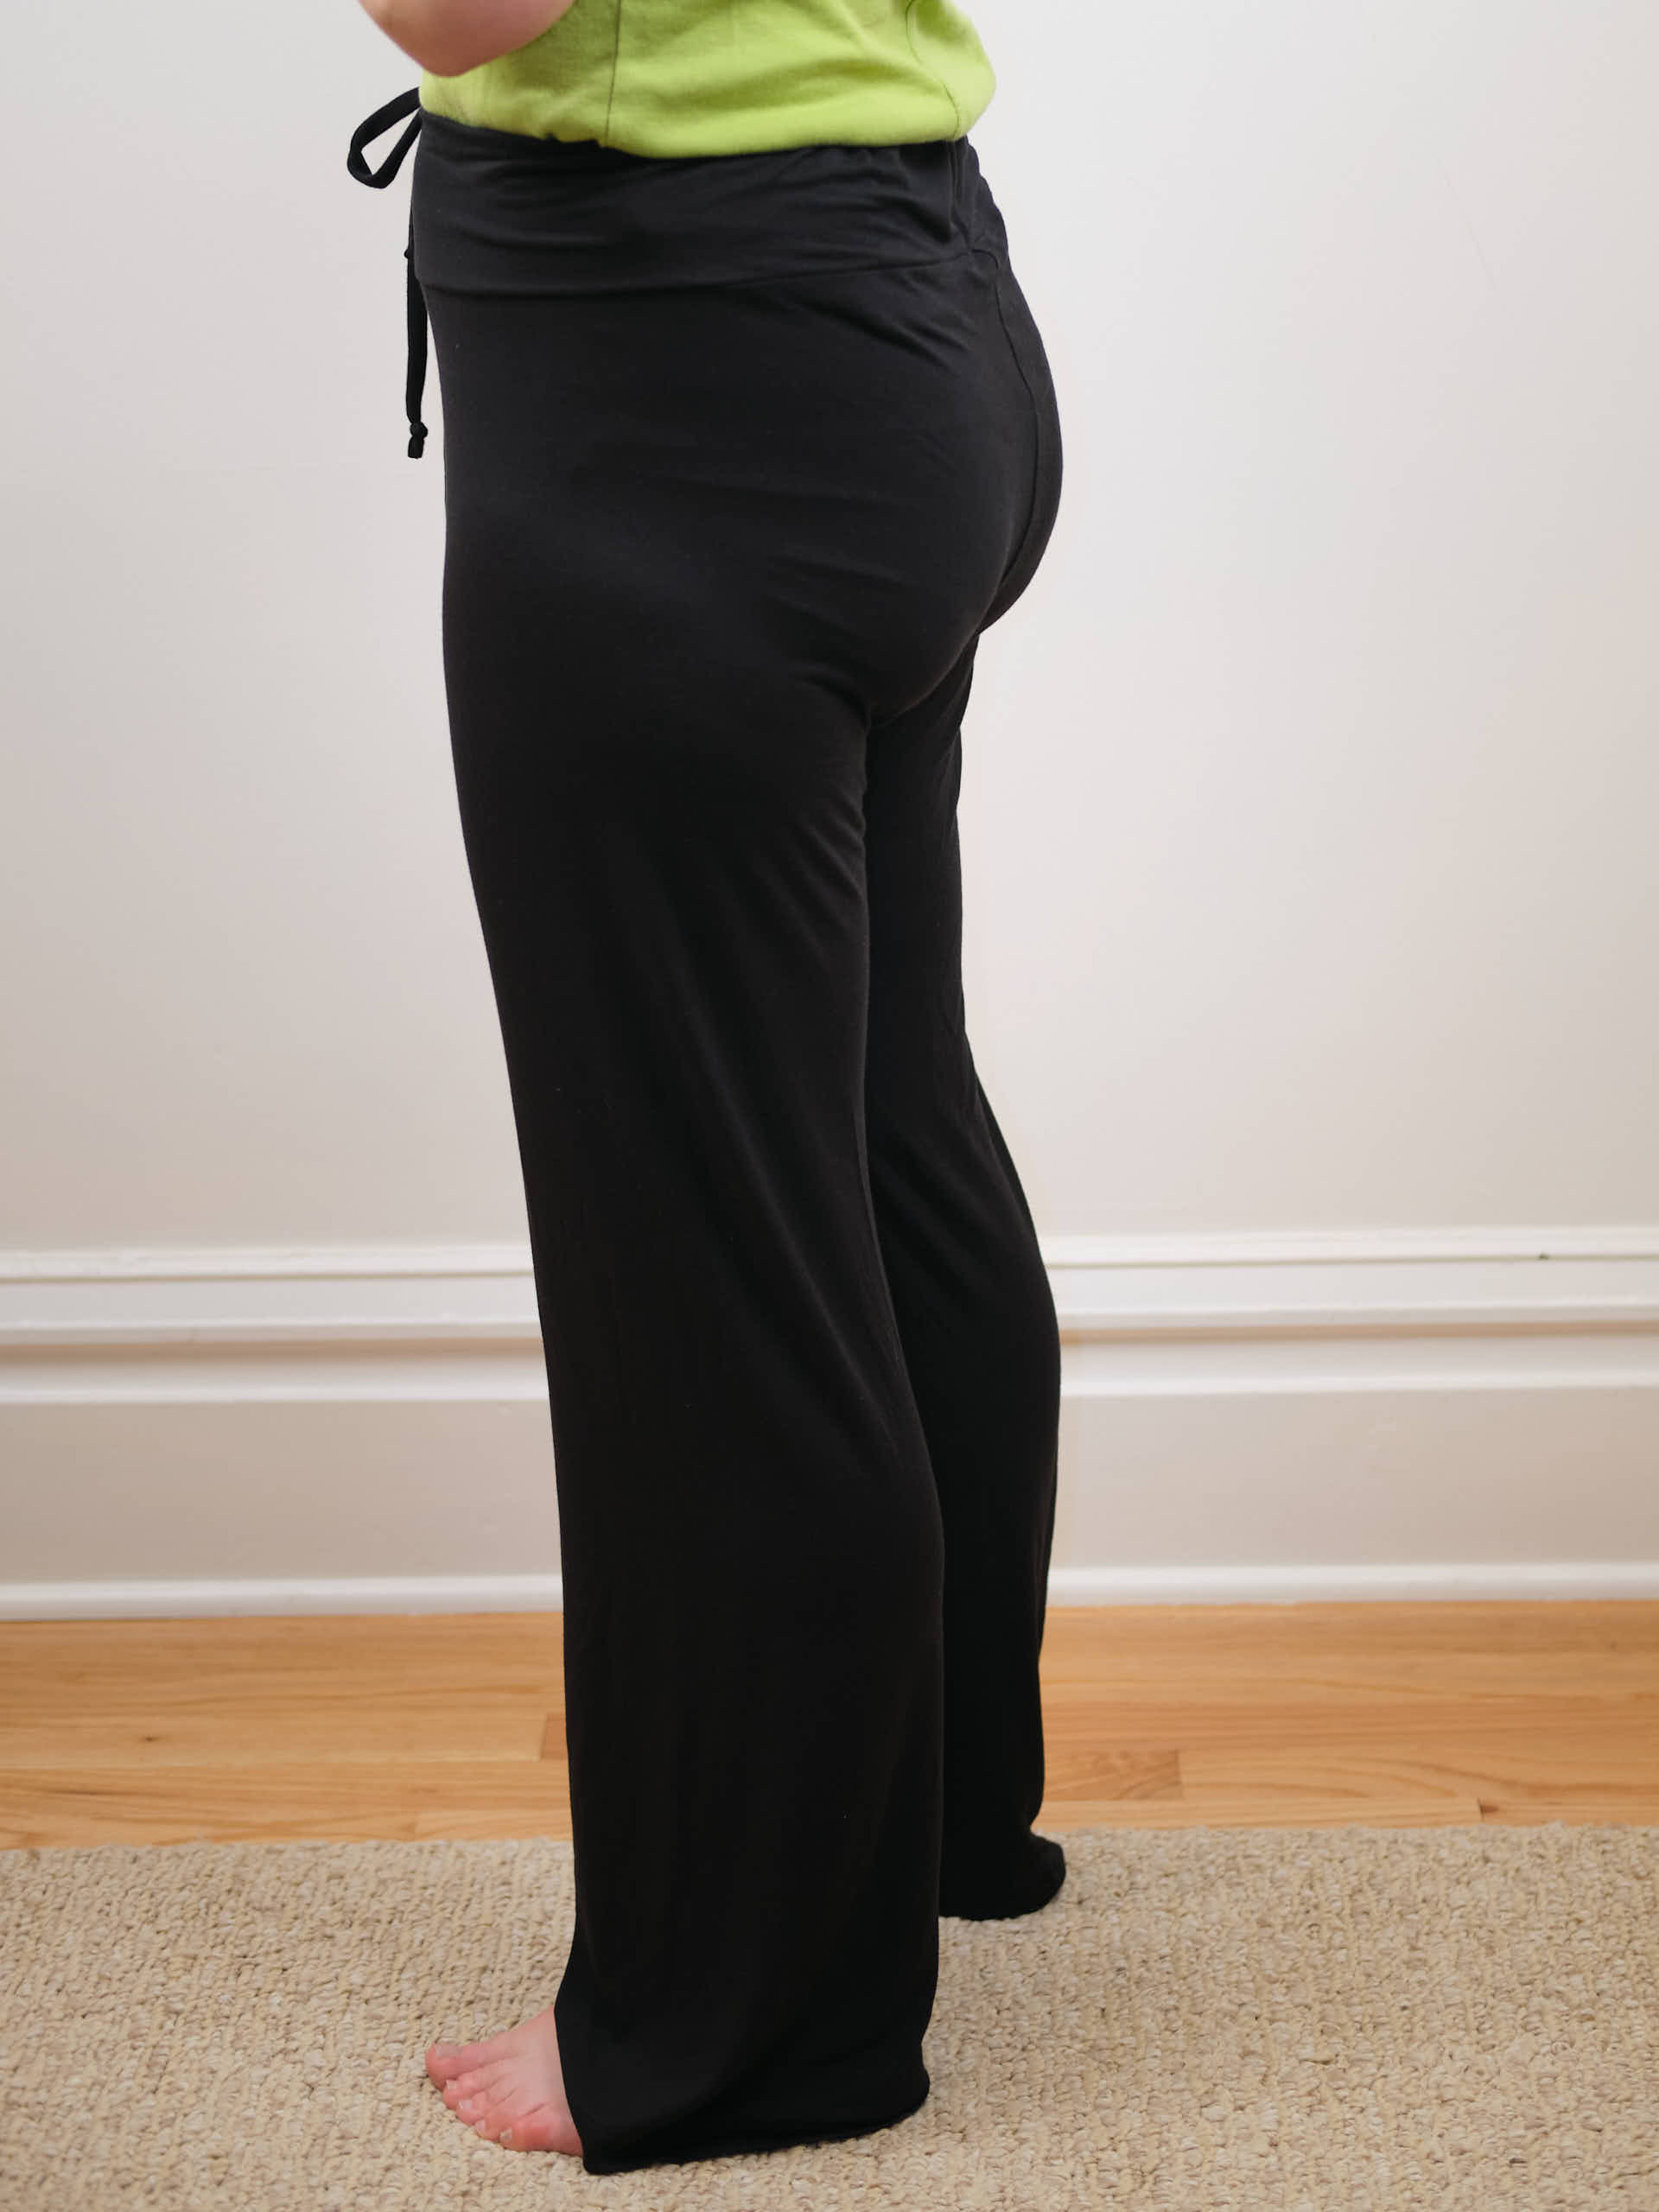
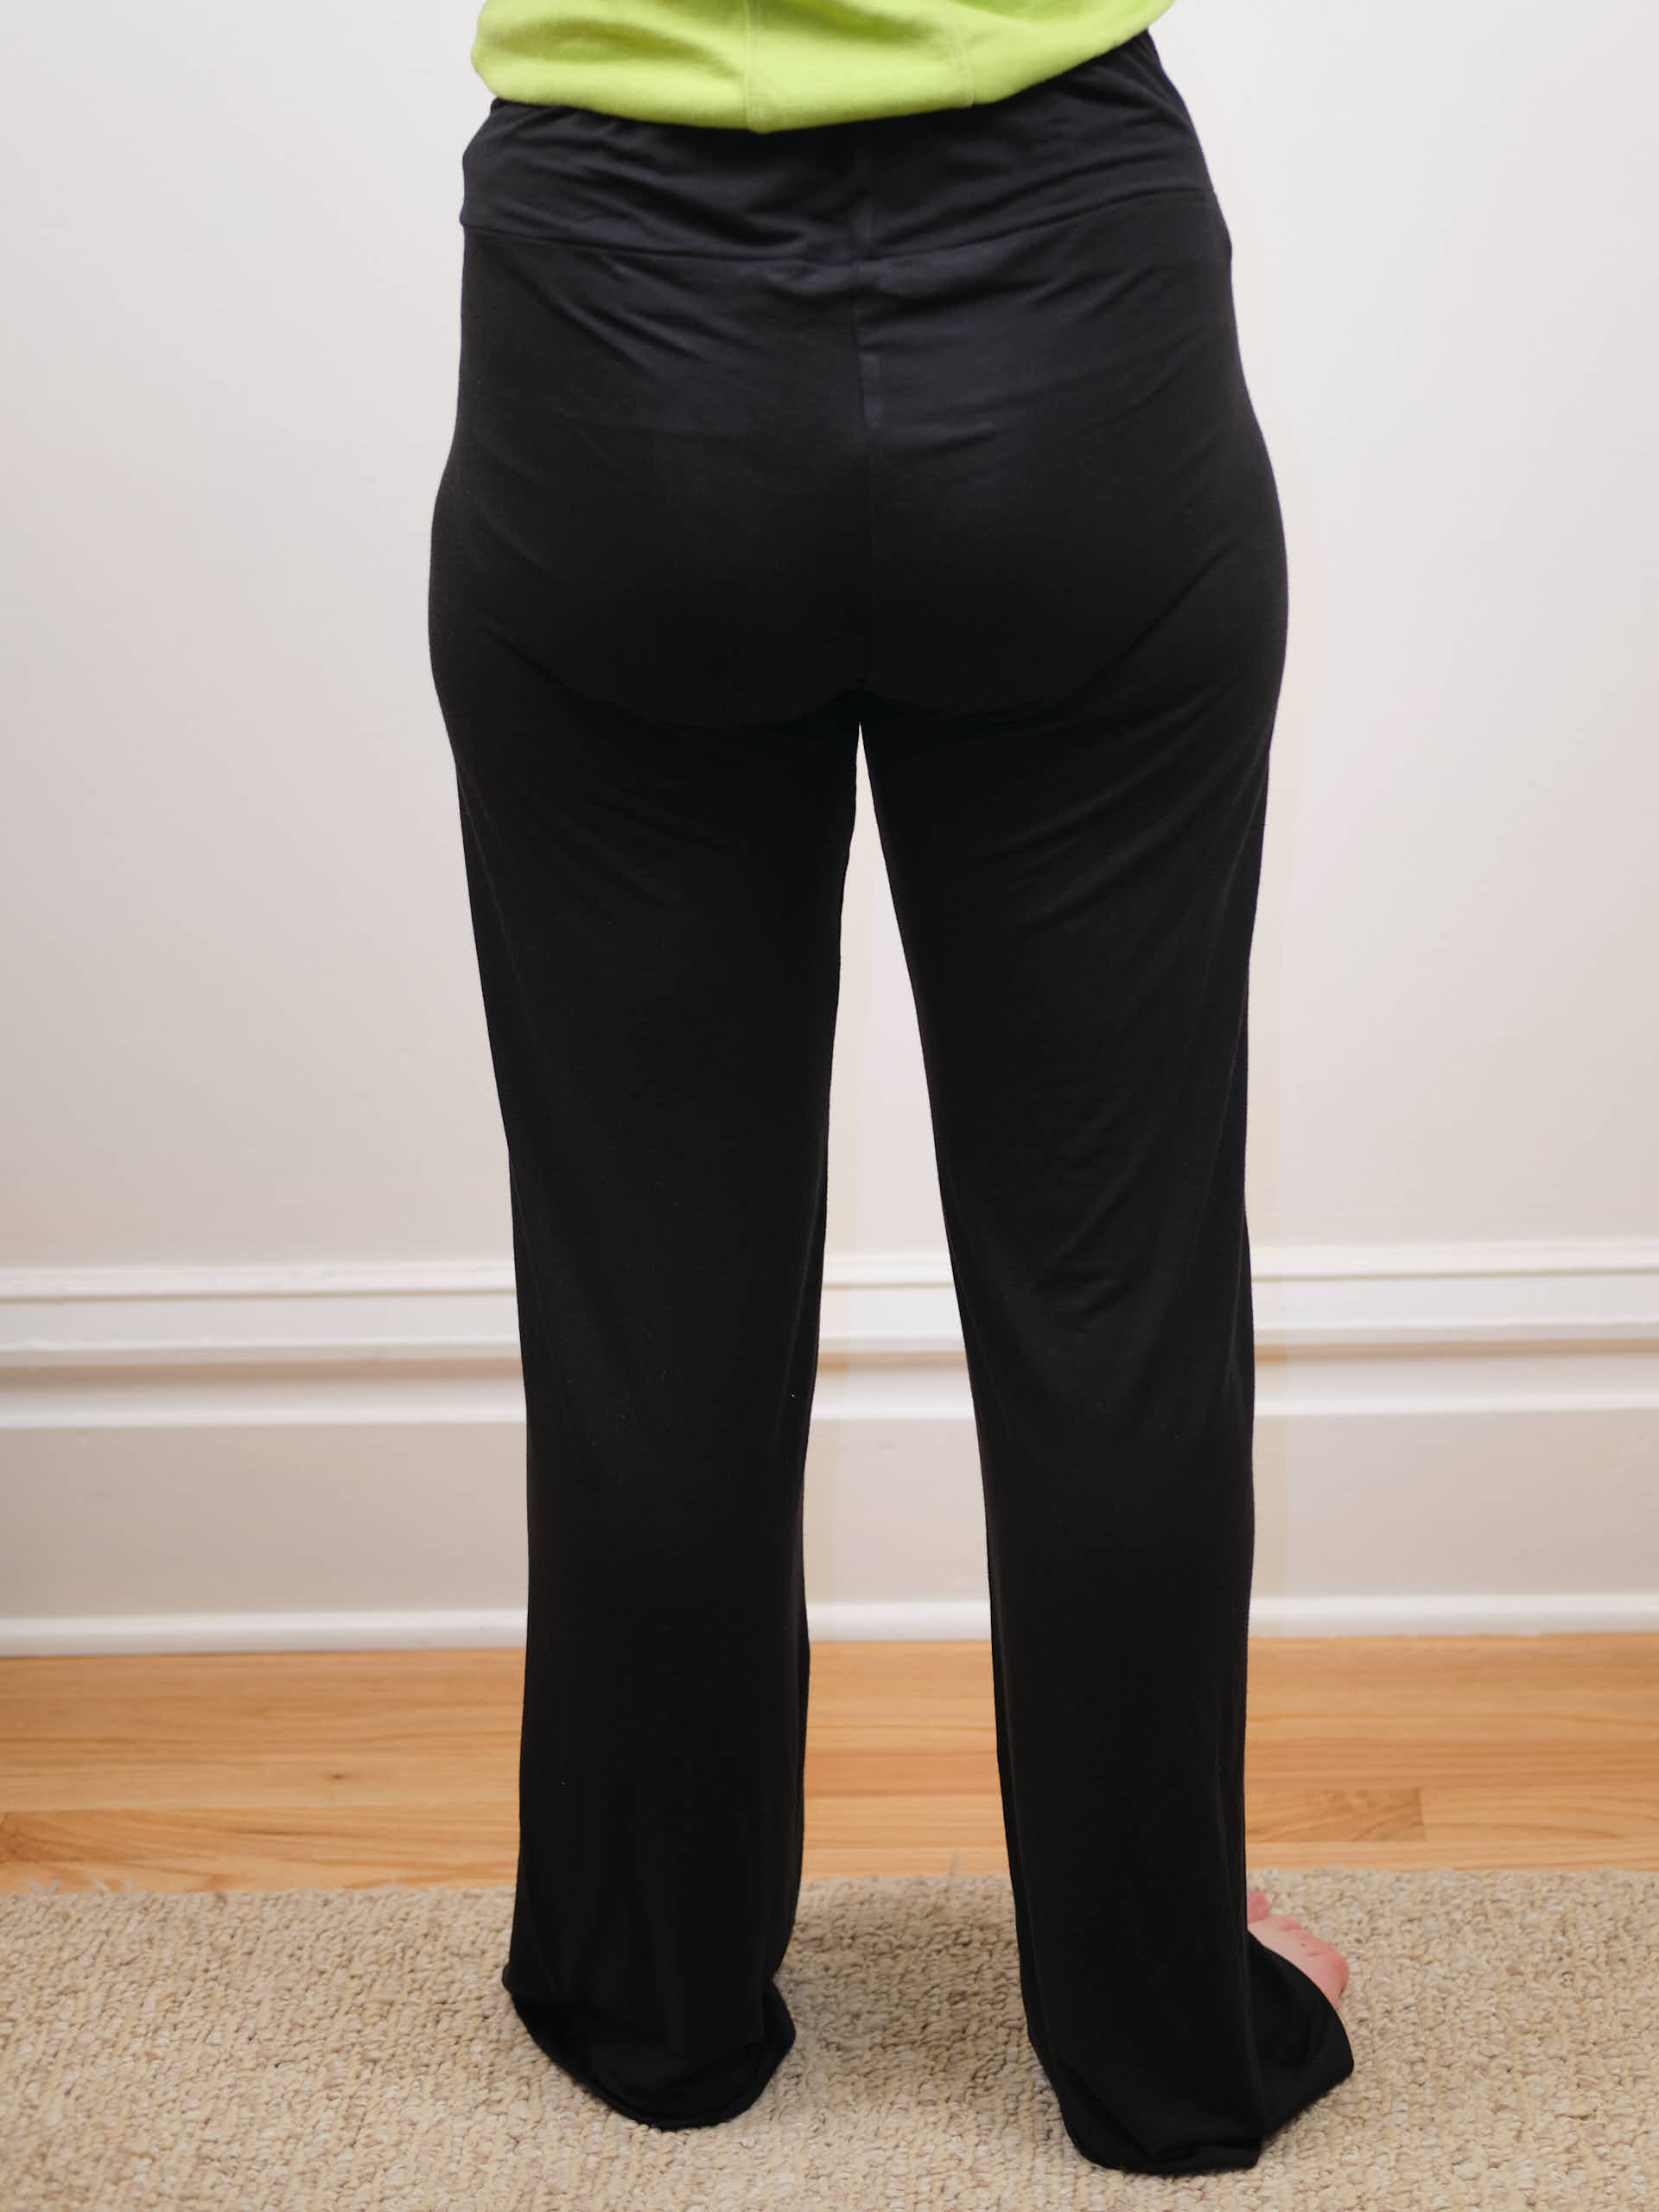
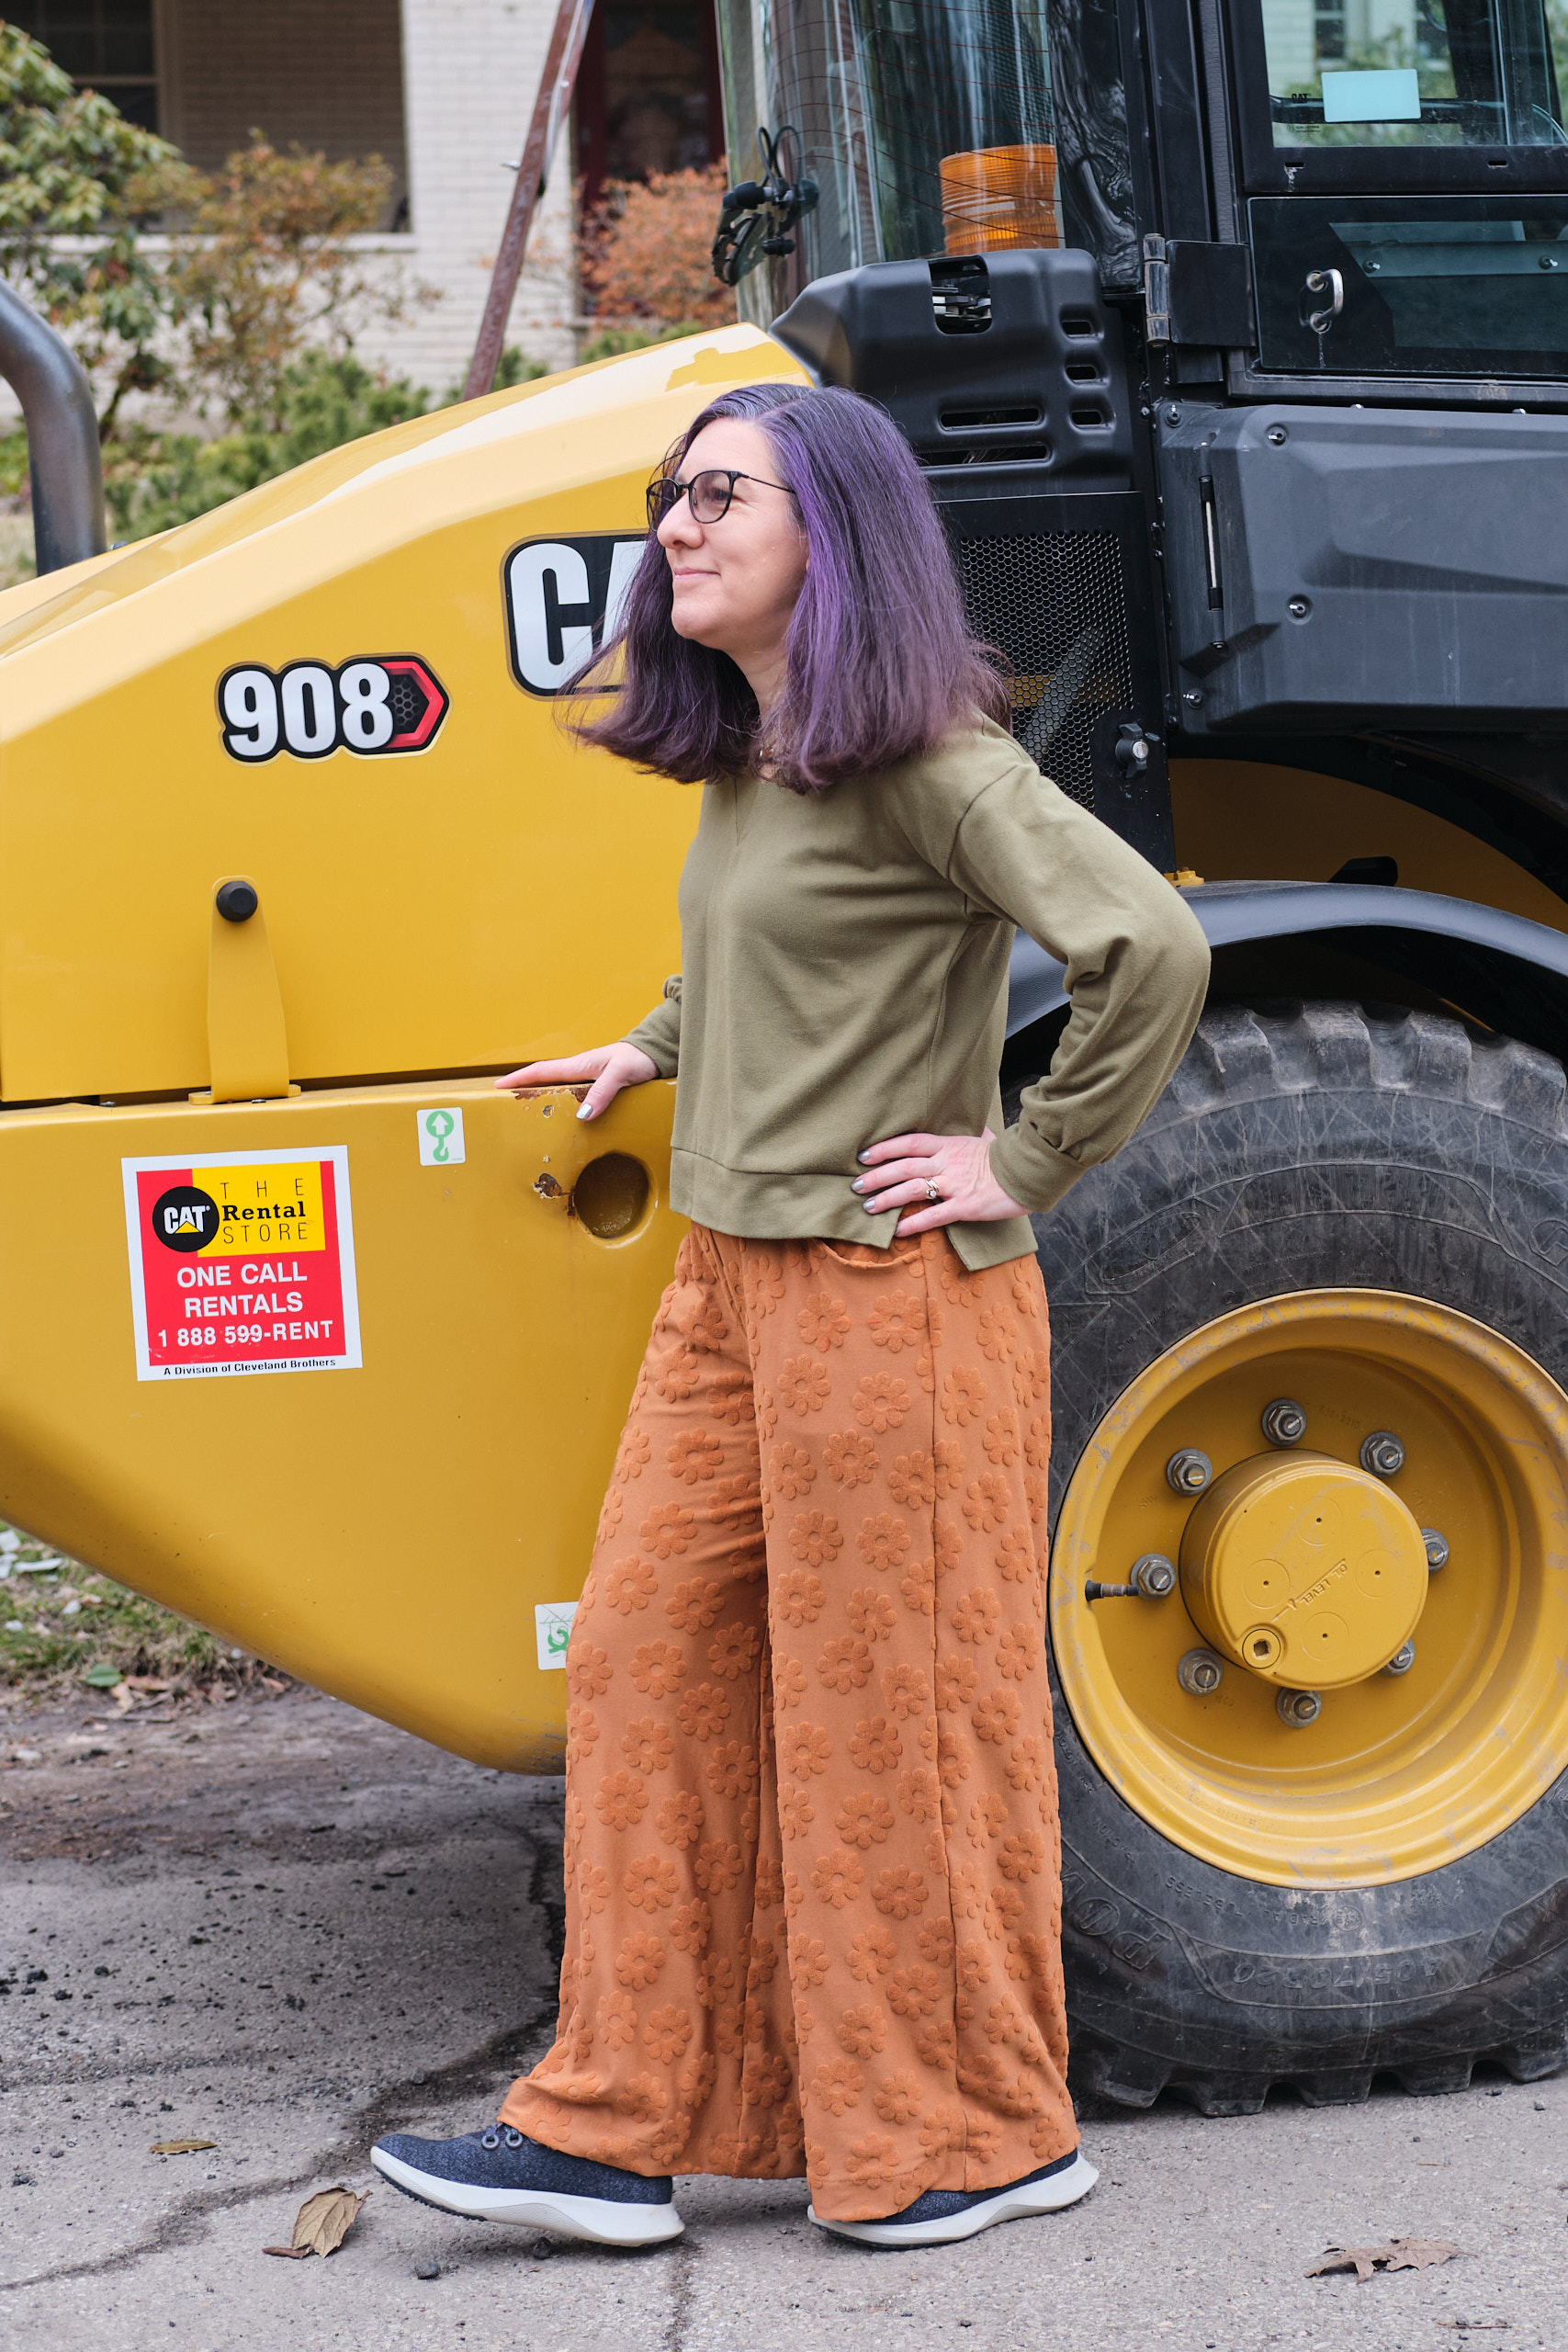
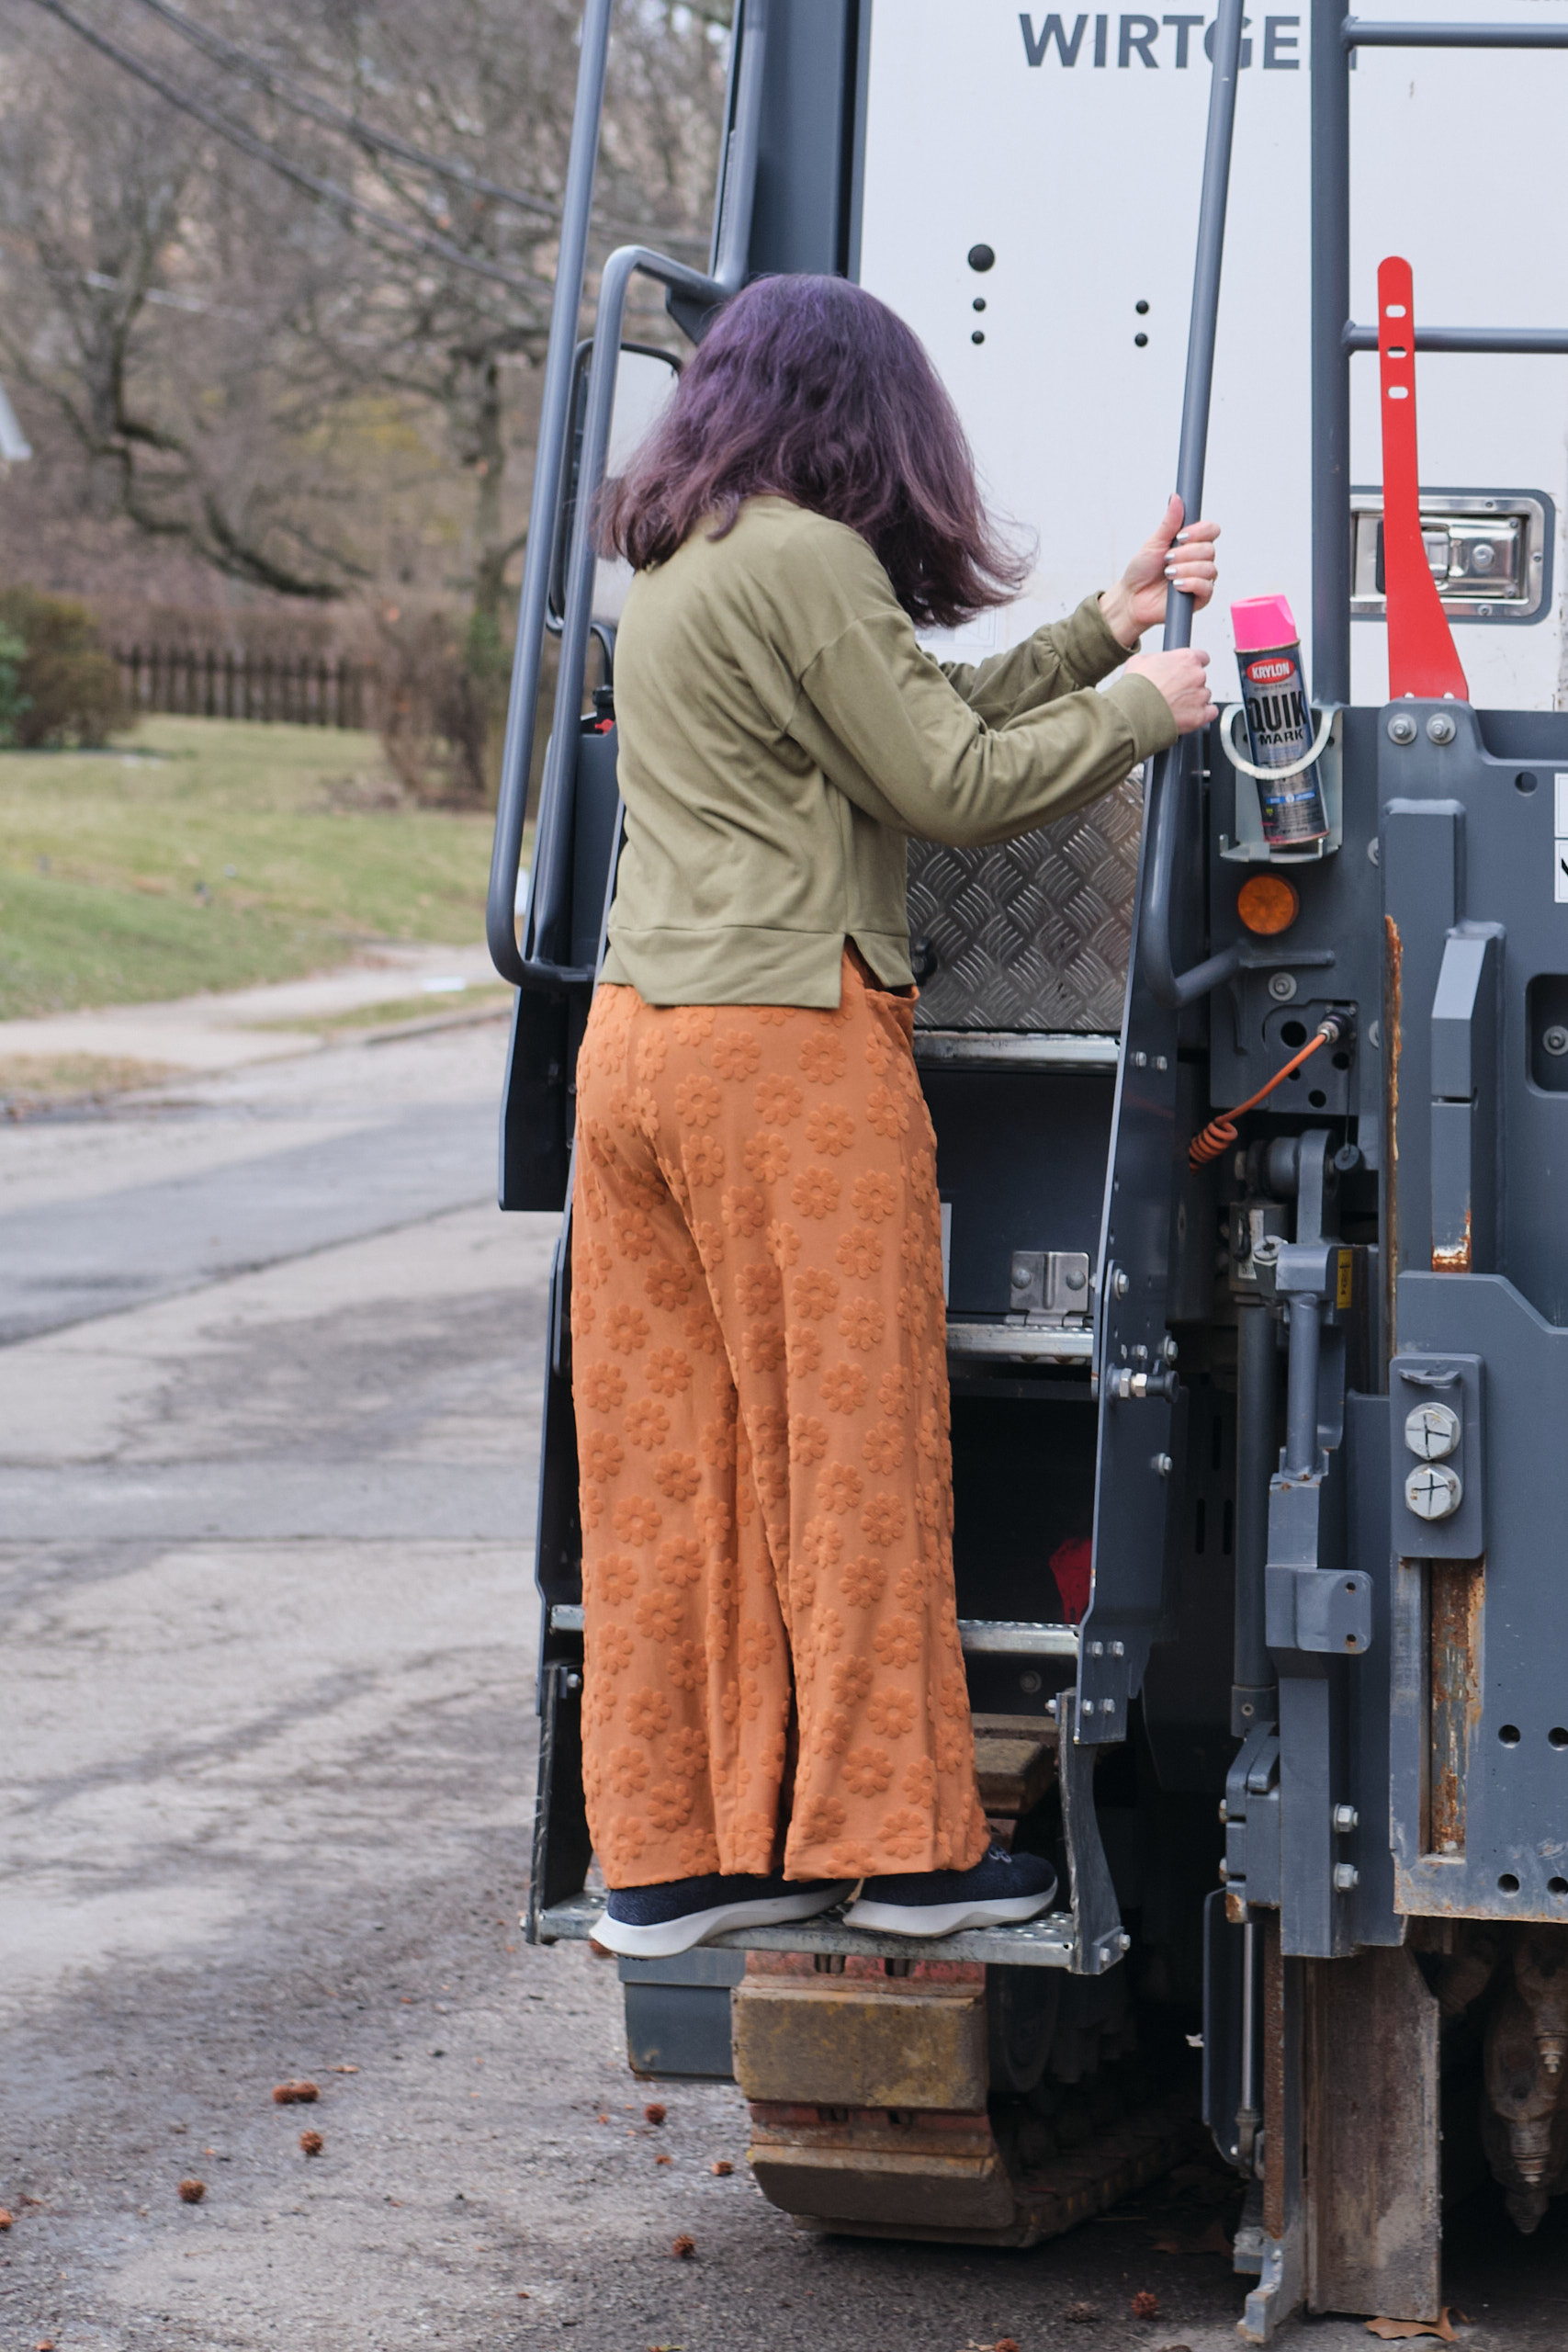
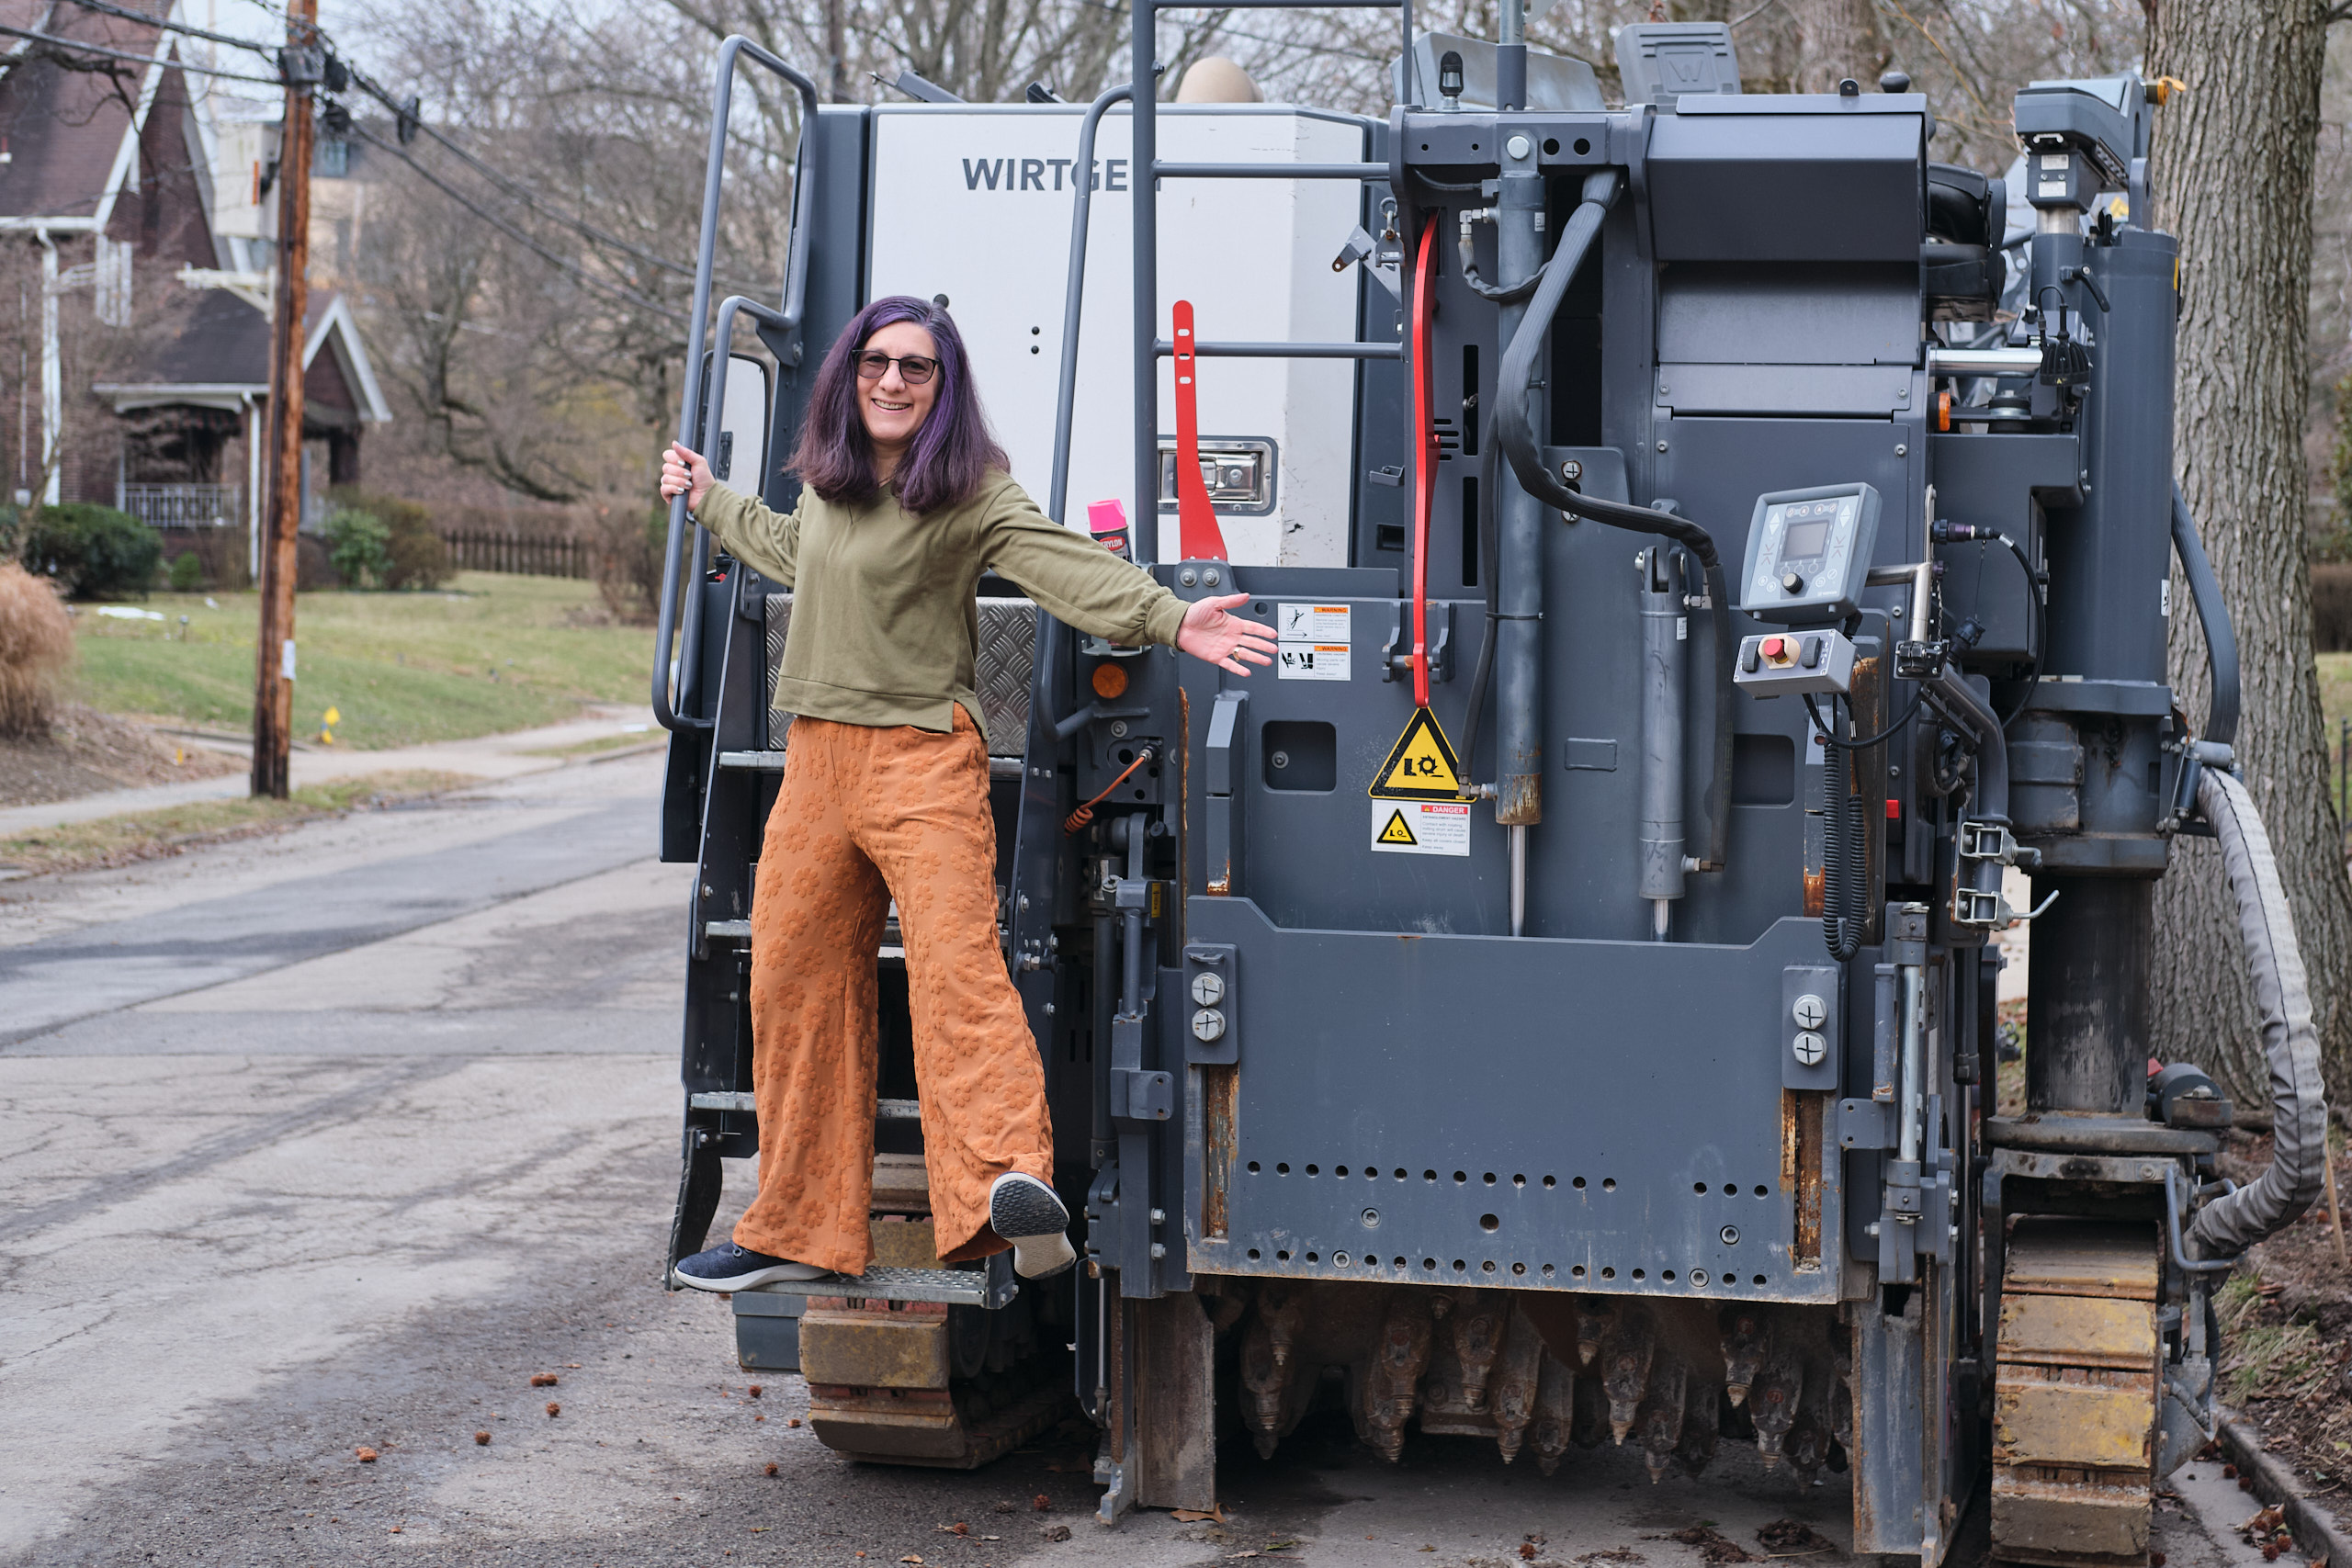
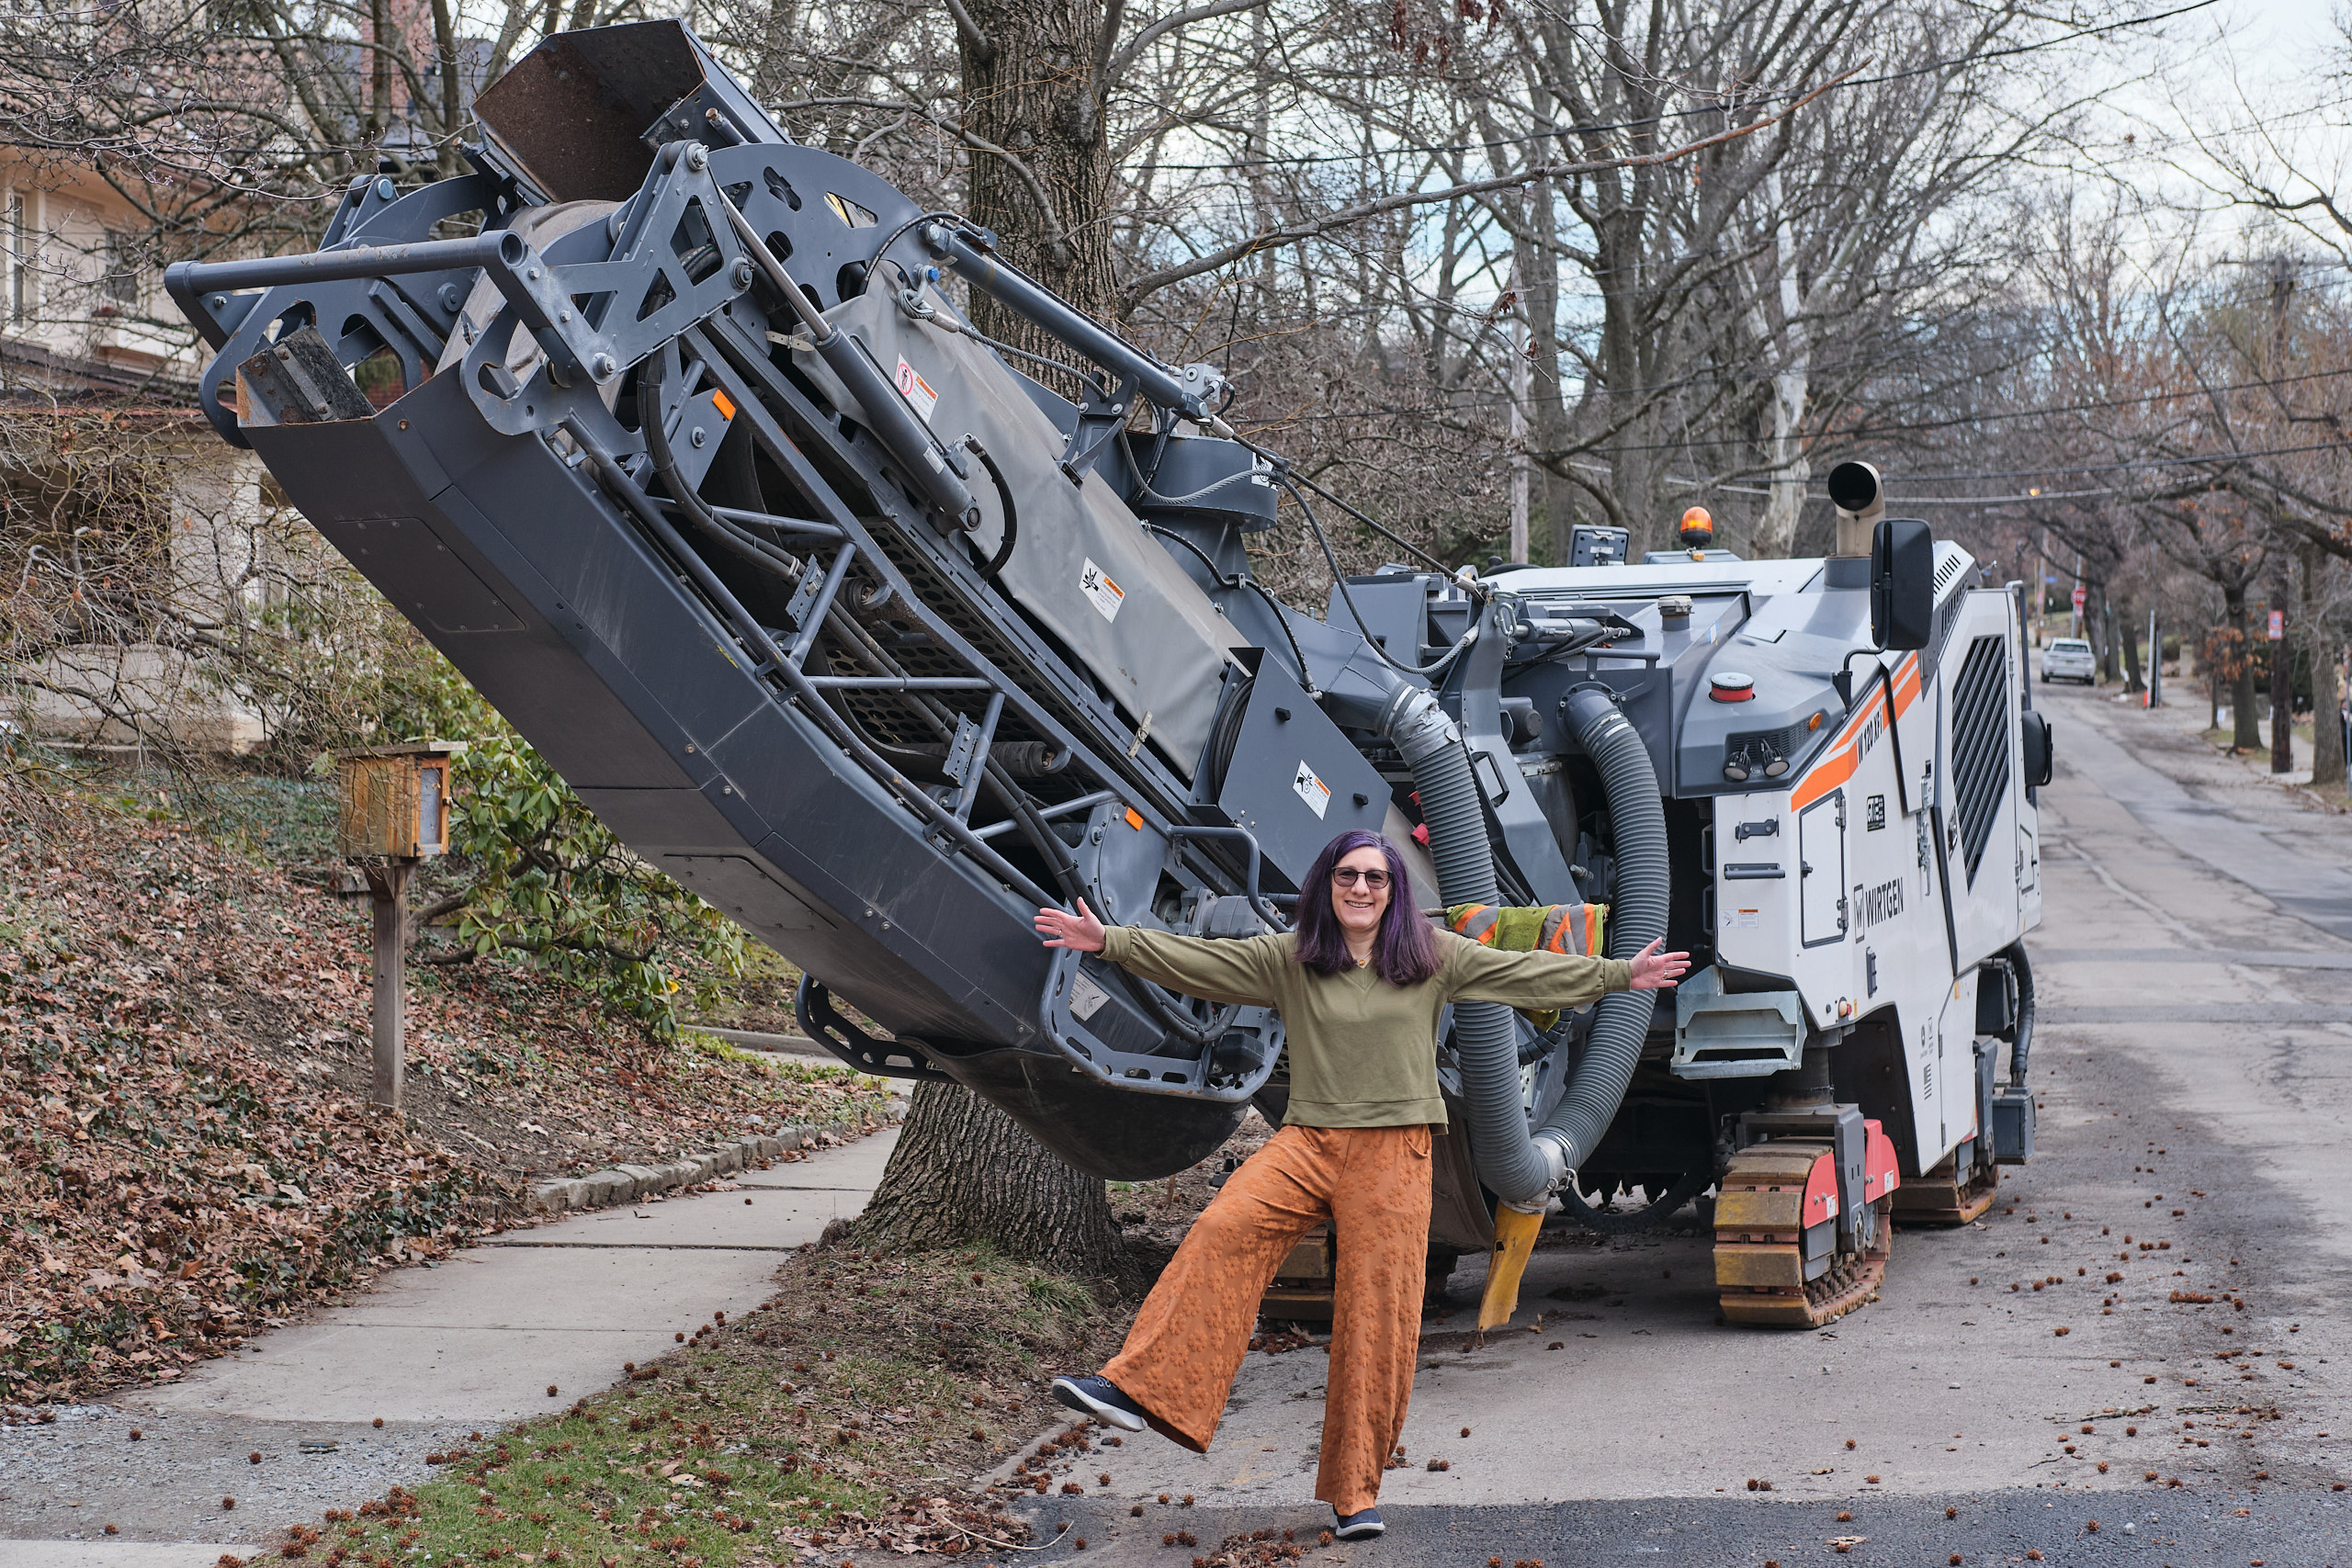
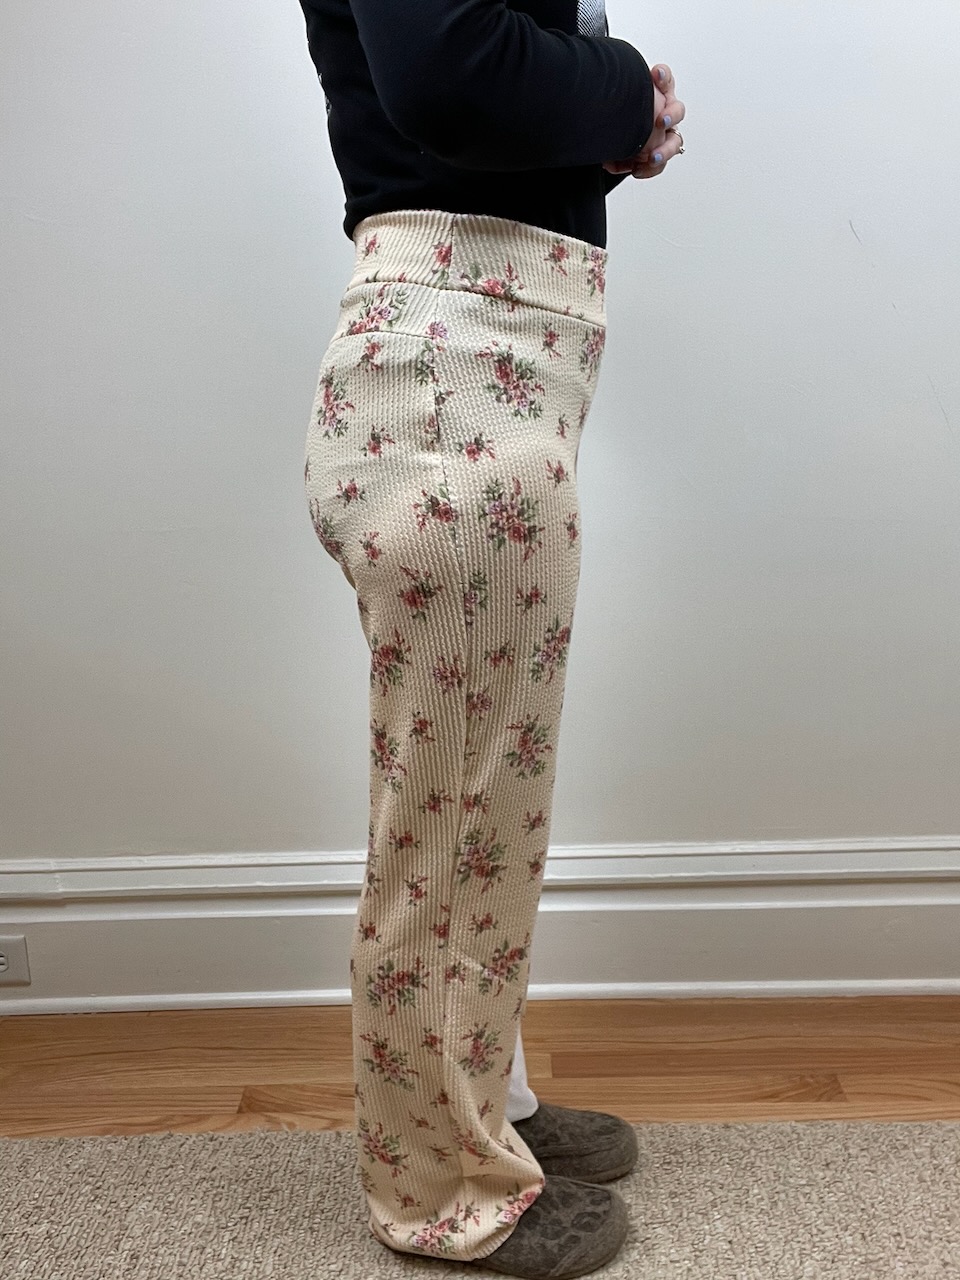
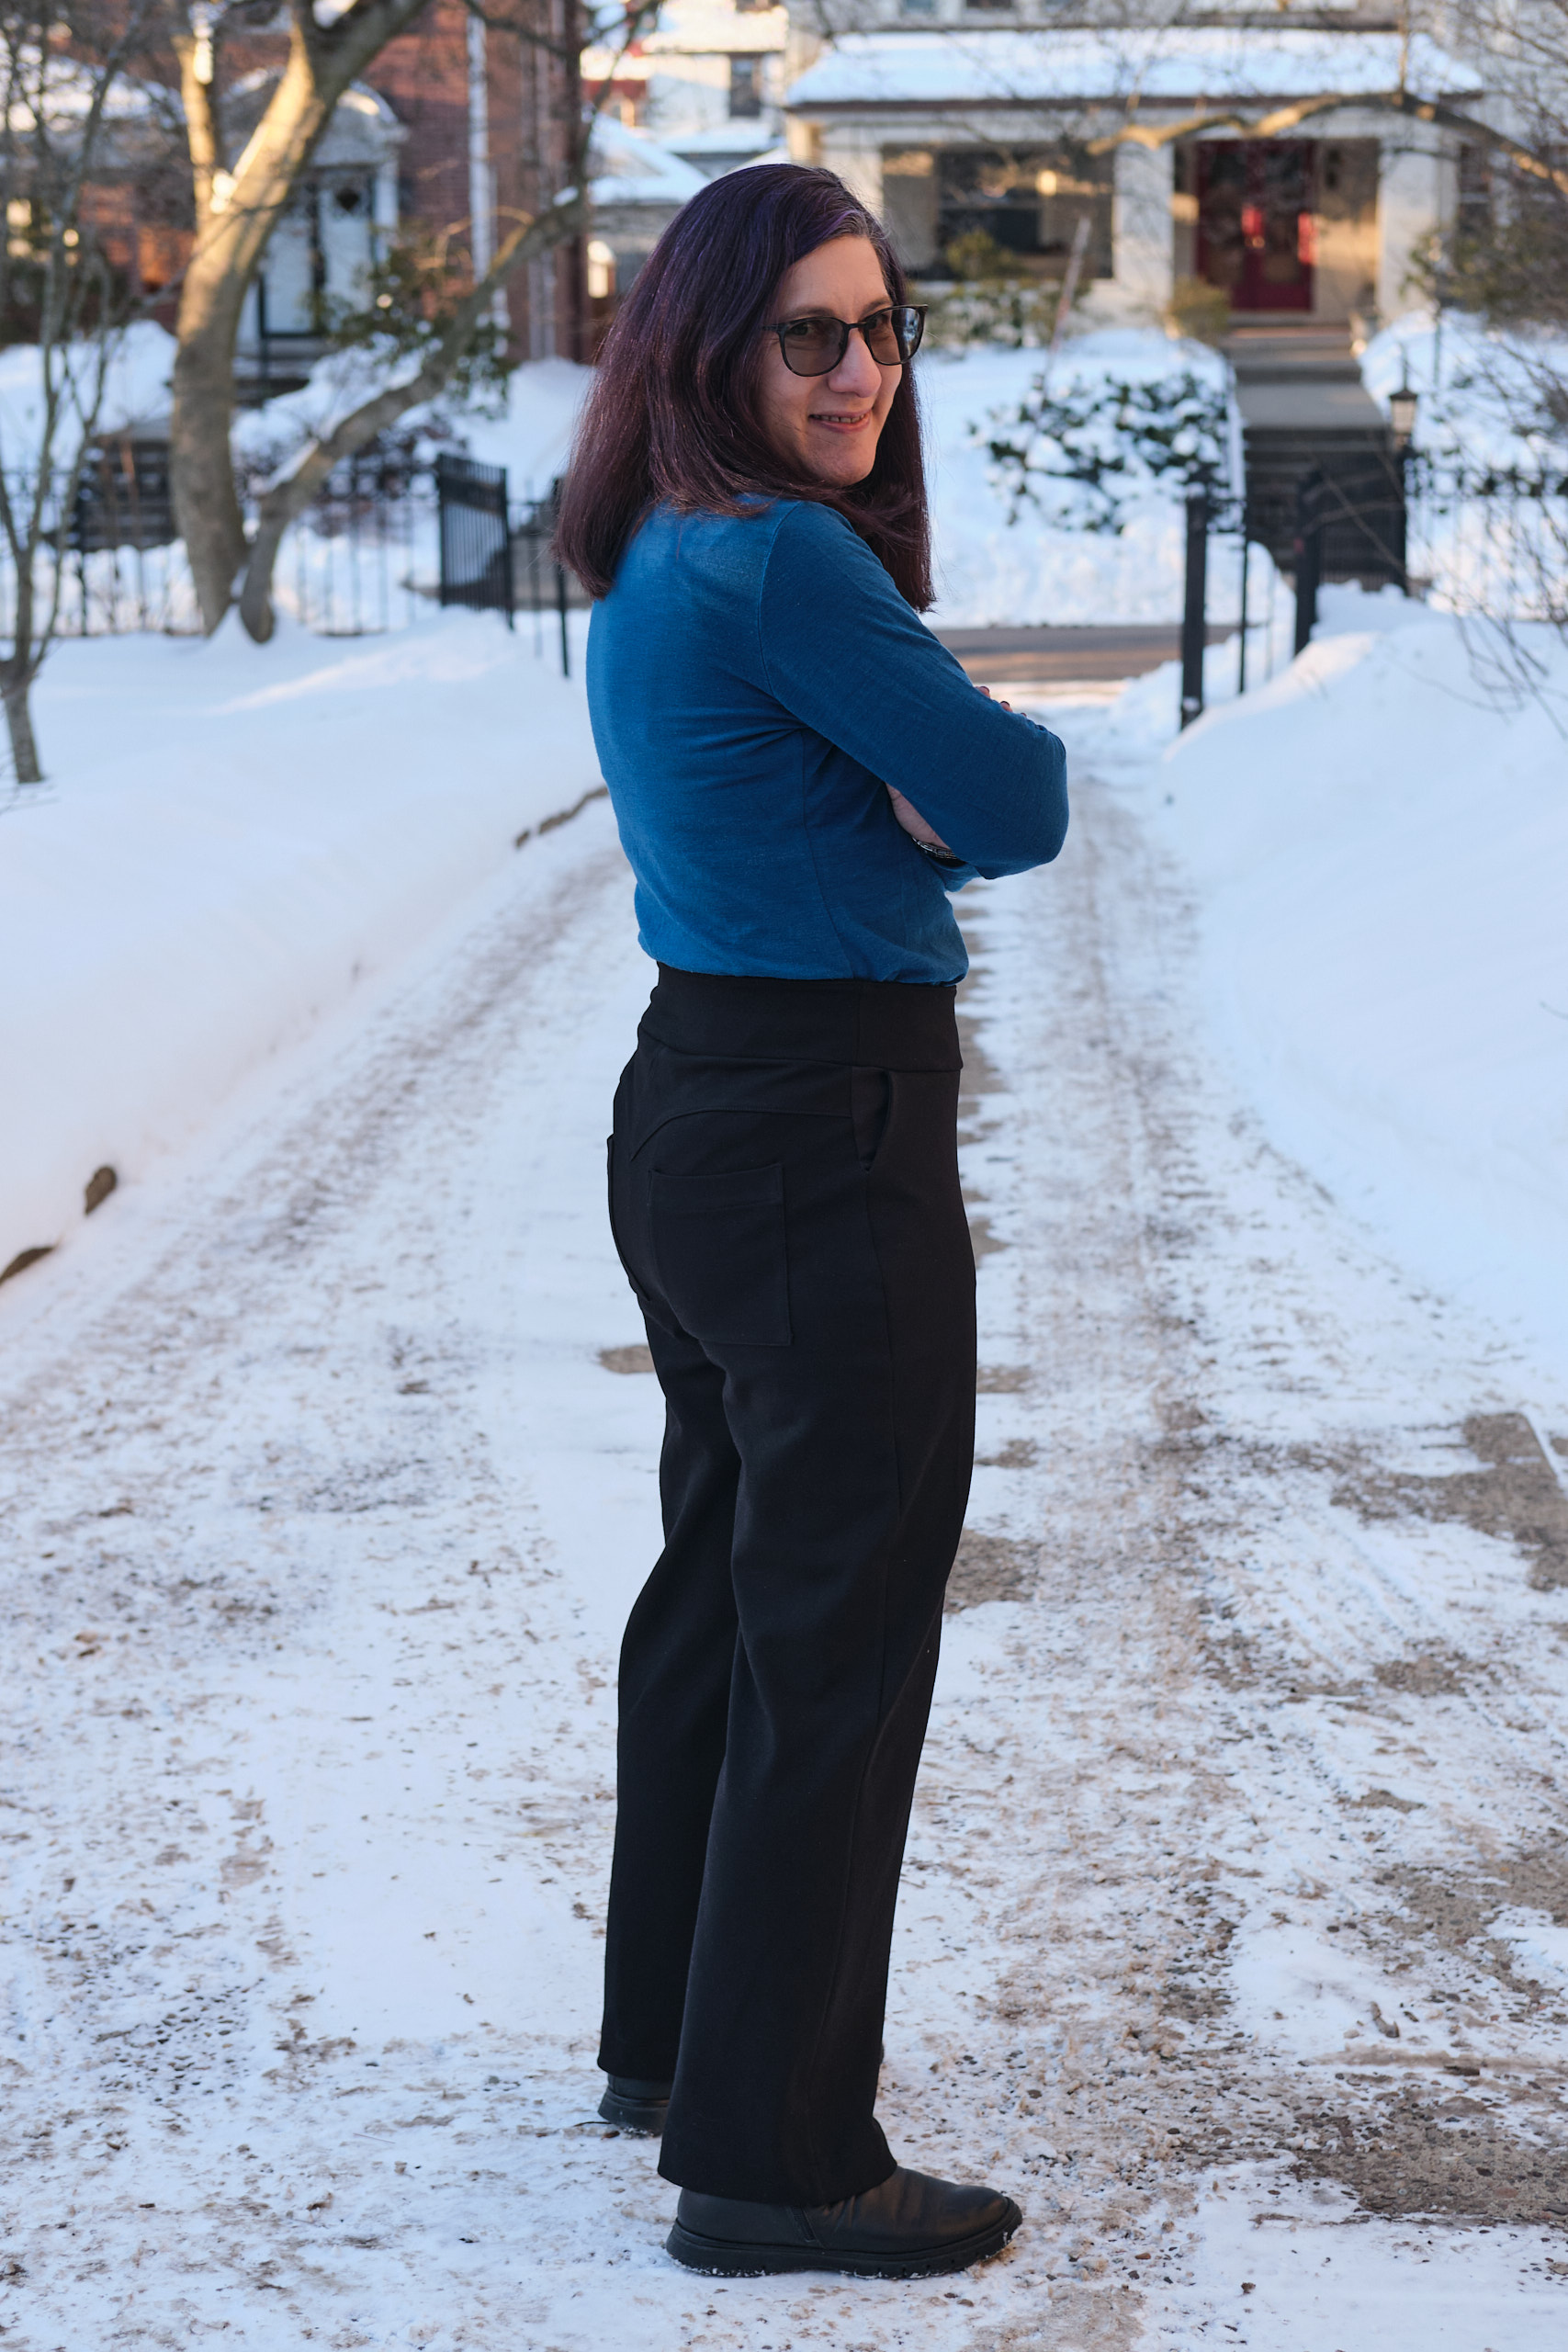
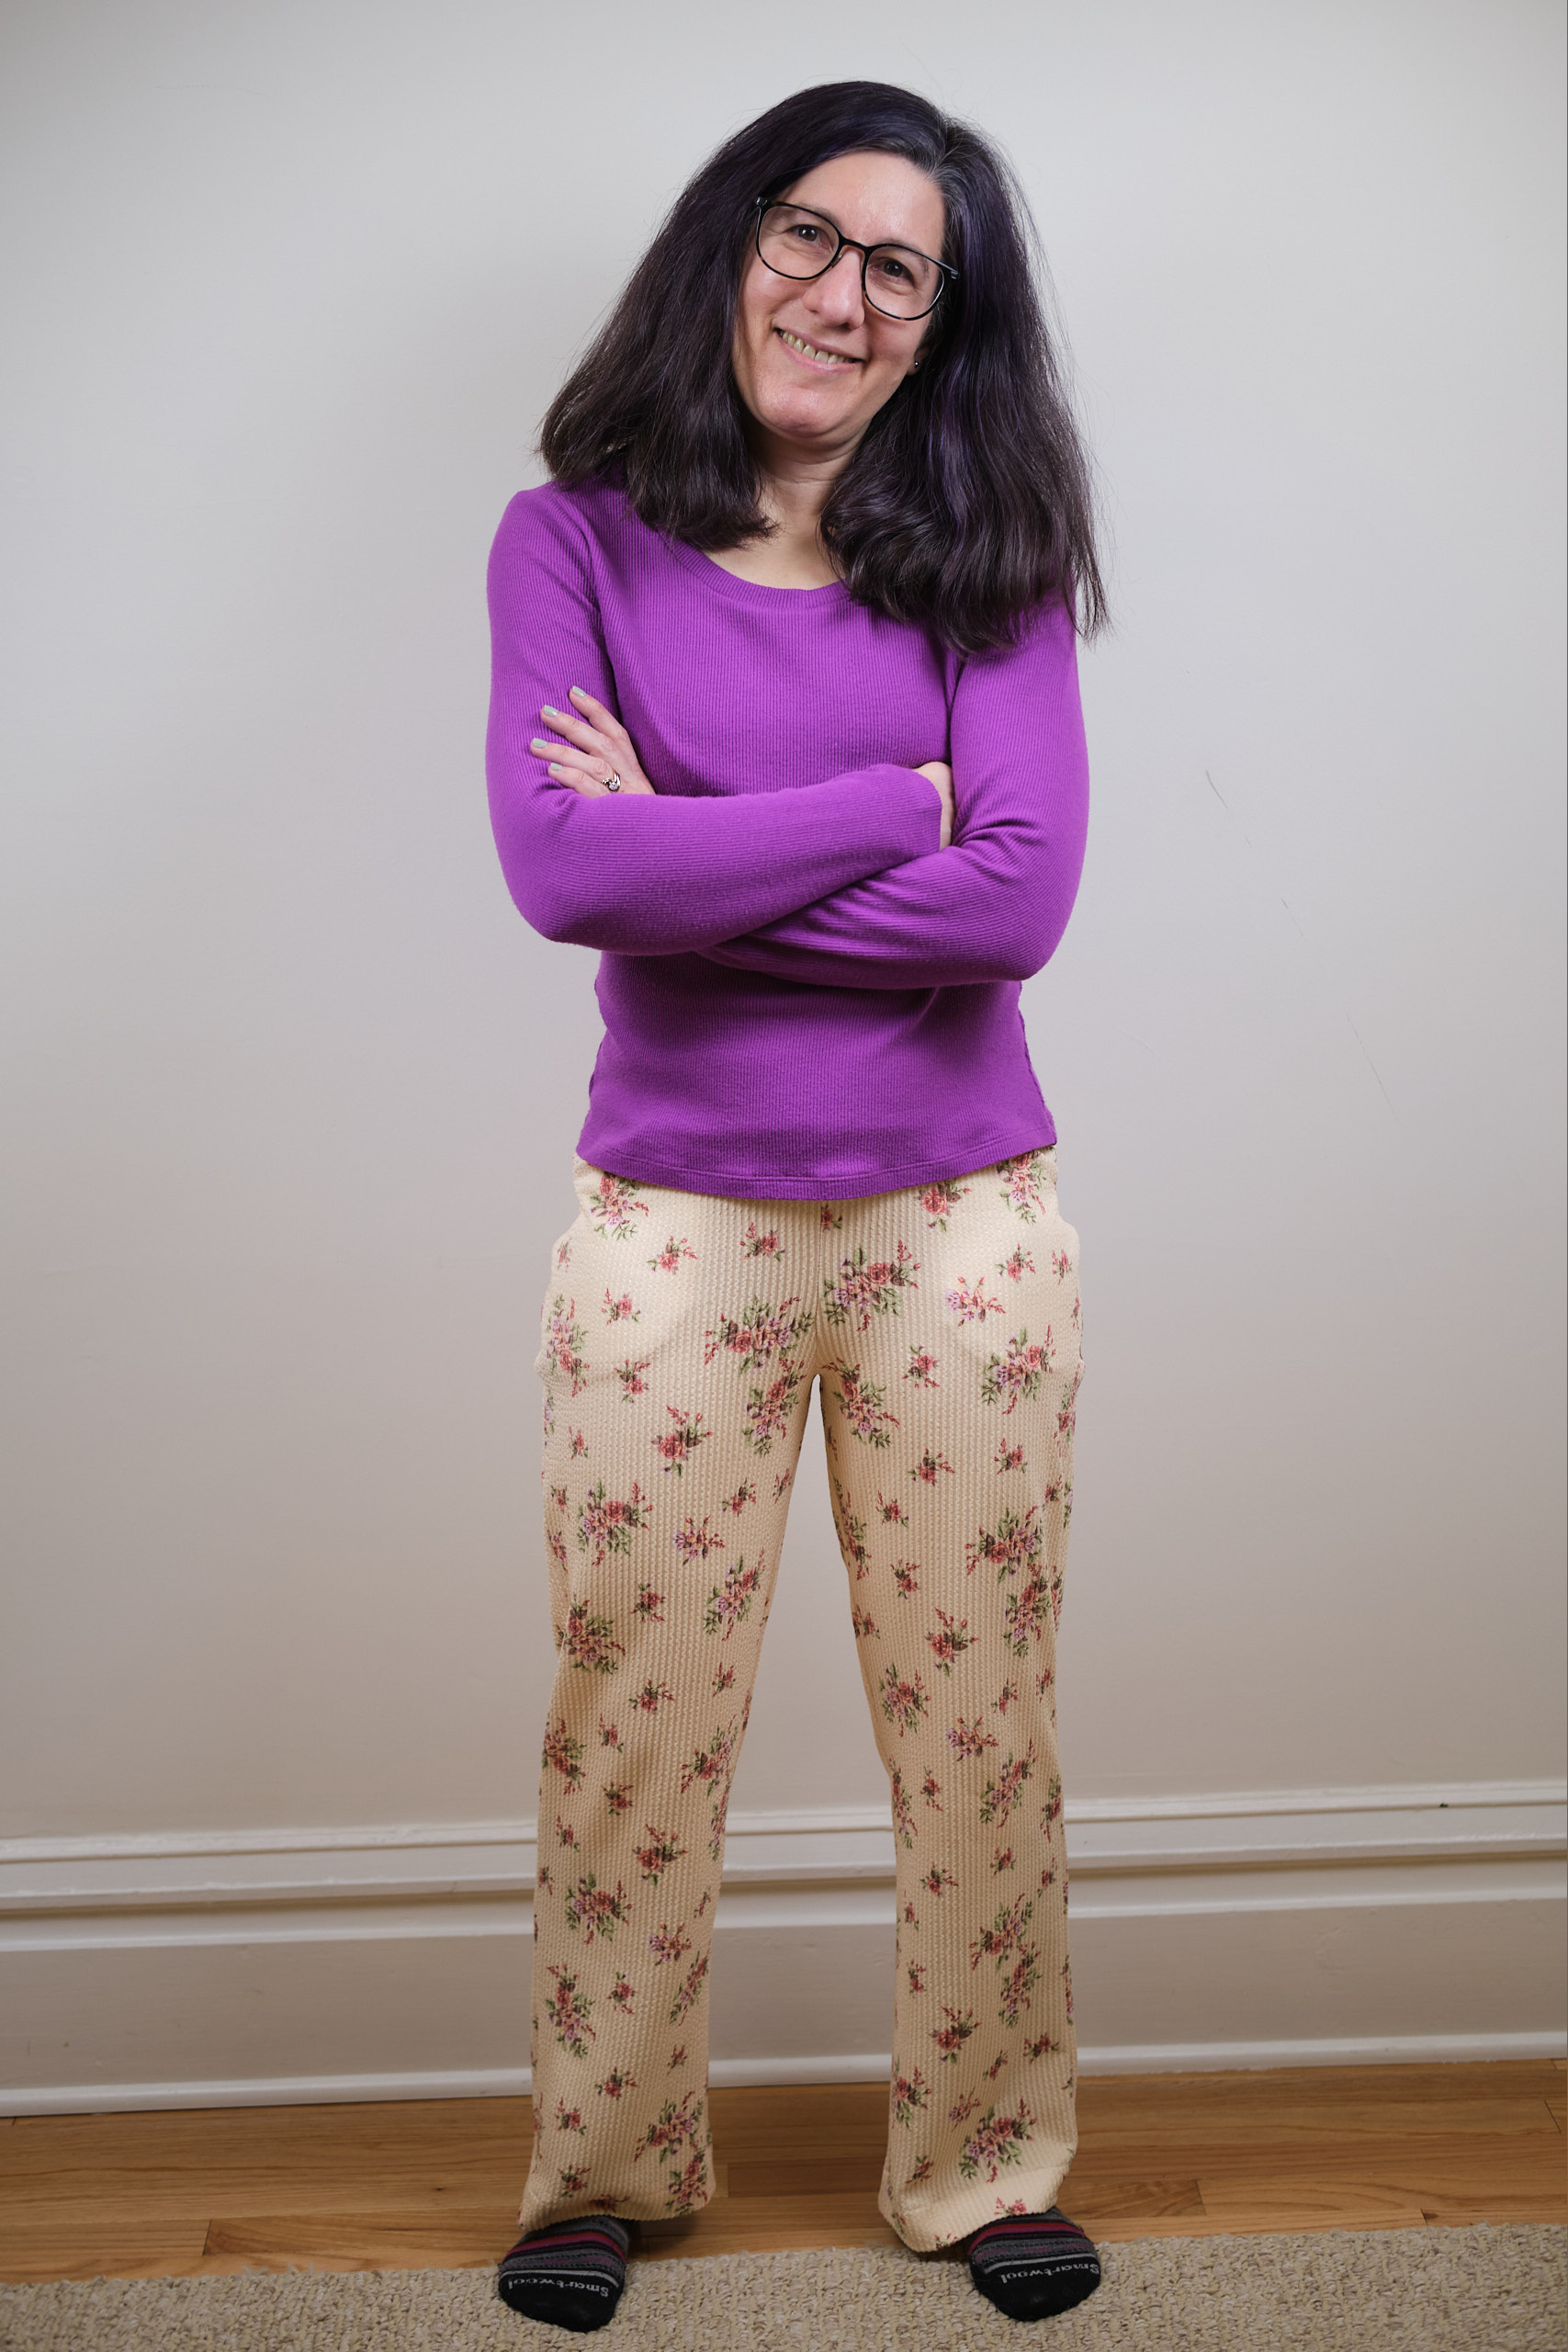
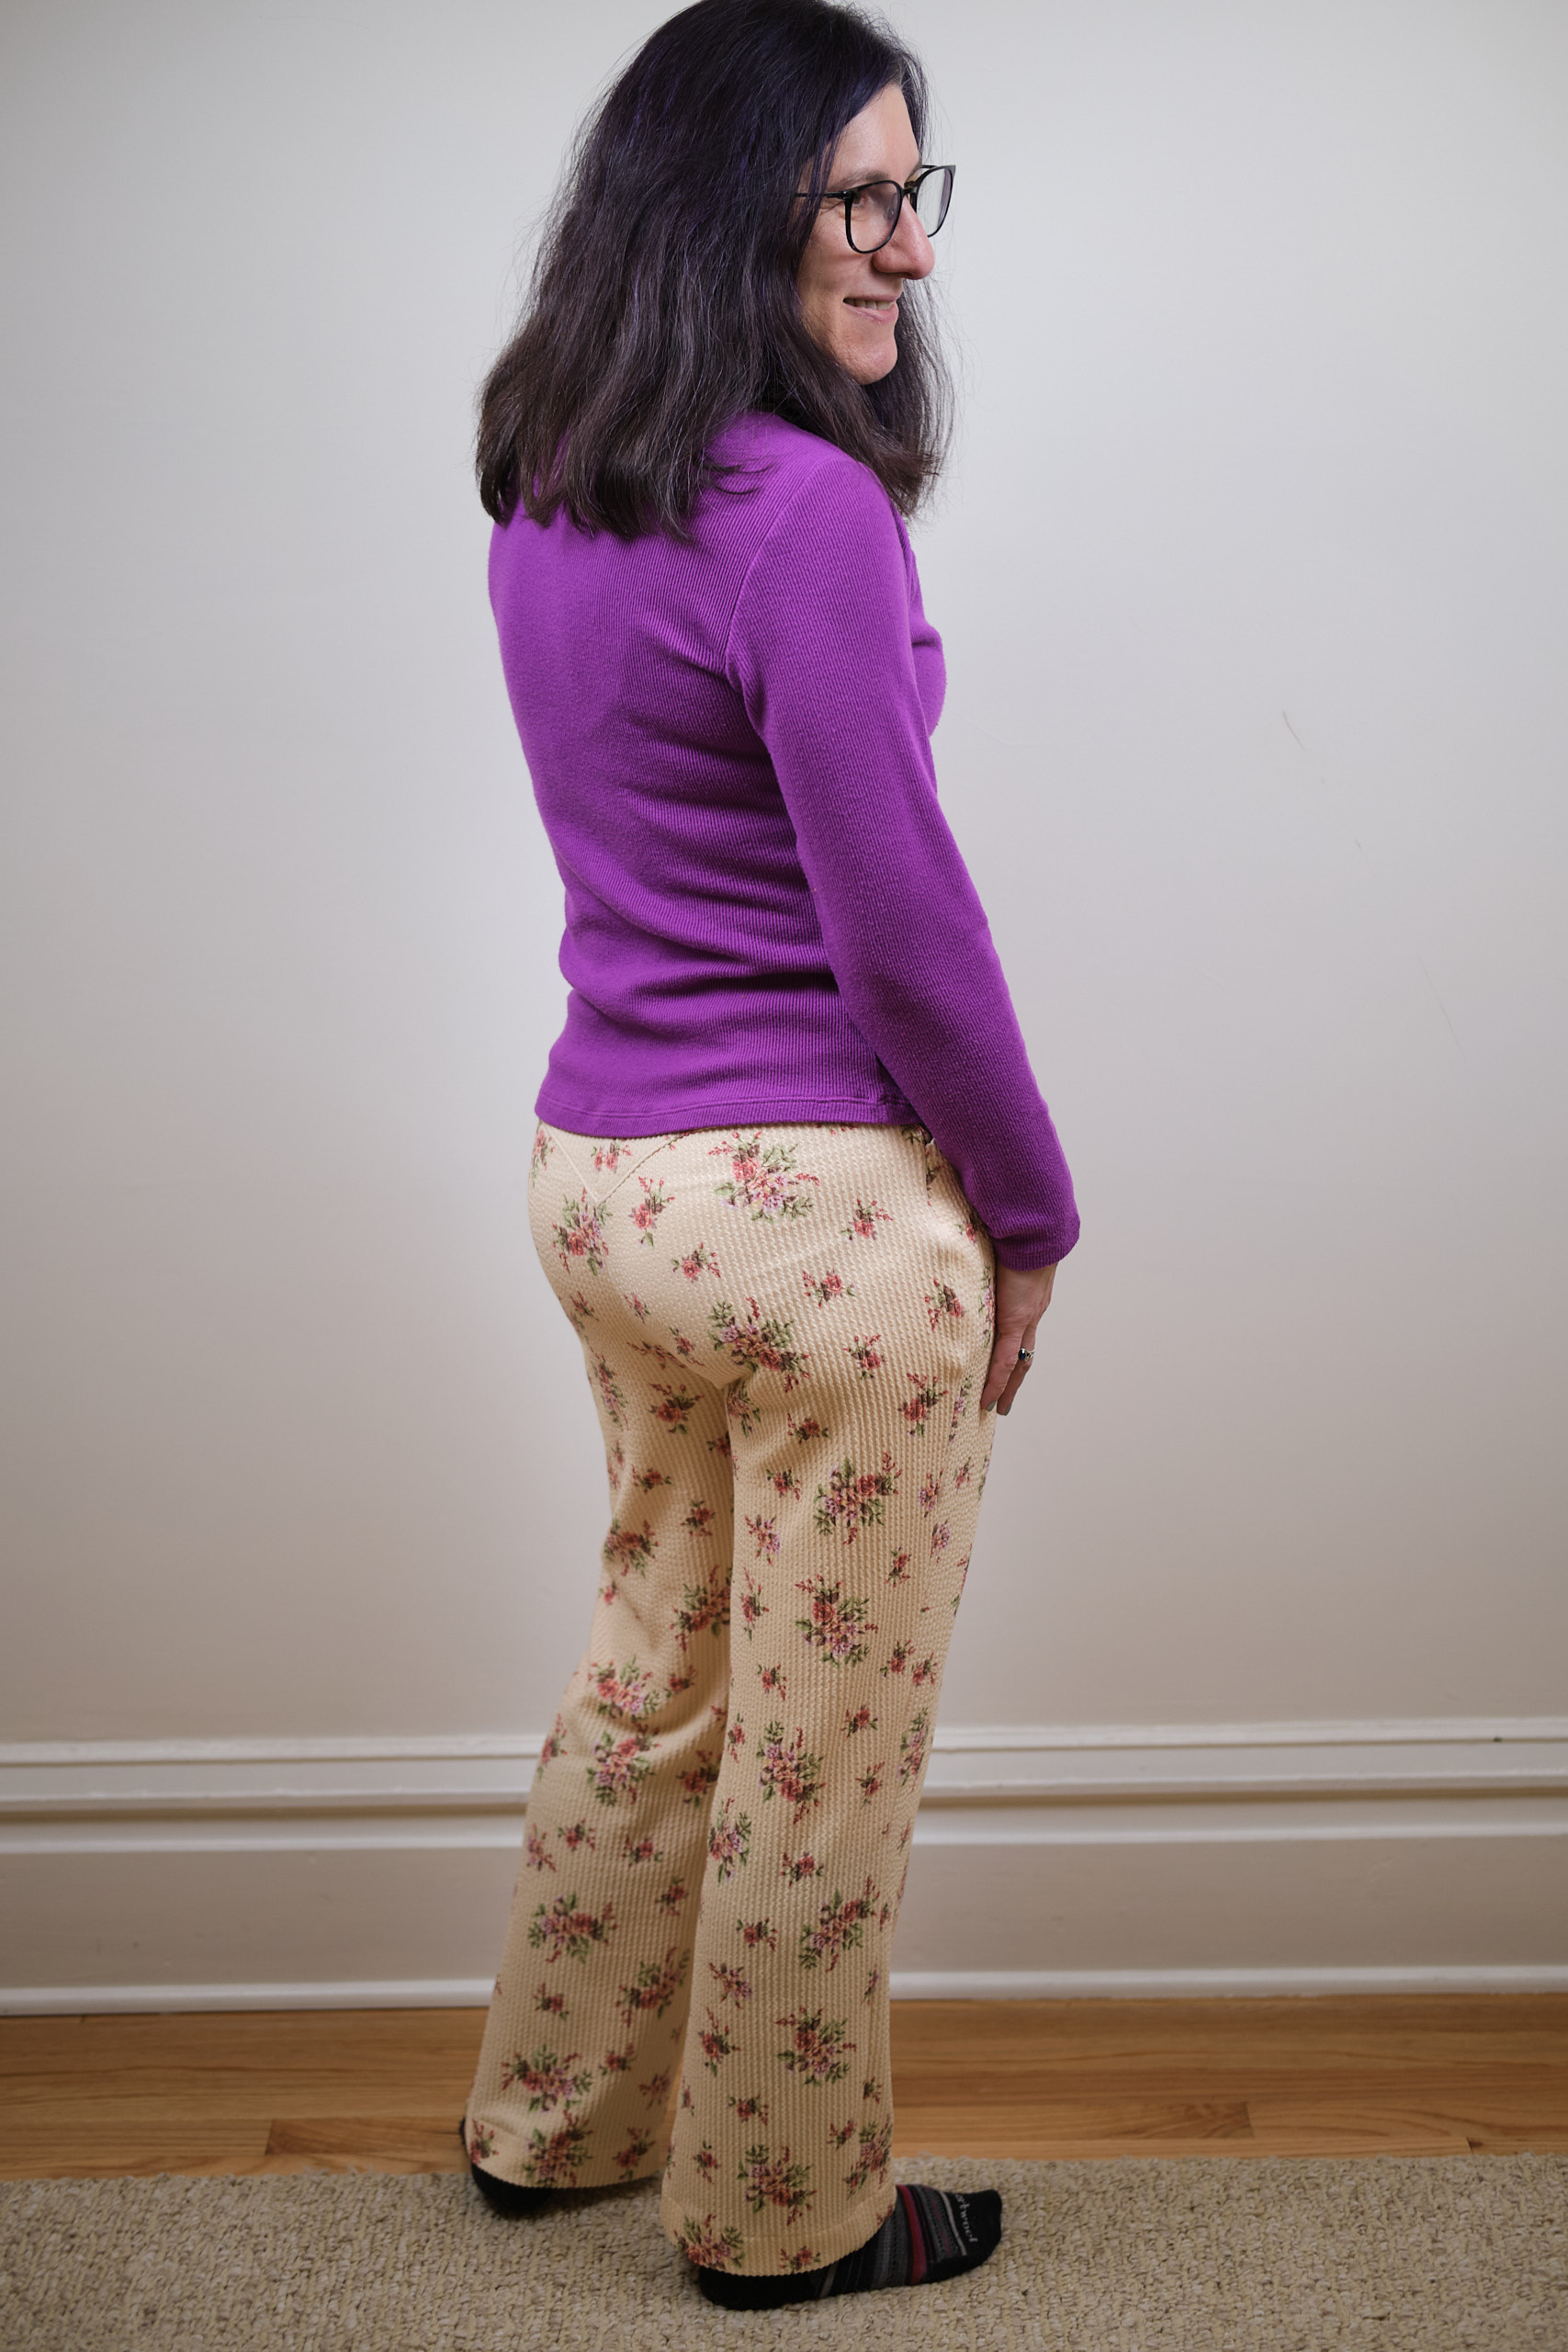
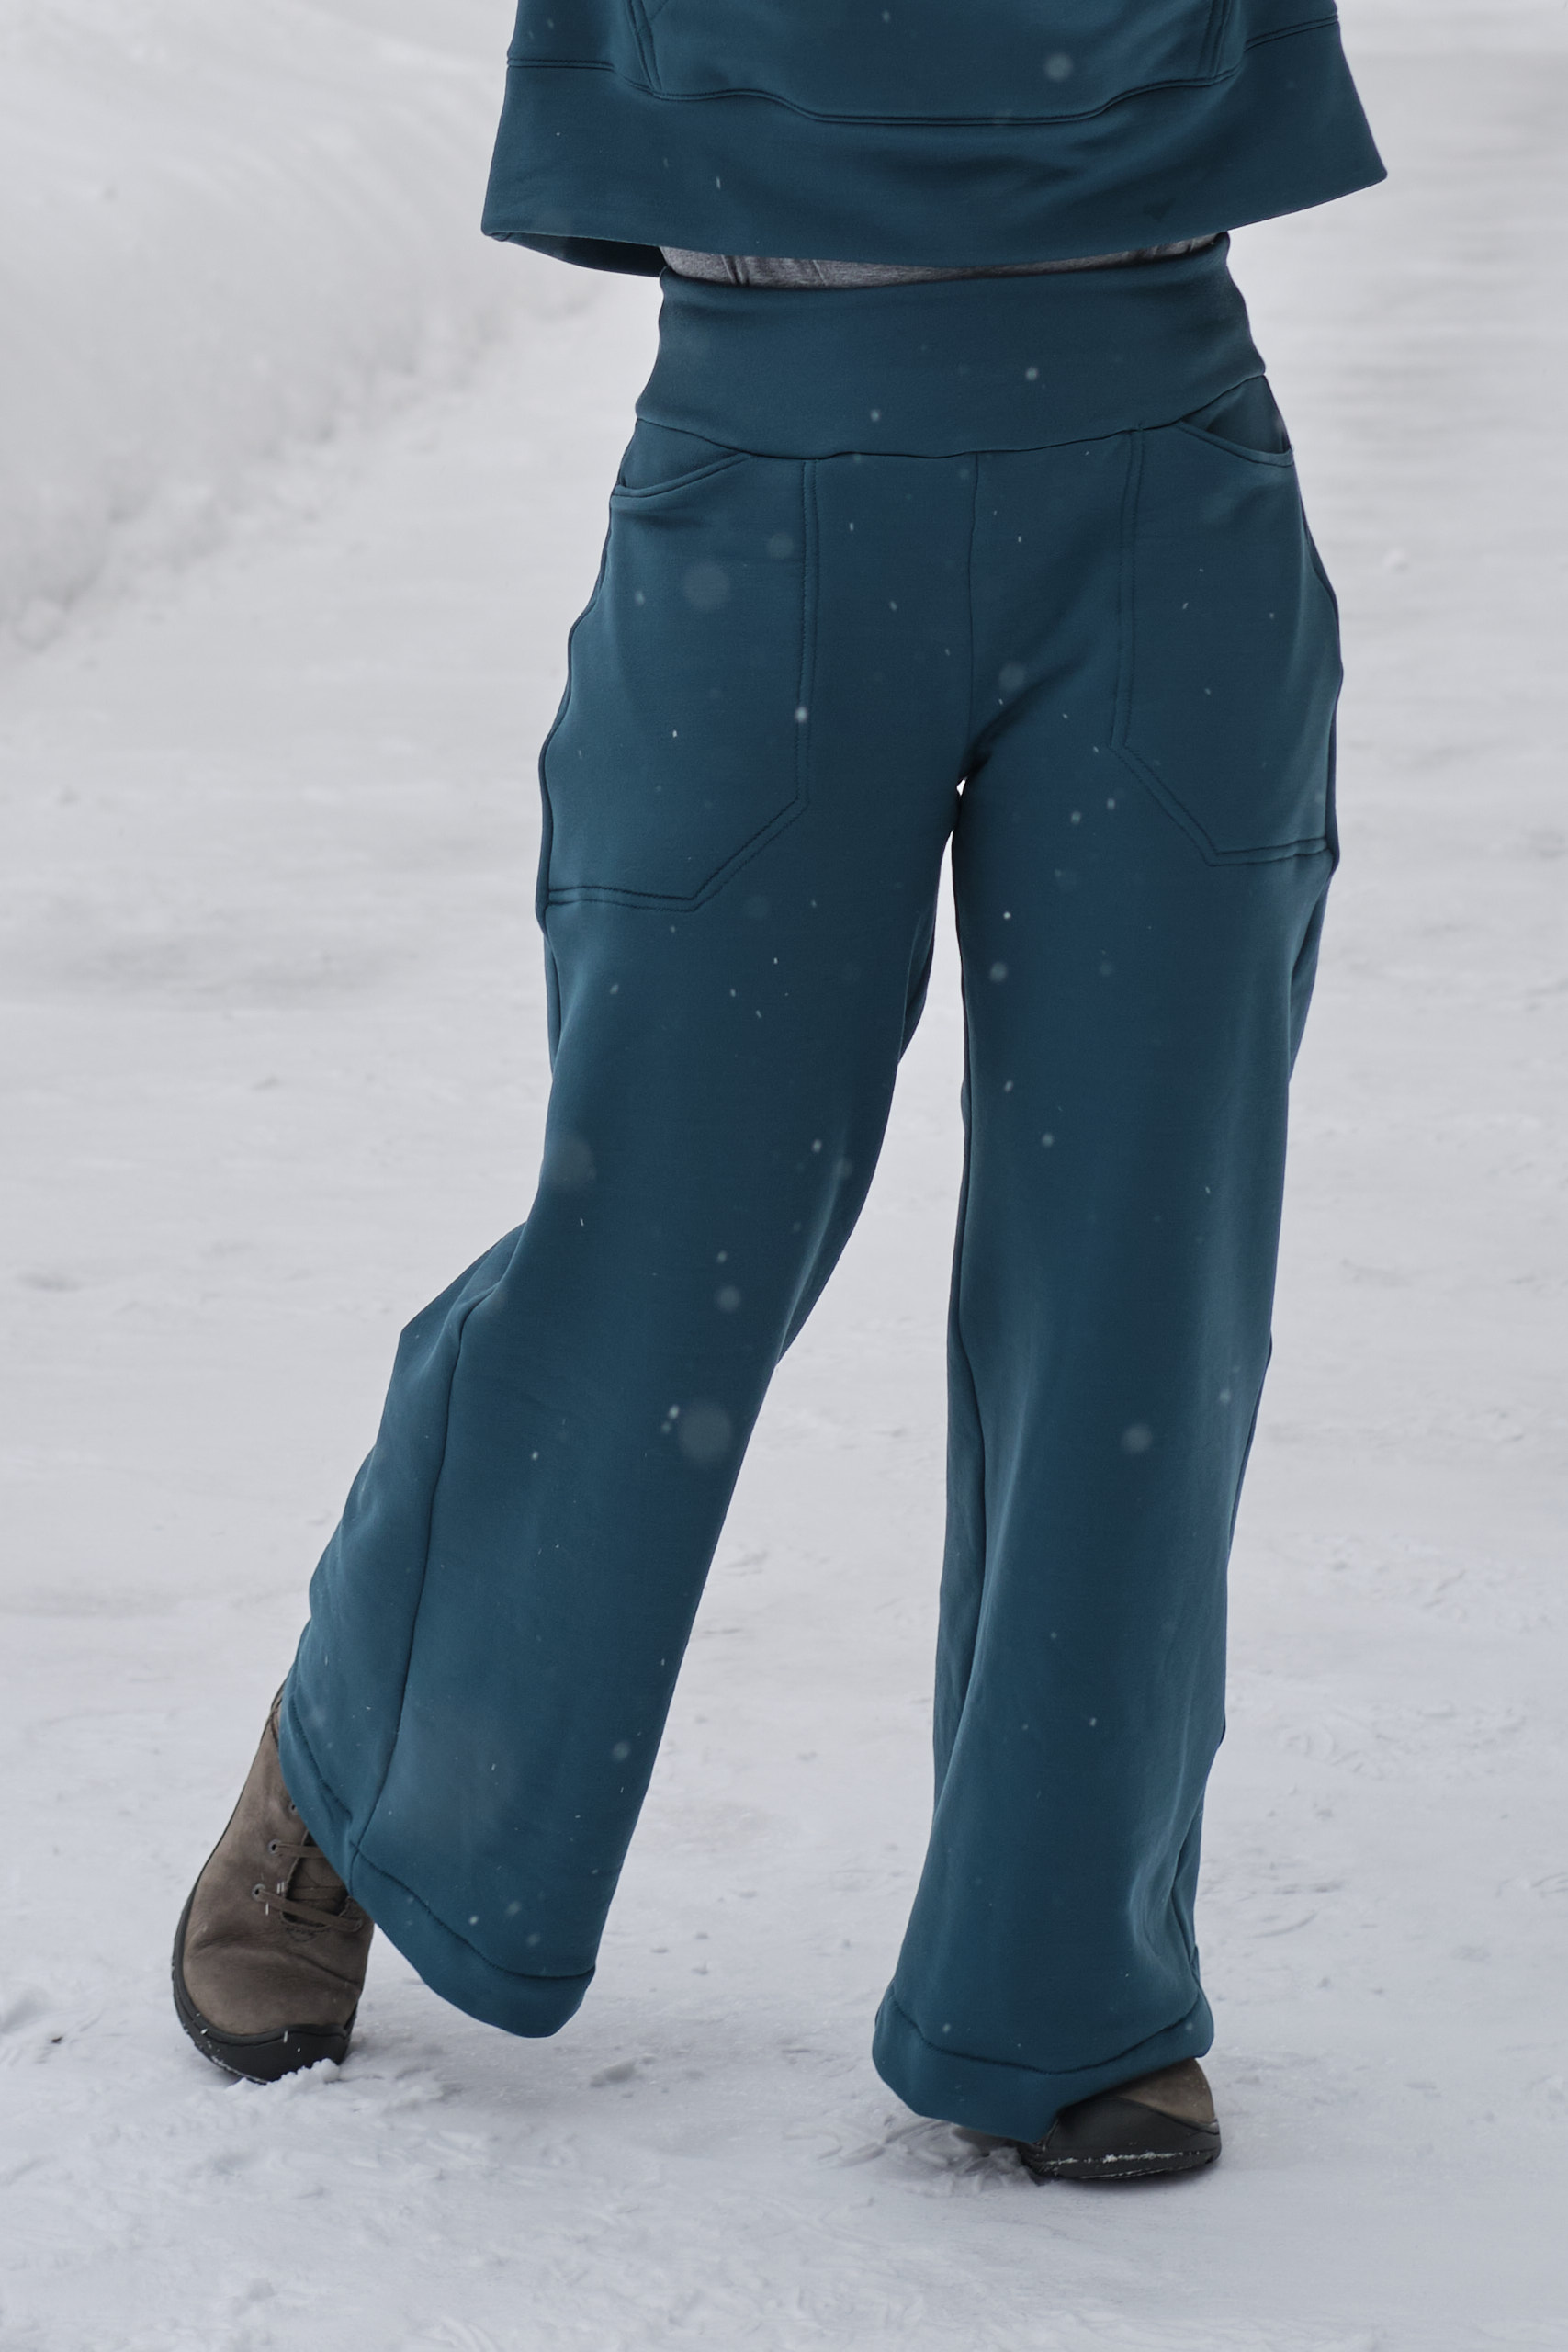
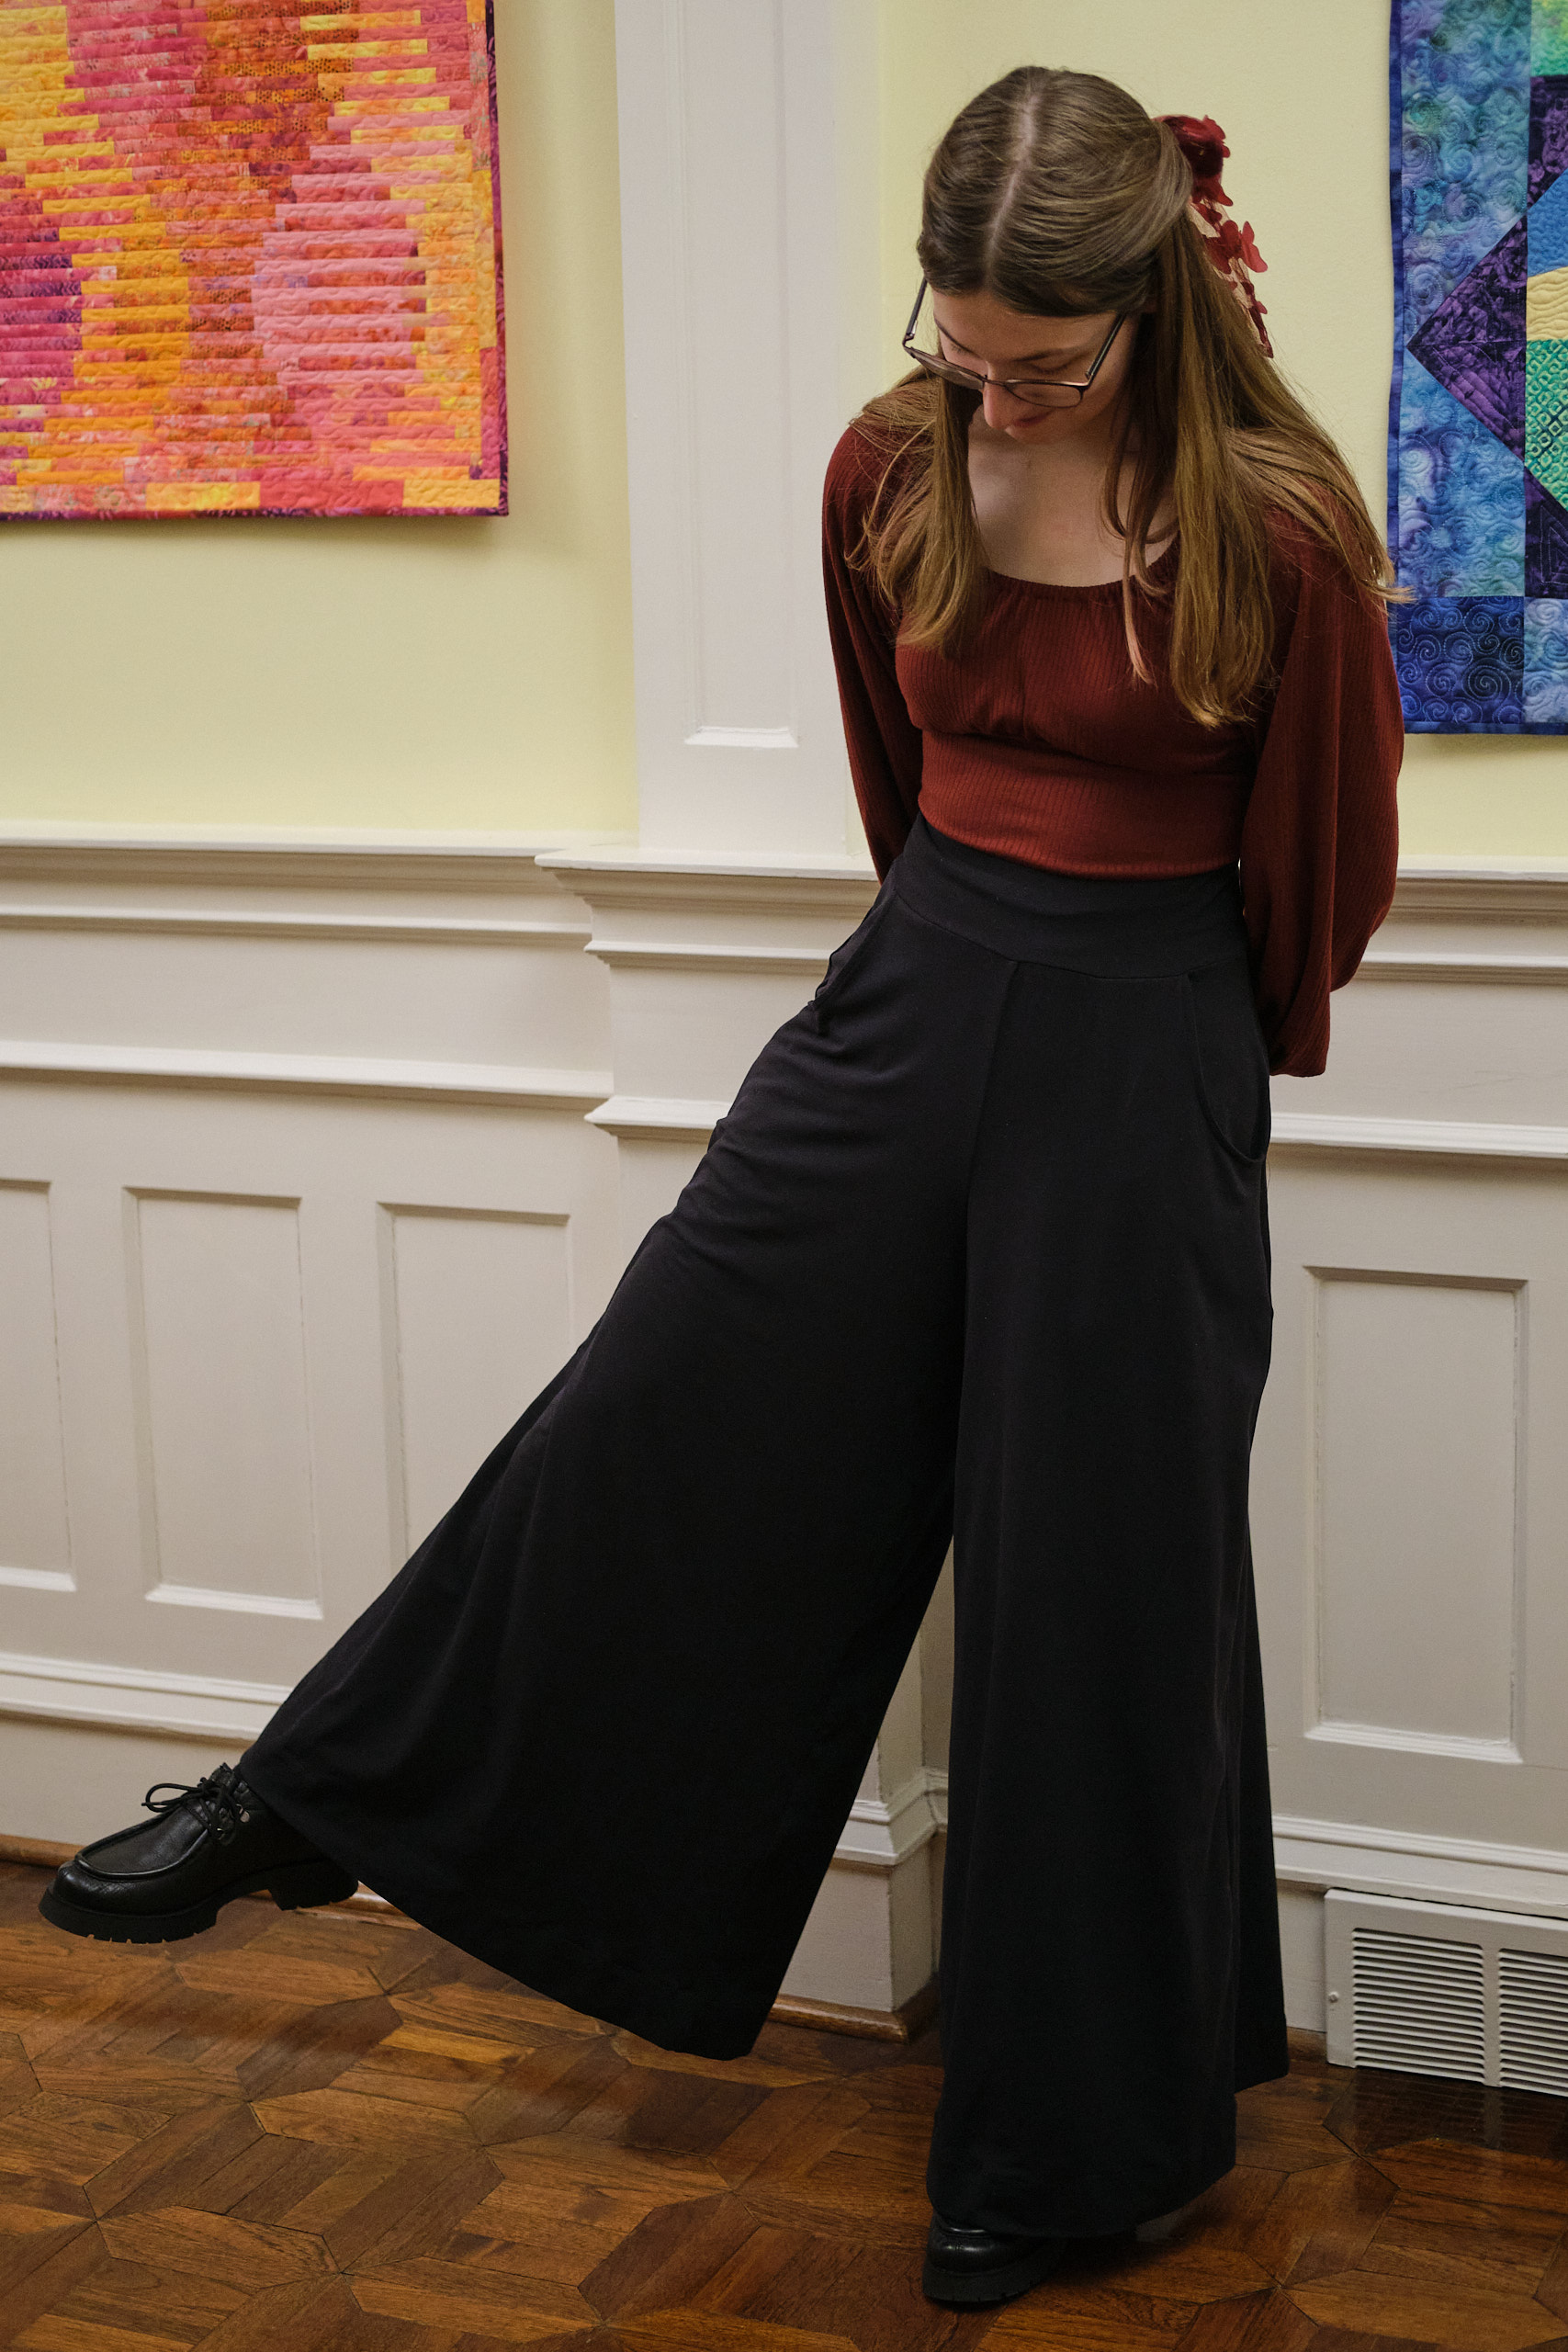
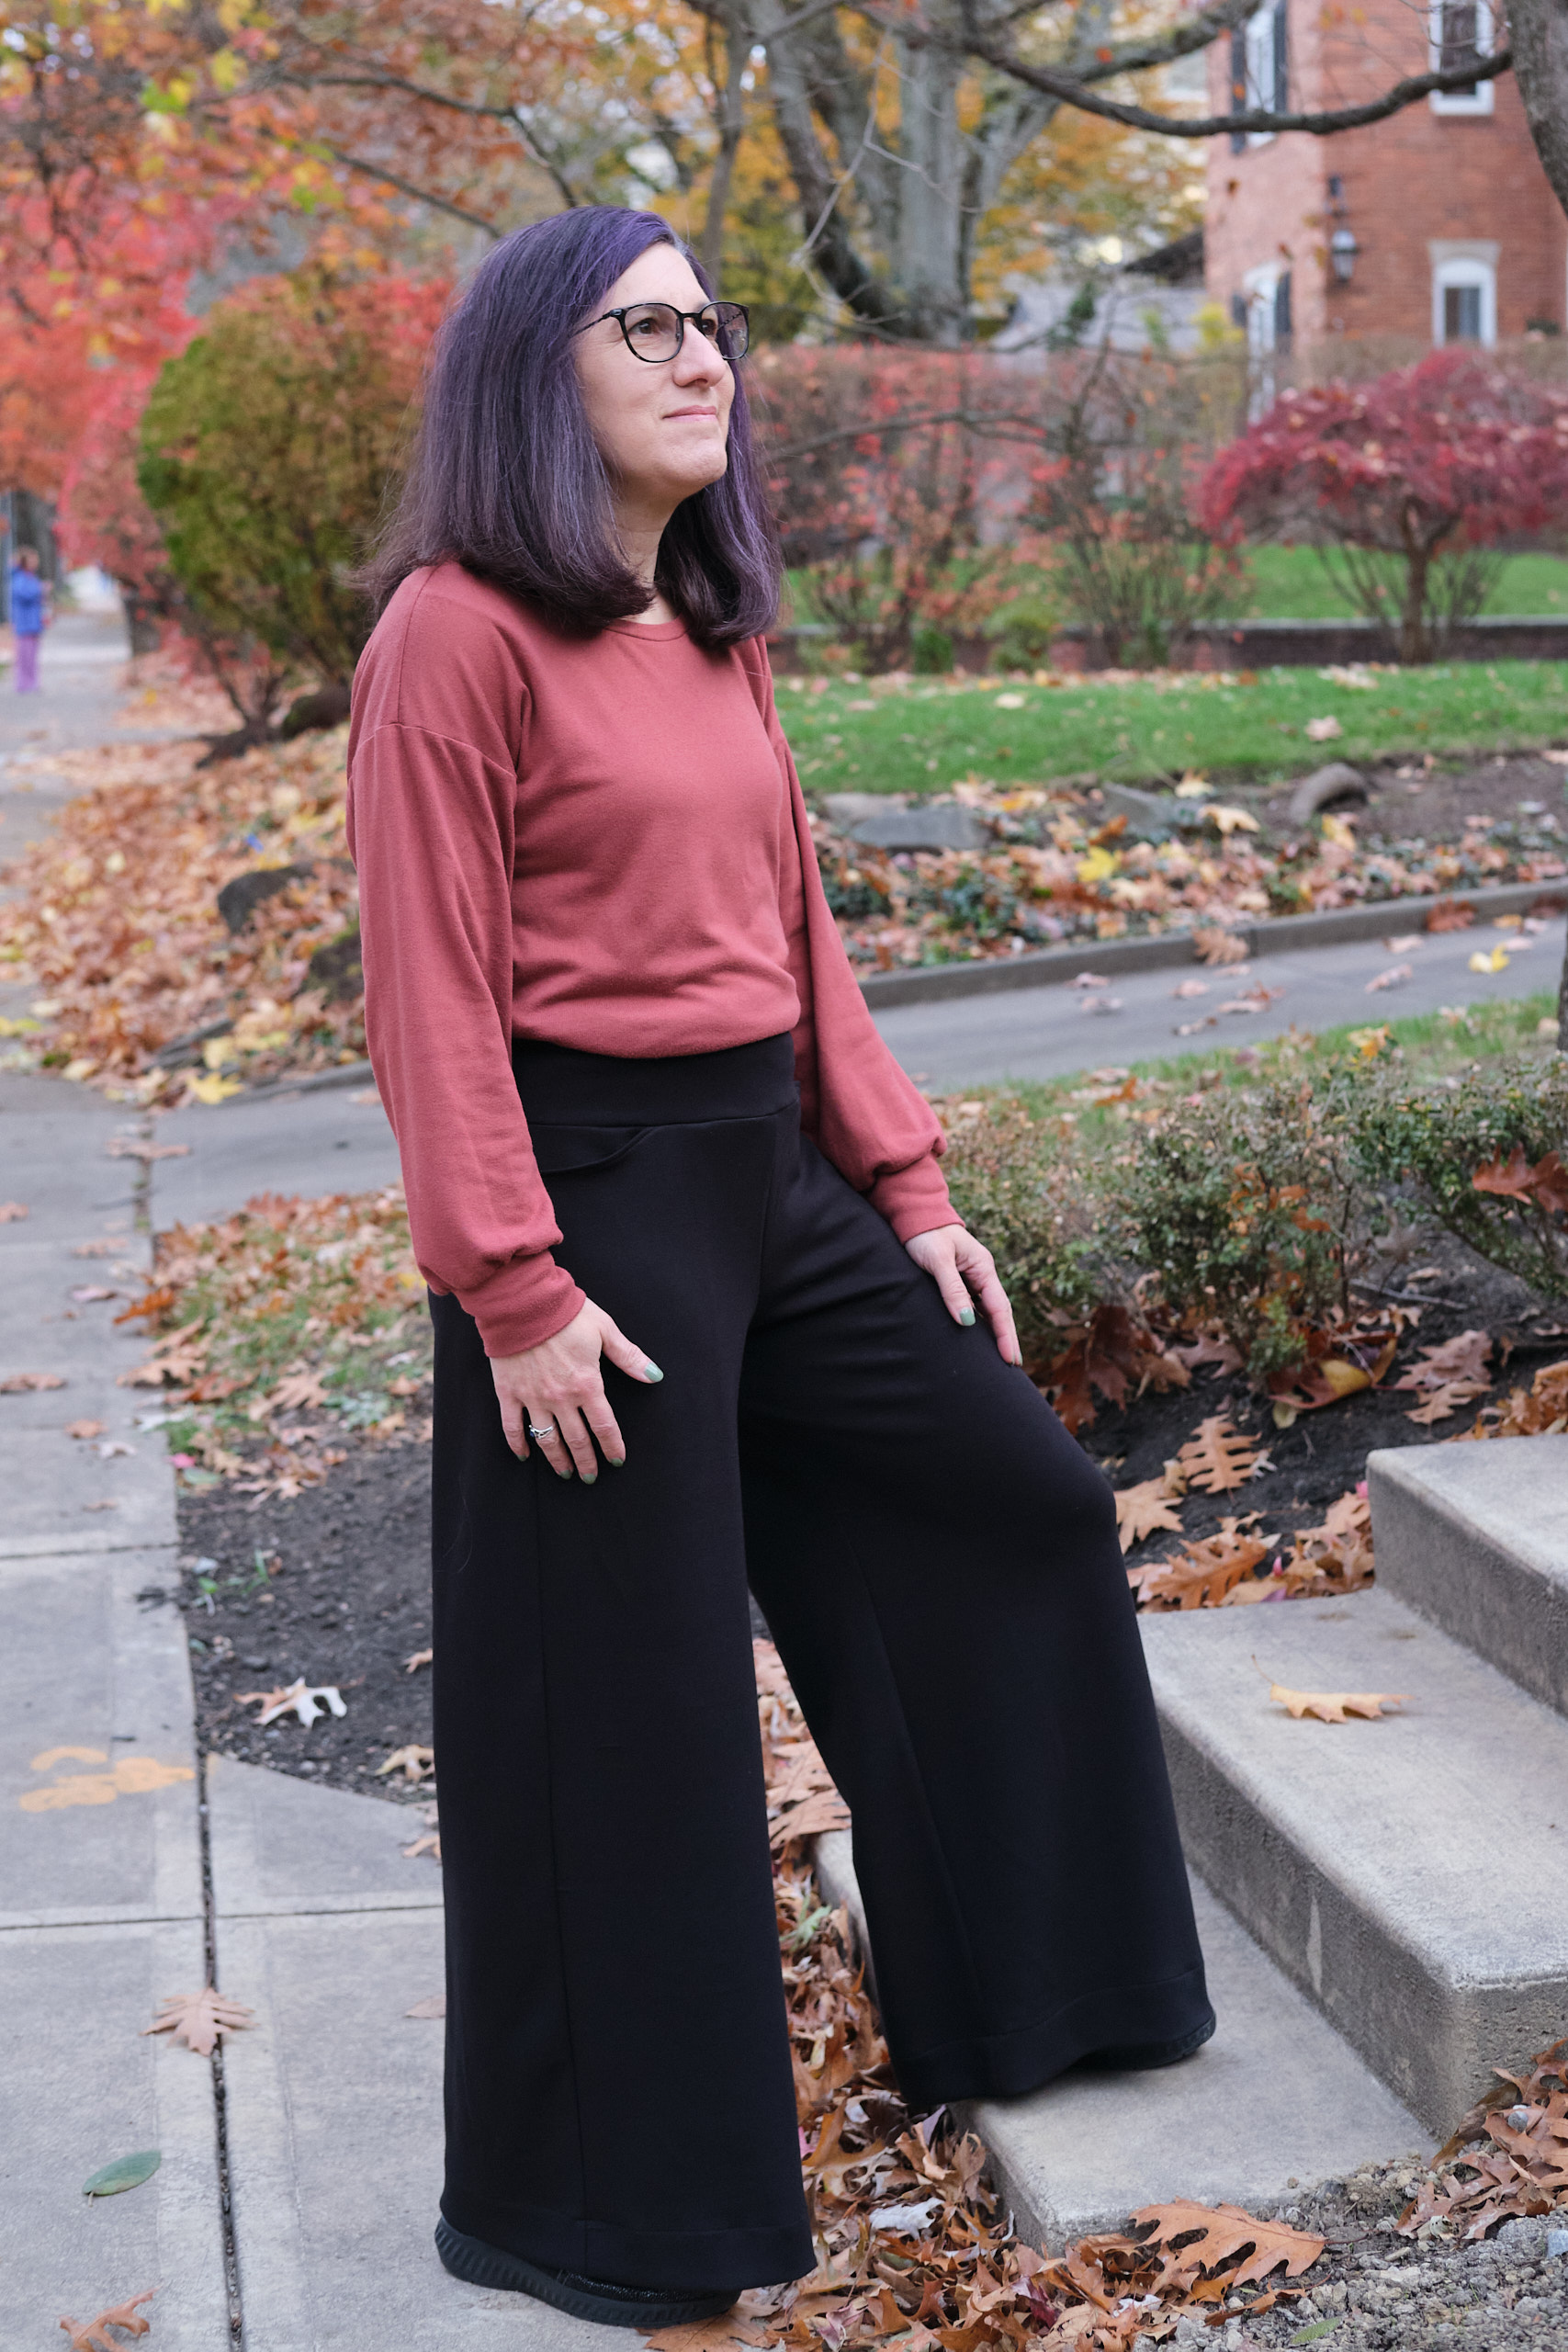
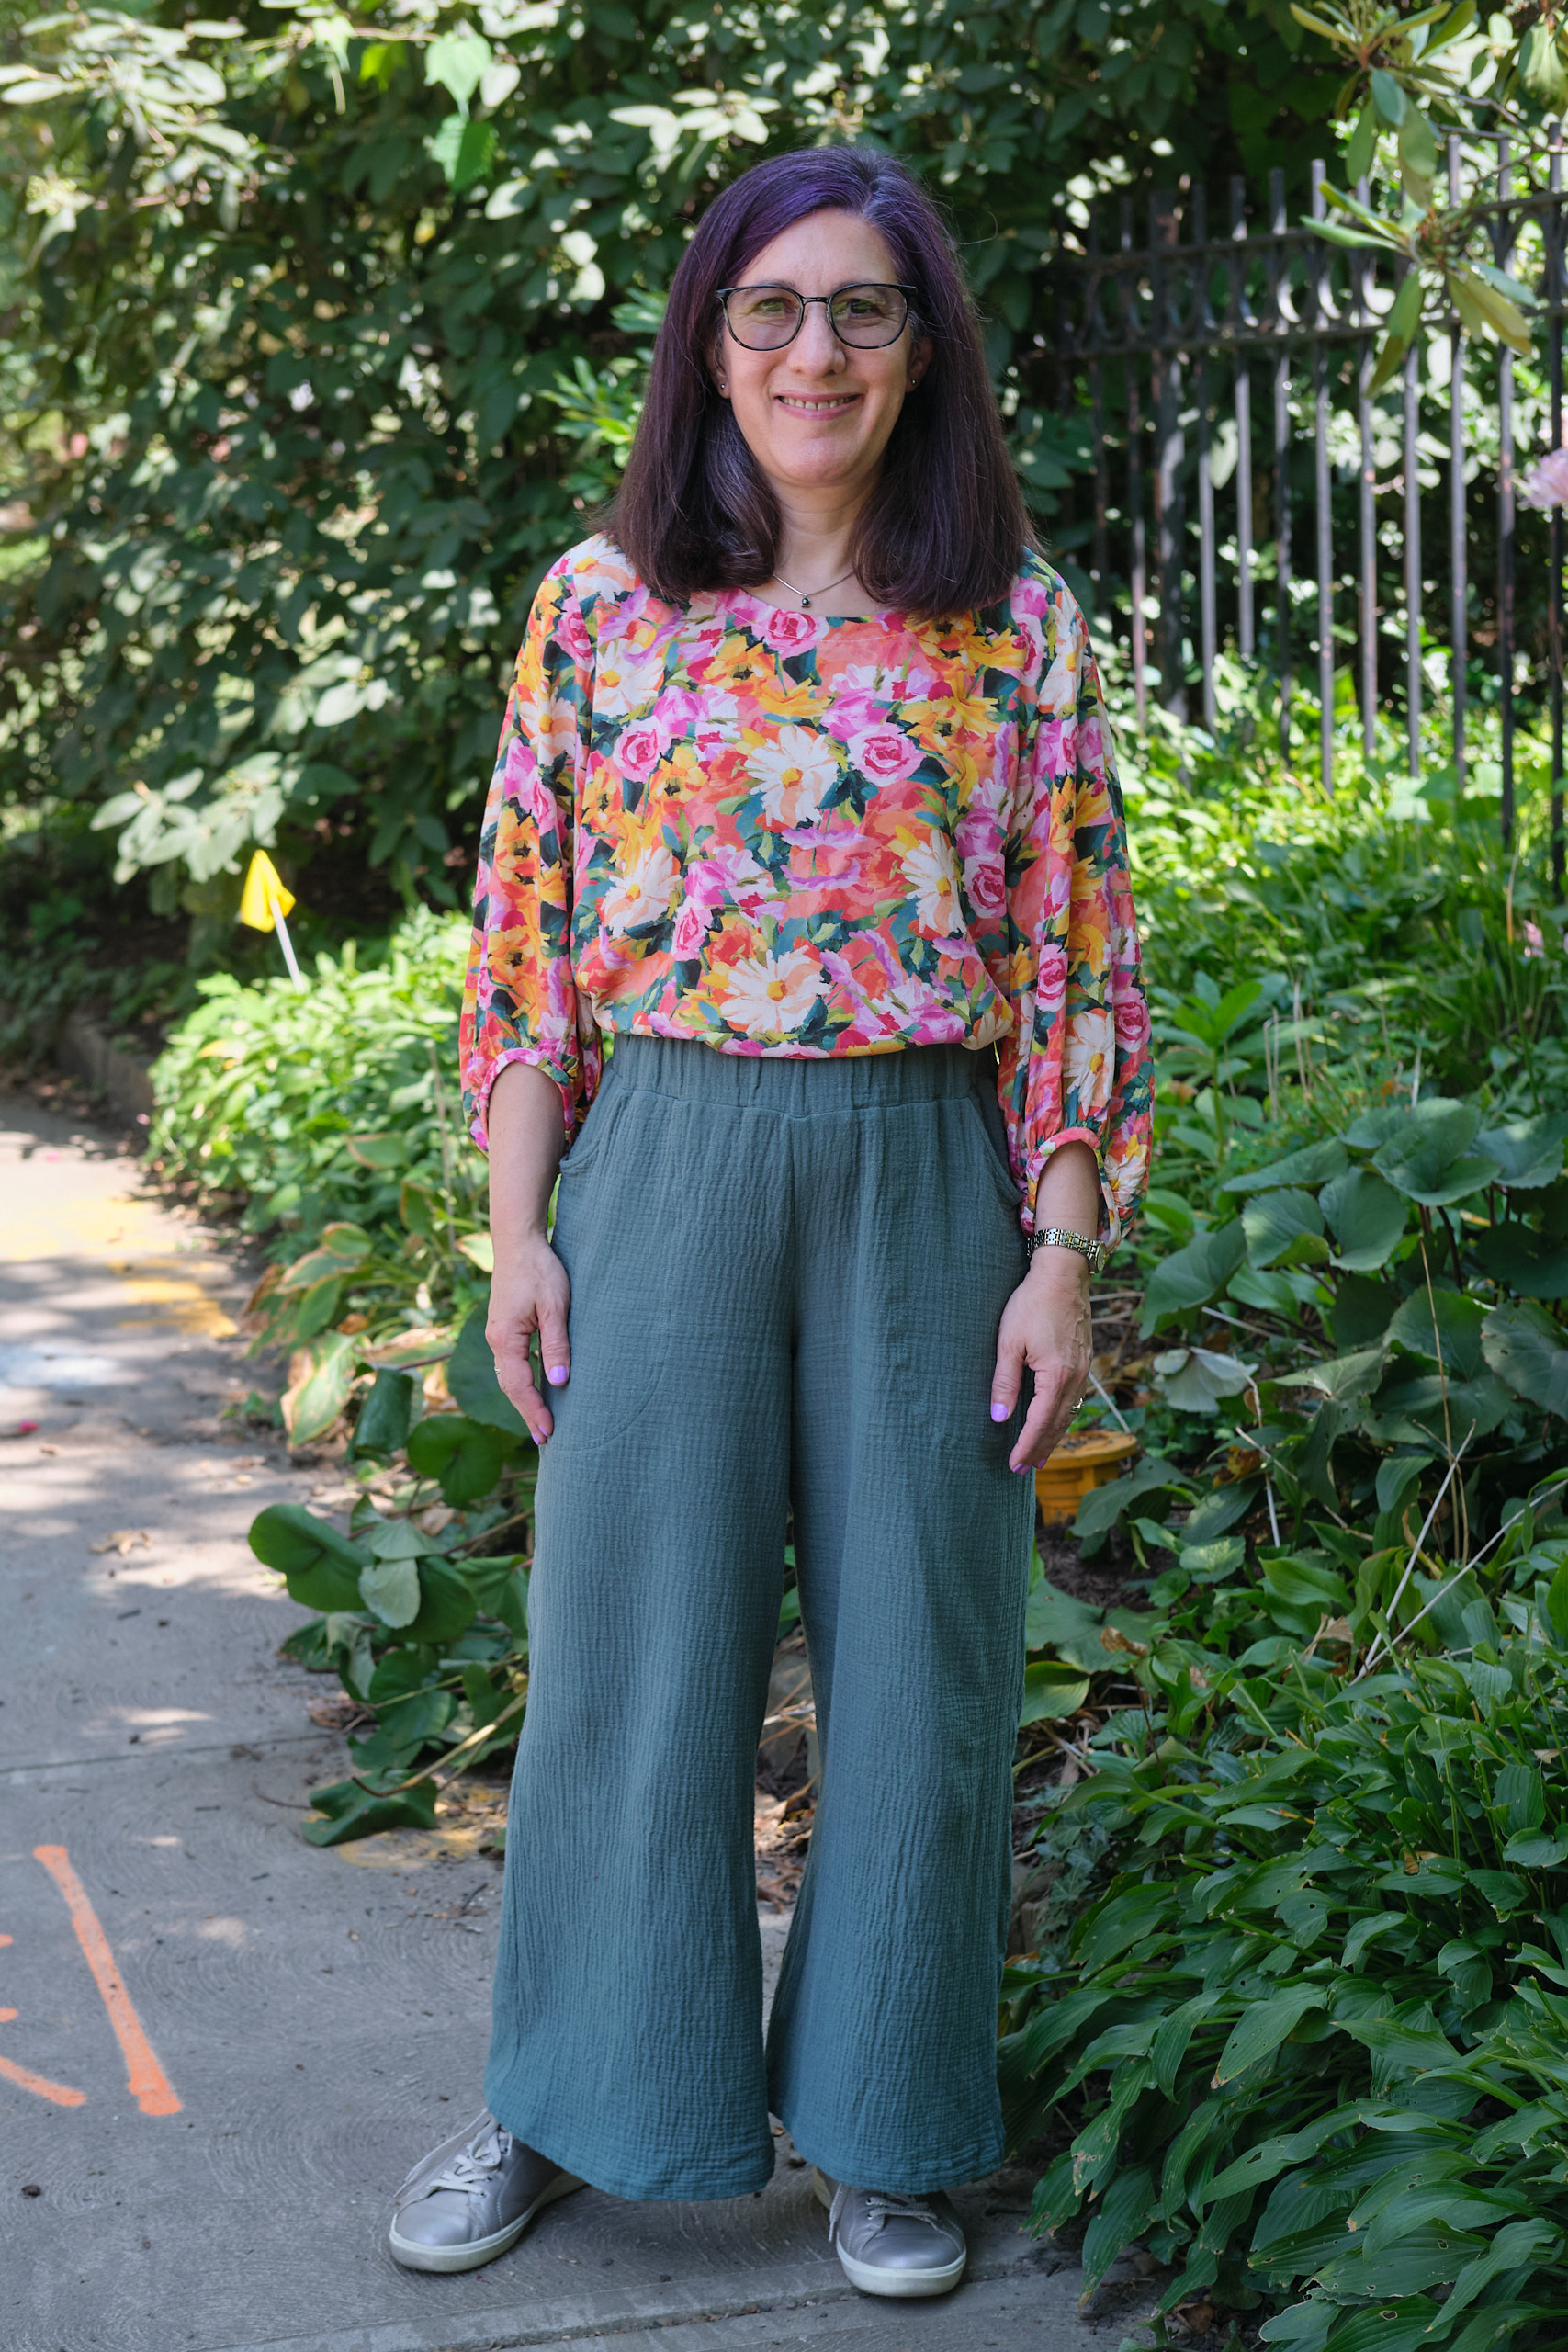
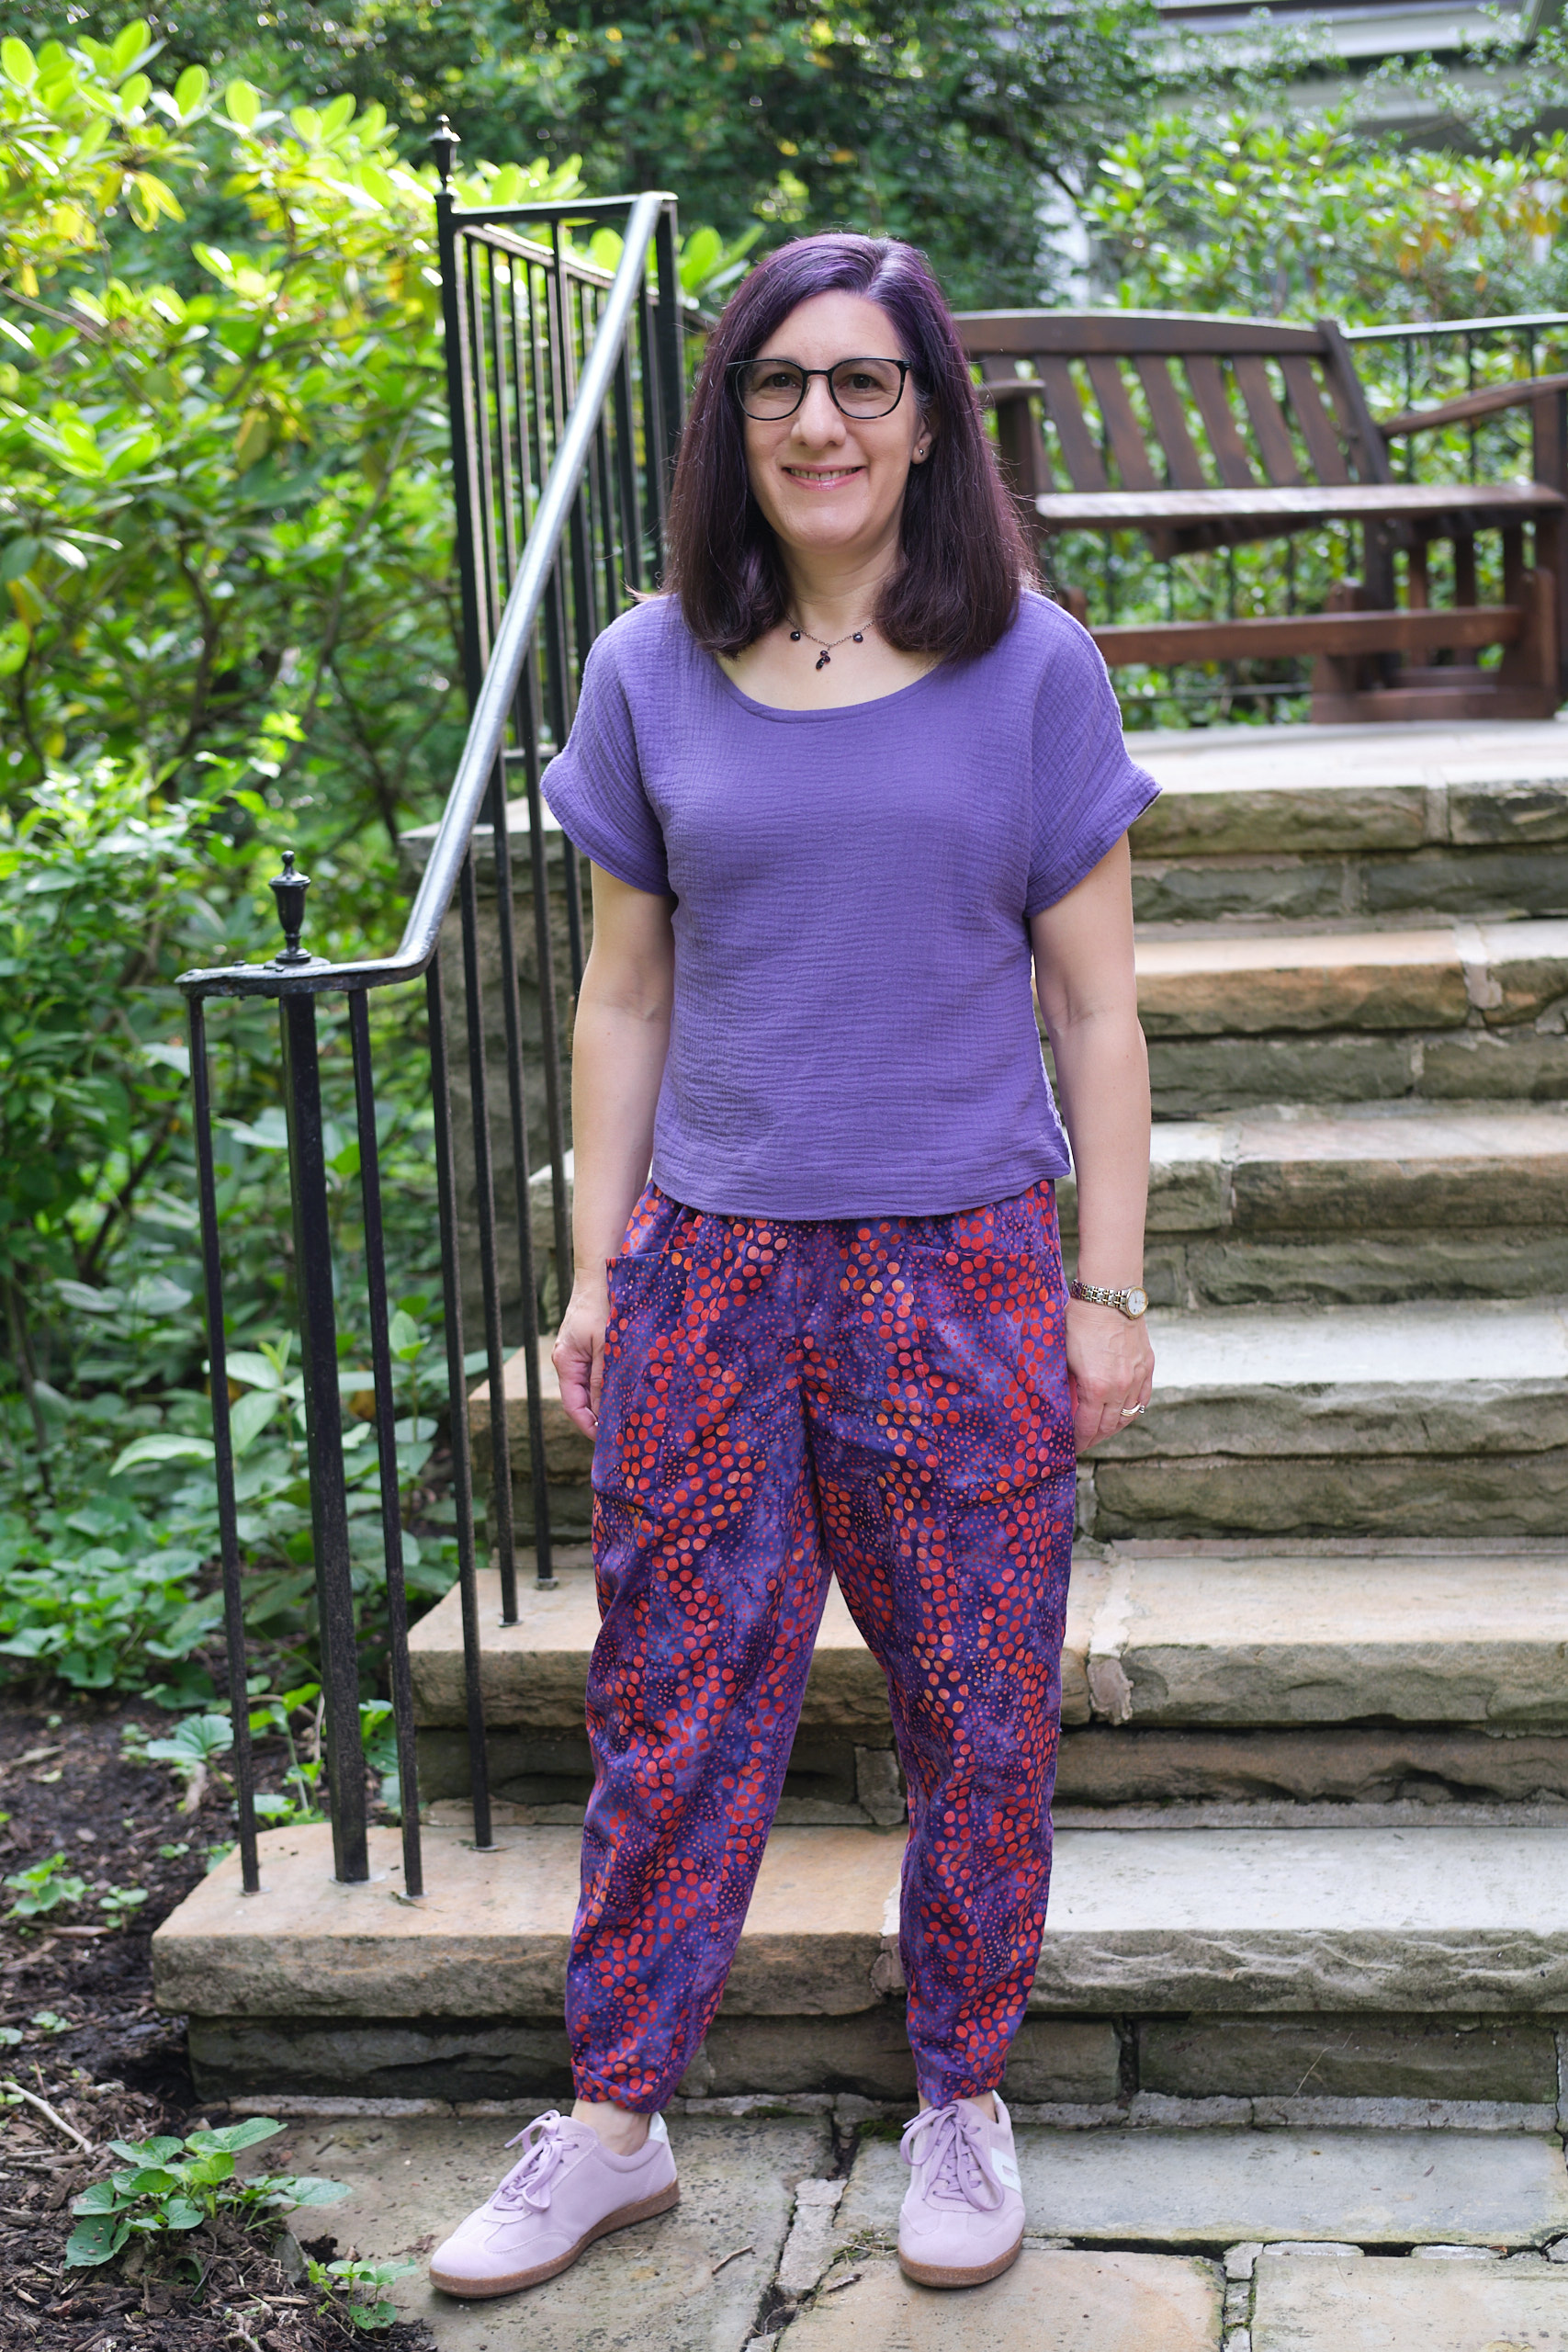
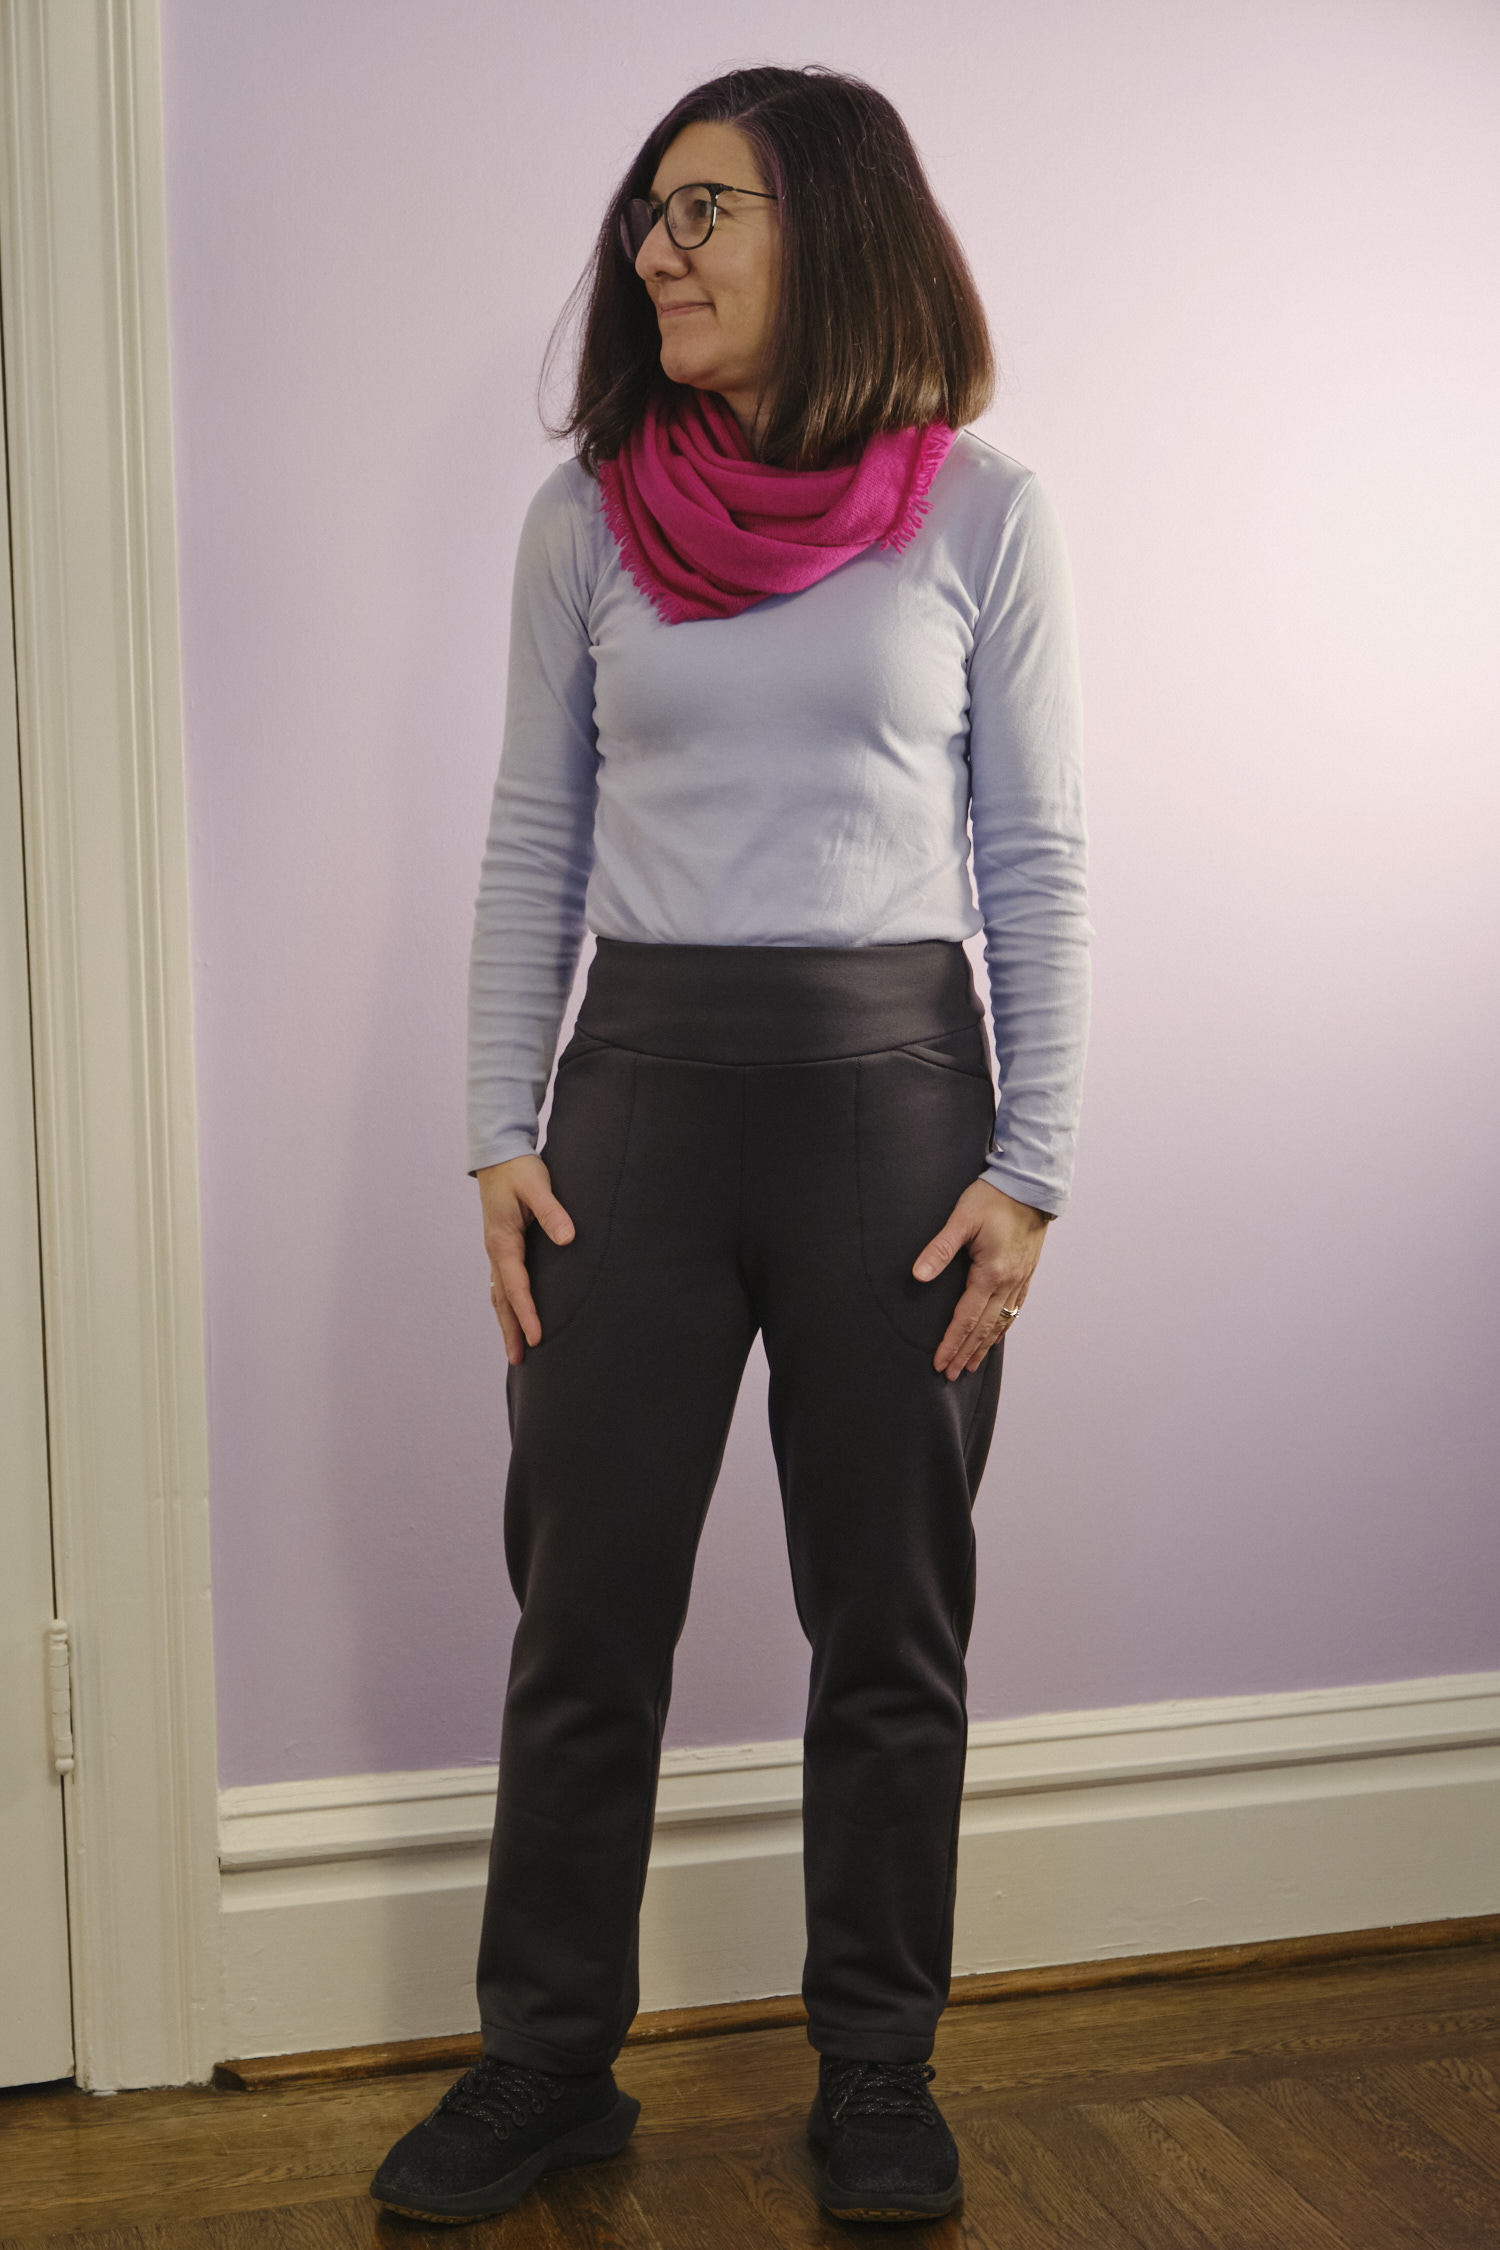
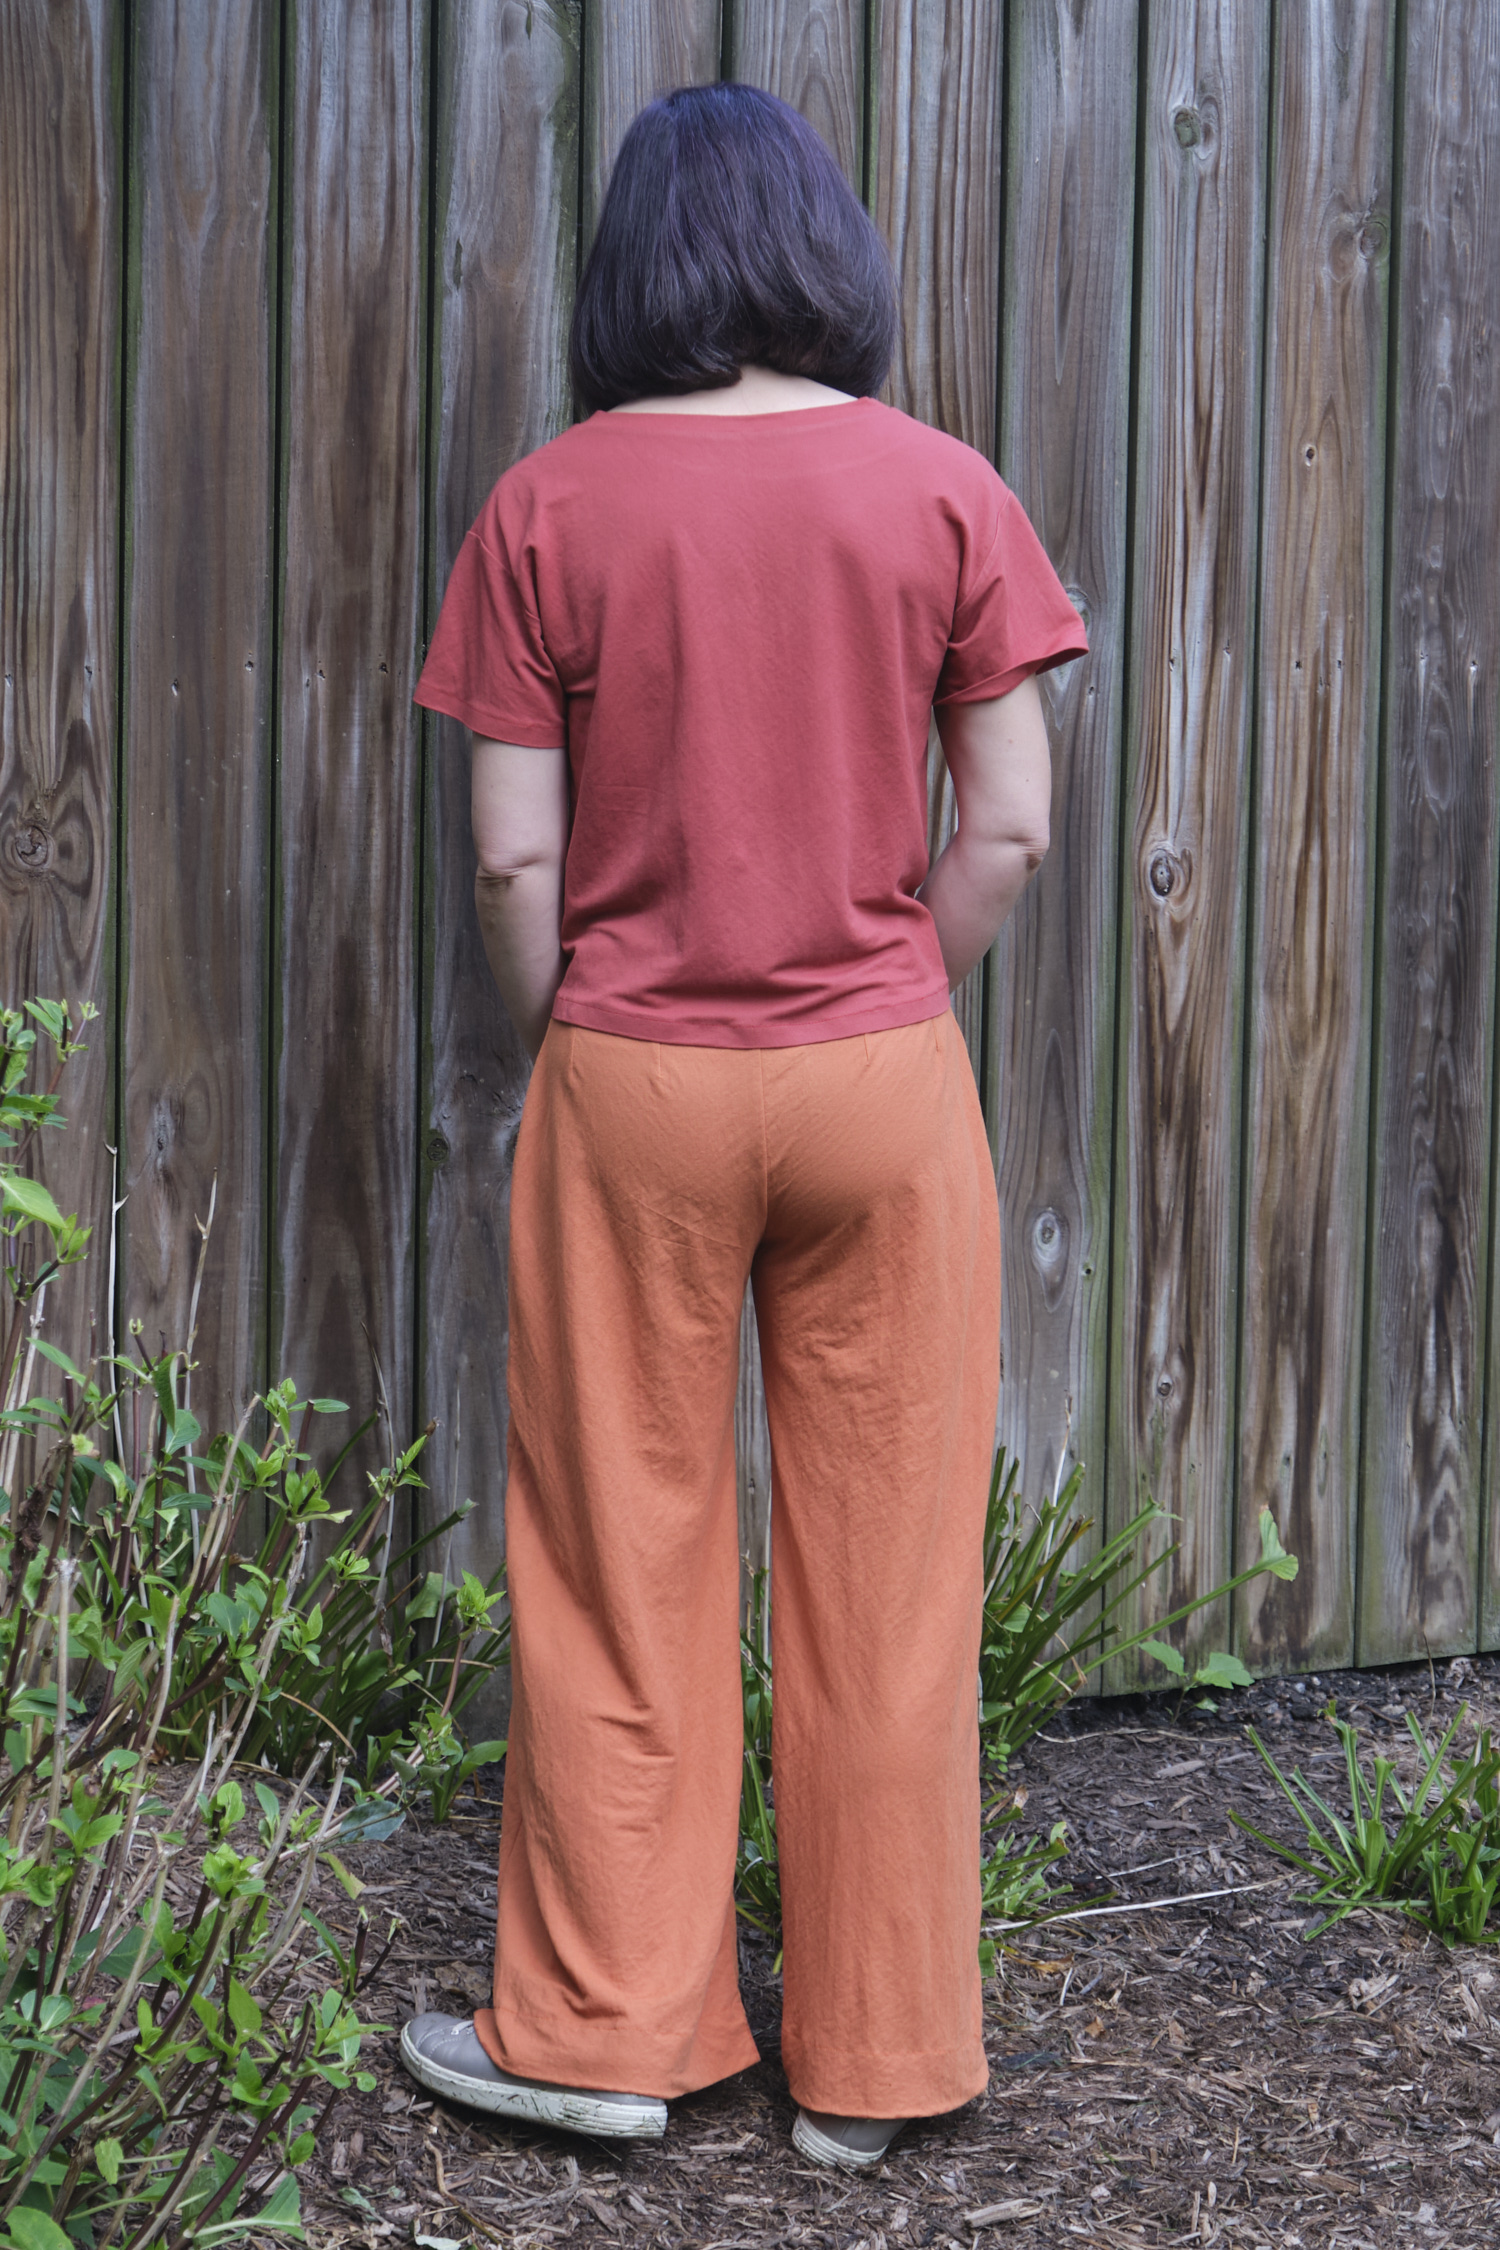
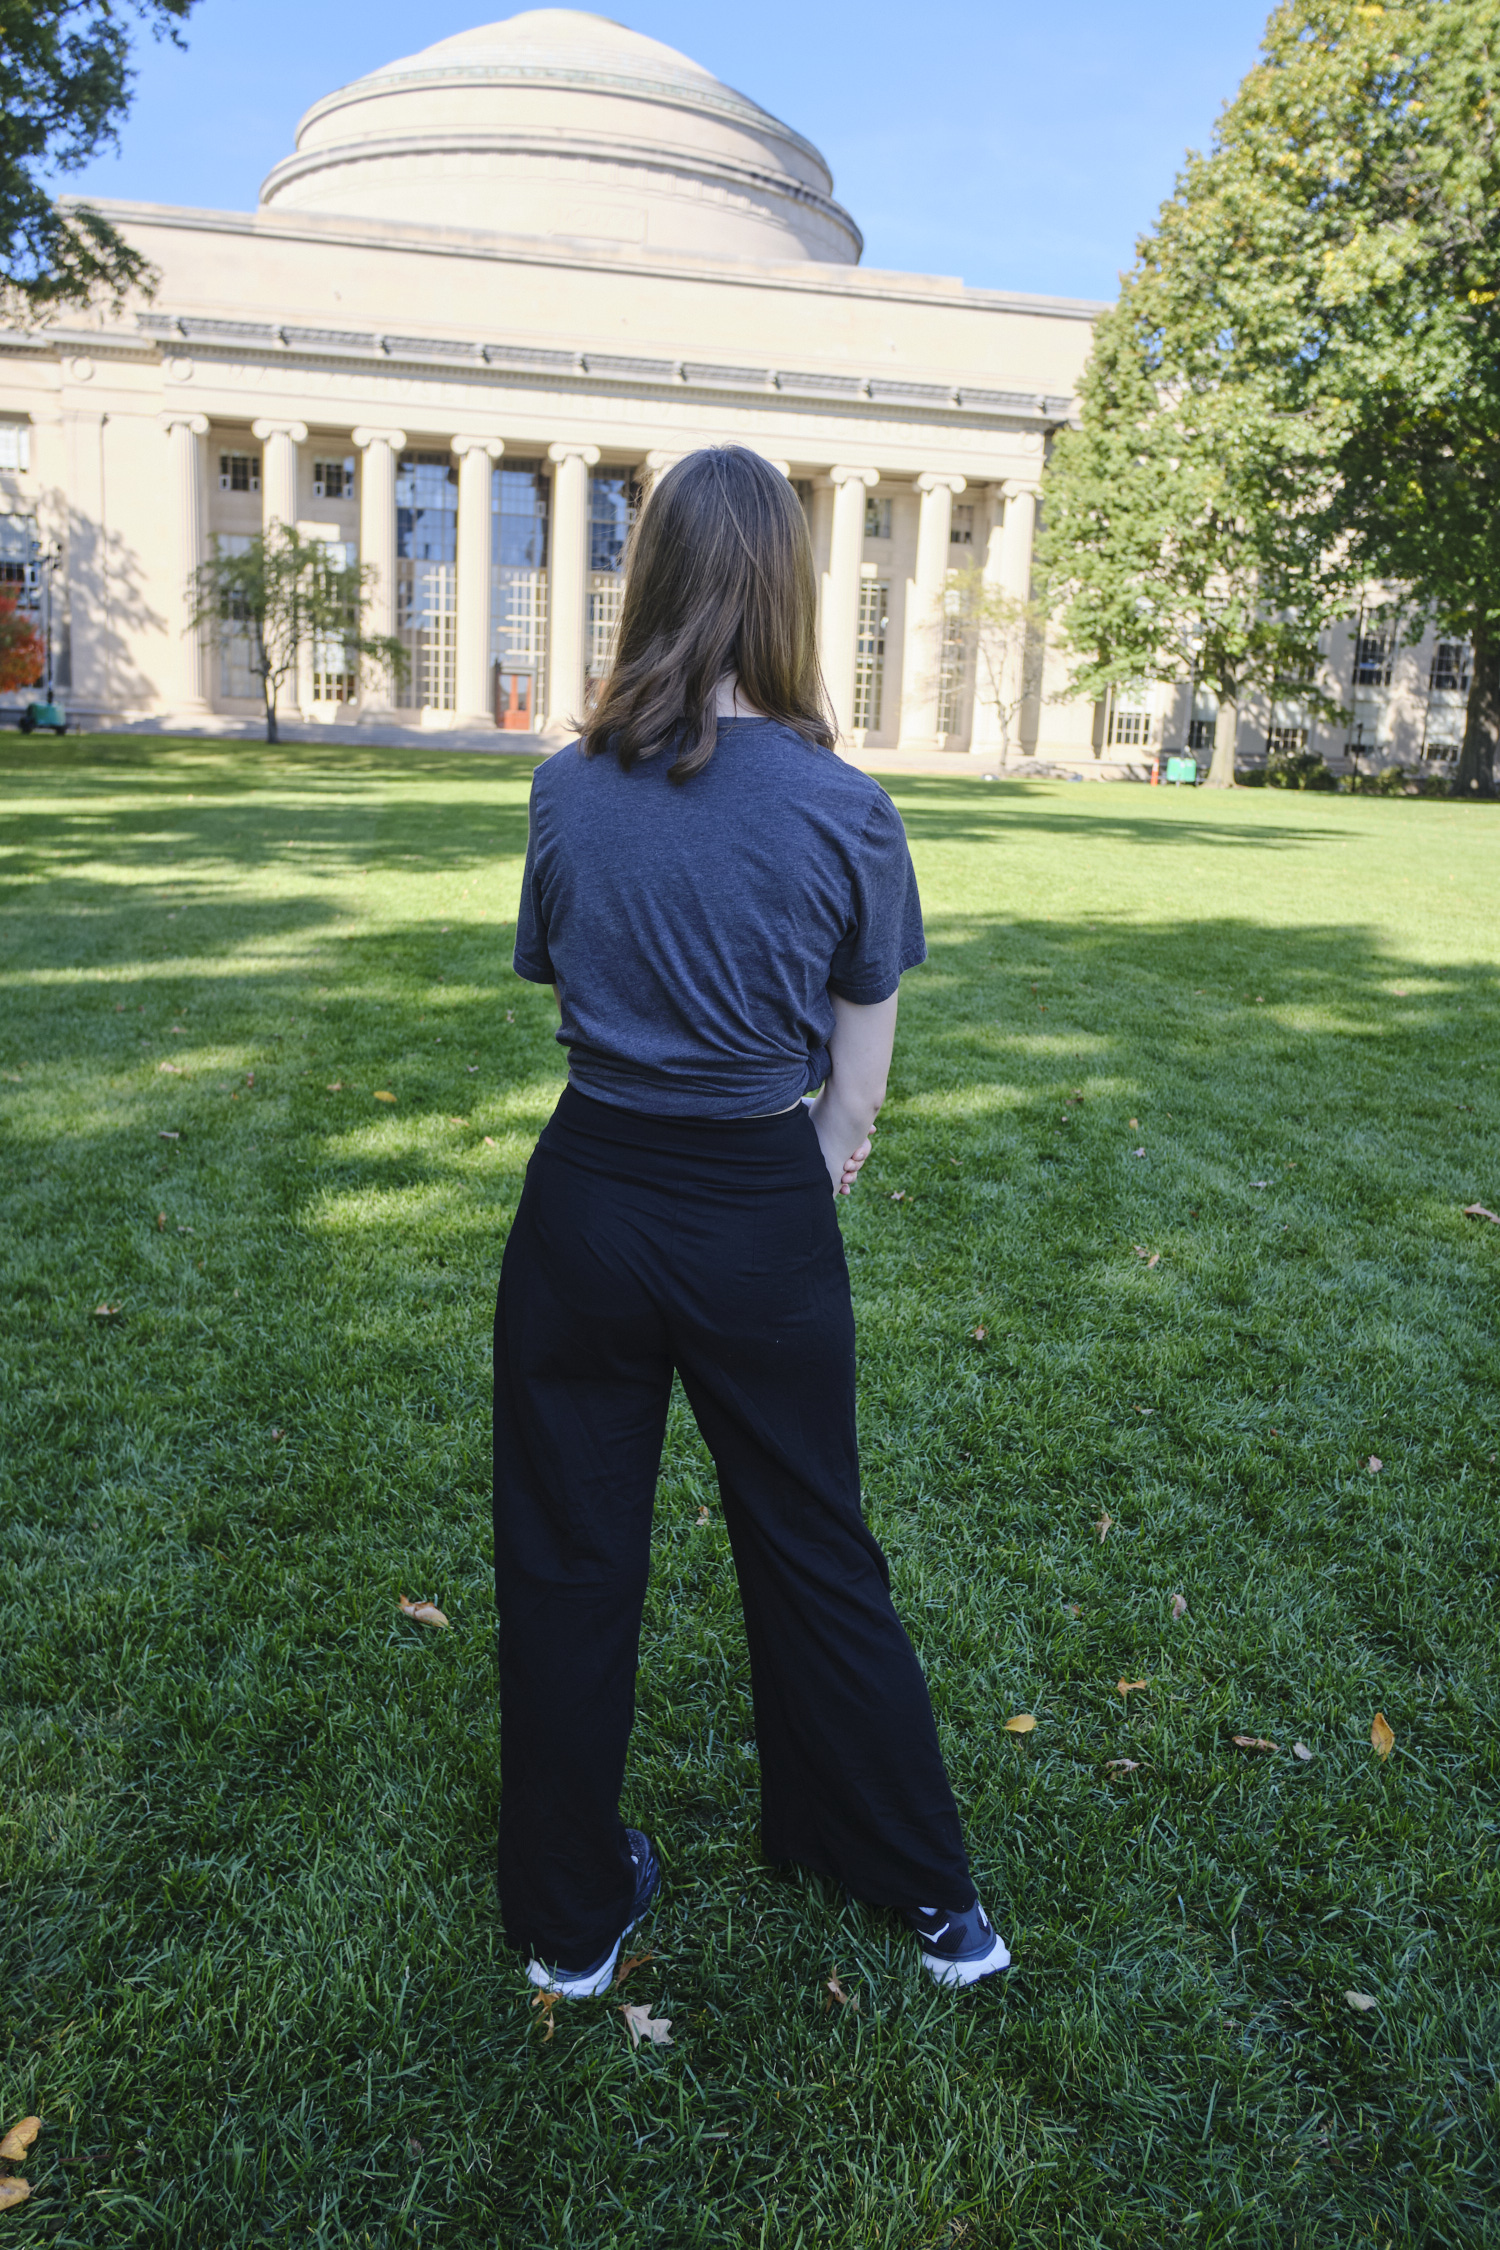
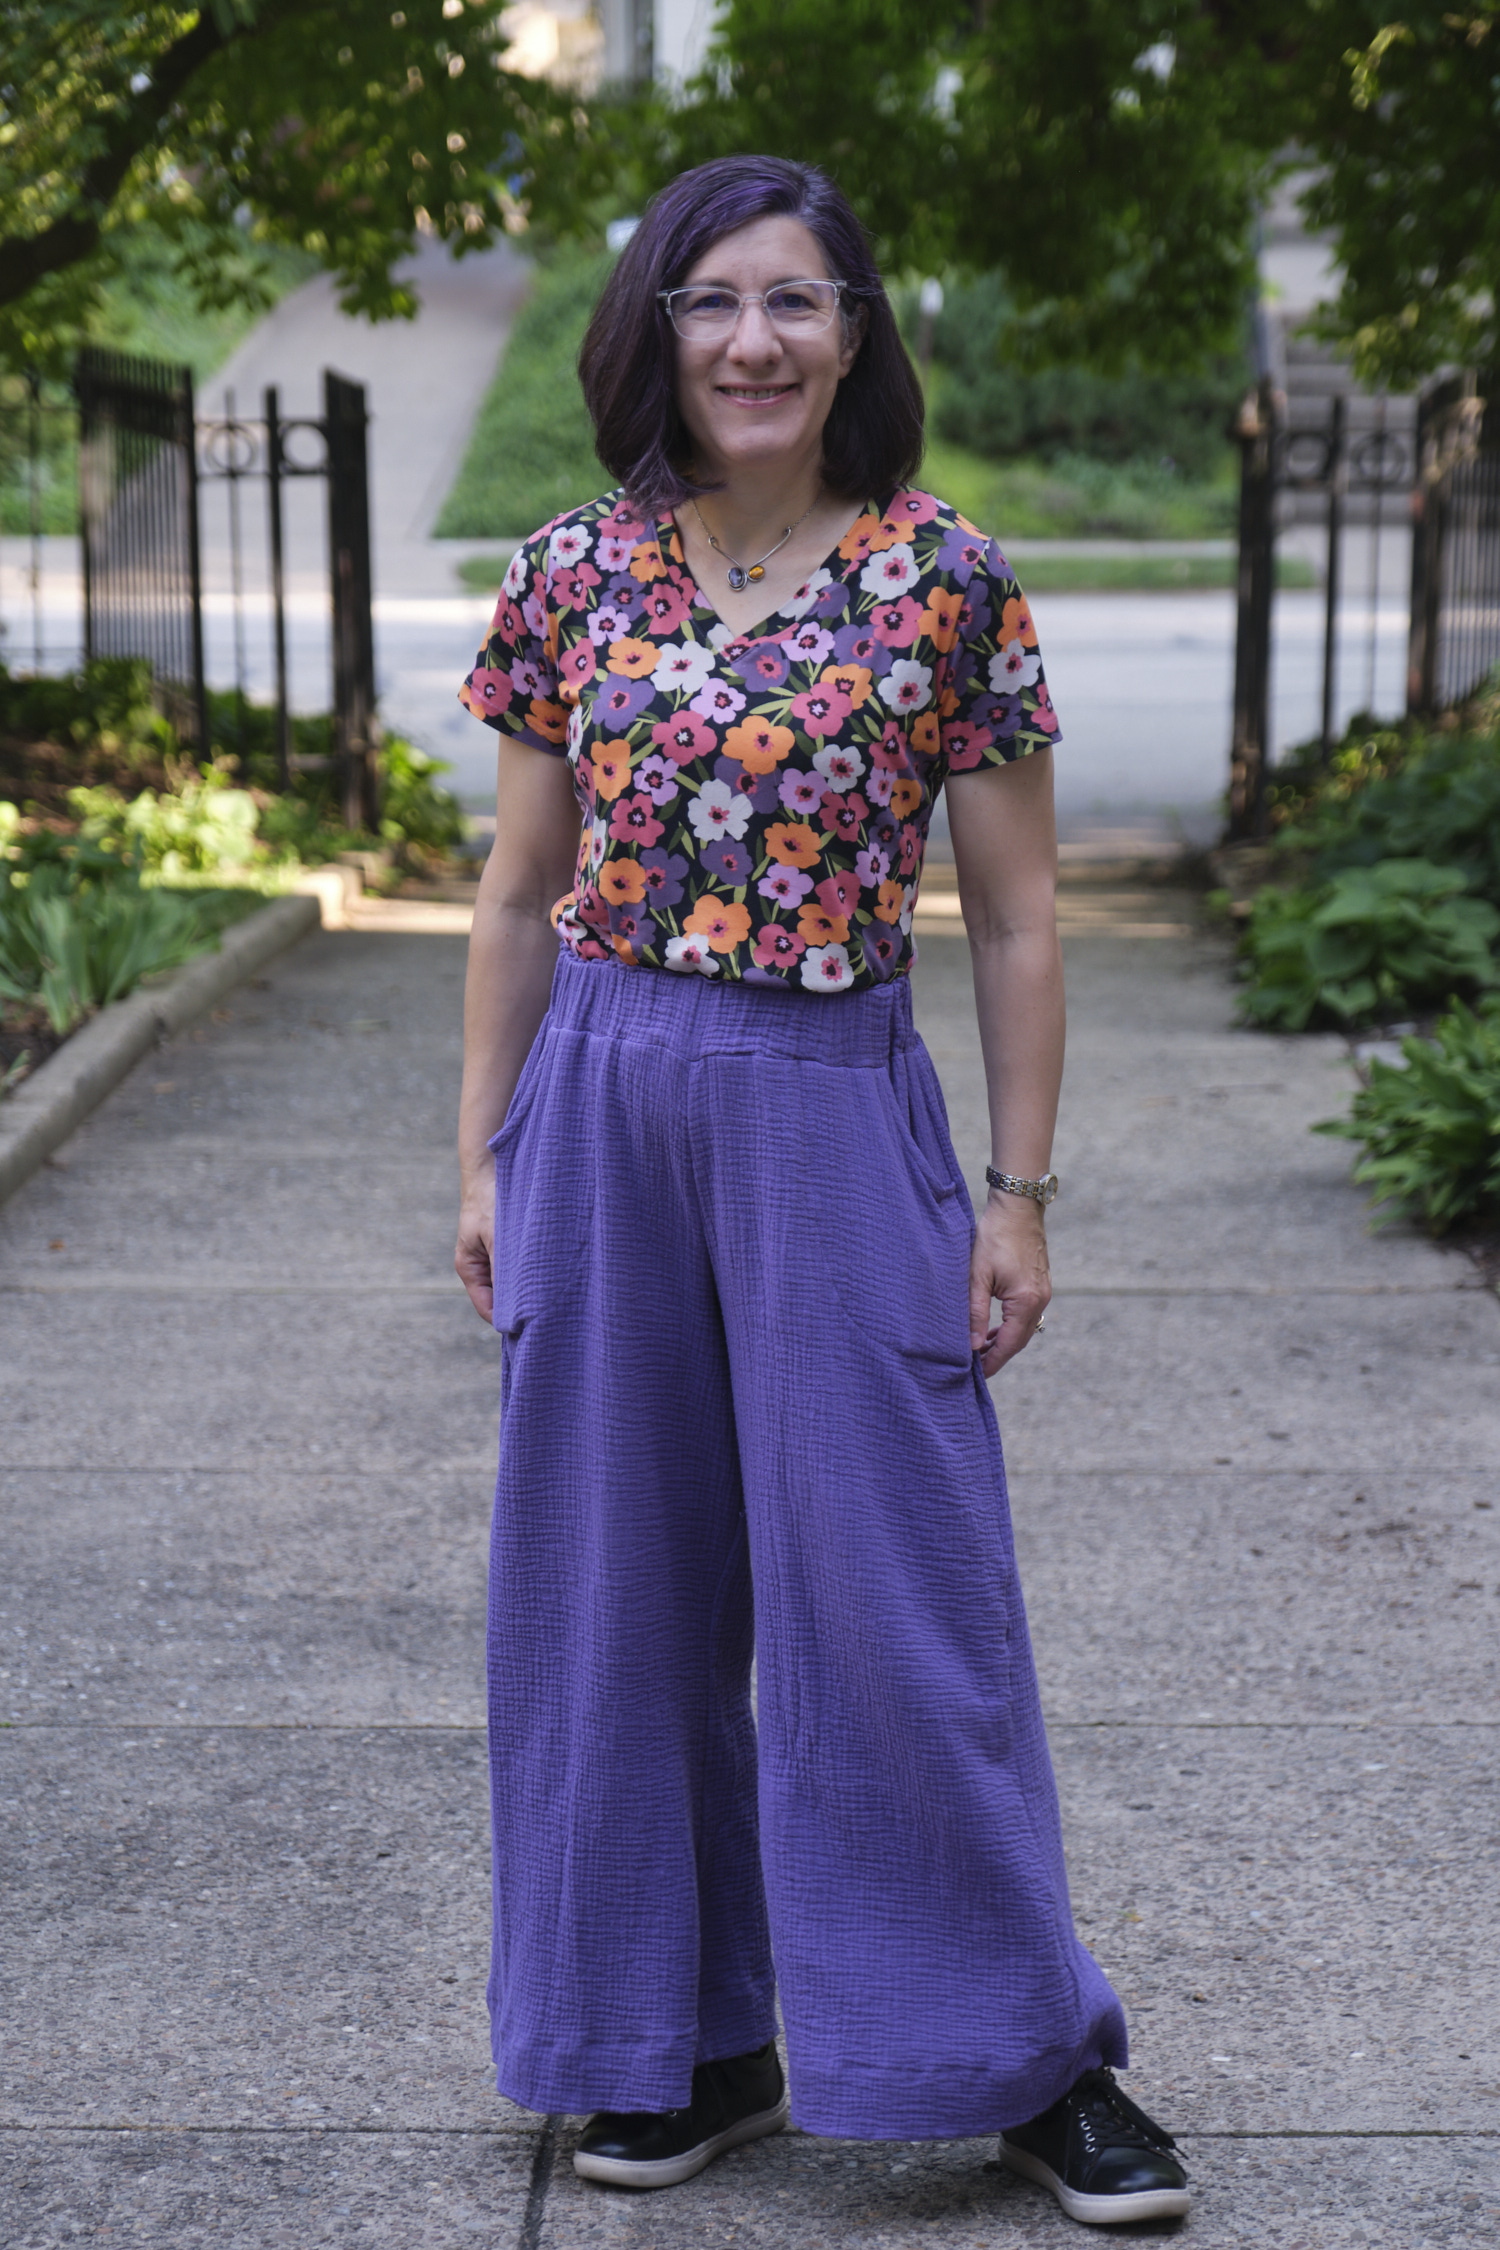
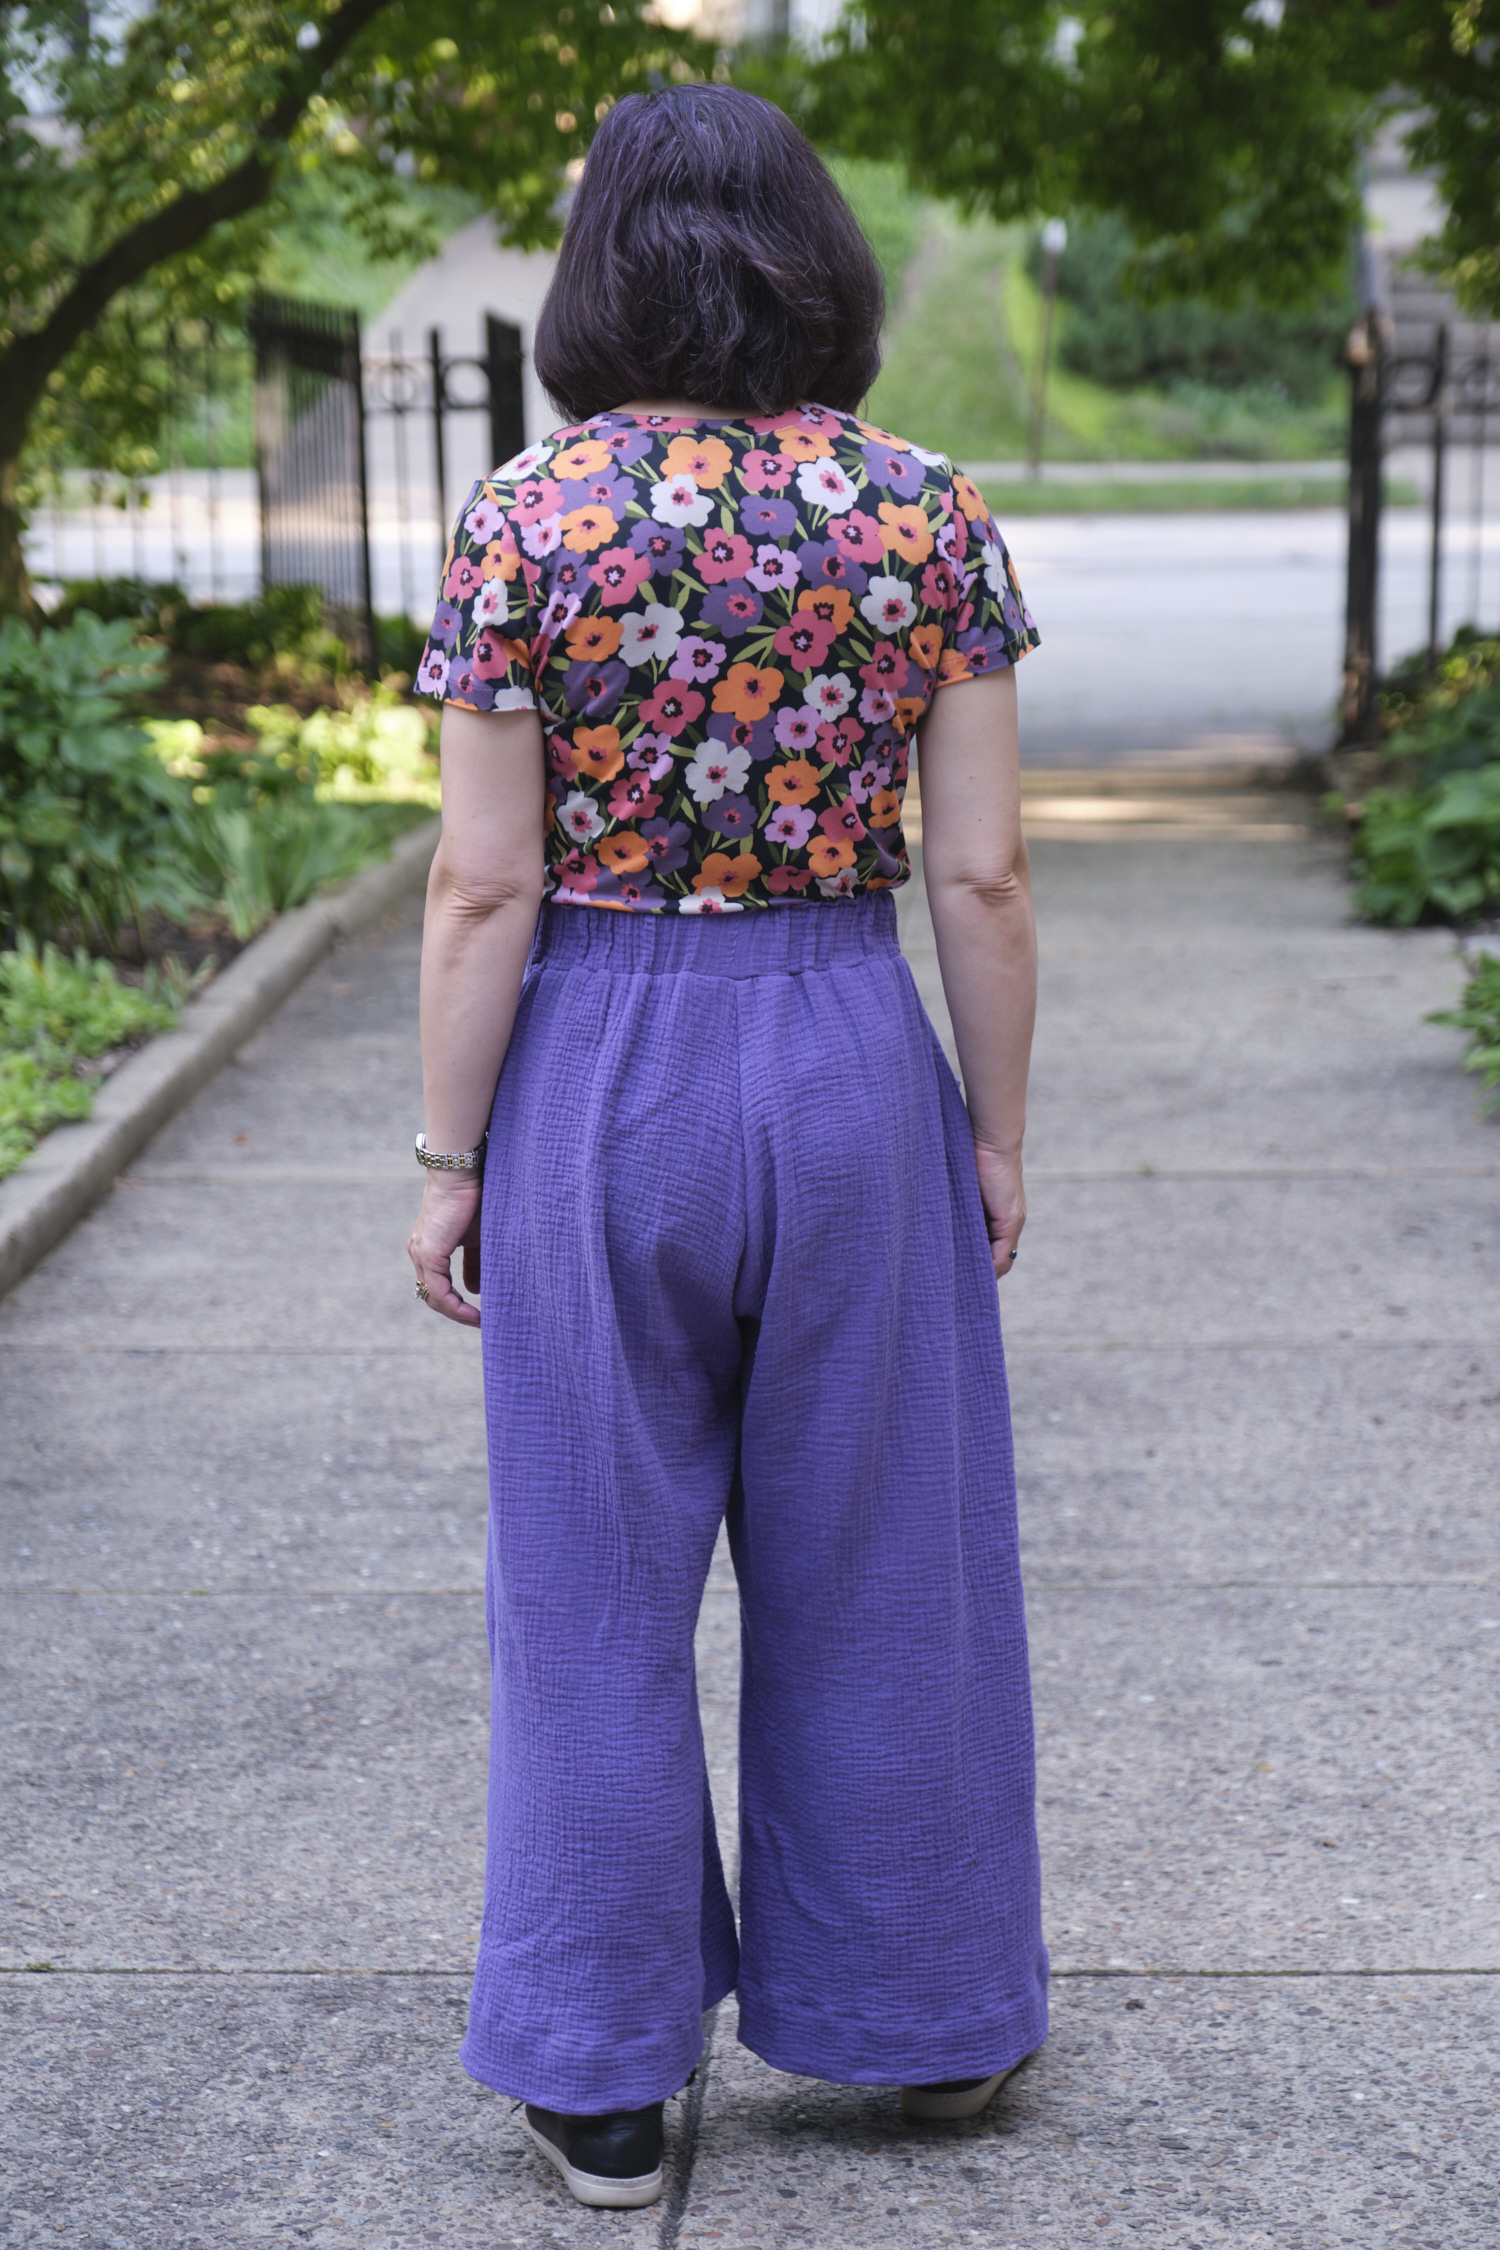
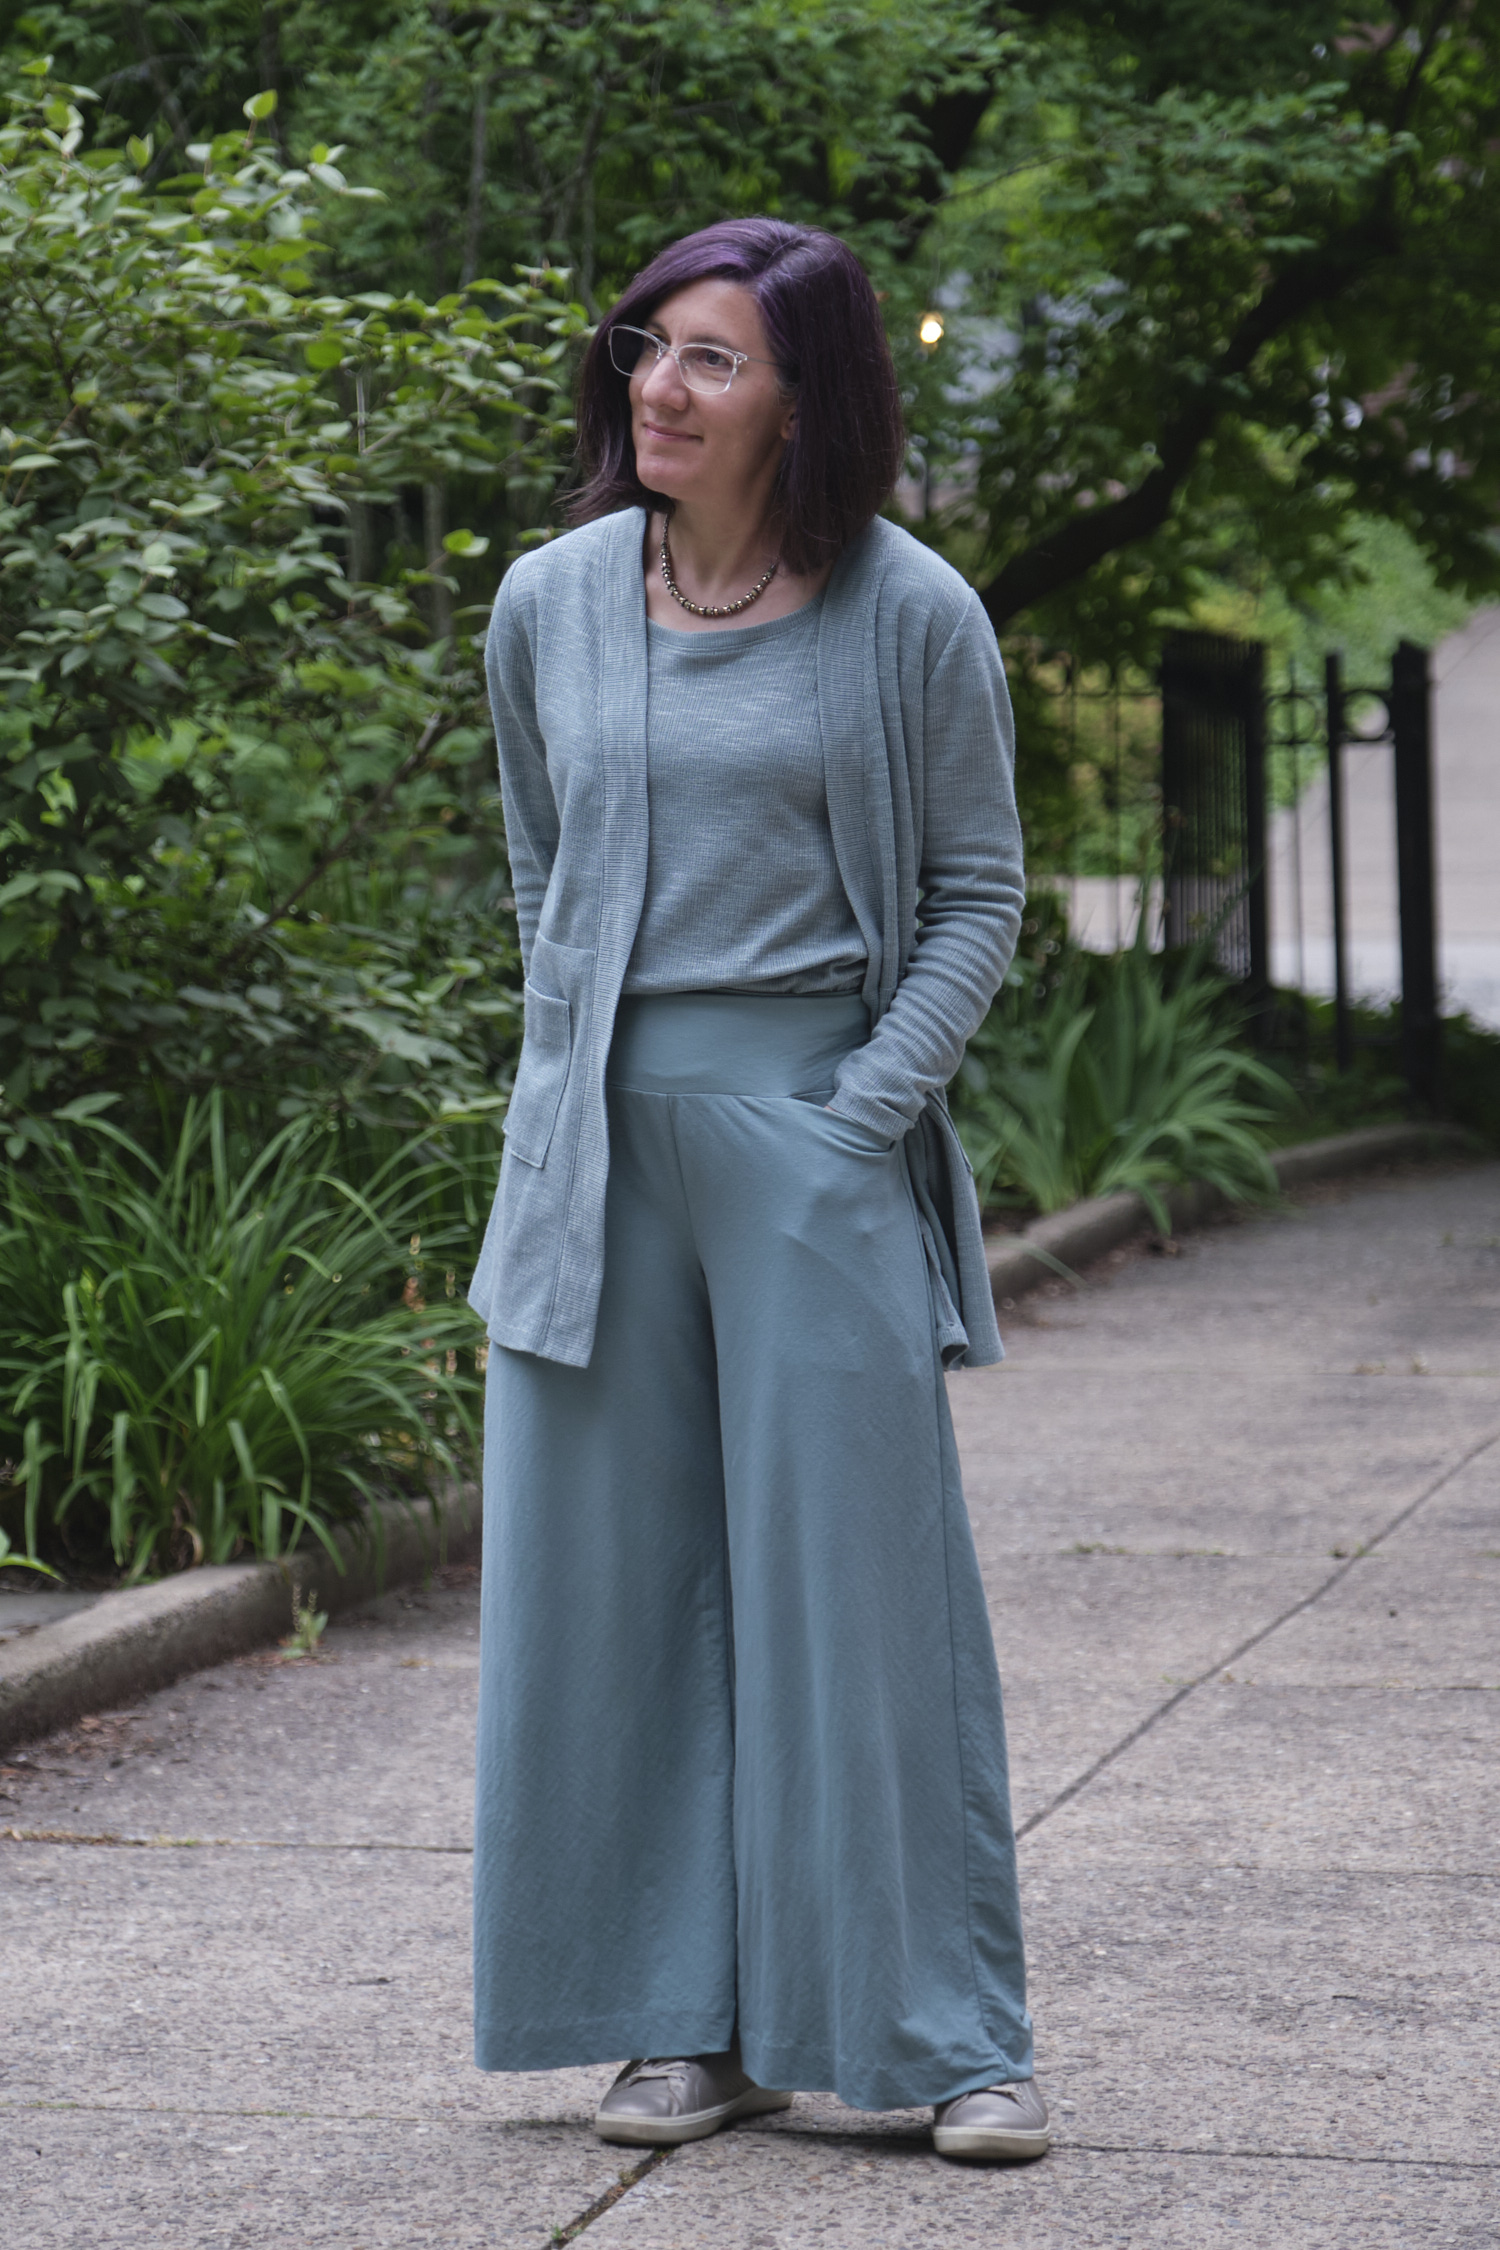
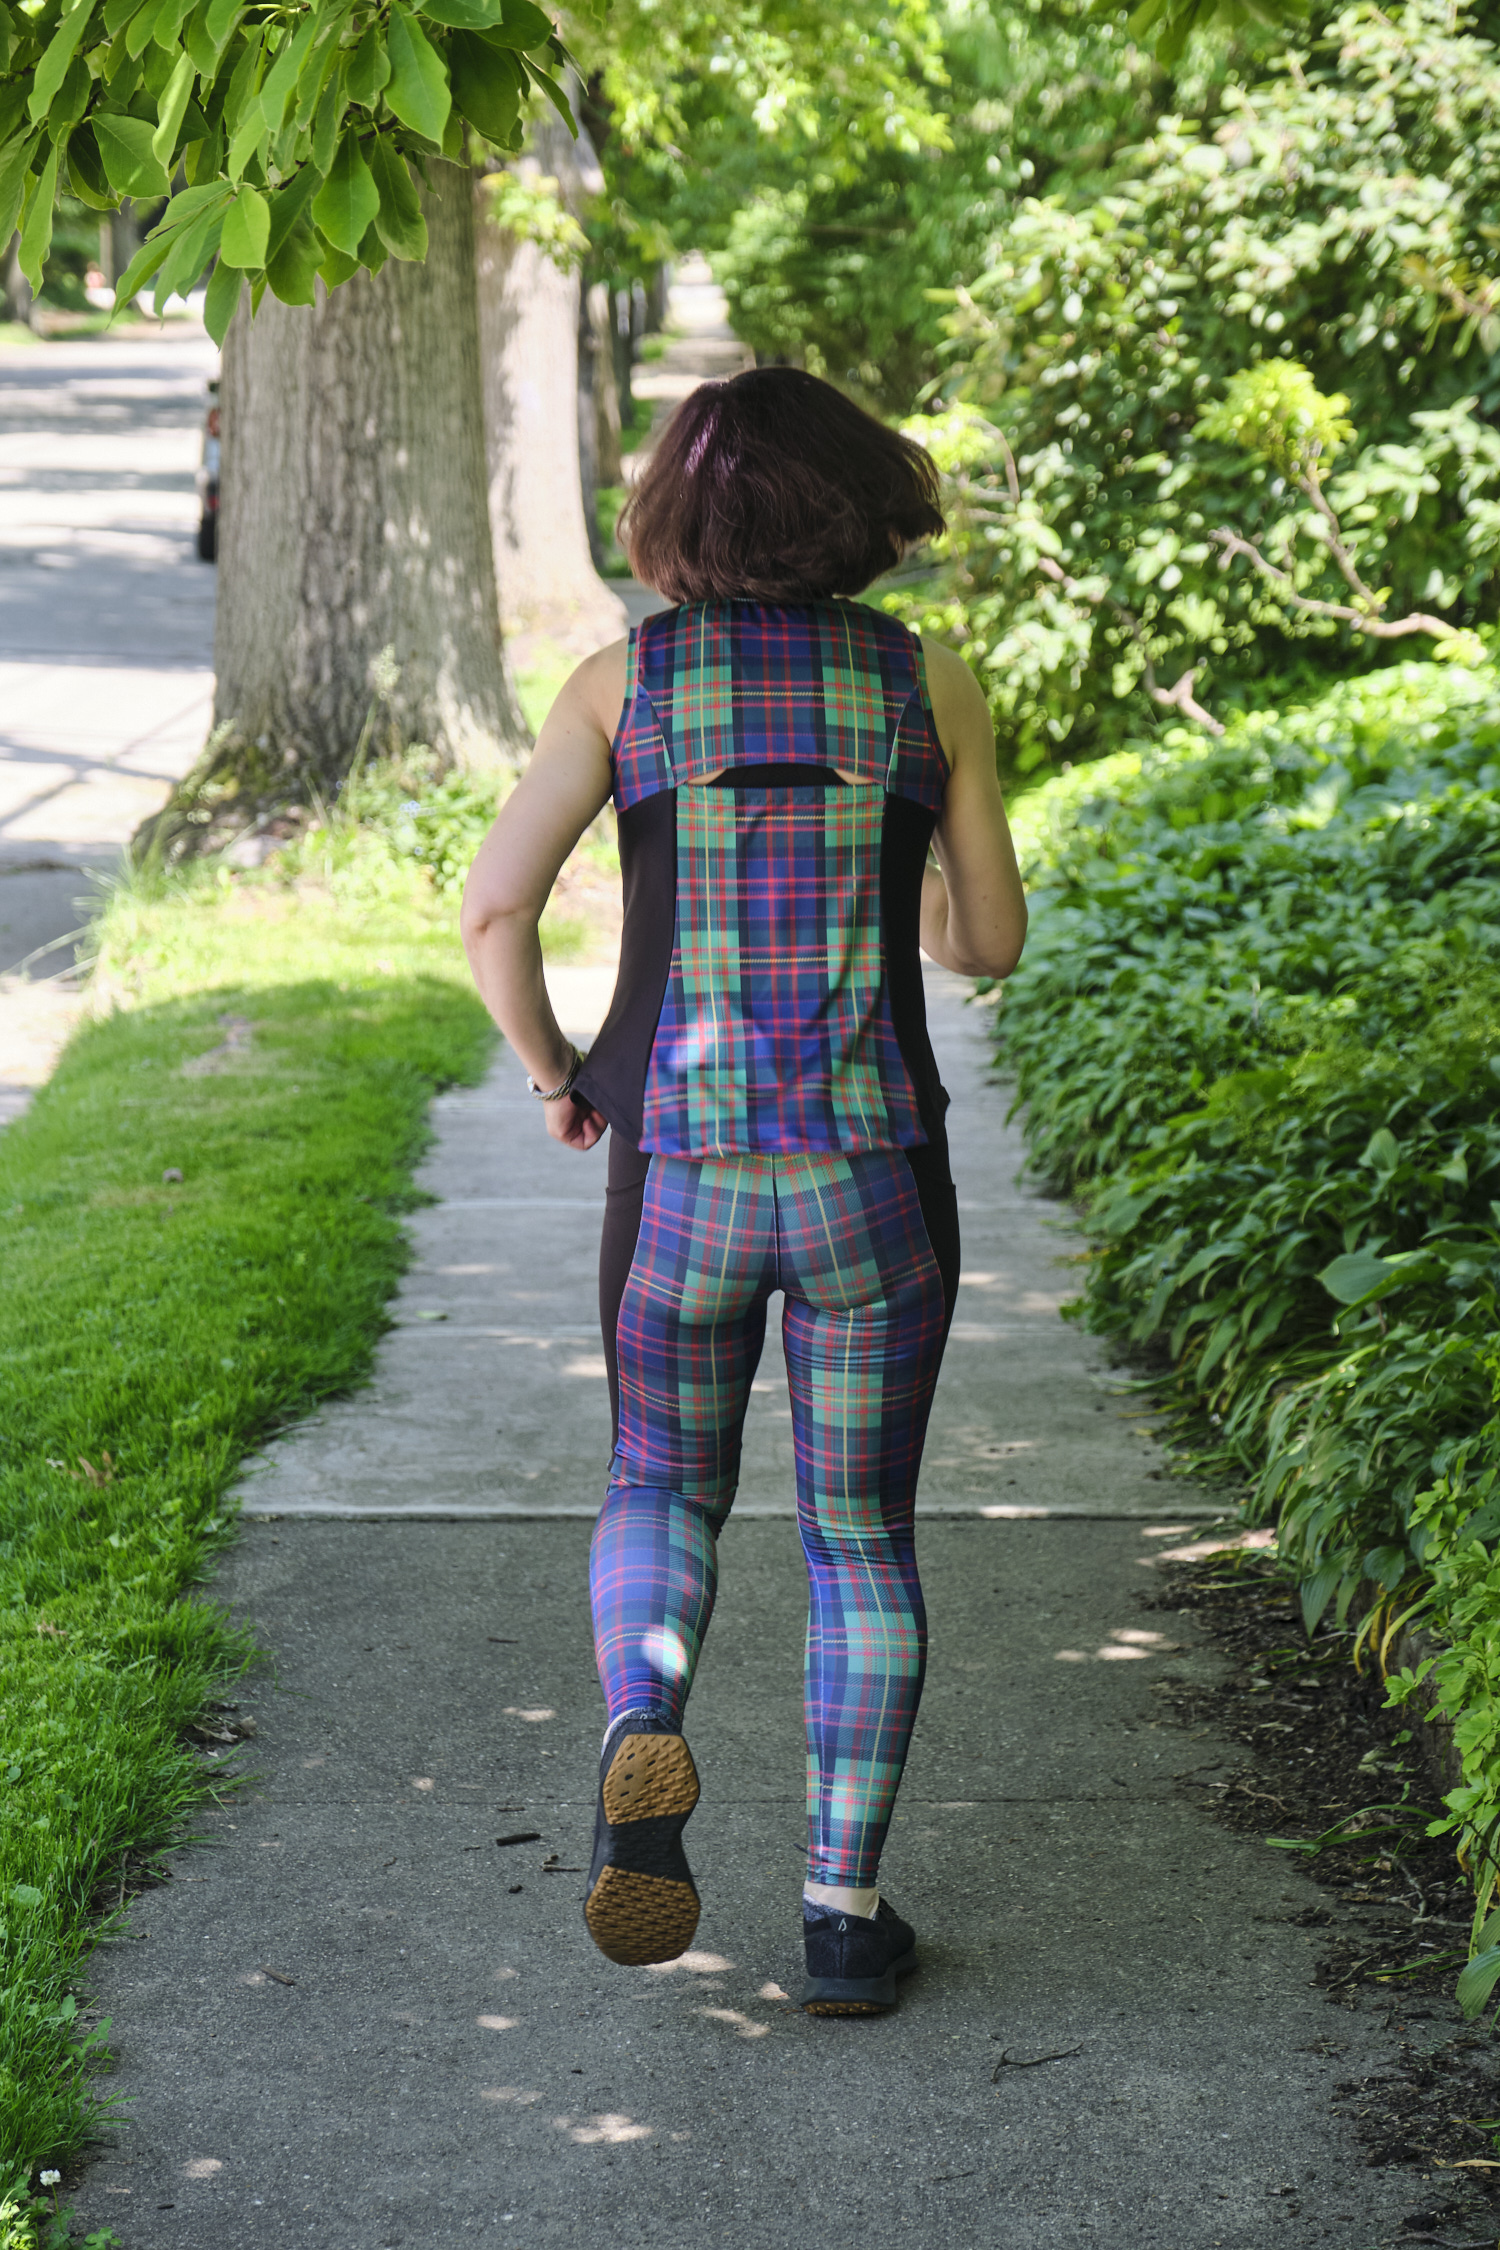
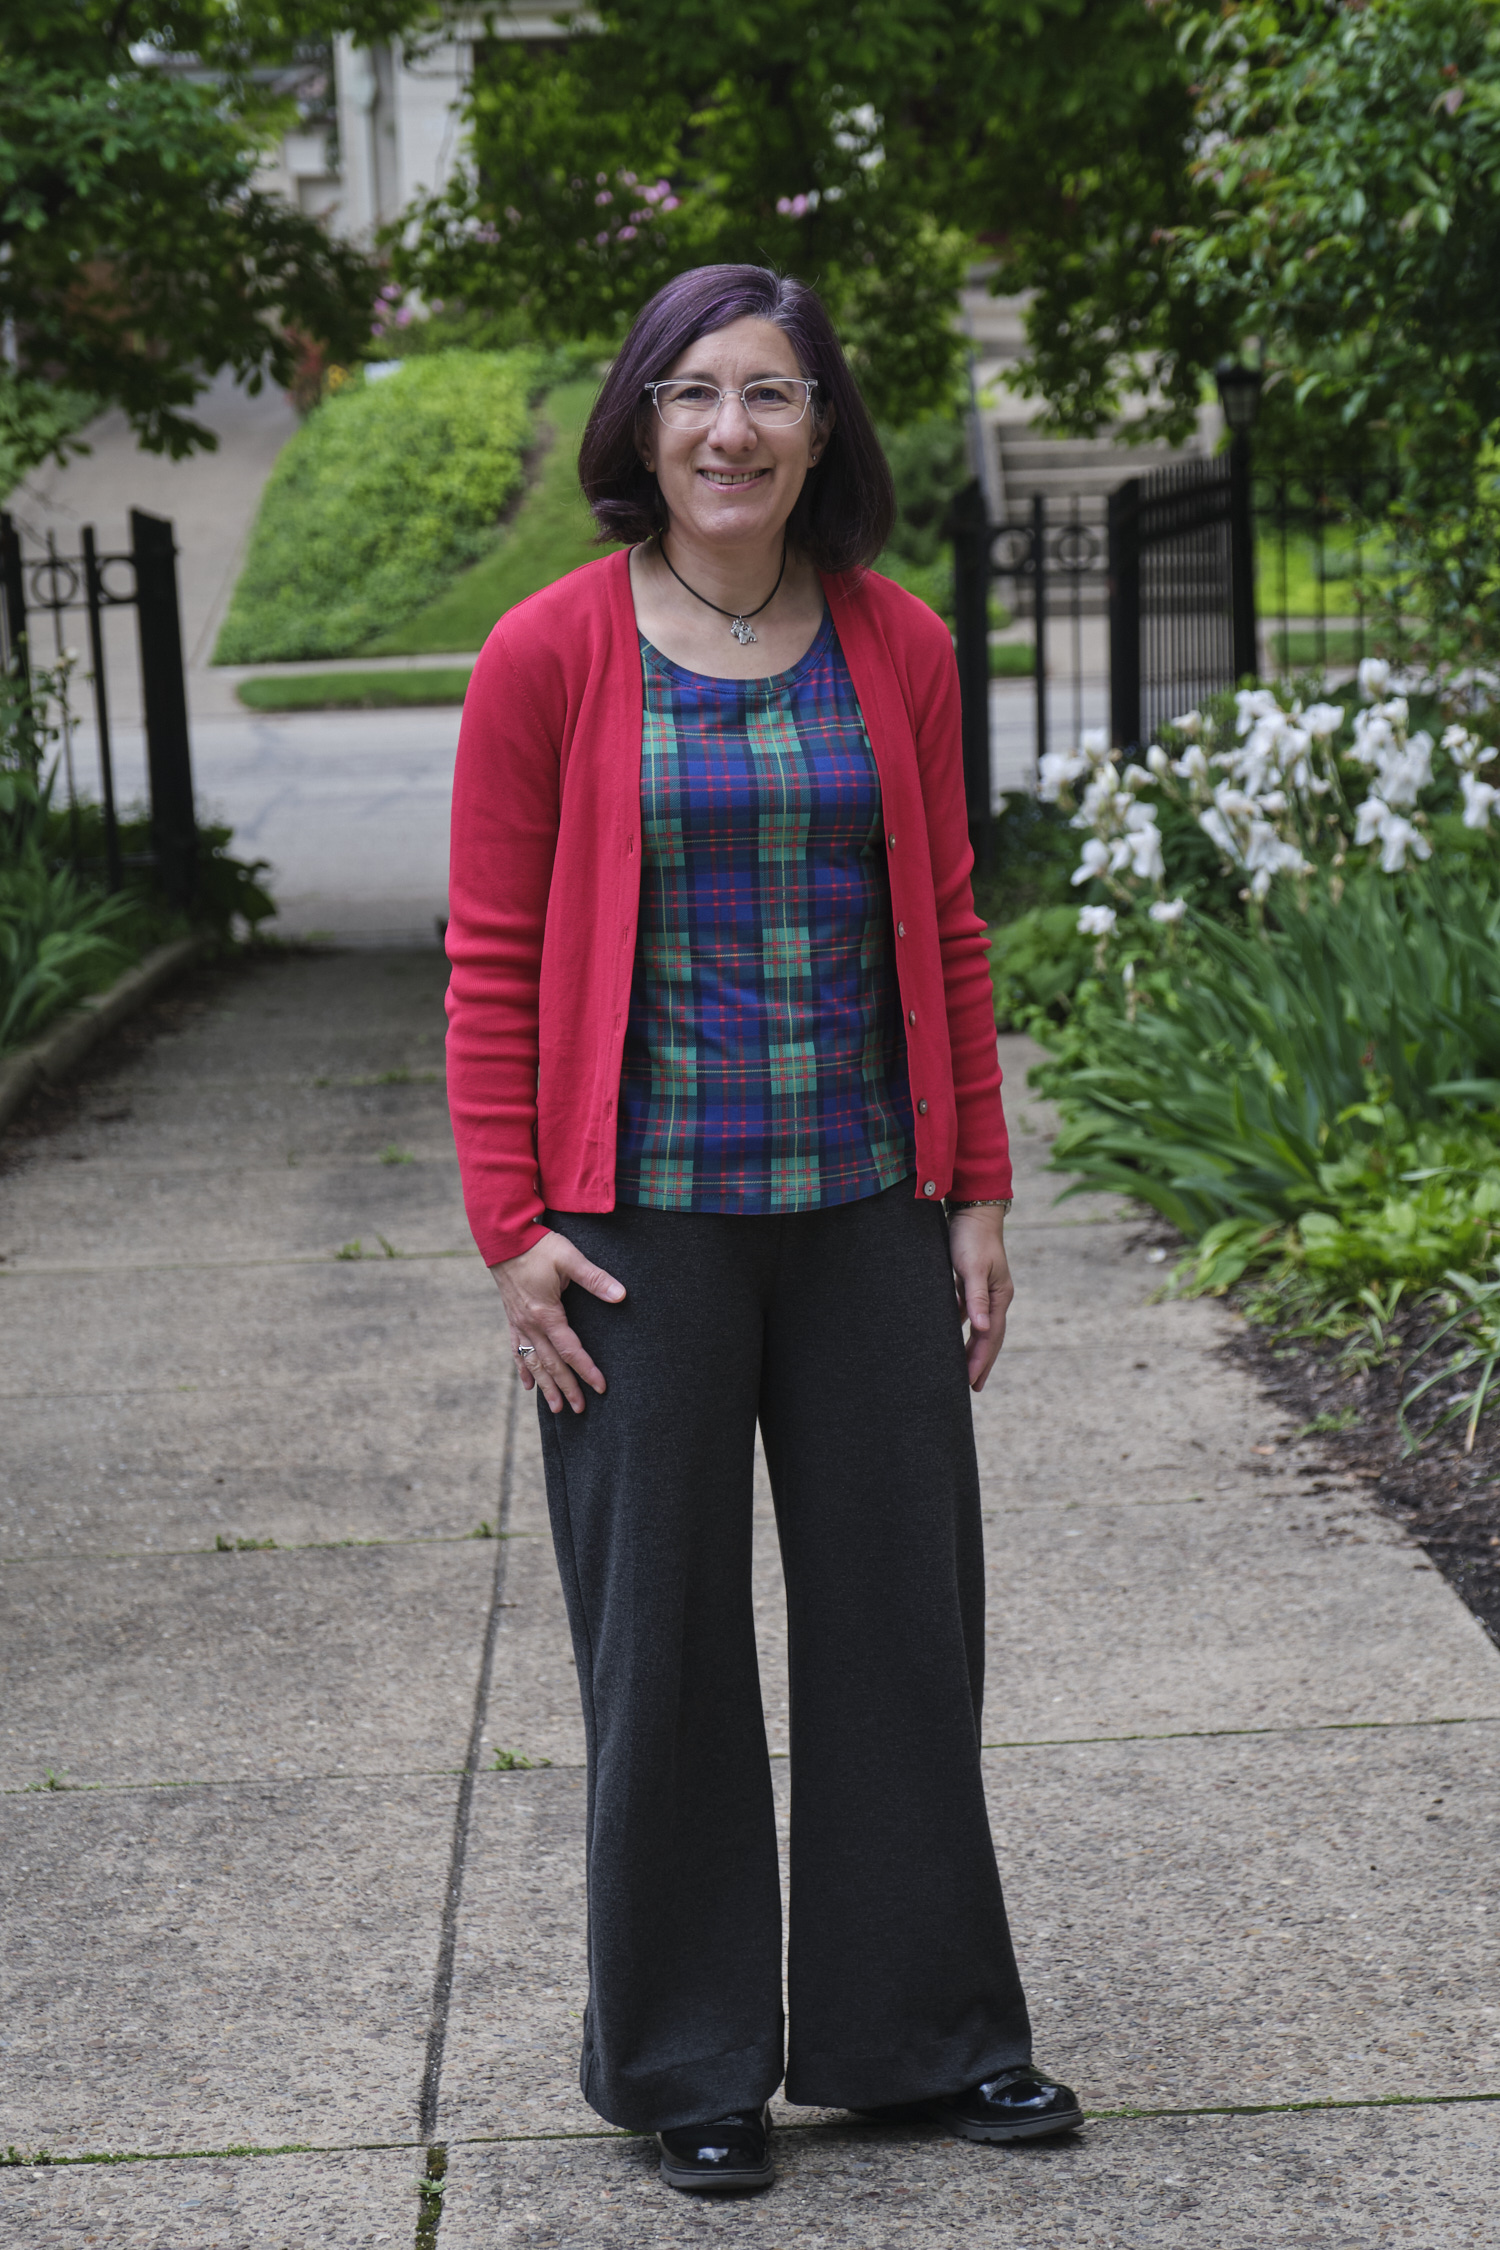
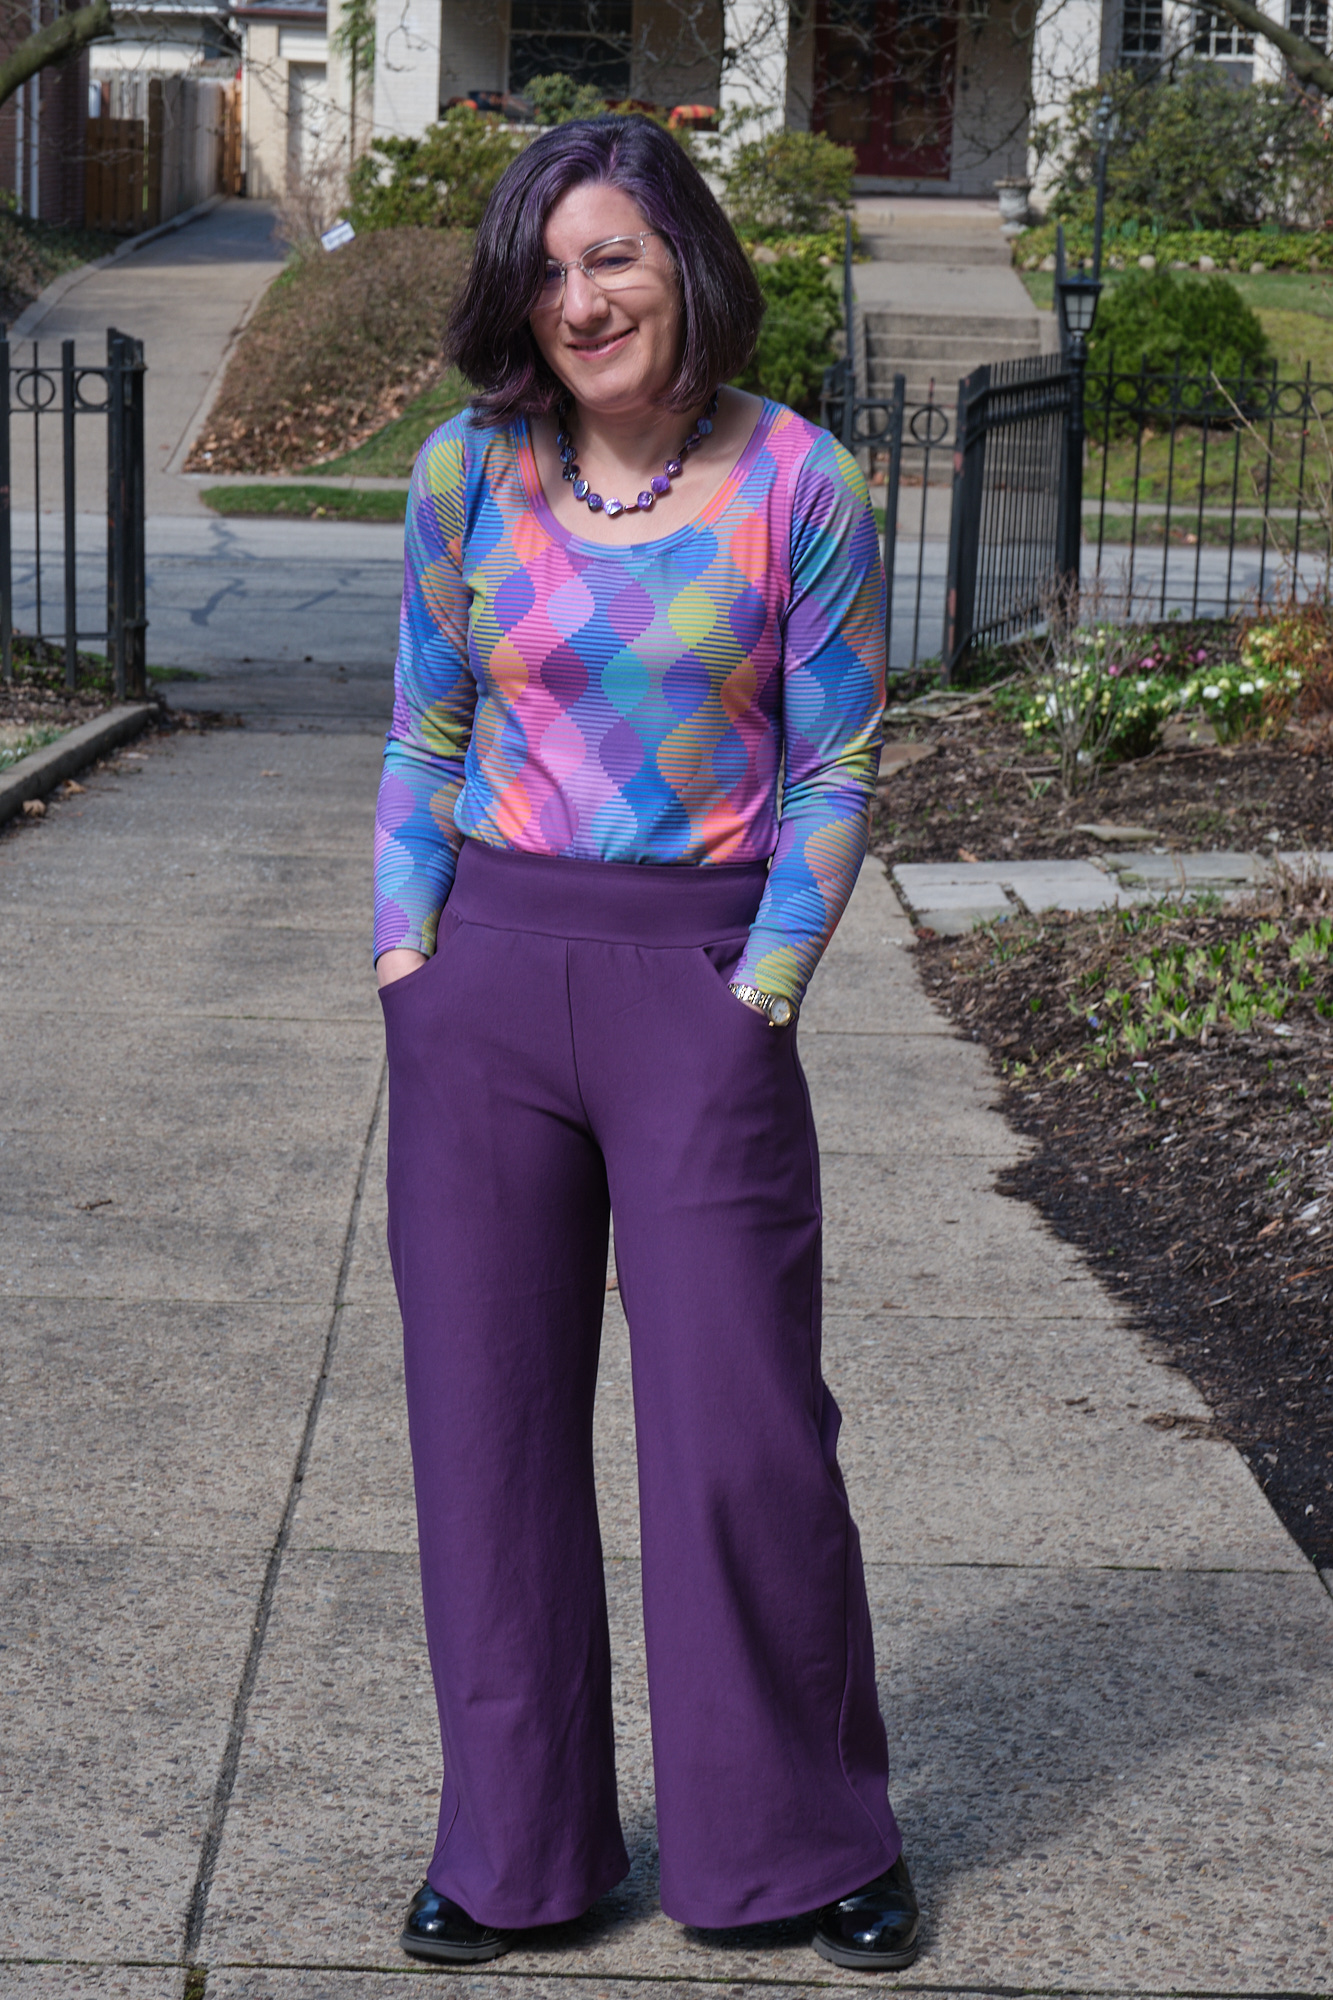
I like high-rise, loose-fitting pants with large pockets, and while I think wide-leg pants generally look best on me, they can have a lot of fabric to potentially trip over or drag through the mud (or across wet bathroom floors). So barrel-leg pants give me a loose fit and room for pockets without the extra fabric. The Making Moves pattern comes in both high-rise and mid-rise. Based on my past experience with Pattern Emporium high-rise pants being too high for me (especially in the back), I opted for the mid-rise. I like the way the mid-rise turned out, but I might add another half inch of rise next time and extend the front and back crotch by half an inch.
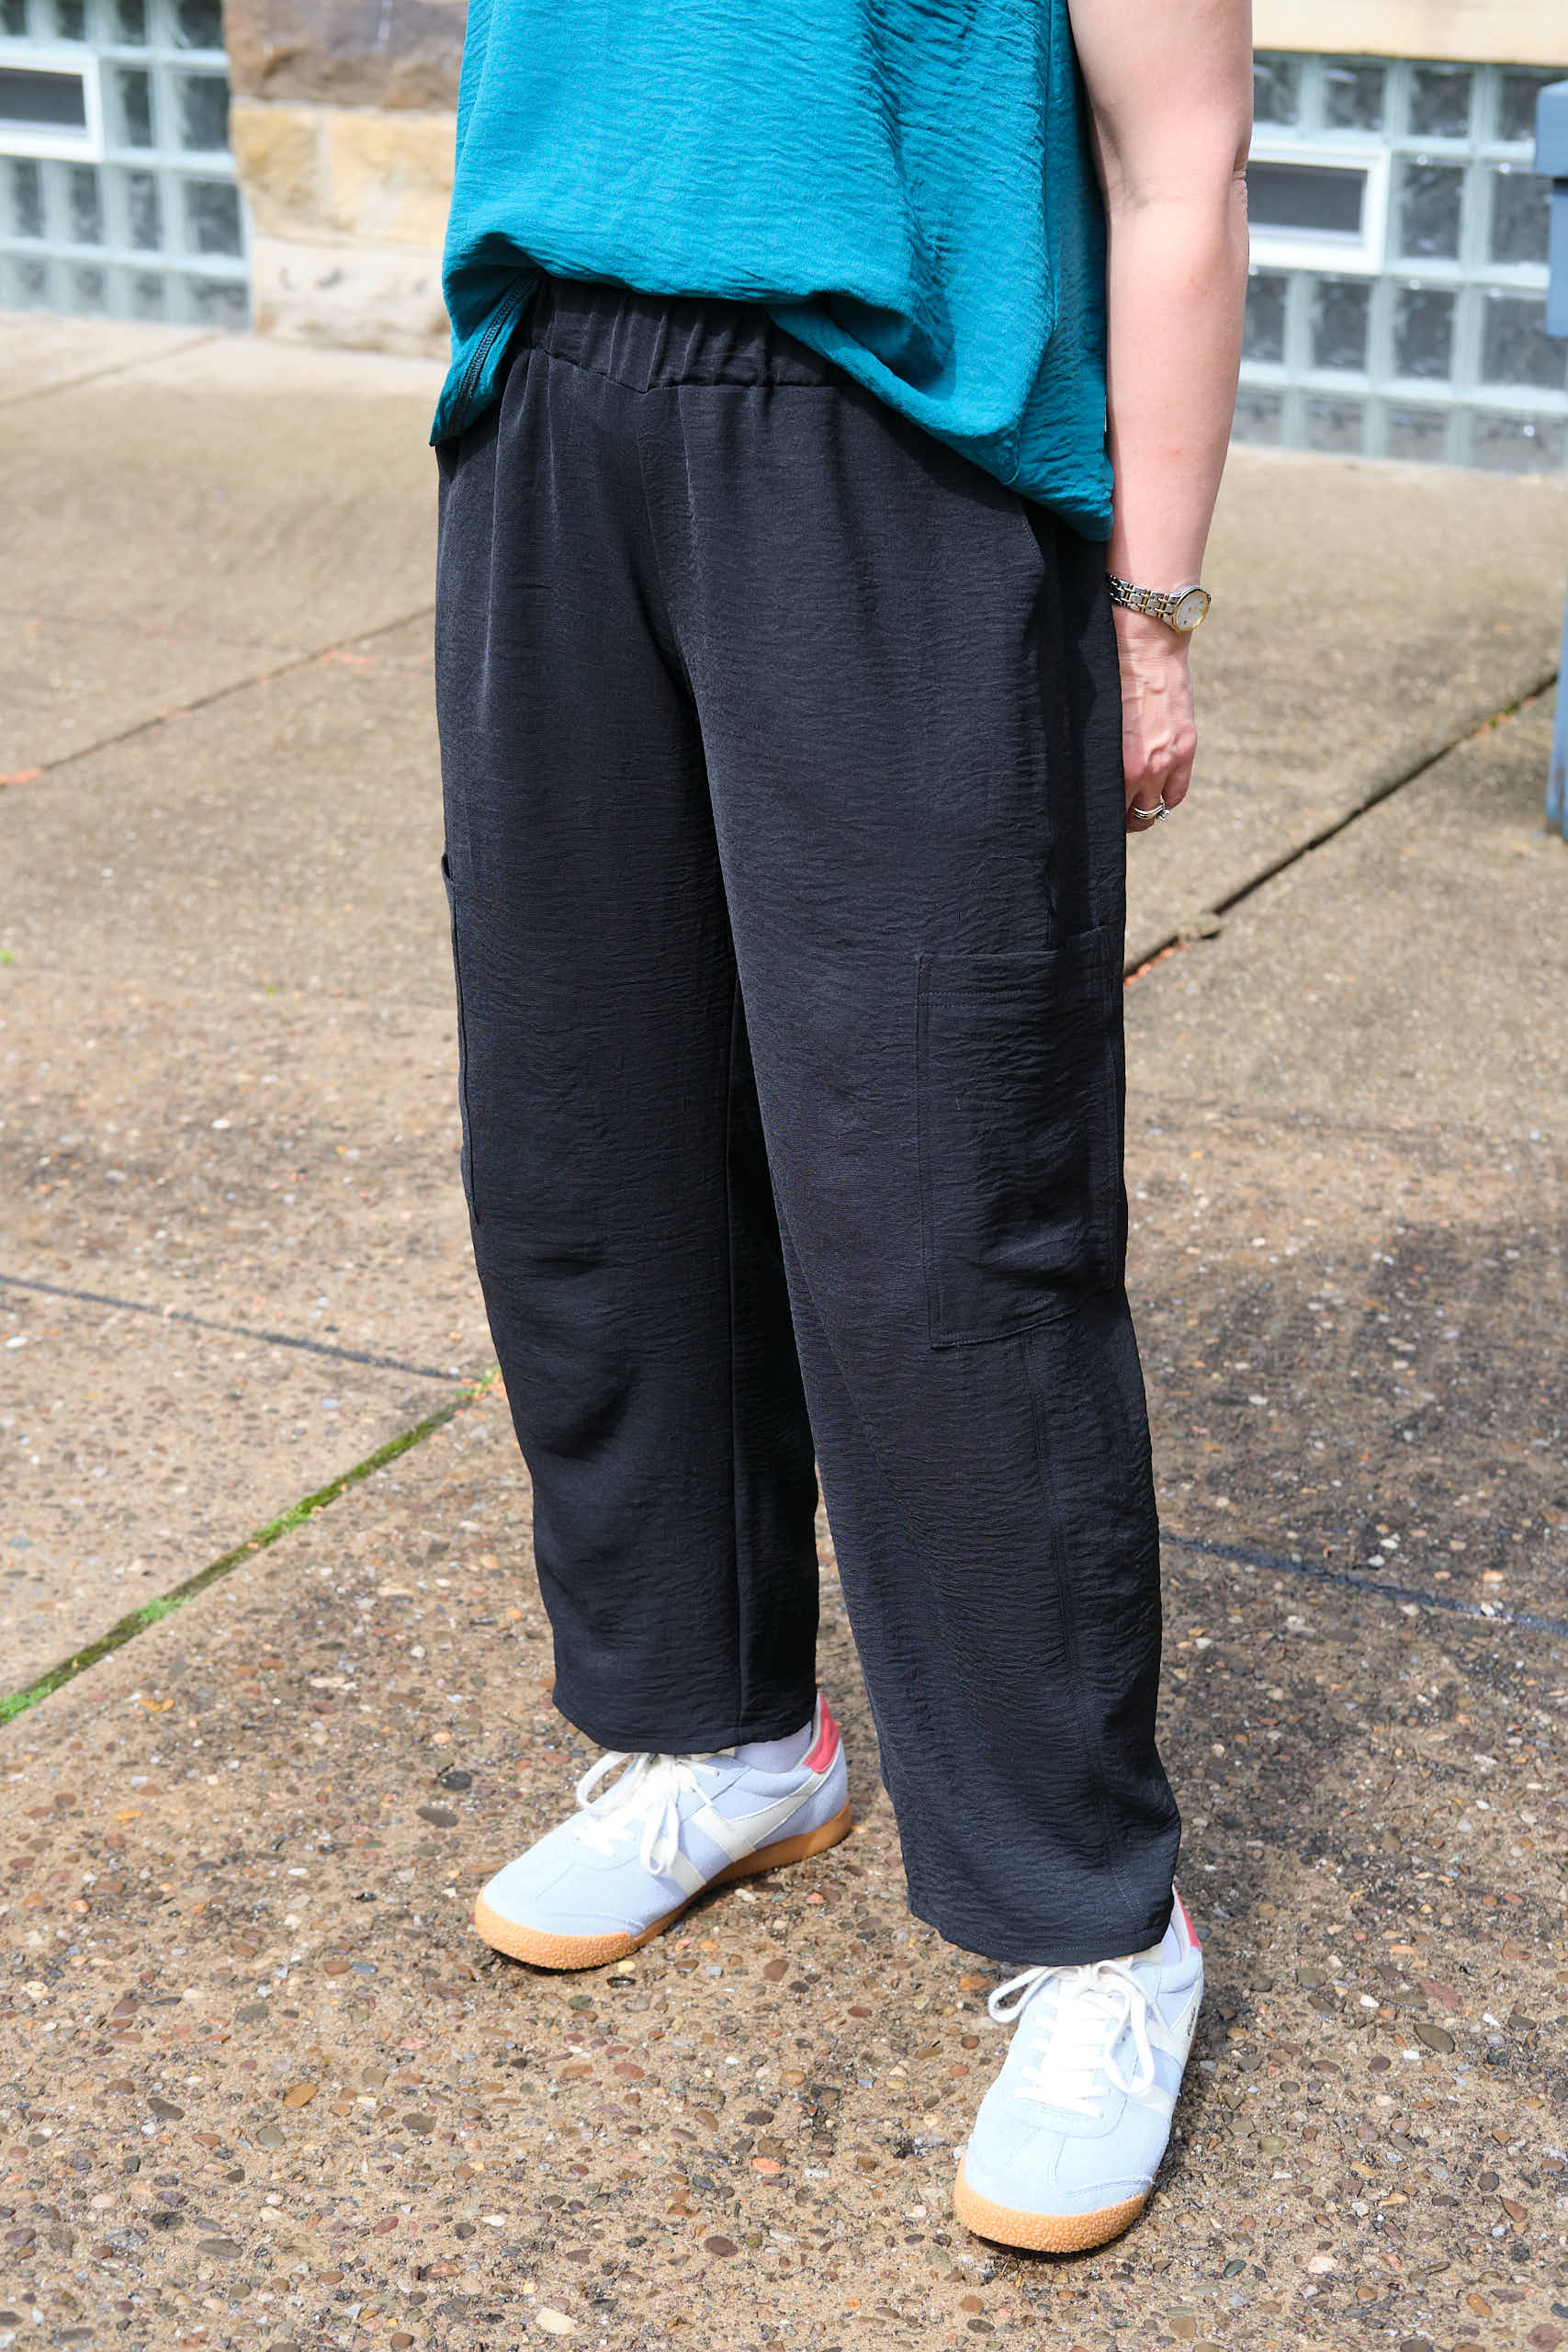
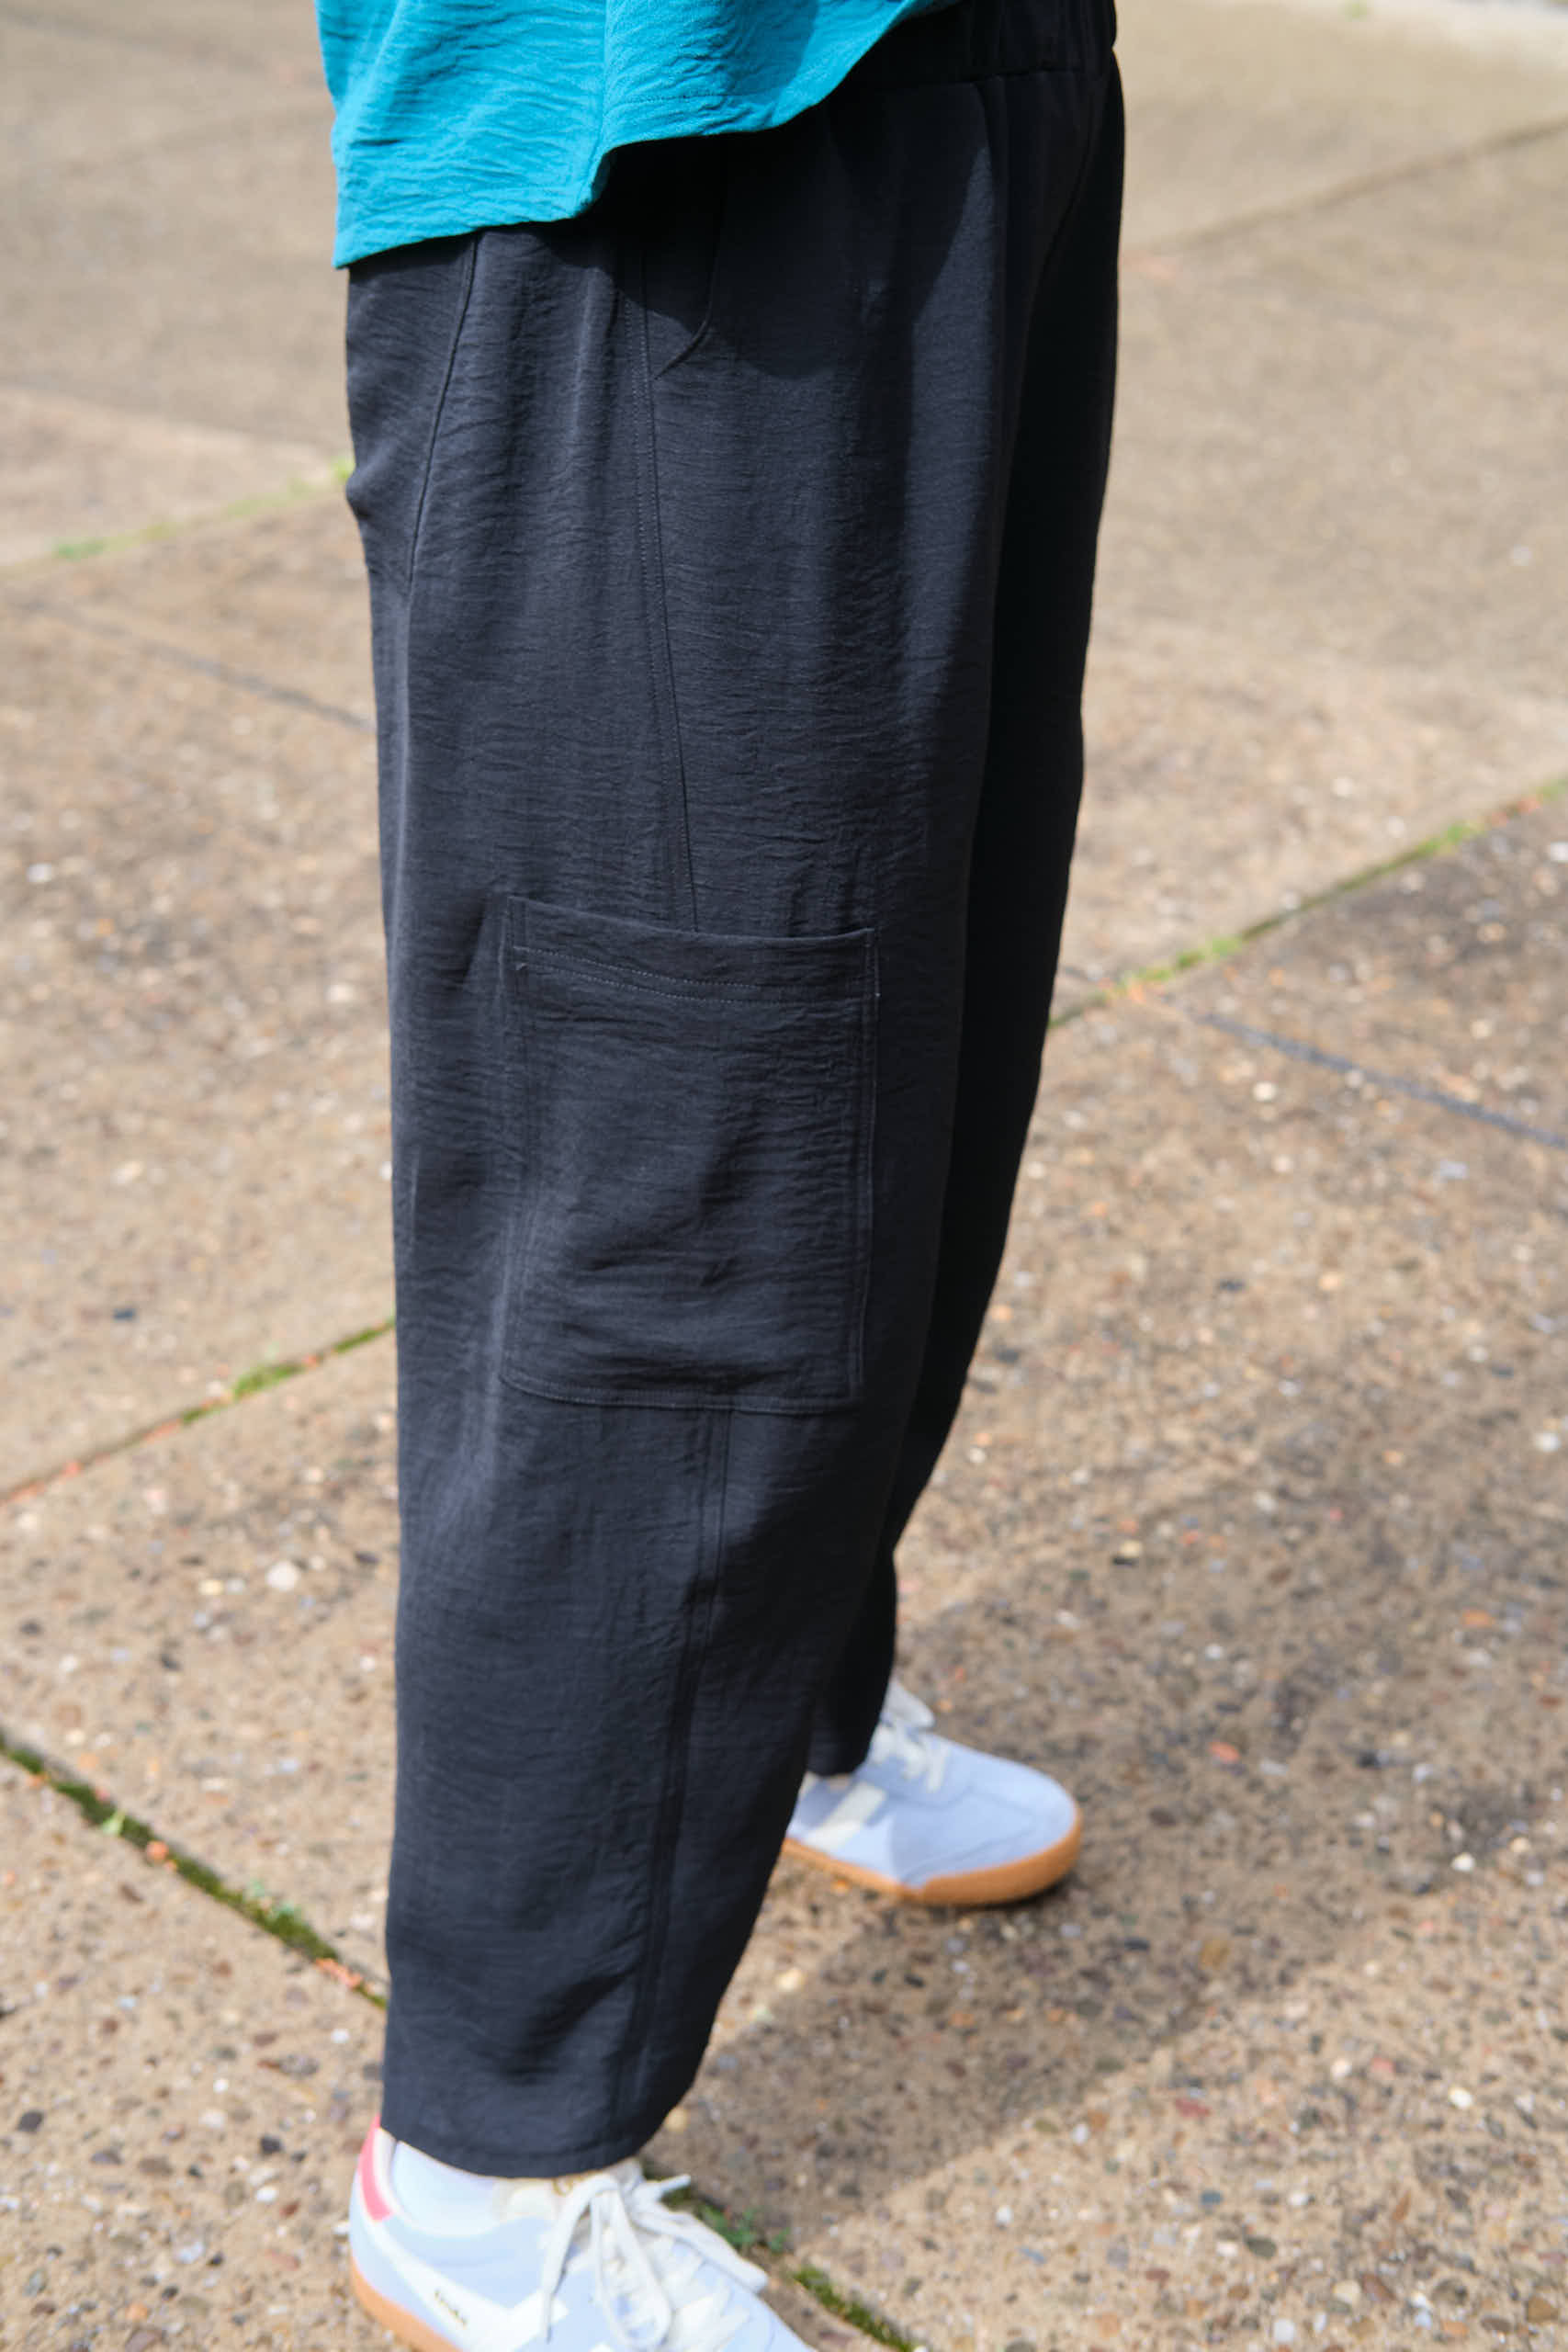
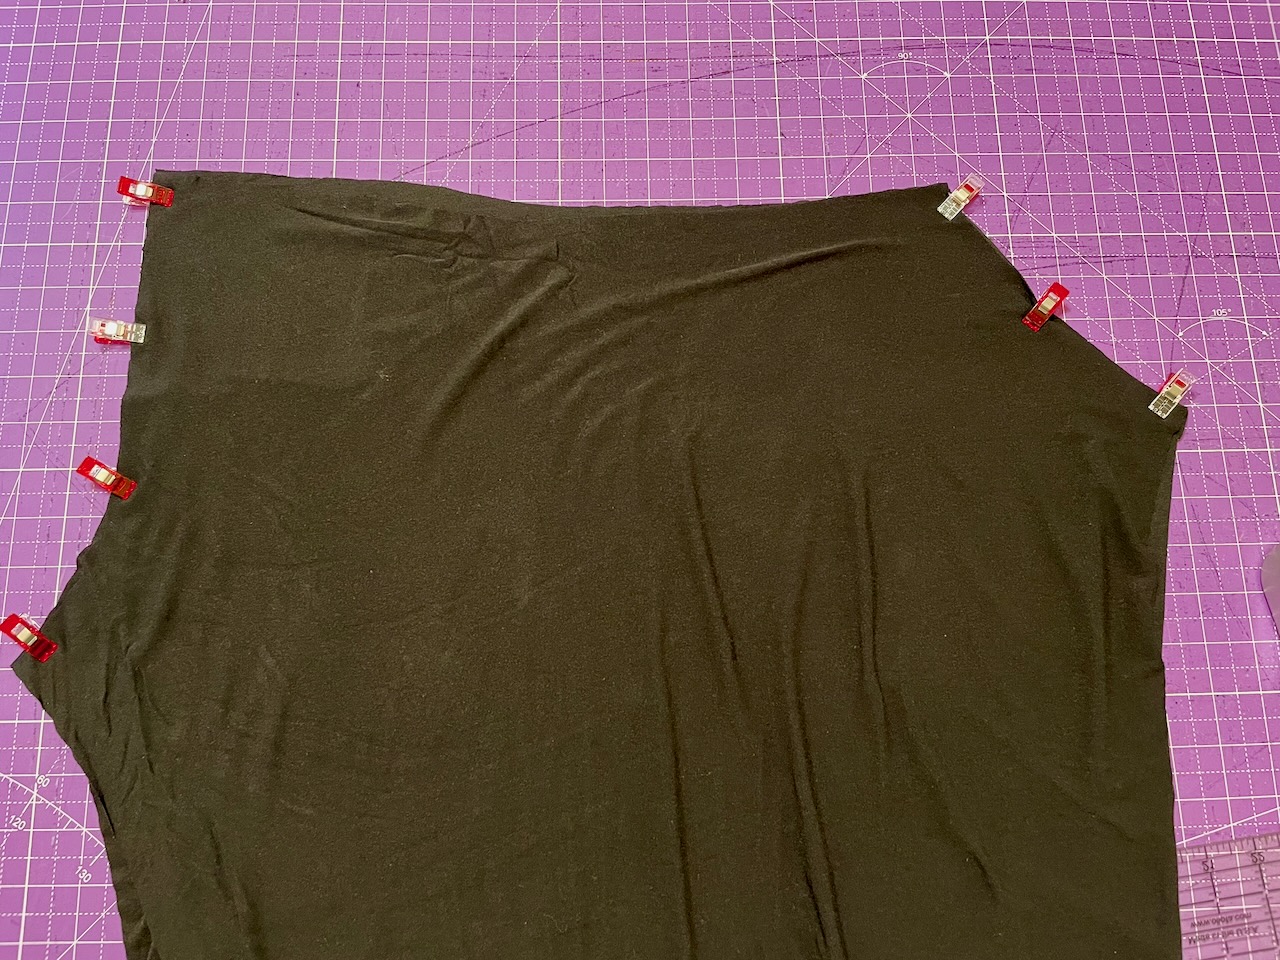
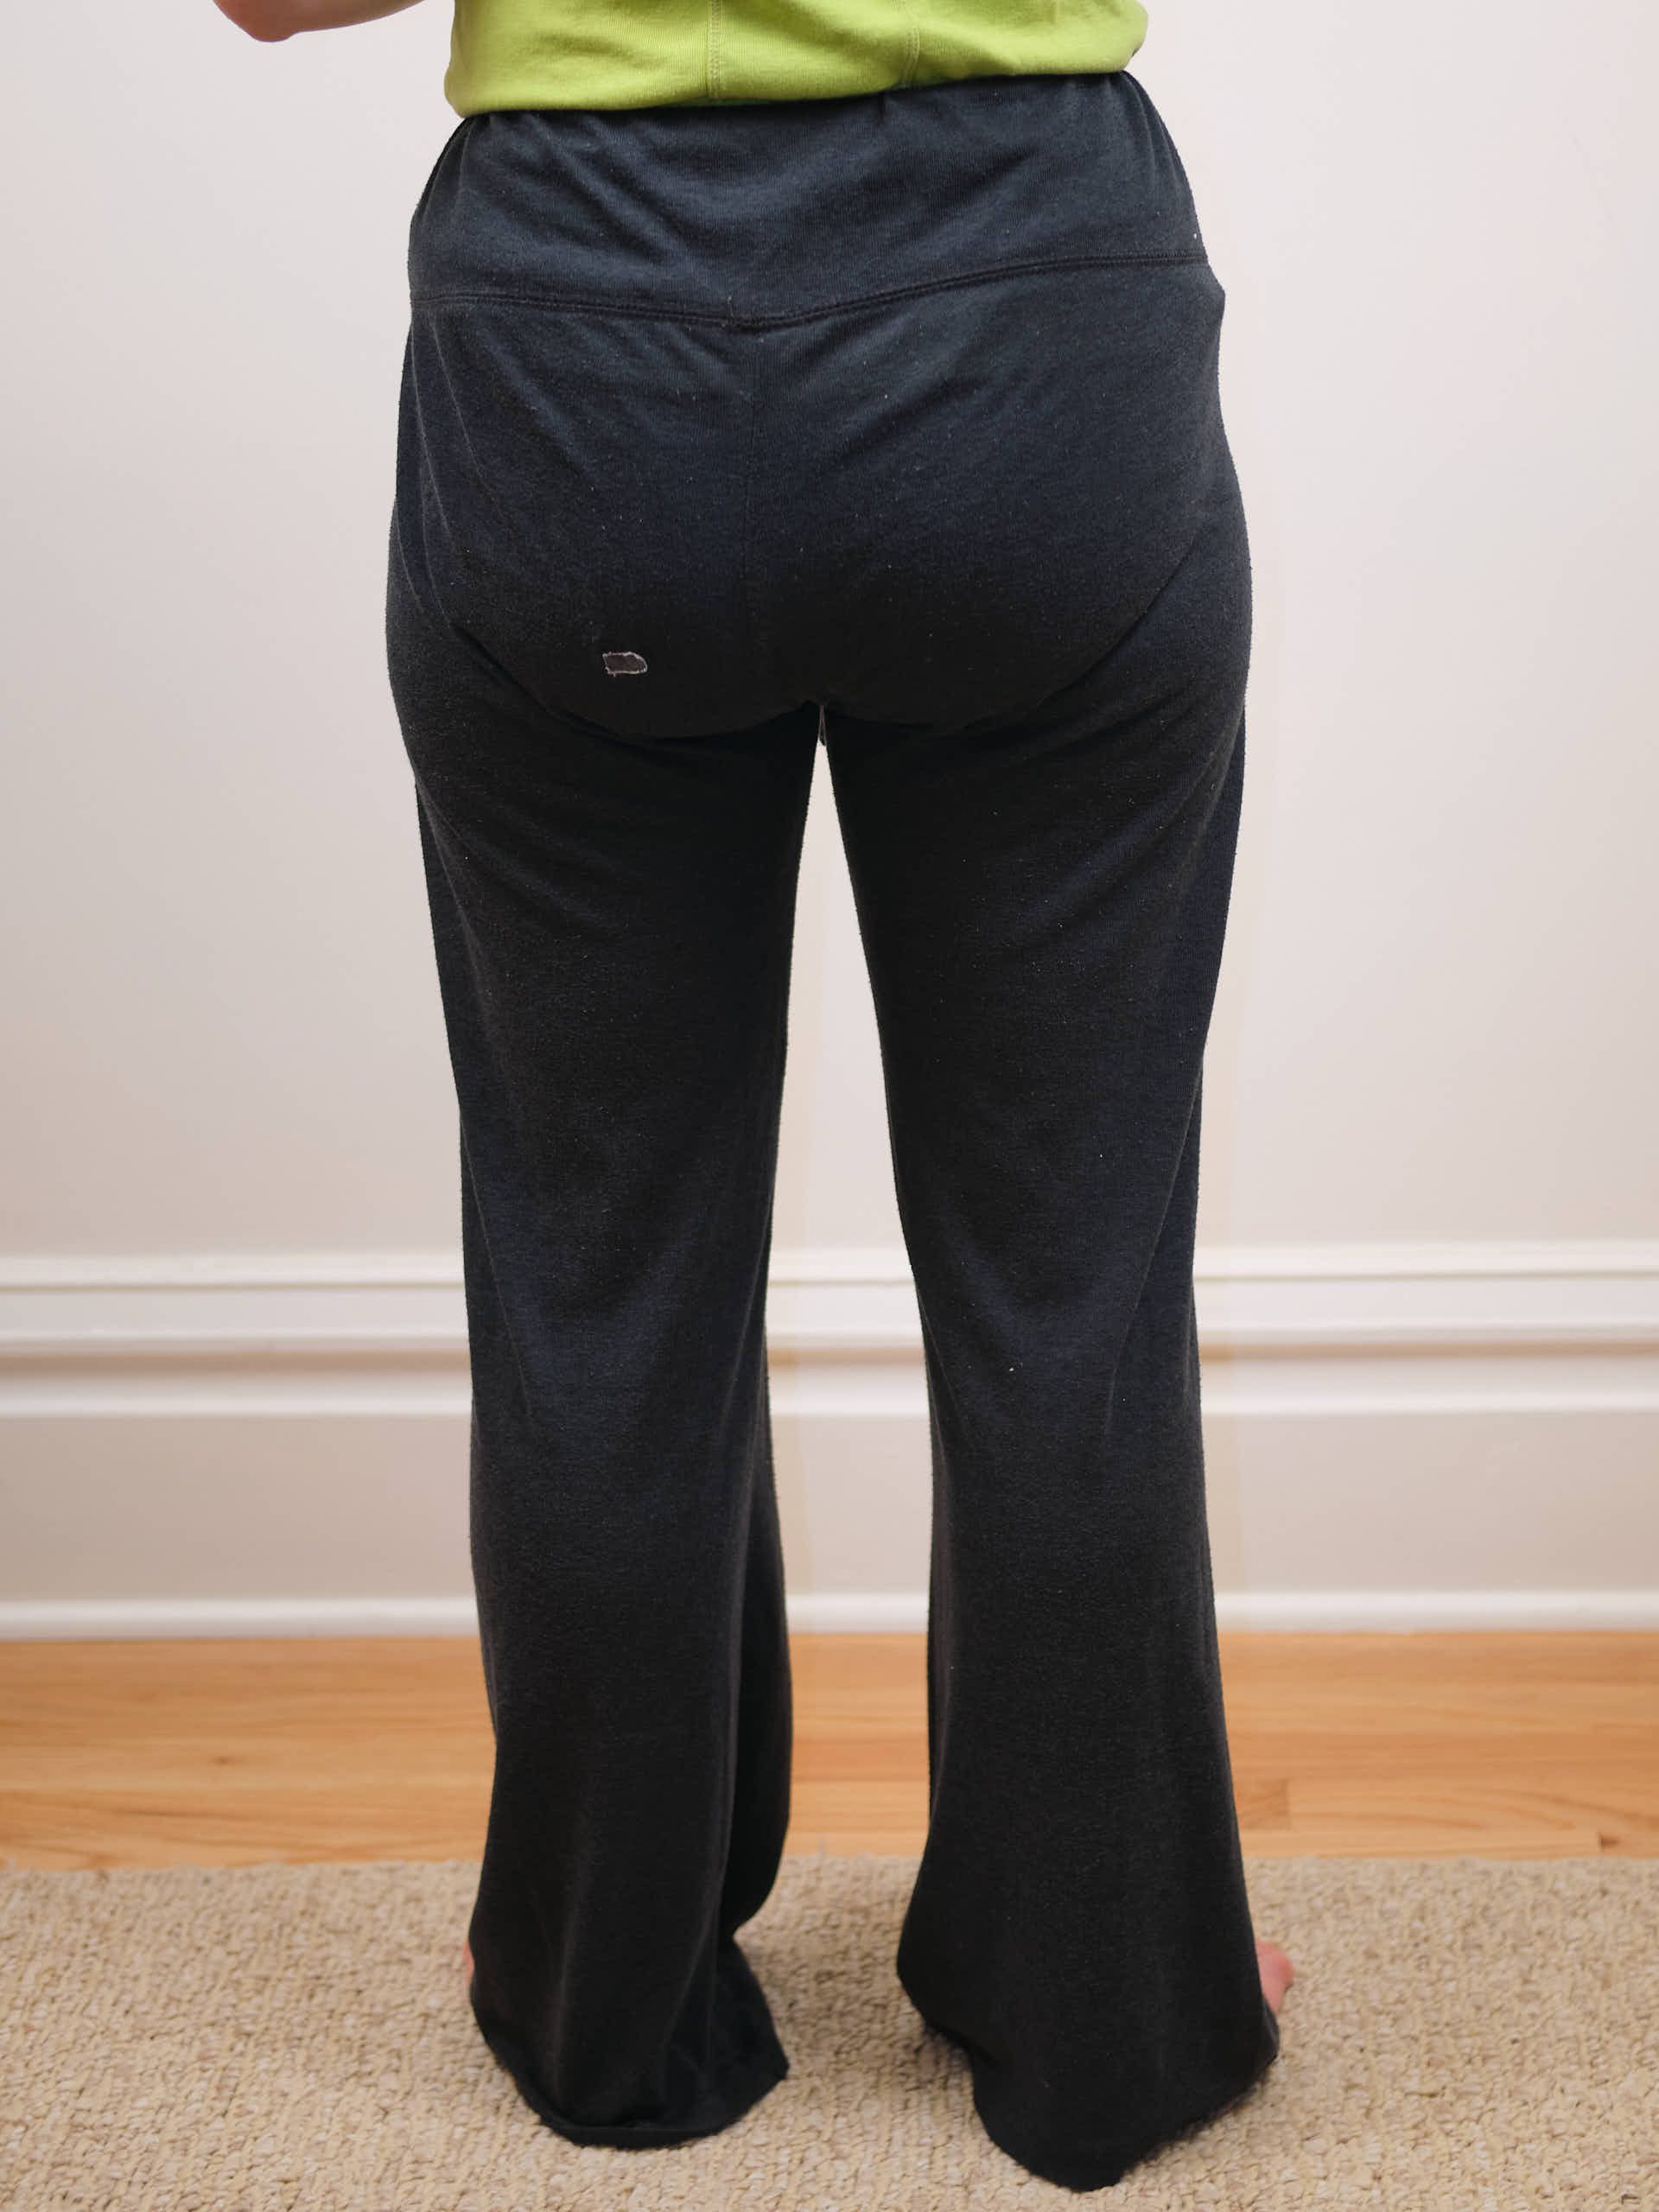
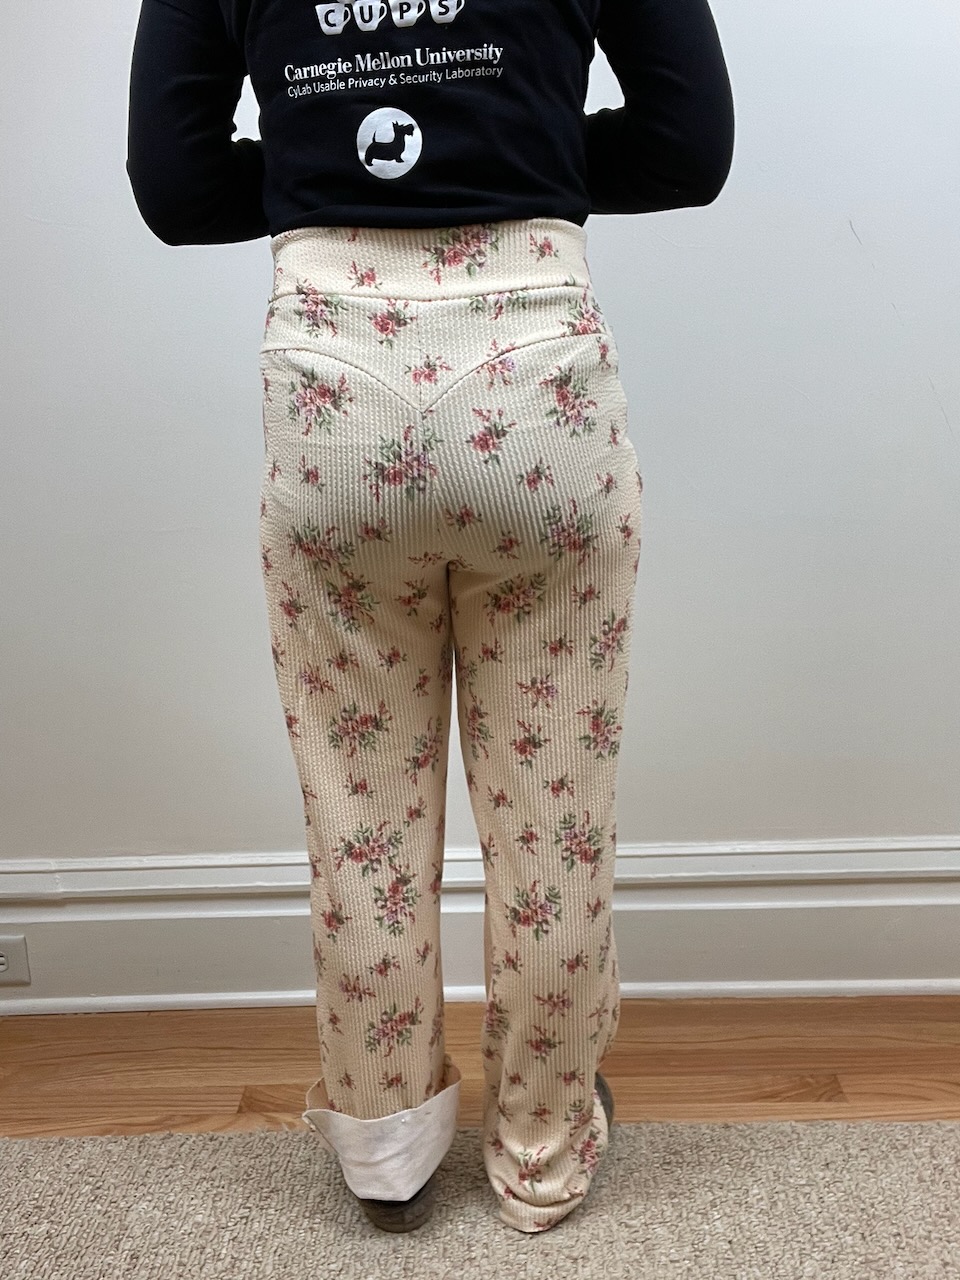
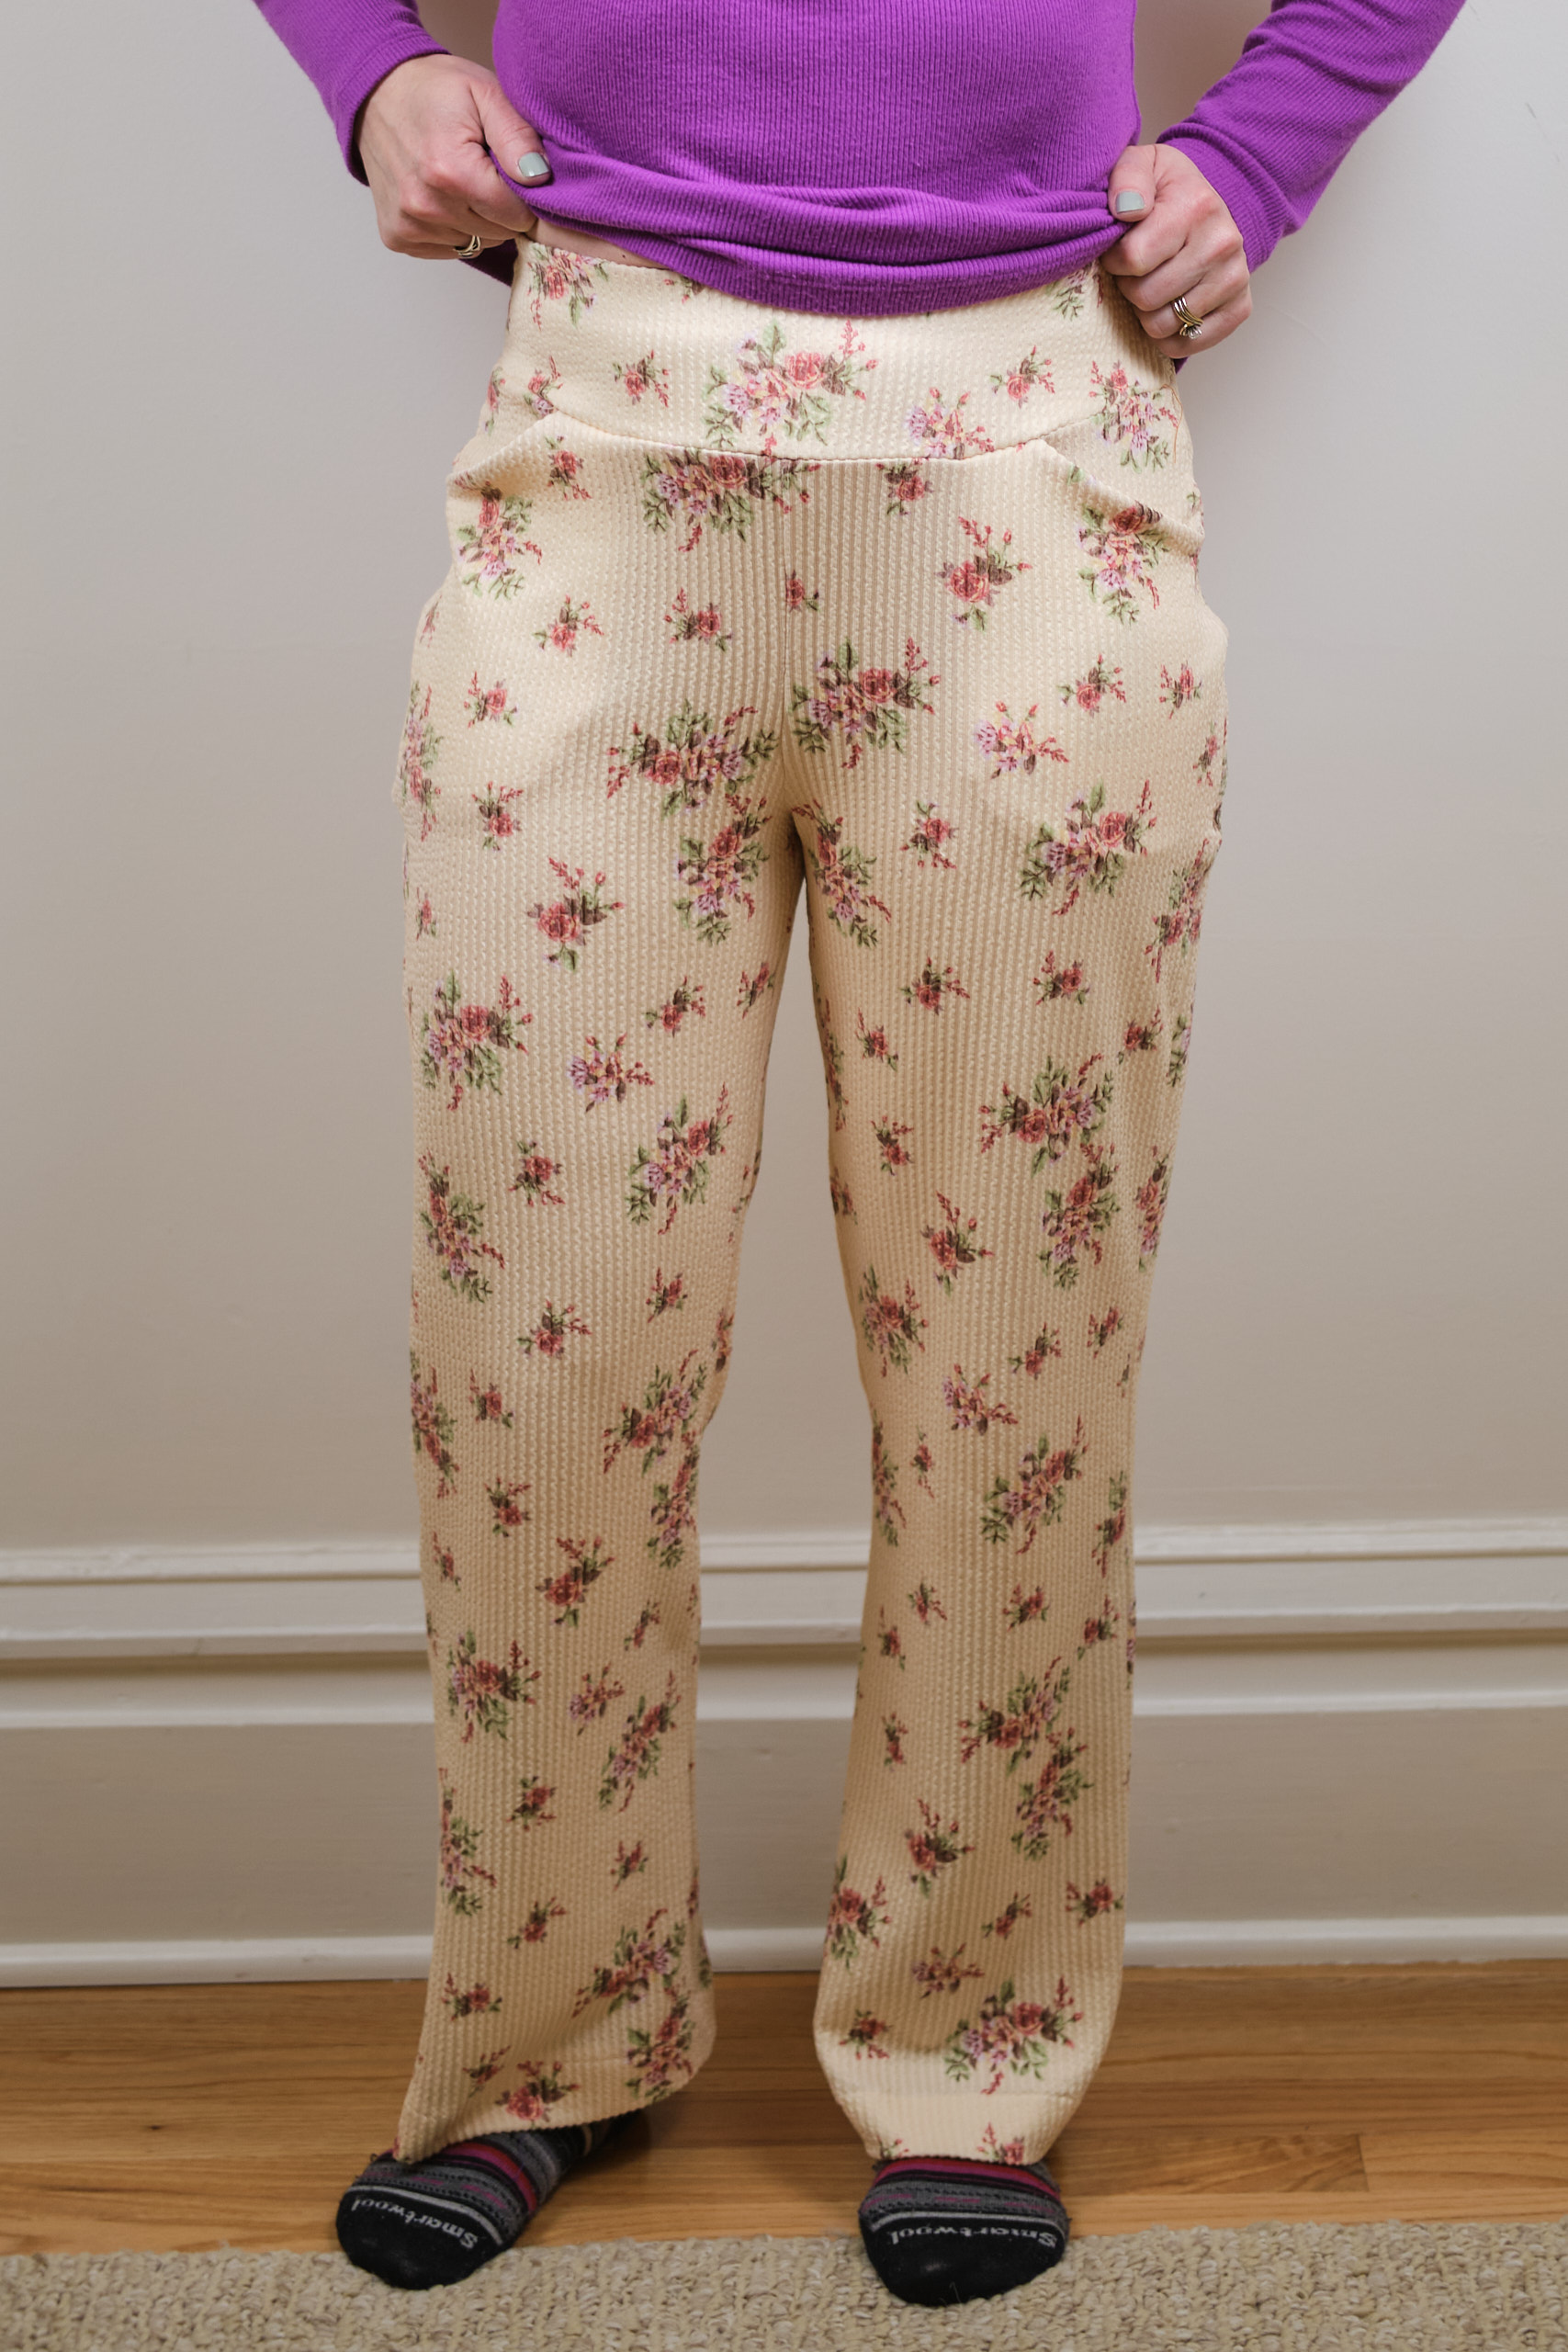
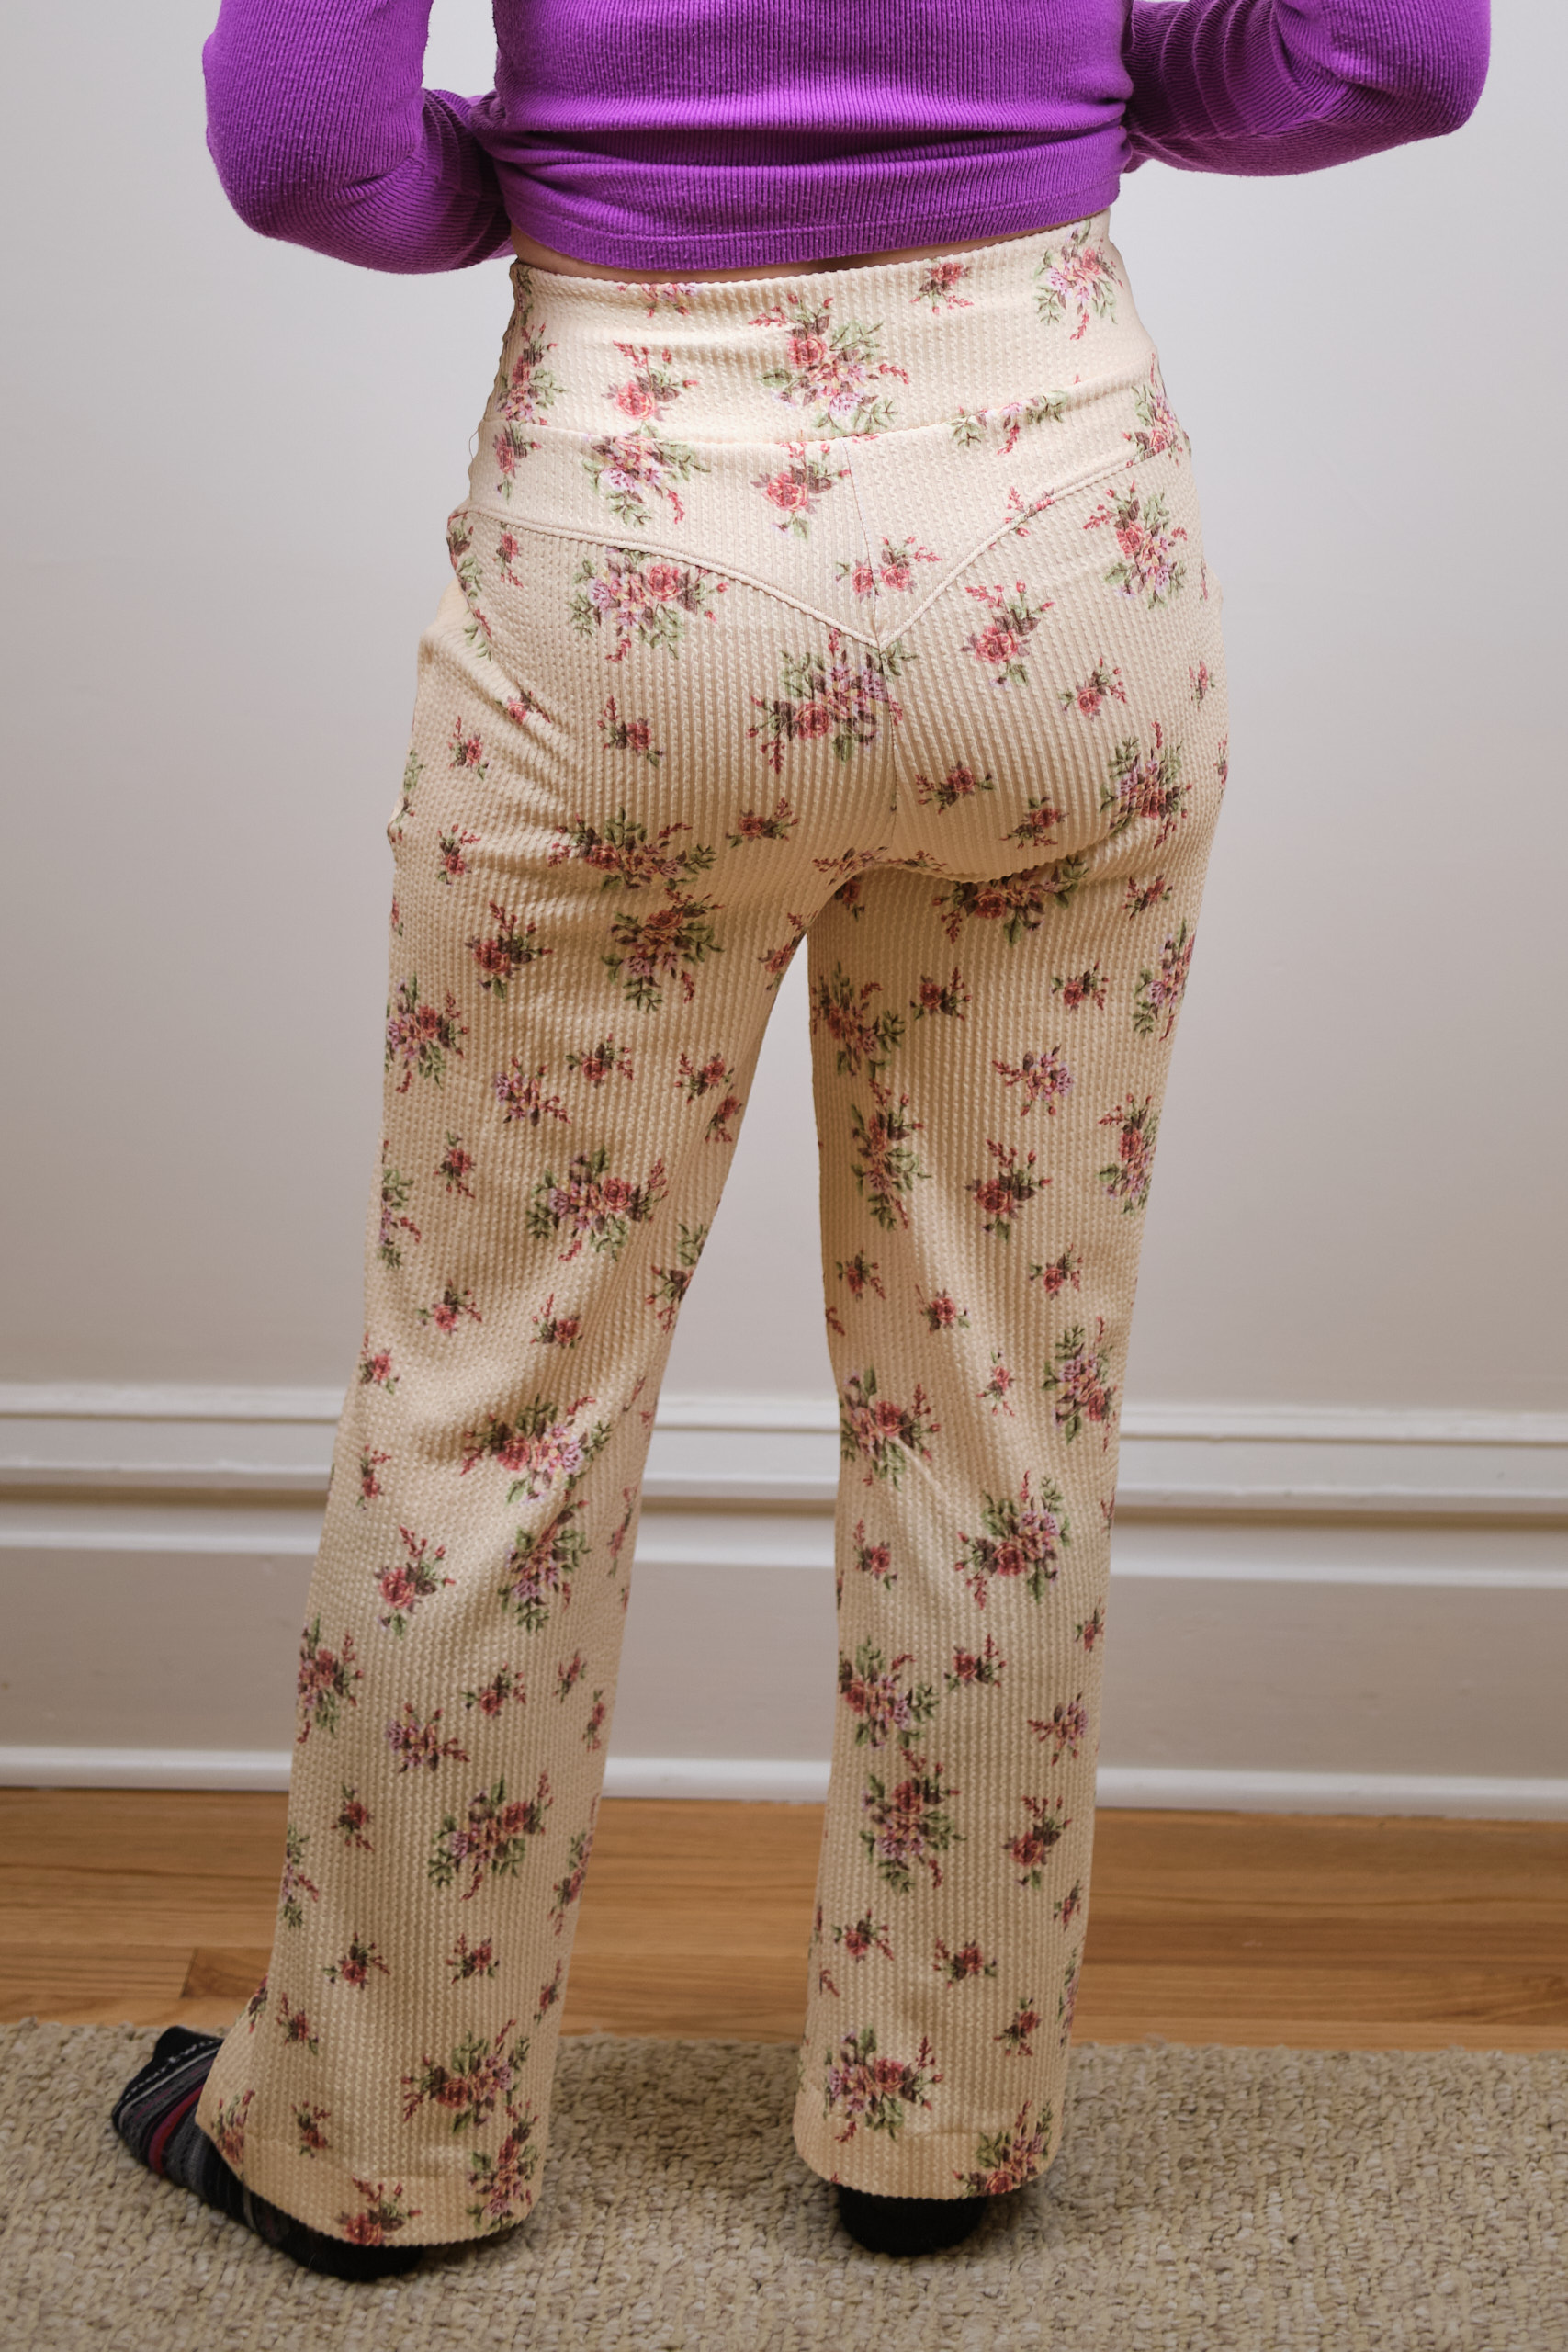
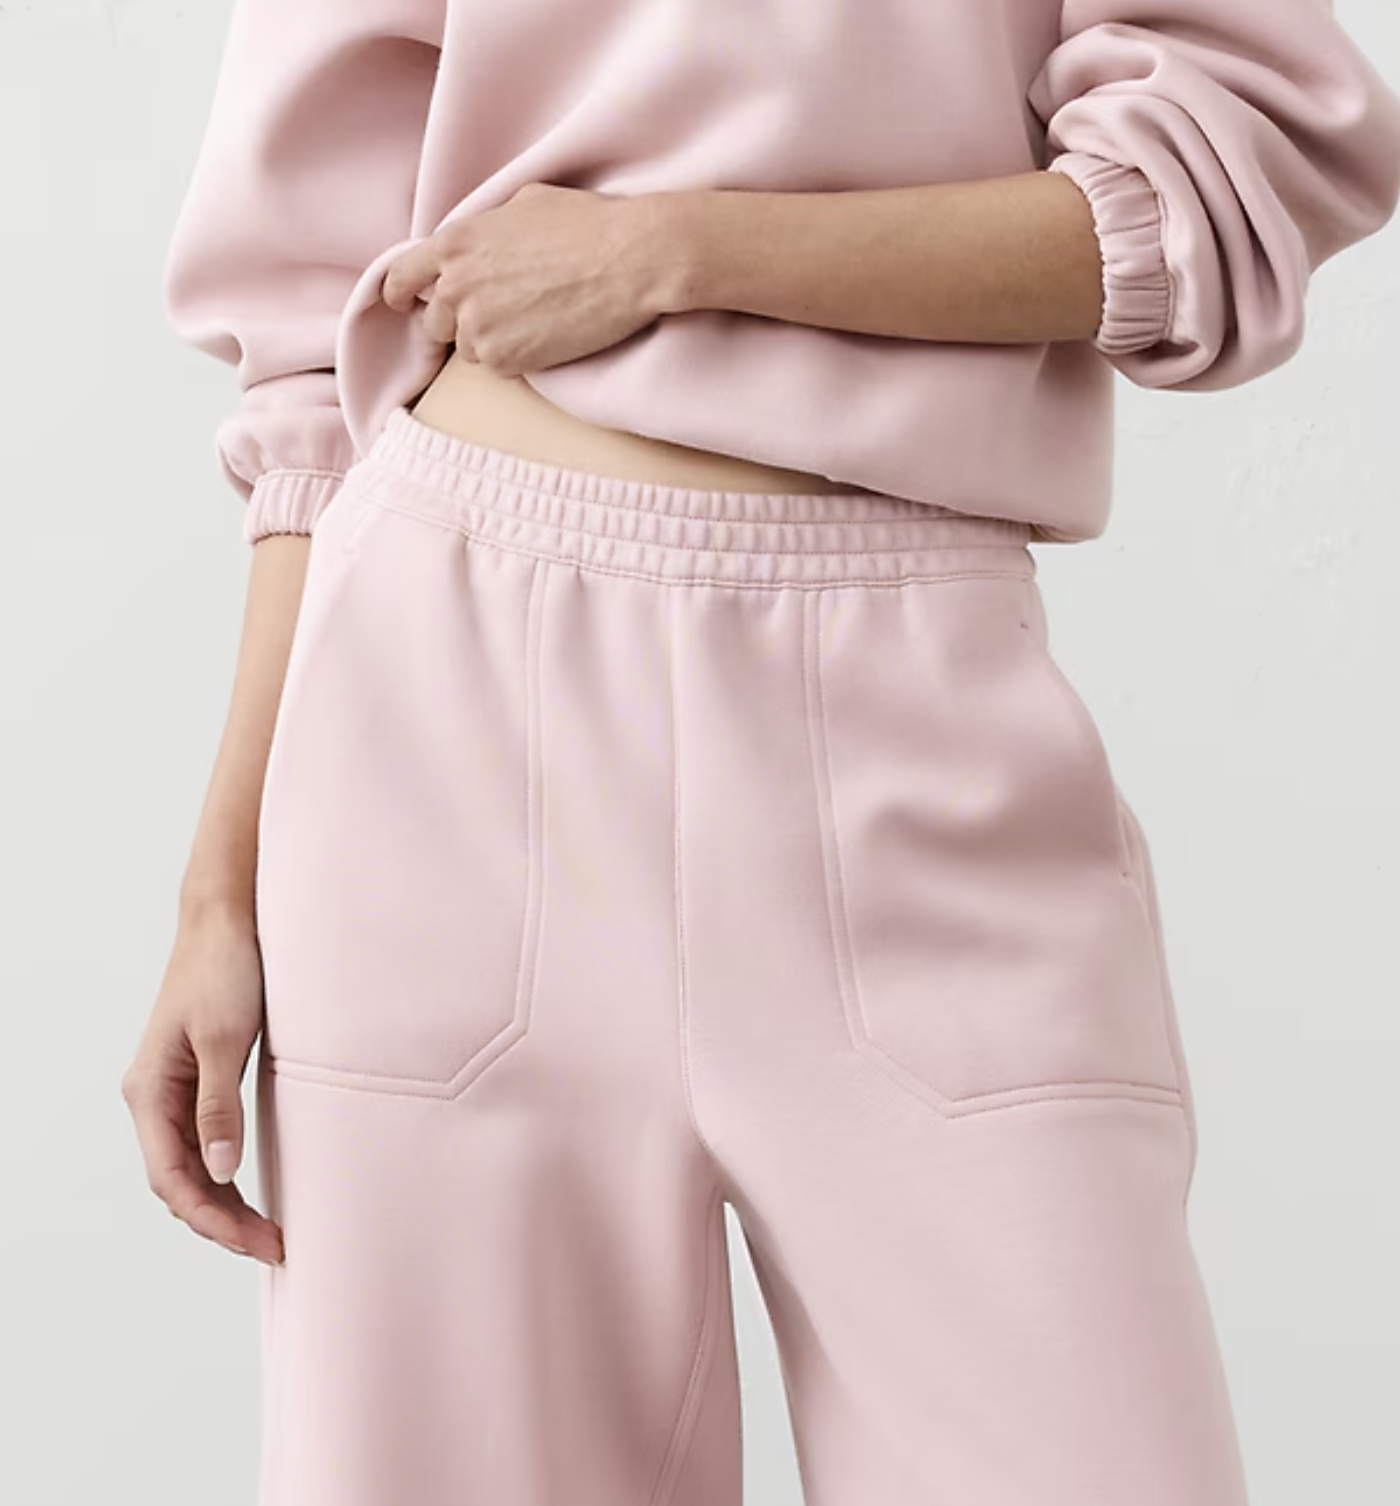
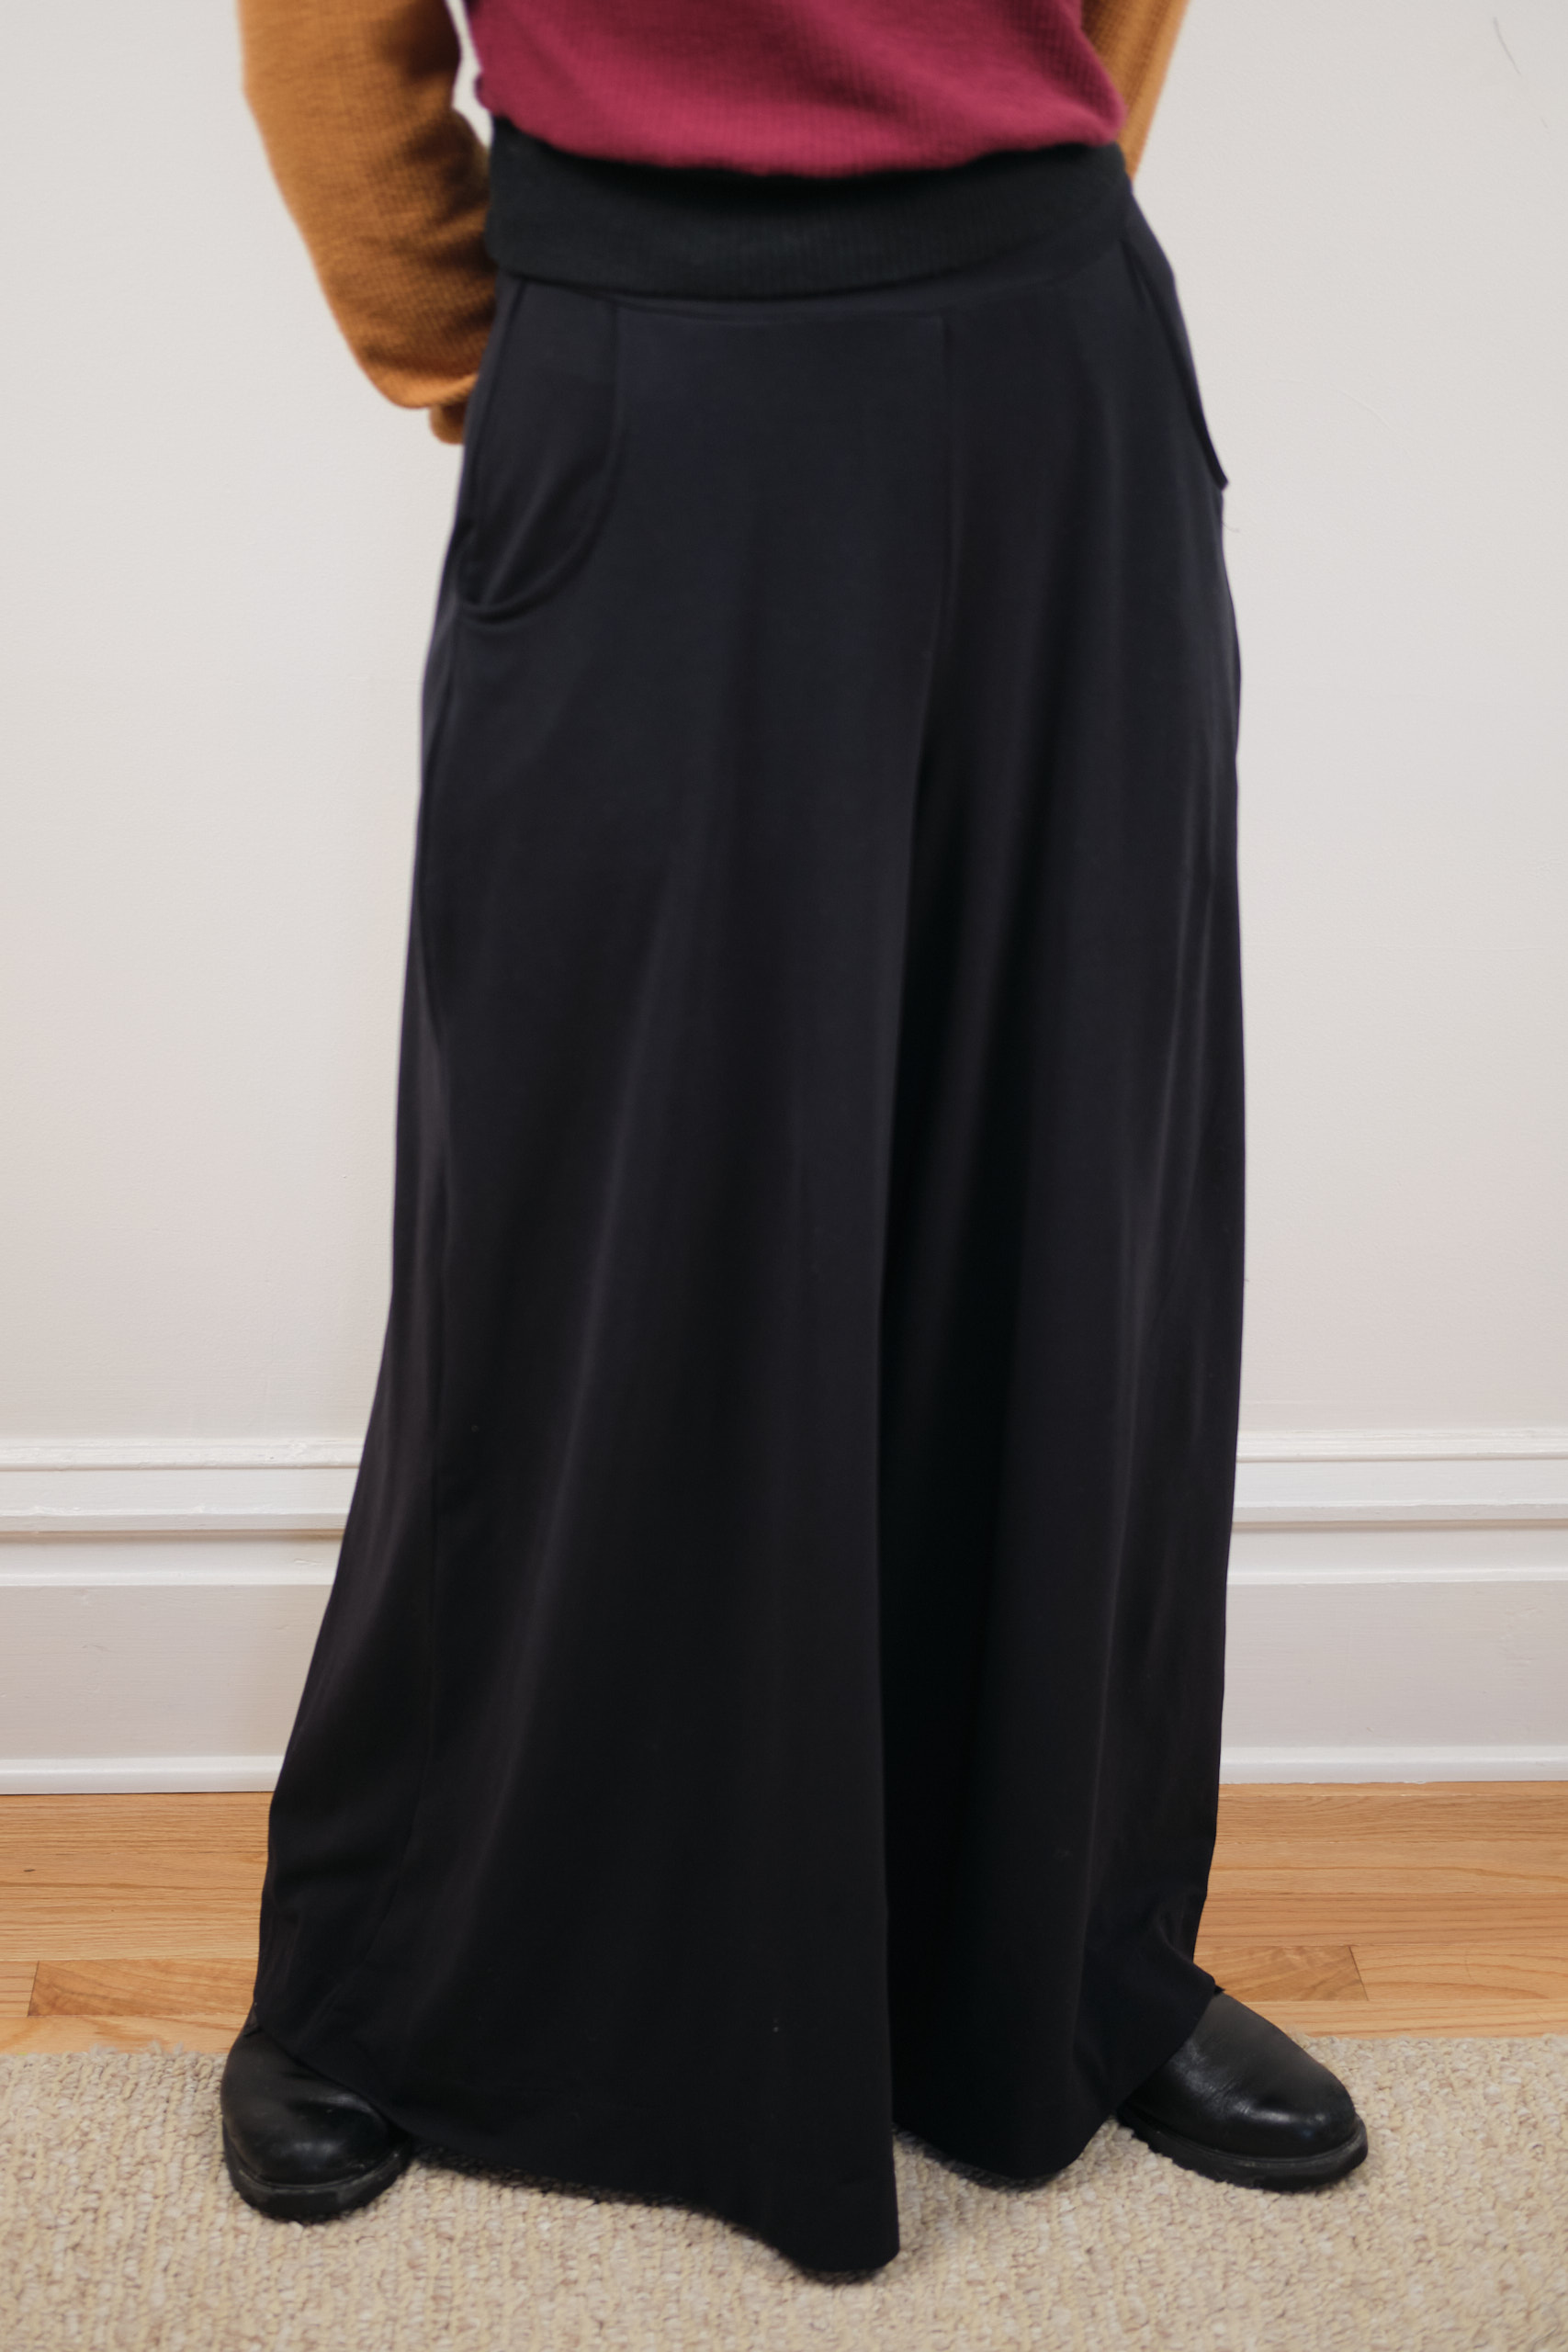
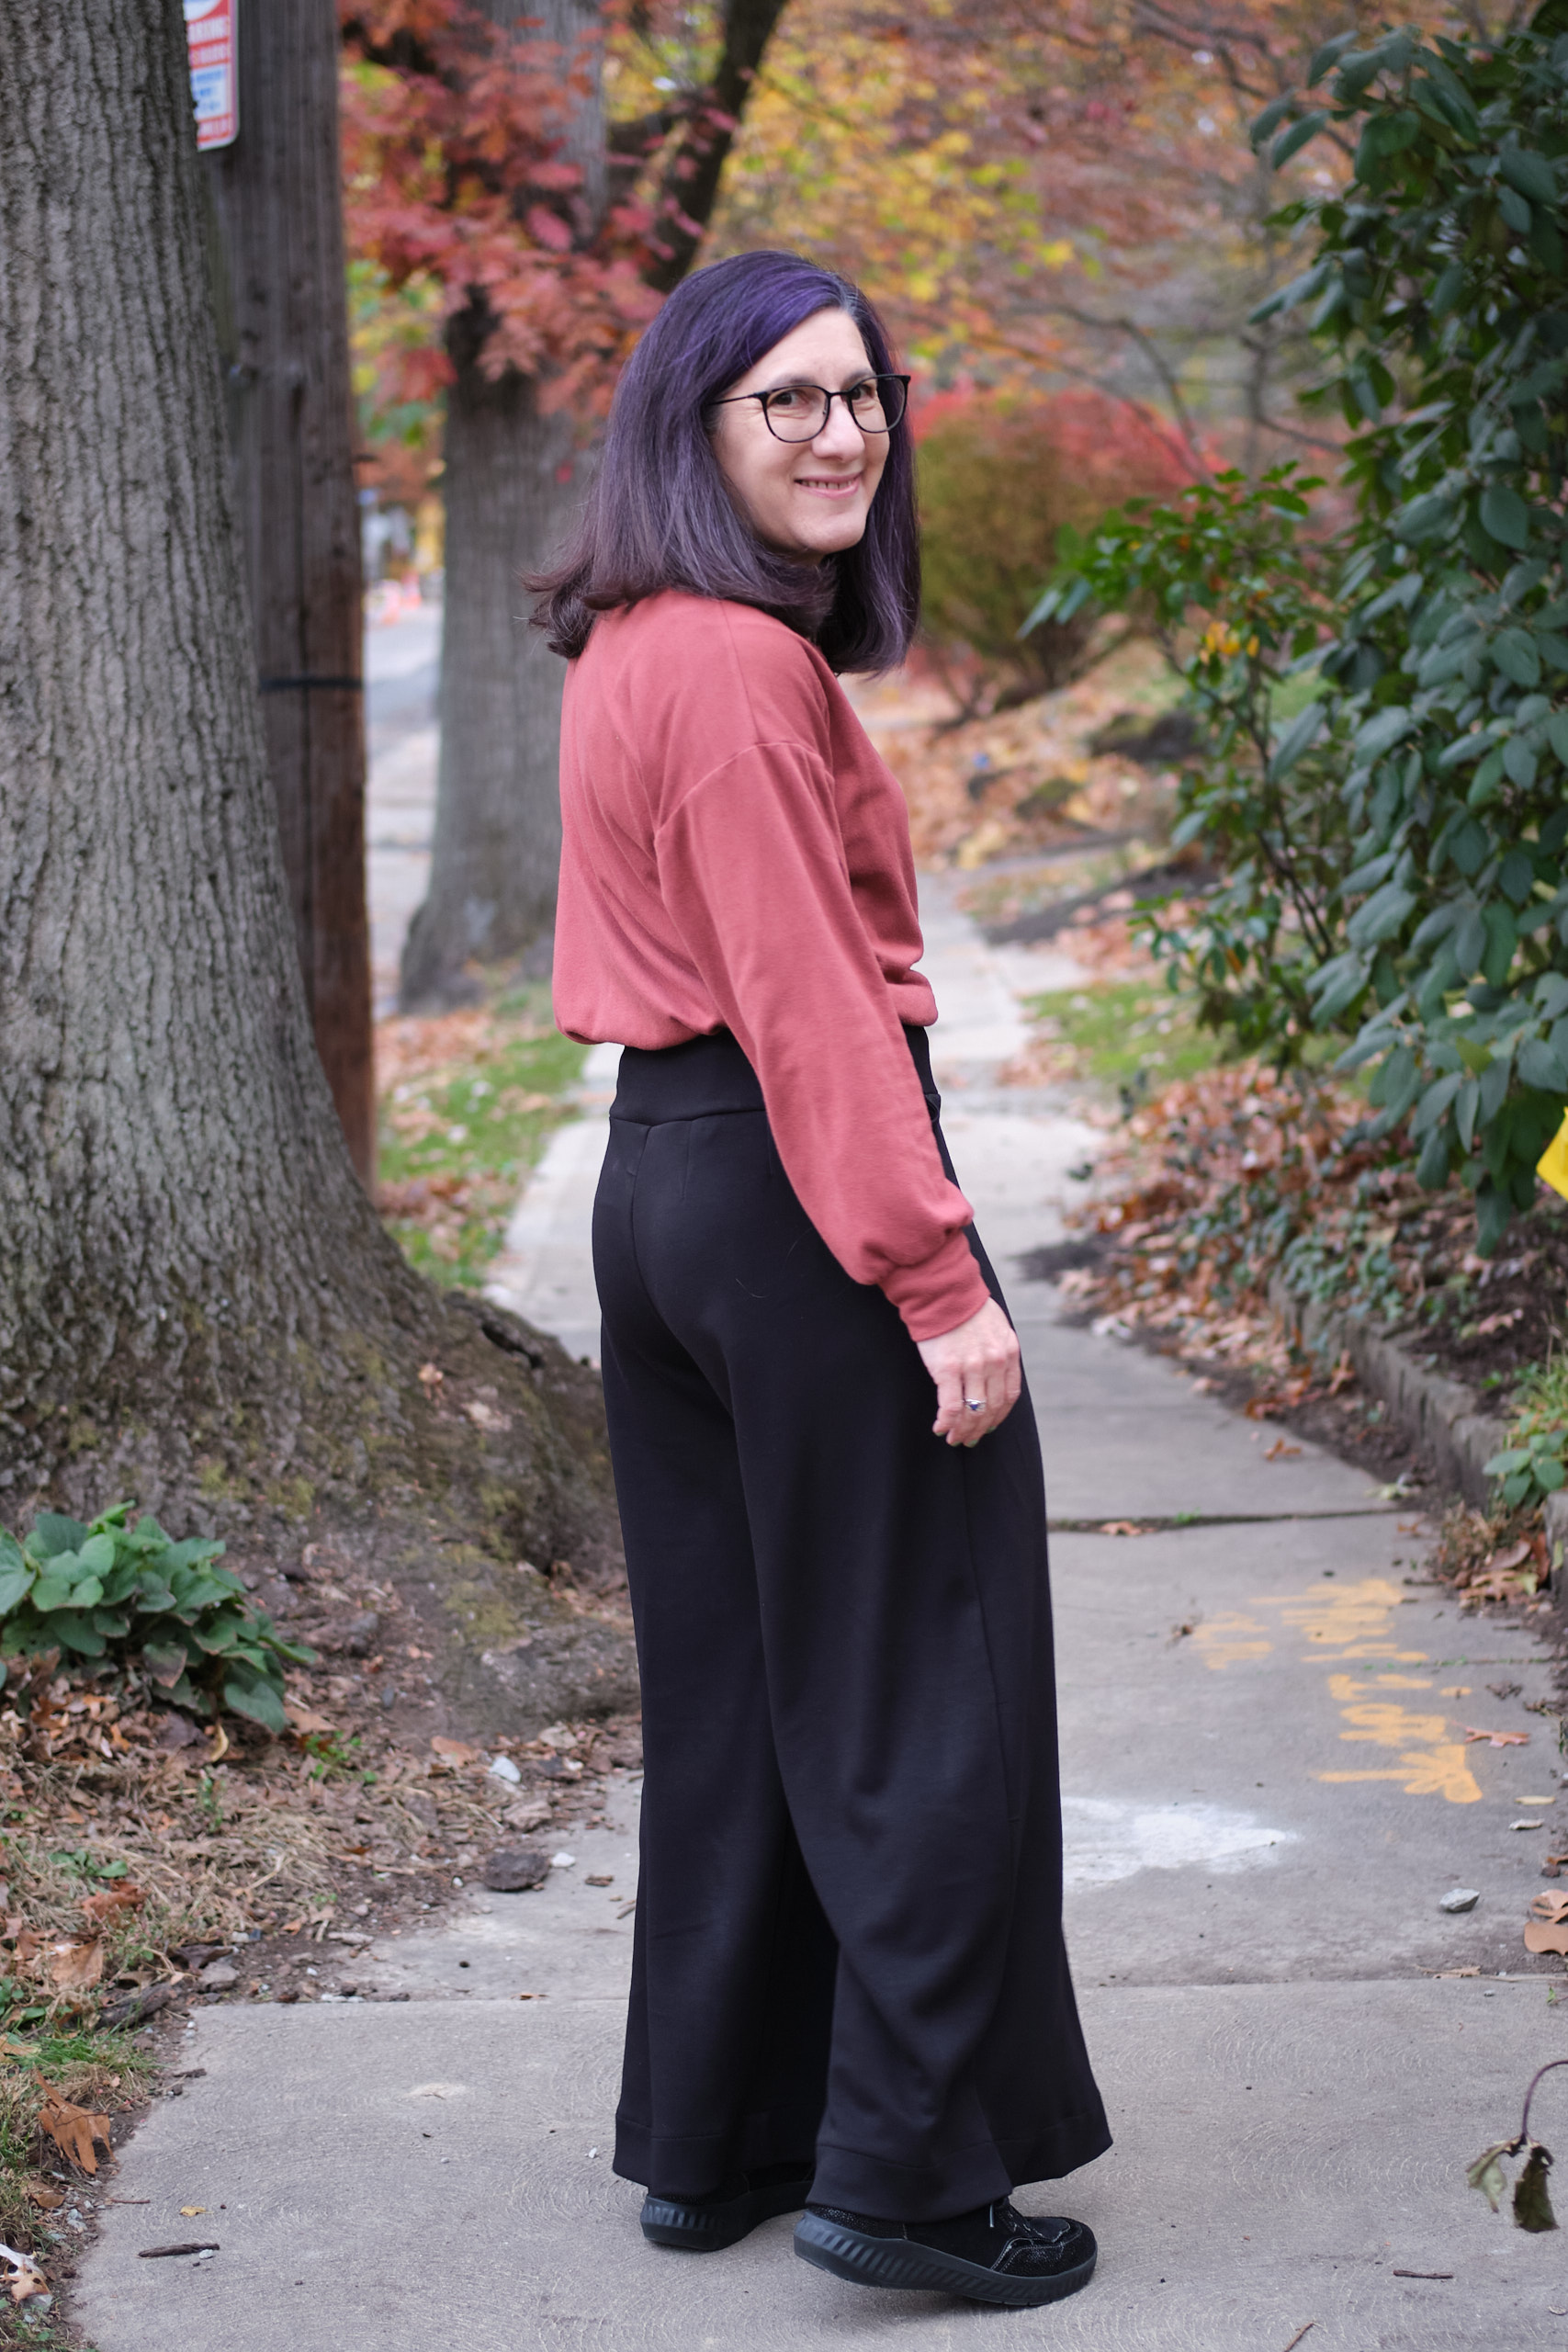
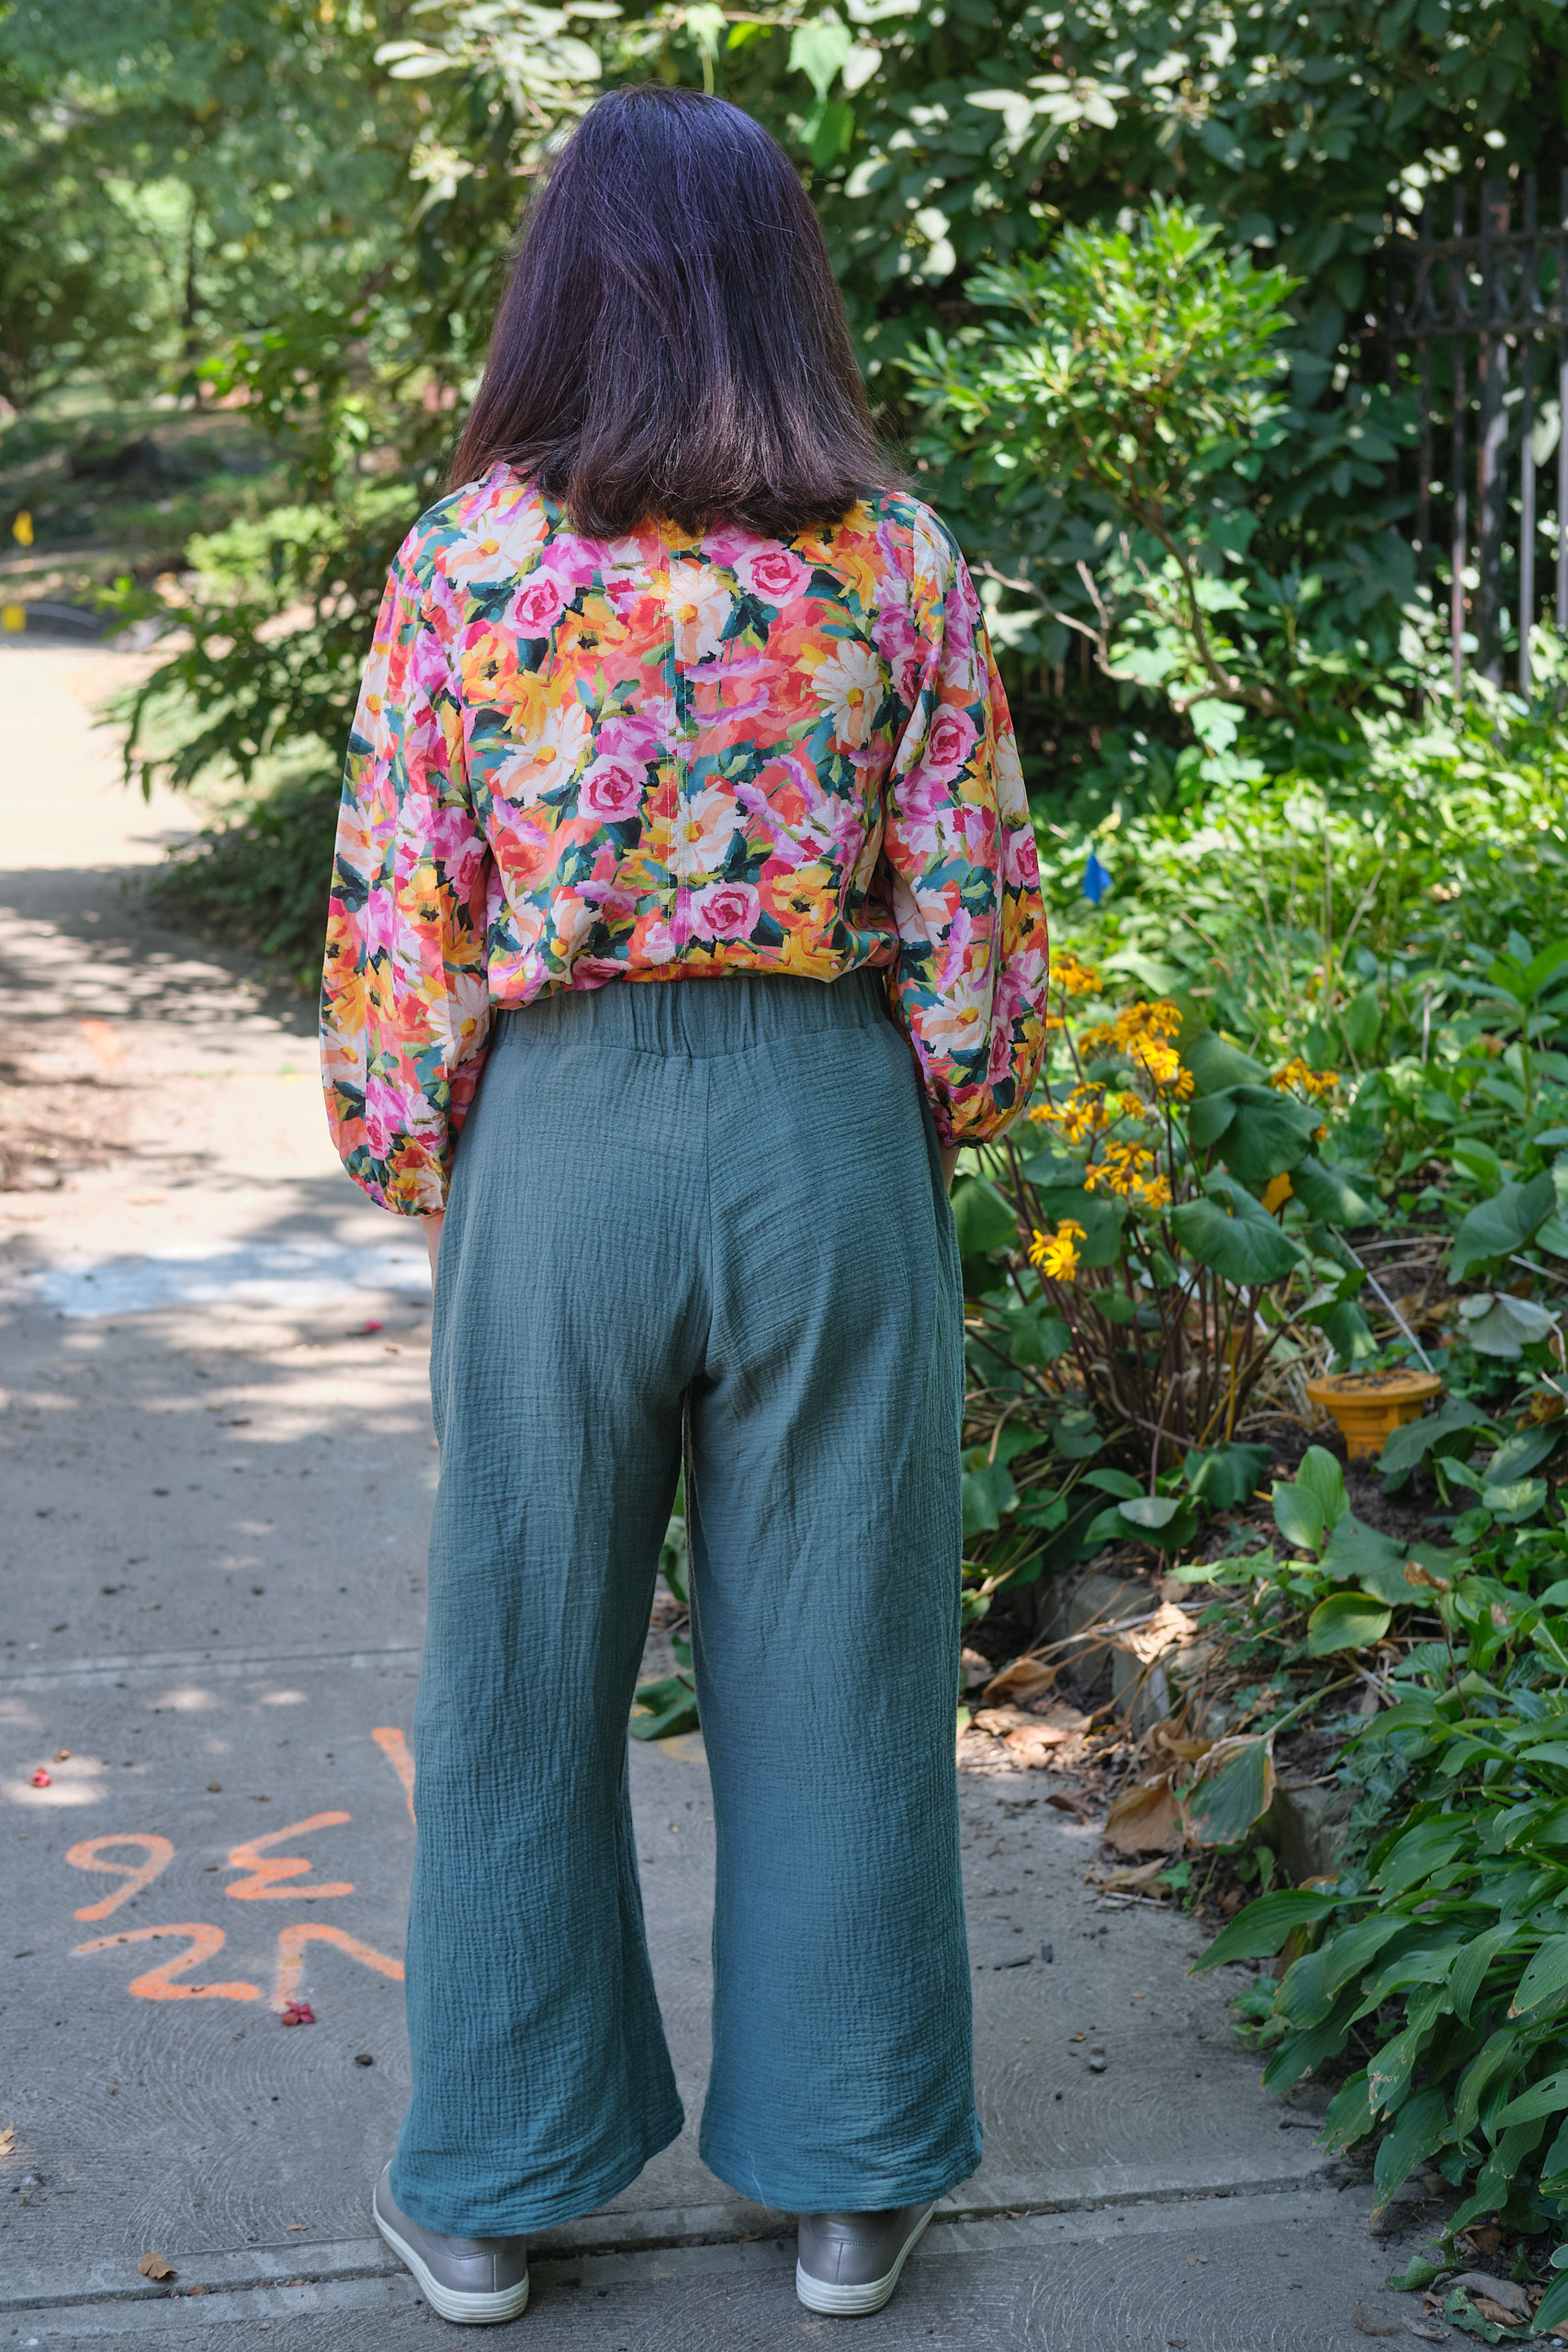
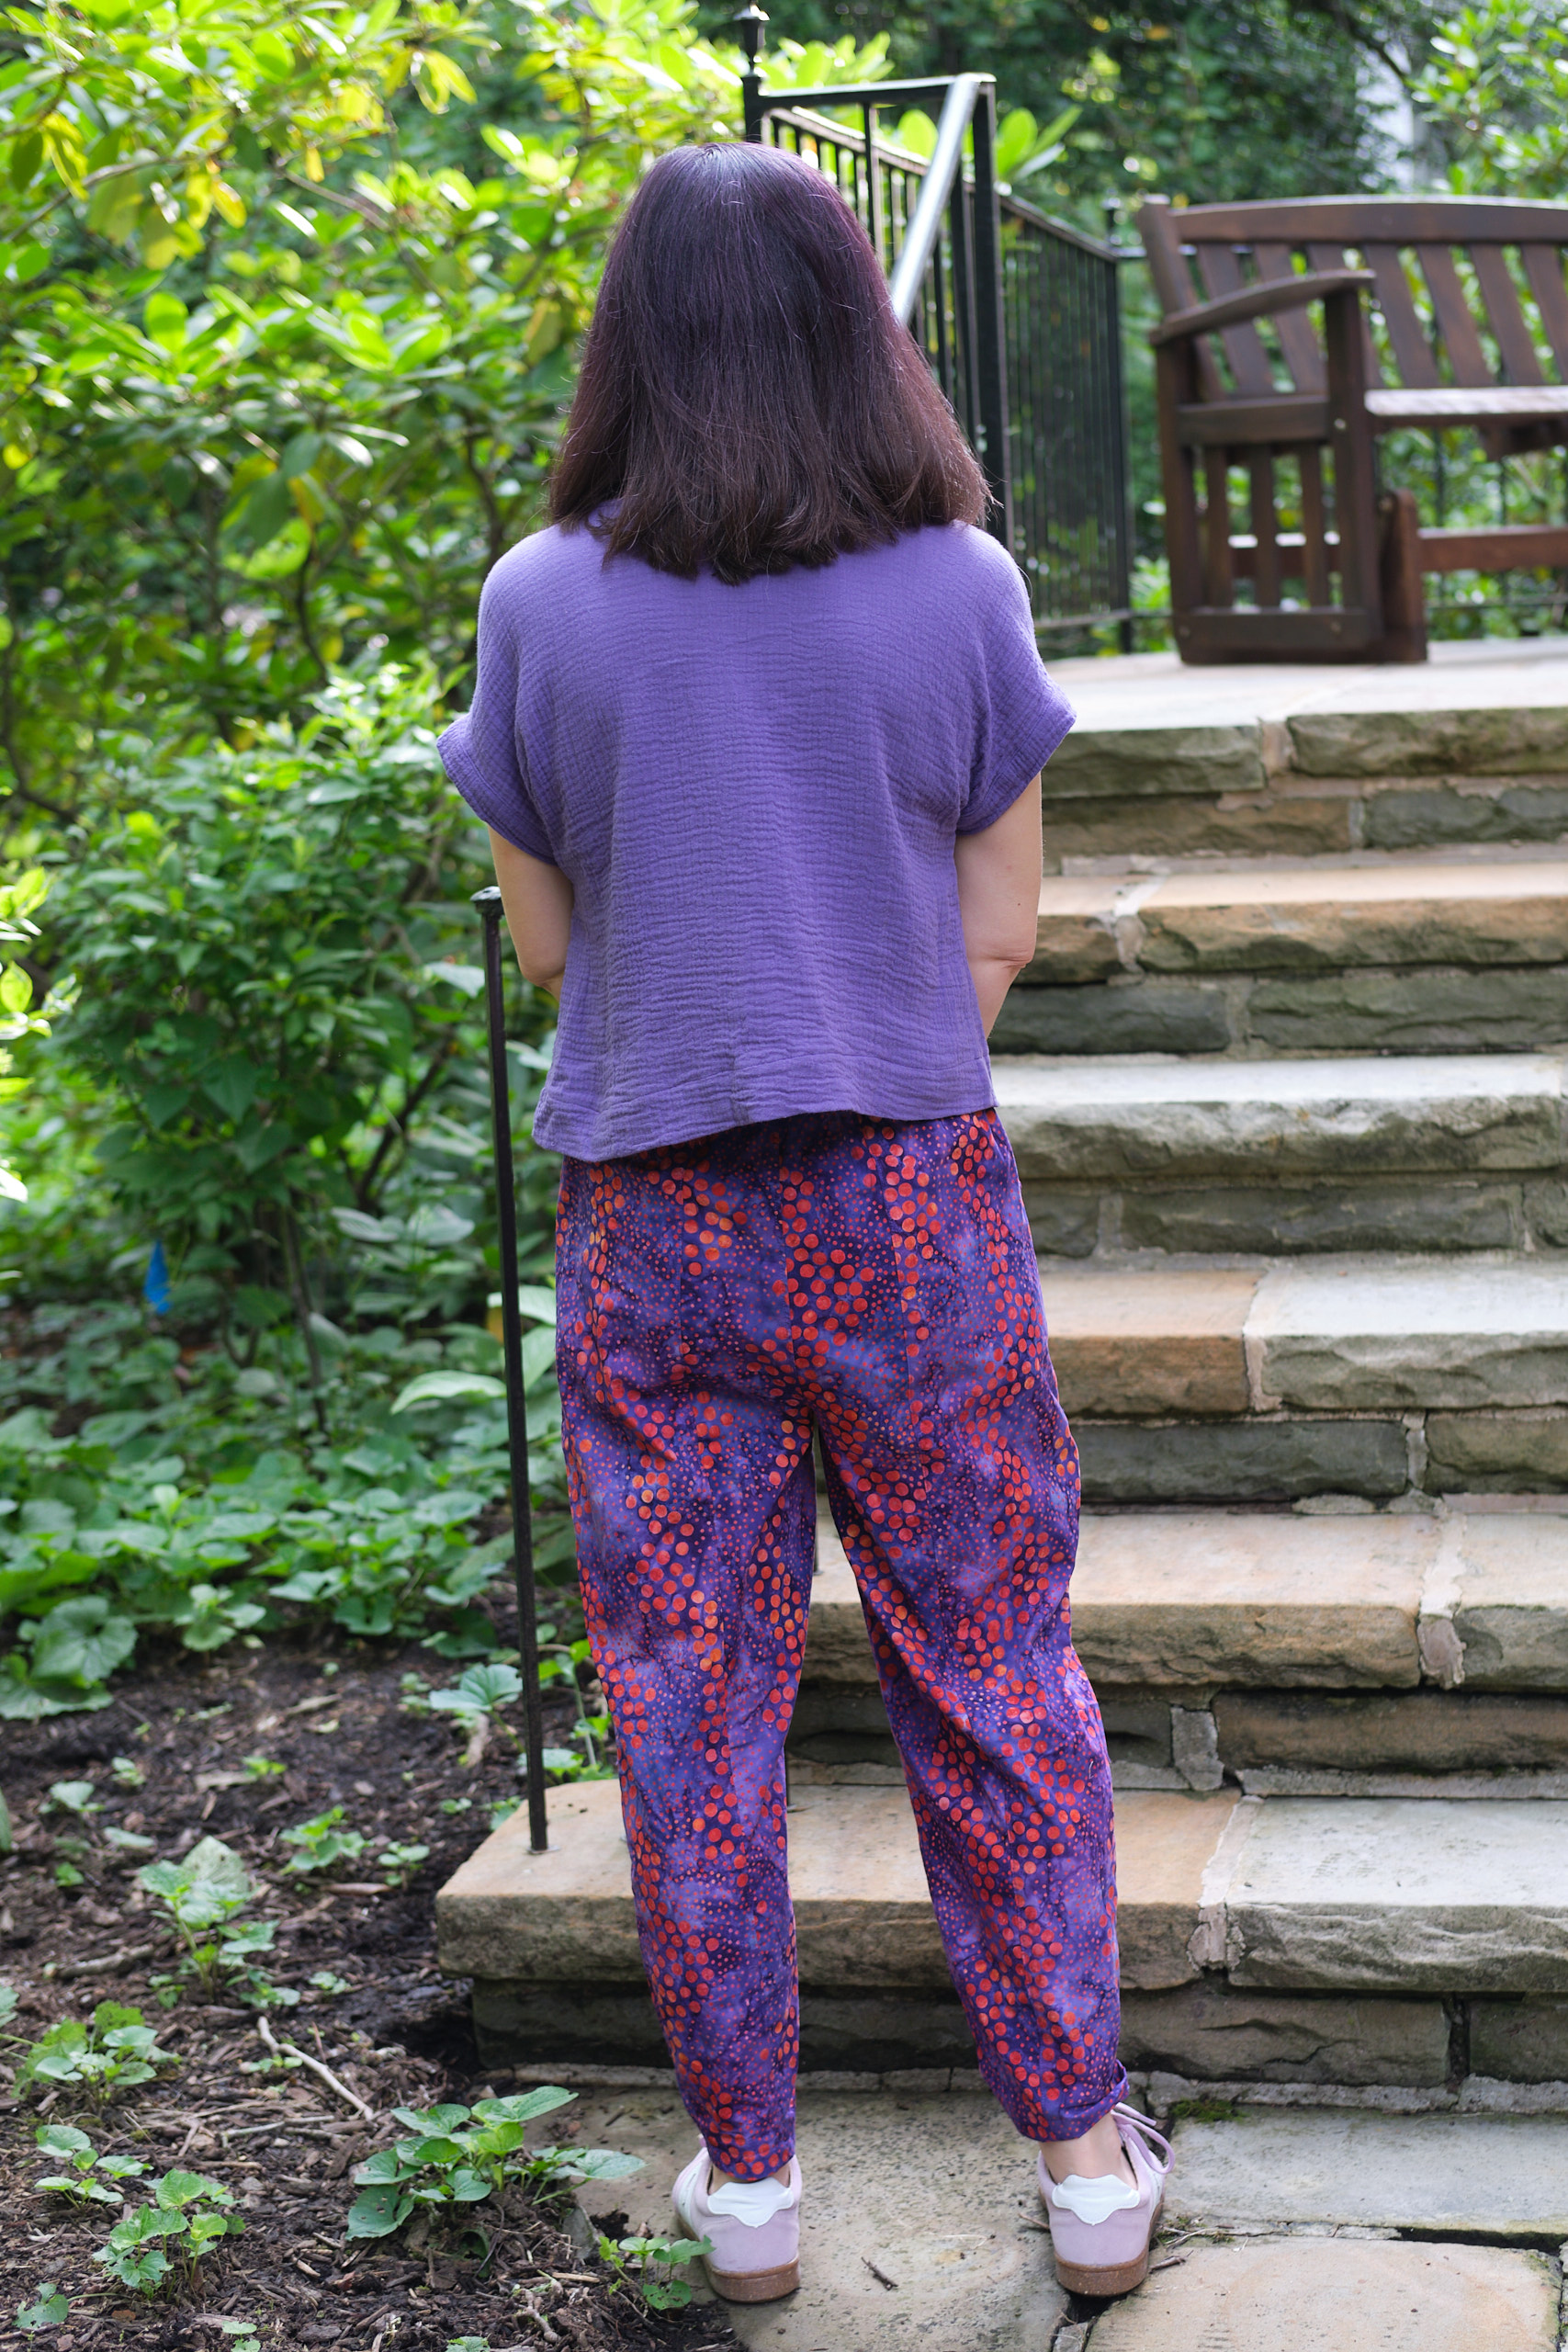
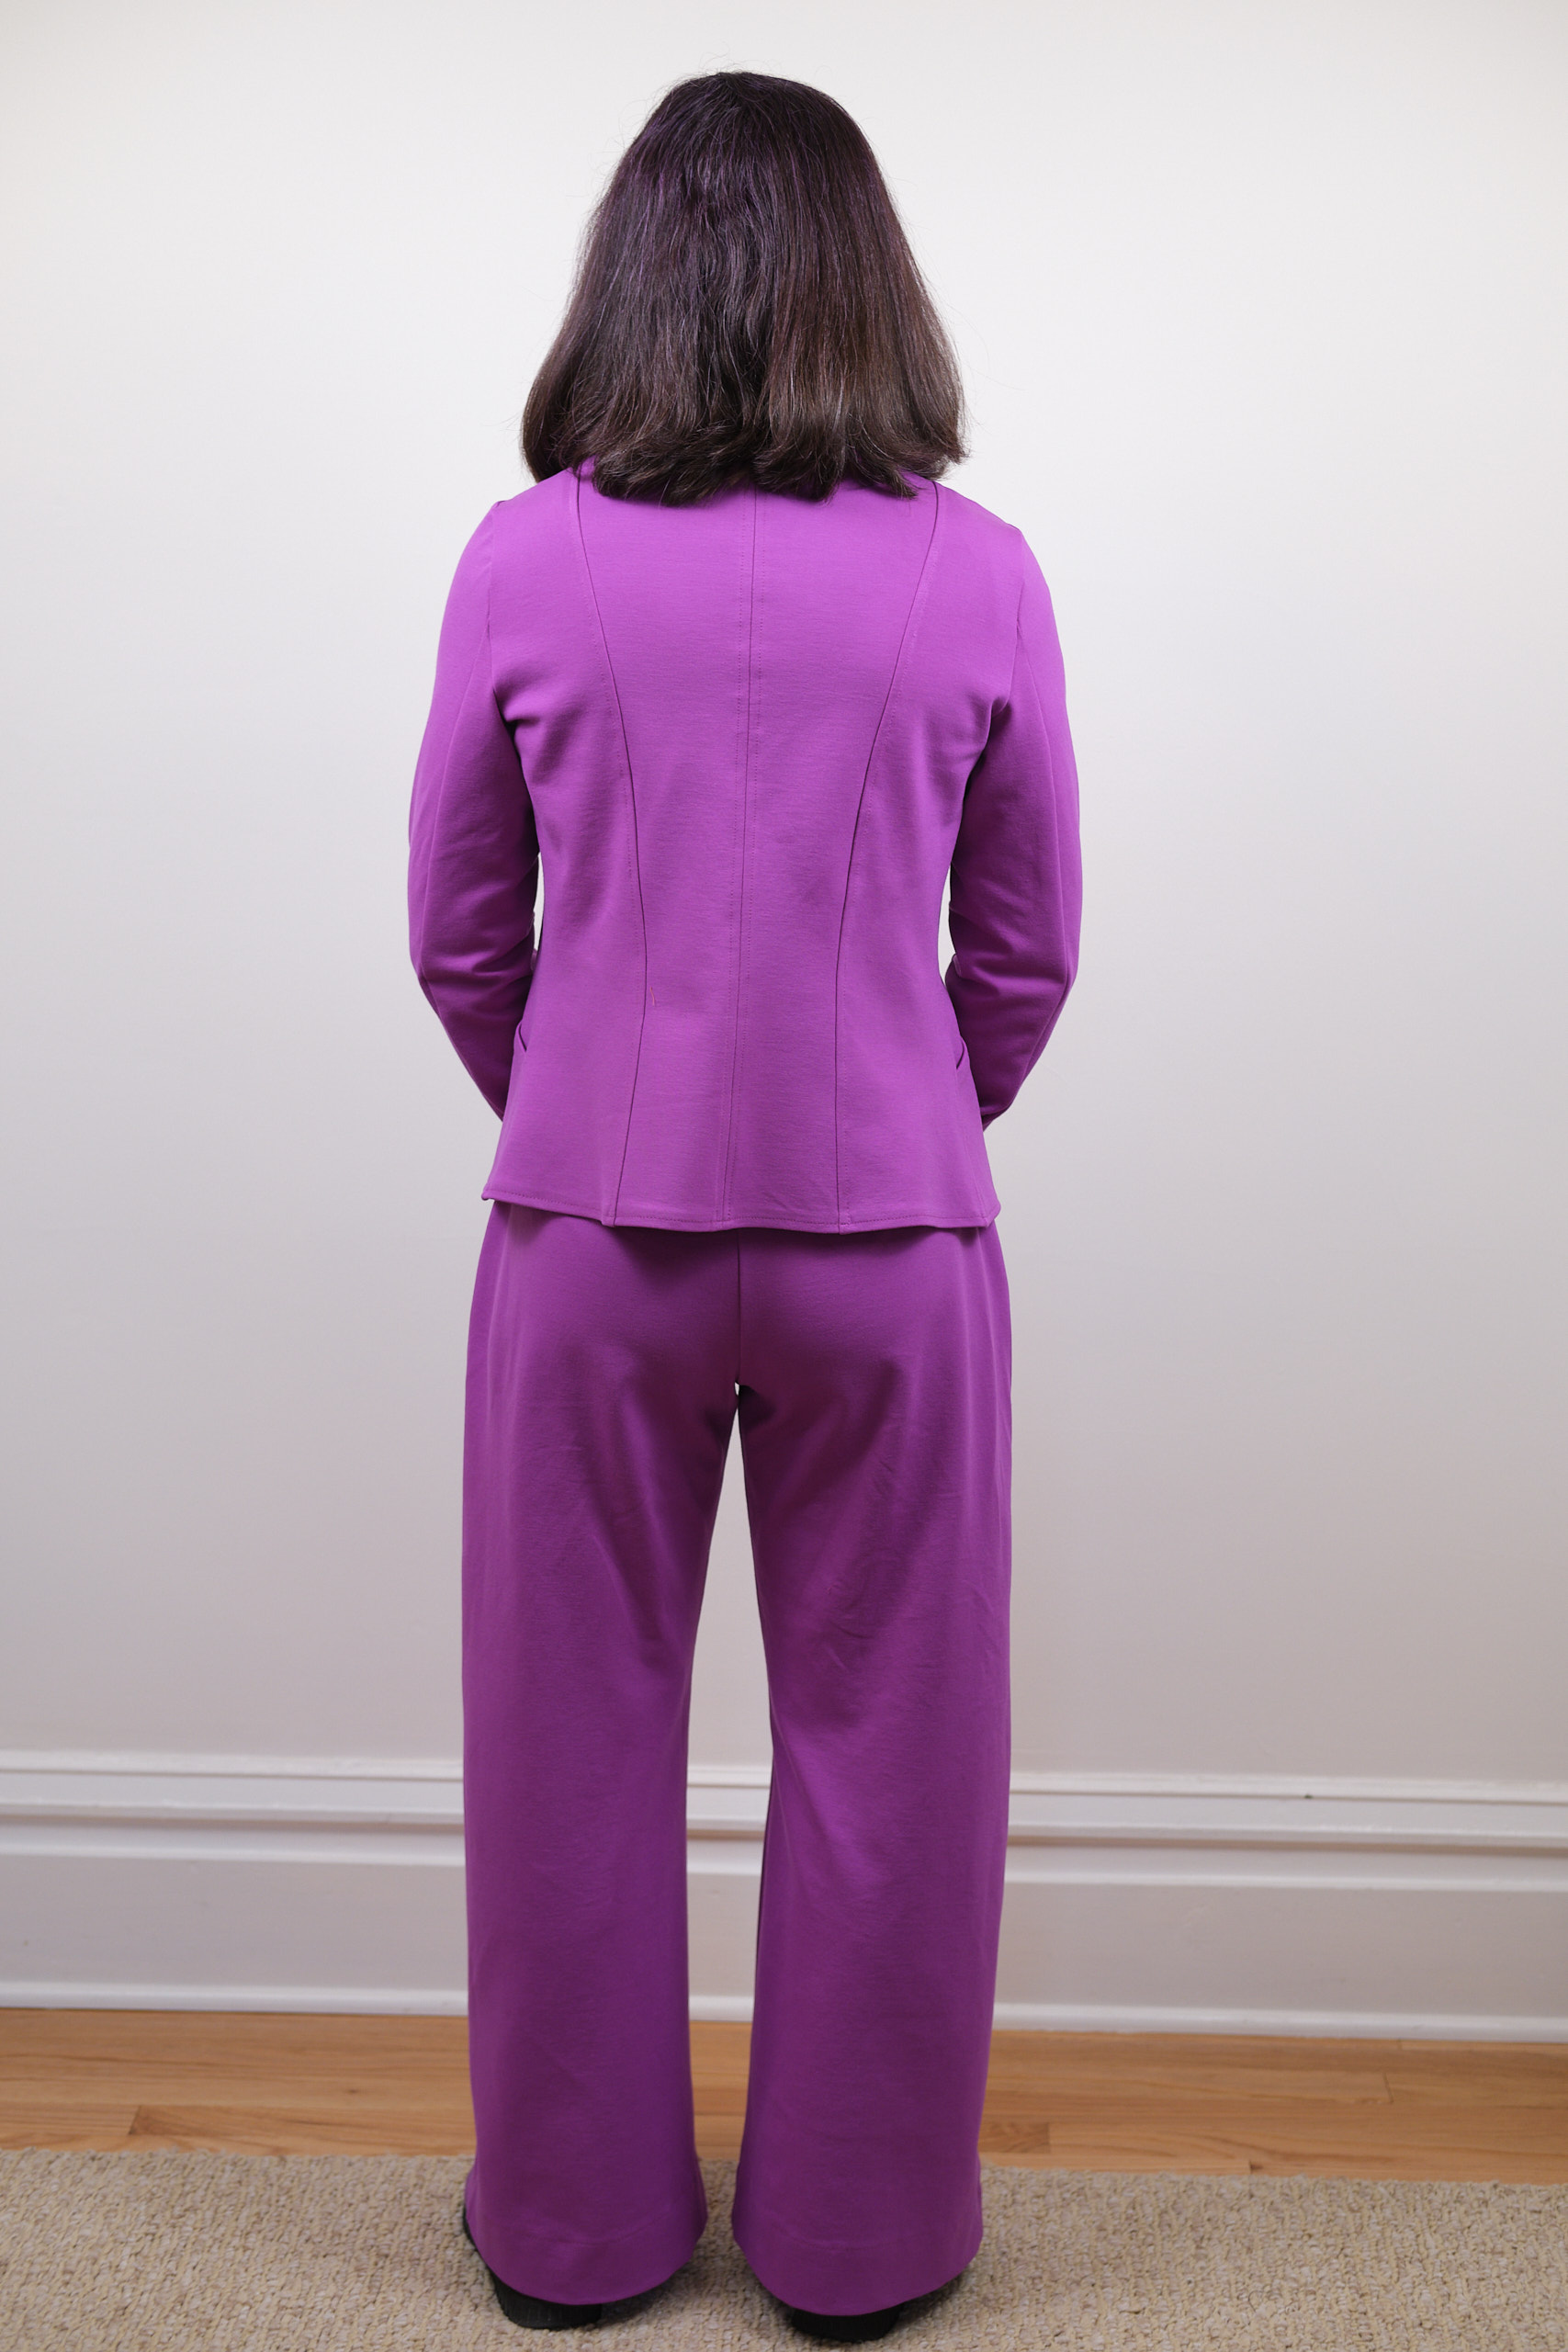
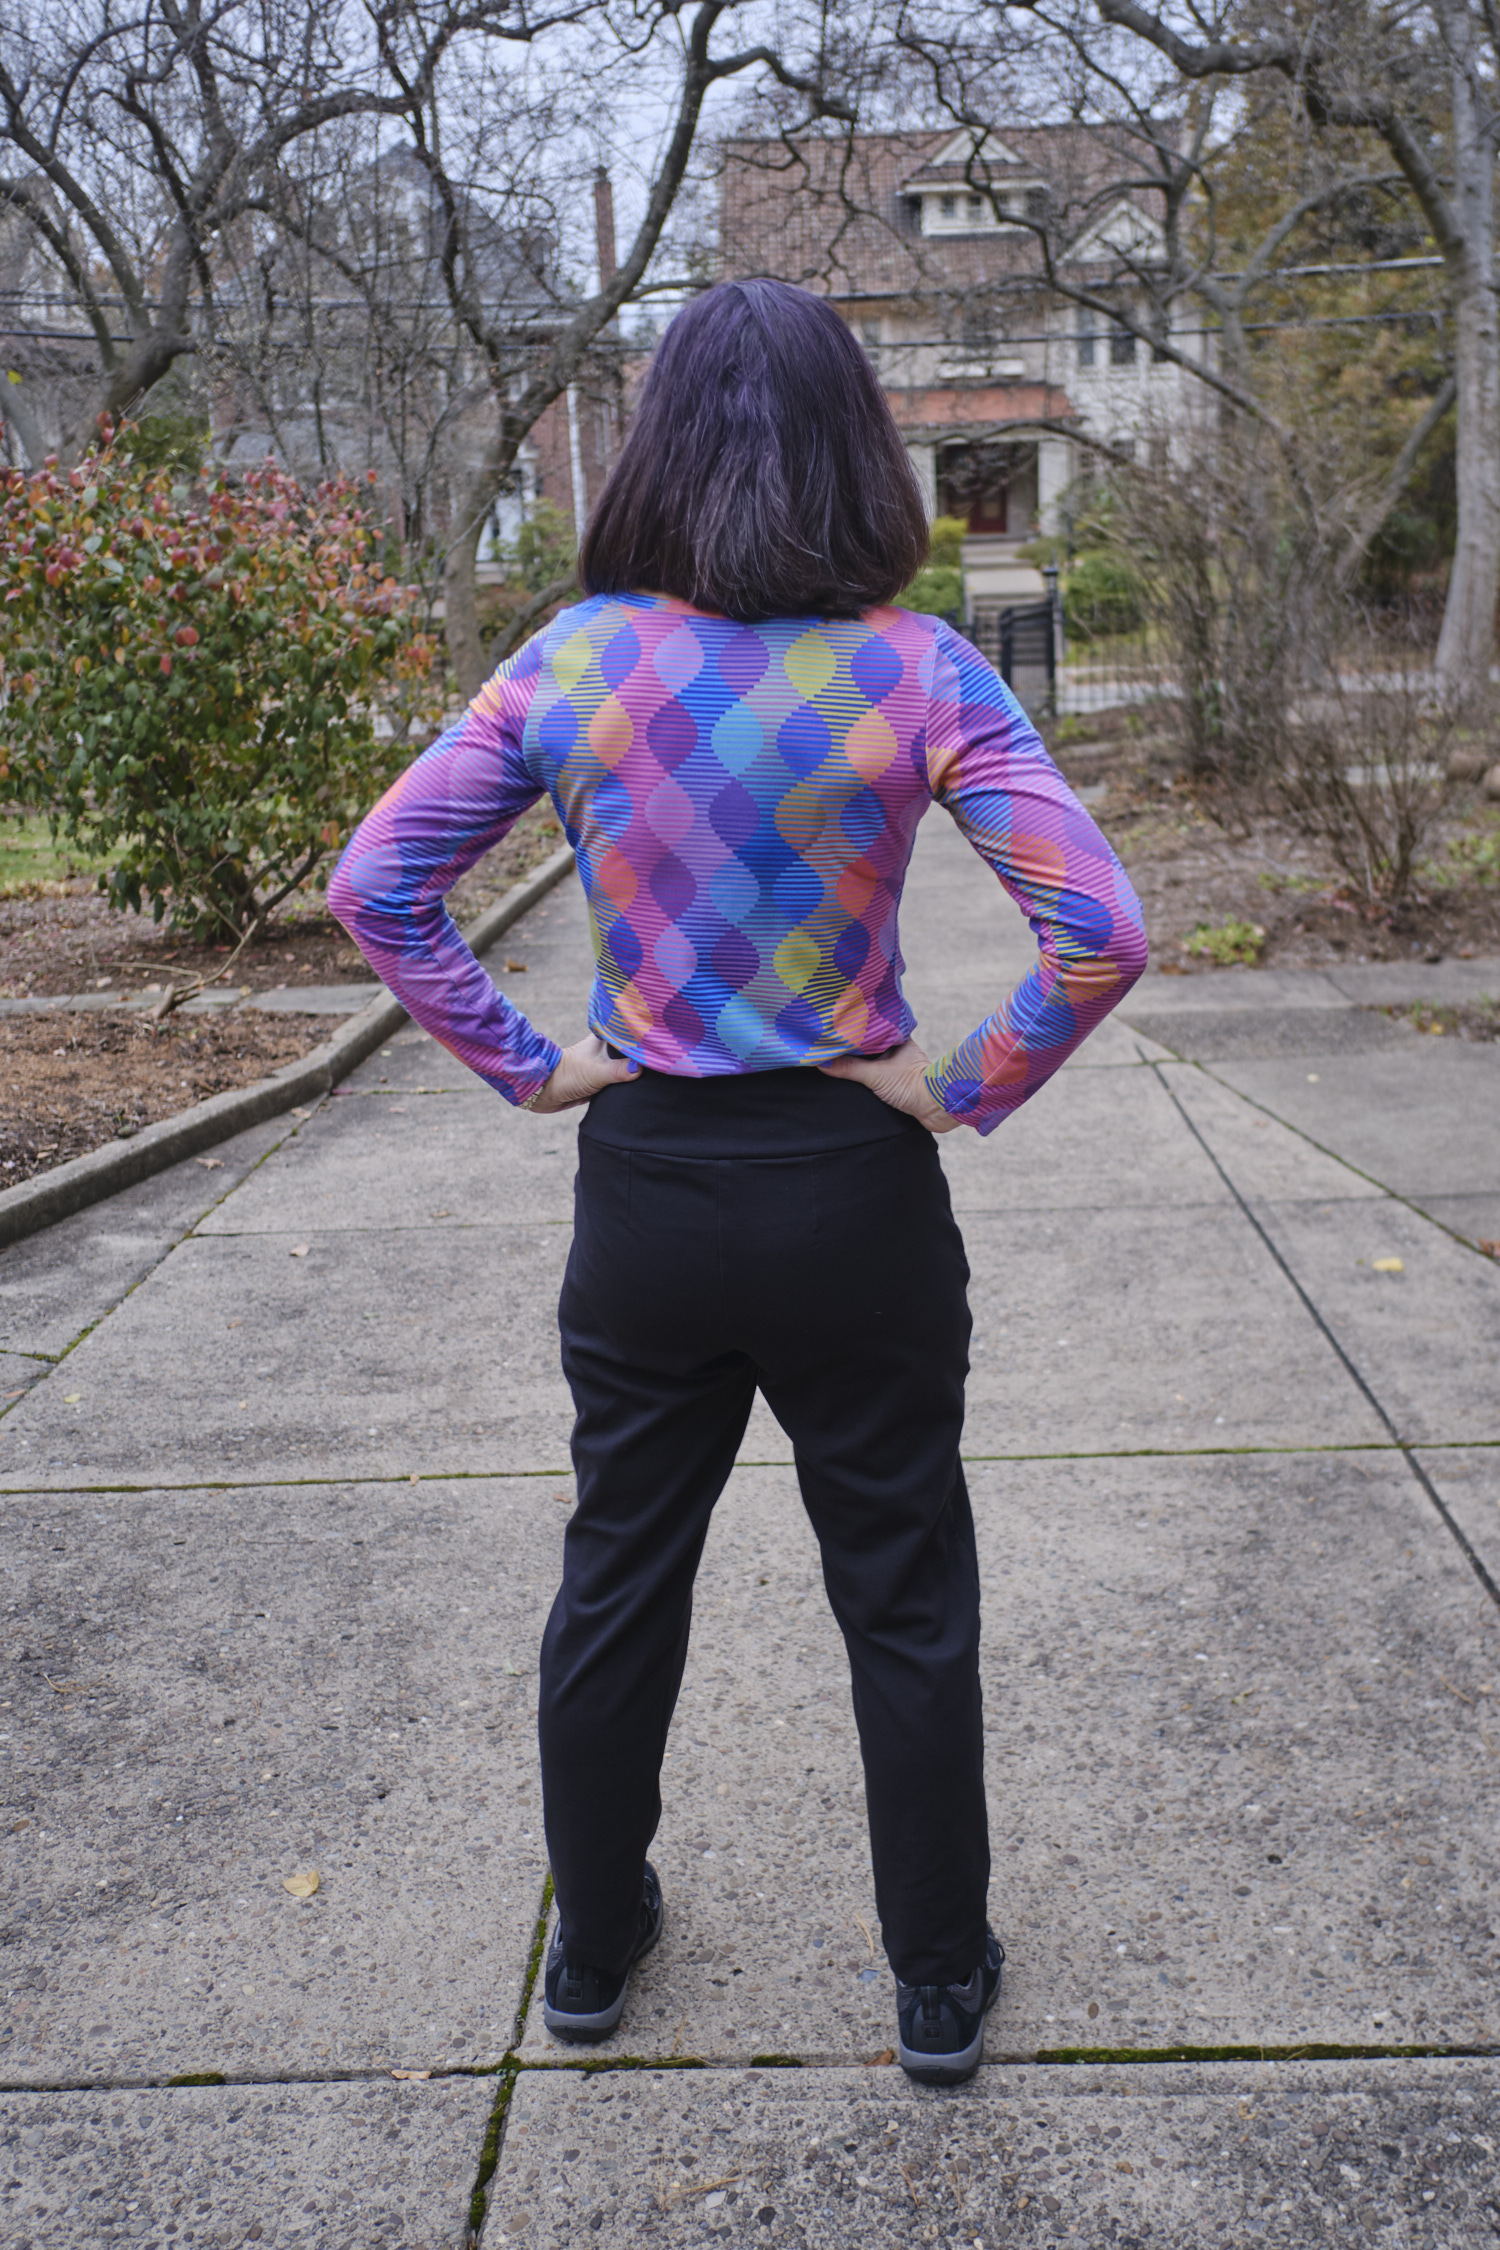
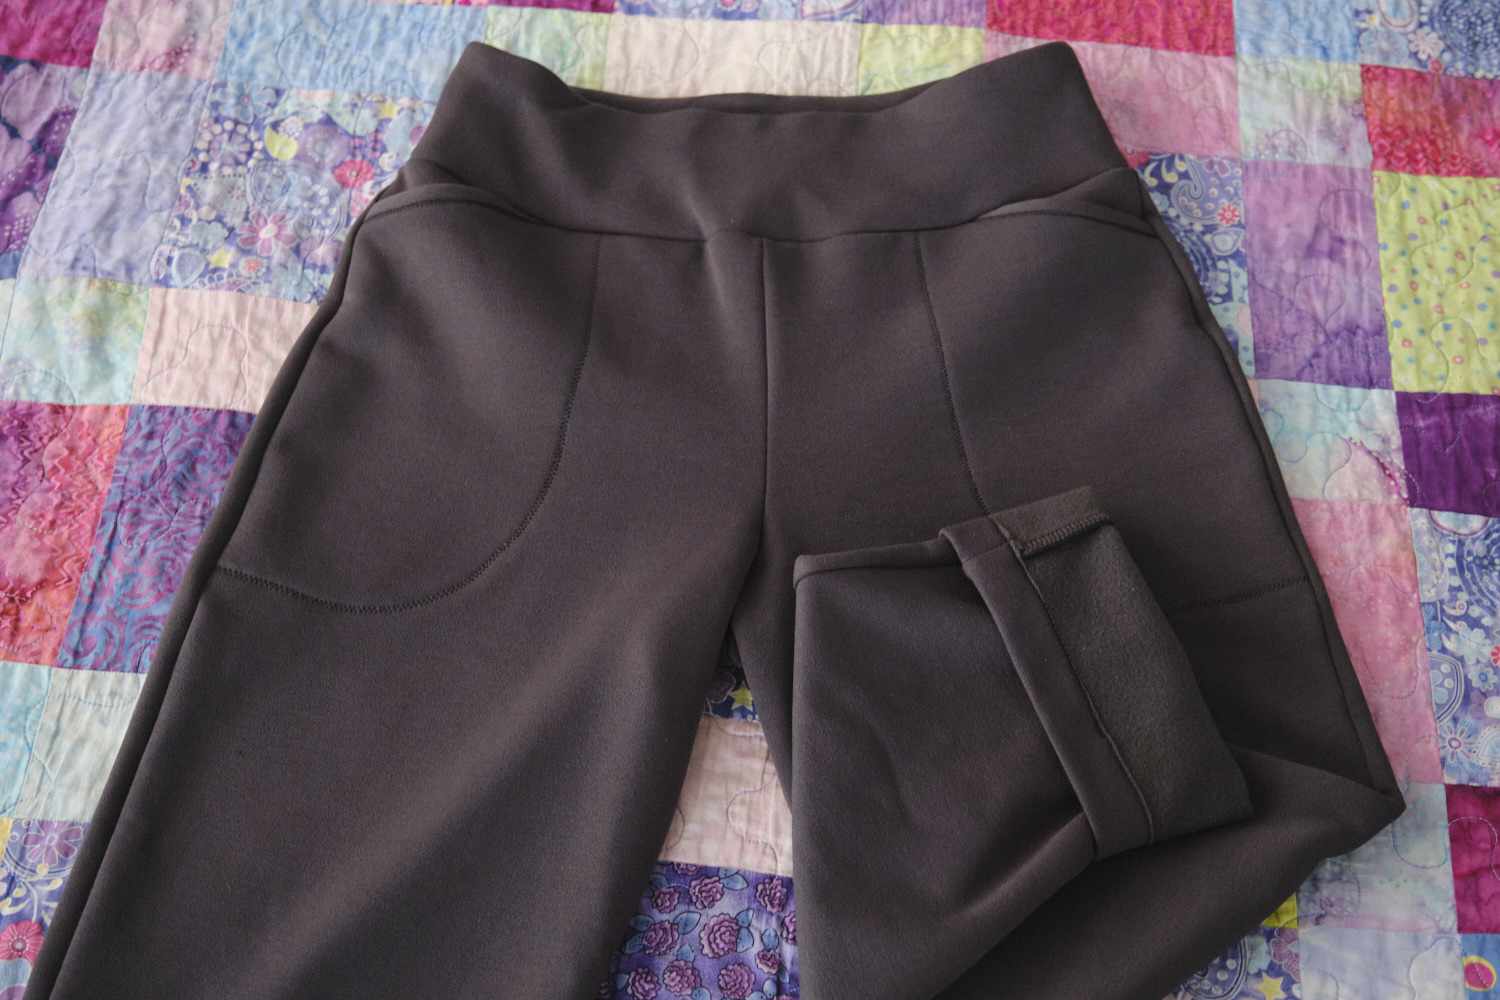
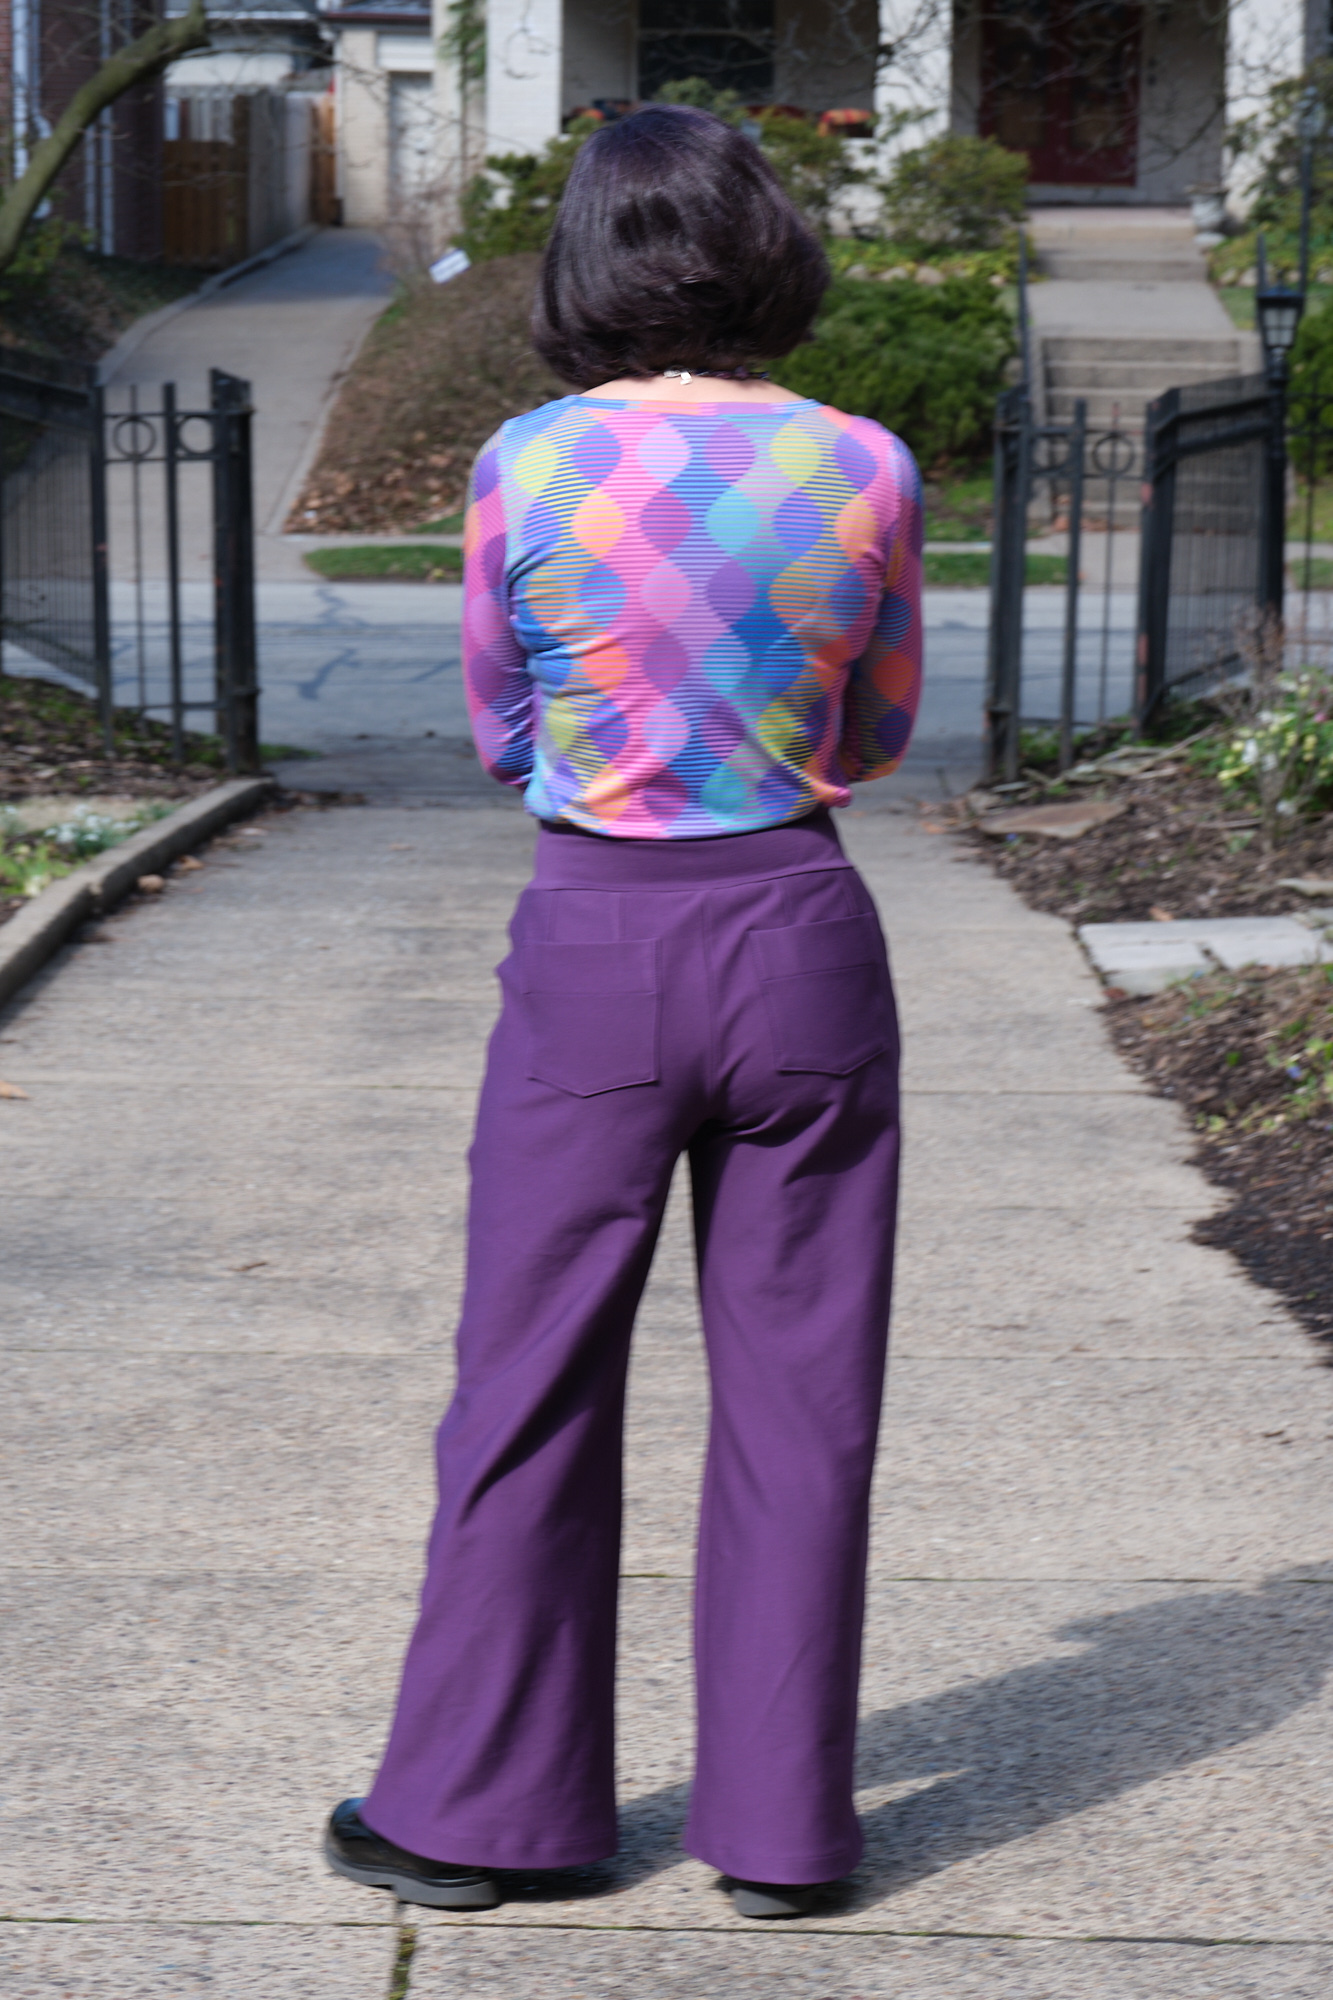
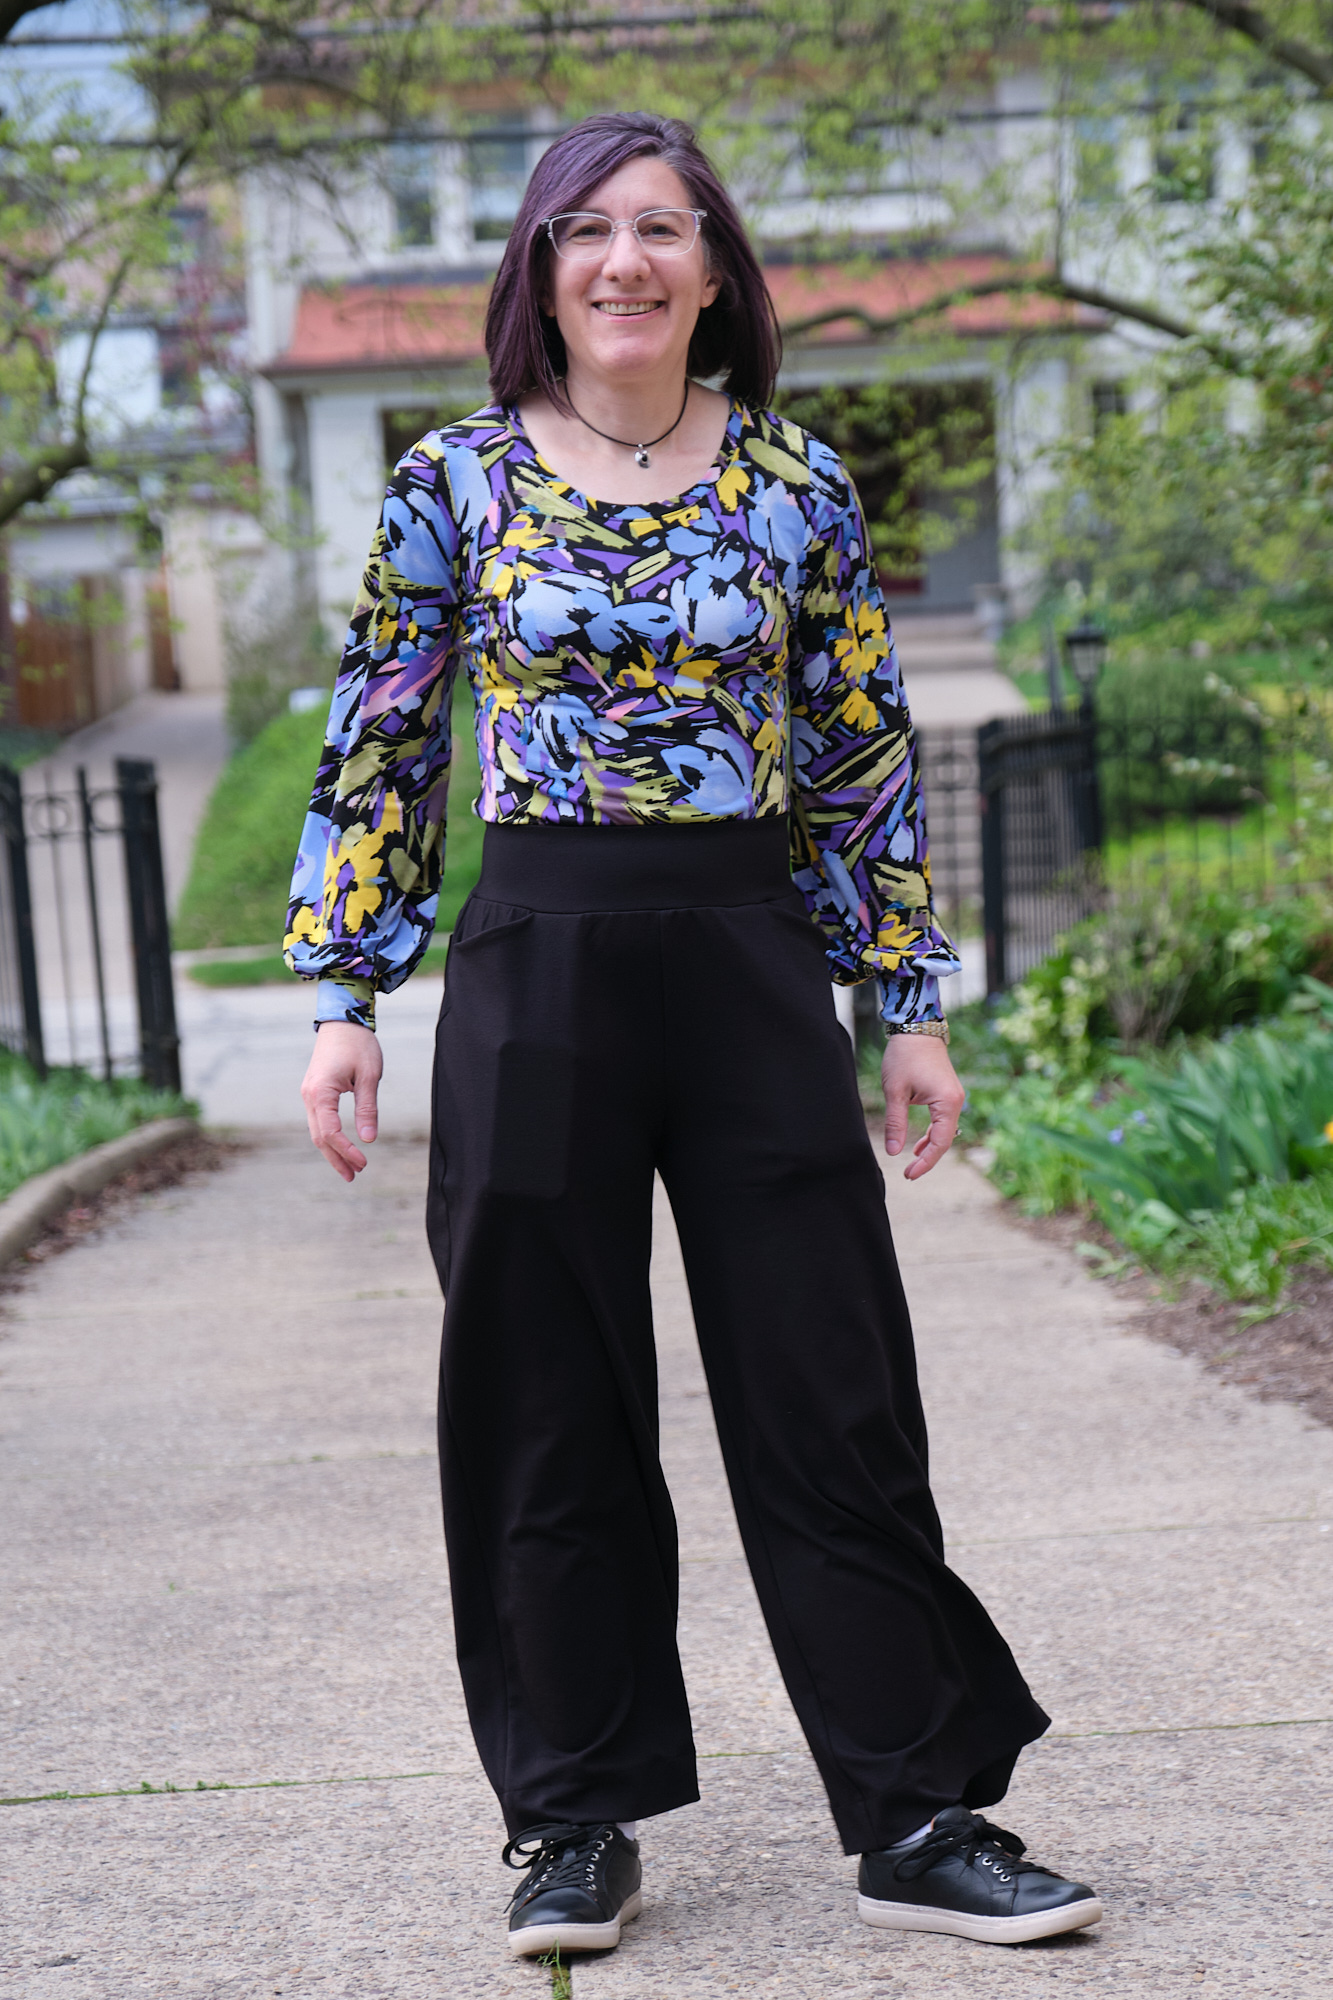
The Making Moves pattern offers lots of pocket options, and I decided to exercise all of them! I made a slight modification to the front pockets to prevent my phone from falling out of my pocket: I raised the bottom of the pocket opening by about an inch and a half (basically, I followed the line of the high-rise pocket opening). I also made the back pockets and side pockets, following the pattern instructions. And I used the back-leg-seam option and added all the optional top-stitching.
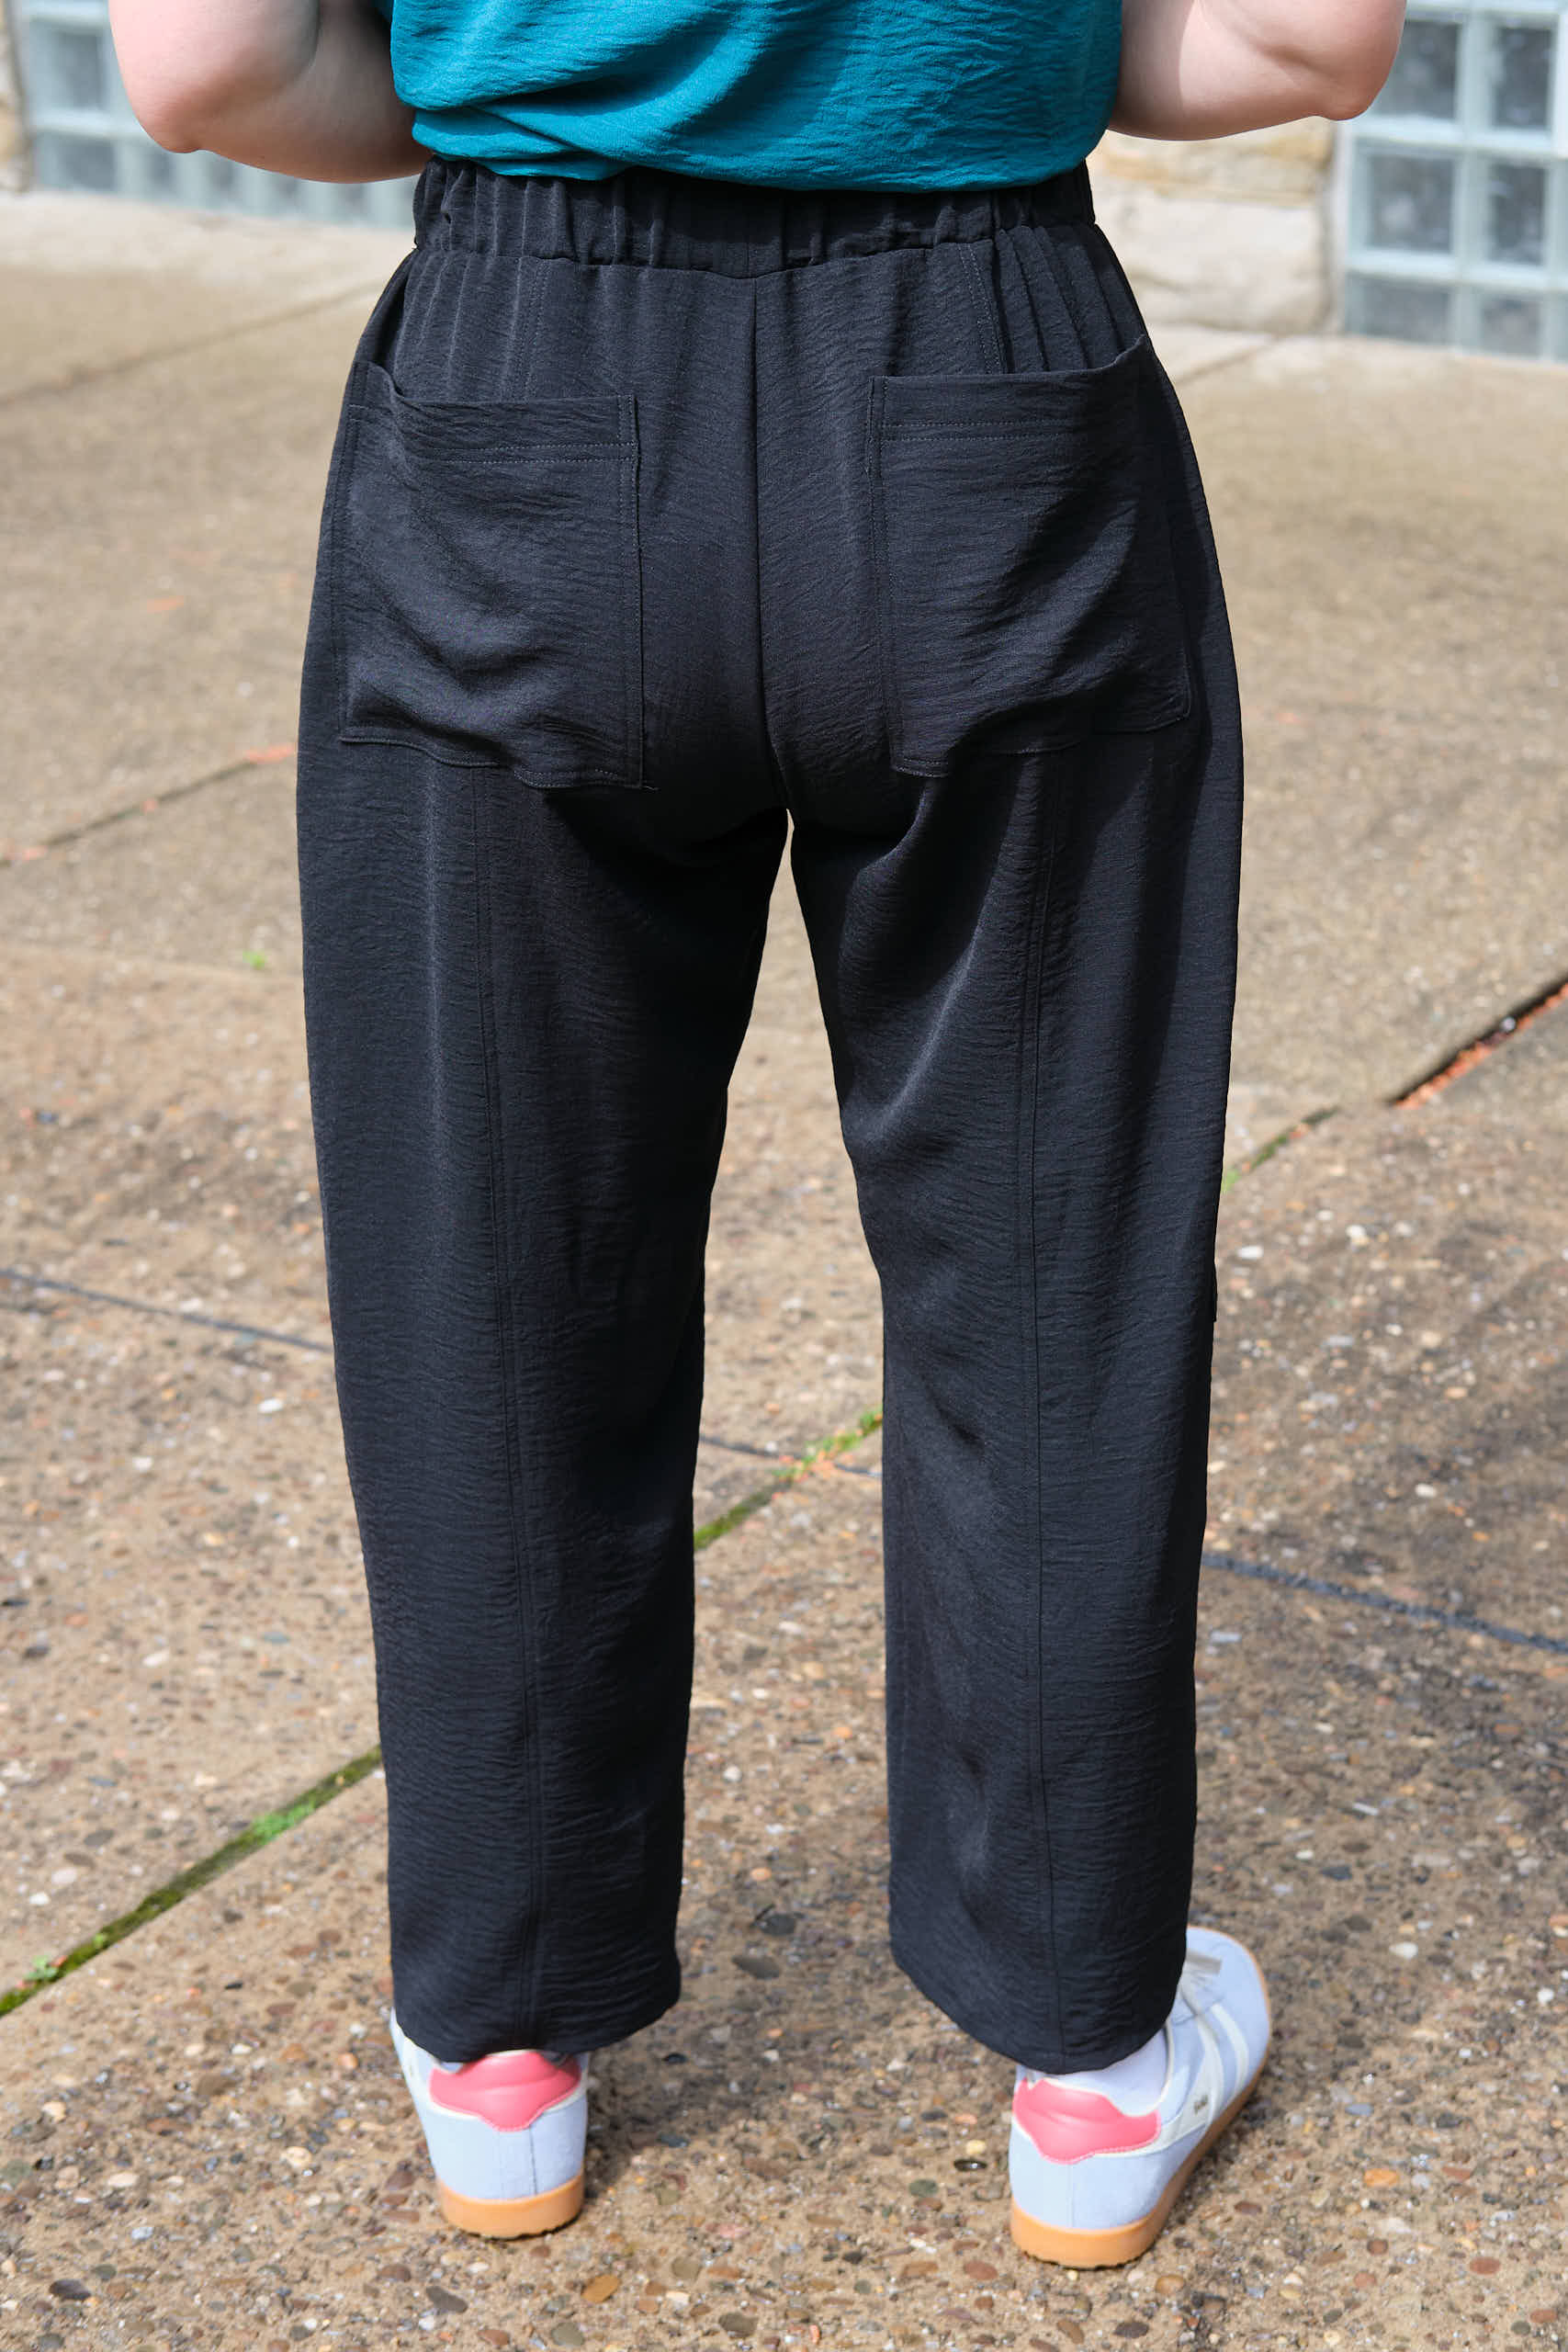
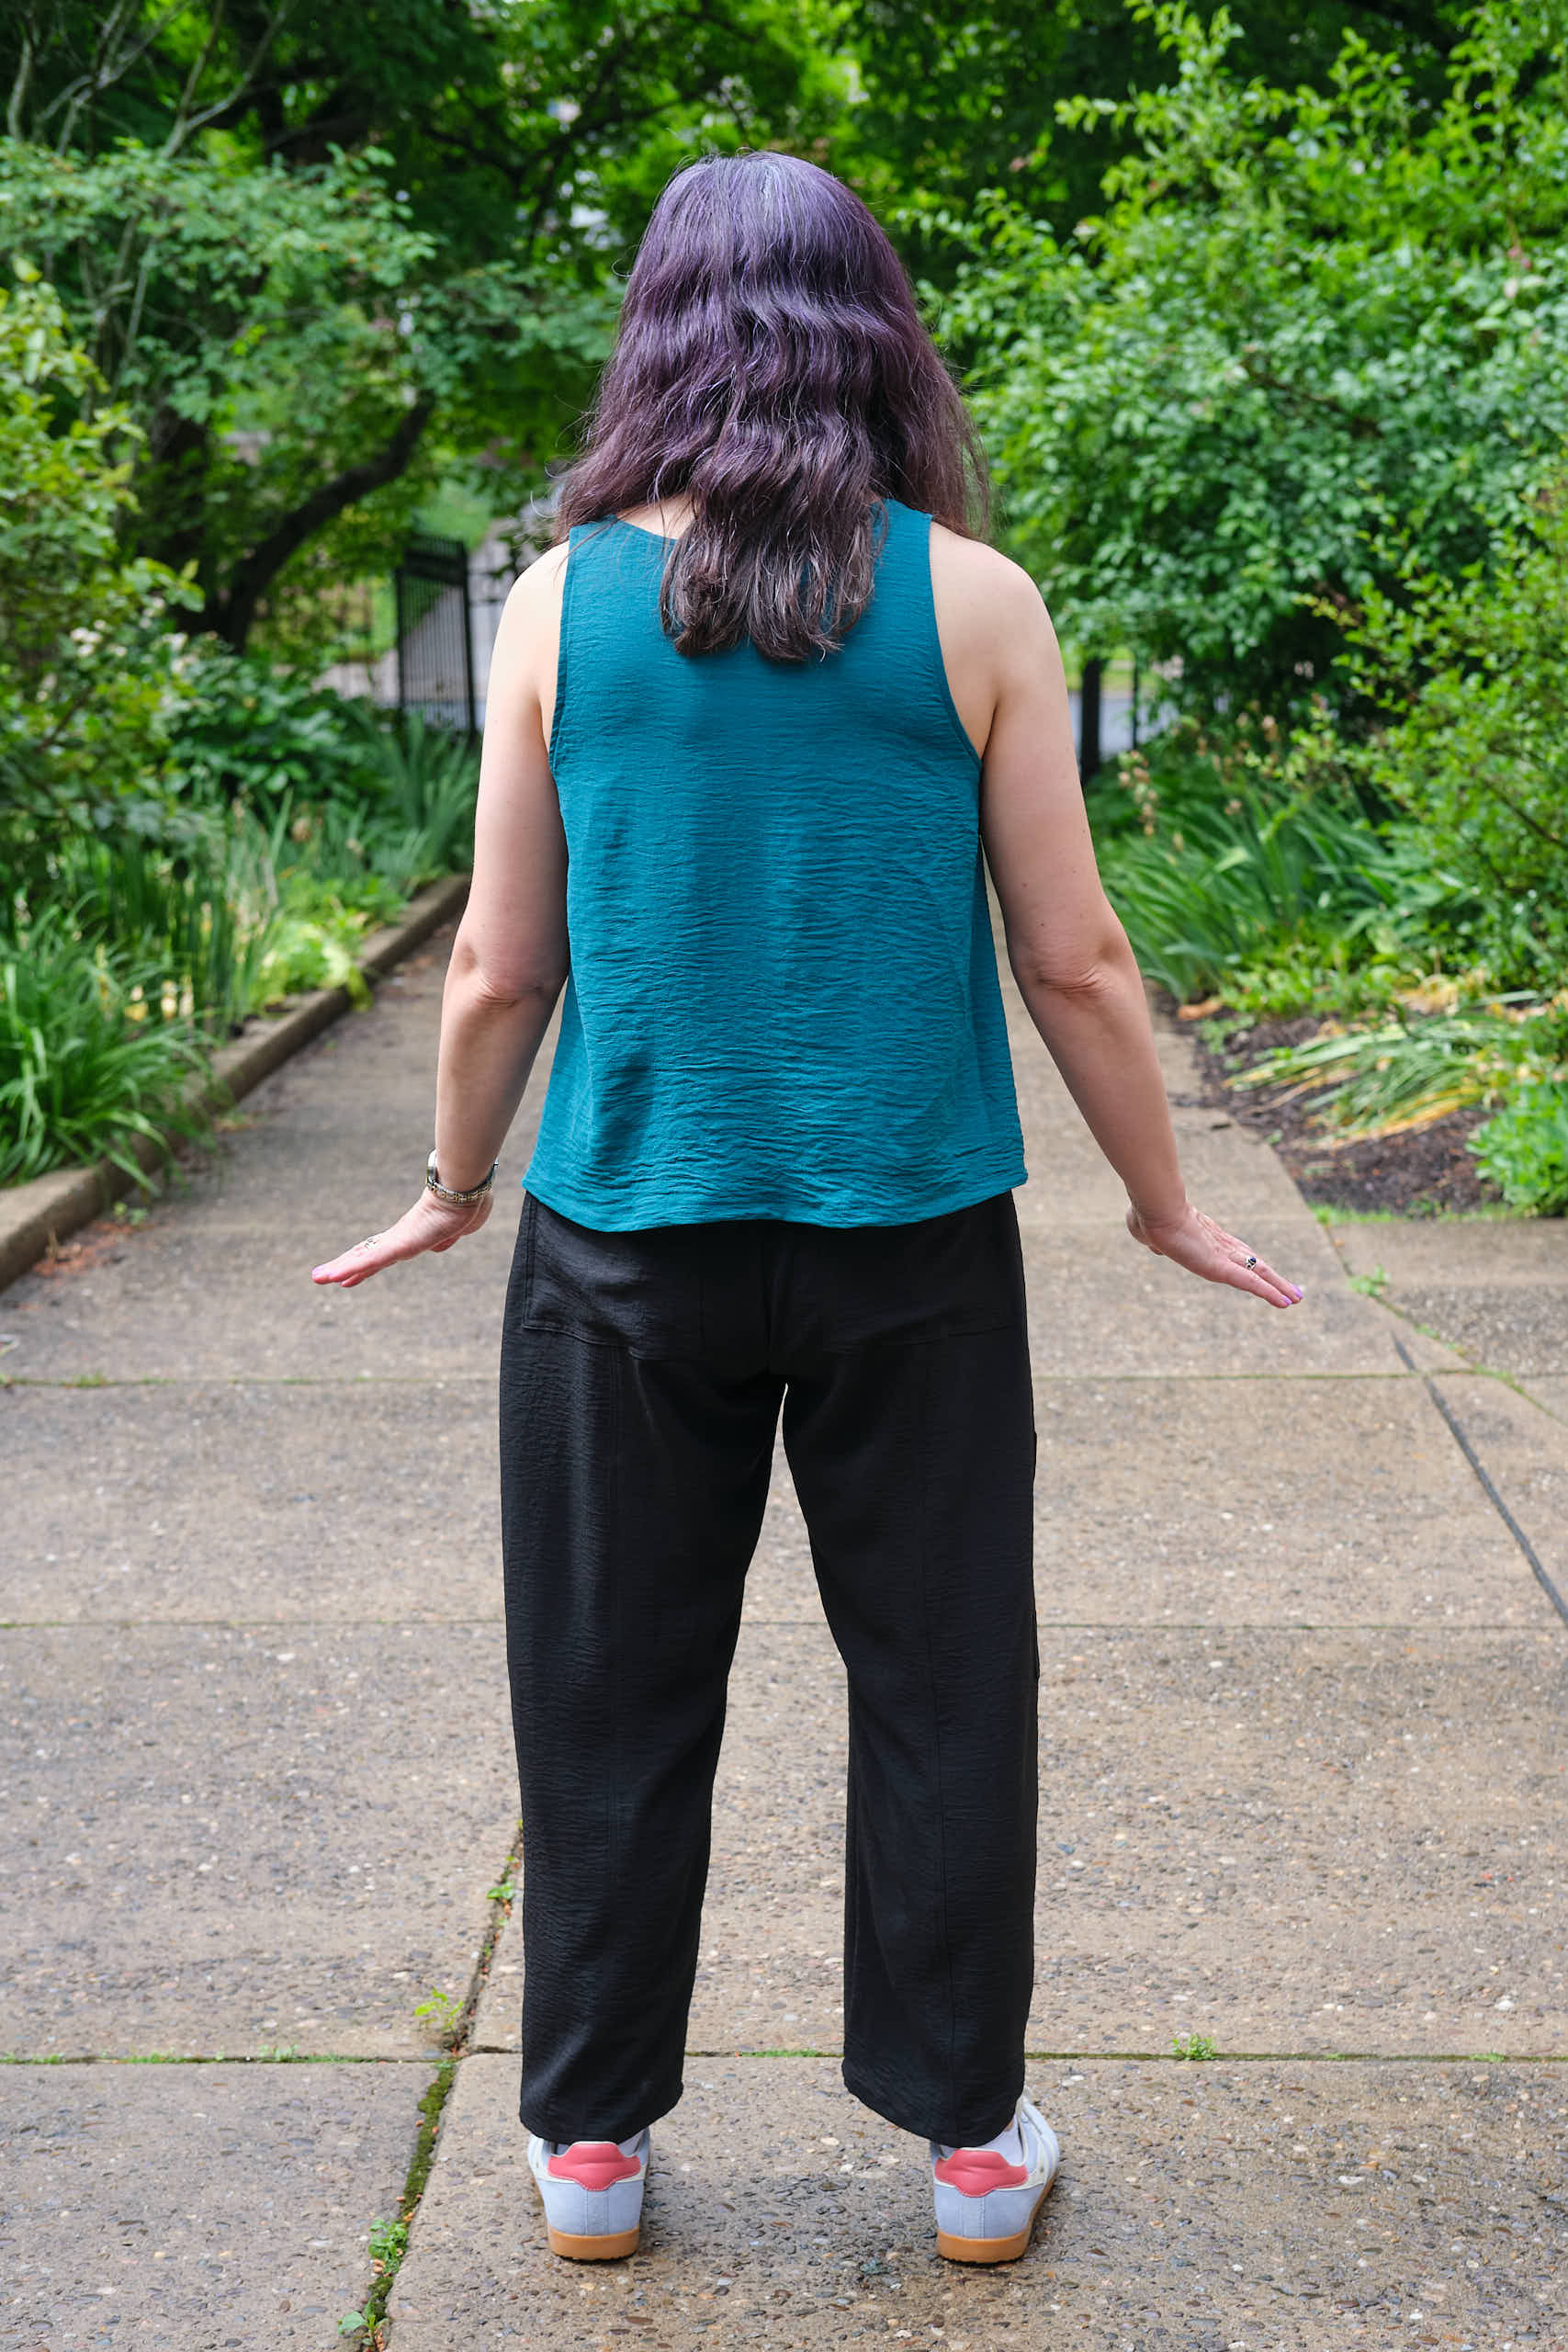
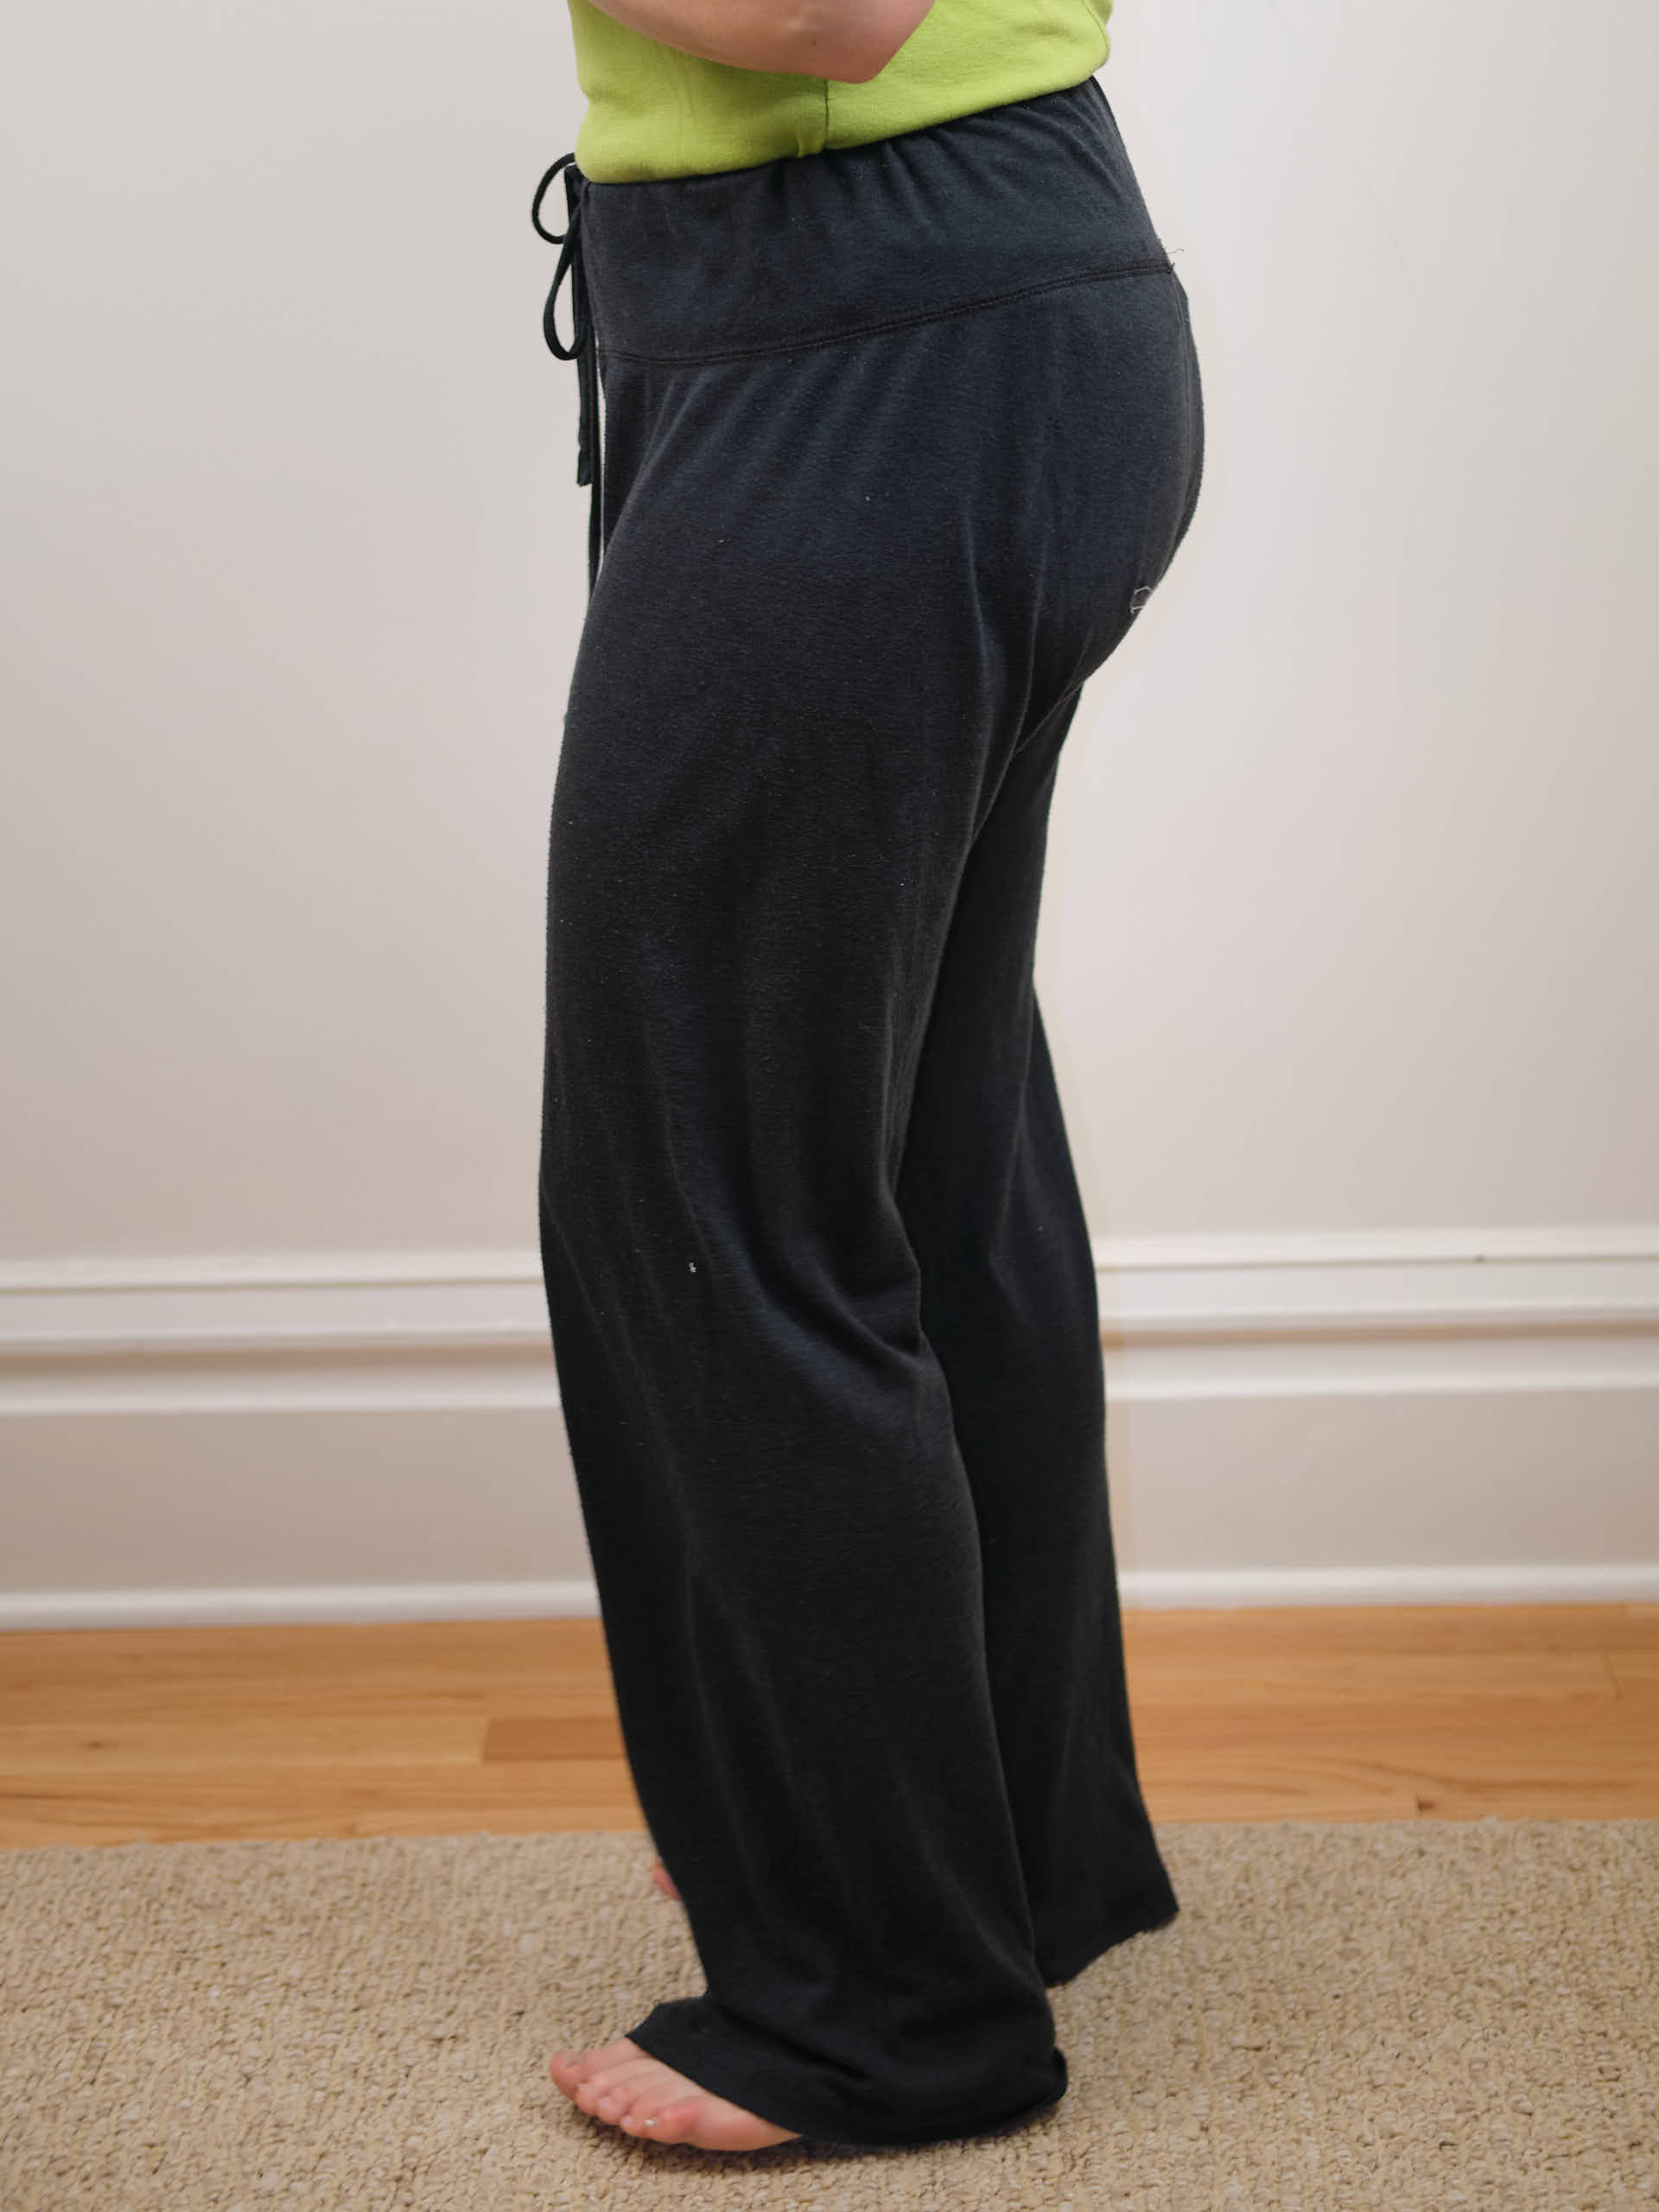
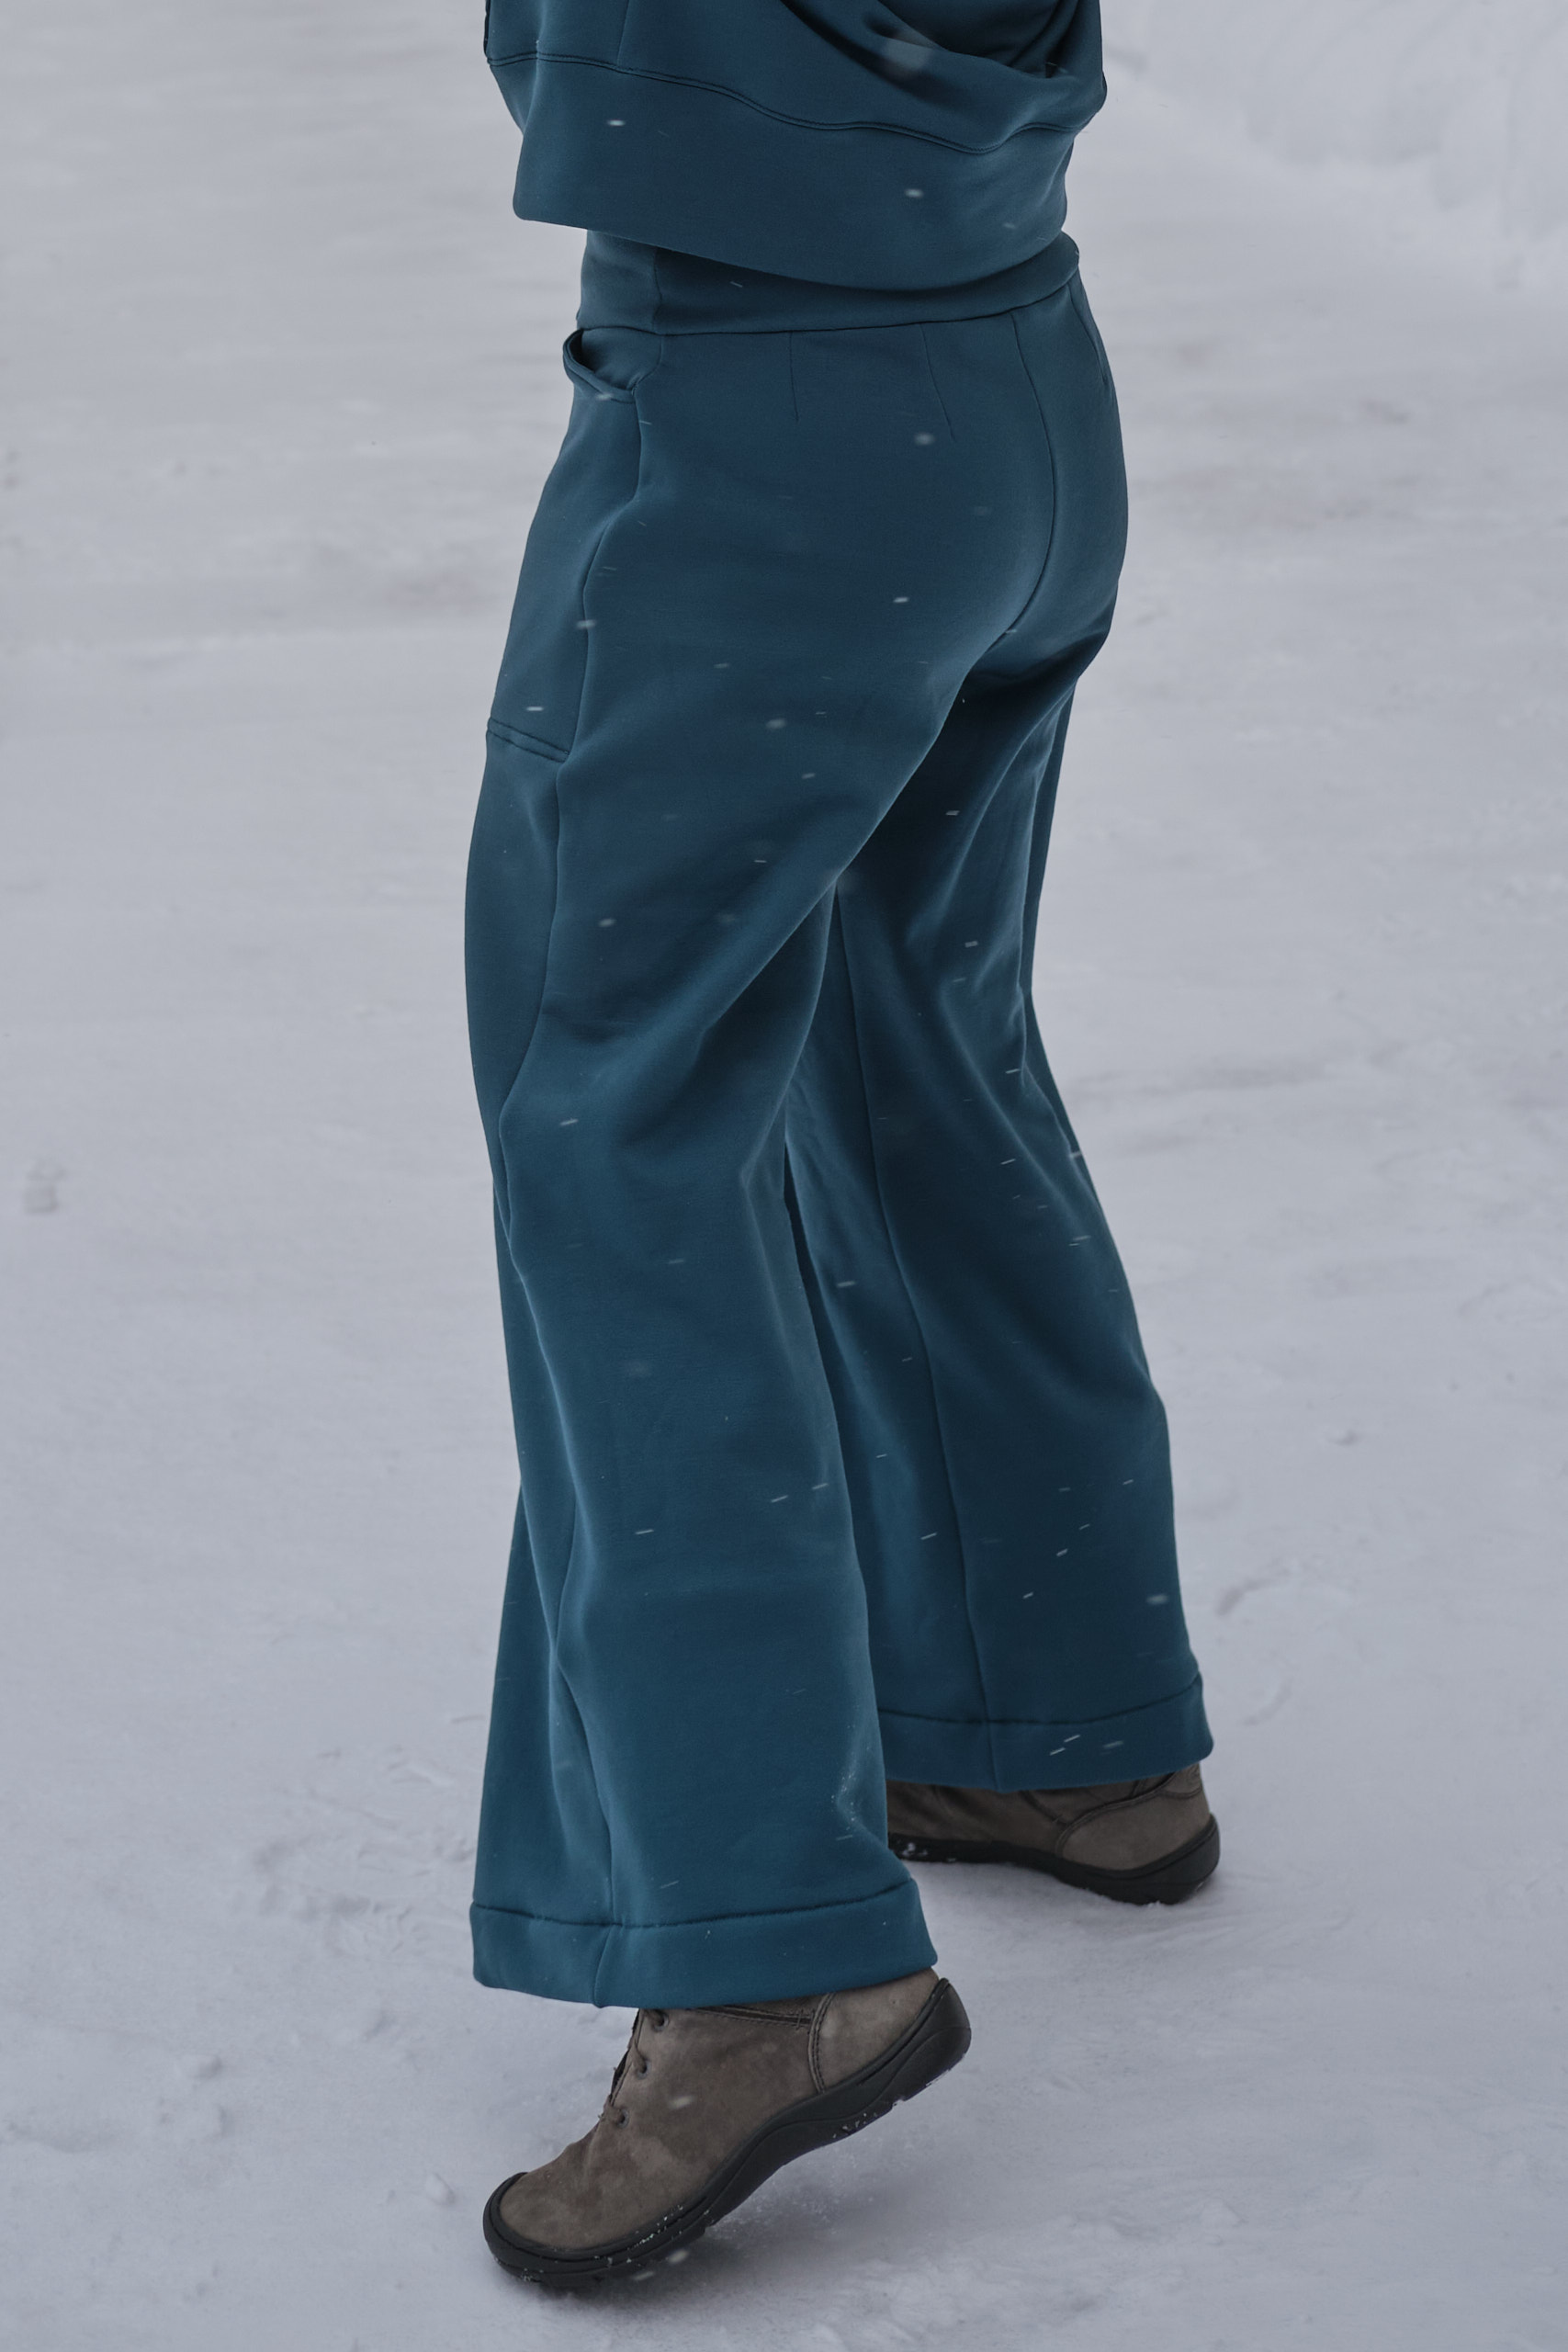
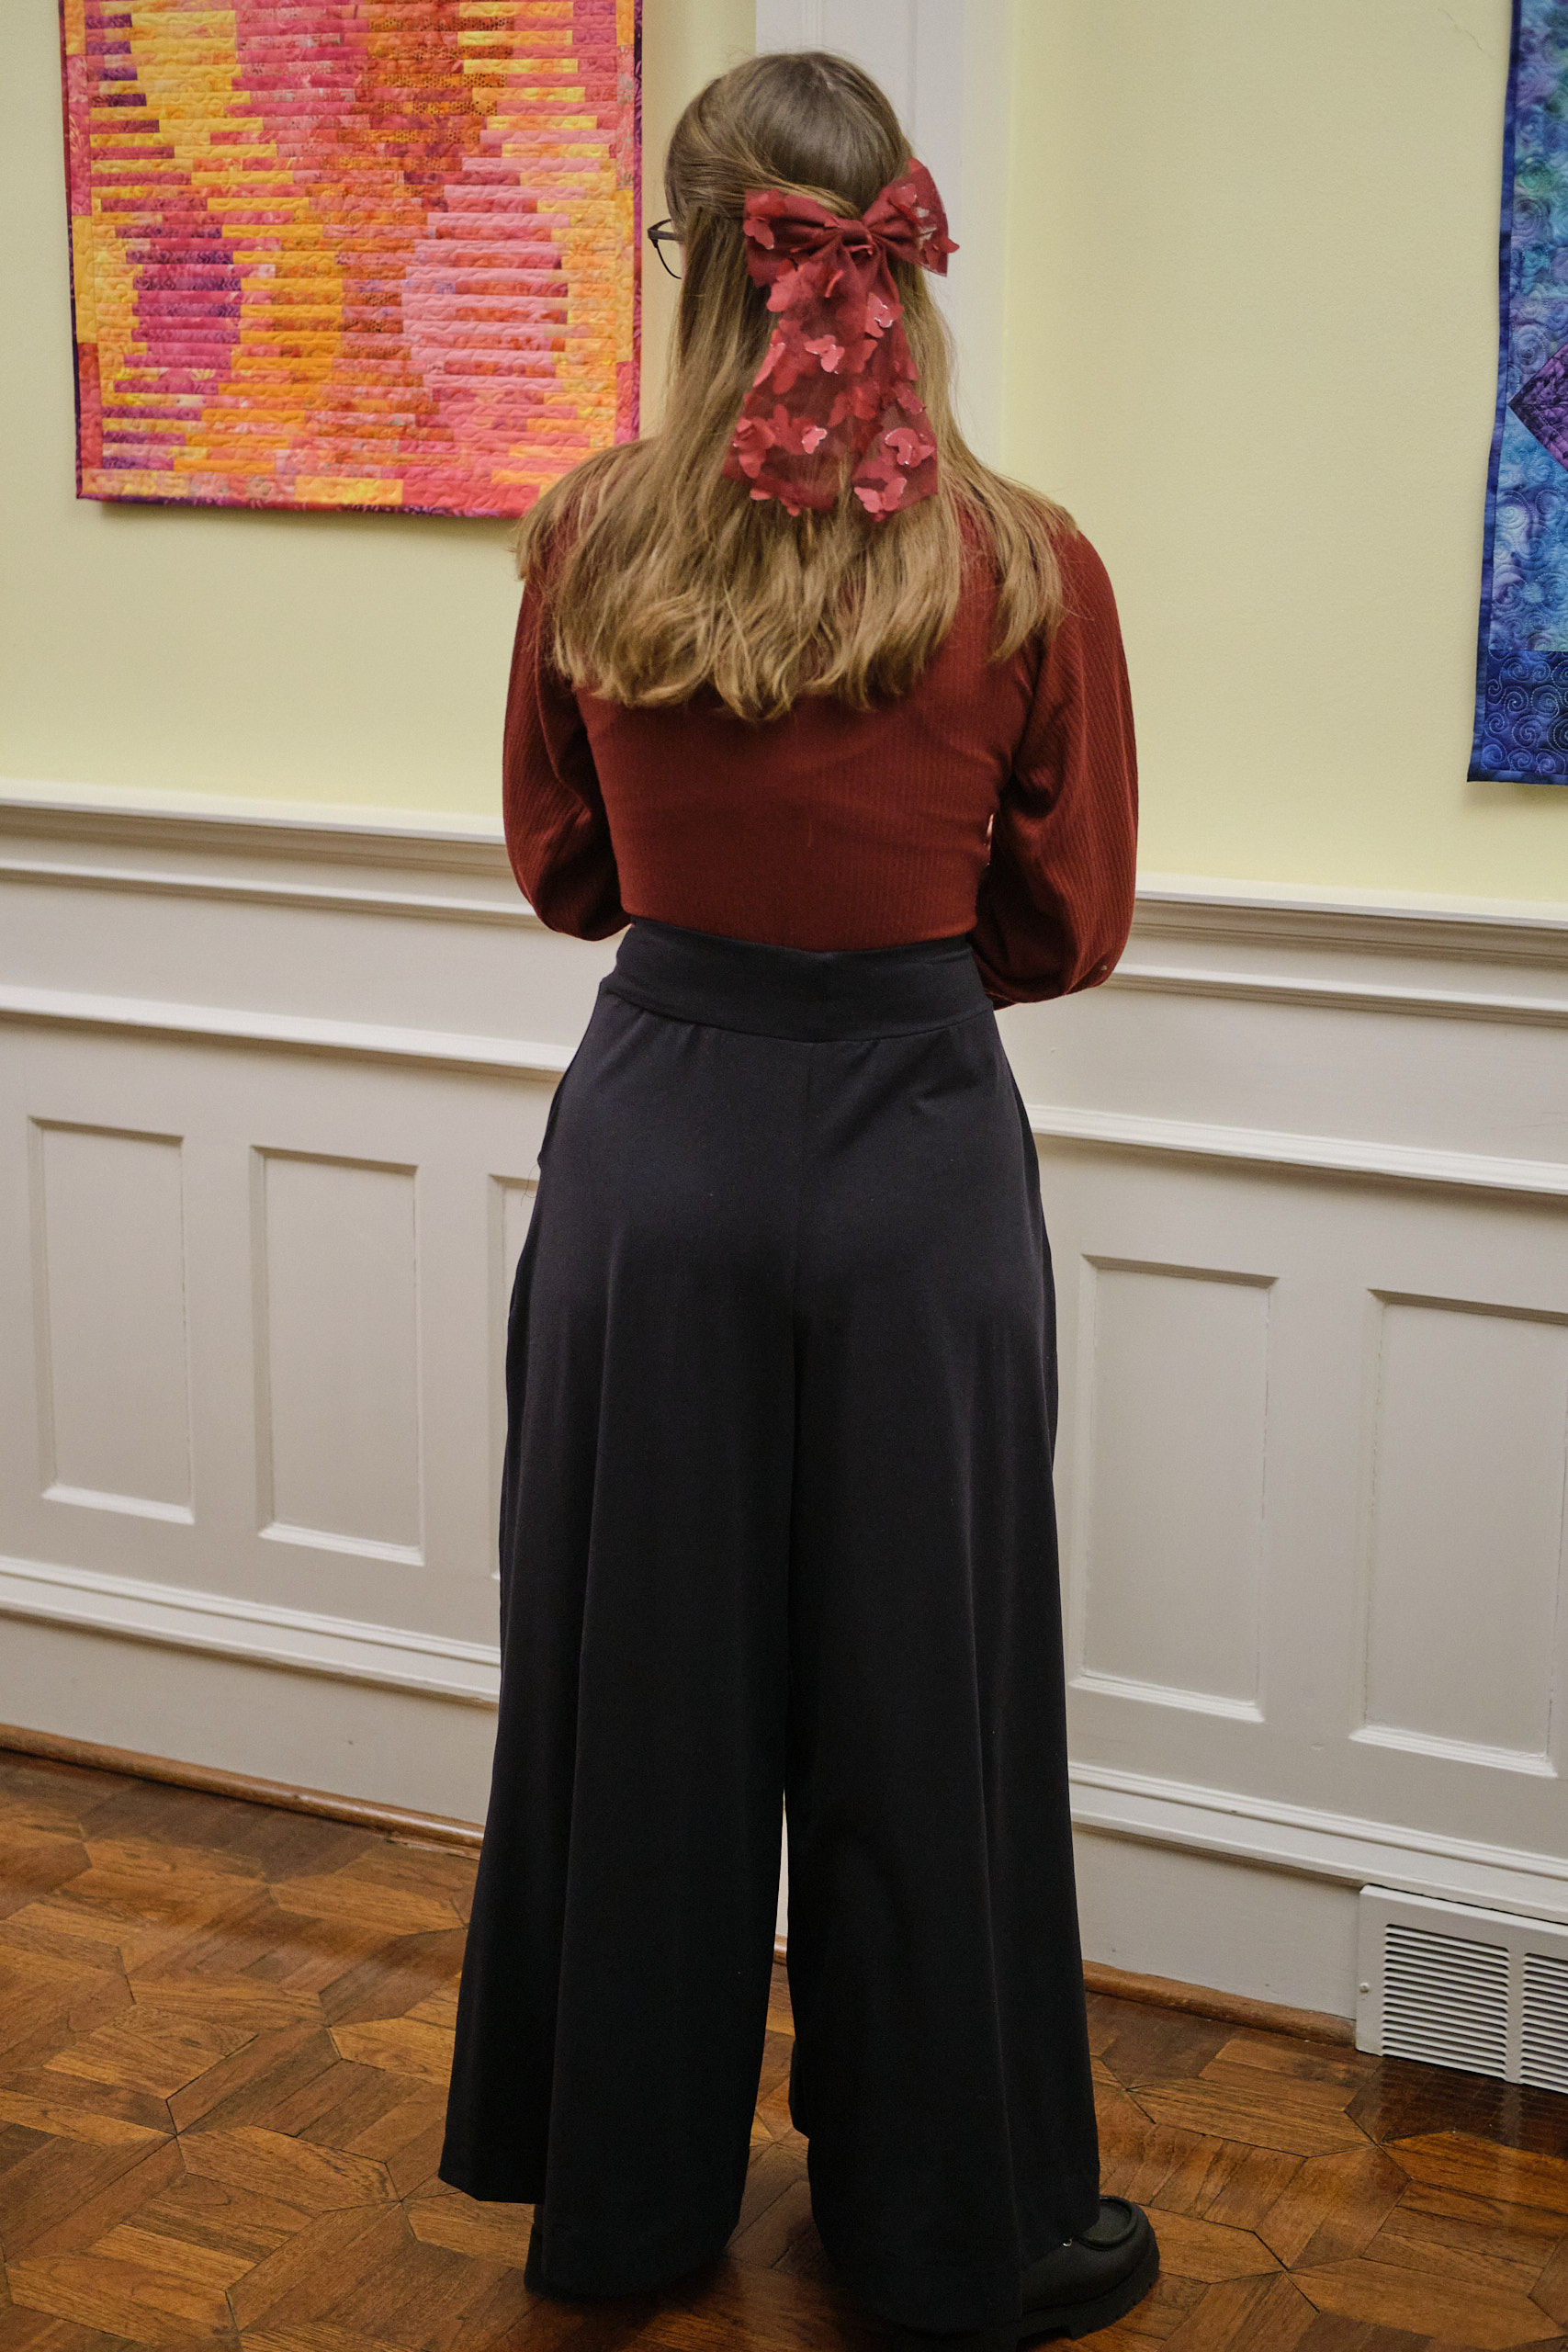
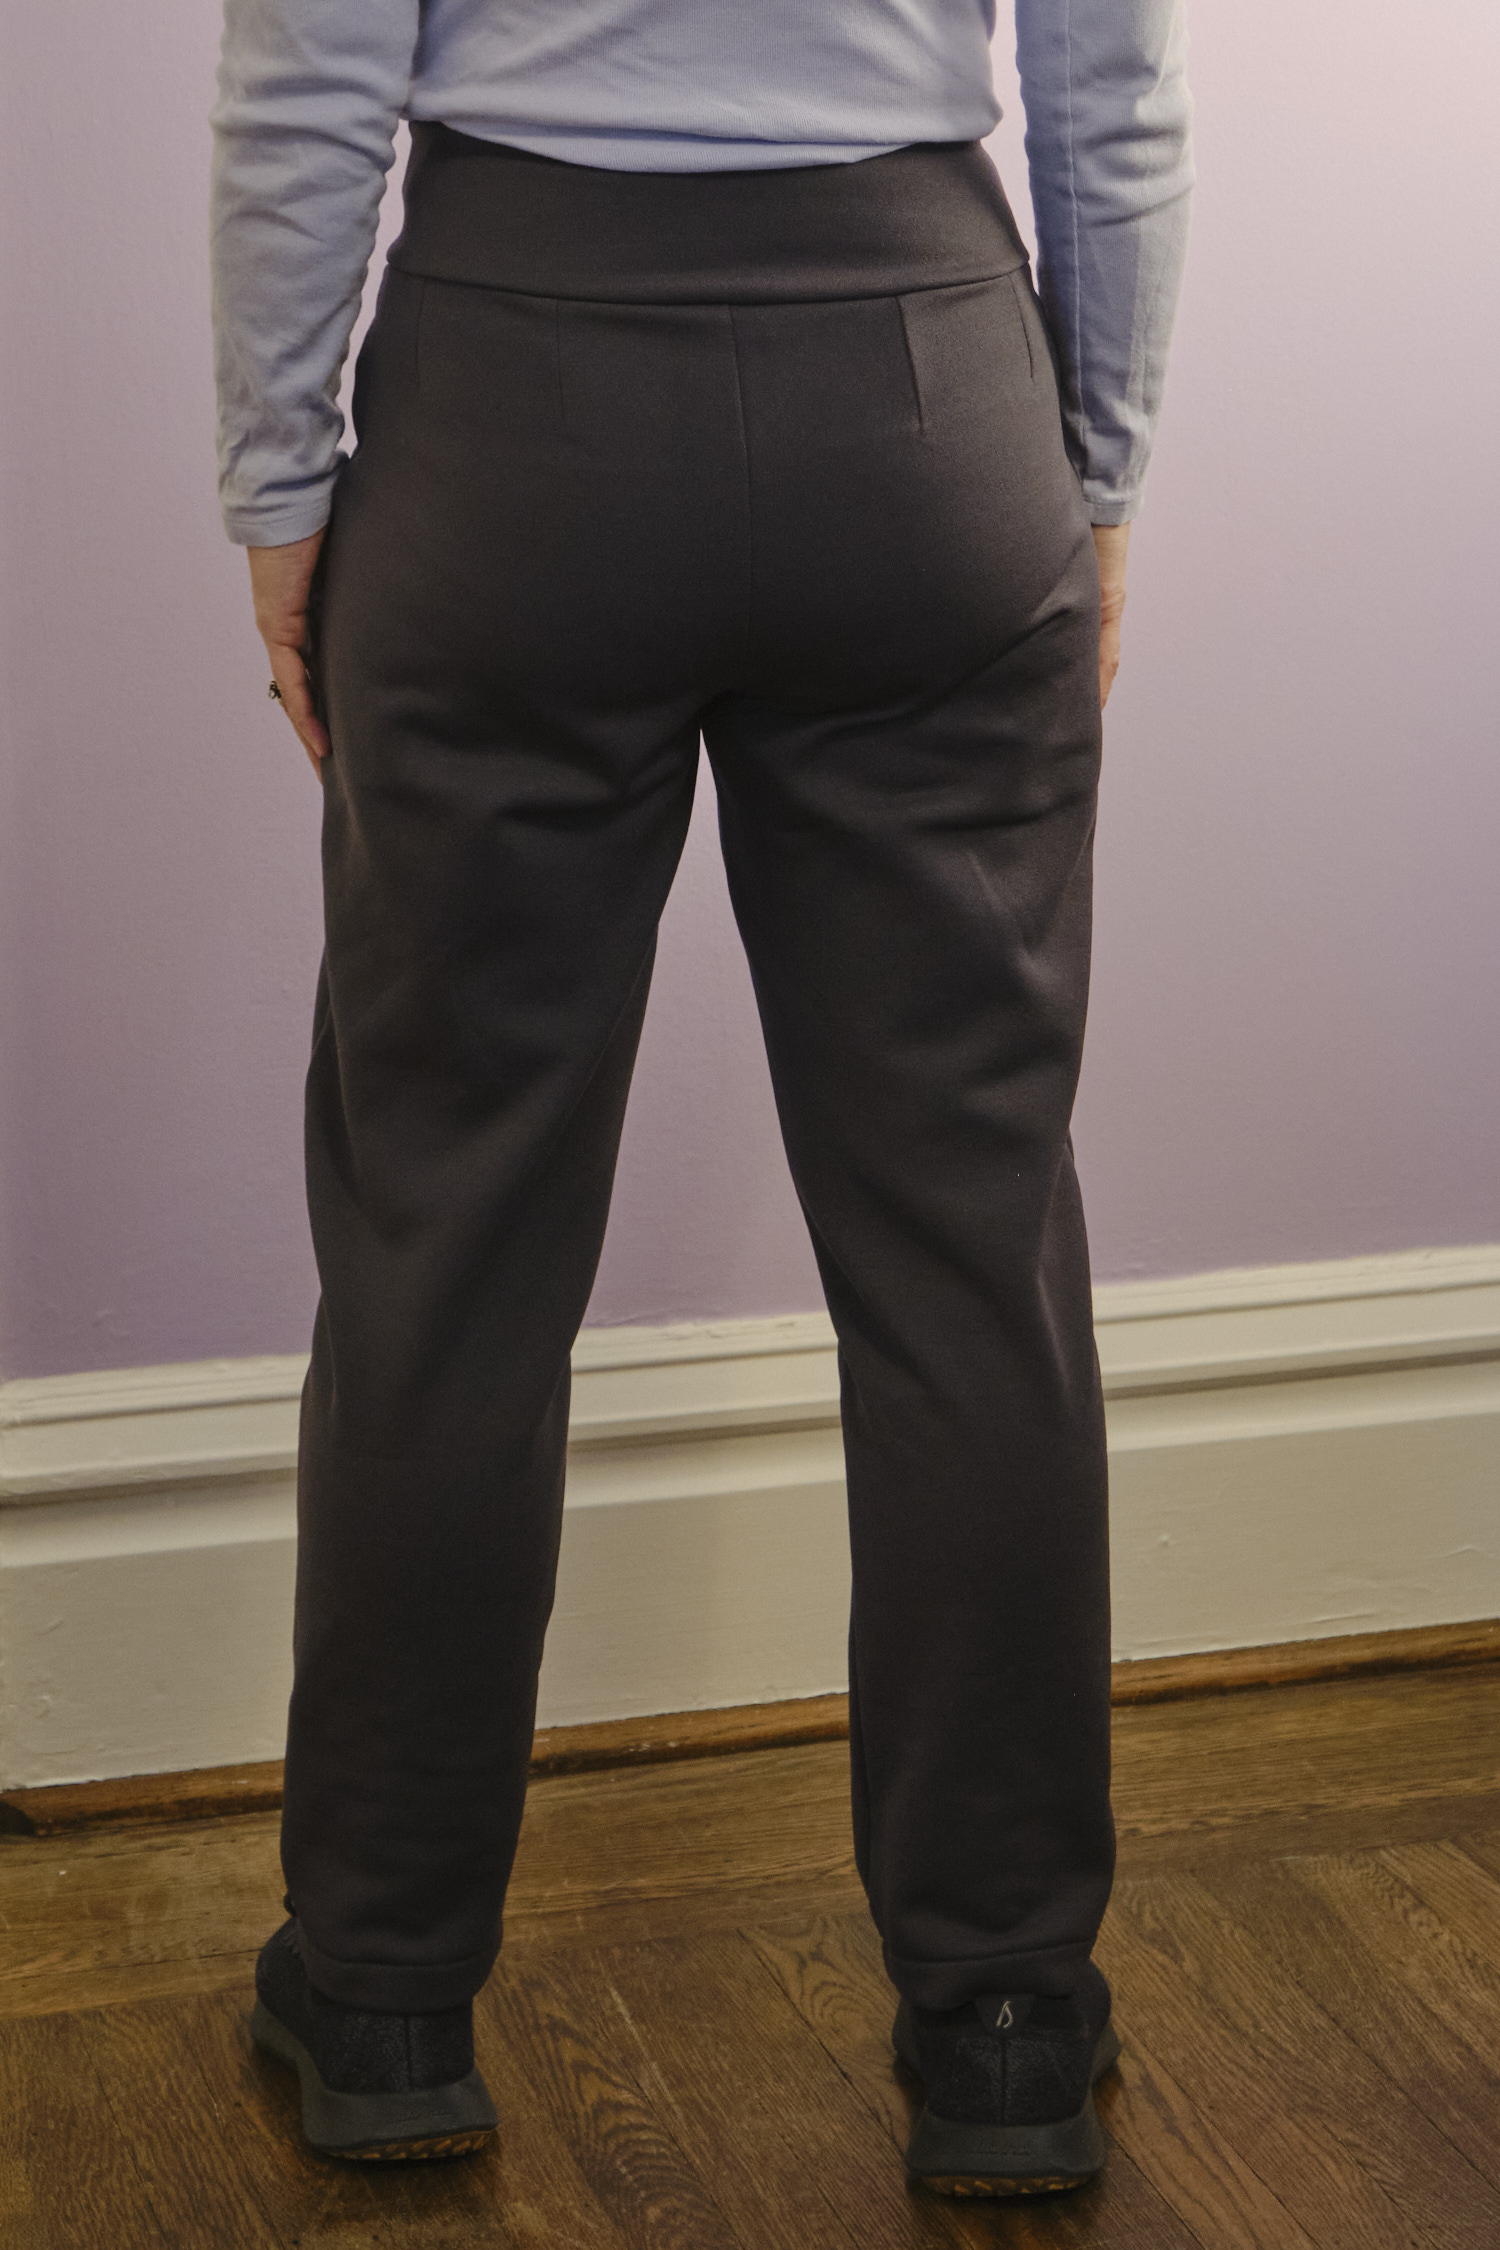
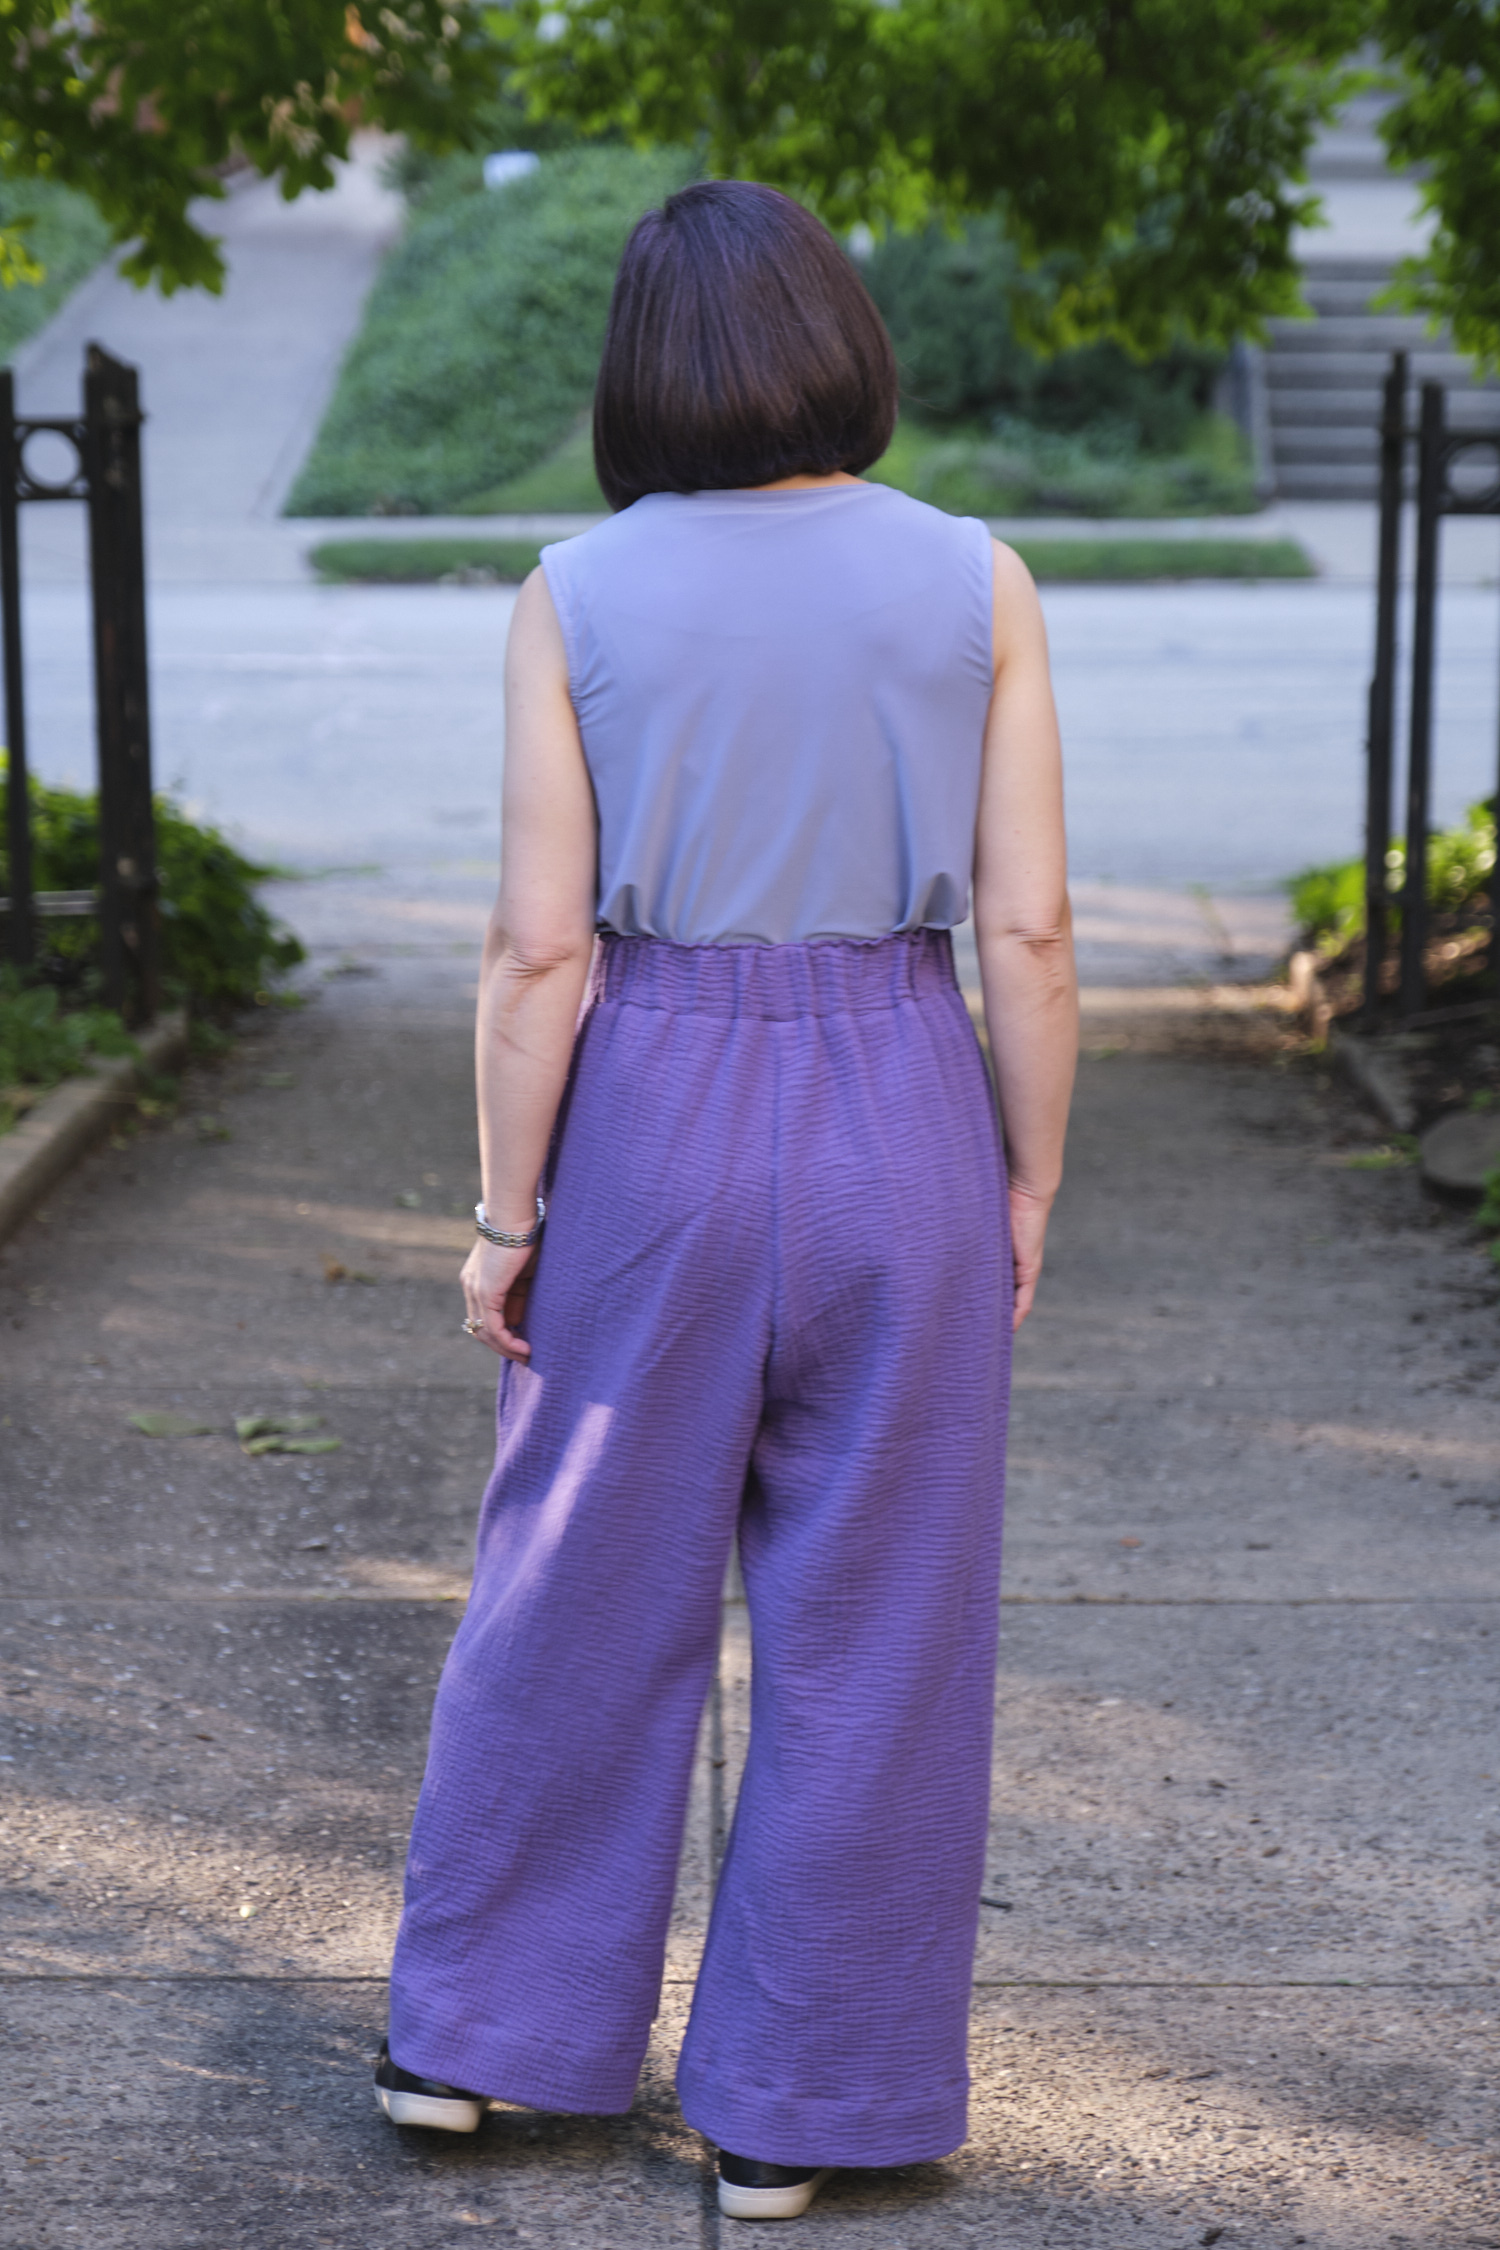
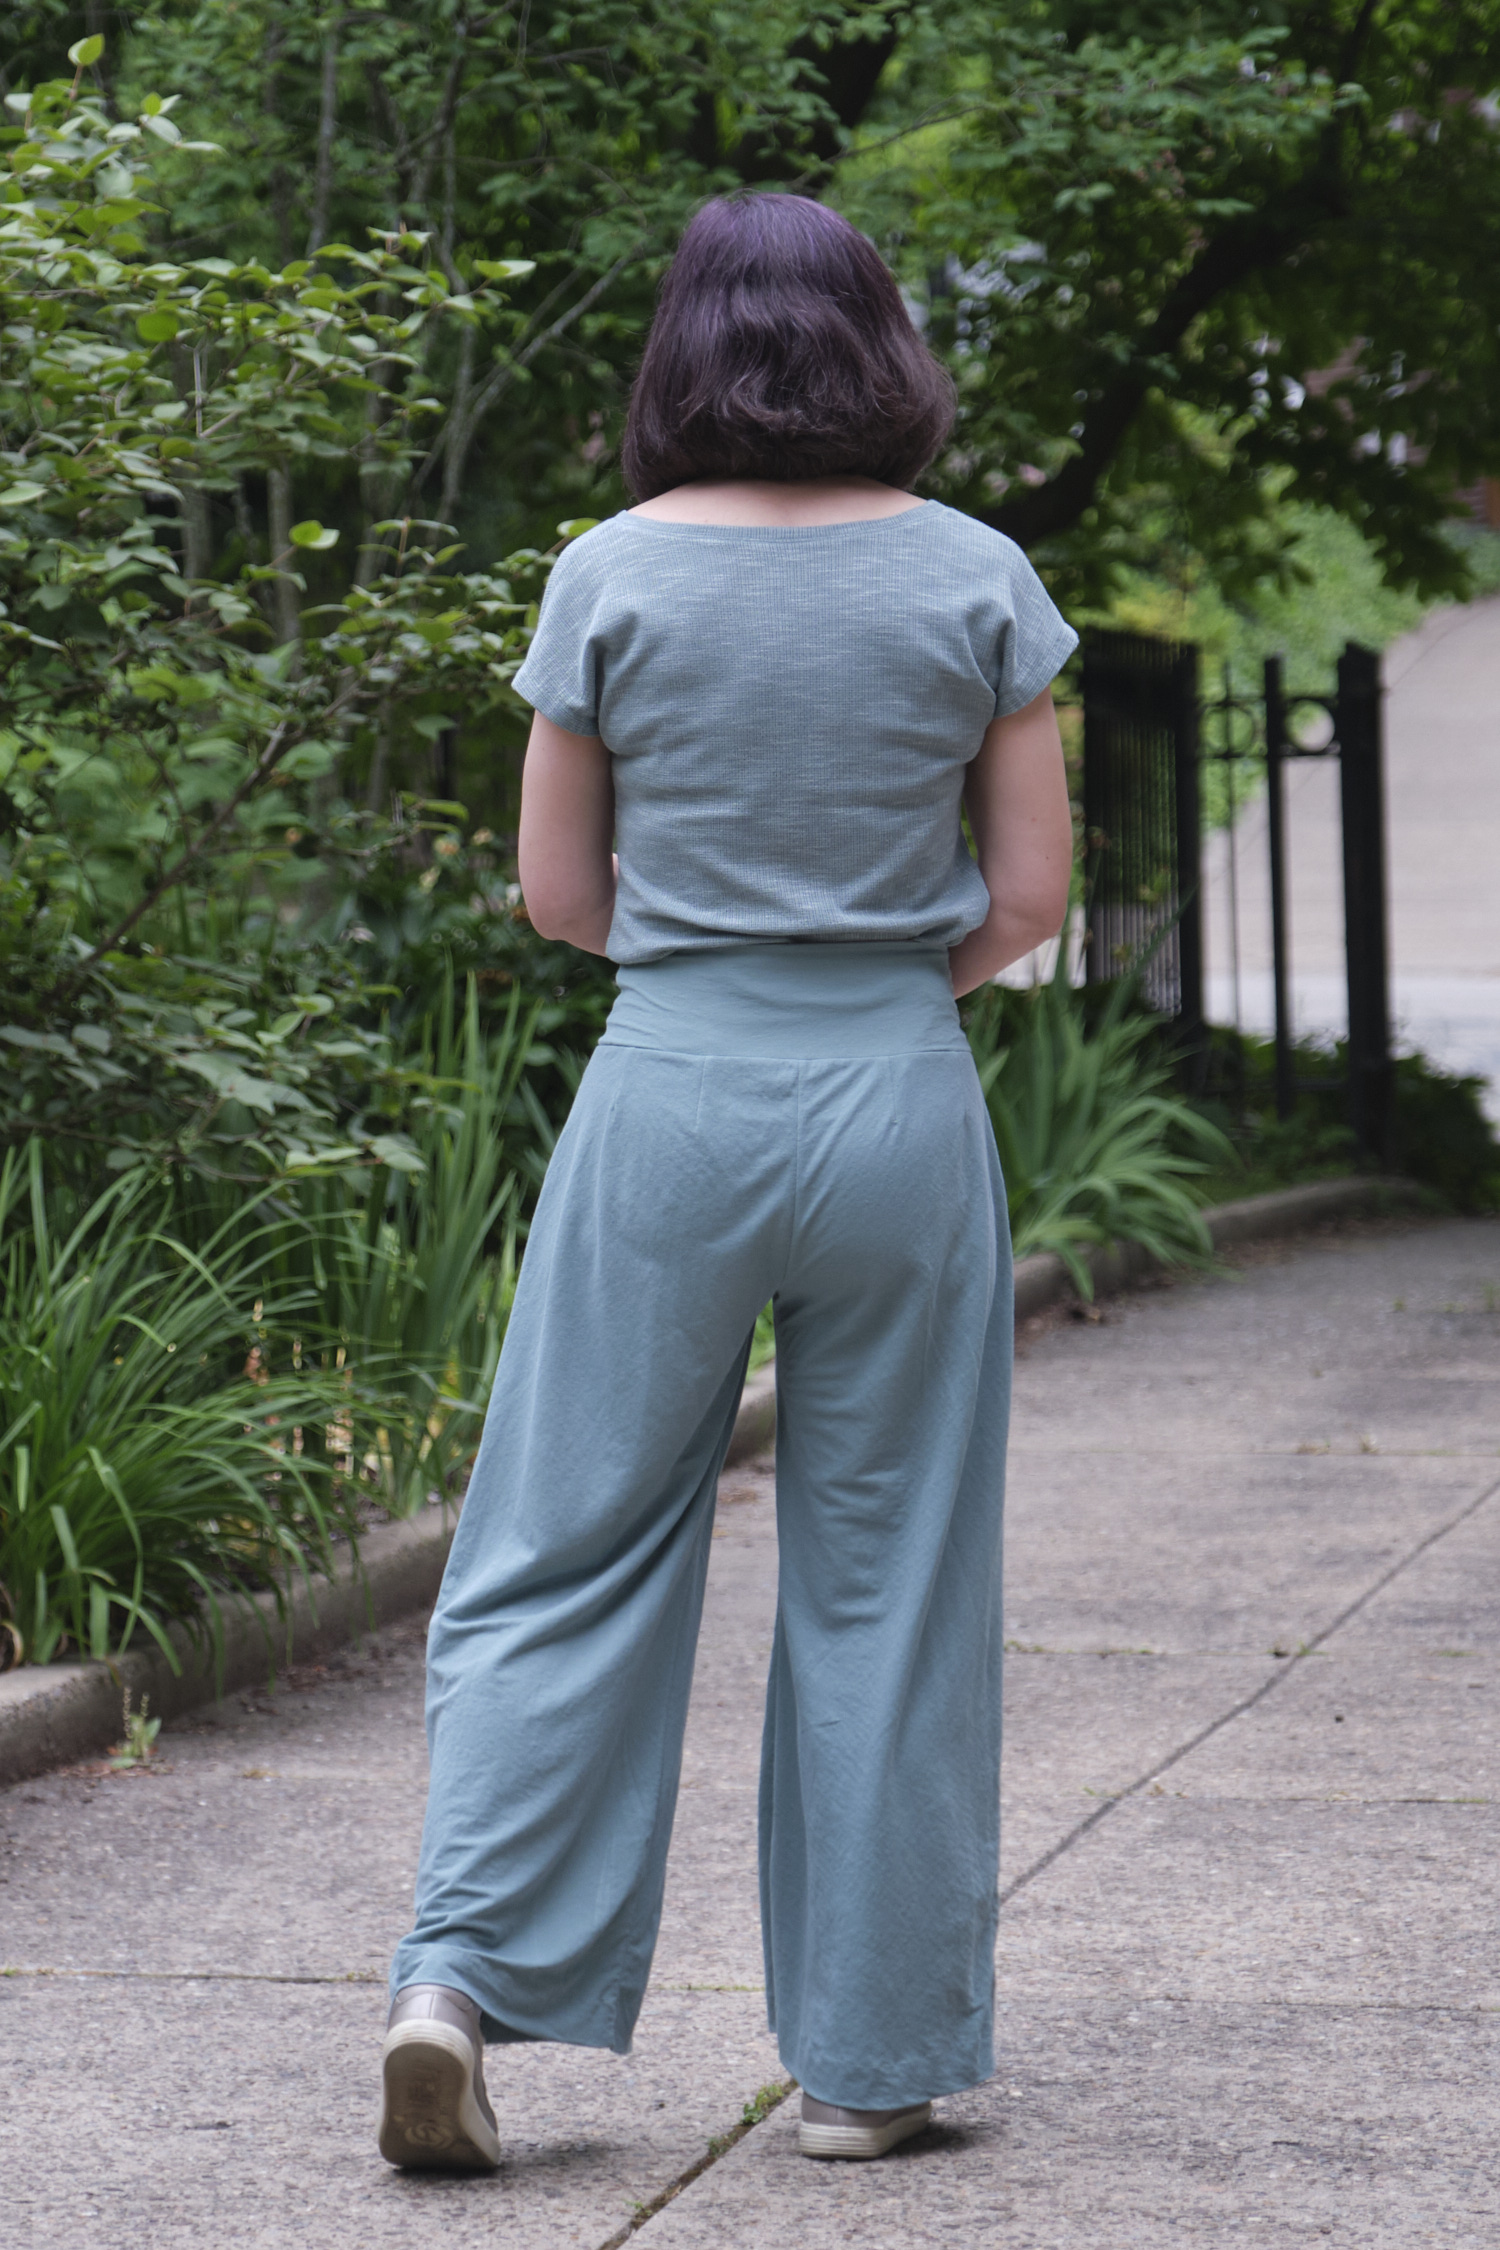
The pattern is easy to follow, and there’s nothing difficult about the construction, but making these pants with all the options is a lot of work and takes a while. I love how all the features look, but in this thin, drapey fabric, the back and side pockets are not all that useful because the fabric doesn’t really have enough structure to support them if you put anything of any weight in them. The side pockets are unobtrusive, but the back pockets don’t stay flat against my bottom. Unless I were using a much heavier or more rigid fabric (which isn’t recommended) I would probably make only the front pockets next time.

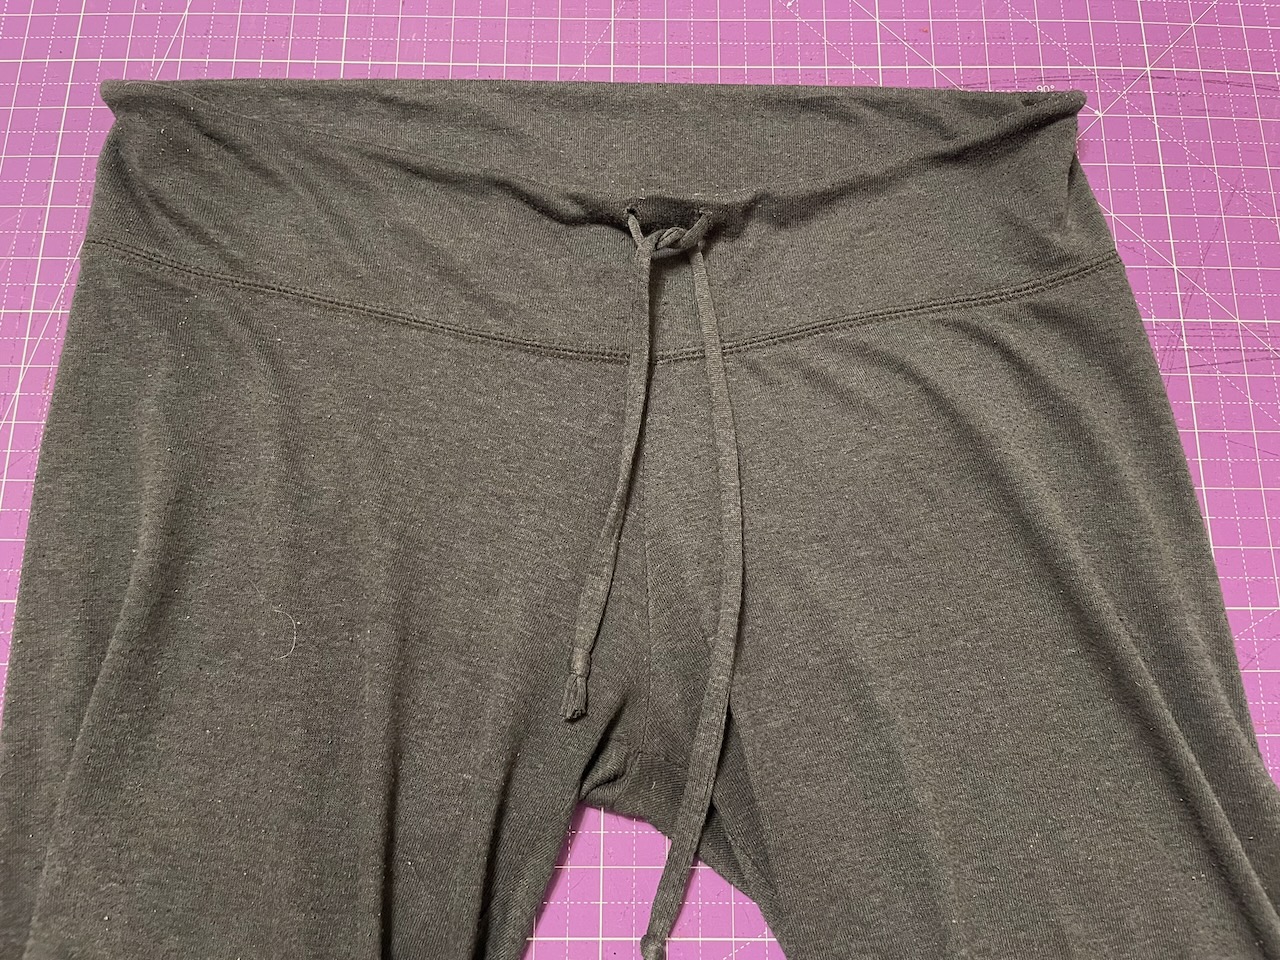
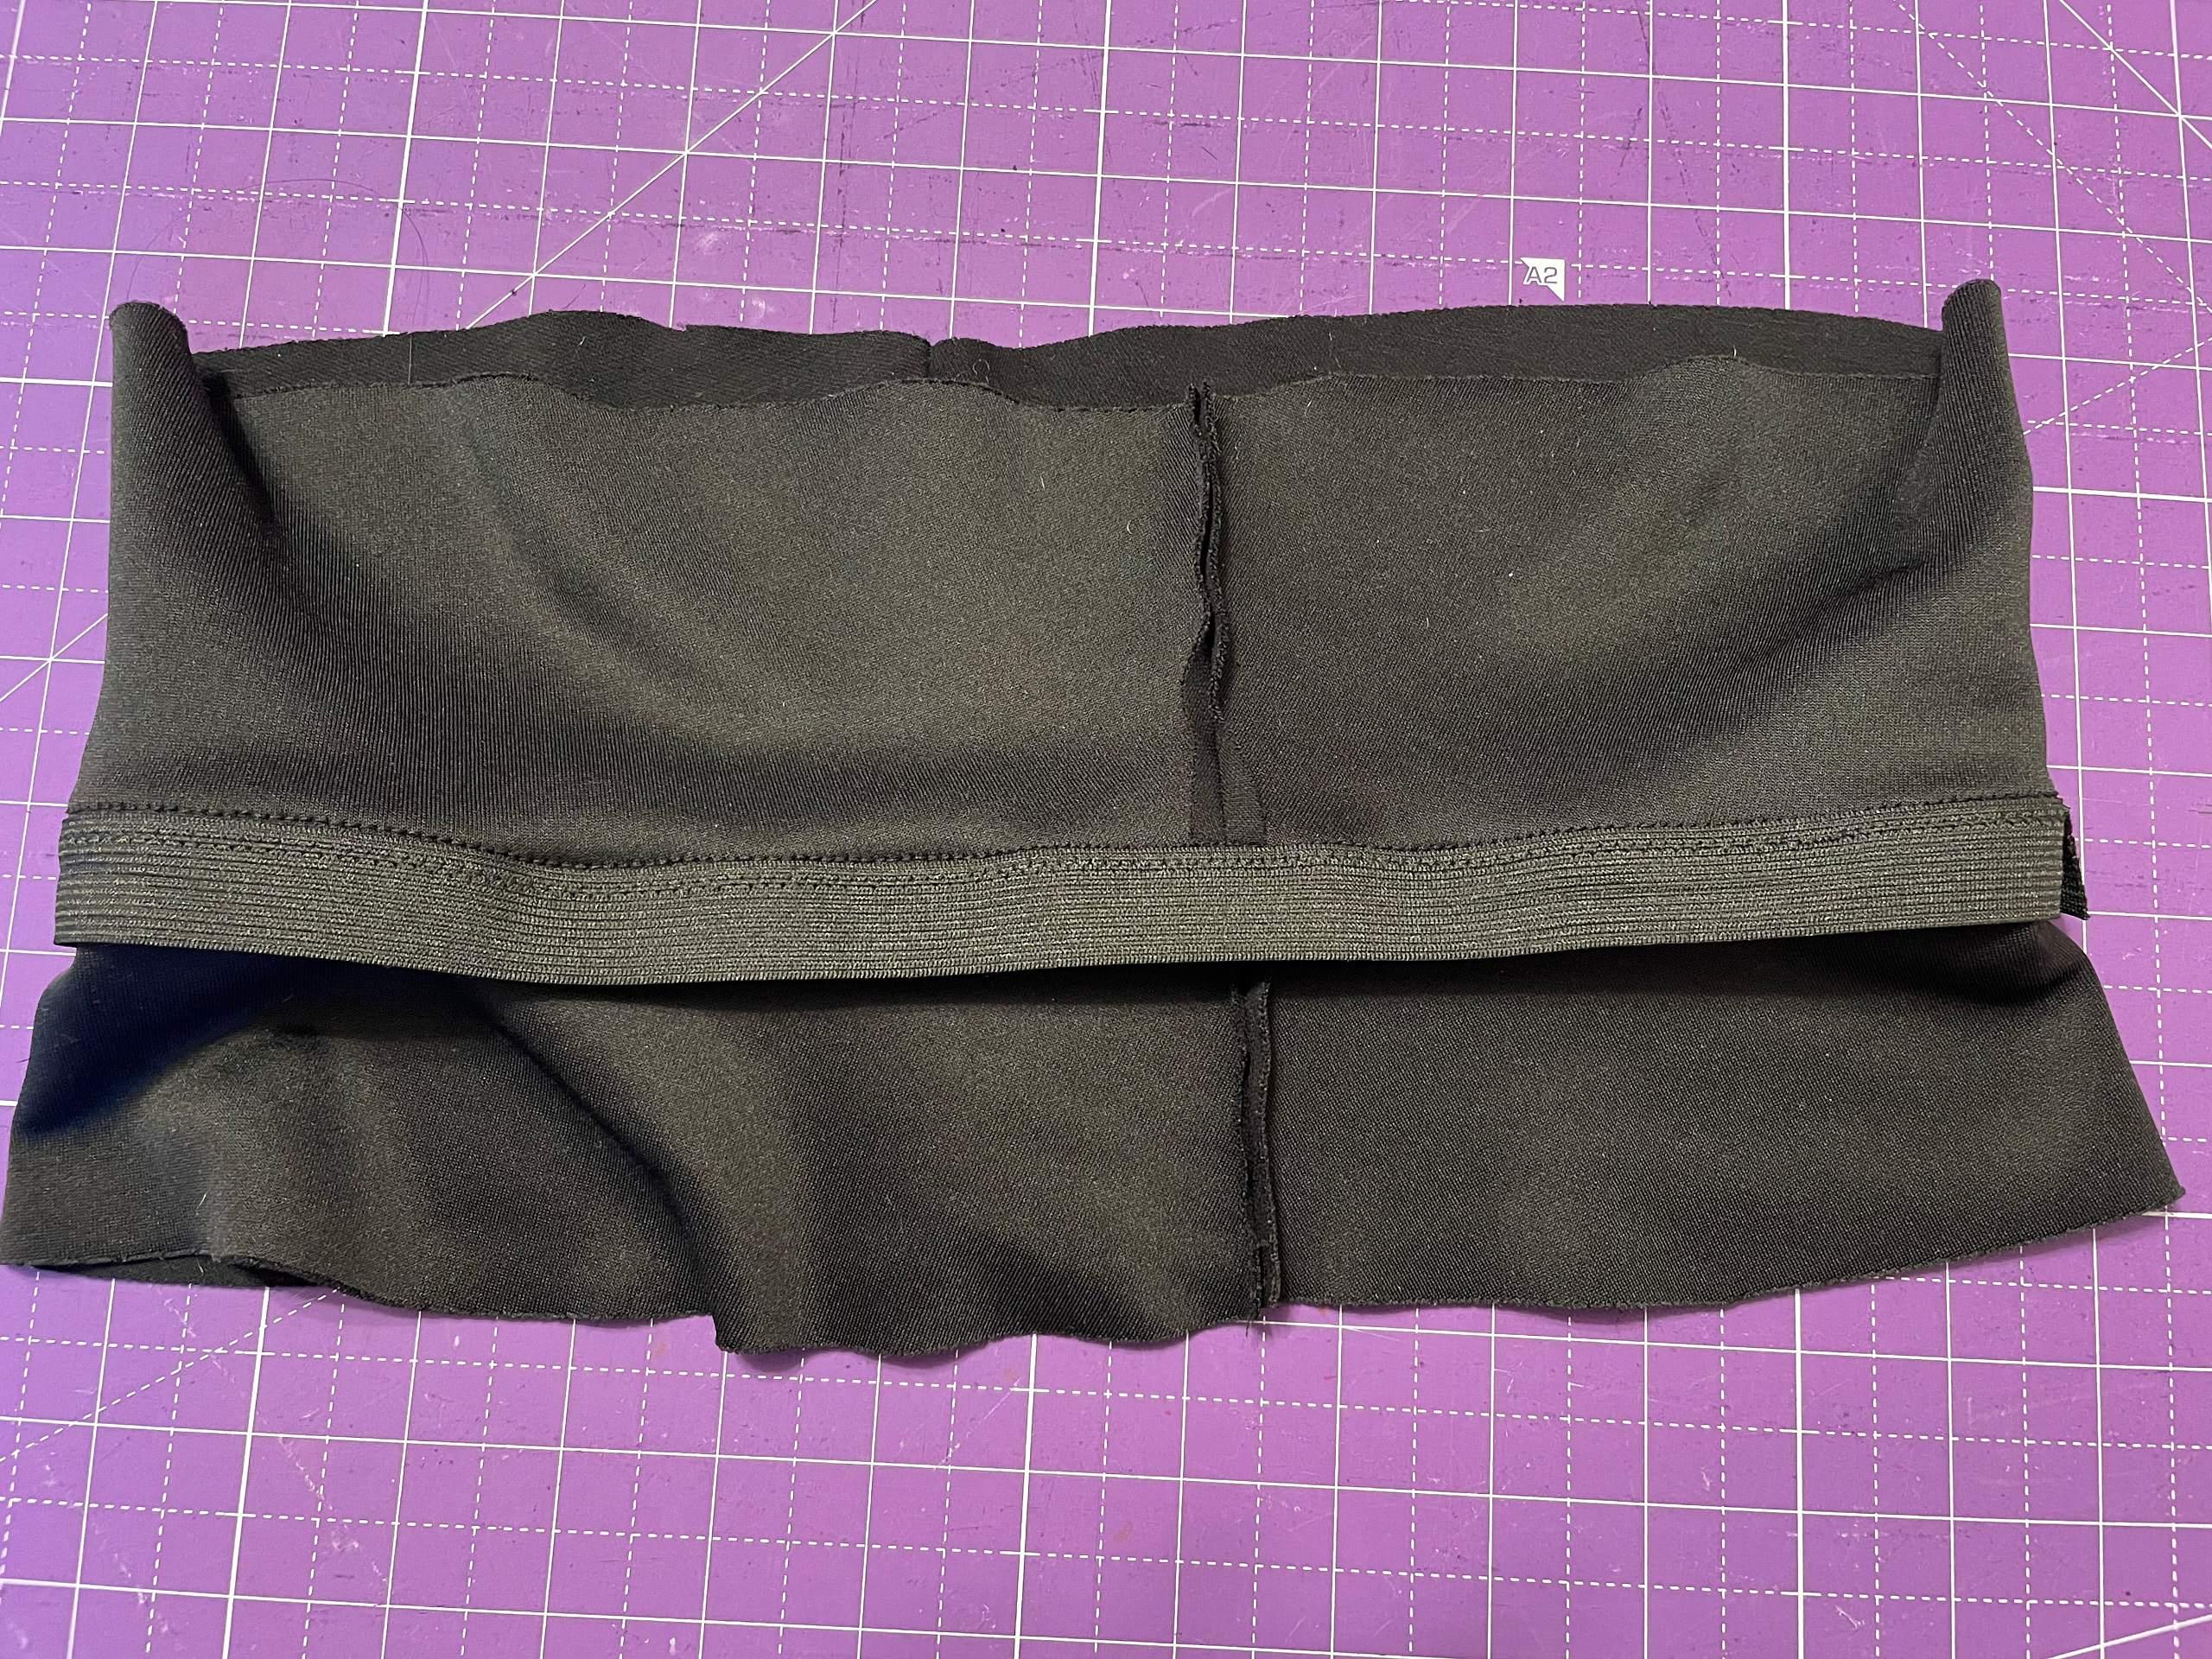
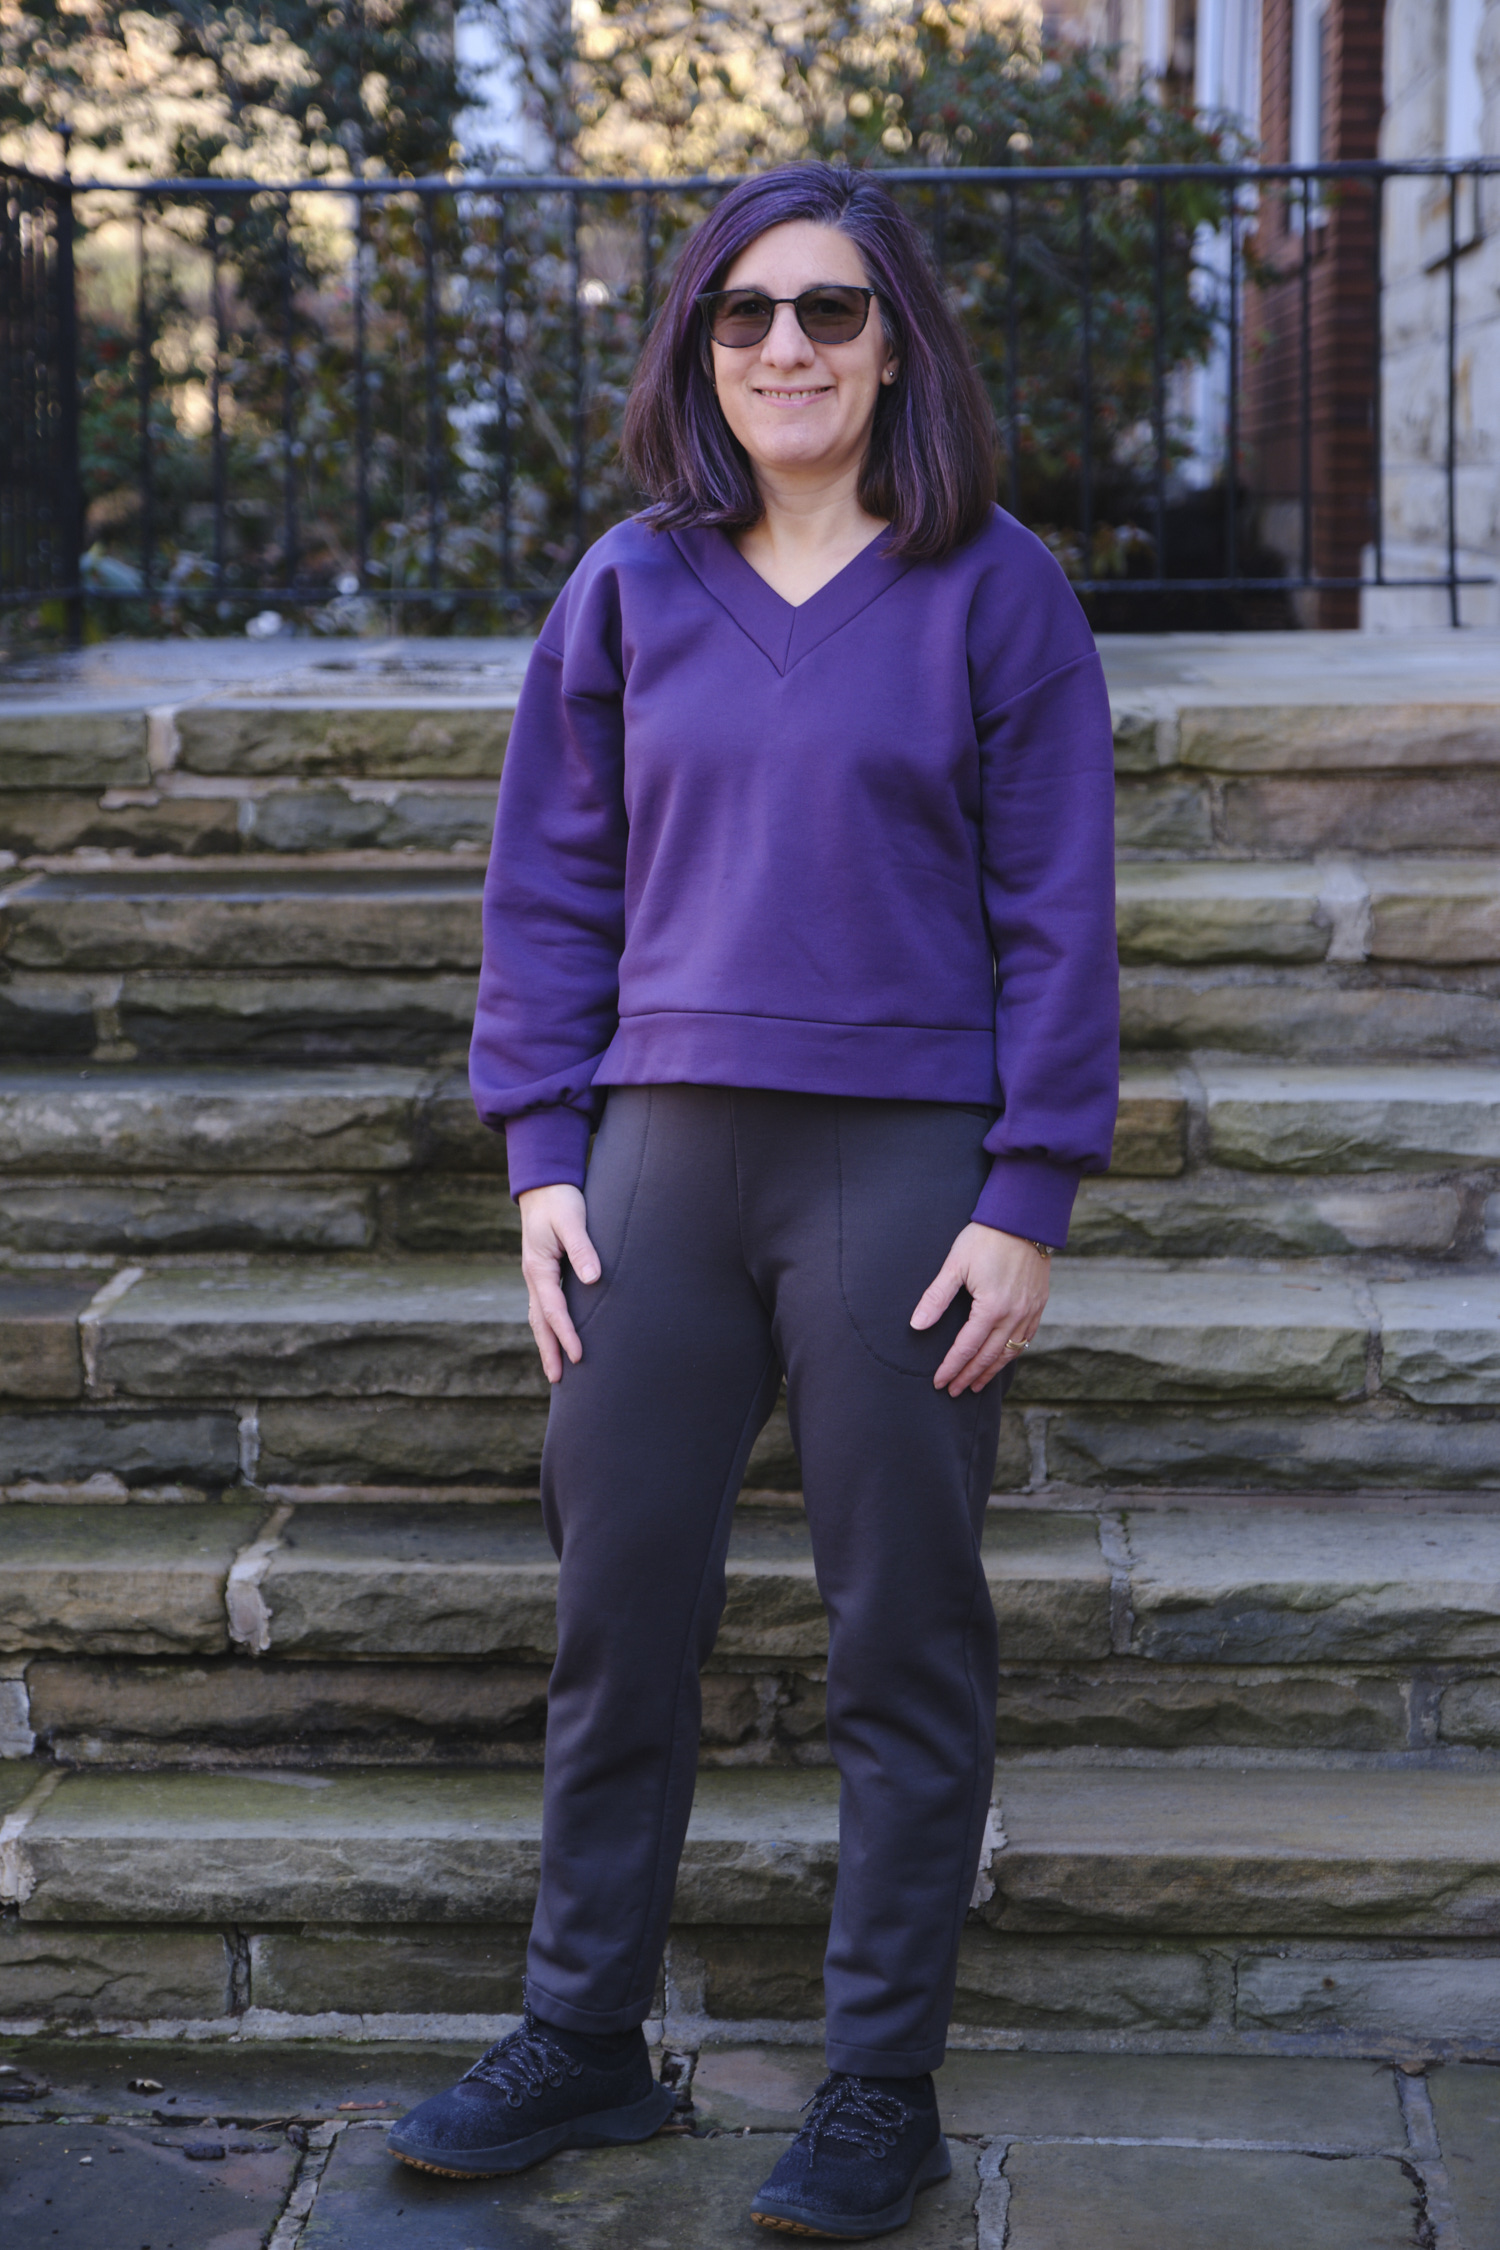
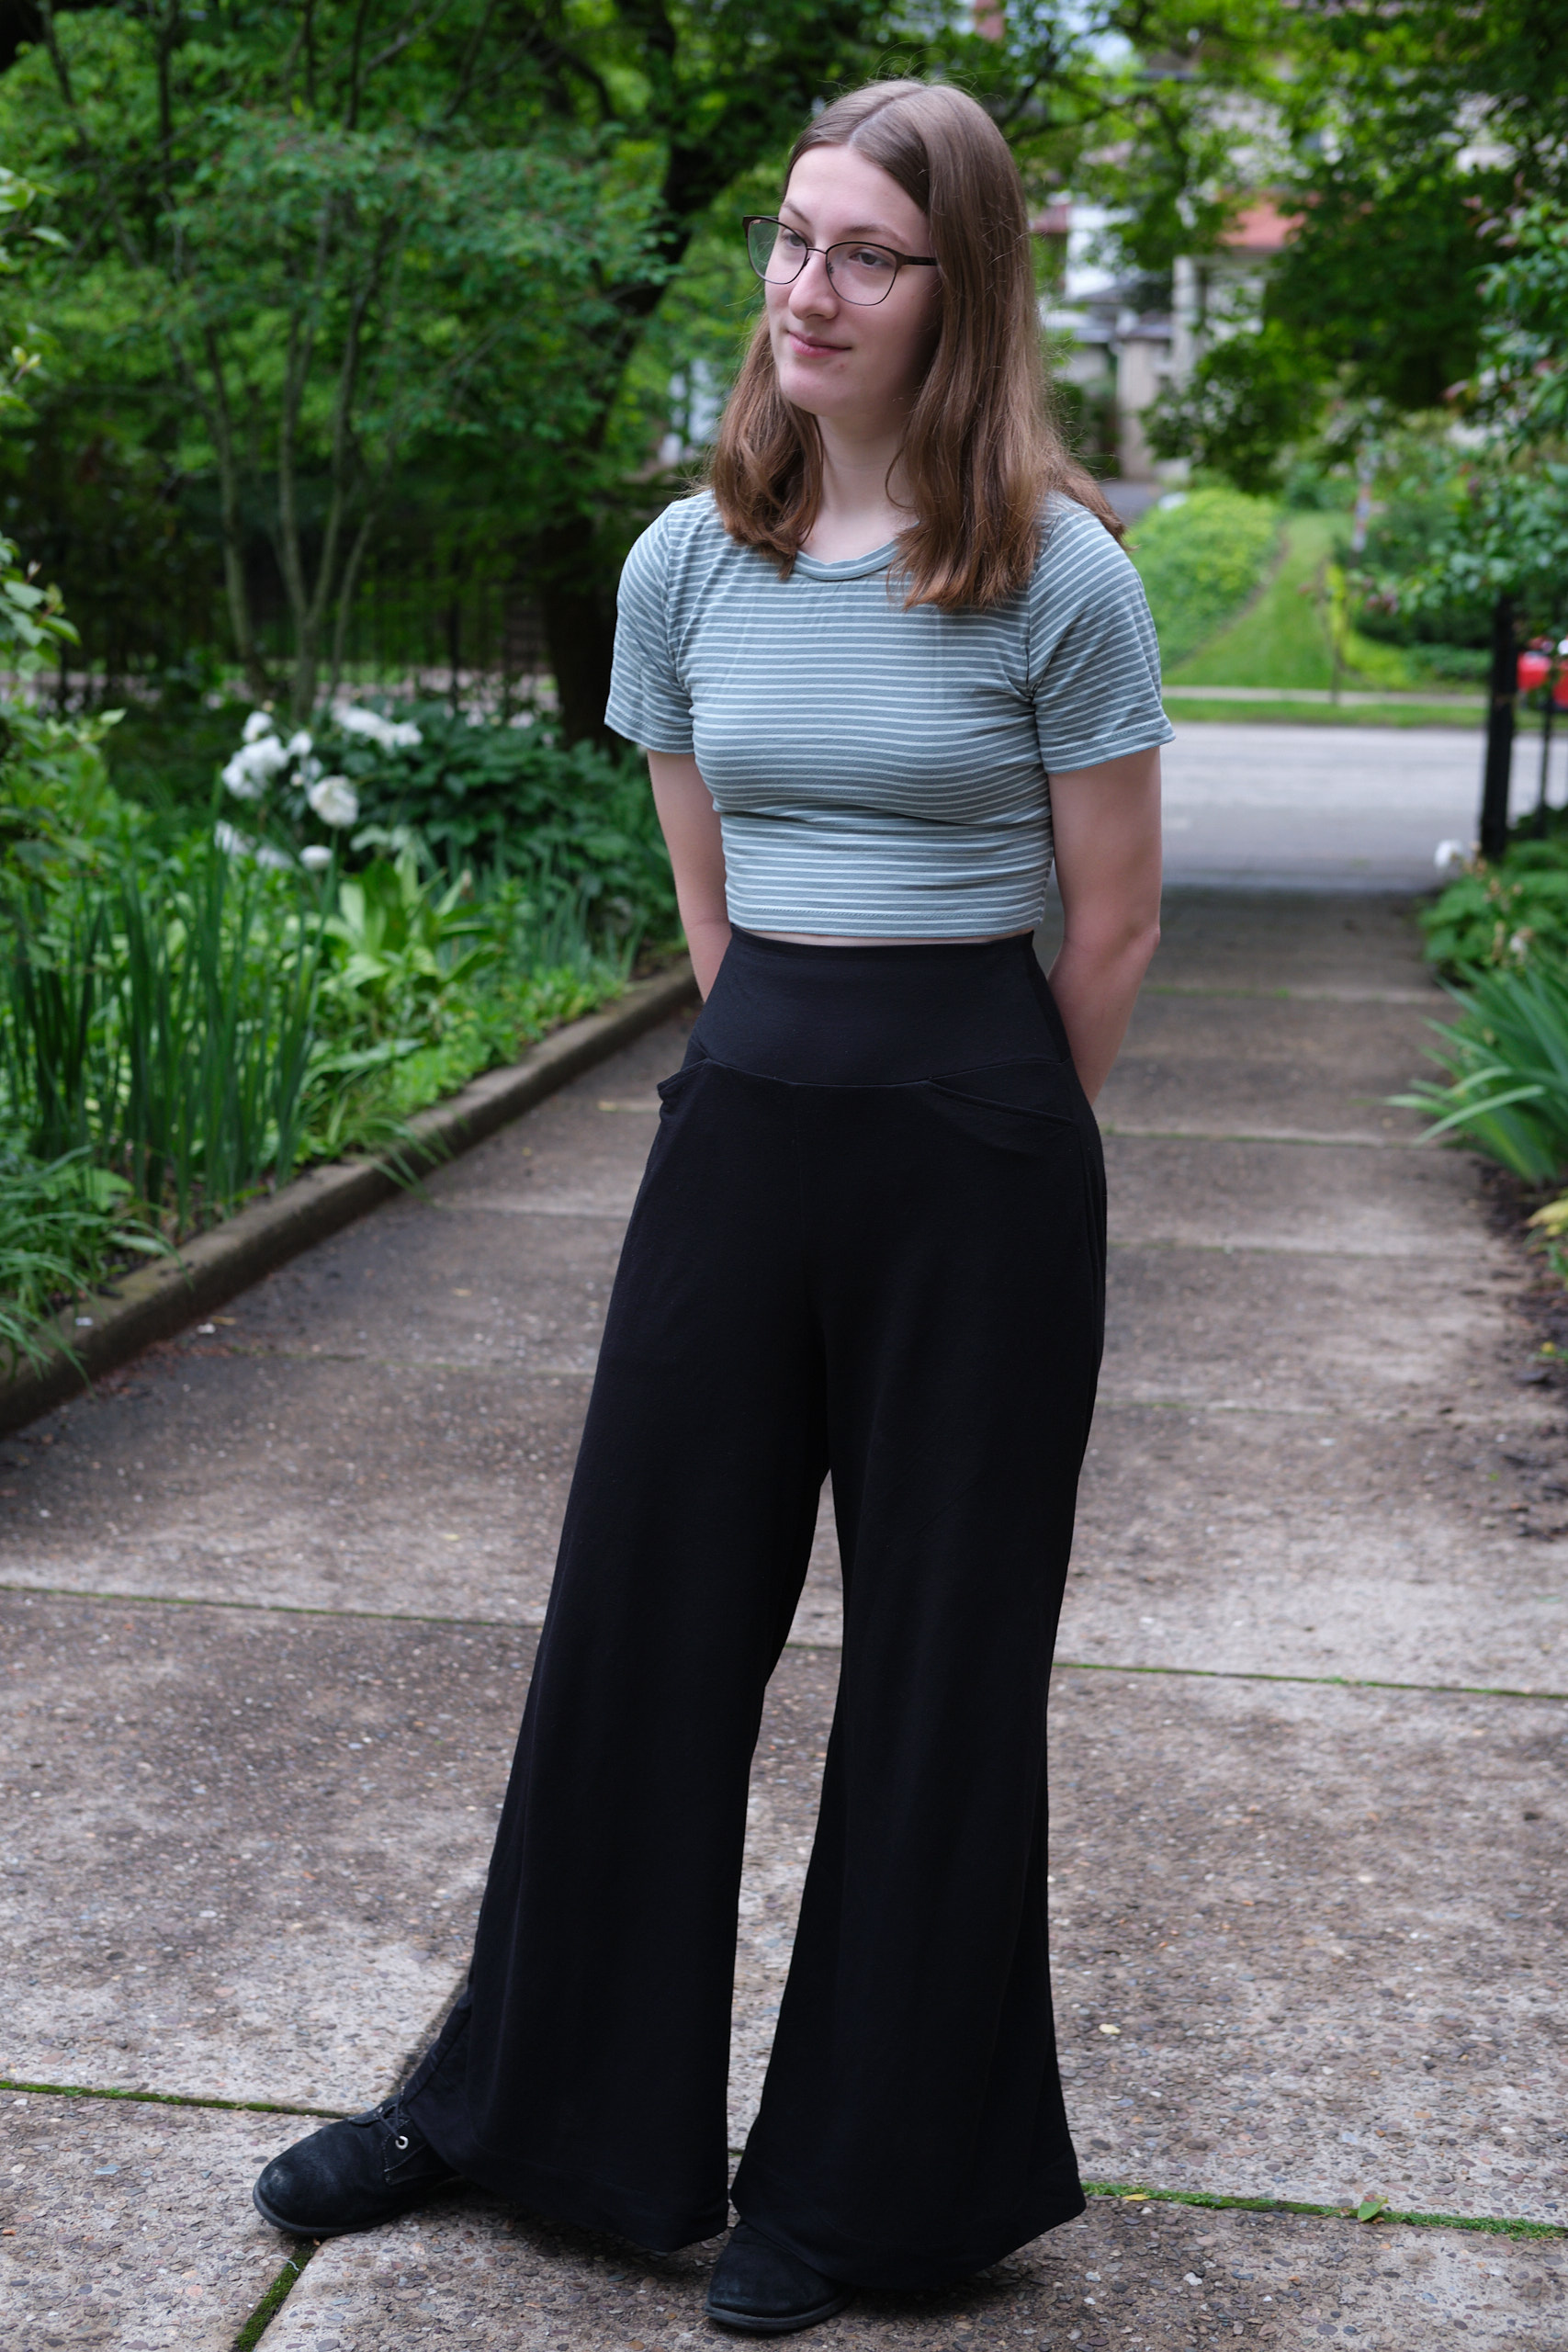
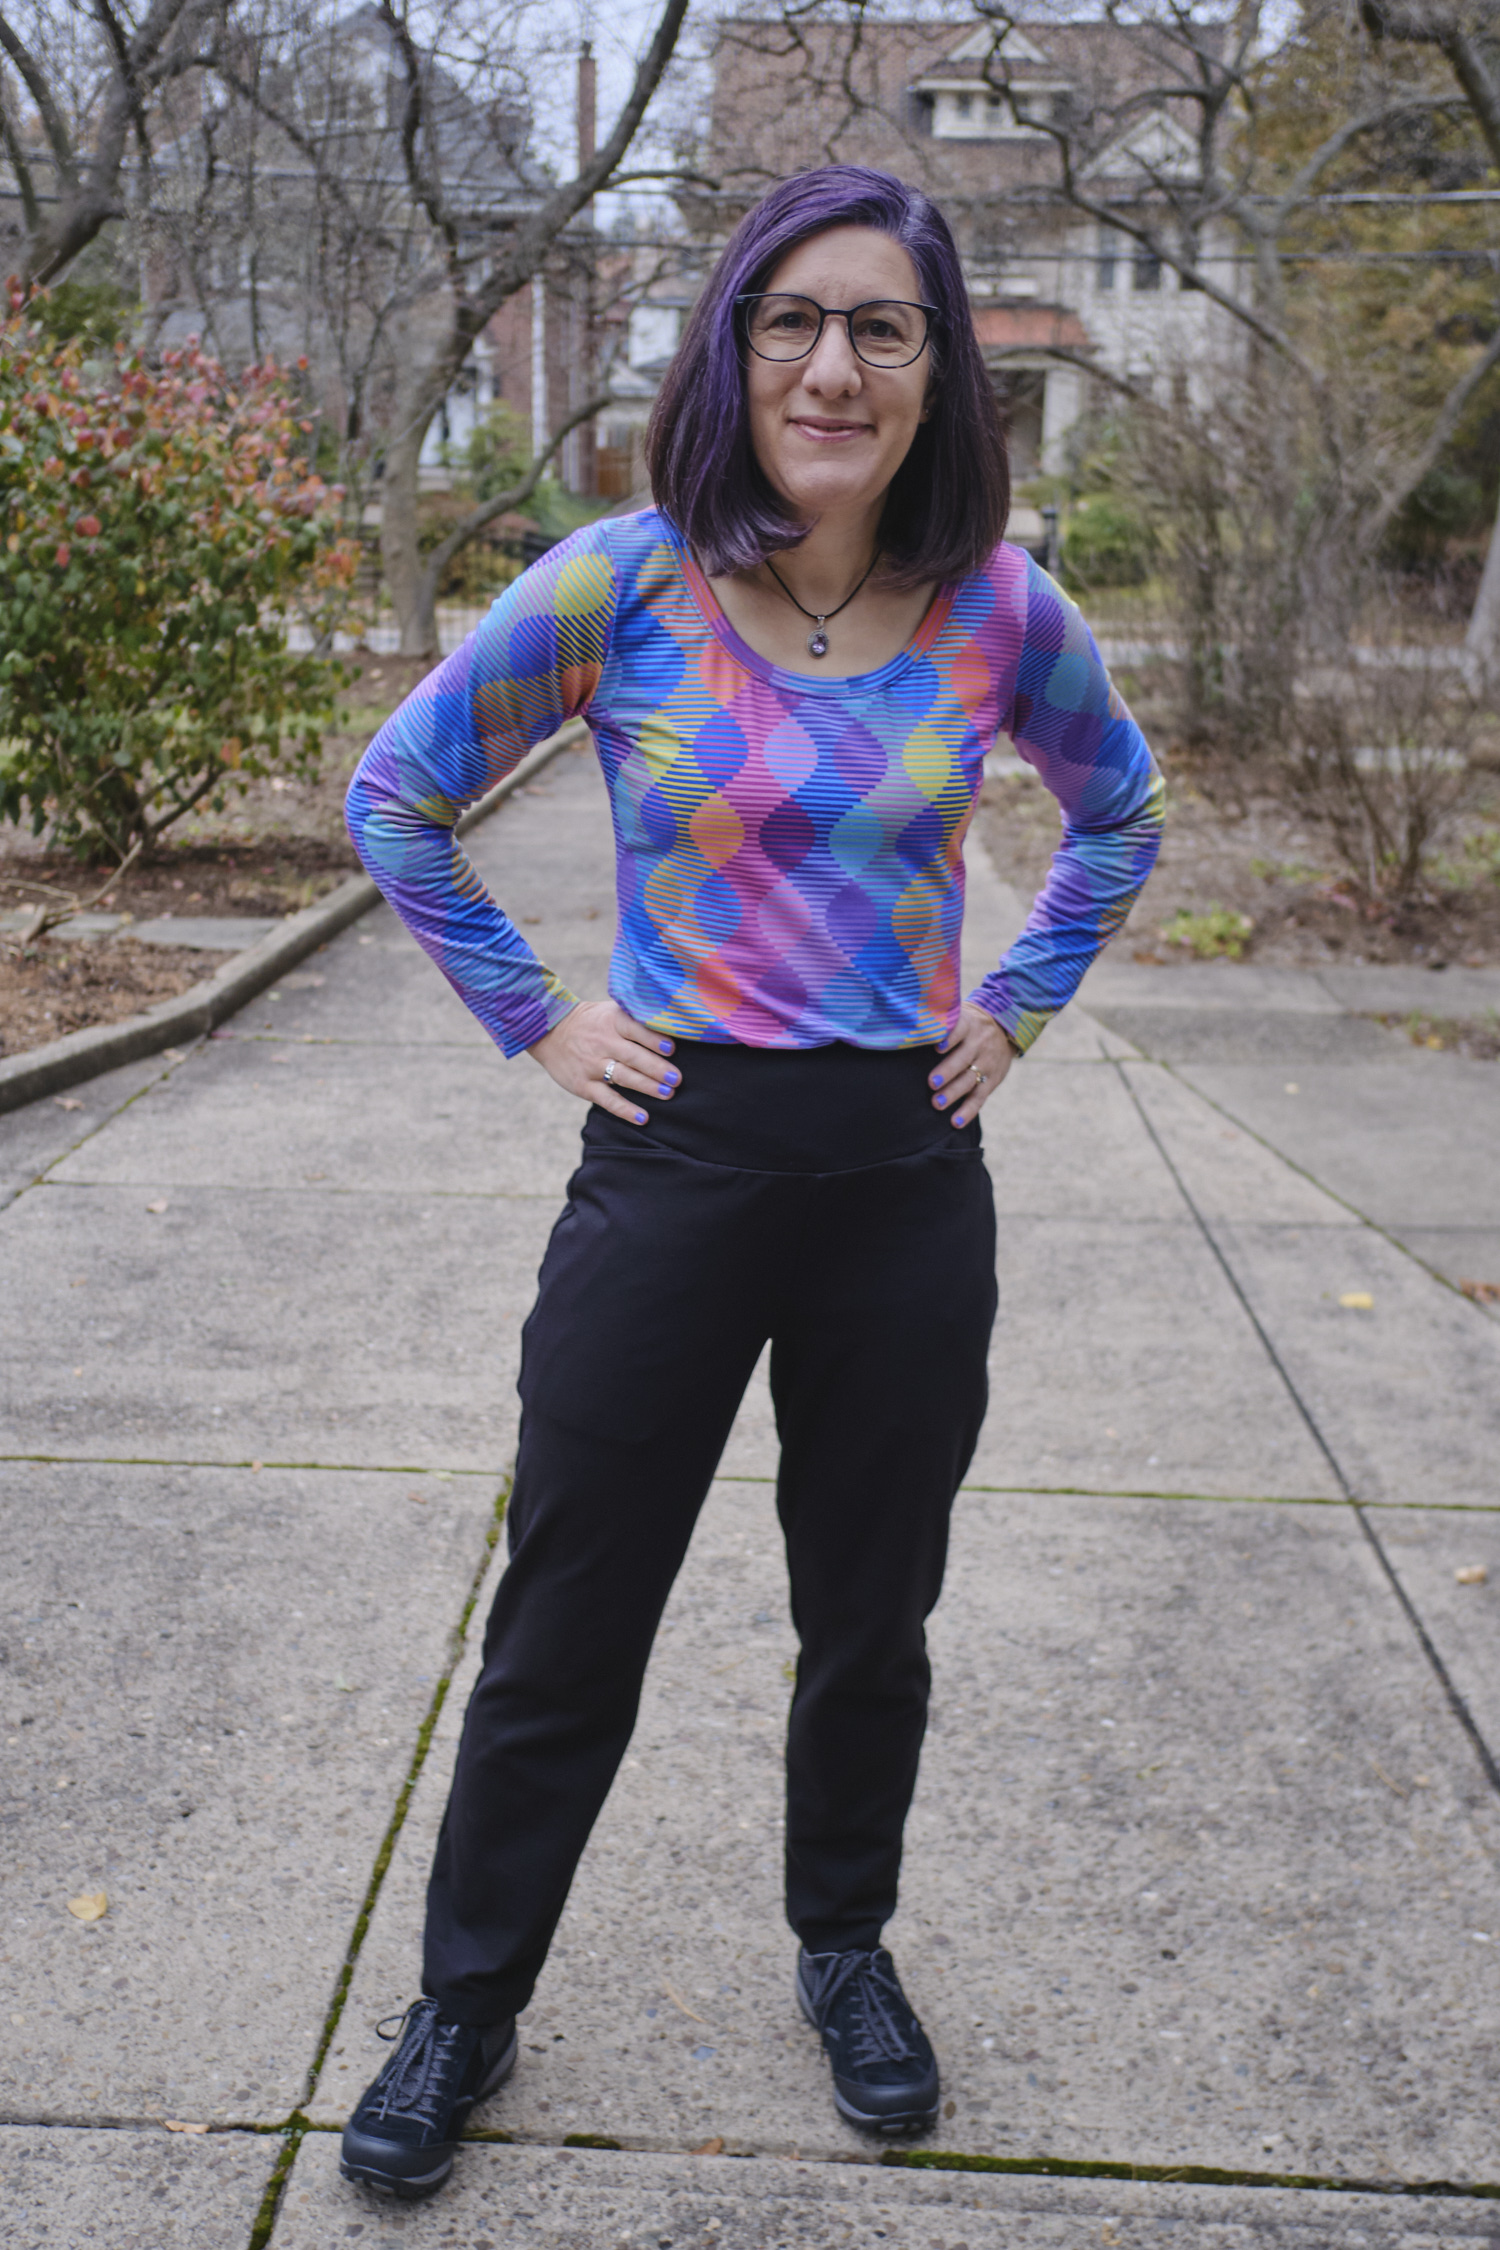
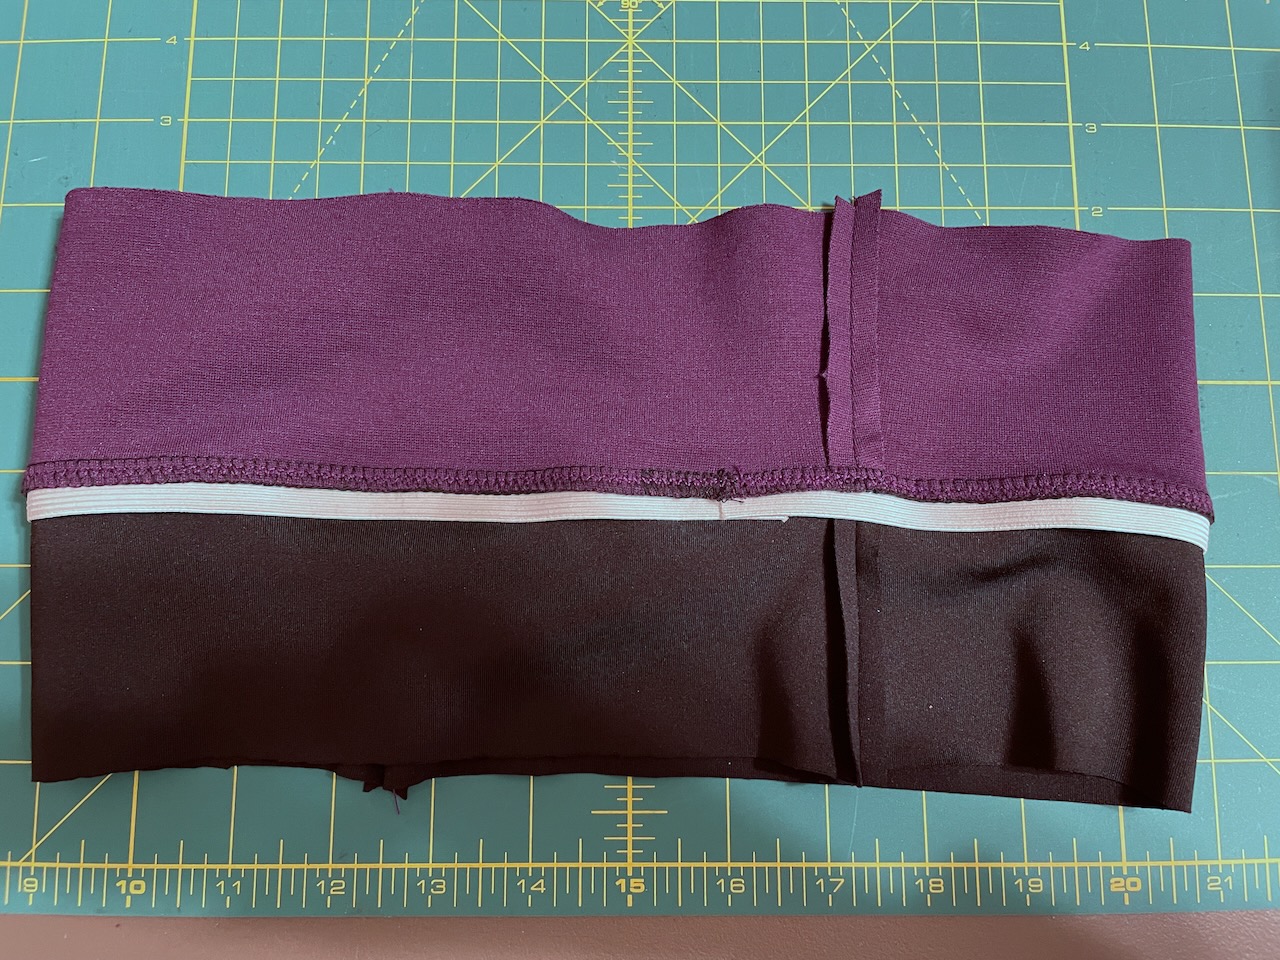
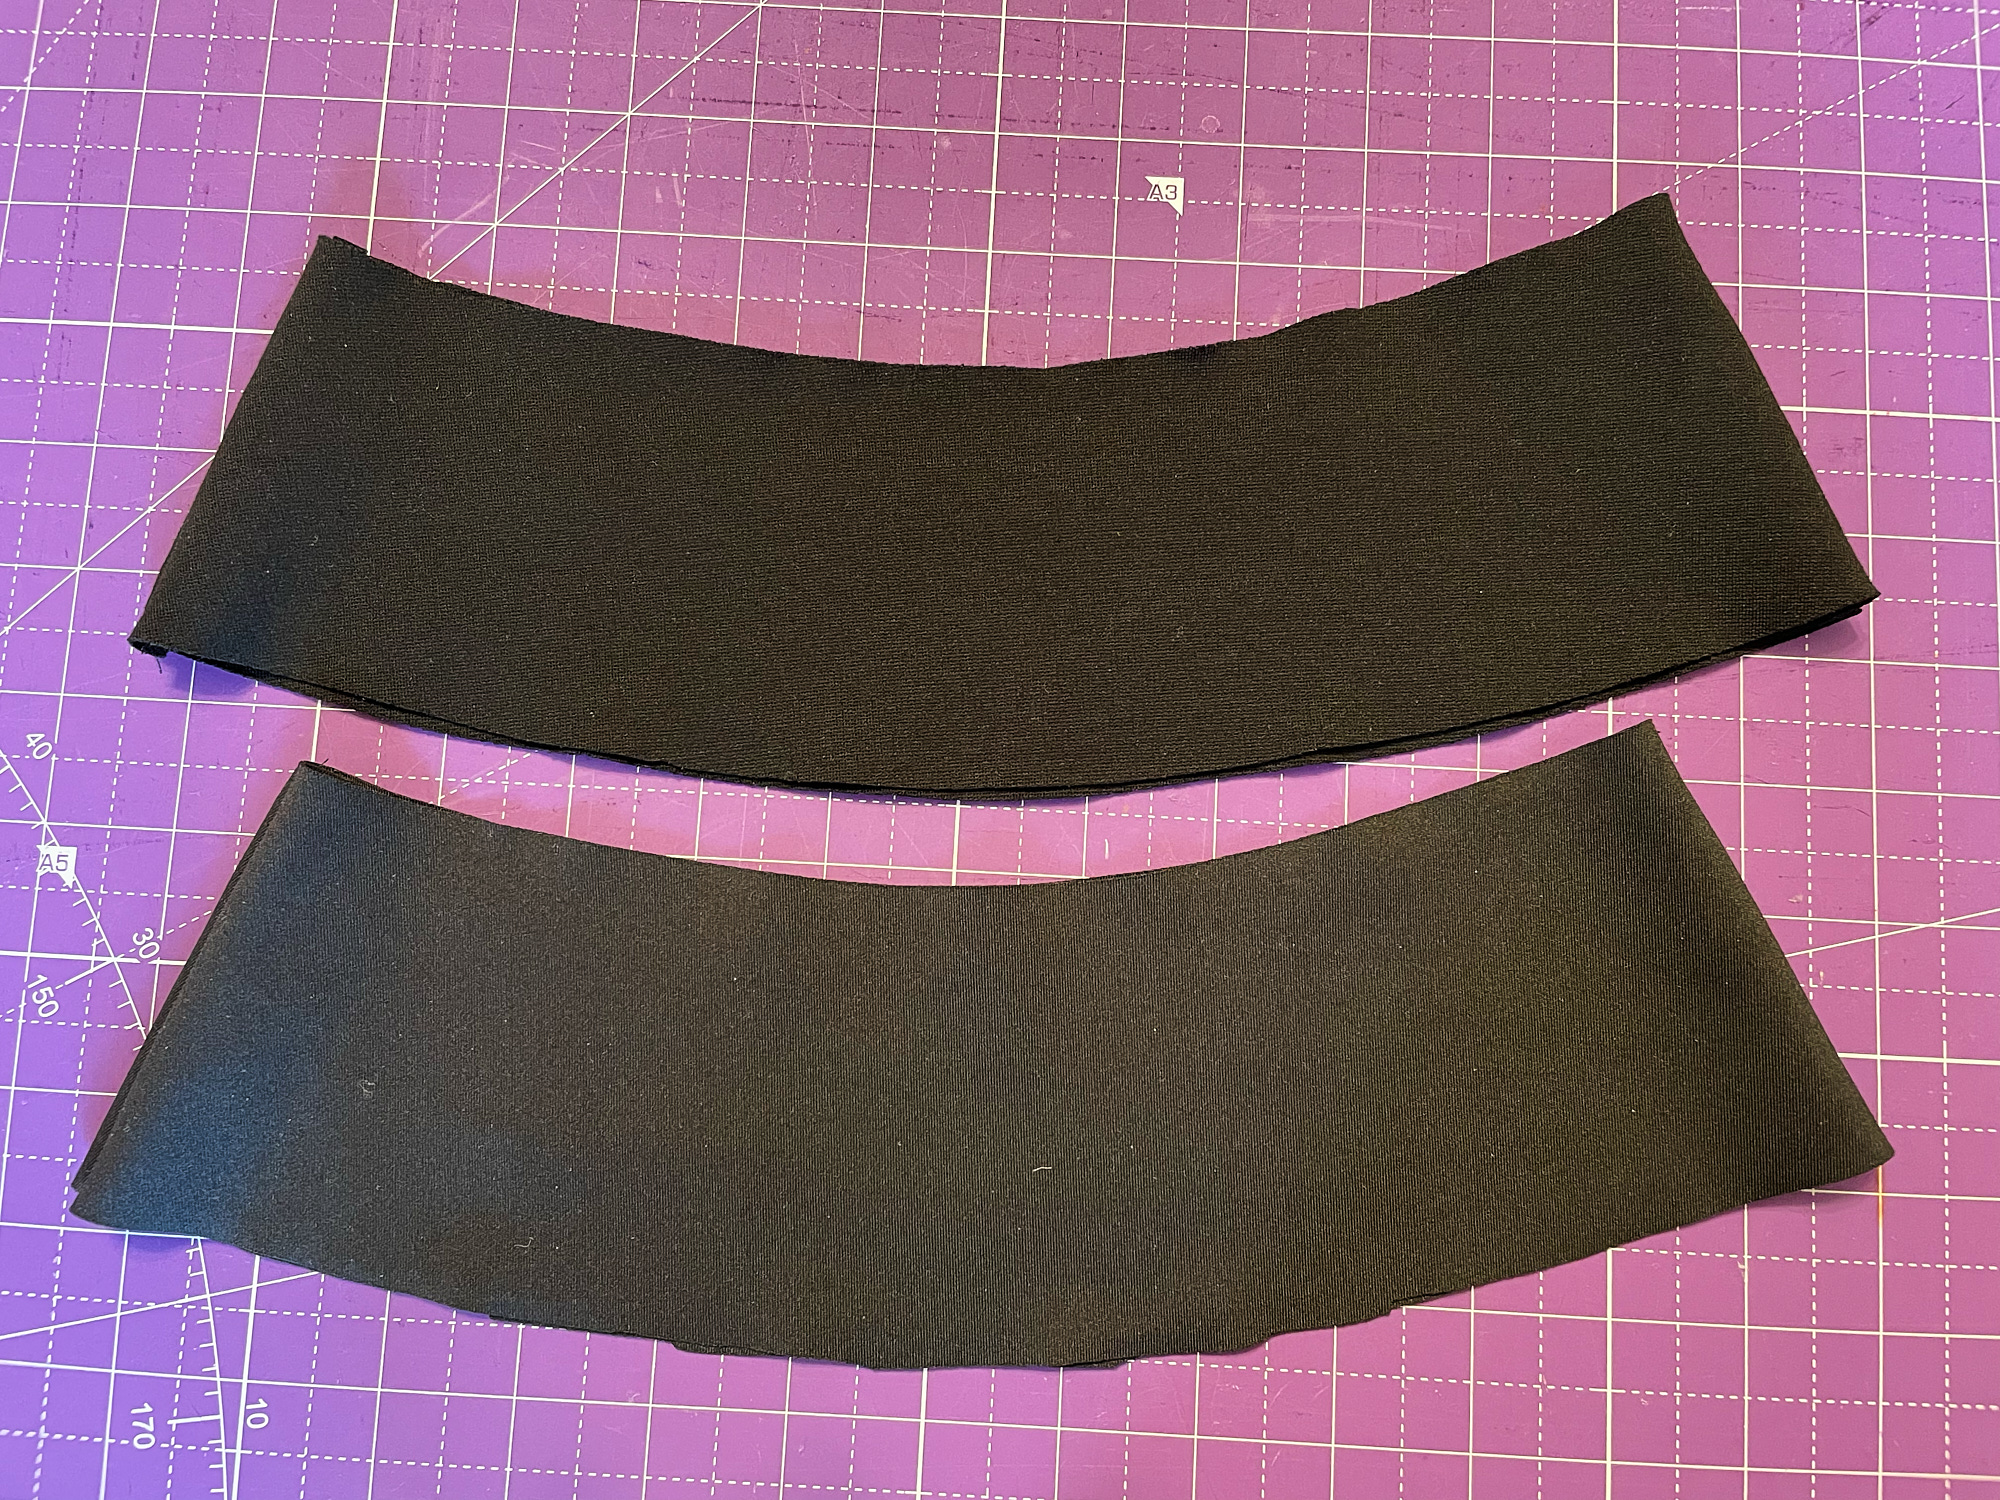
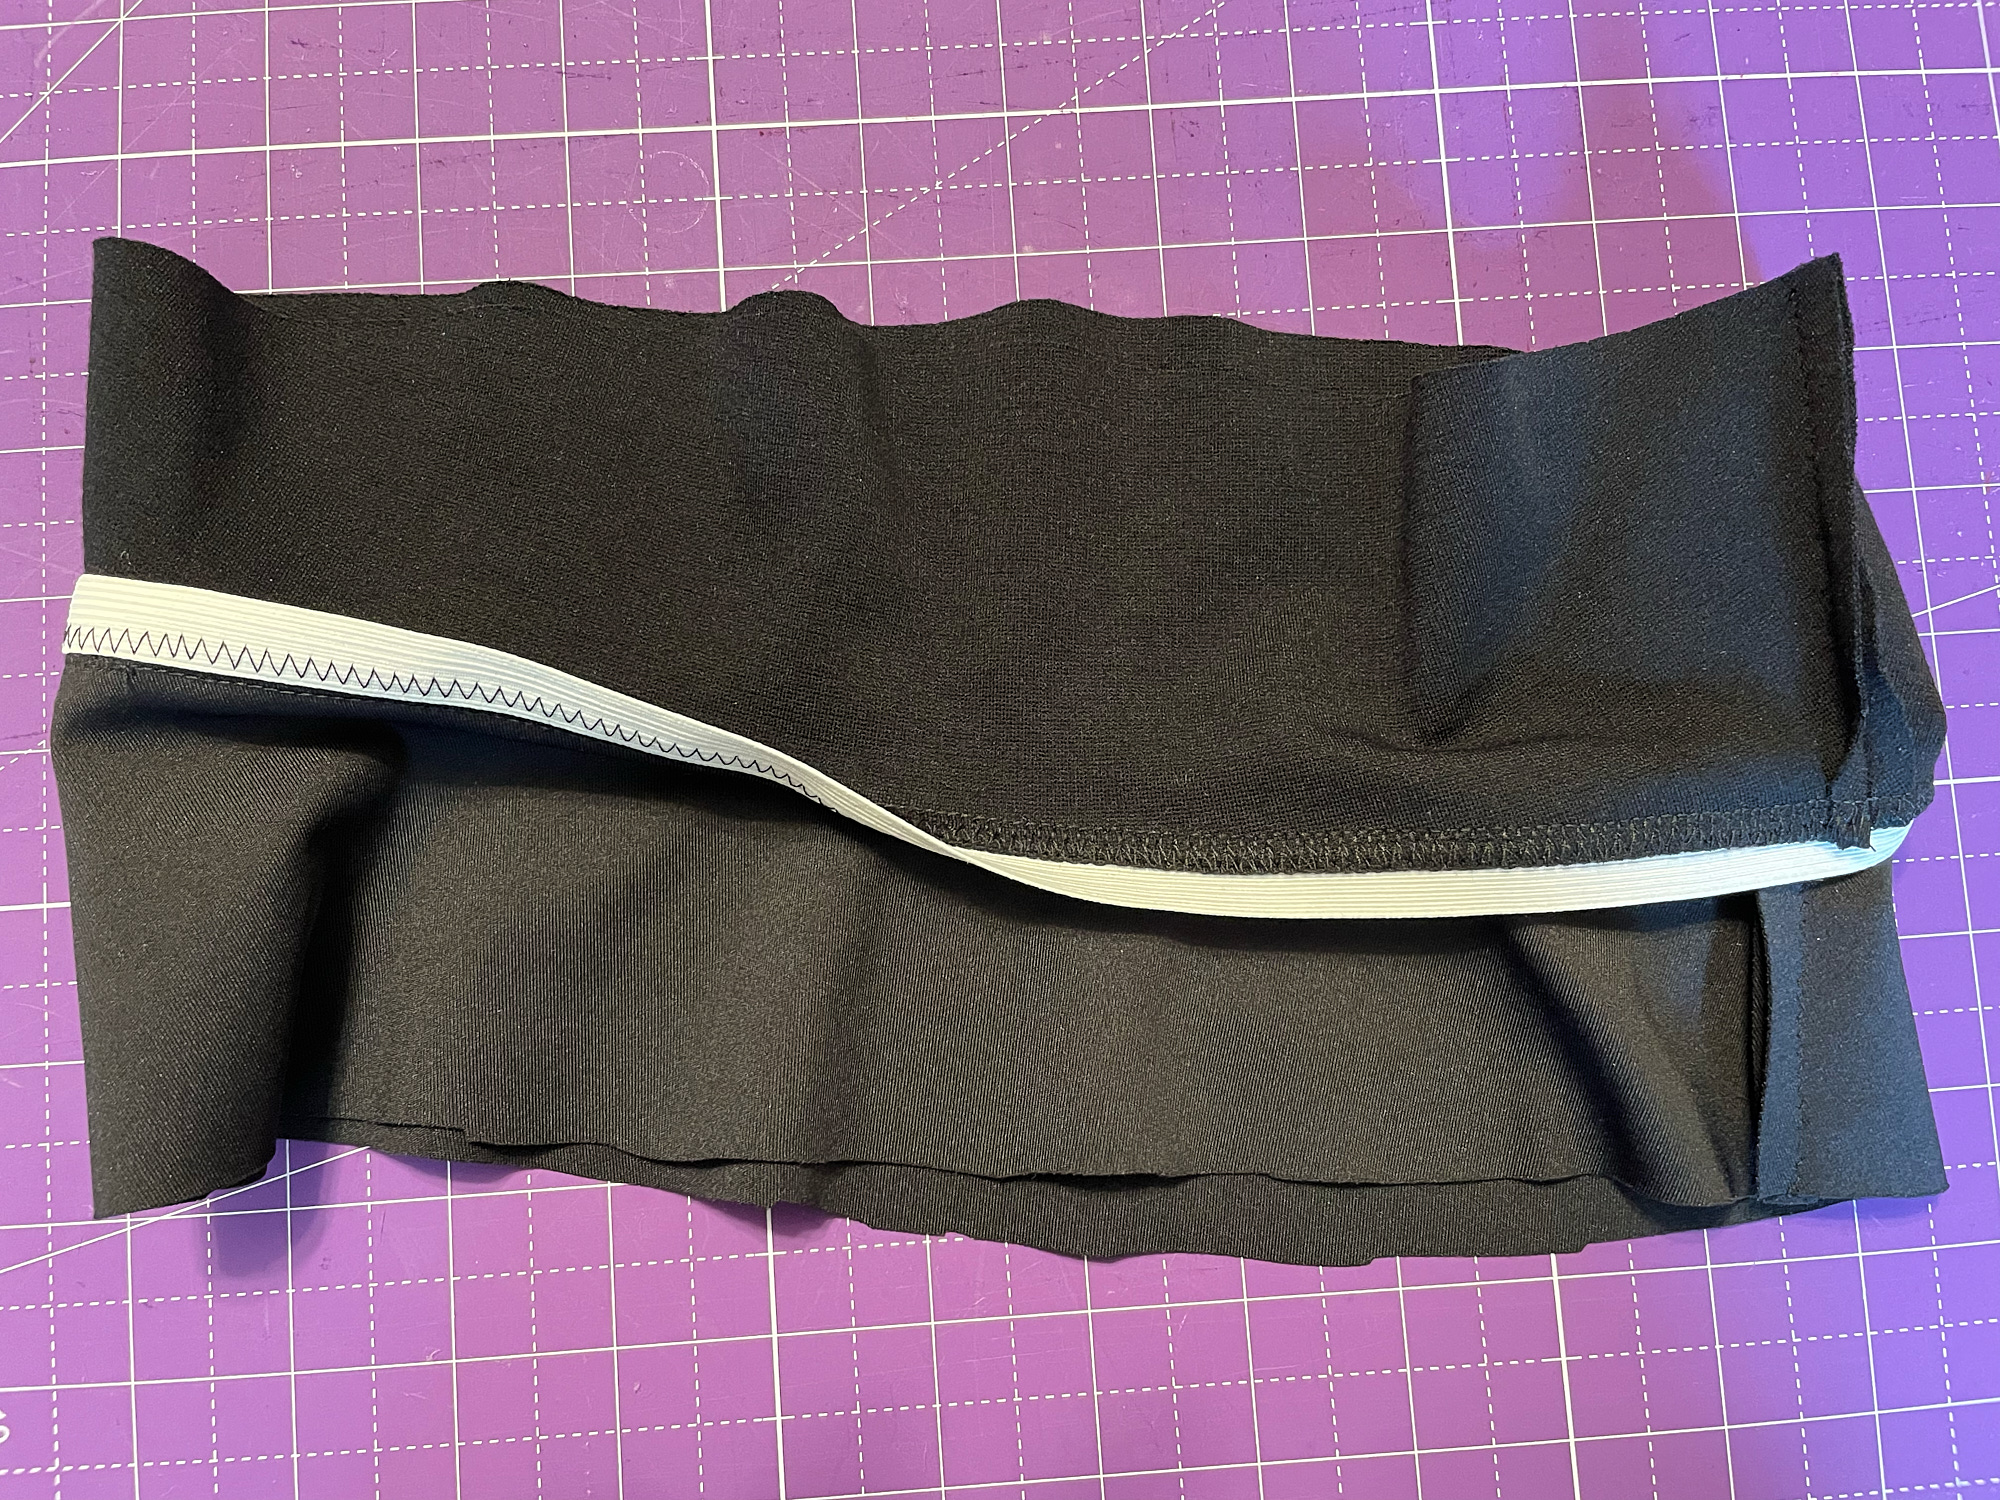
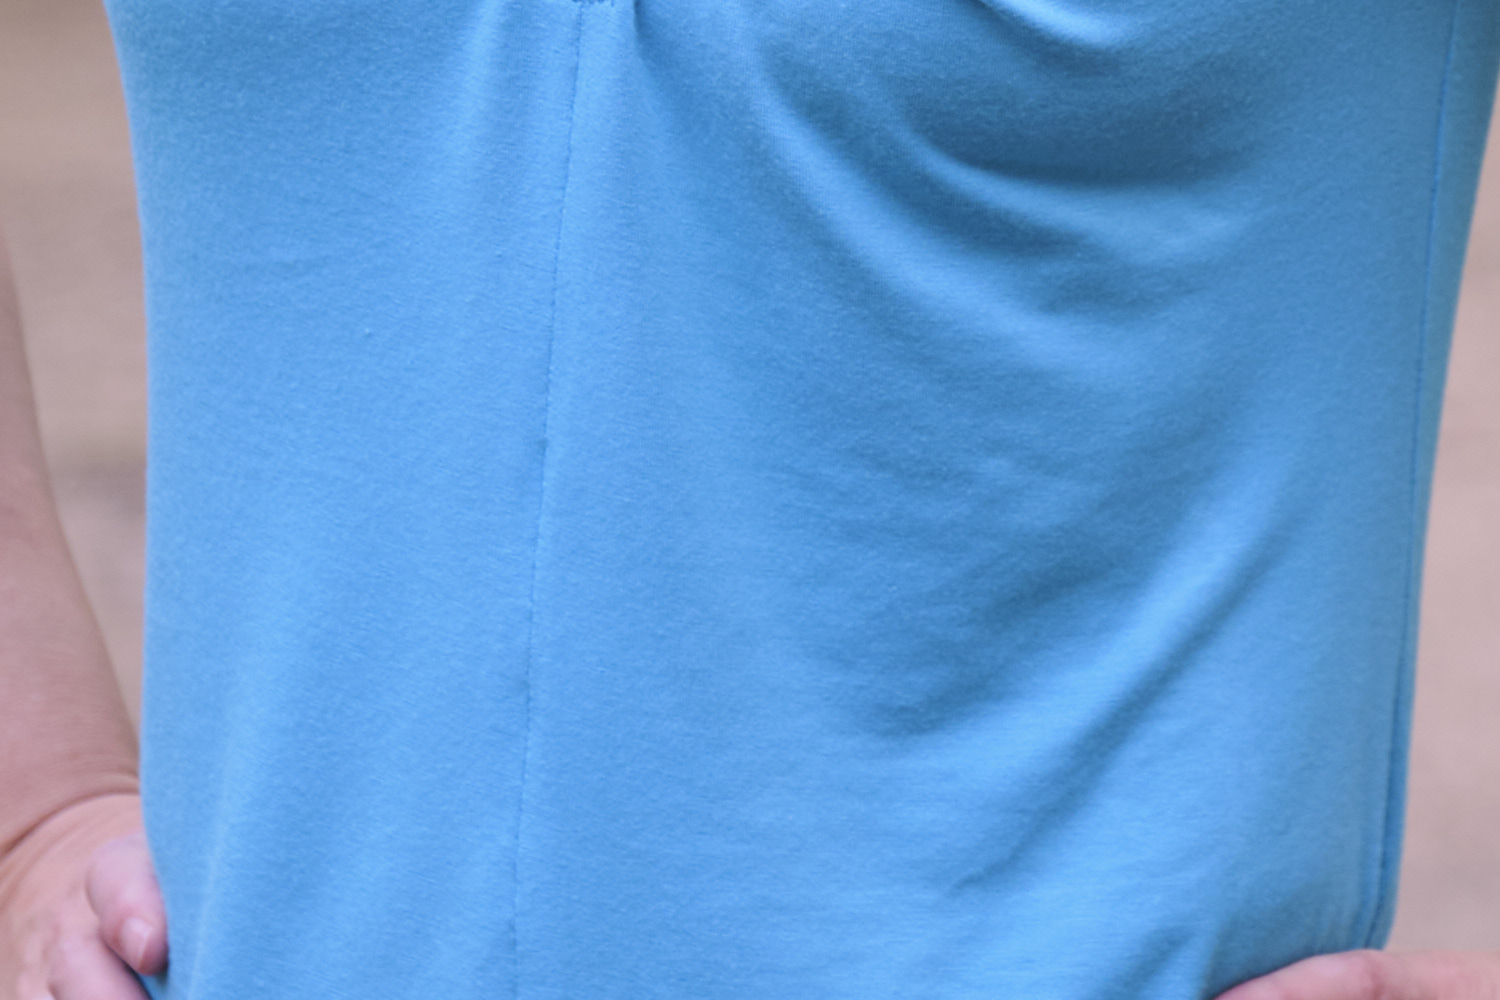
I made the 1.5-inch waistband with Dritz non-roll elastic. I only recently realized there were different kinds of elastics and now I see why non-roll is a good idea for waistbands. The elastic waistband looks ok, but does have a lot of gathers, which is why heavy fabrics aren’t recommended. I’m tempted to try a high-stretch denim and replace the waistband with the one from the Walk Boldly knit pants.


