
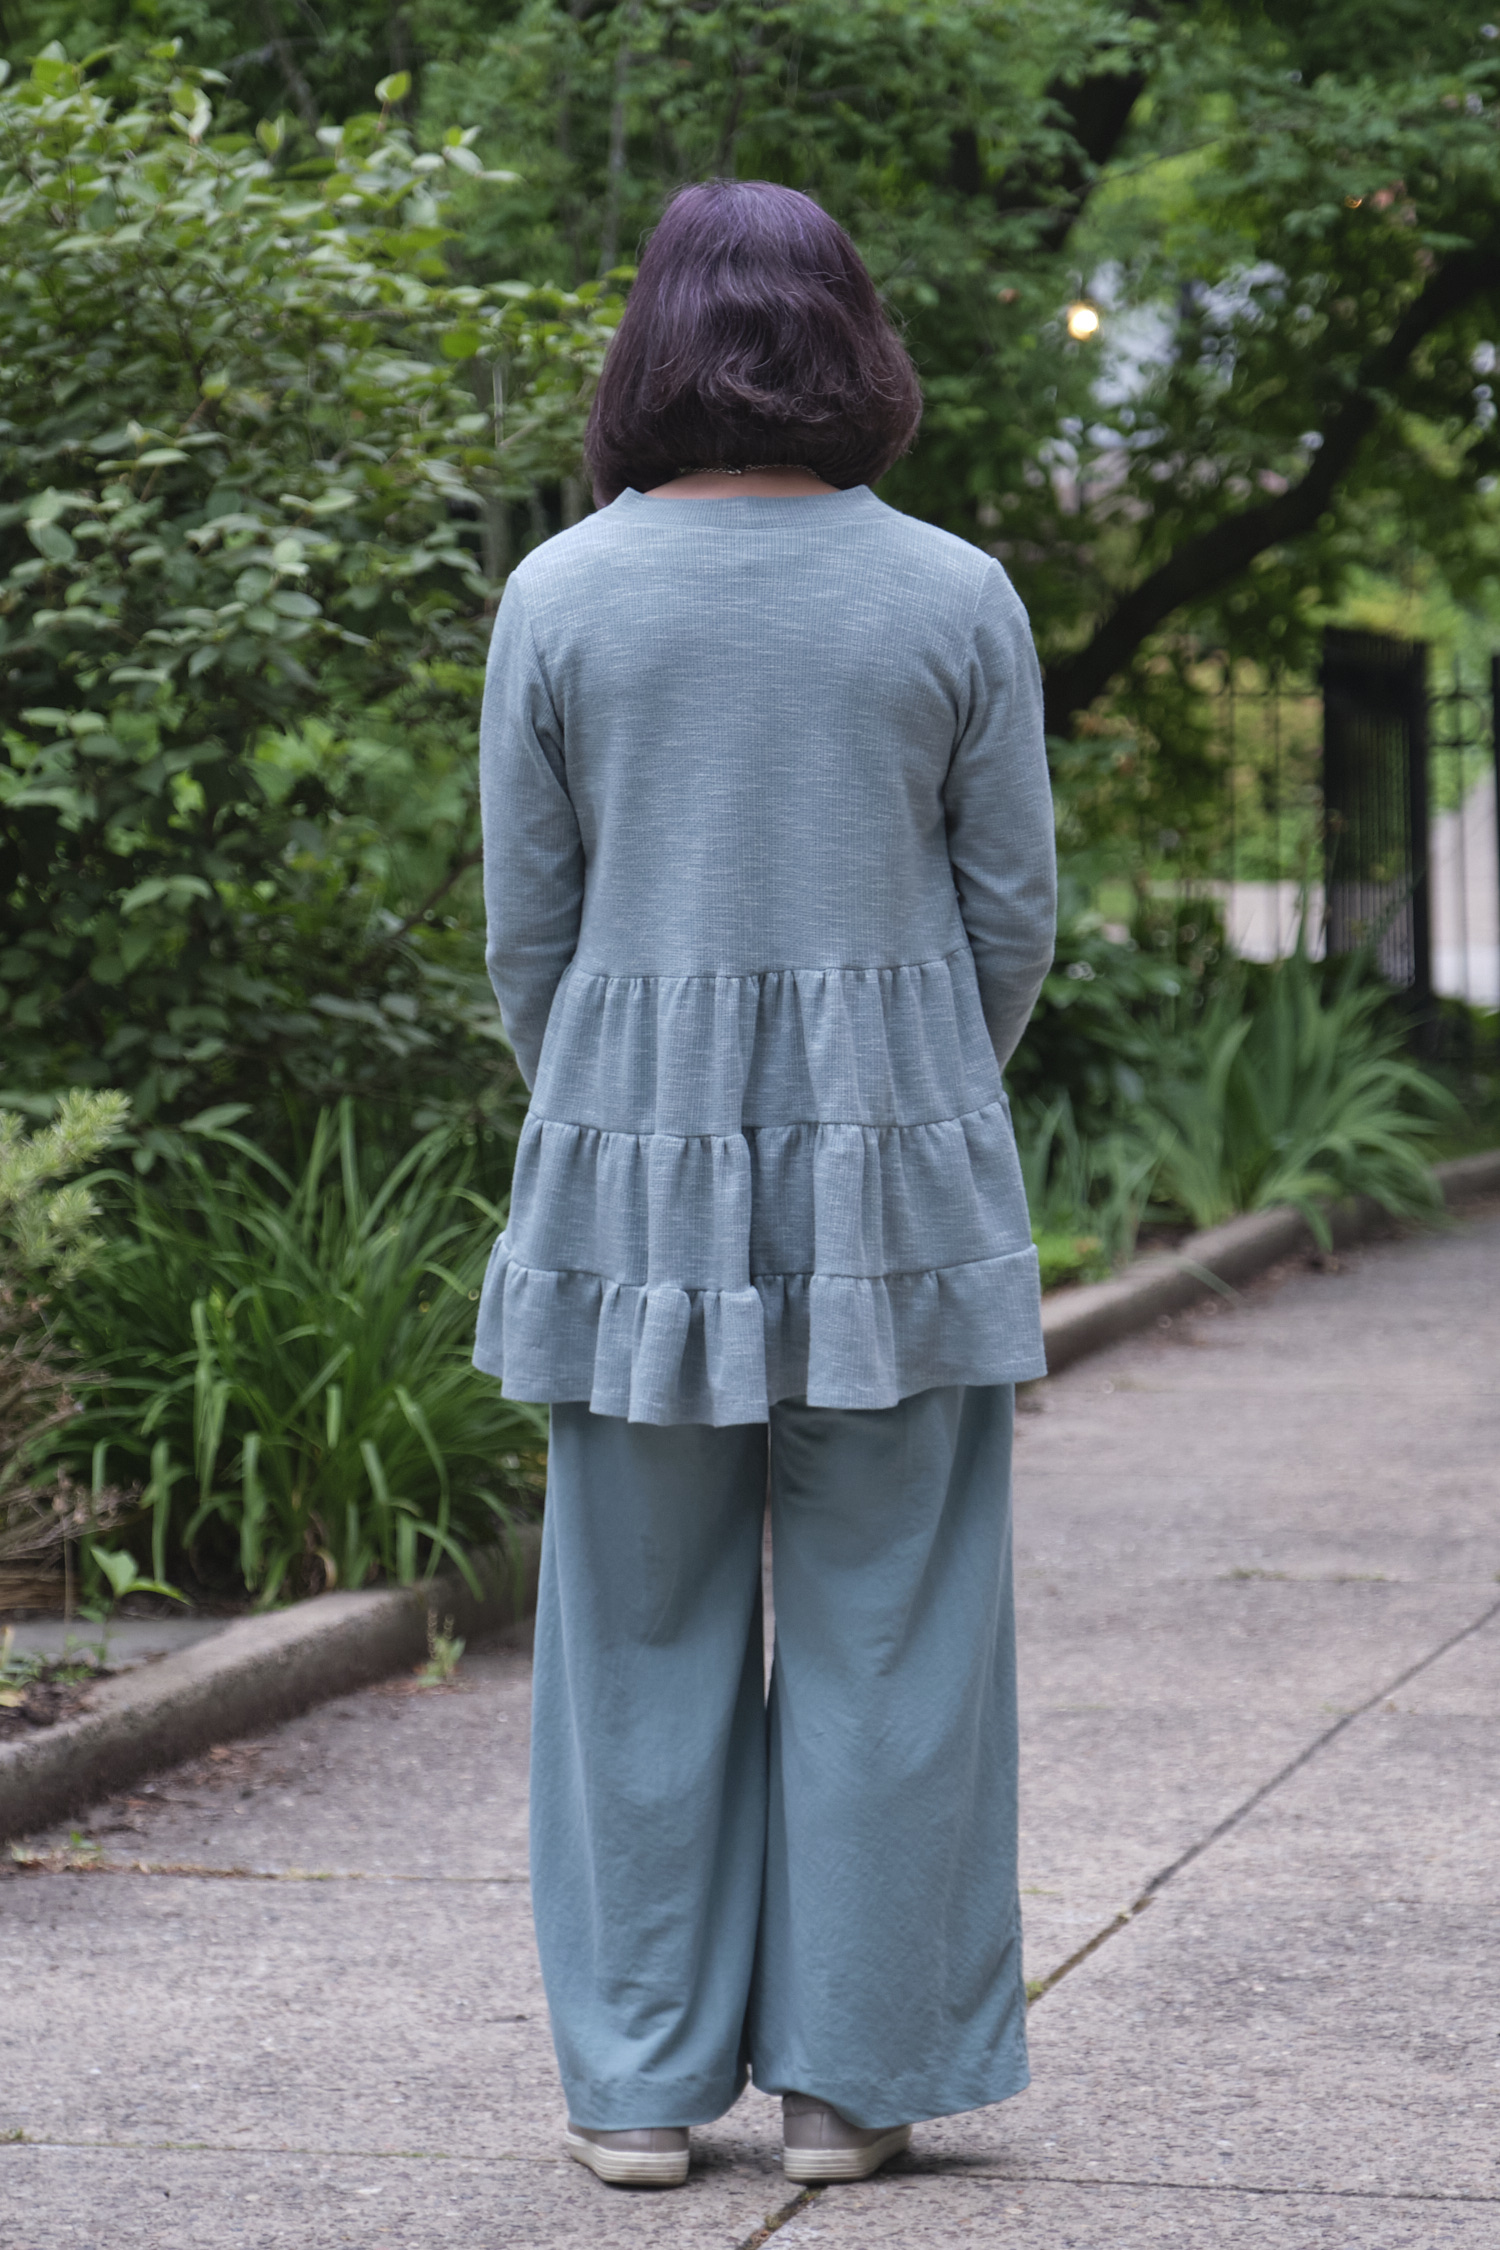
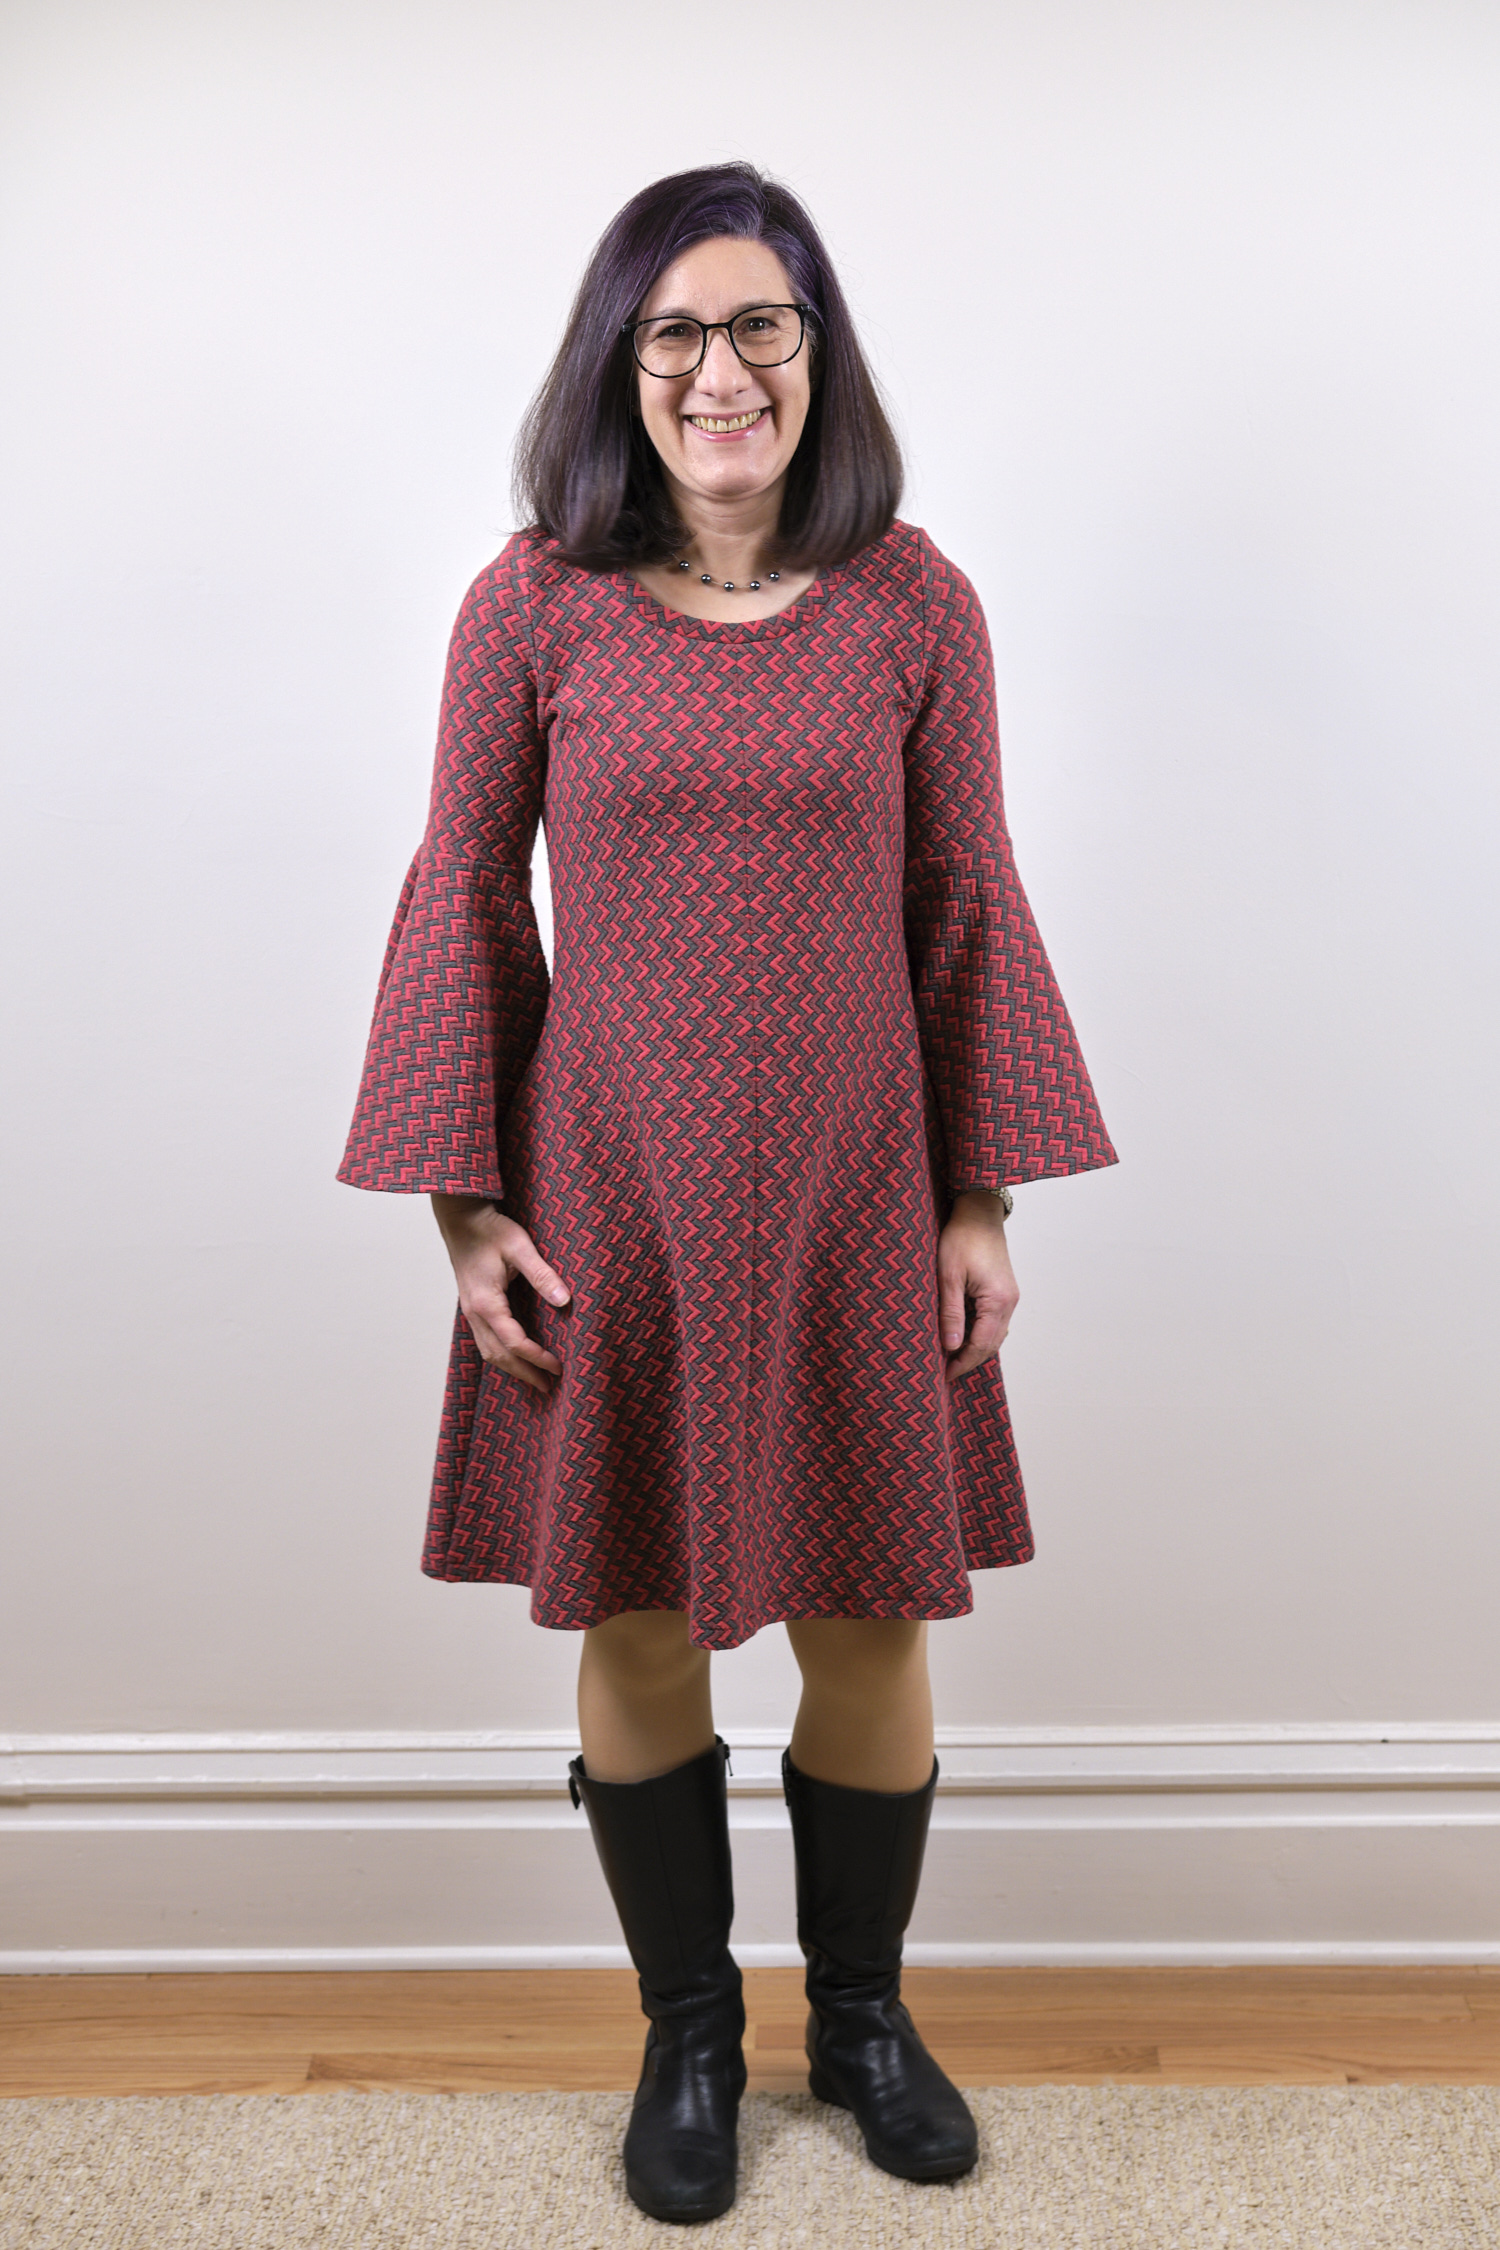
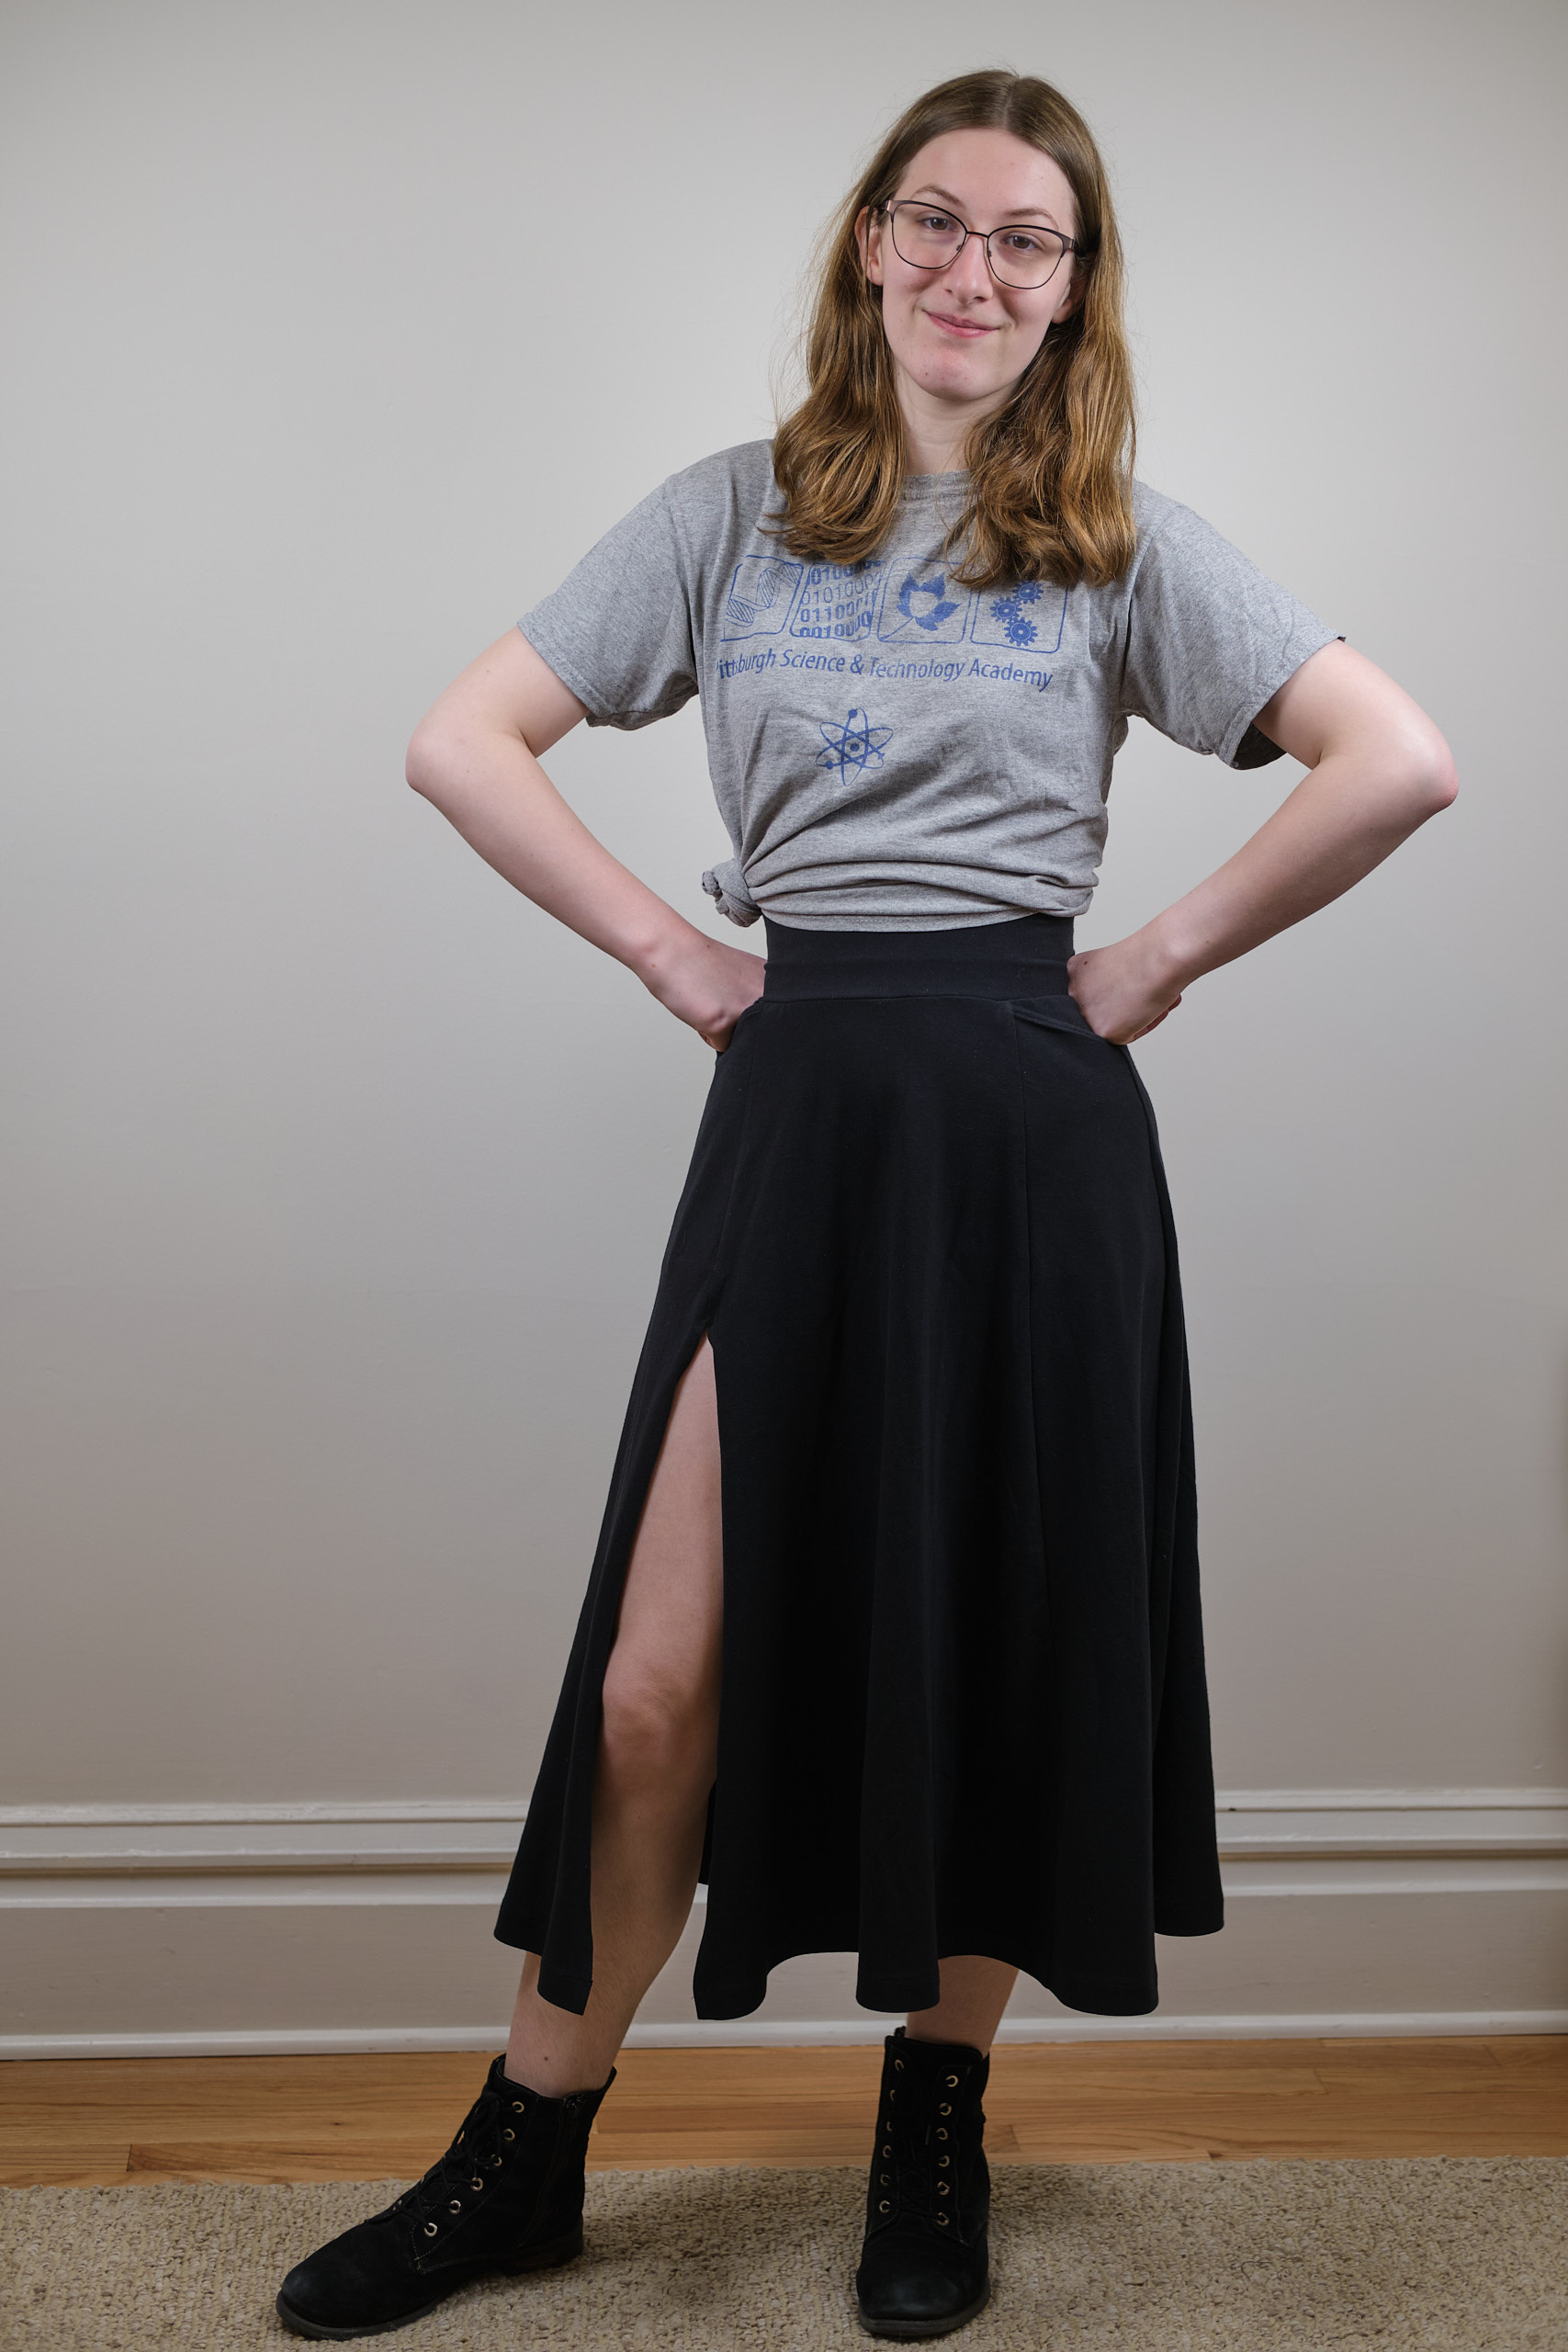
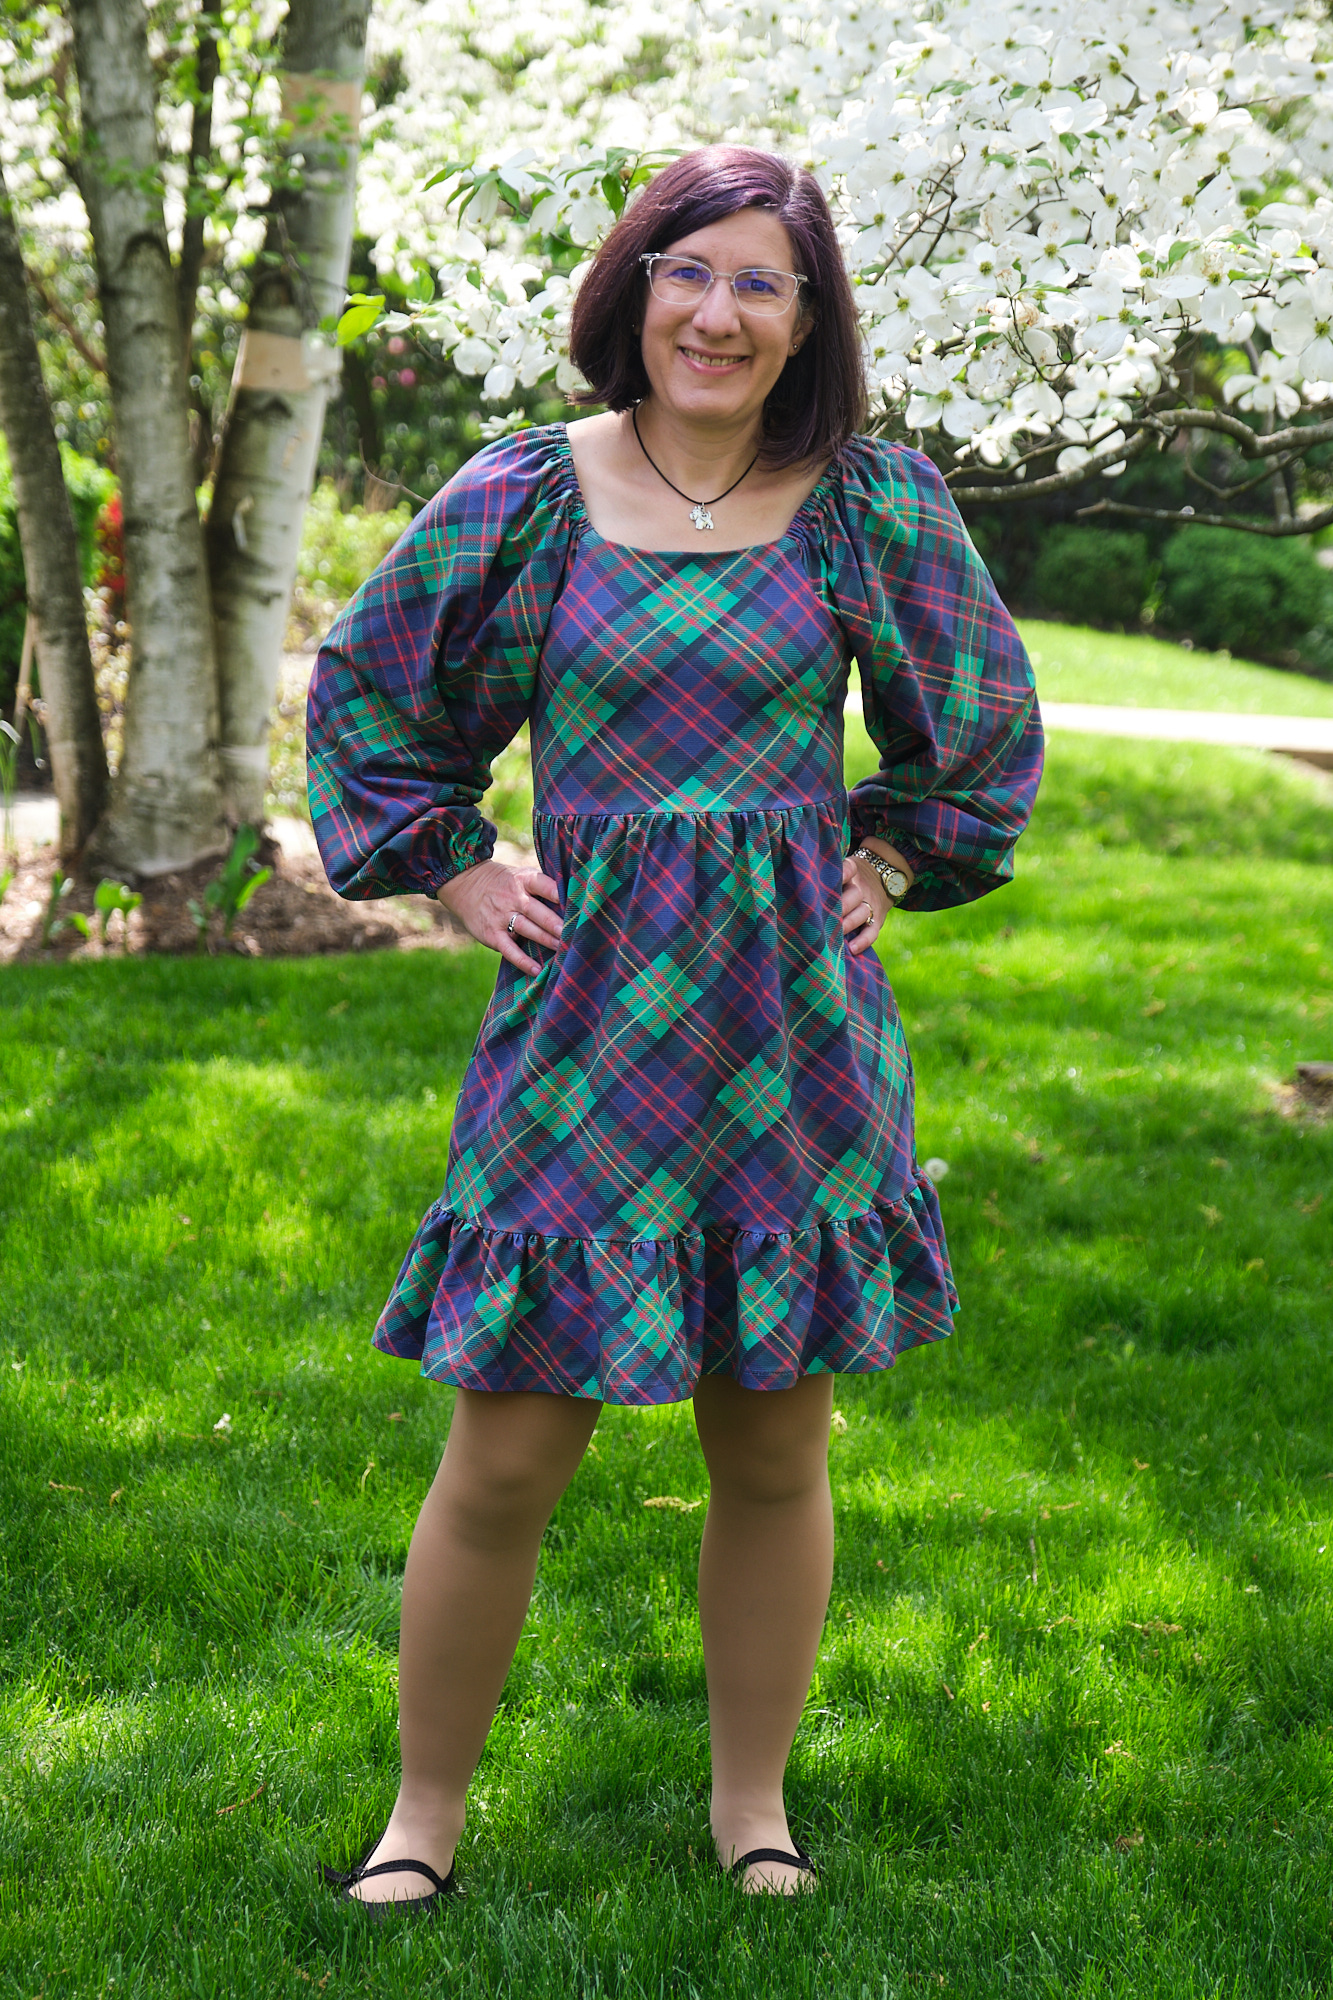
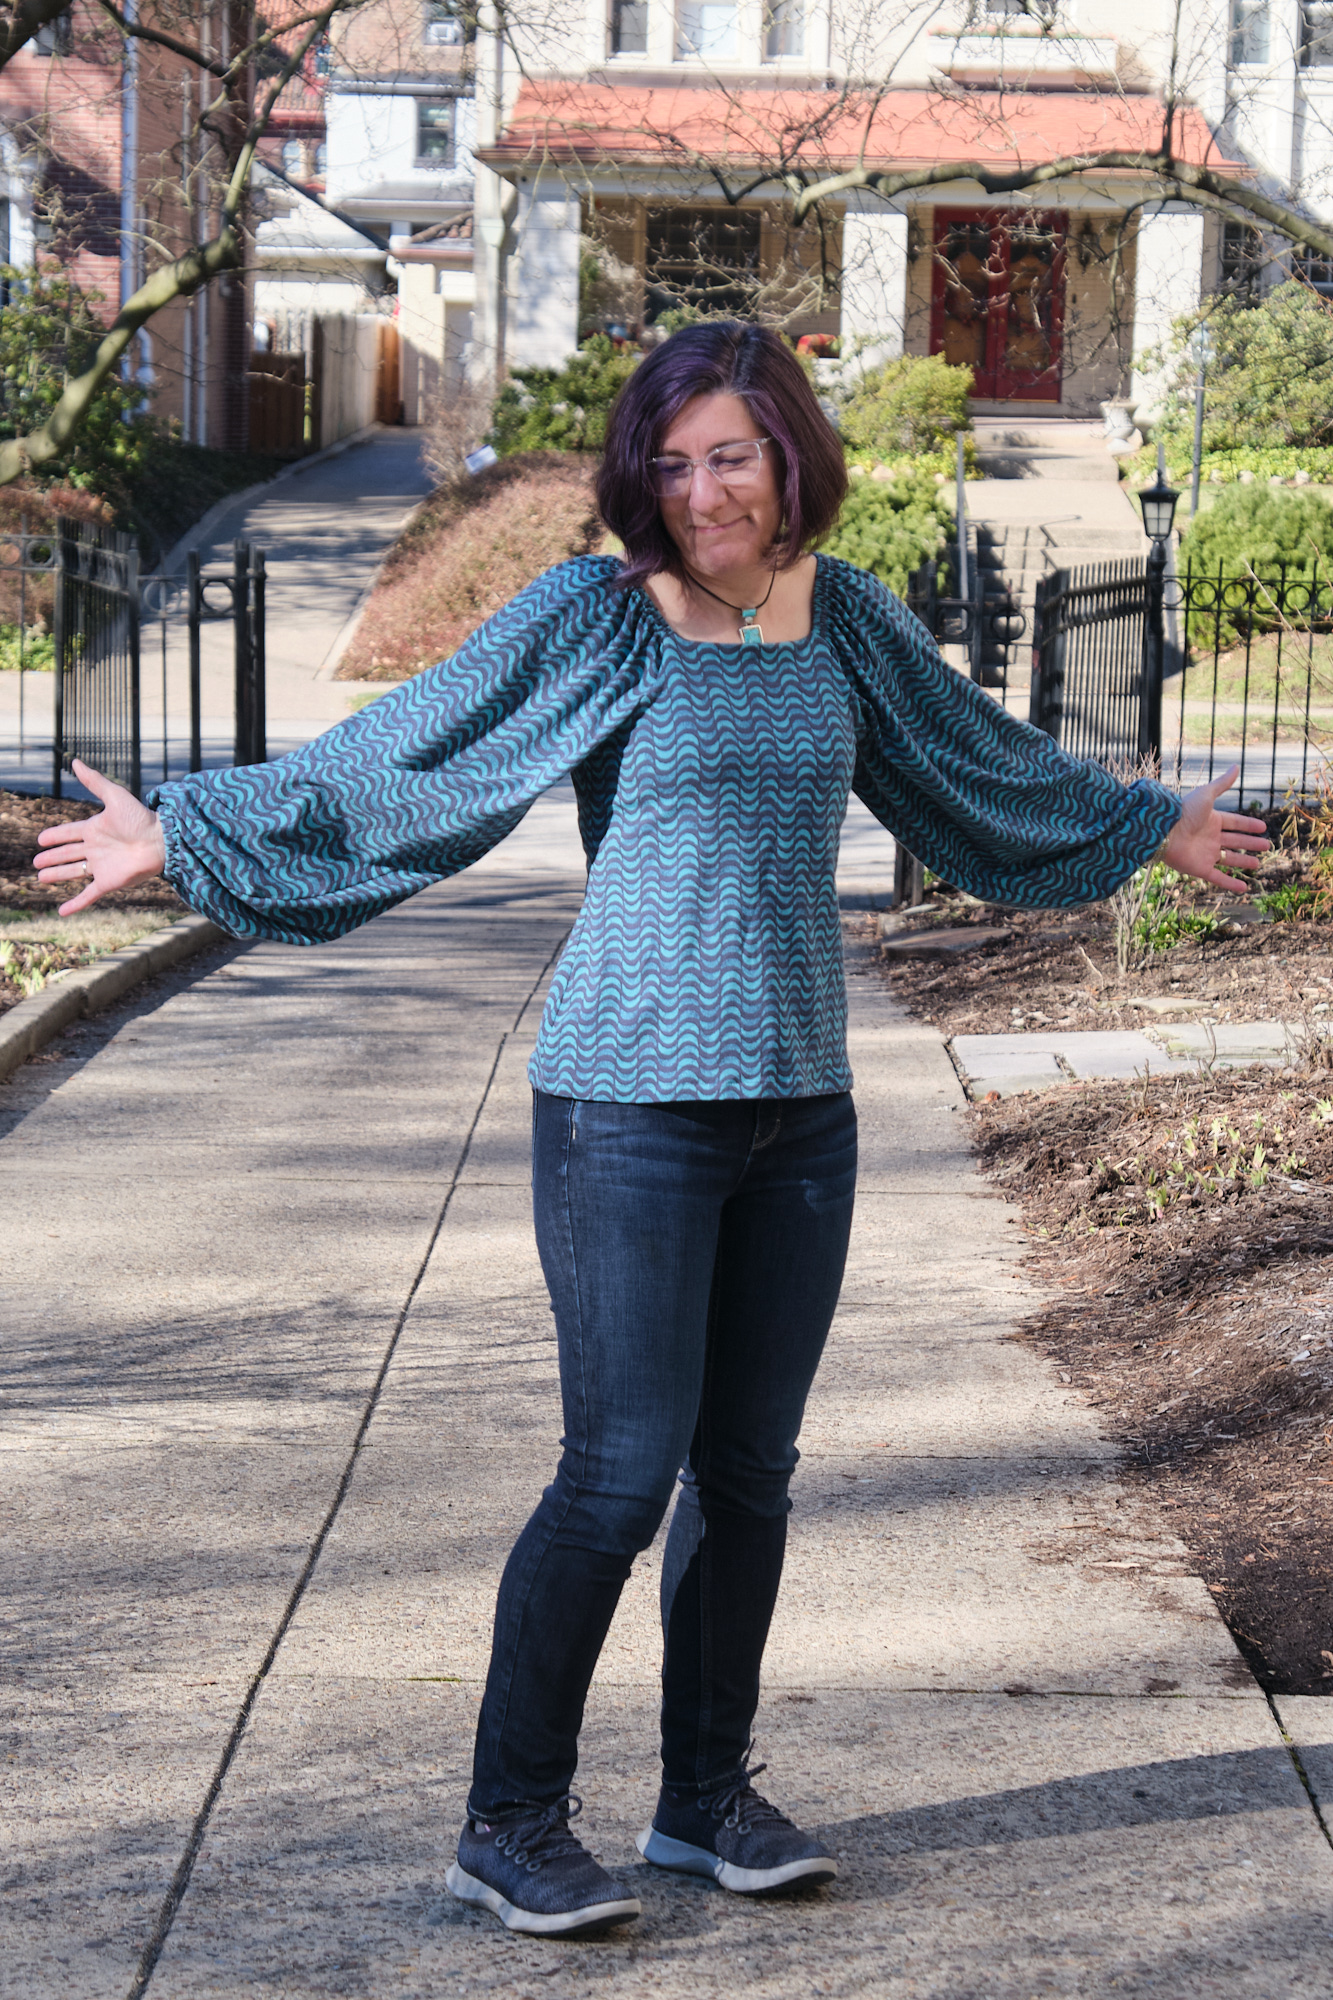
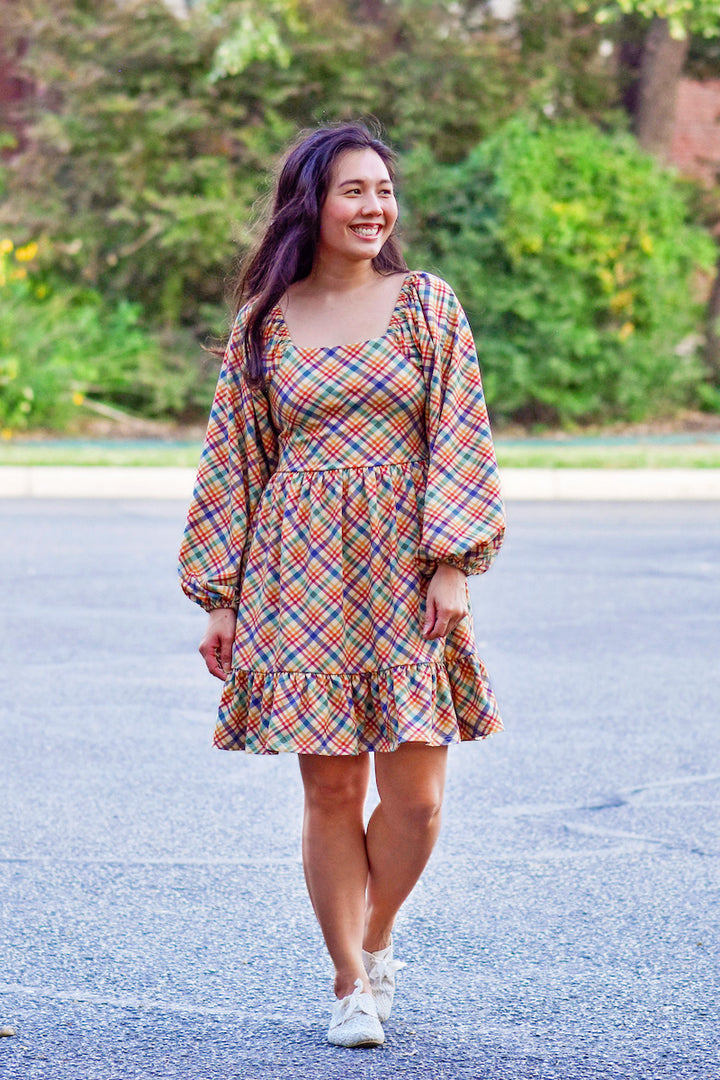
Styla Vail Dress with long sleeves, size 6, sloped shoulder and swayback adjustment, knee length, sleeves and hem shortened by 2 inches, 2 yards of ponte.
The pockets and the darts were what drew me to the Styla Vail Dress, which has a higher neckline and a more fitted skirt than I usually wear. I thought about hacking the neckline or adding more swing to the skirt but decided to try the pattern as intended before making major changes. After looking at photos of the dress on the pattern company website and Facebook group, I decided I preferred the versions made from more substantial fabric so I made the dress out of about 2 yards of a red 58″-wide rayon/nylon/spandex ponte fabric that has a bit of body and weight to it. I did a half-inch sloped shoulder adjustment when I cut out the fabric. After basting it together, I added a half-inch sway back adjustment and shortened the sleeves and knee-length hem by 2 inches before hemming with a wide cover stitch.
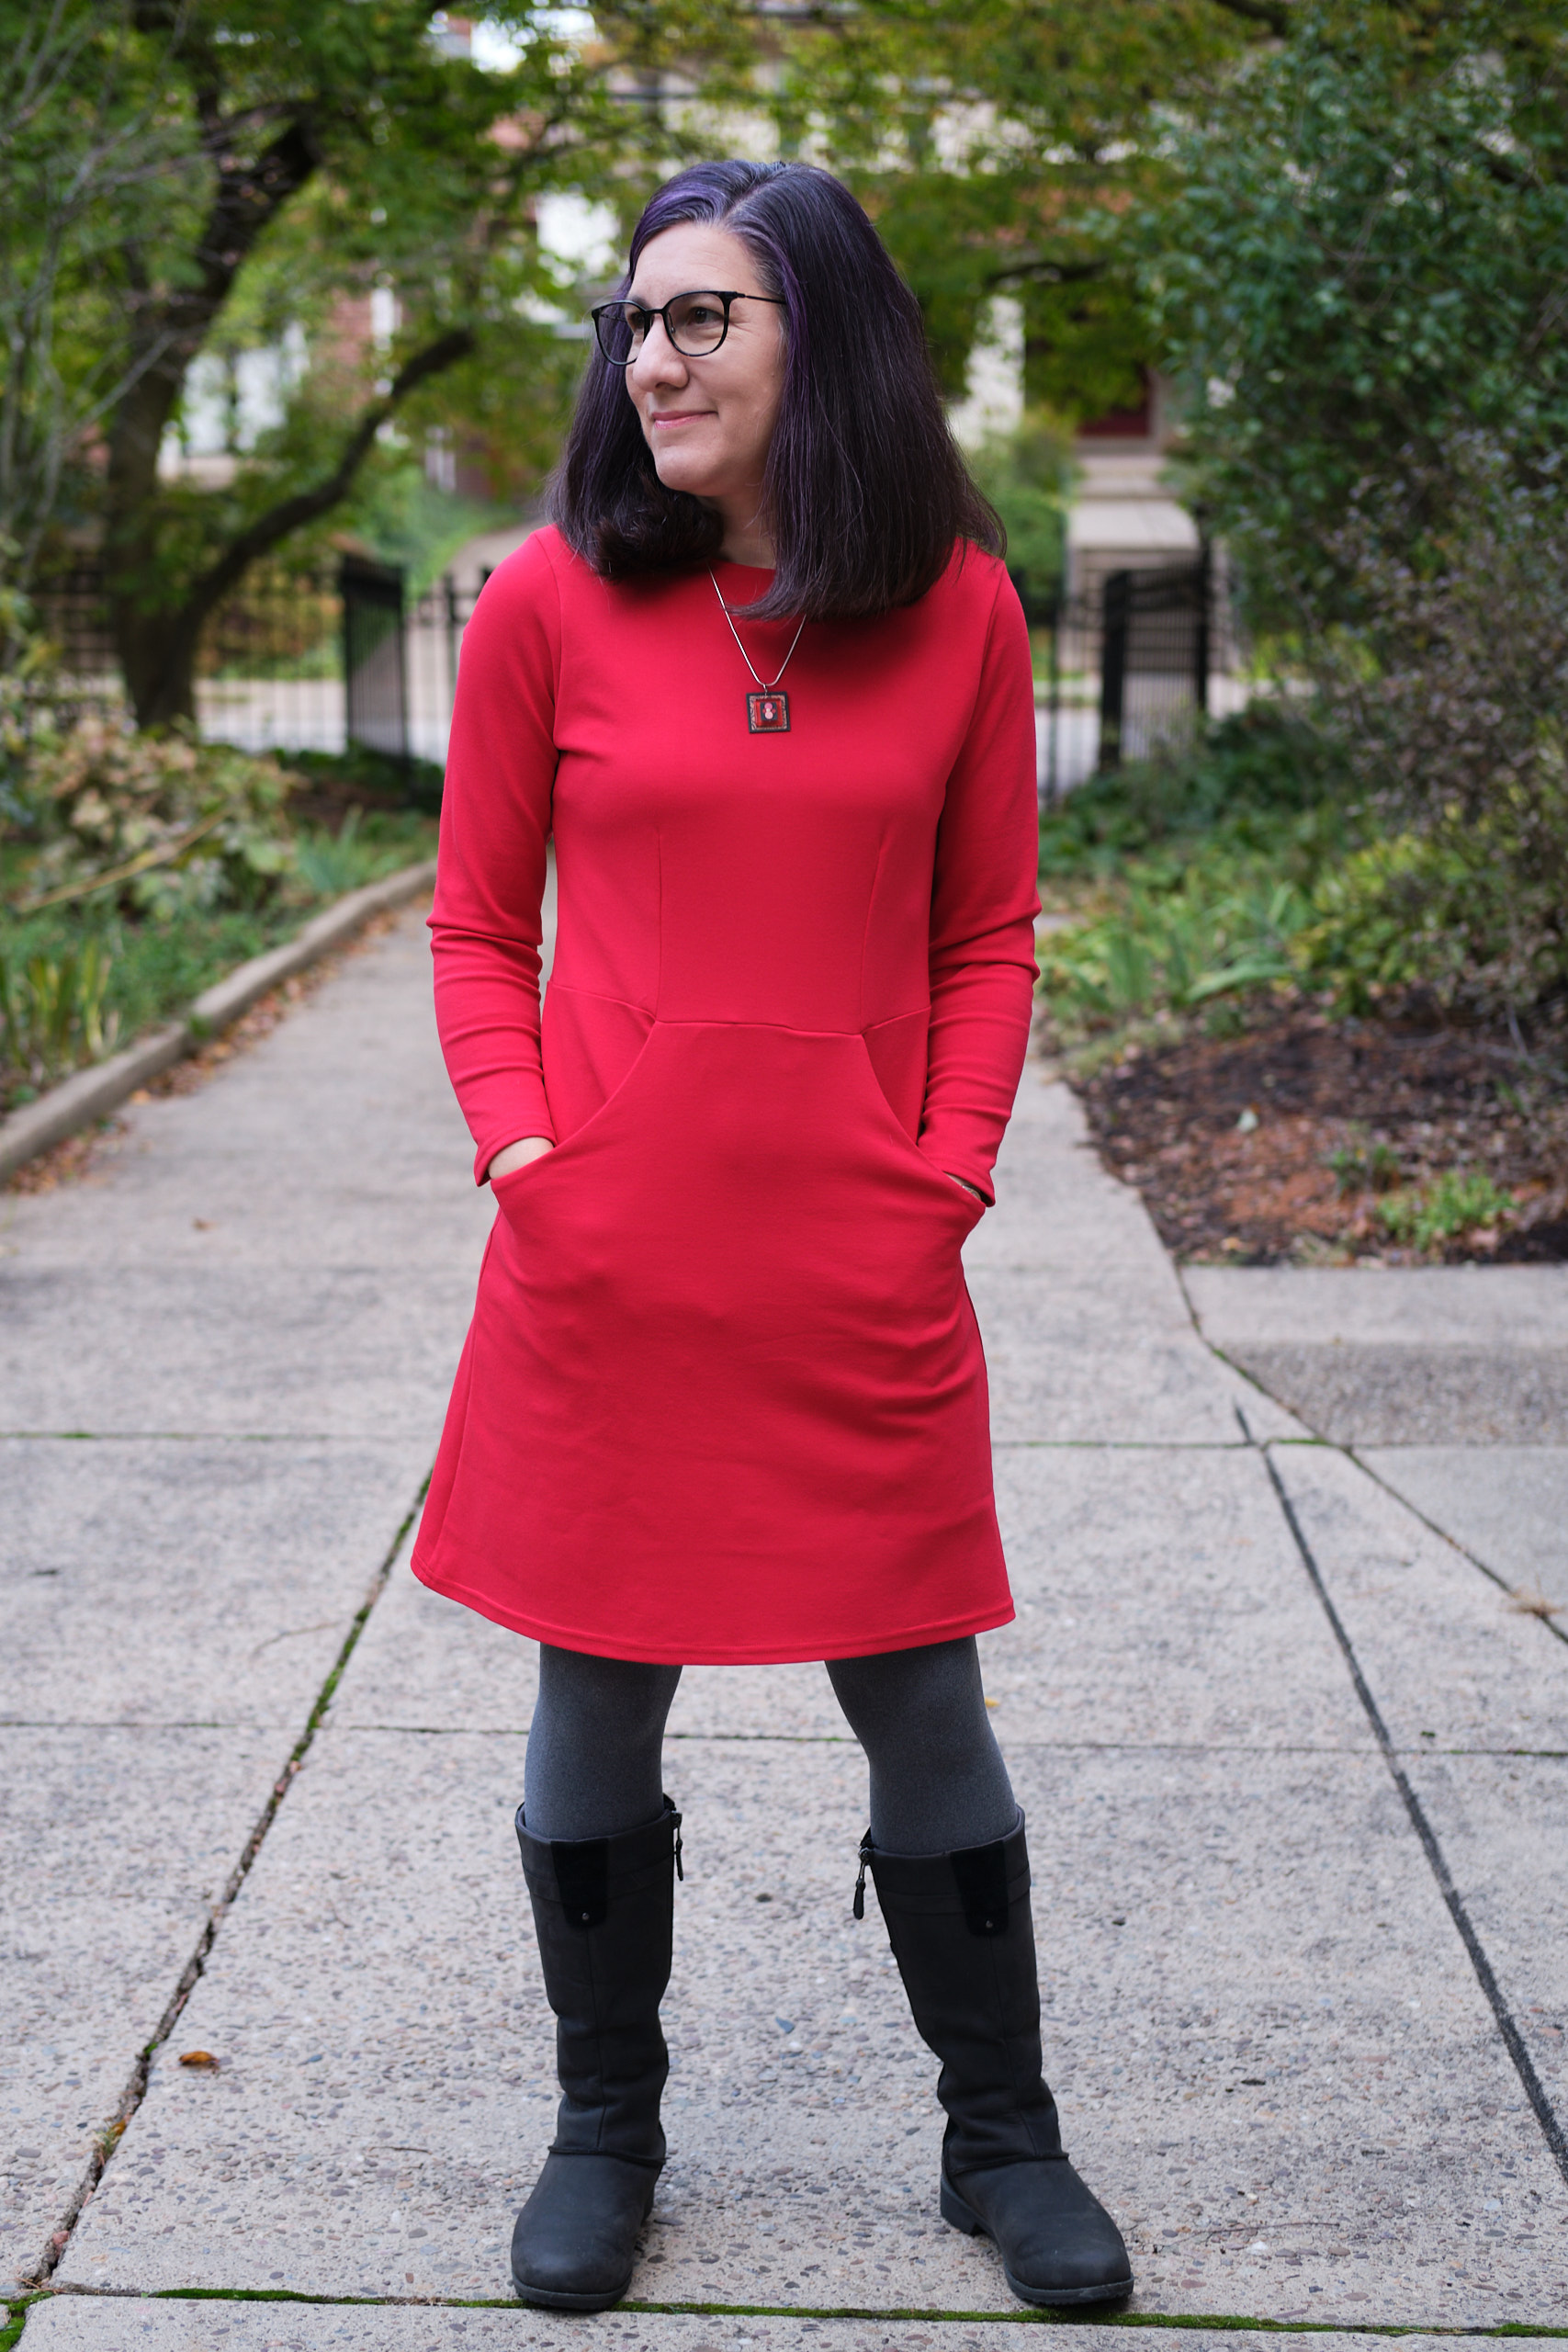
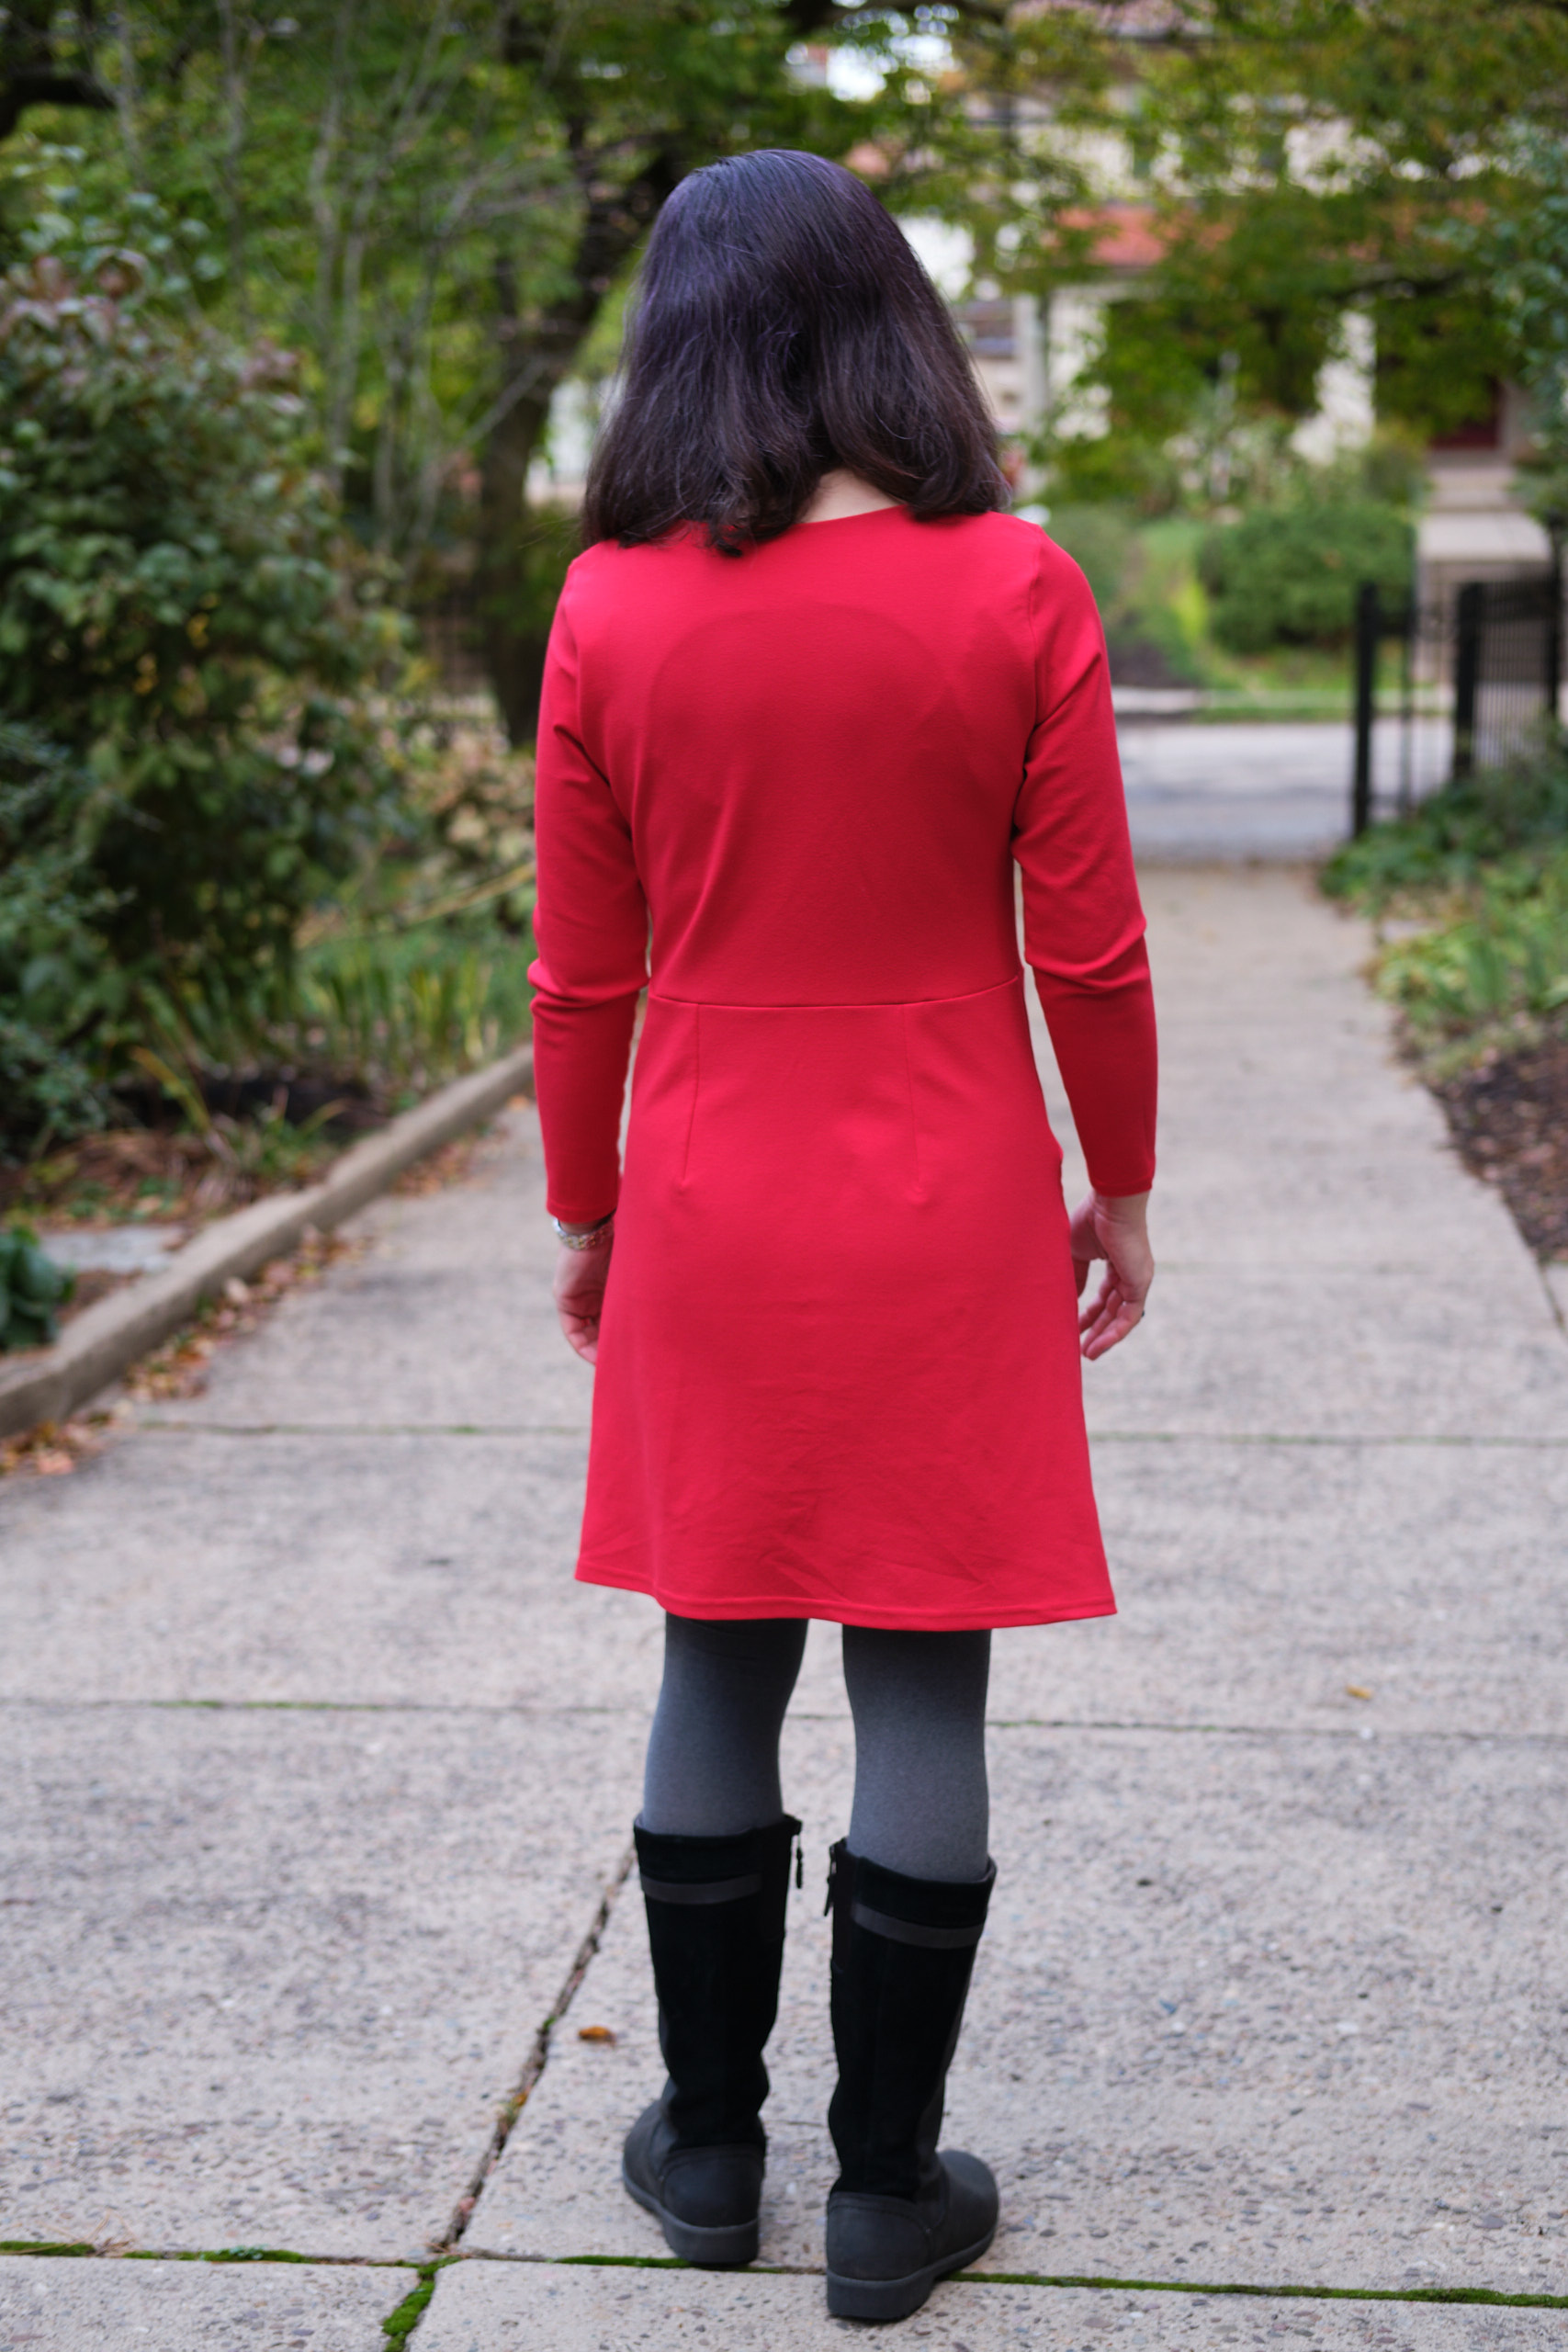
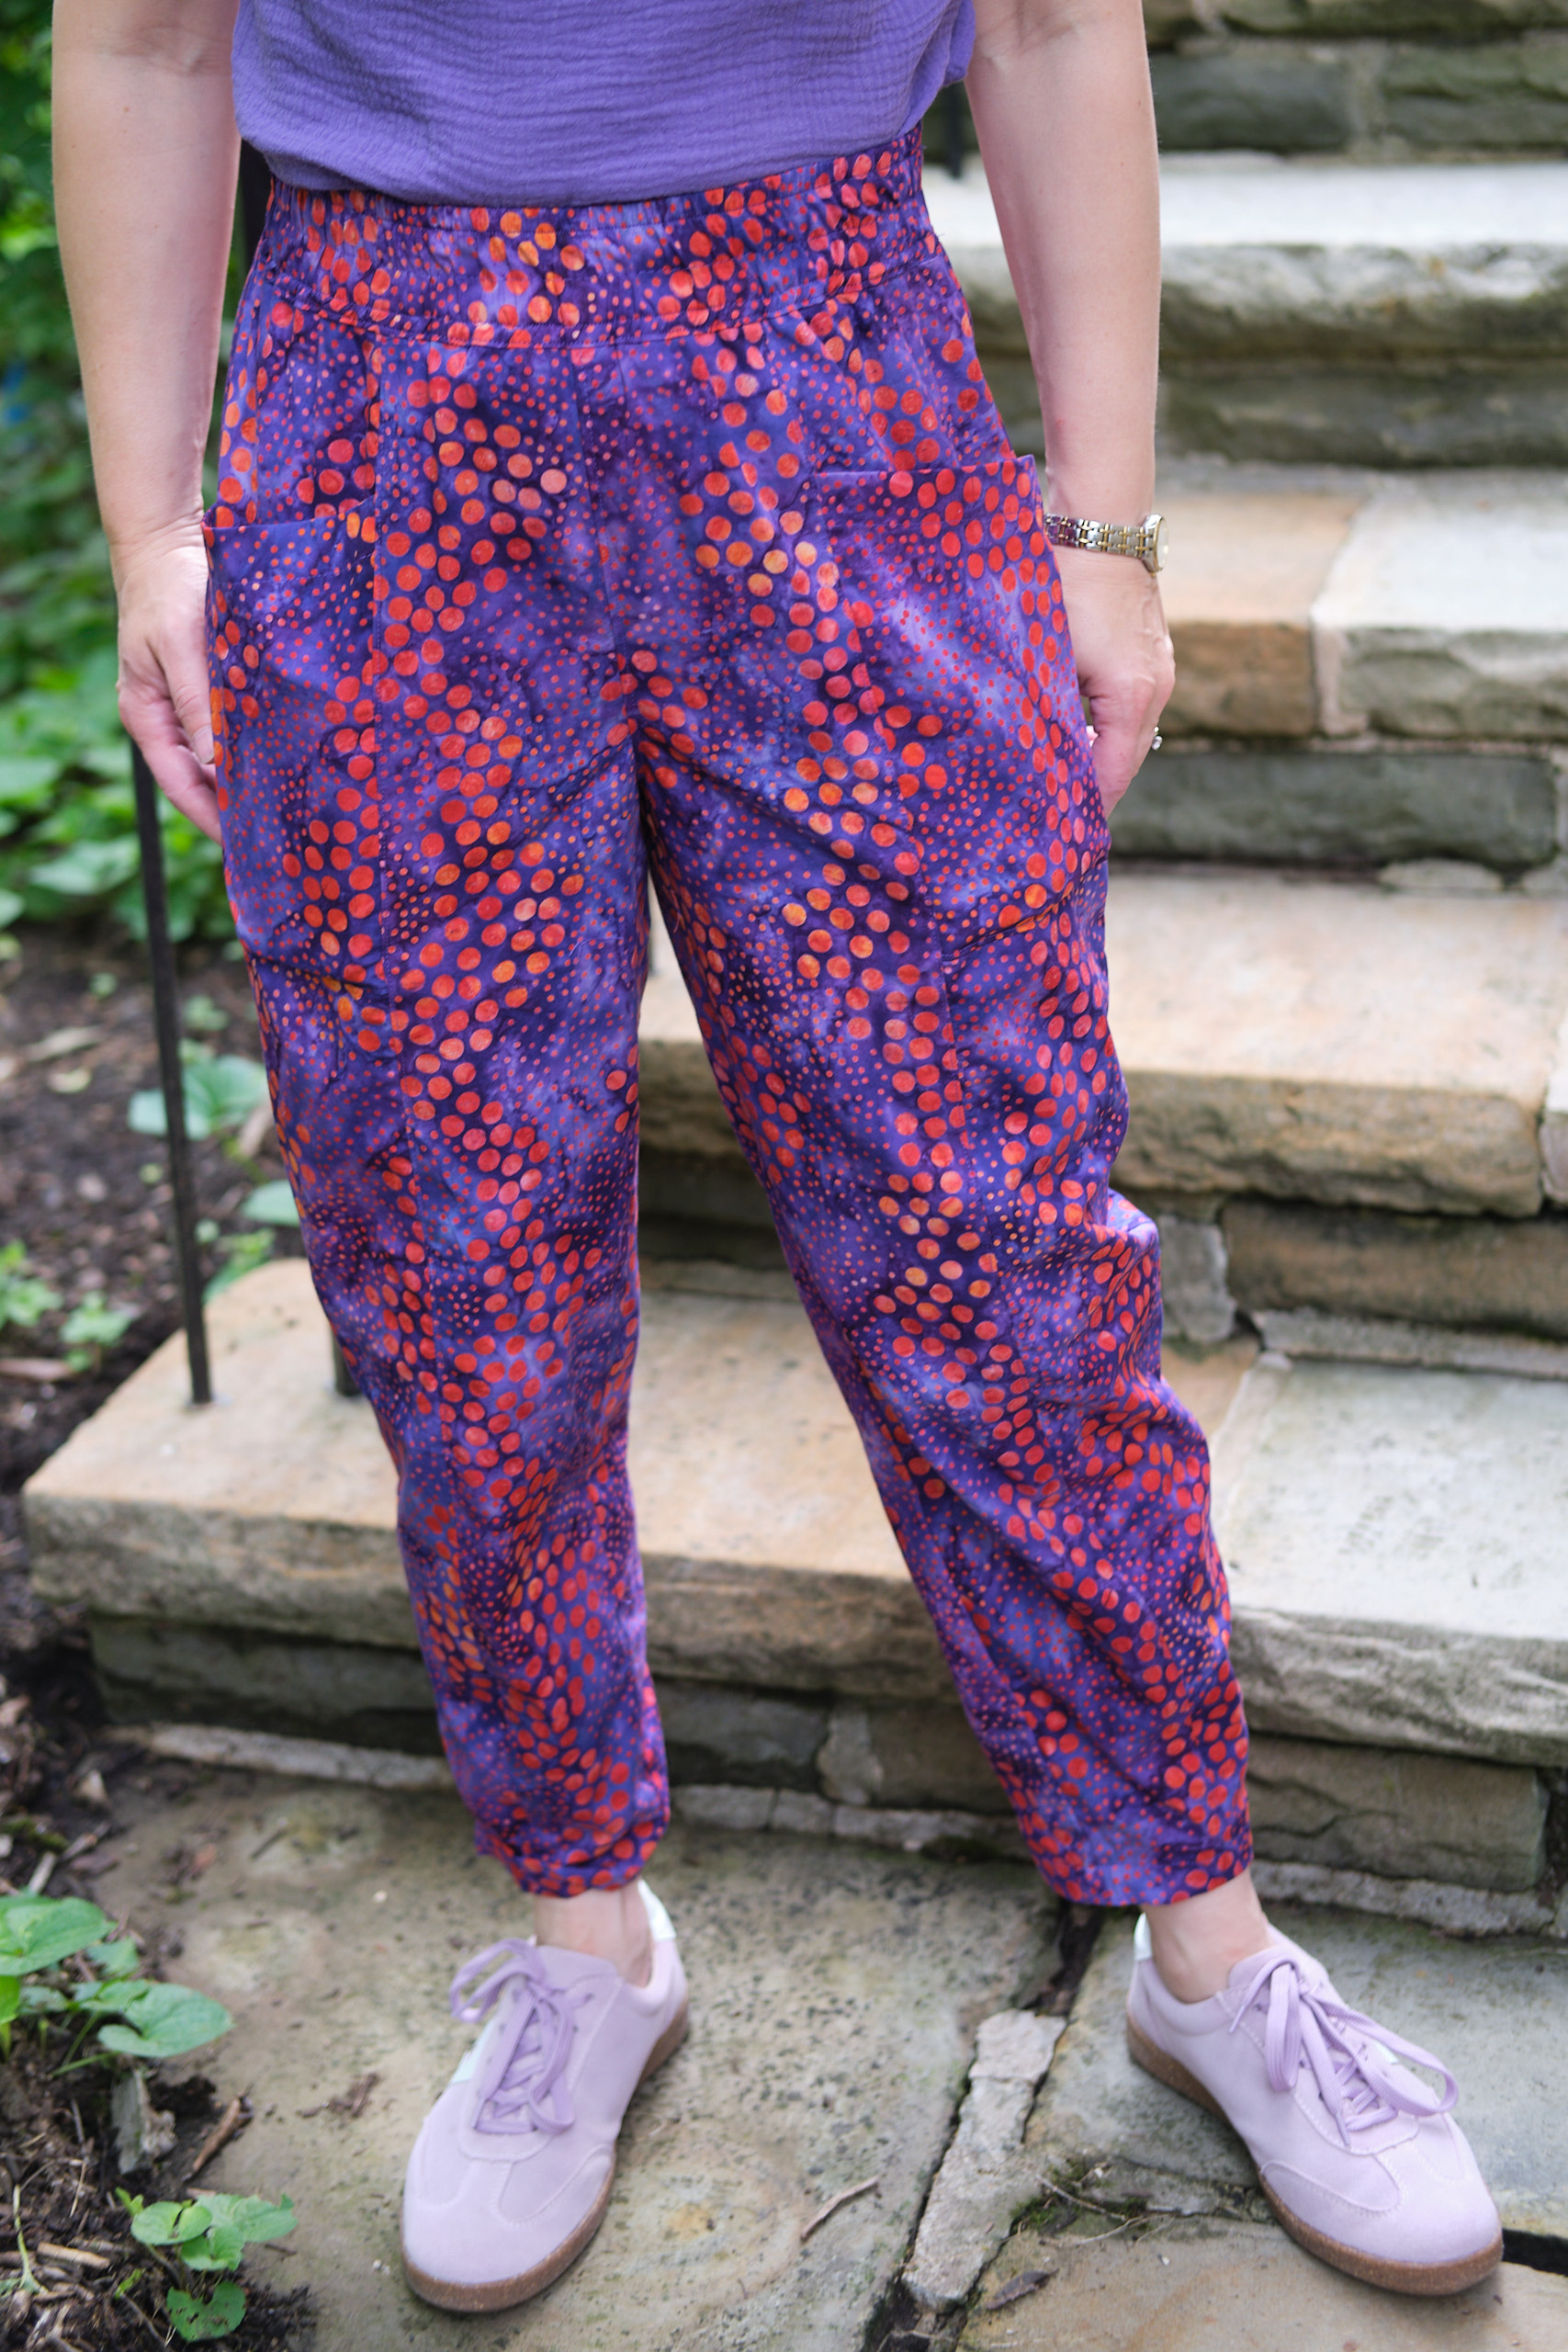
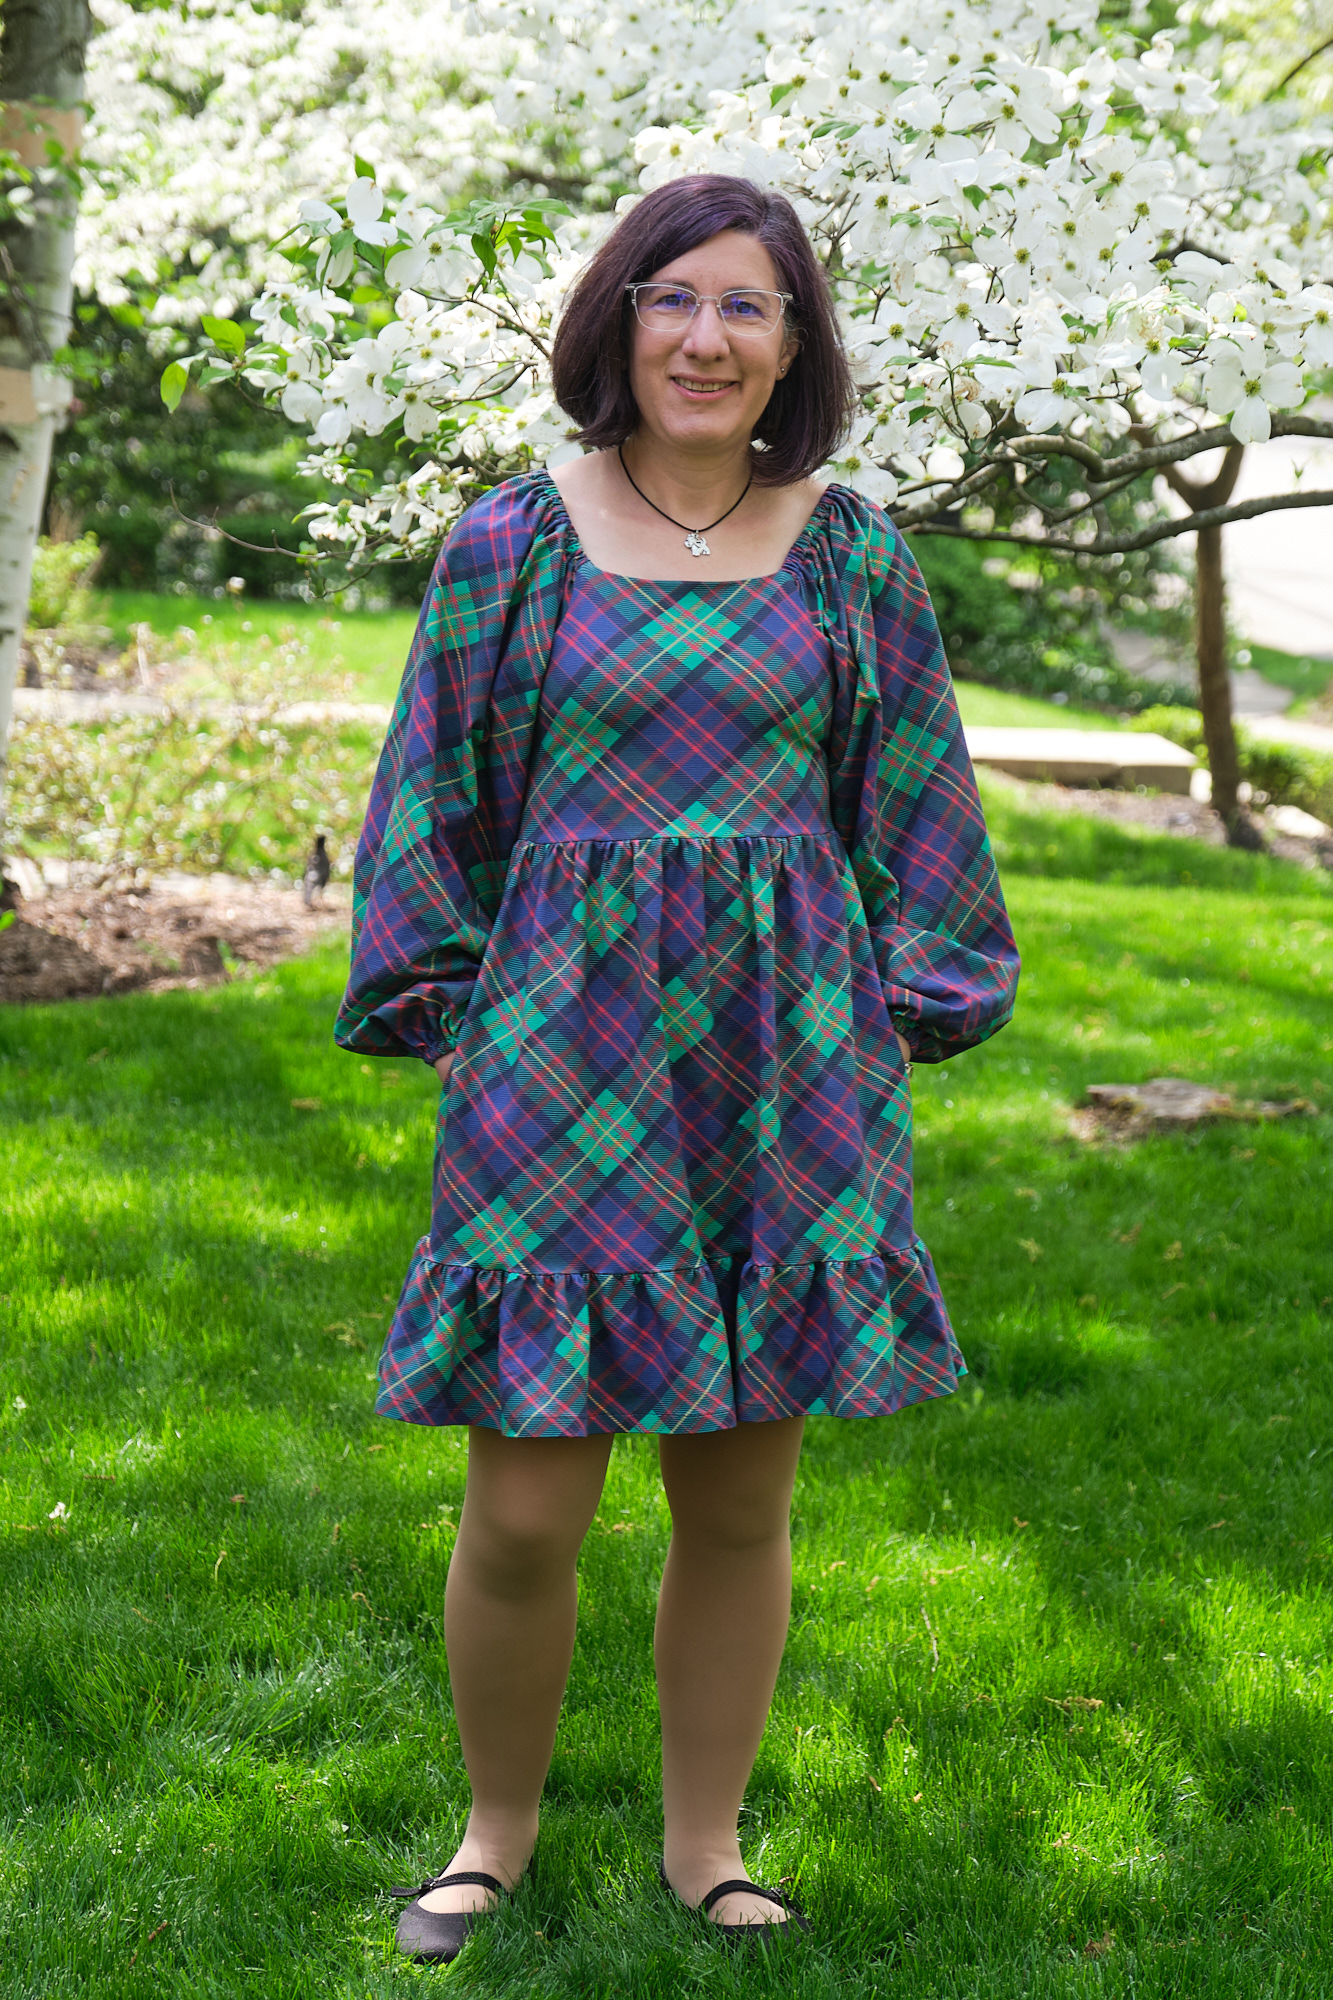
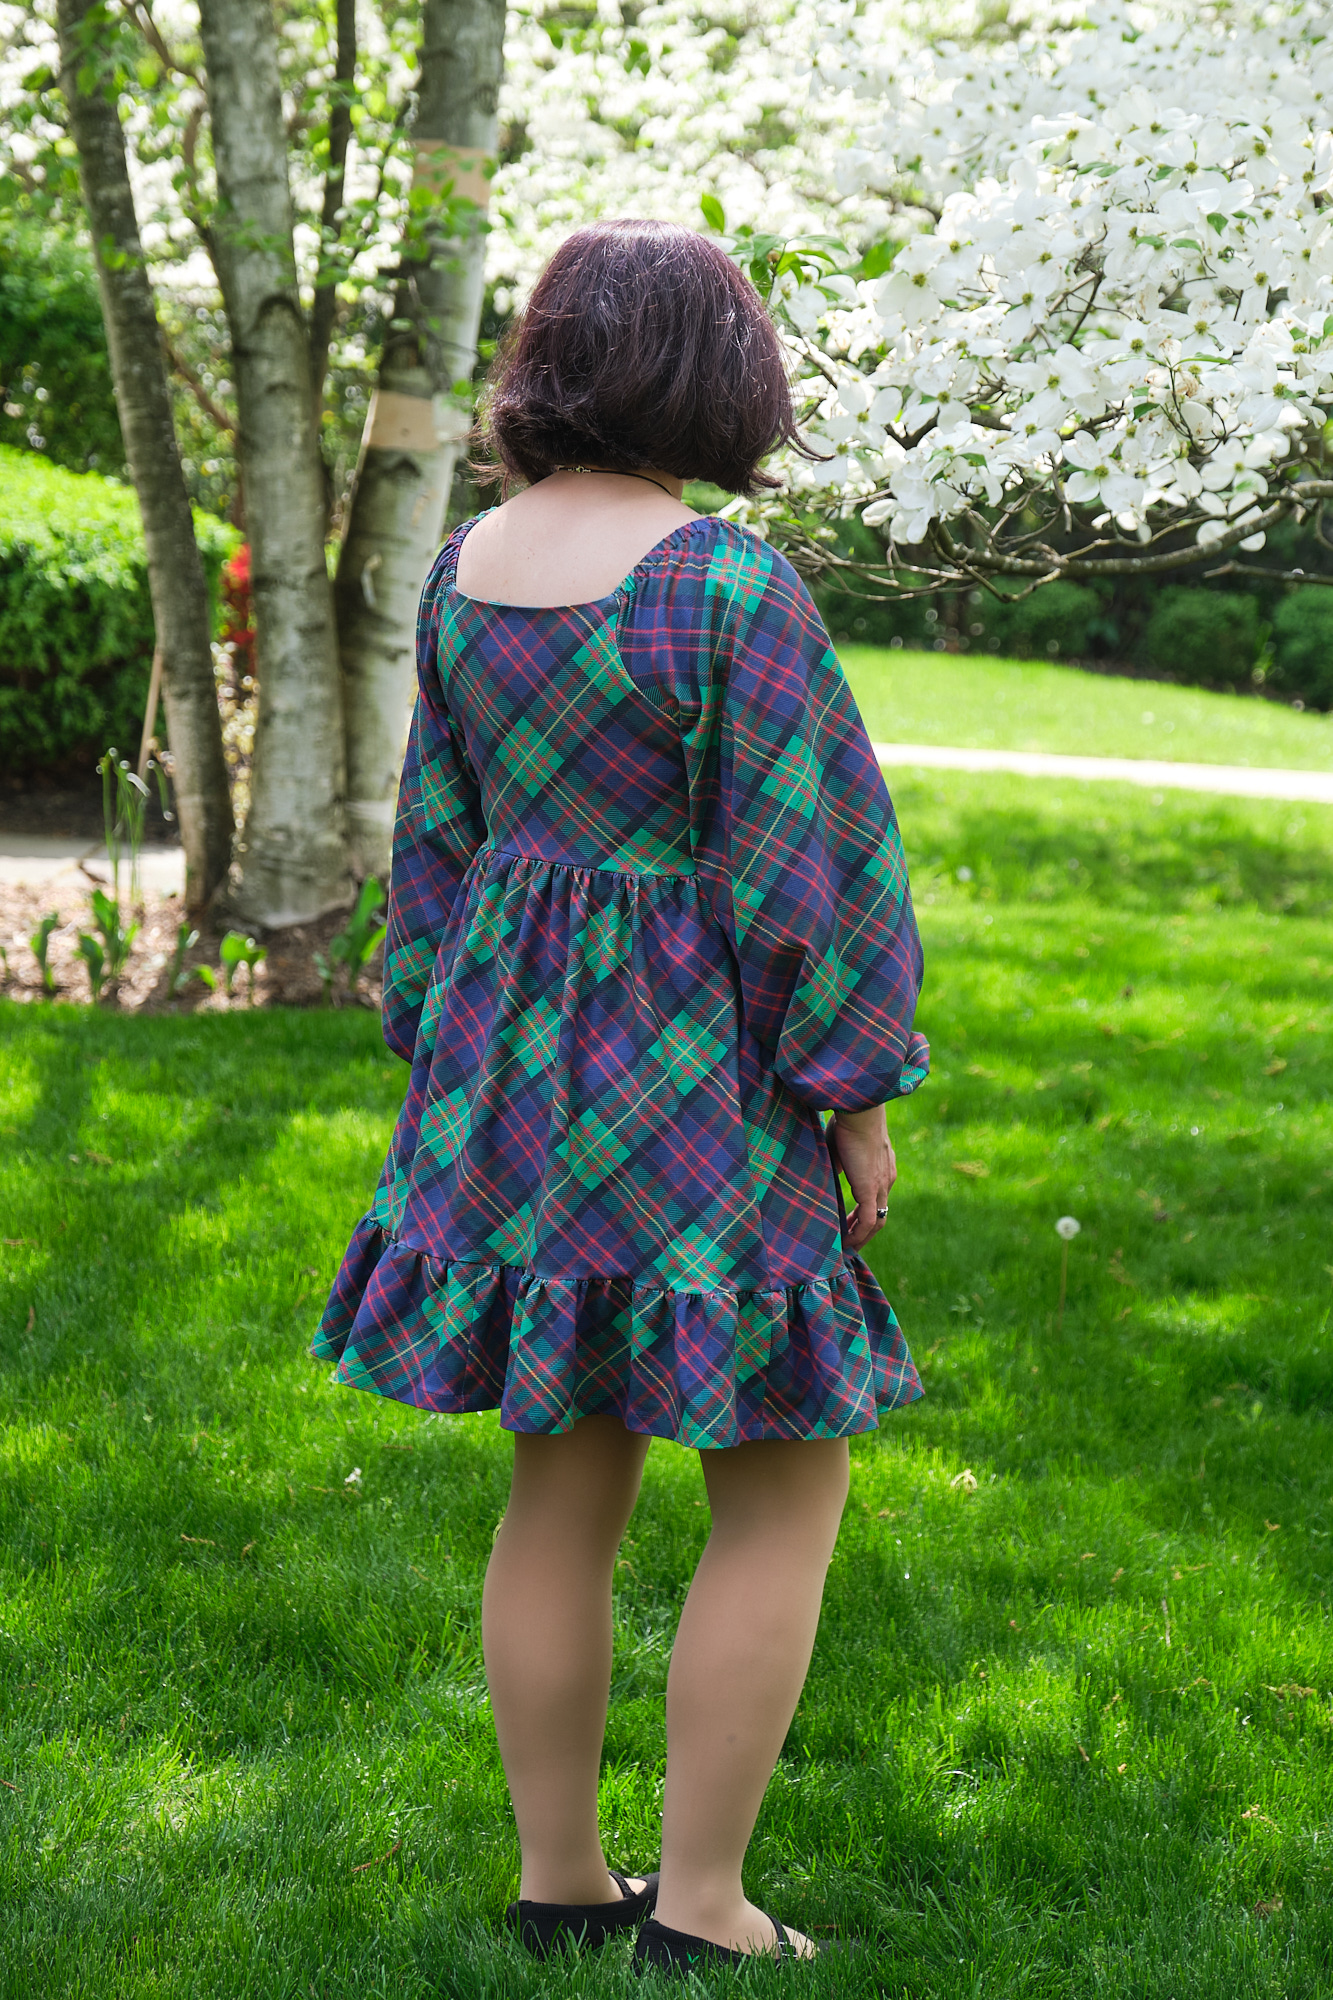
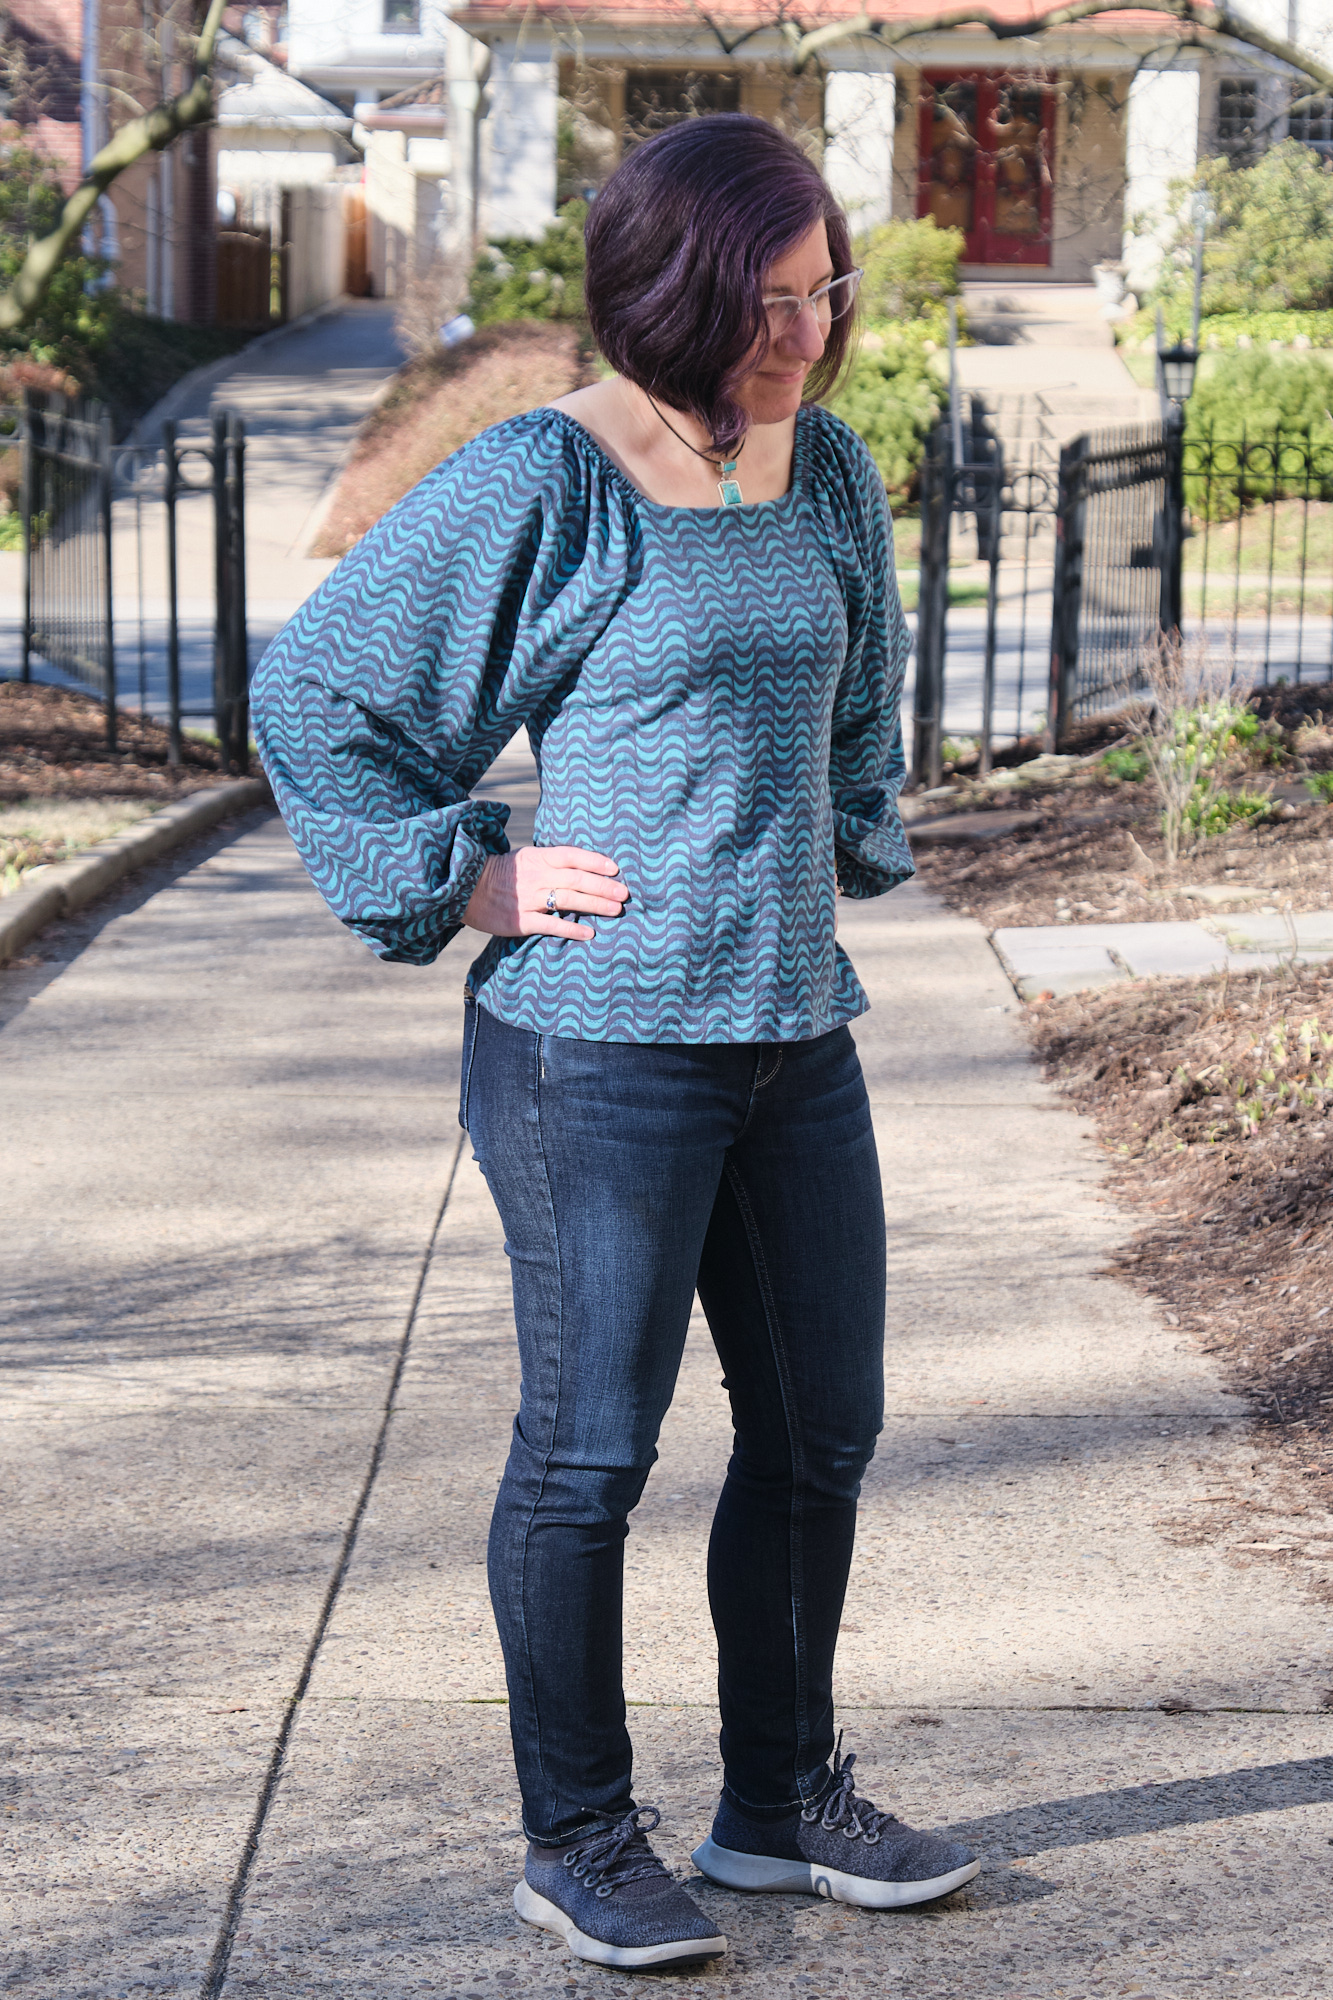
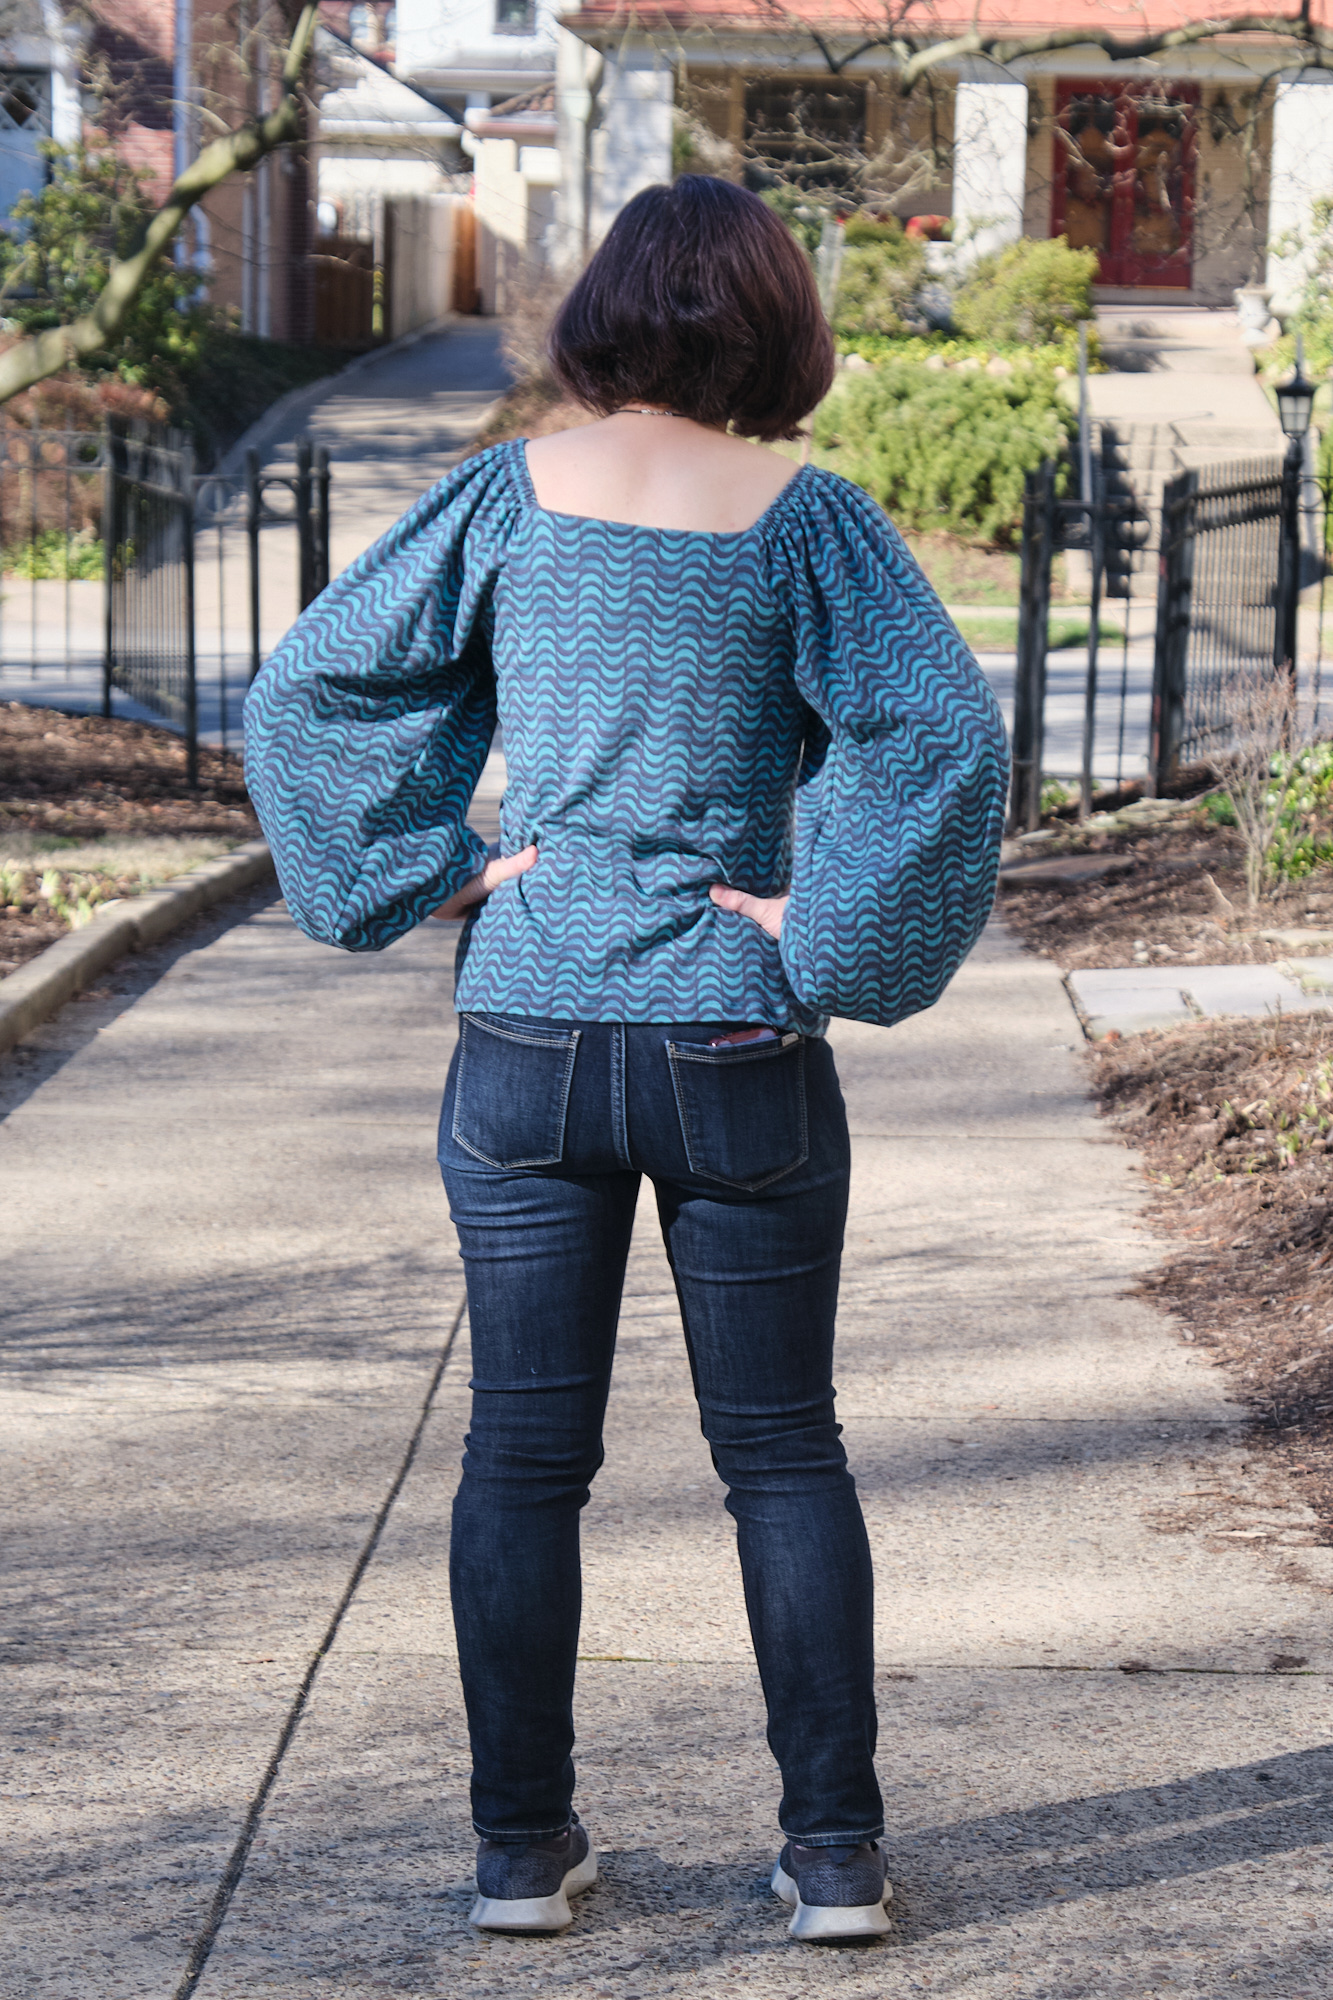
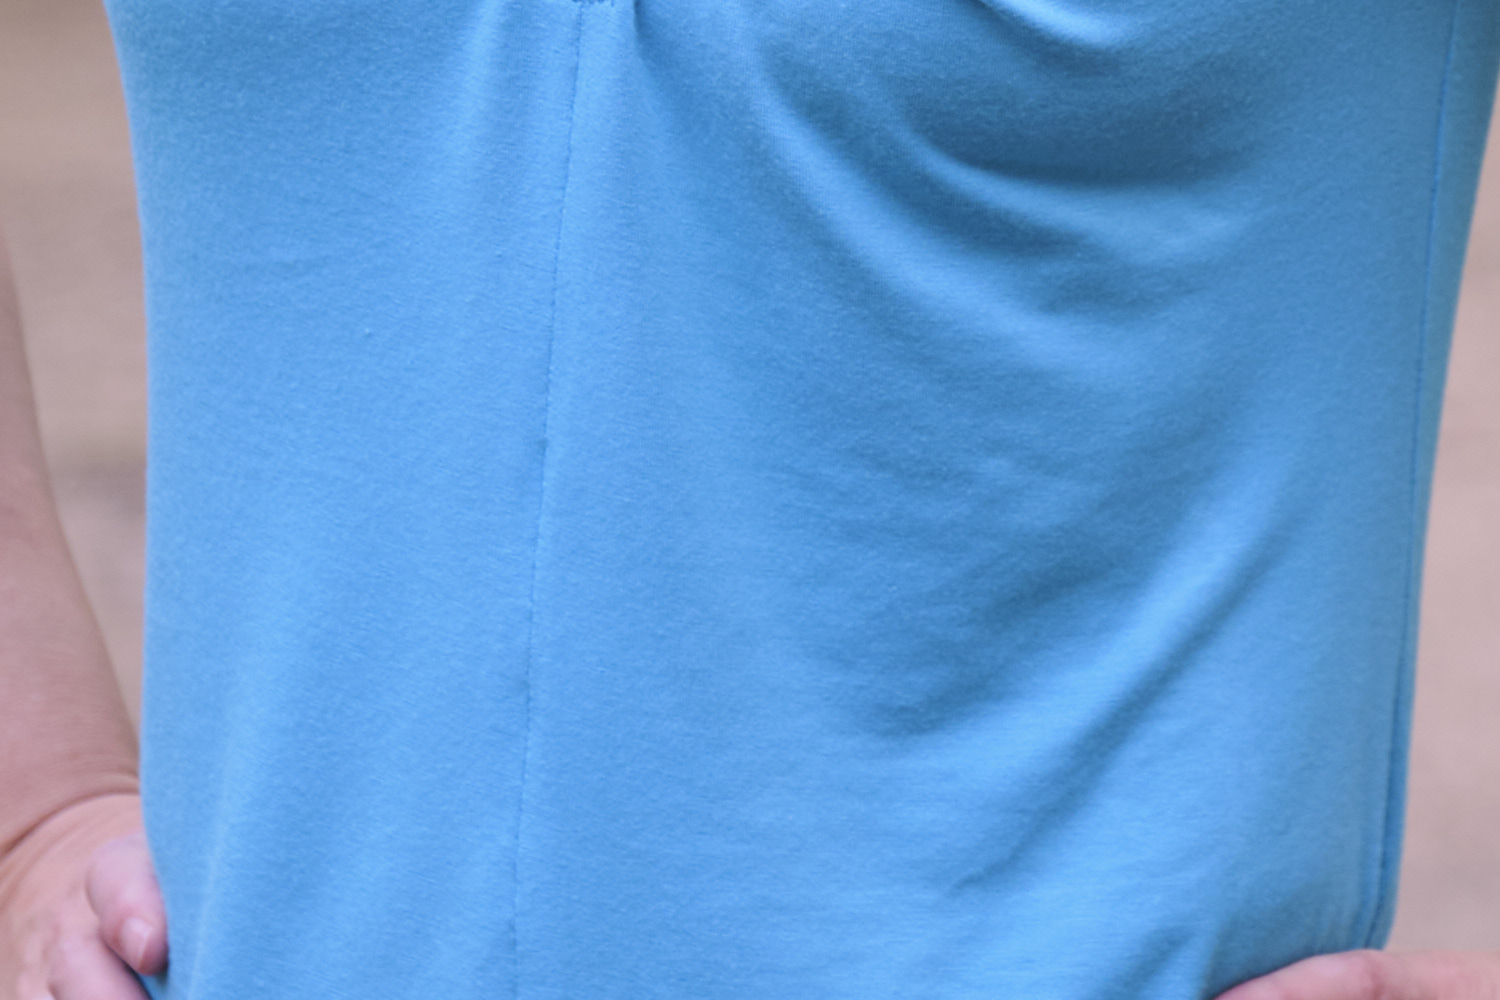
Everything seemed to go pretty well until I started constructing the pockets. After attaching and understitching the pocket bags, I realized that the the pocket bags were not going to lie completely flat. I’m not sure exactly why, but I’m guessing the ponte stretched a bit as I was sewing the curved pocket openings. I tried steaming and pressing but never did get it completely flat. This became a problem again when I attached the bodice to the skirt. I basted and re-basted multiple times until it was close to smooth, and finally sewed it together with my serger and pressed it again. It’s not quite as perfect as I would like, but now they I look more closely at the Facebook photos I realize most of these dresses have minor pocket issues. When I tried the dress on I also noticed that the back facing is quite visible on me — there aren’t enough back photos on the website or Facebook group for me to see whether this is a common problem or not. I think this would be less noticeable with a print fabric or a lighter weight fabric, and perhaps I should have lined it with a lighter fabric rather than the ponte.
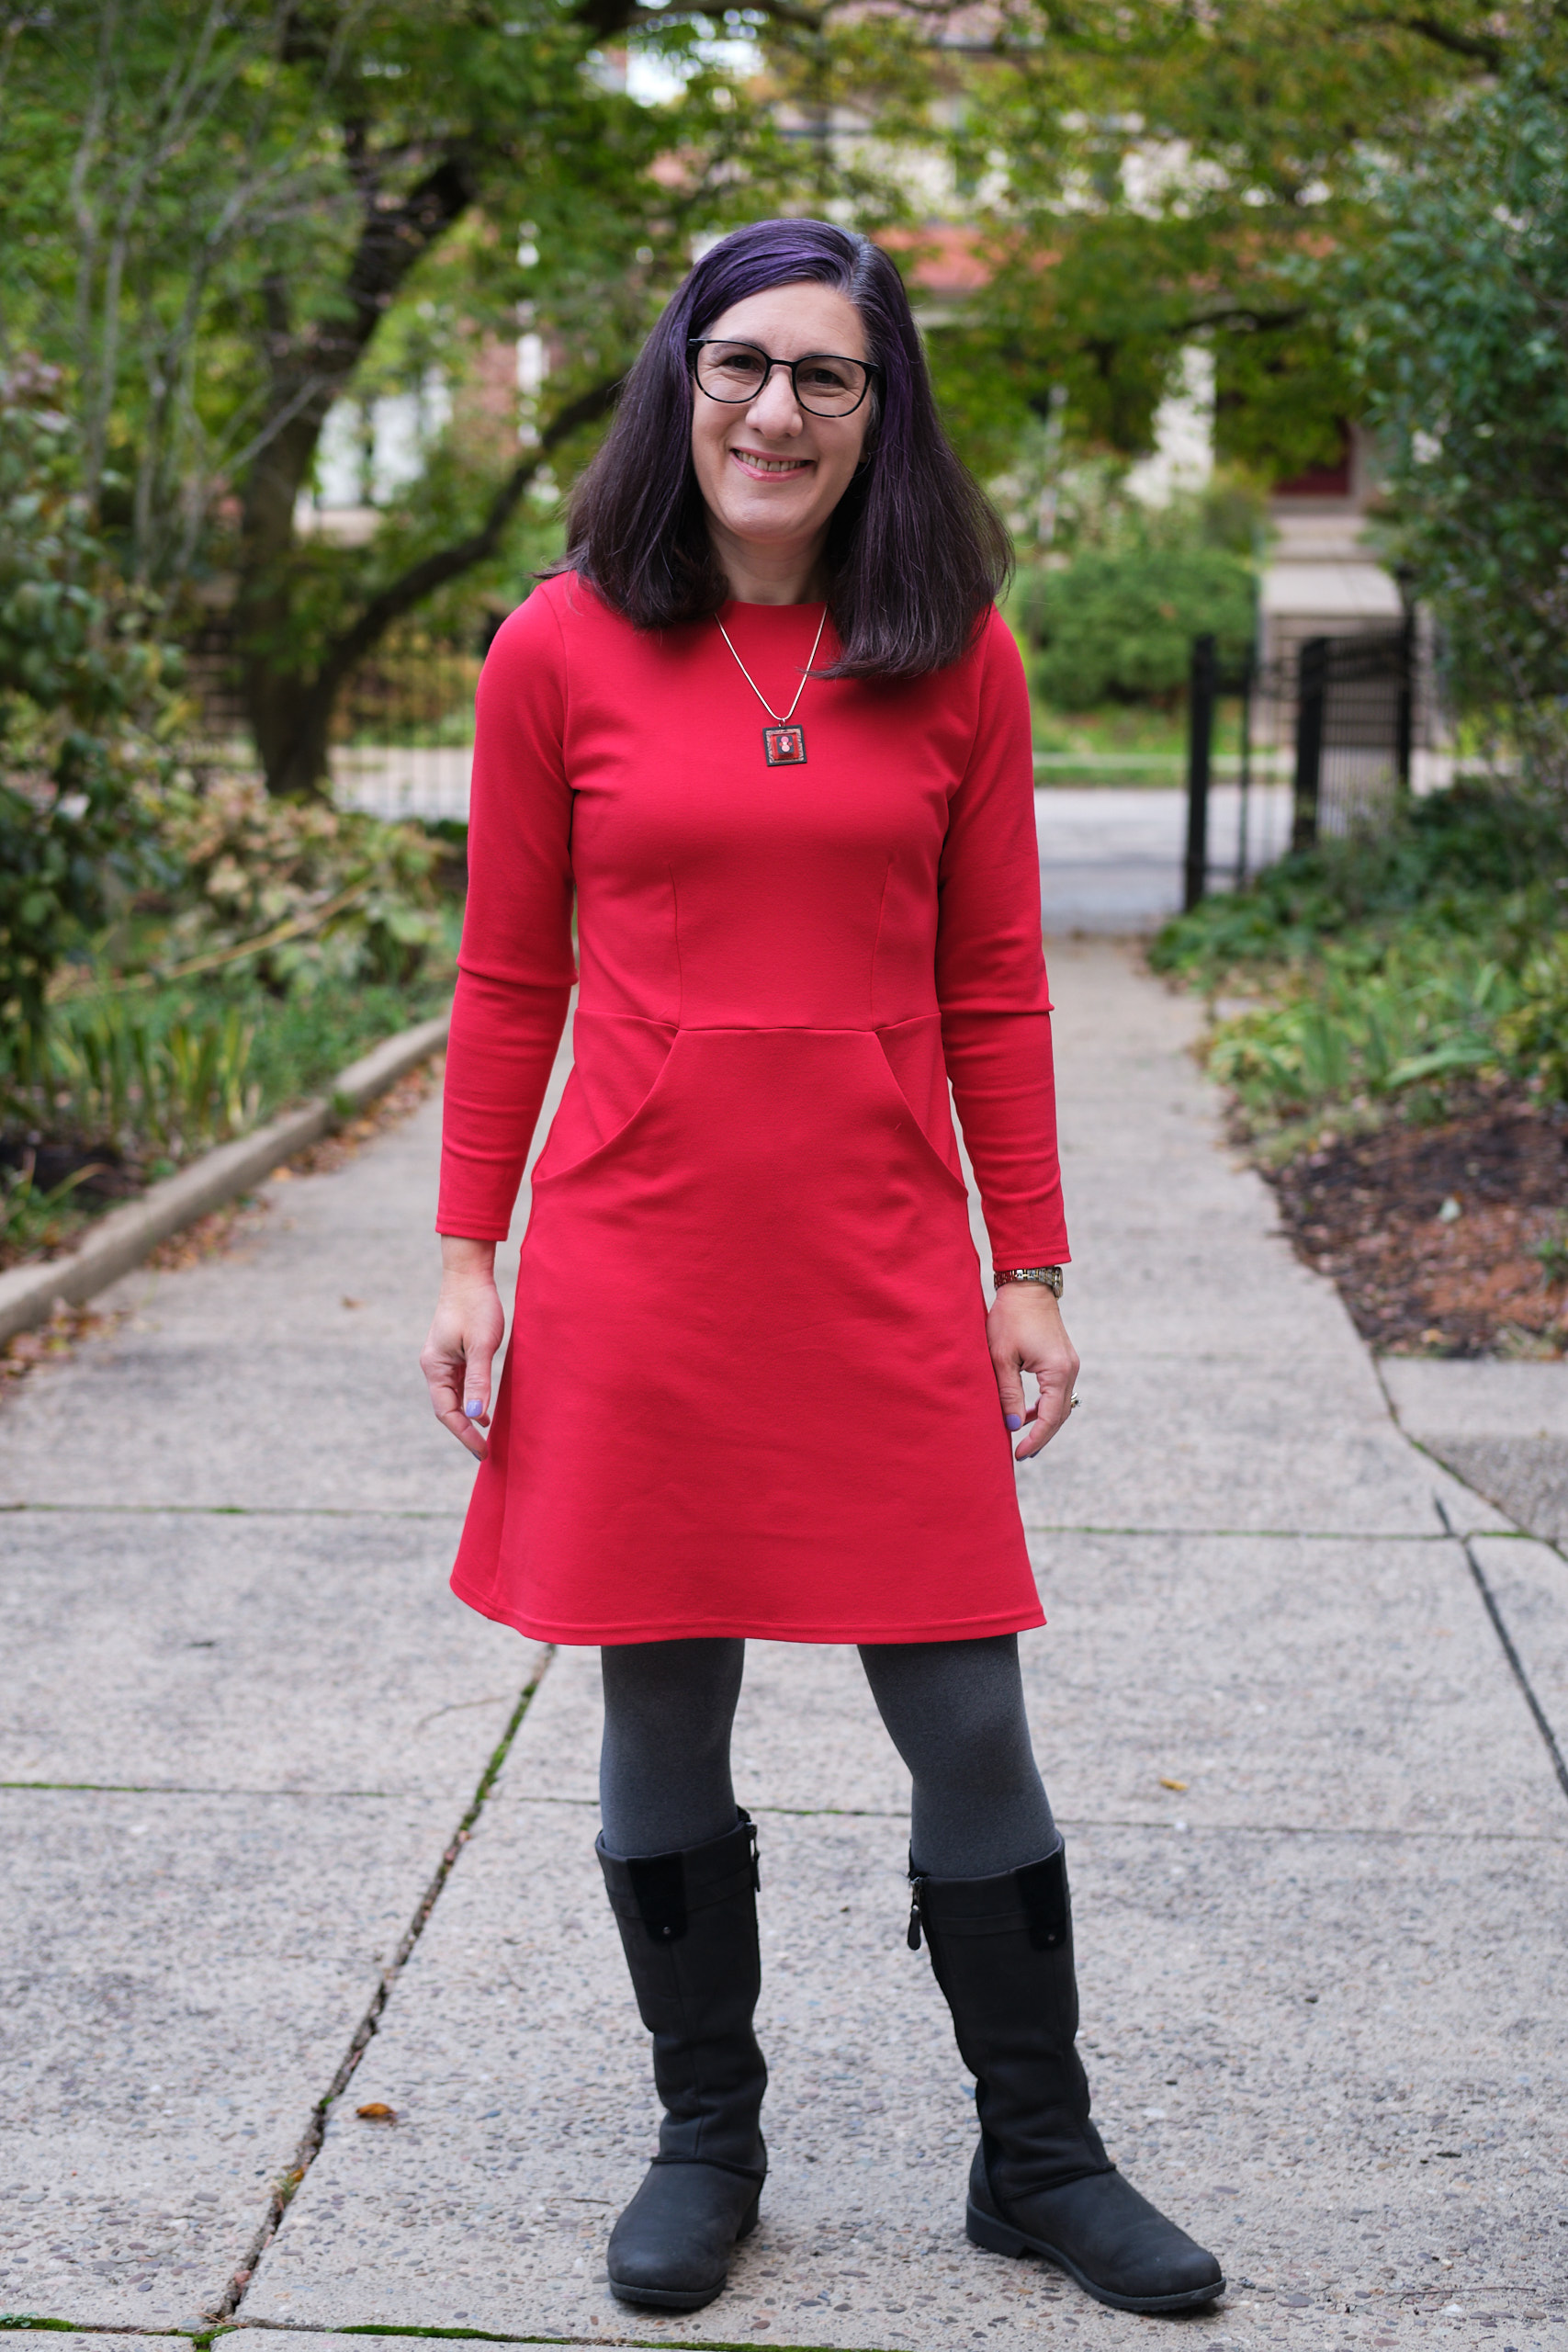
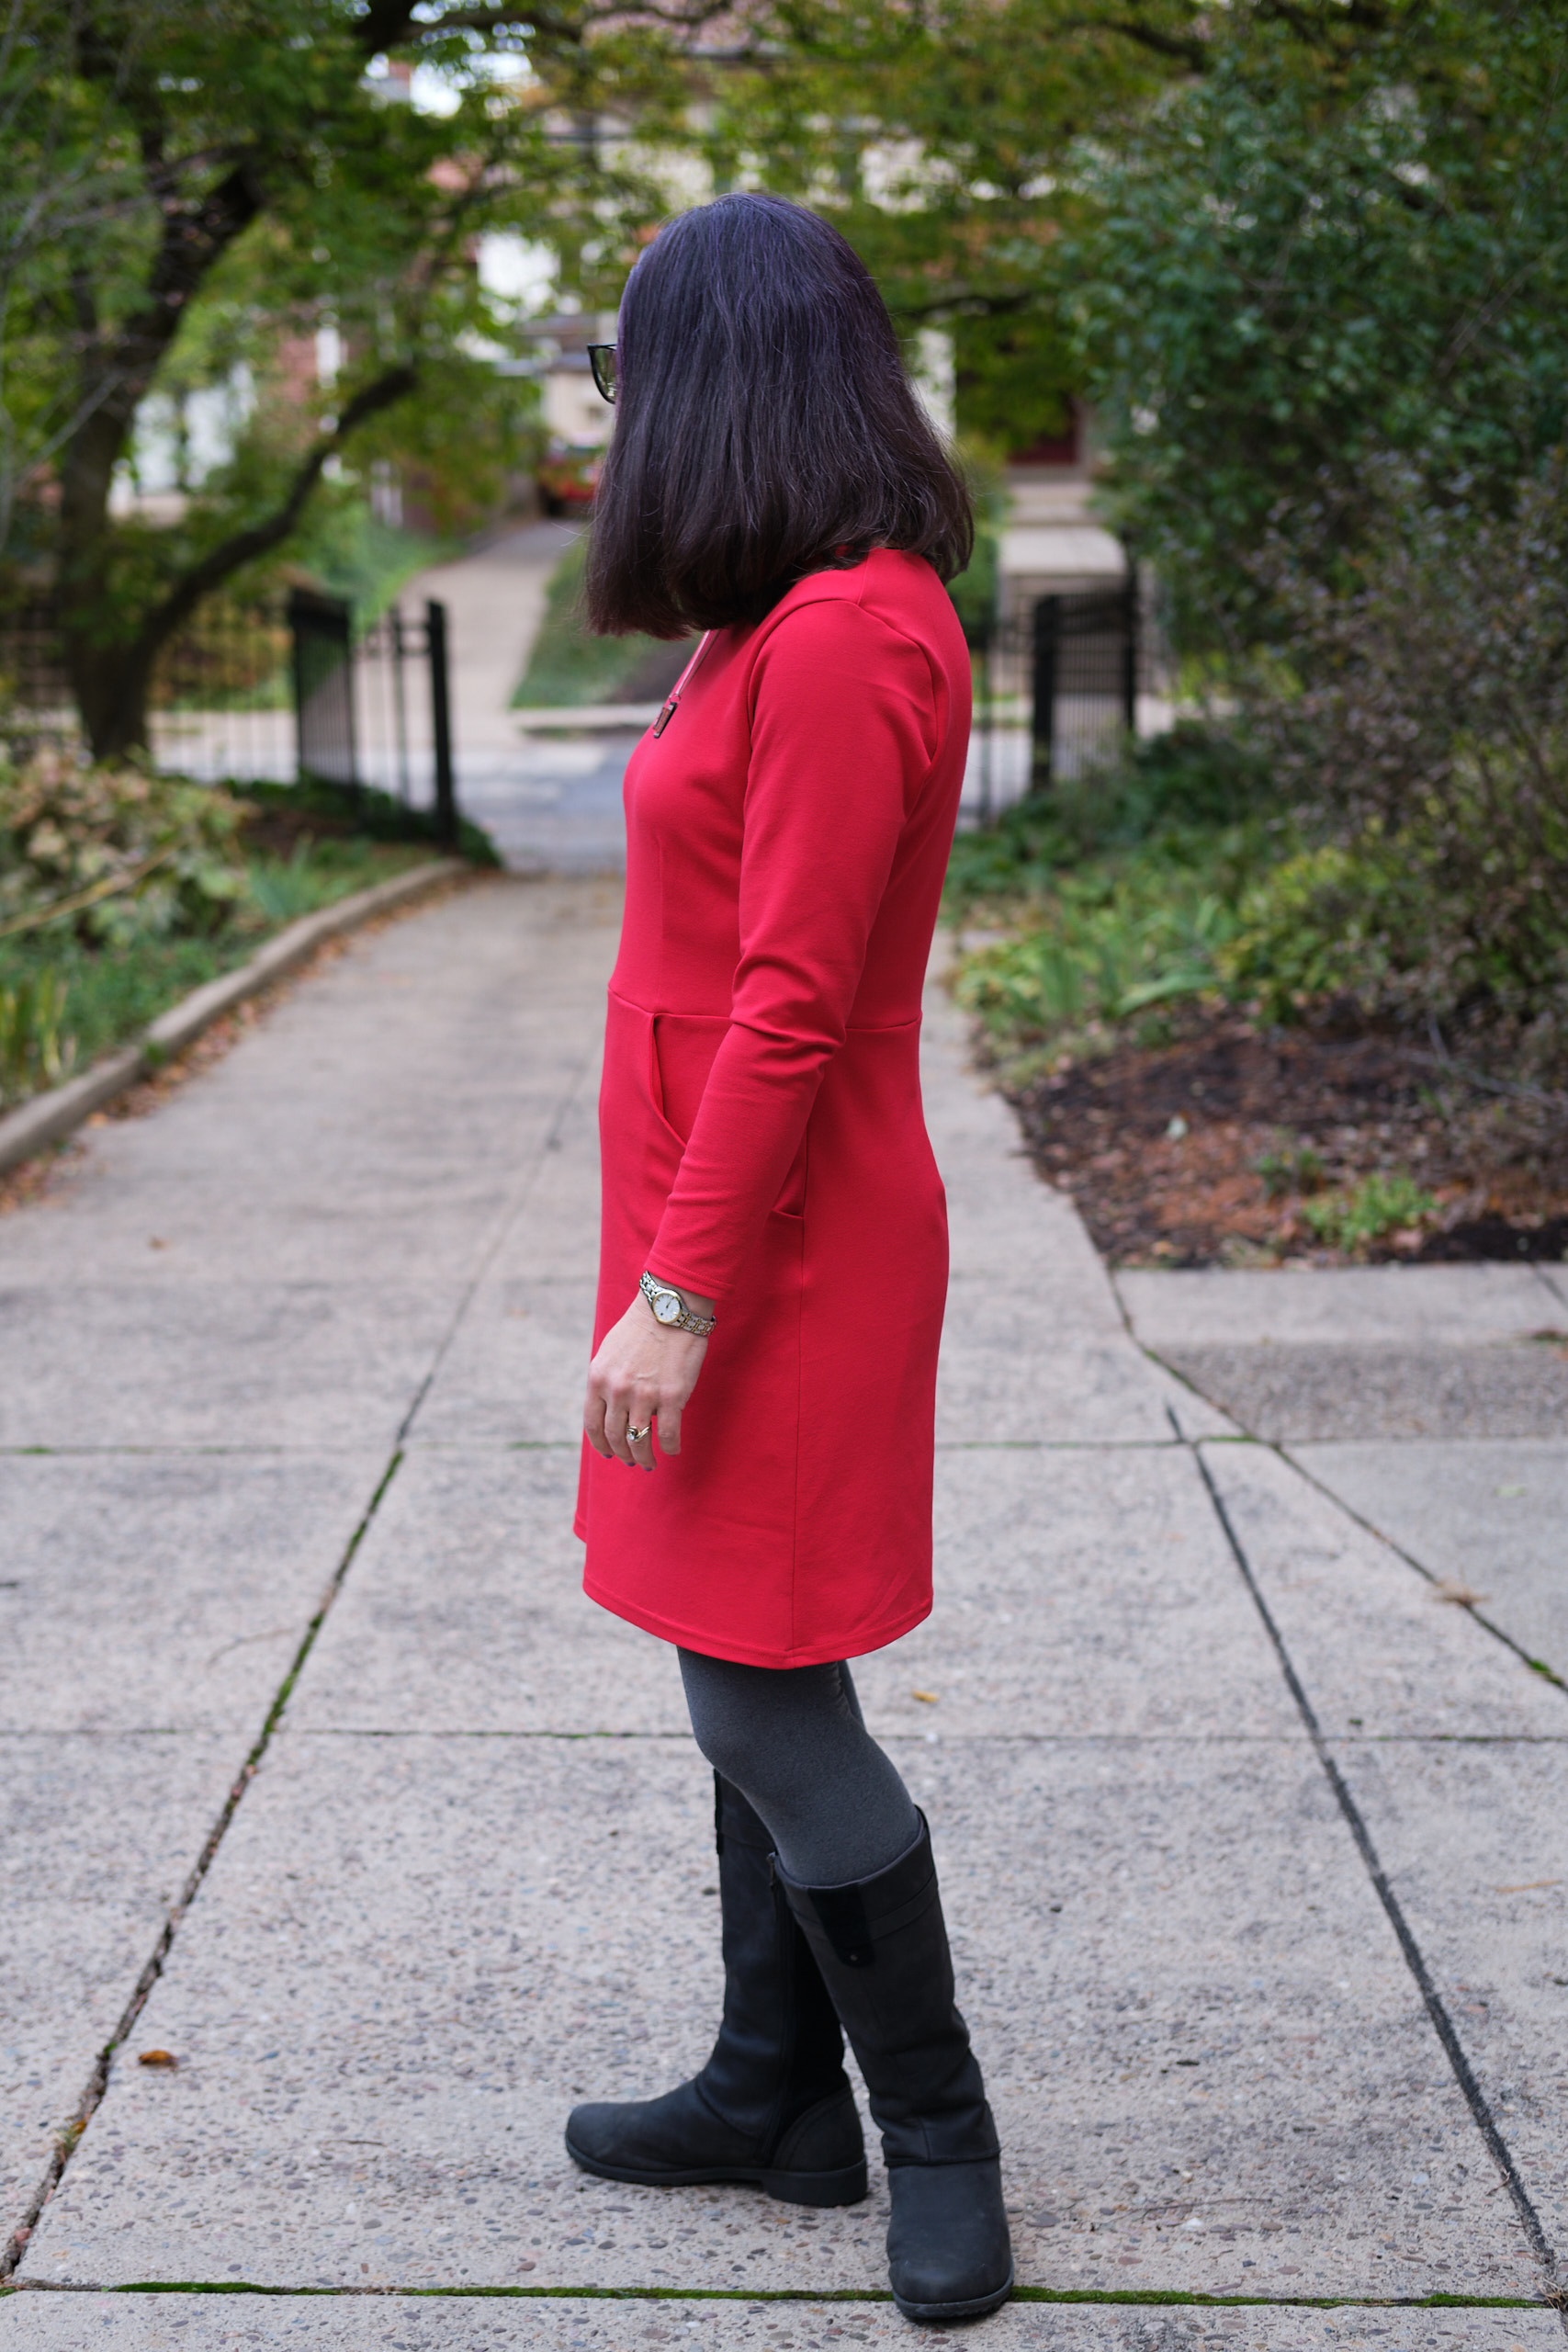
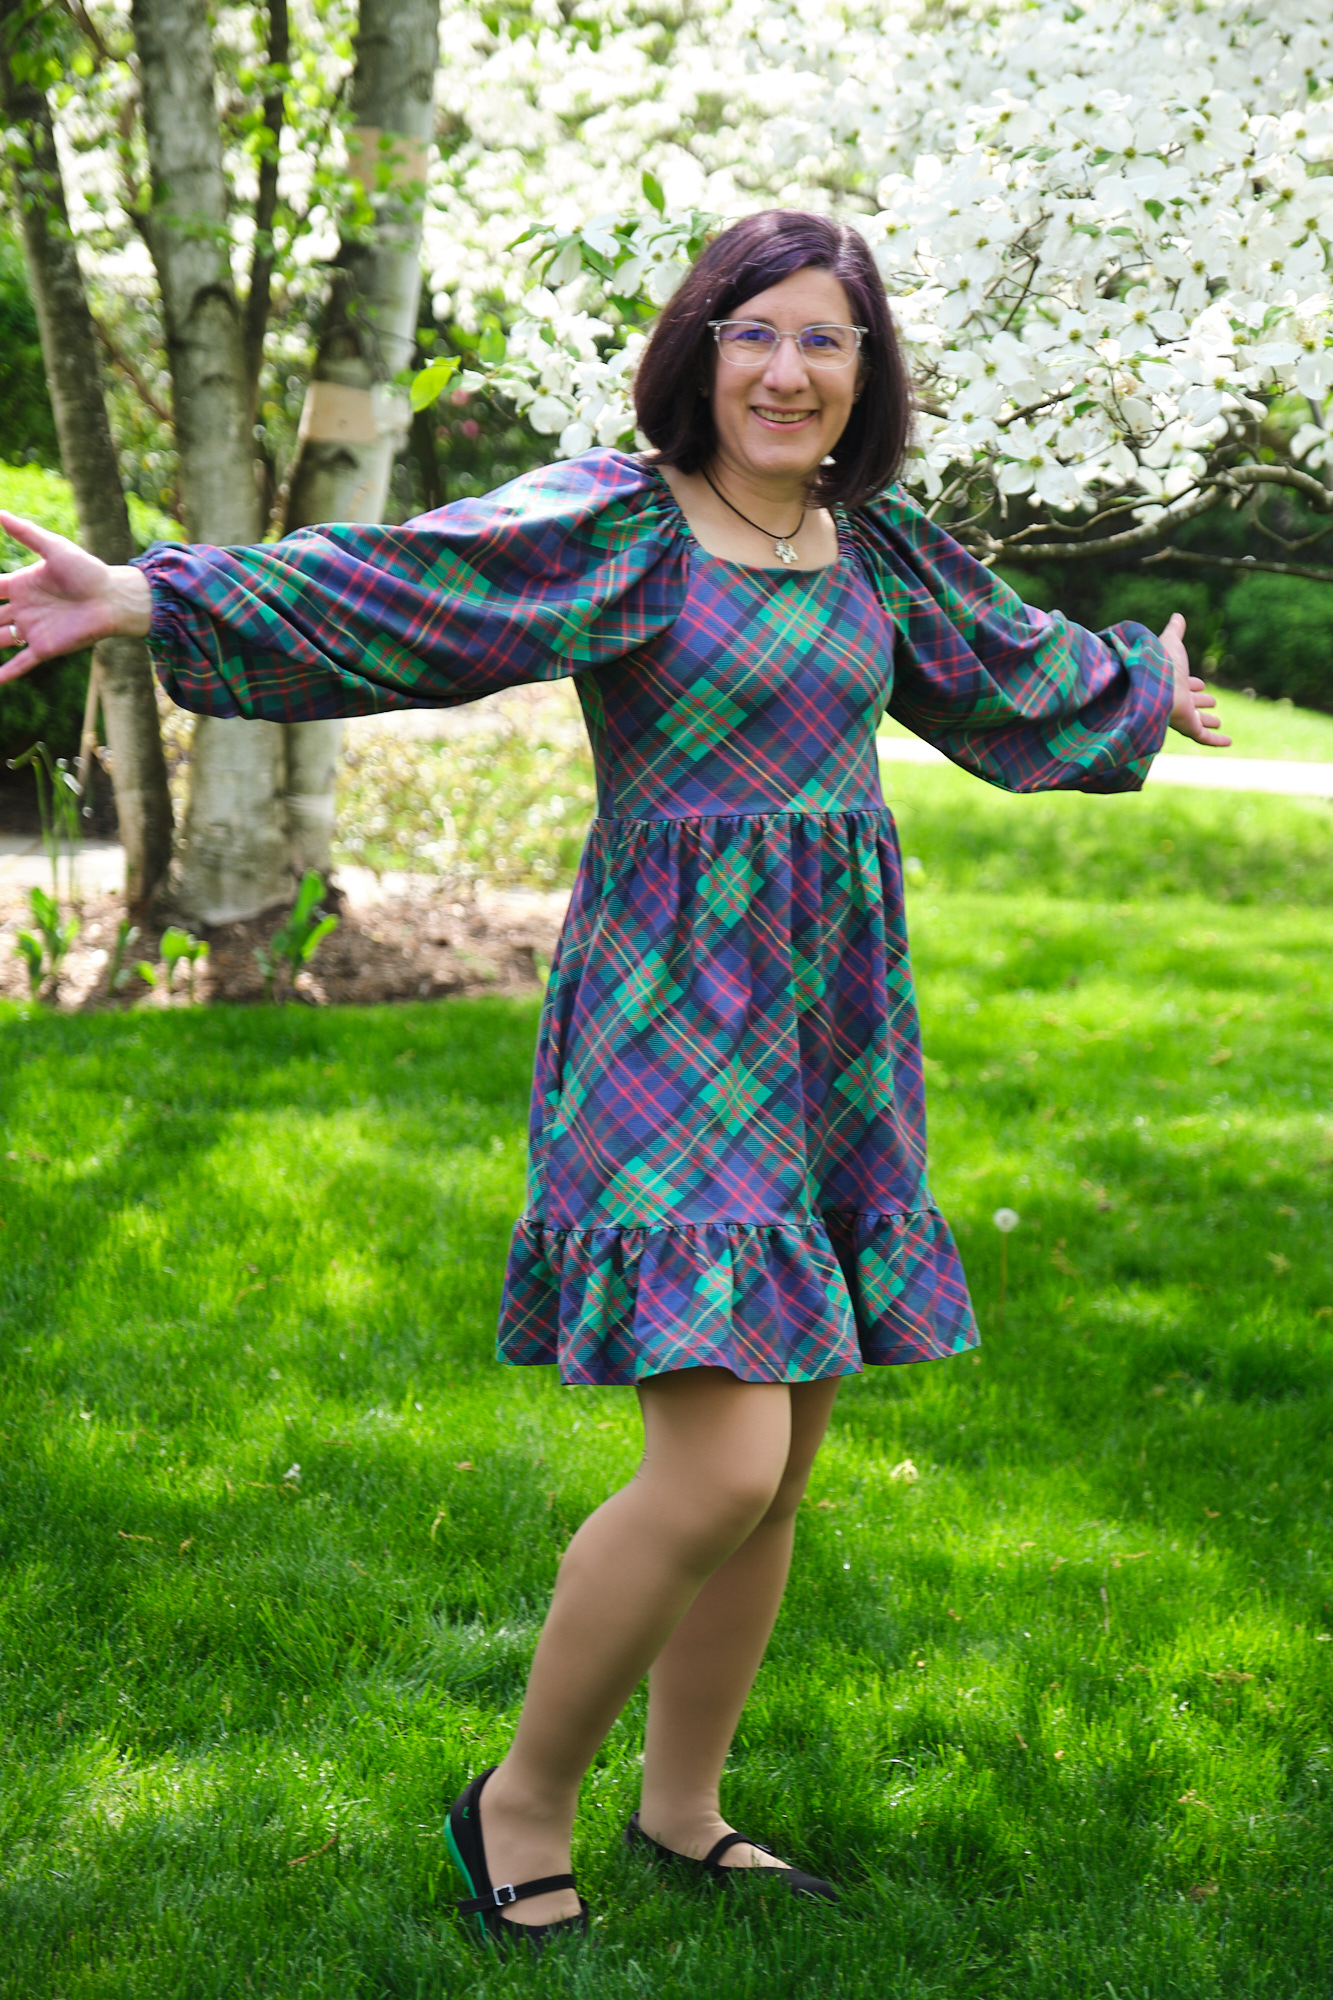
I’m still not completely happy with the pockets, and they only get worse when I load them up with my phone and wallet. Still, it is a comfortable dress to wear and I think it looks good on, despite my complaints. I might make this dress again, but if I do I would use a lighter facing, maybe extend the back facing to the waist, and try something different with the pockets. I think they might sit better if they were cut on a diagonal rather than a curve, and perhaps set the pocket openings at a less steep angle so the top of the pocket opening hits higher on the side of the dress. I would also consider splitting the front skirt piece into three and anchoring the pockets between the two seams, as I did with the modified Pattern Emporium Heartlight skirt I made for my daughter. I would align the seams with the front darts, which might look pretty good.
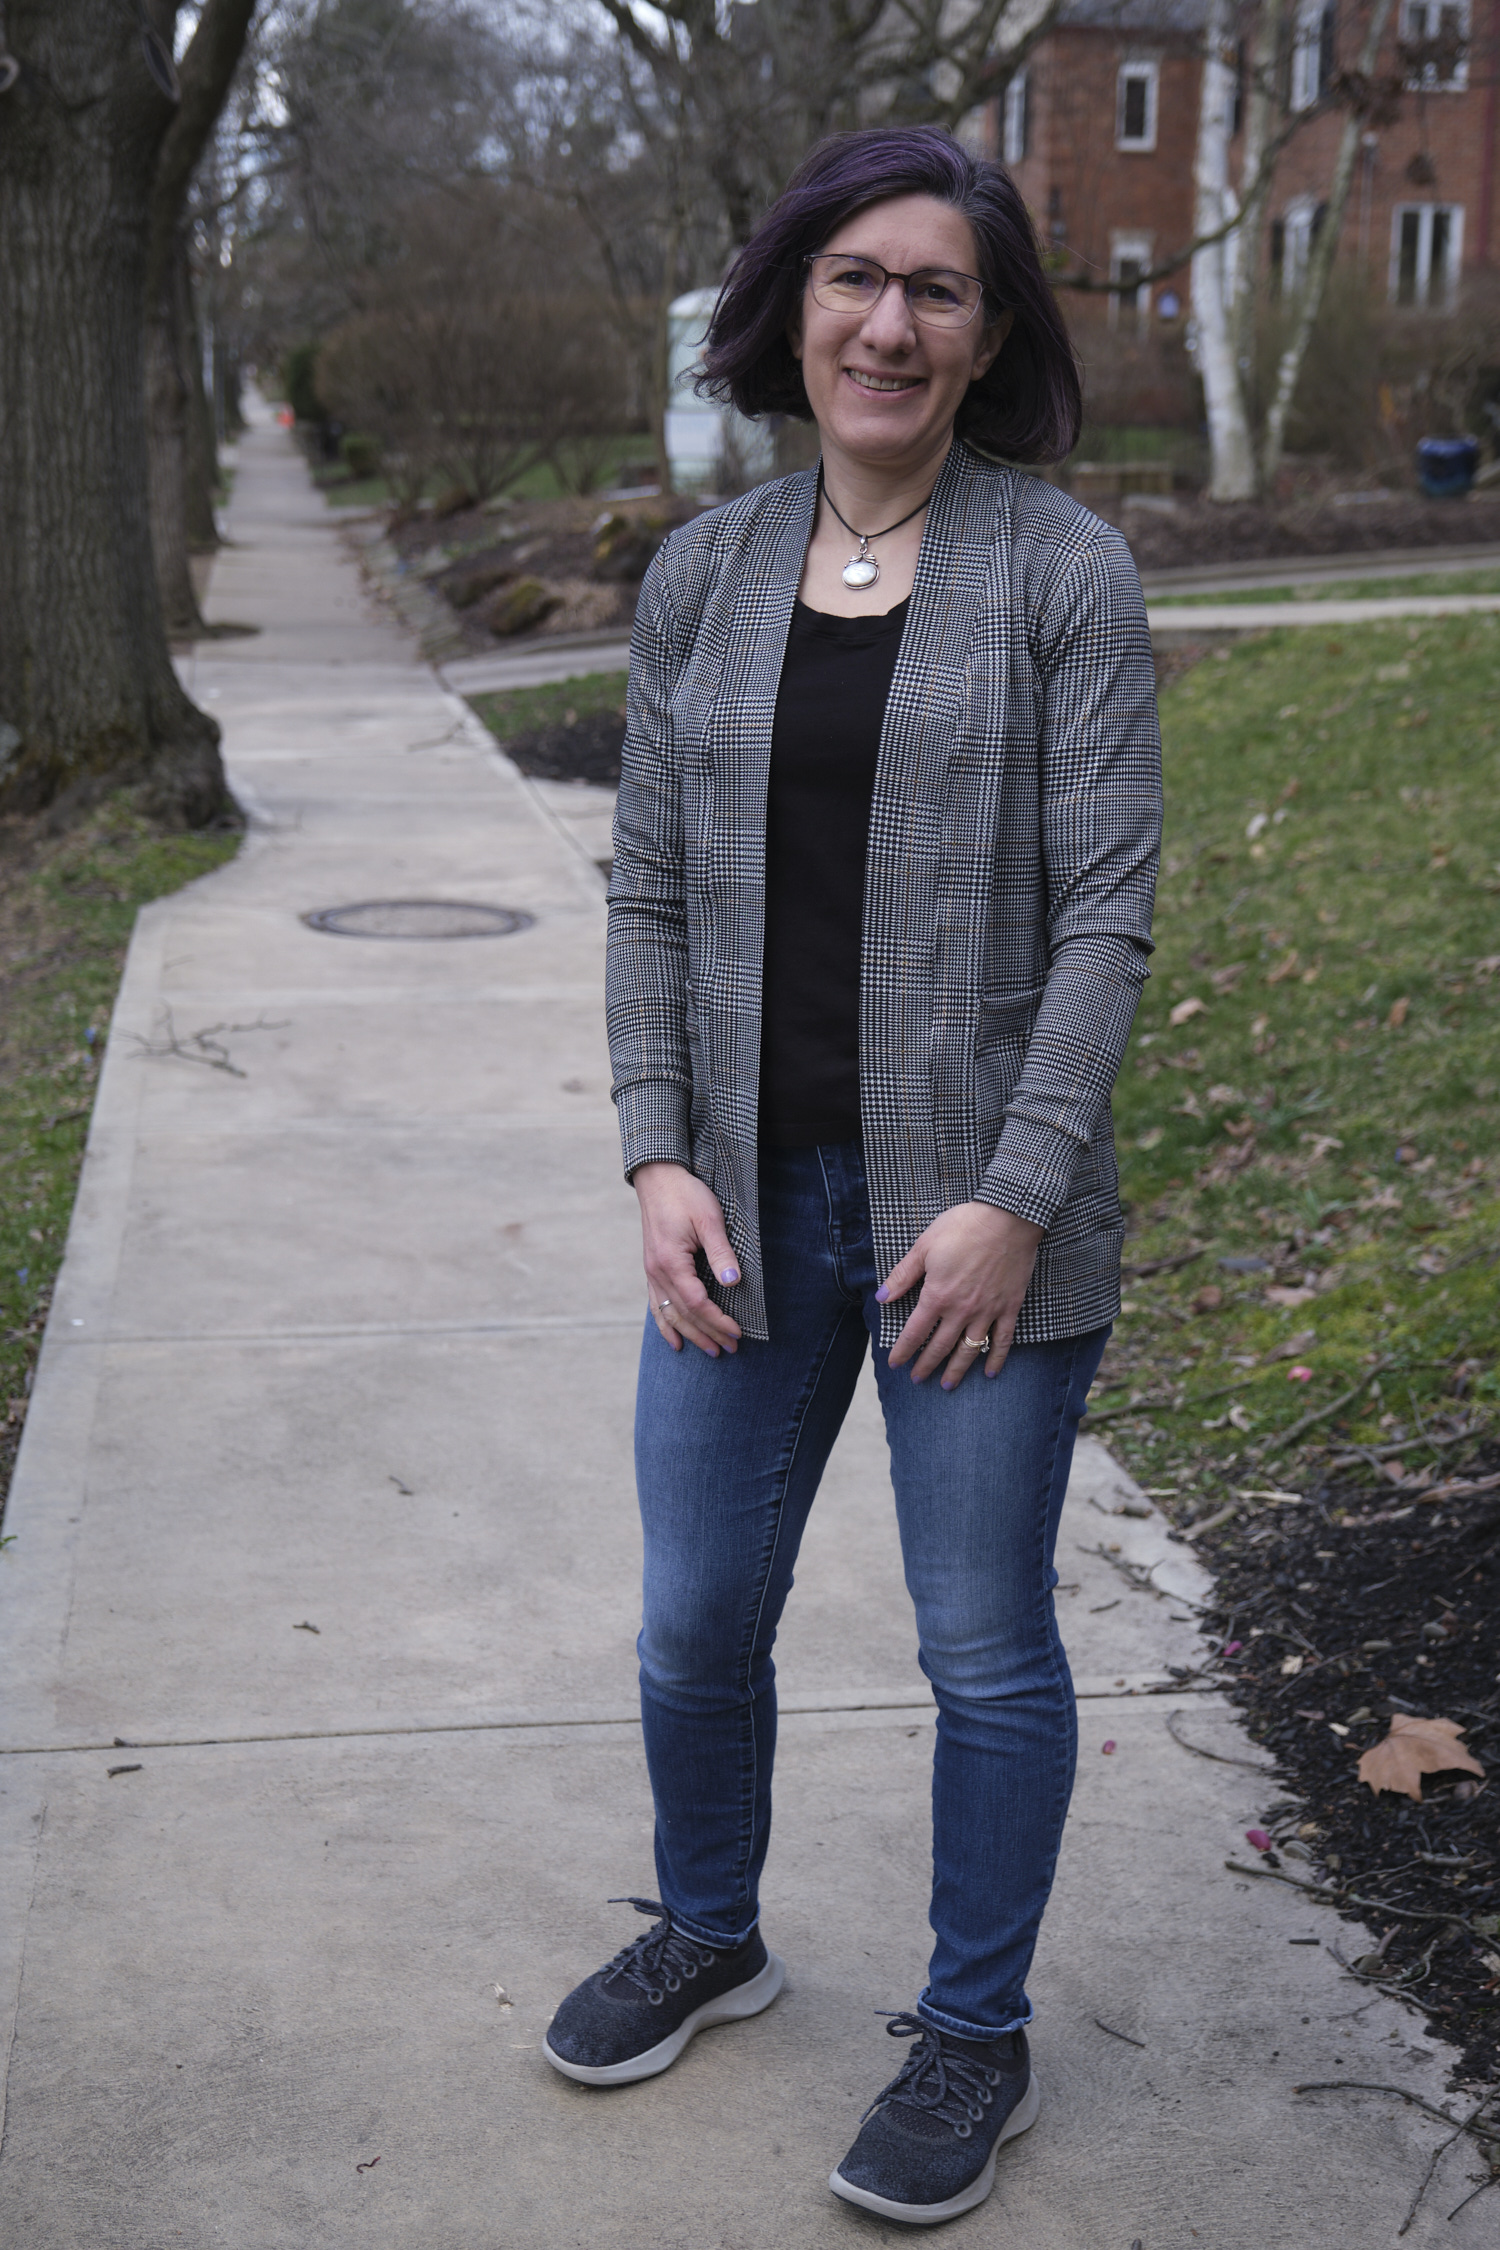
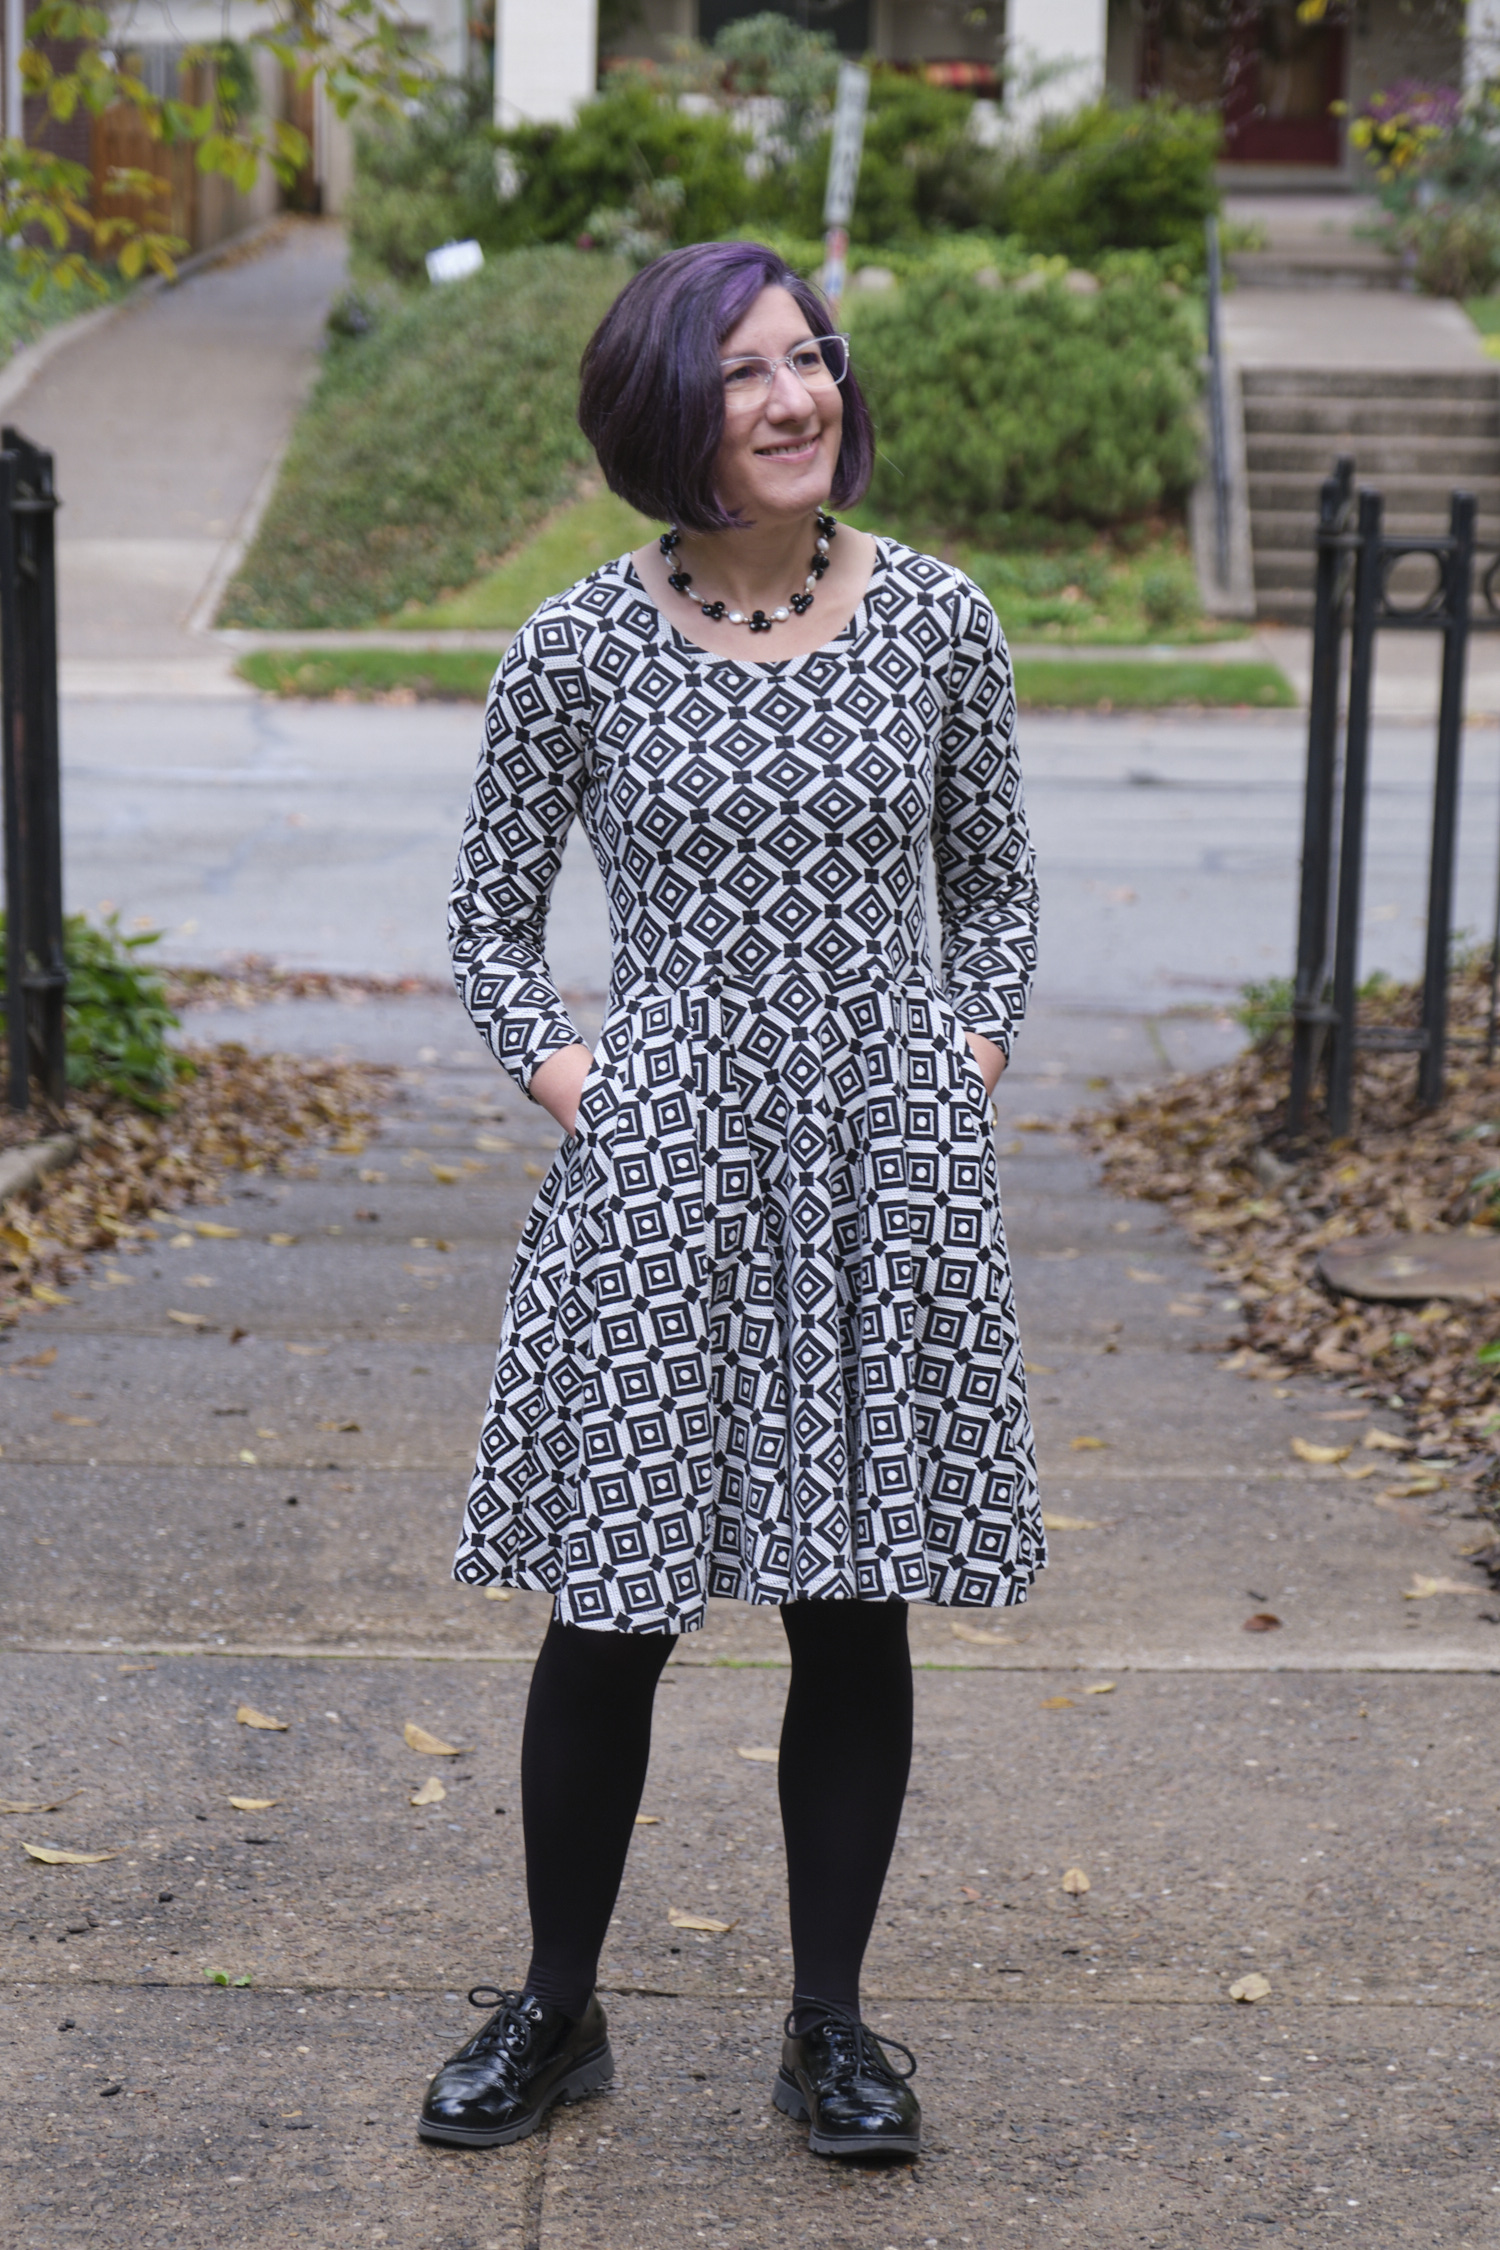
The best part about this dress is that if I wear it with a blazer, it looks almost like a suit. To play this up I might even make a matching blazer if I have enough red ponte left. The blazer also hides the pockets if it is long enough. Here I’m wearing my Boo & Lu Onyx pocket blazer in charcoal grey ponte.

Update: After wearing and washing the dress, I decided to go back and add topstitching around the neckline and on the pocket openings to keep the facings from shifting and having to be ironed every time I wash the dress. I used a shallow zigzag stitch on my sewing machine.


