
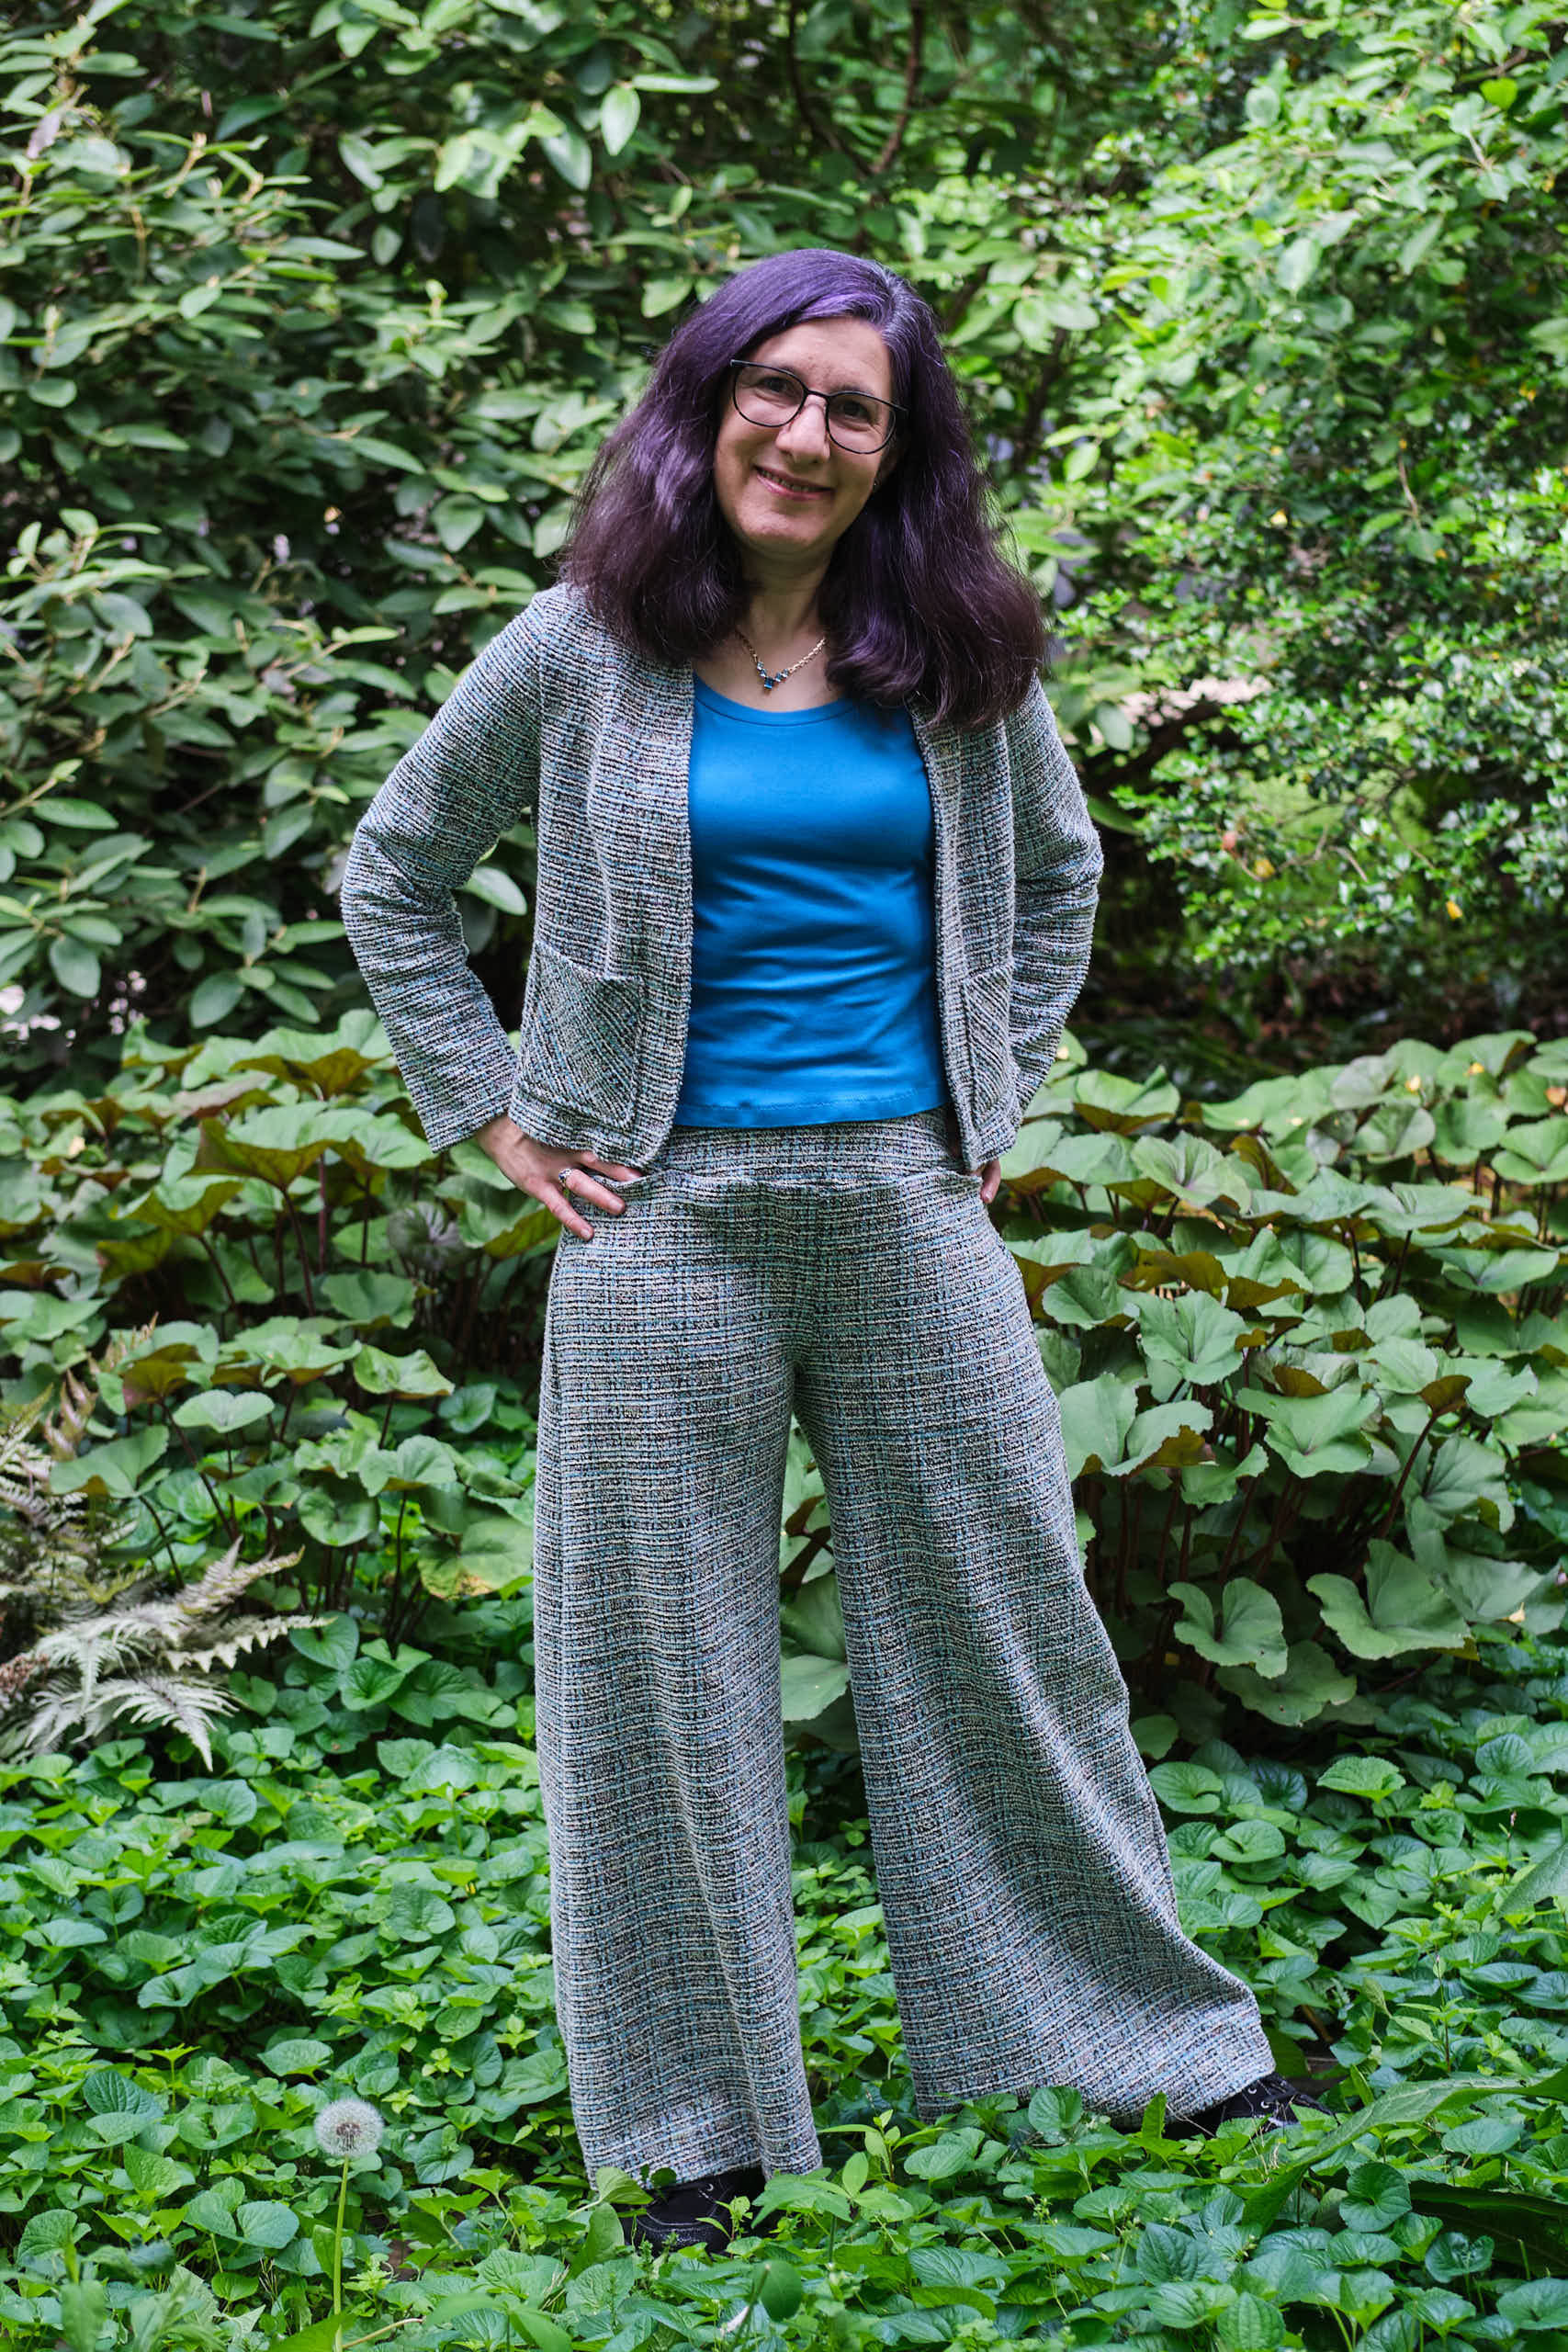
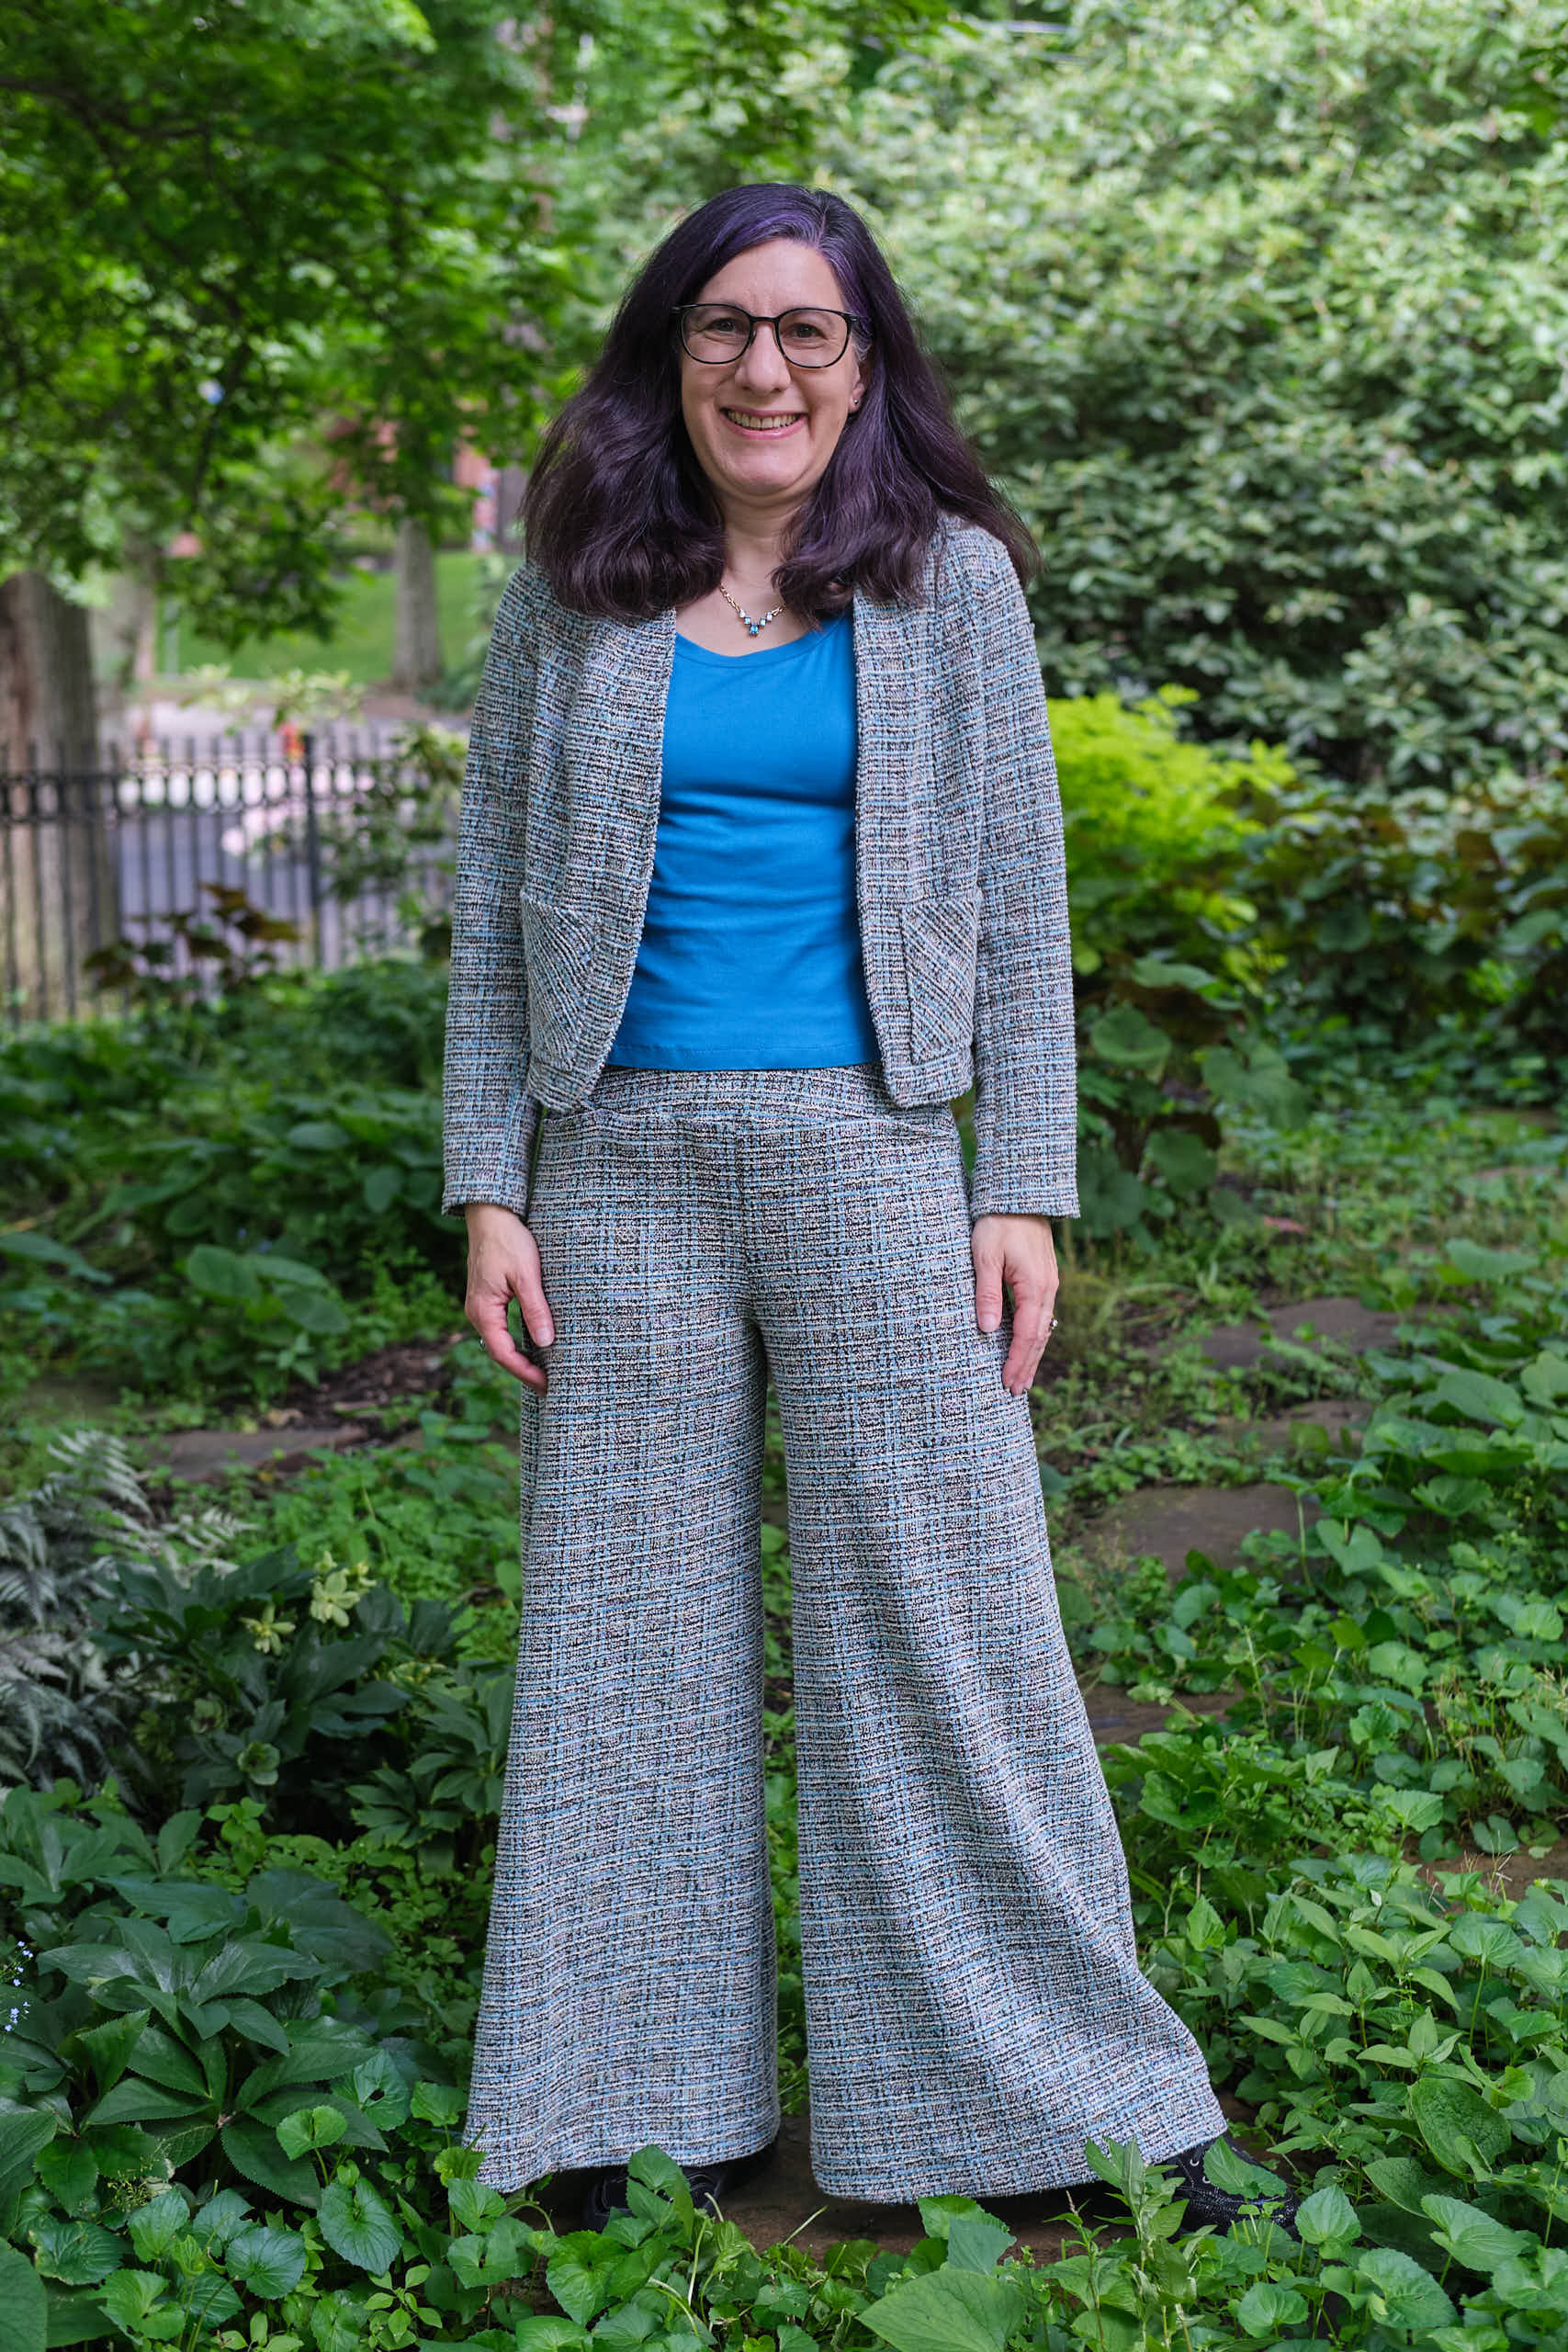
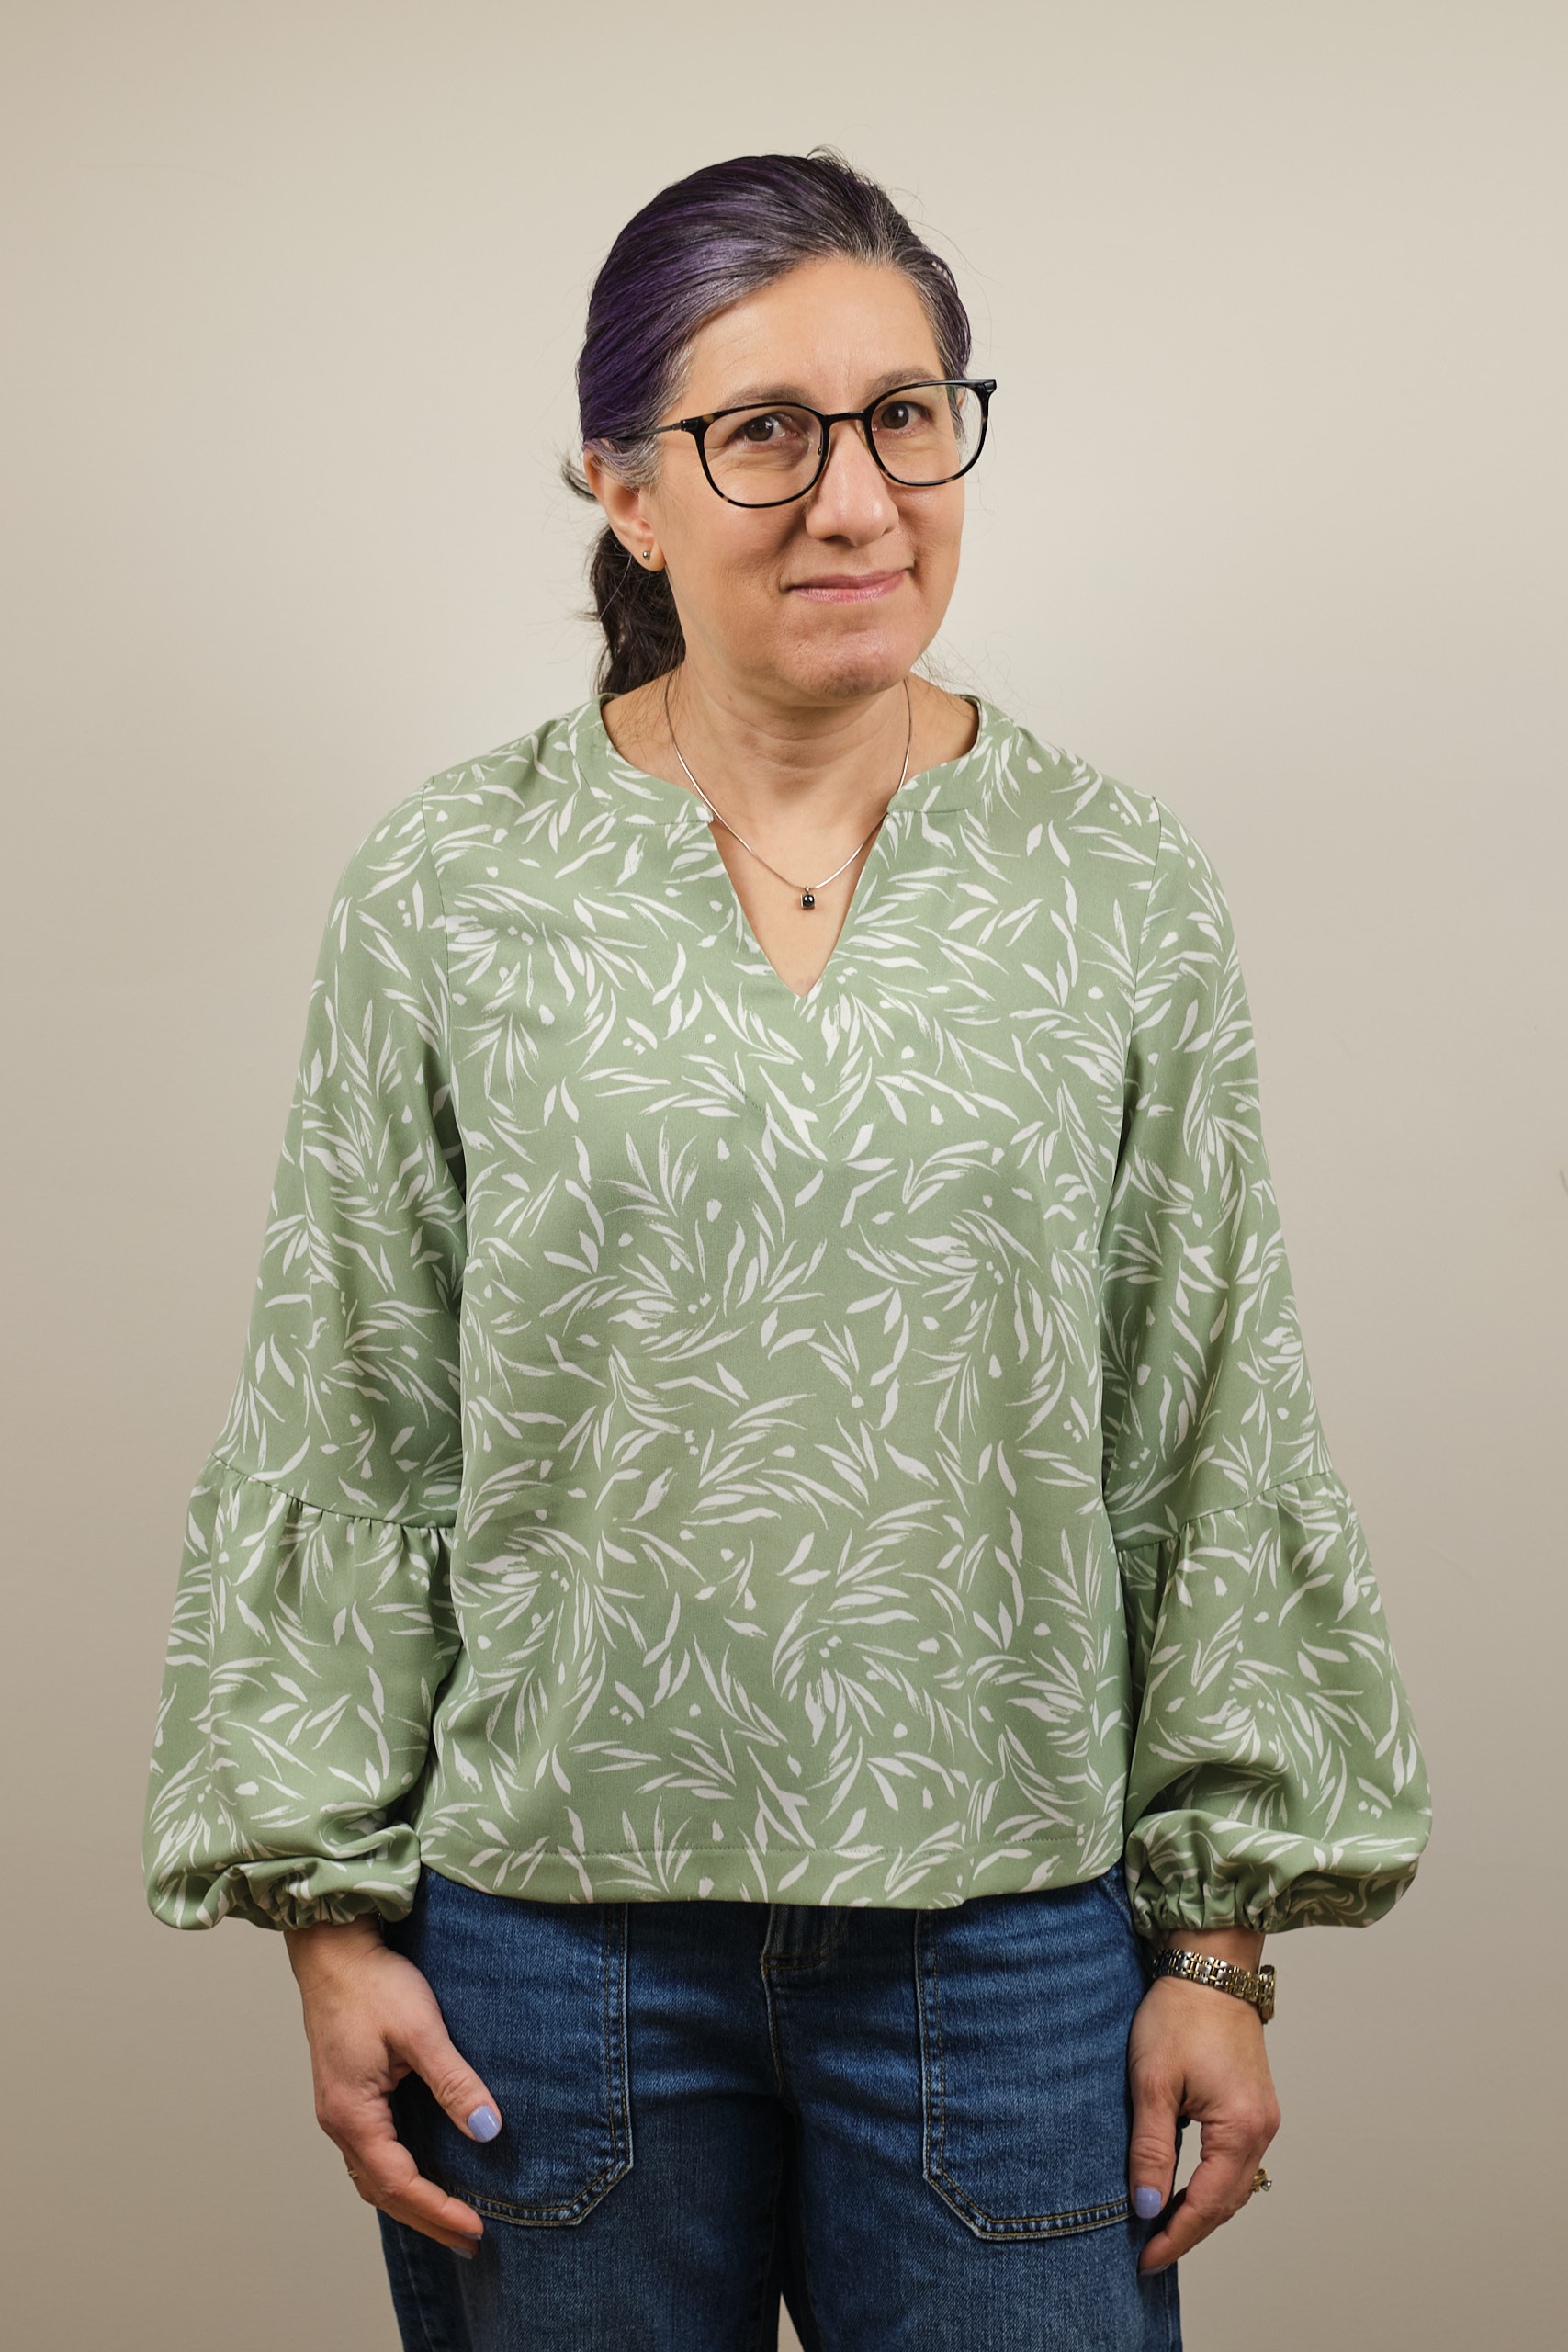
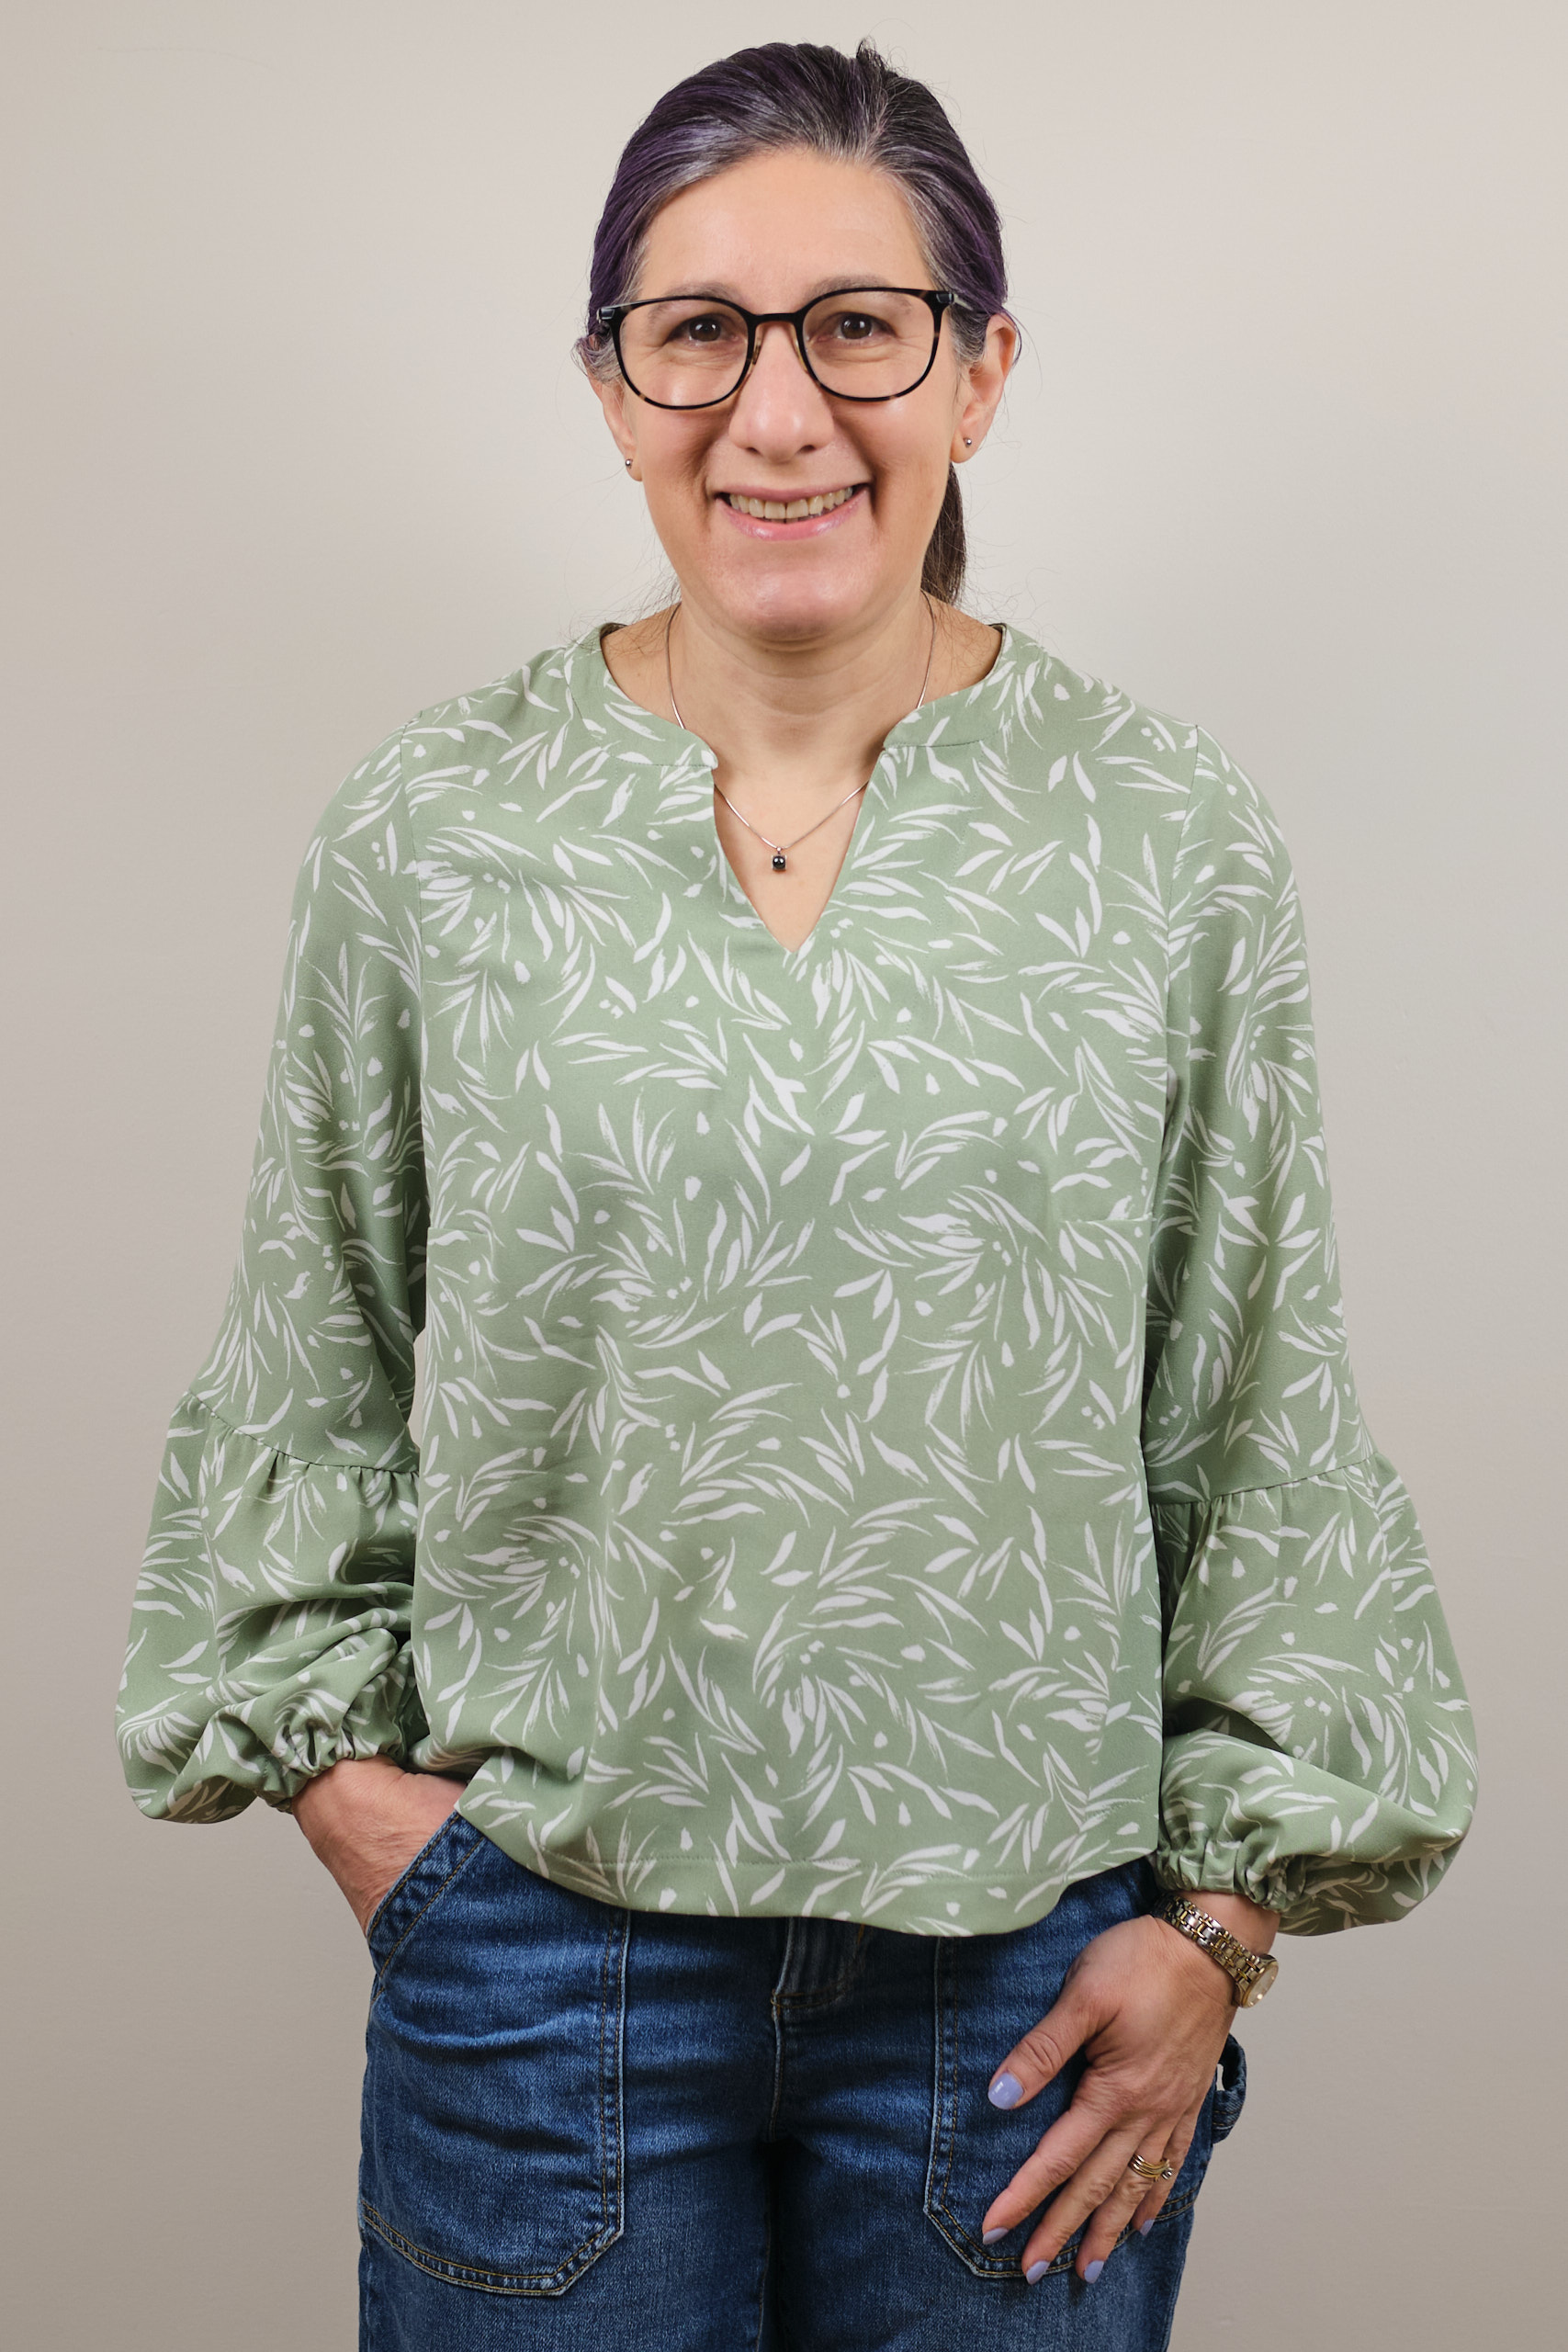
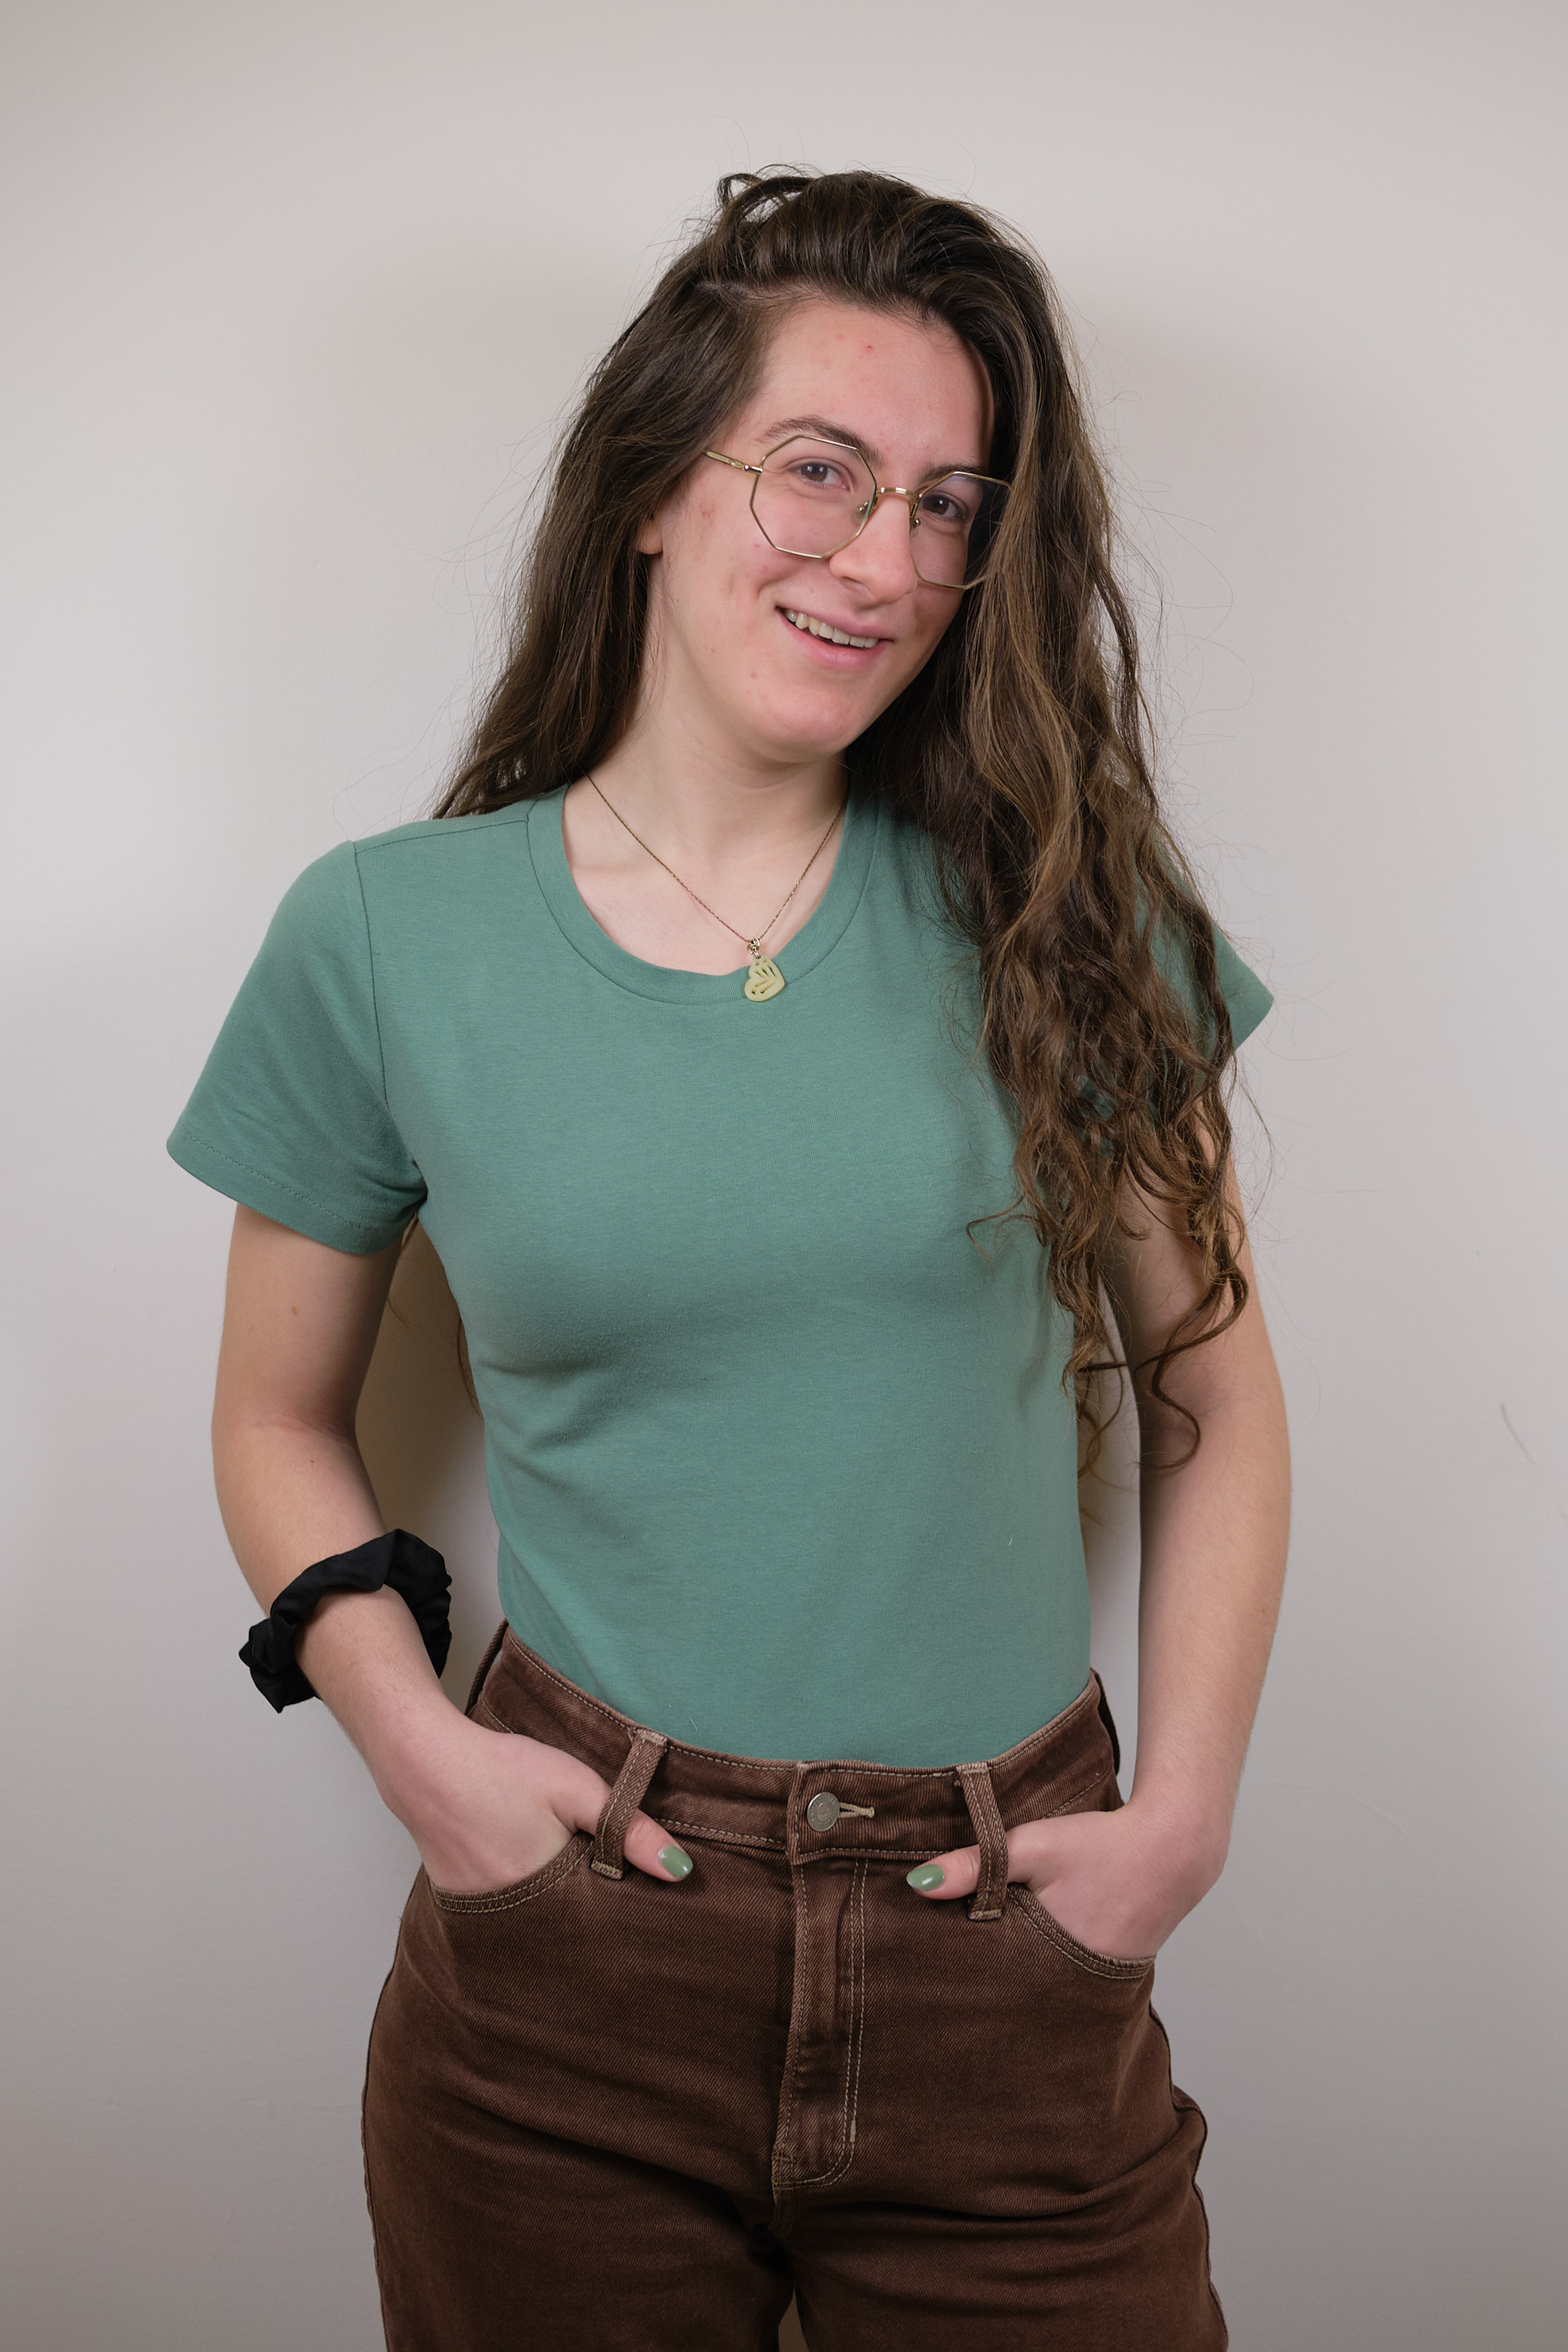
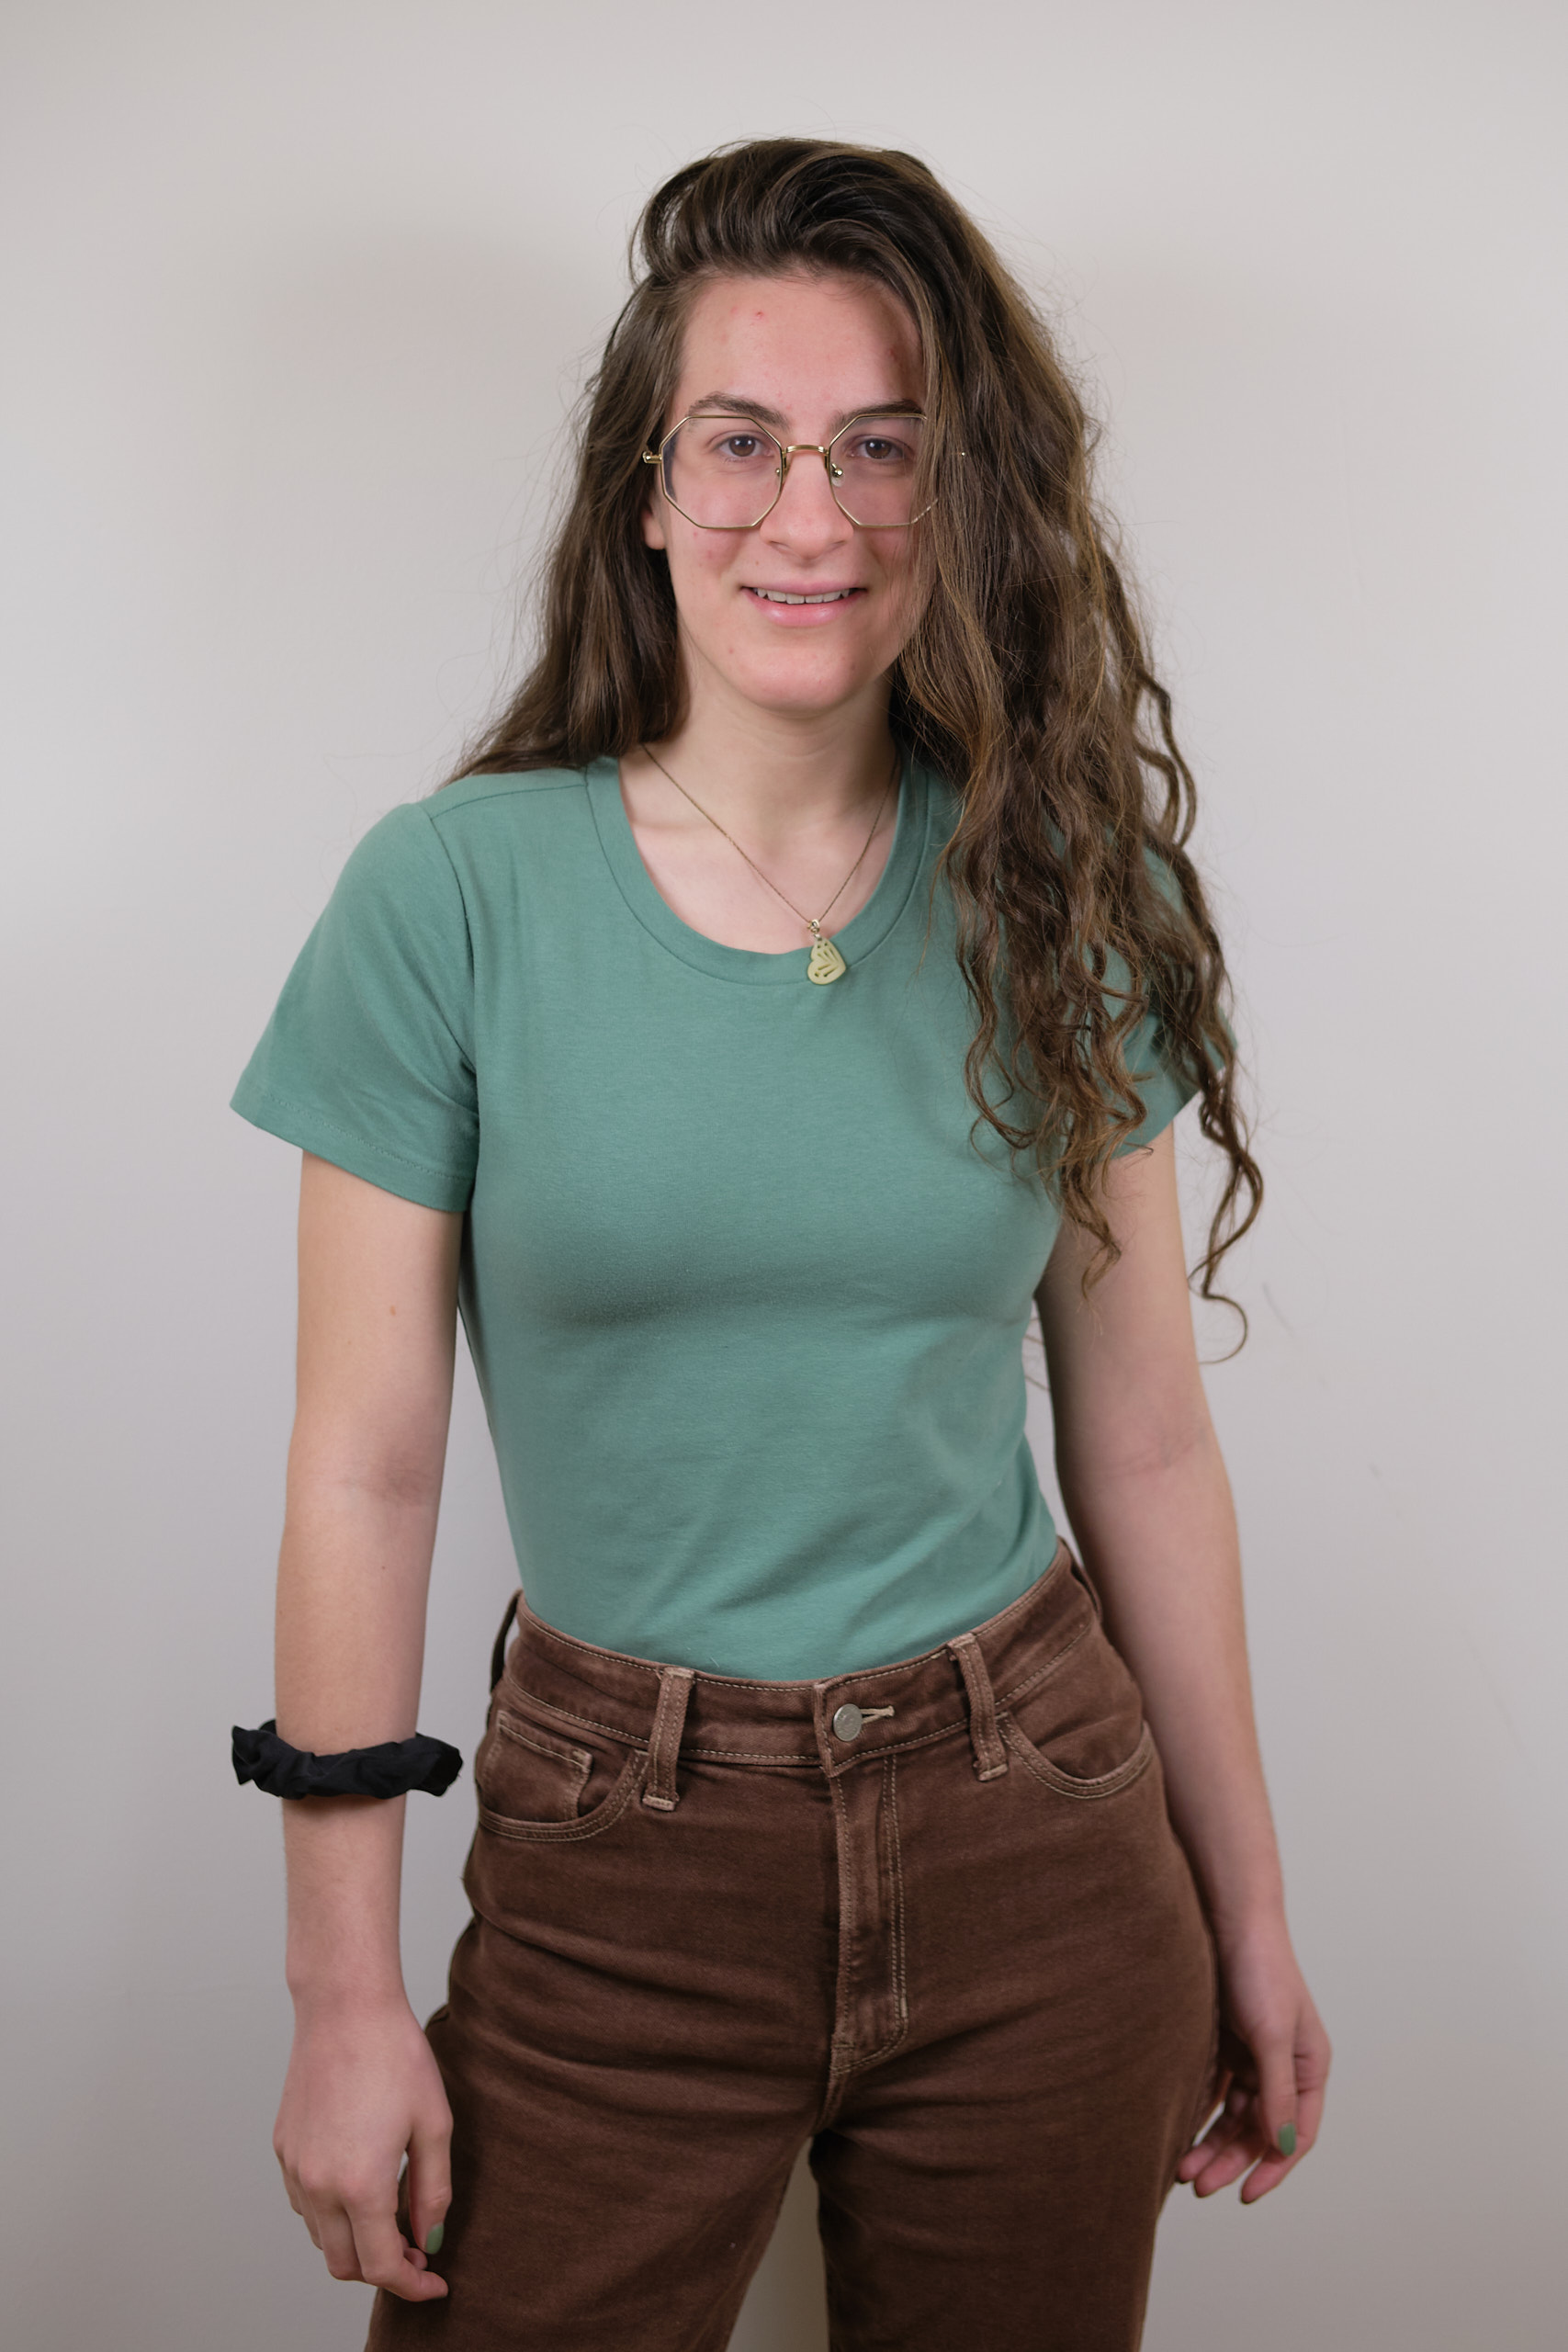
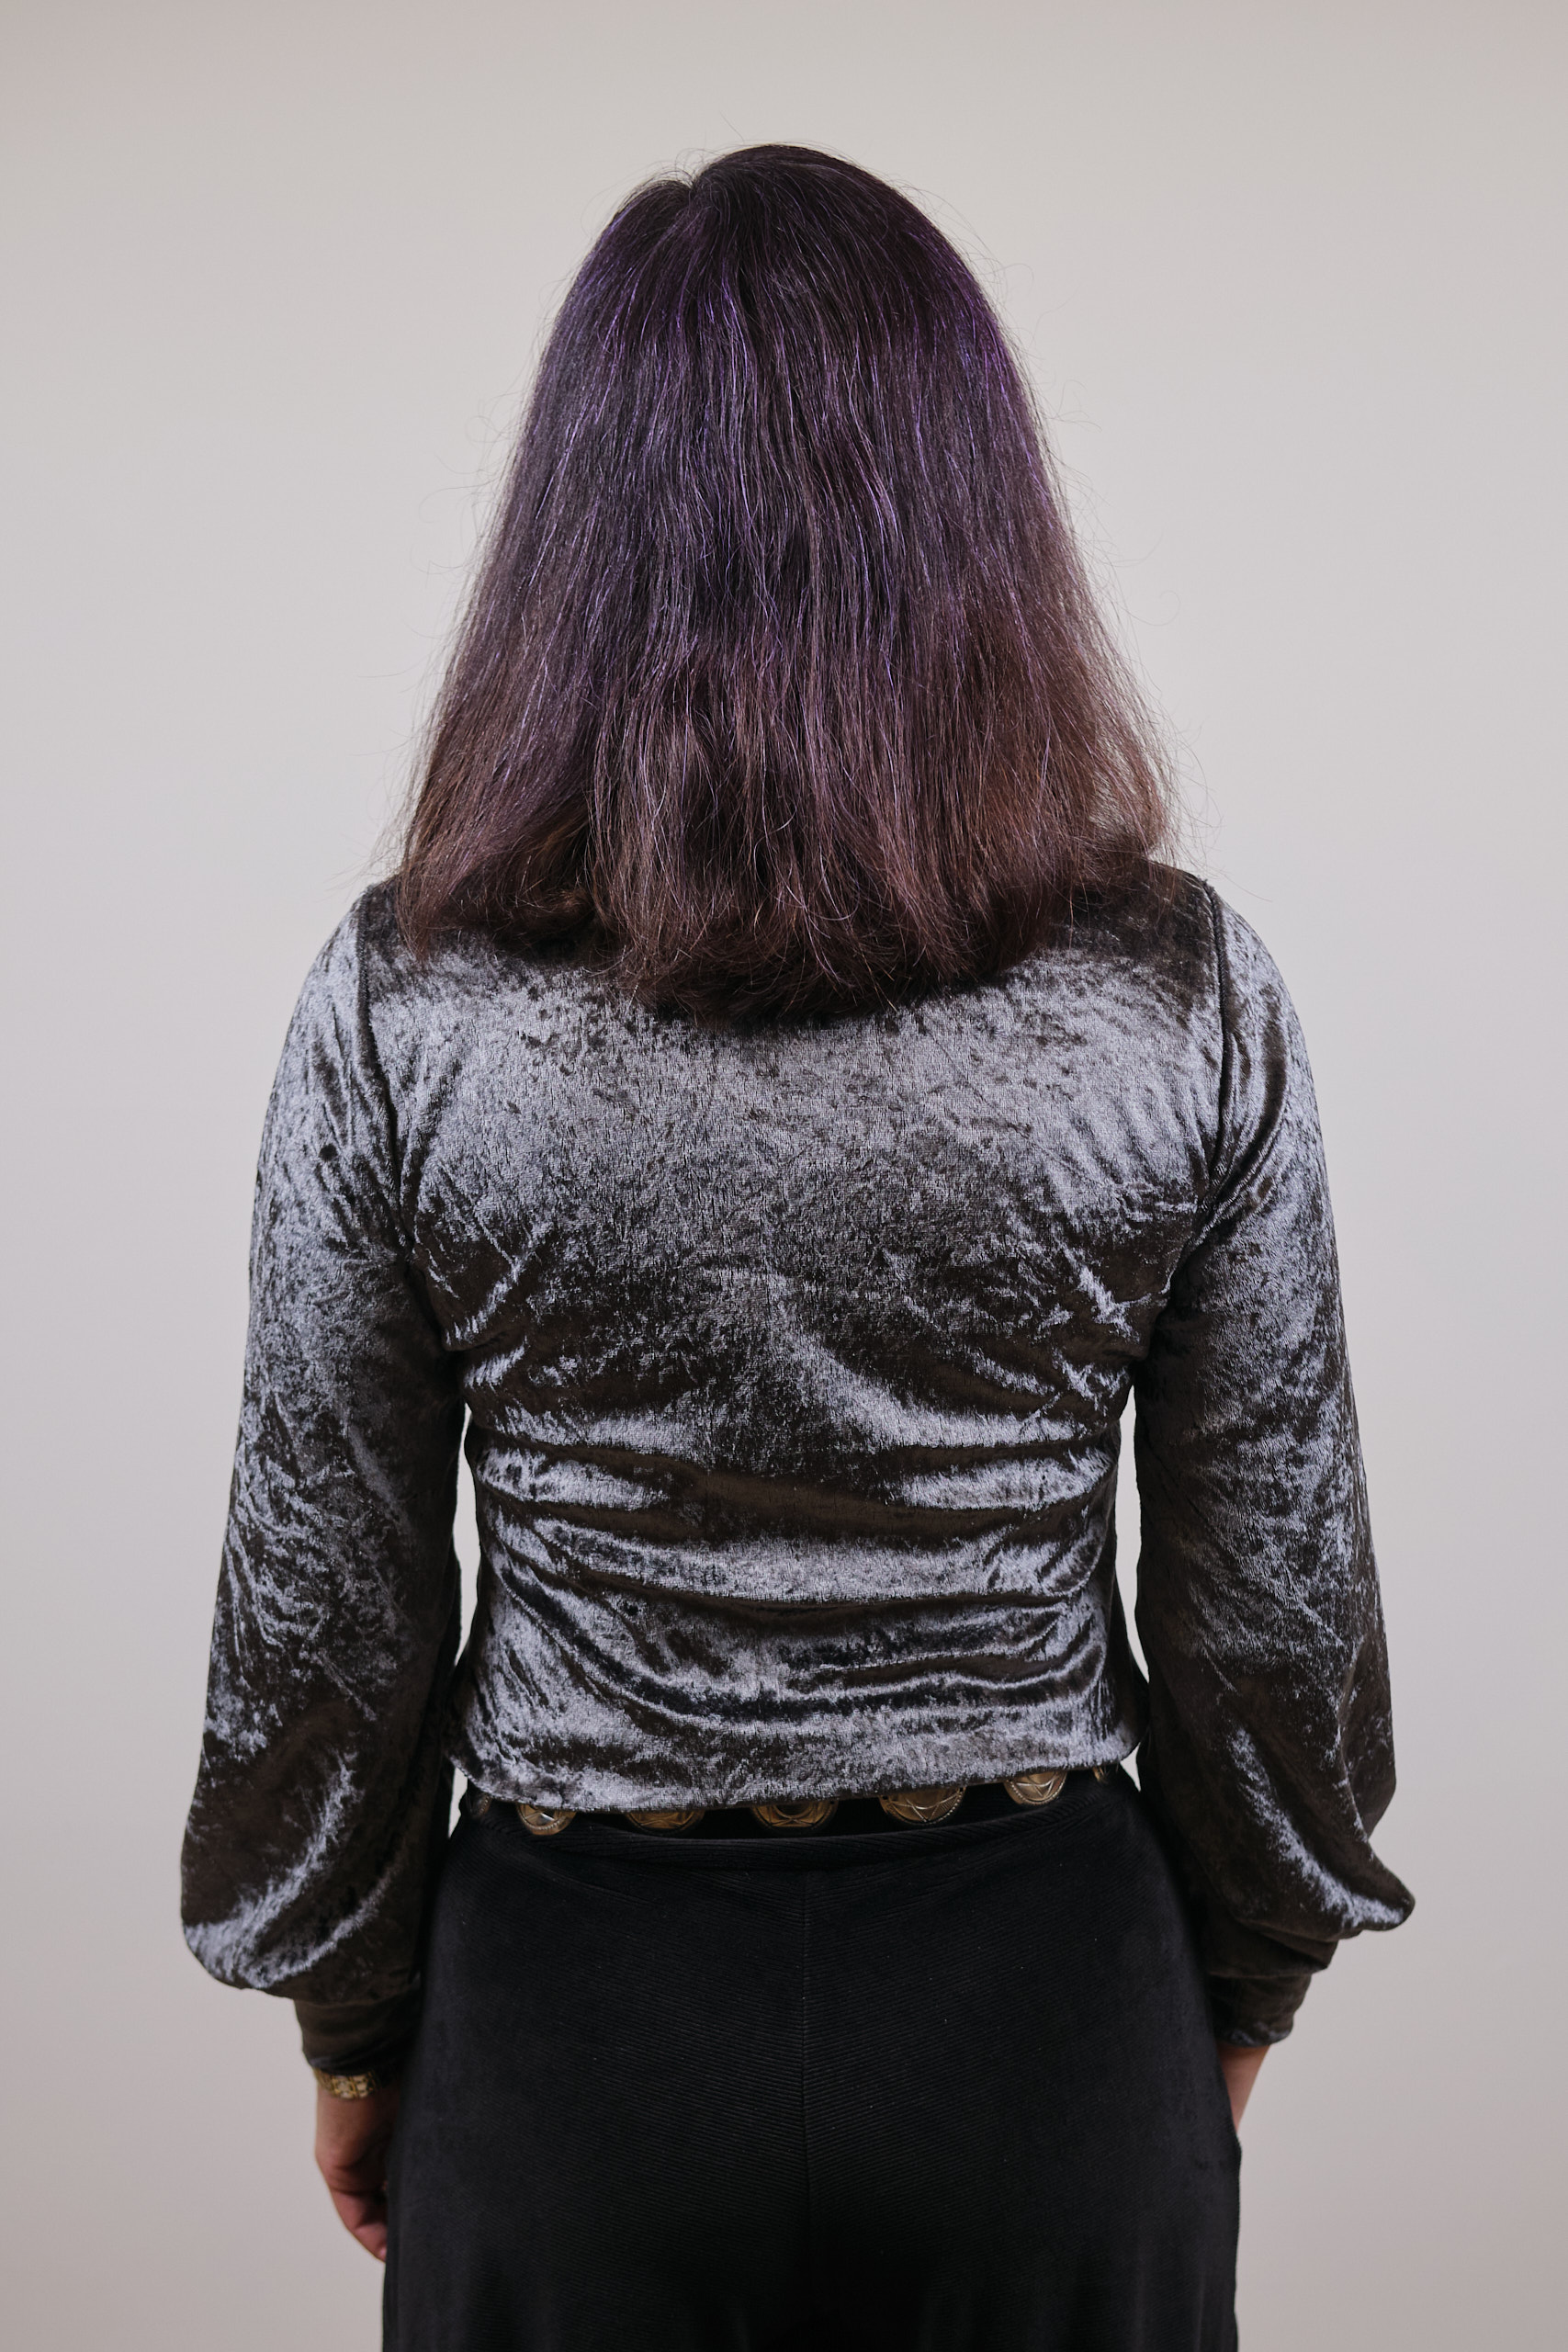
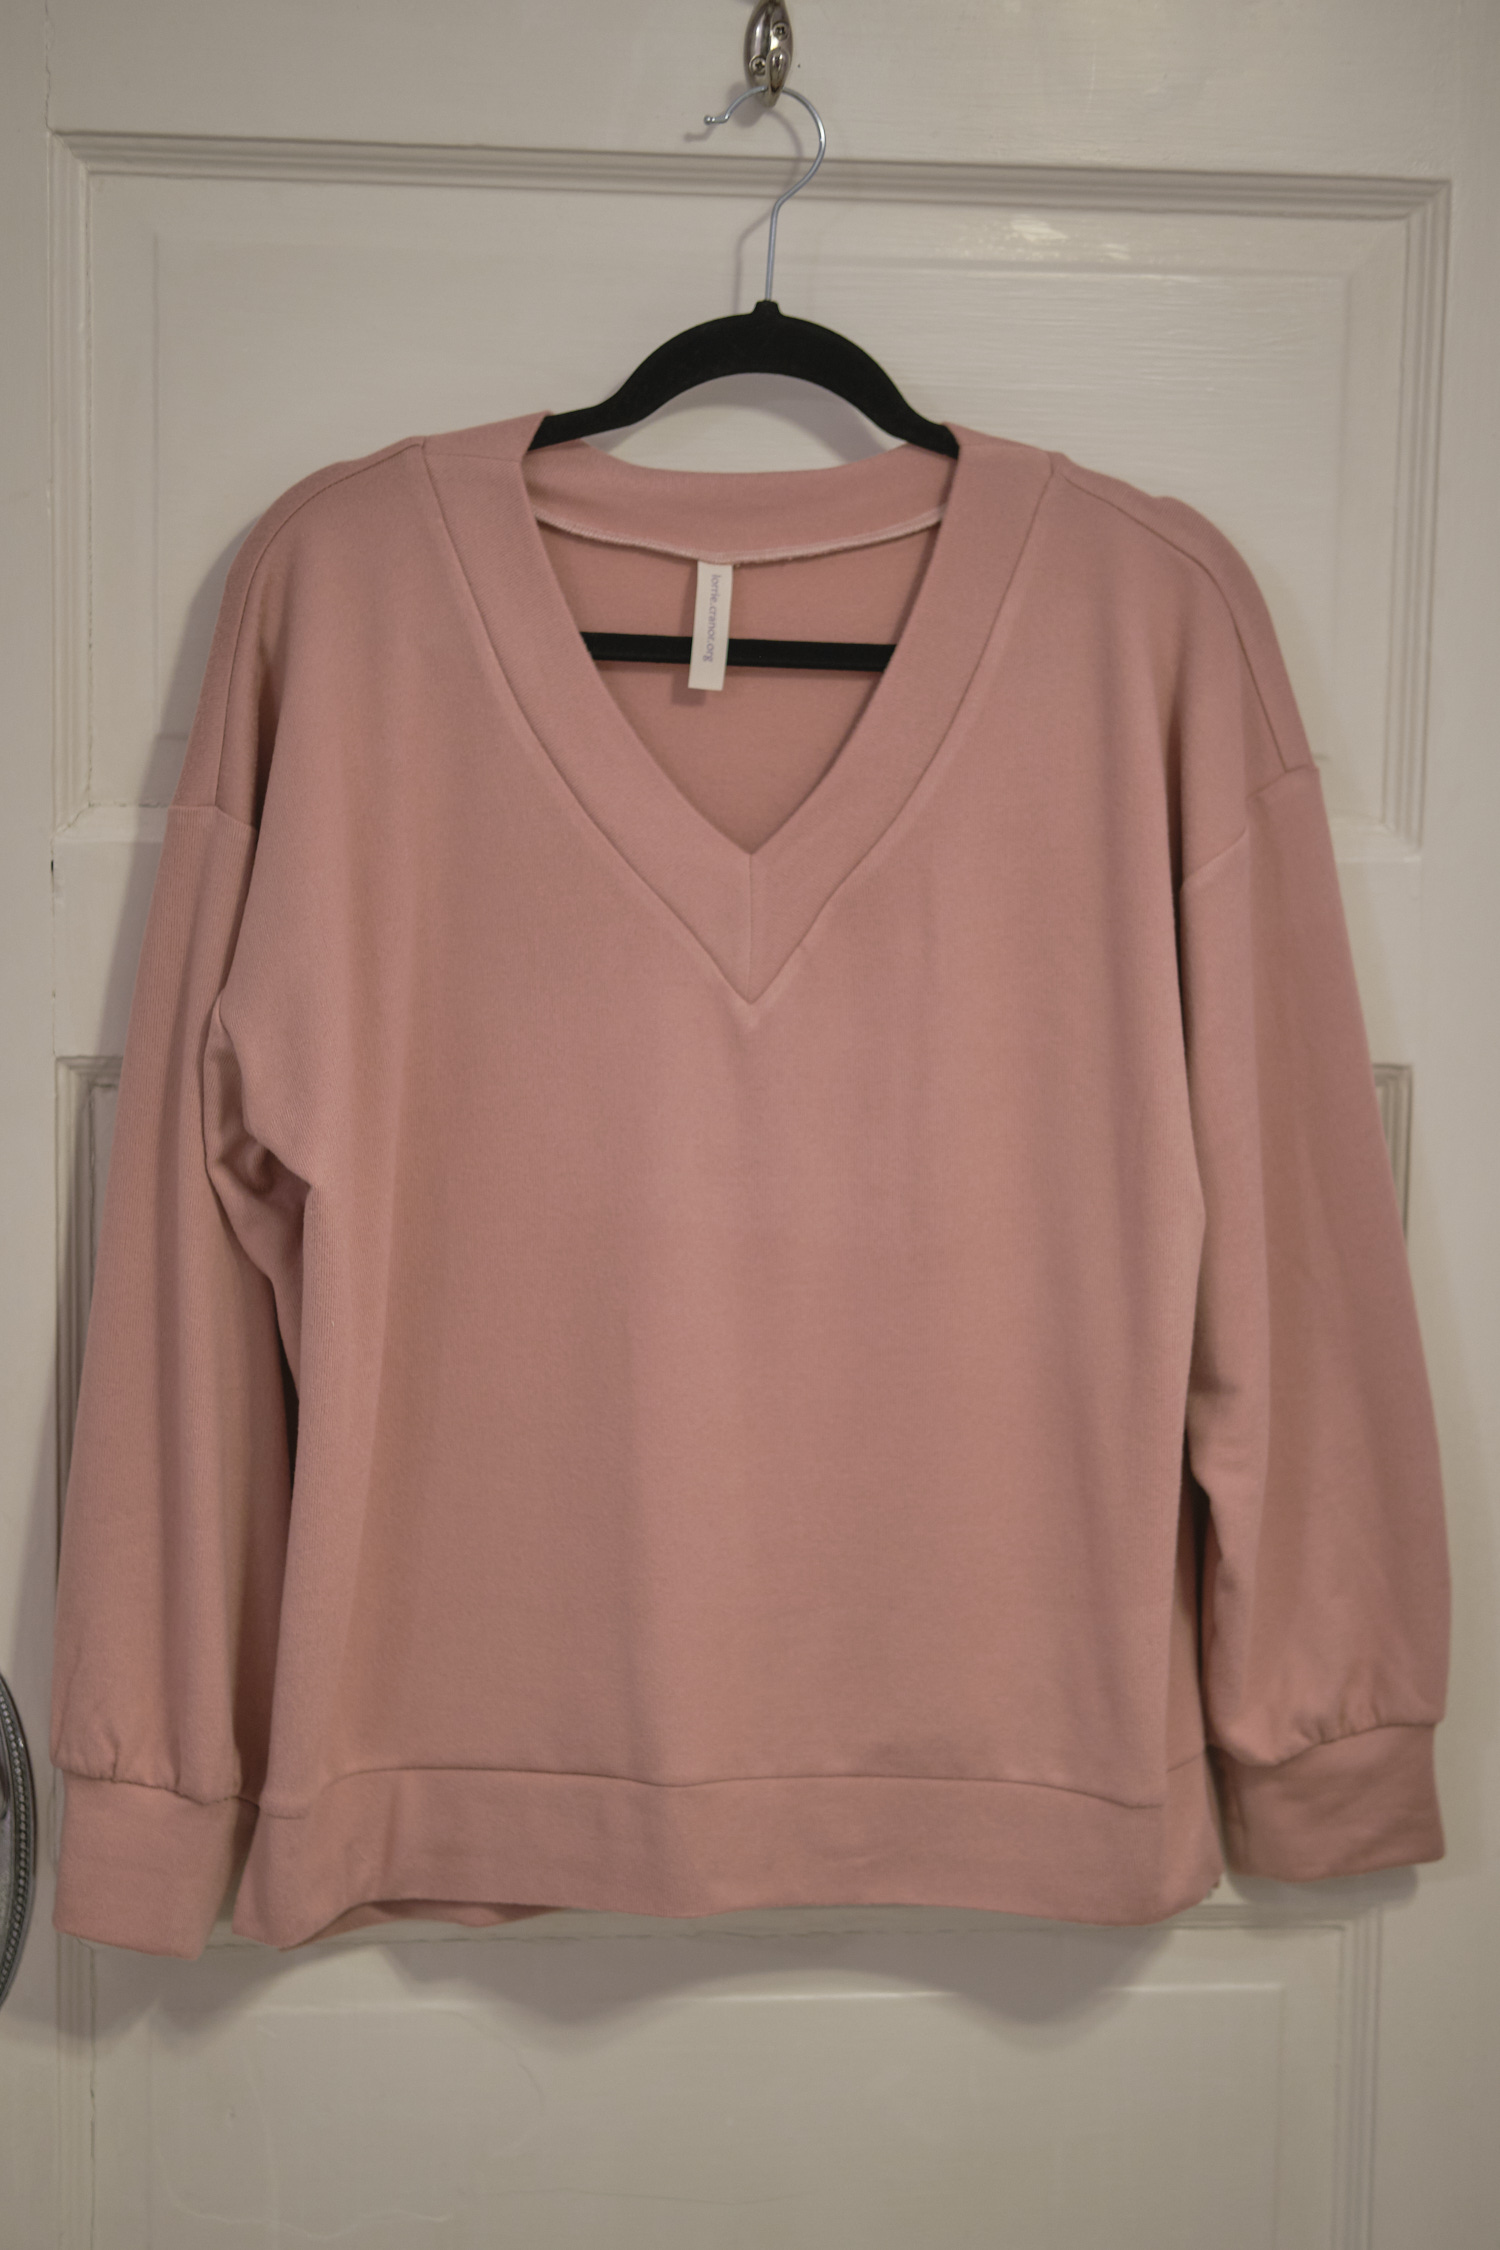
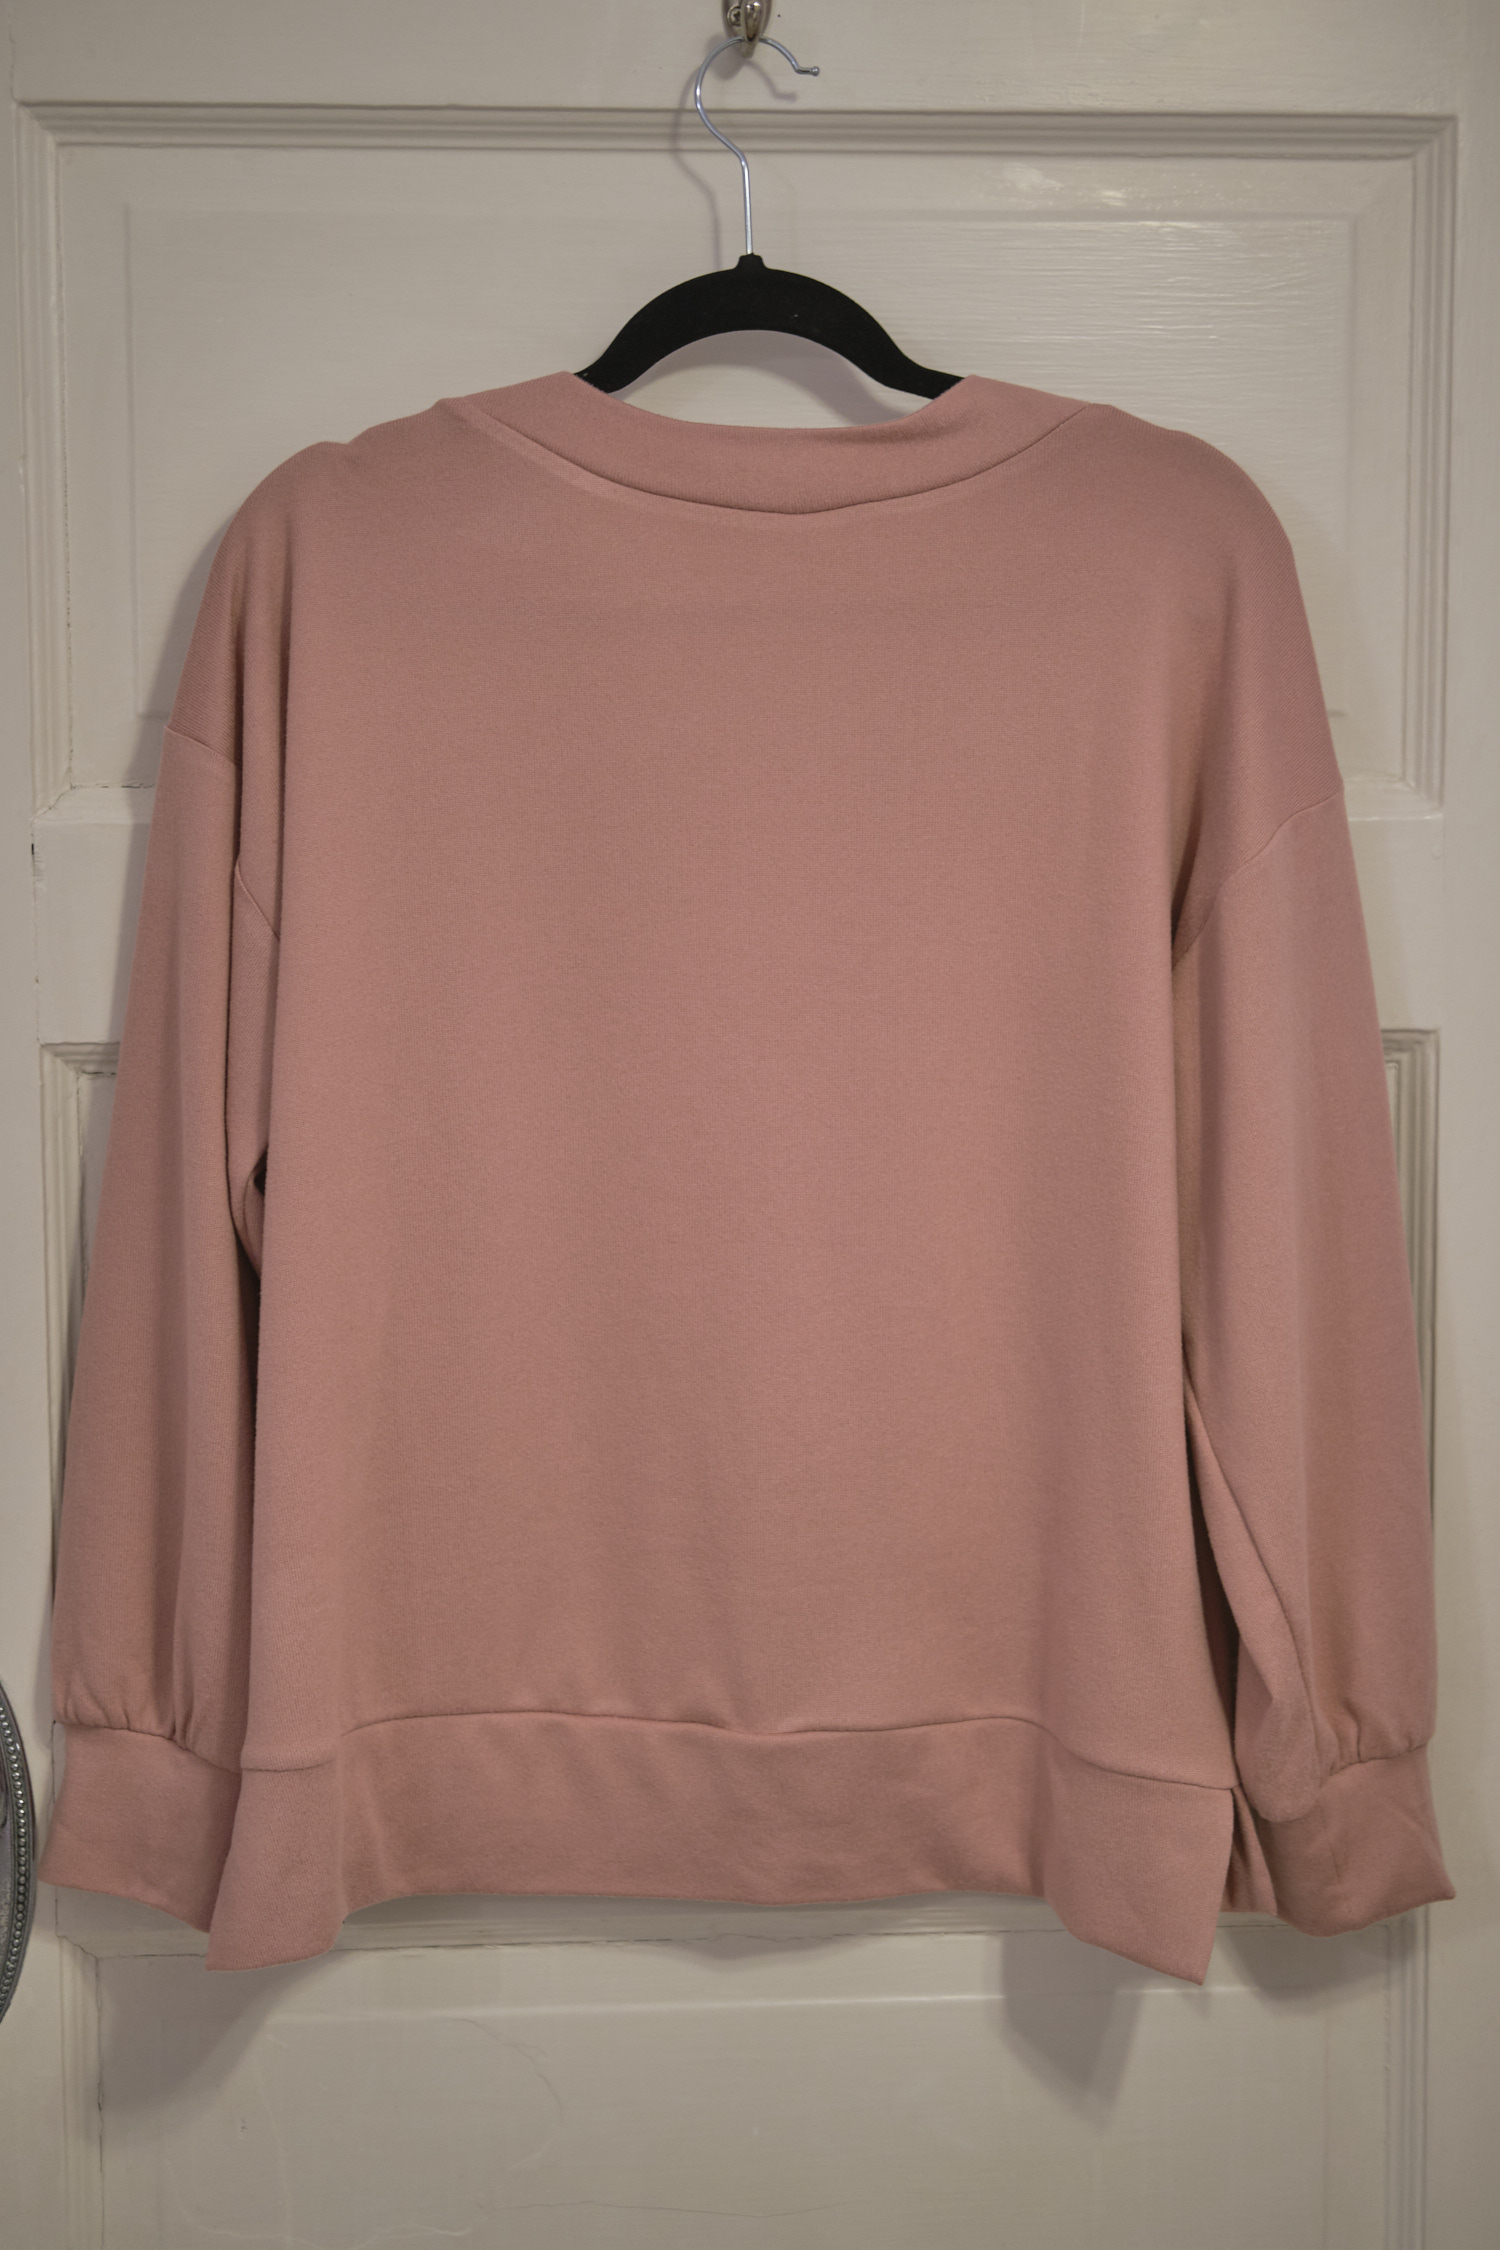
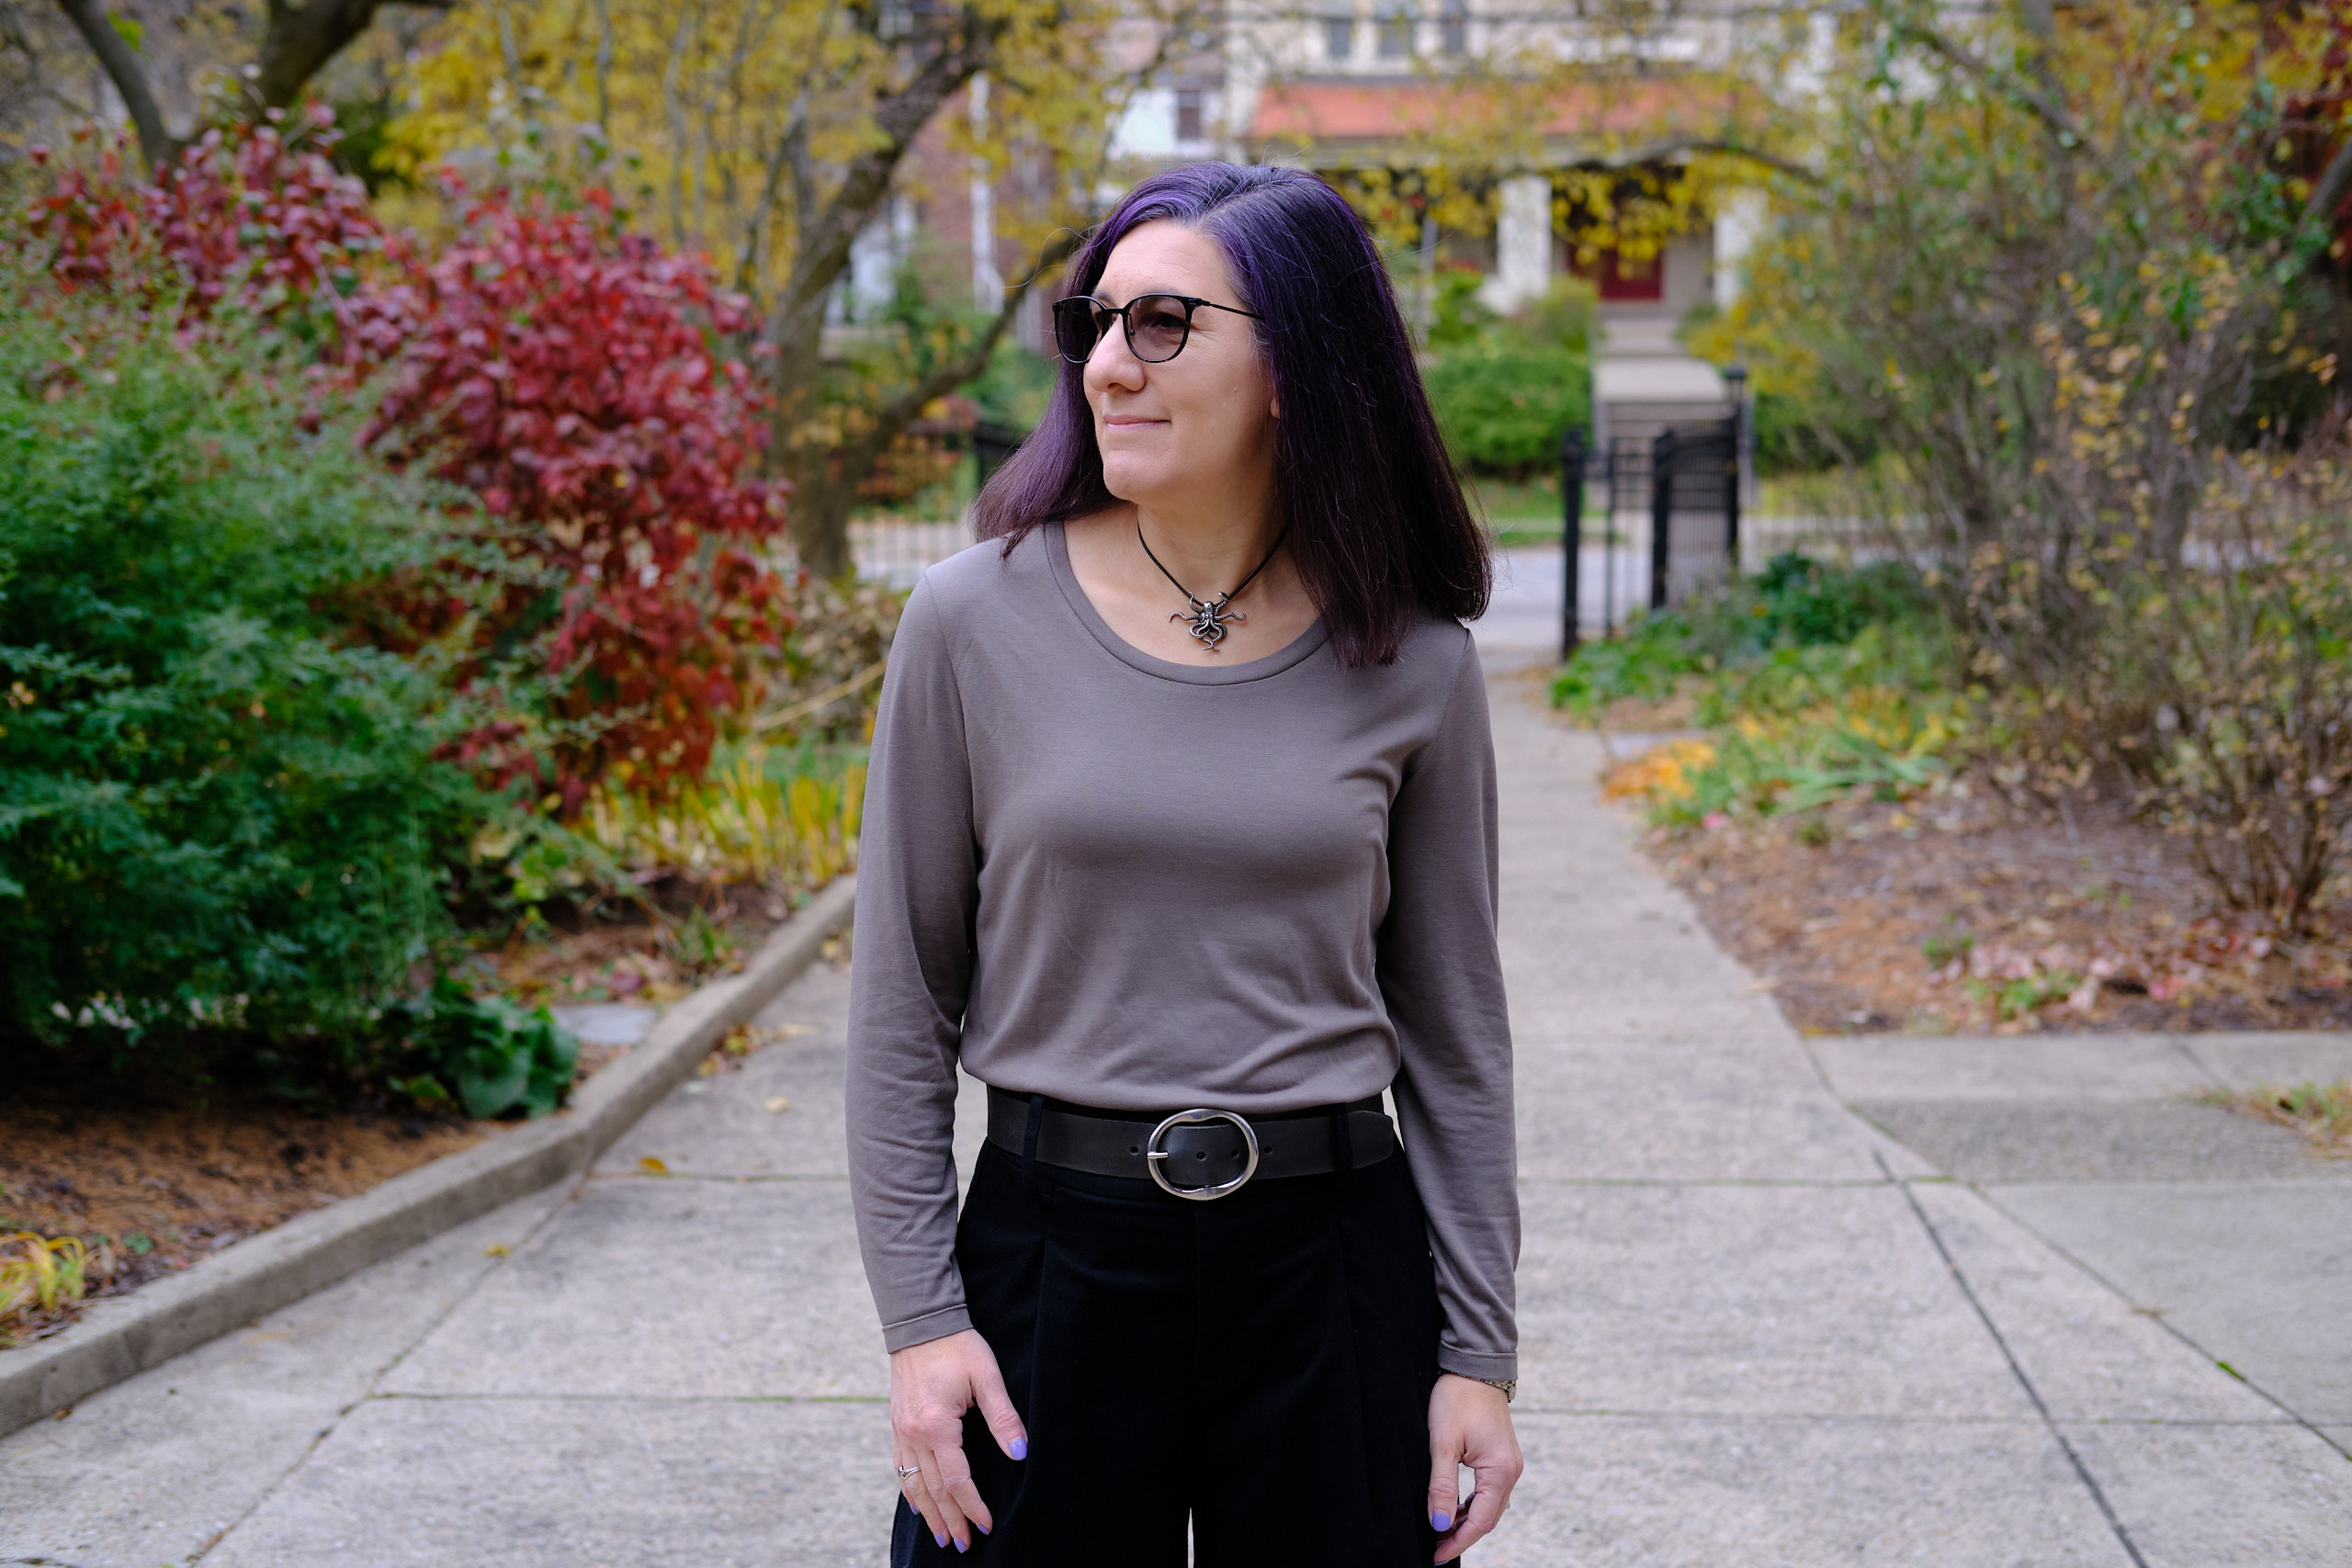
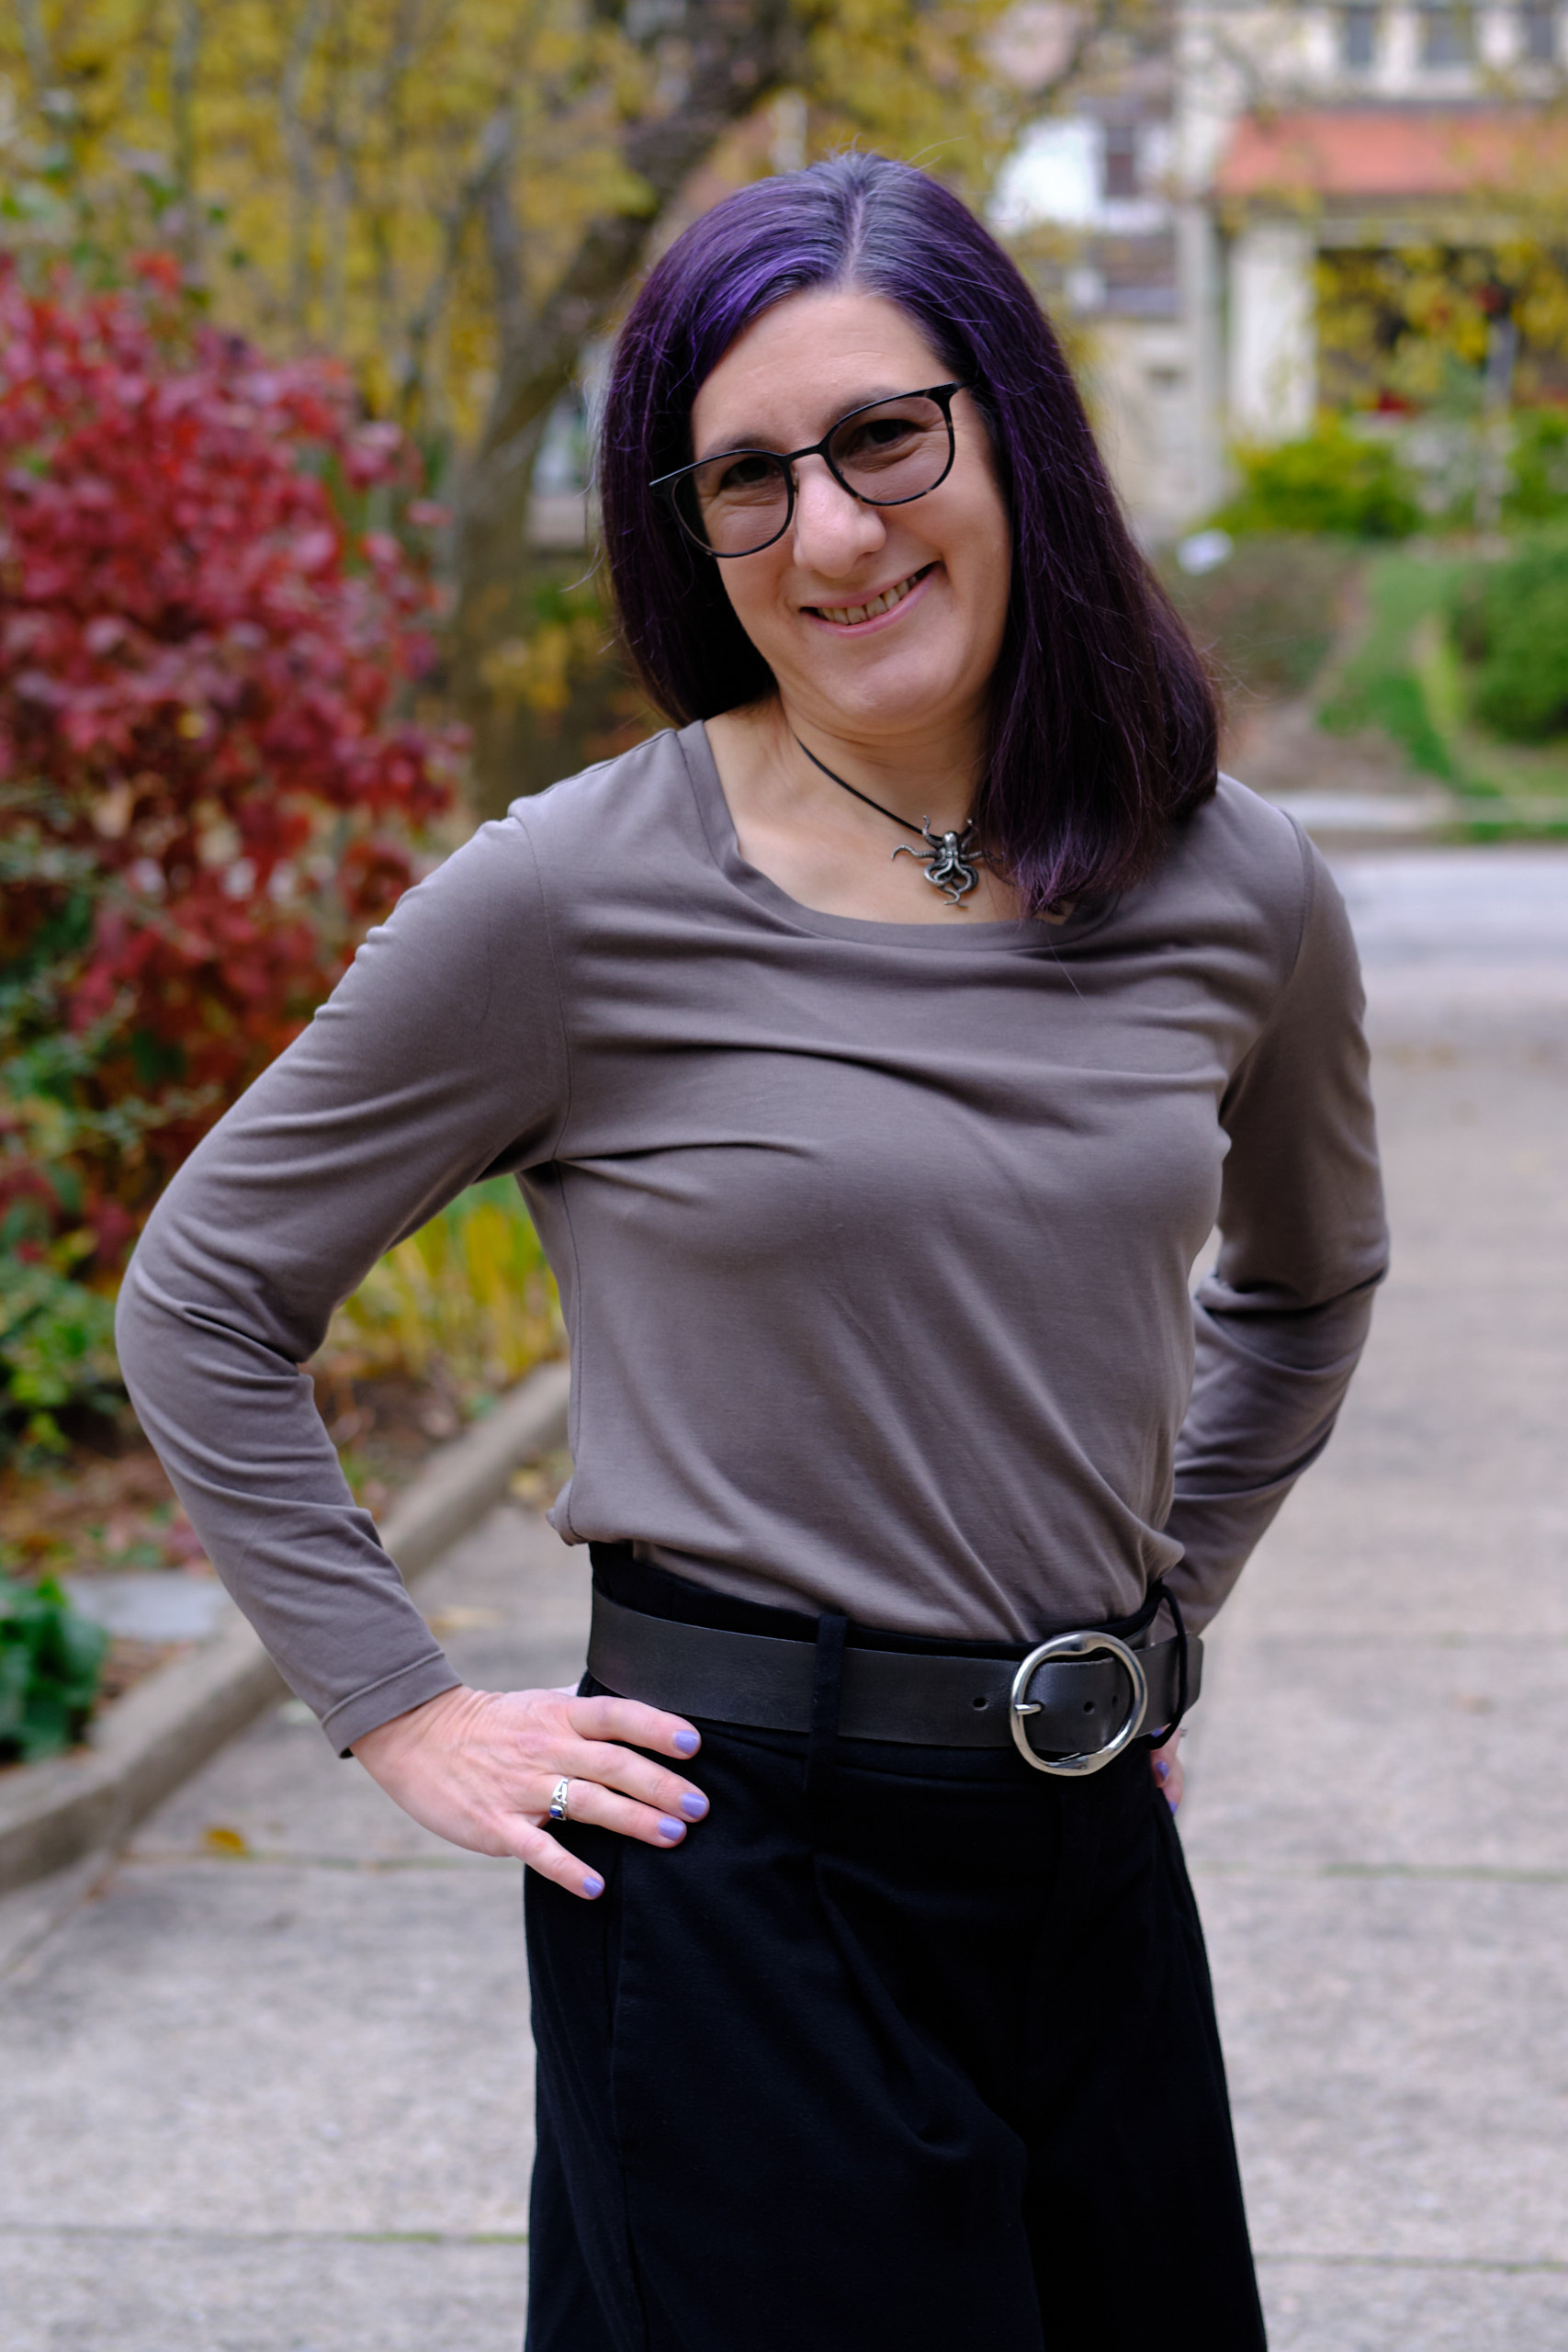
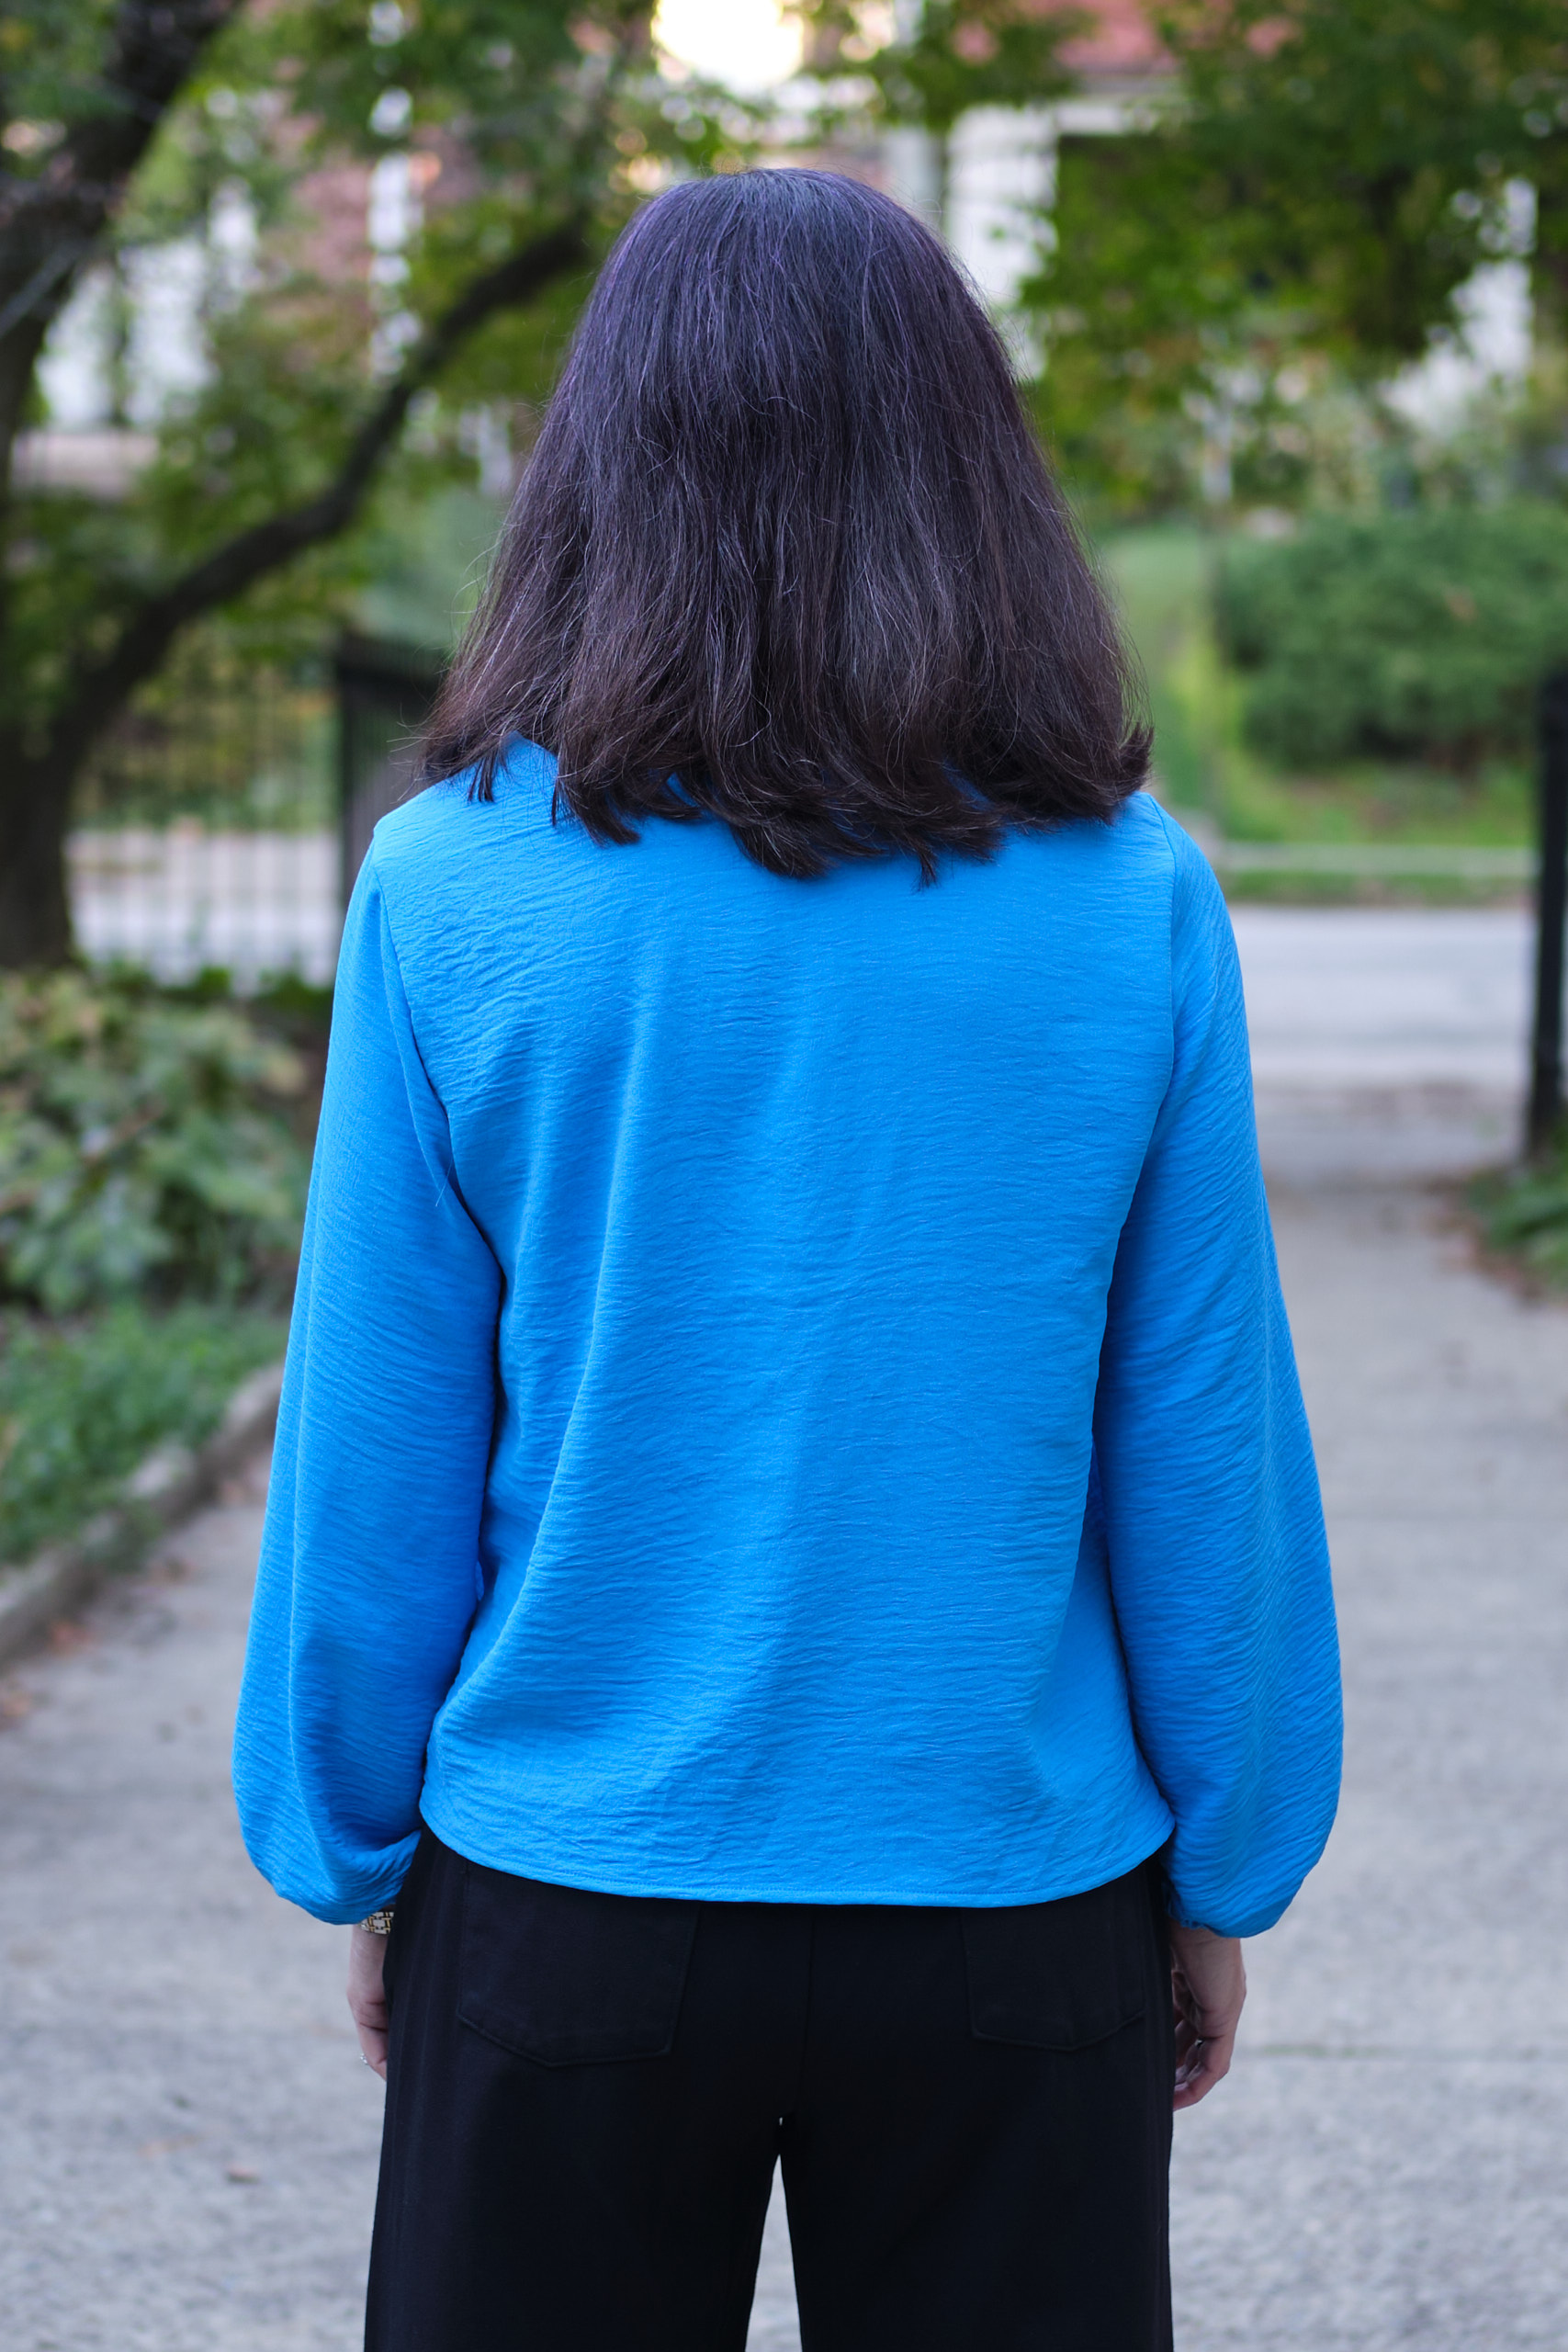
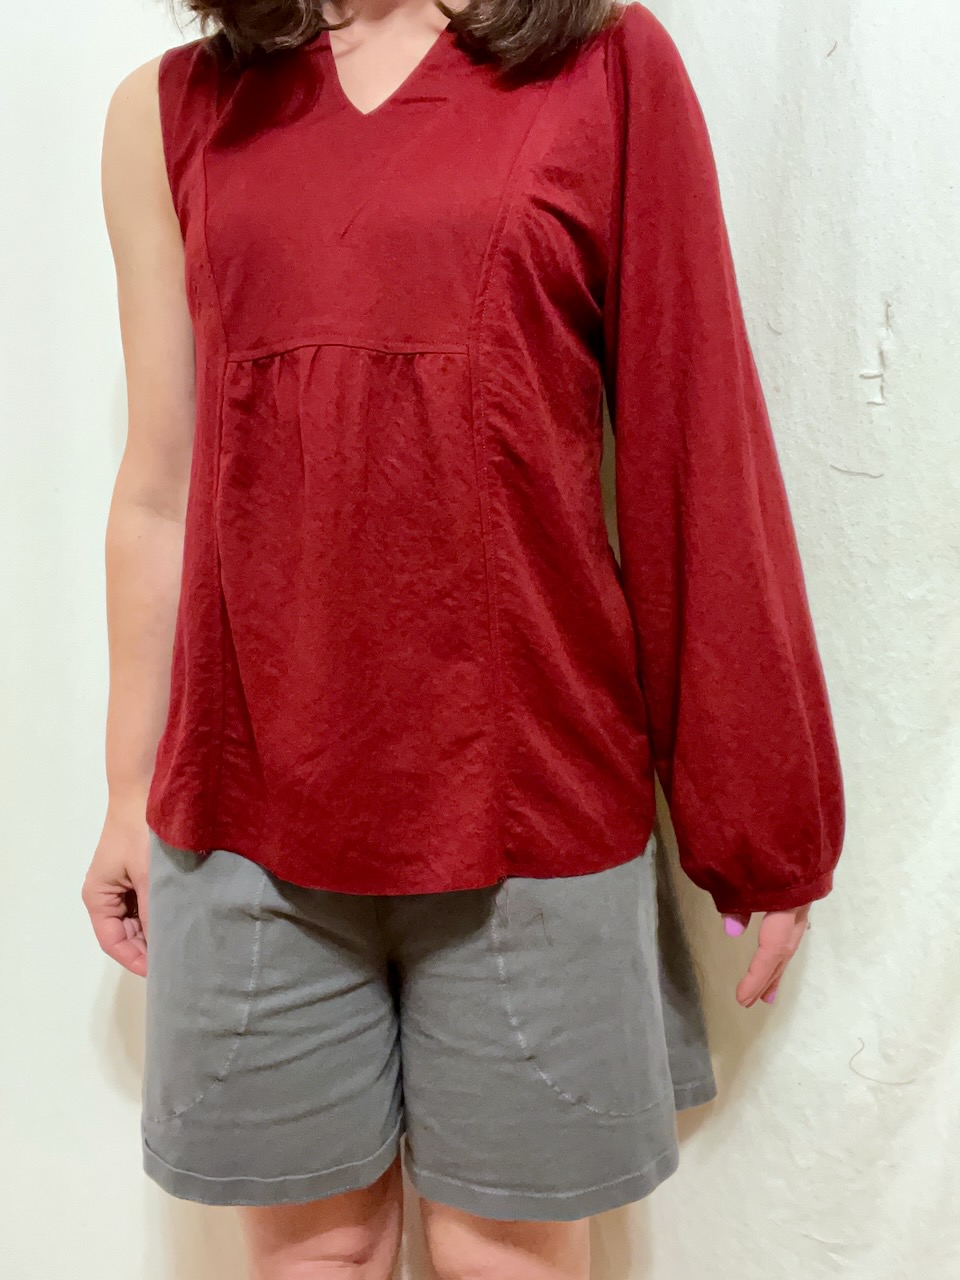
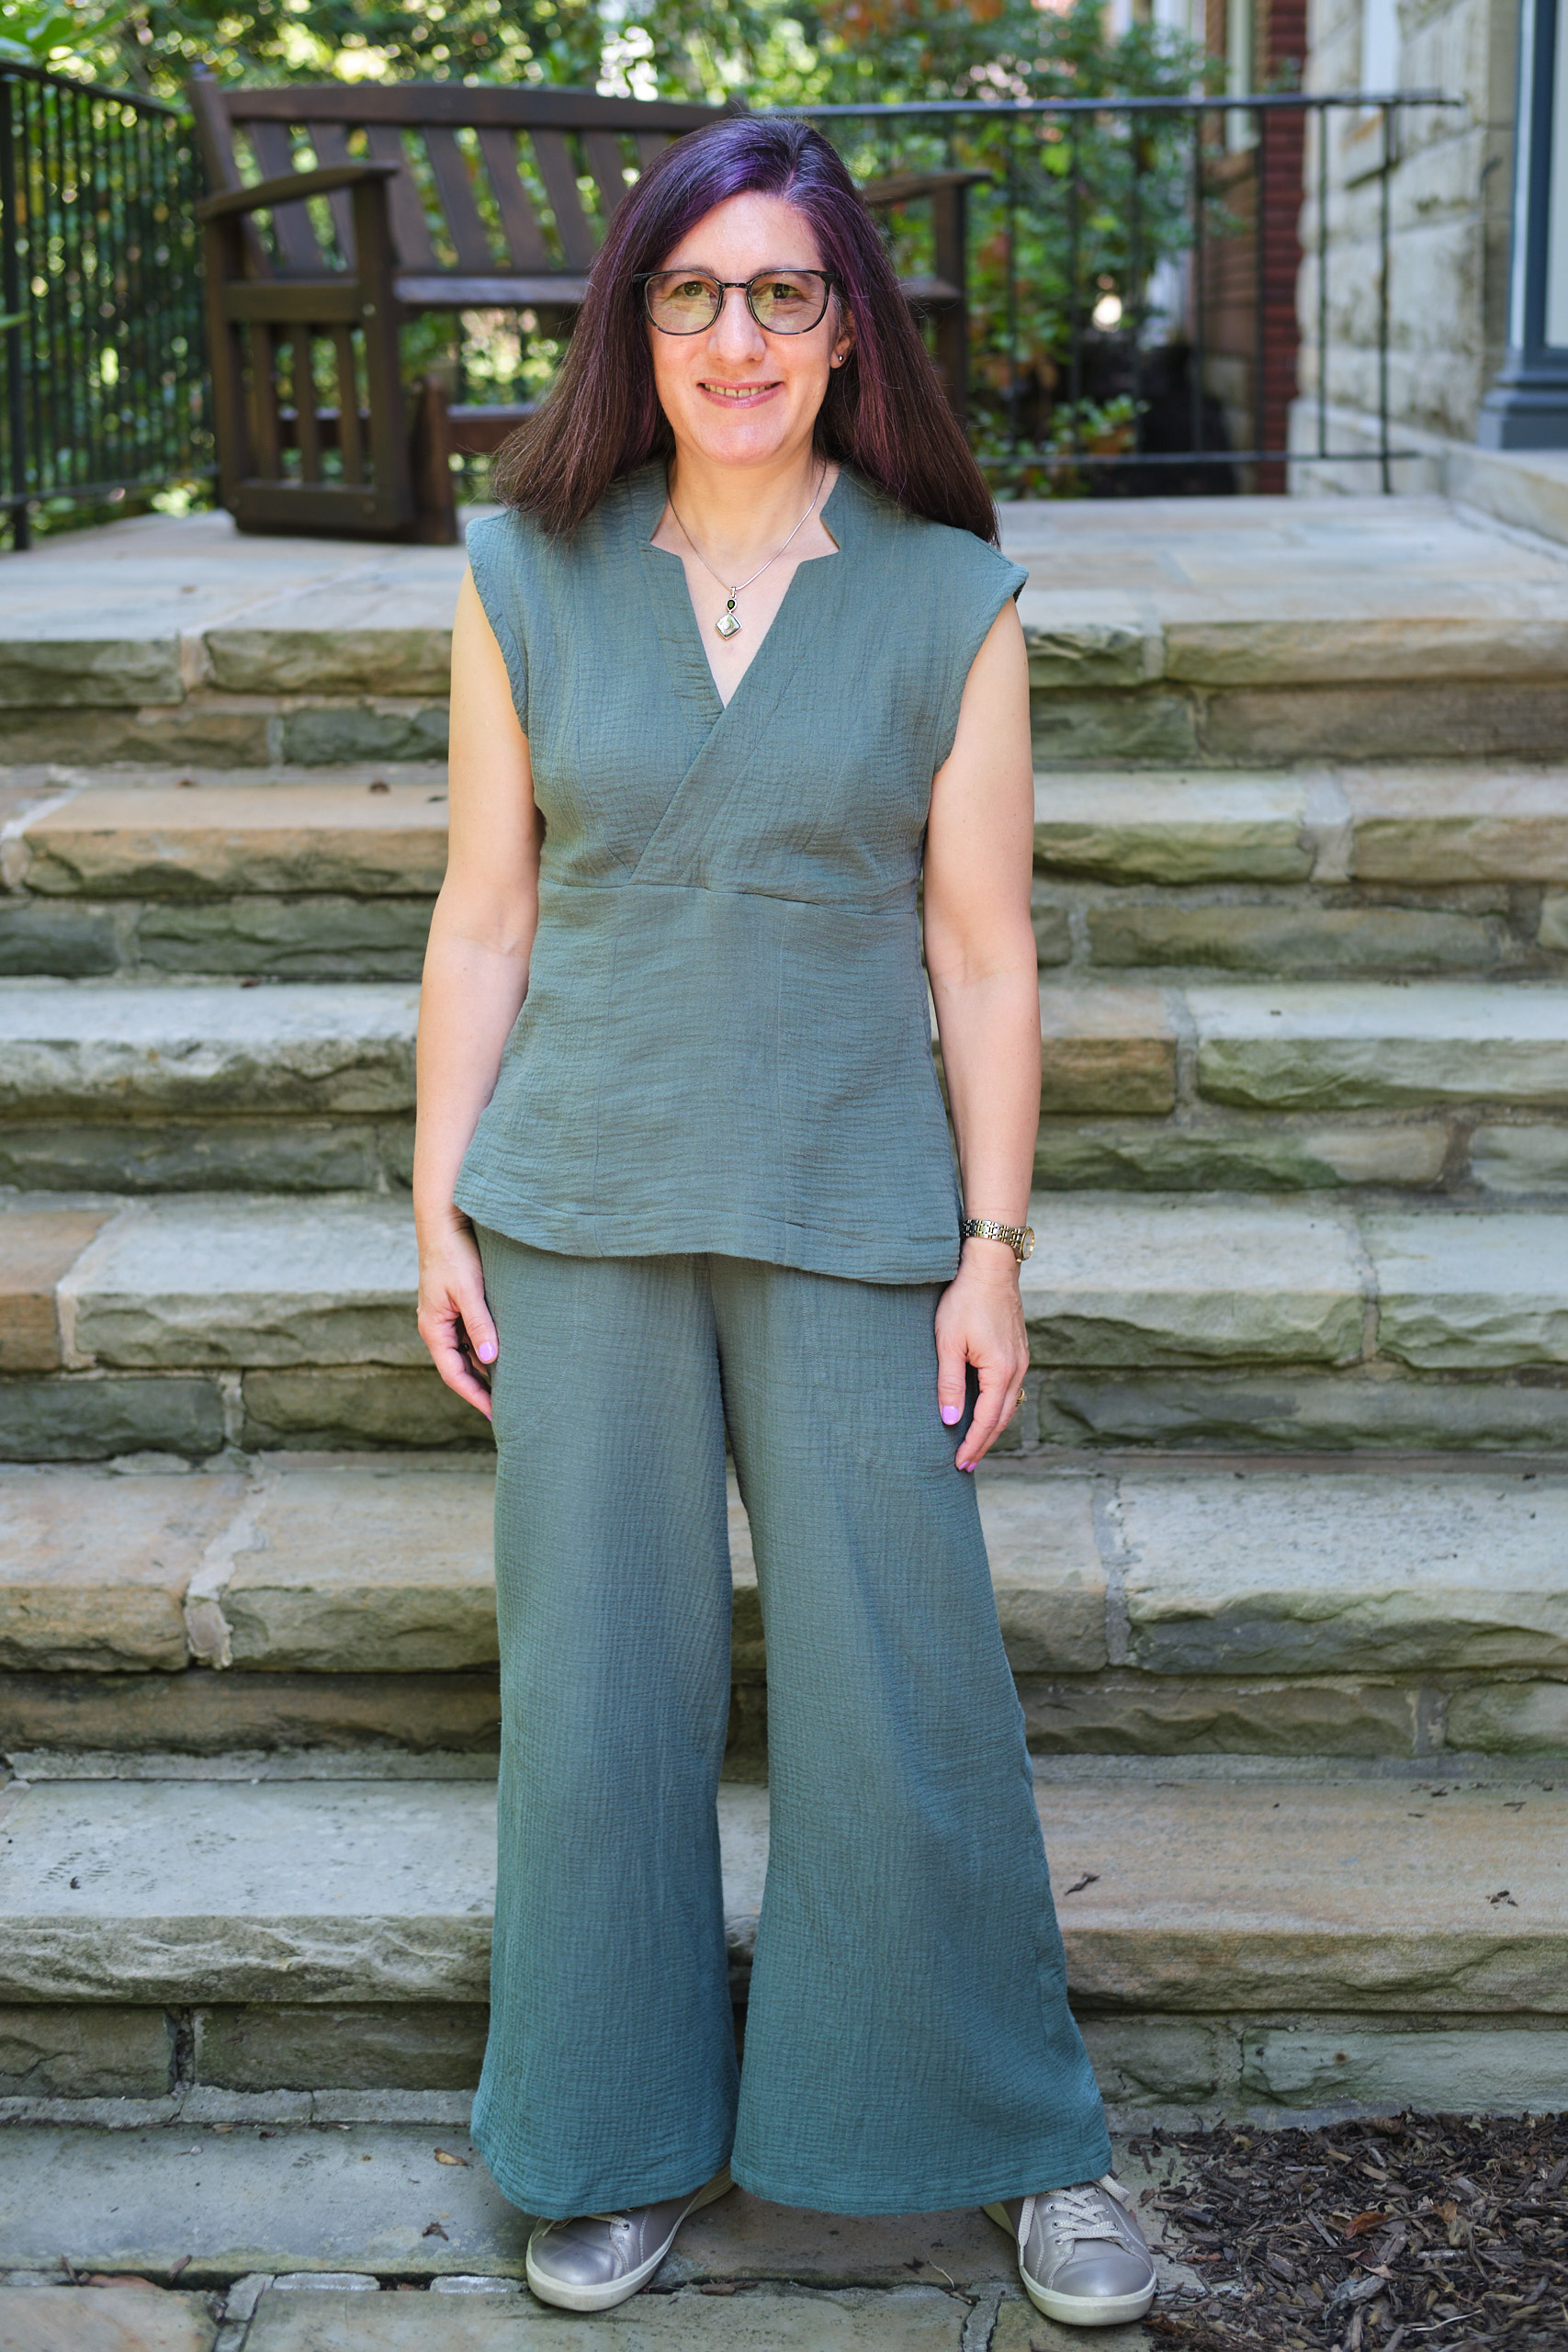
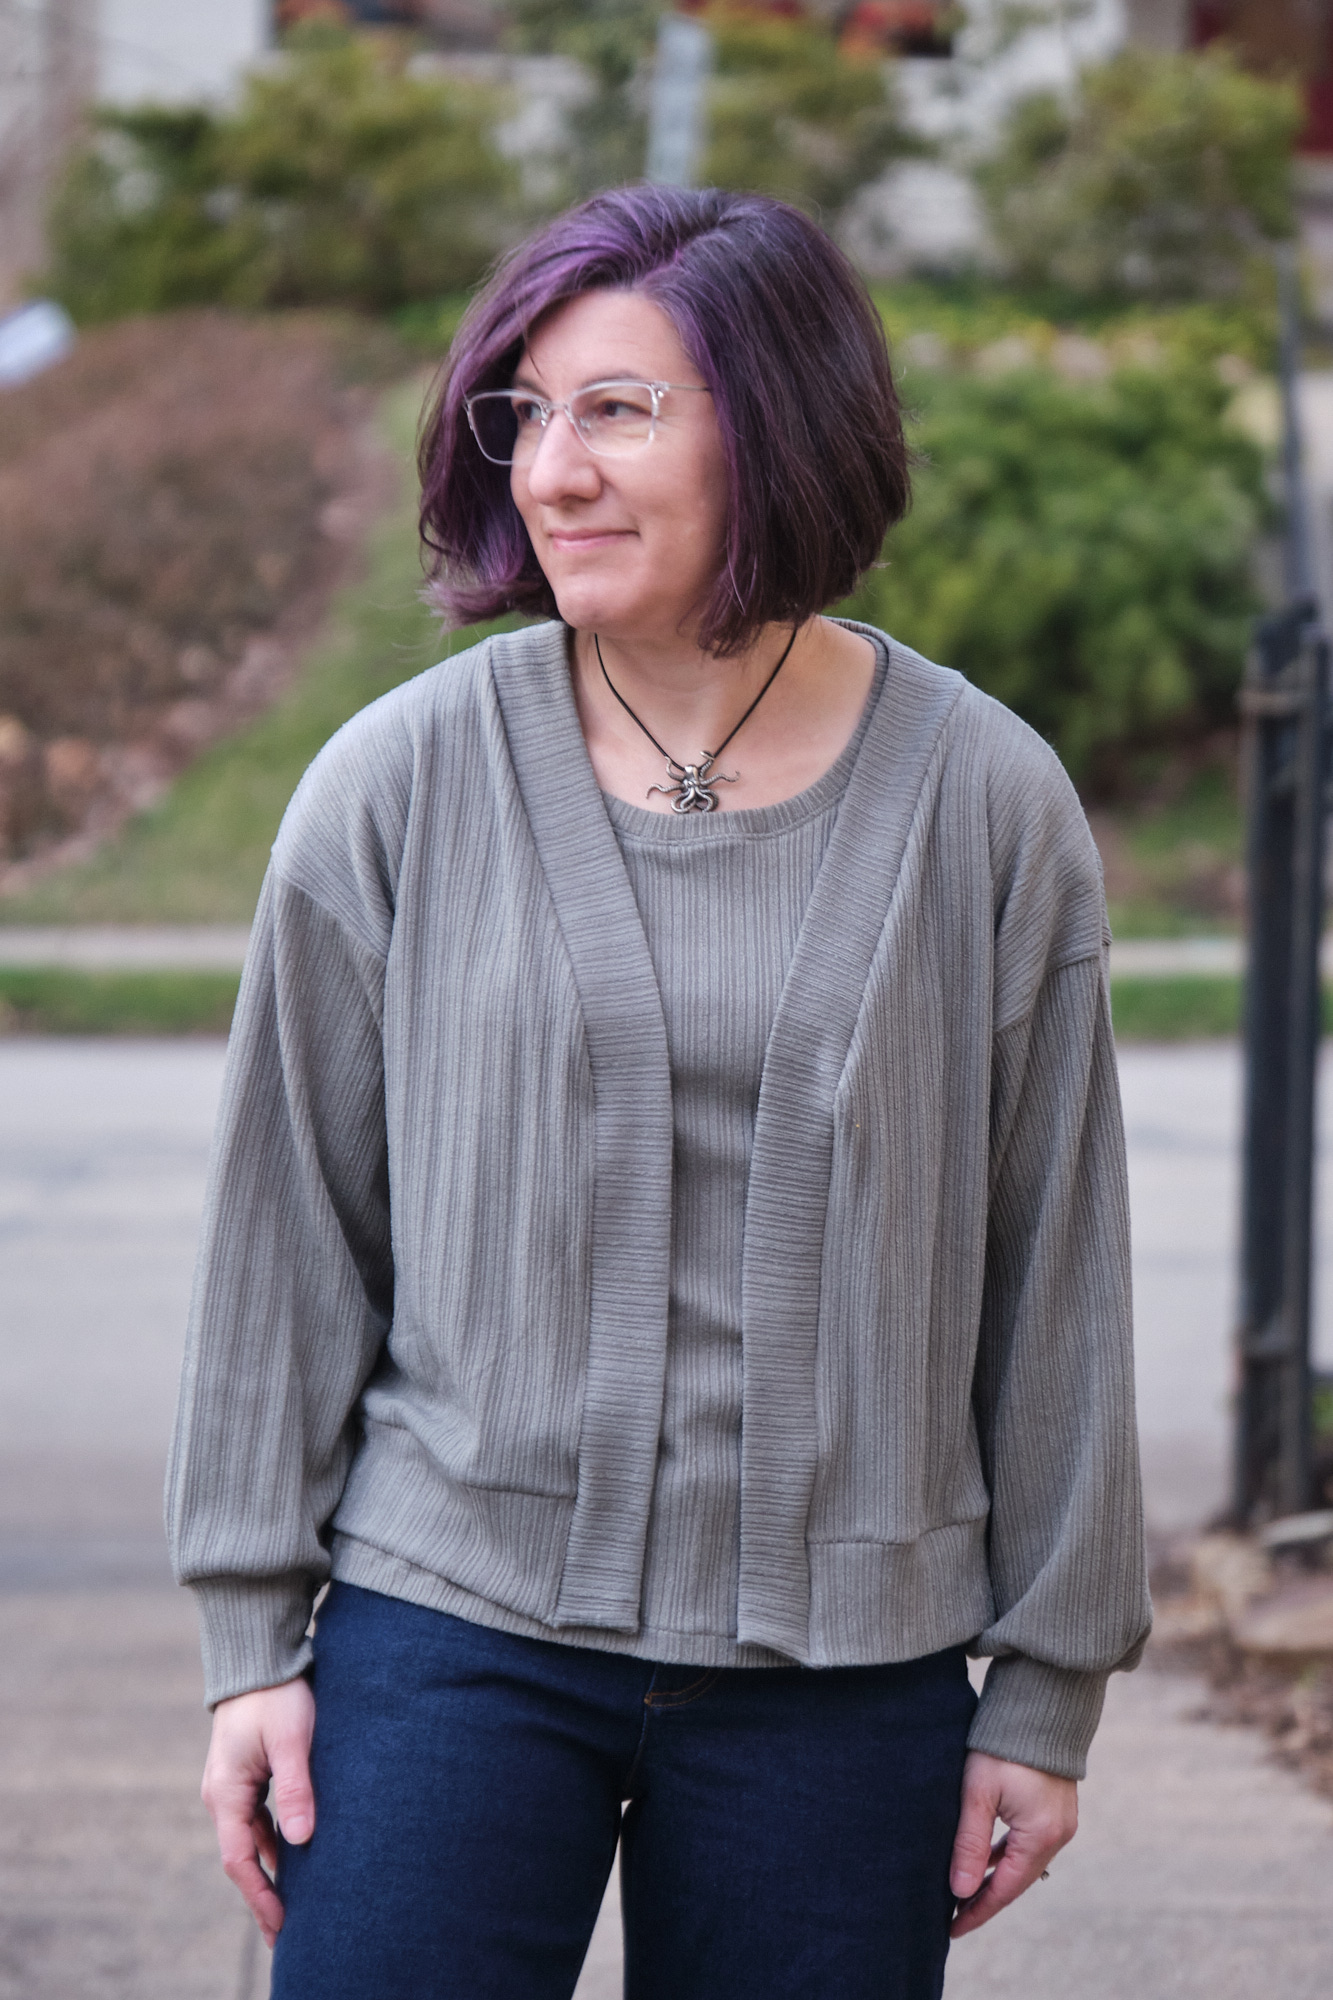
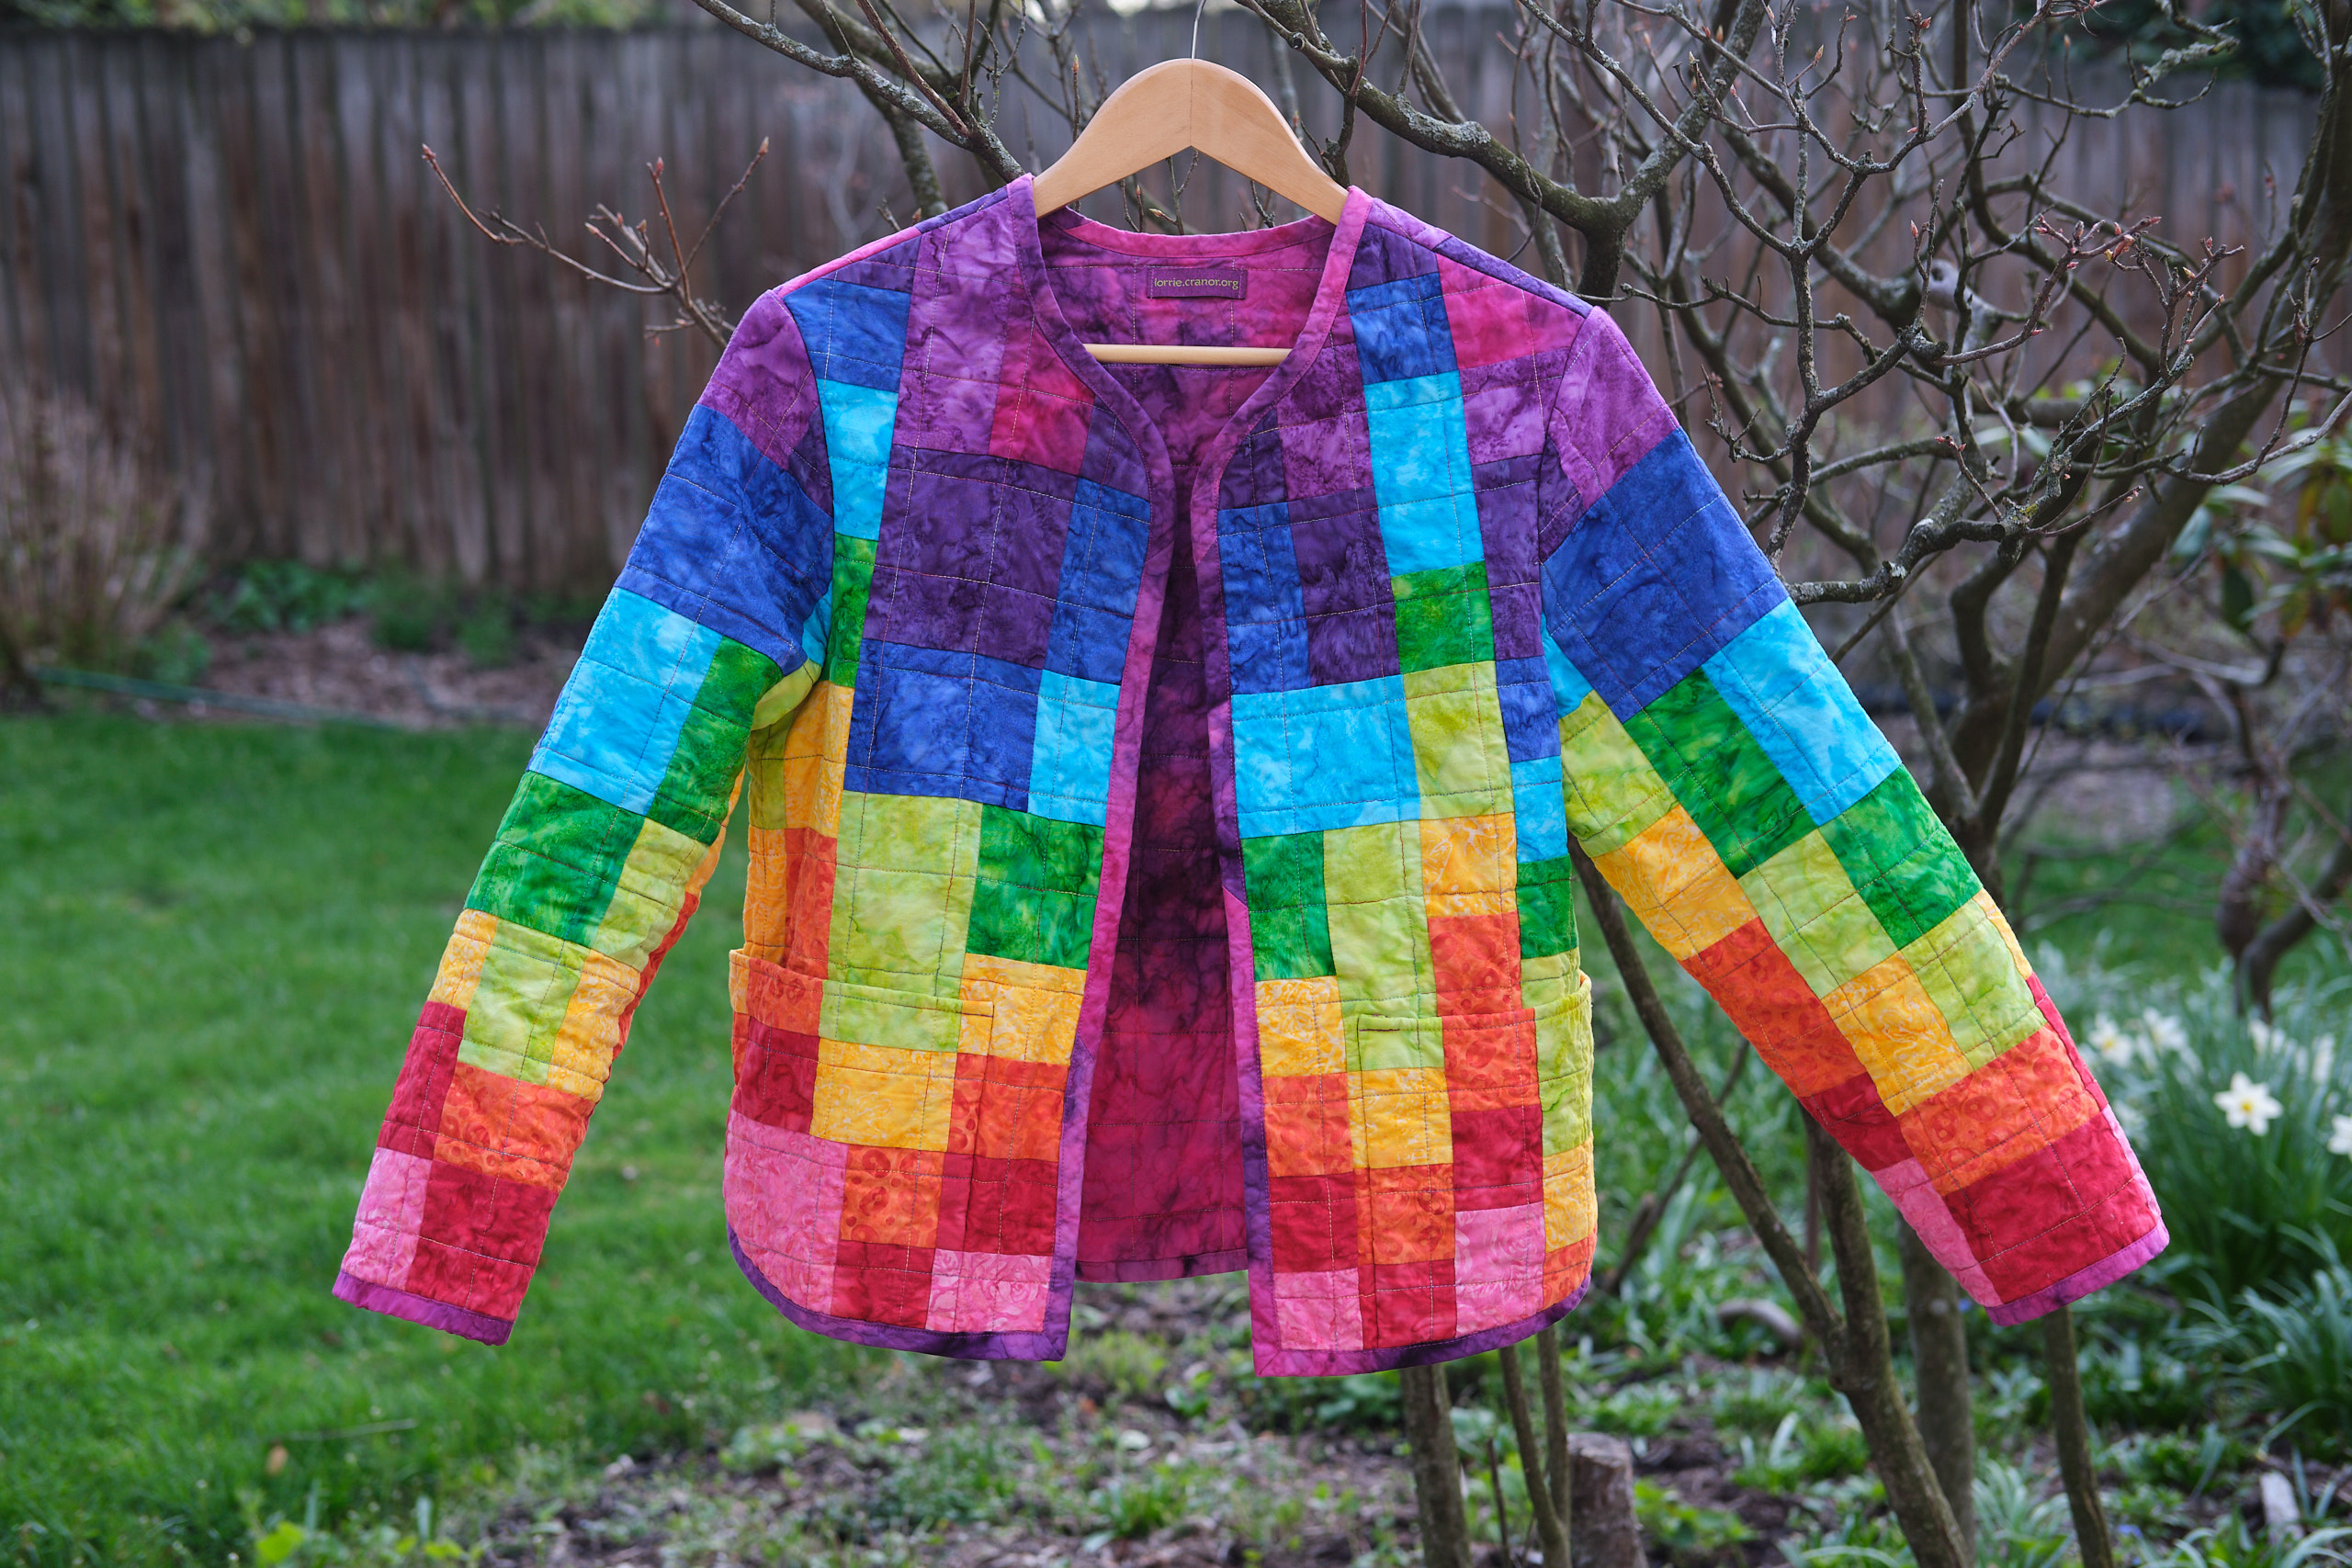
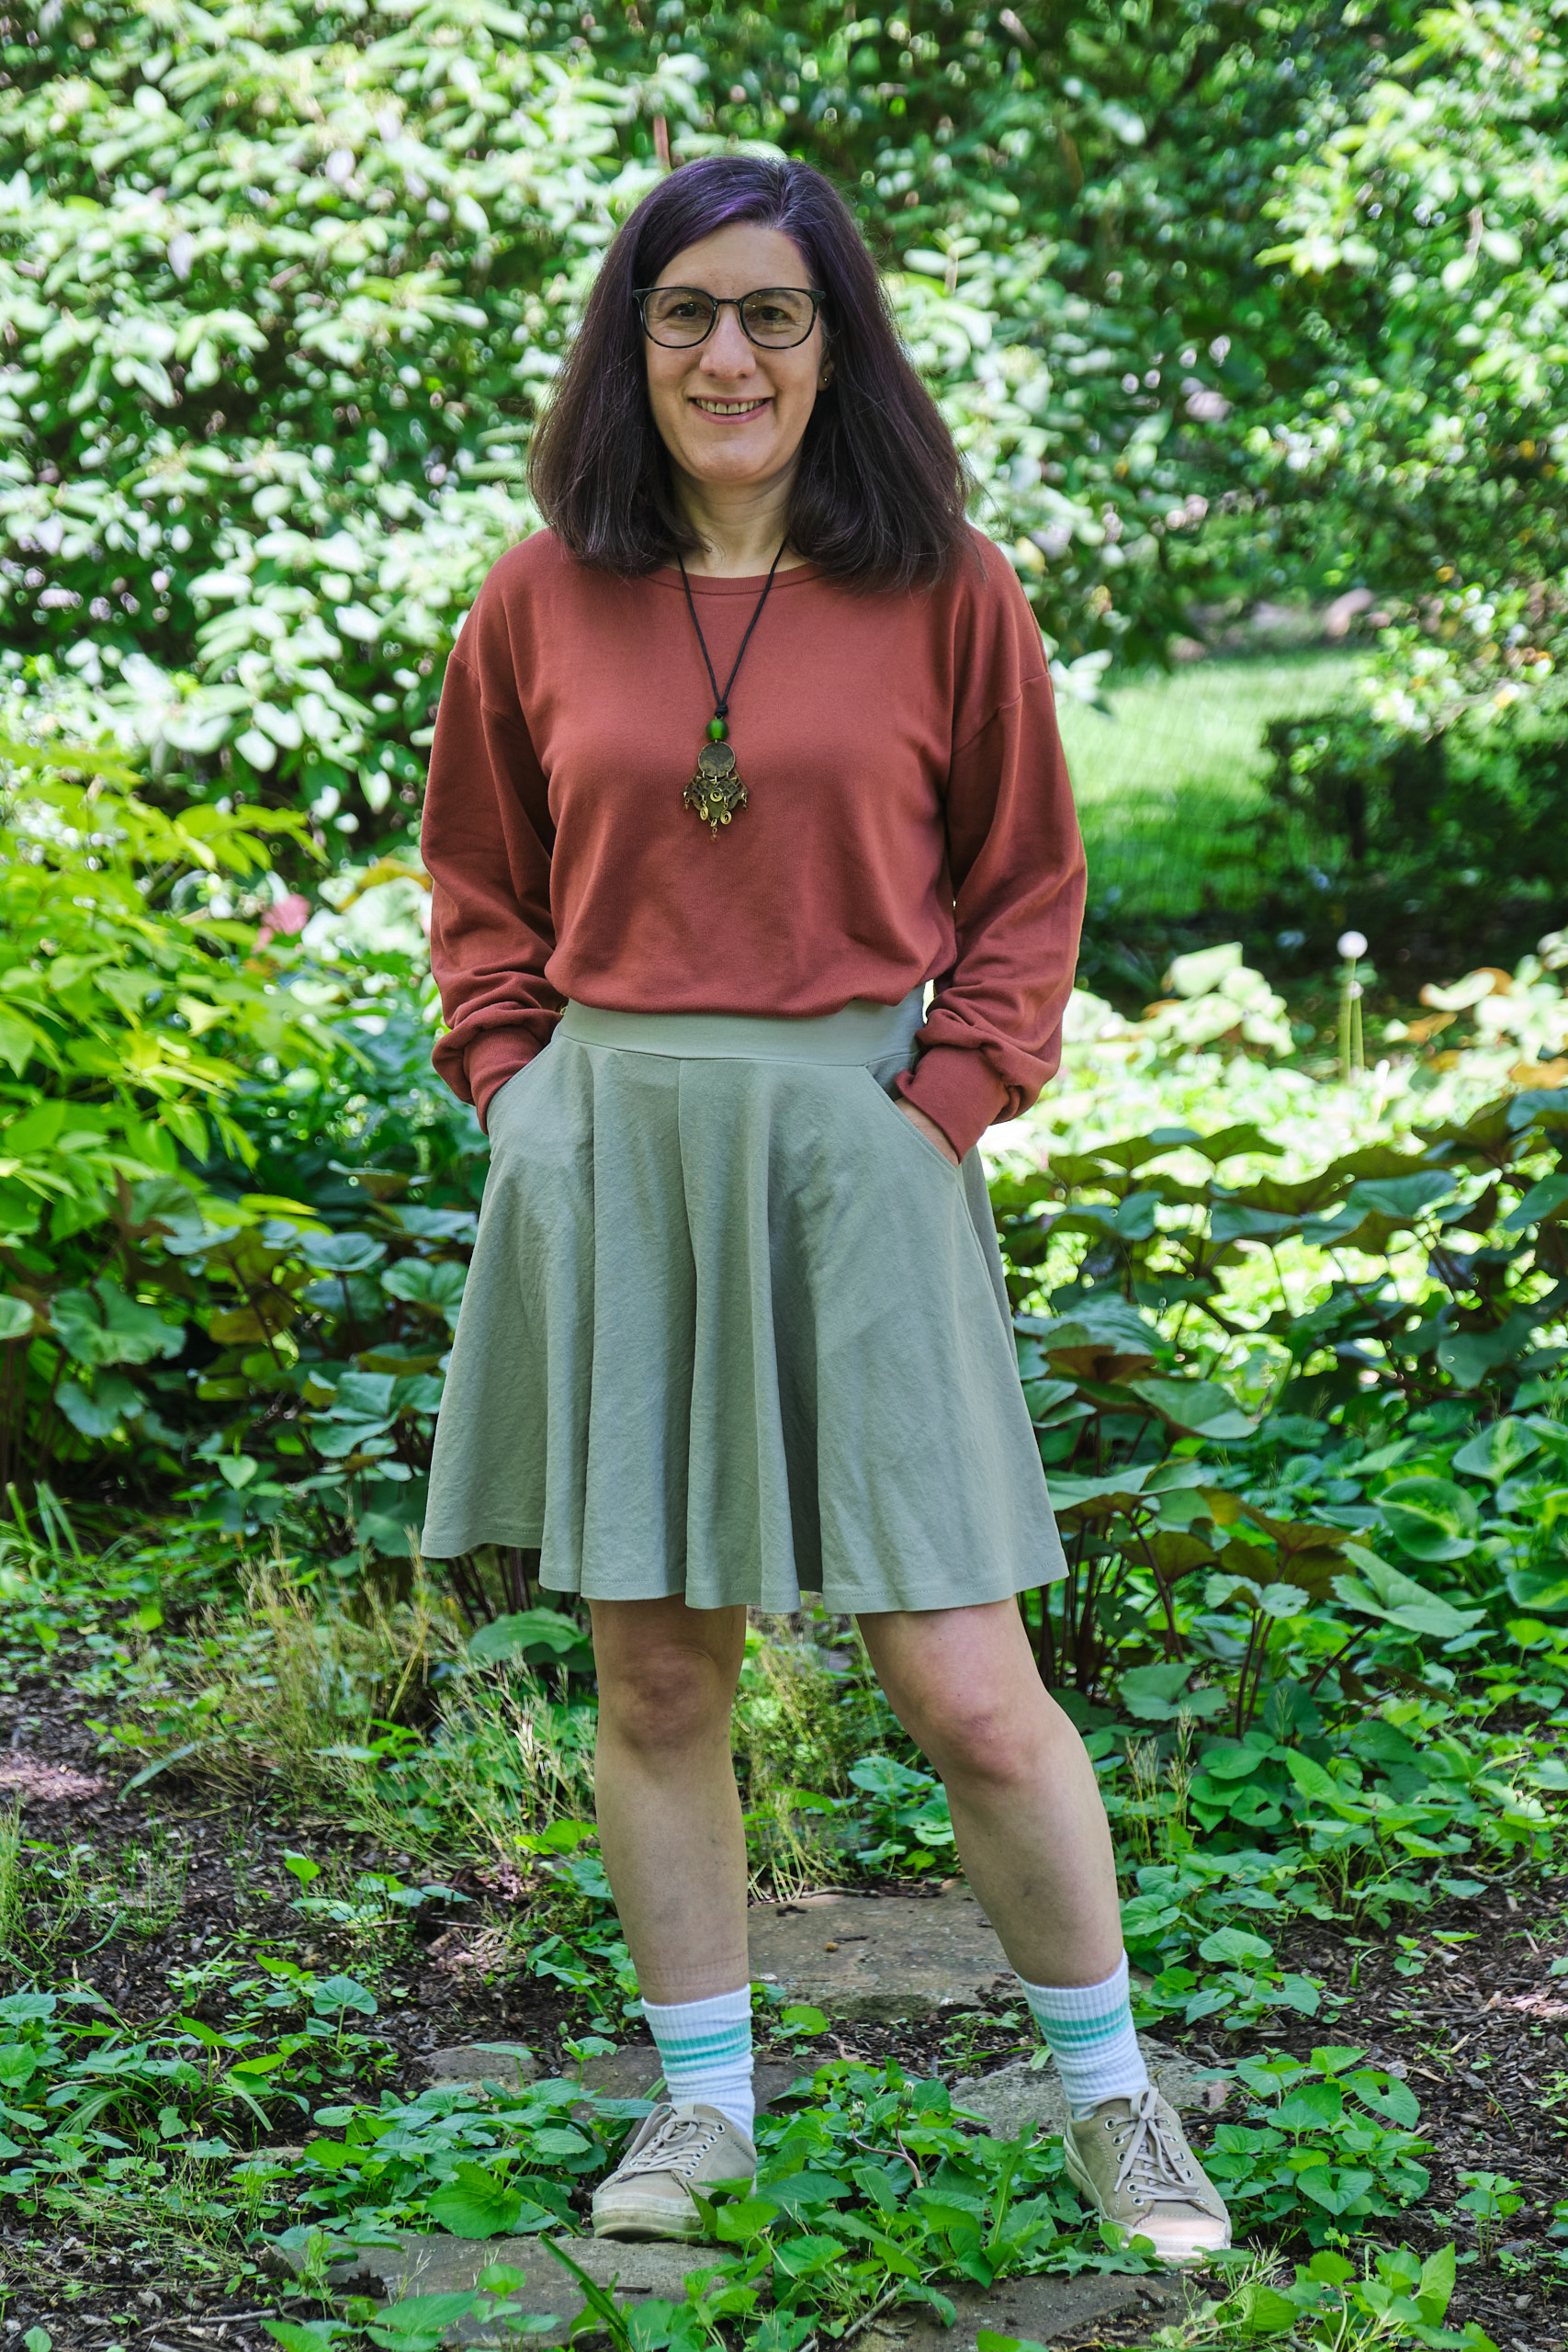
Pattern Emporium Rise & Shine Sleeveless Top, size AU 8, mid neck, length 2, simple hem, from <1 yard of aqua 100% polyester airflow.
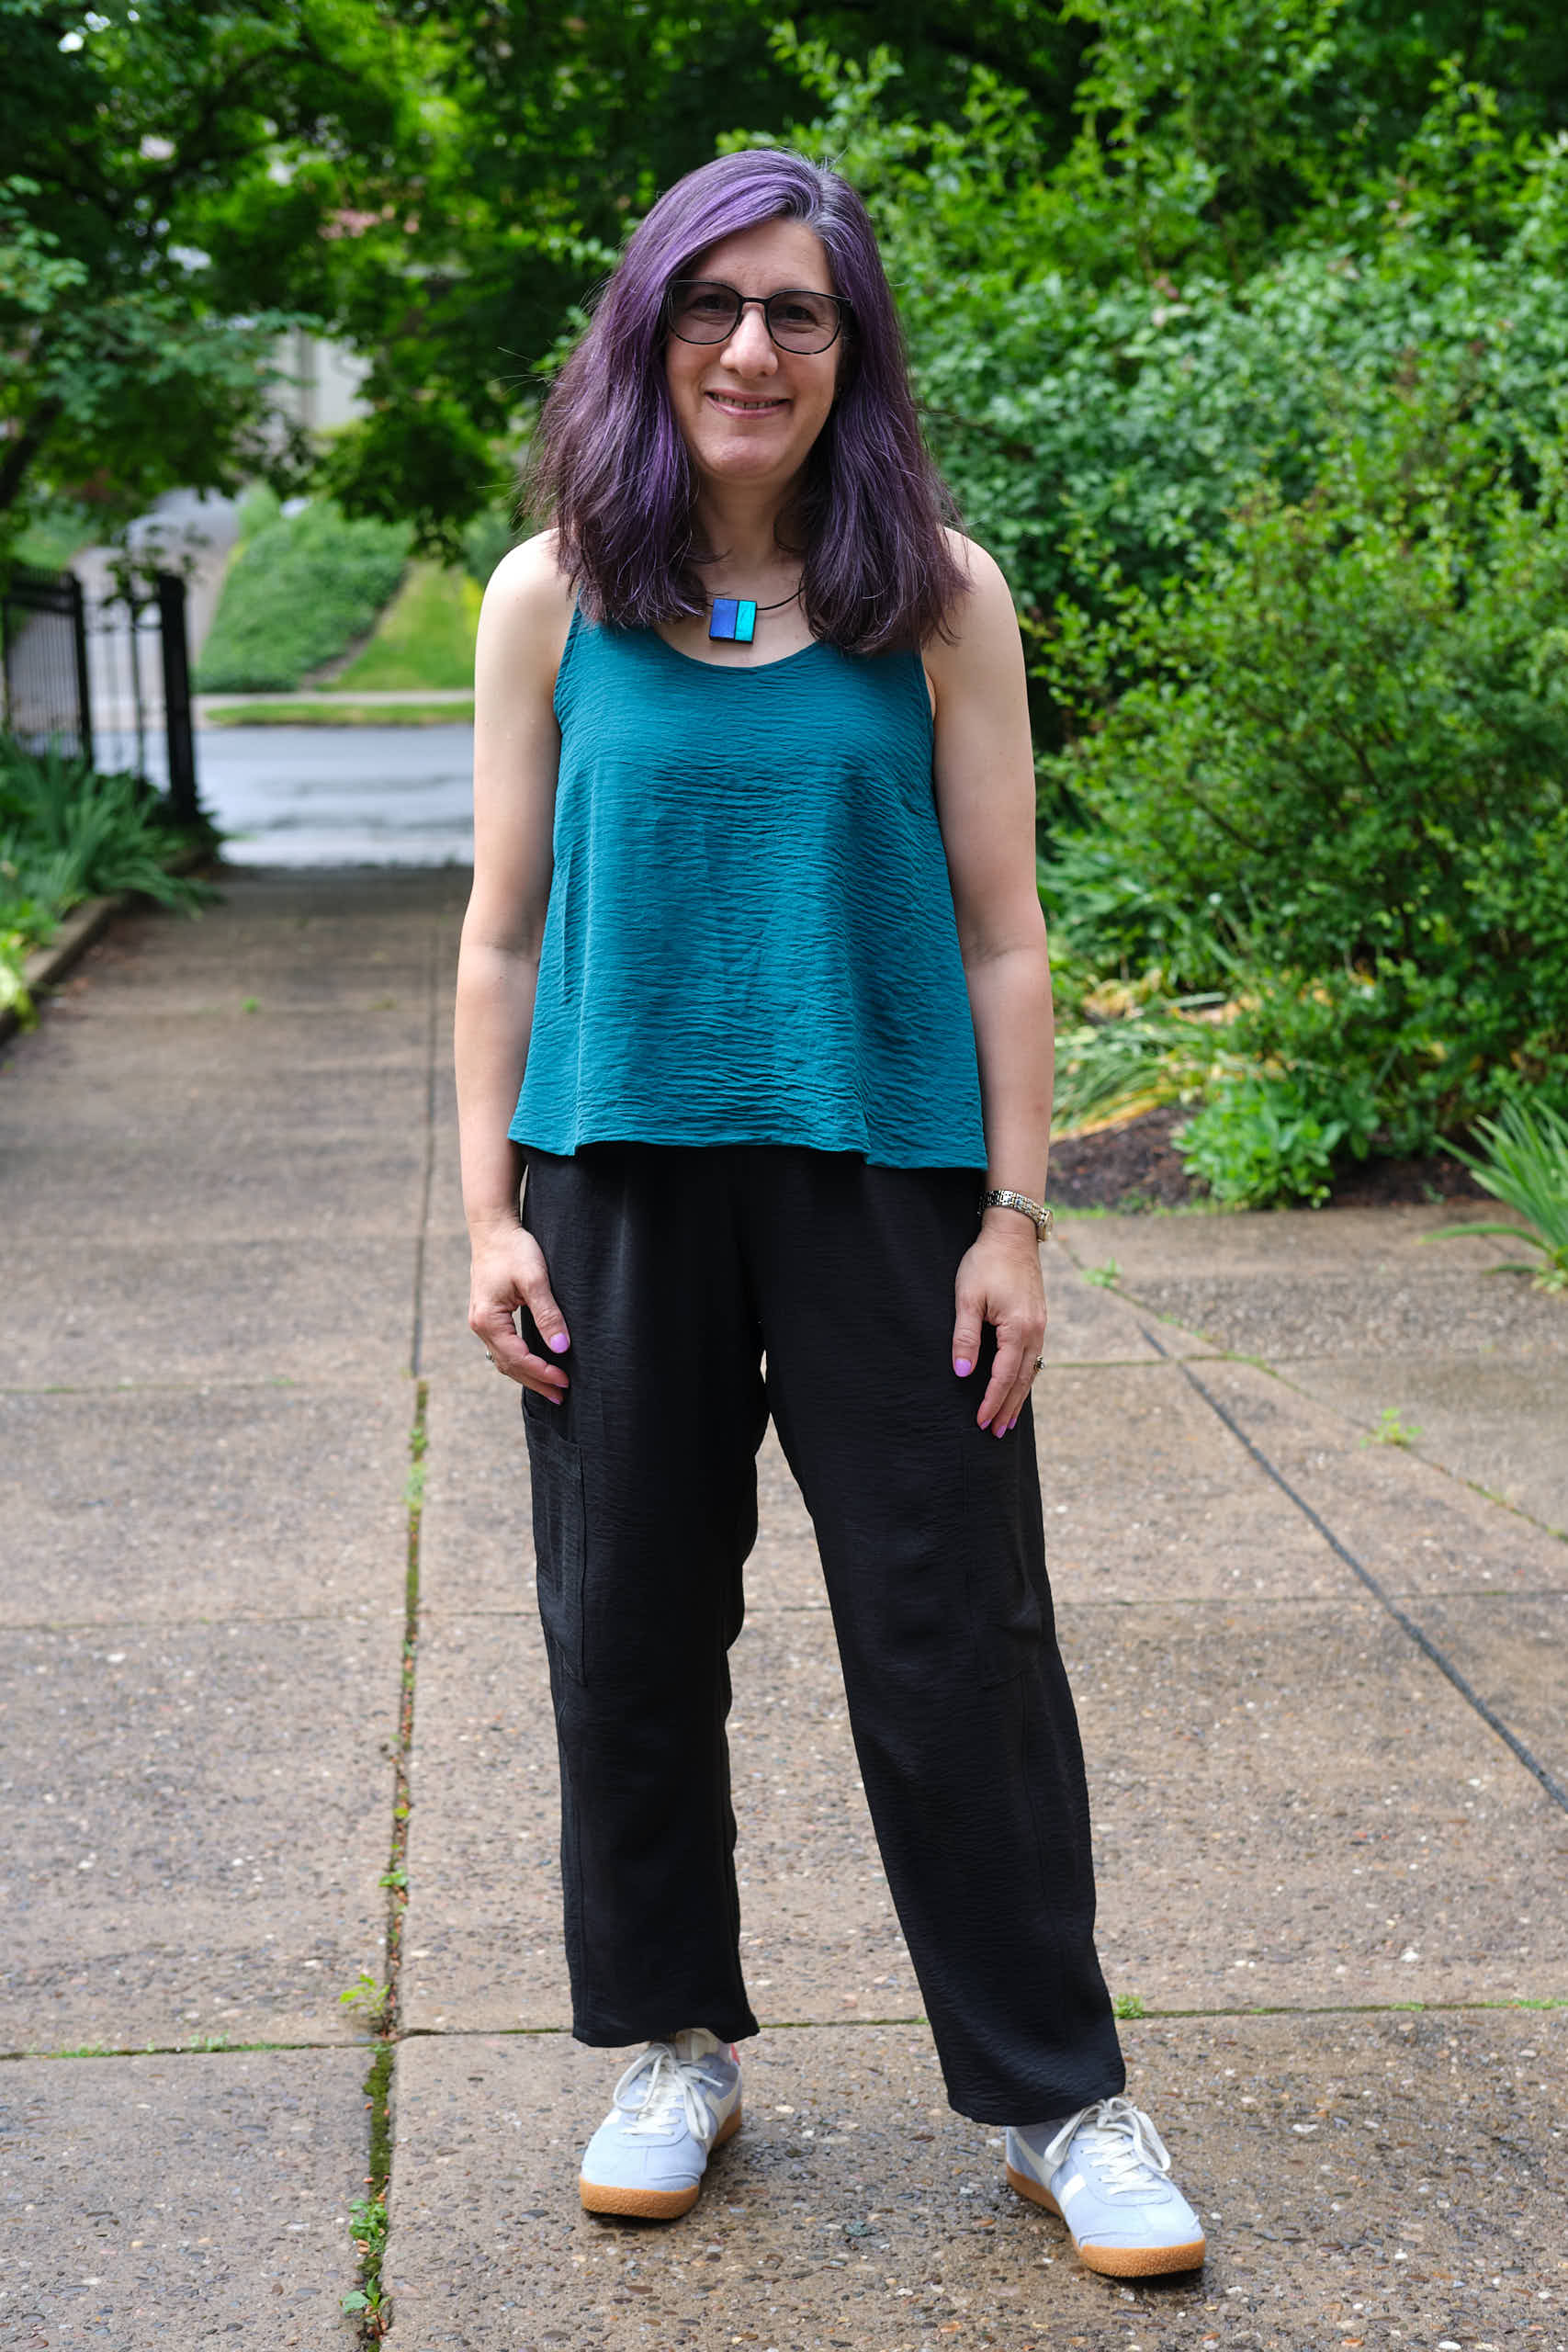
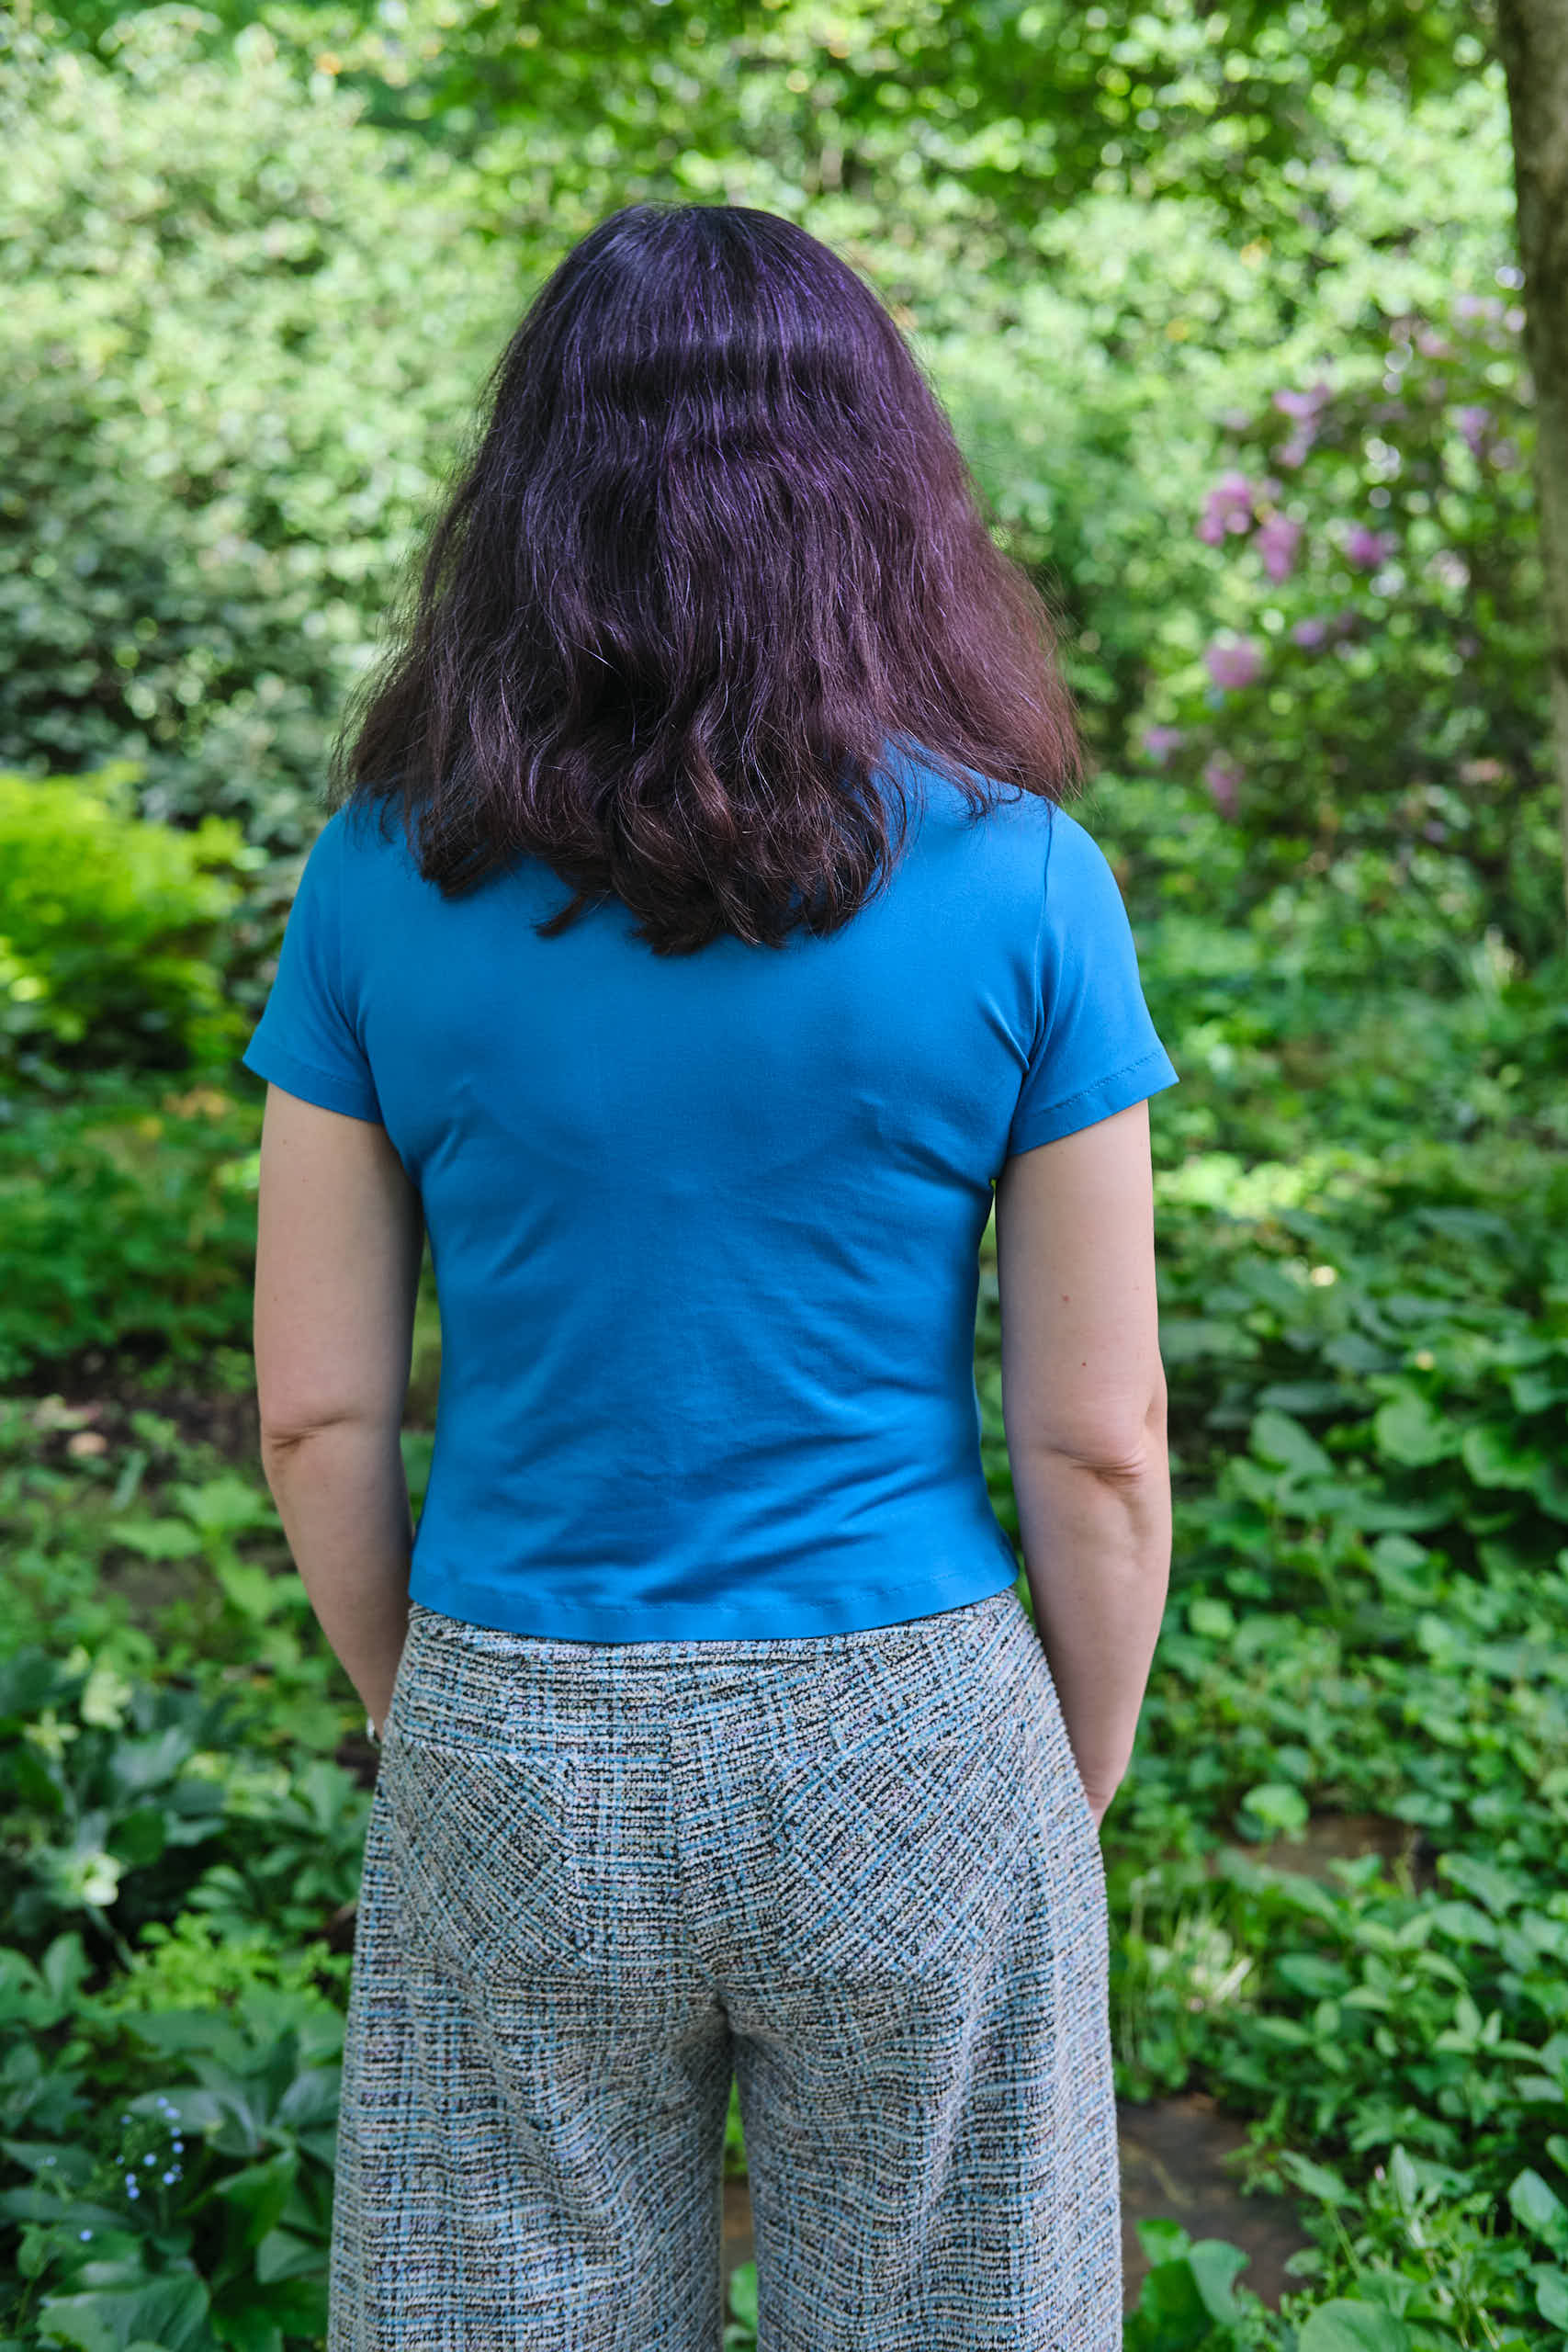
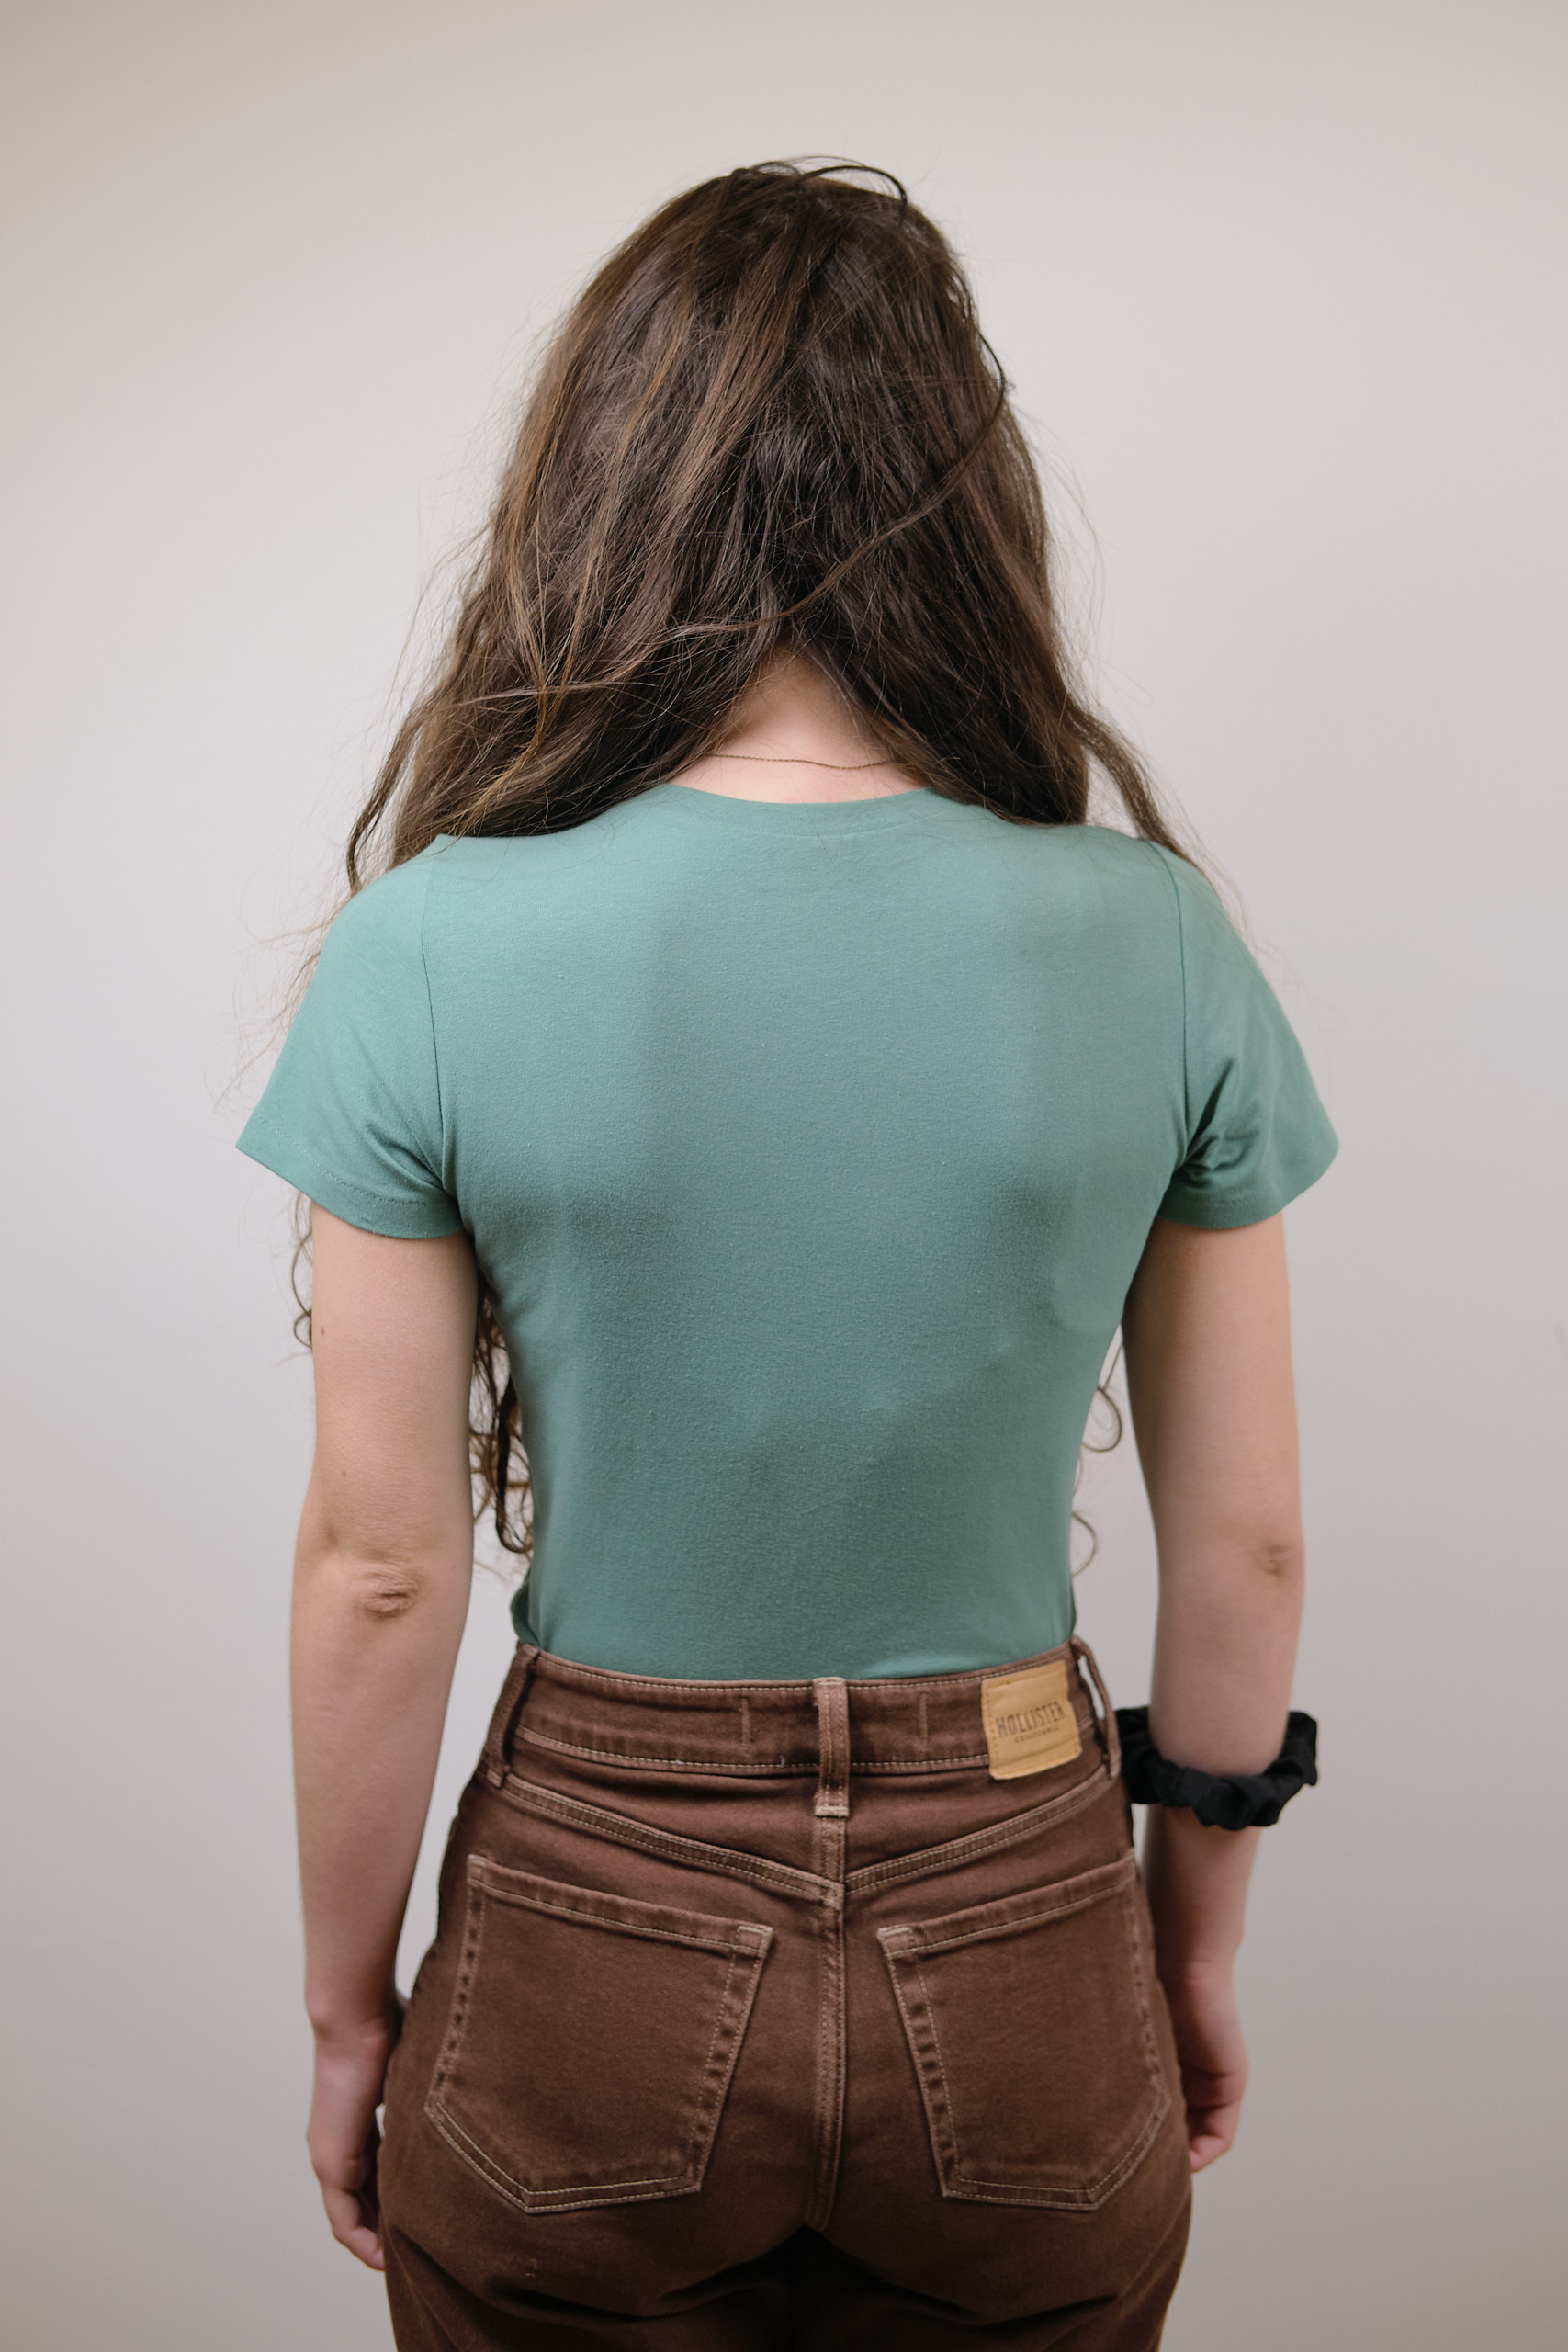
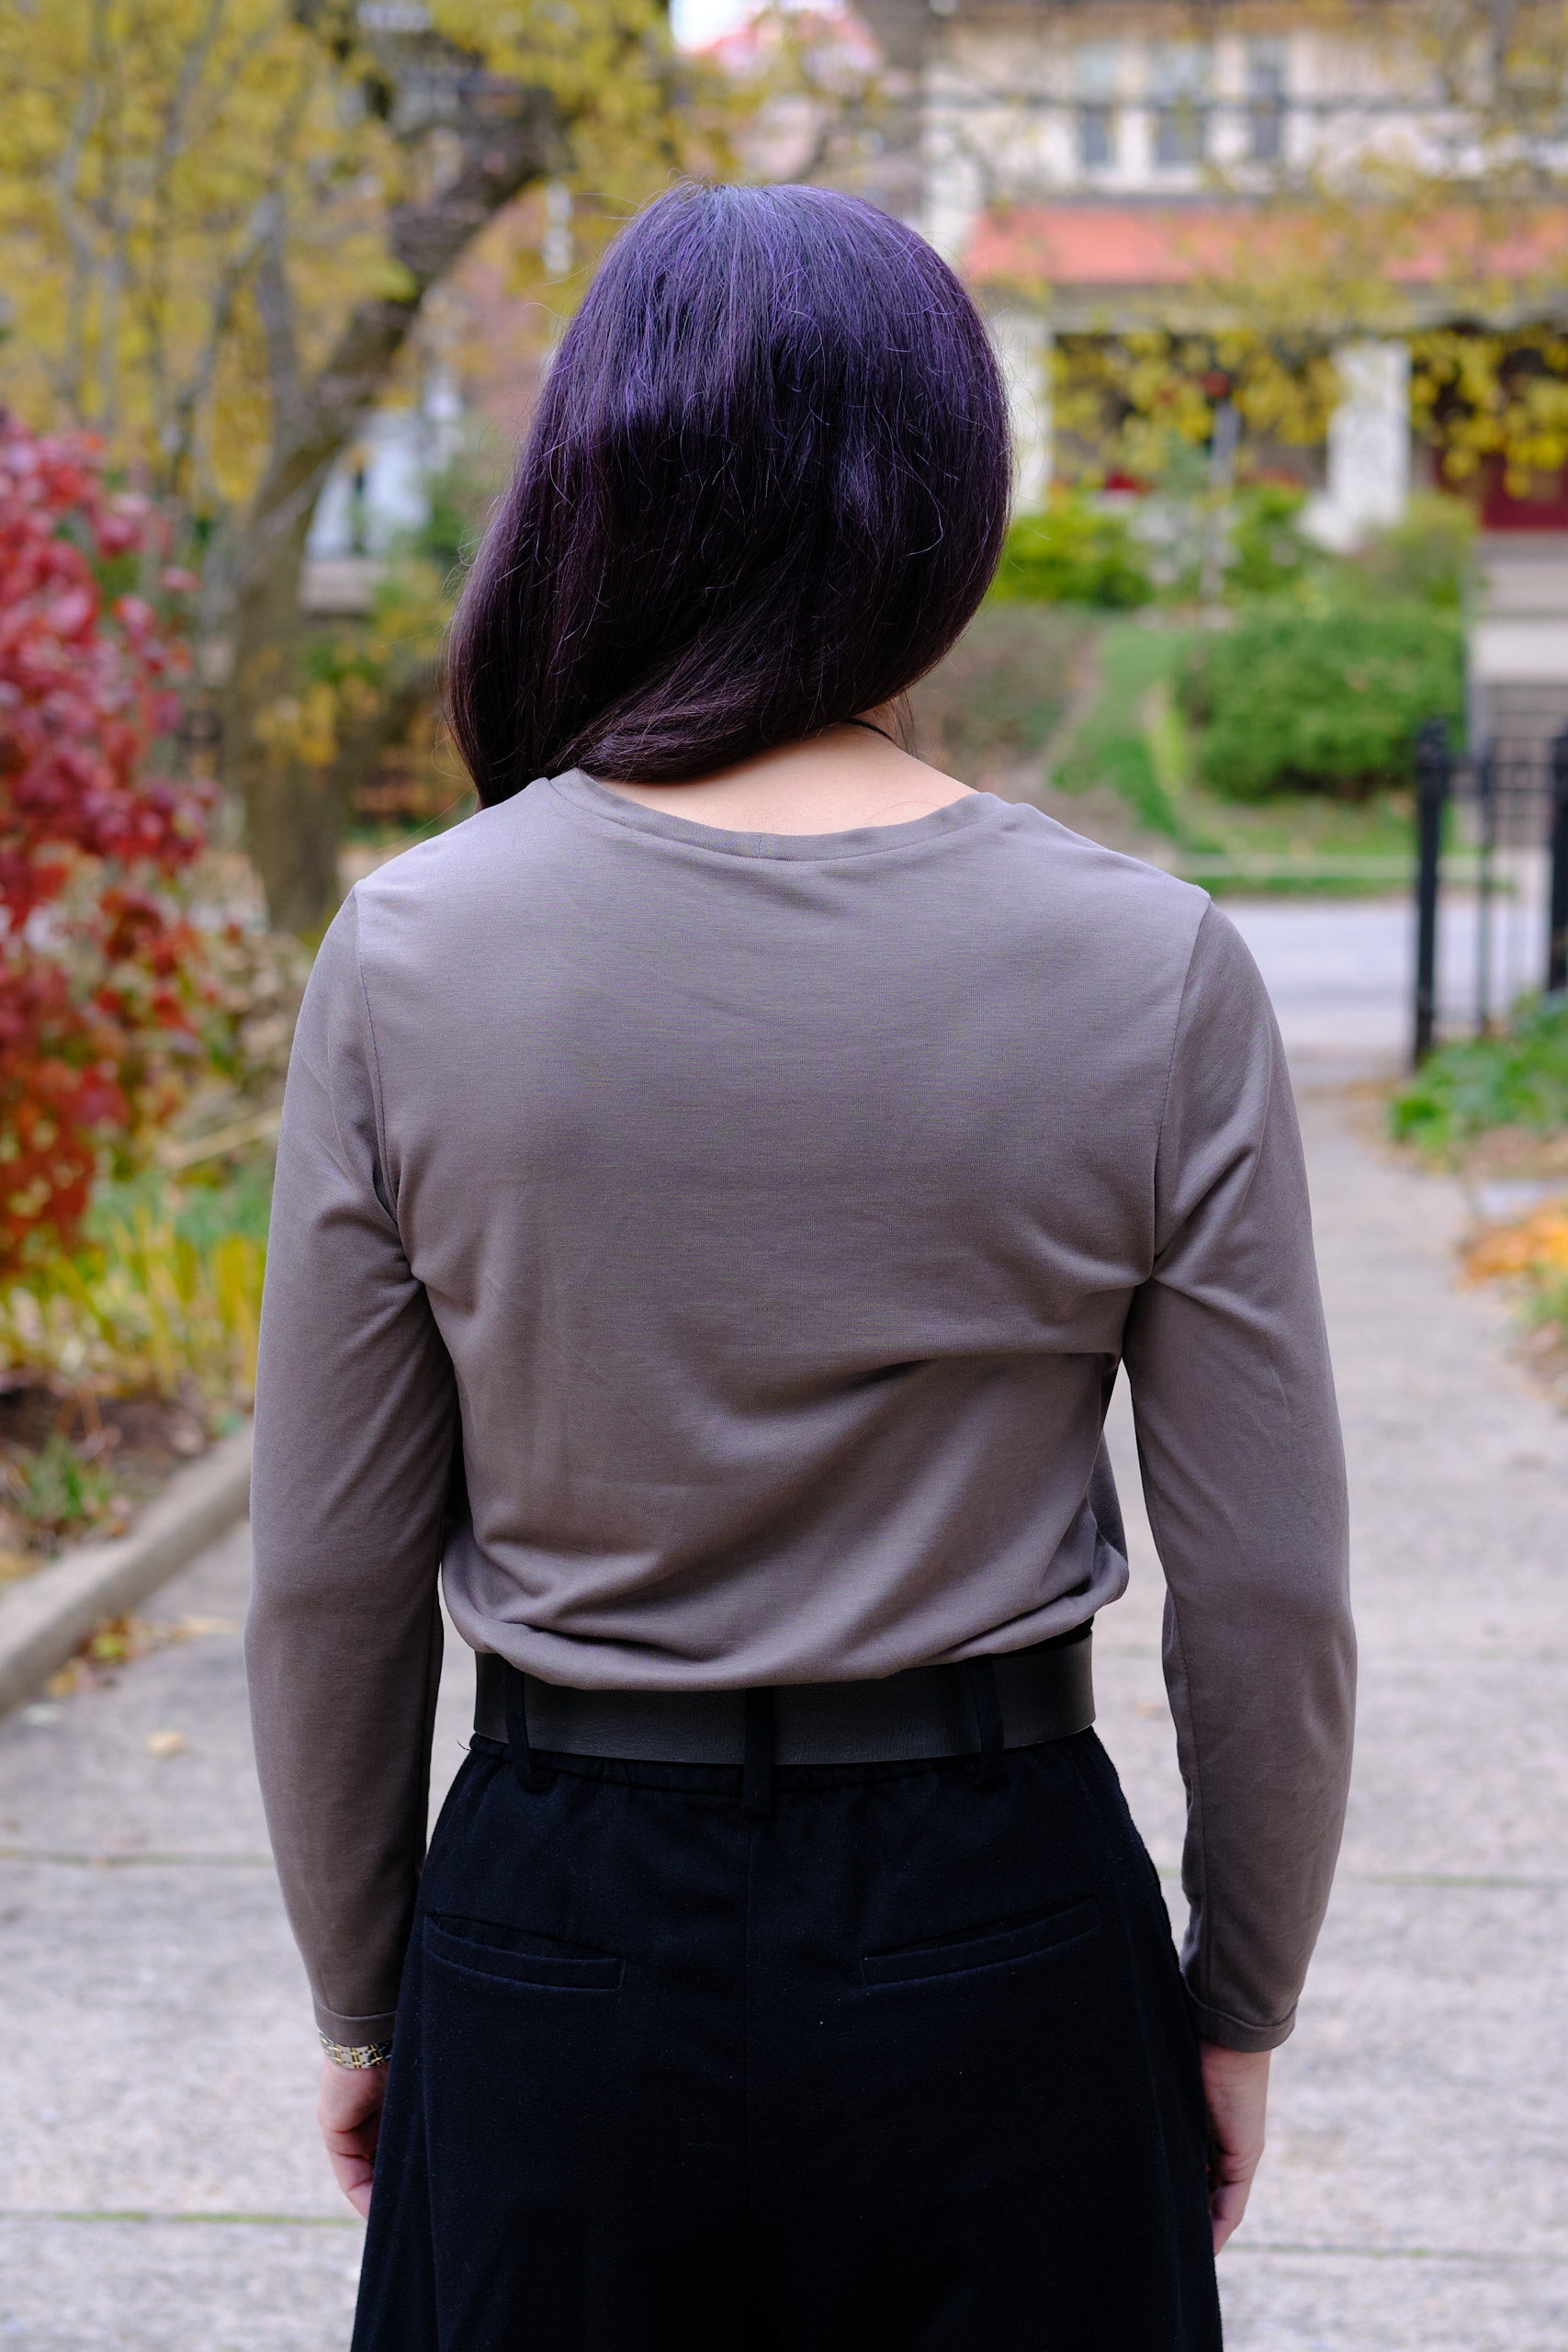
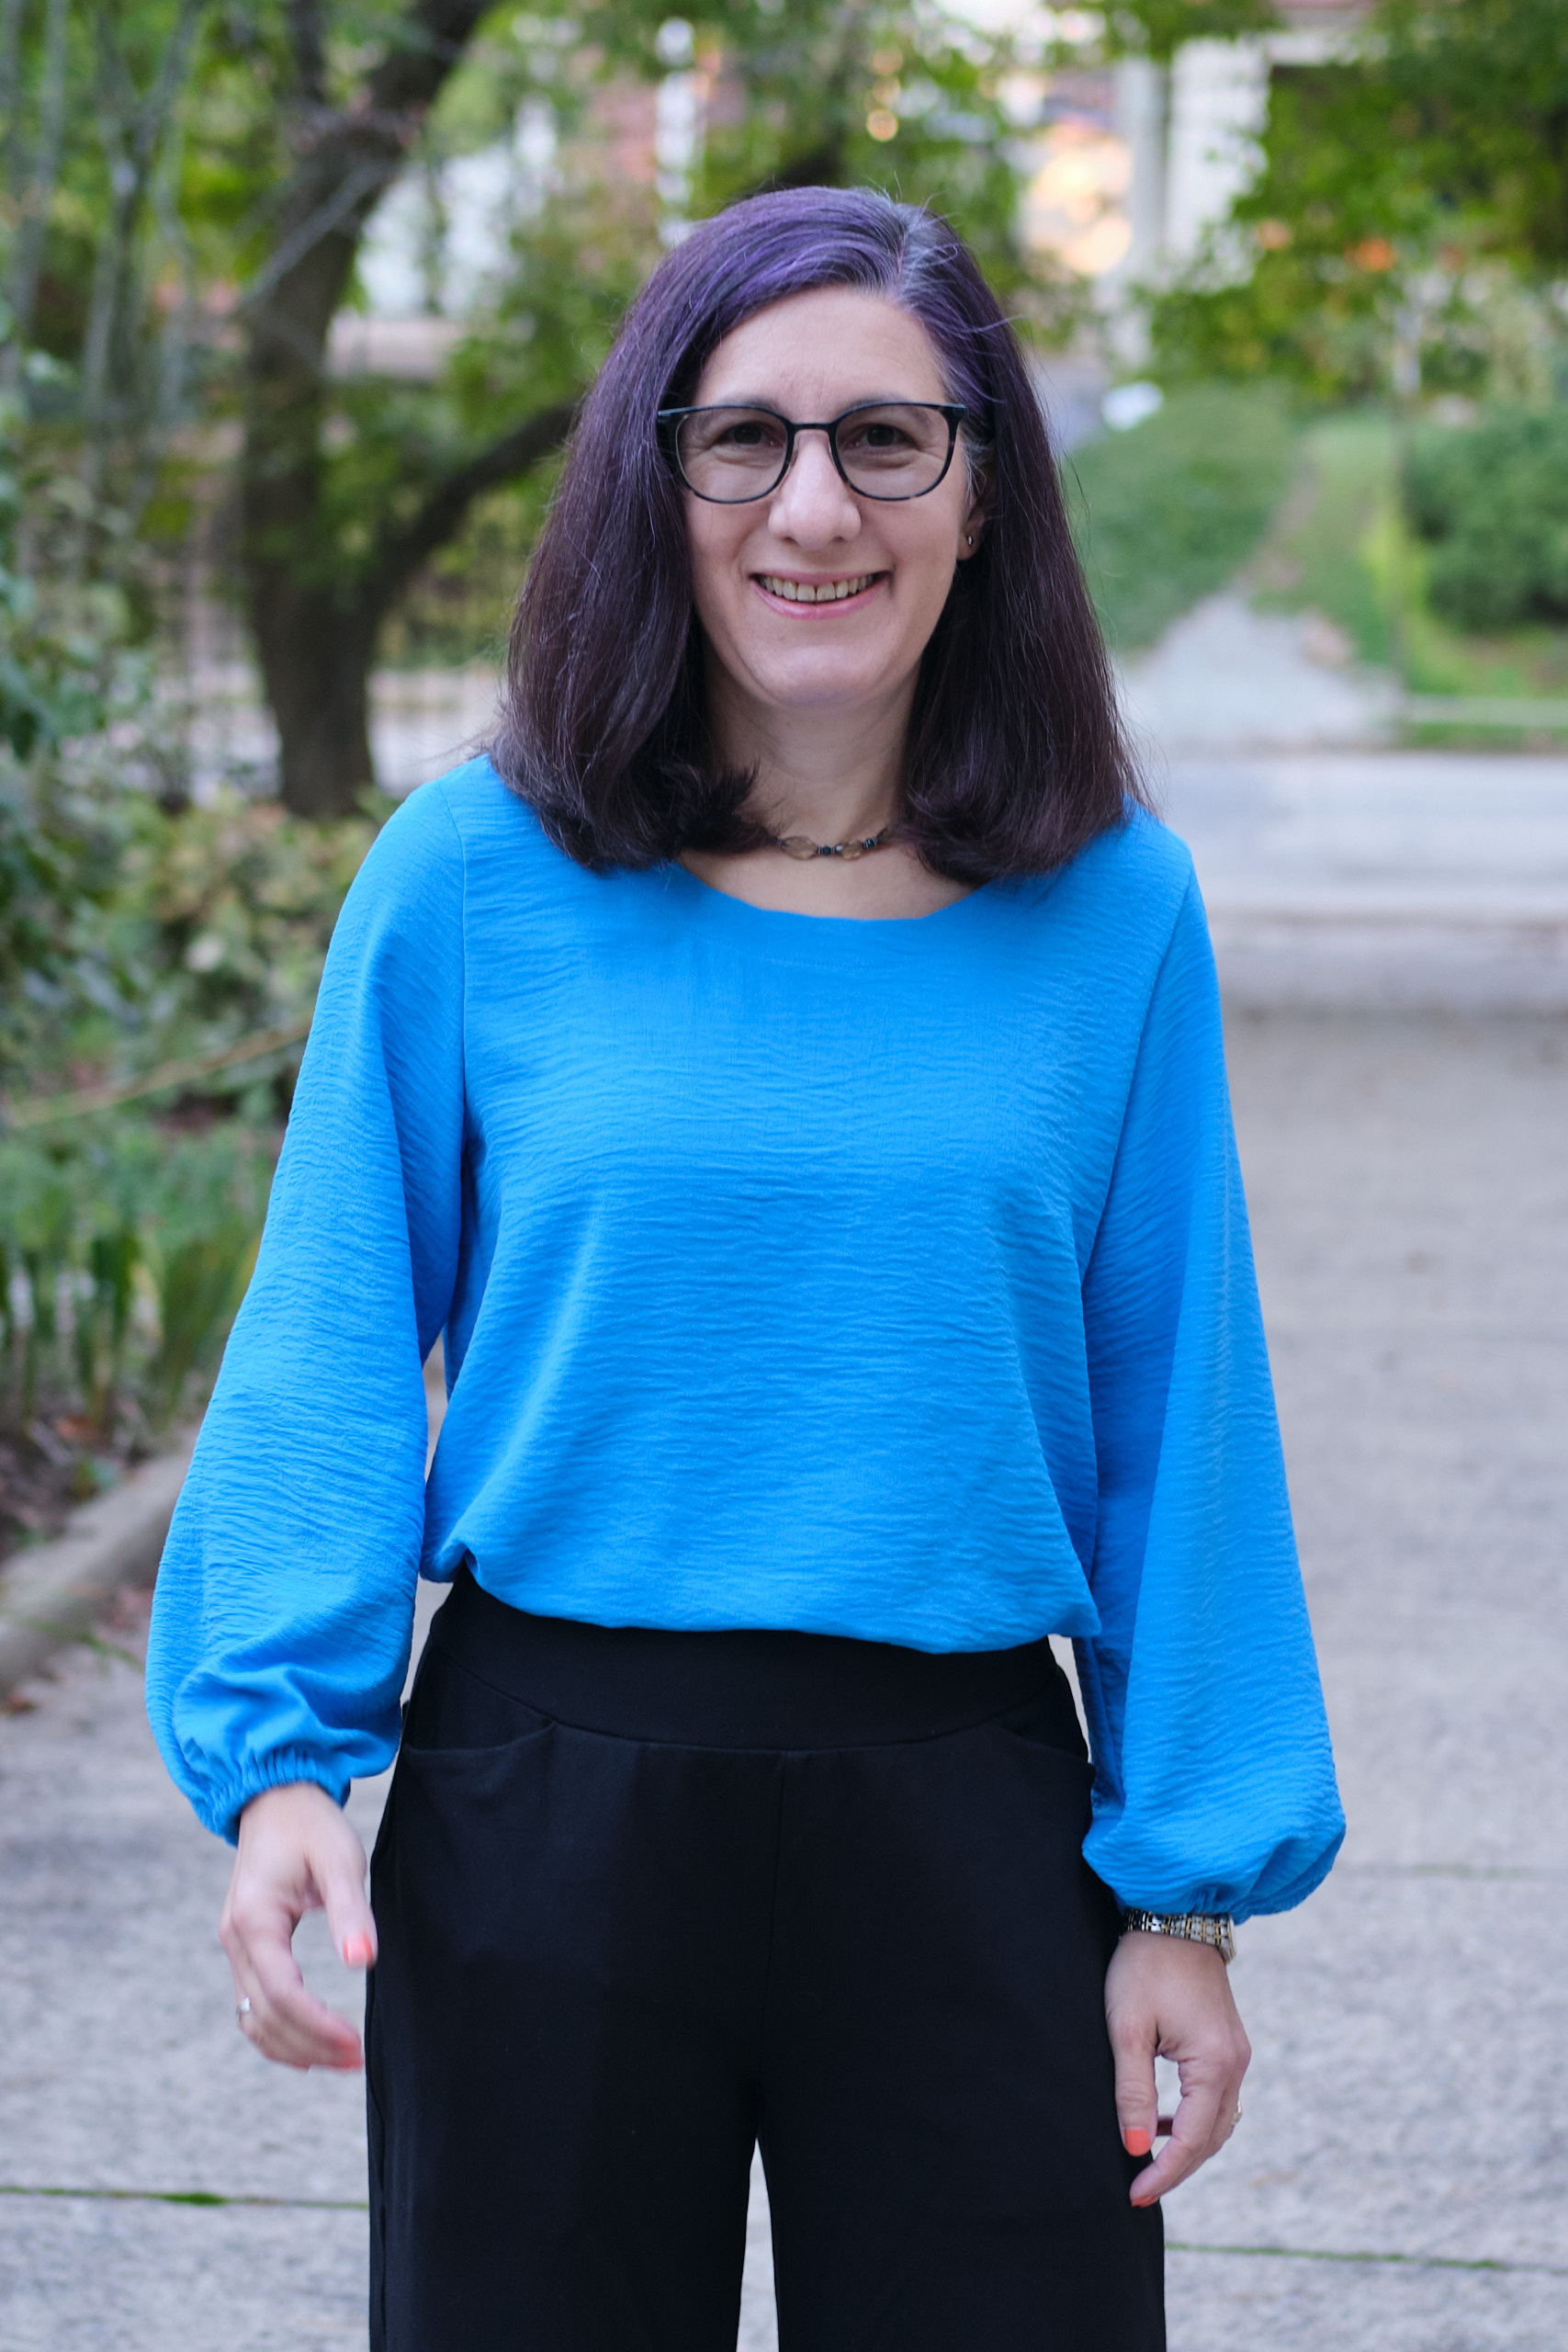
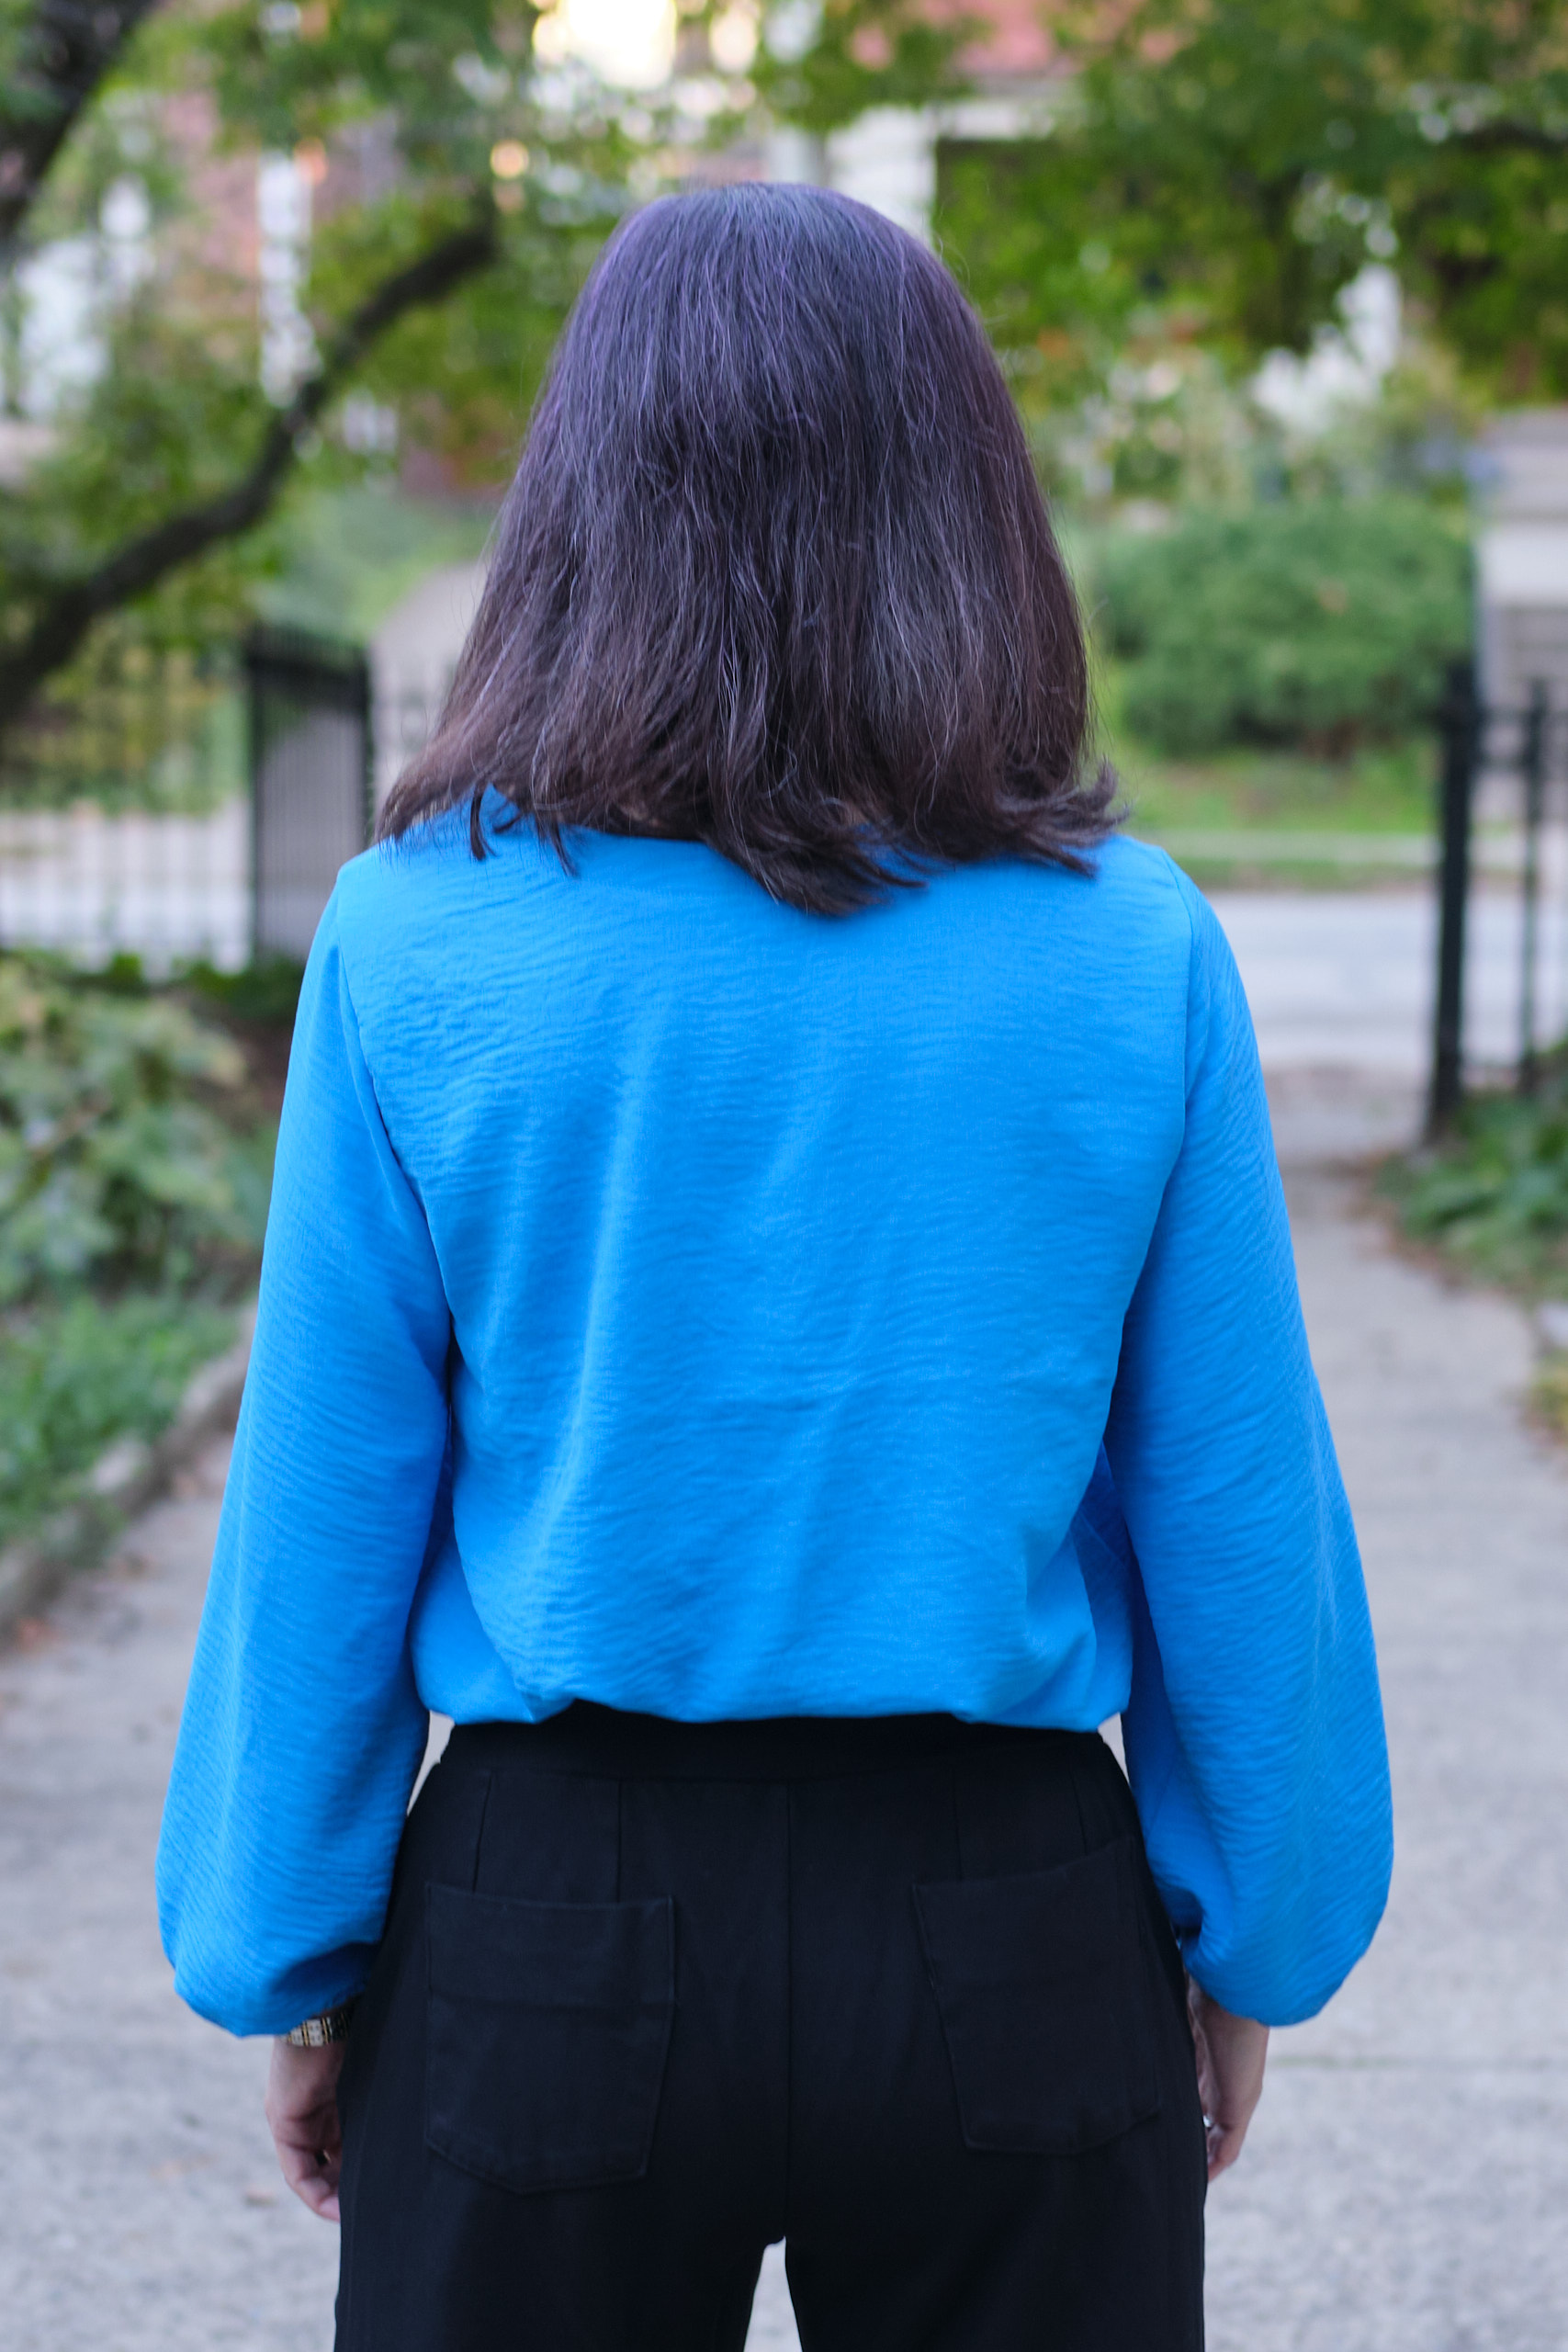
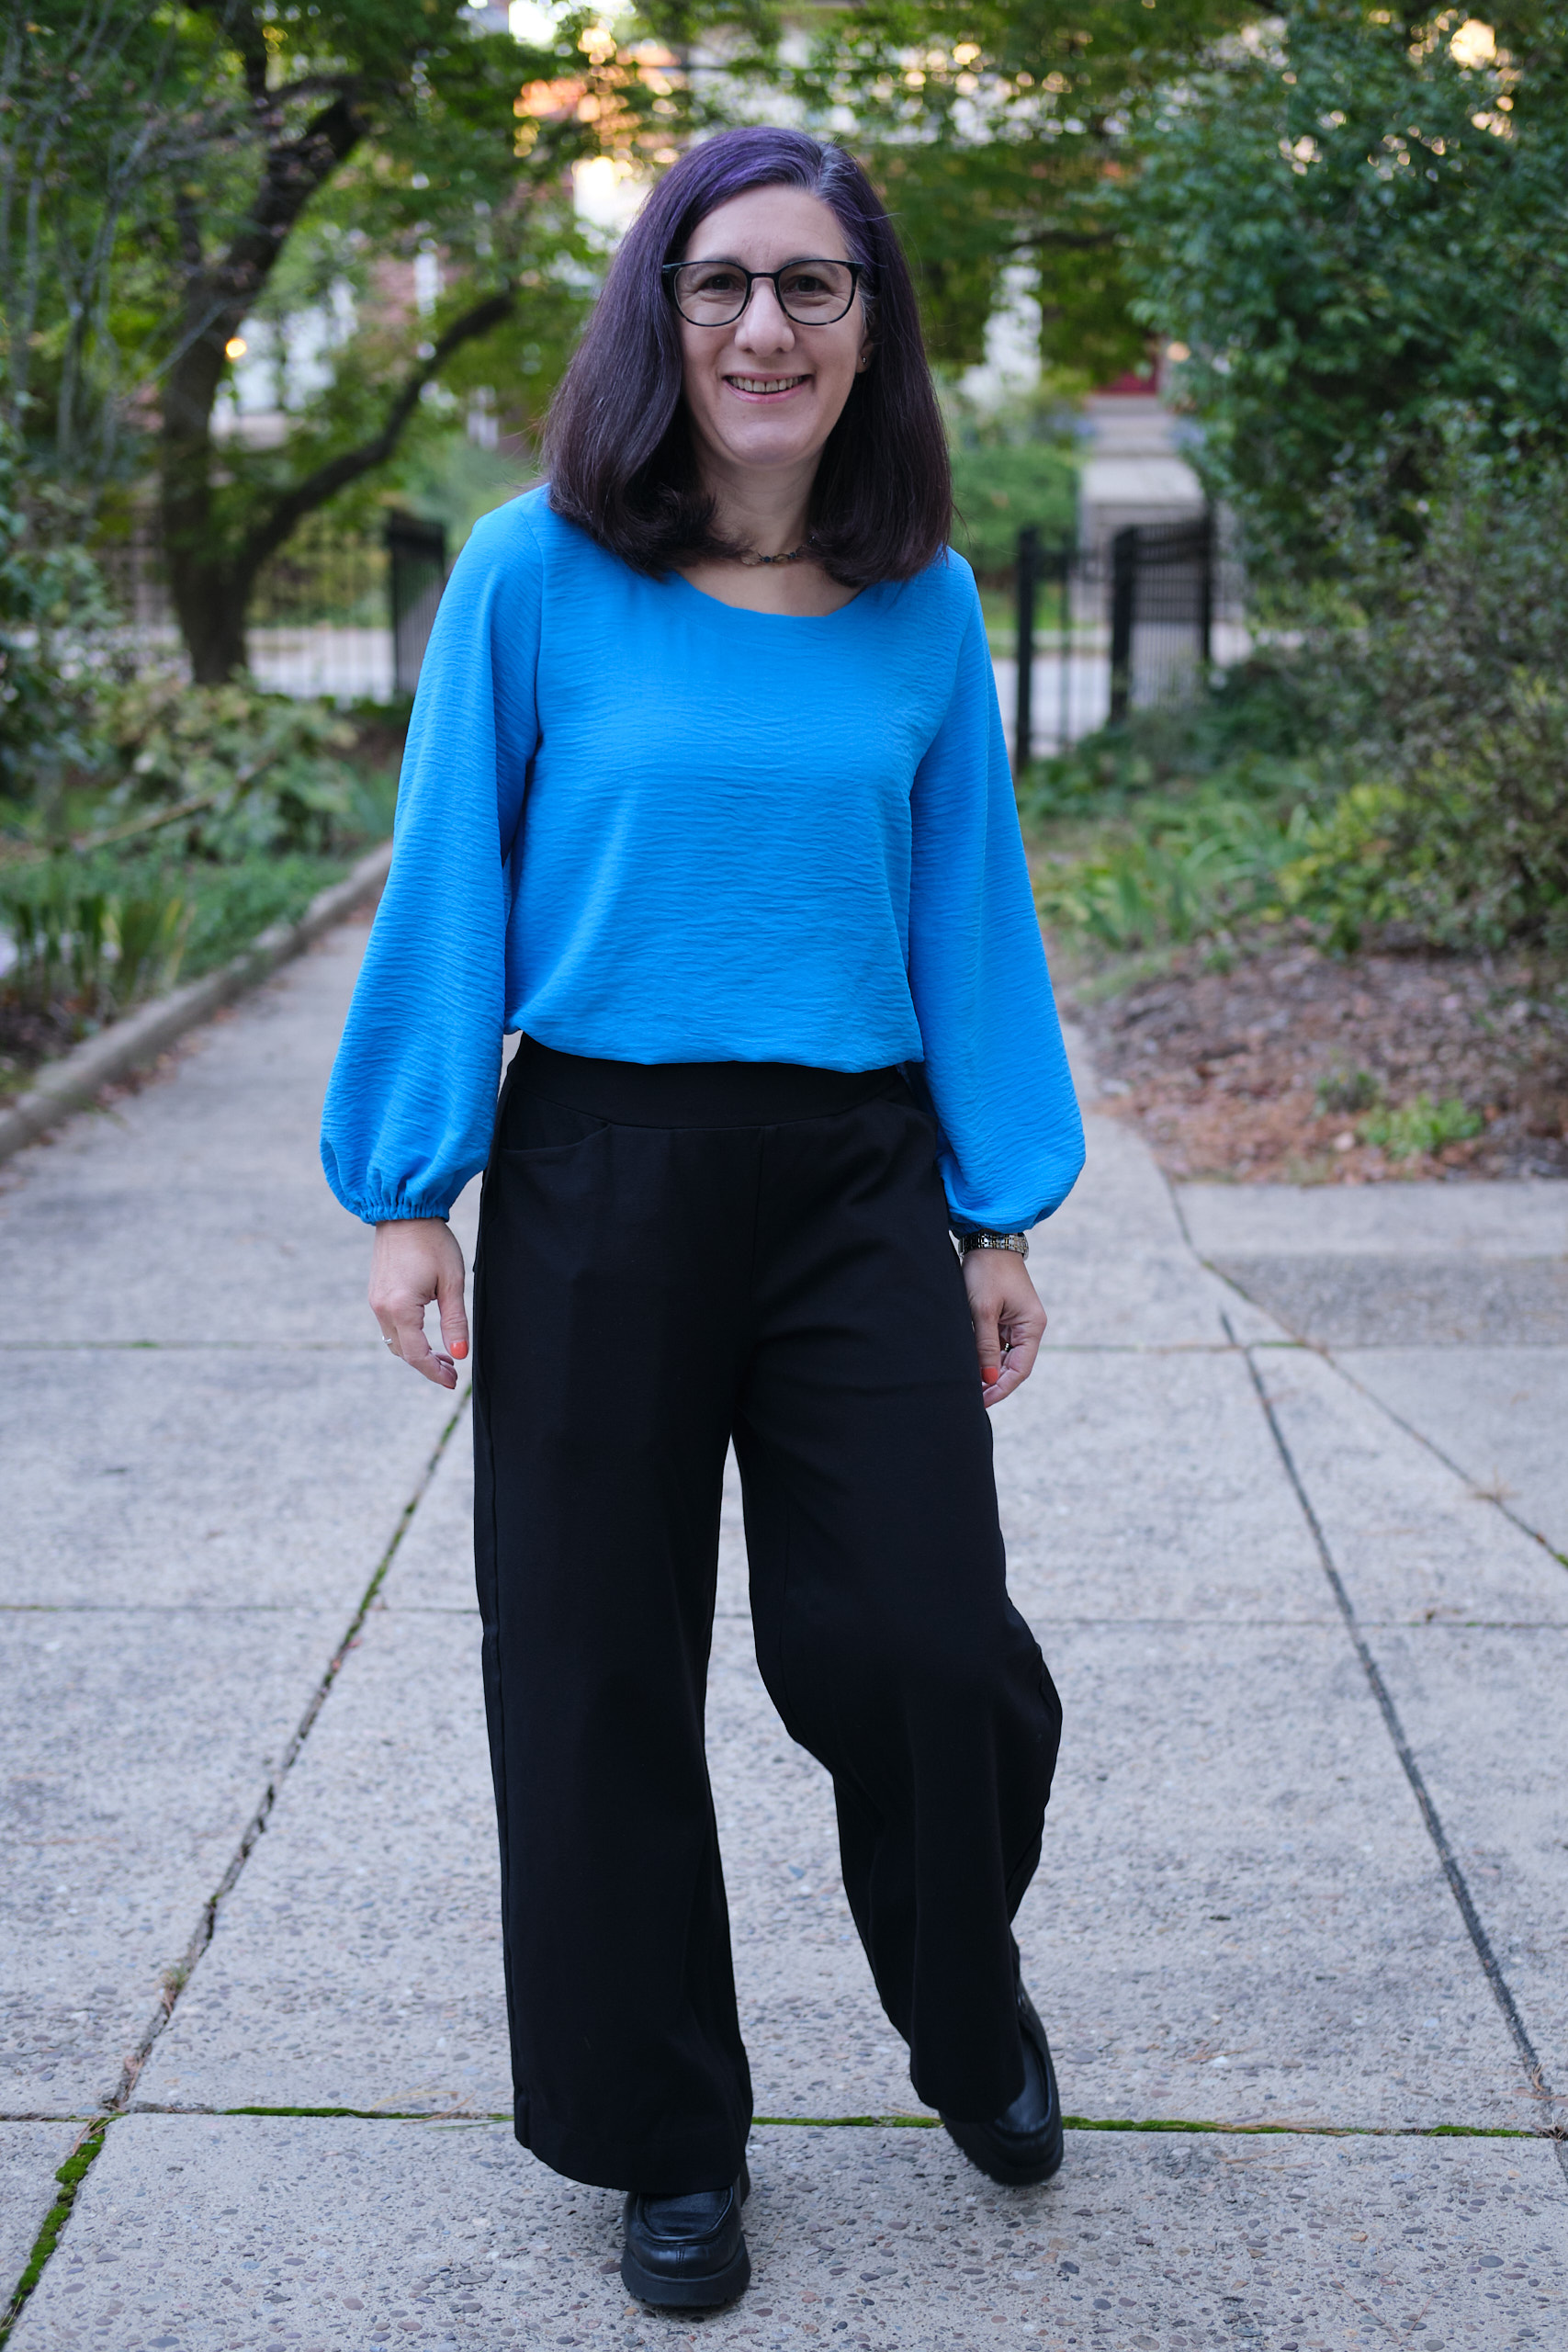
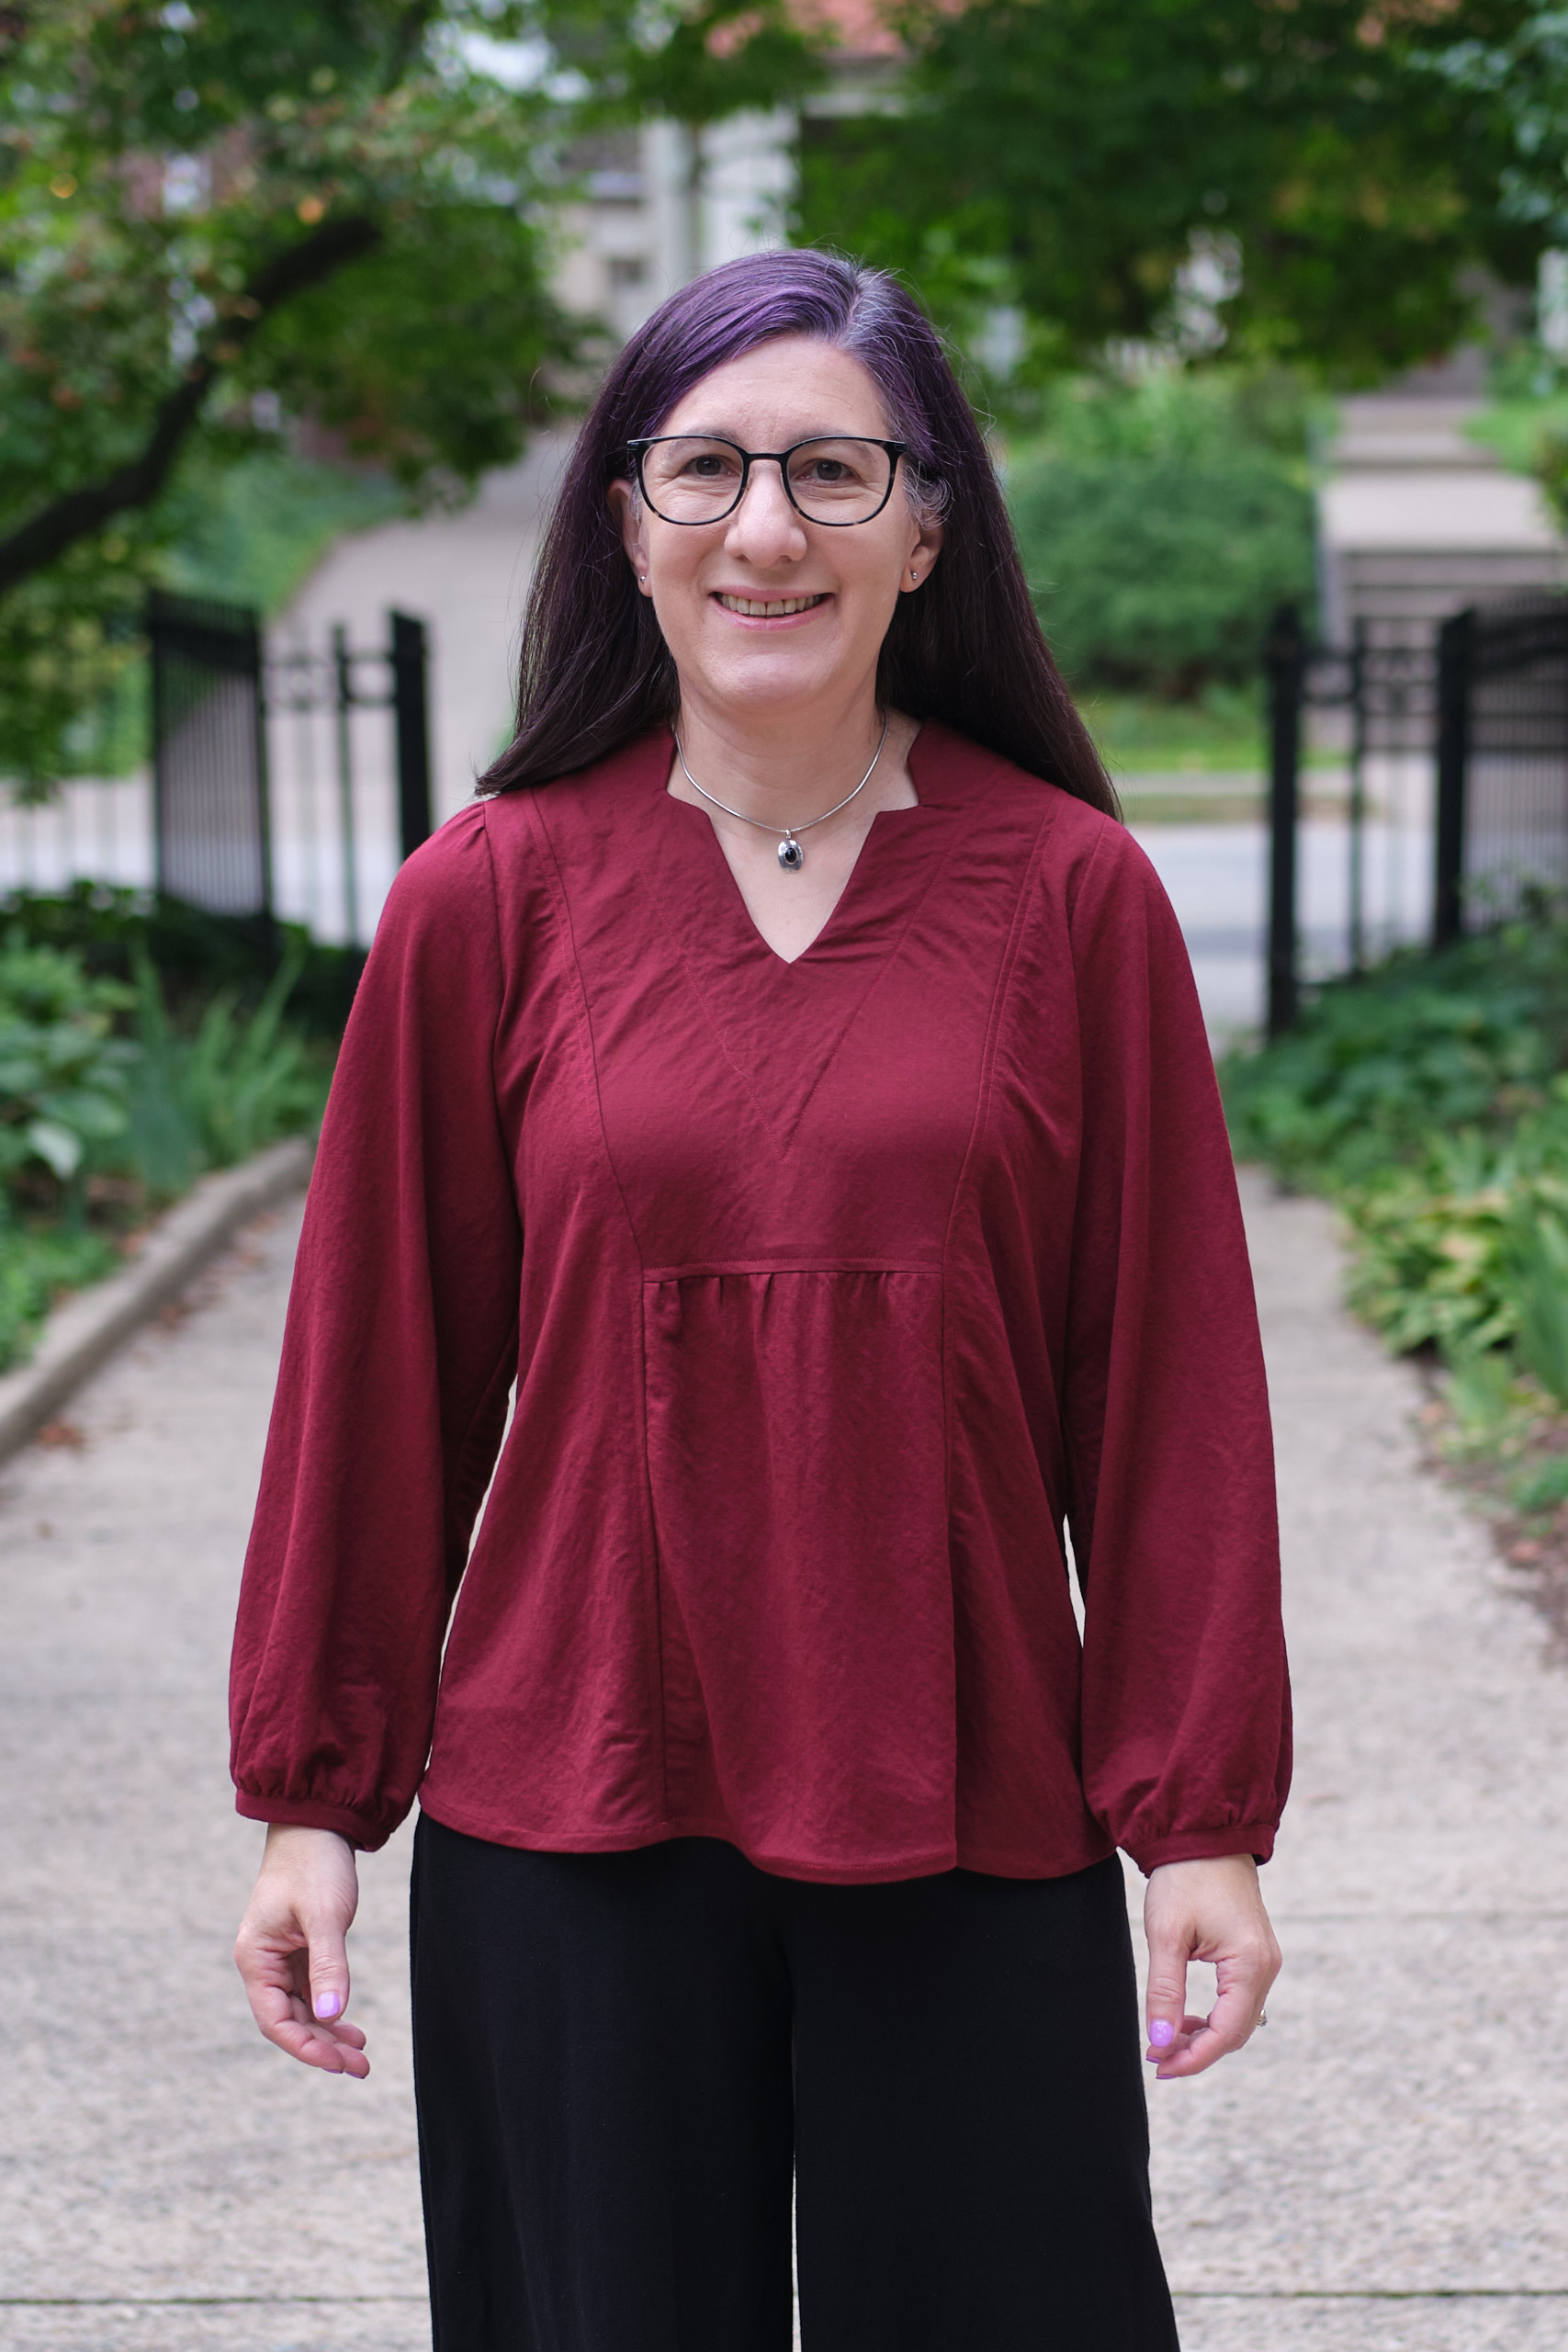
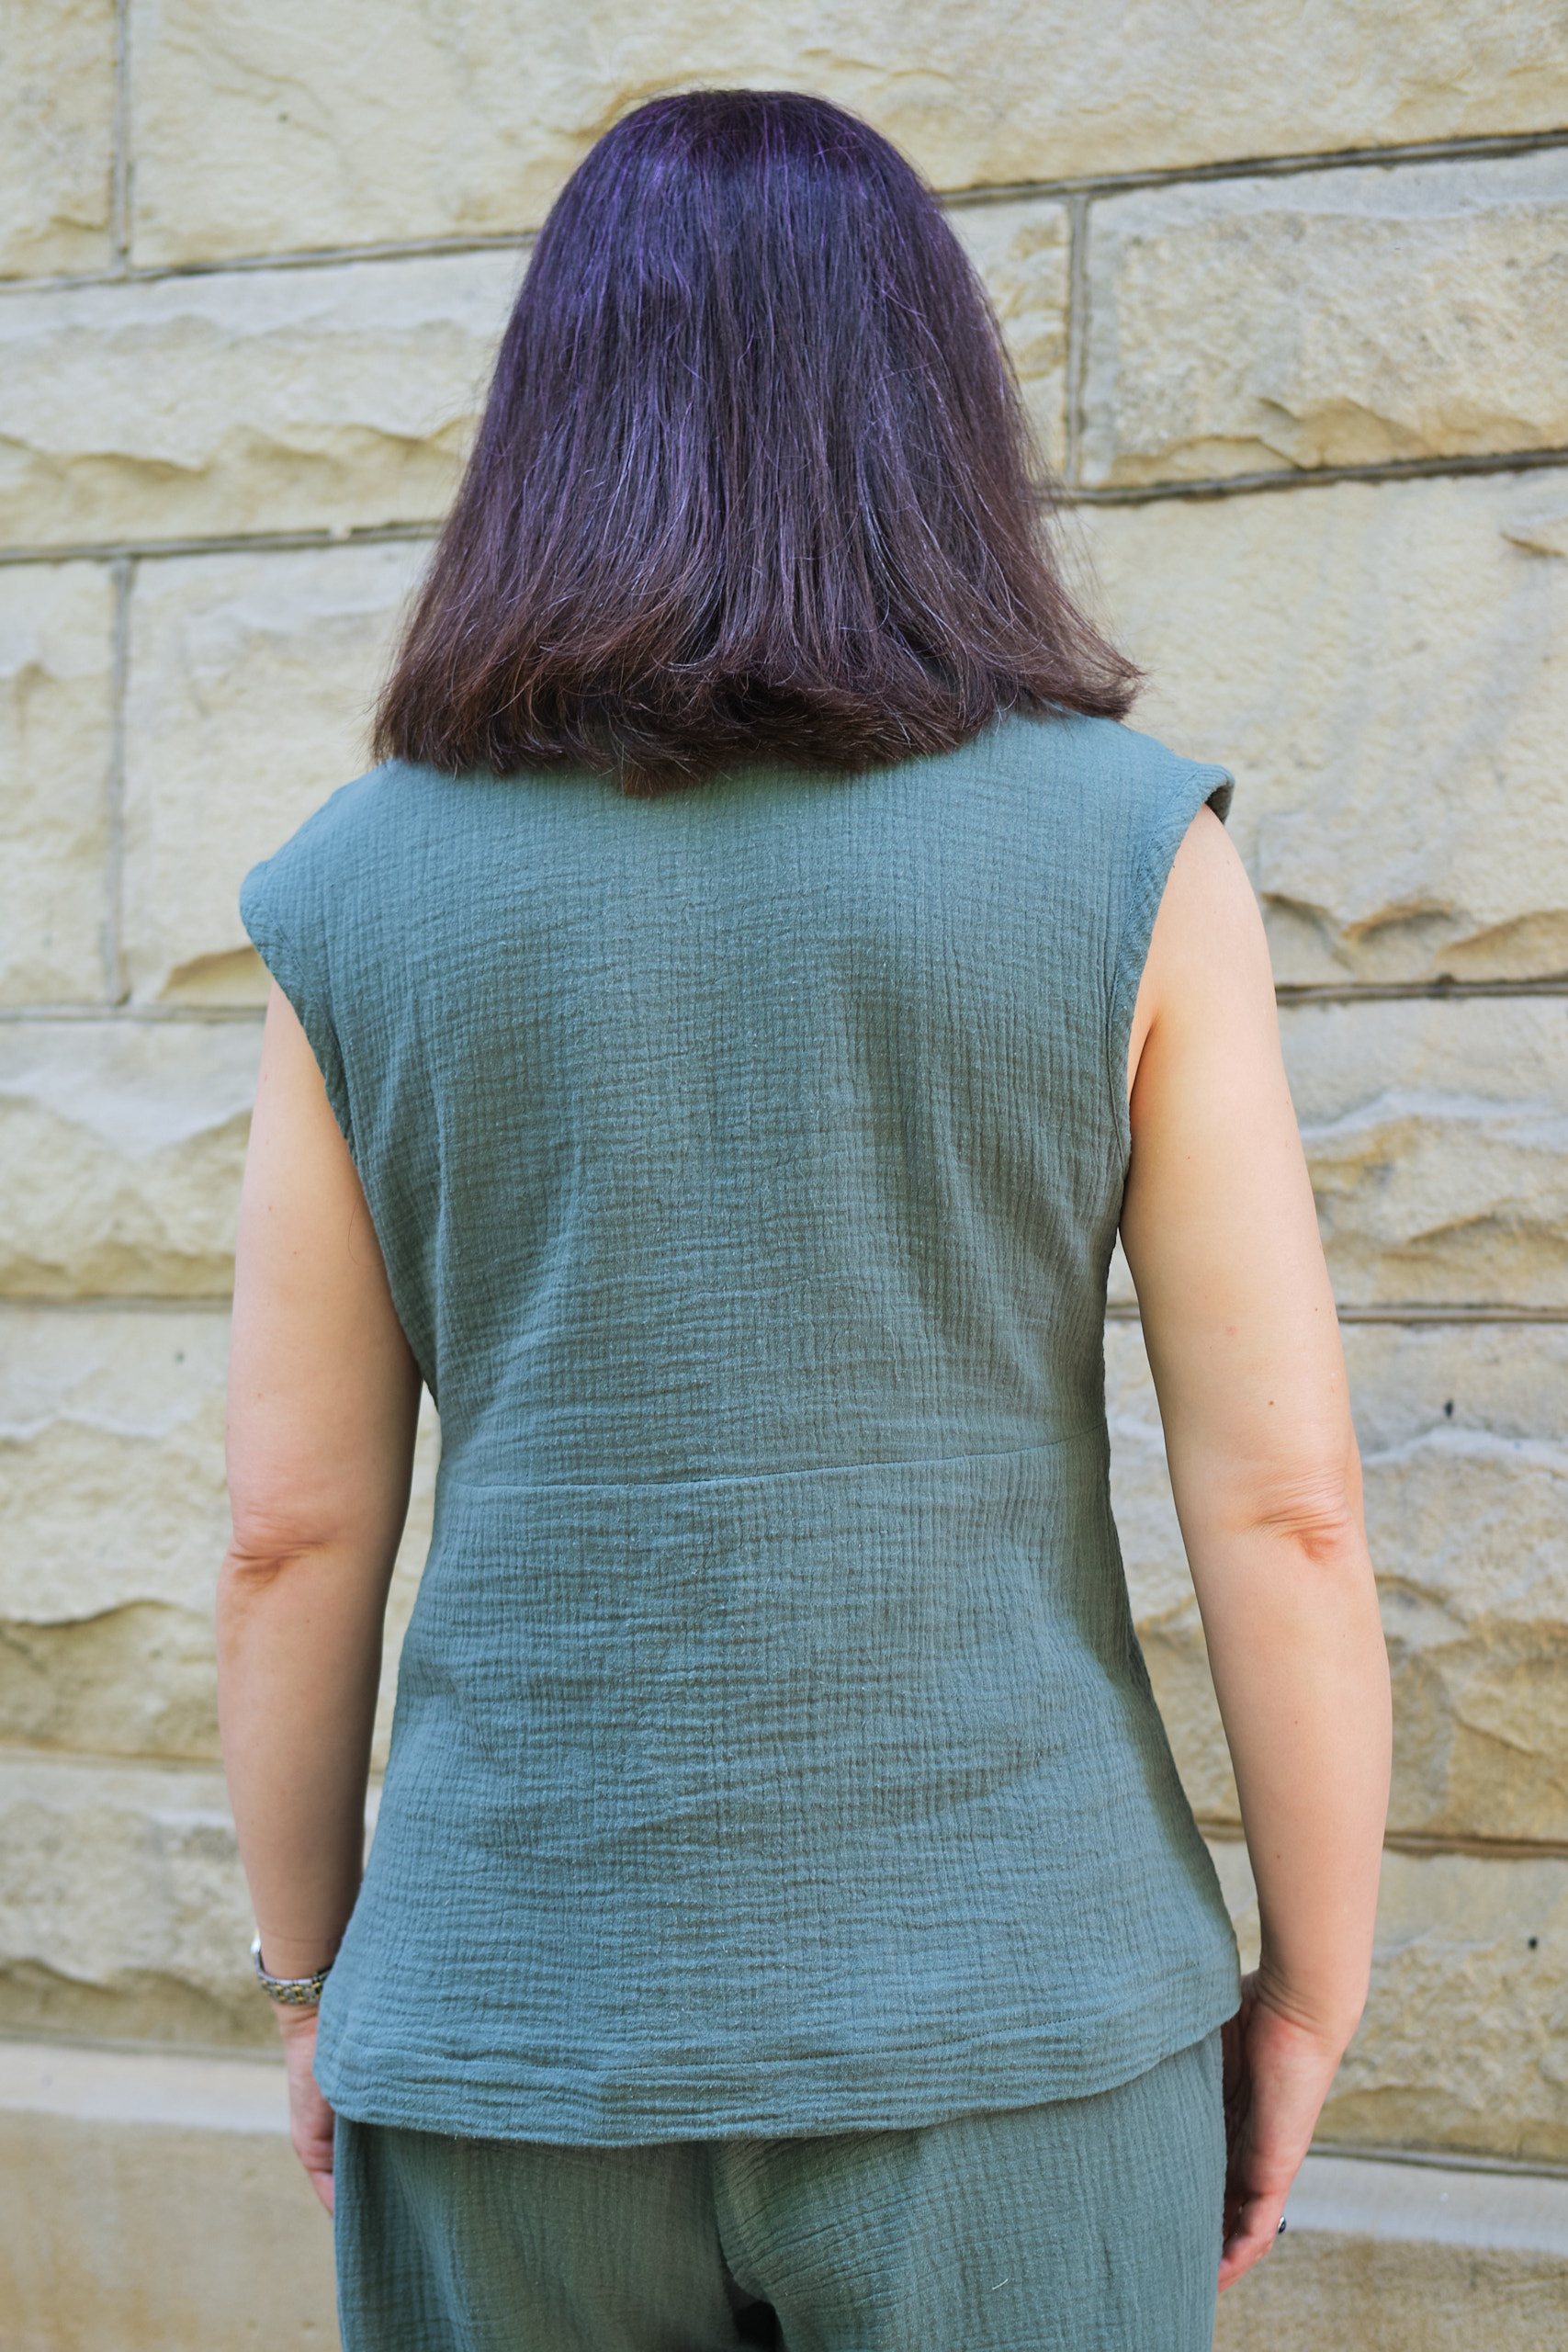
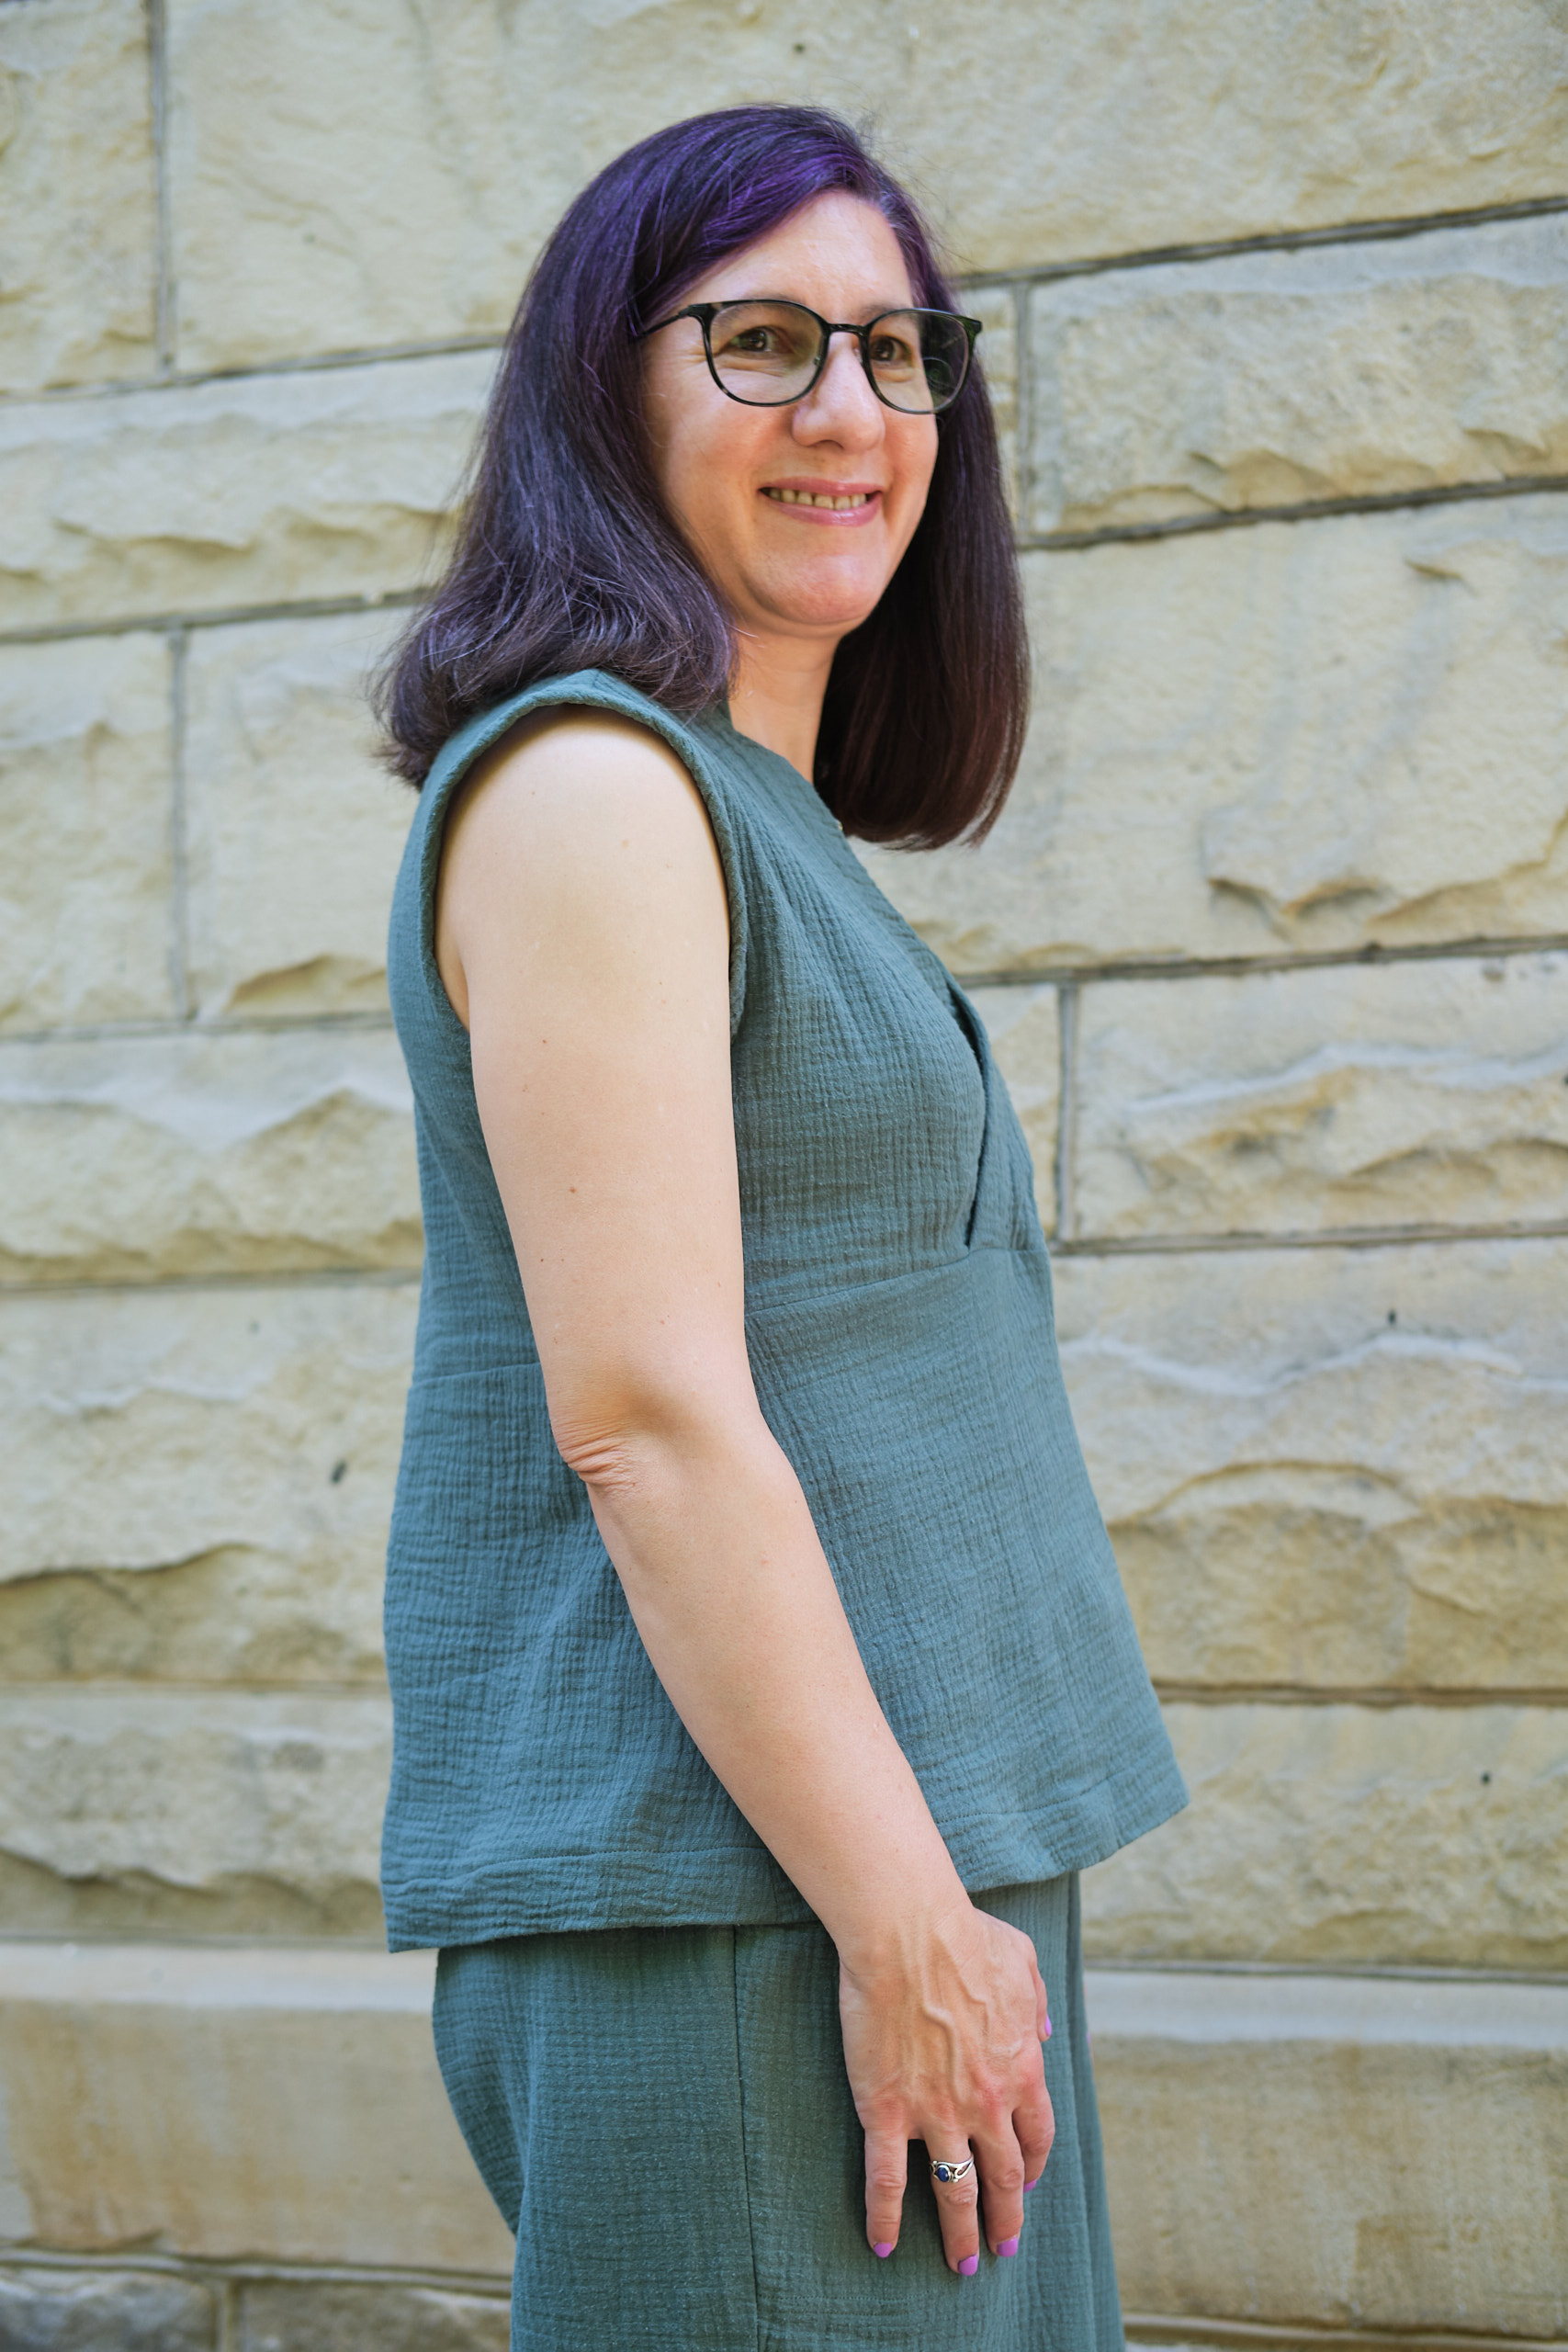
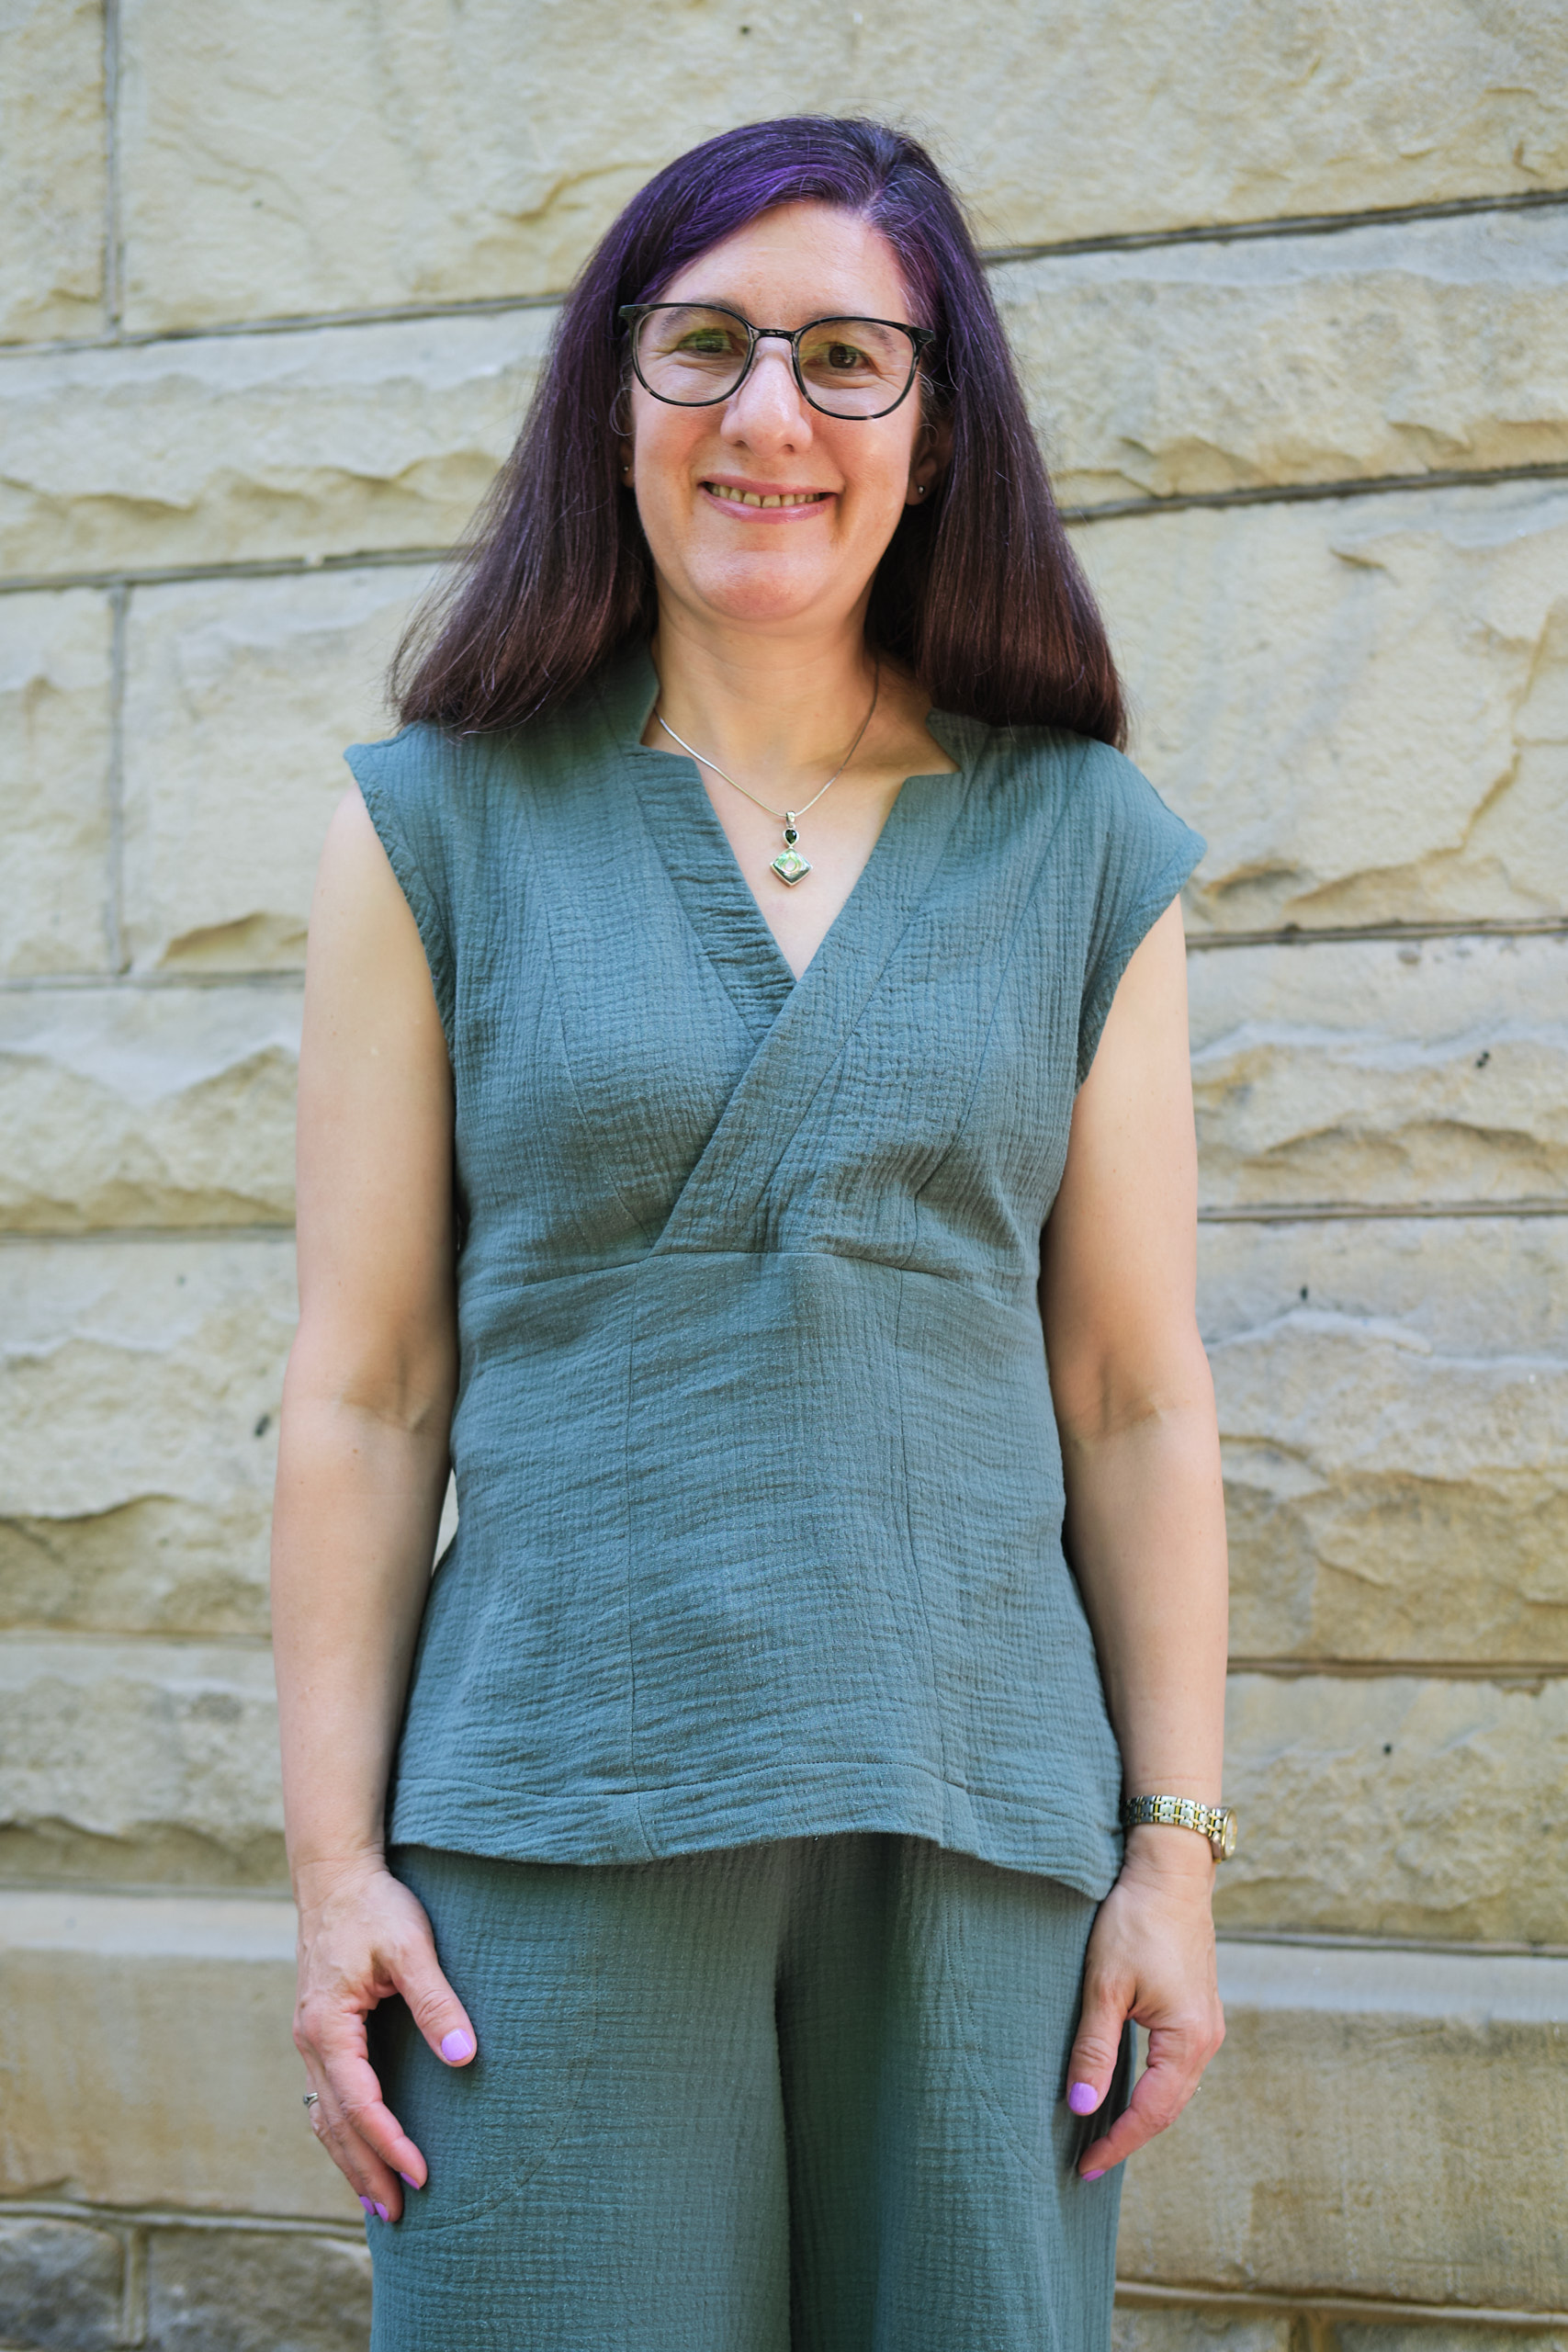
I decided to make a new airflow top to go with my new black airflow Making Moves pants and selected the Pattern Emporium Rise & Shine Sleeveless Top pattern, which I had never tried before. I made it in a size AU8, length 2, low neckline, simple hem, without a center seam or bust darts. This version is easy to cut out: just a front, a back, and 1-inch bias-cut facing strips for the neck and two armholes. Kate’s instructions and video on sewing the neck and armhole facings are clear and easy to follow, but I had to take it pretty slow, so it took a while.
I made the pattern as written, and it came out pretty perfect. I did struggle with a few things, which I’ll note here.
- When I projected the pattern I found the notch marks on the neck facing too small to easily see projected on my fabric so I extended them and made them darker.
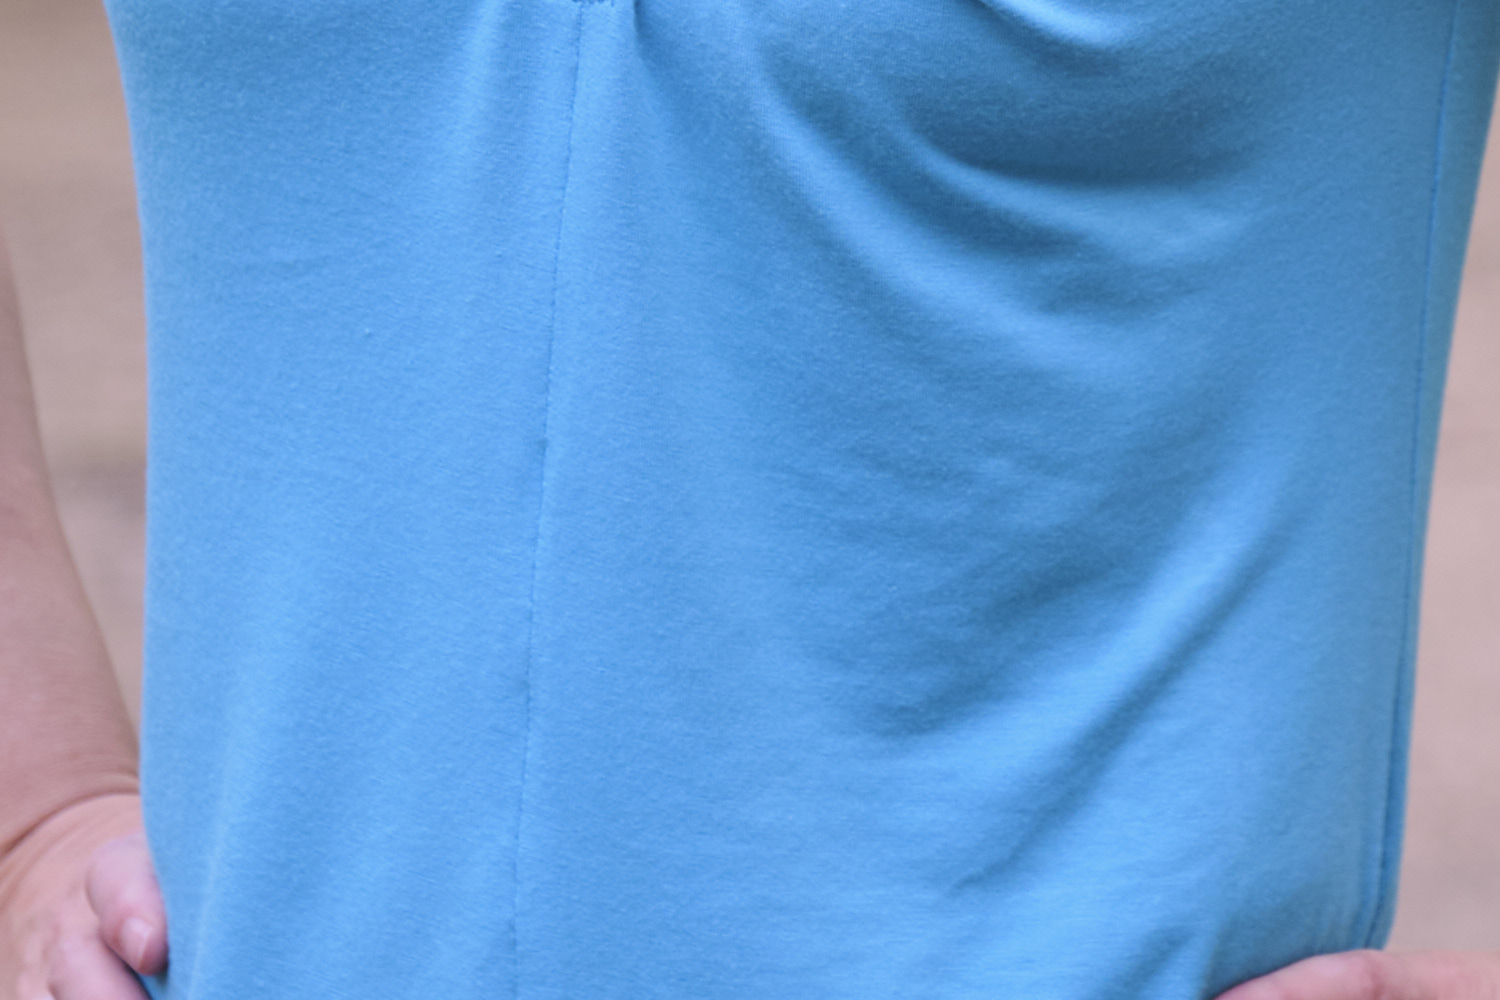
- The airflow fabric grows and spreads a bit (but not as much as double gauze), but pops back. However, the folded facing does come out a bit wider than it should. This is not a problem, as the facing is on the inside of the shirt.
- Joining the right shoulder after sewing on the neck facing was challenging. I had to try three times to get it right, and the seam is still a bit bulky. However, following the advice to tack it dow helped.
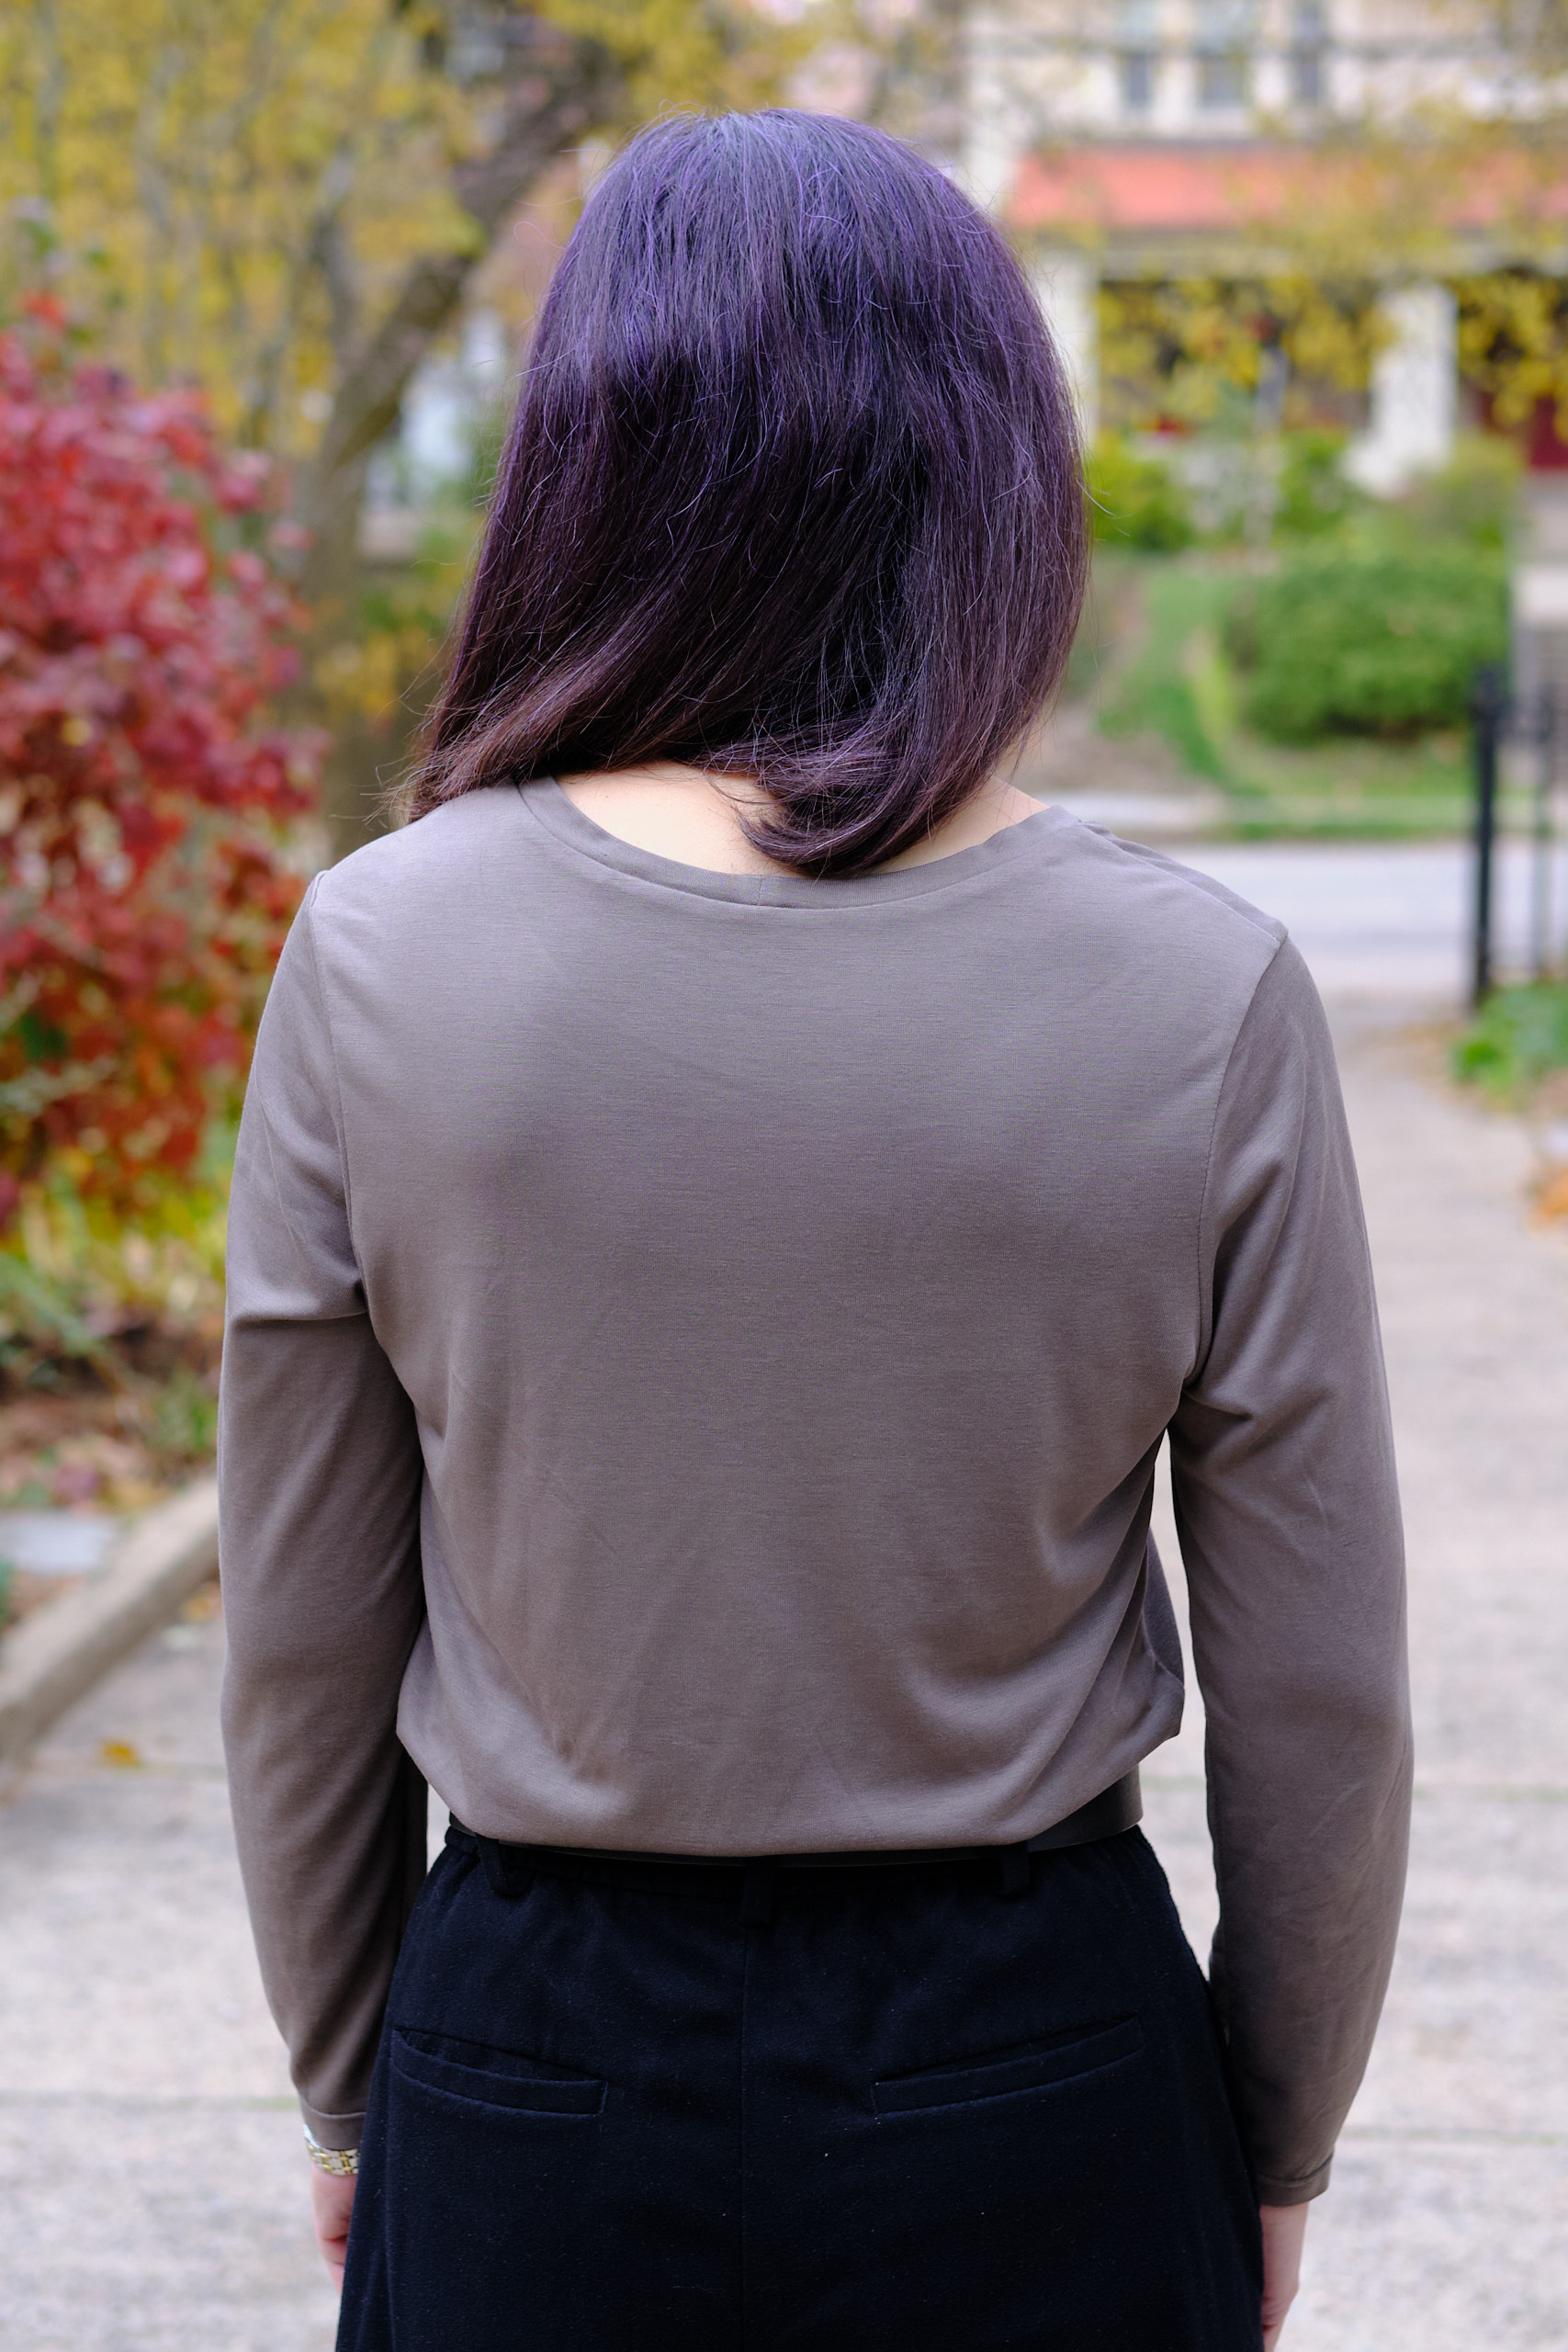
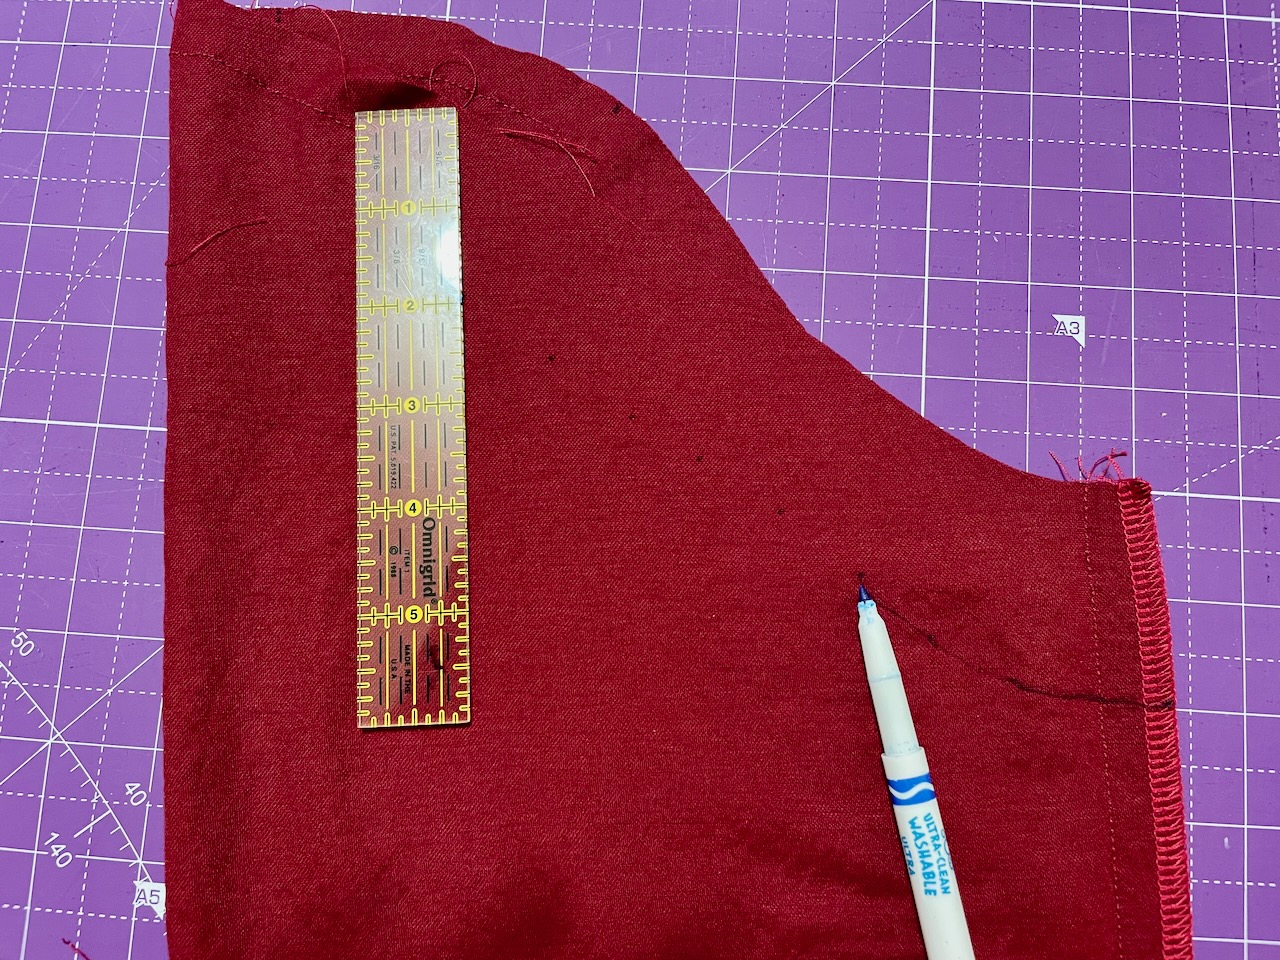
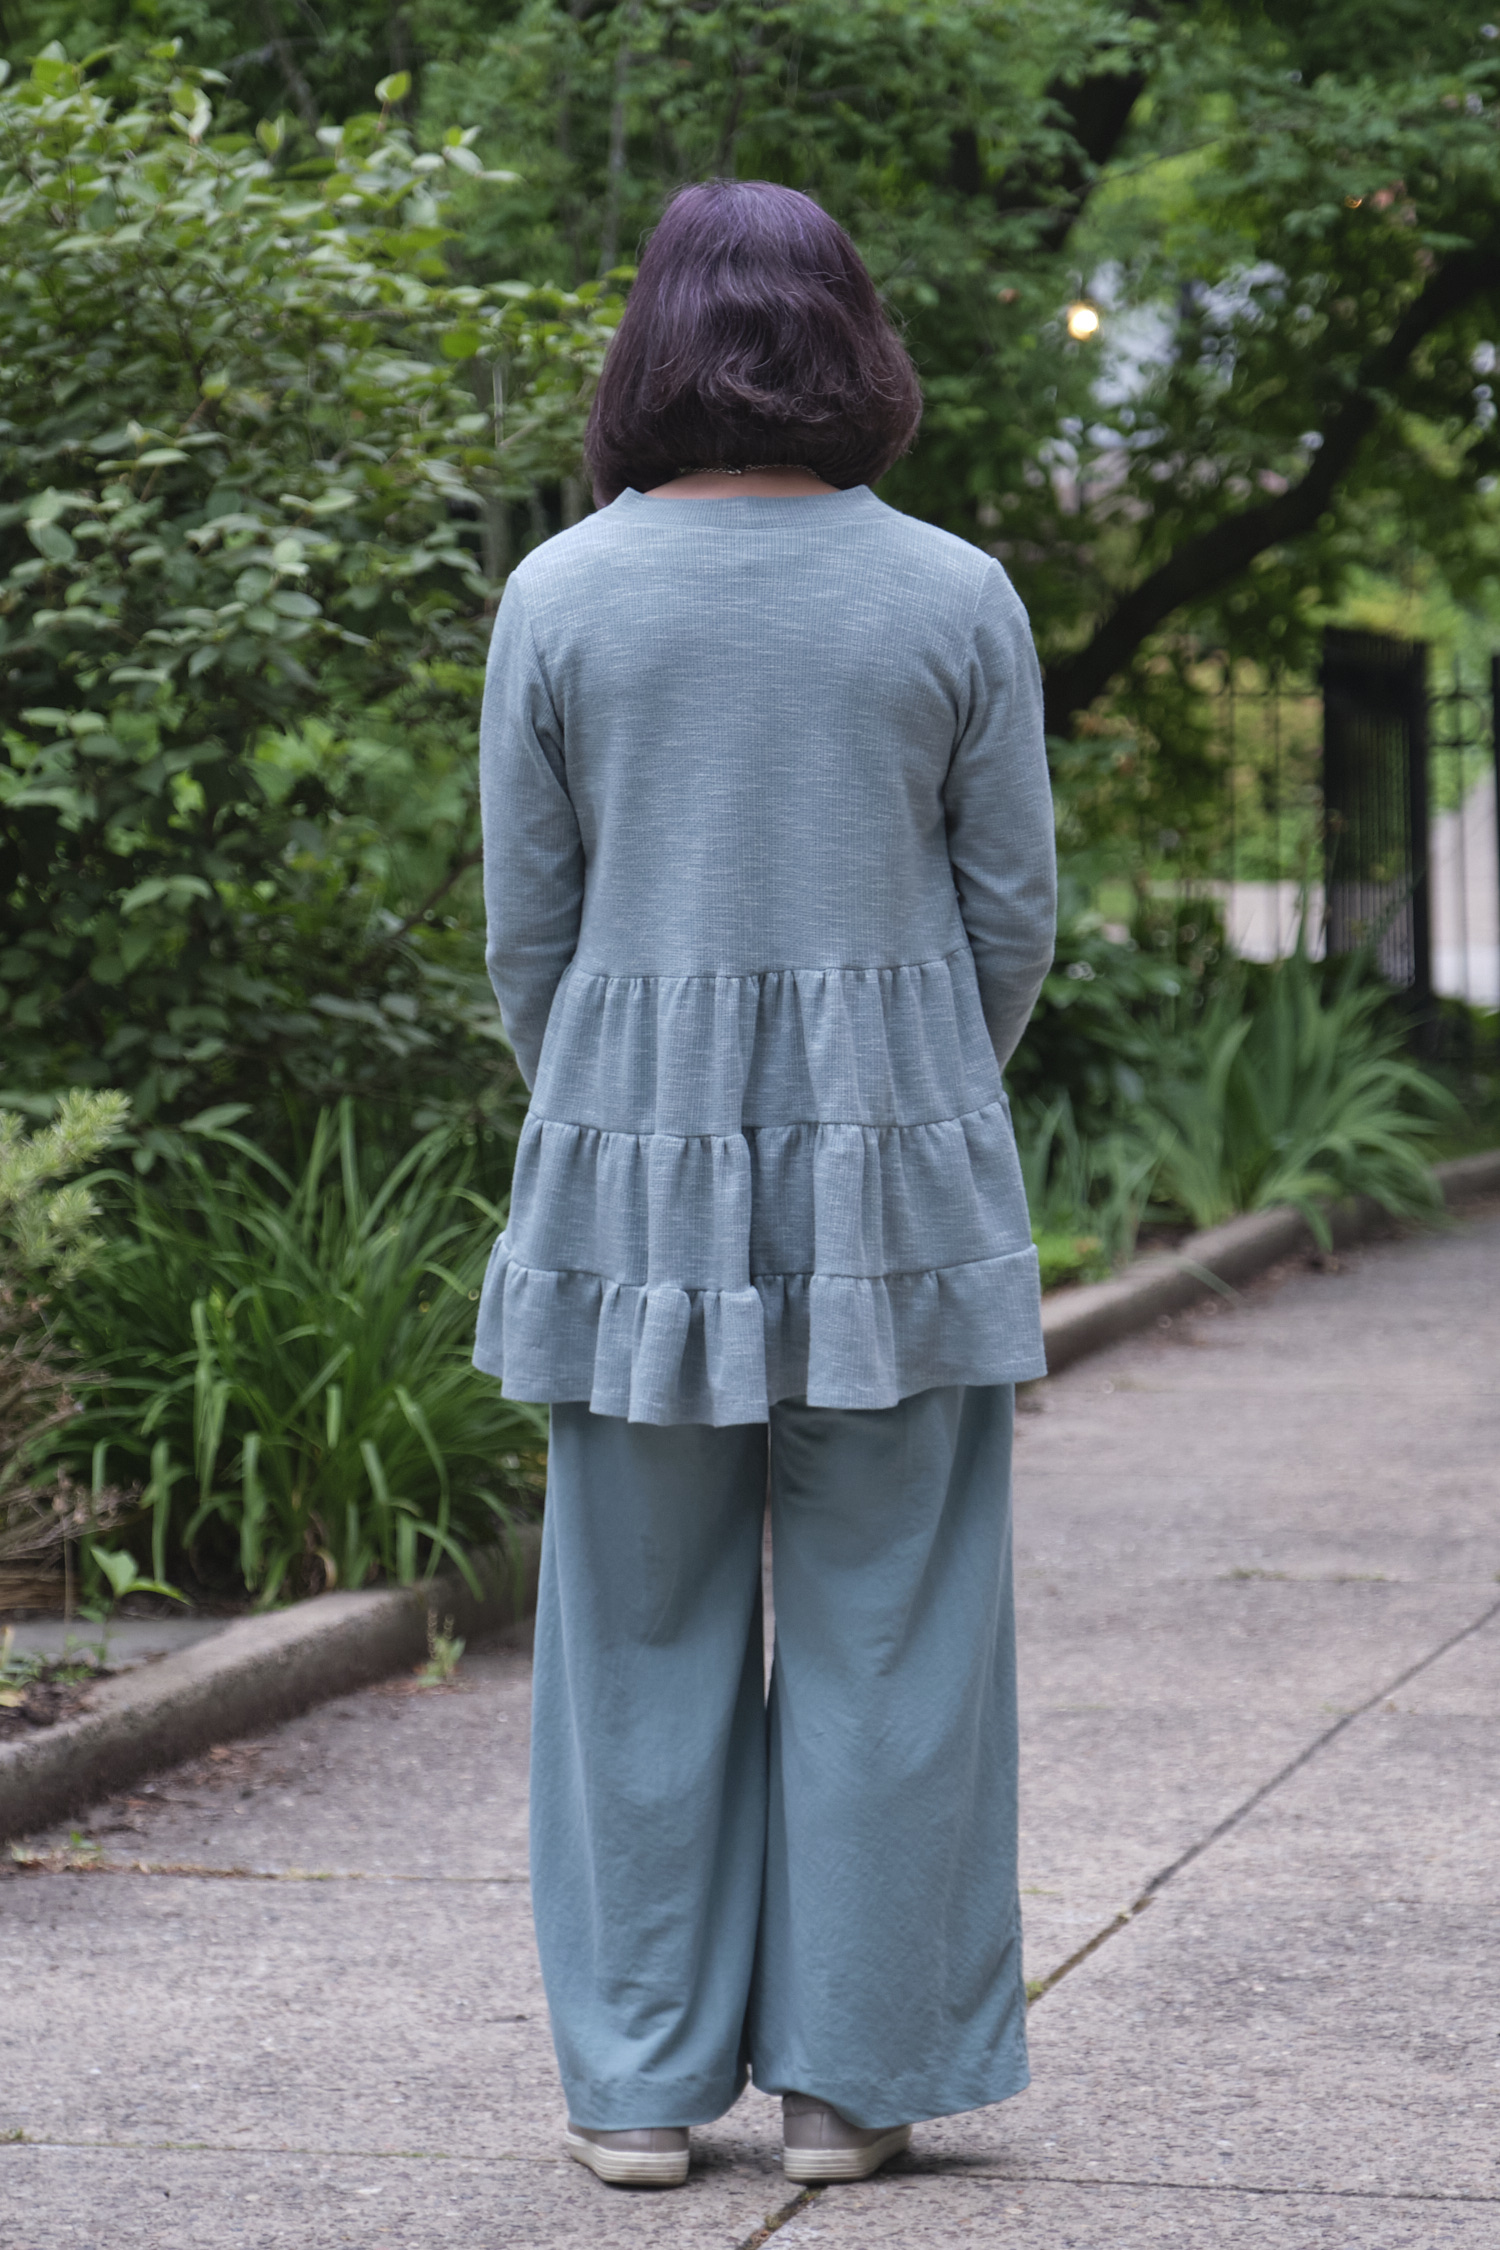
- To sew a 5/8-inch simple hem I machine-basted 5/8″ from the edge (after serging), then folded at the basting line and pressed. I was able to sew at 1/2″ from the front side of the fabric without needing to pin it. When I was done, I pulled out the basting stitches.
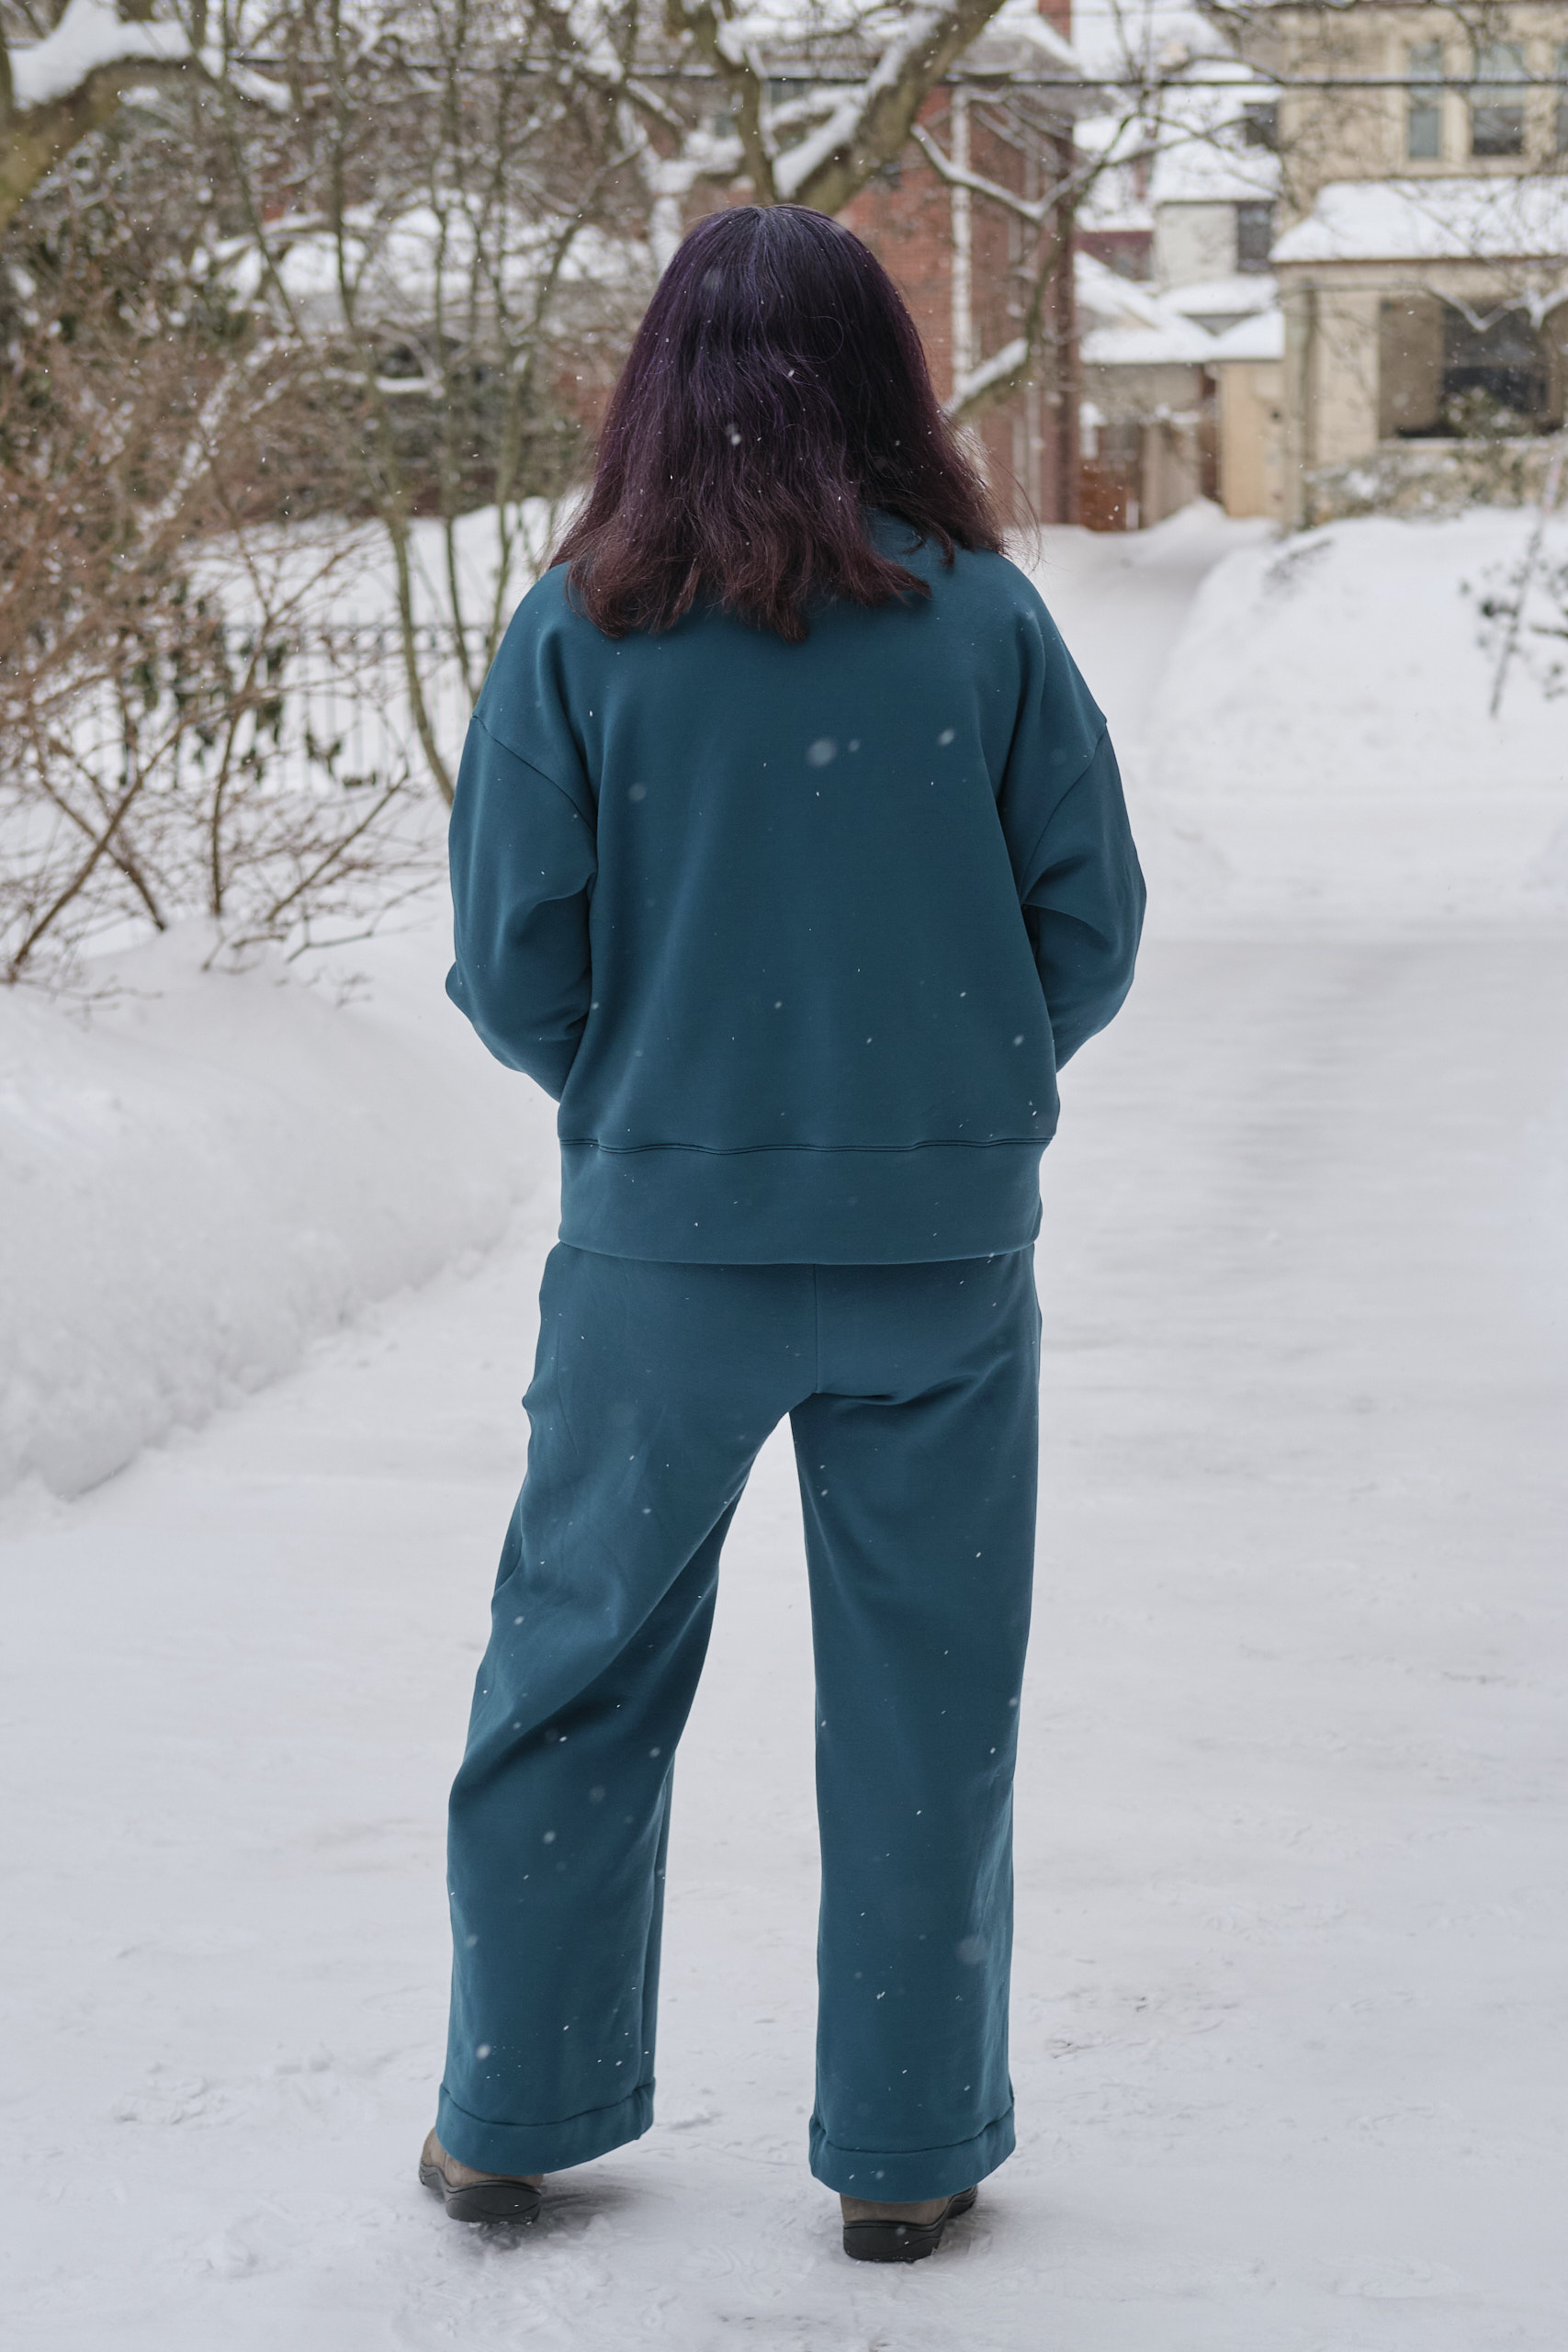
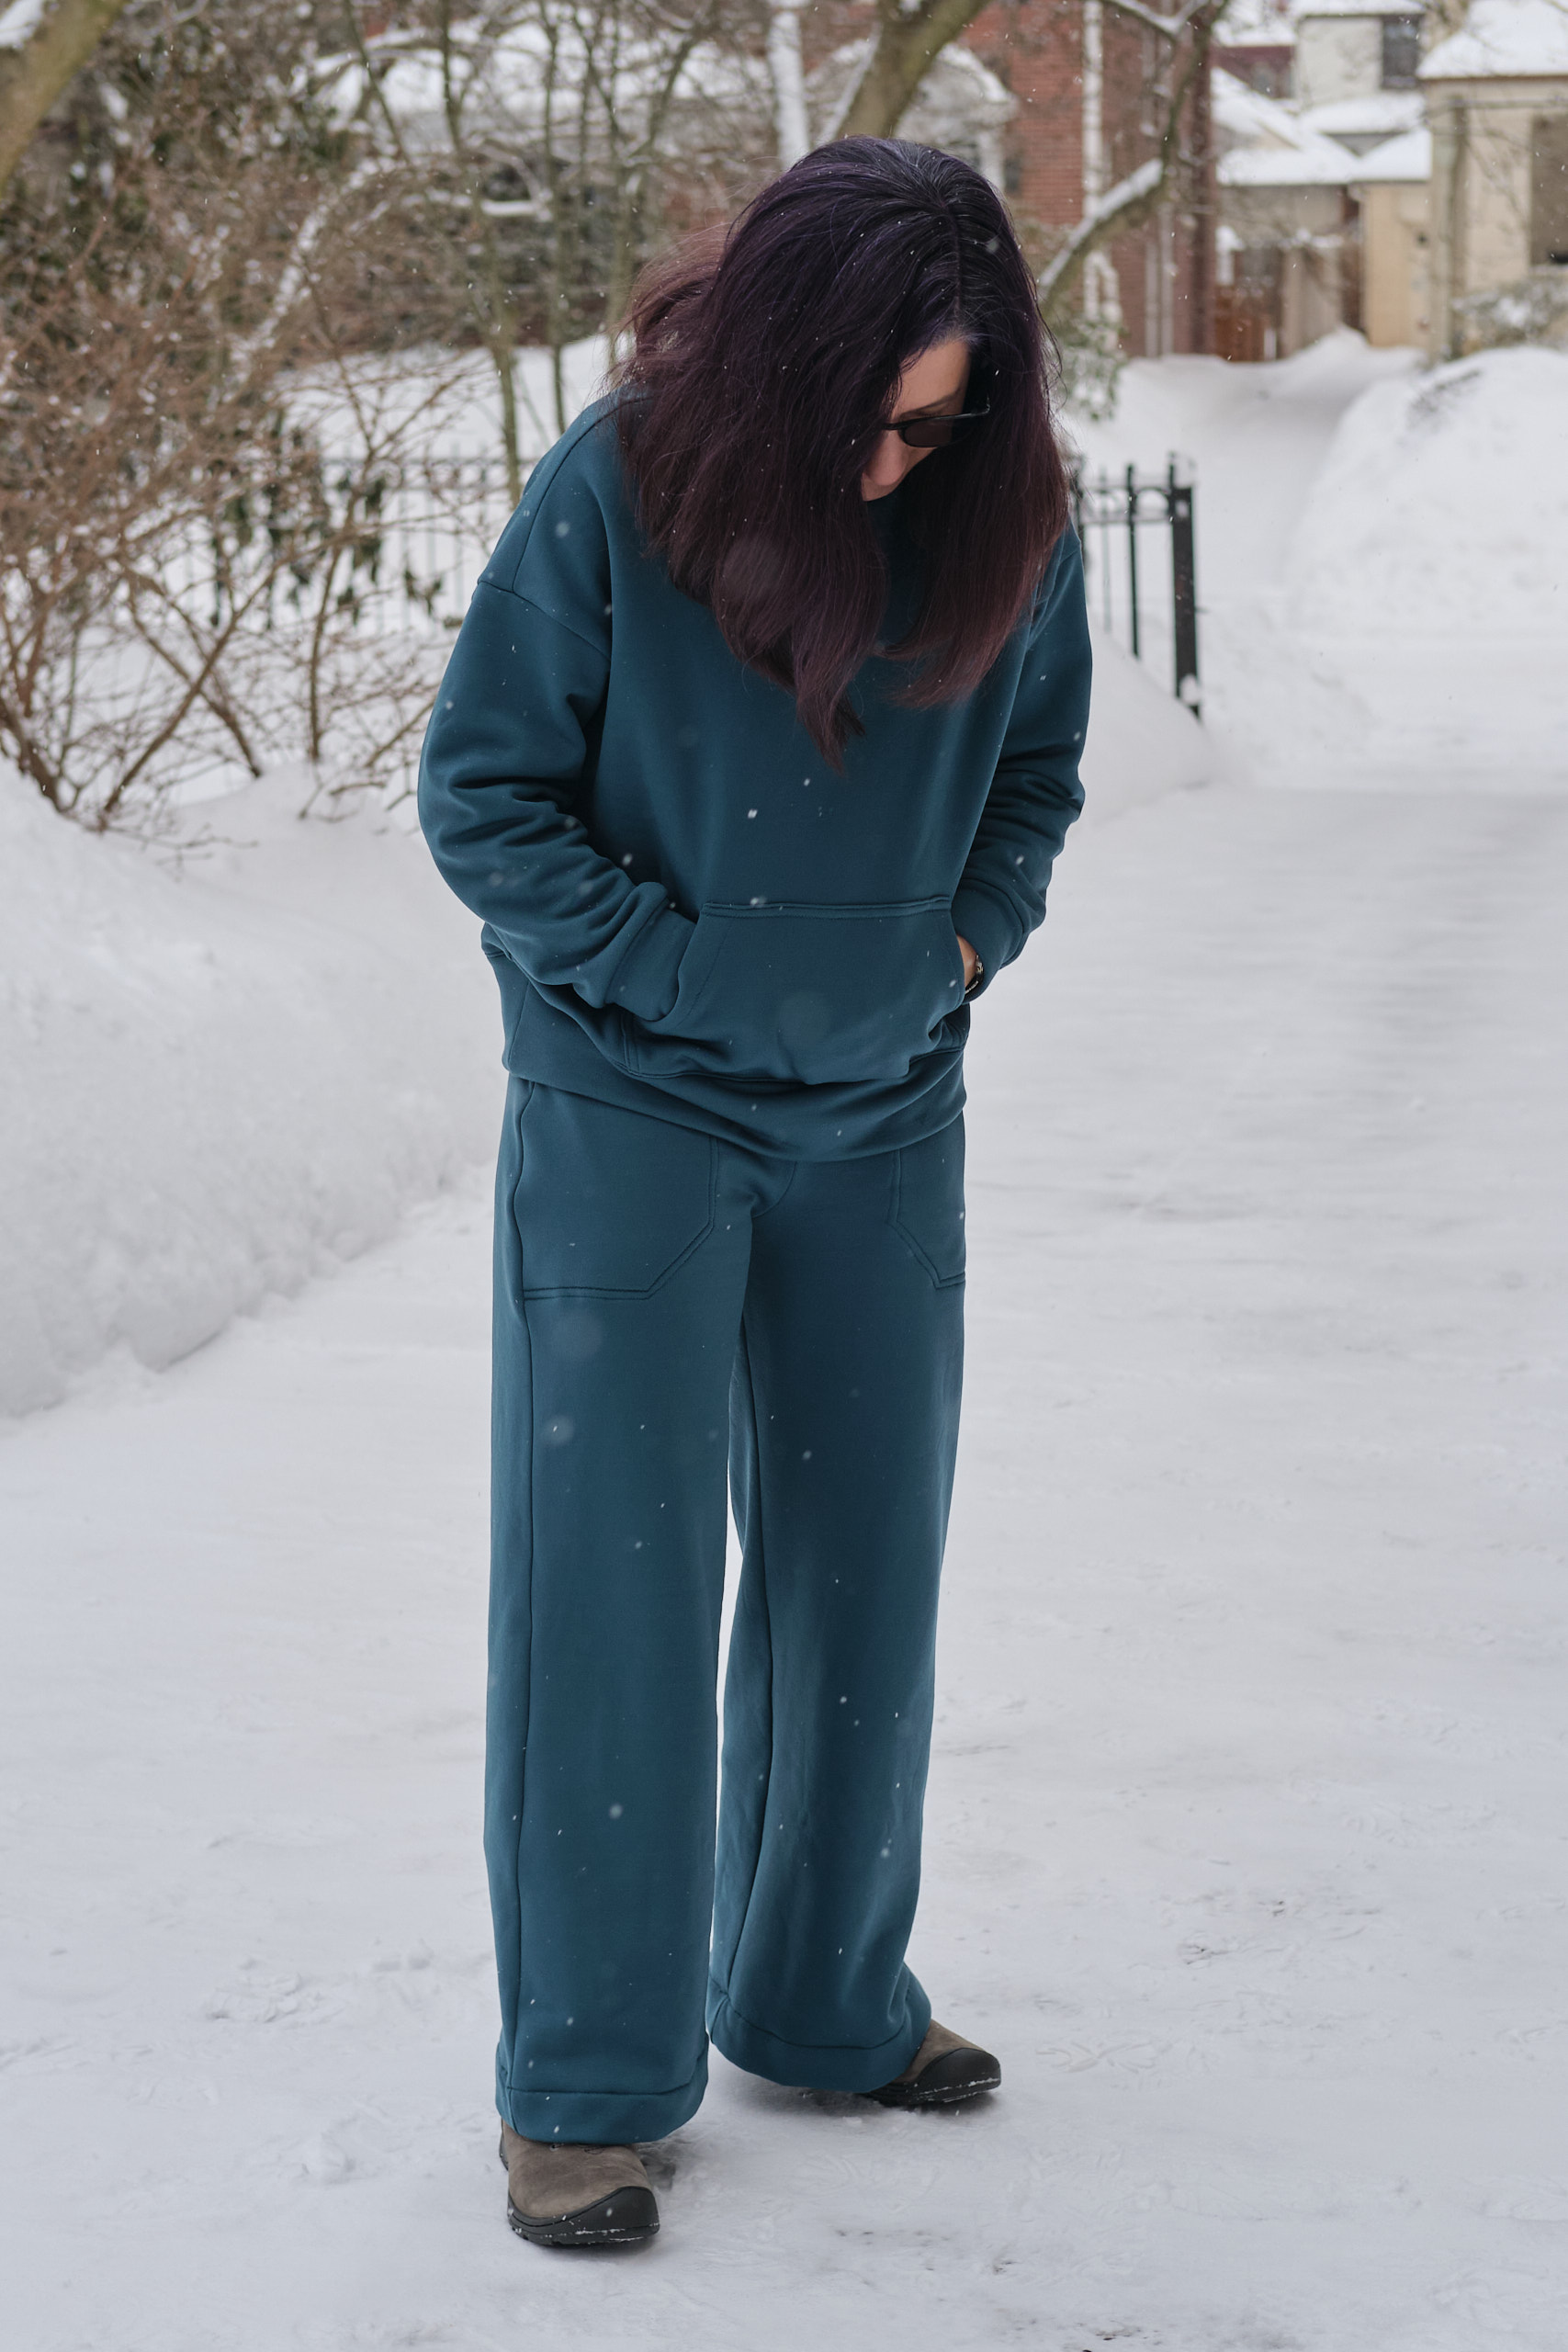
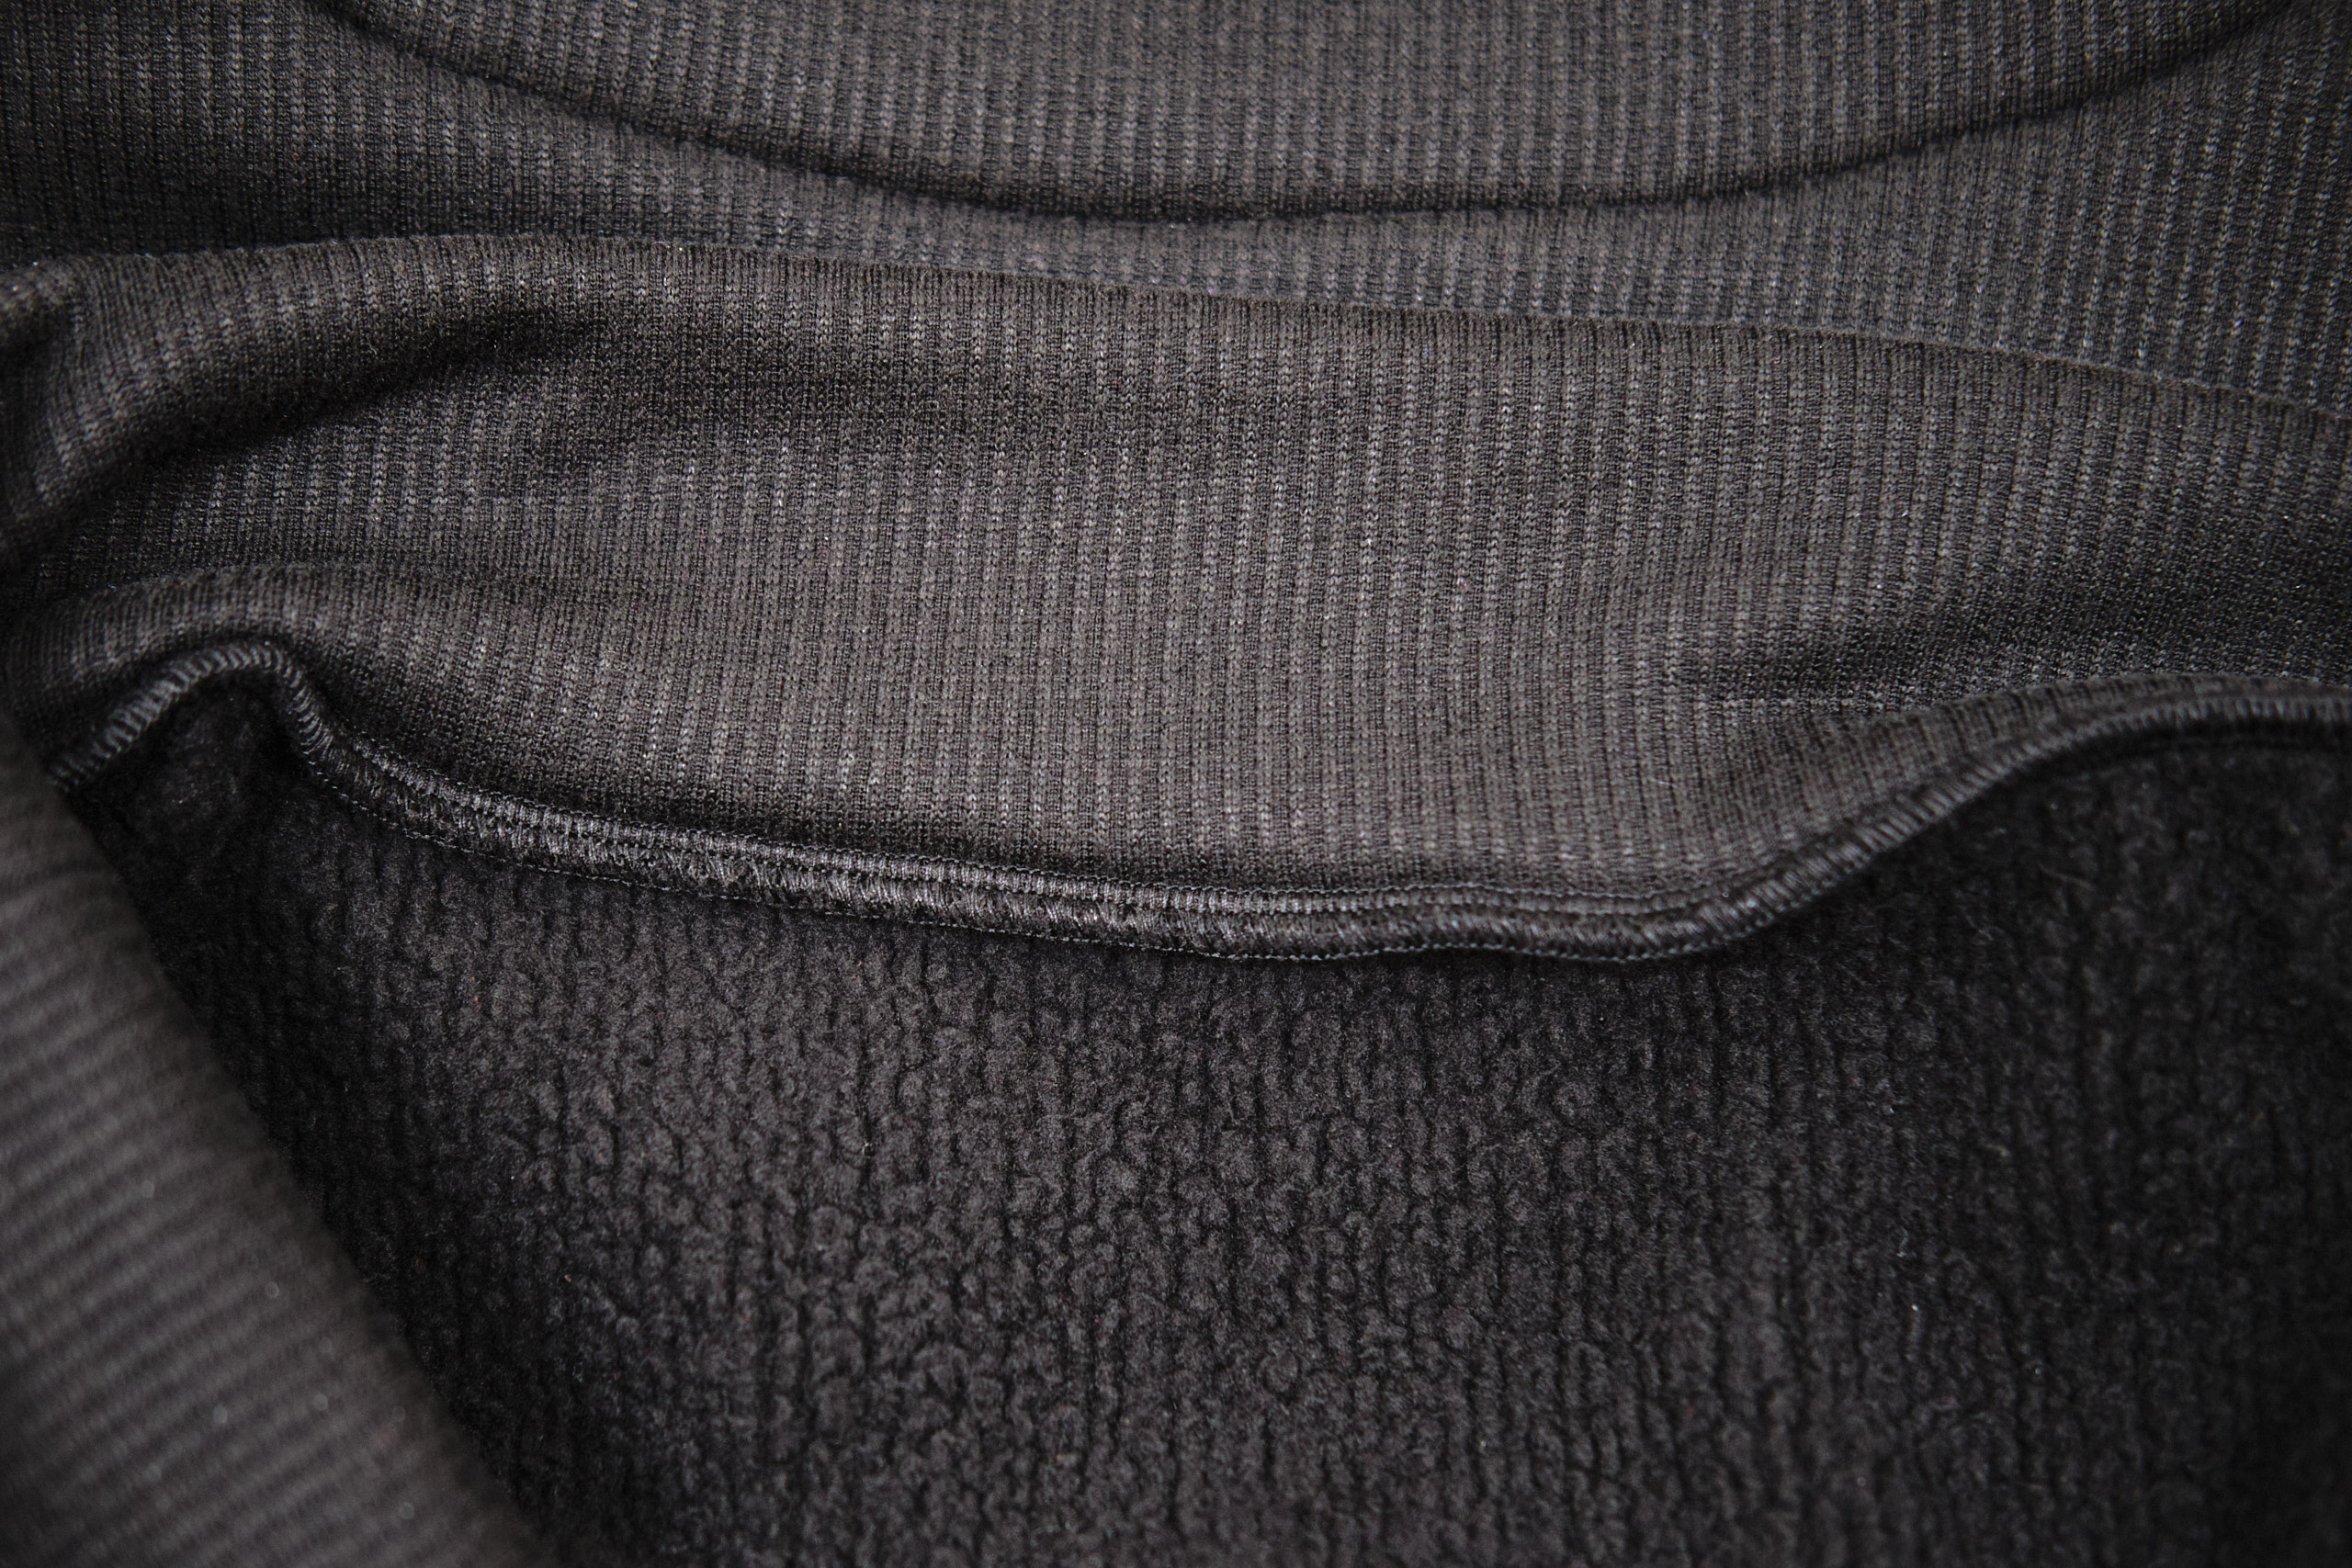
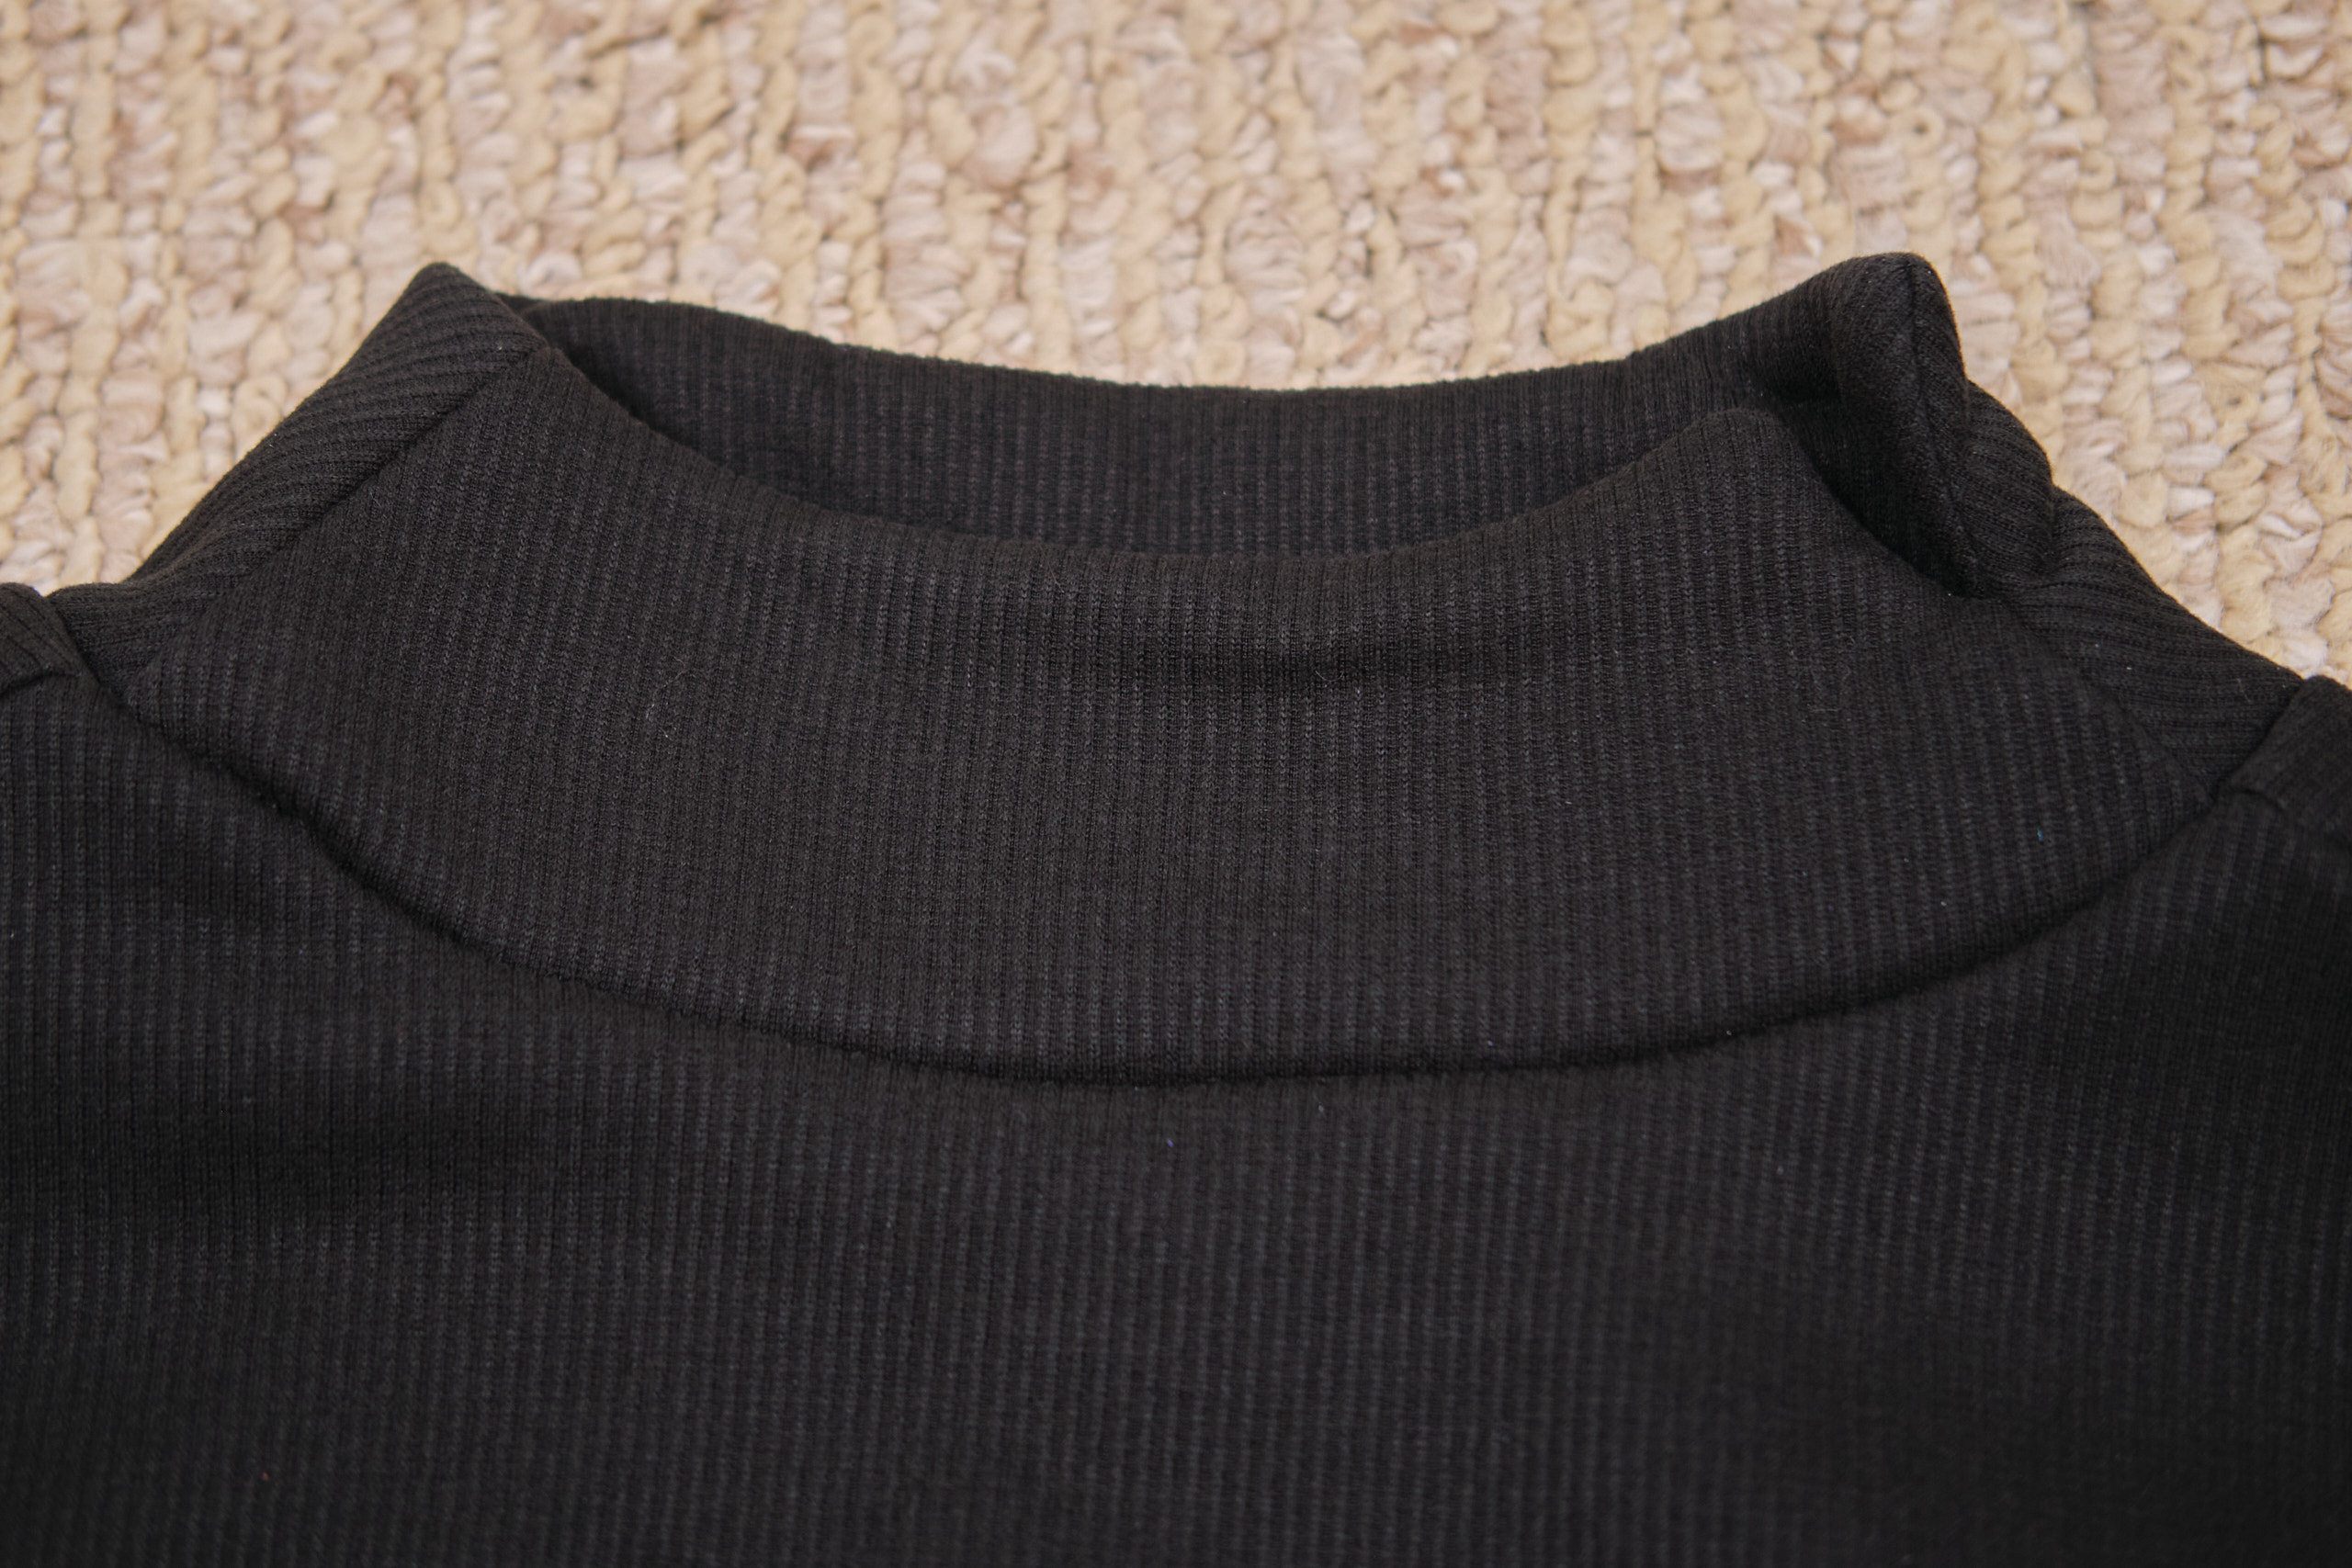
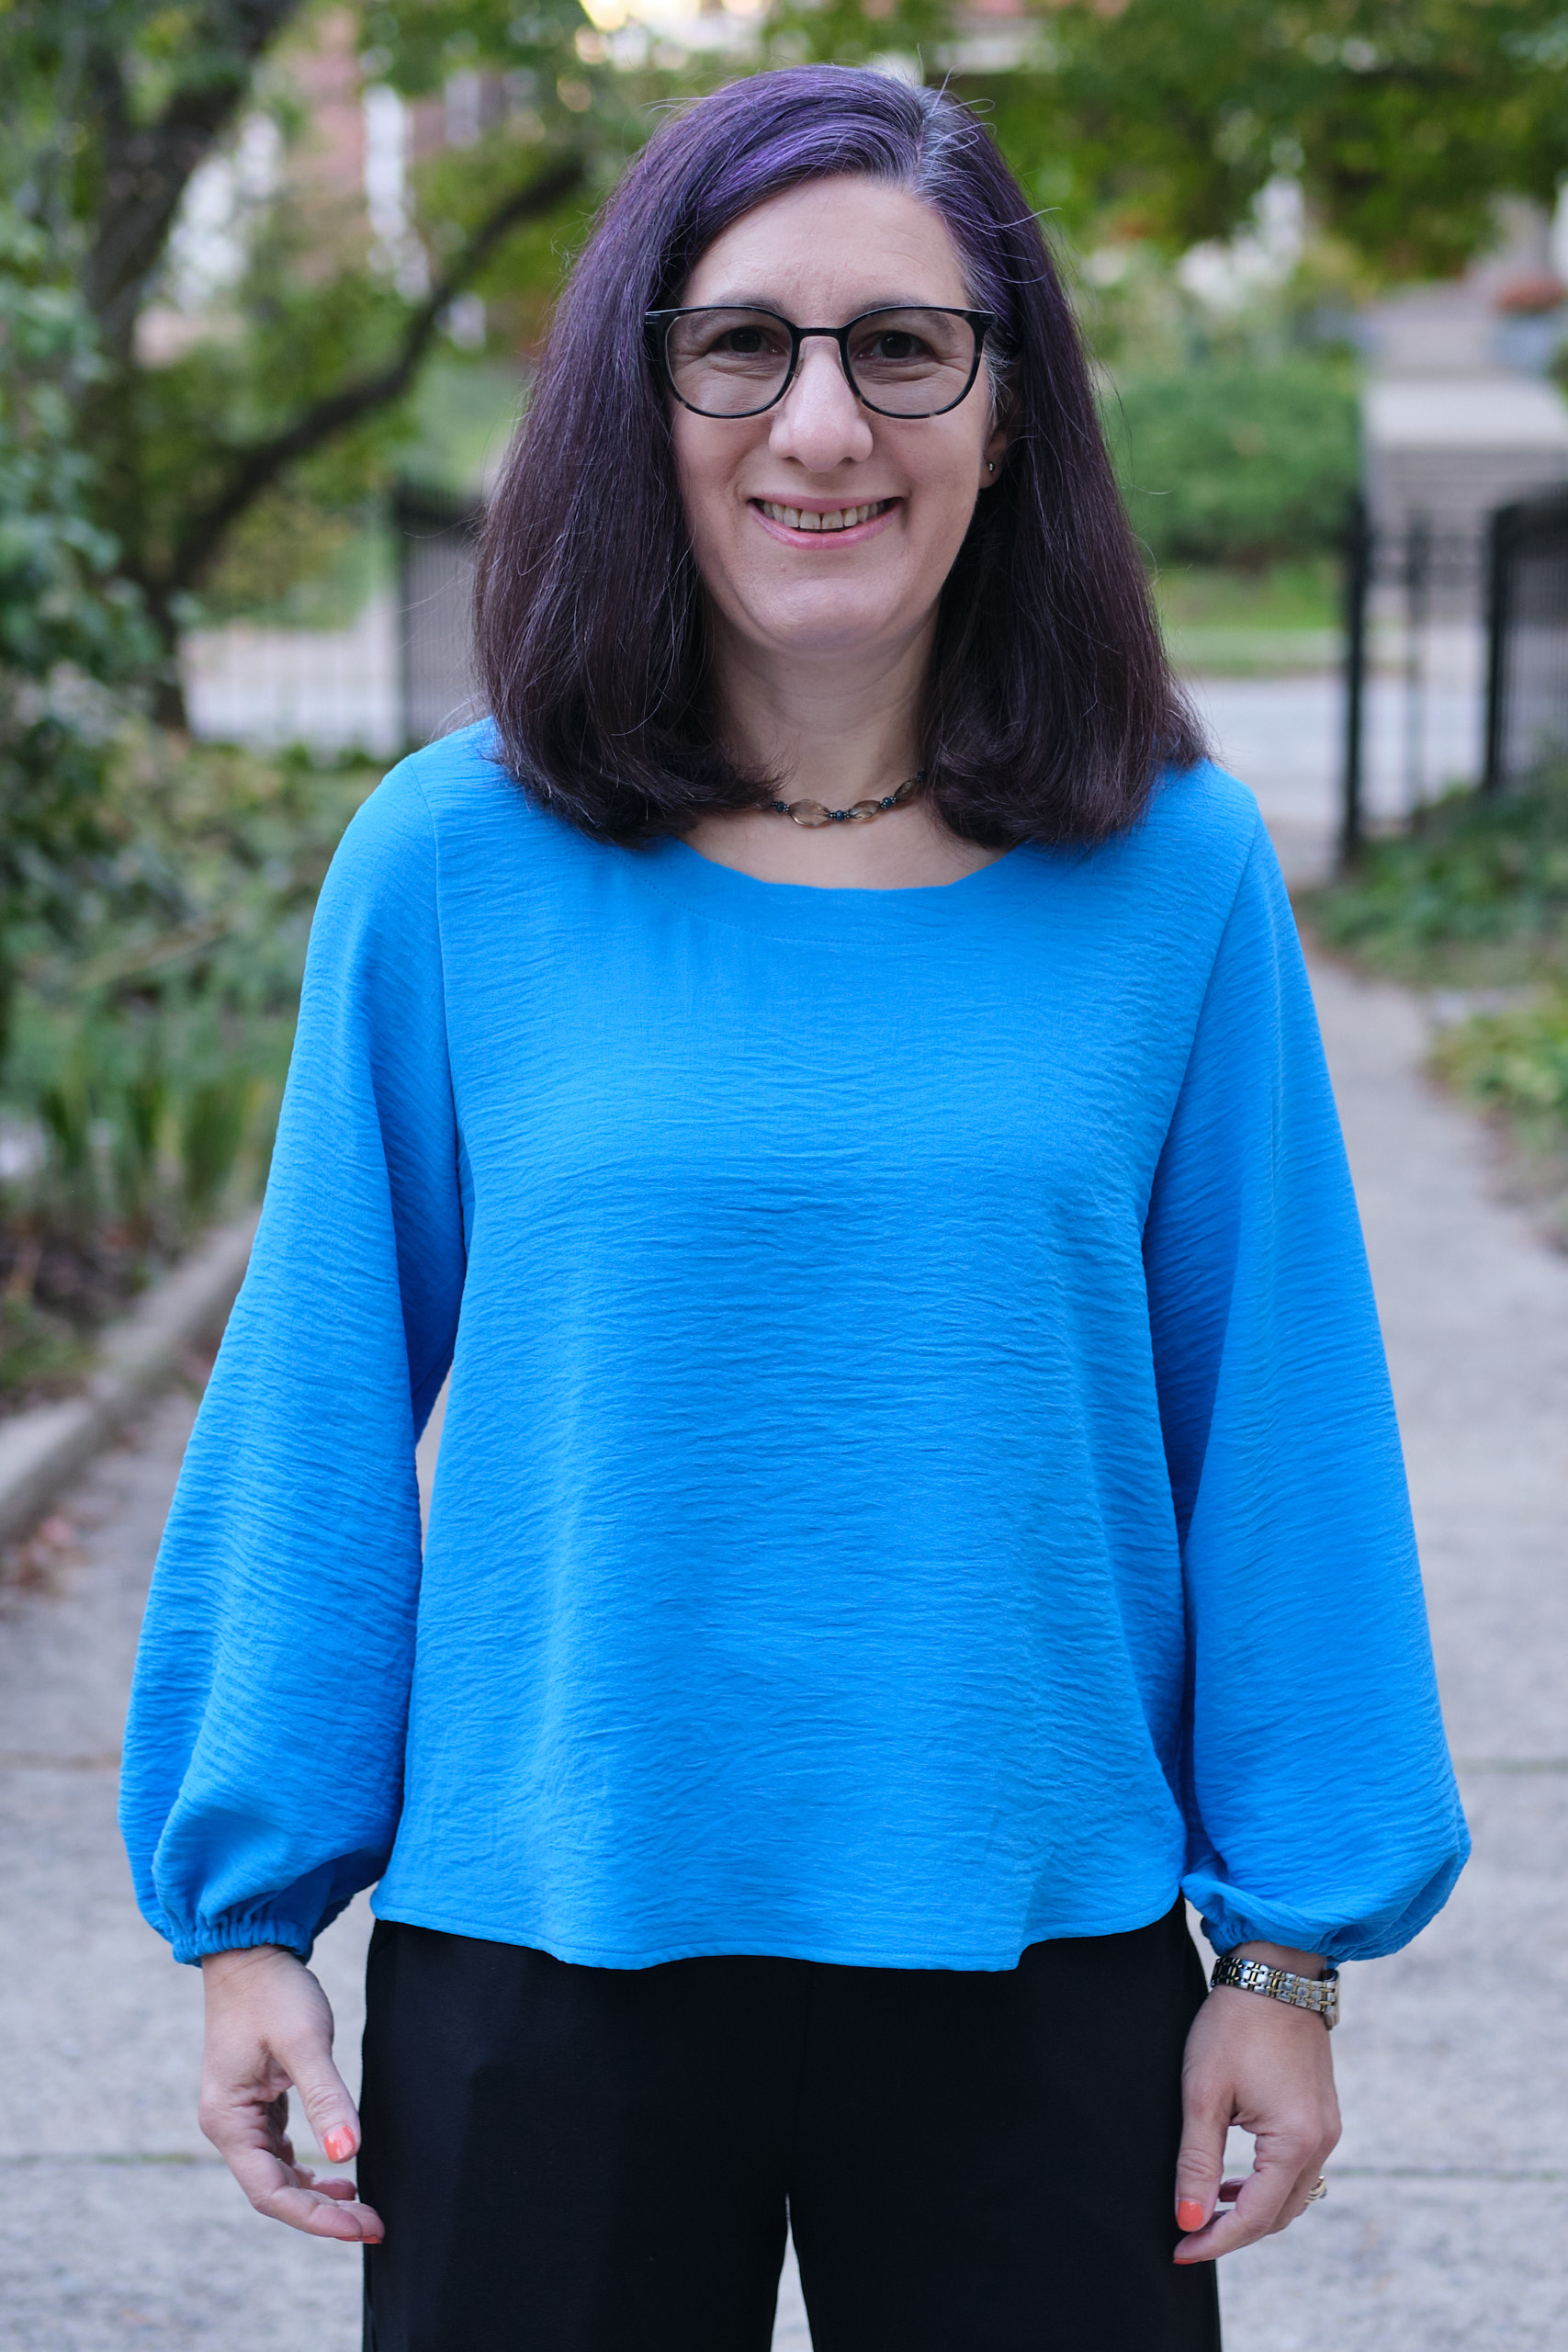
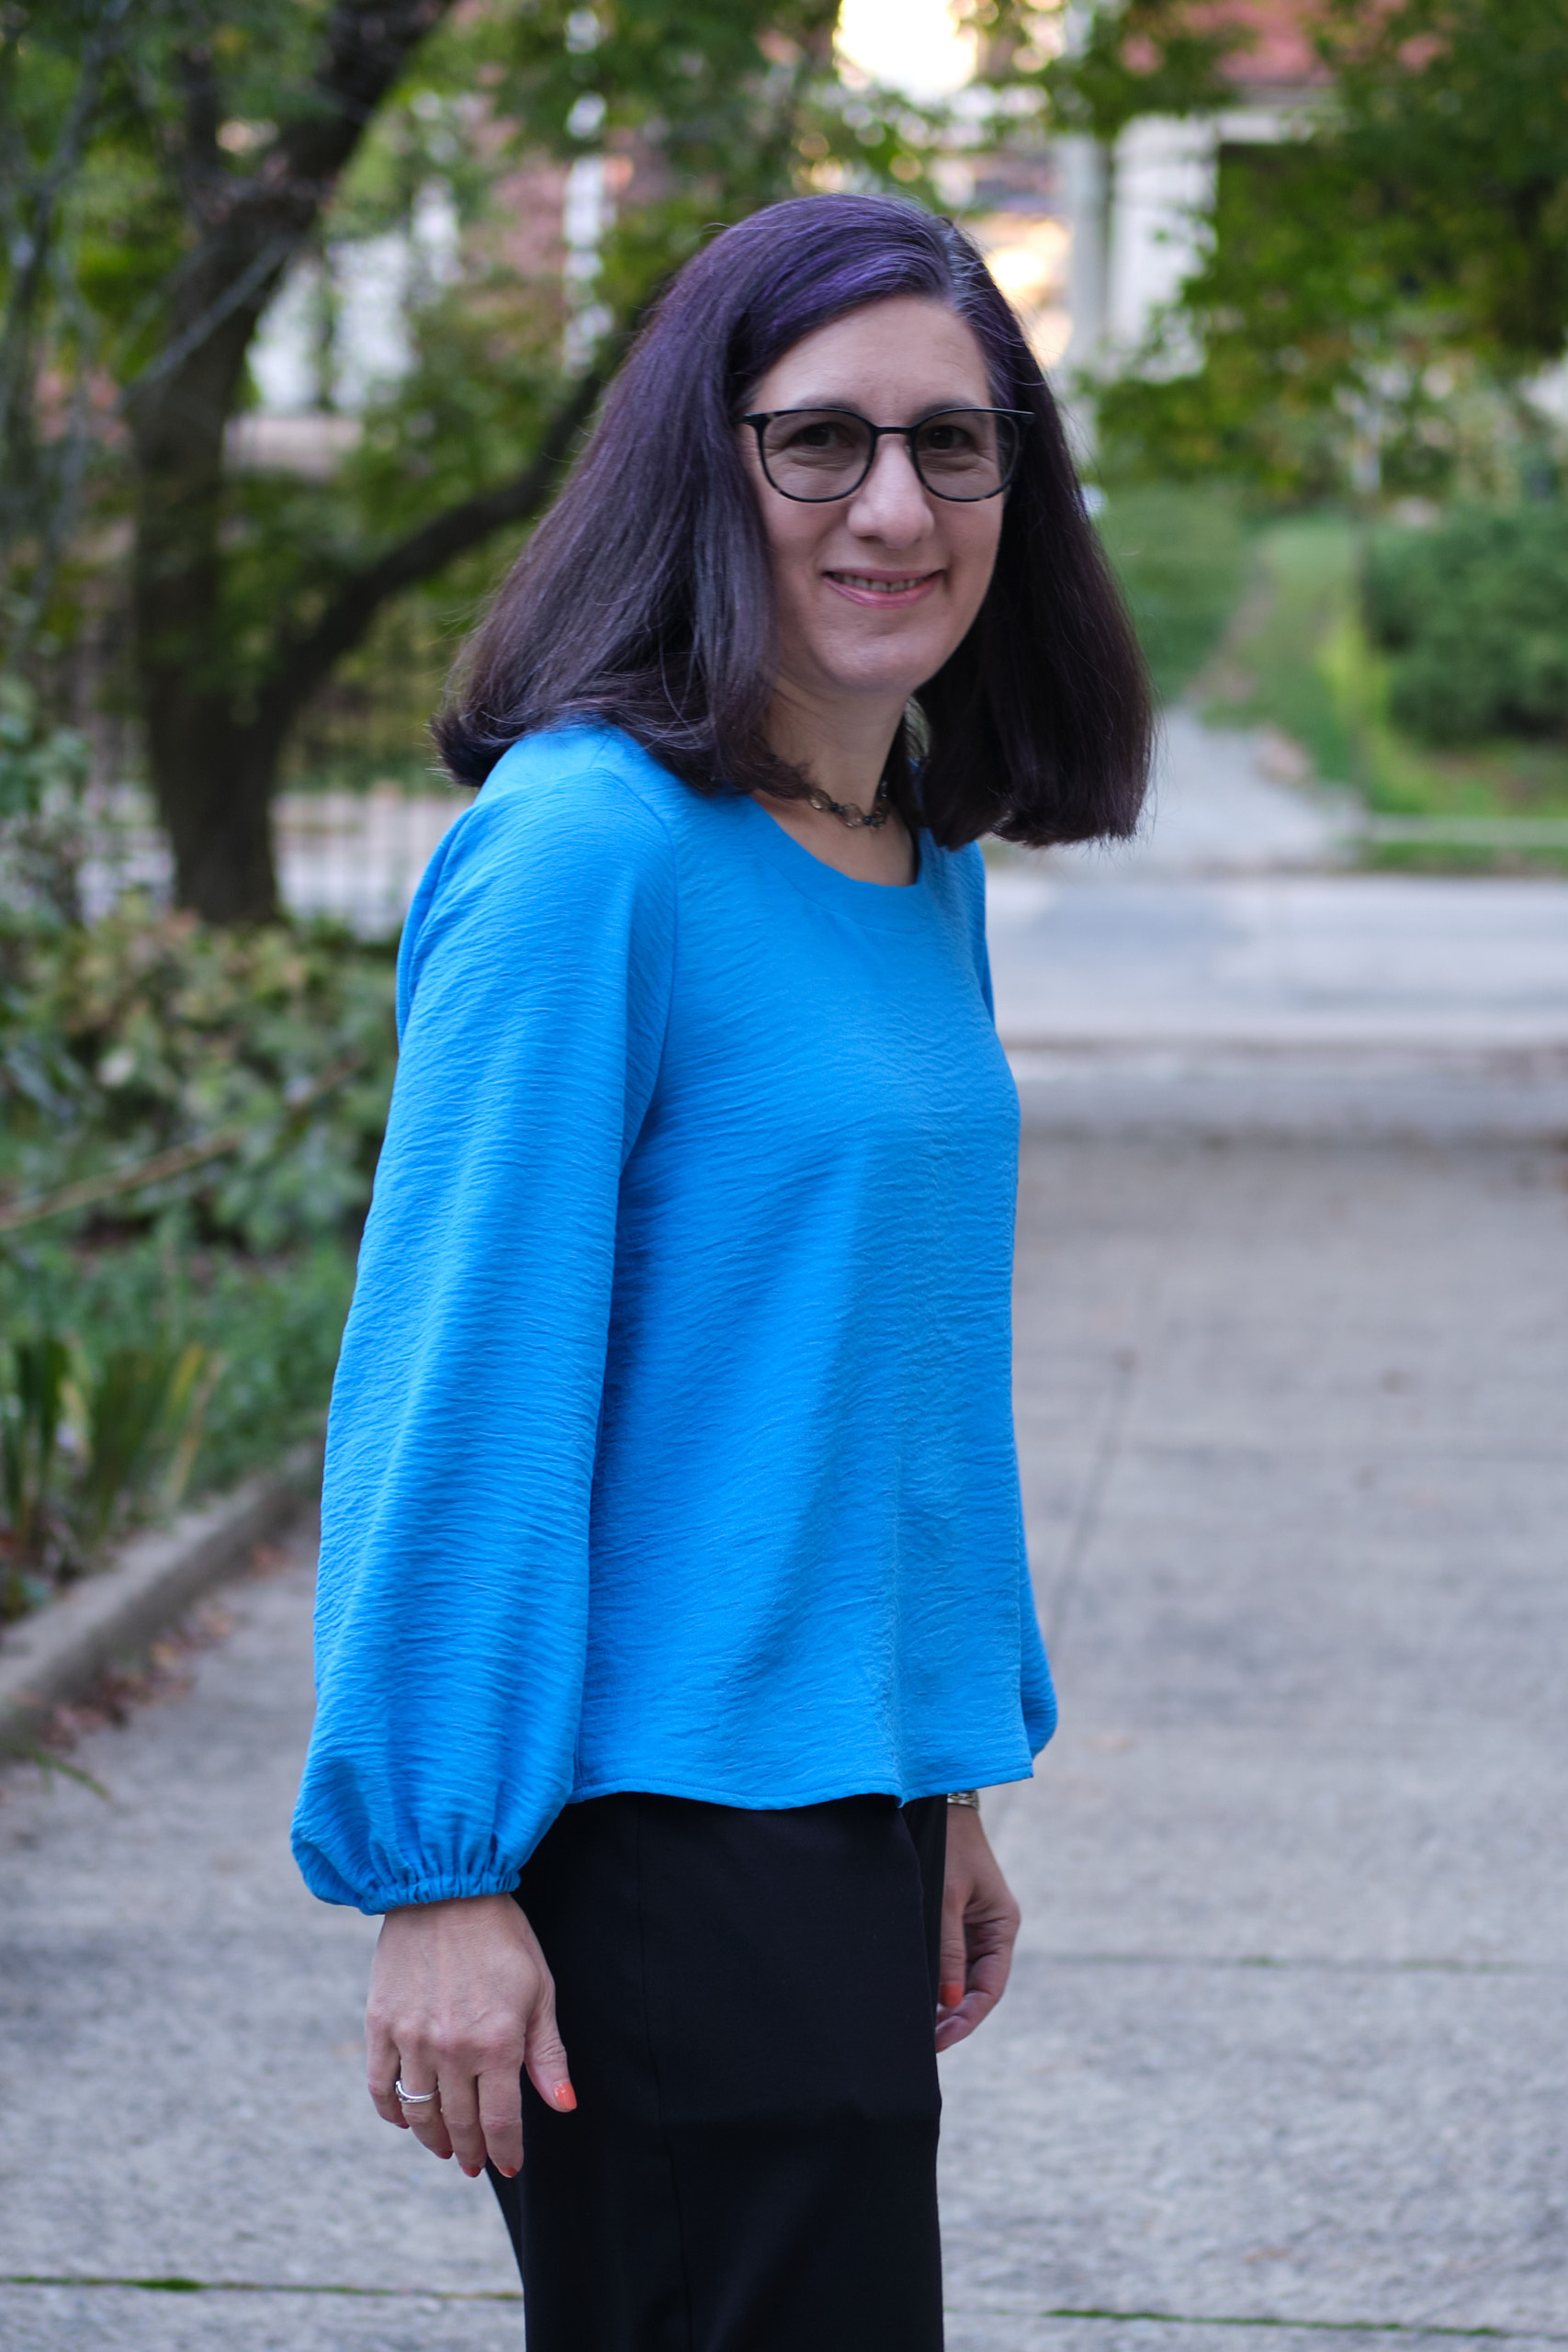
I used less than a yard of 58″-wide 175gsm 100% polyester airflow fabric. The airflow has no spandex and thus officially no stretch, but it does have a bit of give due to the crinkle texture. Airflow is very inexpensive (especially when Mily Mae Fabrics puts it on sale), requires no ironing, and is less slippery to sew than a lot of other polyester wovens. However, it doesn’t hold a crisp crease when pressed. The color I used was called aqua, but I think it is more of a teal.
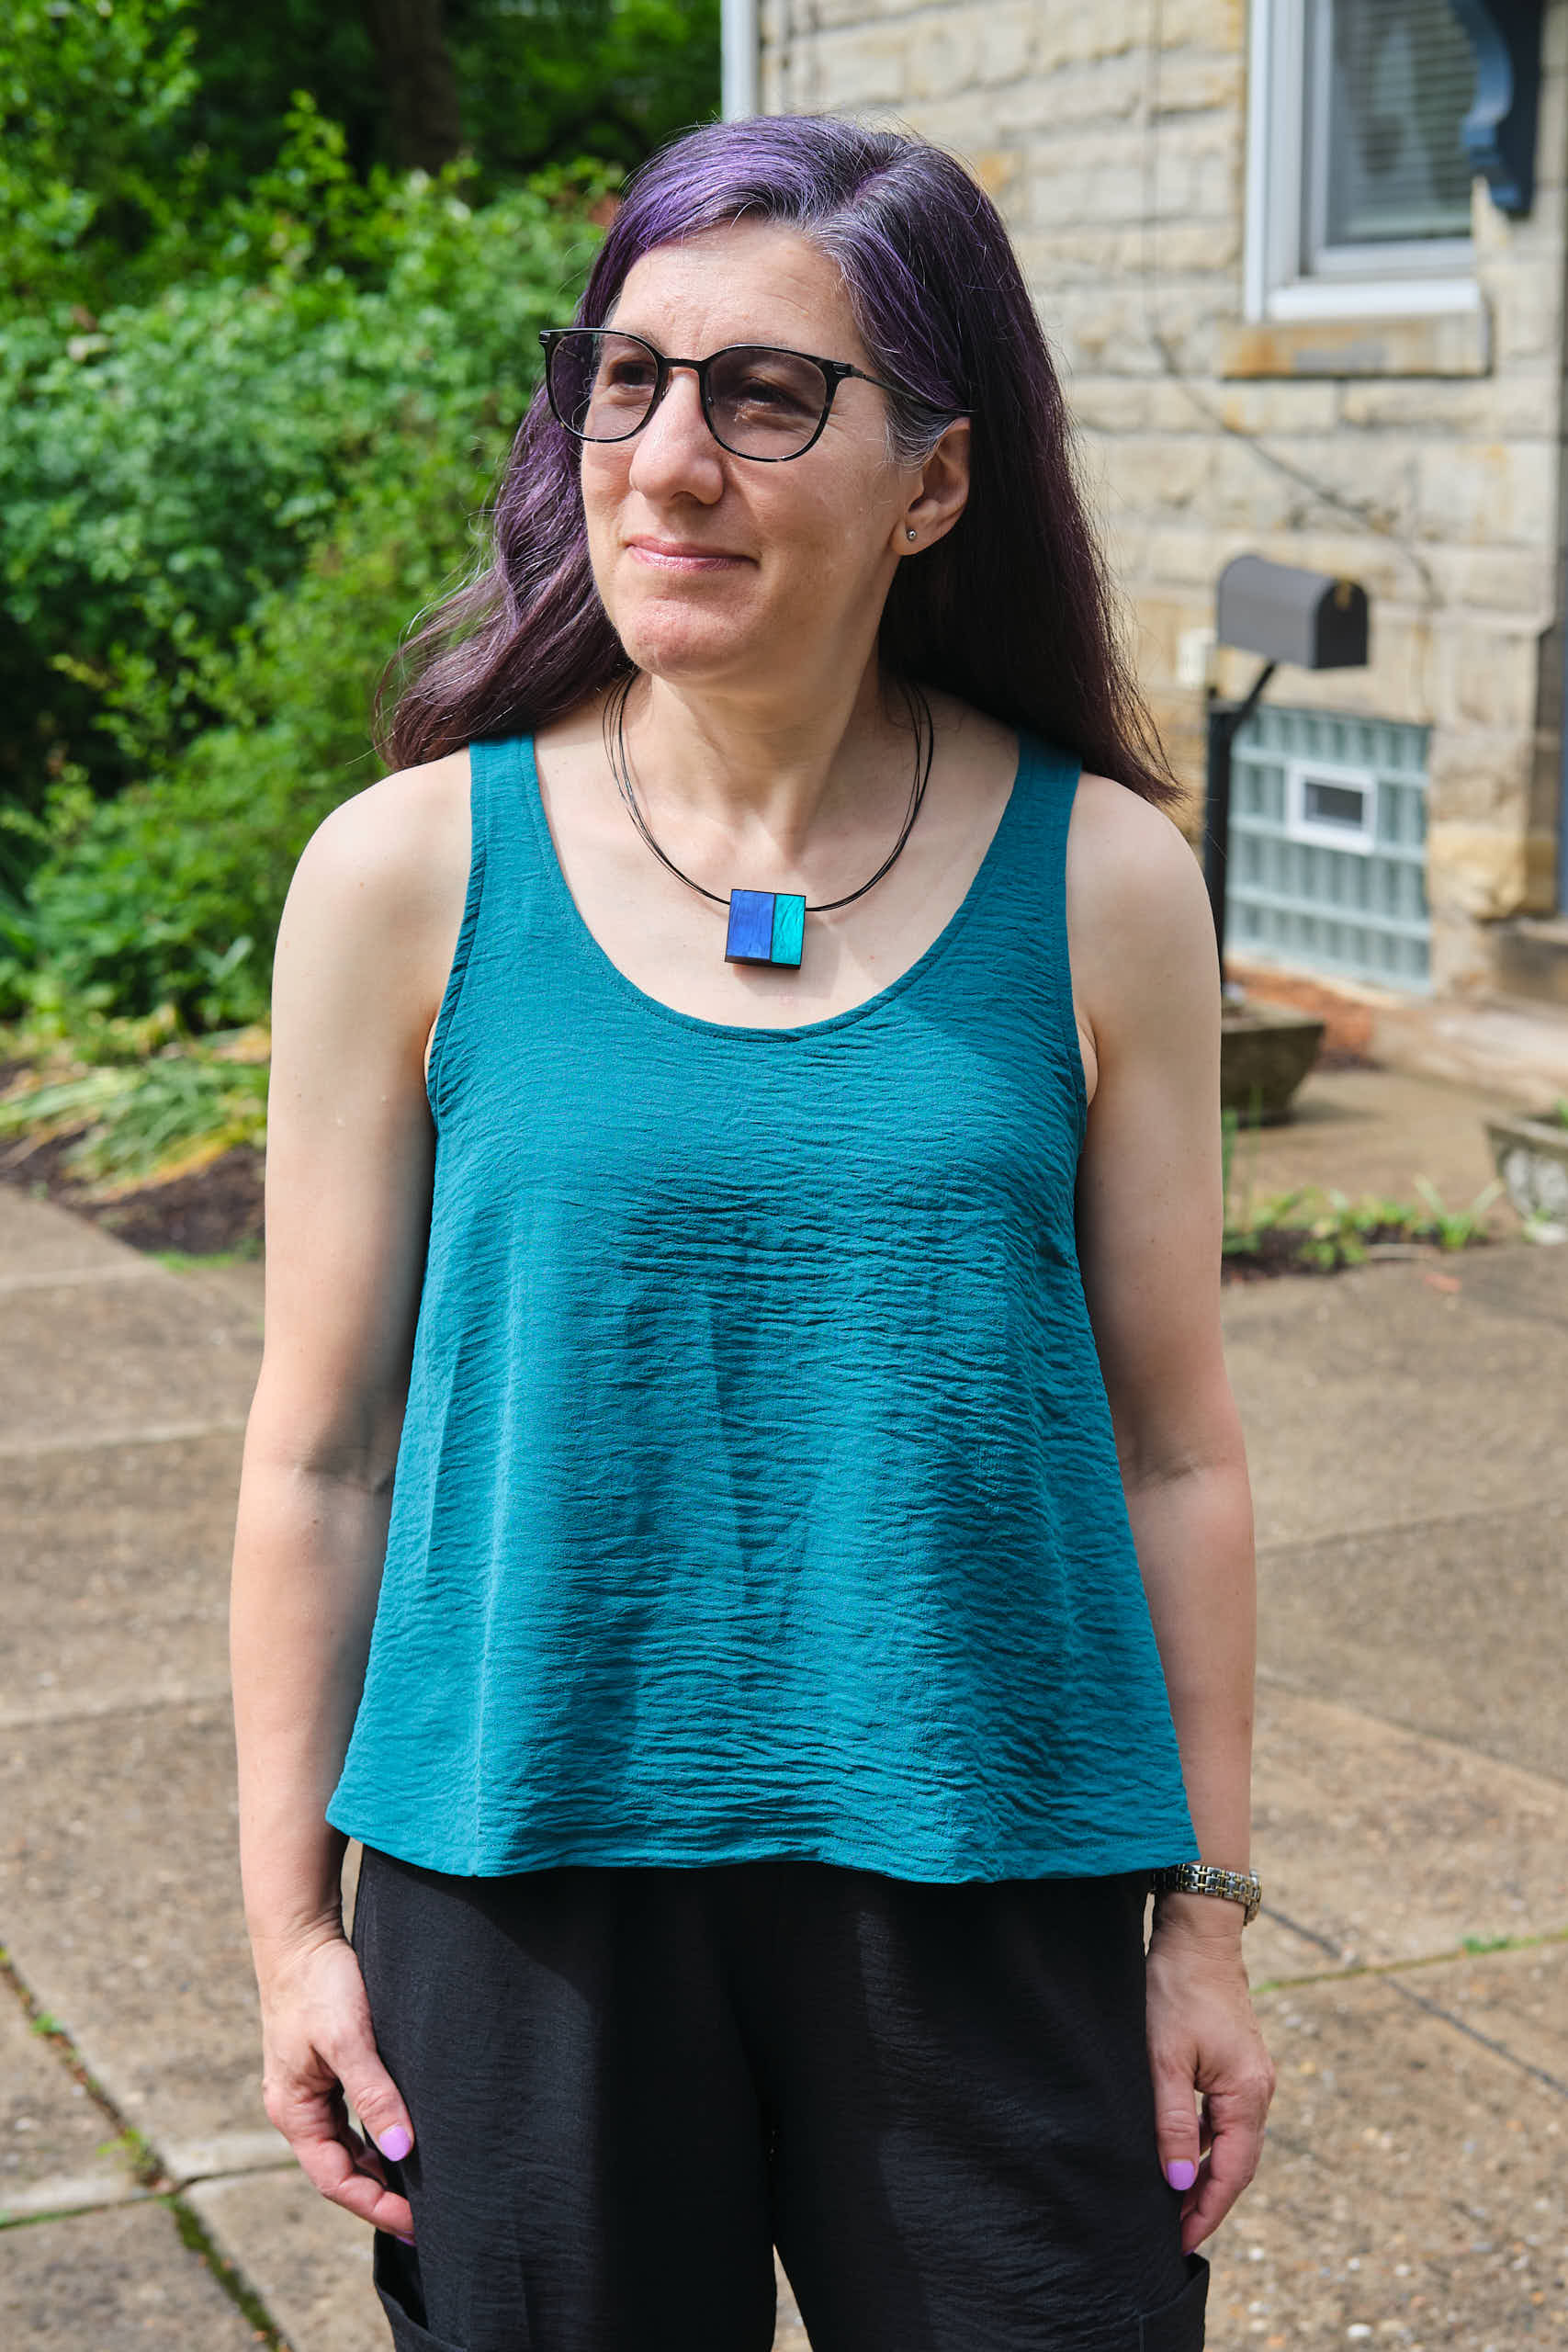
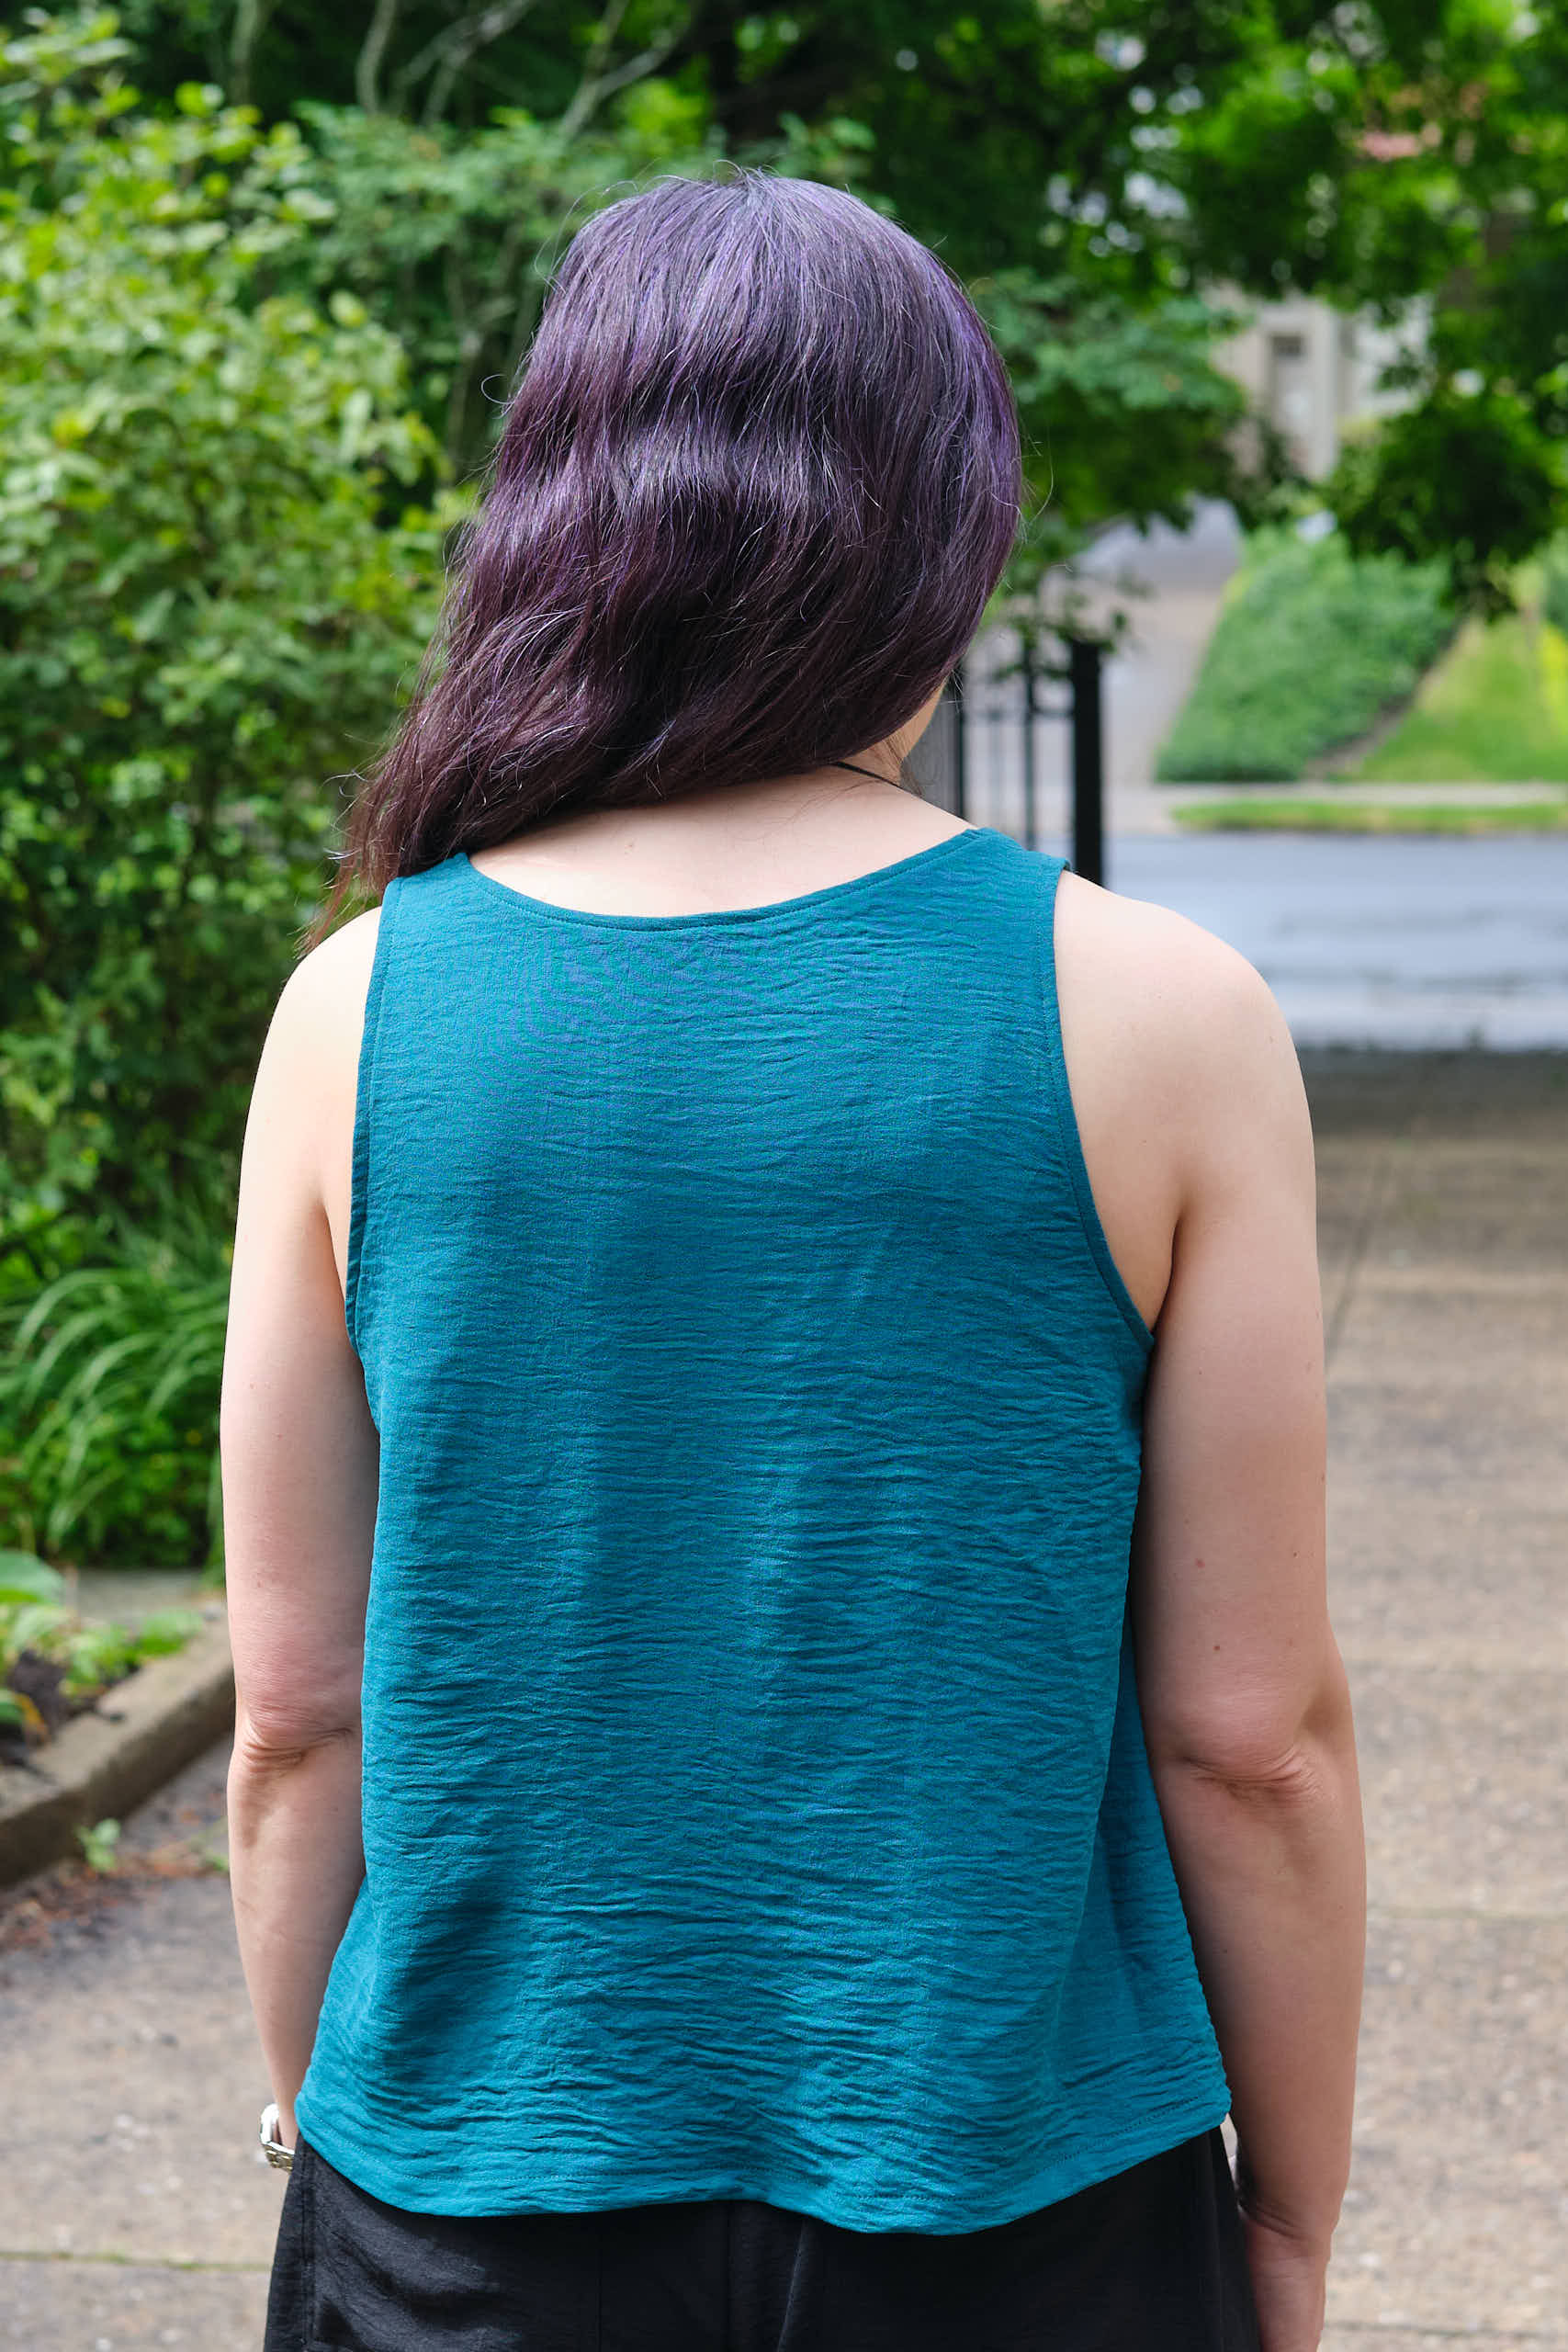
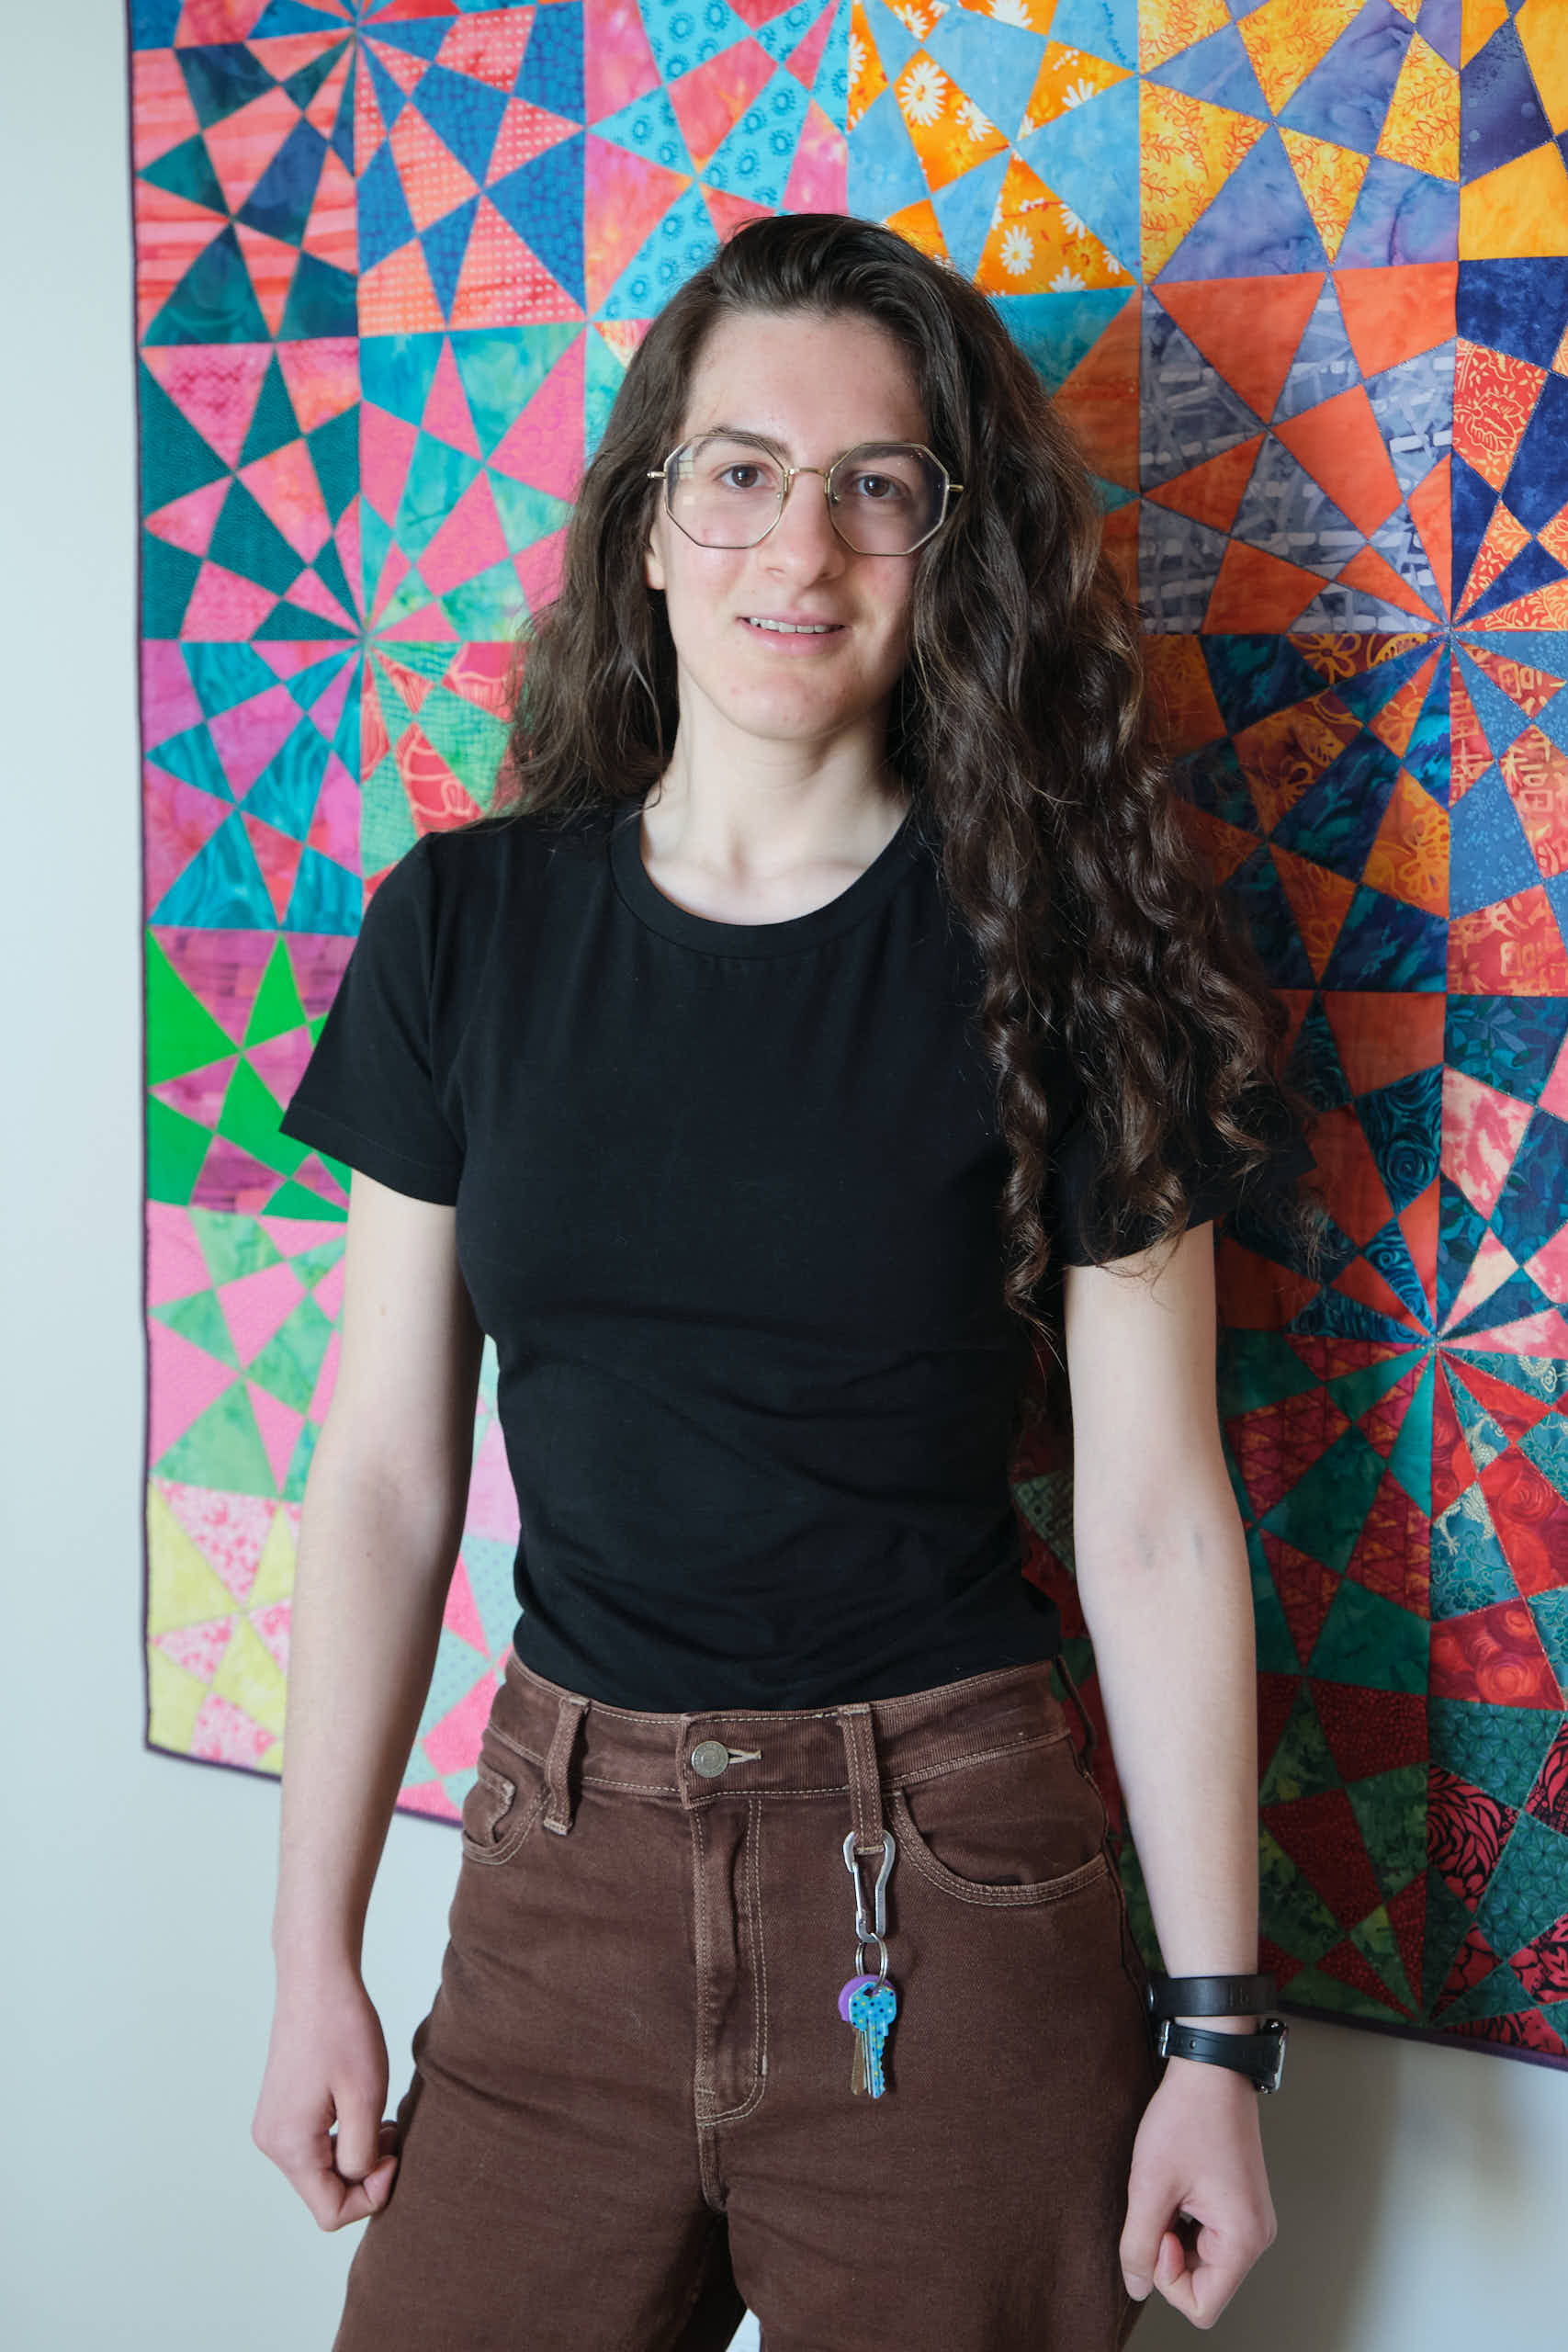
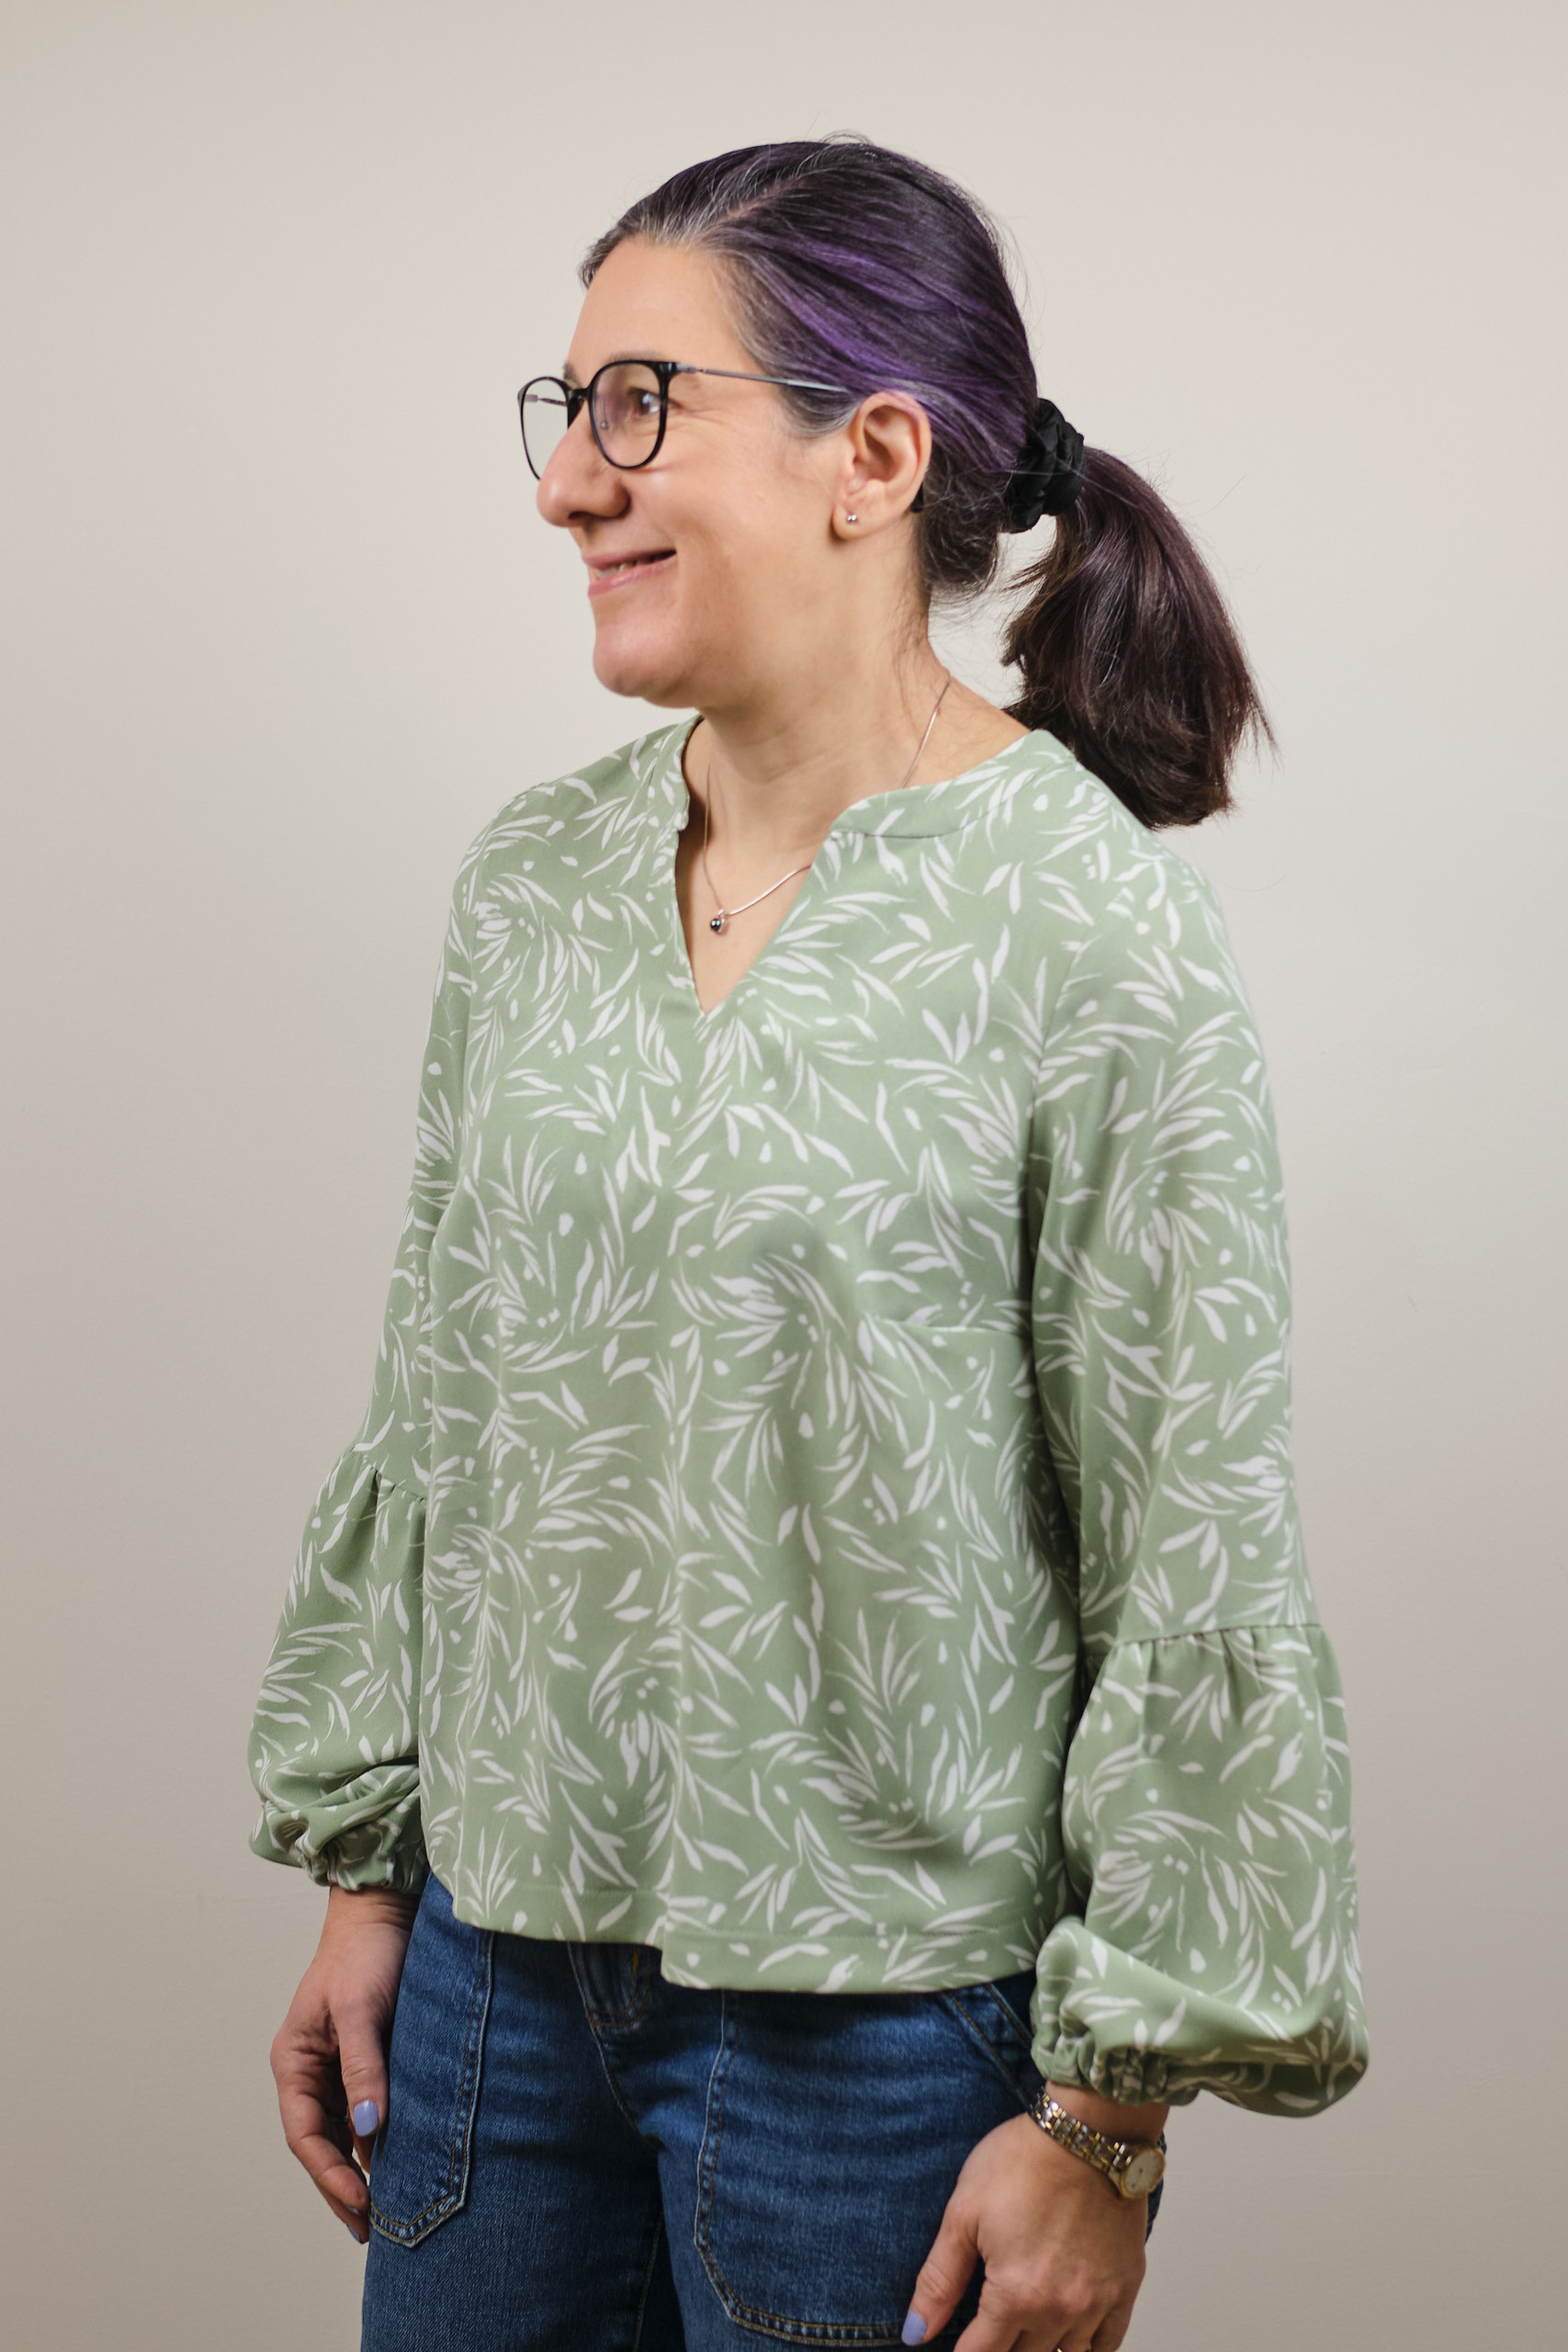
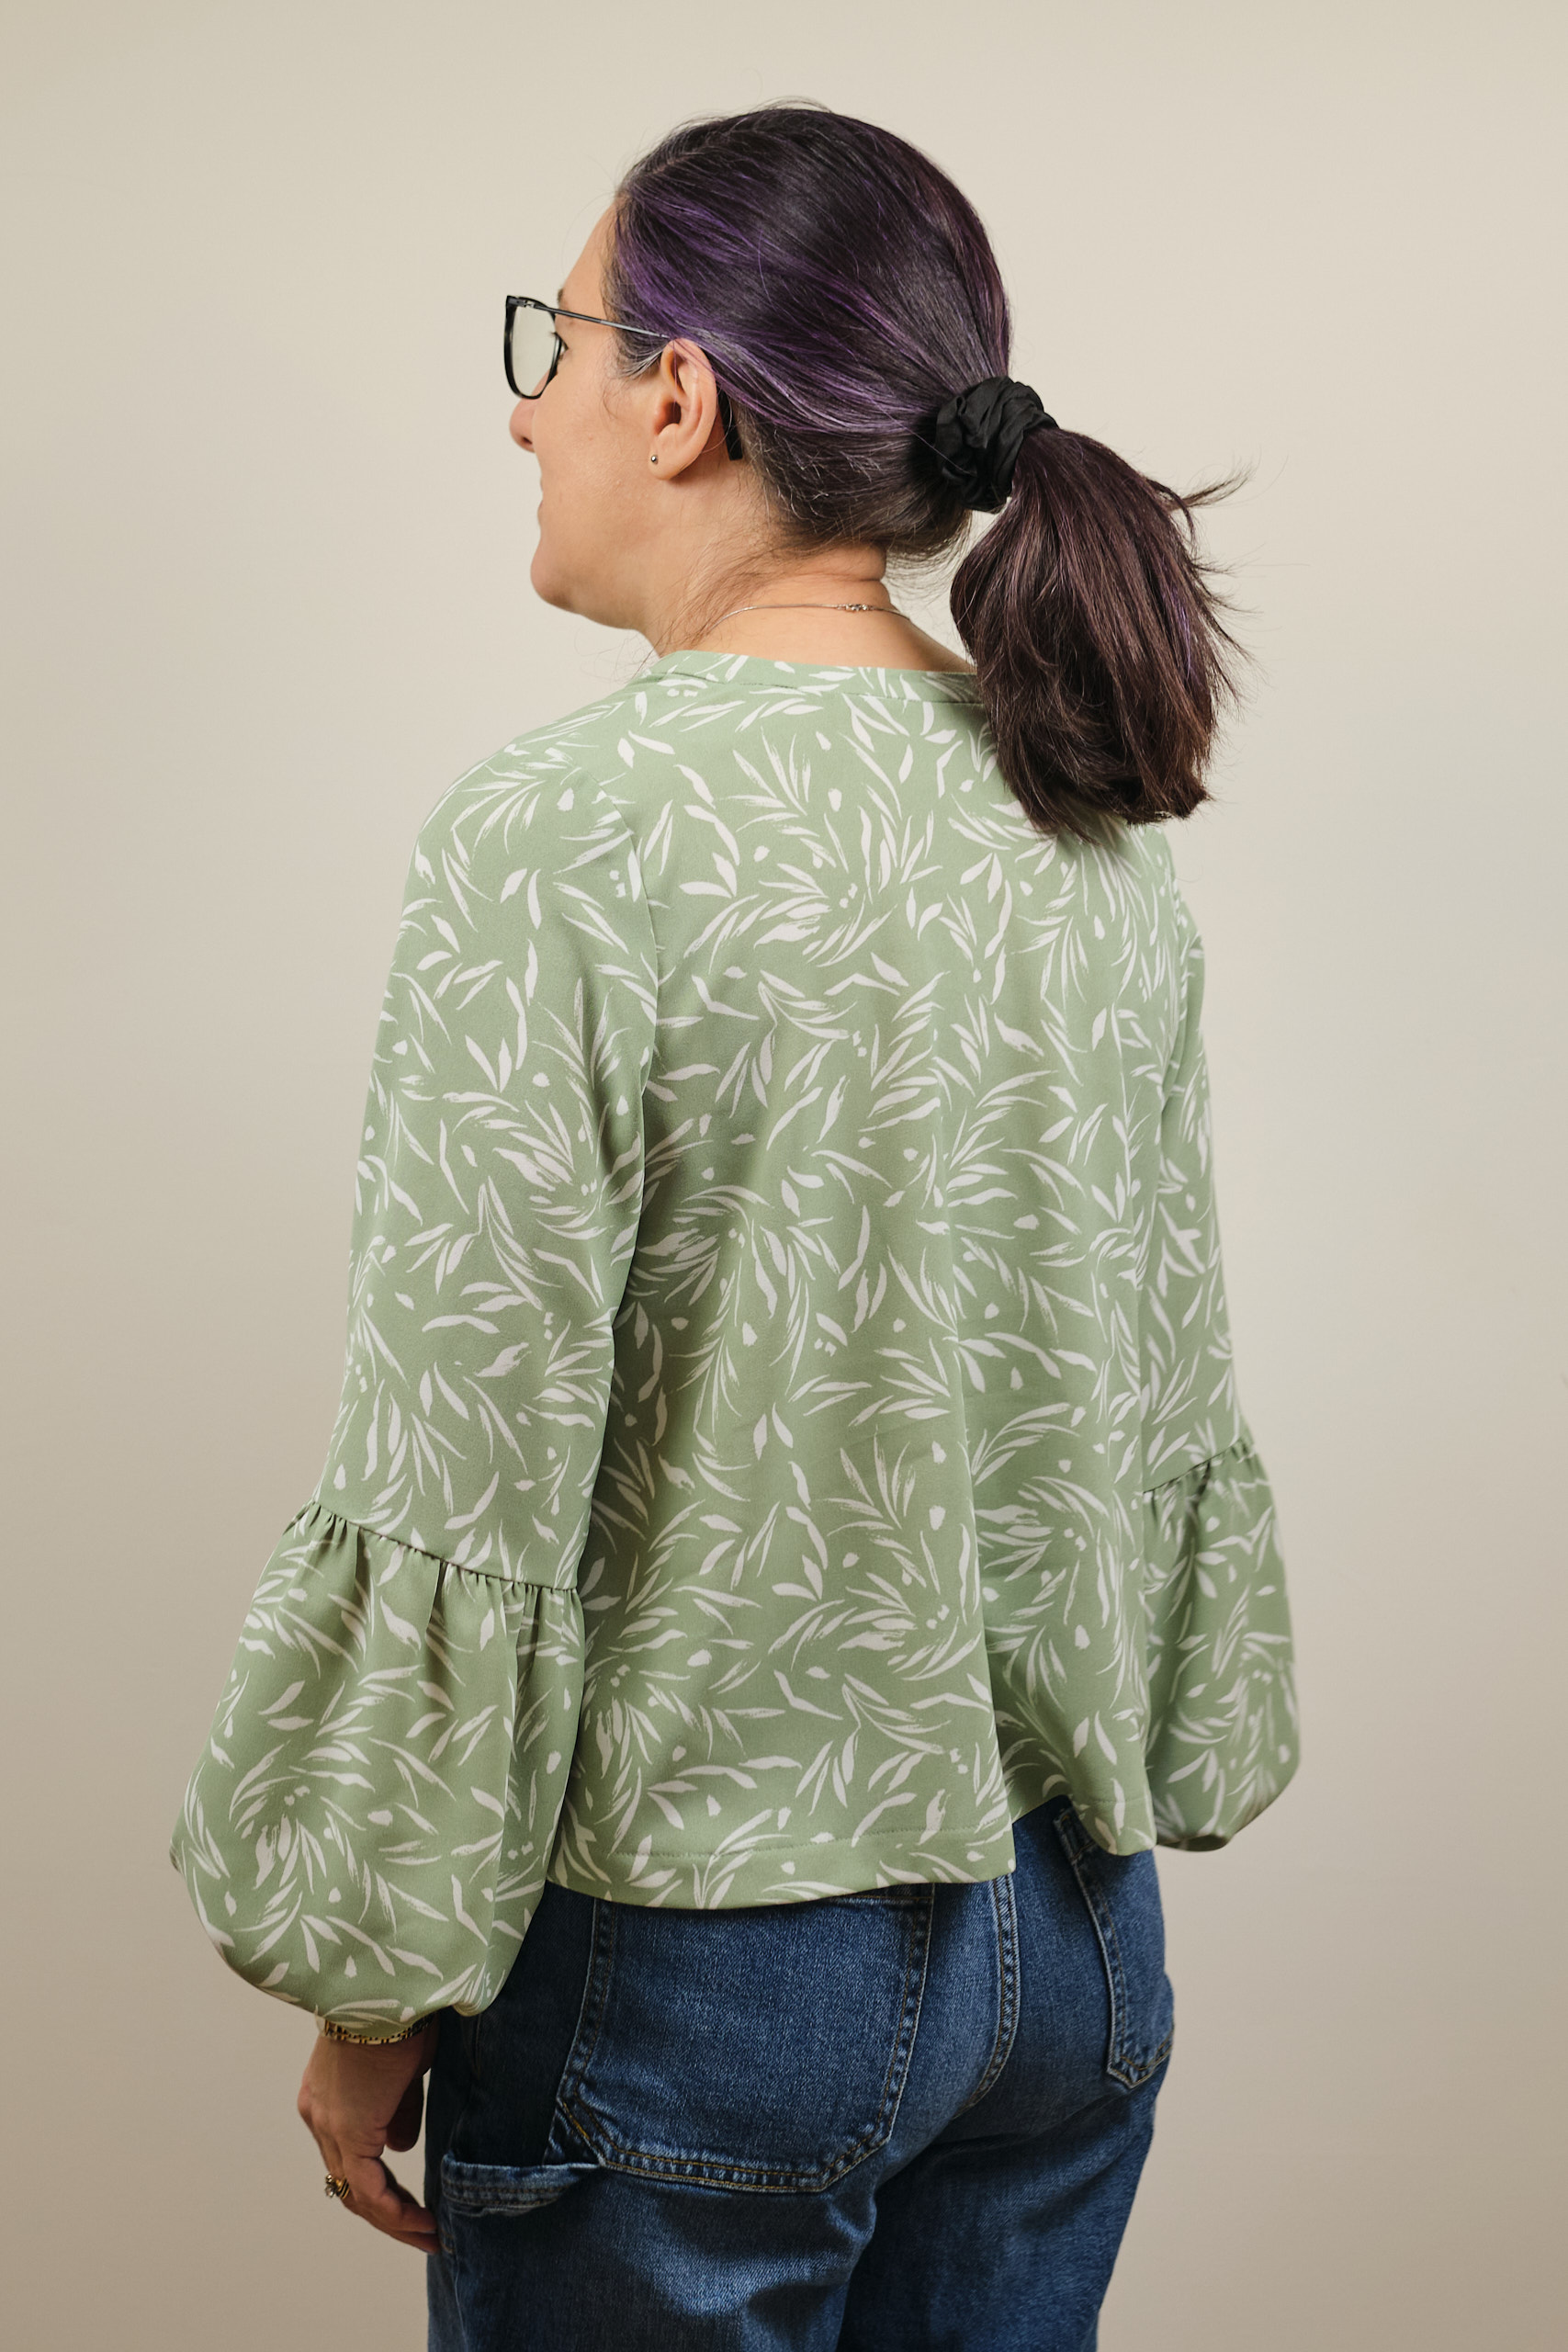
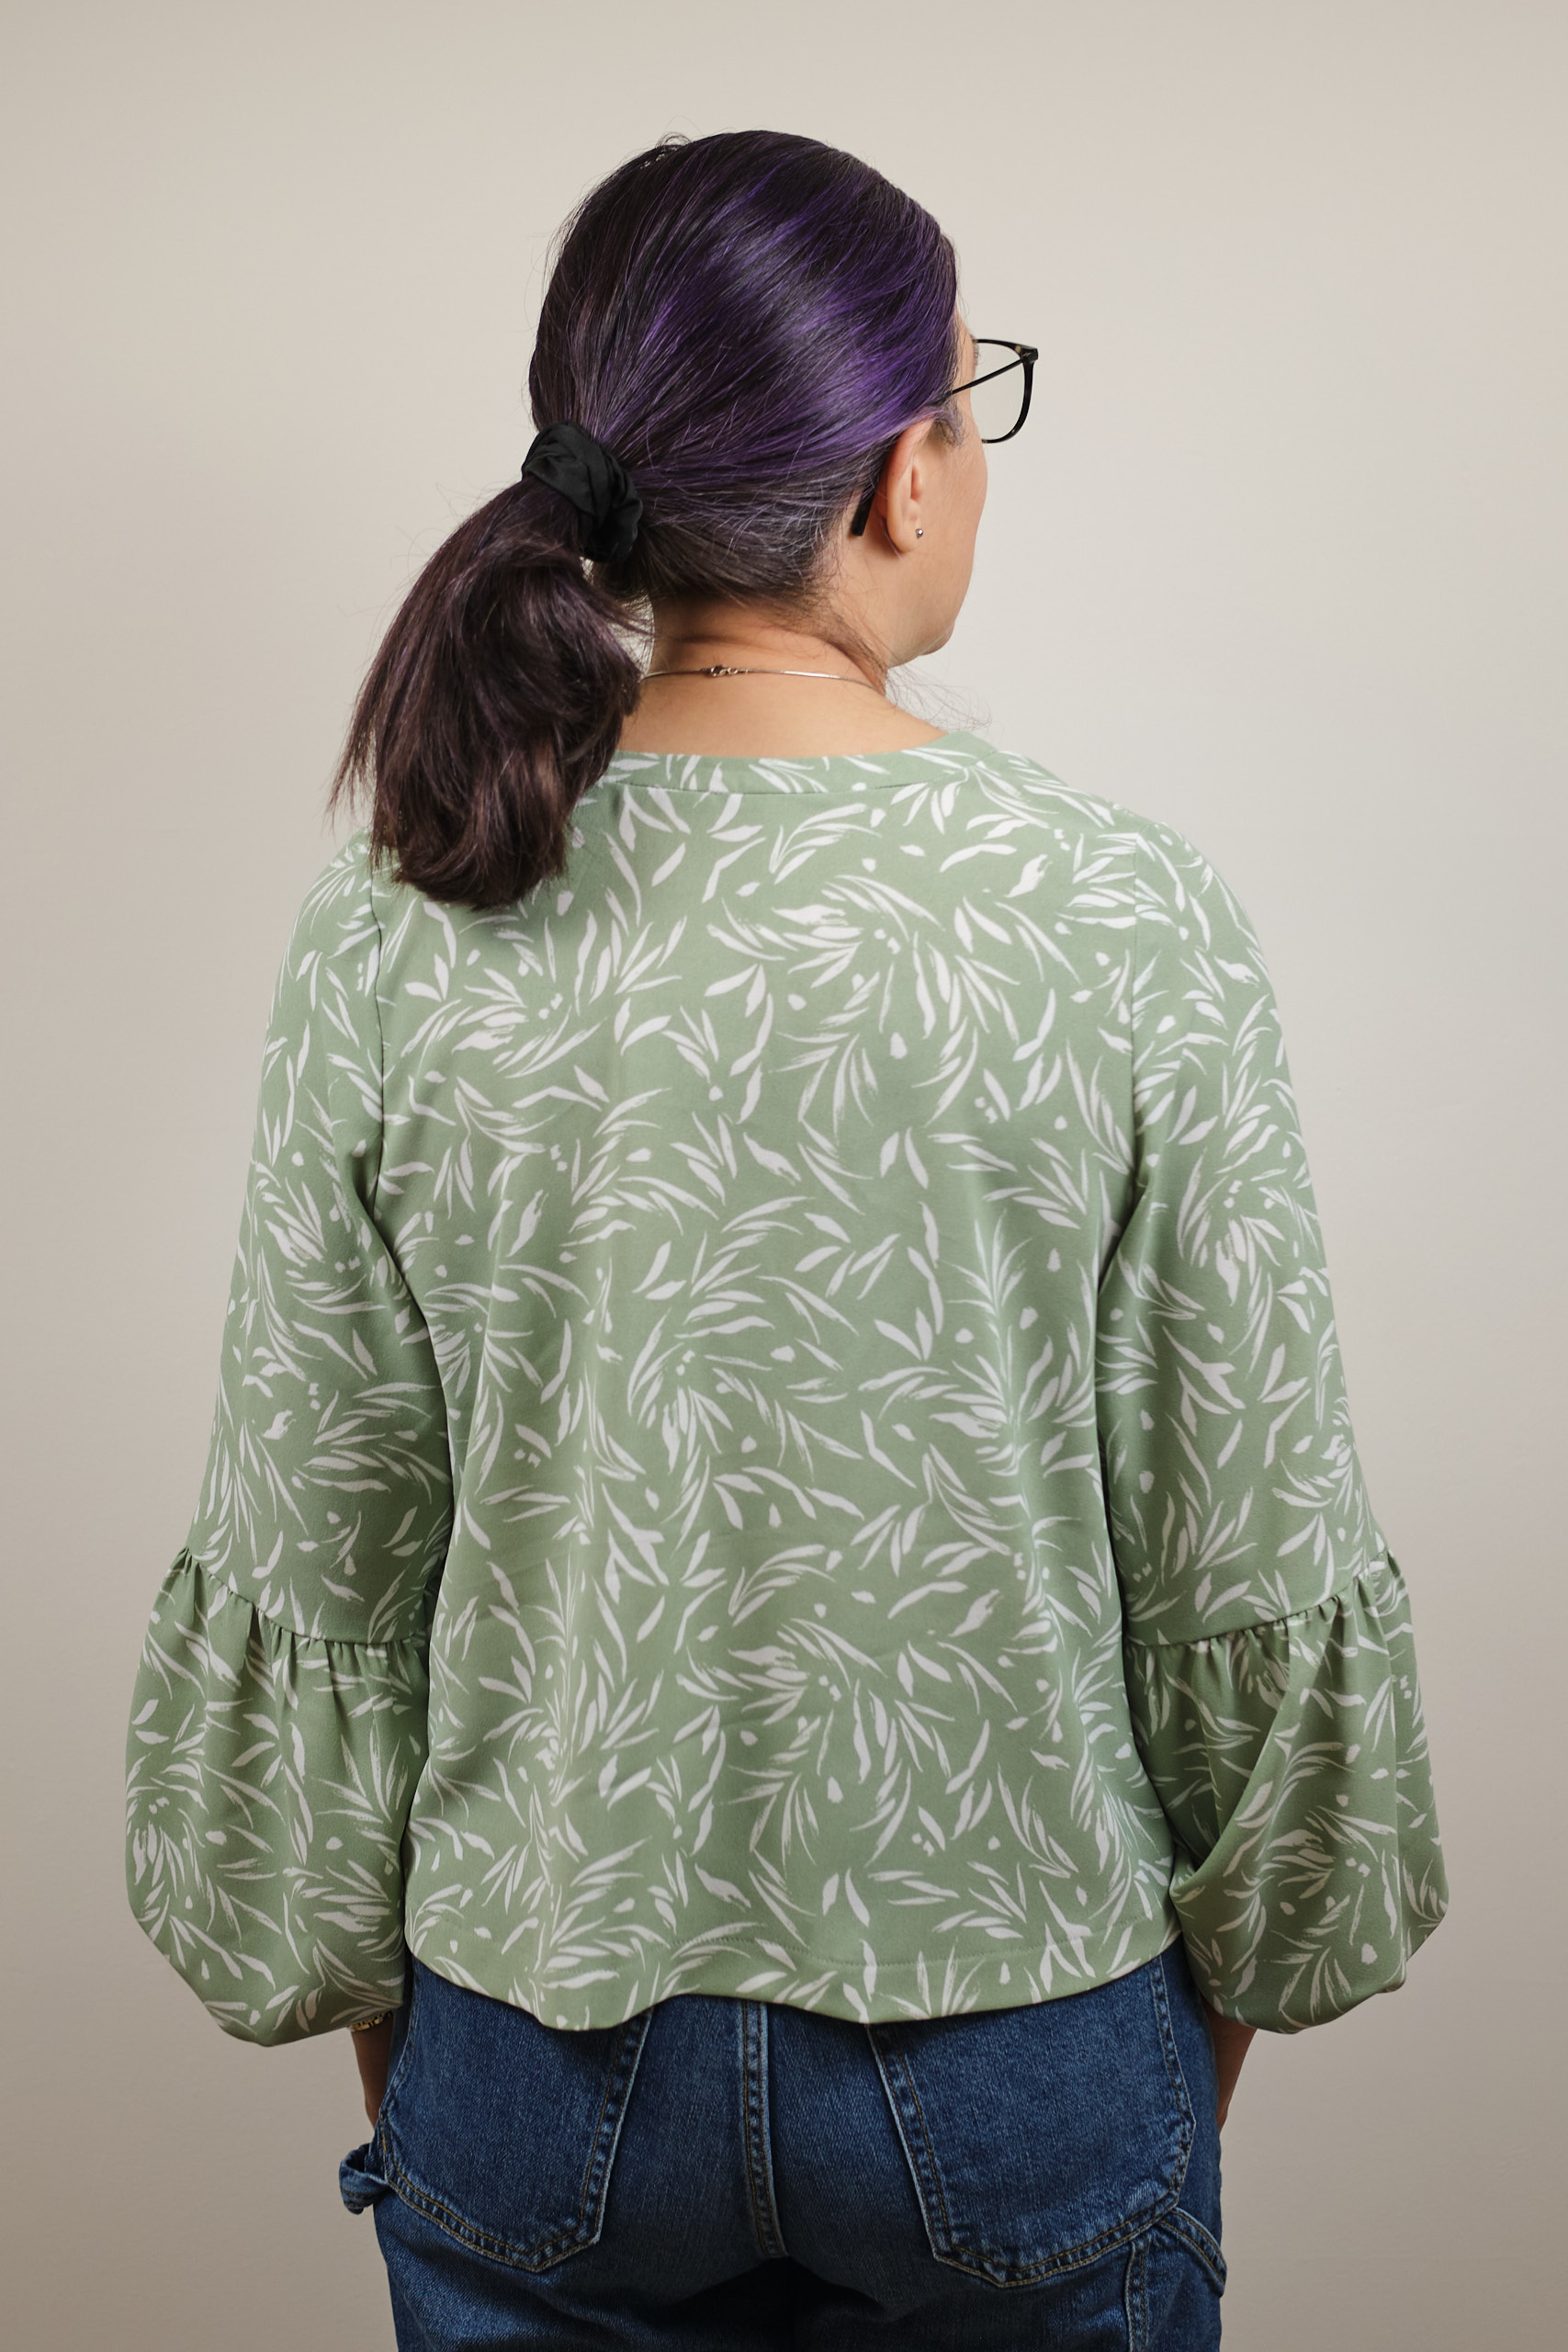
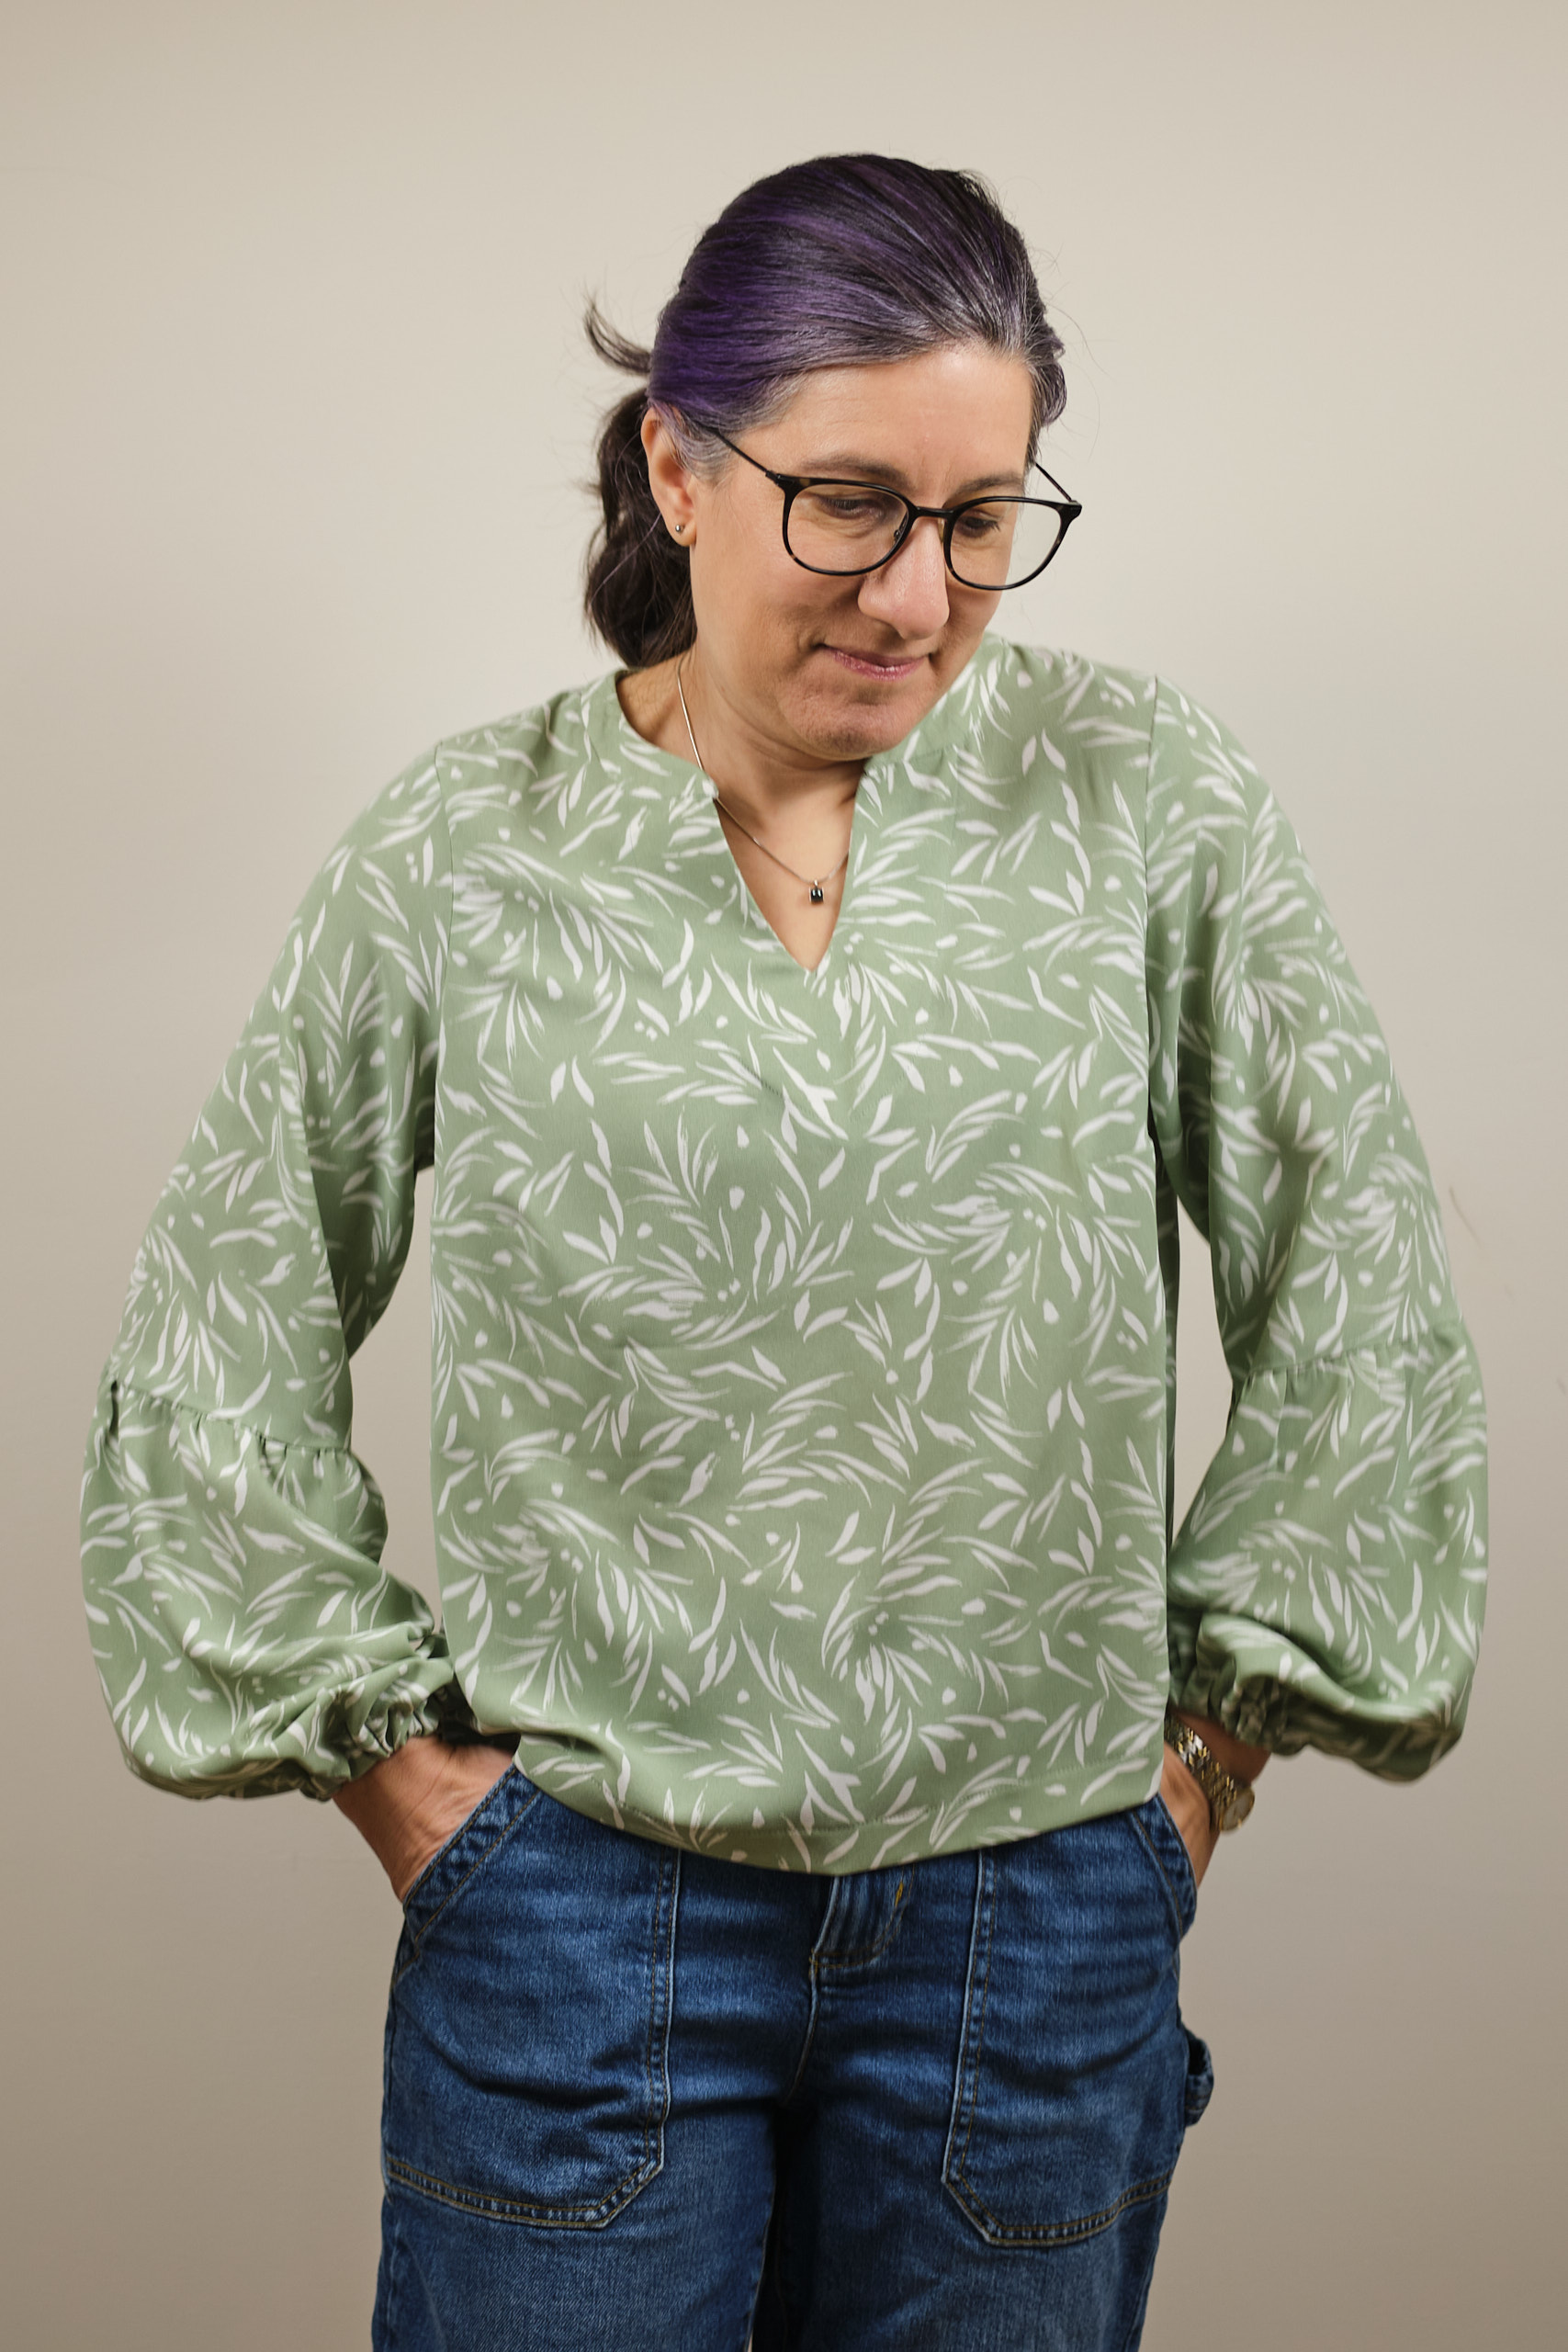
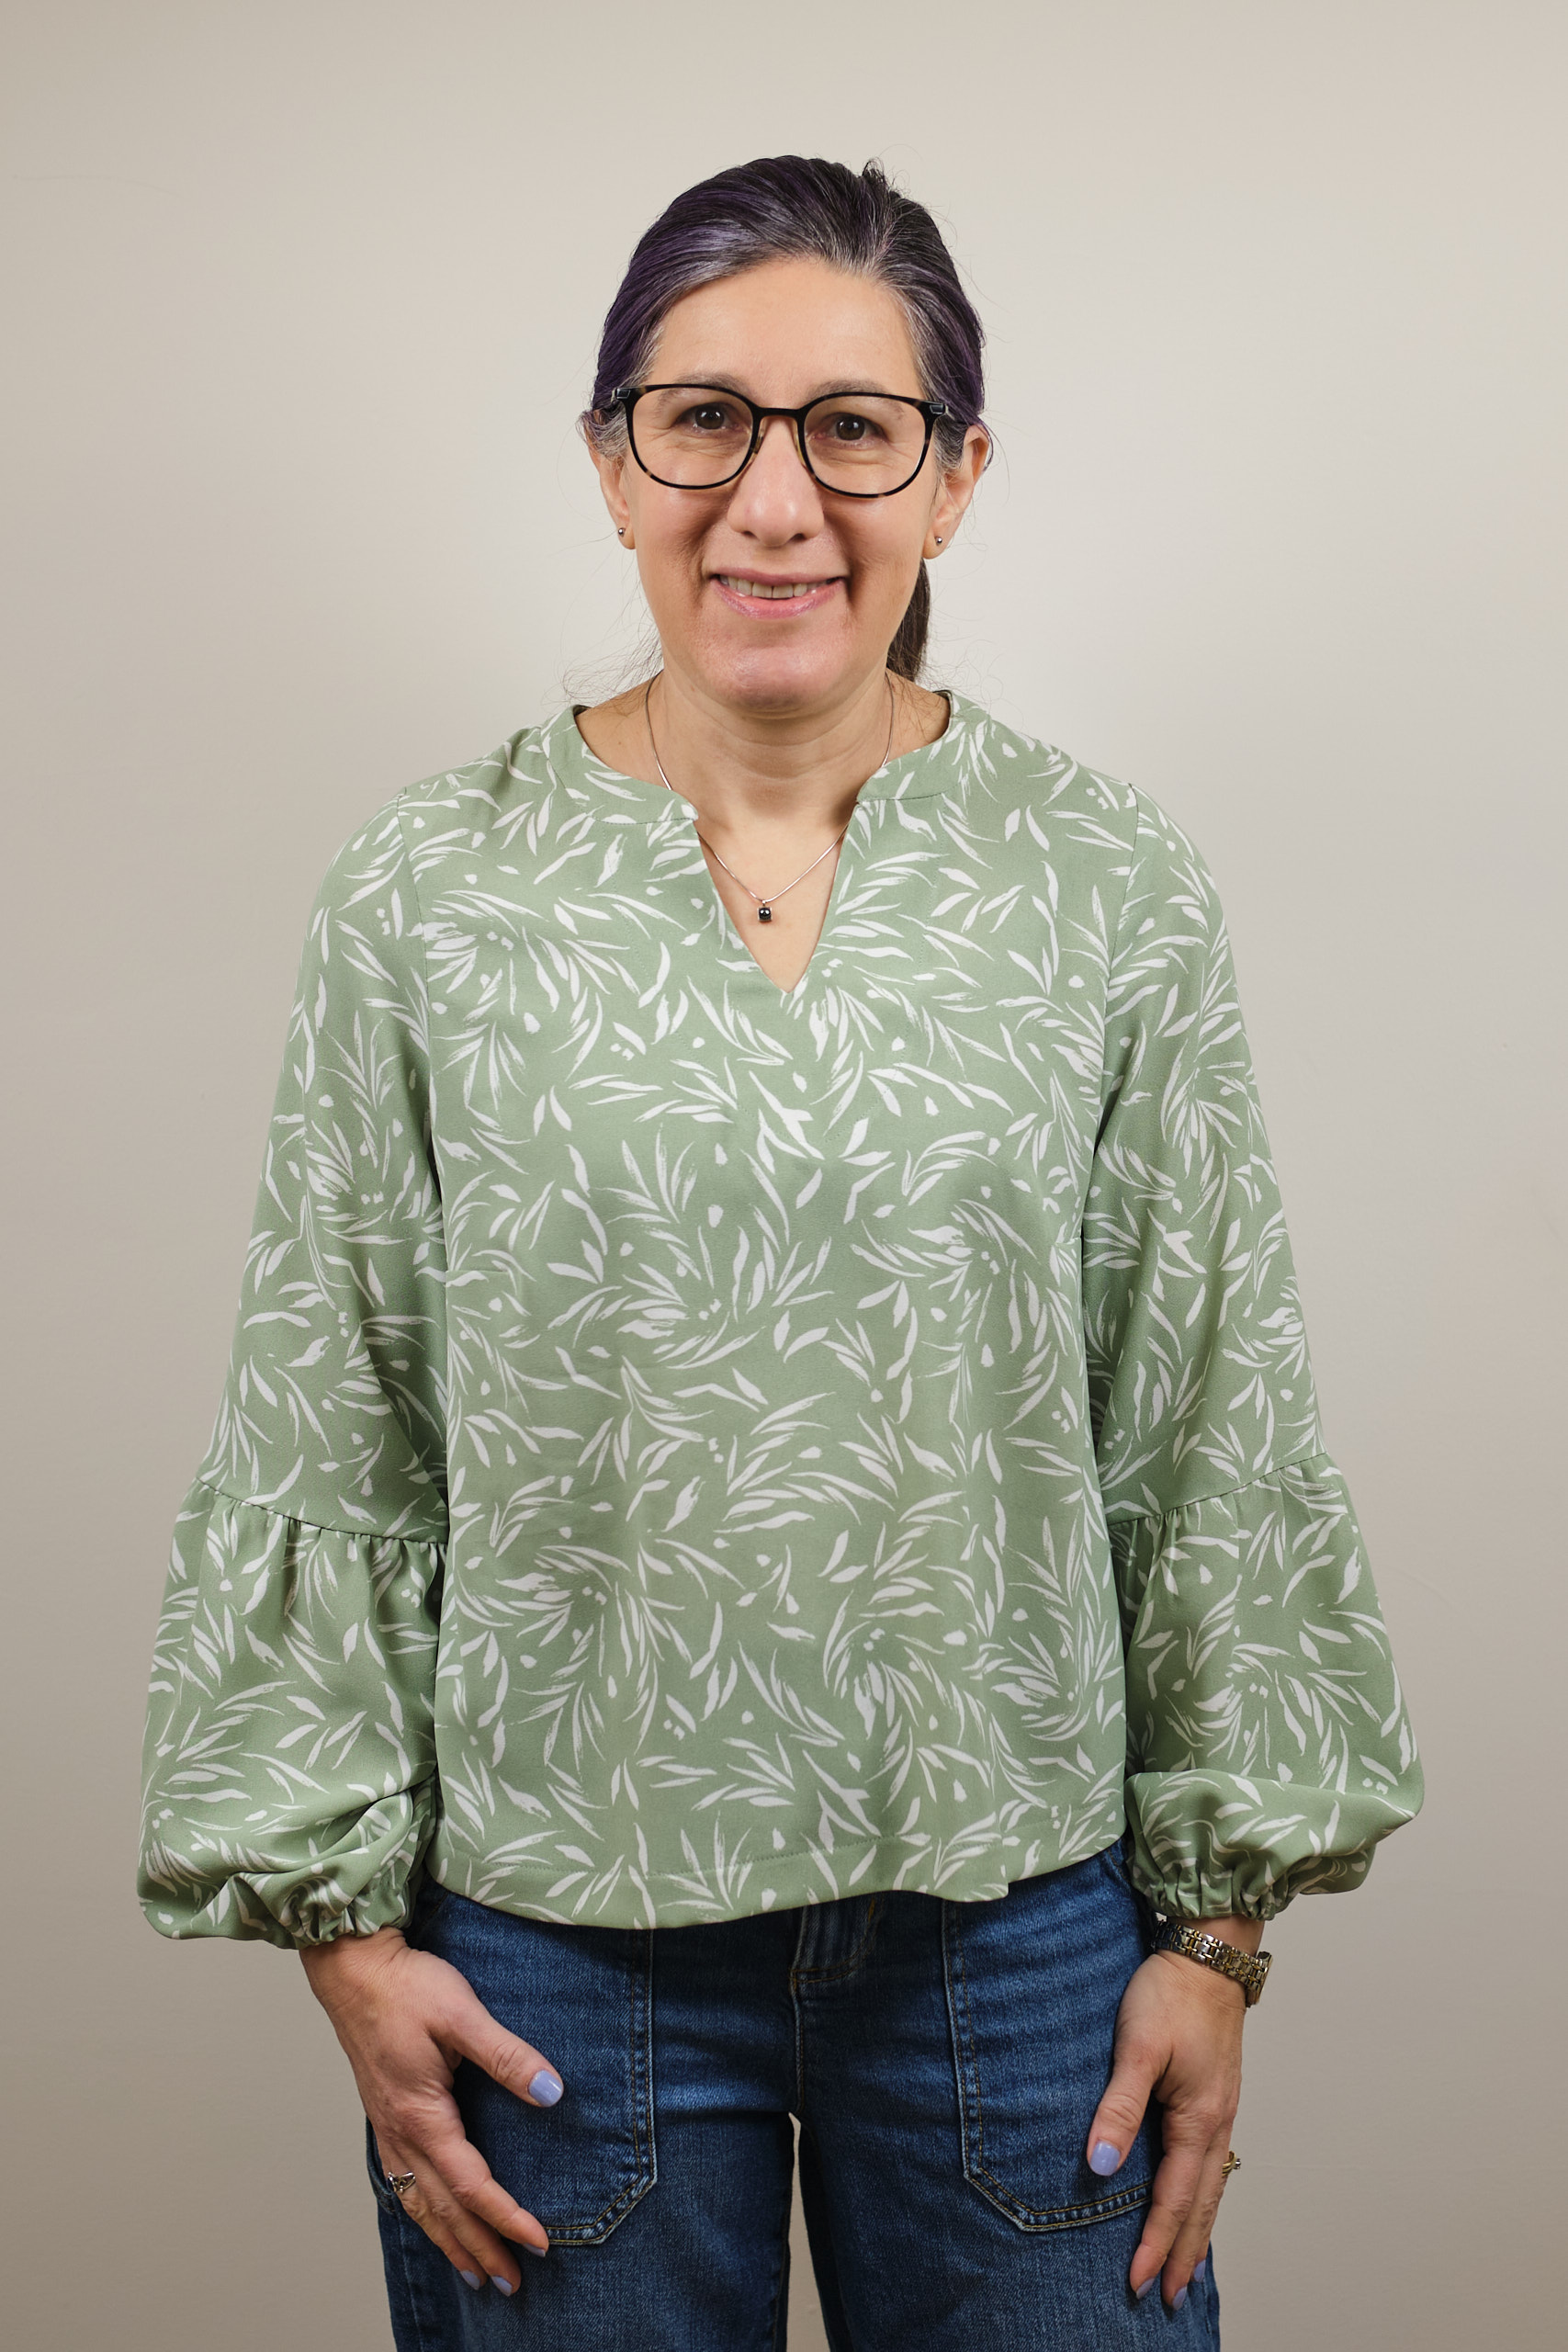
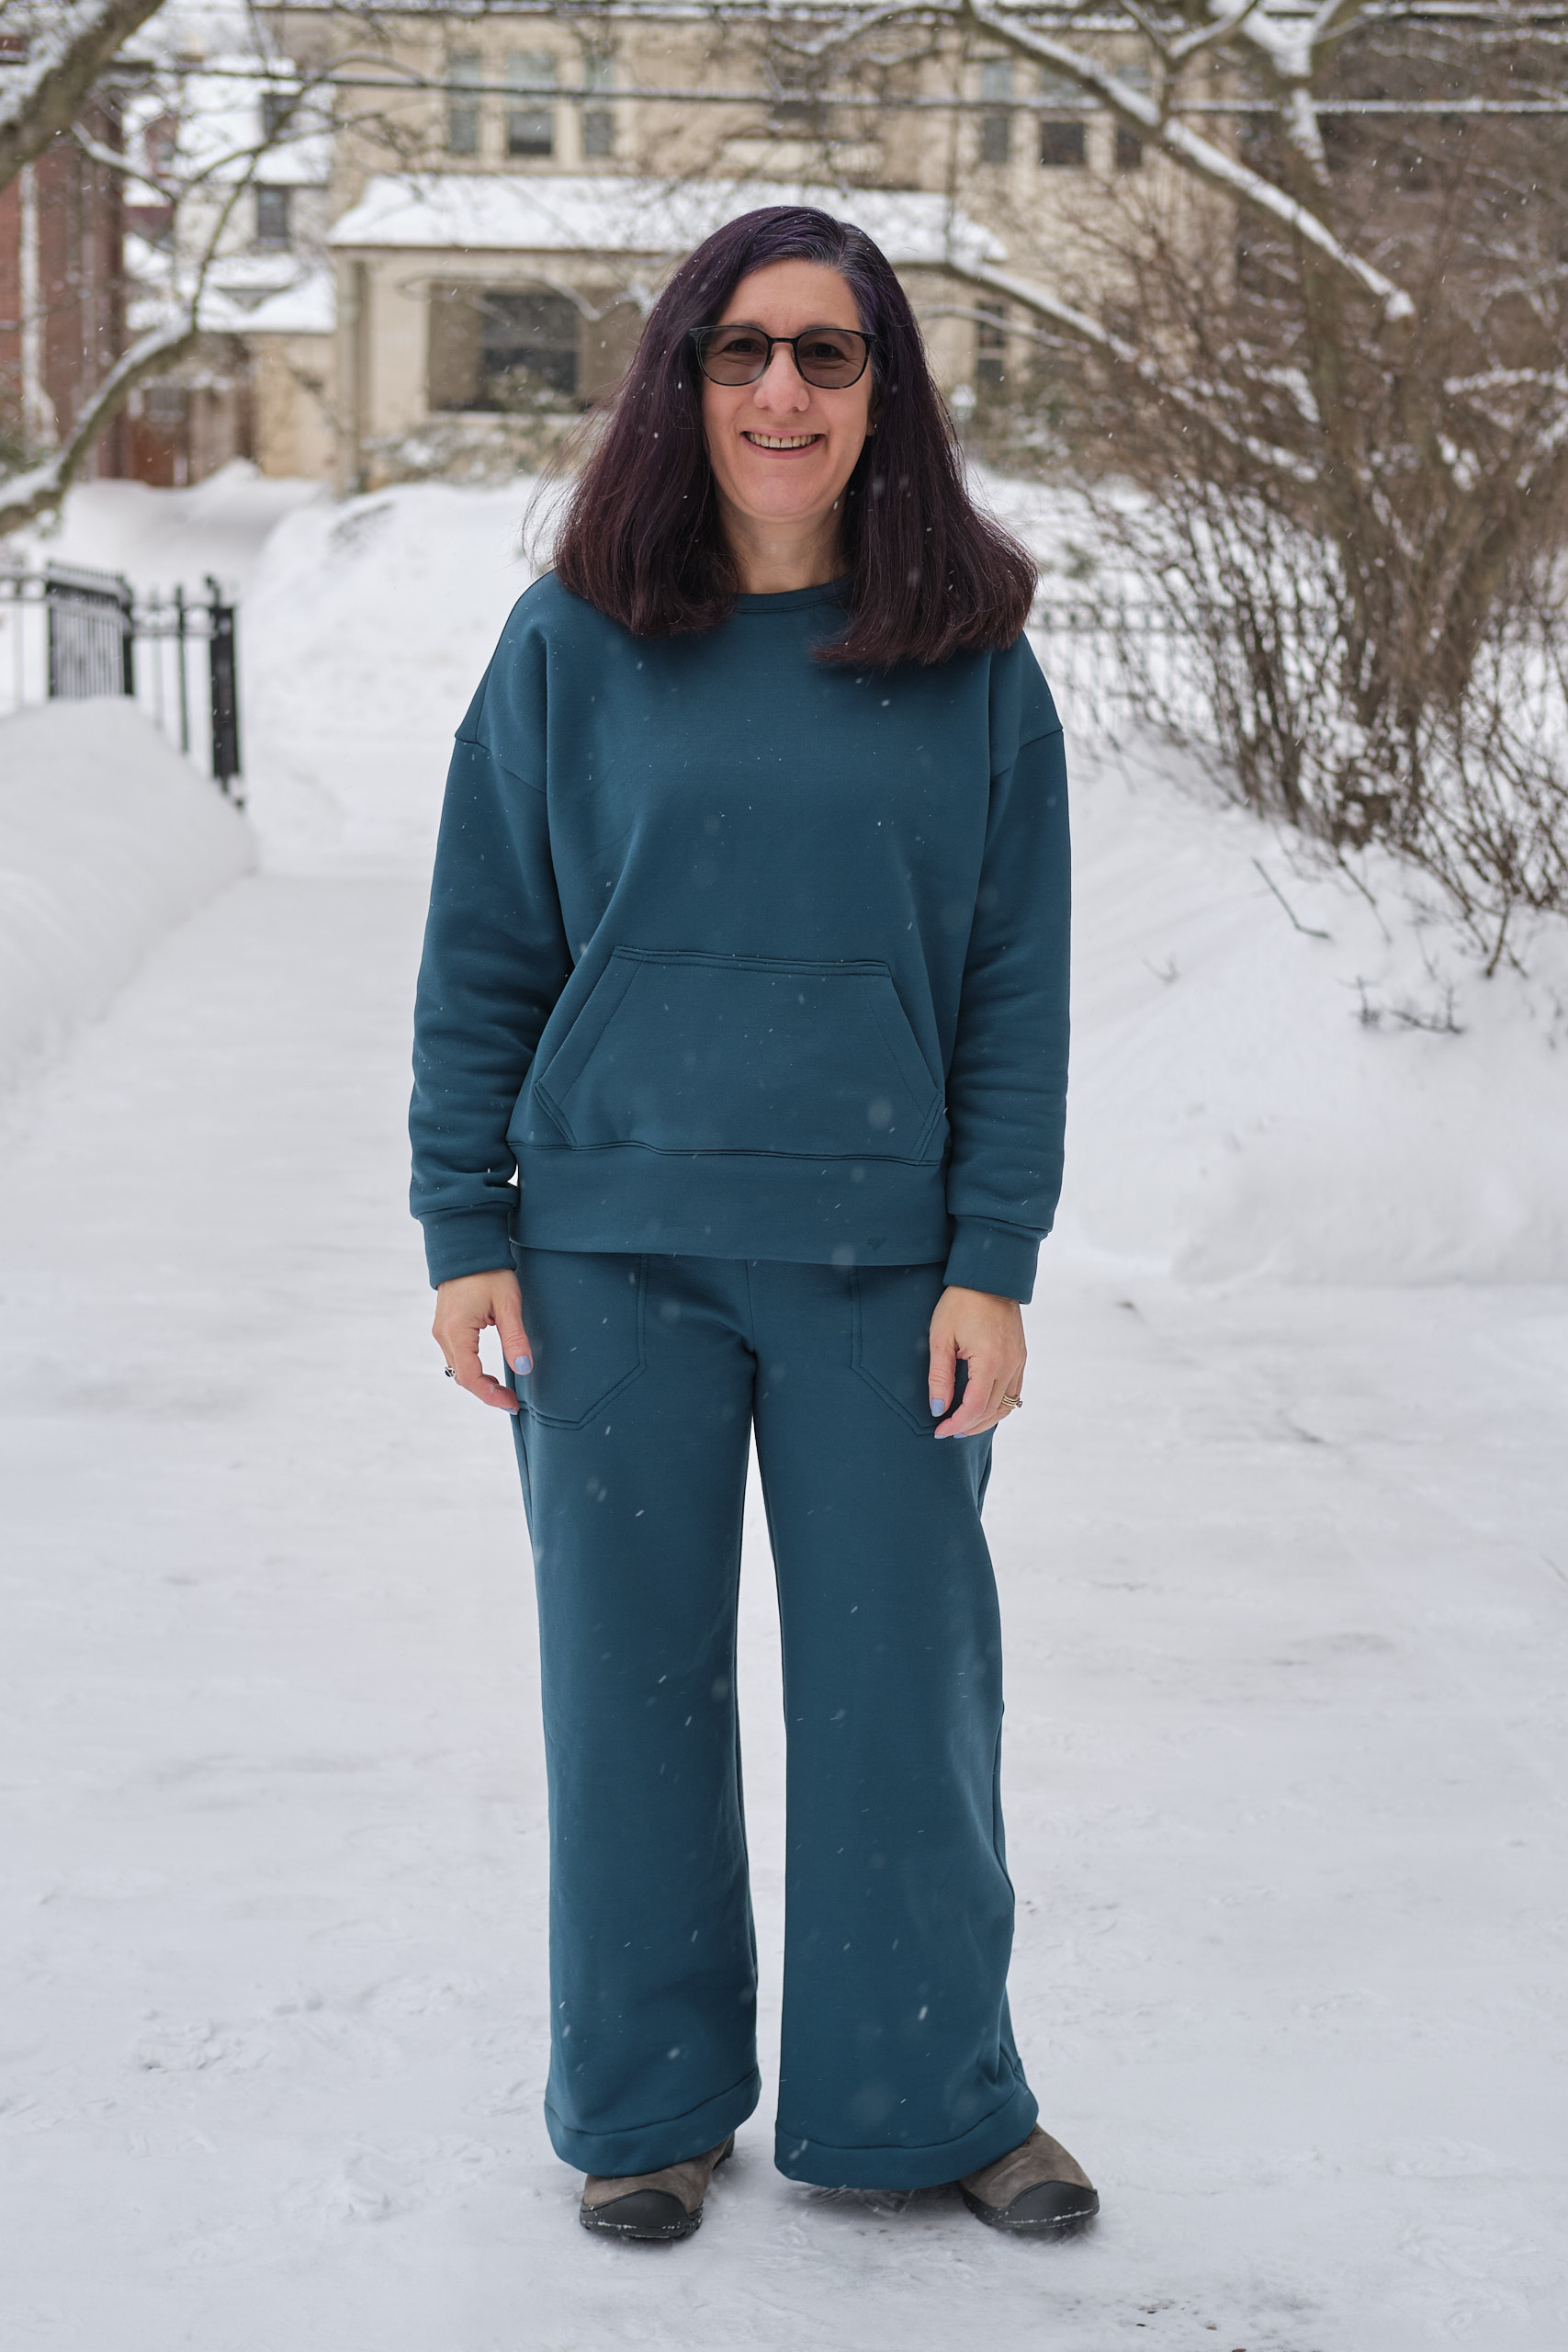
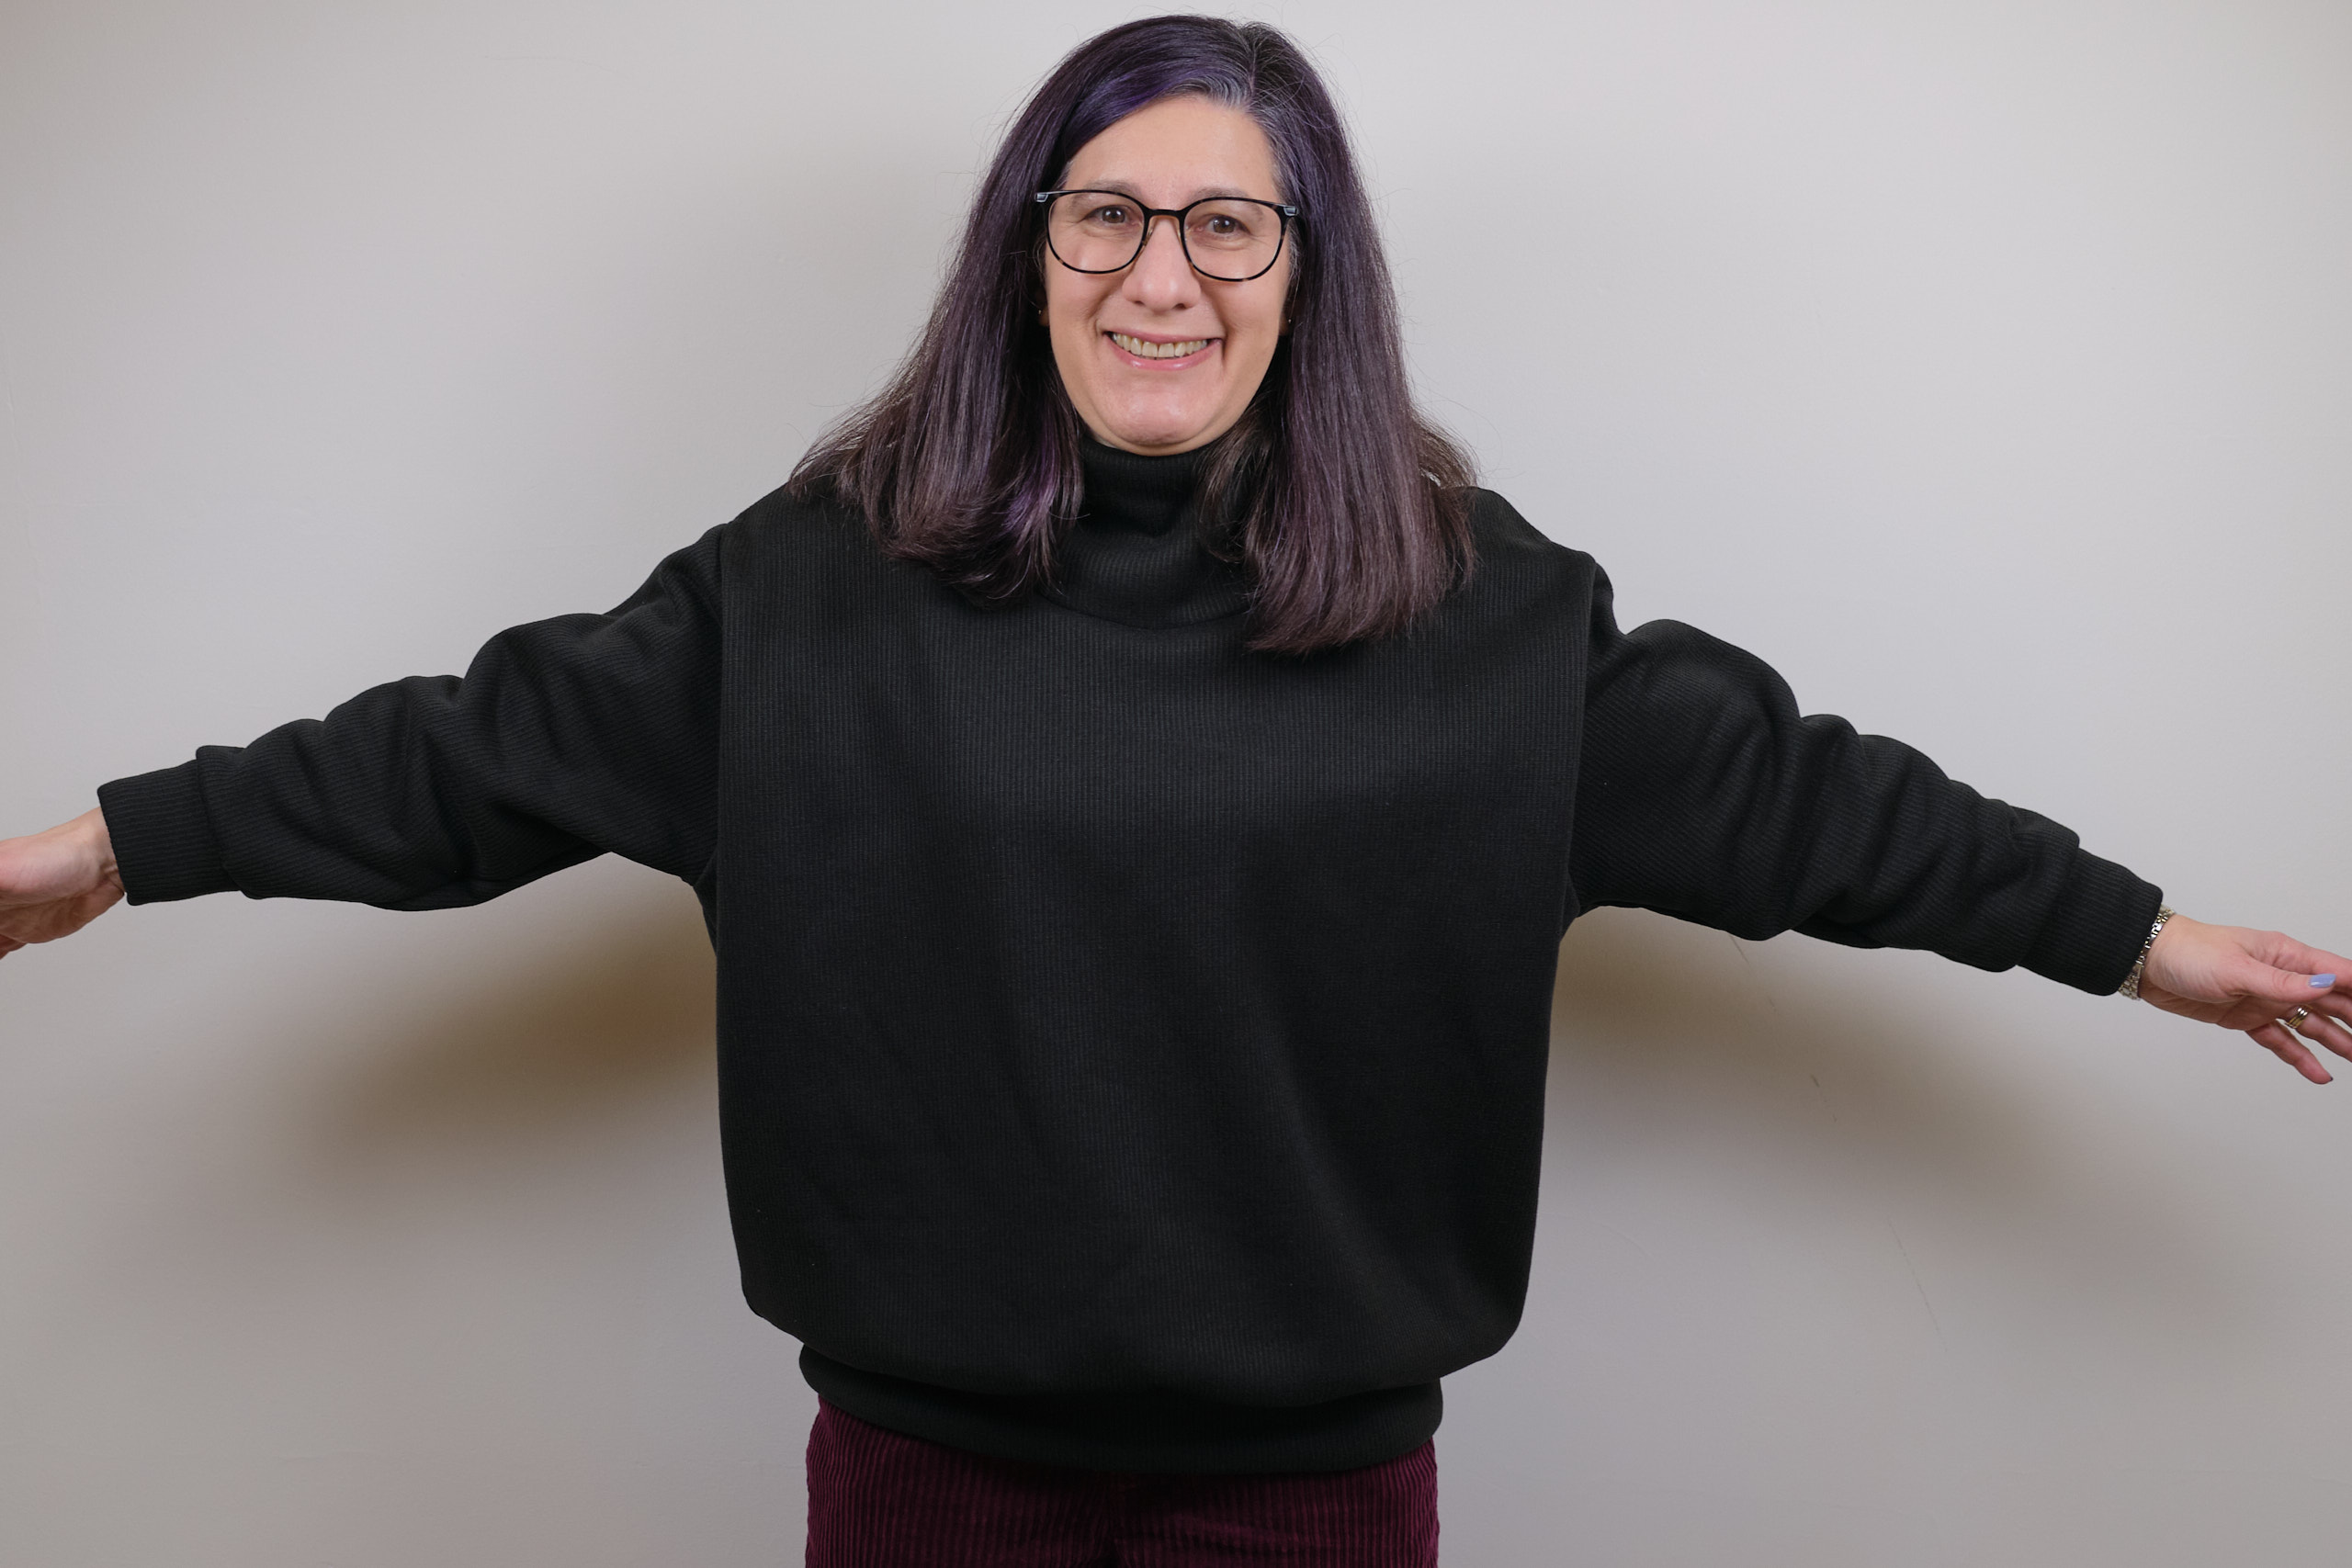
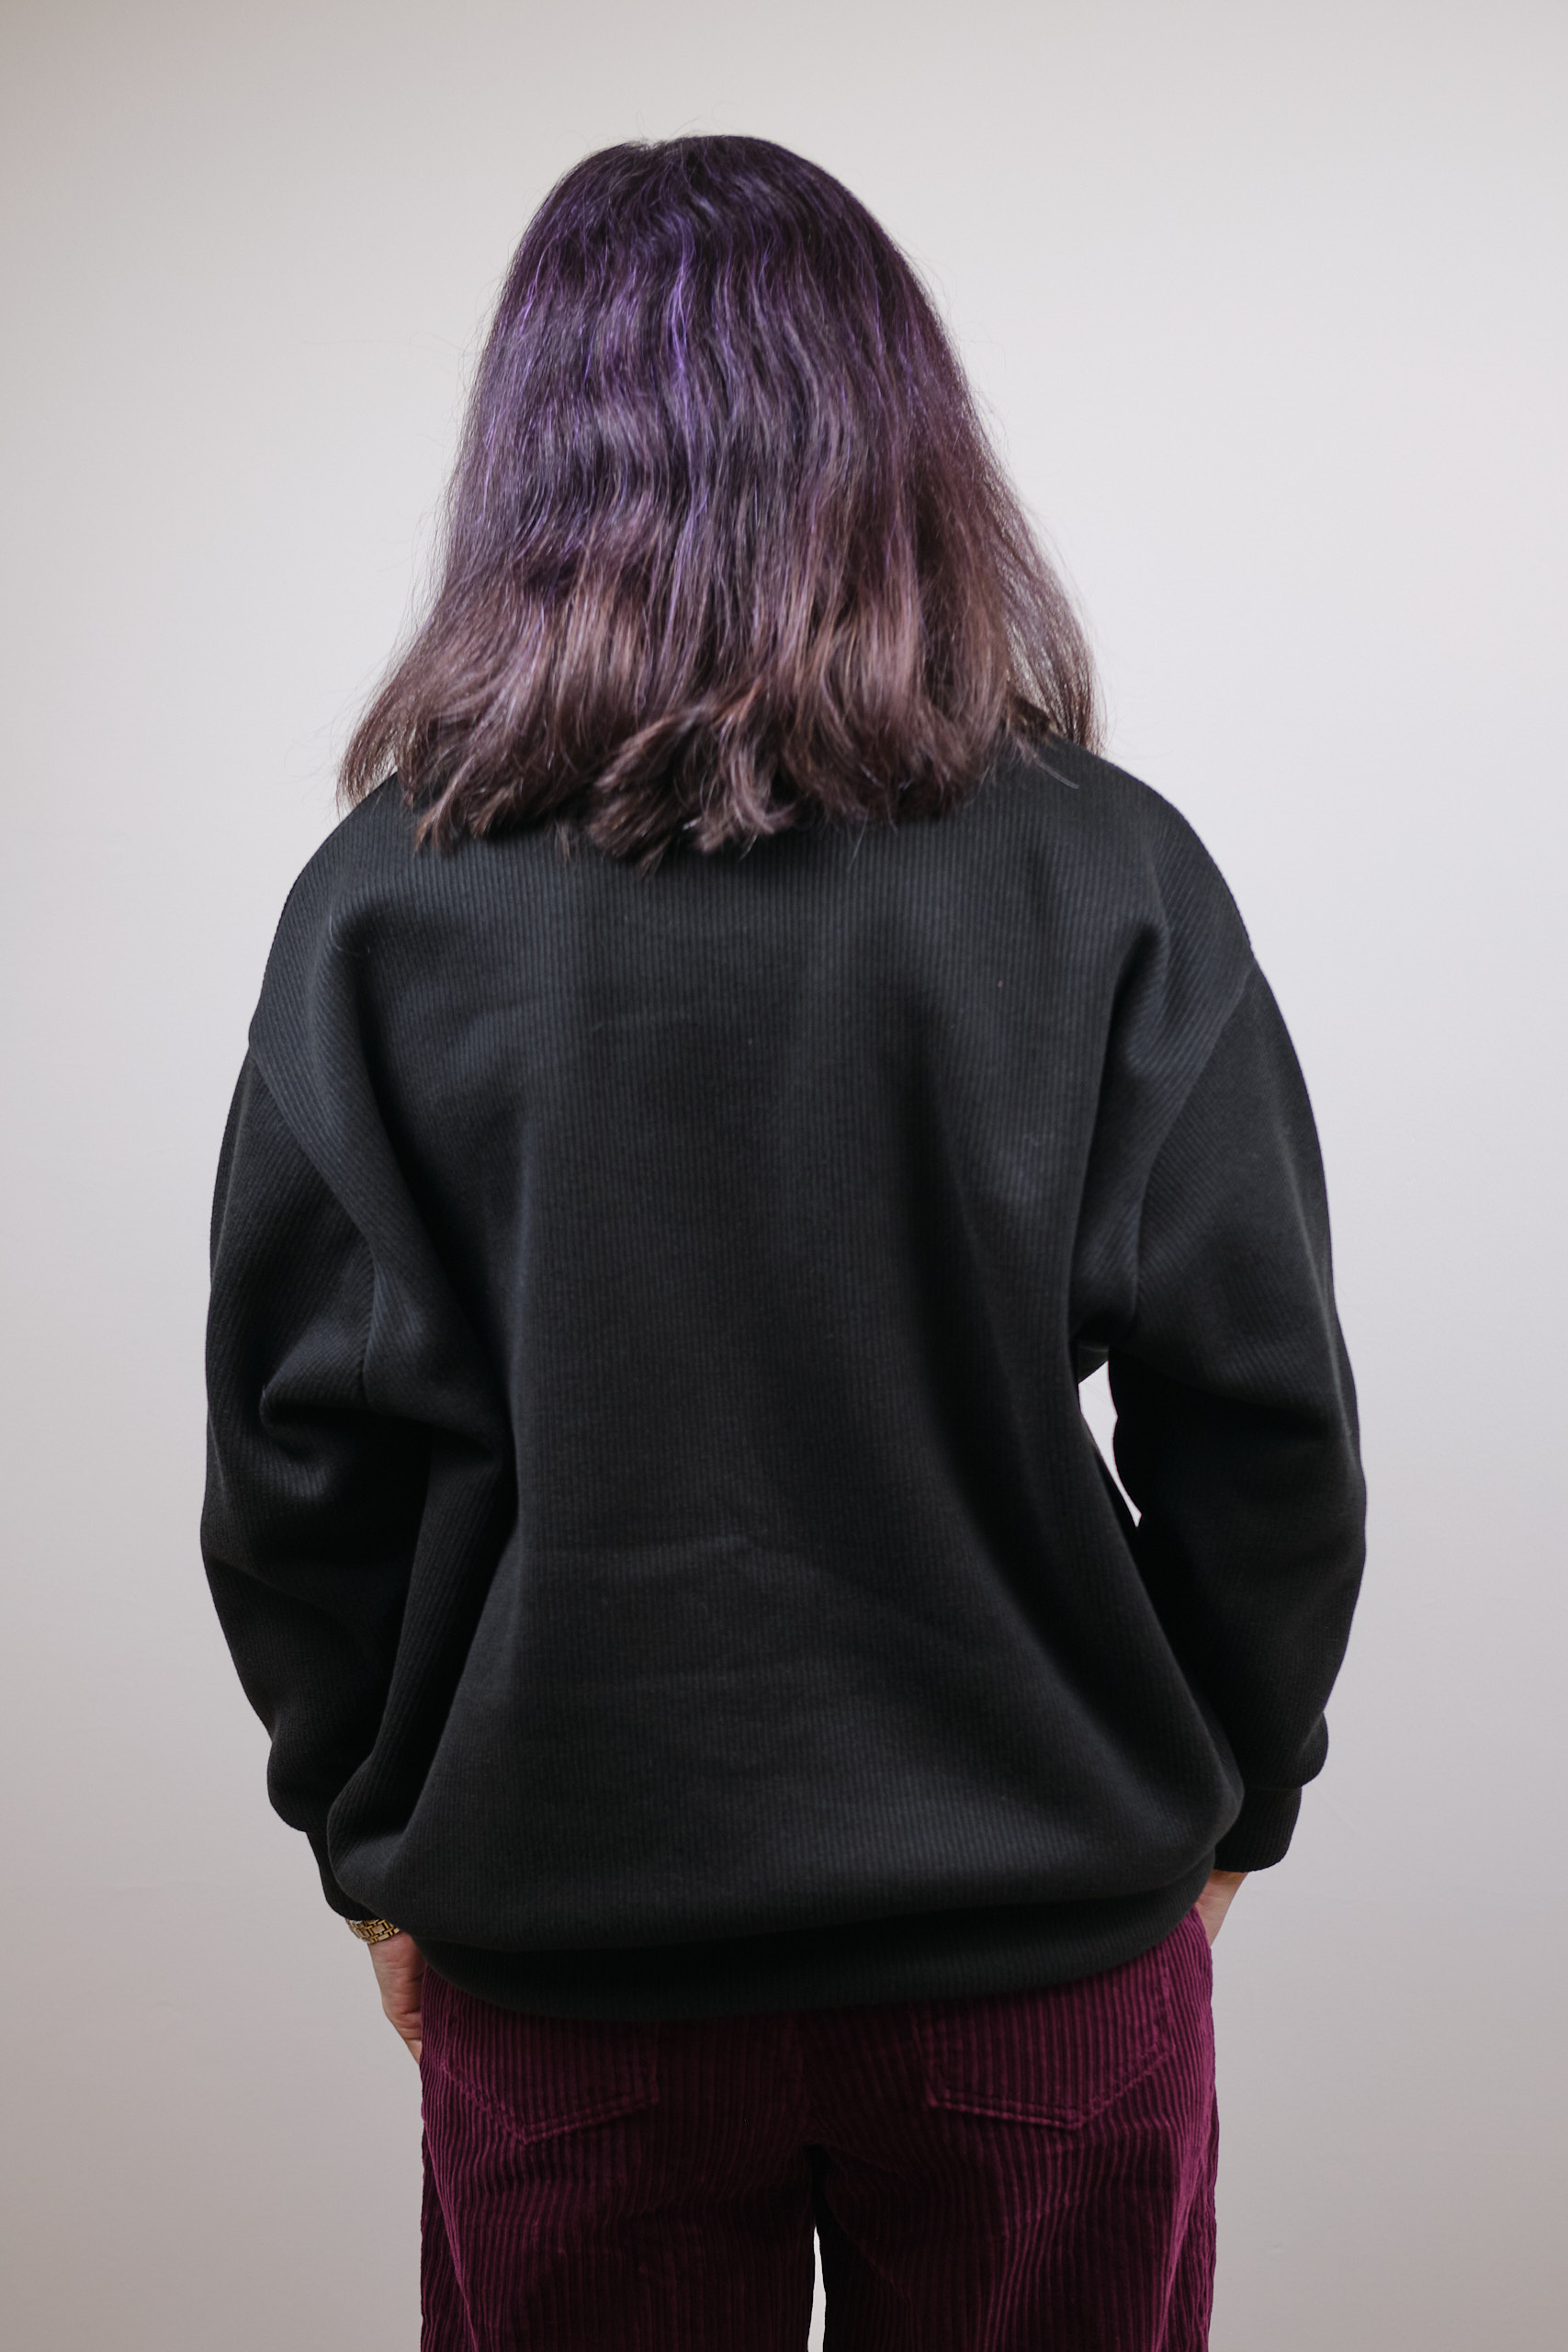
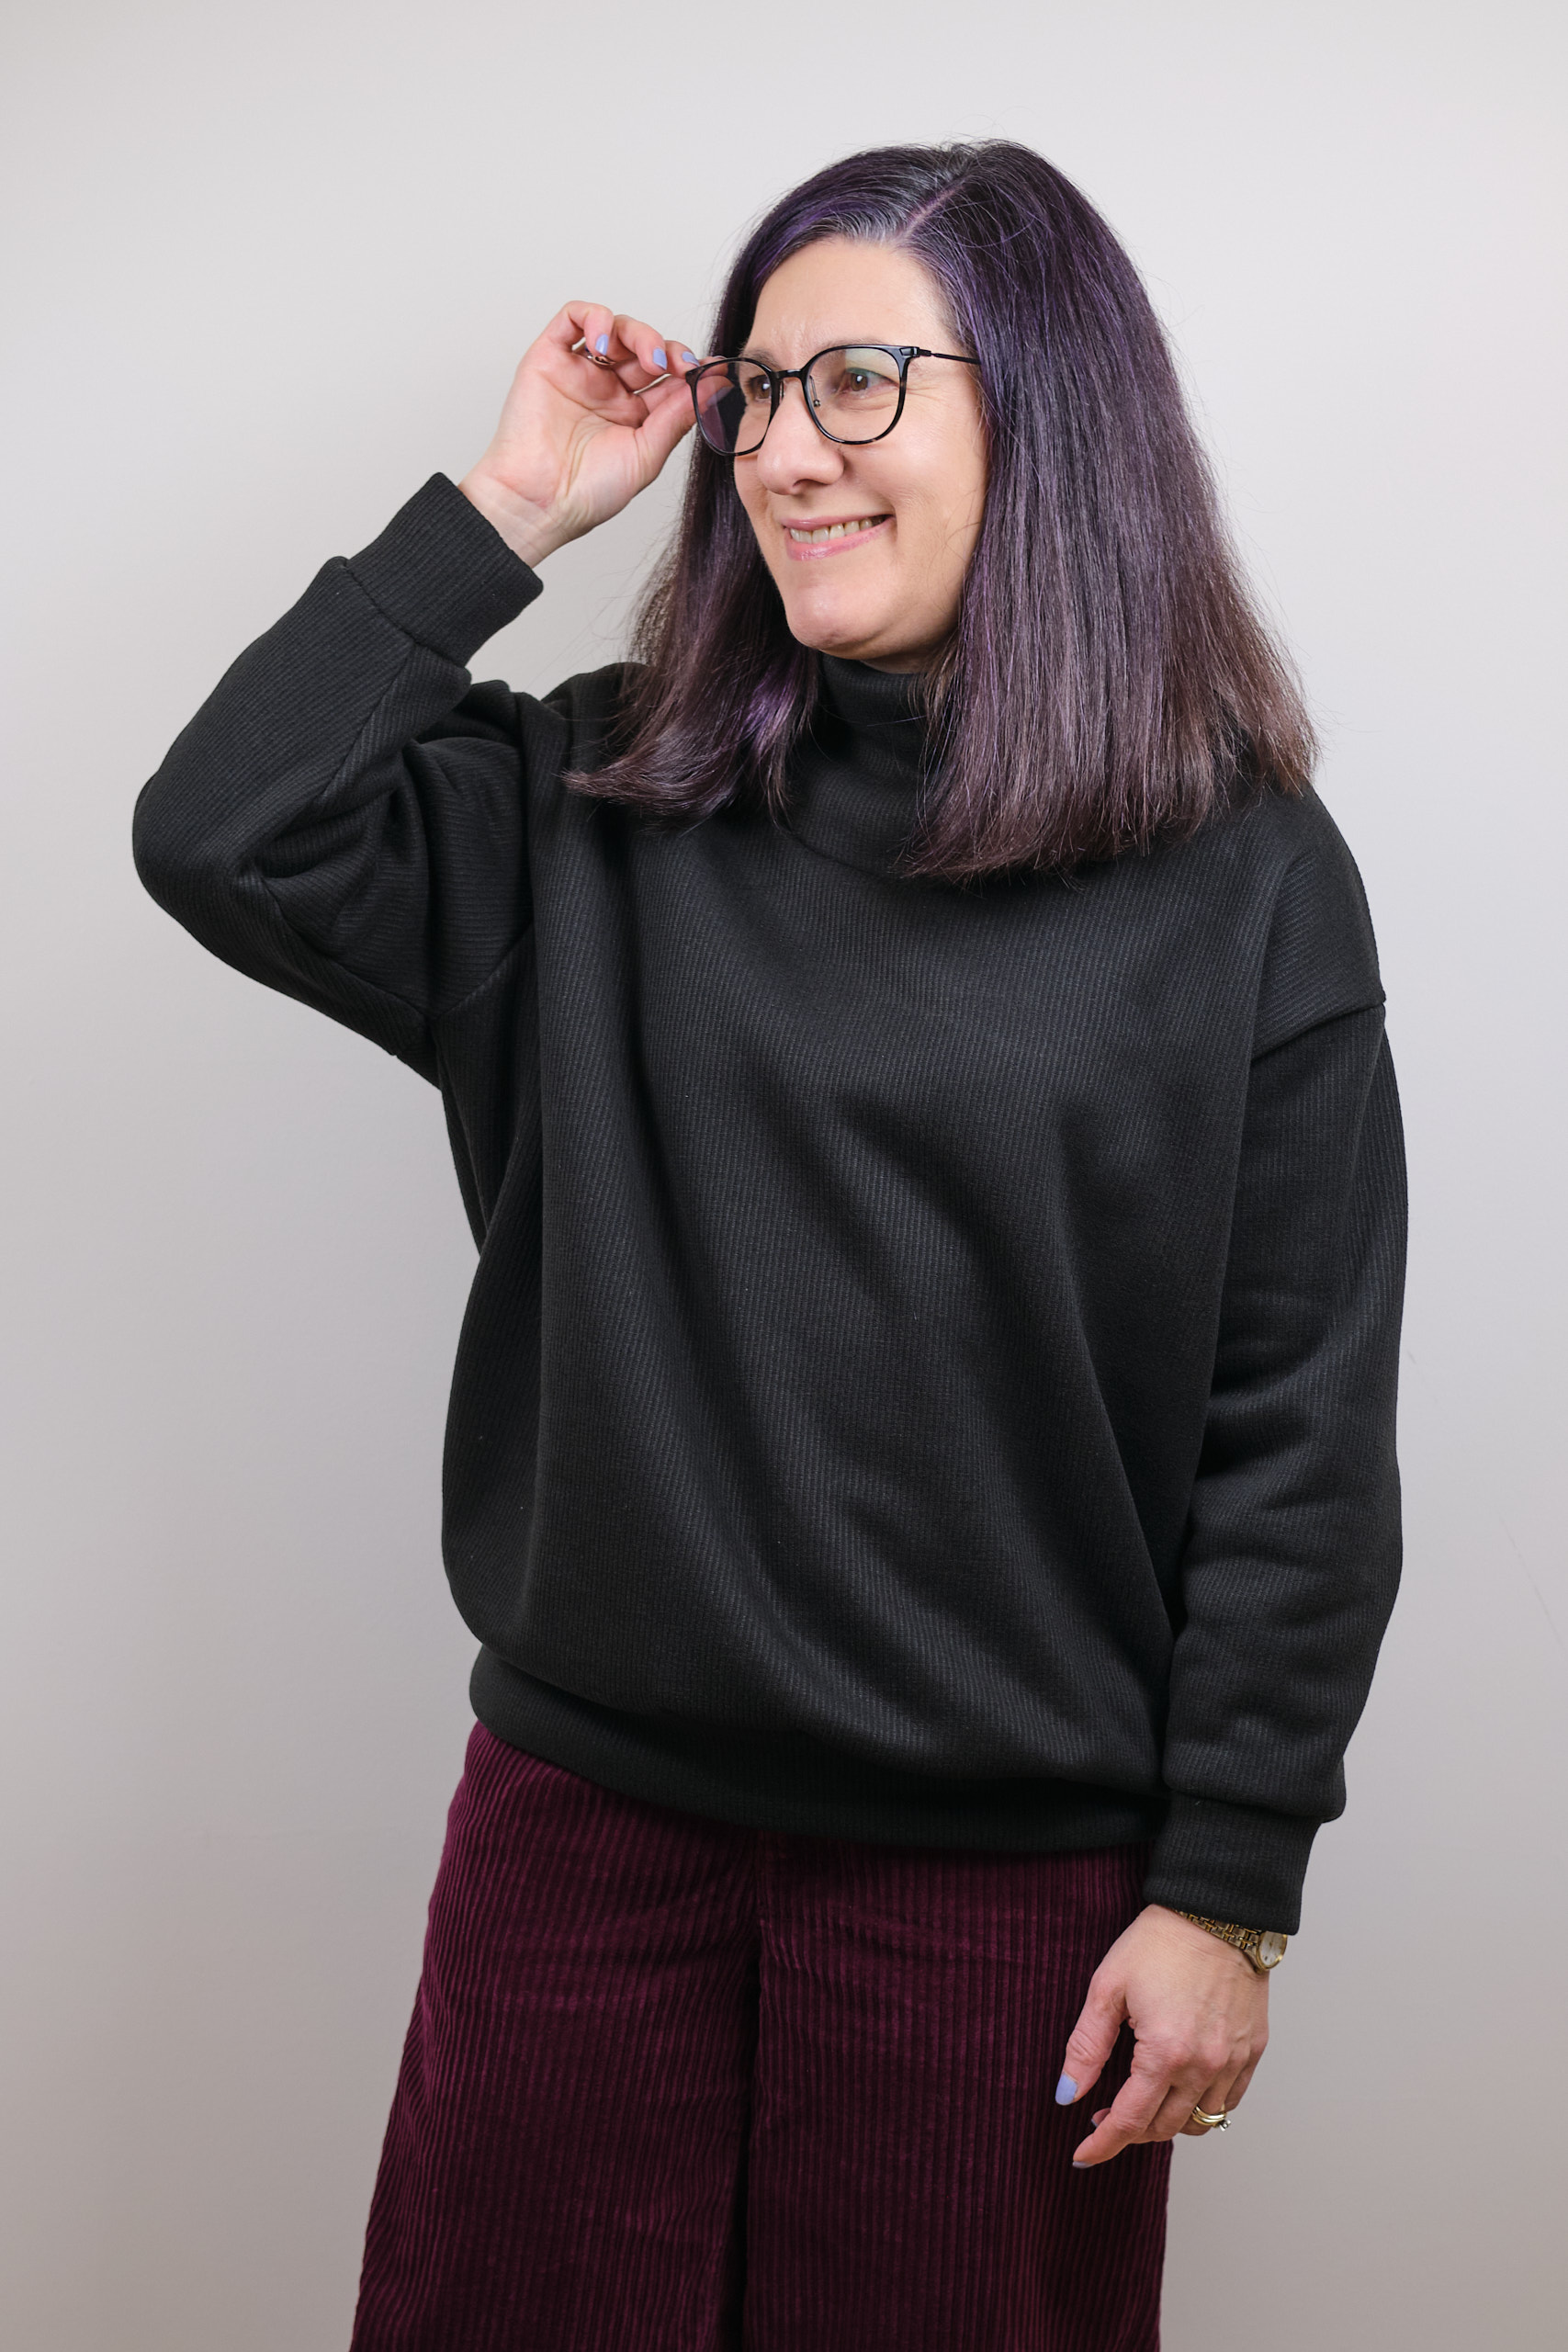
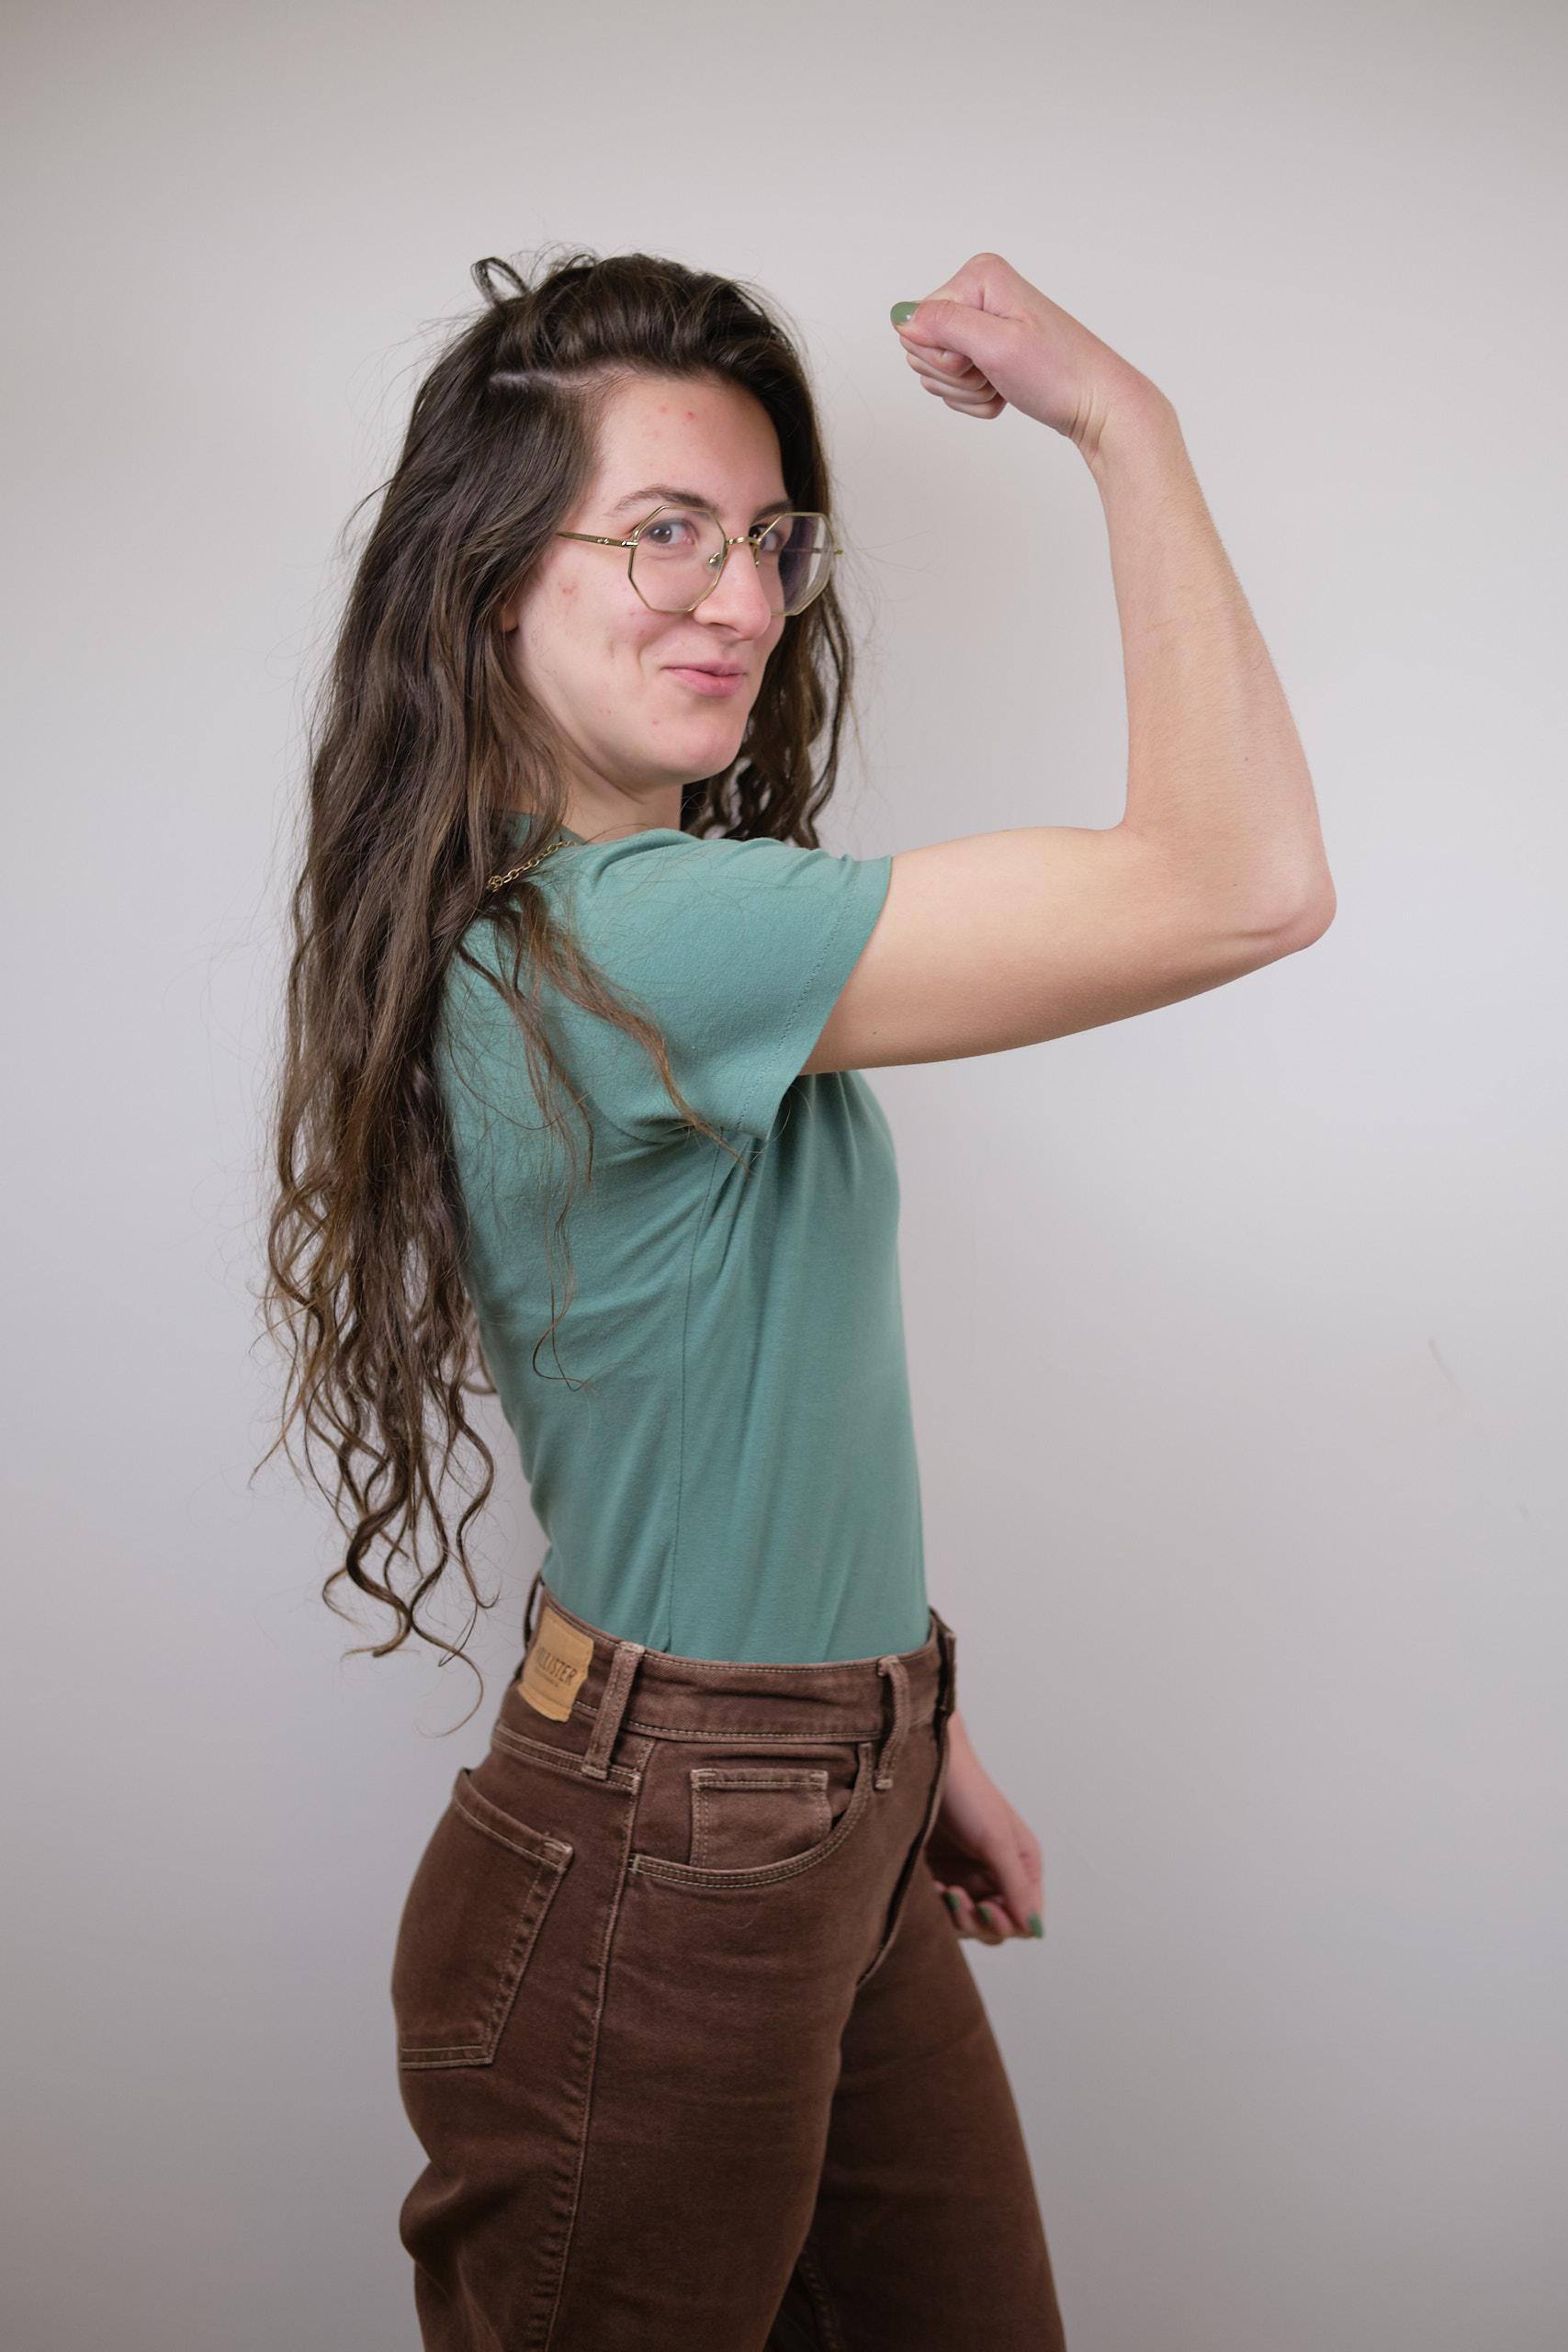
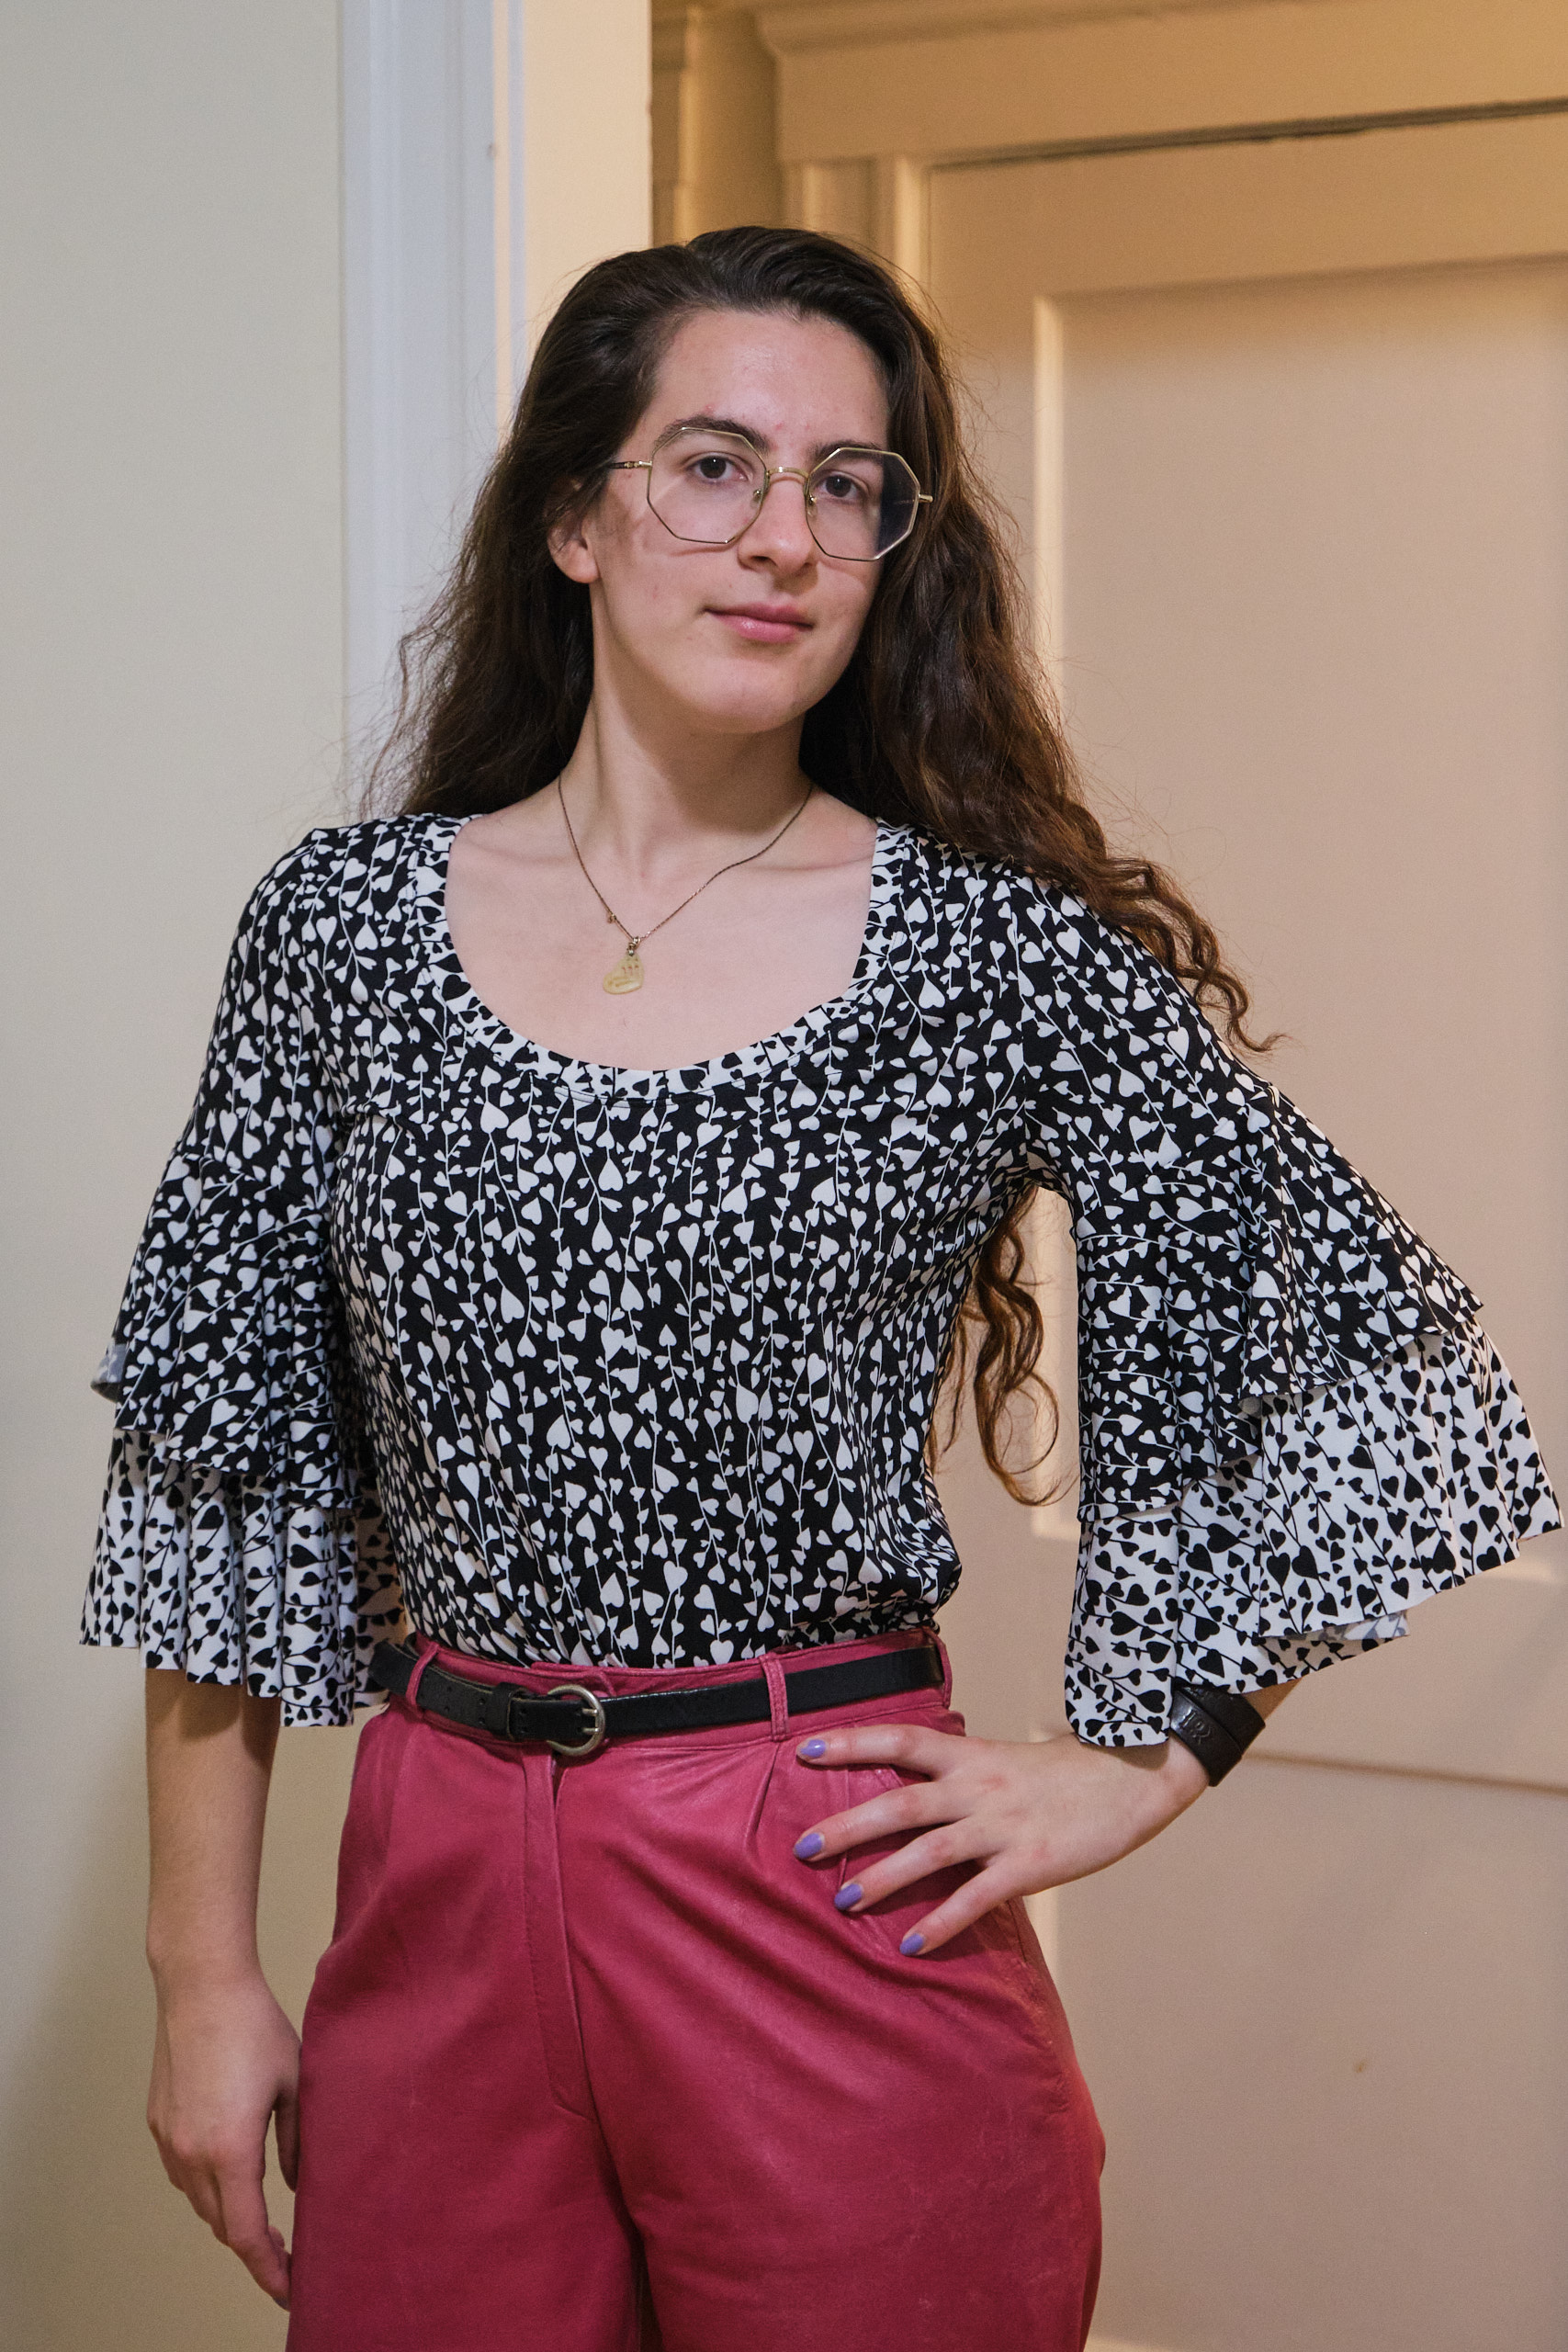
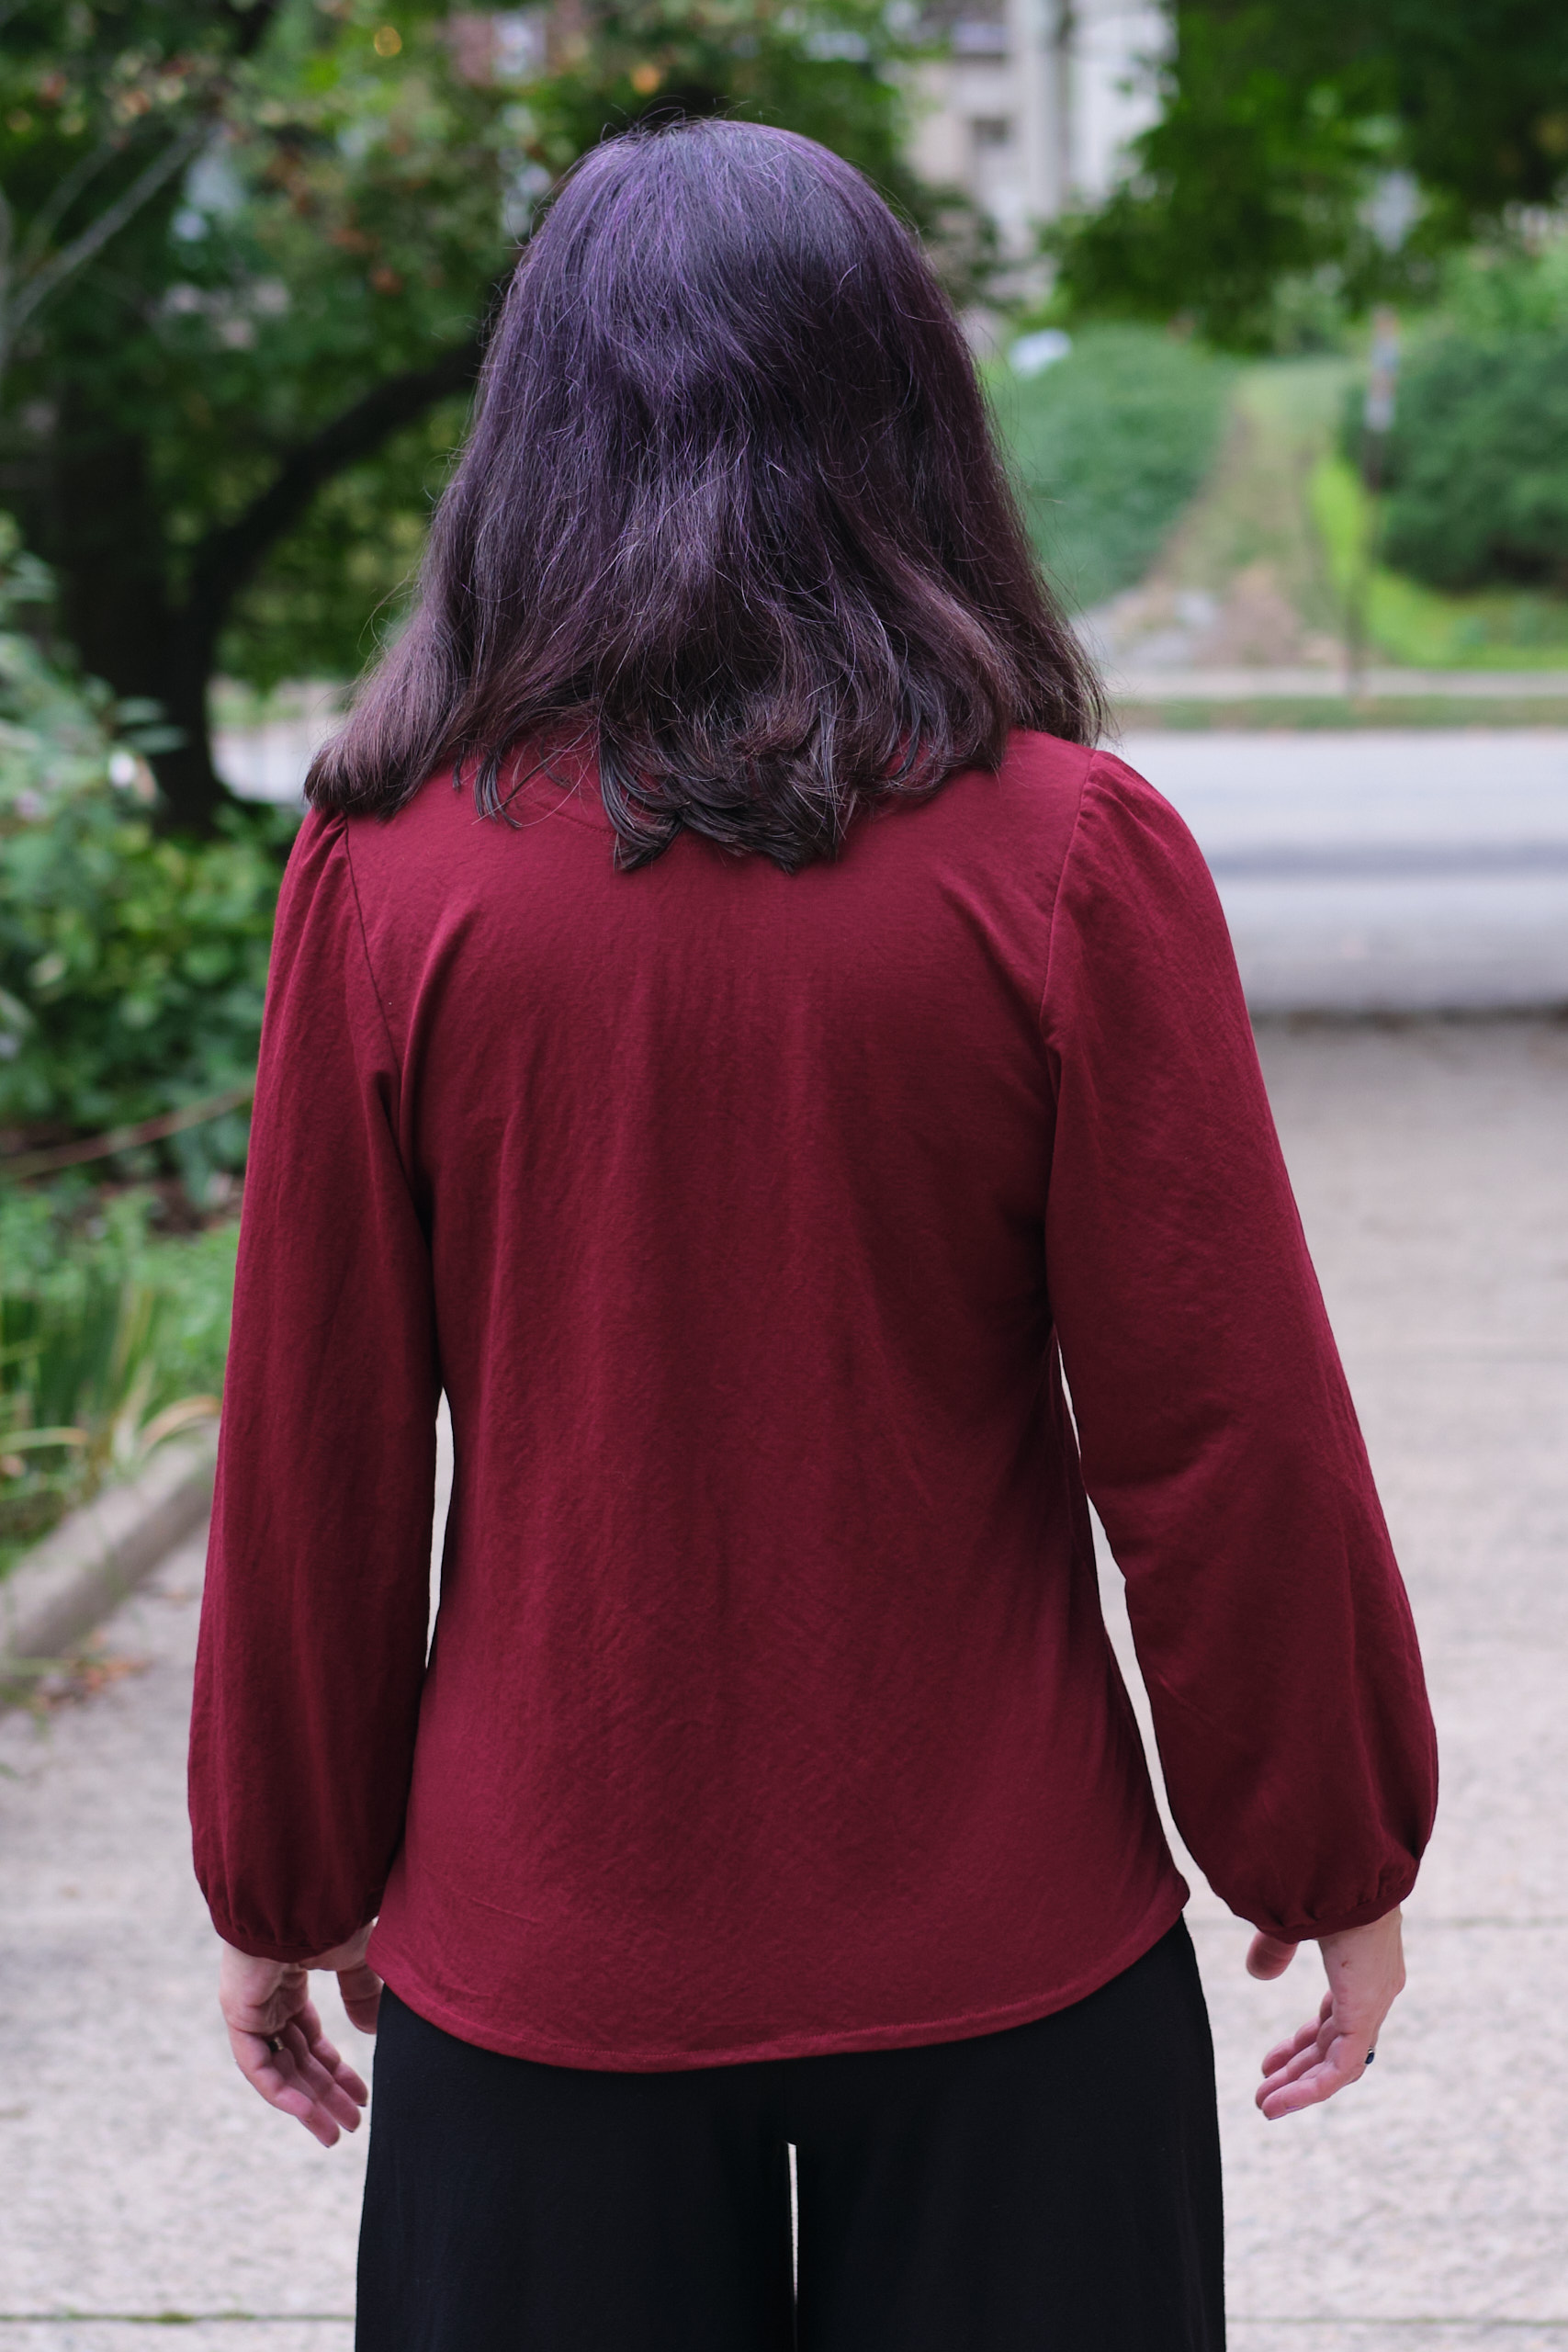
Length 2 is a good length for me to wear untucked. There is also room to tuck it in on high waisted pants, but if I was going to regularly tuck I might make the longer length. Rise & Shine has more of a swing shape than most of the other Pattern Emporium woven tops (Be Mine, About Town, Spill the Tea), which are all built on the same basic bodice and have side seams that do not slope out as much. Rise & Shine is designed to be sleeveless and sleeves cannot be added (although I could see mashing it with Be Mine to have sleeves with the swing shape). The neckline comes with high and mid options, but the mid option is similar to the low option on the Be Mine top. You would have to improvise (or maybe mash with the Meet You There dress mid neckline) to have an in-between option. I made the lower option and it is definitely lower than I usually wear, but I think it works out ok for a summer top.


