I have been commissioned by my high school senior to make the prom dress of her dreams, styled off some photos of ~$1000 Teuta Matoshi gowns with tulle overlays she fell in love with. I was looking for a pattern to use… and I think the Sinclair Yasmin V neck knit dress with pleated accents will do the trick with some tweaks (I was inspired by seeing another sewist post in the Sinclair Facebook group about using this pattern to make her version of the famous Lirika Matoshi strawberry dress which also has a tulle overlay). The original dresses have zippers and were likely lined with woven fabrics, but I think a knit dress will be easier for me to sew and fit, and it will be more comfortable to wear. But before I start altering this pattern, I thought it would be a good idea to sew the pattern as designed first to make sure I understand it.
This is not a projector pattern, but the A0 copyshop pattern projected just fine after I ran it through PDFstitcher to unlock it.
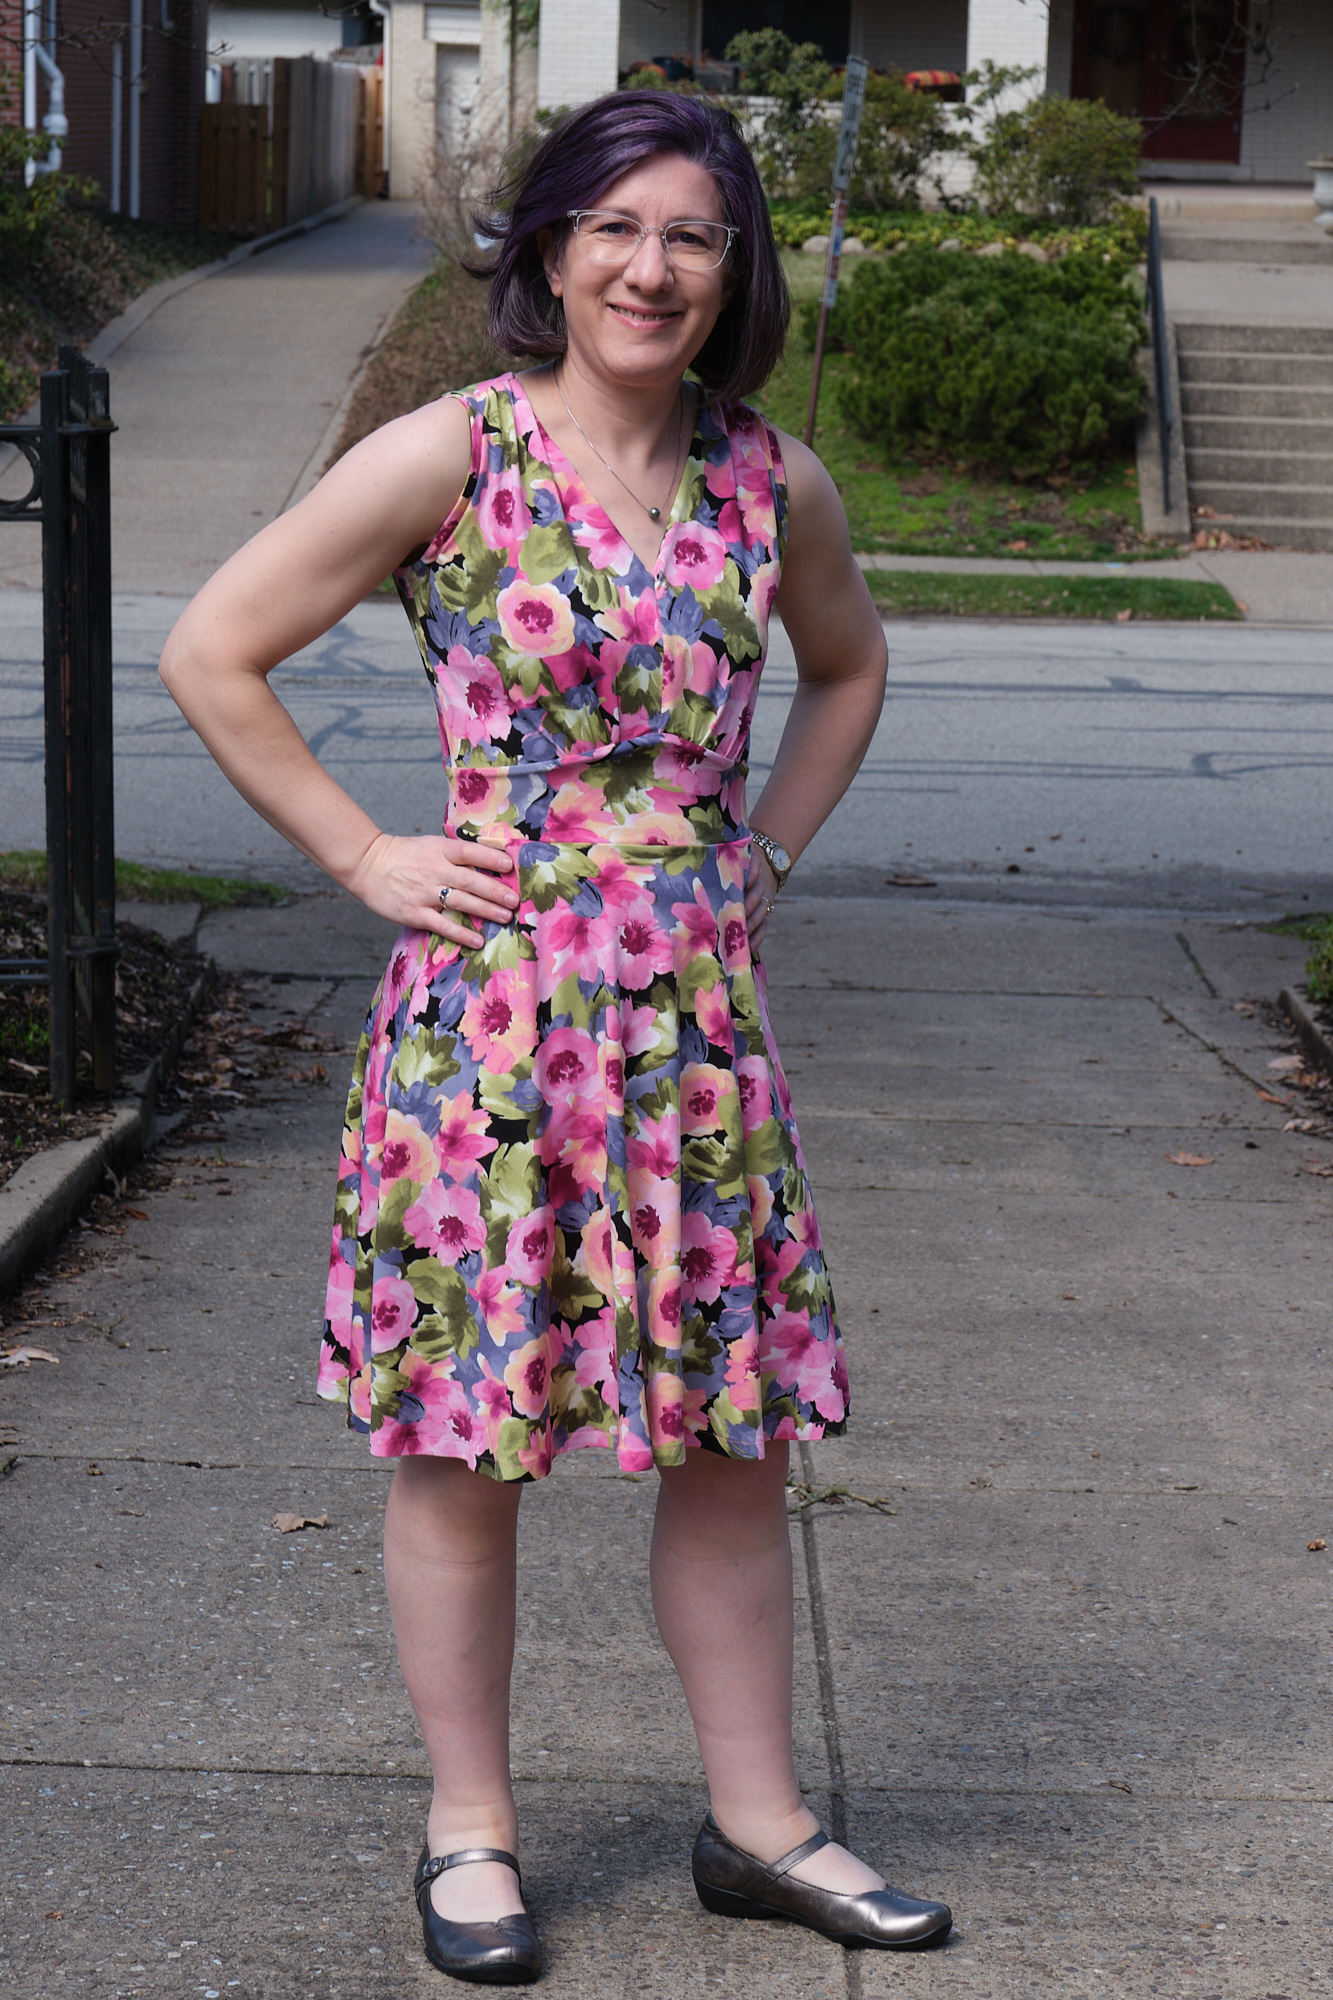
I chose a floral ITY from my stash that I had purchased at Stylishfabrics.com and cut it as a sleeveless dress in my usual Sinclair 4p size with the knee-length non-gathered skirt option (basically a half-circle skirt). I used a heavy 300 gsm poly-spandex athletic knit for the waistband lining. I cut the pockets about an inch deeper than the pattern called for. I also added about an inch of stitching along the side seams from the top of the skirt down into the pocket to hold the top of the pocket flat.
I had never sewn pleats before, and this pattern requires pinning and sewing 24 little tiny pleats. This was not straightforward to achieve with slippery ITY fabric. I did a lot of unpicking and basting until I got it (sort of) right. There are a lot of layers that have to come together at the waist and that also proved difficult. I basted the layers and still didn’t get it right the first time.
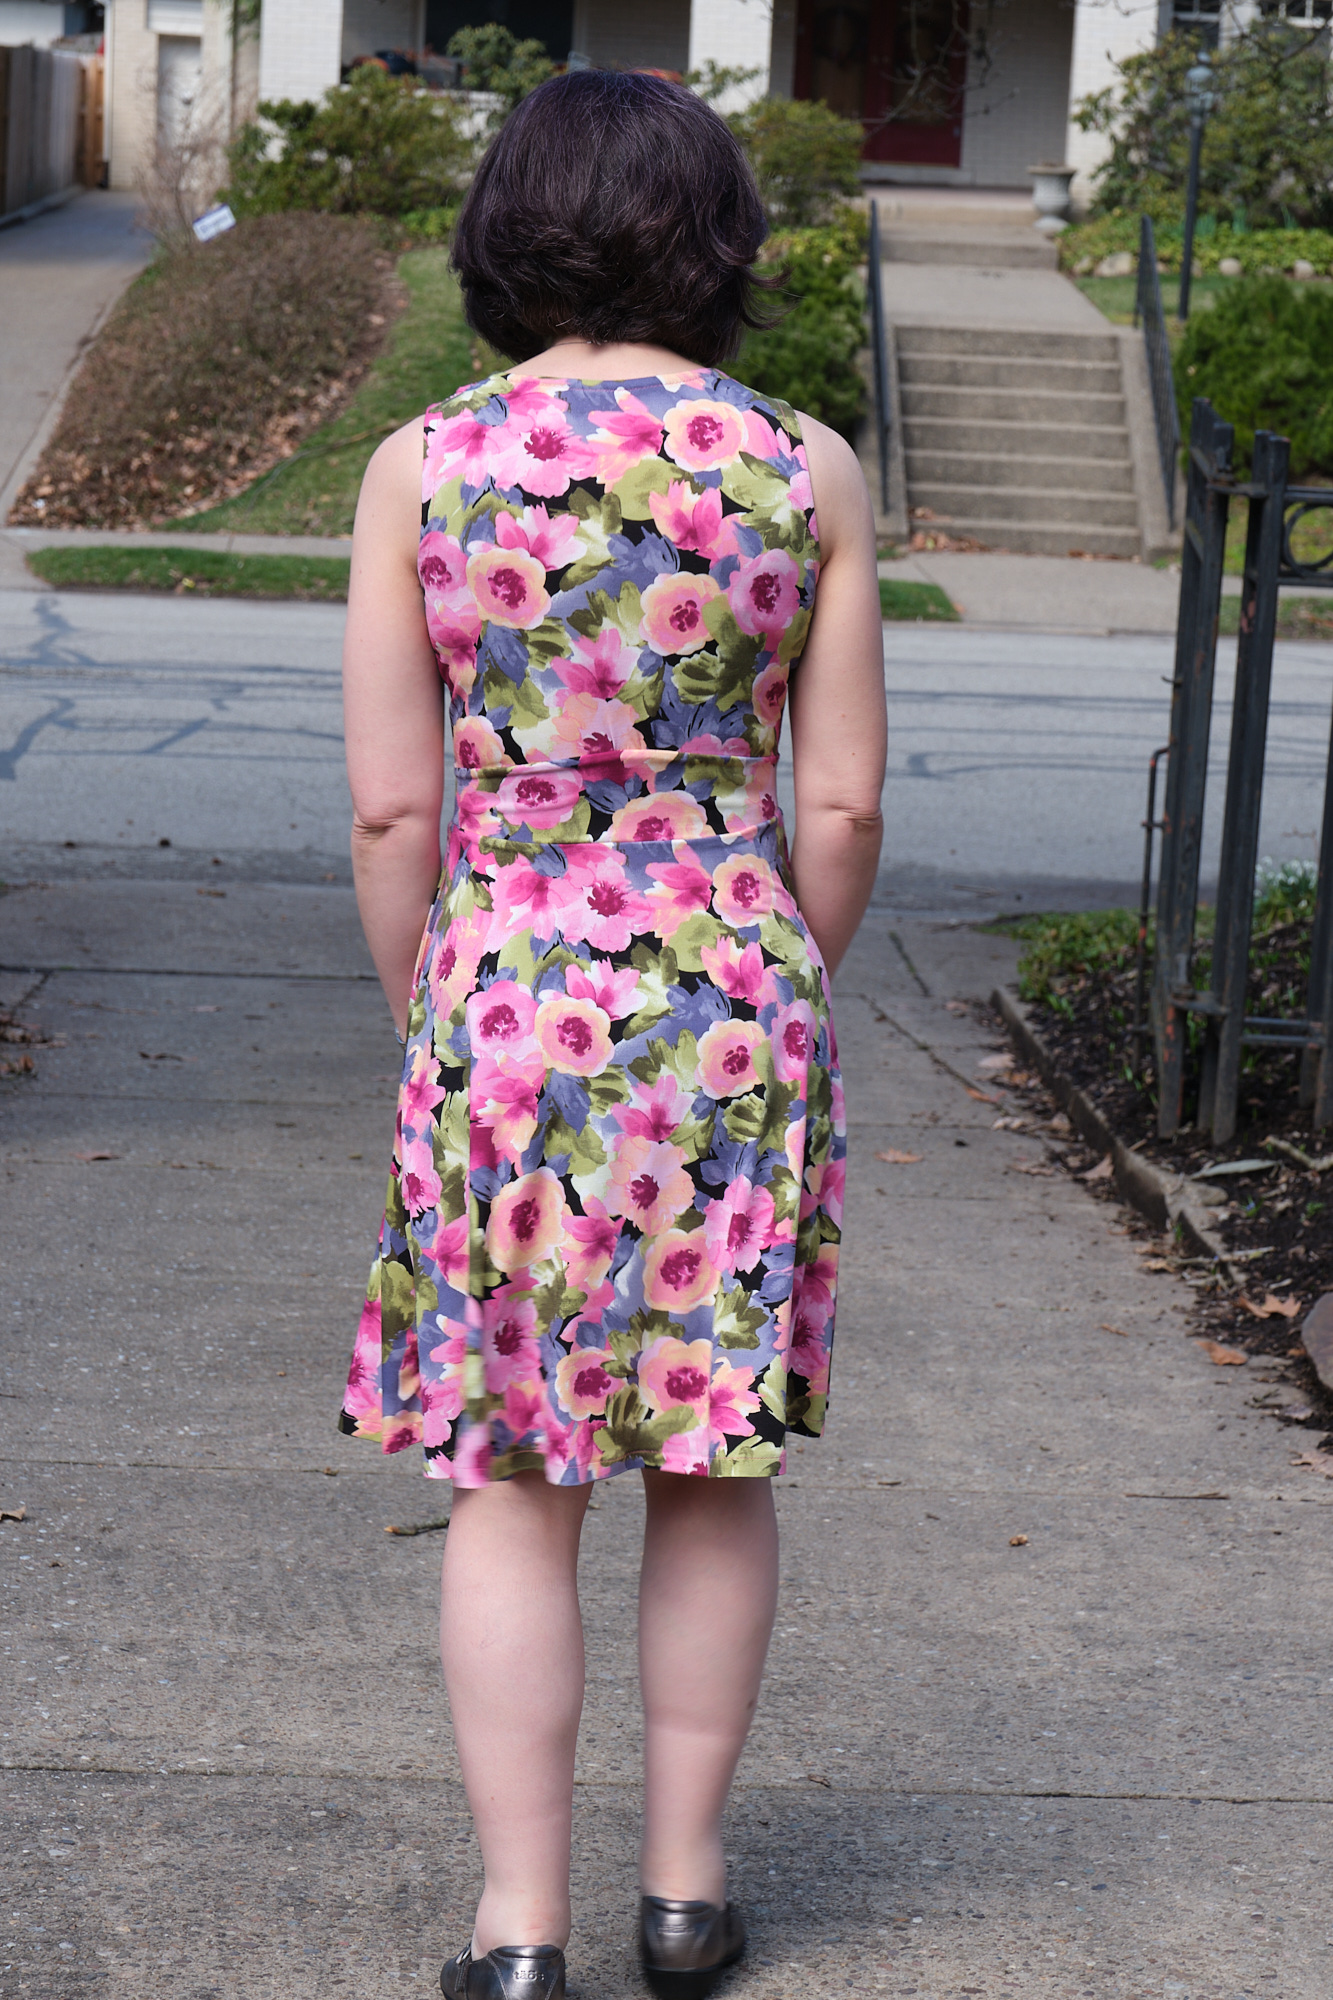
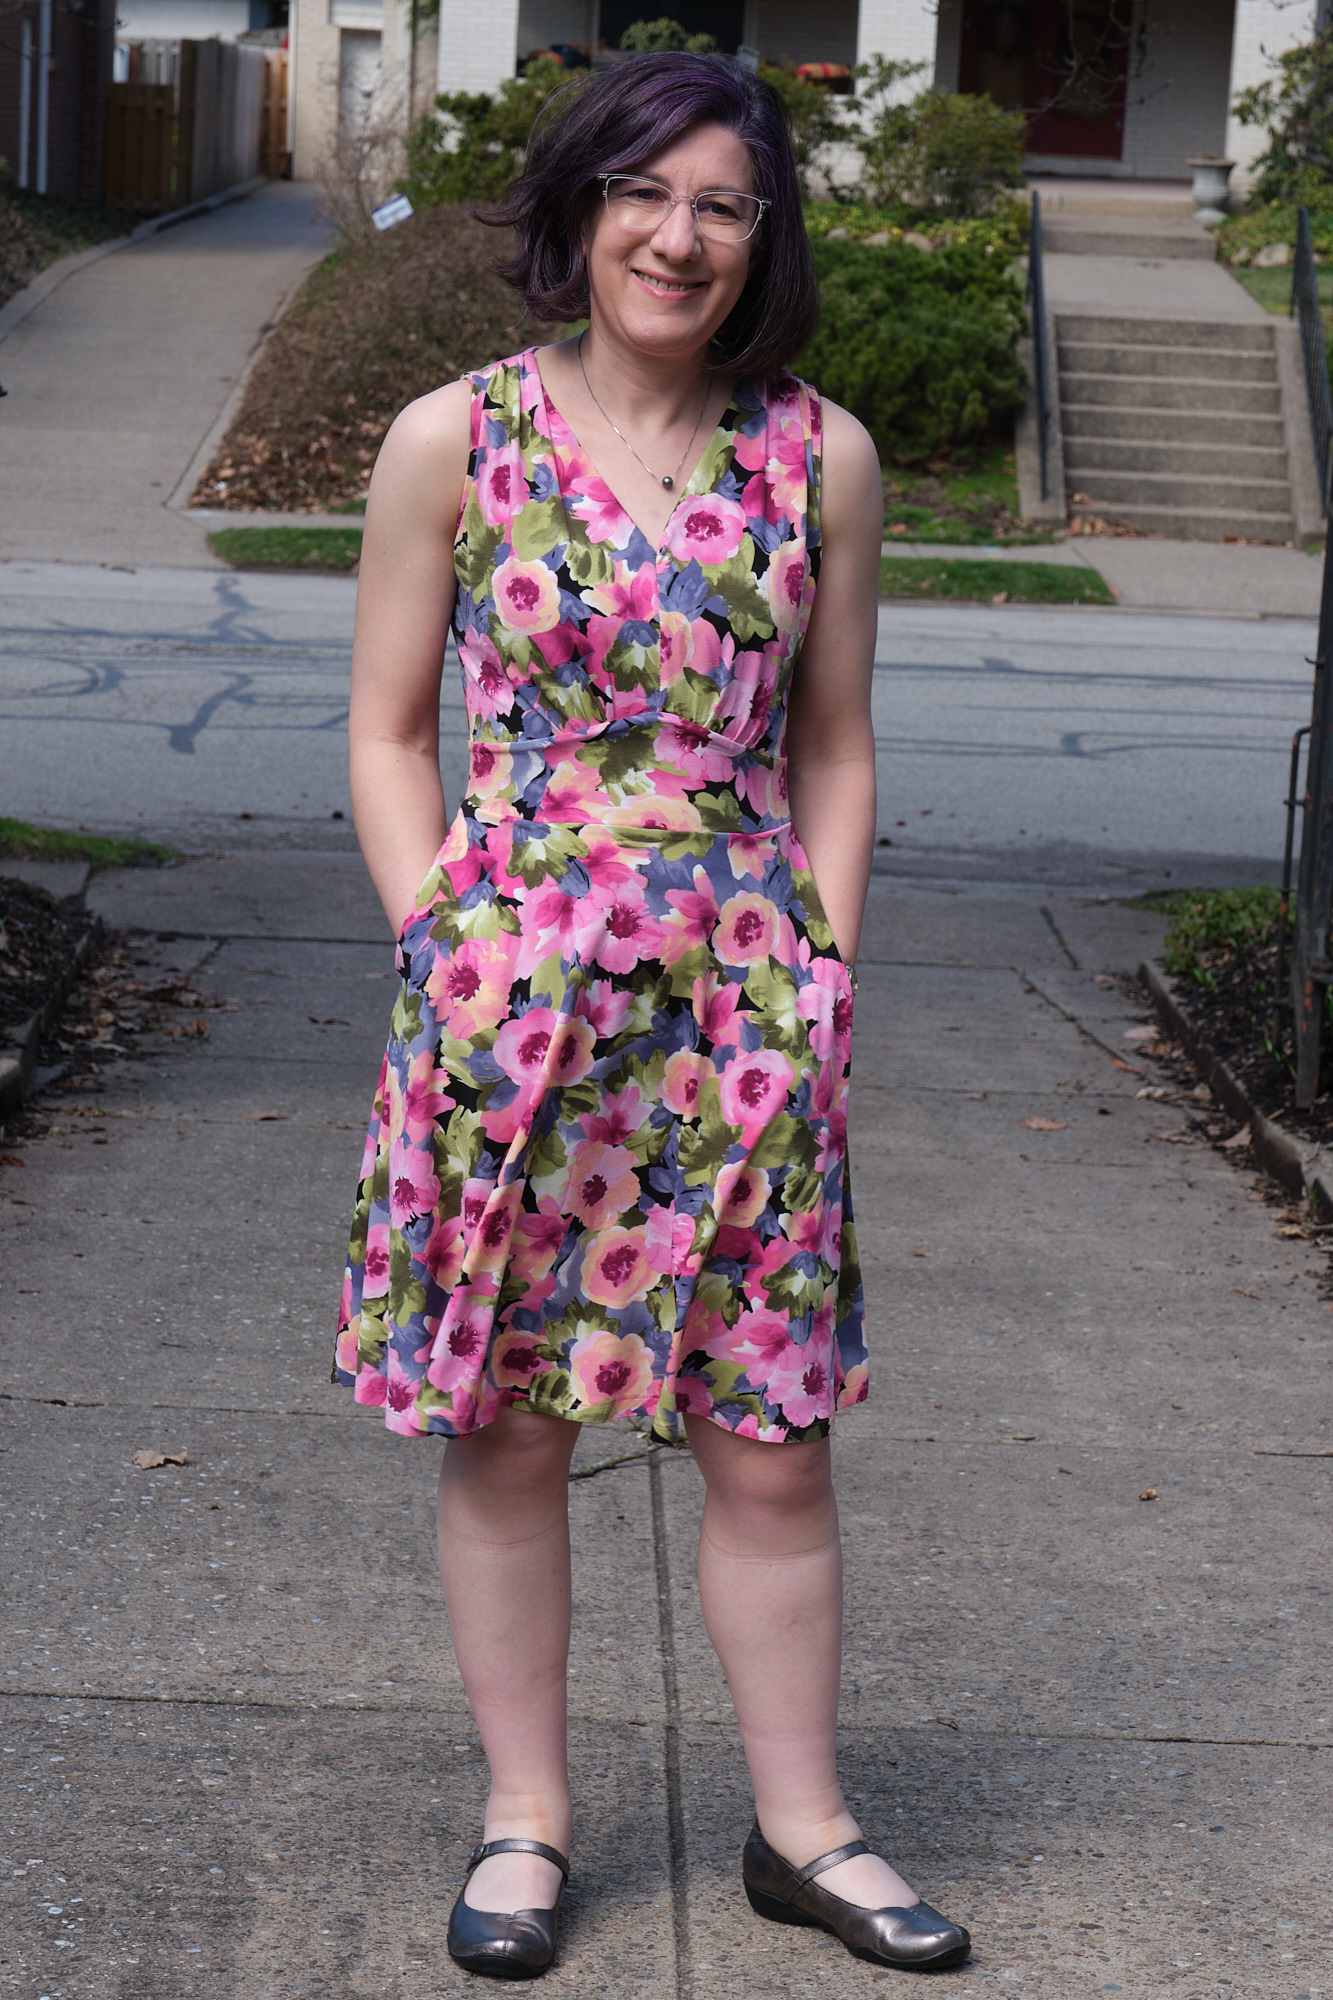
The finished dress looks great. I think it is quite figure flattering and also comfortable to wear, and I don’t think the bad pleat job is easily noticed (at least not until I point it out). This is a dress I expect to get a lot of wear out of this summer. Some how it was warm enough to model it outside in the first week of March in Pittsburgh, but I’m not actually expecting this to be a dress I wear much for another couple of months. The 300 gsm lining means the waist is quite secure and not going anywhere, even with stuff in the pockets. It is a bit thick though and perhaps that weight for the lining was overkill on a summer dress.
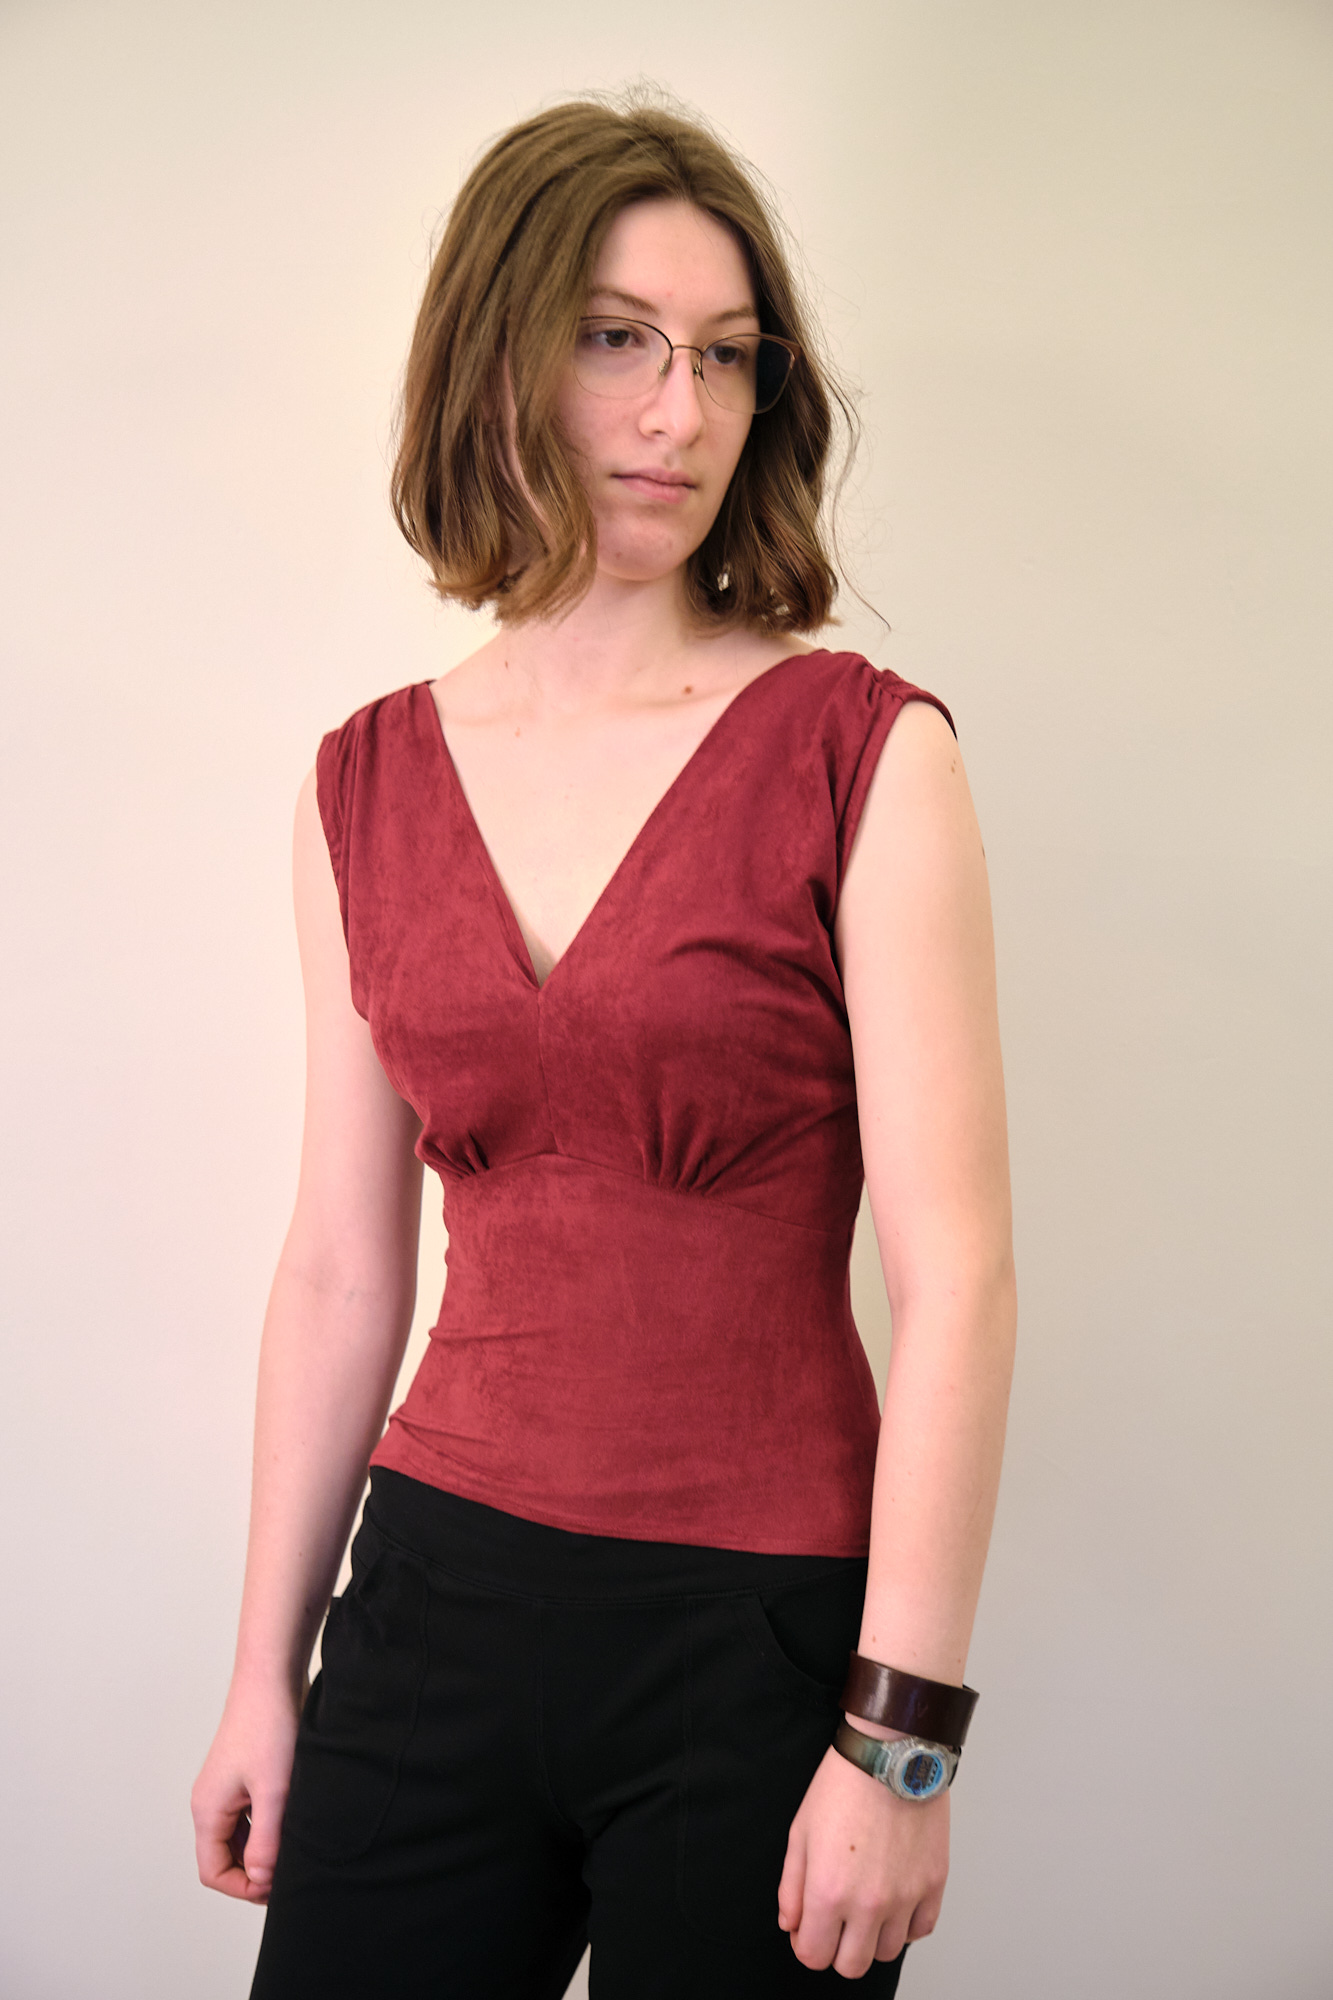
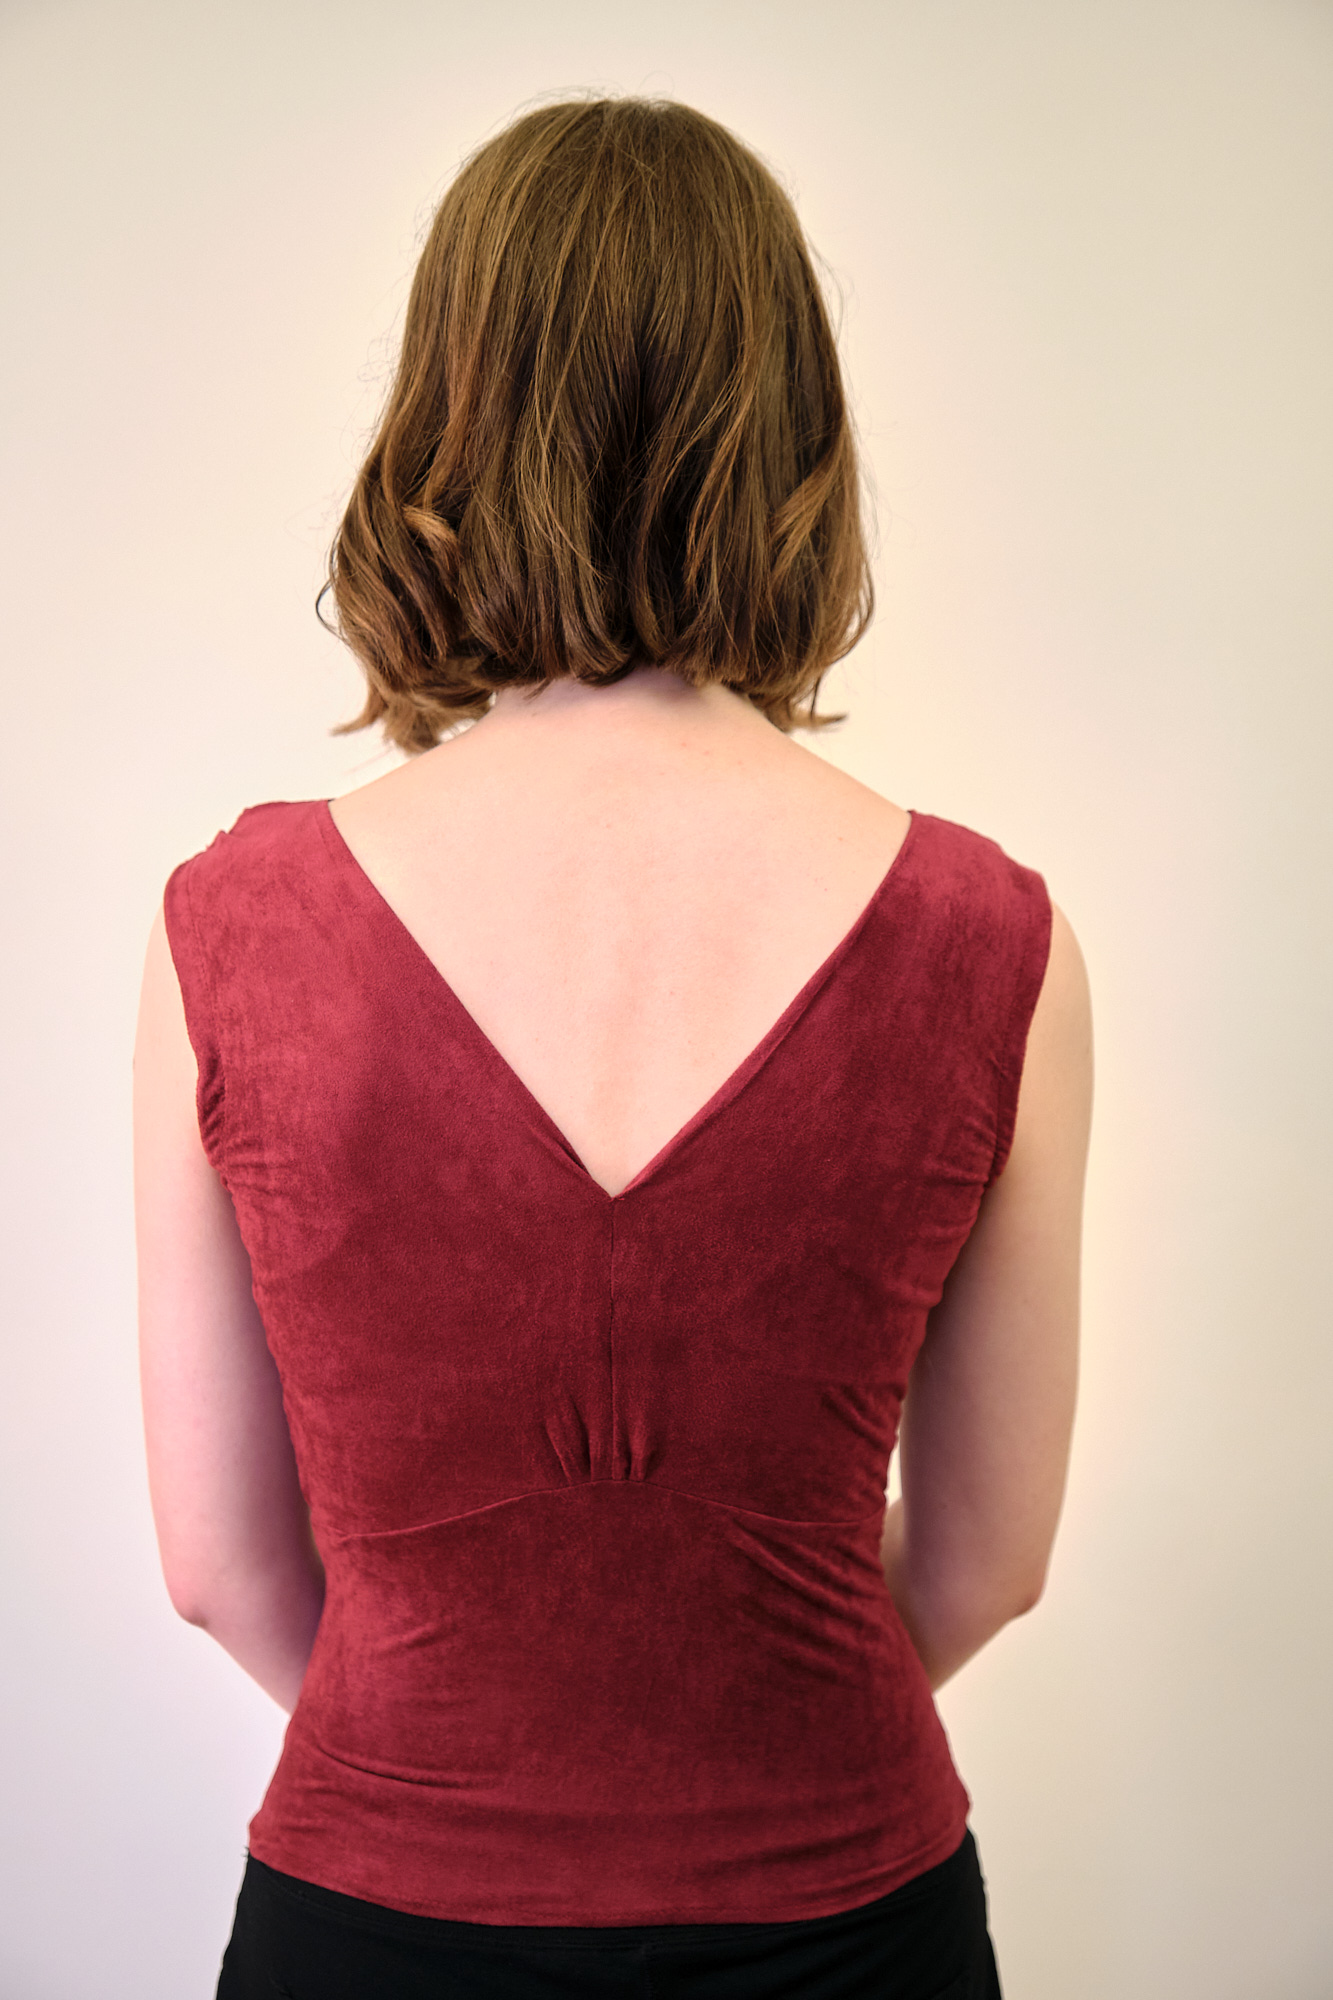
Now that I understood the basics of how this dress goes together and fits, I hacked the bodice pattern to make it more like a prom dress. First I lowered the front V by about 2 inches. Next I split the back bodice on the fold and copied my new lower front V to the back. I chose the depth of the Vs so that the dress would be wearable with a normal bra. I wanted to test this out with just the bodice and not an entire dress, so I added about 5 inches to the height of the waist pieces so I could hem the bottom and make this a wearable top. I didn’t bother with the inner waistbands. I cut this out of sangria microsuede jersey knit from Surge Fabrics leftover from another project. (This is not my favorite fabric to sew with due to it being both slippery and rubbery/clingy at the same time, but my daughter likes the color and I had enough scraps for this project.) I made this in size 2R, my daughter’s size.
This time I taped the pleats down on the front and the back with scotch tape about a quarter inch from the edge before I sewed them down an eighth inch from the edge. The pleats came out a lot better this way. I seem to have inadvertently miscalculated the back shoulder width when I added the back V and they ended up slightly wider than the front shoulders so I added a couple of pleats to even them out. I will widen the back V slightly next time. My daughter tried it on and liked the deep Vs. However, there was extra fabric under the bust. To adjust for her small bust, I ended up removing about 1.25 inches from the front and back inner shoulder, thus changing the slope of the shoulder seams (a square shoulder adjustment), but also raising the bust area that wasn’t been filled out. Since I did this after it was already sewn and pleated it doesn’t all lie as smoothly as I would like (so much for my beautiful pleats), but I think it will work fine when I cut it this way to begin with. The actual dress will also have weight from the skirt pulling the waistband down, which I think will also hold the V neck in place better (I considered top stitching along the Vs but I think it is ok without that – and I can always add top stitching later if she wants it.)
My daughter selected a fancy embroidered tulle fabric for her dress, which I will line with a sparkly nylon/spandex fabric. She wants long puff sleeves made from unlined tulle and a full-length circle skirt. Before cutting into all this fancy fabric, I want to test out sewing this pattern with tulle and adding sleeves and a circle skirt. My plan is to make the V-neck modifications in my size and sew myself a knee-length dress with inexpensive tulle and lining. Then if all goes well I will be ready to sew the prom dress. Stay tuned!