Plush and warm double sweater knit

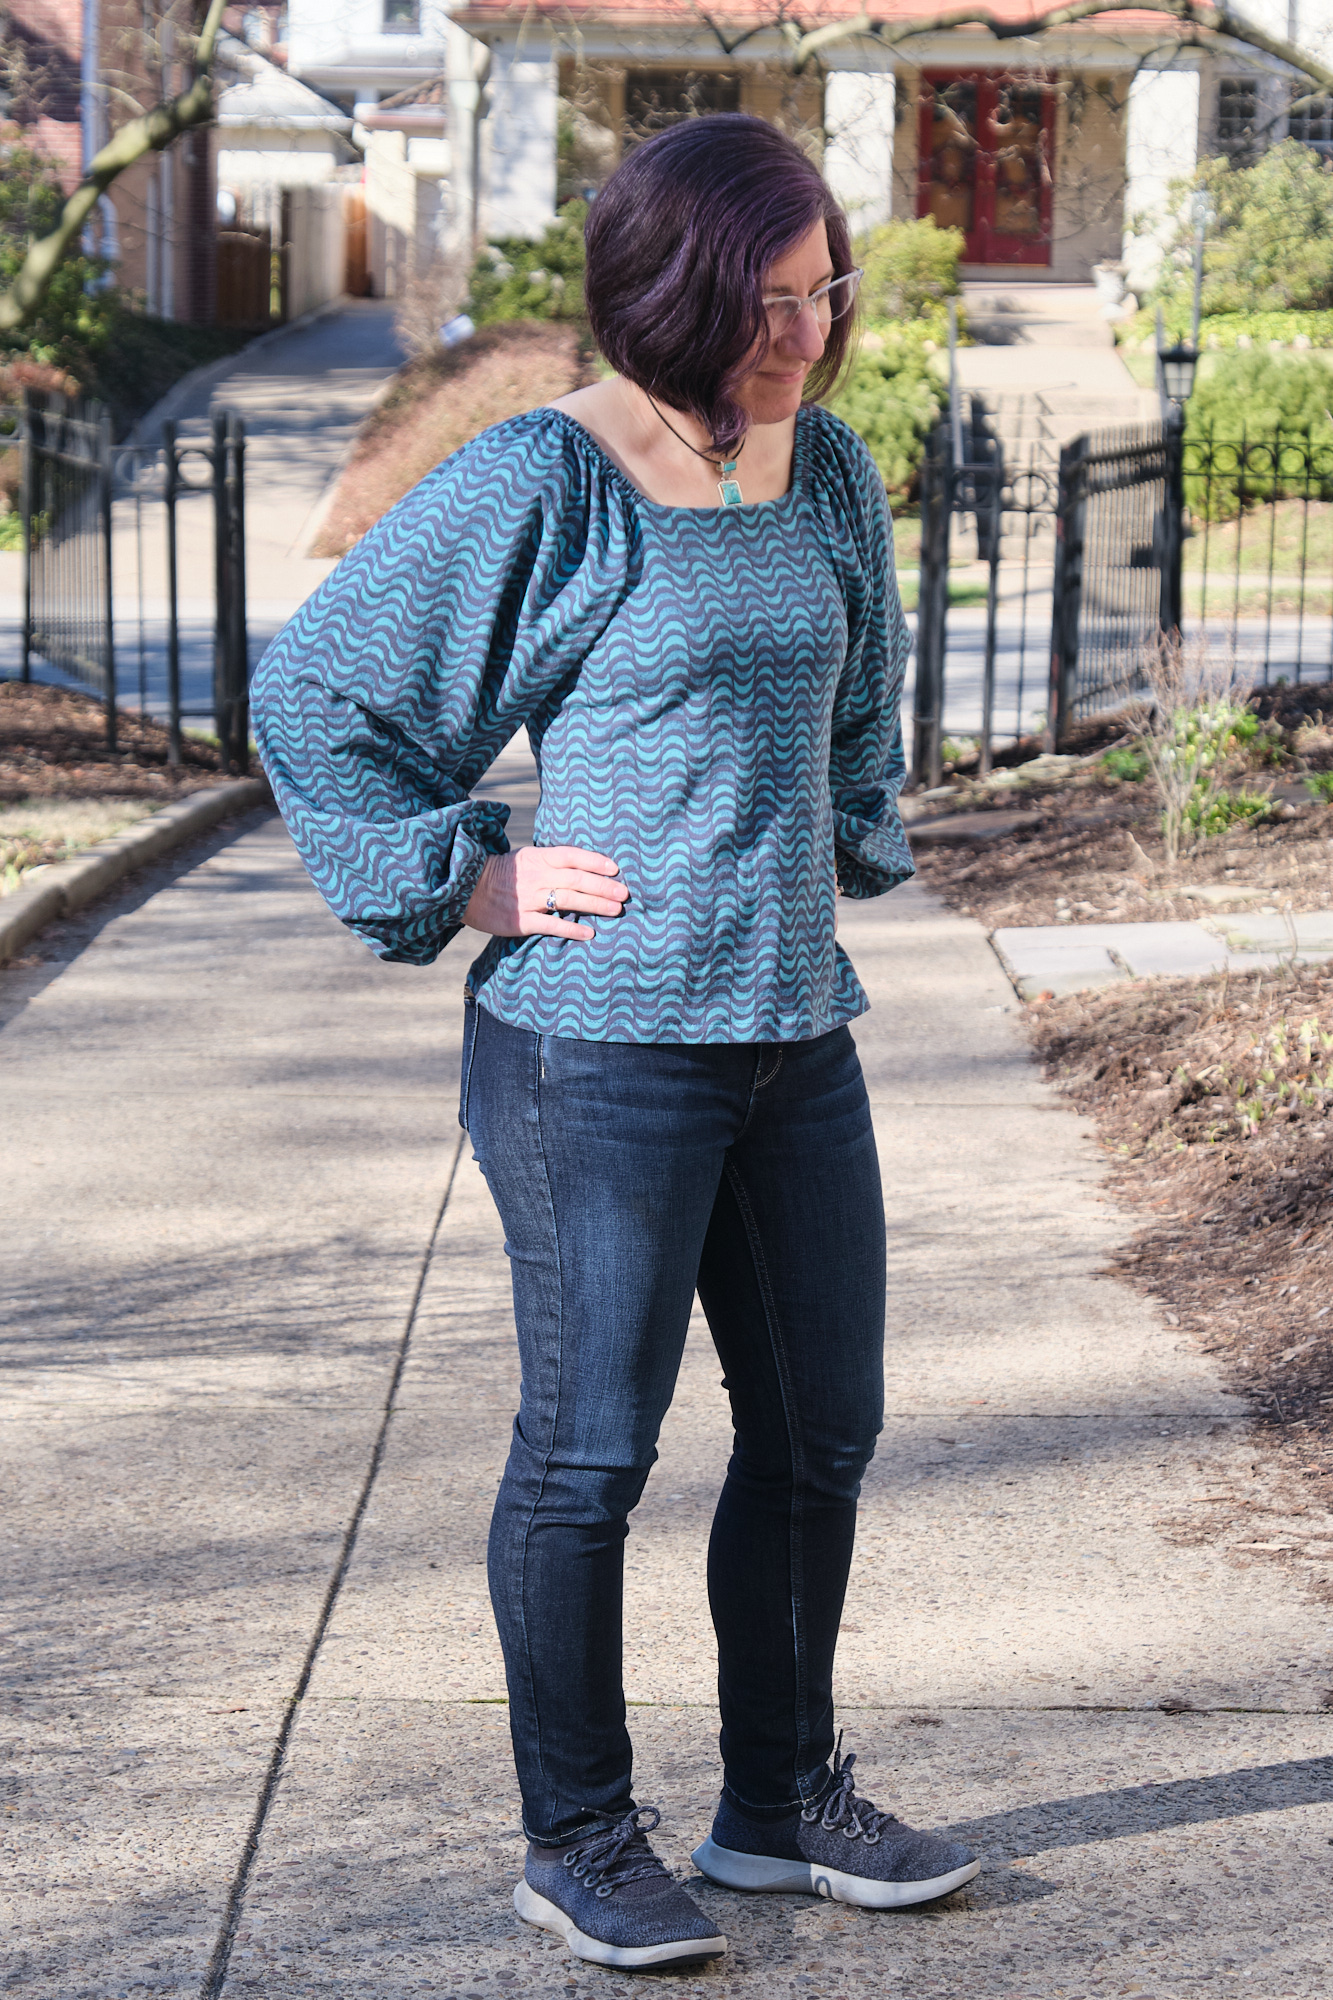
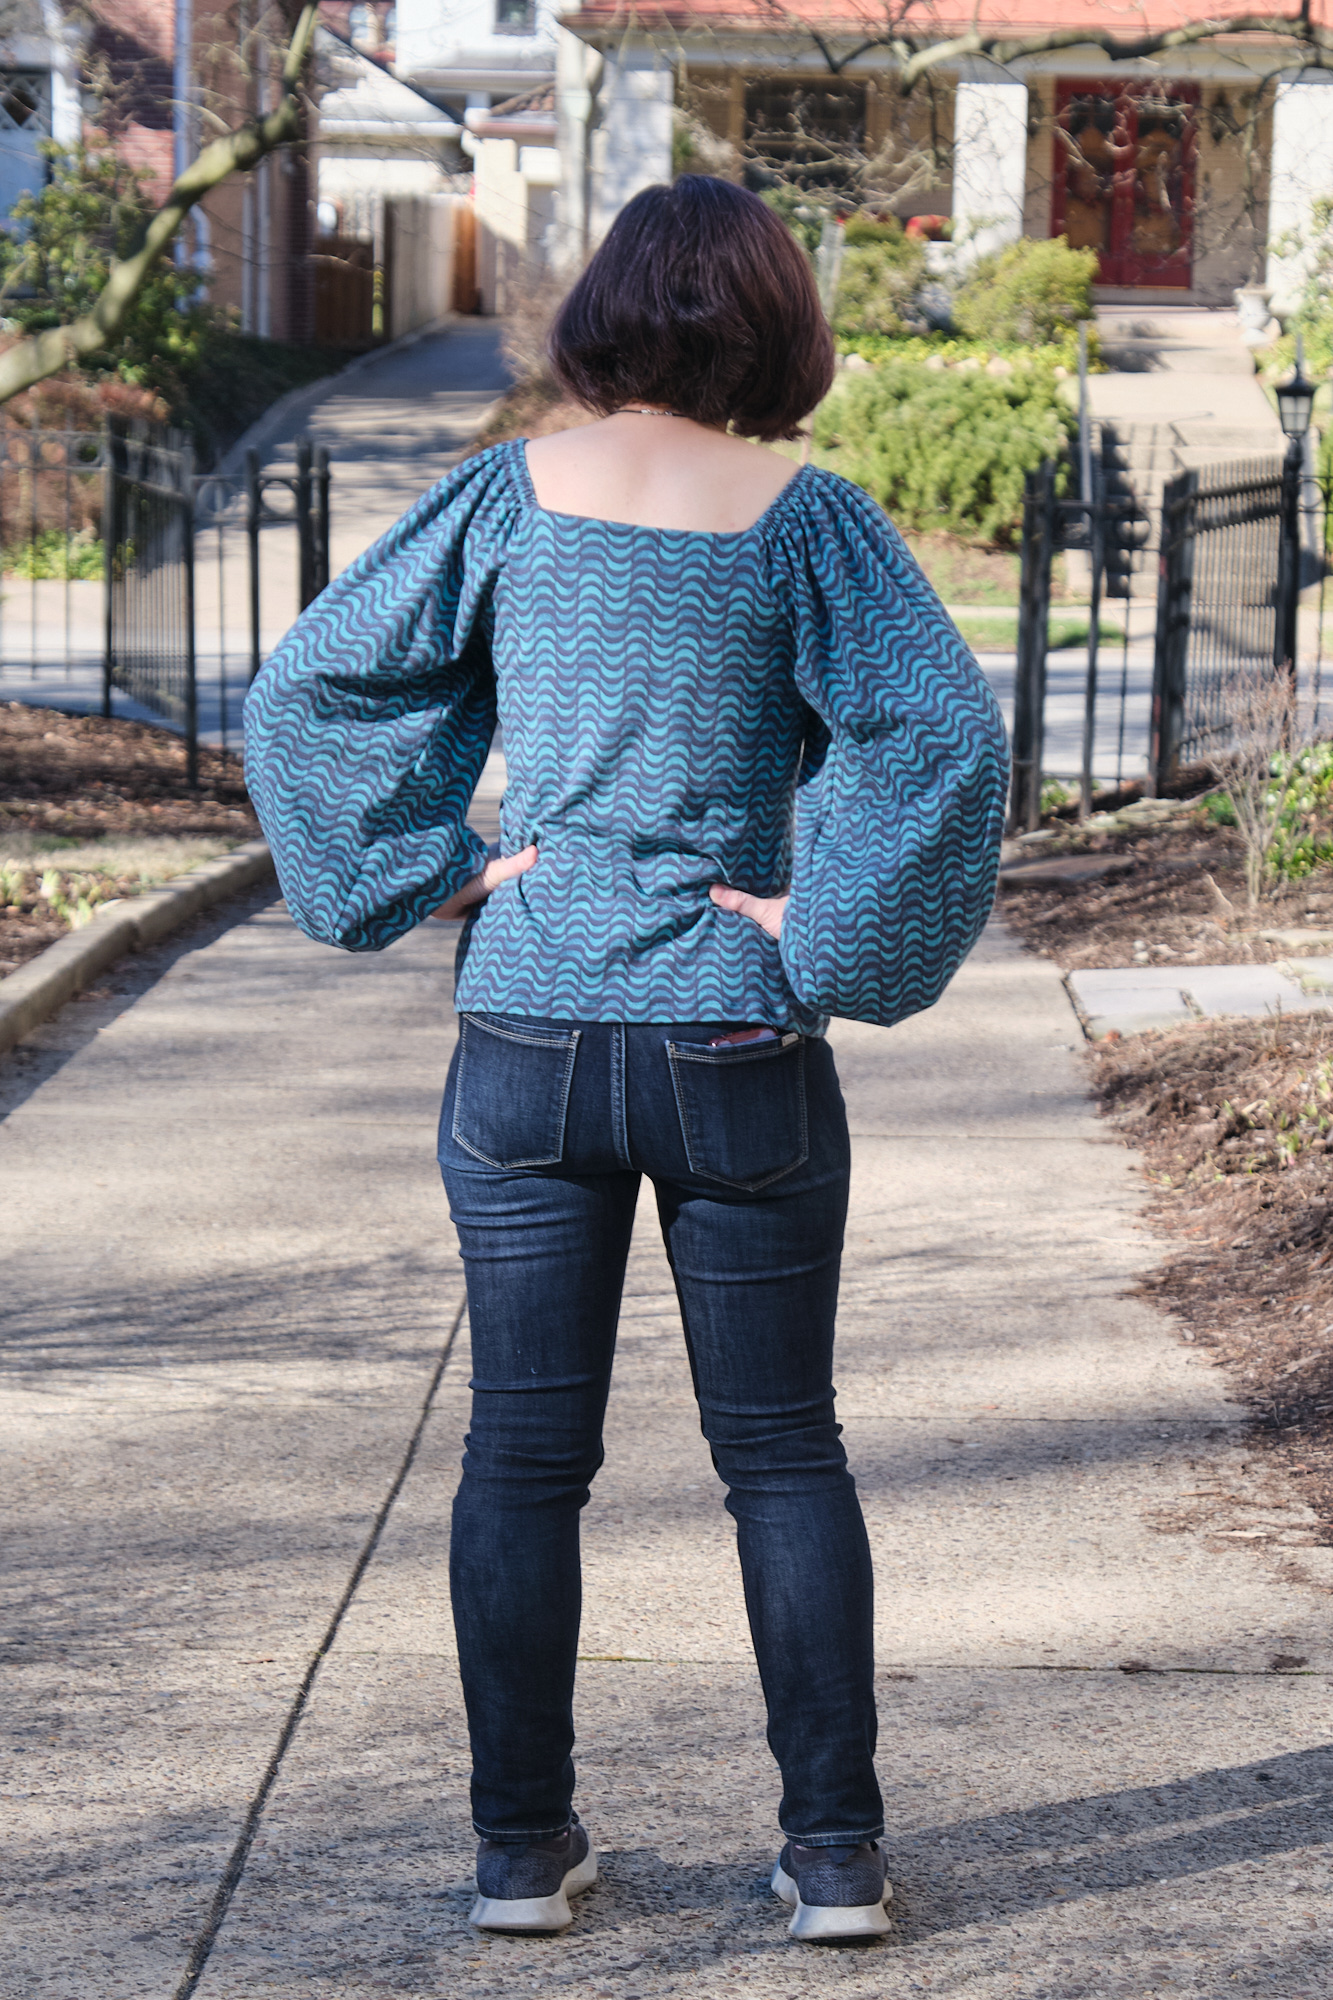
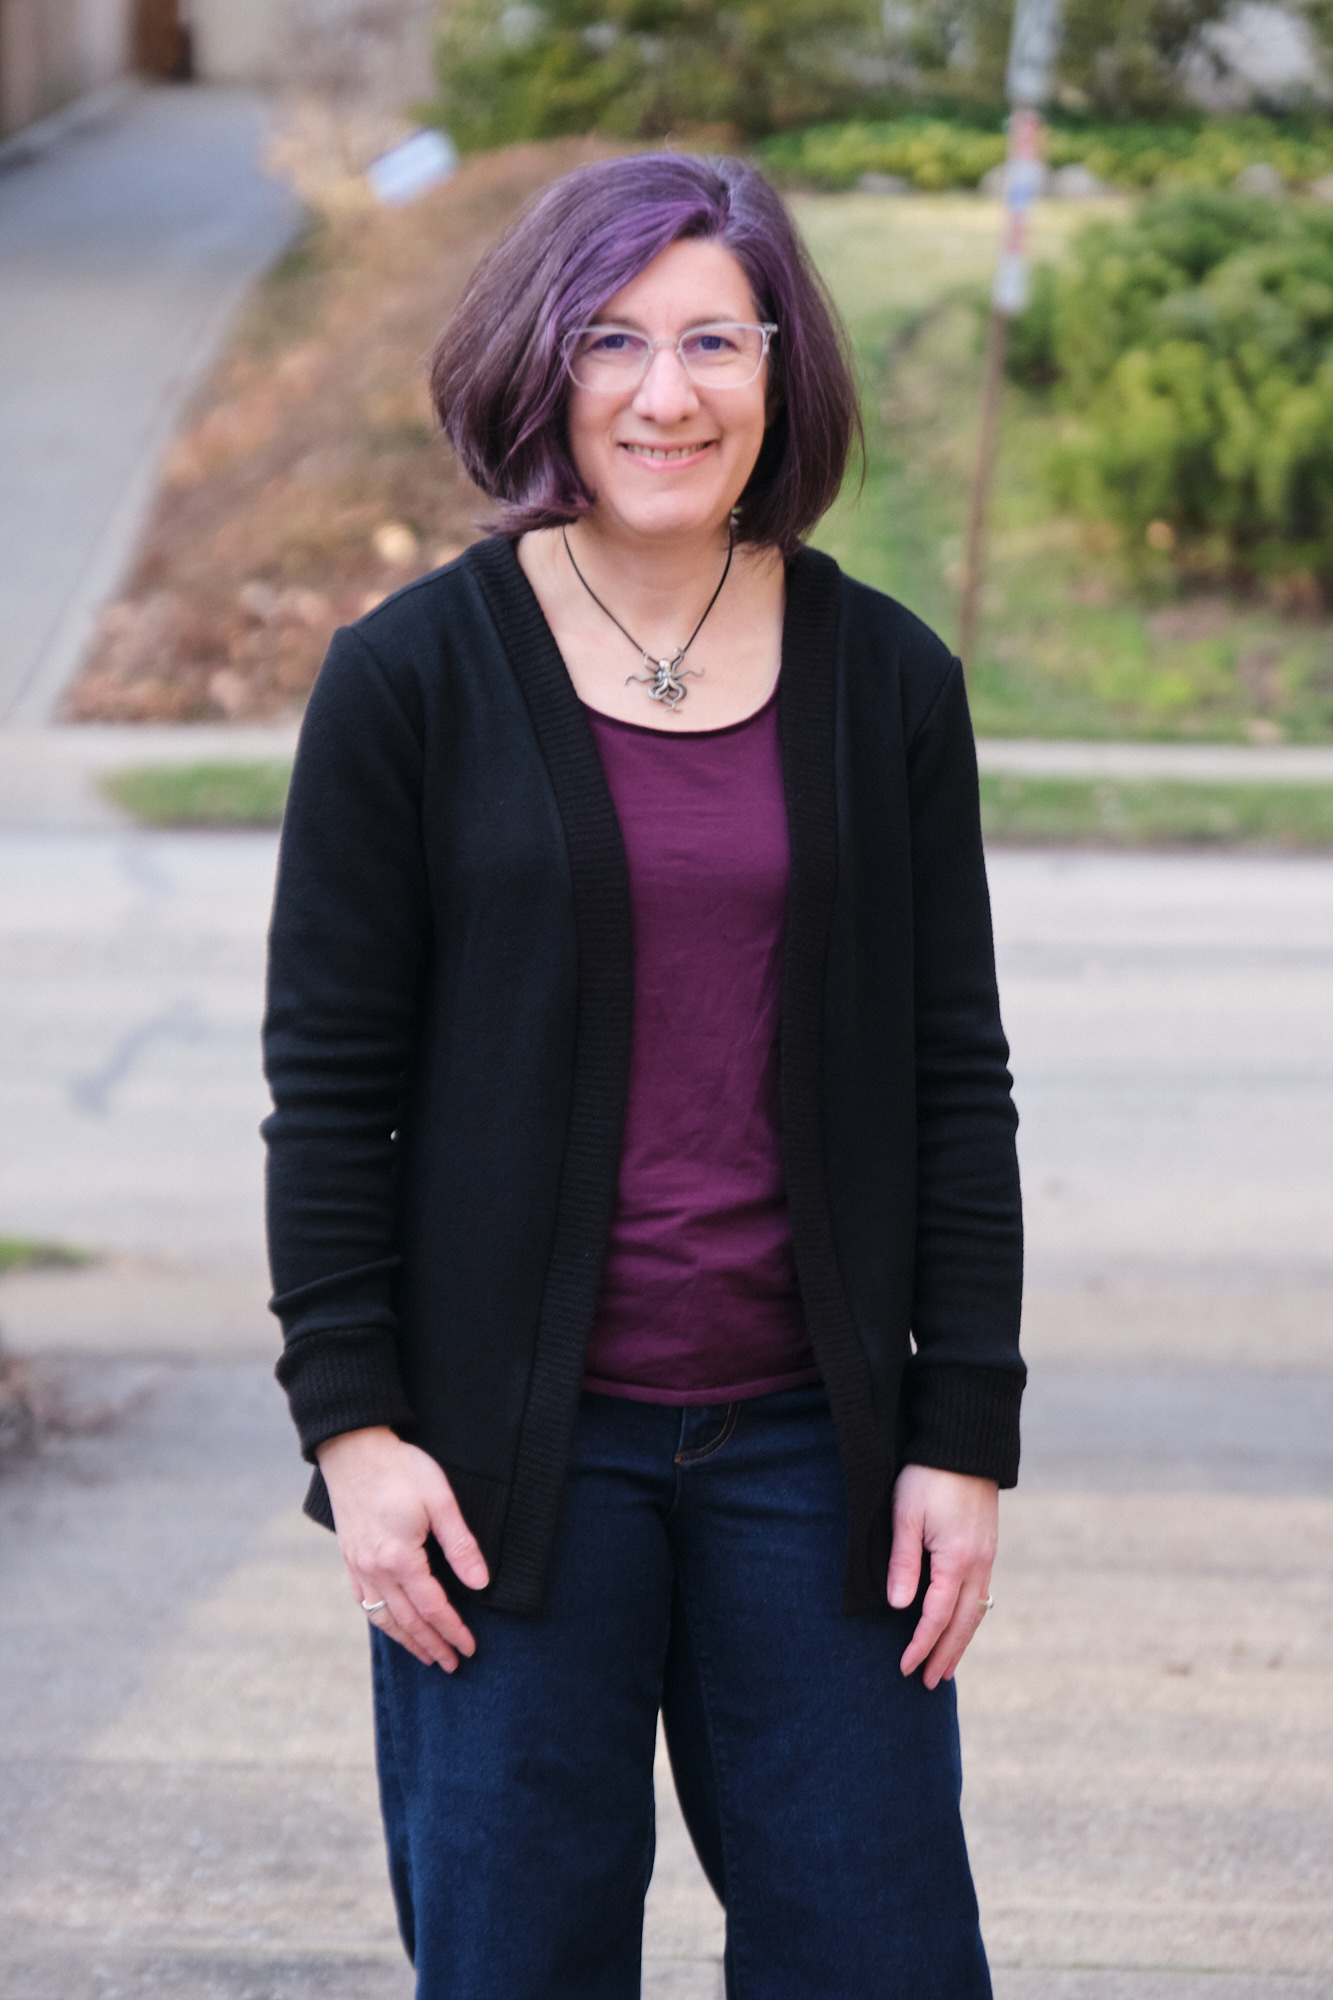
I stocked up on sweater knits from online fabric stores during the winter clearance sales and now my sewing room is overflowing with soft and cuddly sweater fabric. Most of it will wait until next fall before I use it, but I was eager to sew up some of it while it is still winter.

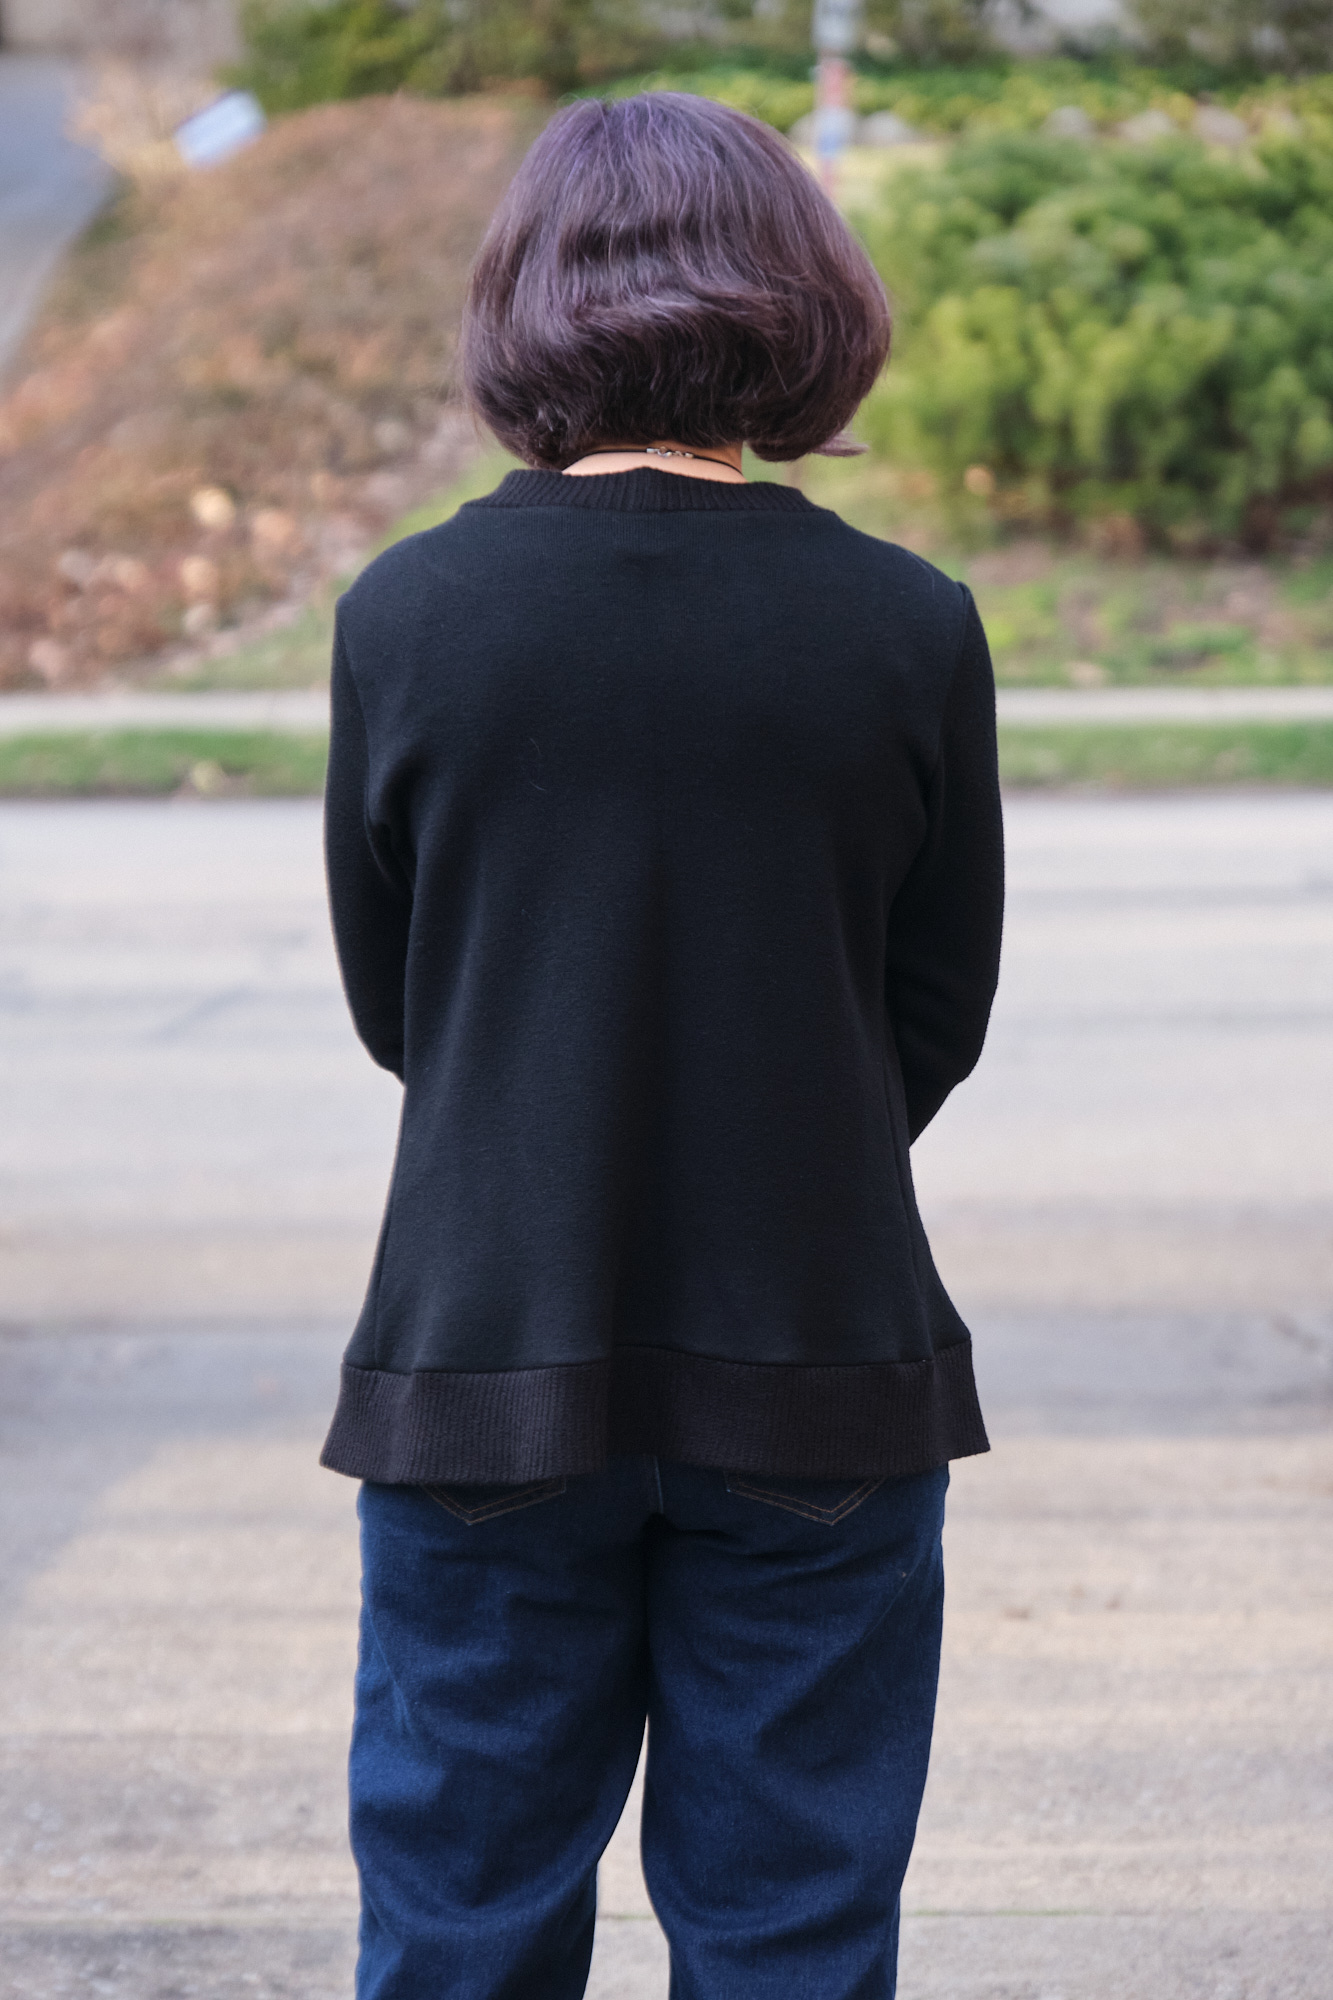
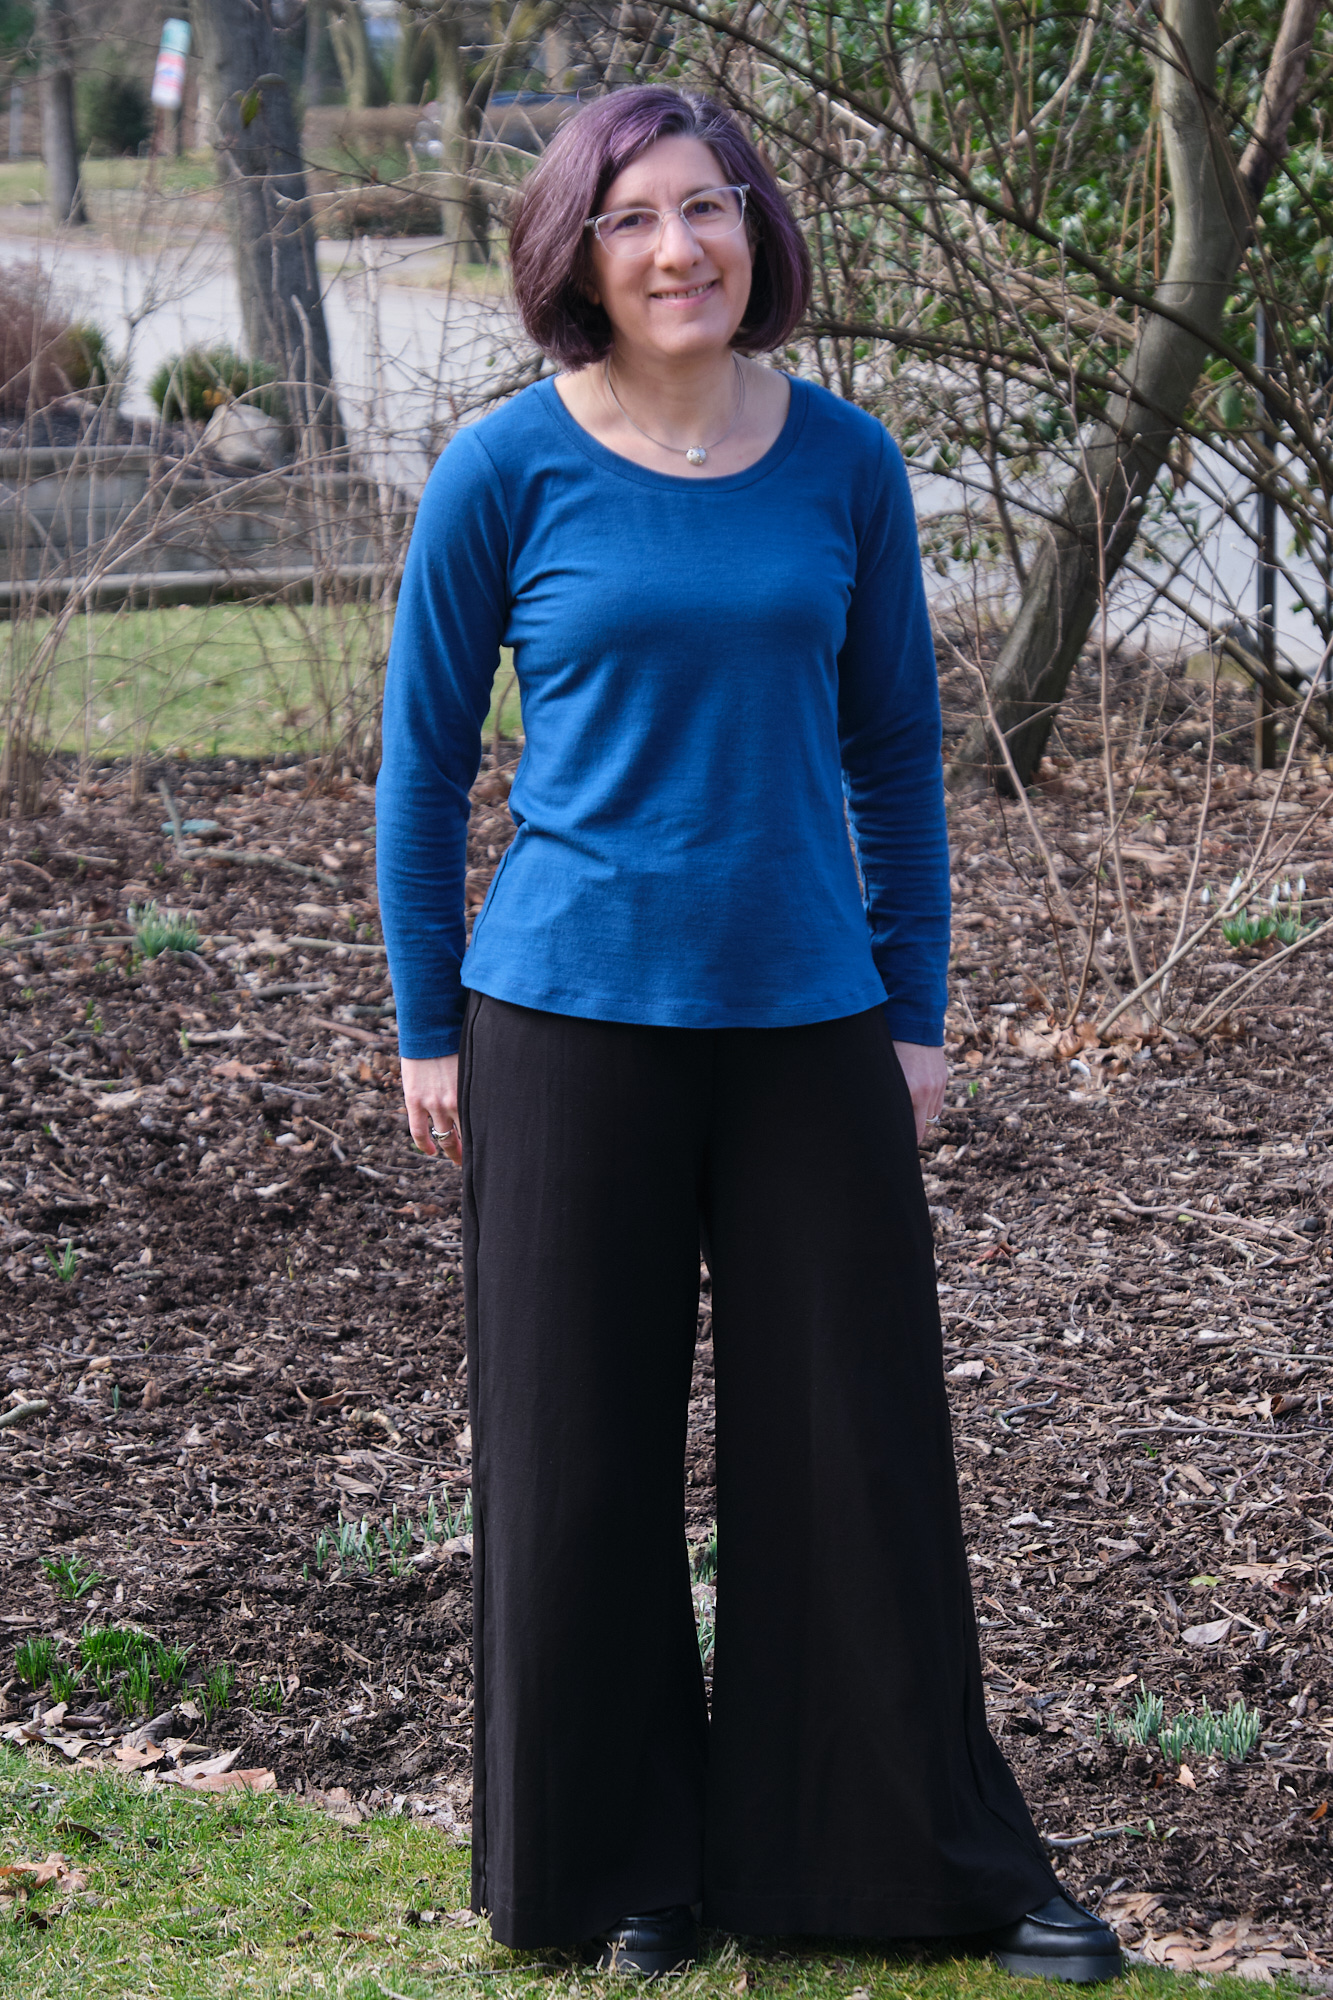
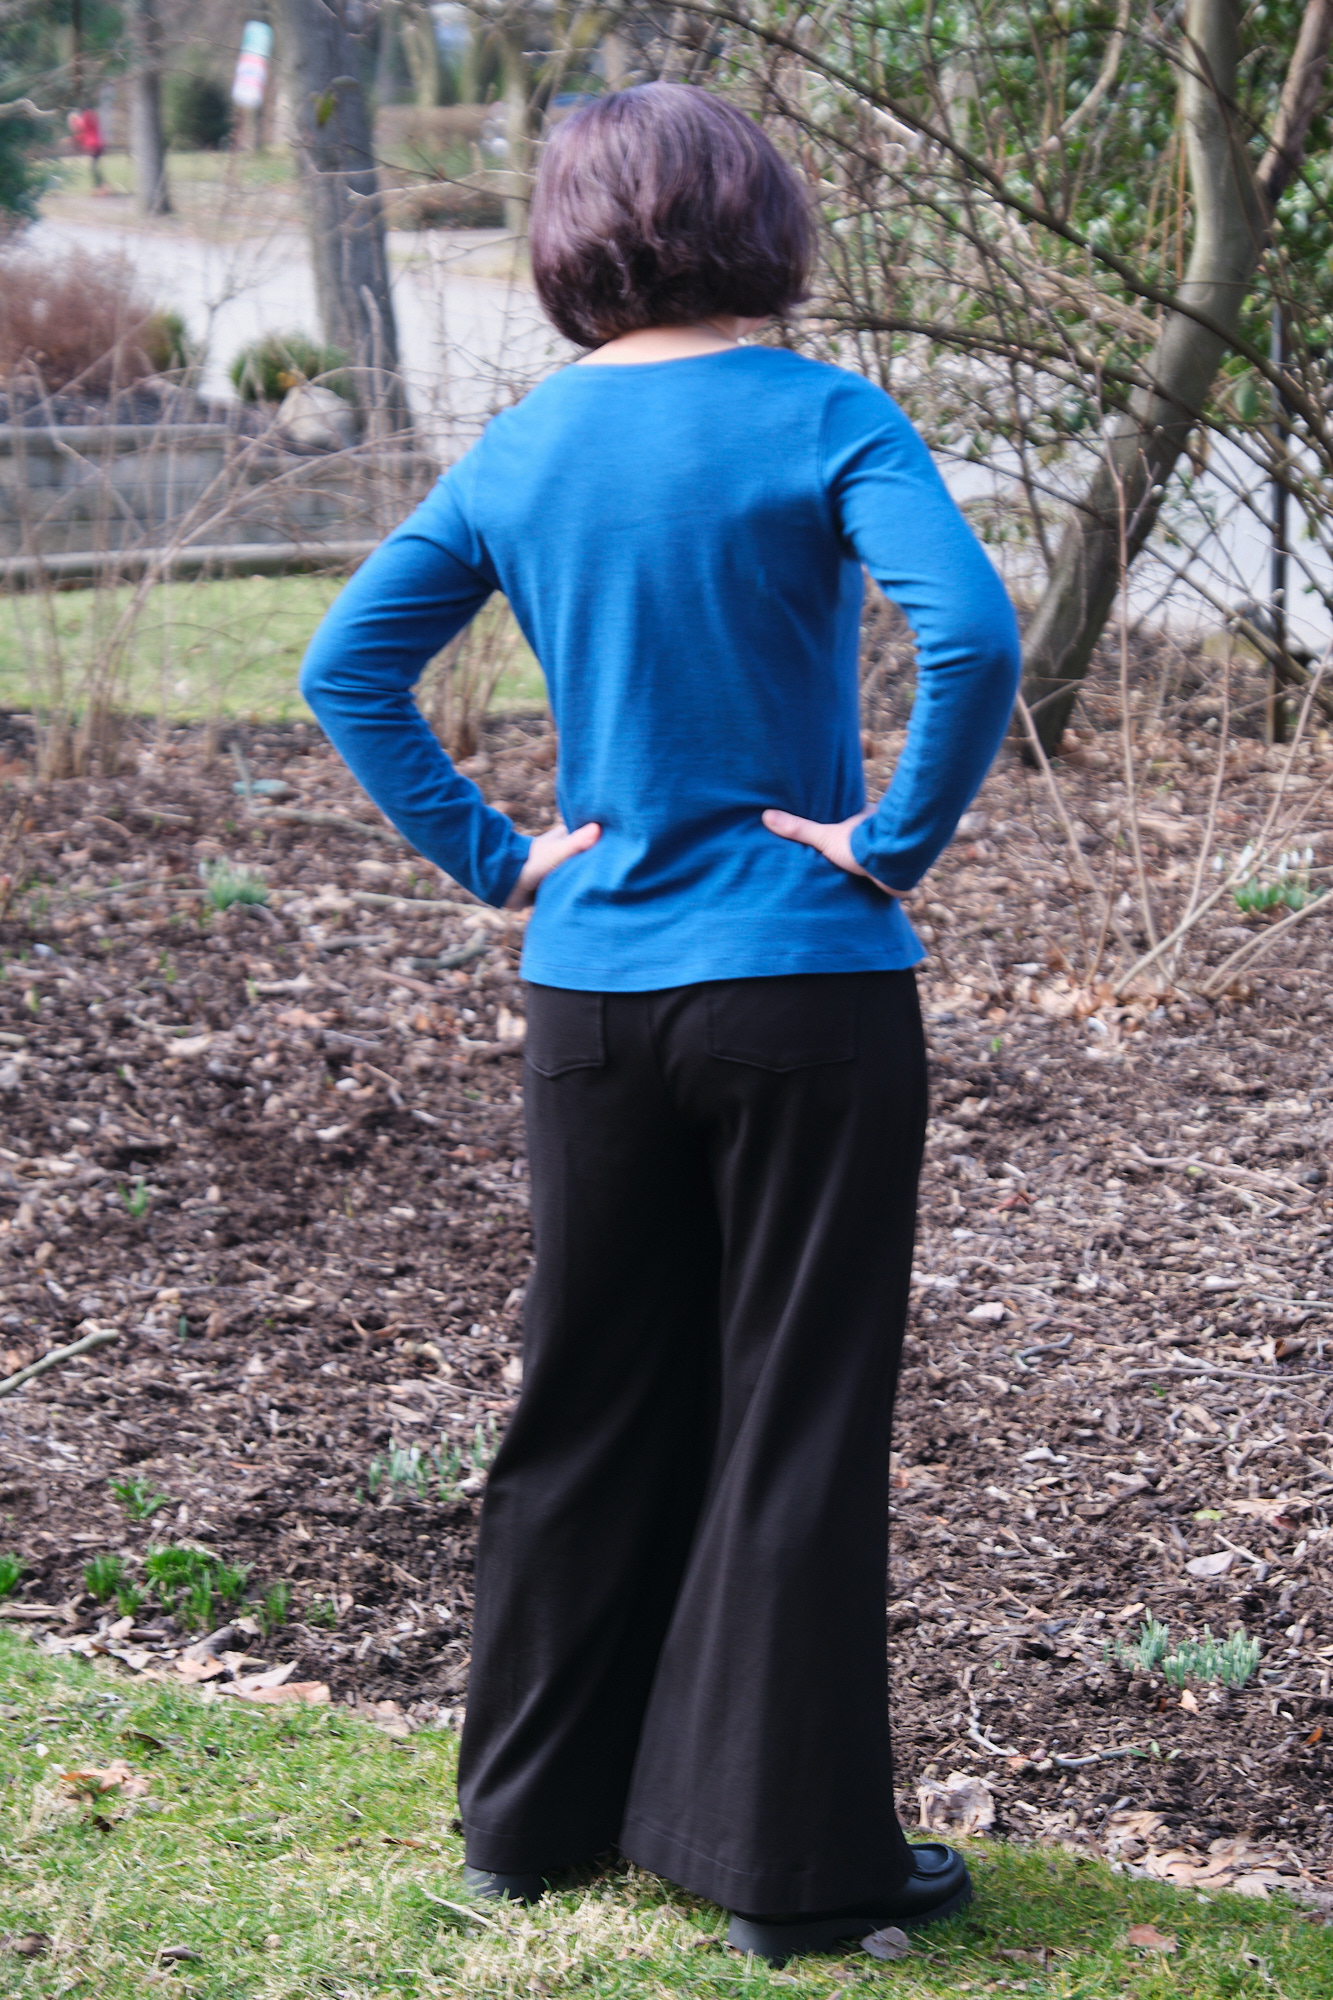
I decided to start by making a cardigan sweater out of the super plush and warm ebony Morraine Double Cashmere Sweater Knit from Surge Fabrics. This fabric is 44.5%Rayon/35.9%Poly/19.6%Nylon with a weight of 320gsm and 75% horizontal/50% vertical stretch. It is a thick, lofty fabric with a somewhat squishy and very soft feel, but it is also fairly stable with good recovery. I used the Banff Ultra Thick 1×1 Rib Sweater Knit for the bands and cuffs. Banff has similar fiber content — 50%Rayon/28%Poly/22%Nylon — but it is slightly heavier at 350 gsm and has 75% horizontal/25% vertical stretch. Although the specs are similar, the Banff is much less stable and tends to stretch out (as I discovered when I used Banff to make a dress a couple of months ago) and unravel at the edges. In fact I had a hard time cutting the bands out without inadvertently stretching it in the process. But it produces lovely bands and it matches the Morraine perfectly!

I thought about using the Grab A Cuppa cardi pattern I tried last week, but decided I didn’t want to make something so slouchy out if this heavy fabric. Instead I went with the free Sinclair Harper pattern with some modifications. Based on my previous Harper sew, I knew my usual size was fairly snug so I sized up one size to 6p. I also wanted a slightly shorter length, but not as short as the crop length, so I shortened the classic-length bodice by 2.5 inches. I don’t like the feel of neck bands that creep up my neck so I lowered and widened the back neck and narrowed the band by .5 inches on each side (cutting the band 1-inch narrower). To compensate I widened the inner edge of the front bodice by .5 inch and narrowed the shoulder to match the altered neckline on the back bodice. I estimated the new length for the neck band, but it ended up being much too long, so I iteratively shortened it until I got it right.

I serged my black cardi with my usual medium-grey serger thread. That’s the only serger thread I have and when I bought my serger last year I swore I would never rethread it. But threads break and I was forced to learn how to rethread it earlier this year. After many failed attempts I think I am now capable of performing a complete rethread of all four threads in about 5 minutes. Now I think having black serger thread on hand would be a good idea, as I have a number of projects planned with dark fabrics and it would look a bit nicer.

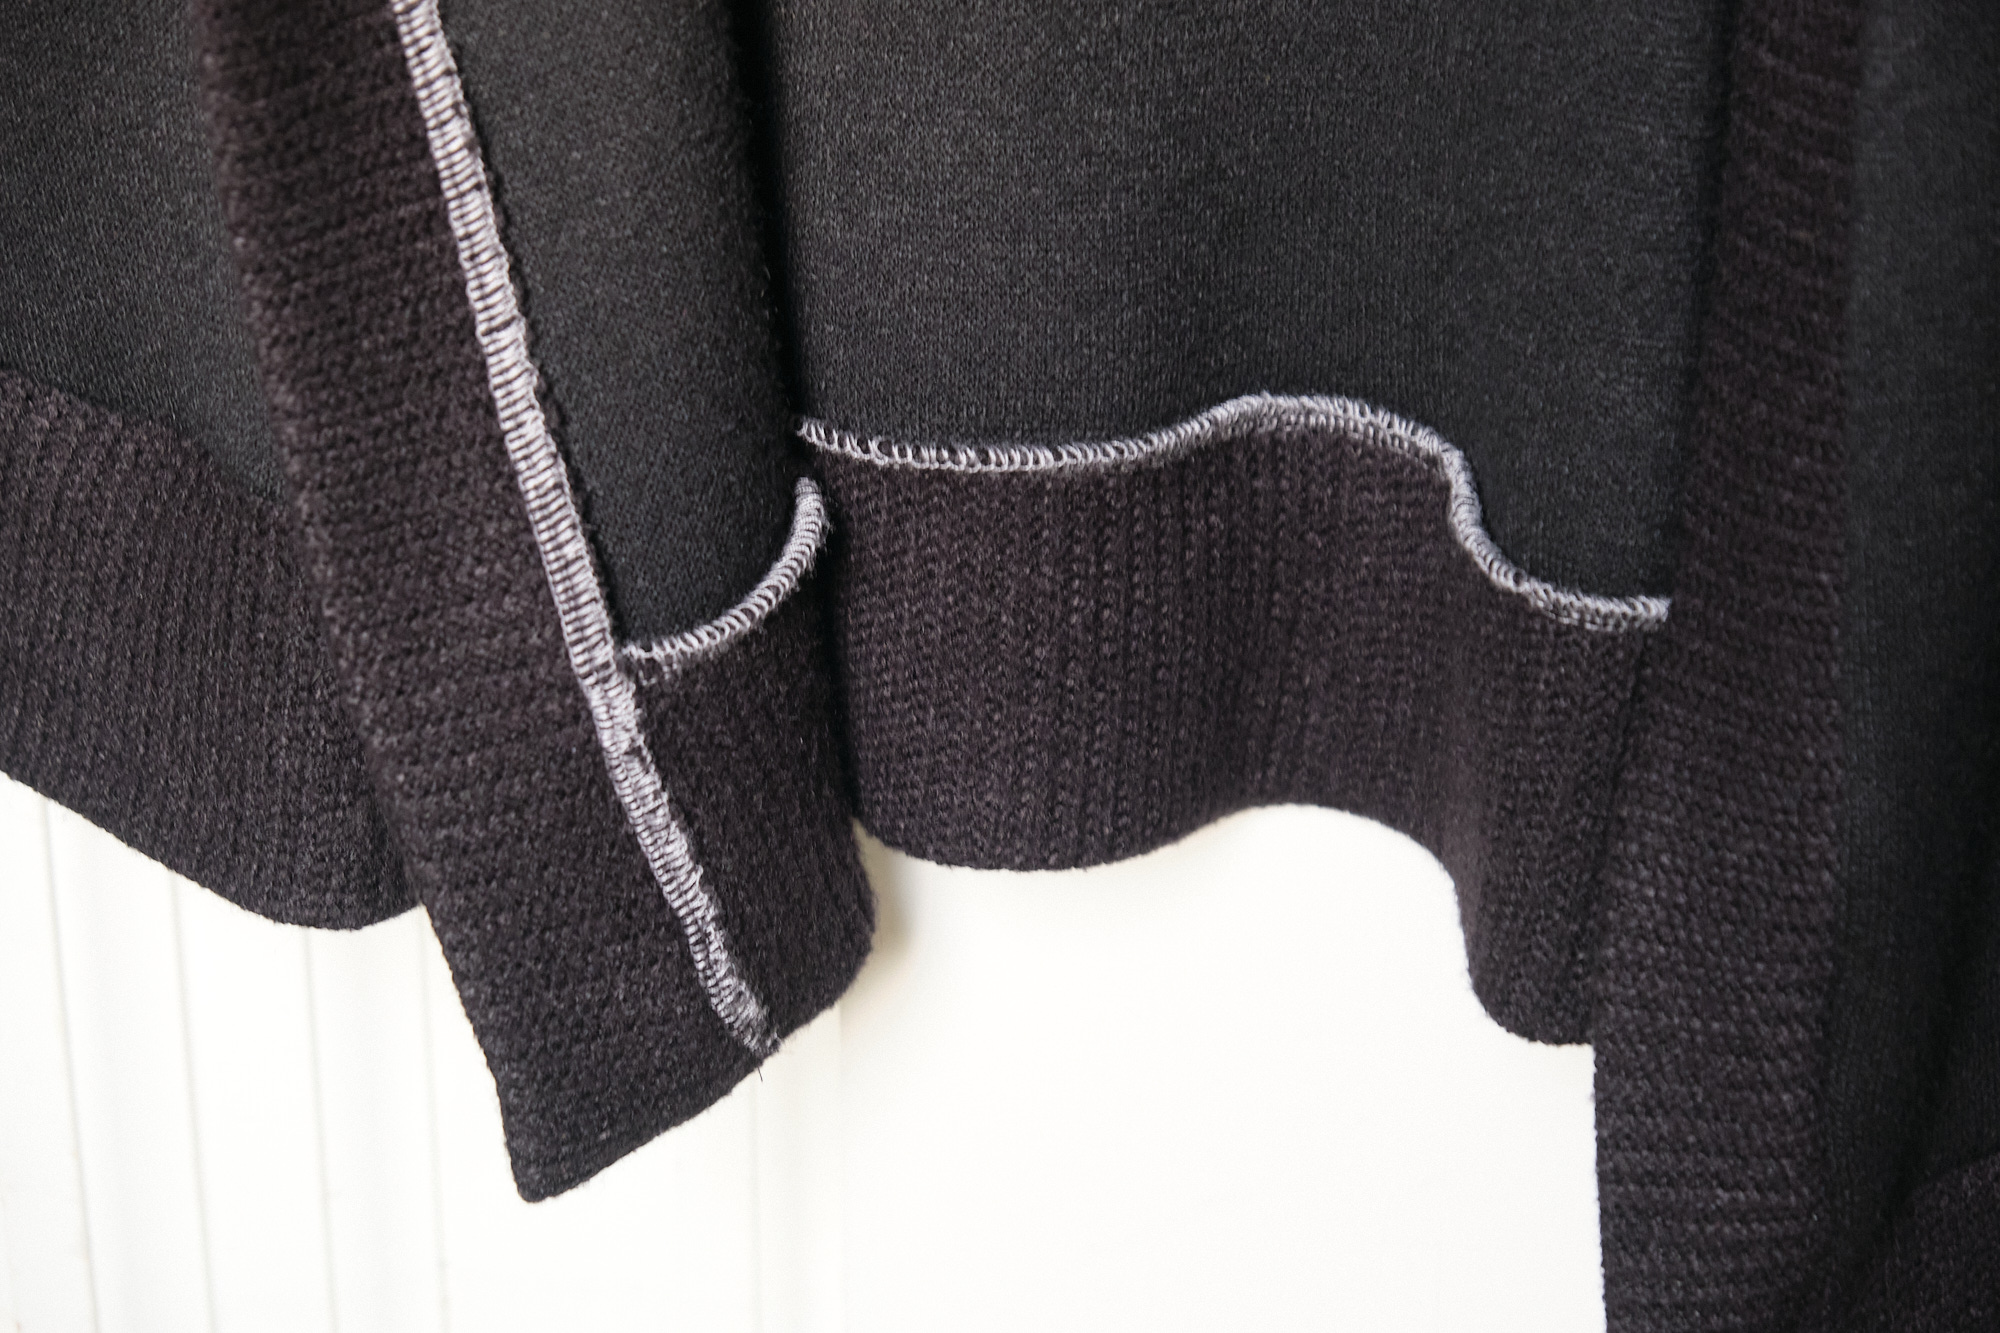
My Harper modifications worked pretty well. The Morraine was easy to sew on my serger. The Banff was mostly ok, but my serger was definitely not happy about sewing through four layers of Banff where the two bands meet. I resorted to sewing one side on my sewing machine. In the end the bottom corners did not work out as well as I had hoped (same problem I had with the Cayambe last week), but with some hand sewing and a lot of pressing I got them mostly straightened out ok. I debated whether to top stitch the seam allowance of all the bands but decided not to as the top stitching would add a significant ridge to this squishy fabric. I can always go back and add the top stitching later.

Overall I’m very happy with this cardigan. It is very warm and cuddly feeling, and has a nice tailered look.

Rosemary ribbed twin set

Last week I made a Pattern Emporium Grab a Cuppa Cardi out of rosemary Cayambe rib knit from Surge Fabrics (95%Poly/5%Spandex, 240 gsm, 75% horizontal/25% vertical stretch). This is an oversized pattern and I didn’t want it to swallow me, so I sized down from an AU 8/10 based on my measurements to an AU 4. I’m glad I did as it is still is quite ample width, but now the sleeves fit pretty well. I used the hip-length pattern. I don’t like the feel of collars creeping up my neck, so I lowered and widened the back neck by about an inch and adjusted the front bodice so the shoulder width matched the lower back neck.

The cardi went together pretty quickly using my serger and the neck adjustment worked well. The pattern includes some good tips, including pointers on adjusting the differential feed and great advice on how to gather the sleeves and attach the cuffs. I accidentally serged the bottom band on backwards (seam on the outside of the sweater… oops), so I ended up just cutting it off and resewing, but I lost about 3/4-inch of length in the process. I could have cut a new band out and lost only 1/4-inch, but I was feeling lazy and decided I was happy with the shorter length for this cardi. I struggled a bit with the bottom of the front band and it isn’t quite as even as I would have liked, despite following instructions to baste, etc. I think the stretchy ribs made this harder.

Since I had more of the Cayambe left, I decided to make a short-sleeved sweater and create a twin set. I used the Sinclair cachet relaxed tshirt pattern, with some modifications. Before cutting the fabric I tried on a Cachet I made previously with my new cardi and noticed the back hem of Cachet hung down considerably lower than the back of the cardi. So I adjusted the back bodice of the Cachet so that it was similar to the bottom of the front bodice and did not dip down so low. It is now uniformly a bit longer than the cardi, rather than just in back. I also wanted more of a scoop neck so I borrowed my screwp neck modification for the Sinclair Bondi pattern.

The Cayambe fabric is kind of a light-weight sweater knit, good for a spring/summer sweater. (Not really appropriate for winter weather, but it warmed up enough today that I ran outside for a quick photo shoot. I’m laughing in the photo because my photographer is making fun of me for standing outside in Pittsburgh in February in short sleeves without a coat.) The Cayambe has a bit of a sheen on the right side of the fabric and nice ribs. The web site suggests not putting it in the dryer, I’m assuming to avoid it catching on other garments as opposed to a danger of shrinkage. I did put the fabric in the dryer when I initially washed it without any problem. The rosemary color is similar to sage, kind of herby. It could be called sage too I guess.

Overall I’m reasonably happy with how this came out and I’m looking forward to wearing this set in warmer weather. I don’t love the Cayambe as much as I thought I would — it is soft but also kind of looks and feels like polyester (which it is) and isn’t as soft as I thought it might be. I like the Grab A Cuppa cardi pattern and think it will be nice with wide pants, but even sizing down 3 sizes it still looks slouchy and I think I generally prefer a more fitted look for tops.

I just bought some custom woven clothing tags from wunderlabel.com so I sewed them into these garments as a finishing touch.

Quick wool sweater

I bought some sapphire blue wool spandex jersey from knitfabric.com and decided to make a quick sweater. This is a lightweight wool with 3% spandex, 220 gsm. It has 4-way 75% stretch and it is machine-washable (and it seems to have survived its first wash just fine). At $12/yard, it is also a great price for wool (although it is only 44-inches wide). I wouldn’t describe it as super soft, but it is also not itchy. I found it comfortable against my skin. I’ll probably buy more in other colors when they restock.

I was planning to make a dolman sleeve sweater, but realized I only had 1.5 yards and at the 44-inch width, that wasn’t enough. So I turned to my trusty Sinclair Bondi screwp-neck t-shirt pattern, and sized up one size (to a 6p) for a looser sweater fit that could be layered with a t-shirt underneath.

This was my first time sewing with wool. The sweater was quick to cut and sew and it looks and fits great. (Modeled here with Walk Boldly pants.)

Flying over Dublin

I selected the Styla Dublin top and dress pattern to make a dress I have planned. It seemed perfect for the cotton-Lycra (CL) fabric I plan to use (which you will see when I actually get around to making it). However, I have never used a Styla pattern before and I have never made a garment with big puff sleeves or shoulder elastic, so I decided to try the top pattern first in some CL from my stash (a soft turquoise and navy print by Art Gallery Fabrics that I bought last year from Cali Fabrics). I honestly probably would not have made this top pattern if I didn’t want to make the dress later, but now that I made it, I am very glad I did and will probably make more. It has a short sleeve option too, but these long puff sleeves are just so much fun. CL fabric is great or this pattern because it has a little bit of body that helps the sleeves puff out, but I’m also thinking about trying it in a lighter weight fabric for summer.

The pattern does not come in short or petite sizes, but does offer advice on how to adjust it. I decided to make the size 6 as-is based on my measurements, and adjust later if needed.

The Styla instructions were fairly thorough and easy to follow, and even their tips for a more professional finish were not actually difficult to execute if you have a serger. I could have used some more guidance on shortening the shoulder elastic, as advised to accommodate shorter people (the pattern is designed for someone who is 5’5″ and I am only 5’2″), but I figured it out. After basting the sleeves to the bodice as directed by the pattern, I tried the top on and saw that the sleeves were in danger of falling off my shoulders. So I opened up the end of the elastic casing in the back and shortened the elastic by about .75 inch, which seemed to do the trick. The instructions did not indicate when would be a good time to check shoulder fit or how much to shorten the elastic, but this approach worked for me.

Attaching the facing to the basted bodice and sleeves required some puzzling over the geometry. But once I figured it out, the instructions made sense. The instructions did not suggest serging this seam (although they also didn’t say not to), so I opted to sew this with a stretch stitch on my sewing machine and I’m glad I did, as it made it much easier to correct a mistake I made. It also turns out that the seam in question gets entirely encased between the bodice and facing, so nobody will ever see it. I skipped adding the clear elastic as the CL seemed substantial enough not to droop, and I also realized the elastic could be added later if needed. I considered under stitching or top stitching the neckline but didn’t do it, and figured I could always add that later if needed.

This top sewed up pretty quickly, and once I adjusted the shoulder elastic, I think it fits perfectly. I was worried the sleeves might be too long (often a problem for me when I don’t have a petite size, but once I tightened the shoulder elastic the sleeves fit fine as well. Then bodice length also seems about right so I’m going to proceed with this approach for the dress, although I imagine I may need to shorten the skirt. The top is more of a spring/fall top than a winter top, as the neck line is somewhat low in the back. I’ll probably keep a scarf handy to keep my neck and back from getting cold. The big puffy sleeves will fit under a jacket or a loose sweater, but do limit layering options.

We had an unseasonably warm winter day today so I got to wear my new top and even my 17-year-old daughter approved. Now I’m excited to make the dress!