
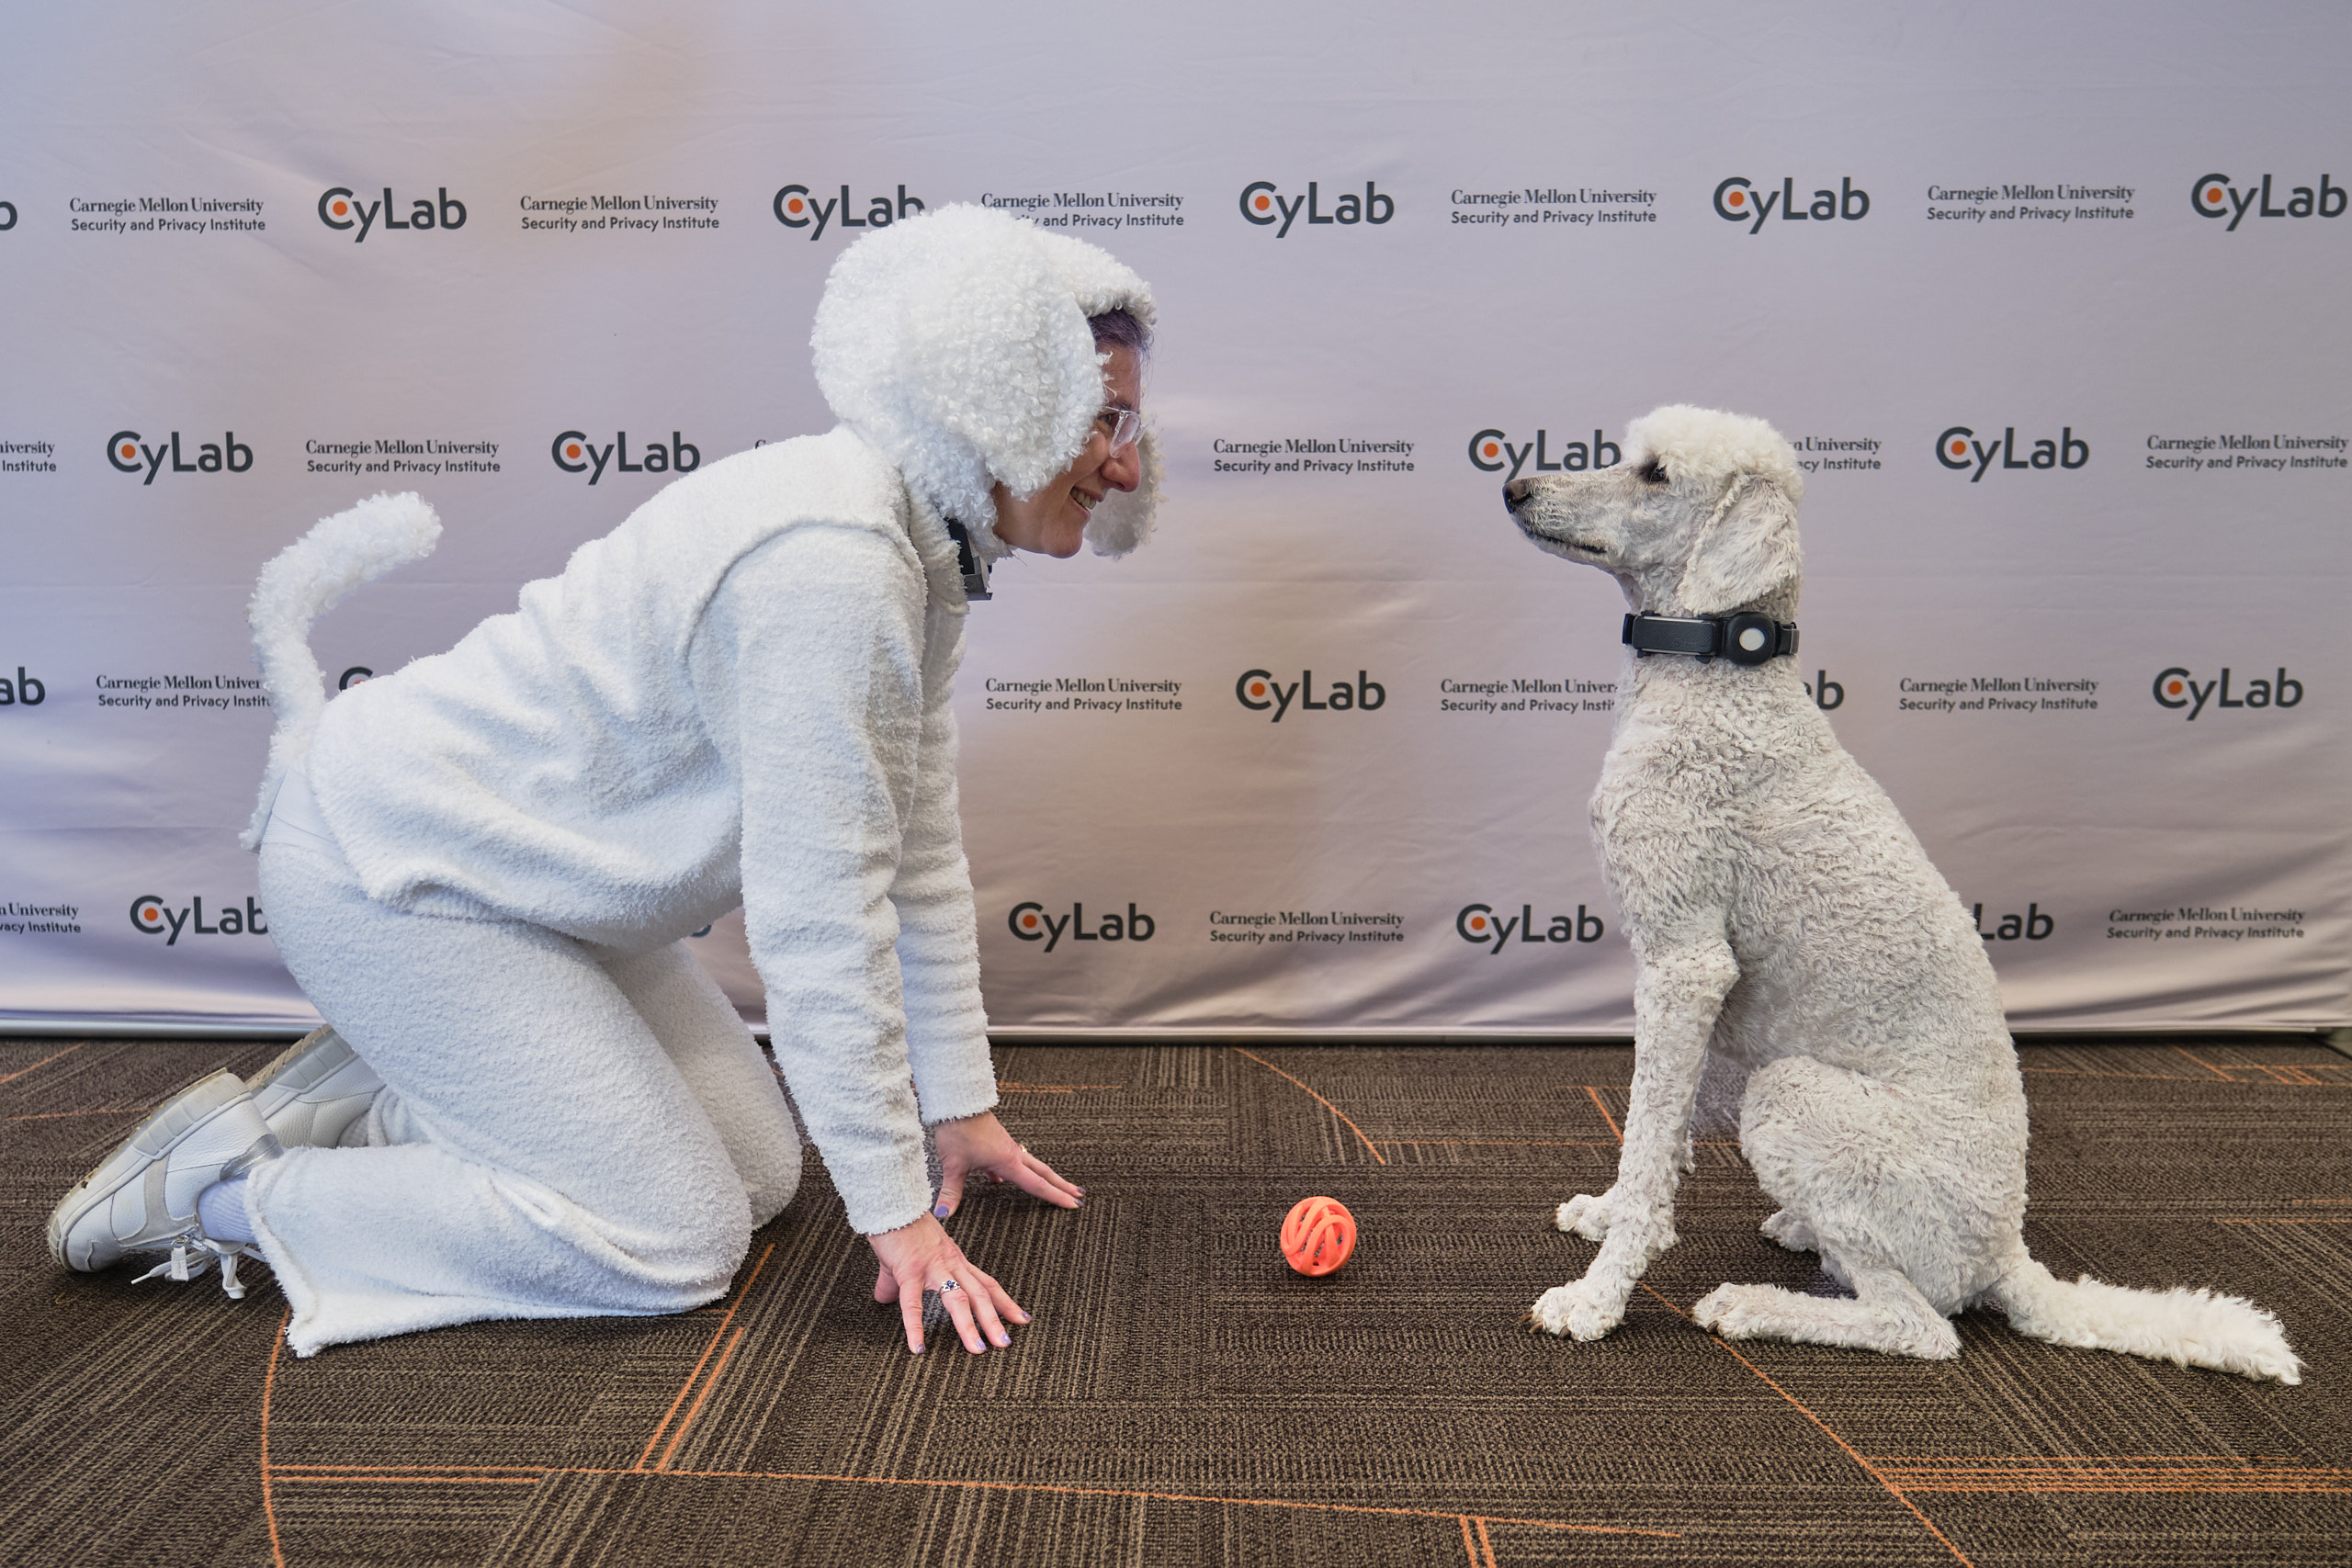
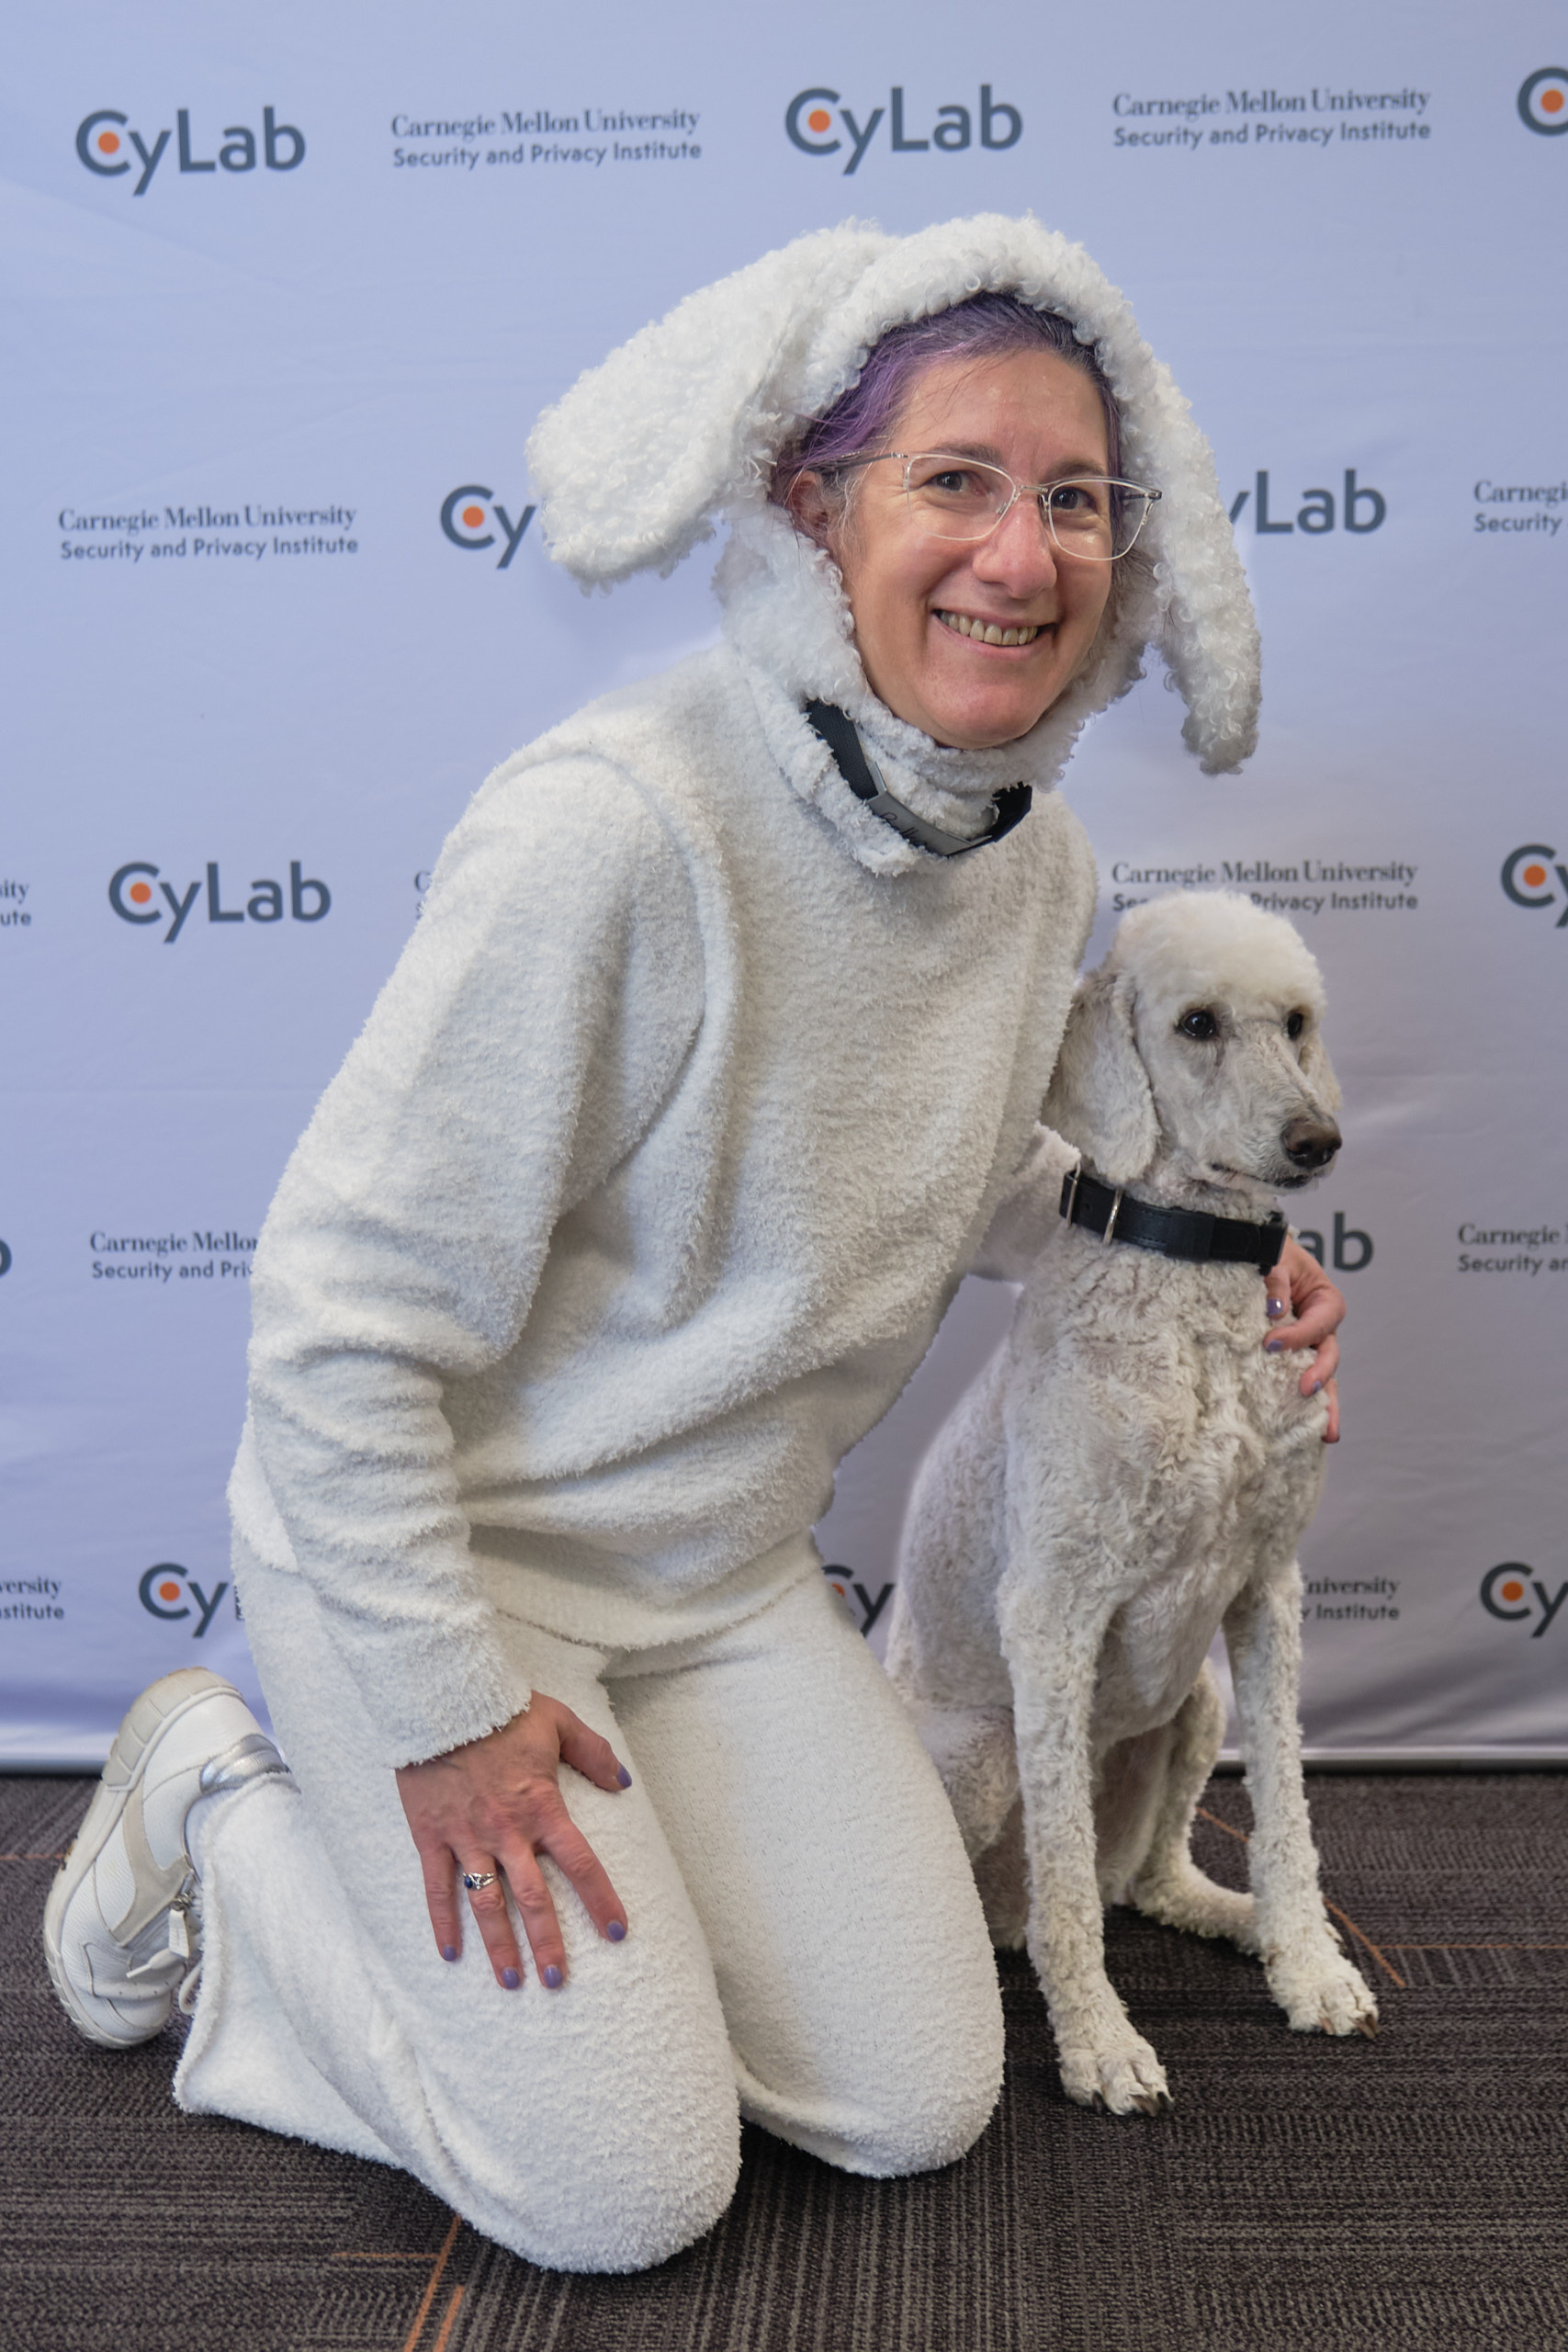
At a Halloween party at work last year I got the idea of dressing up as Belka, the white standard poodle who roams around our office. I have been mulling this over in my mind for a year (am I obsessed?) and now finally my vision is a reality.
Originally, I was going to sew the whole costume, but I had trouble sourcing poodle fur fabric in a knit that would be comfortable to wear. I discovered I could buy inexpensive PJs/lounge wear already made in a suitable fabric. Actually, my first purchase of “white” lounge wear turned out to be off white with a cropped top, so I had to try again. The second attempt was about perfect, except the pants were too long and lacked pockets. I hemmed the pants and was able to use the hem I cut off elsewhere in the costume. I thought about adding pockets, but eventually settled on wearing a running belt with pockets under the loose-fitting top.
I spent way too much time pondering buying some white fluffy sneakers but ultimately decided I was unlikely to ever wear them again so I could just wear my regular white sneakers. Then I pondered how to make dog ears, tail, and possibly paws, and looked to the Internet for inspiration. I purchased a piece of white long-pile sherpa fleece, recommended for teddy bears. I looked at various hat patterns and ultimately decided that a hood might be better.
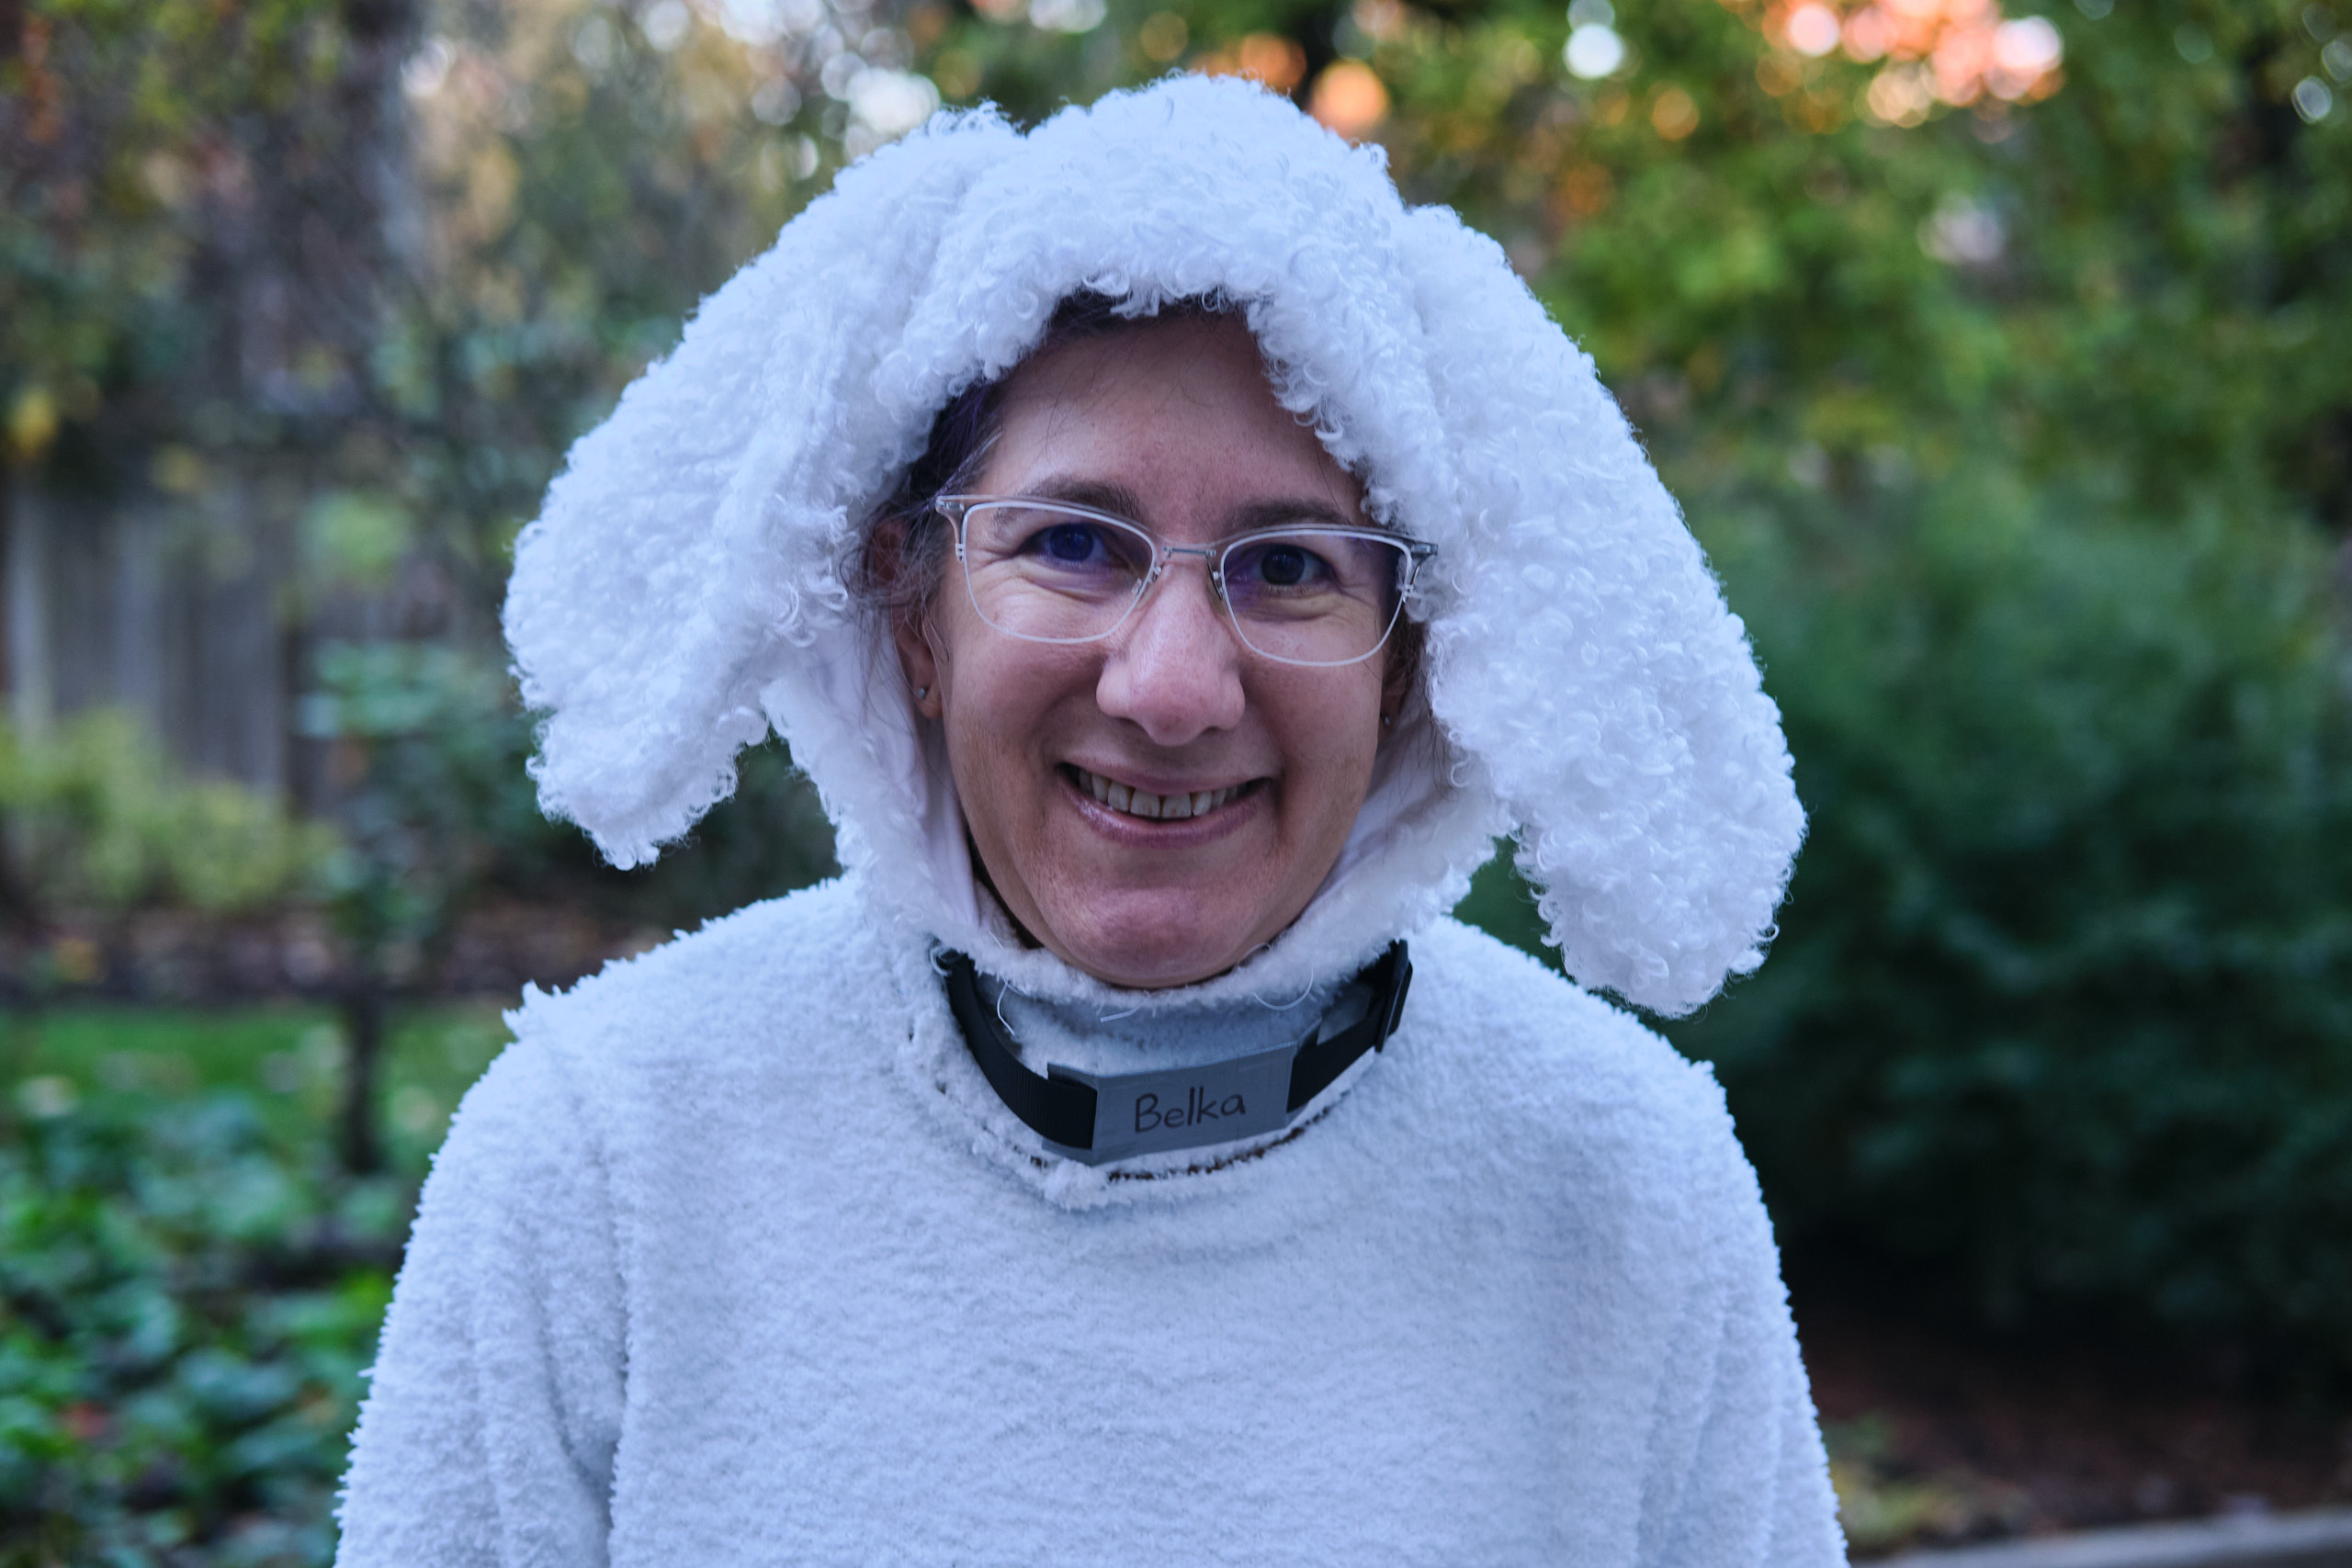
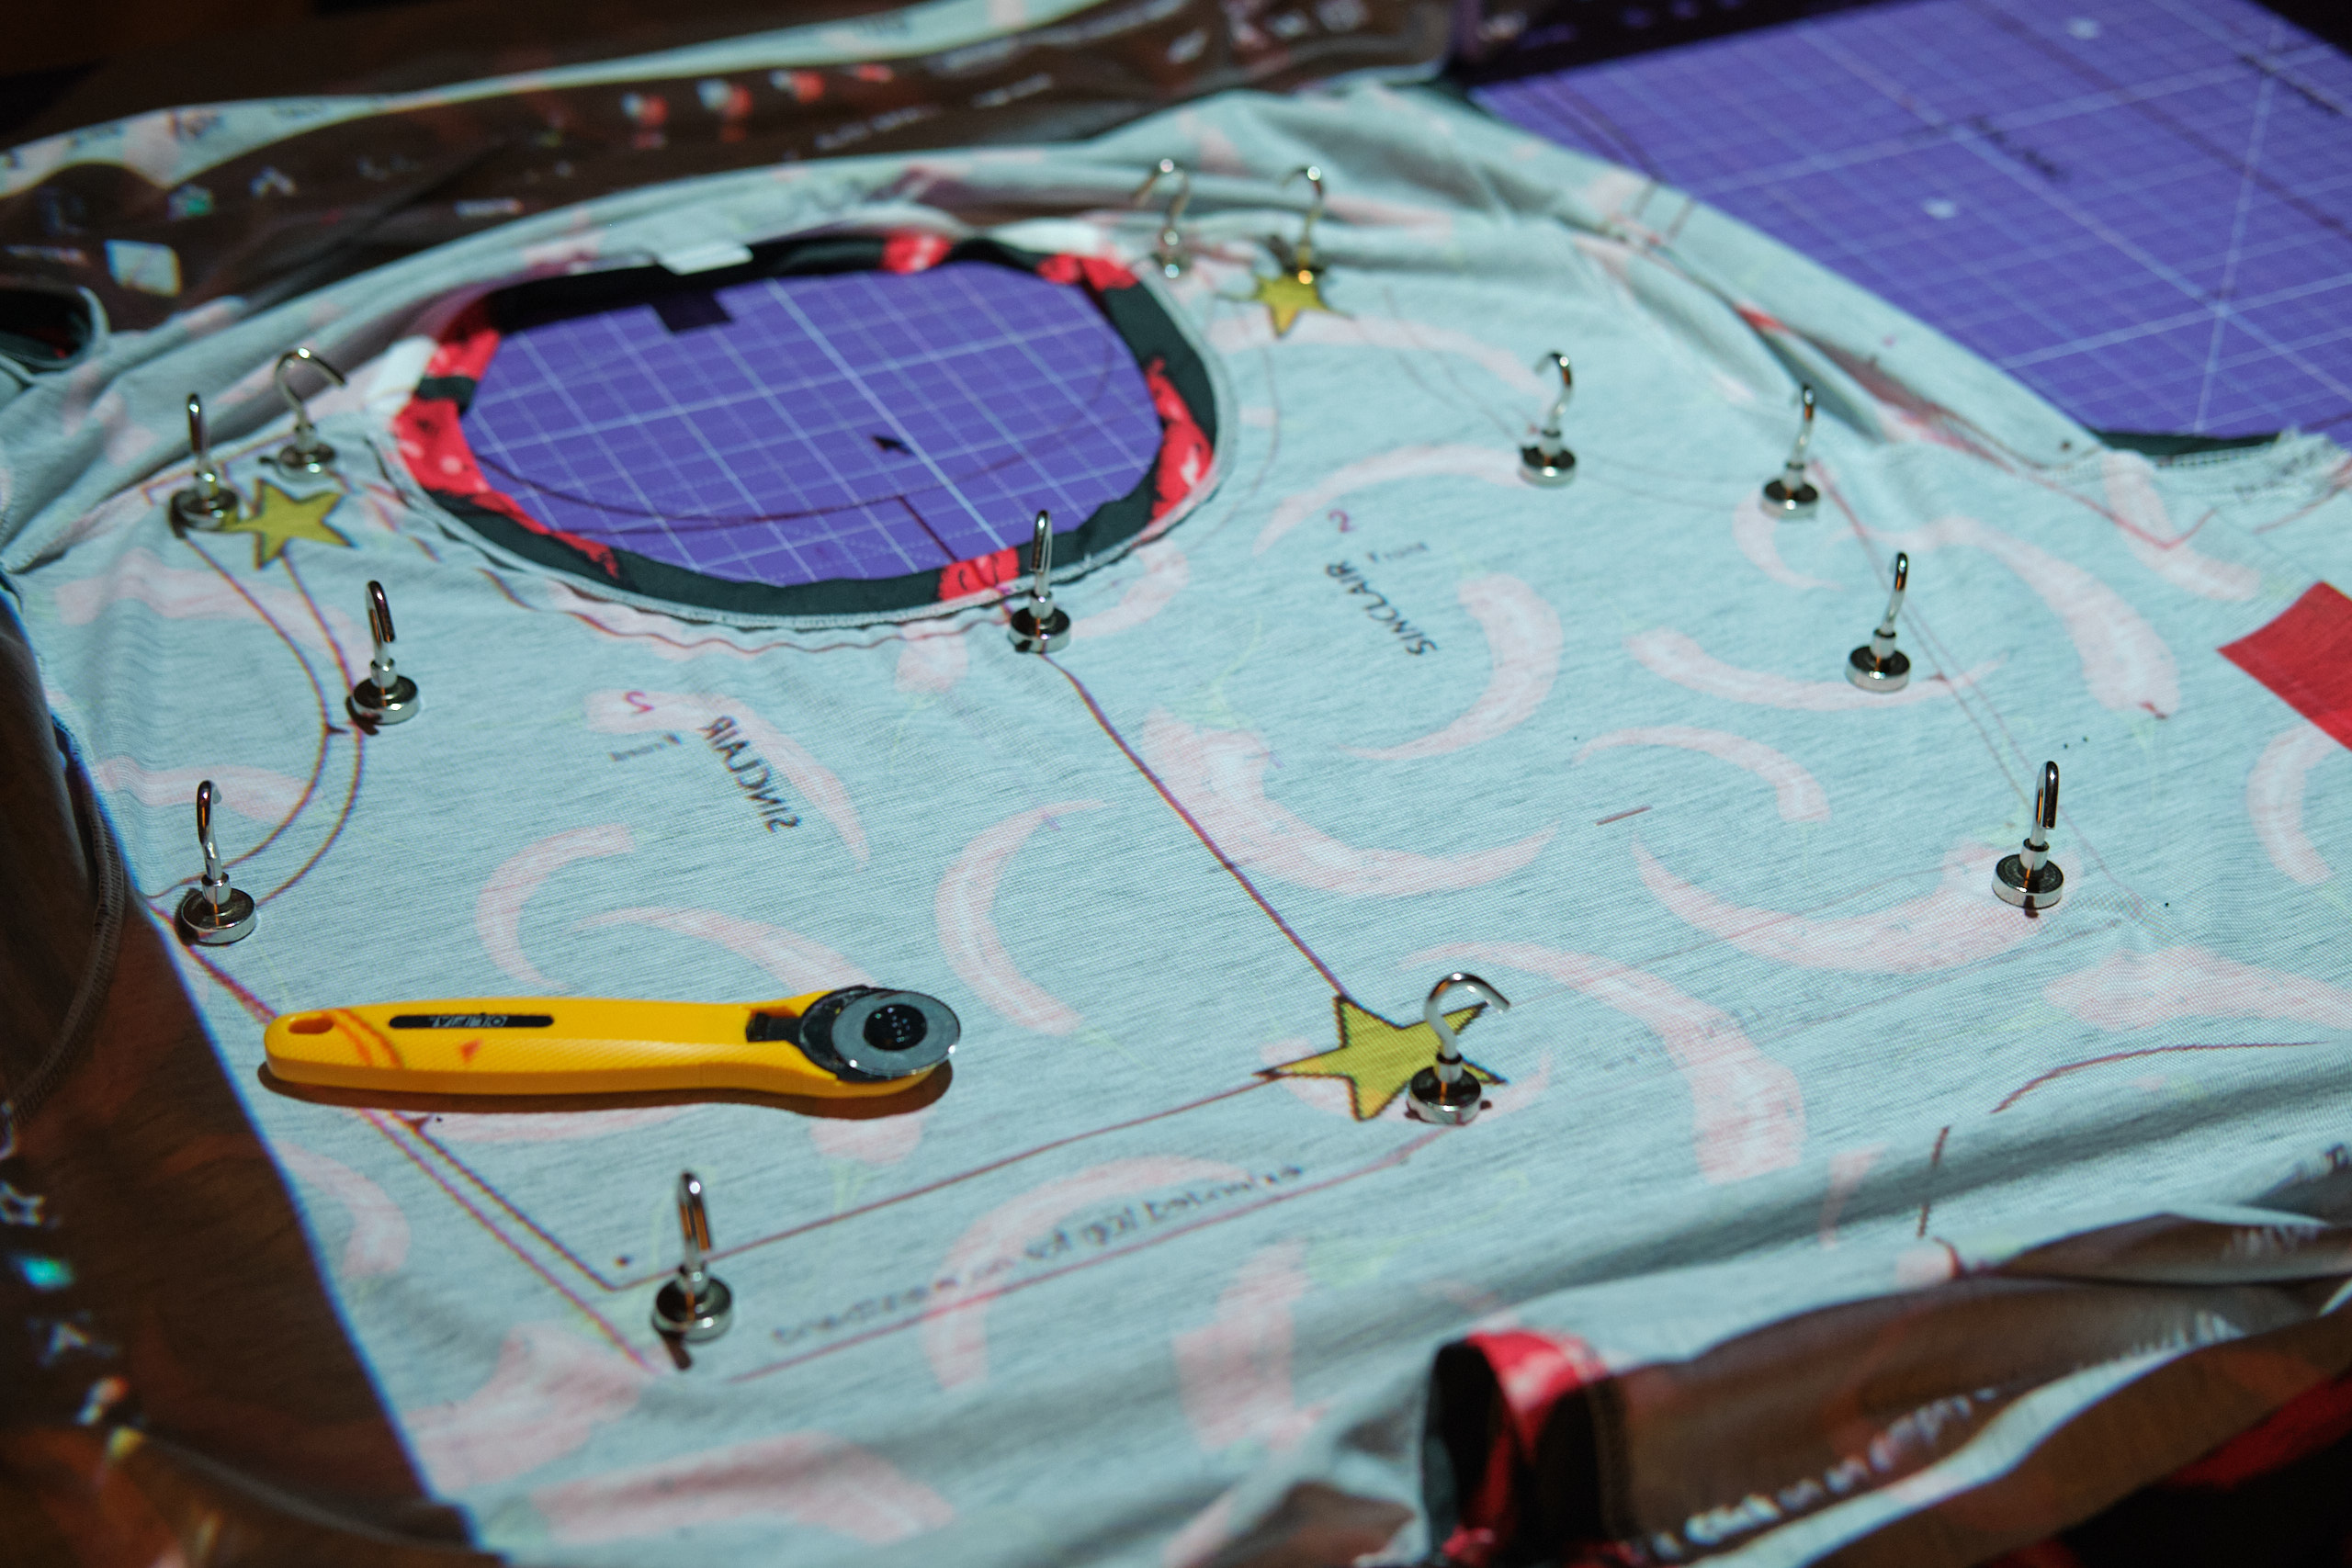
I had previously made a Sinclair Mojo Hood Scarf and noted that the pattern had instructions for adding ears to it. I decided to make just the hood part (not the scarf) and extend the cat ears from the pattern into dog ears. I cut up an old white t-shirt to prototype the hood. It seemed like it might work so I cut ears and hood pieces from the sherpa fleece and sewed the hood together with my serger using the t-shirt pieces as lining. It went together pretty well, but I was uncertain about how to keep it on my head. I considered adding the scarf after all, but then realized I could use the hem pieces I cut off of the pants as a turtleneck and attach them to the hood. After some trial and error and a bit of fine-tuning, I got the hood assembled. The ears don’t have quite the drape of real poodle ears, and my husband and I debated whether I should add a stiffener so that they would stay up. We agreed that the ears were cuter when pulled away from my head, but that isn’t actually how the dog in question looks.
I decided I needed a dog collar, so I ordered a buckle and strap kit with polyester webbing. I made a dog tag out of a piece of cardboard and some duct tape, and added a D ring that could attach to a leash.
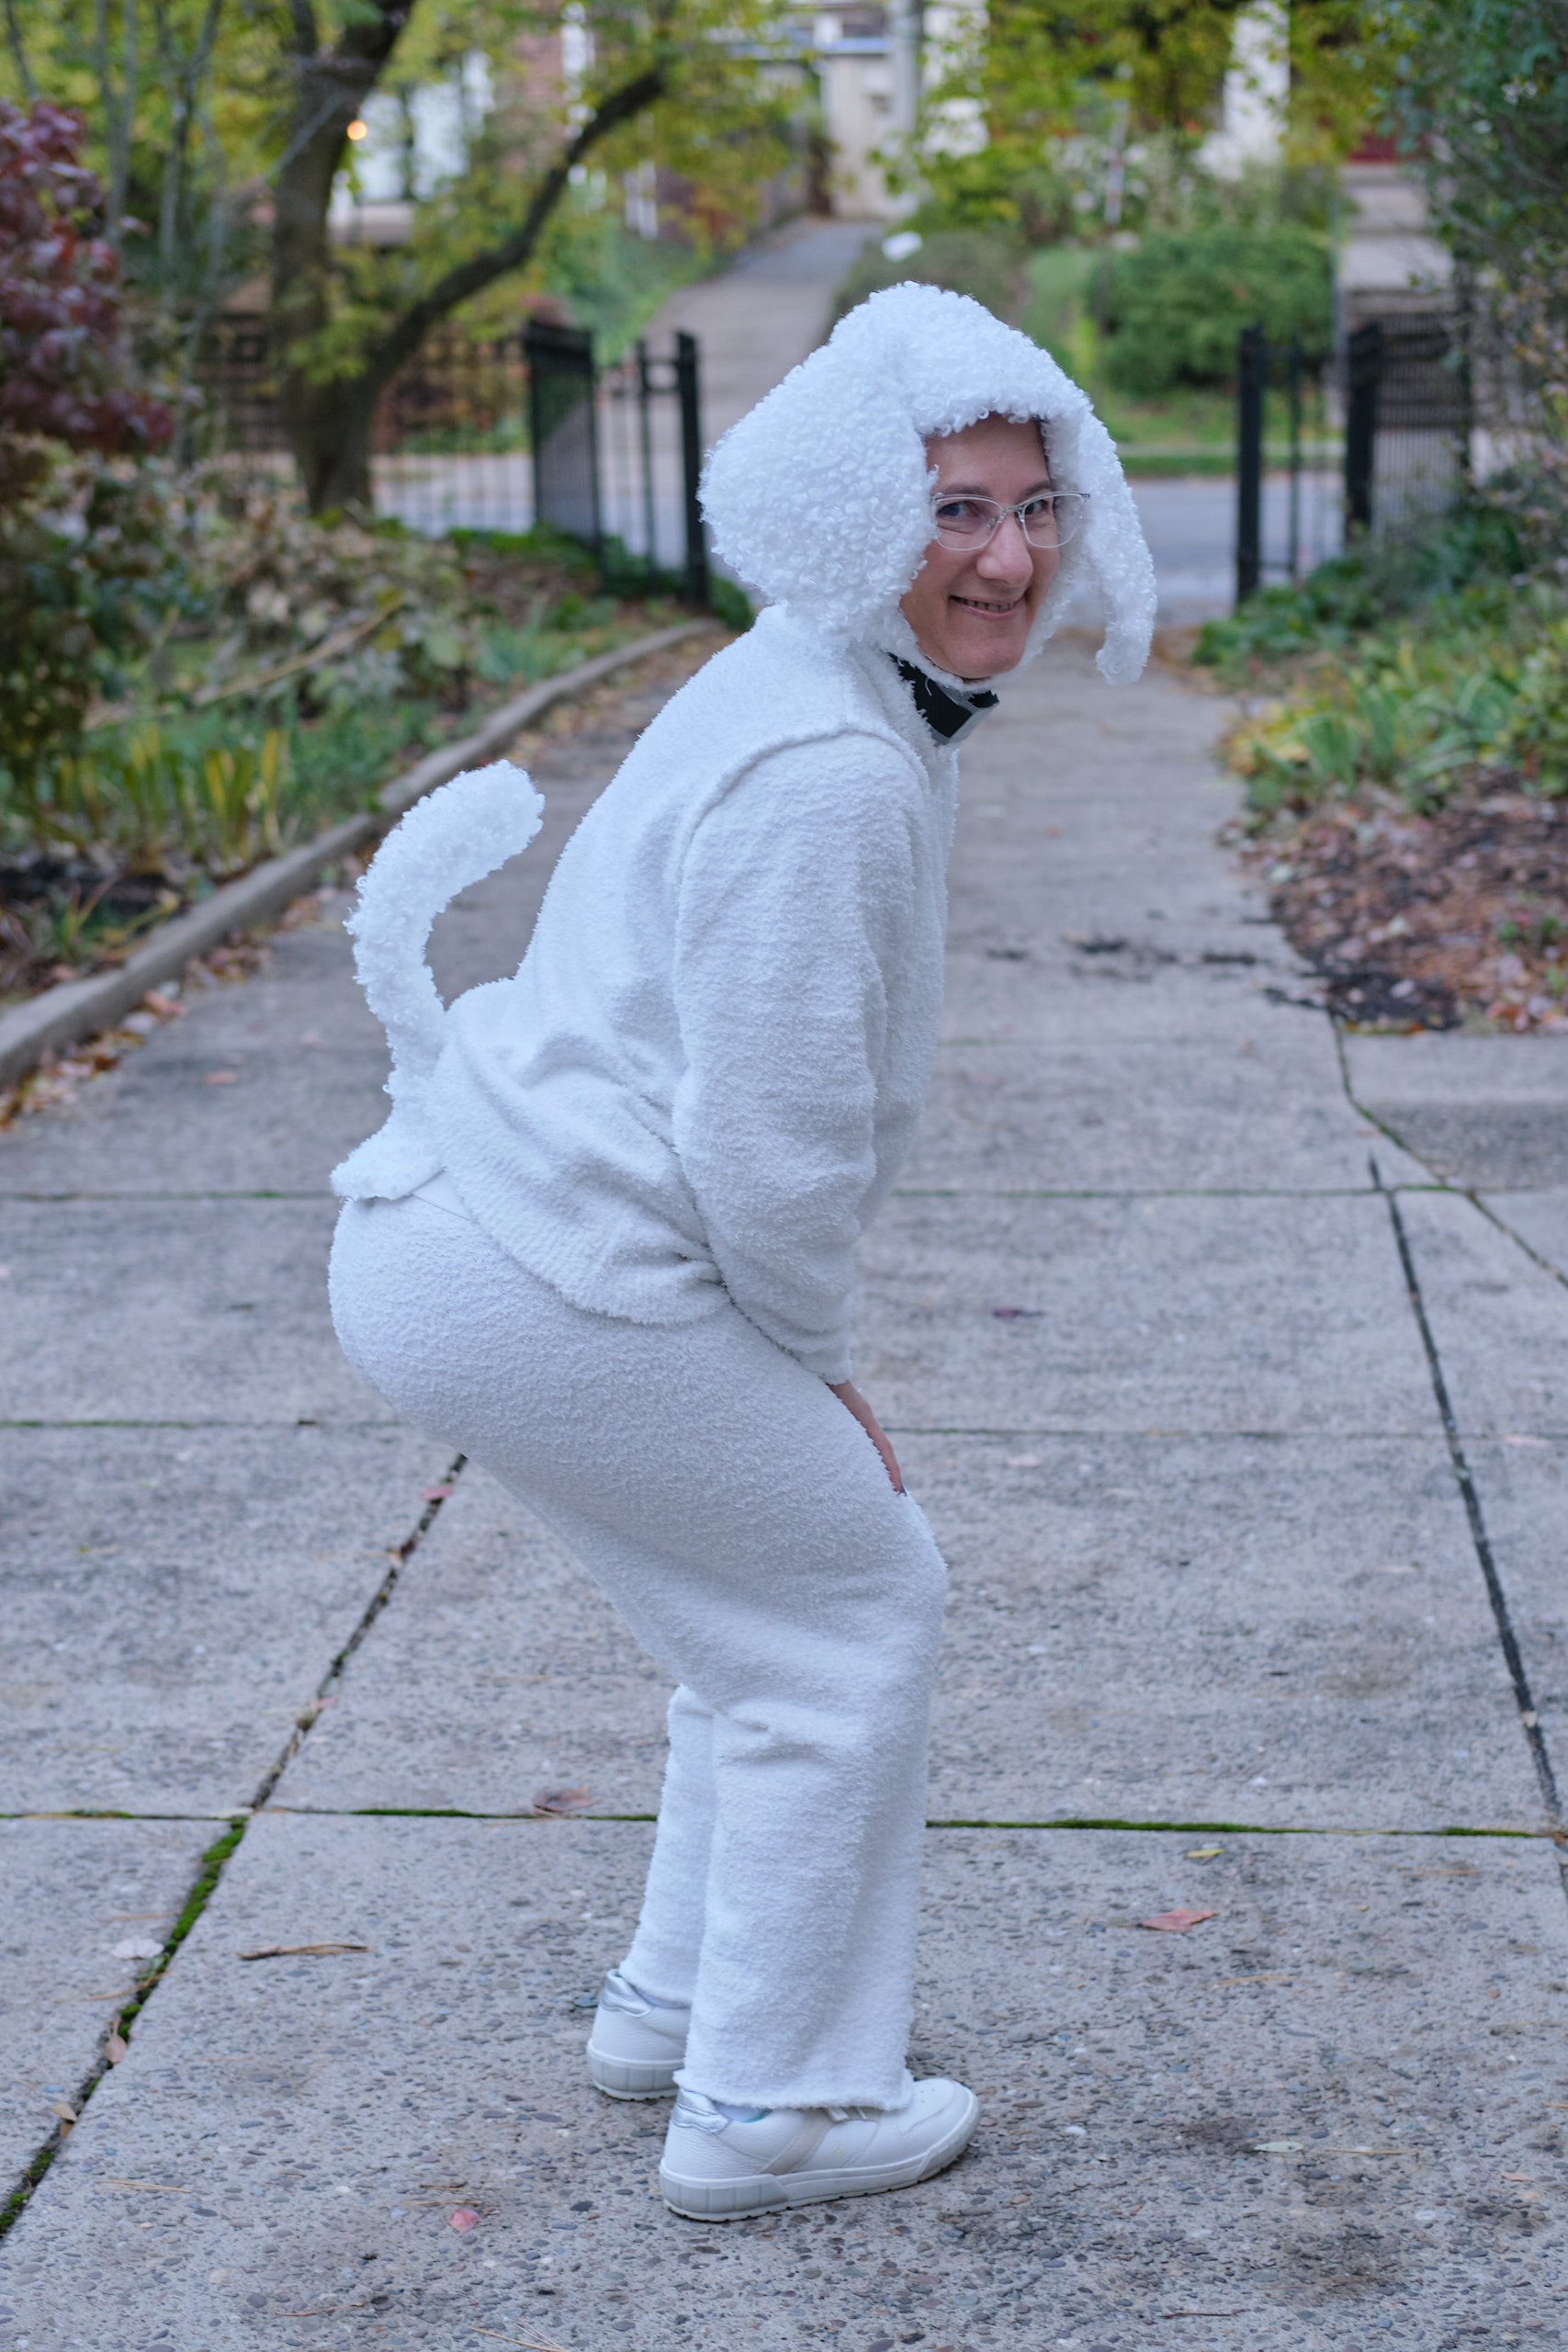
The trickiest bit was the tail. I cut out a tail shape from two pieces of the fleece, sewed them together right sides facing, turned them inside out, and stuffed them with fleece scraps. But I got stuck on how to keep the tail attached to my backside, protruding out at a 90-degree angle and pointing up, not down. Gravity was not my friend here. I experimented with adding a piece of coat hanger for stiffness and attaching the tail to a piece of 1.5-inch elastic around my waist. Ultimately, I kept the coat hanger in the tail and also built a harness for the tail out of elastic and covered it with fleece. Two pieces of white elastic wrapped around my hips to keep the harness in place. The long top hides the elastic. It isn’t perfect, but it mostly works. If I were doing it again I think I would have started with a metal wire frame with a base and tail protruding at 90 degrees and then covered that with the fleece and attached it to the elastic.
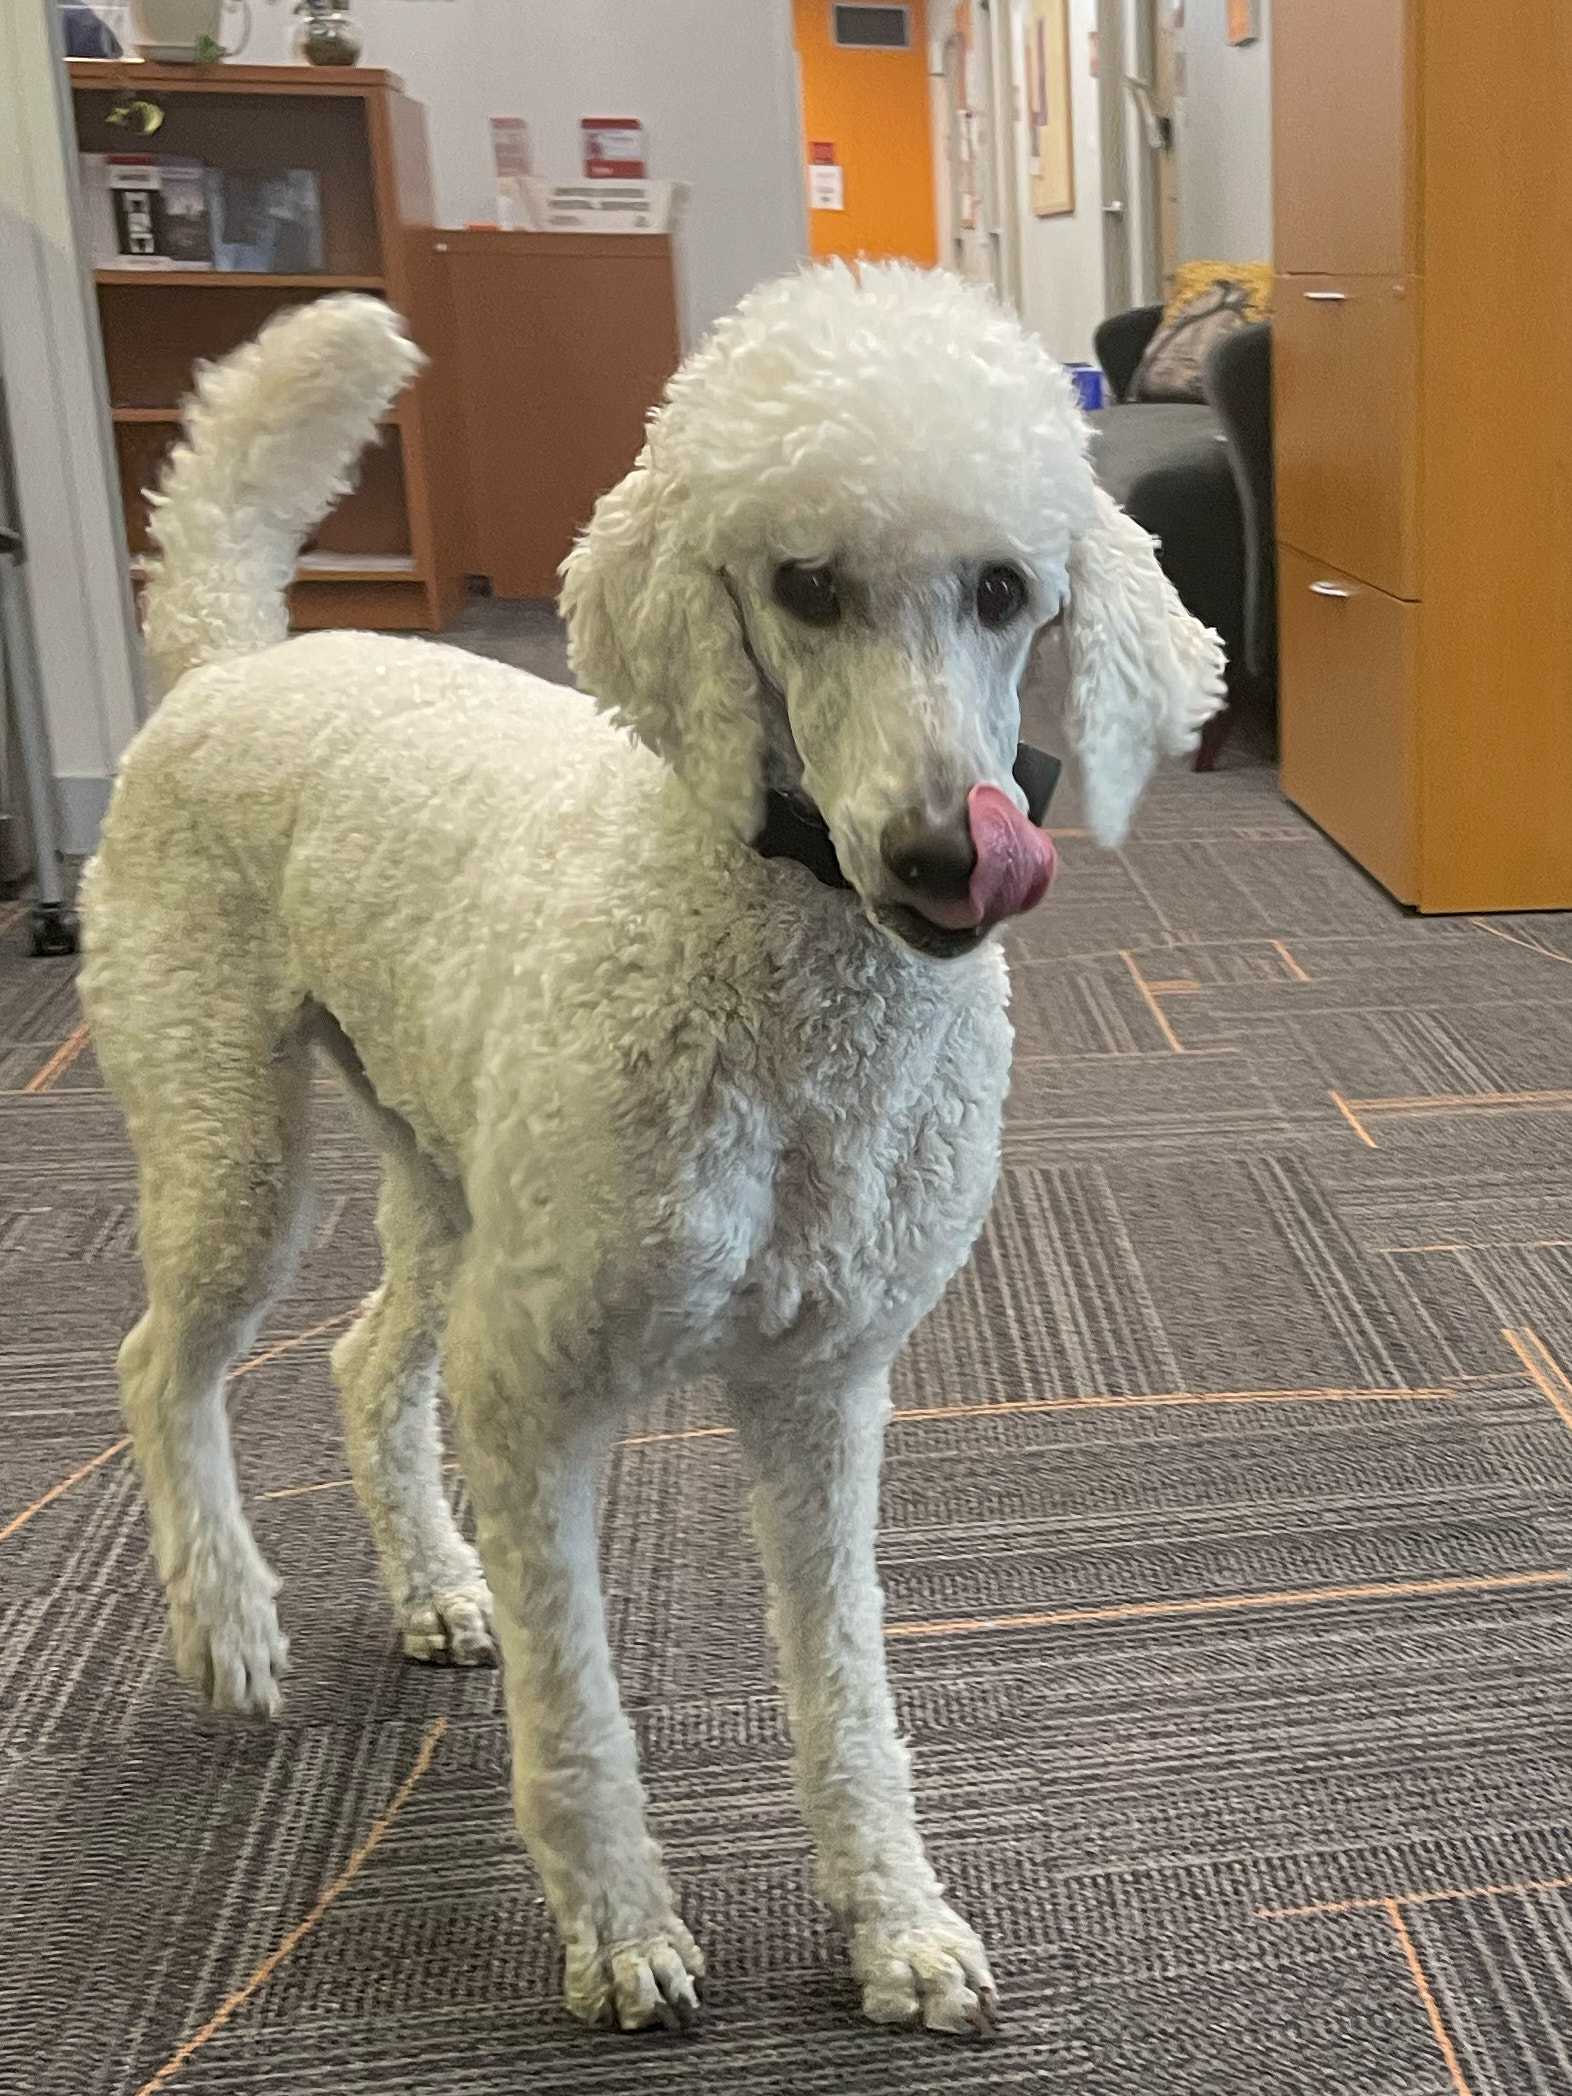
I think the costume worked pretty well and was even reasonably comfortable to wear. I wore it all day at work and while walking around my neighborhood watching the trick-or-treaters. My students and colleagues enjoyed it and Belka didn’t seem to mind. Several people asked me whether she was confused by it. I think she was at first, but as soon as she sniffed me she knew it was me and she was unfazed.


