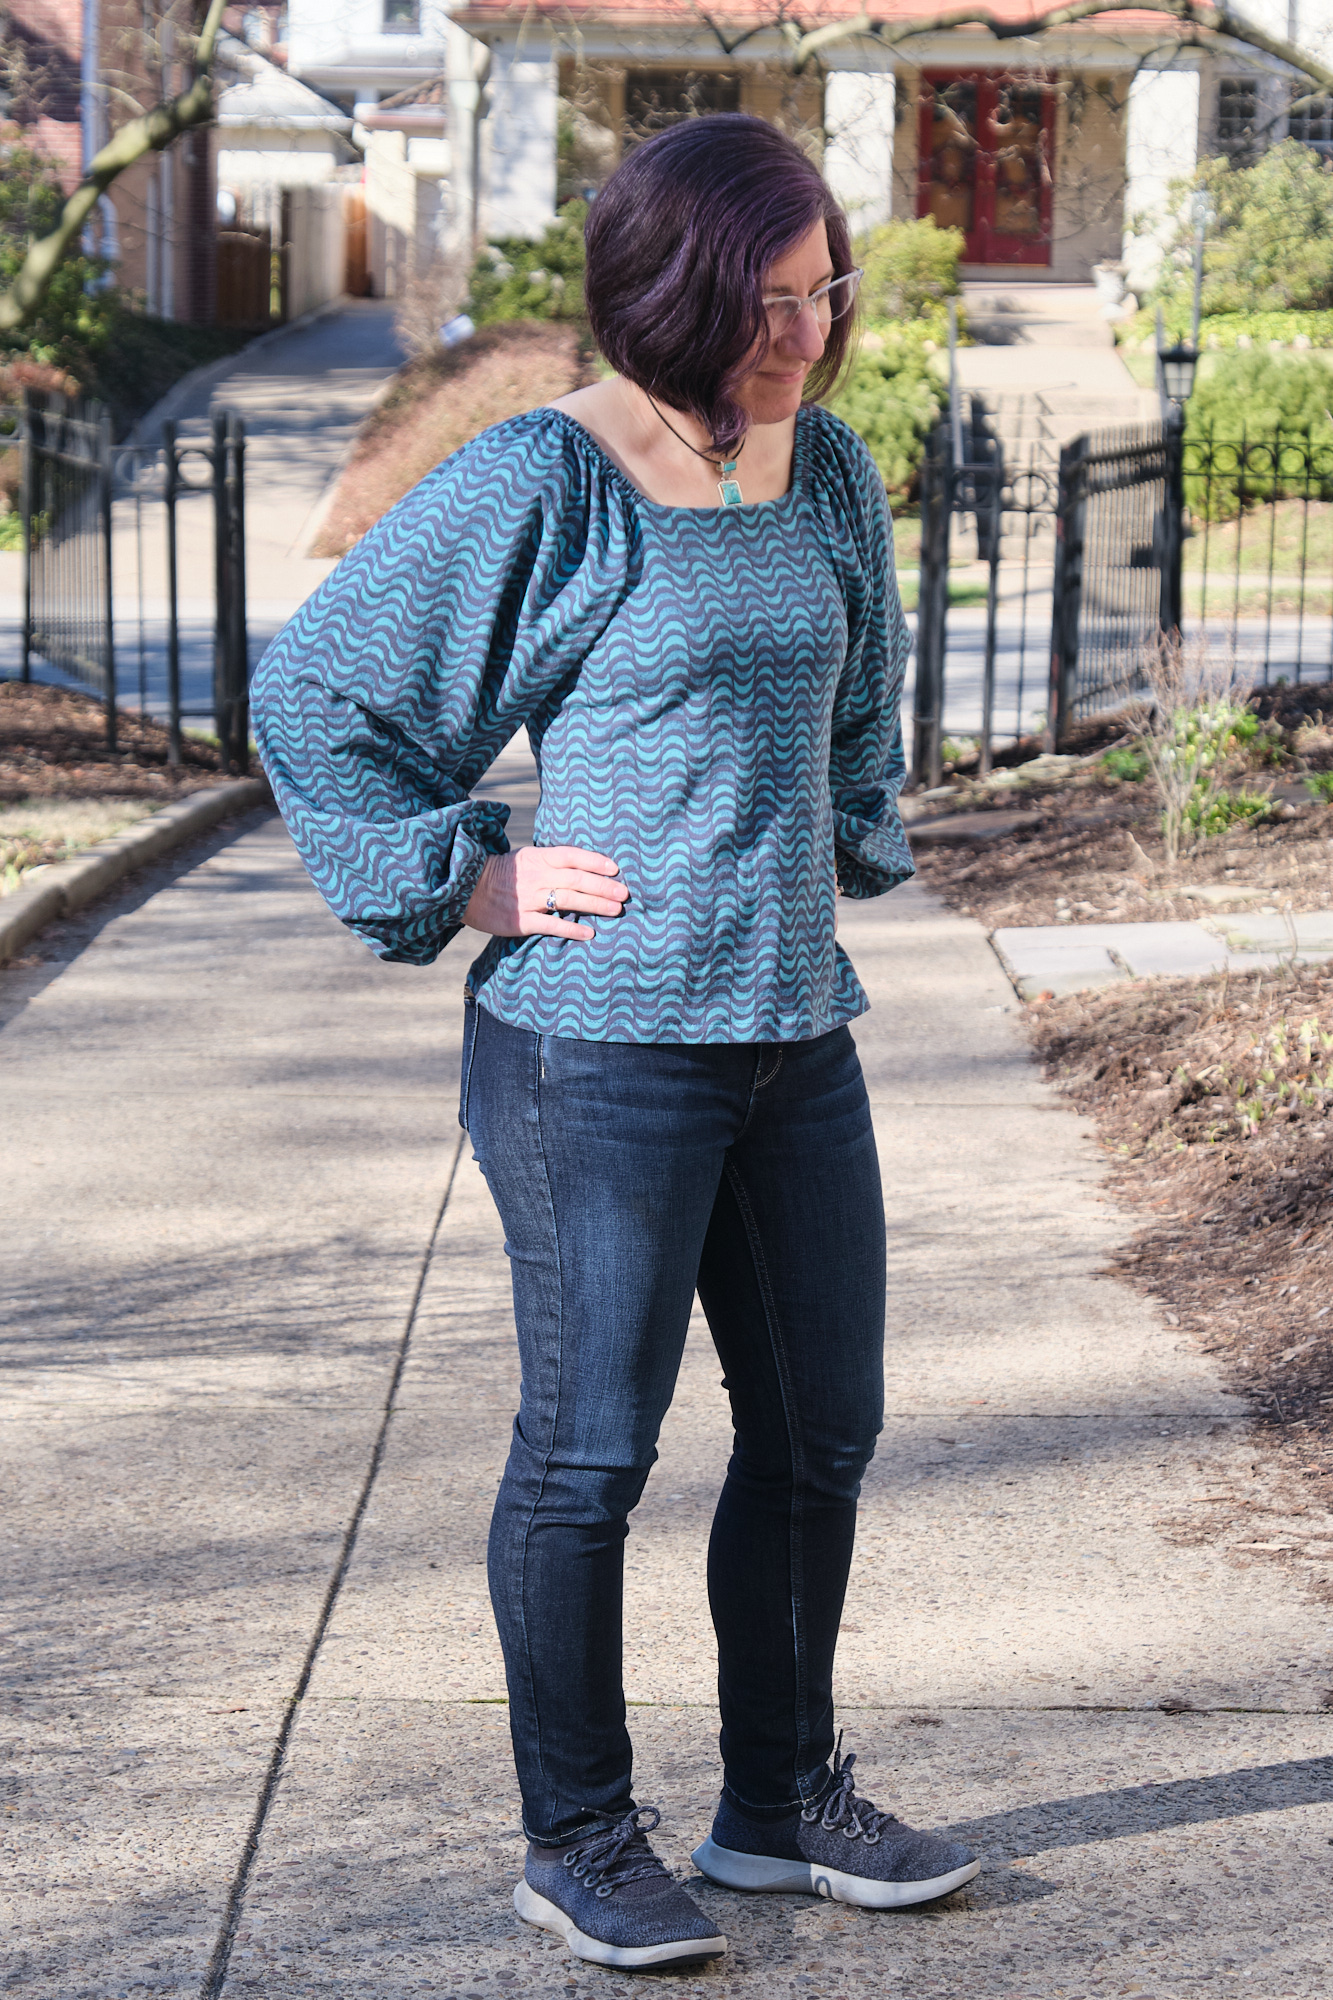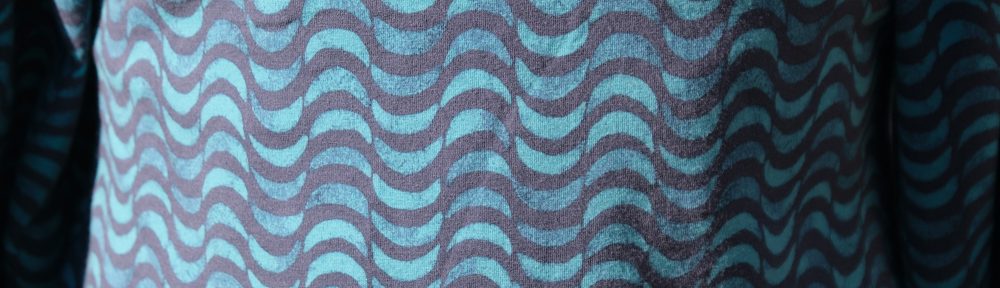
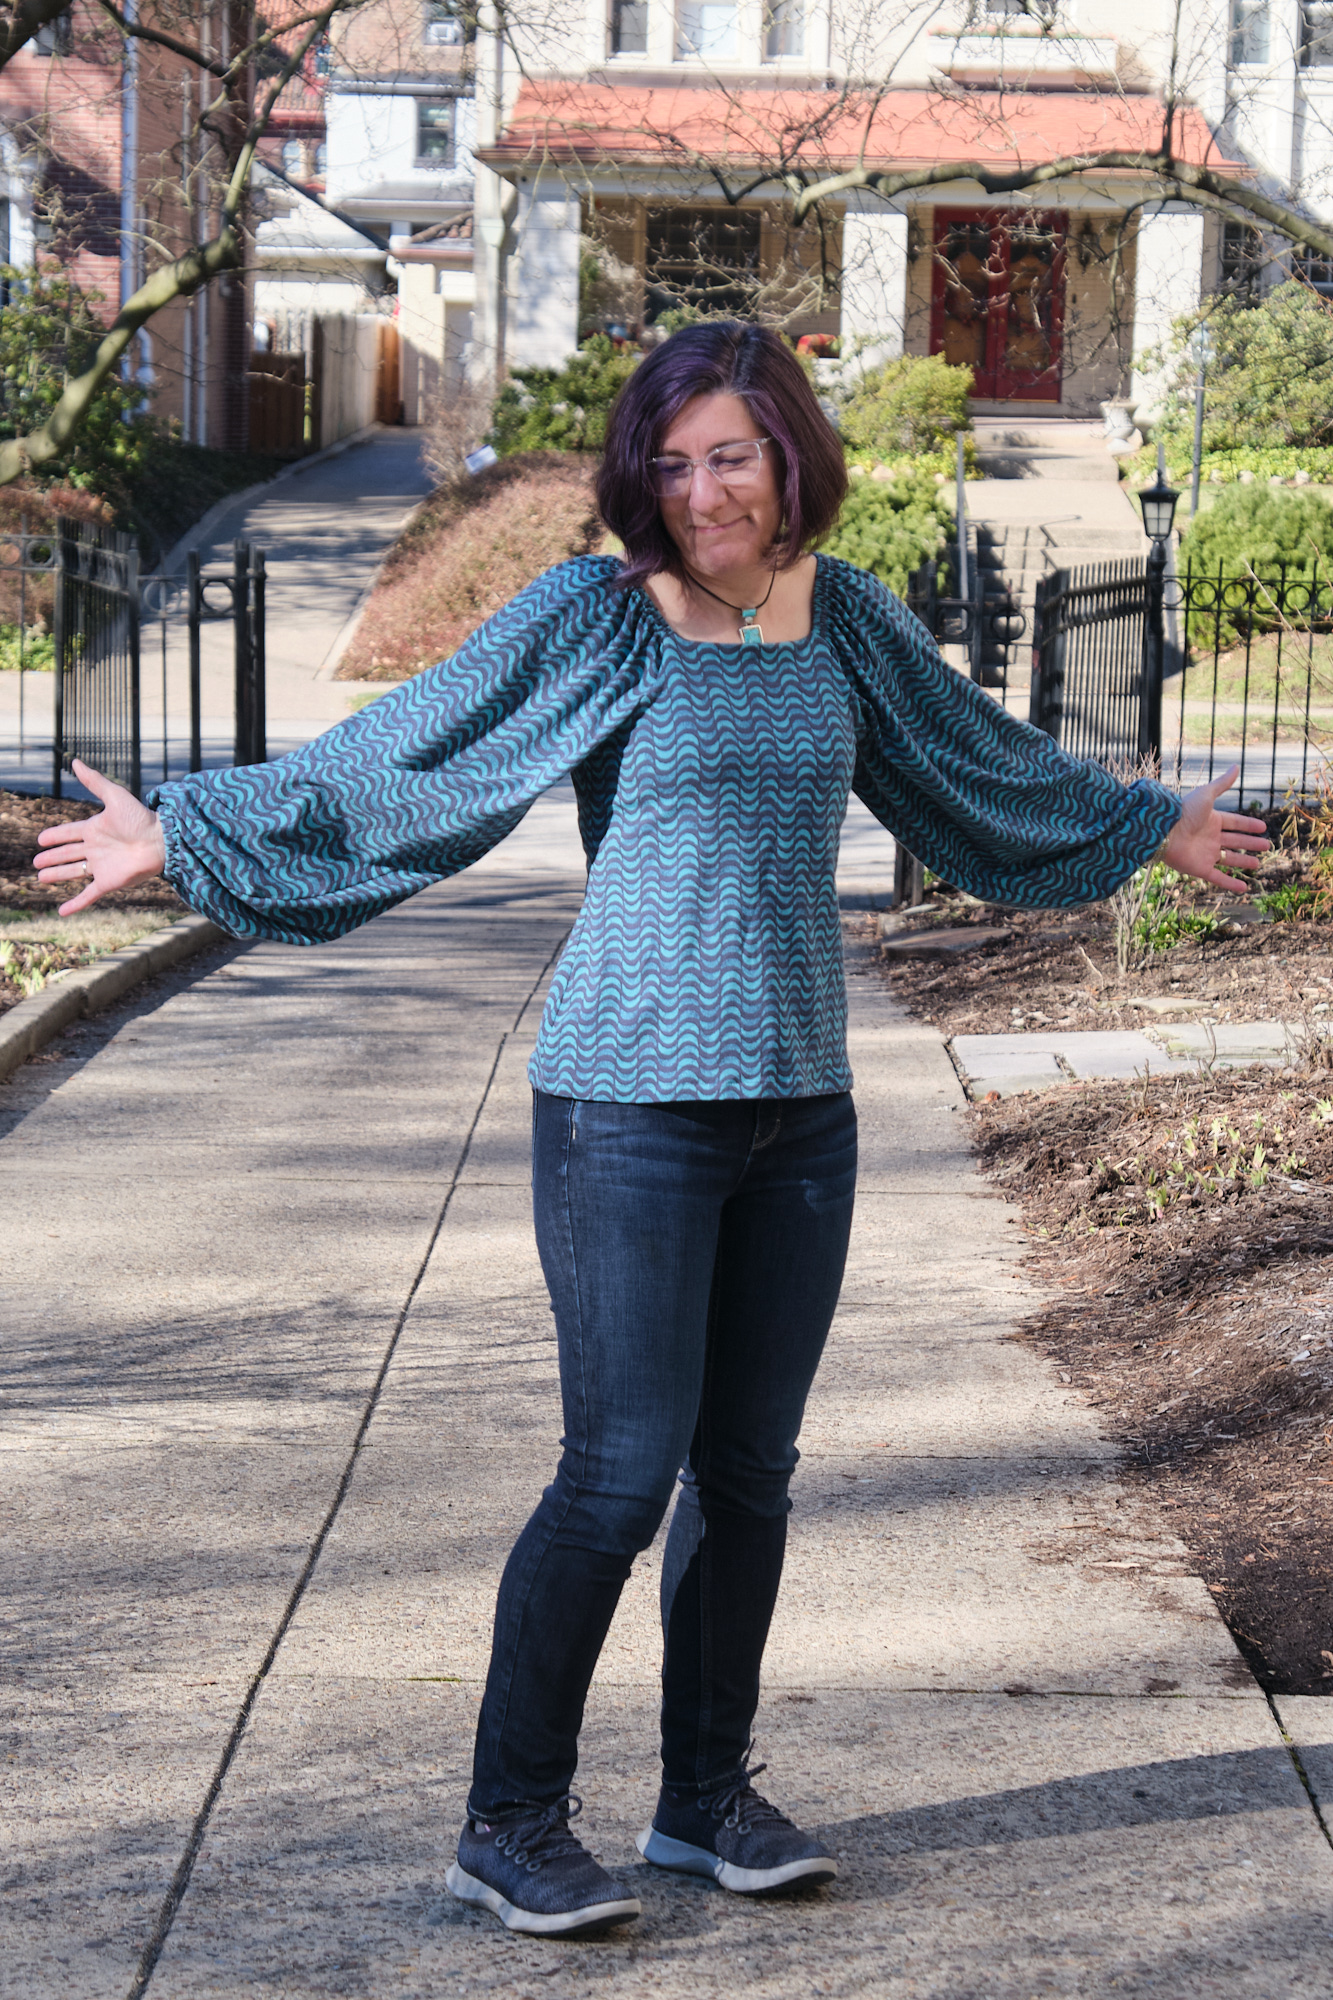
I selected the Styla Dublin top and dress pattern to make a dress I have planned. It seemed perfect for the cotton-Lycra (CL) fabric I plan to use (which you will see when I actually get around to making it). However, I have never used a Styla pattern before and I have never made a garment with big puff sleeves or shoulder elastic, so I decided to try the top pattern first in some CL from my stash (a soft turquoise and navy print by Art Gallery Fabrics that I bought last year from Cali Fabrics). I honestly probably would not have made this top pattern if I didn’t want to make the dress later, but now that I made it, I am very glad I did and will probably make more. It has a short sleeve option too, but these long puff sleeves are just so much fun. CL fabric is great or this pattern because it has a little bit of body that helps the sleeves puff out, but I’m also thinking about trying it in a lighter weight fabric for summer.
The pattern does not come in short or petite sizes, but does offer advice on how to adjust it. I decided to make the size 6 as-is based on my measurements, and adjust later if needed.
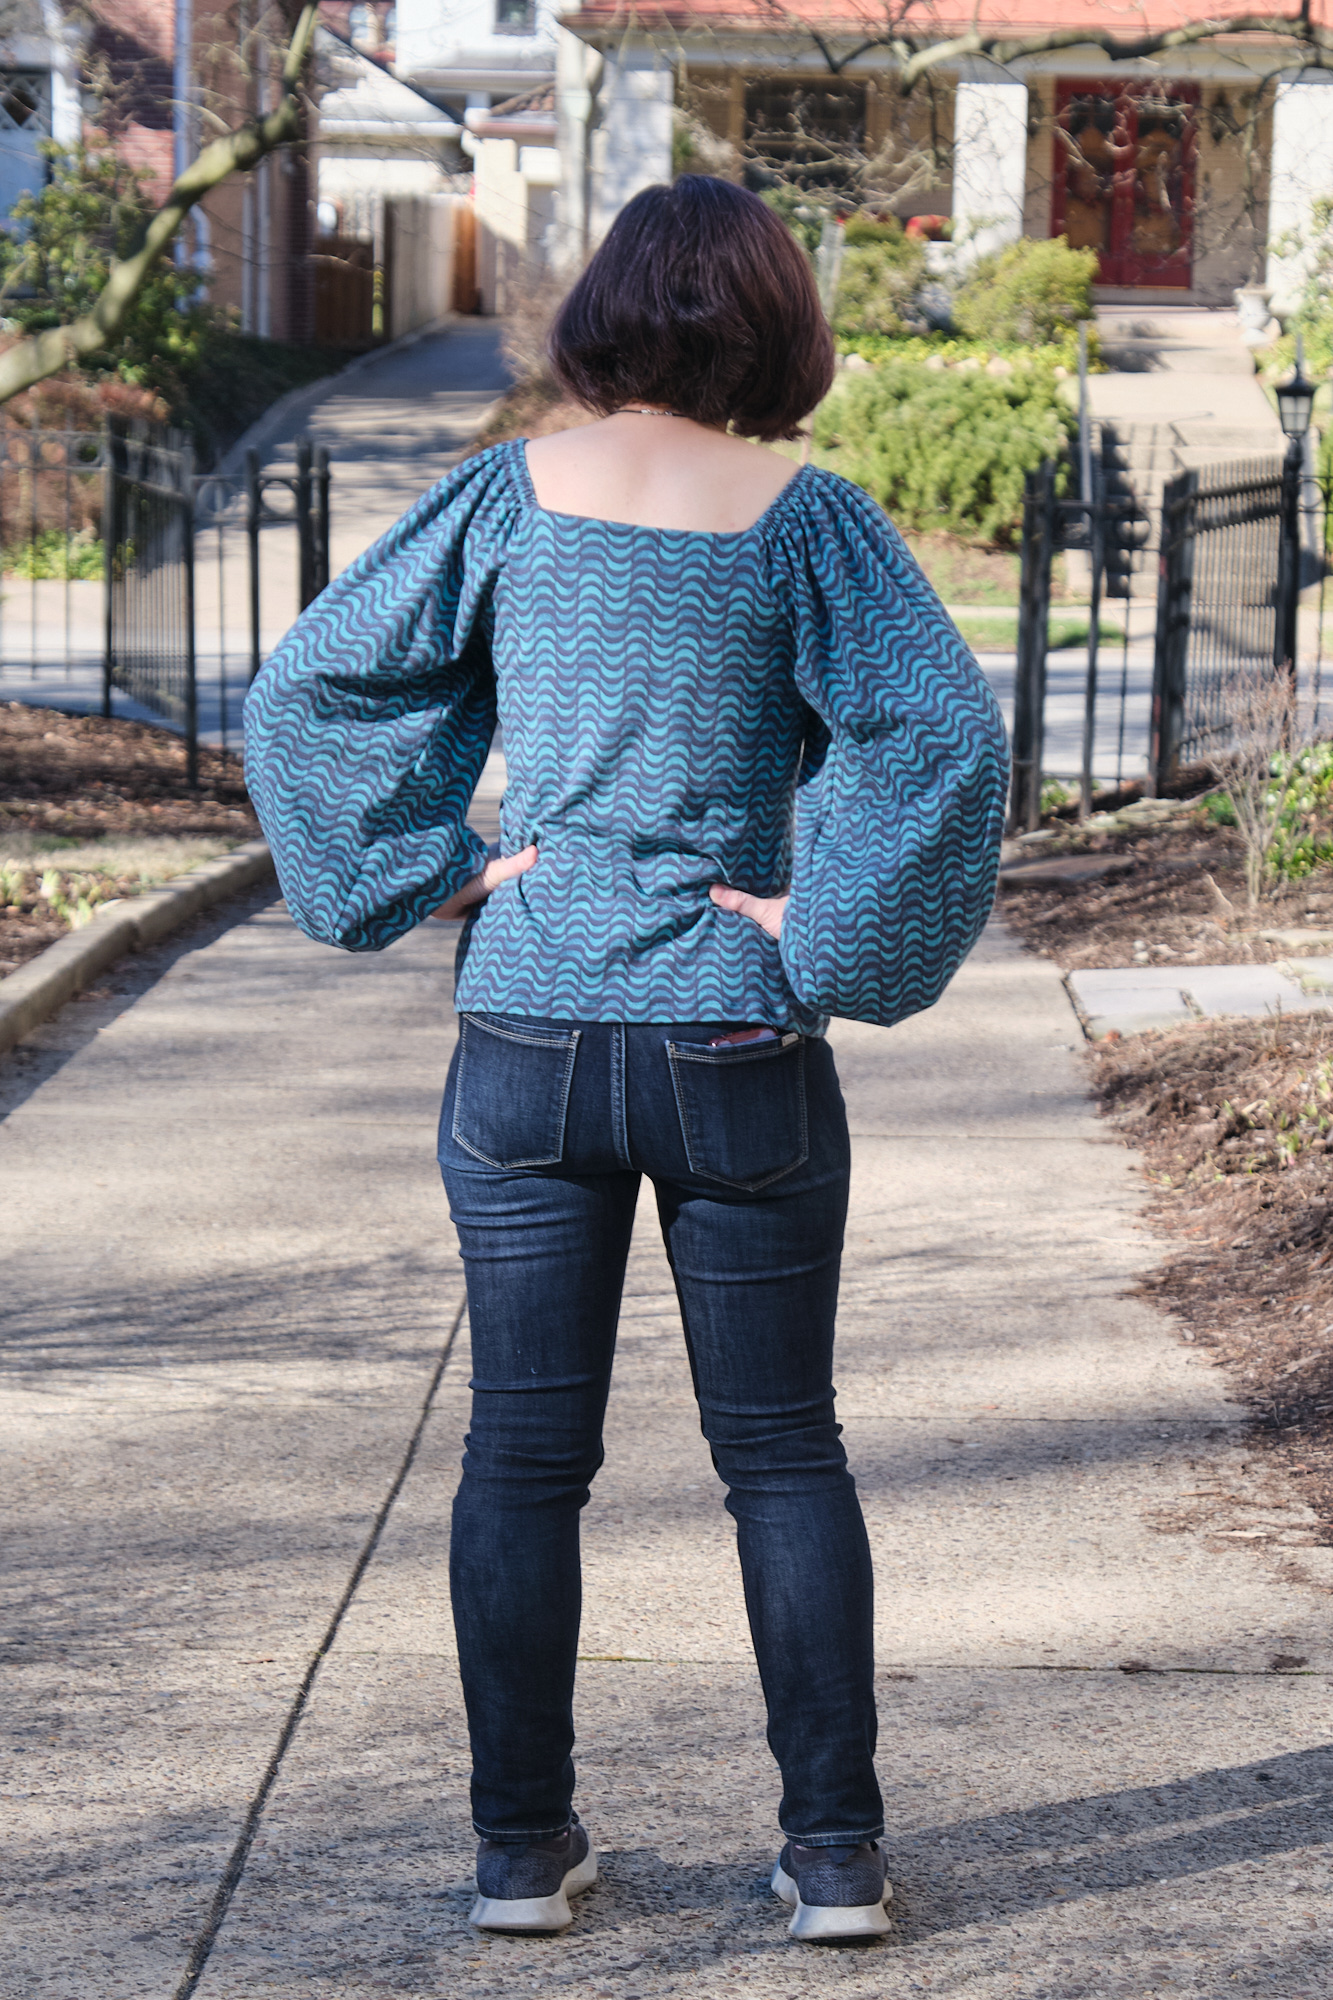
The Styla instructions were fairly thorough and easy to follow, and even their tips for a more professional finish were not actually difficult to execute if you have a serger. I could have used some more guidance on shortening the shoulder elastic, as advised to accommodate shorter people (the pattern is designed for someone who is 5’5″ and I am only 5’2″), but I figured it out. After basting the sleeves to the bodice as directed by the pattern, I tried the top on and saw that the sleeves were in danger of falling off my shoulders. So I opened up the end of the elastic casing in the back and shortened the elastic by about .75 inch, which seemed to do the trick. The instructions did not indicate when would be a good time to check shoulder fit or how much to shorten the elastic, but this approach worked for me.
Attaching the facing to the basted bodice and sleeves required some puzzling over the geometry. But once I figured it out, the instructions made sense. The instructions did not suggest serging this seam (although they also didn’t say not to), so I opted to sew this with a stretch stitch on my sewing machine and I’m glad I did, as it made it much easier to correct a mistake I made. It also turns out that the seam in question gets entirely encased between the bodice and facing, so nobody will ever see it. I skipped adding the clear elastic as the CL seemed substantial enough not to droop, and I also realized the elastic could be added later if needed. I considered under stitching or top stitching the neckline but didn’t do it, and figured I could always add that later if needed.
This top sewed up pretty quickly, and once I adjusted the shoulder elastic, I think it fits perfectly. I was worried the sleeves might be too long (often a problem for me when I don’t have a petite size, but once I tightened the shoulder elastic the sleeves fit fine as well. Then bodice length also seems about right so I’m going to proceed with this approach for the dress, although I imagine I may need to shorten the skirt. The top is more of a spring/fall top than a winter top, as the neck line is somewhat low in the back. I’ll probably keep a scarf handy to keep my neck and back from getting cold. The big puffy sleeves will fit under a jacket or a loose sweater, but do limit layering options.
We had an unseasonably warm winter day today so I got to wear my new top and even my 17-year-old daughter approved. Now I’m excited to make the dress!