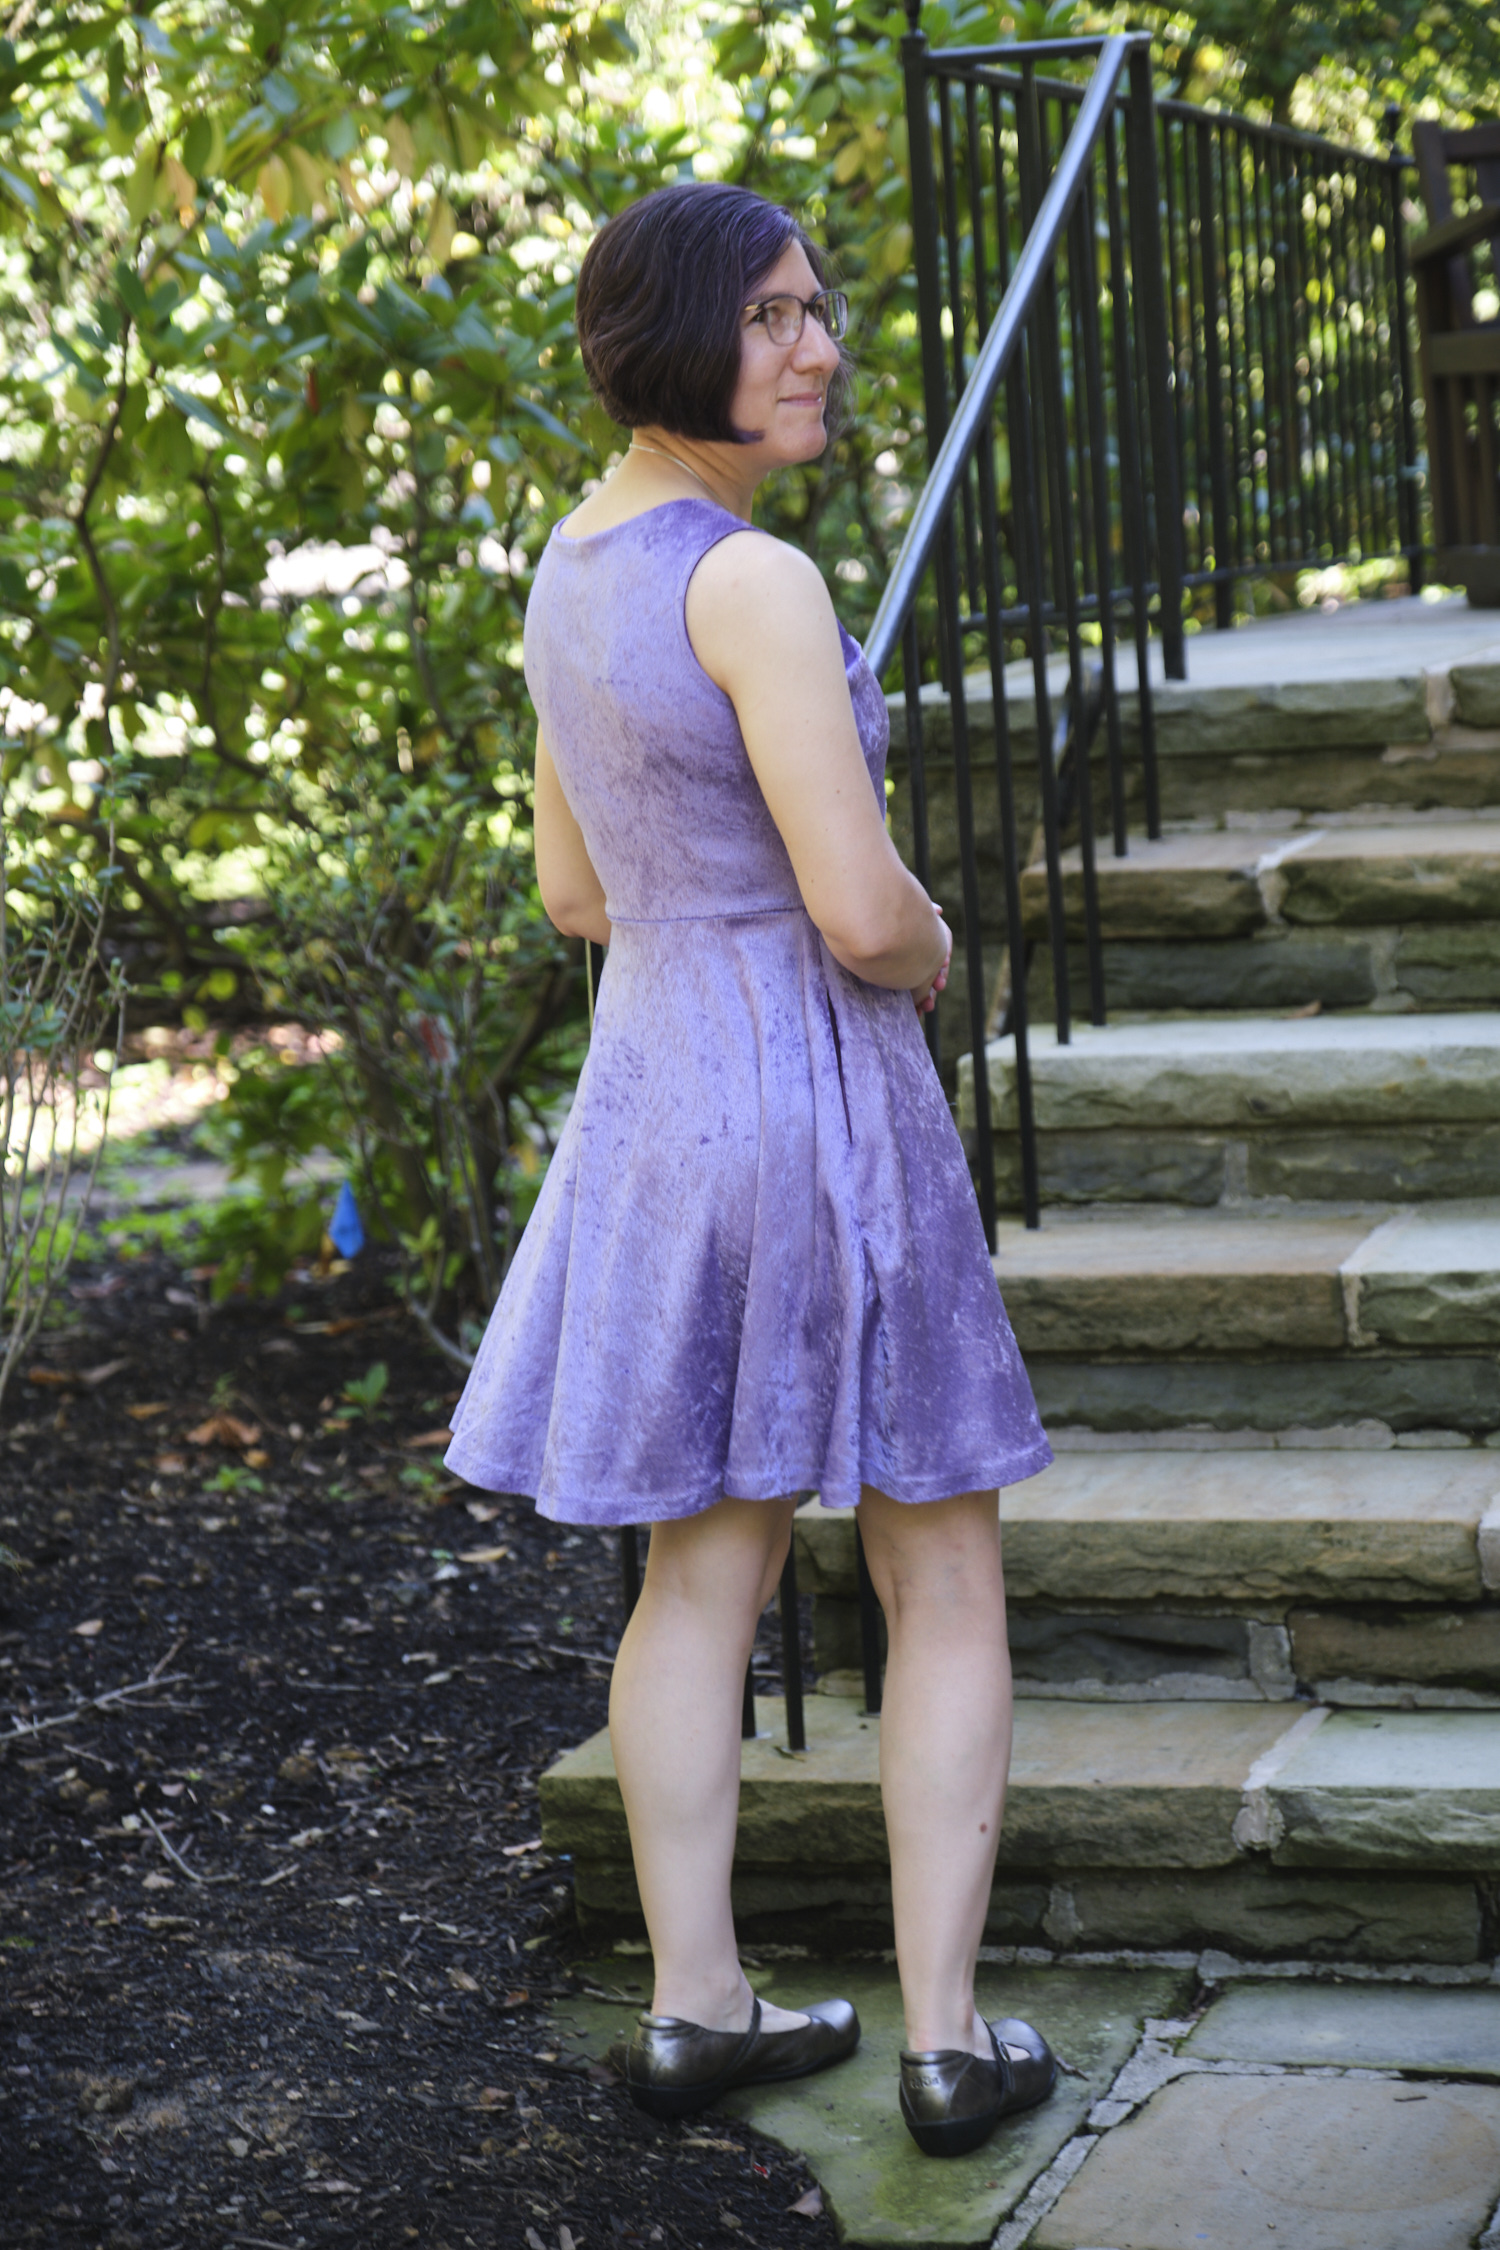
A few weeks ago I made a Sinclair Serena dress to try out the pattern, which I plan to use to make a fancy gown. The pattern worked out pretty well in double-brushed polyester, but I’m planning to use a fancy (expensive) custom-printed crushed stretch velour fabric for the gown, so I decided to make the pattern again with some cheap velour. I bought two yards of purple crushed panne velour from Cali fabrics for $4.99 a yard. This fabric is pretty and has similar stretch as the fabric I plan to use, but it is not as soft and doesn’t feel quite as nice. It is also not really purple – I would call it lavender, but it is not the royal purple shown on the website. This is not meant as a high-end fabric, but it is fine for a muslin.
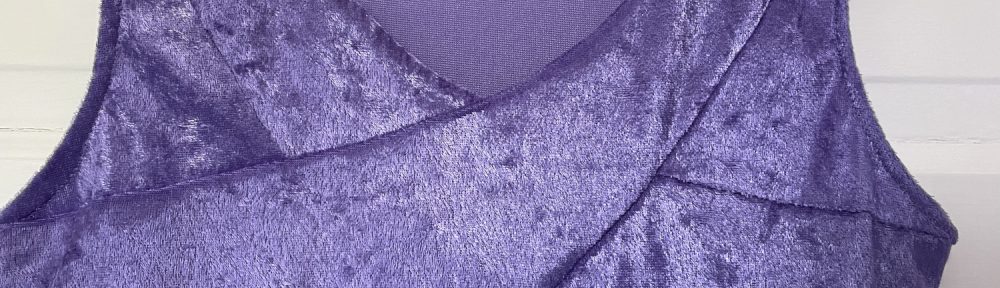
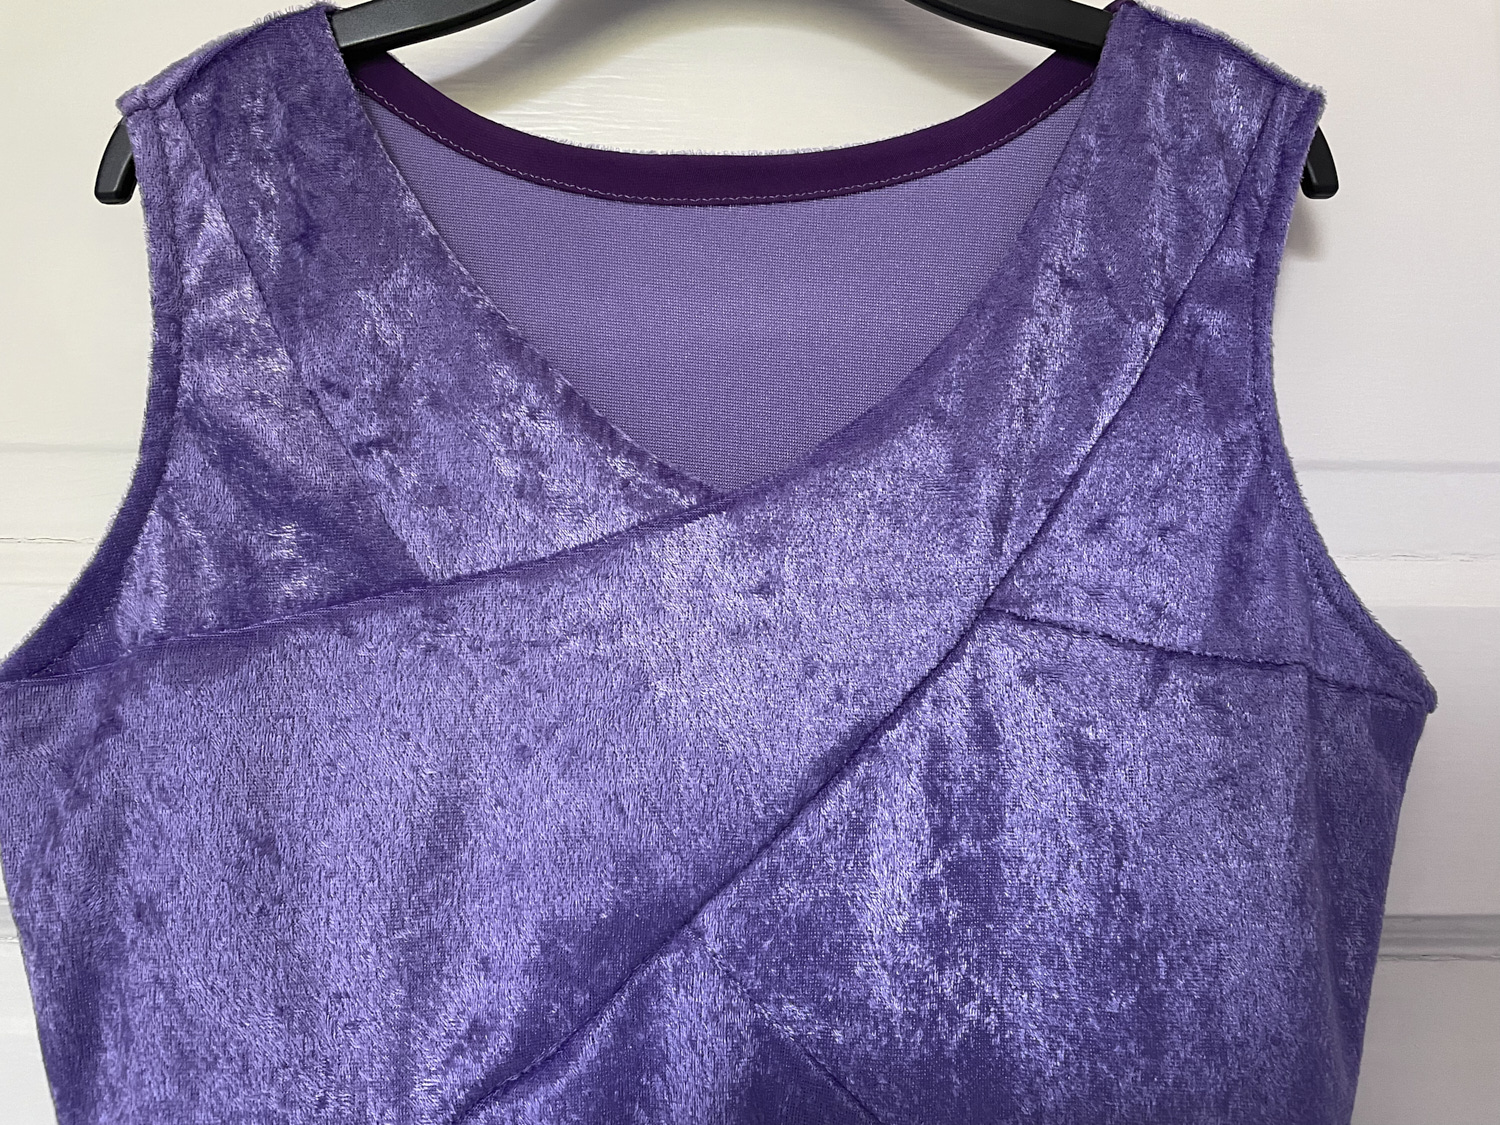
I projected the pattern and cut out the velour. I decided to use a purple ITY fabric for the lining pieces. Then, throwing caution to the wind, I decided to sew the dress together using my brand new Serger, having never serged before. It actually wasn’t that hard, except for the fact that velour is a super slippery fabric and no amount of pinning could get it to hold still. The slippery ITY lining just made it worse. There are parts of this pattern that call for two layers of regular fabric and 2 layers of lining, and getting them all lined up to complete the jigsaw puzzle bodice was a real challenge. I eventually basted together the layers before sewing, and it was fine. But parts of it that I sewed early on are not quite lined up right, although I managed to mostly hide them. Note to self when I make the gown, plan to do a lot of basting.
Besides being very slippery, the velour as almost no vertical stretch. That doesn’t seem to be a problem with this pattern, other than reducing the ability to ease out mistakes. Somehow the back ended up being and inch longer than the front when all was said and done (I’m pretty sure it was cut correctly, but there were numerous sewing errors), and I ended up just trimming it before hemming.
I did make a few mistakes that are mostly attributable to learning how to use my serger while making this dress. I now have a full understanding of the knife function and how not to use it when turning a corner. Repairing some of these mistakes might be one of the reasons the back ended up longer than the front.
I did manage to fix some problems from my last Serena dress. This time I added clear elastic to the neckline for good measure, and I sewed the crossover all the way to the edge. With both of these improvements, there is no possibility of drooping. I also did a better job stretching the armhole bands around the curves, so they look better than last time. In order to reduce pocket flapping,I made the pocket bags a little slimmer and attached them to the skirt a bit higher than the pattern calls for – about 1 inch below the point where the skirt meets the bodice. I made the pocket openings a bit smaller to keep my phone from falling out. I used the velour for the back pocket bags and the lining for the front to reduce bulk. But the lining still peaks out a bit so I may just use the velour for both sides next time.
The good news is that the whole dress did end up coming together nicely. The proof of concept worked and the muslin is a dress I would actually wear in public. In fact I wore it to an outdoor theater production this evening and can report it was both stylish and confortable.