I made my first bad password dress back in 2013 — a simple, short, sleeveless sheath, that has become quite famous. After wearing it to give a lot of security talks, it started showing wear and so I made a second one — the original is in the privacy art collection of the International Association of Privacy Professionals. But I finally got tired of wearing it to places like Davos in the winter where everyone insisted that I needed to be photographed outside in the snow and experiencing cold arms and lack of pockets, so I made the long-sleeved version last winter. But now I have taken this whole wearable password game to the next level and I give you the password dress: ball gown edition. So as not to keep you in suspense, I’ll jump right to the photos. But scroll past if you want all the details about how and why I made it.
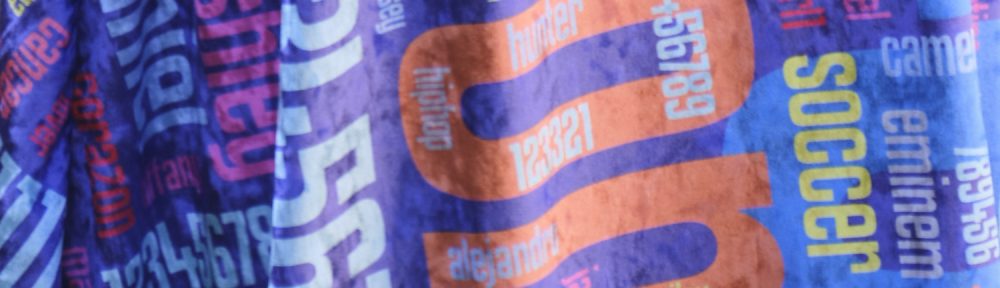
It’s made from a luxurious custom printed crushed velour fabric from Contrado. It’s vibrant and shiny, especially in the sun. And it feels stretchy and soft and is the most comfortable ball gown ever. All of my past custom password fabric orders have been from spoonflower.com. But they didn’t offer a suitable fabric that was both dressy and stretchy, so I started looking for other custom fabric vendors. Contrado is based in the UK so I was a little bit uncertain about placing an international order, but they offer a ton of fabric options so I ordered a fabric swatch kit. A few days later I opened an envelope with more fabric swatches than I knew what to do with. I didn’t count them, but I think there were over 100. So many fabric choices! I dumped them out on the floor and tested each one for light weight, softness, and stretchability, narrowing down the pile to a short list of scuba variants and crushed velour. They were all nice, but I loved the feel of the crushed velour and the way it catches the light. So with that in mind I ordered some cheap crushed velour to make a muslin of the pattern I intended to make (Sinclair Serena), but at a shorter length. The cheap crushed velour did not feel luxurious at all, but it made a nice dressy summer dress that I have worn several times this summer.
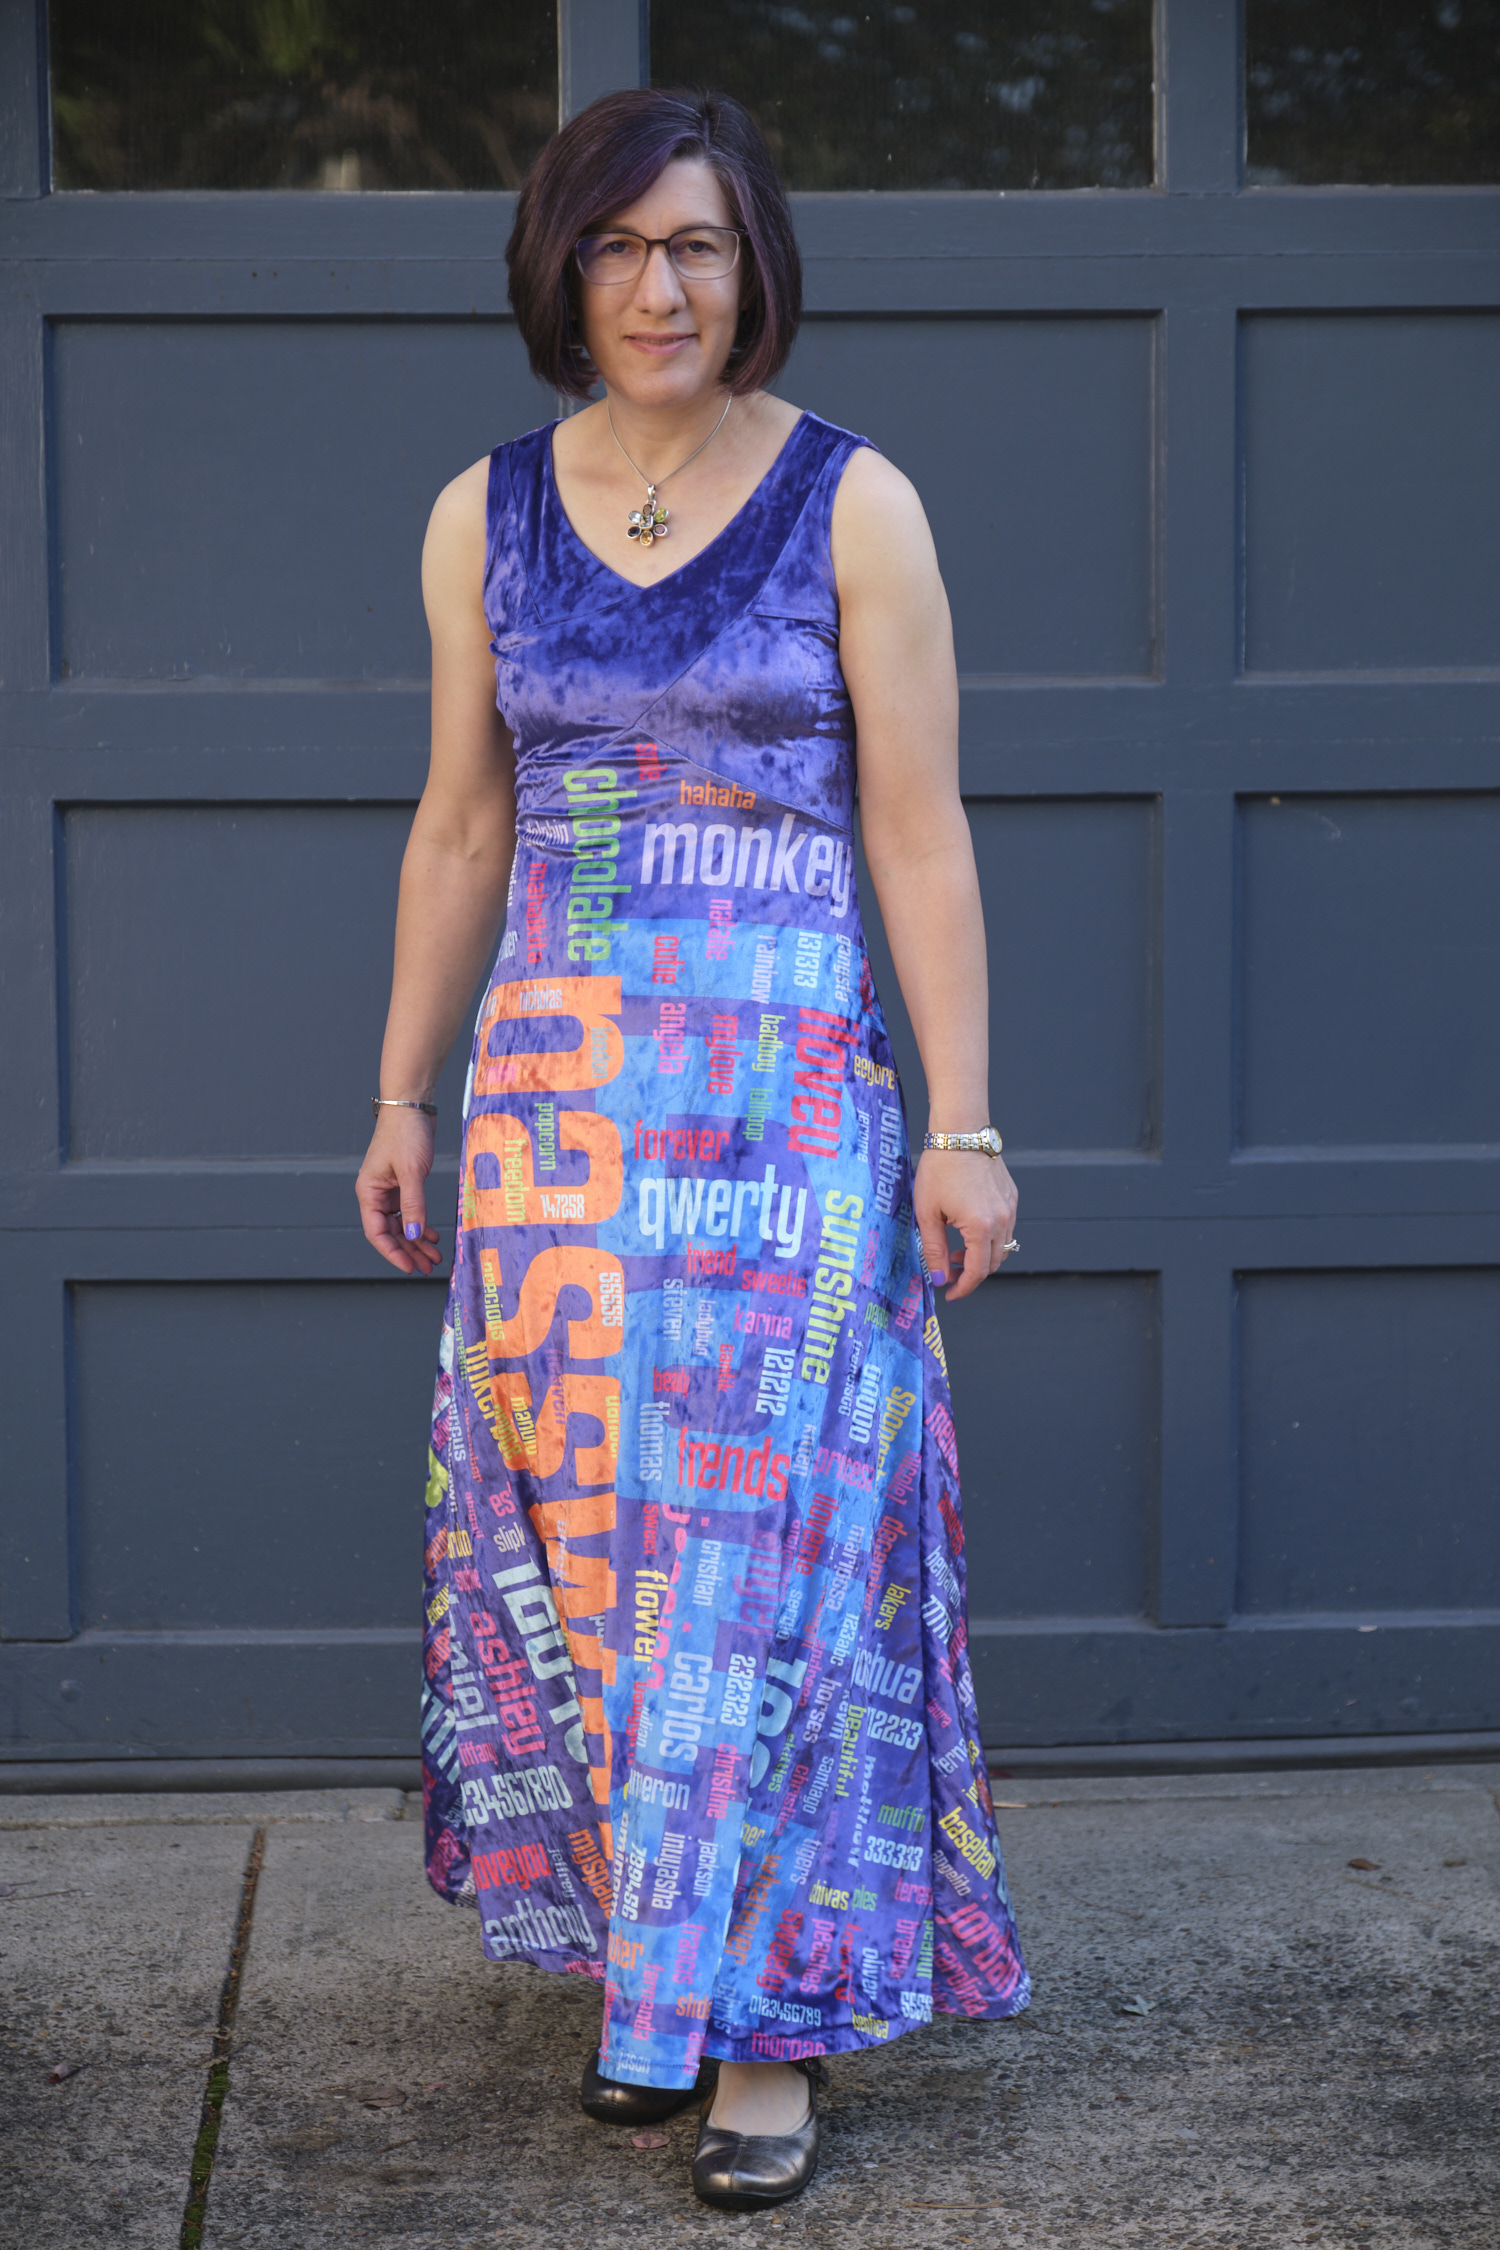
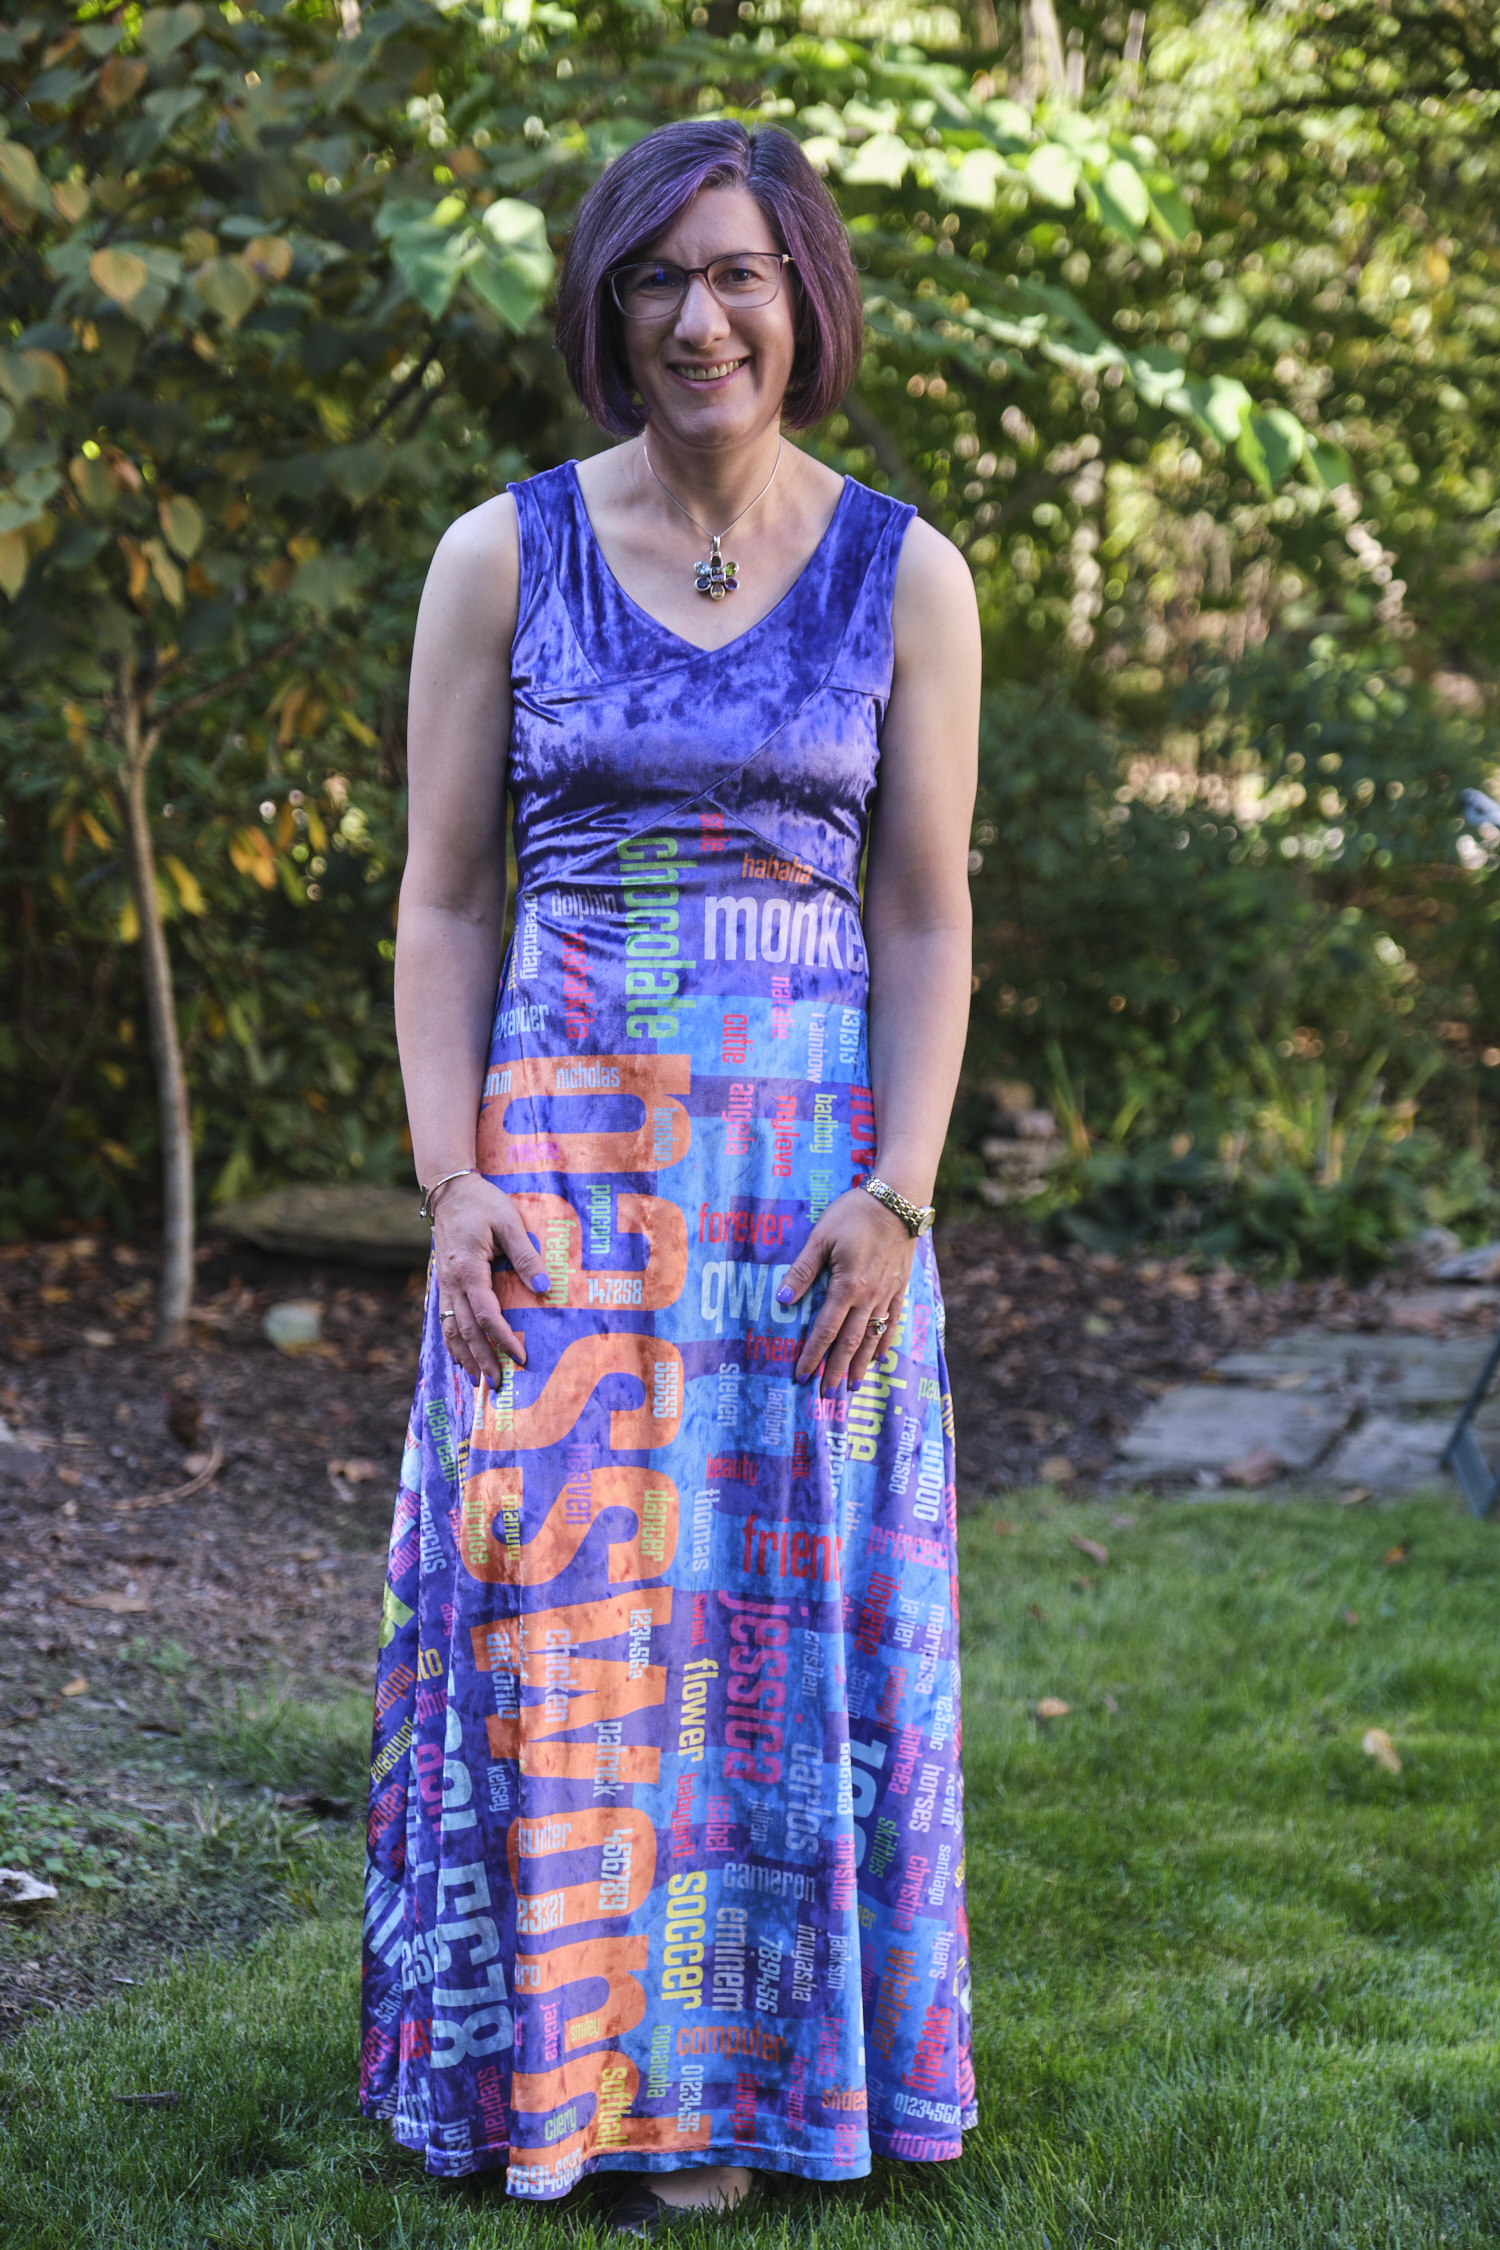
Once I had picked out the fabric and settled on the pattern, I worked on the fabric design. I took the PDF file for the Serena dress in the size 4 petite, and extended the skirt length to be long enough to graze the tops of my feet after hemming. I then created a PDF file the width of the fabric (53.15 inches) by 108 inches long in Affinity Designer. I pasted the Serena pattern pieces into the file, mirroring those that needed to be mirrored. The skirt back at that length was wider than 53 inches, so I decided to add a back seam and print the skirt back in two pieces. I split the skirt back and added a seam allowance to the center back seam. The skirt front is not as full so it fit the fabric width without a problem. I made all the pattern lines red and deleted all of the internal pattern markings, keeping only the outlines. Then I added a solid purple layer under the pattern pieces. The next step was to add all the passwords to the dress. I started with my previous password dress fabric and cut and pasted the passwords inside the pattern pieces (removing the naughty words this time). In some cases I rotated them or scaled them slightly from the previous design. I spent a lot of time rearranging the passwords to fit them all into the puzzle. I also chose some of my favorites for prominent placement. I decided to cover the entire skirt and back of the bodice with passwords but leave the bodice front solid purple.
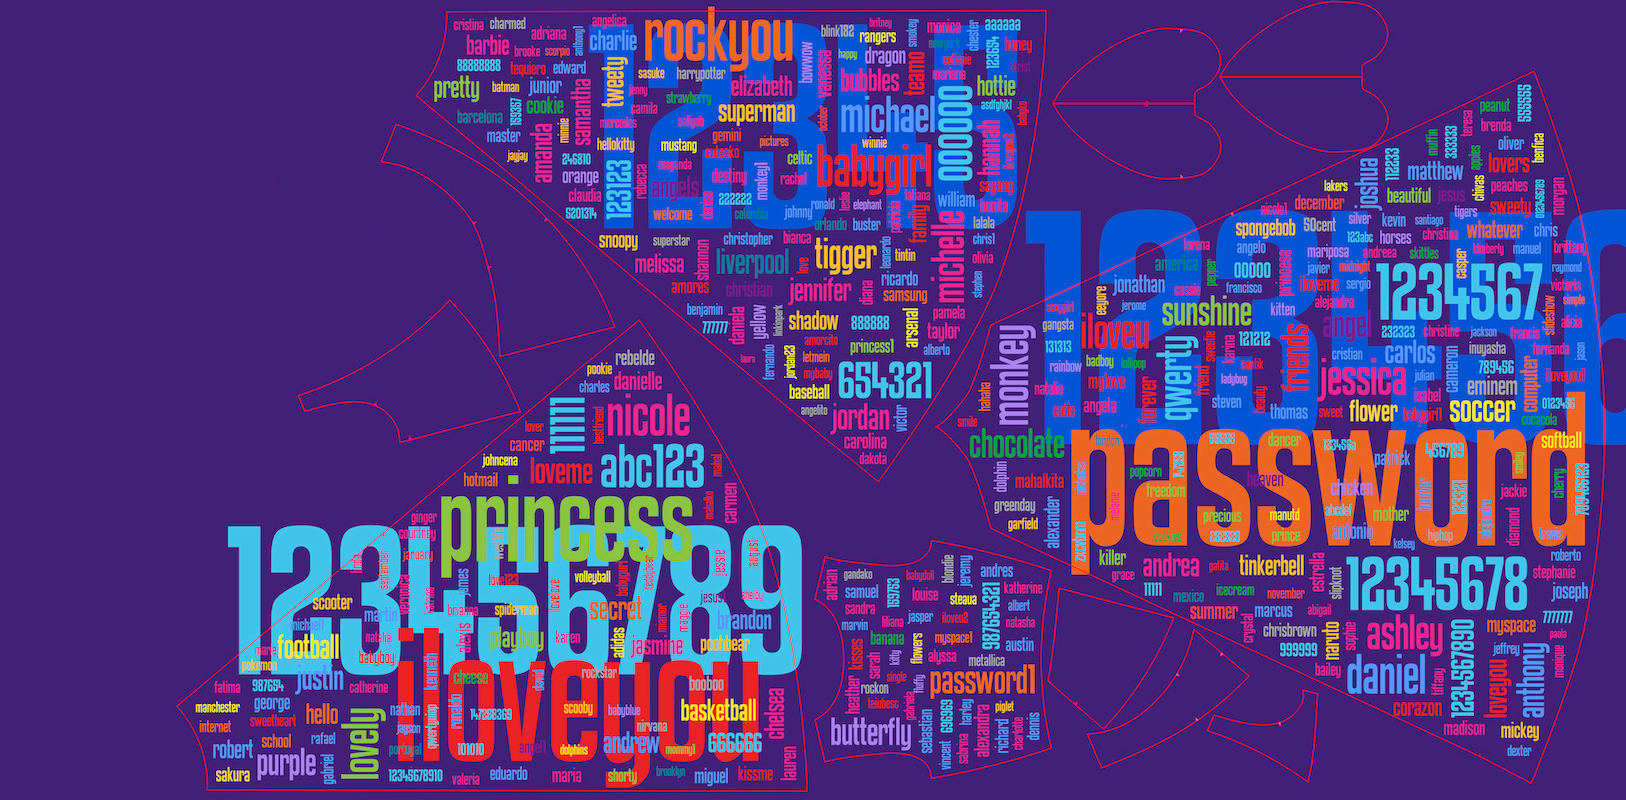
I could have continued futzing with the password layout for quite some time, but I was not sure how long it would take for my order to be delivered and I had a deadline for finishing the dress, so I saved a giant jpg file and called it done. (I subsequently spotted several small glitches but hopefully nobody else will notice.) I went ahead and placed the order on a Sunday morning in August. Much to my amazement, the fabric was printed in the UK, shipped across the ocean, and was delivered via FedEx to my doorstep in Pittsburgh, PA just TWO DAYS LATER on Tuesday! The custom fabric is expensive. Even with a discount coupon it was $42 per yard. But I paid only $9.95 for standard international shipping.
The Contrado website said the fabric would be machine washable, but was a little vague on whether to expect shrinkage. Given that it was 100% polyester fabric I took a chance that there would be minimal shrinkage (definitely a risk if you print your pattern pieces directly on the fabric) and I was right.
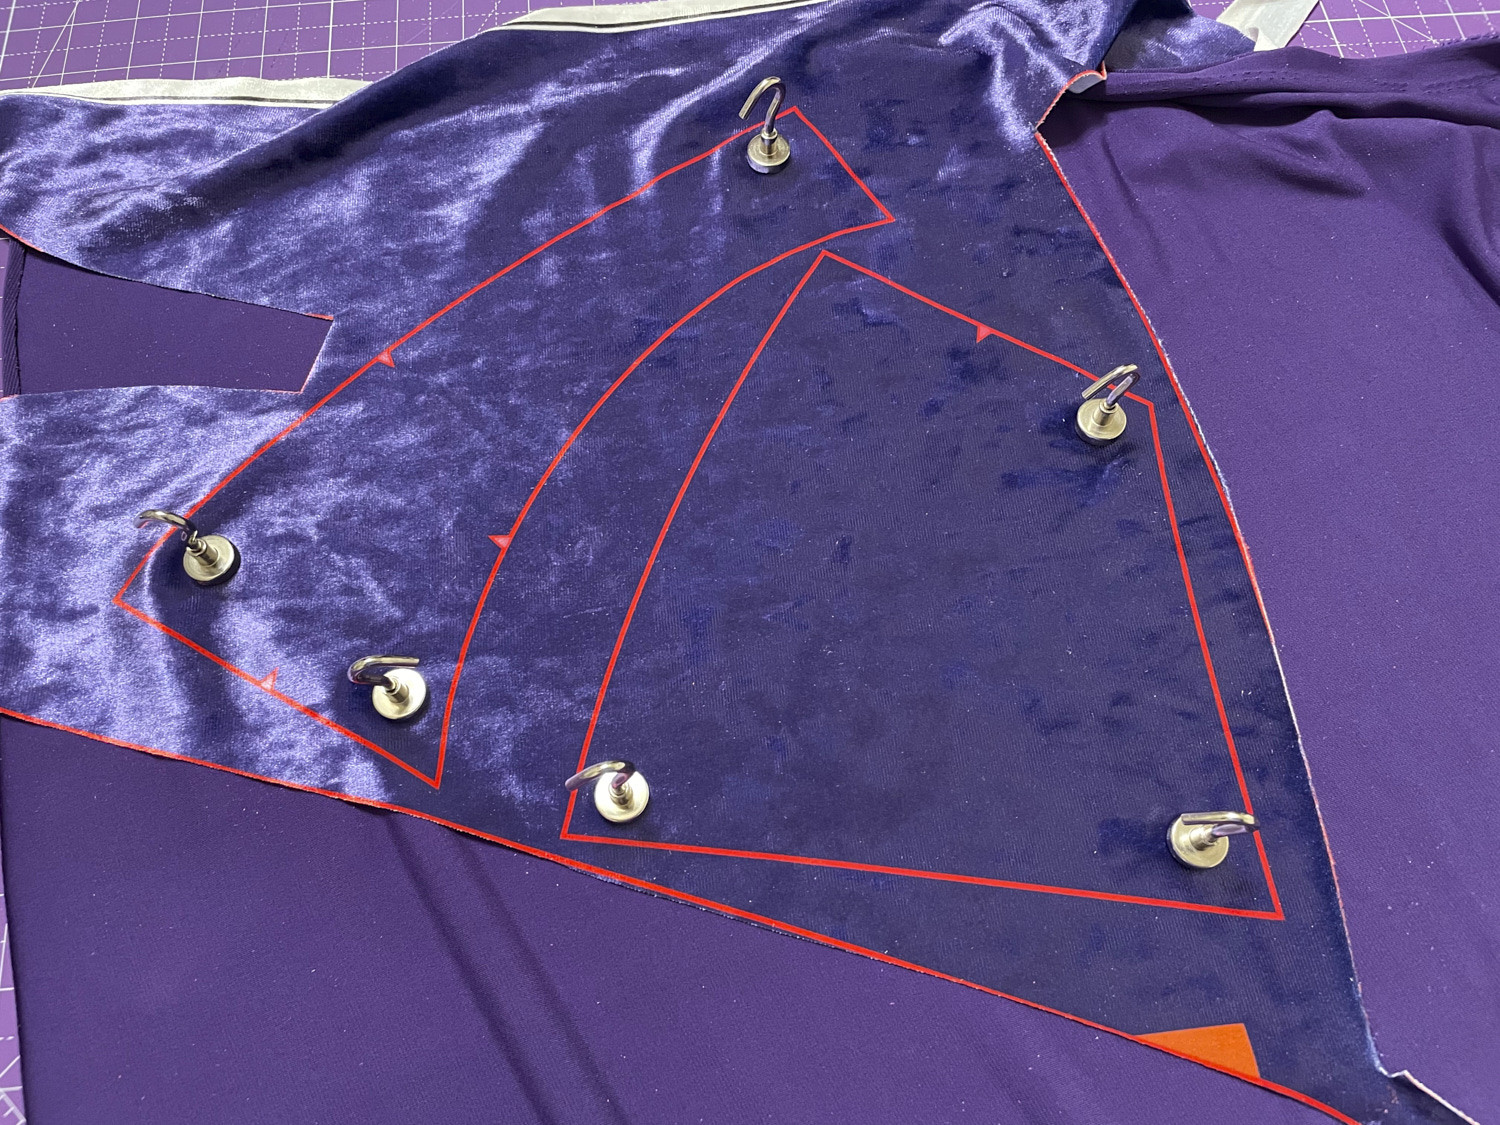
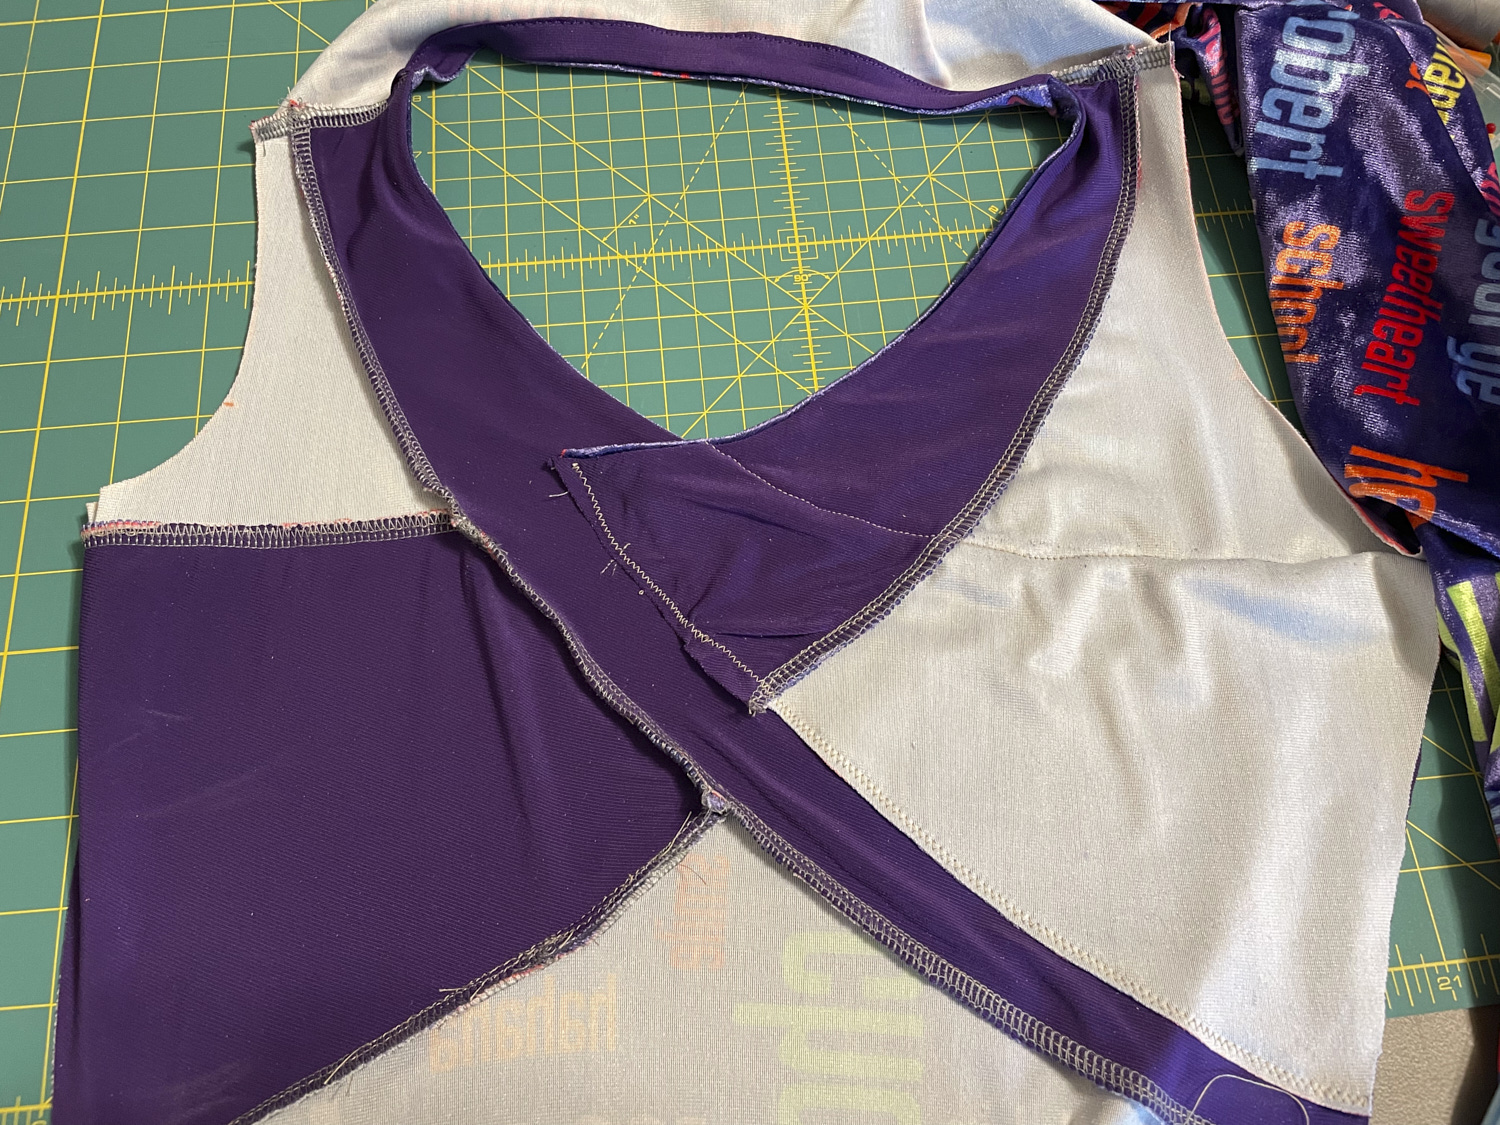
I laid the fabric out on my magnetized cutting mat and cut it out along the red lines with my rotary cutter. I knew from sewing the muslin that crushed velour is slippery and hard to pin in place, so I did a lot of hand basting and then serged most of it, leaving the cutting knife retracted so I wouldn’t accidentally cut anything I didn’t want to cut (since the pattern had 1/4-inch seam allowances there wasn’t really any need to trim as I sewed). The first few steps of the bodice assembly went pretty well, until it came time to join the F1 piece to the F2/F5 piece of the bodice. There are multiple points to line up and after basting and unbasting multiple times I realized that there was no possible way to get everything simultaneously lined up. After about three hours of this I finally gave up and sewed it together so the outside looked good, but the inner lining (purple ITY) looked like a train wreck. But nobody will ever see it, except for the fact that I am showing you this photo right here so that you can see that the inside is a complete disaster but the outside still looks really good. You will see there is a diagonal piece that goes from the top left to the bottom right. There is another diagonal piece that starts in the middle and goes to the bottom right. Those two pieces are supposed to be sewn together on top of each other, but yet there is a bout a 1 inch gap between them. So that nothing would be flapping in the breeze, I sewed the loose edge to the inner lining. I believe the problem has to do with the fact that my fabric stretches only in the horizontal direction and has almost no vertical stretch (going against the advice of the pattern maker). The fabric I used for my muslin was similar, yet somehow I did not end up with this particular problem. I’m perplexed, but it all worked out in the end.
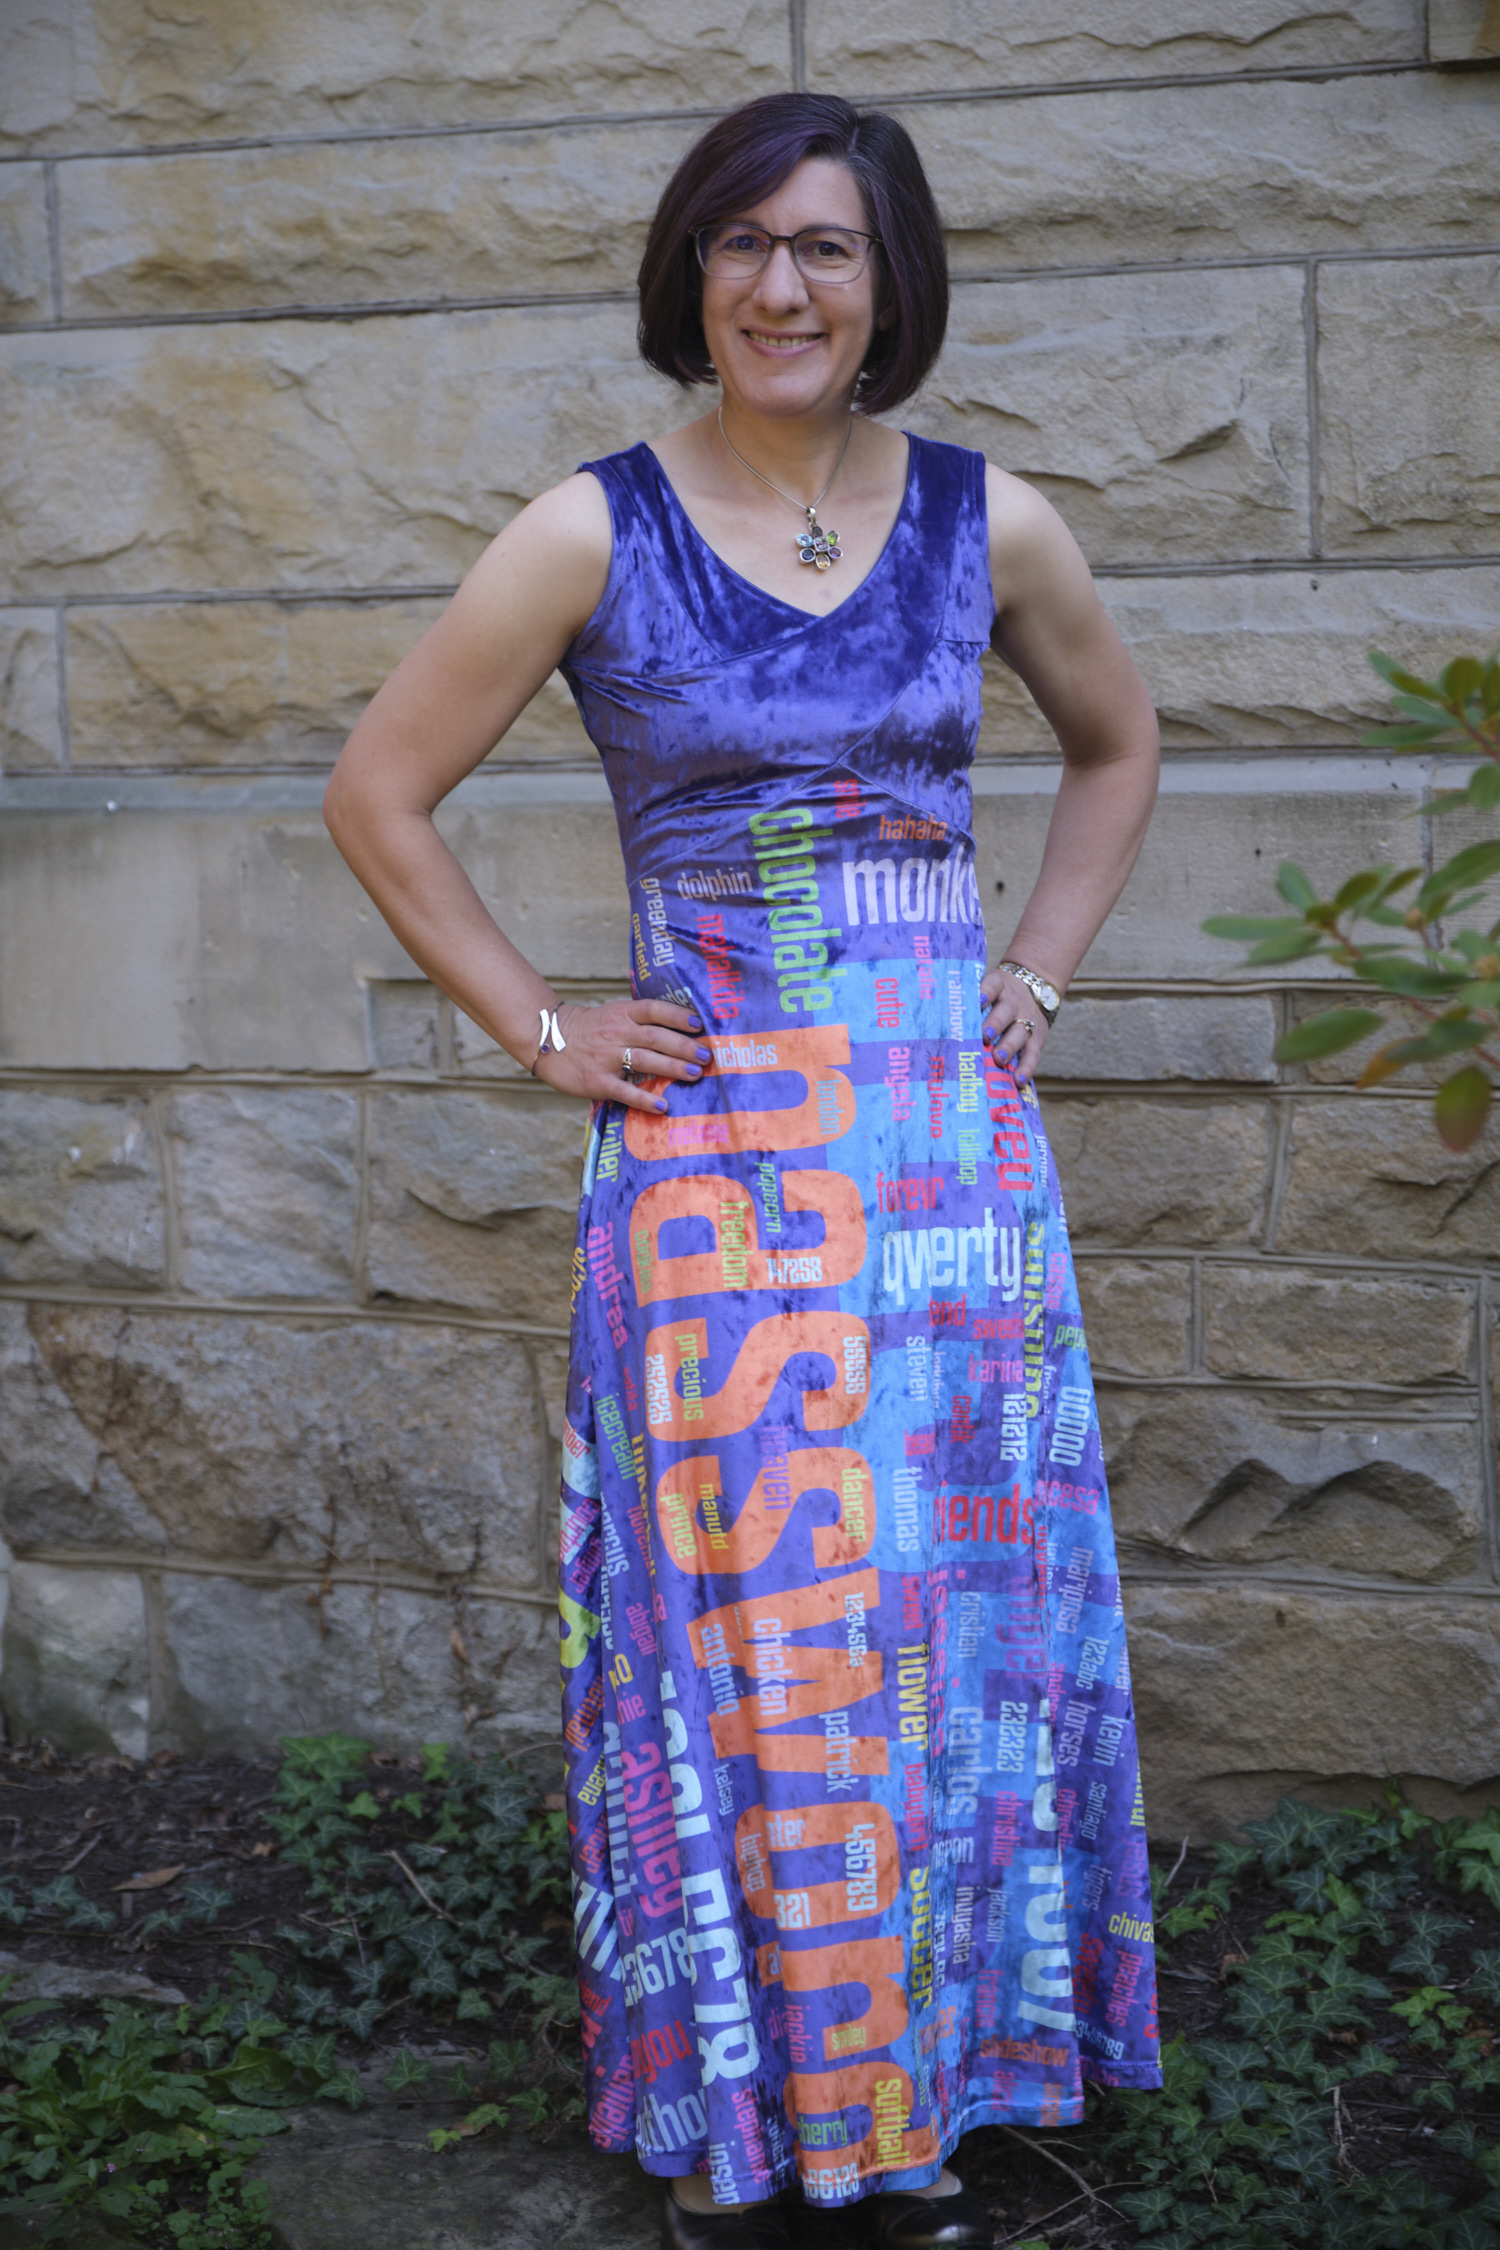
Of course, I chose the pocket option, since Cinderella and I always need pockets, even when we go to a ball. I decided to make the pocket bags out of the purple stretch velour so that they would not show if they fell open. Stretch velour is not really ideal pocket bag material, especially since I stitched the pocket openings up a bit to prevent things from falling out. Sticking my hand in a pocket tends to cause the pocket bag to come out with my hand, but it works well enough for holding my phone and a small wallet. From past experience with this pattern, I know that I prefer the pockets to sit a bit higher than the pattern calls for so they don’t jiggle around when I walk, so I ignored the marks and just tried on the partially completed dress and pinned the pockets where I wanted them to go.
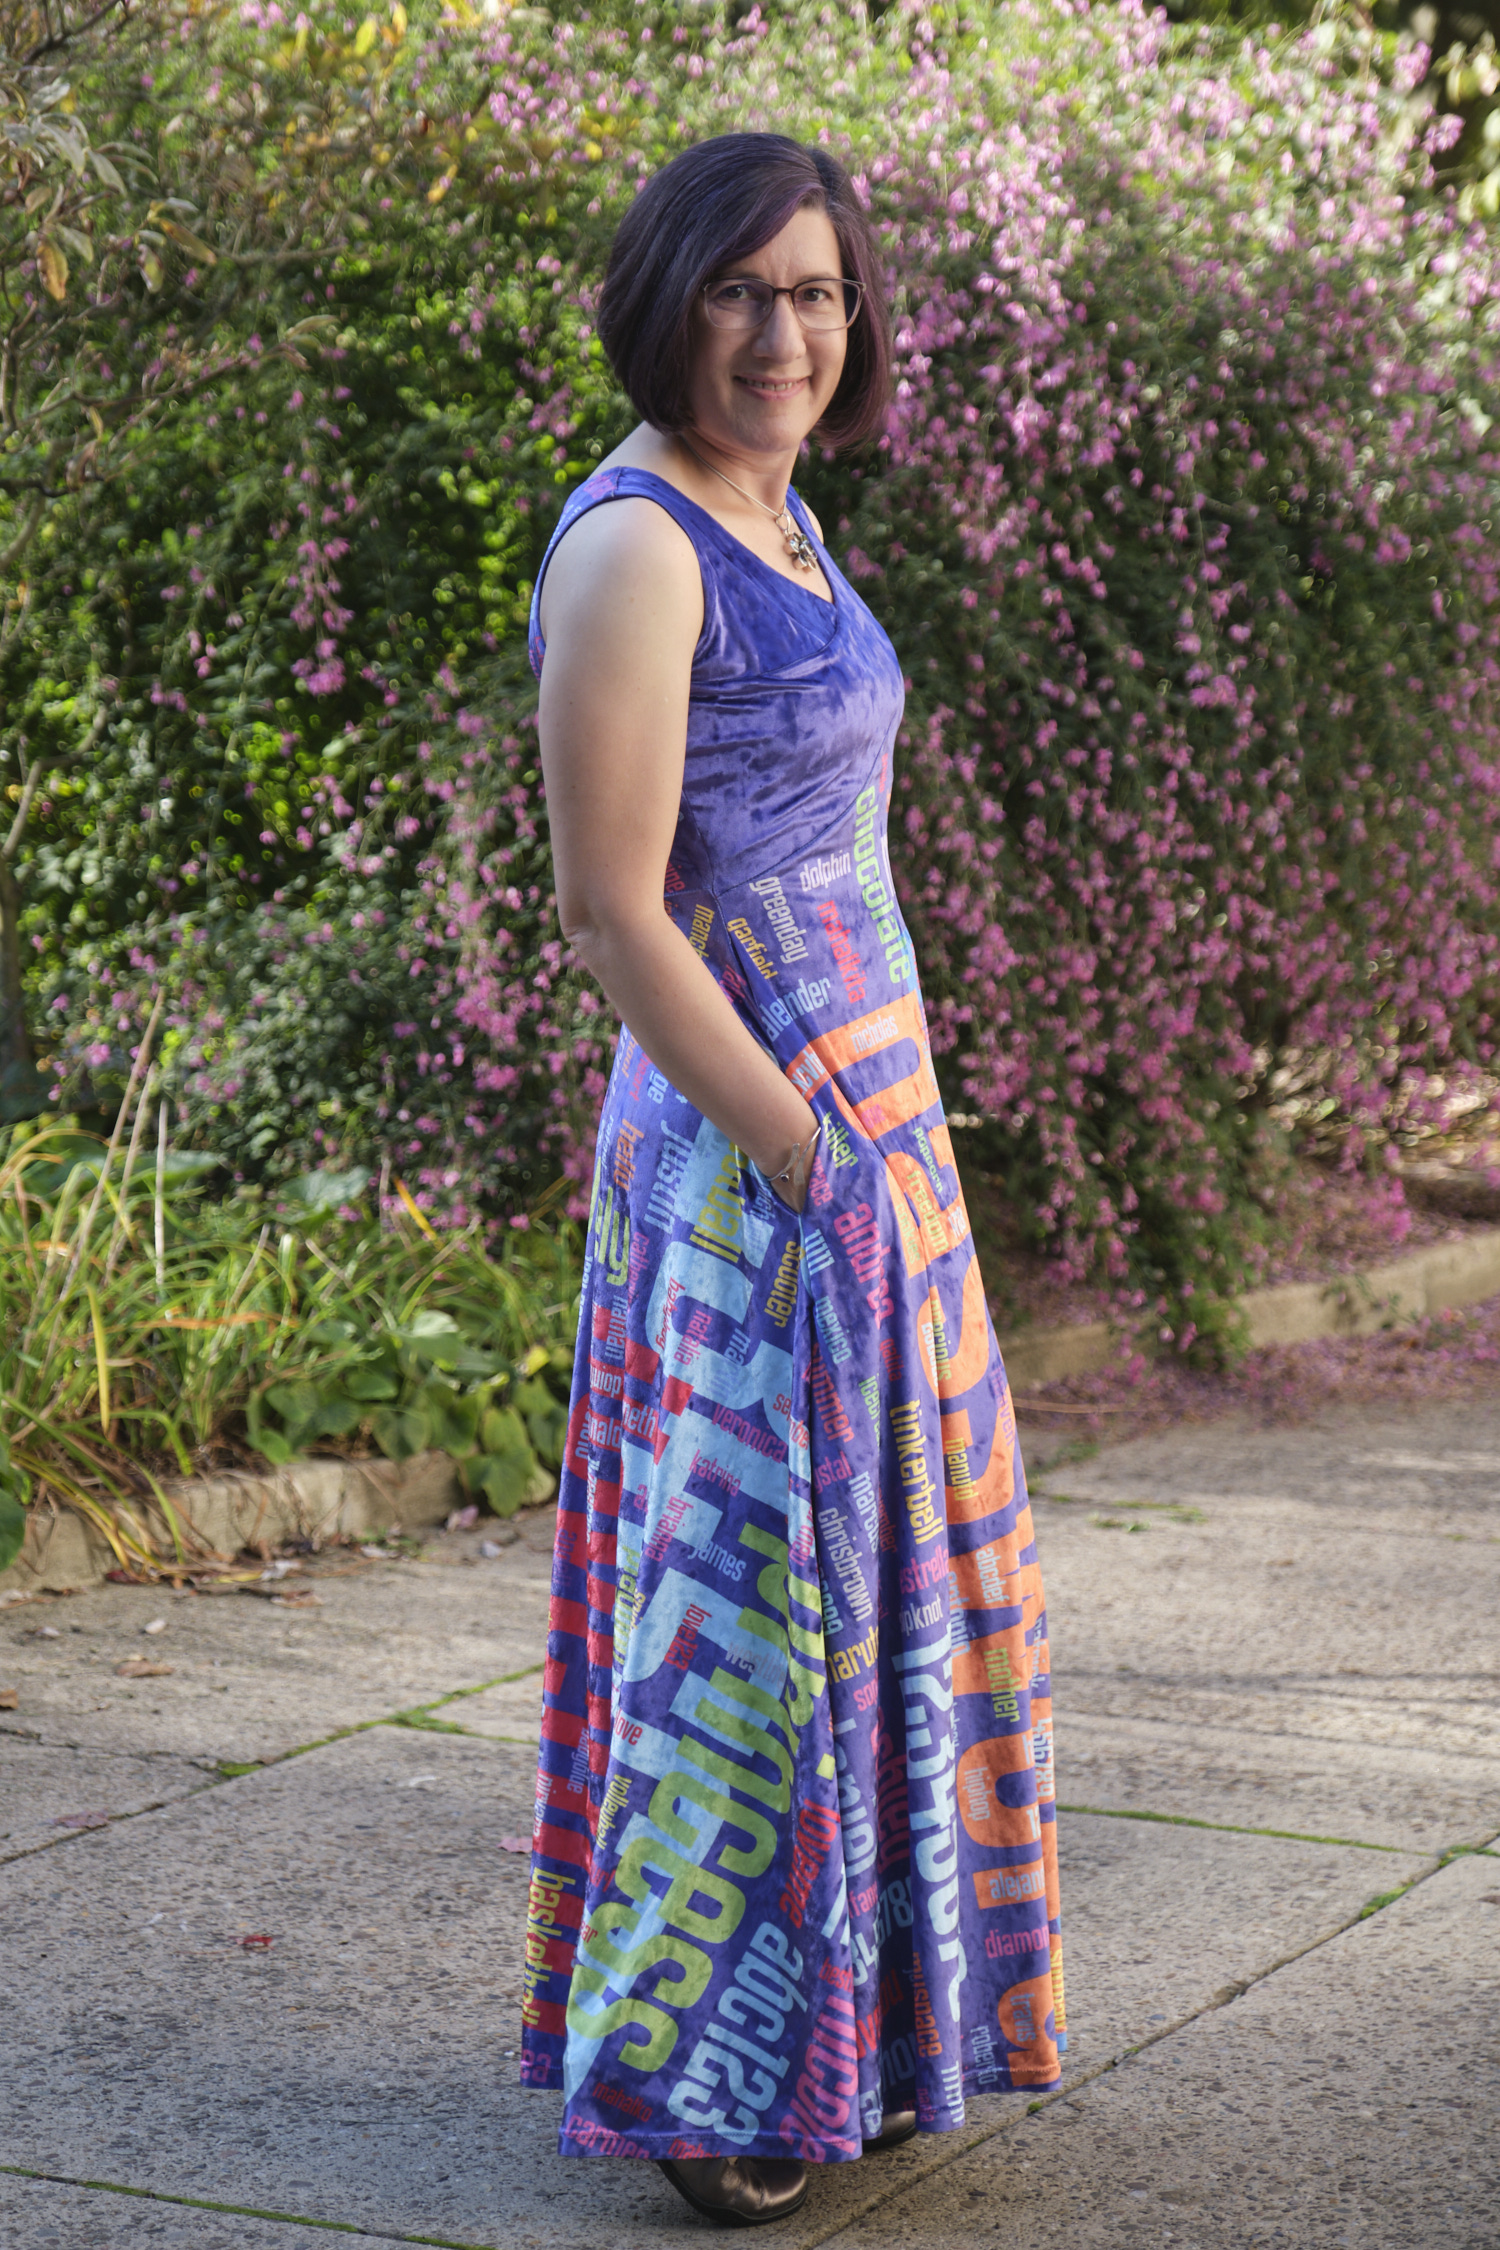
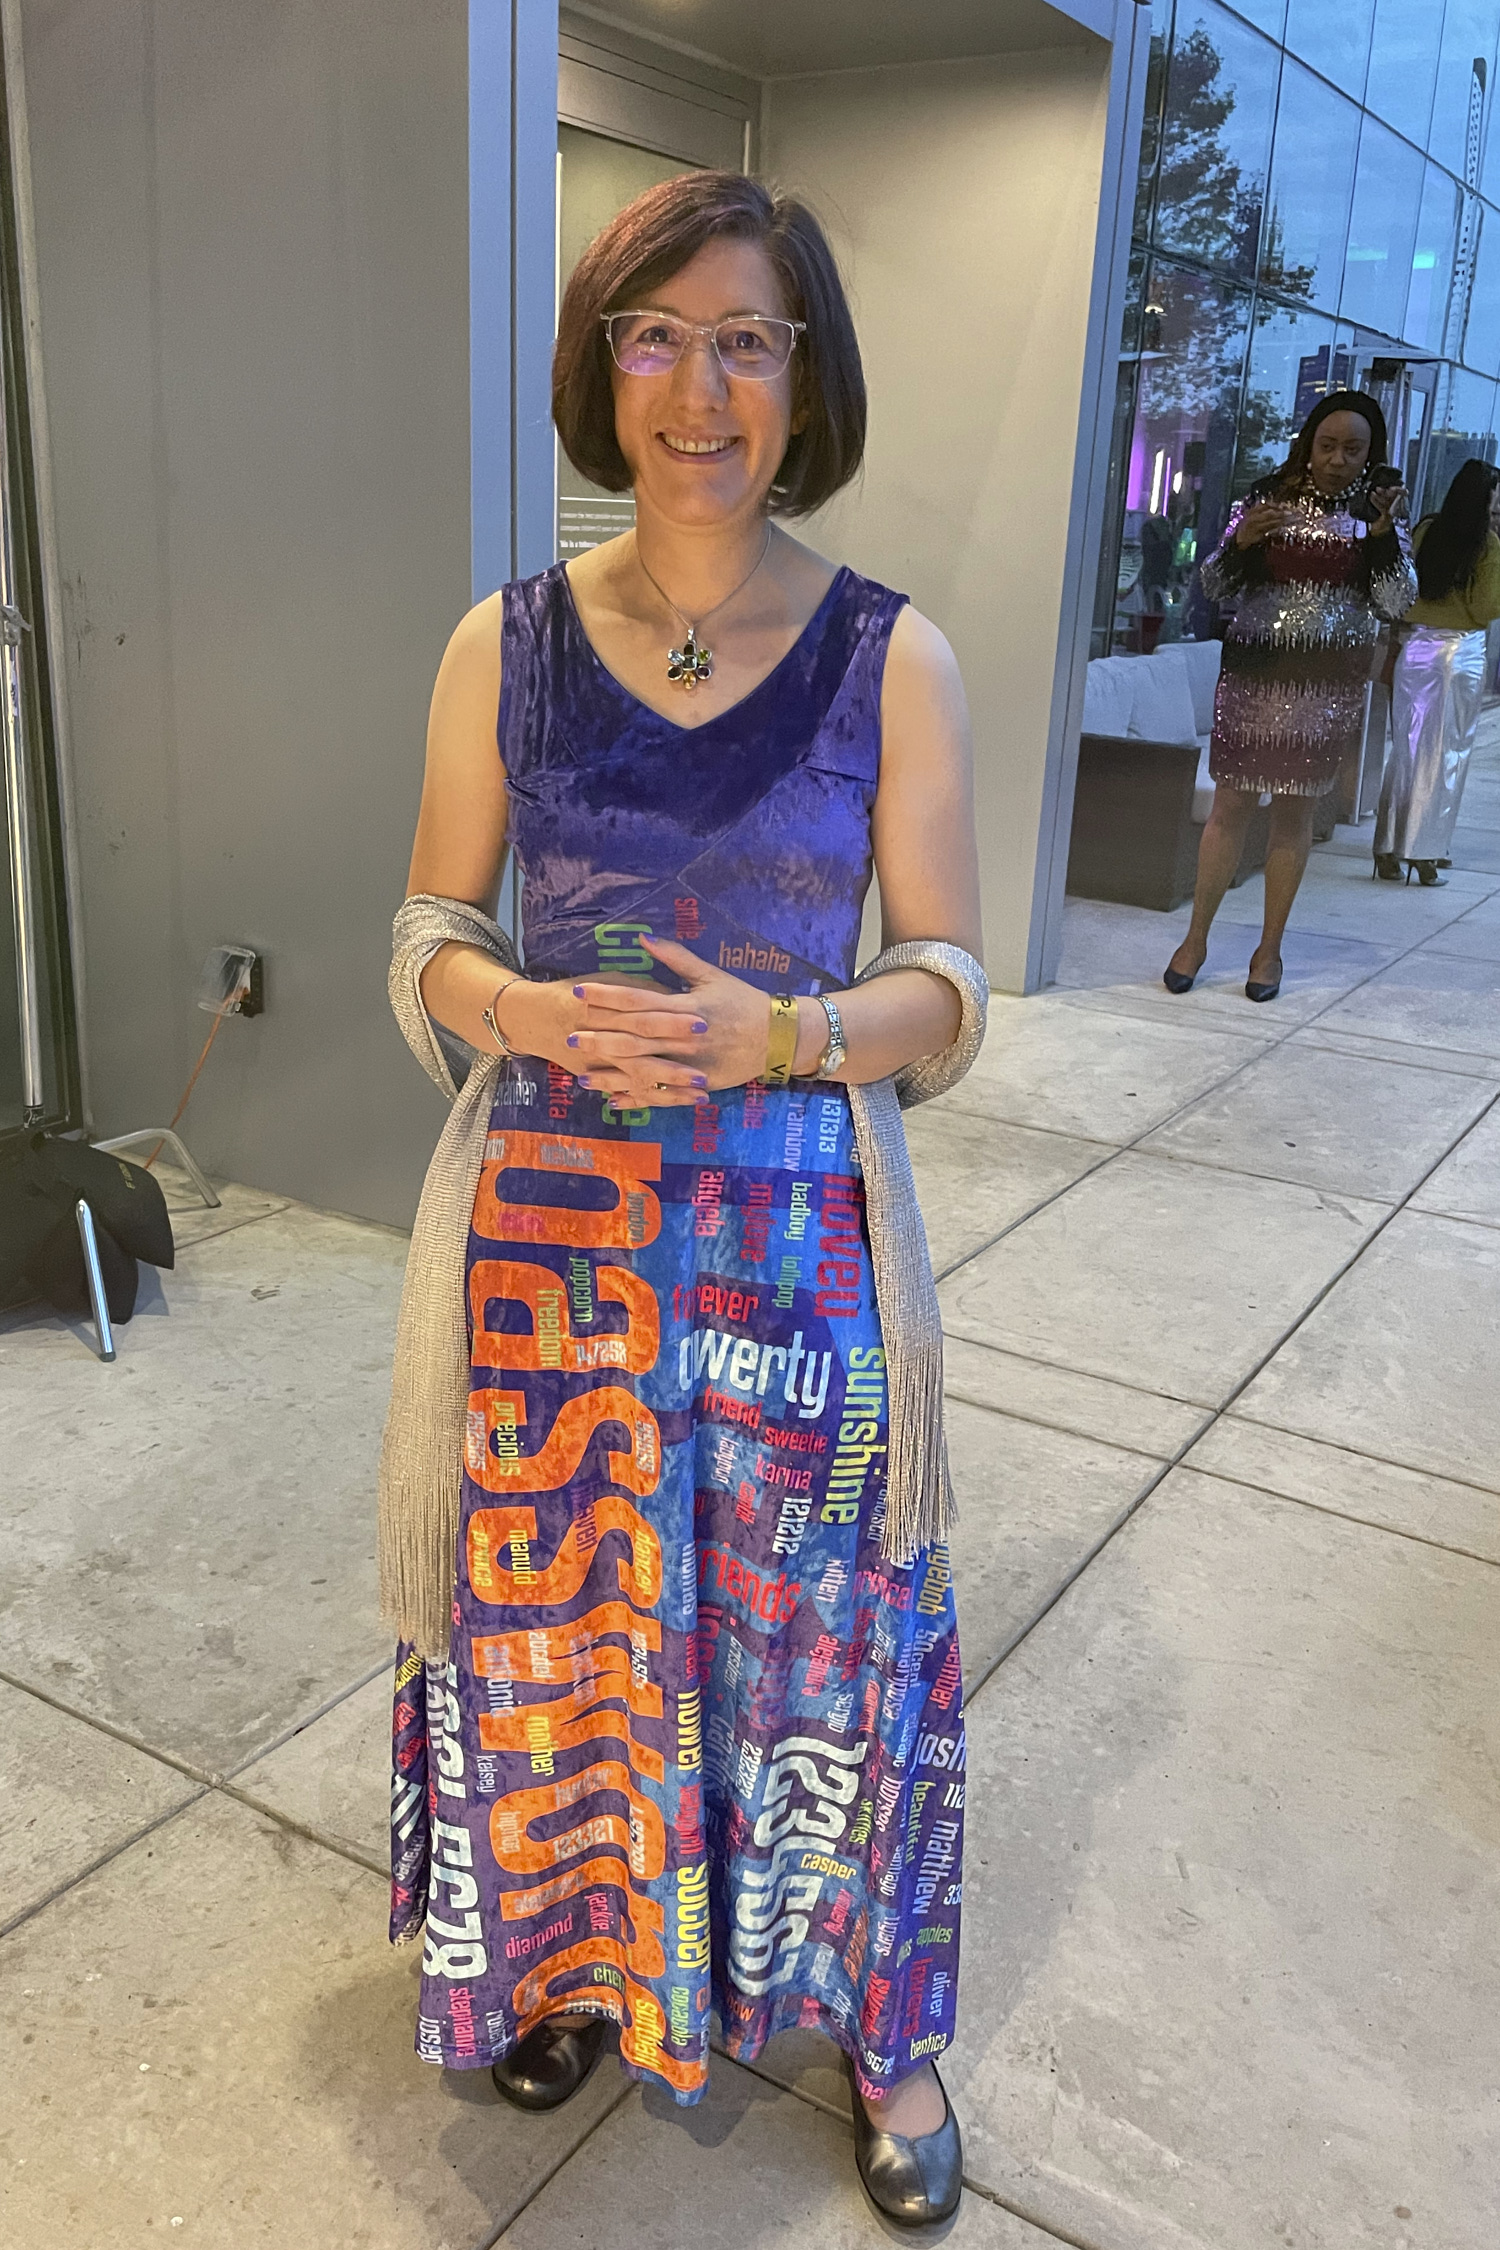
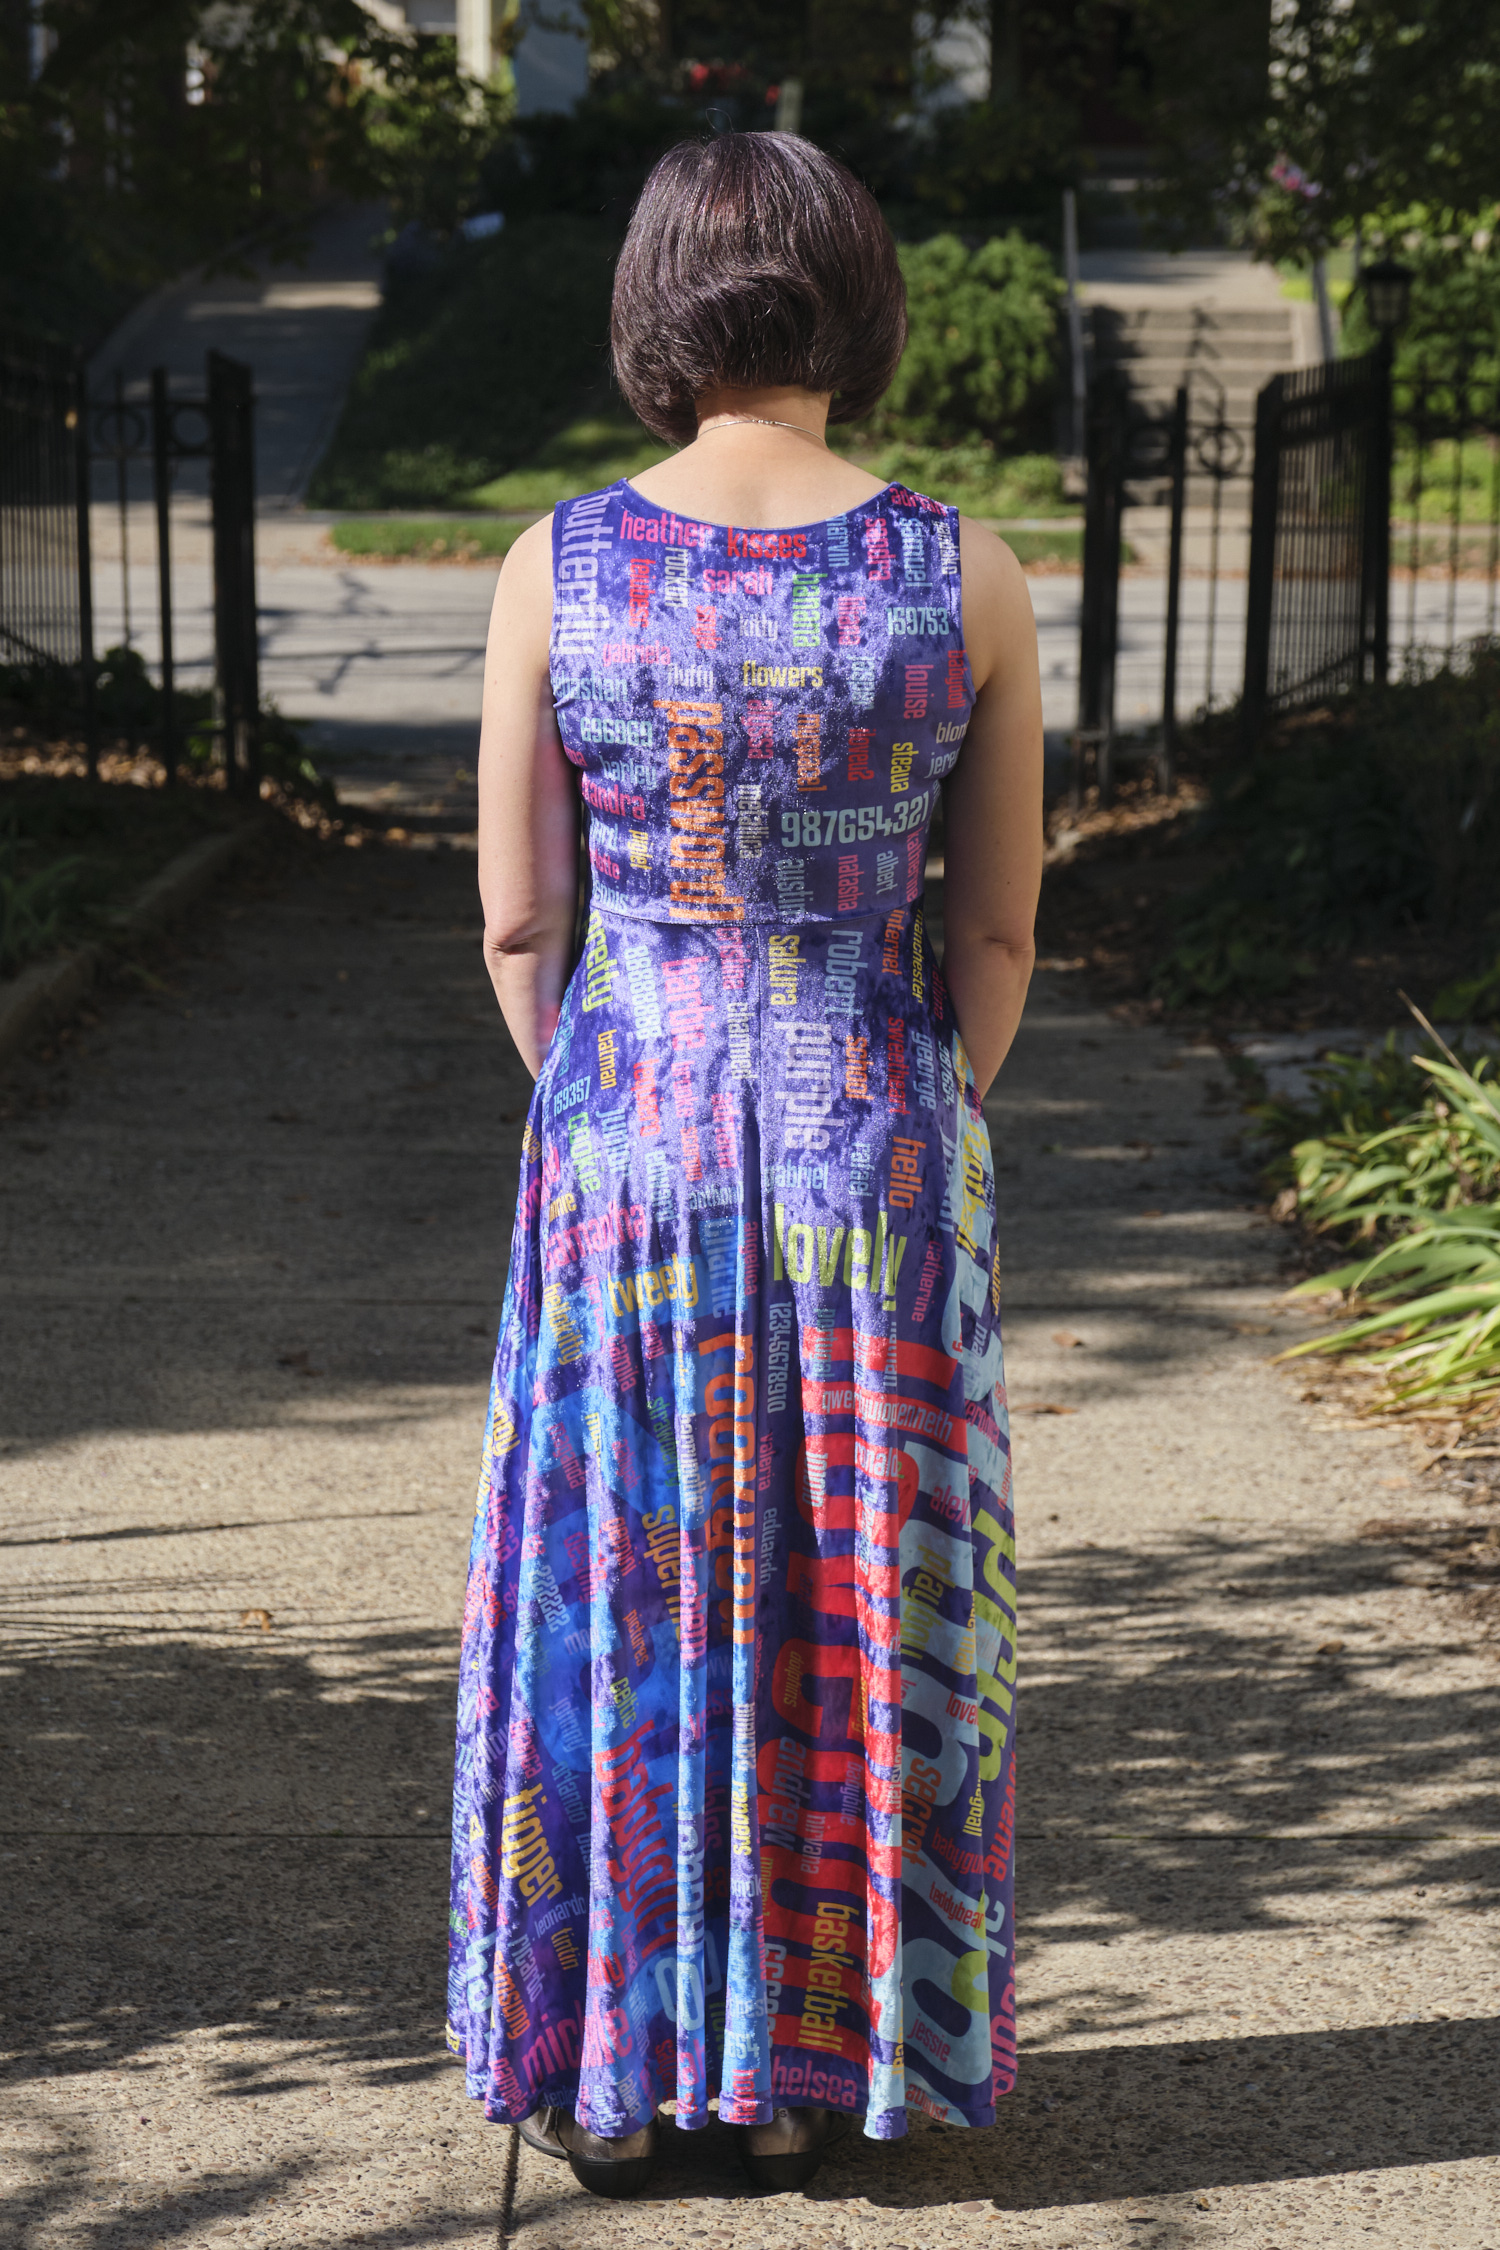
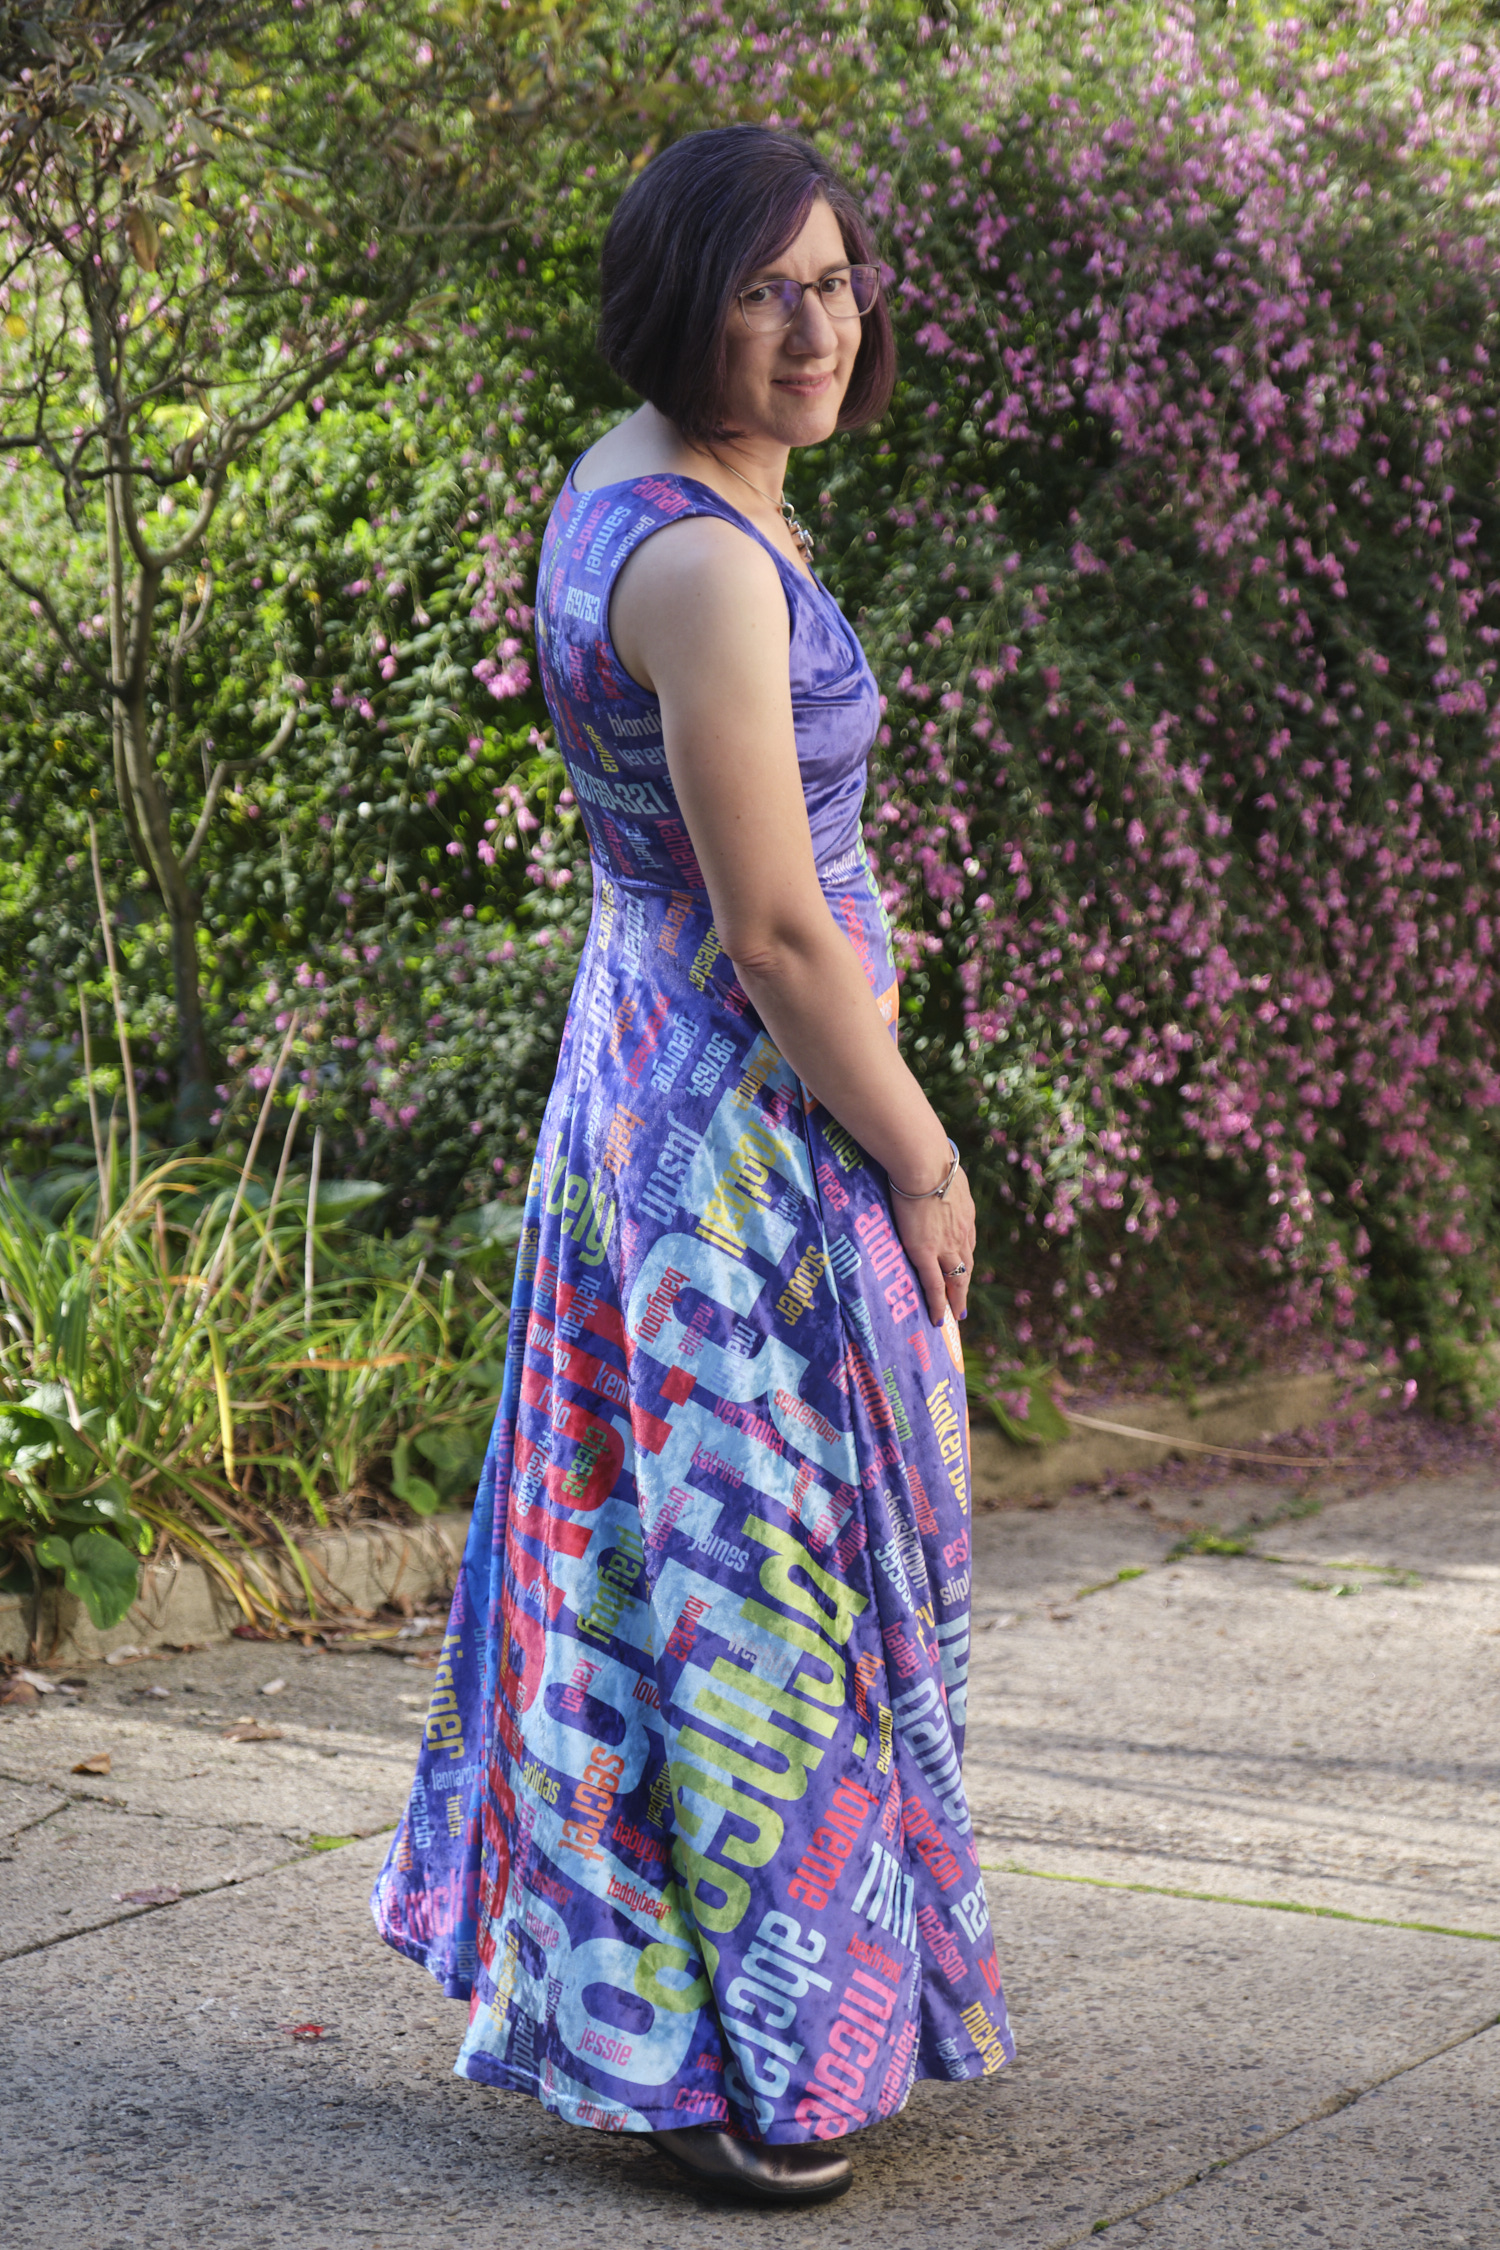
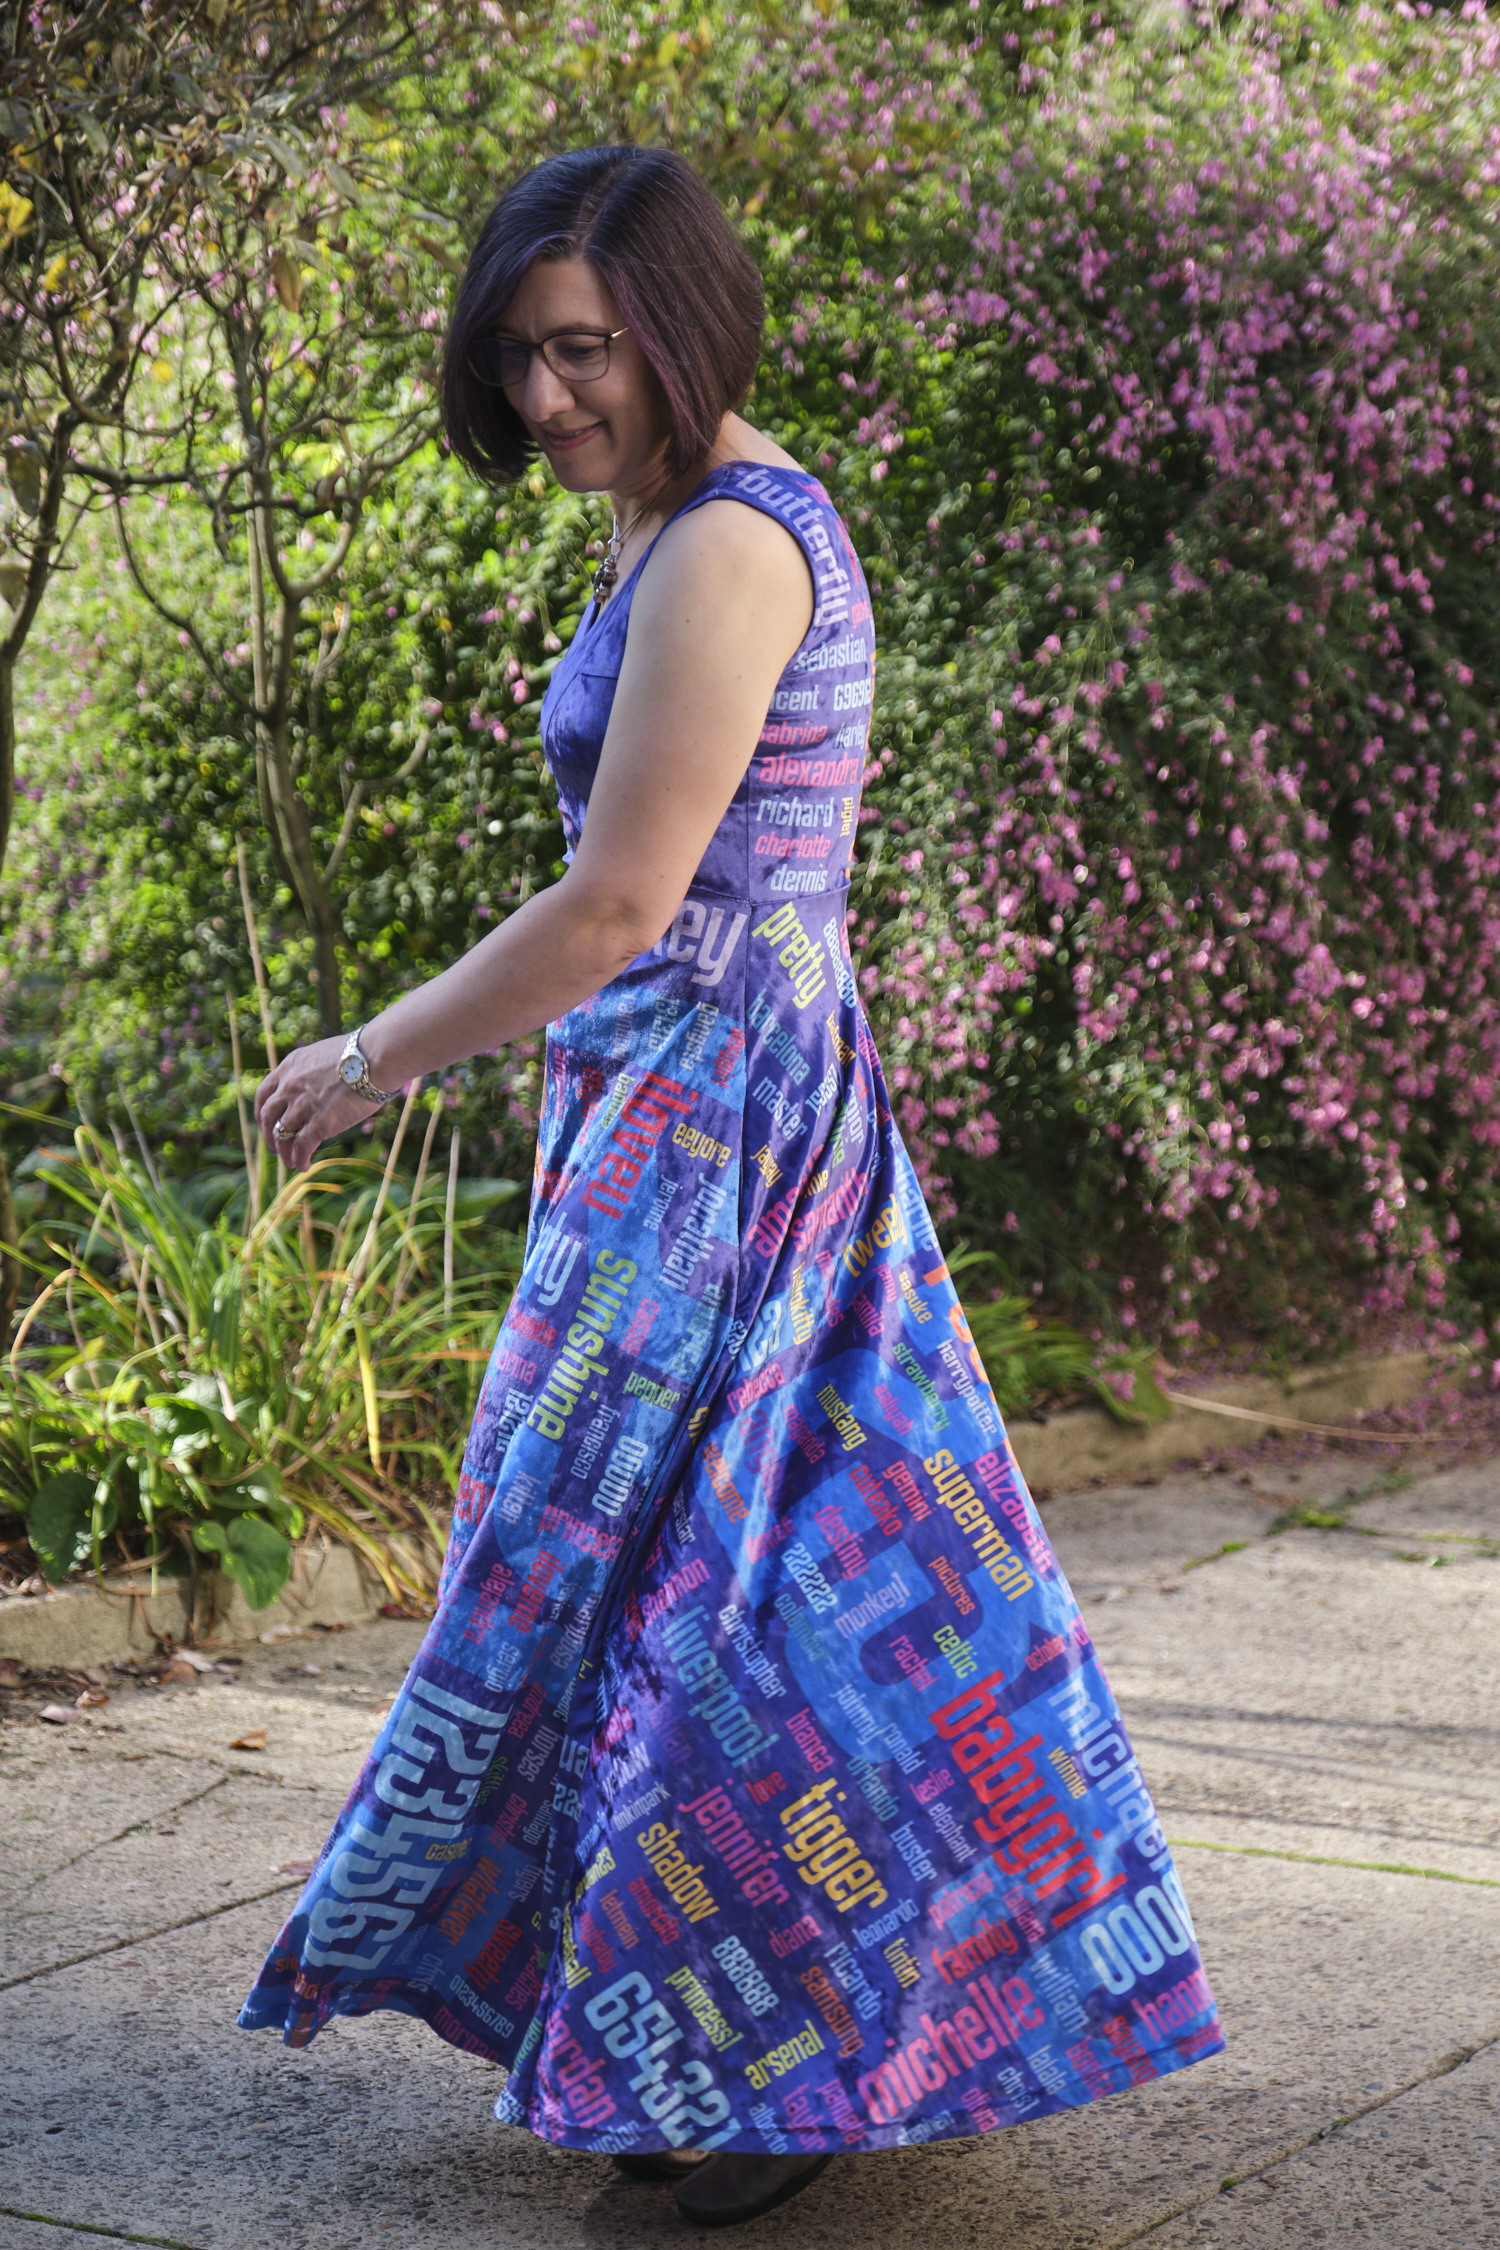
I’m really happy with the end result. It is exactly what I wanted. I was so excited that I put it on and made my husband follow me around my yard with my DXLR camera while I played fashion model and posed for photos. He has no formal photography training but he is starting to get the hang of fashion photography as I explain to him that there is a difference between zooming in and moving closer to the subject.
Did I mention that this dress has some twirlability?
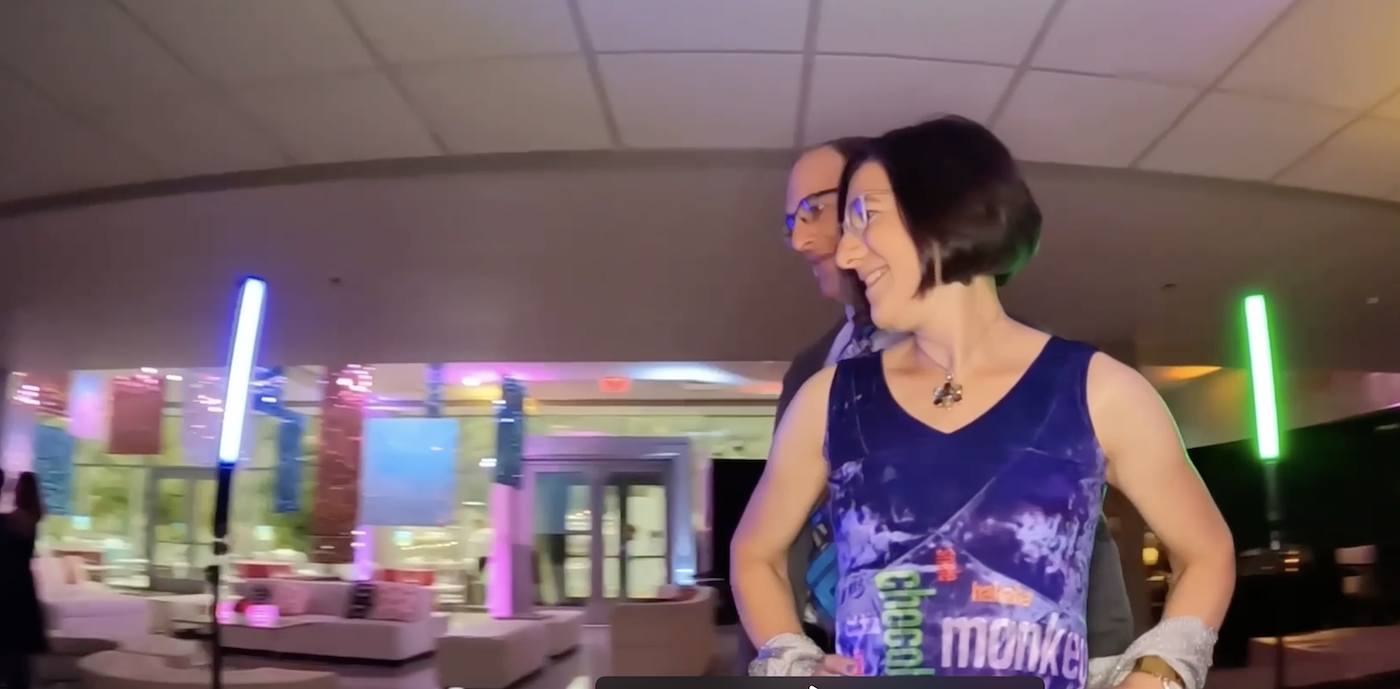
Ok, so why did I make this dress? Well I’m the director of the CyLab Security and Privacy Institute at Carnegie Mellon University. This is our 20th anniversary year and we held a gala to celebrate on Tuesday. Obviously, I need a password ball gown to wear to the gala. (And of course my husband needed a matching tie.)
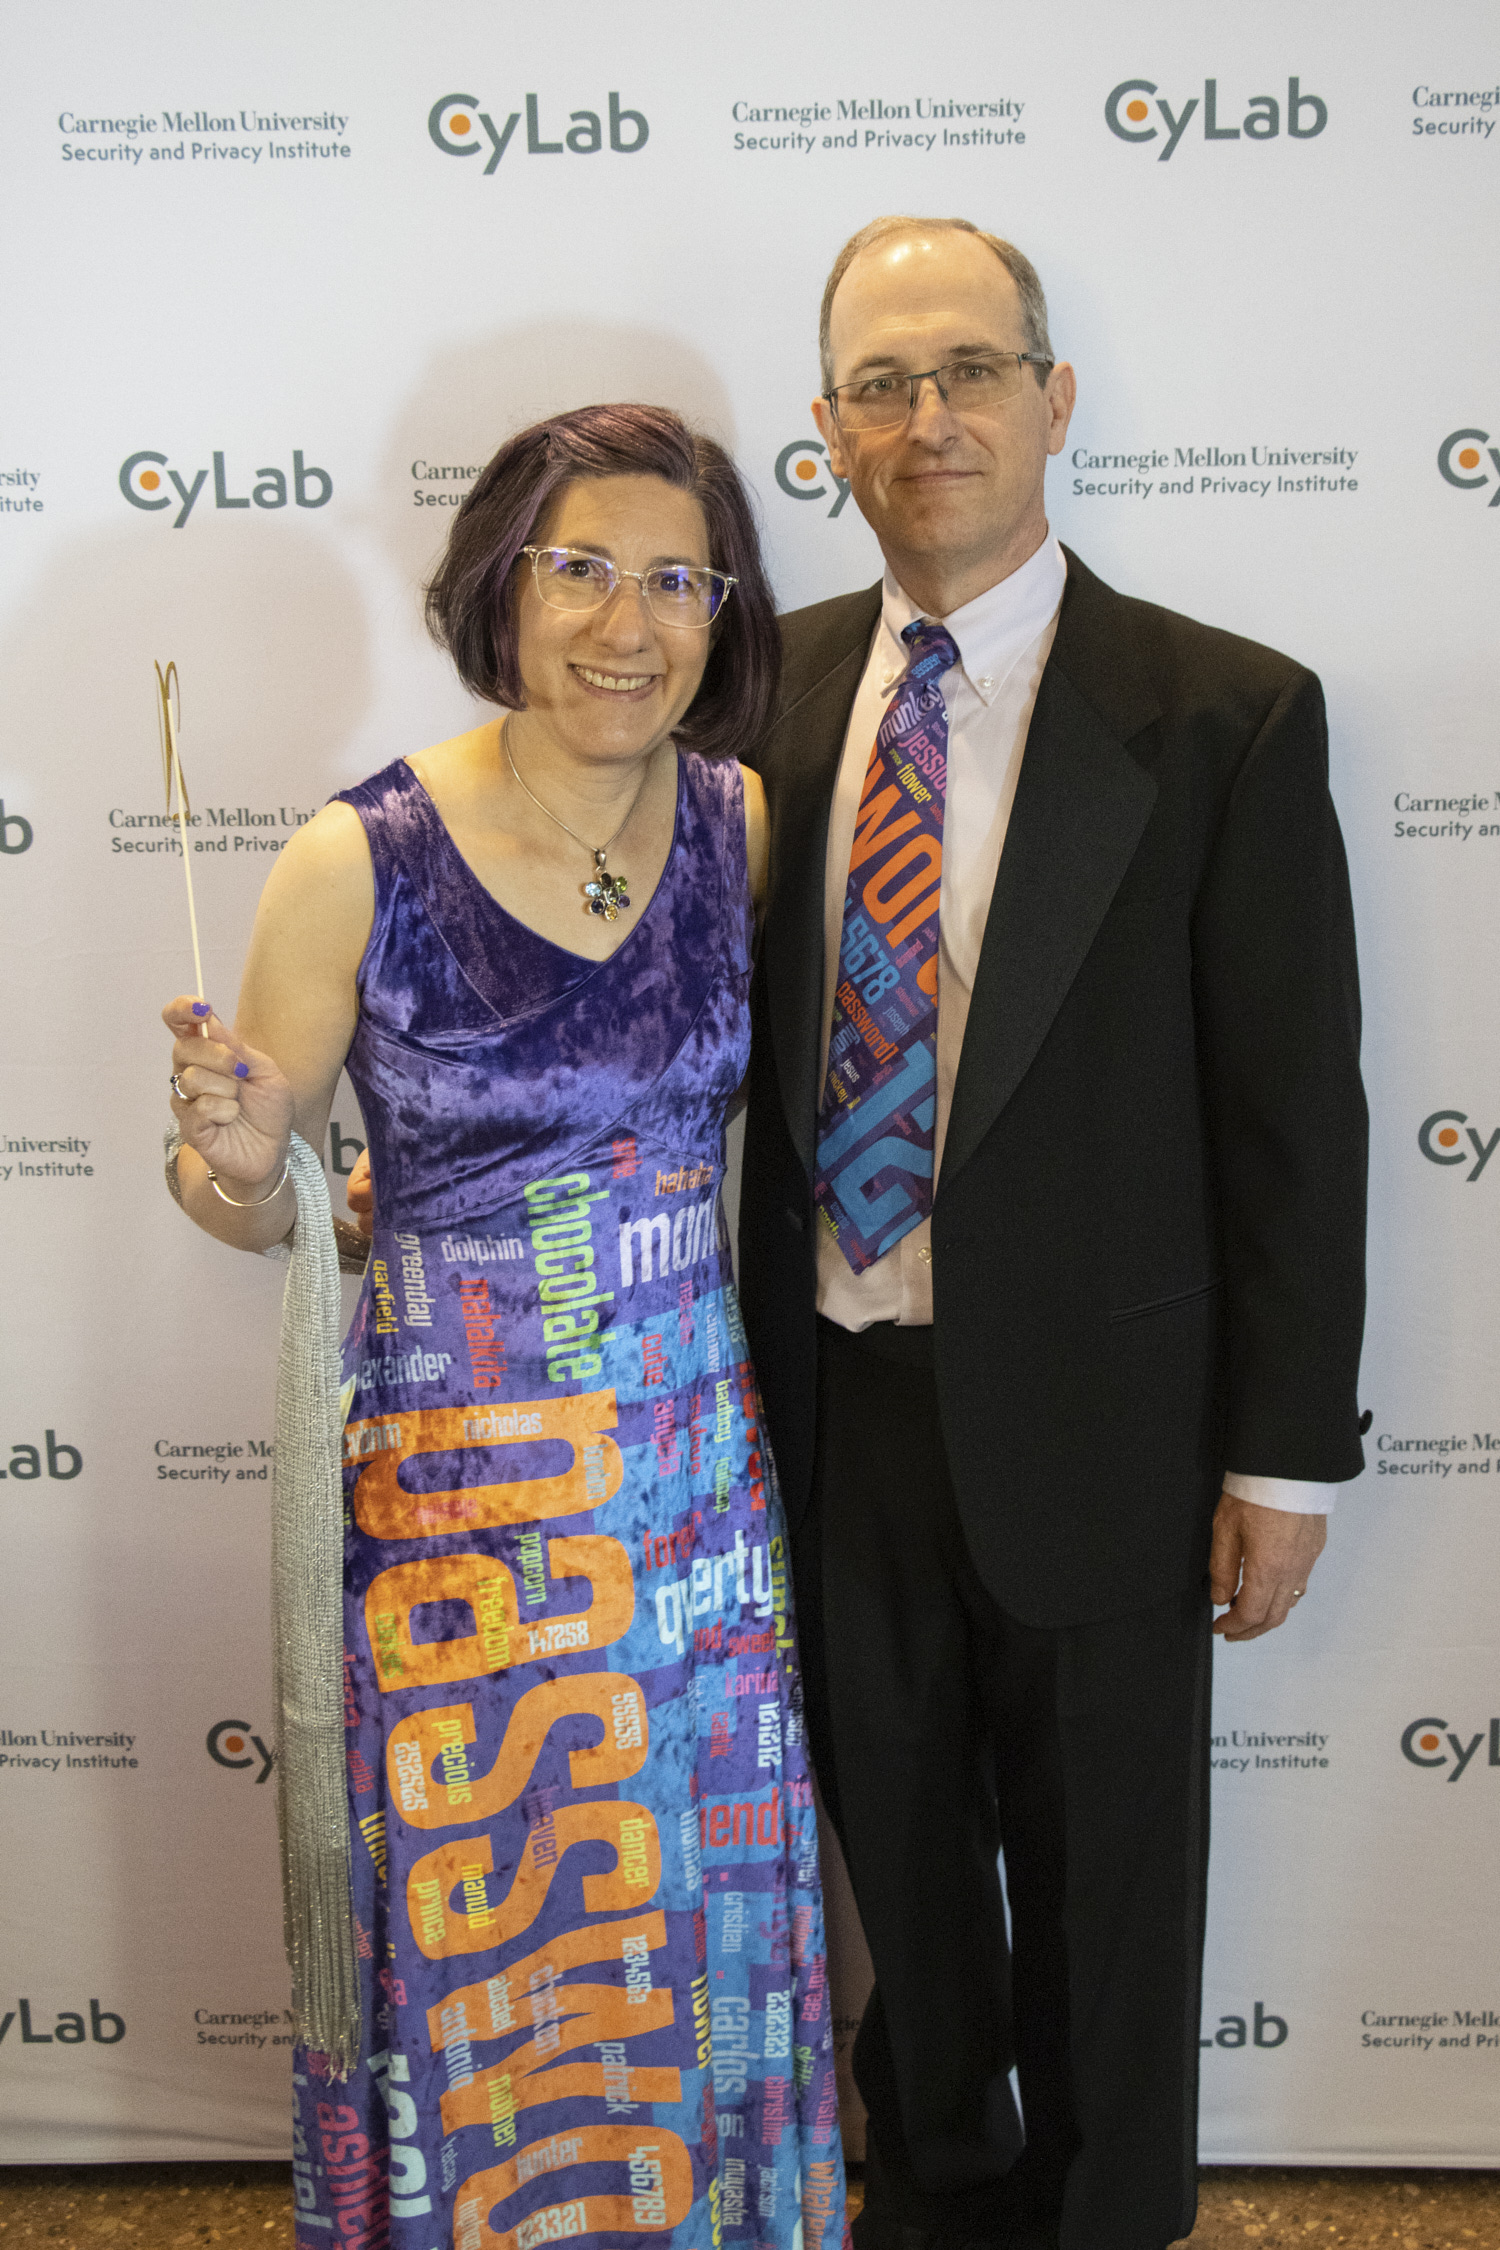
As an added bonus, the Carnegie Science Center held their Geek Out Gala on Thursday, and this was the perfect outfit! So many people I didn’t know came up to me to talk with me about my dress.