
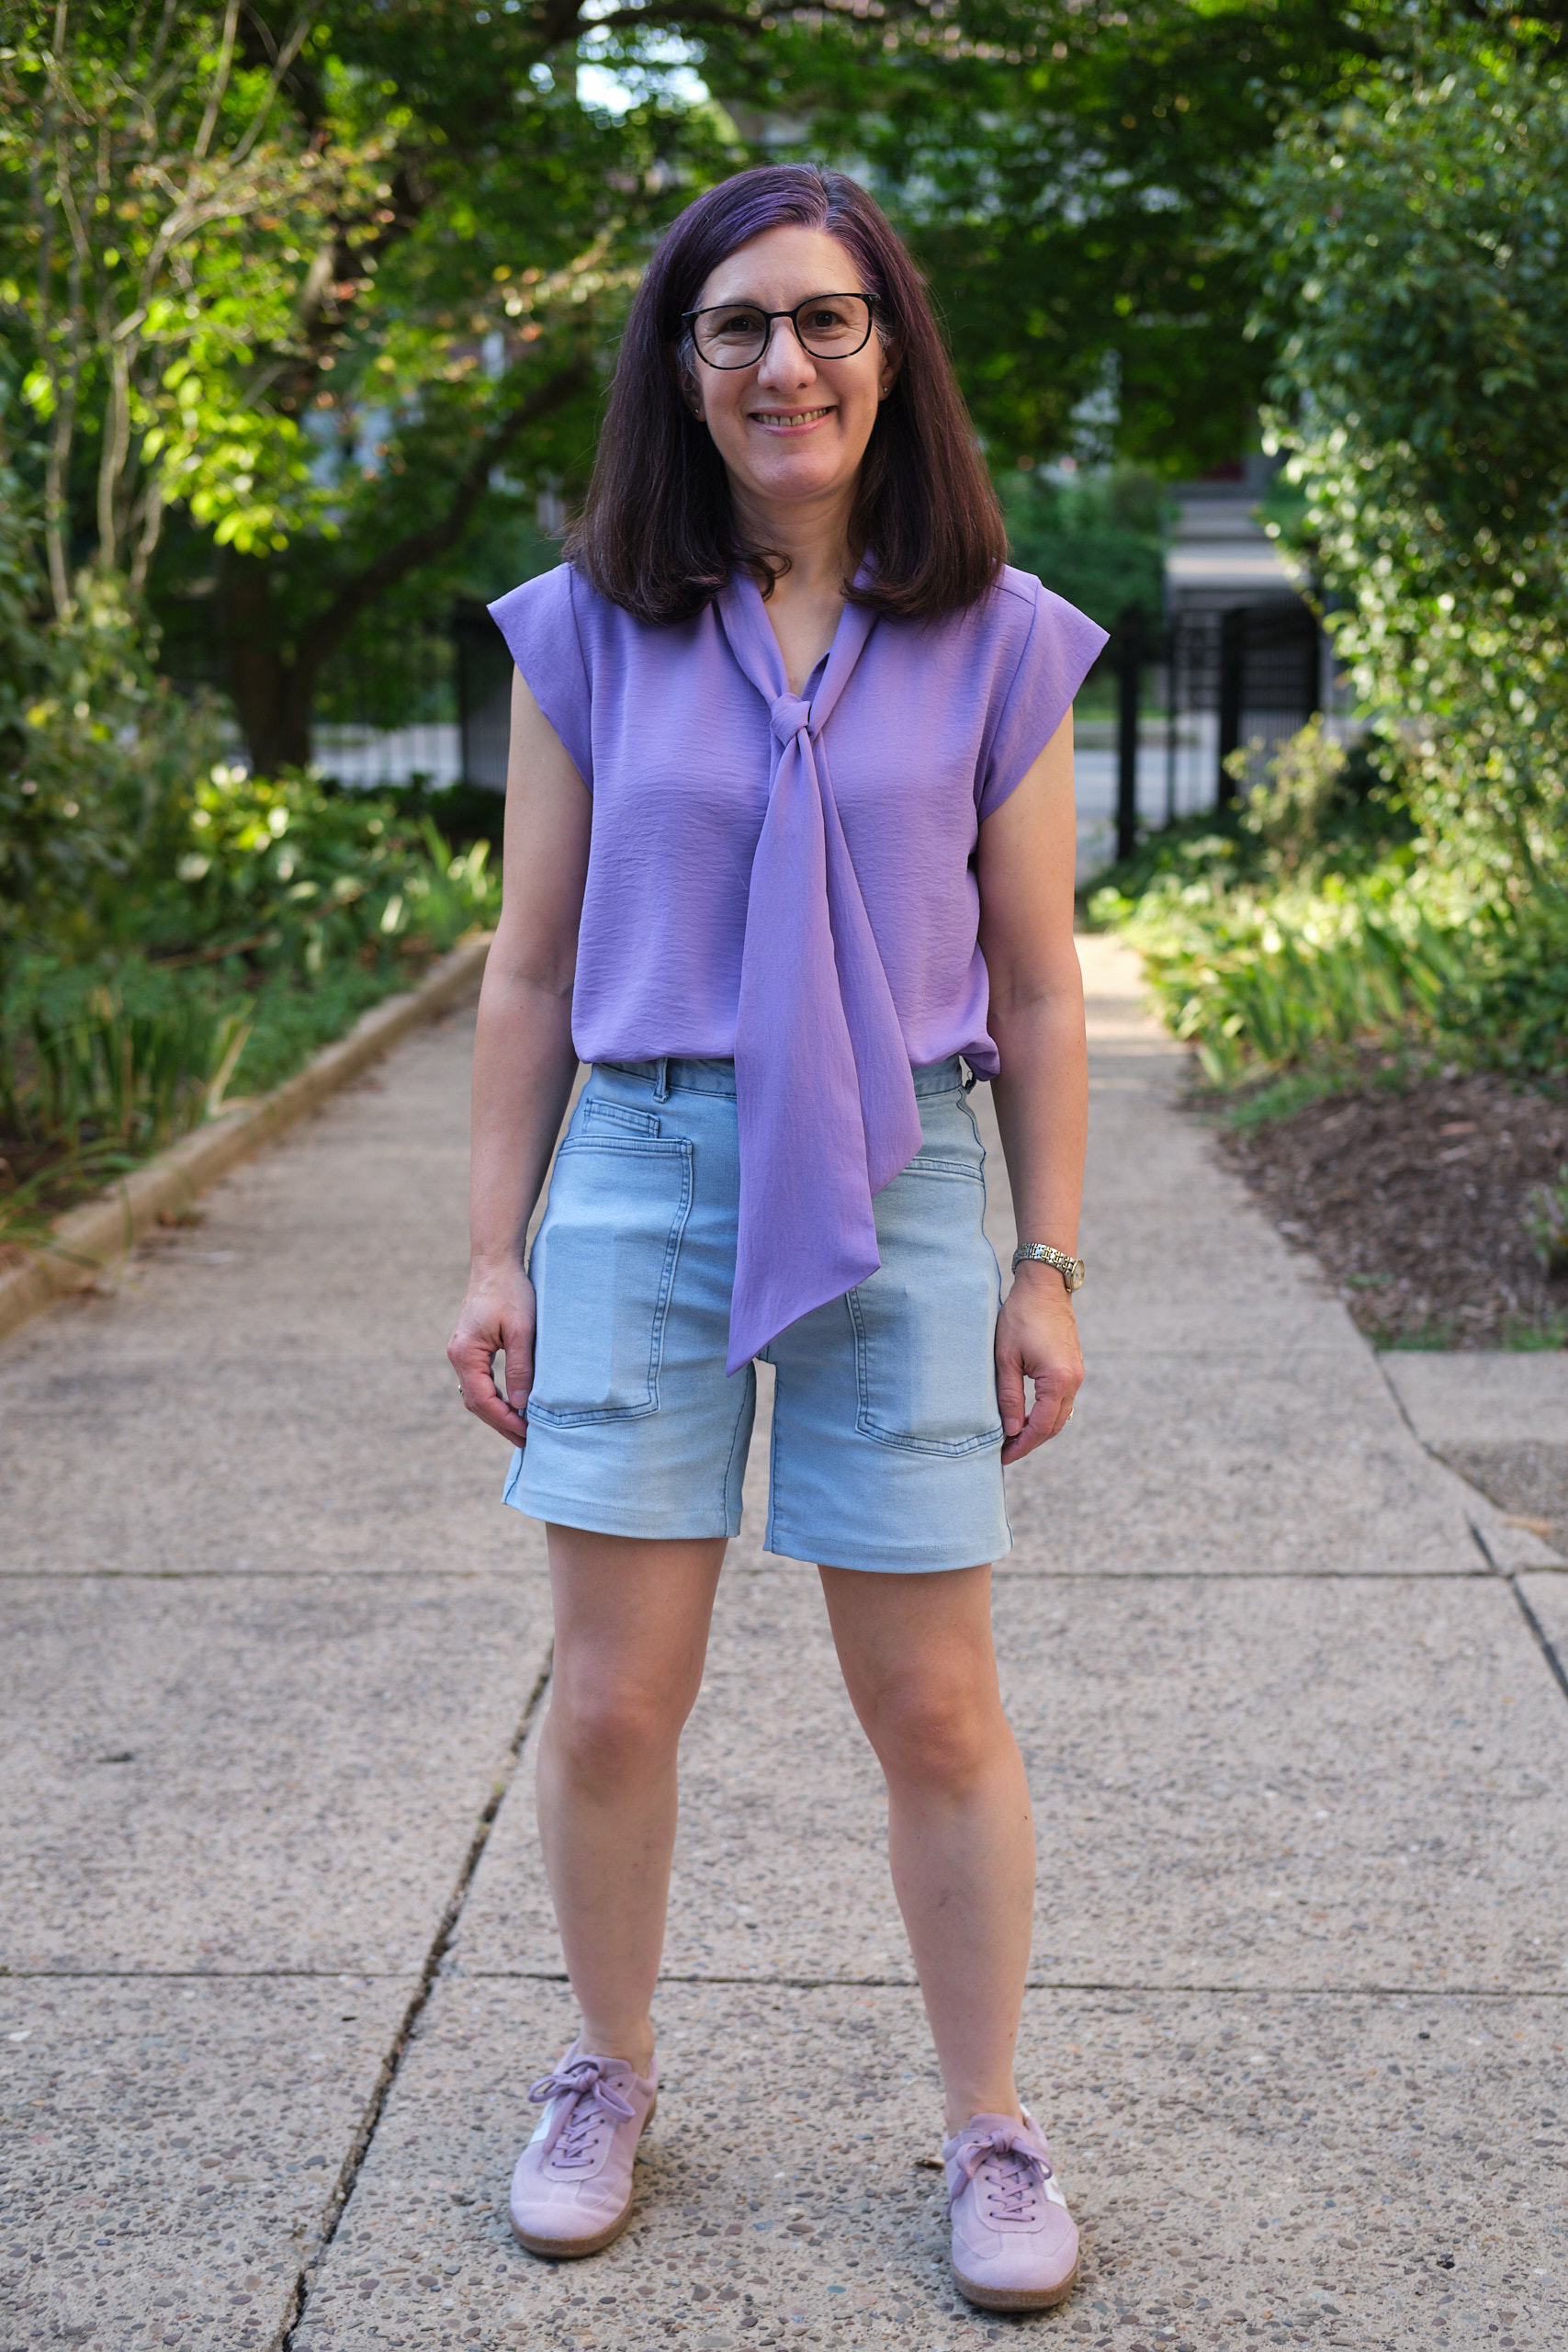
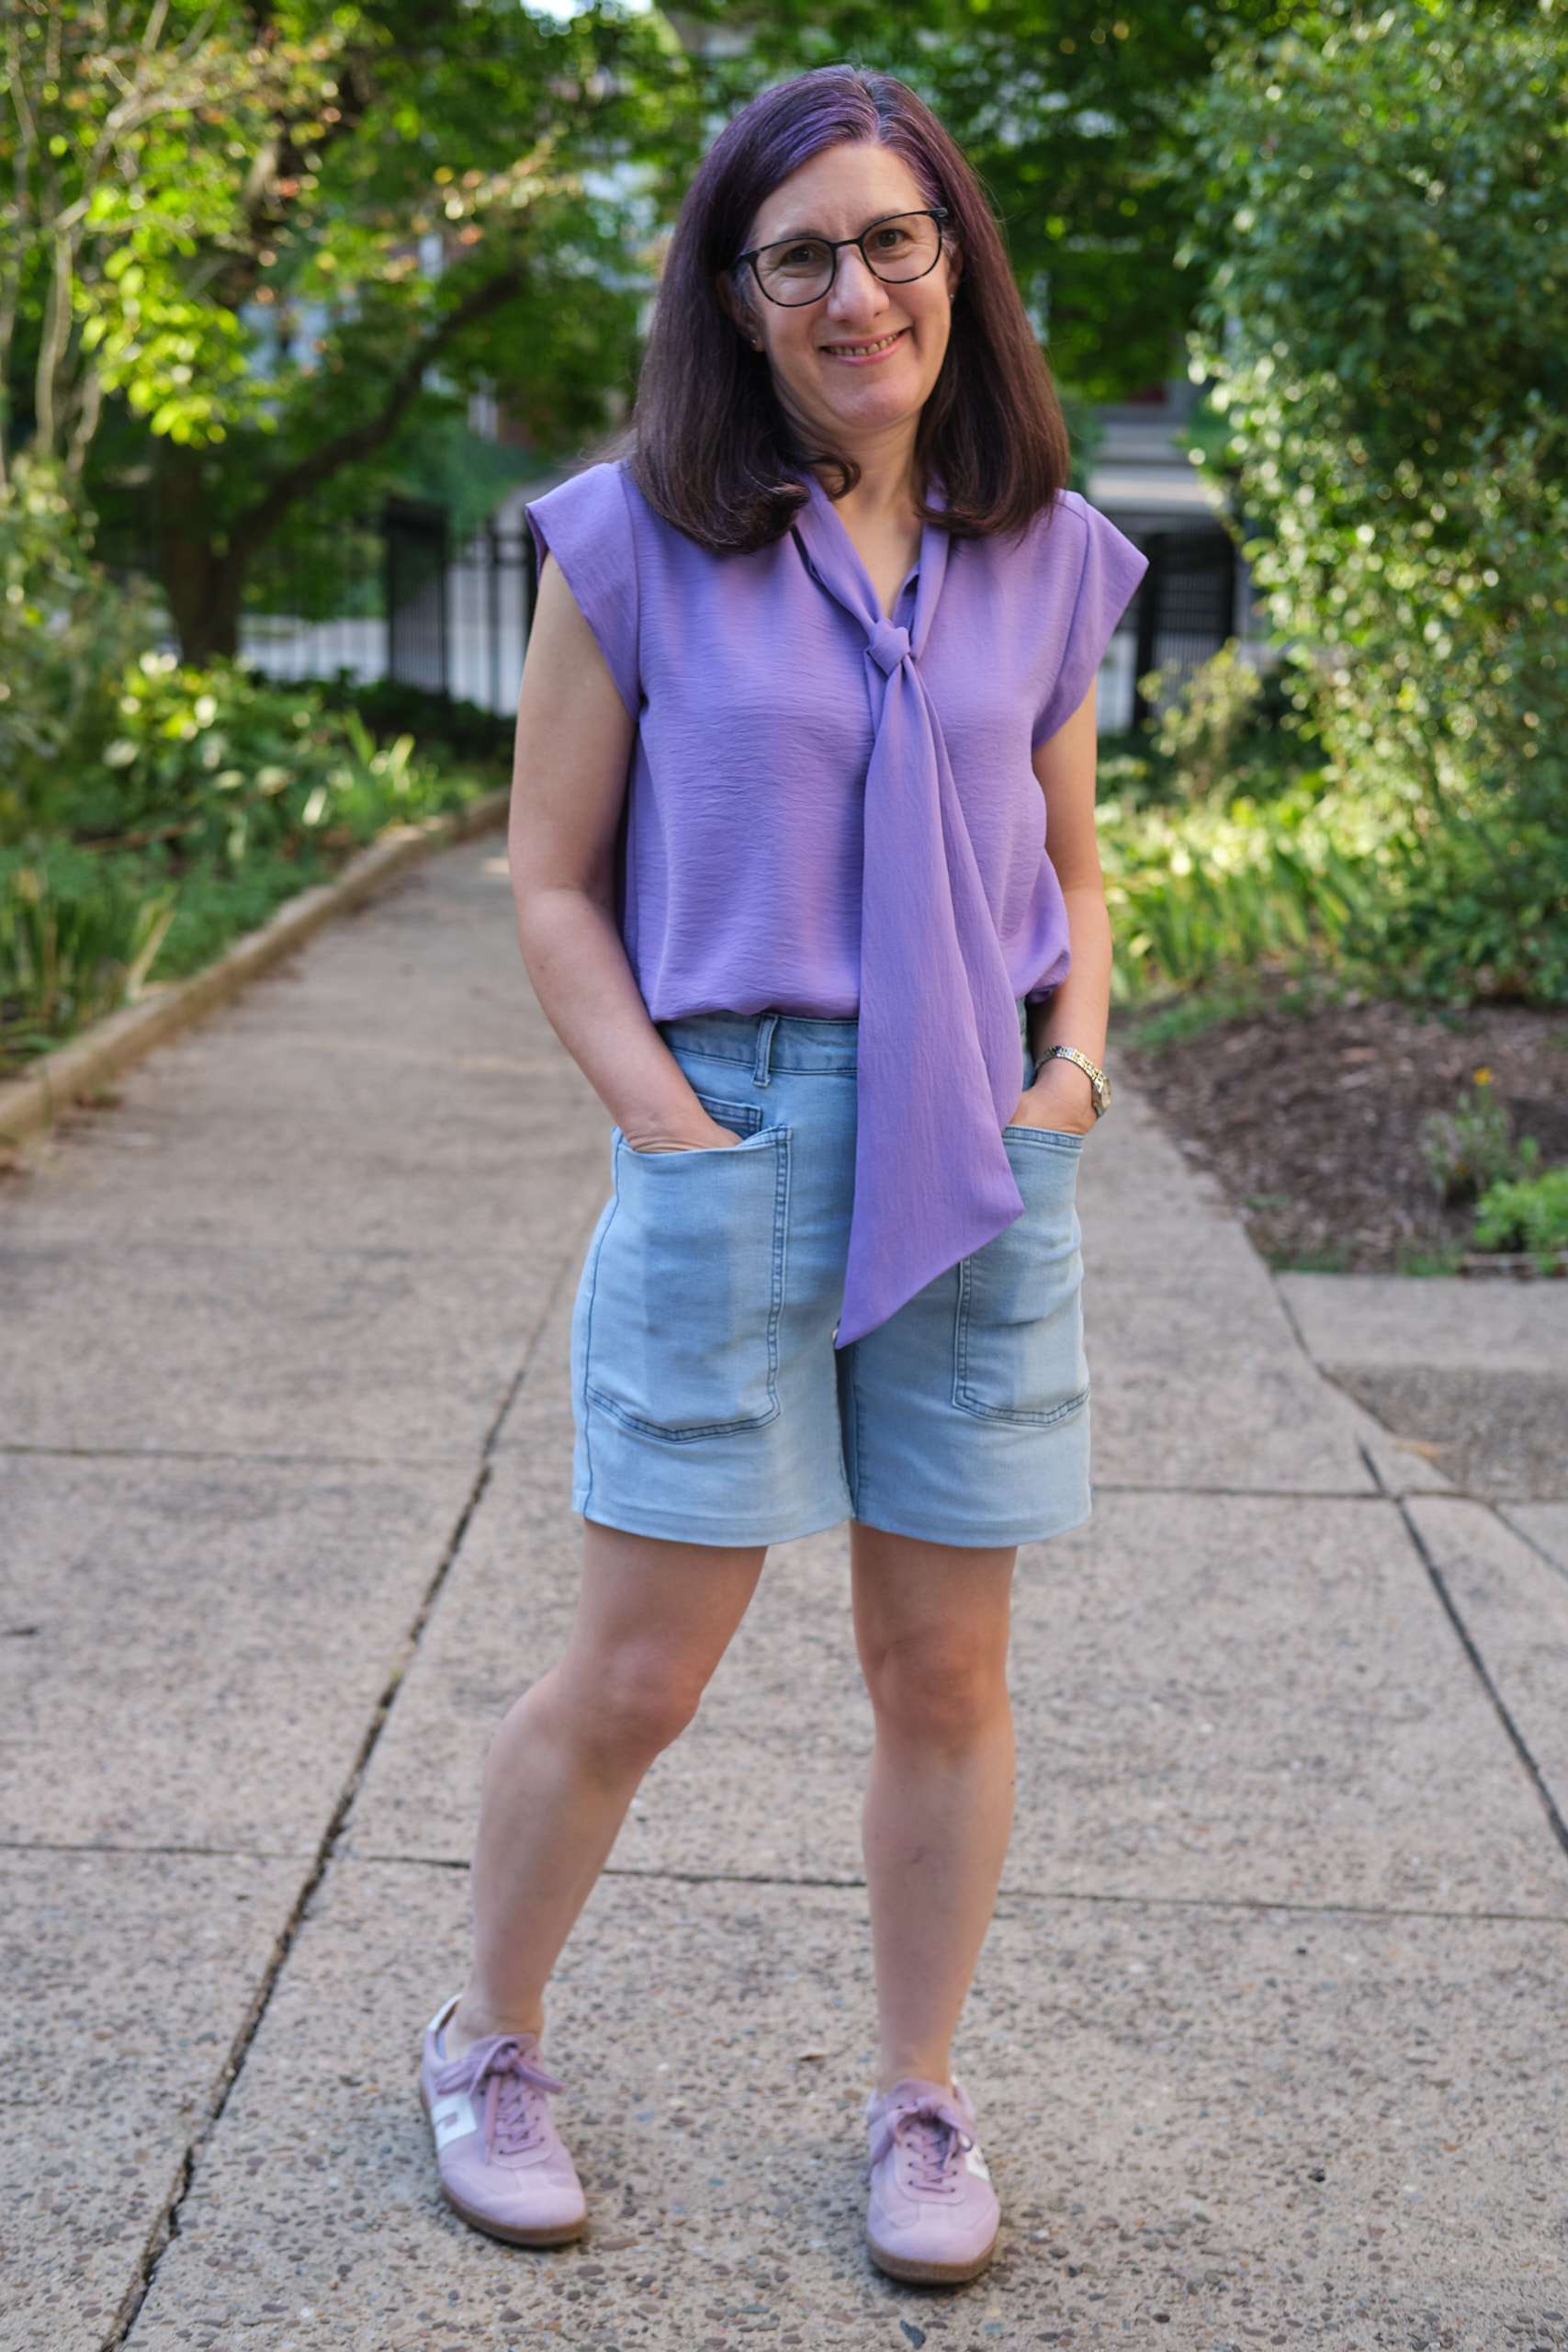
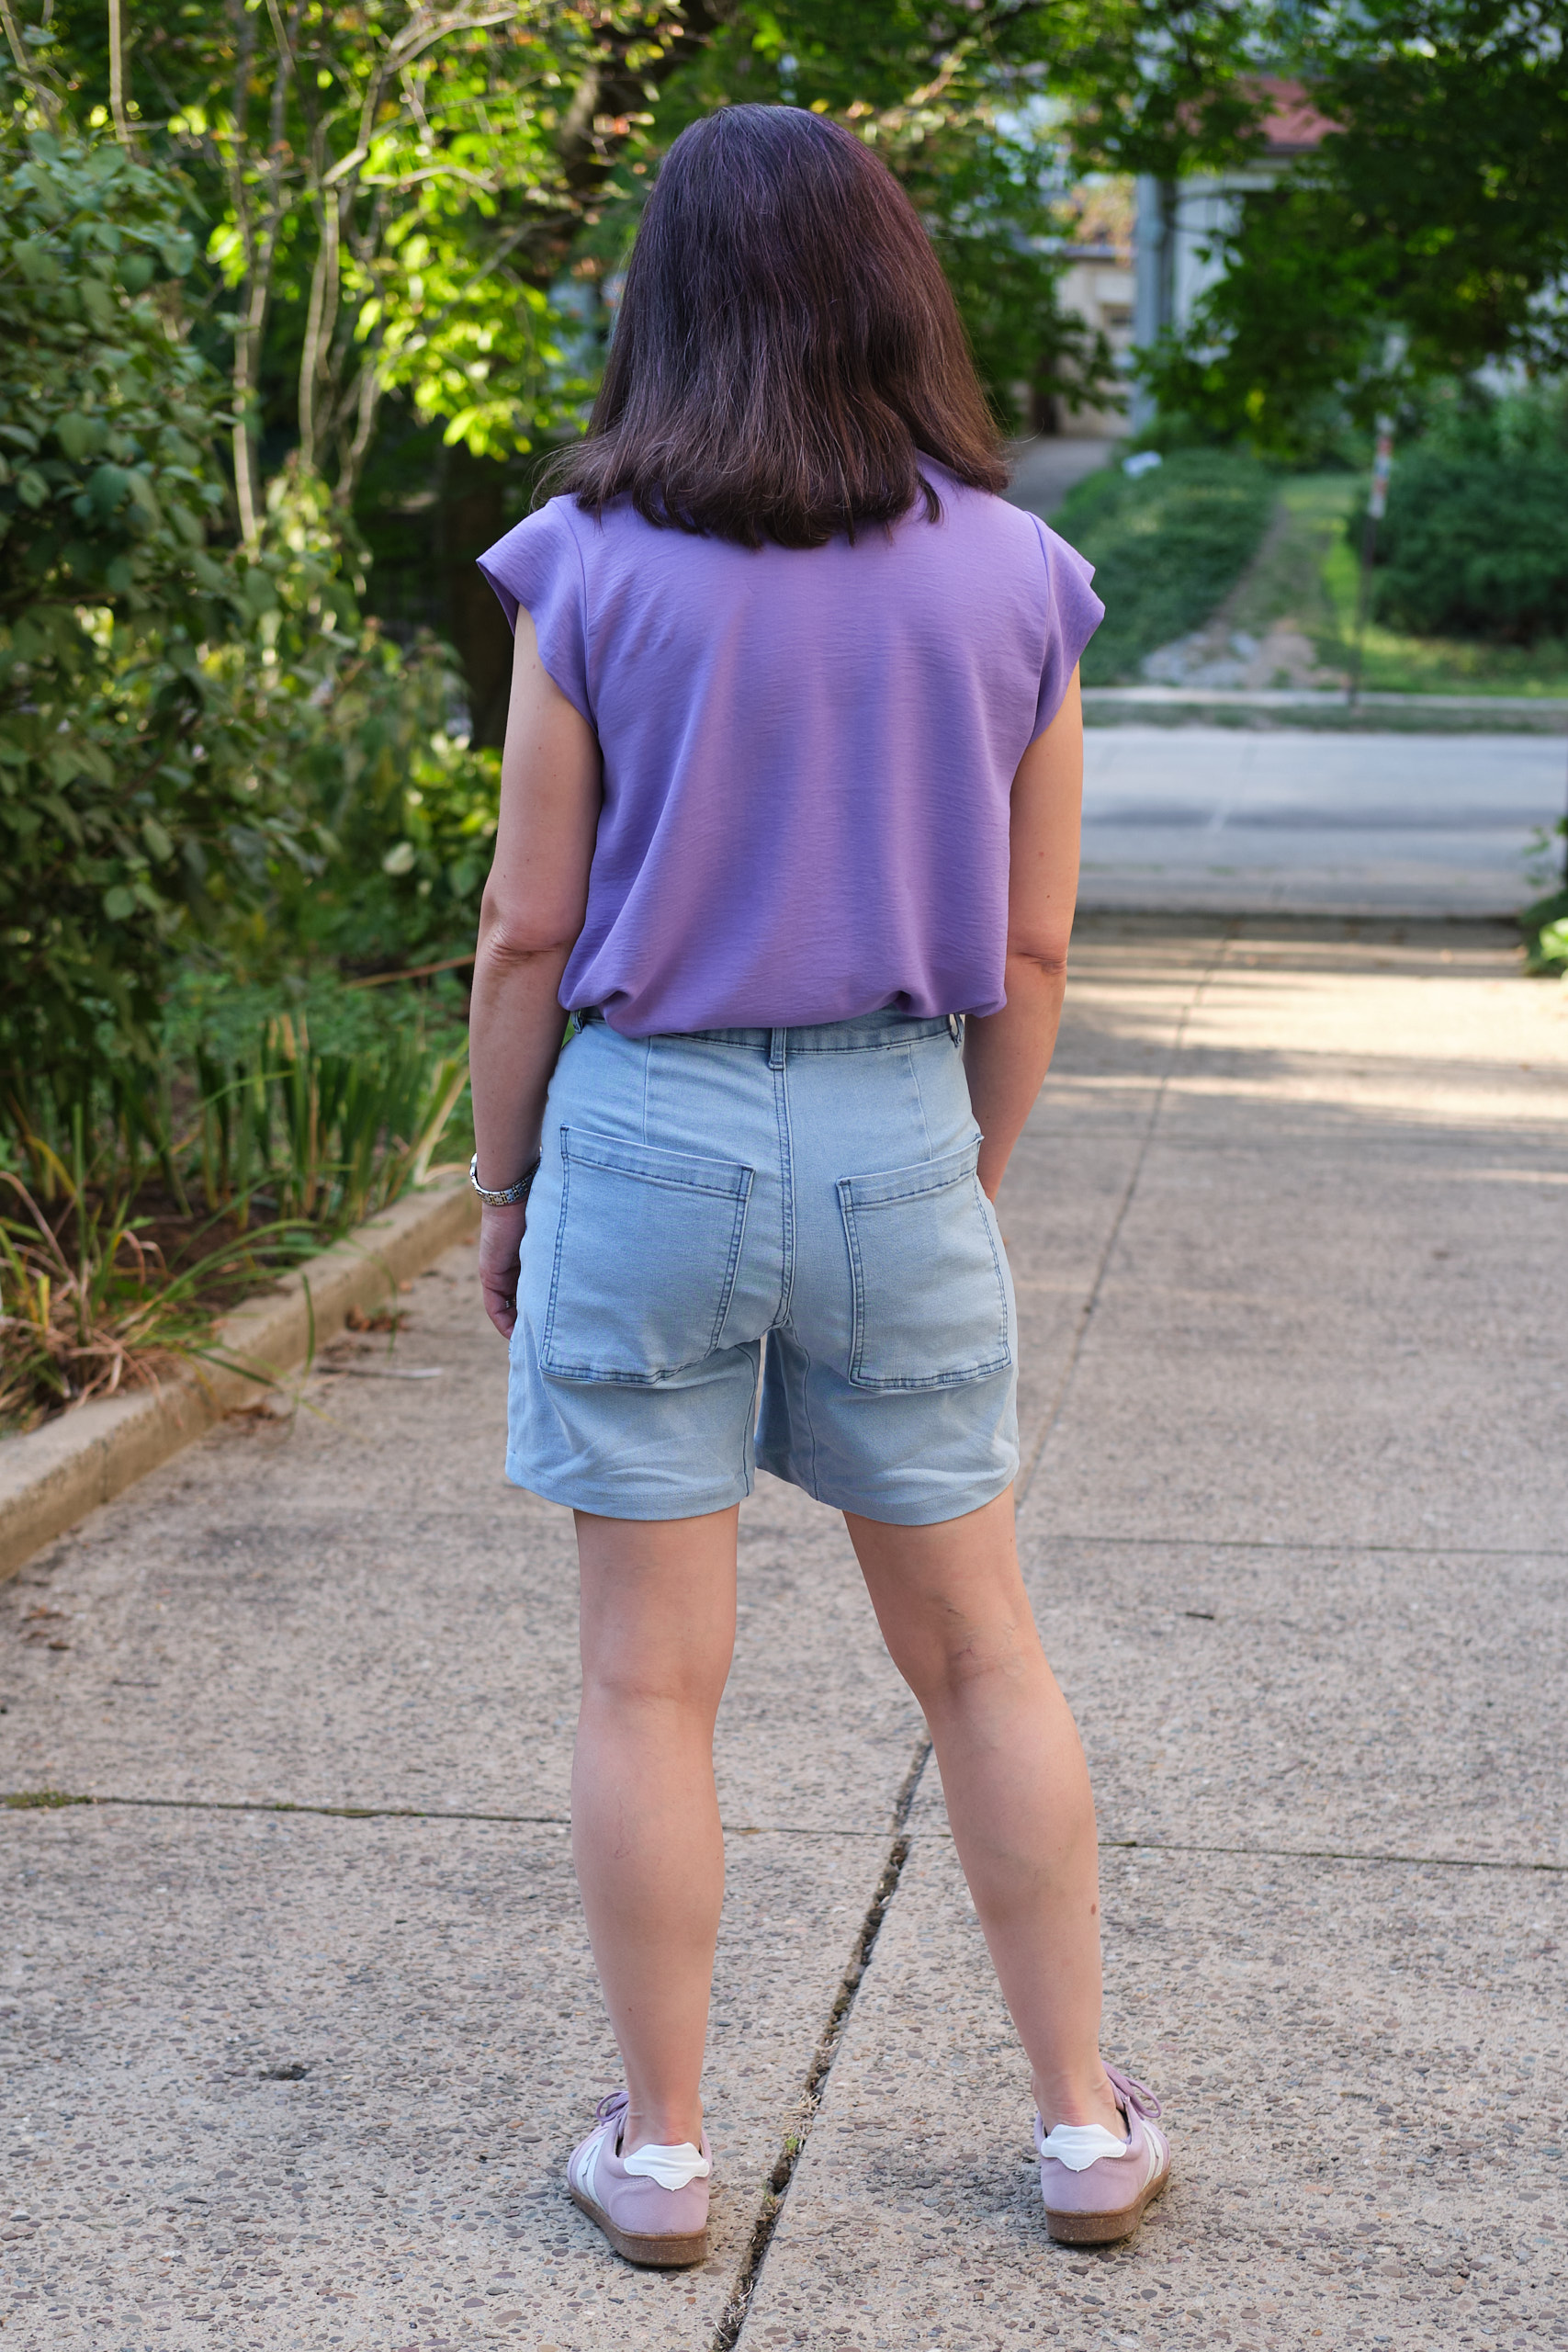
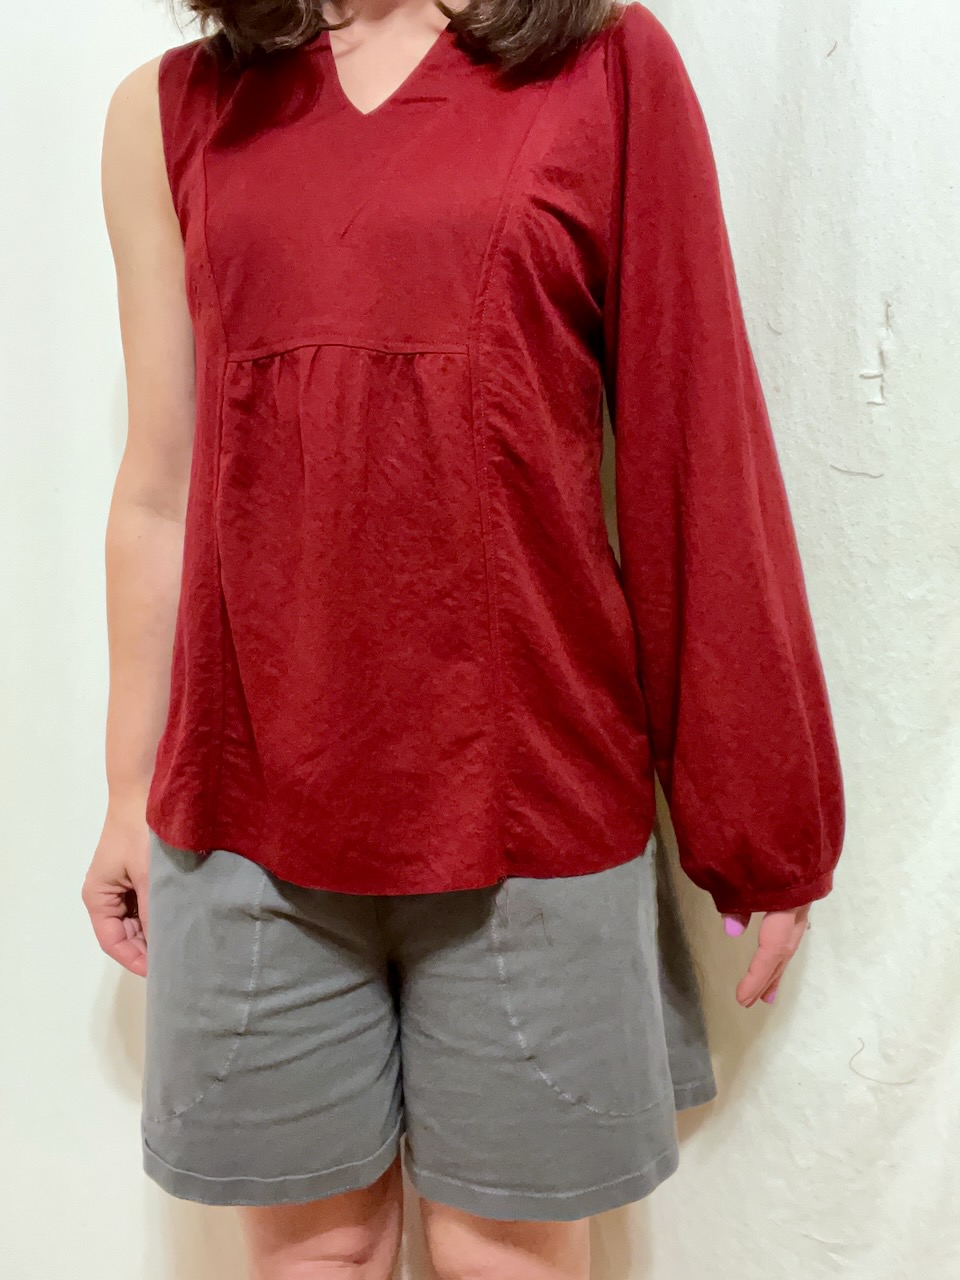
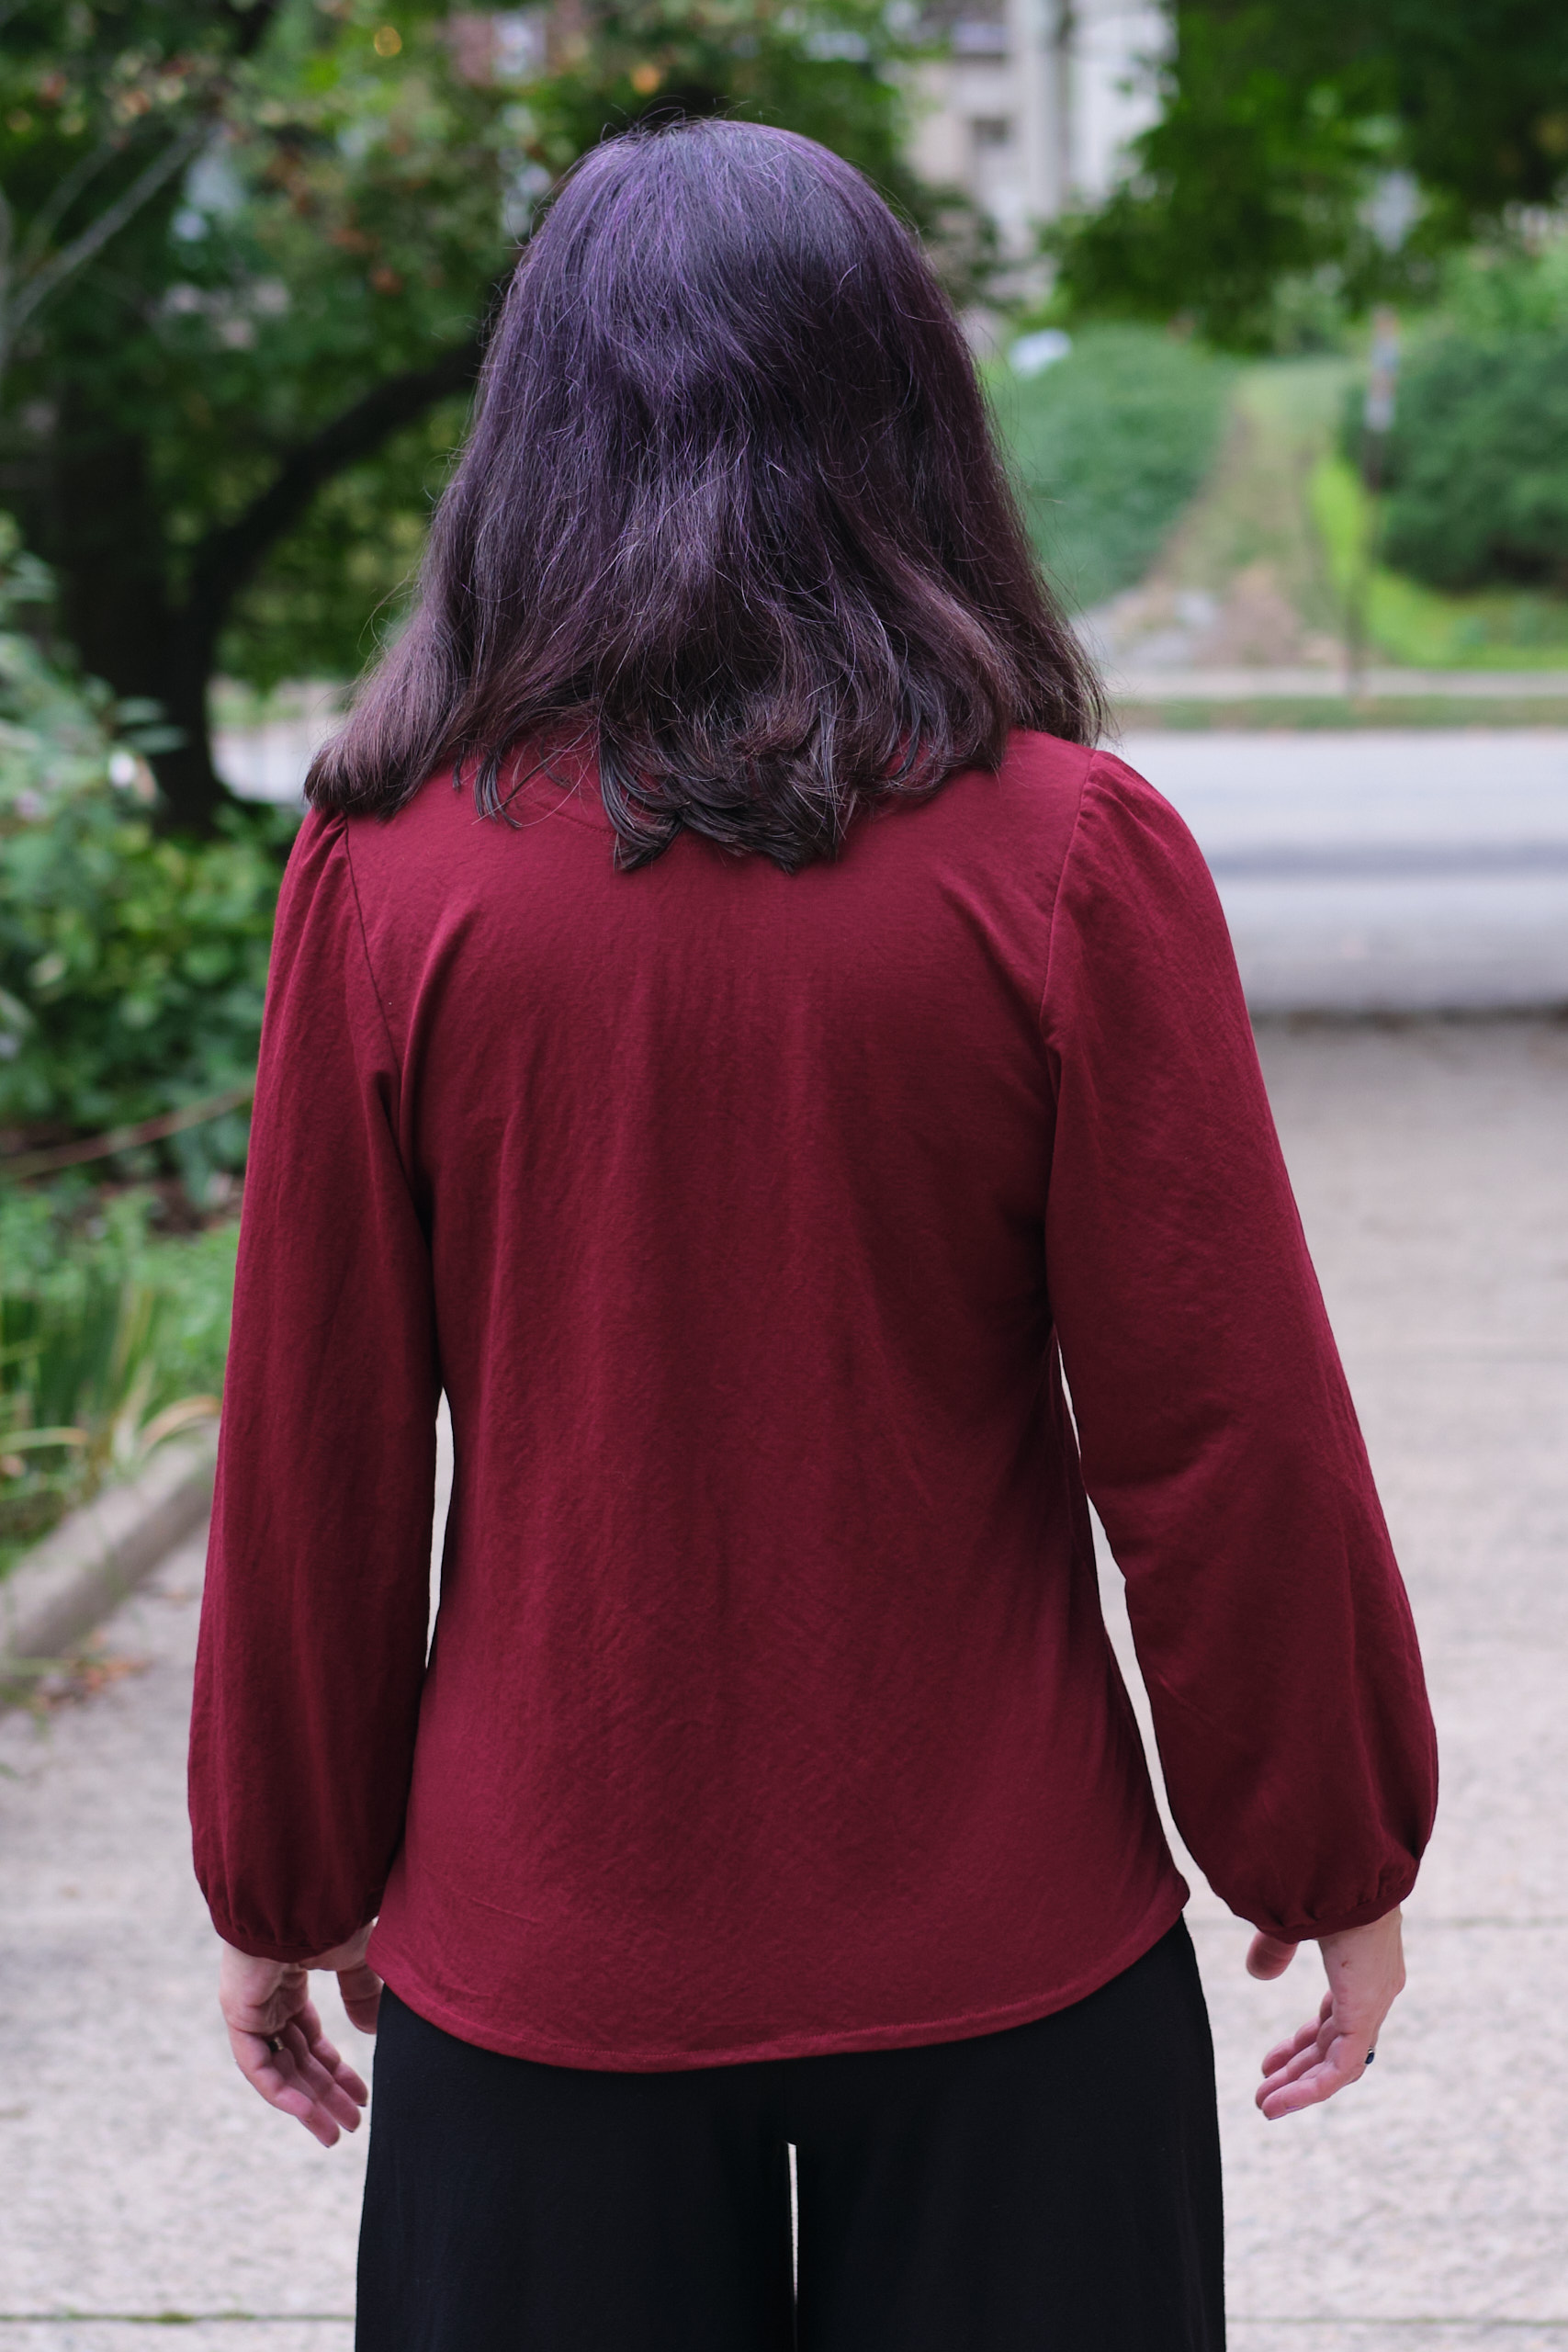
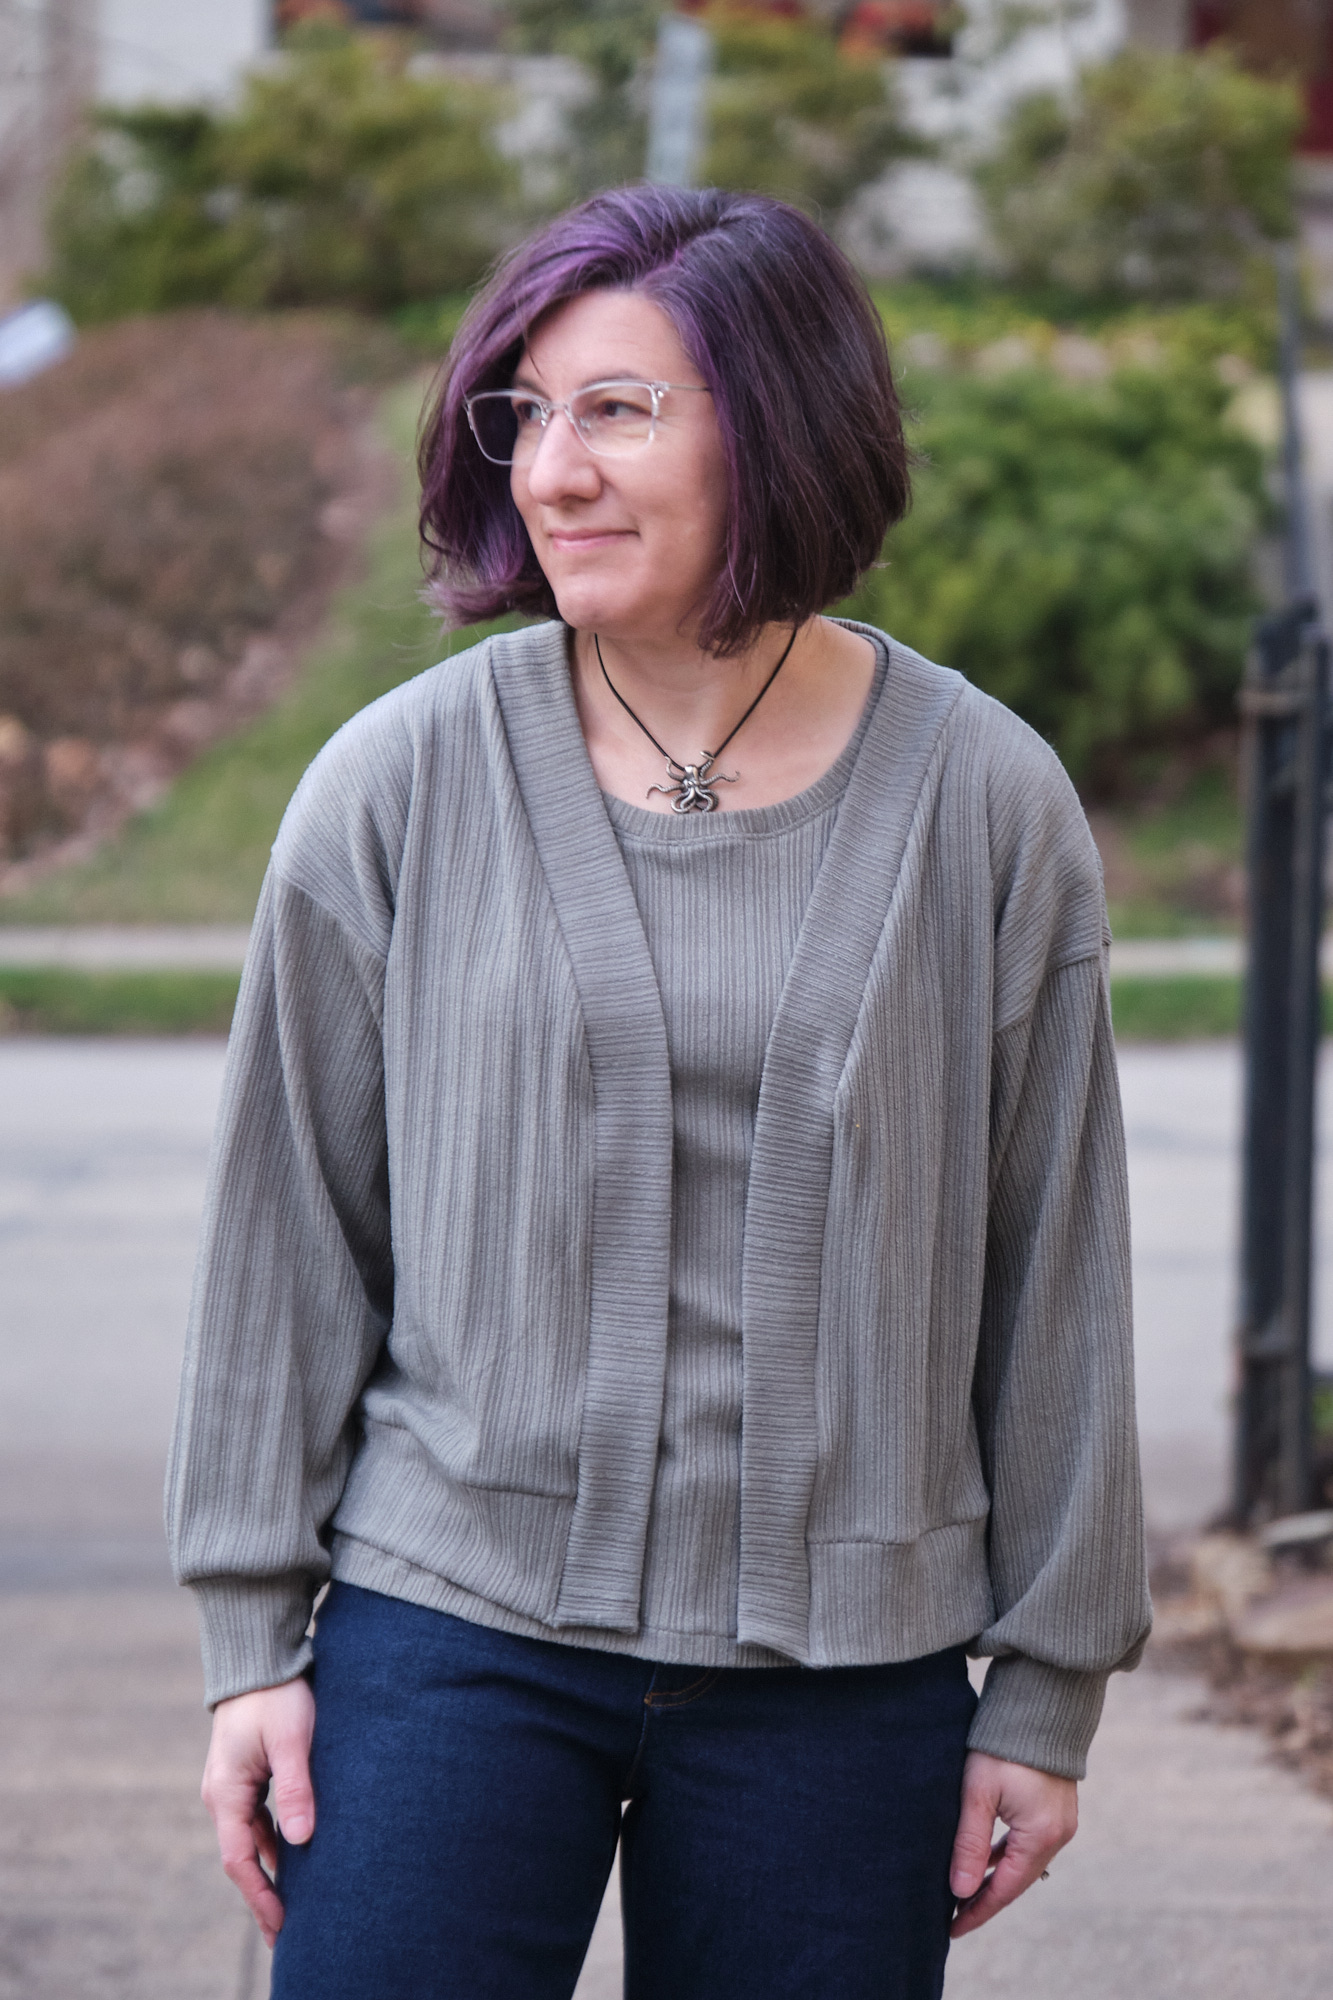
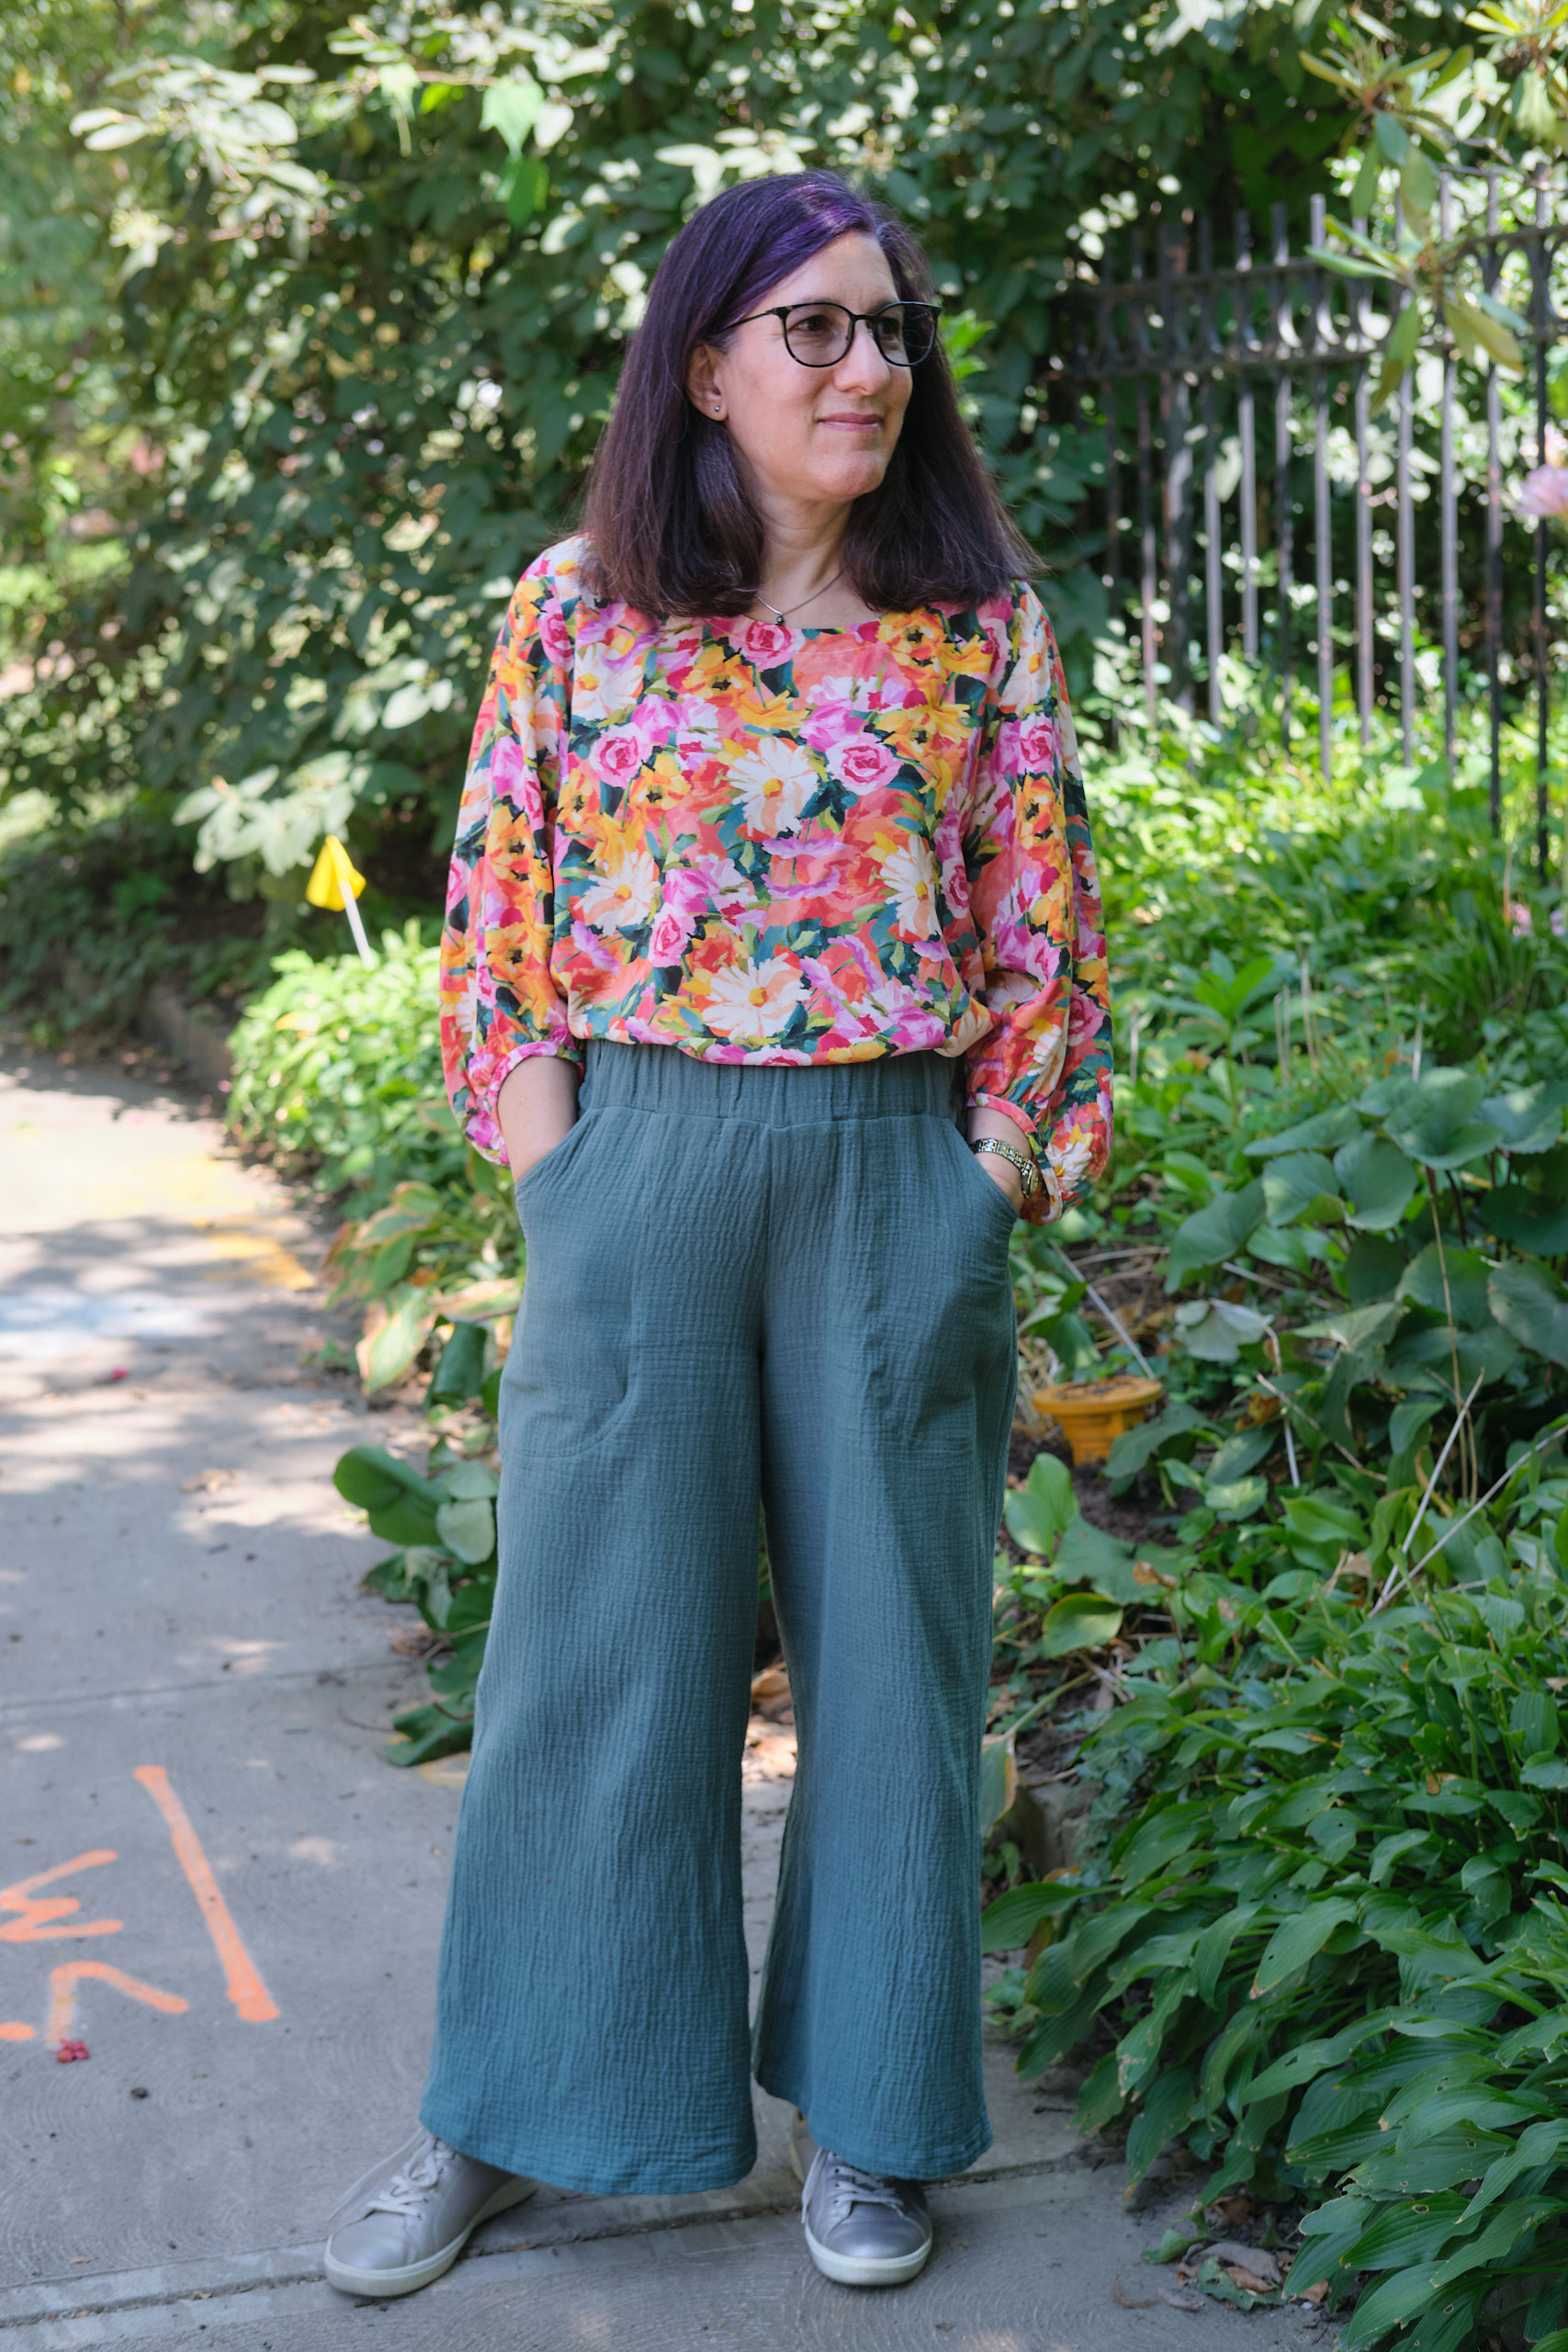
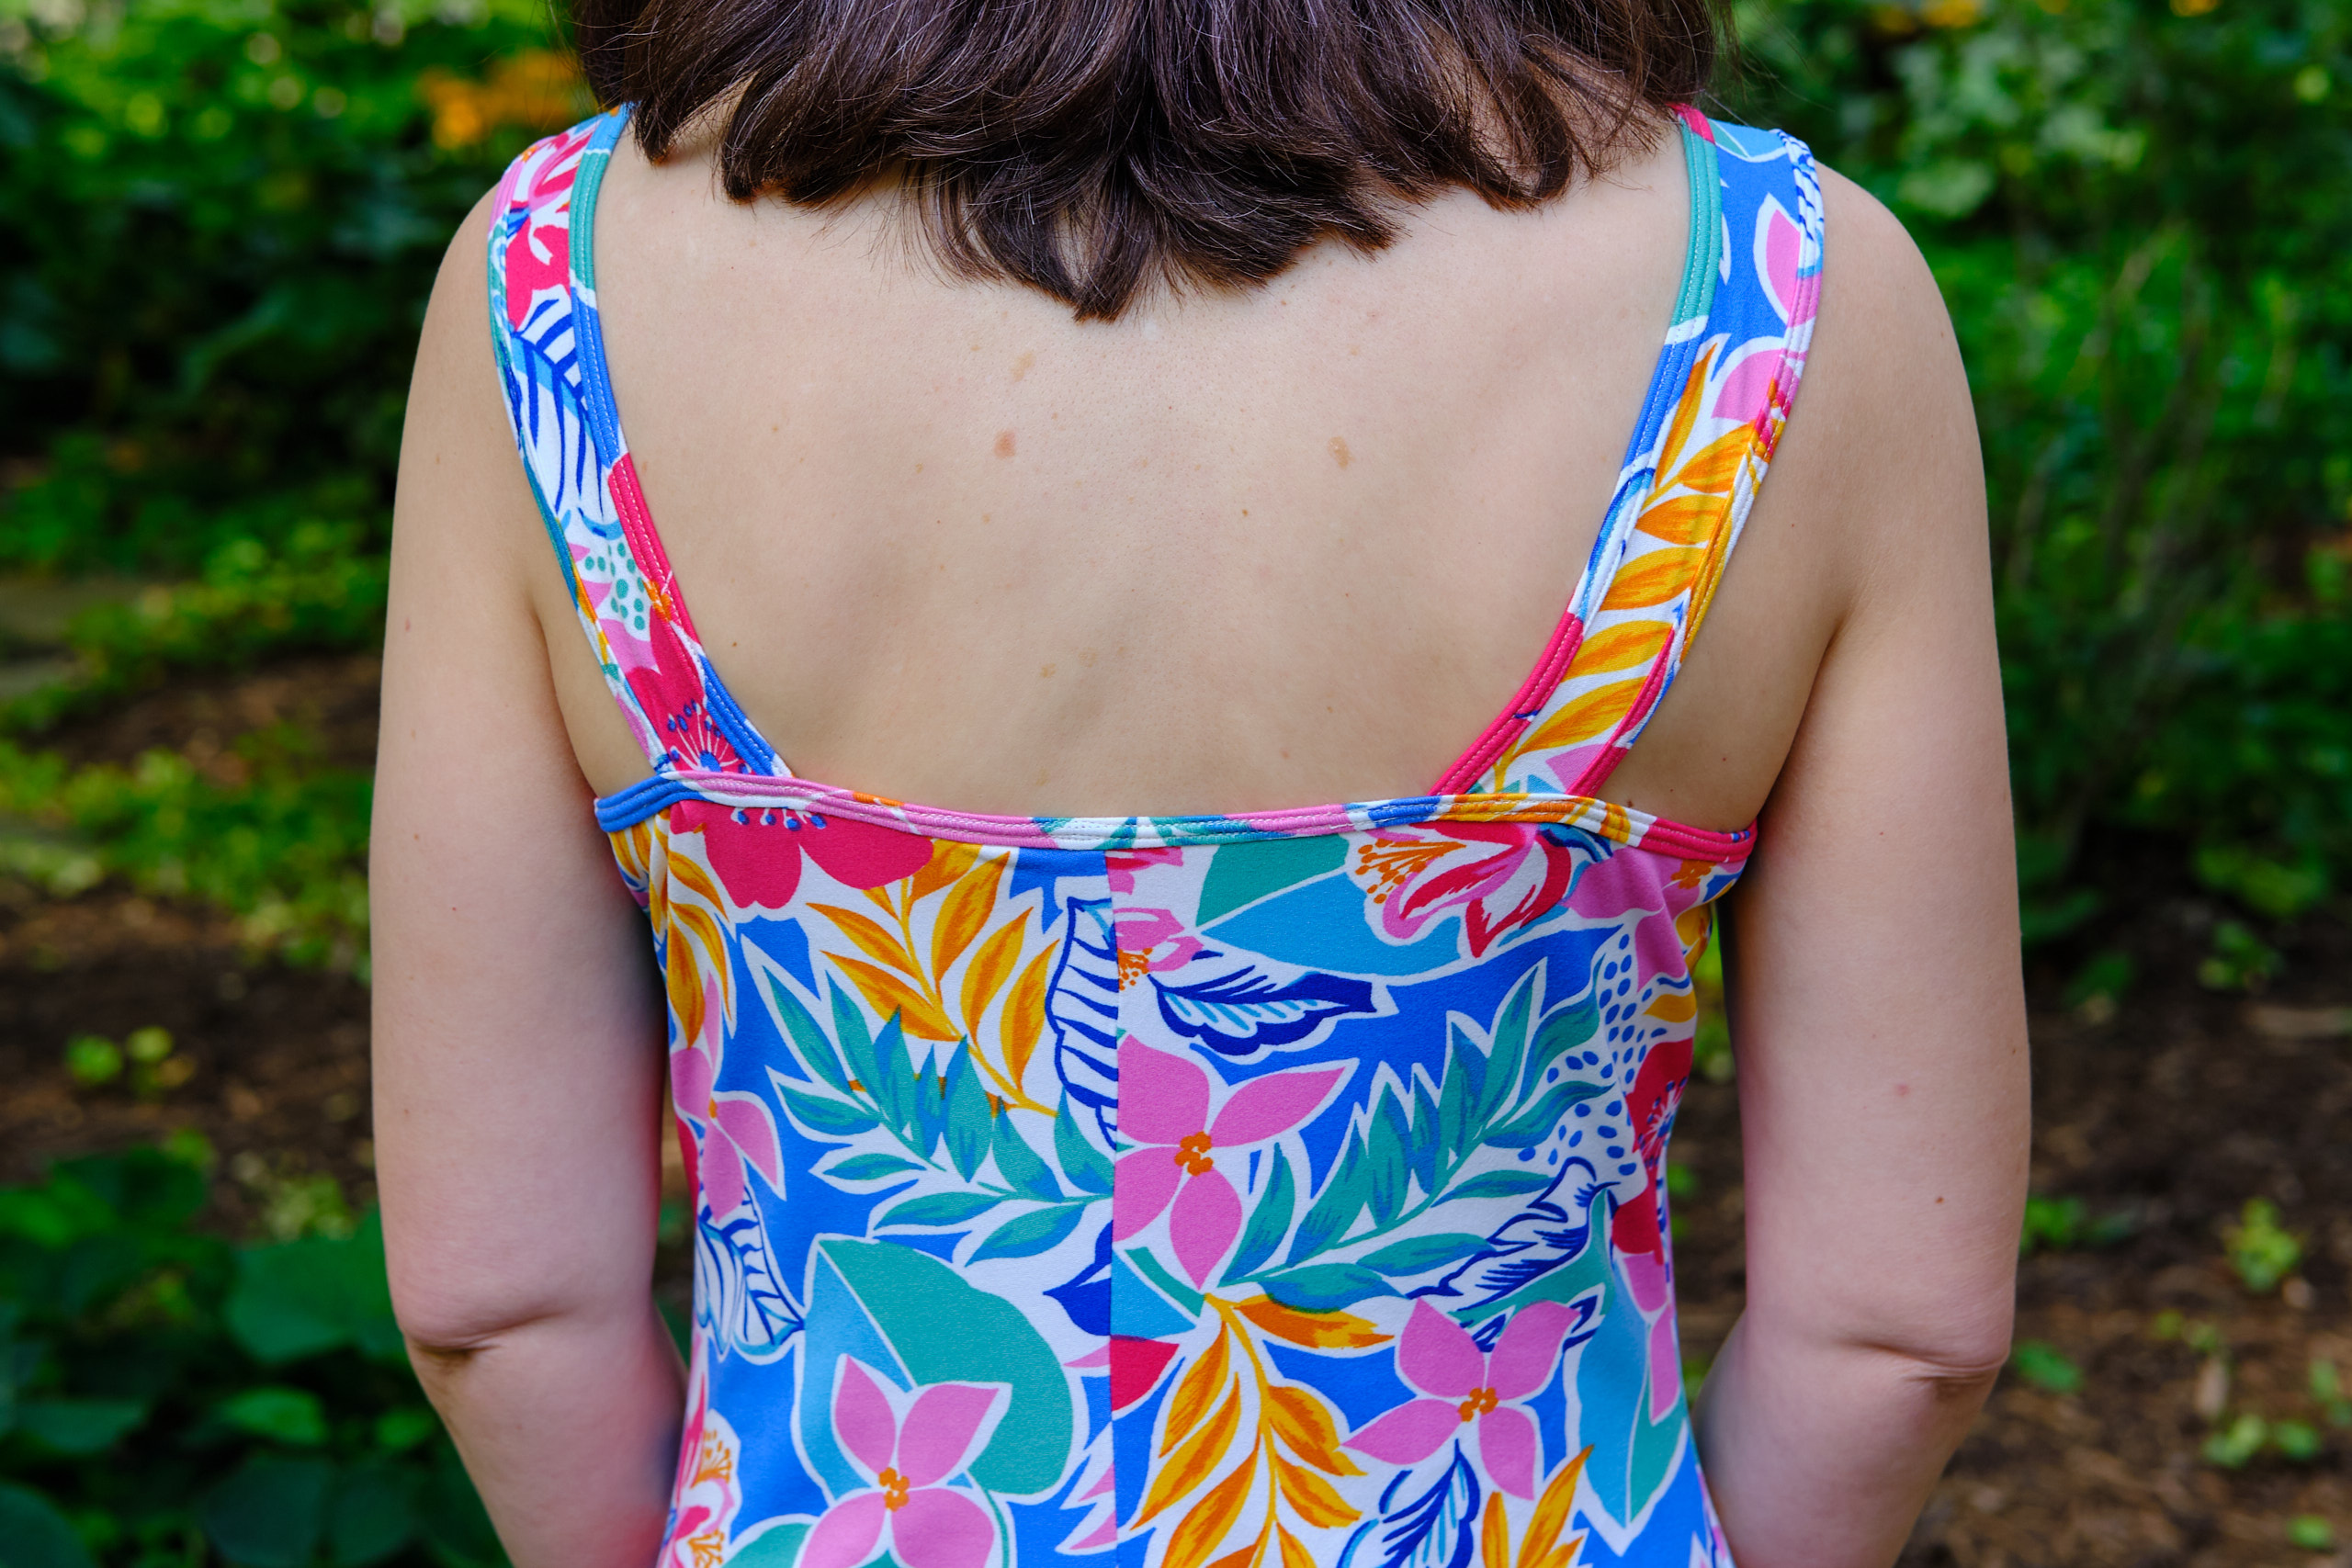
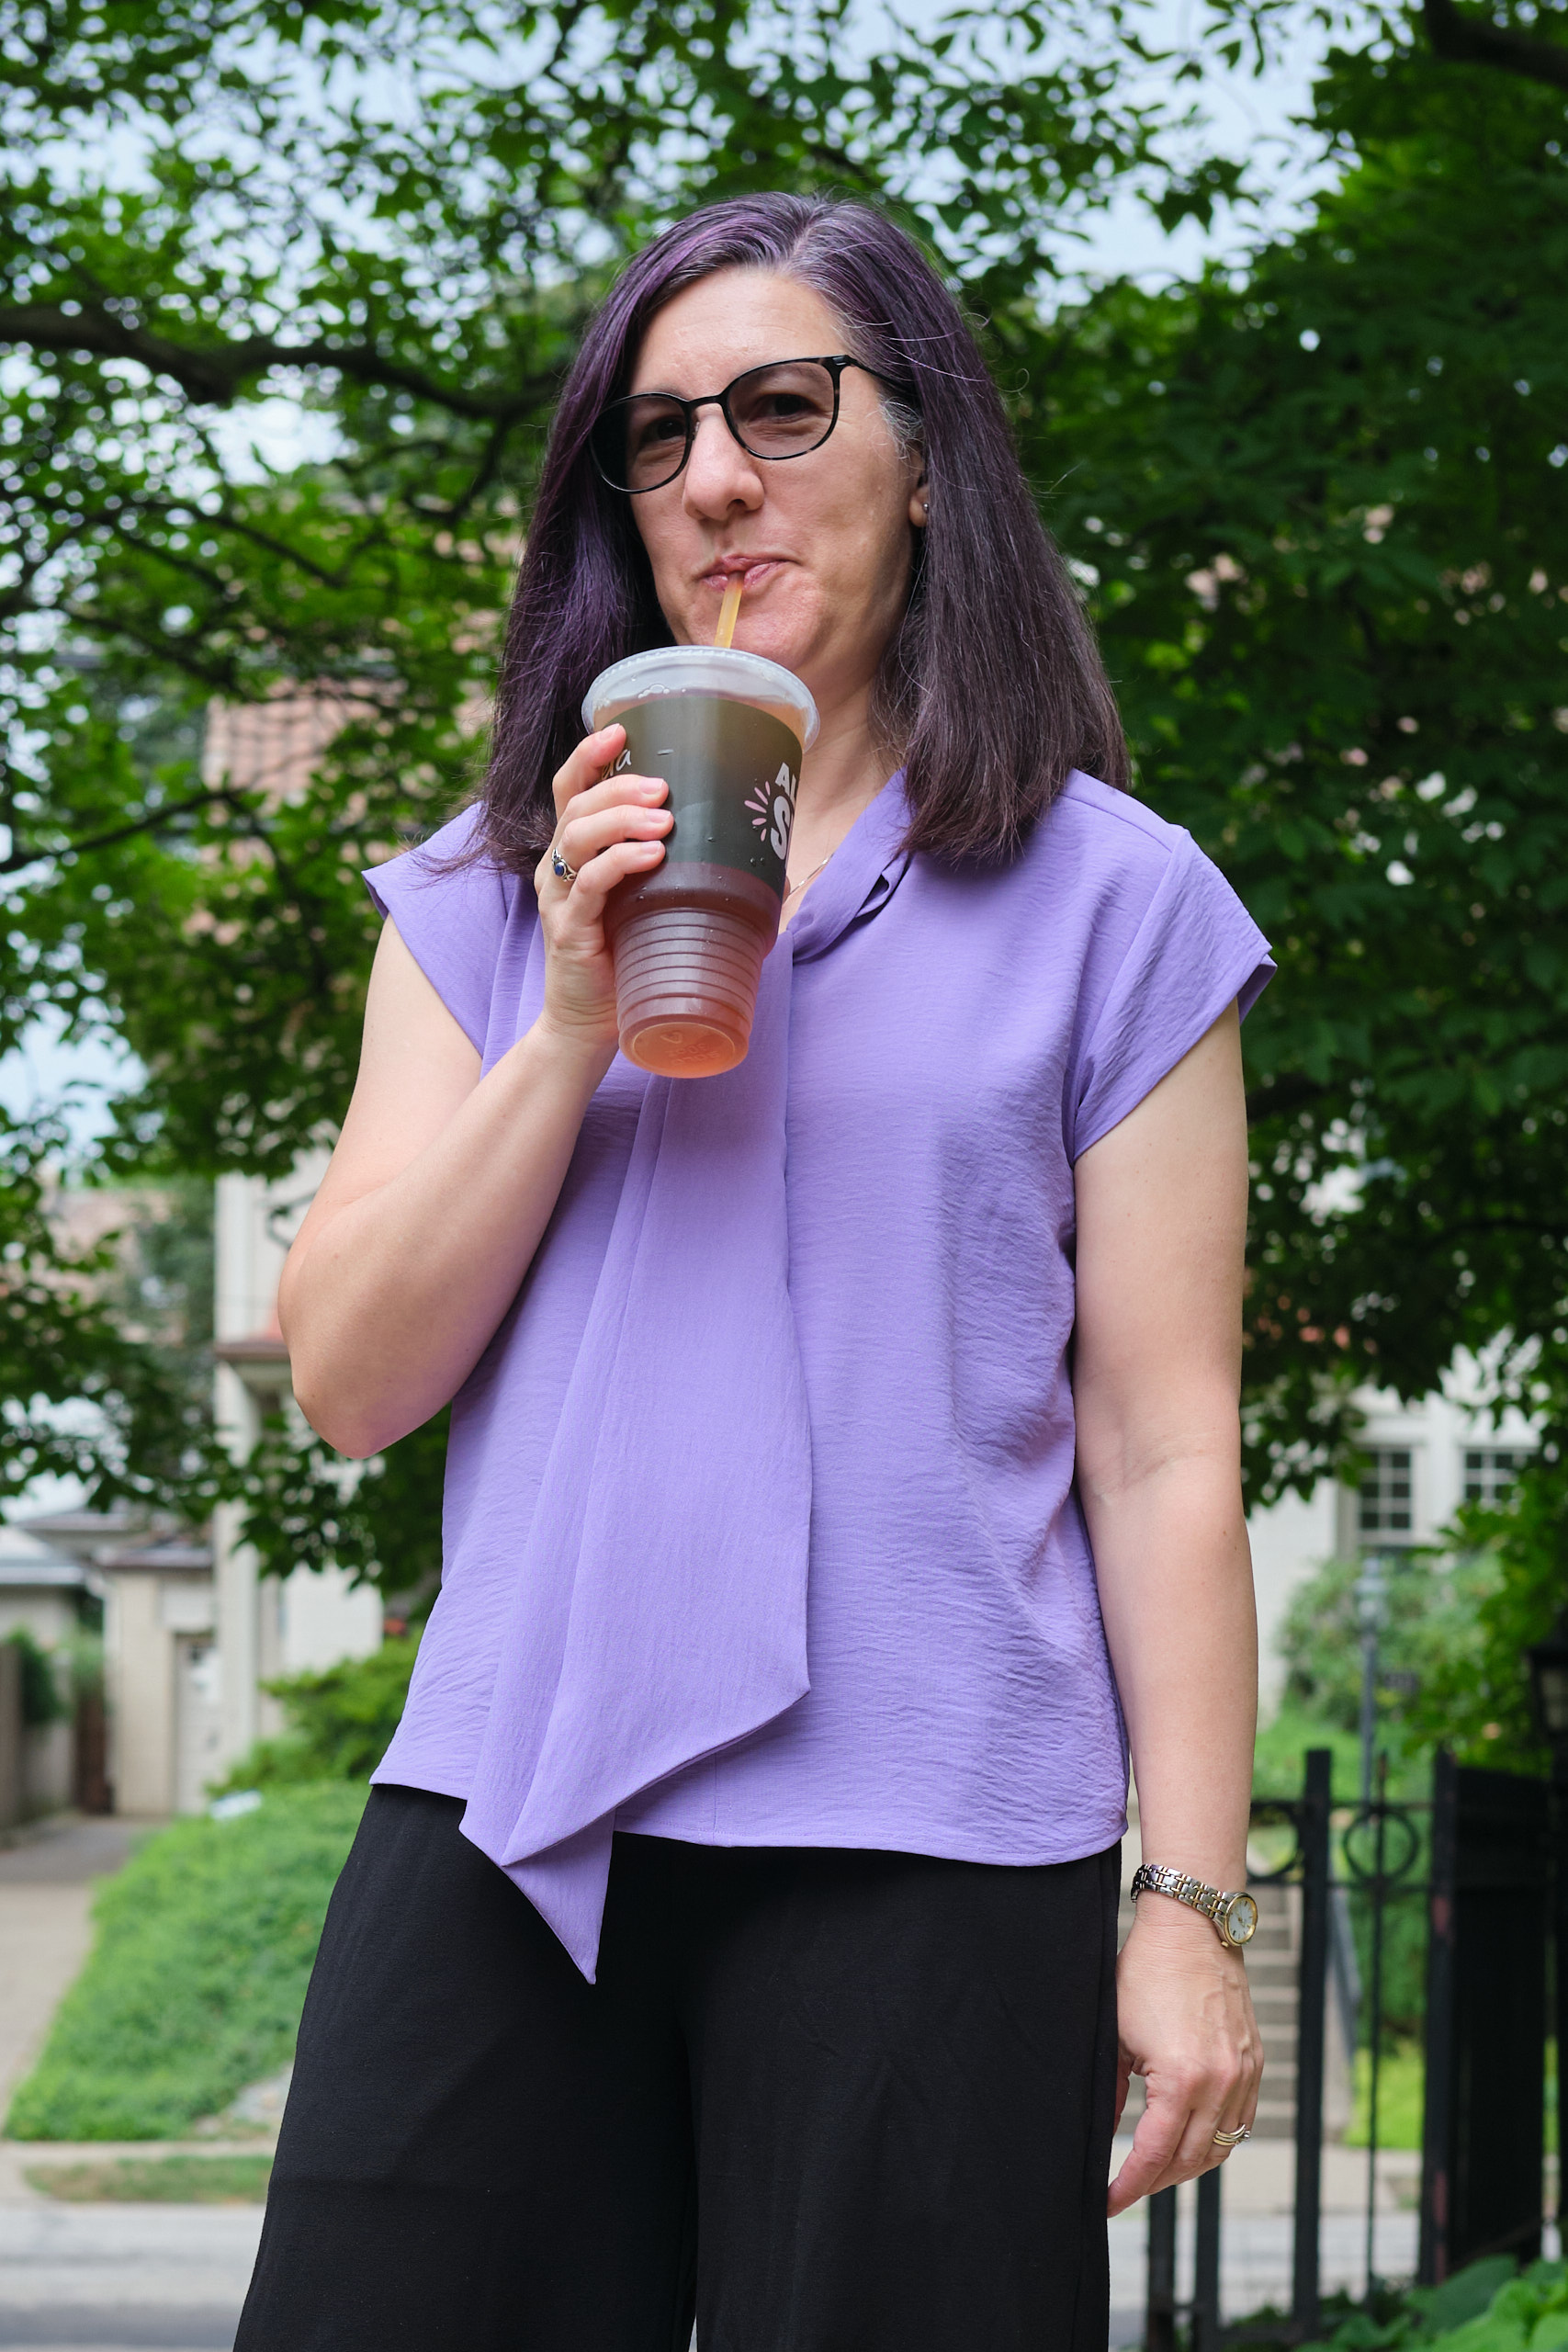
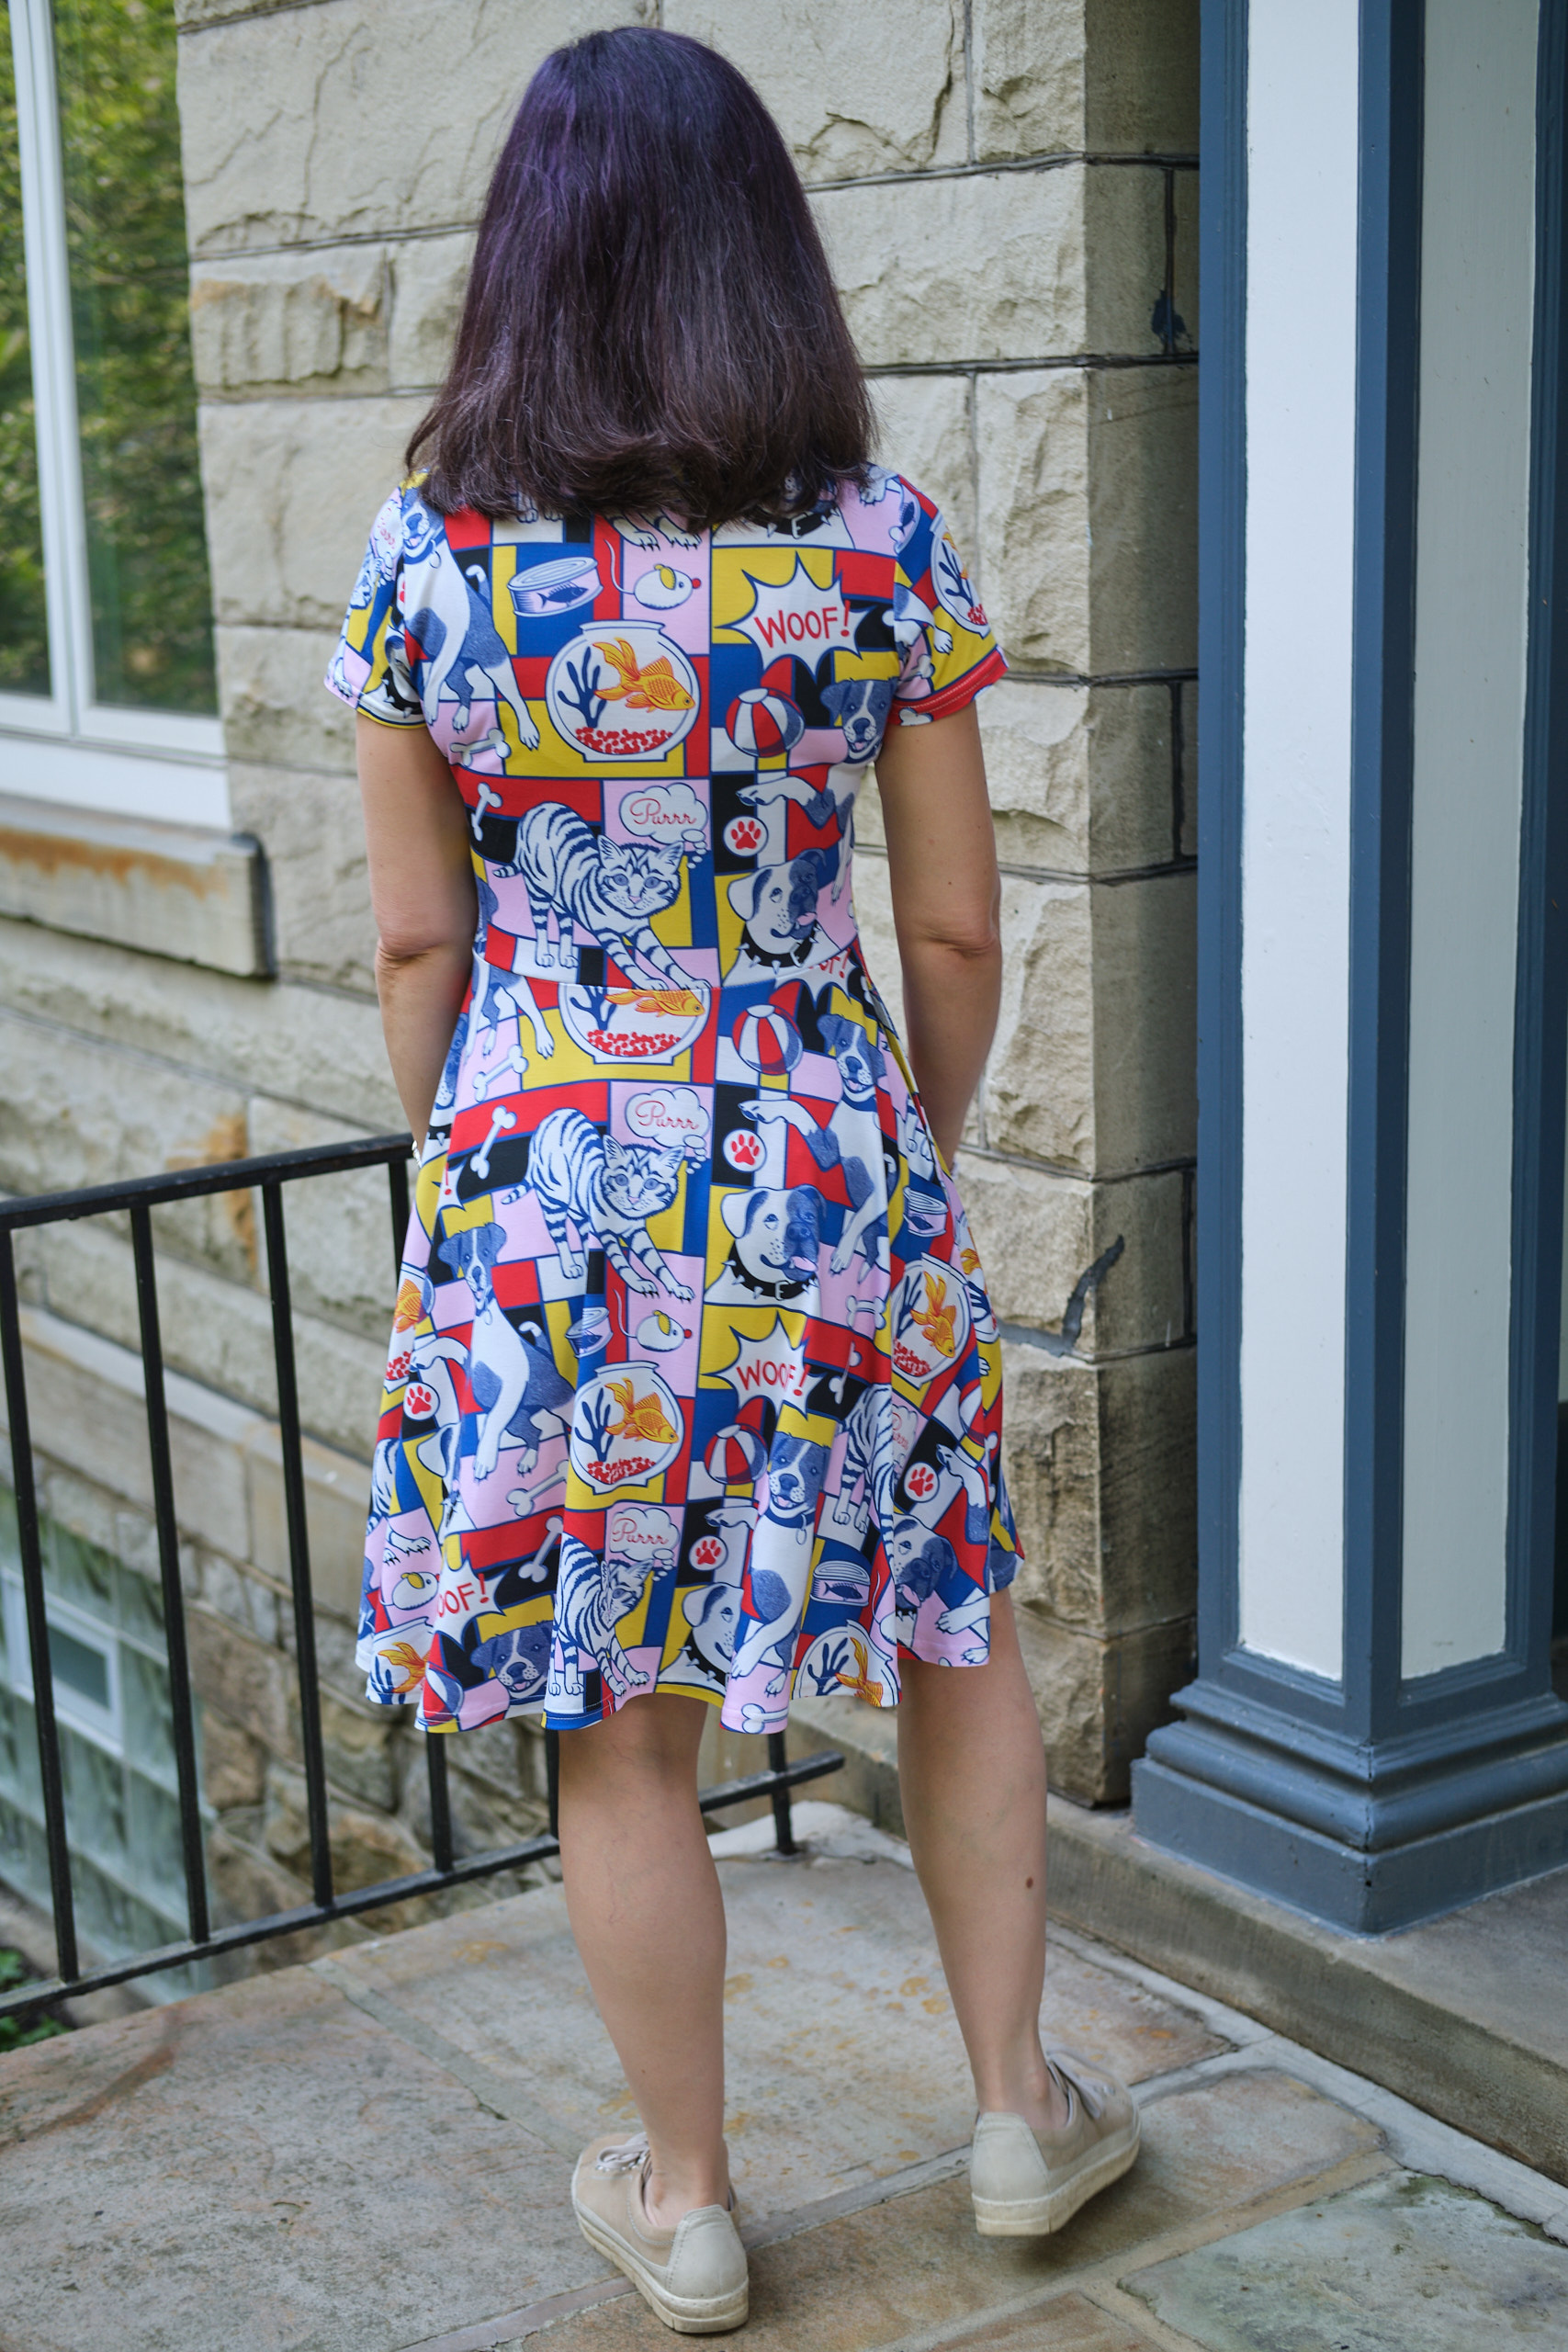
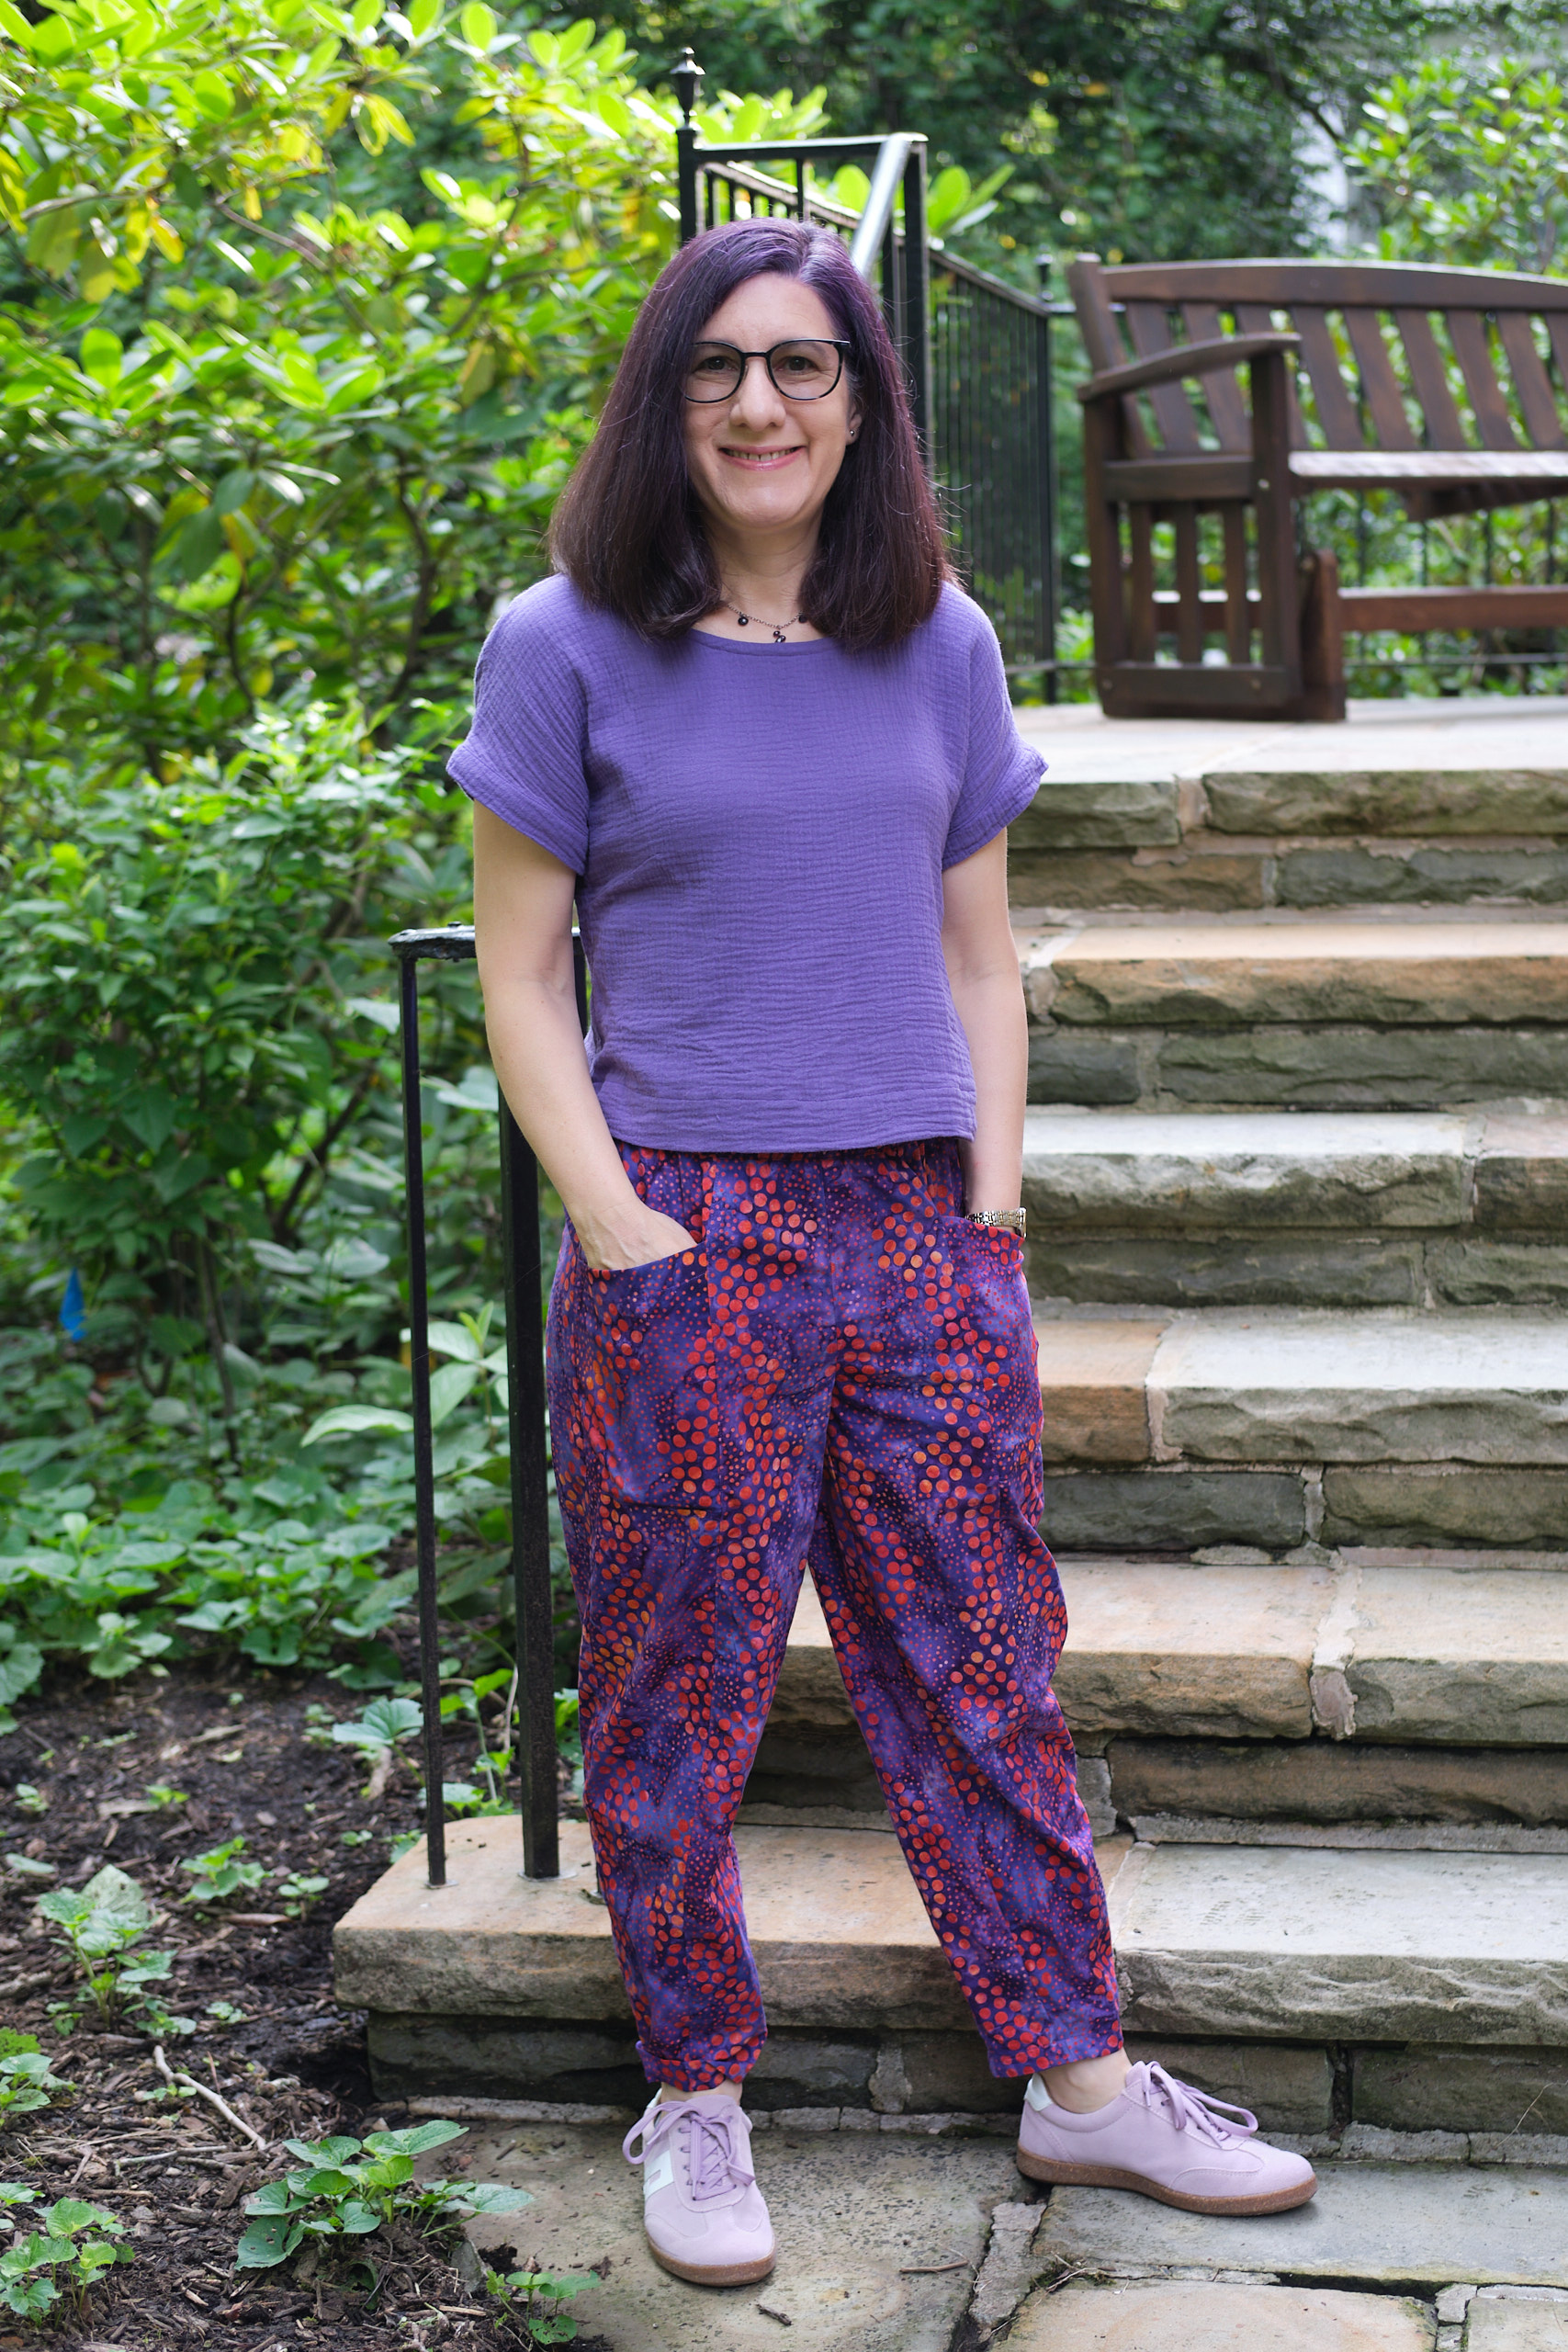
Pattern Emporium Be Mine Balloon Sleeve top with cap sleeves from the Pattern Emporium Spill the Tea tapered tie neck blouse, size AU8, 1 yard lilac airflow, mid neck, regular length, wide facing, no button loop, no front or back center seams, sloped-shoulder adjustment
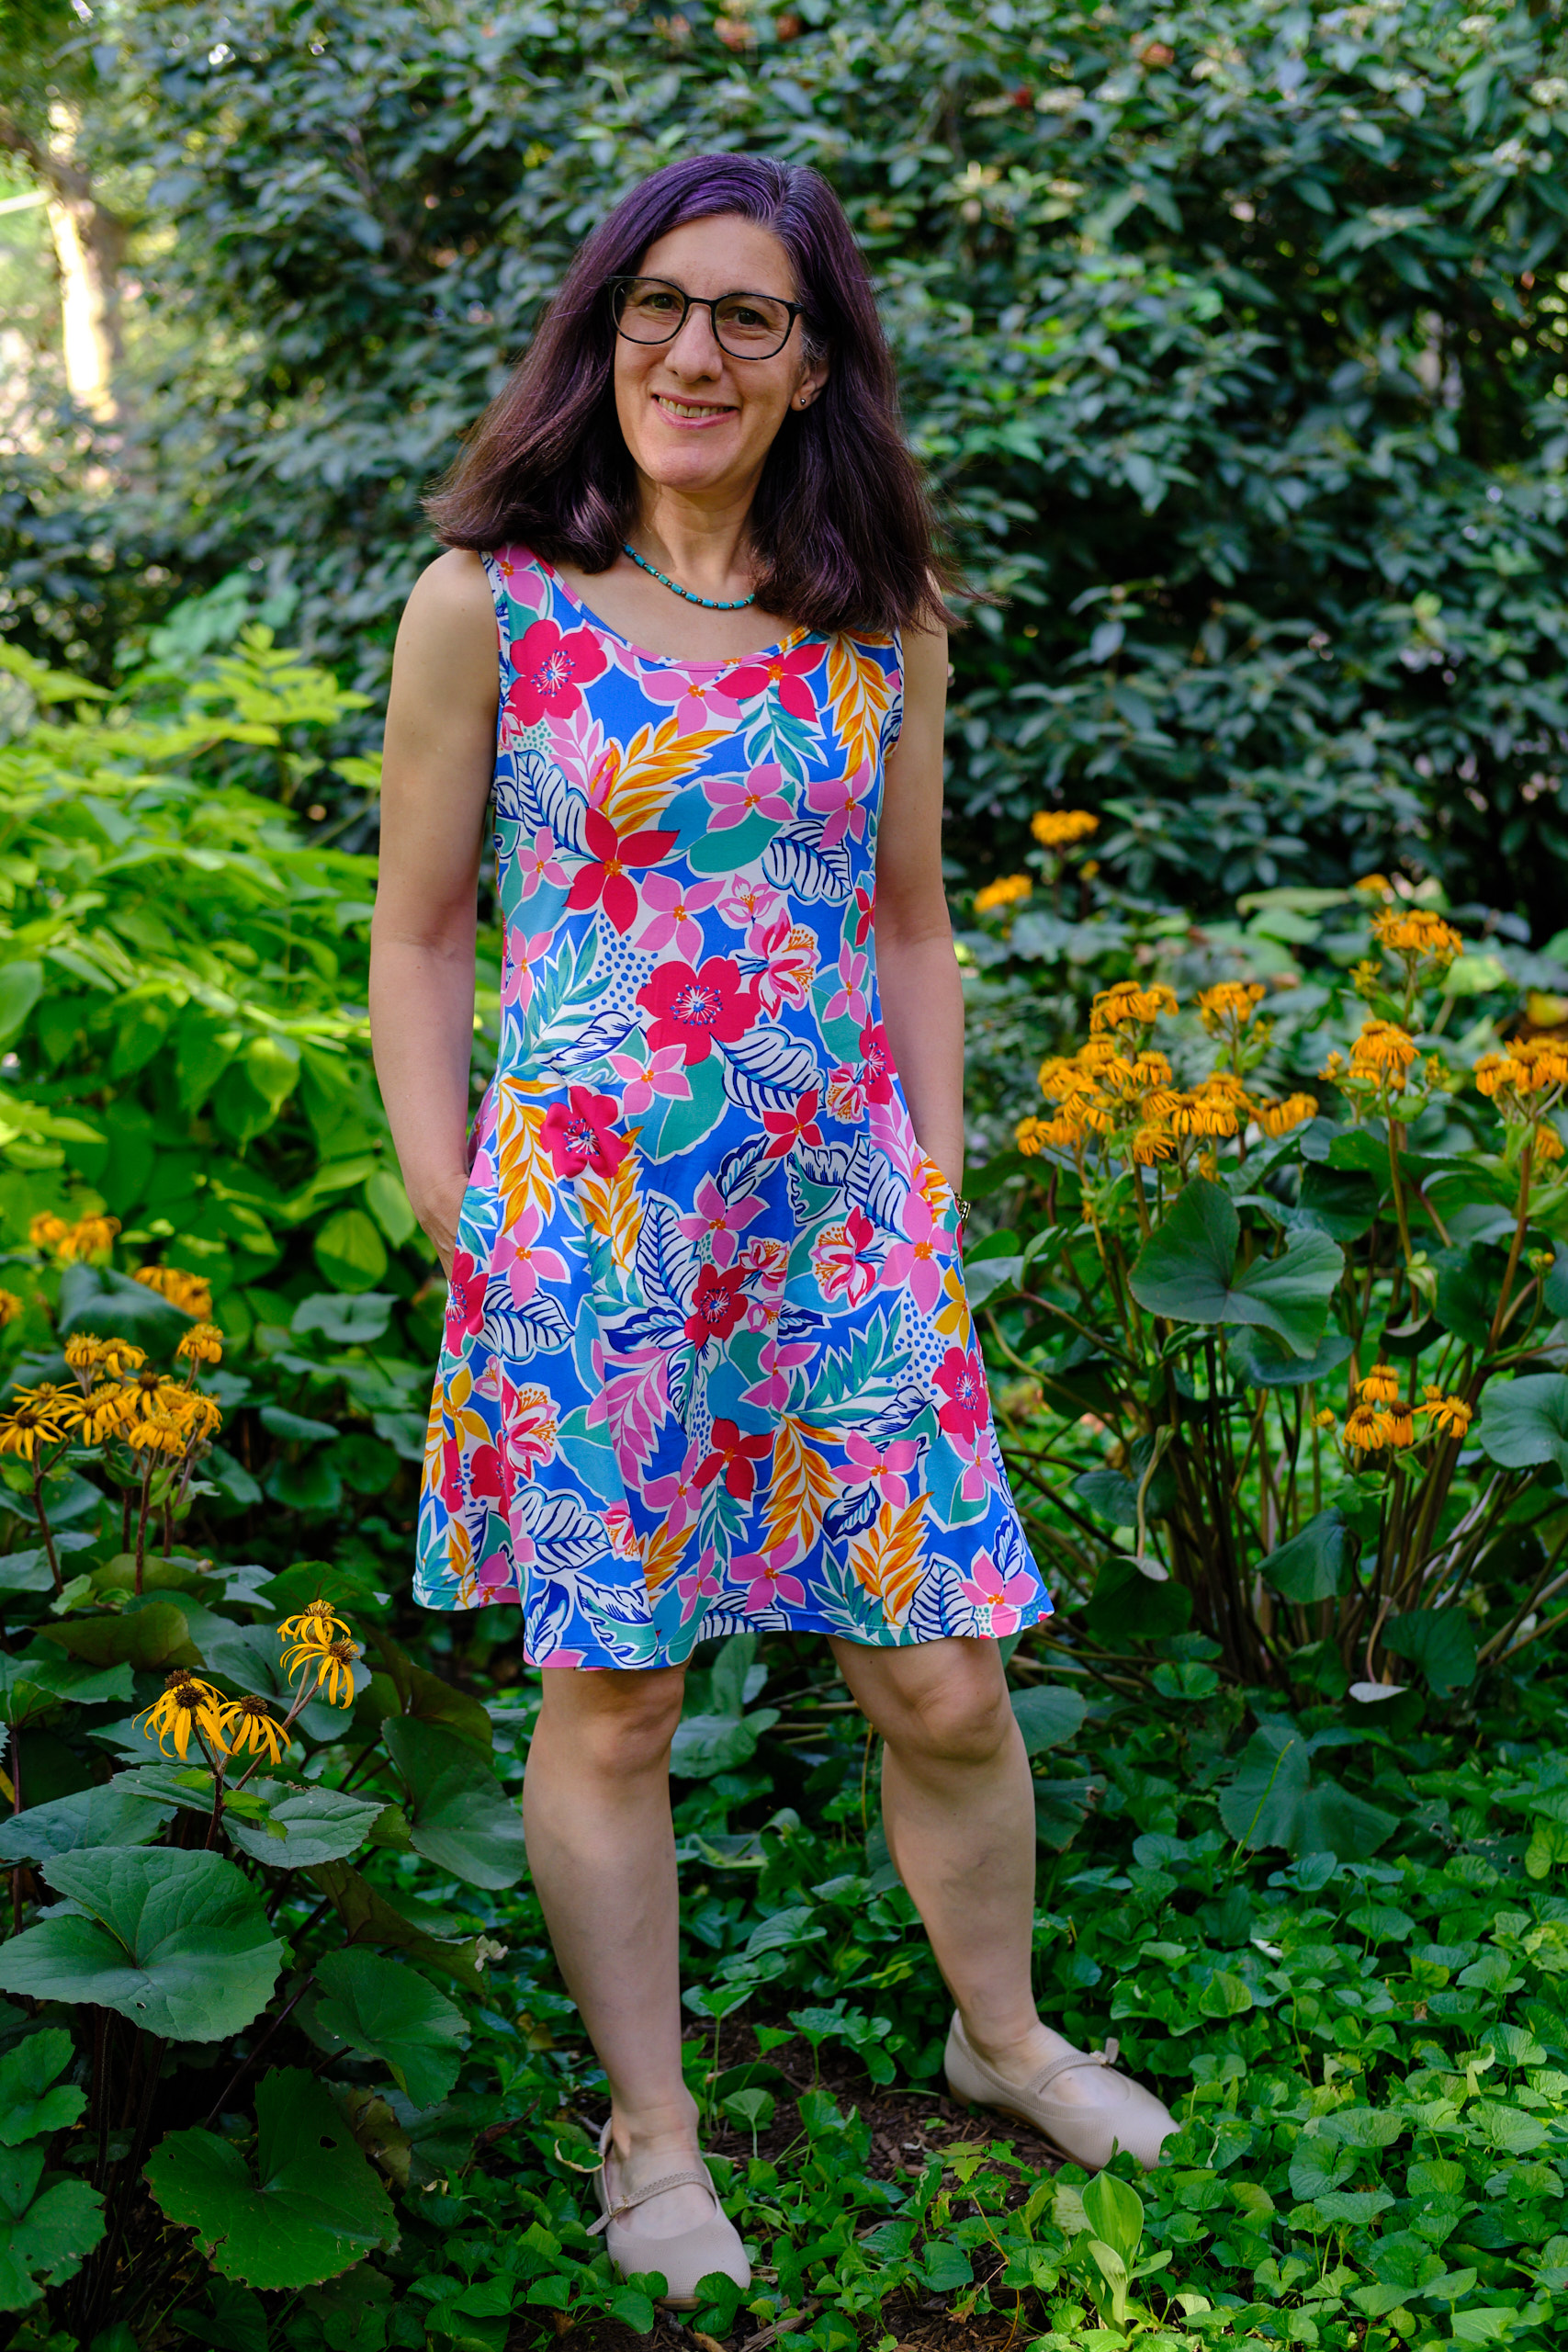
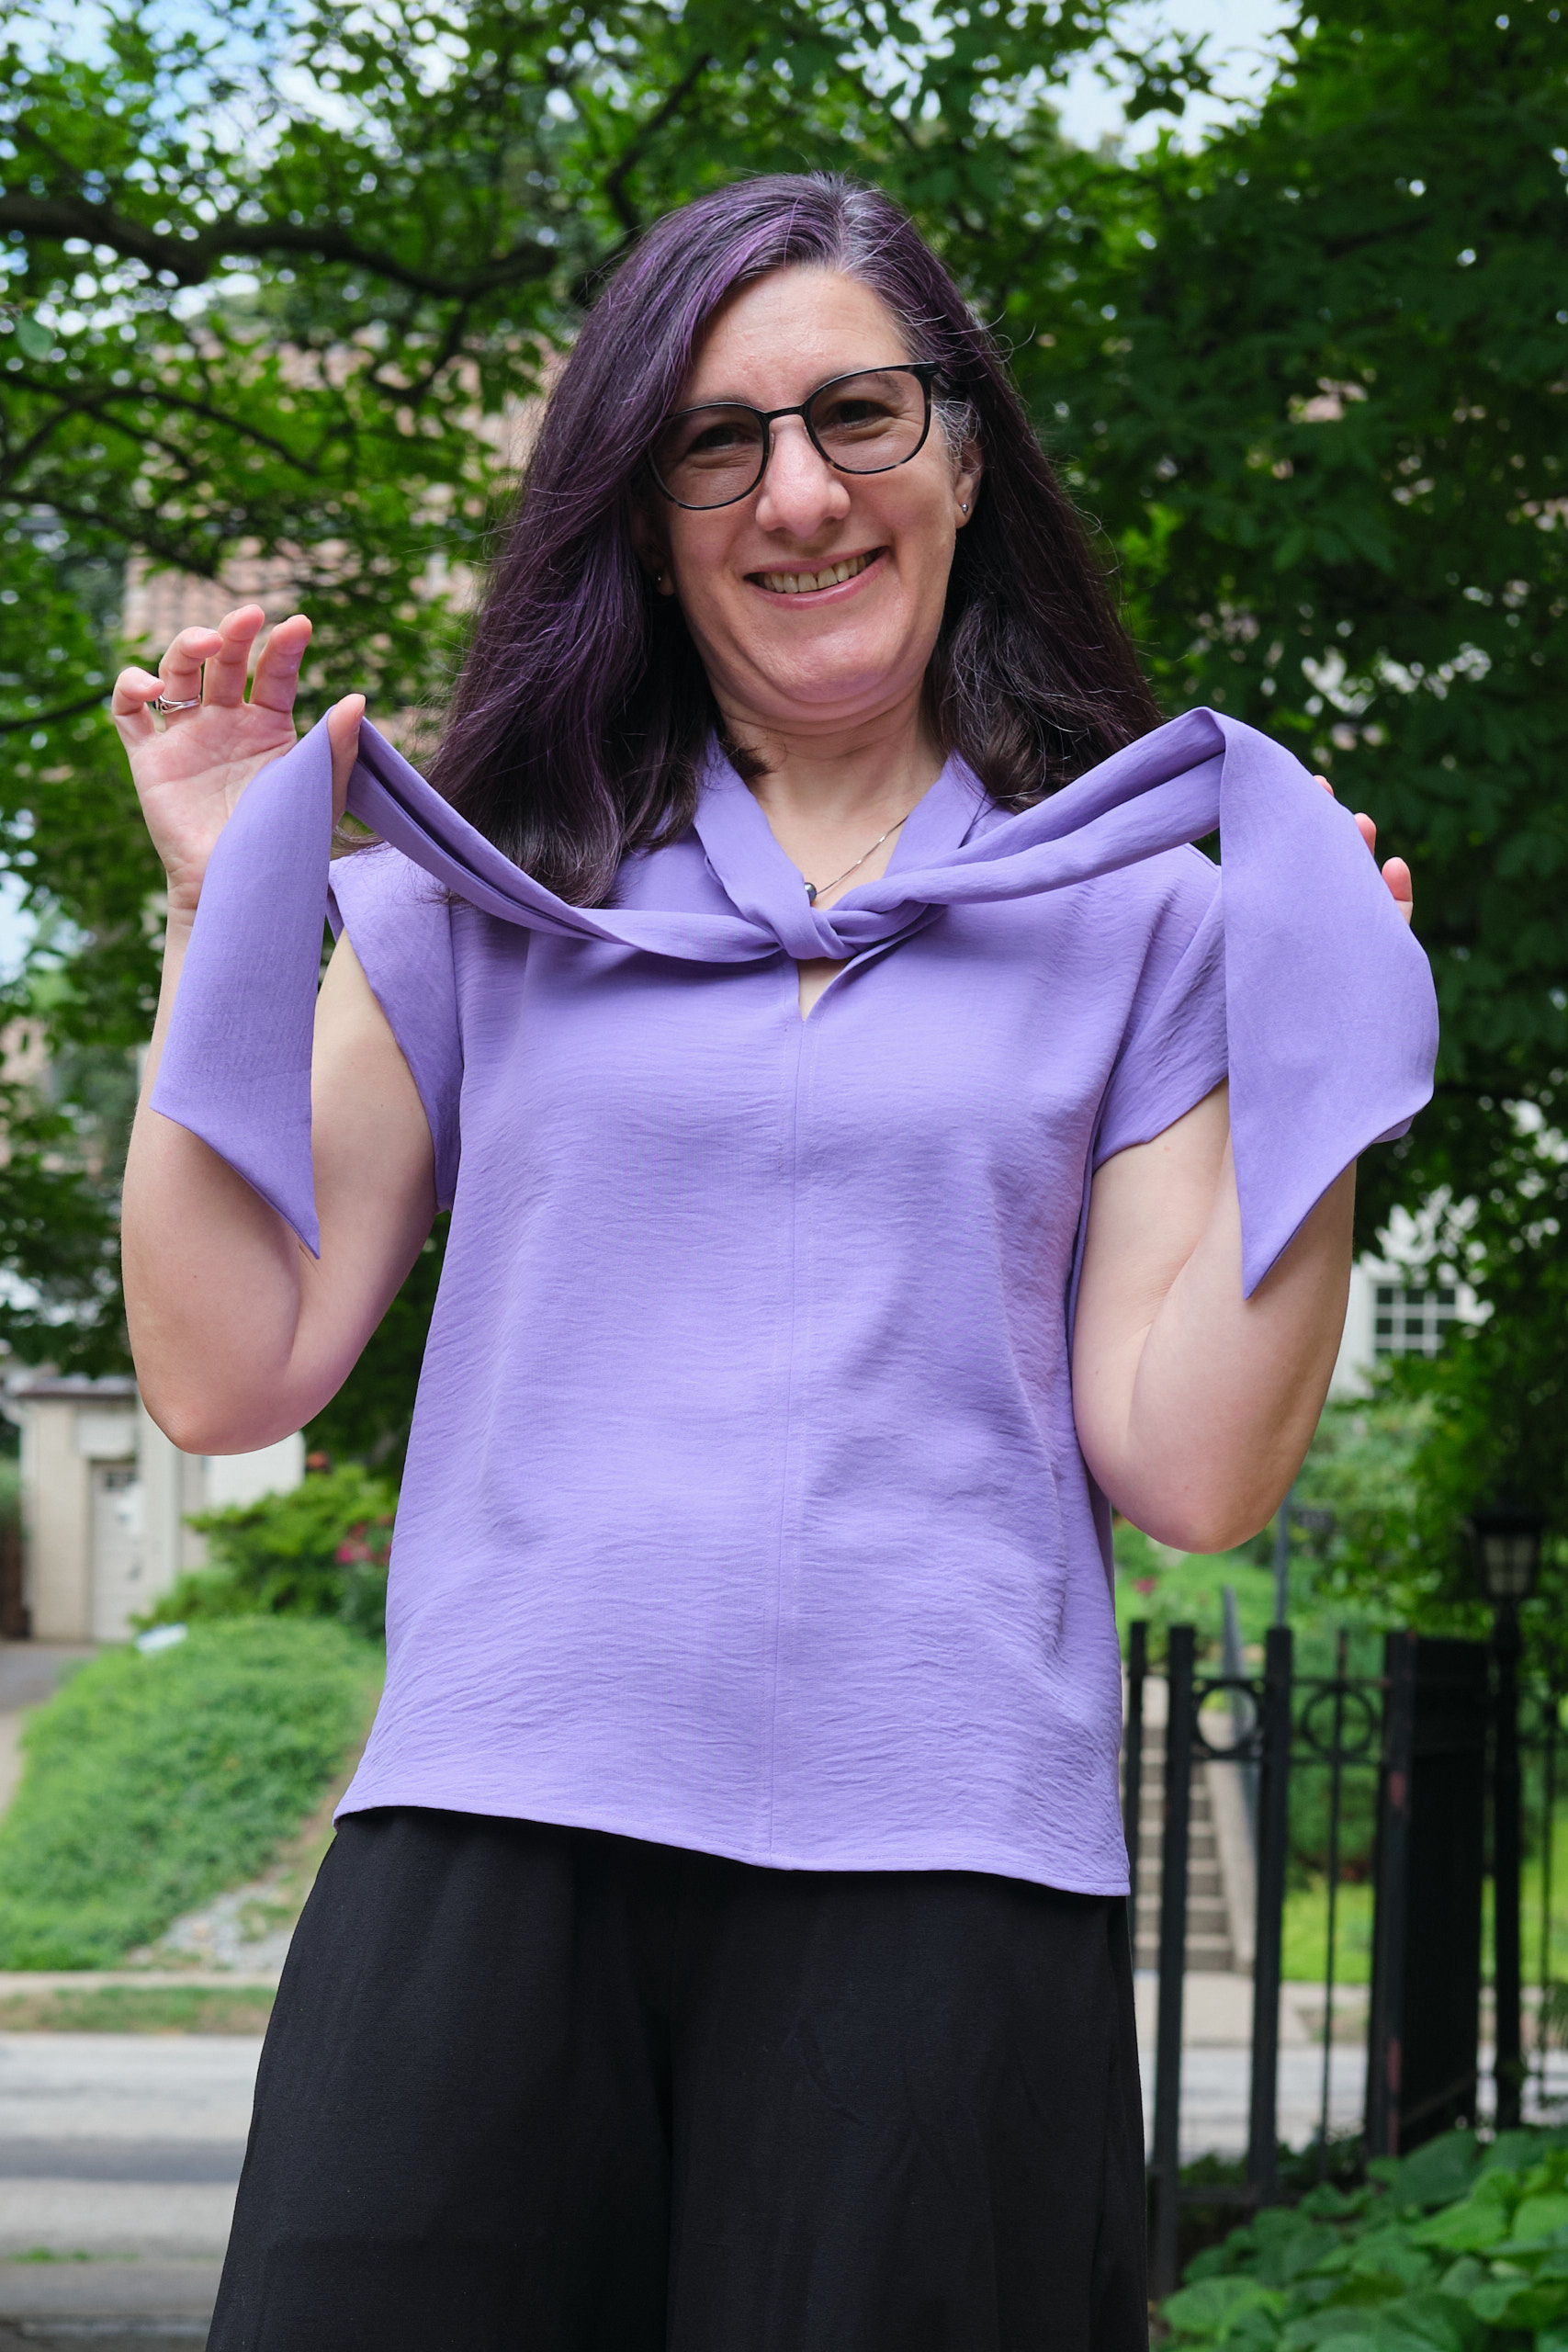
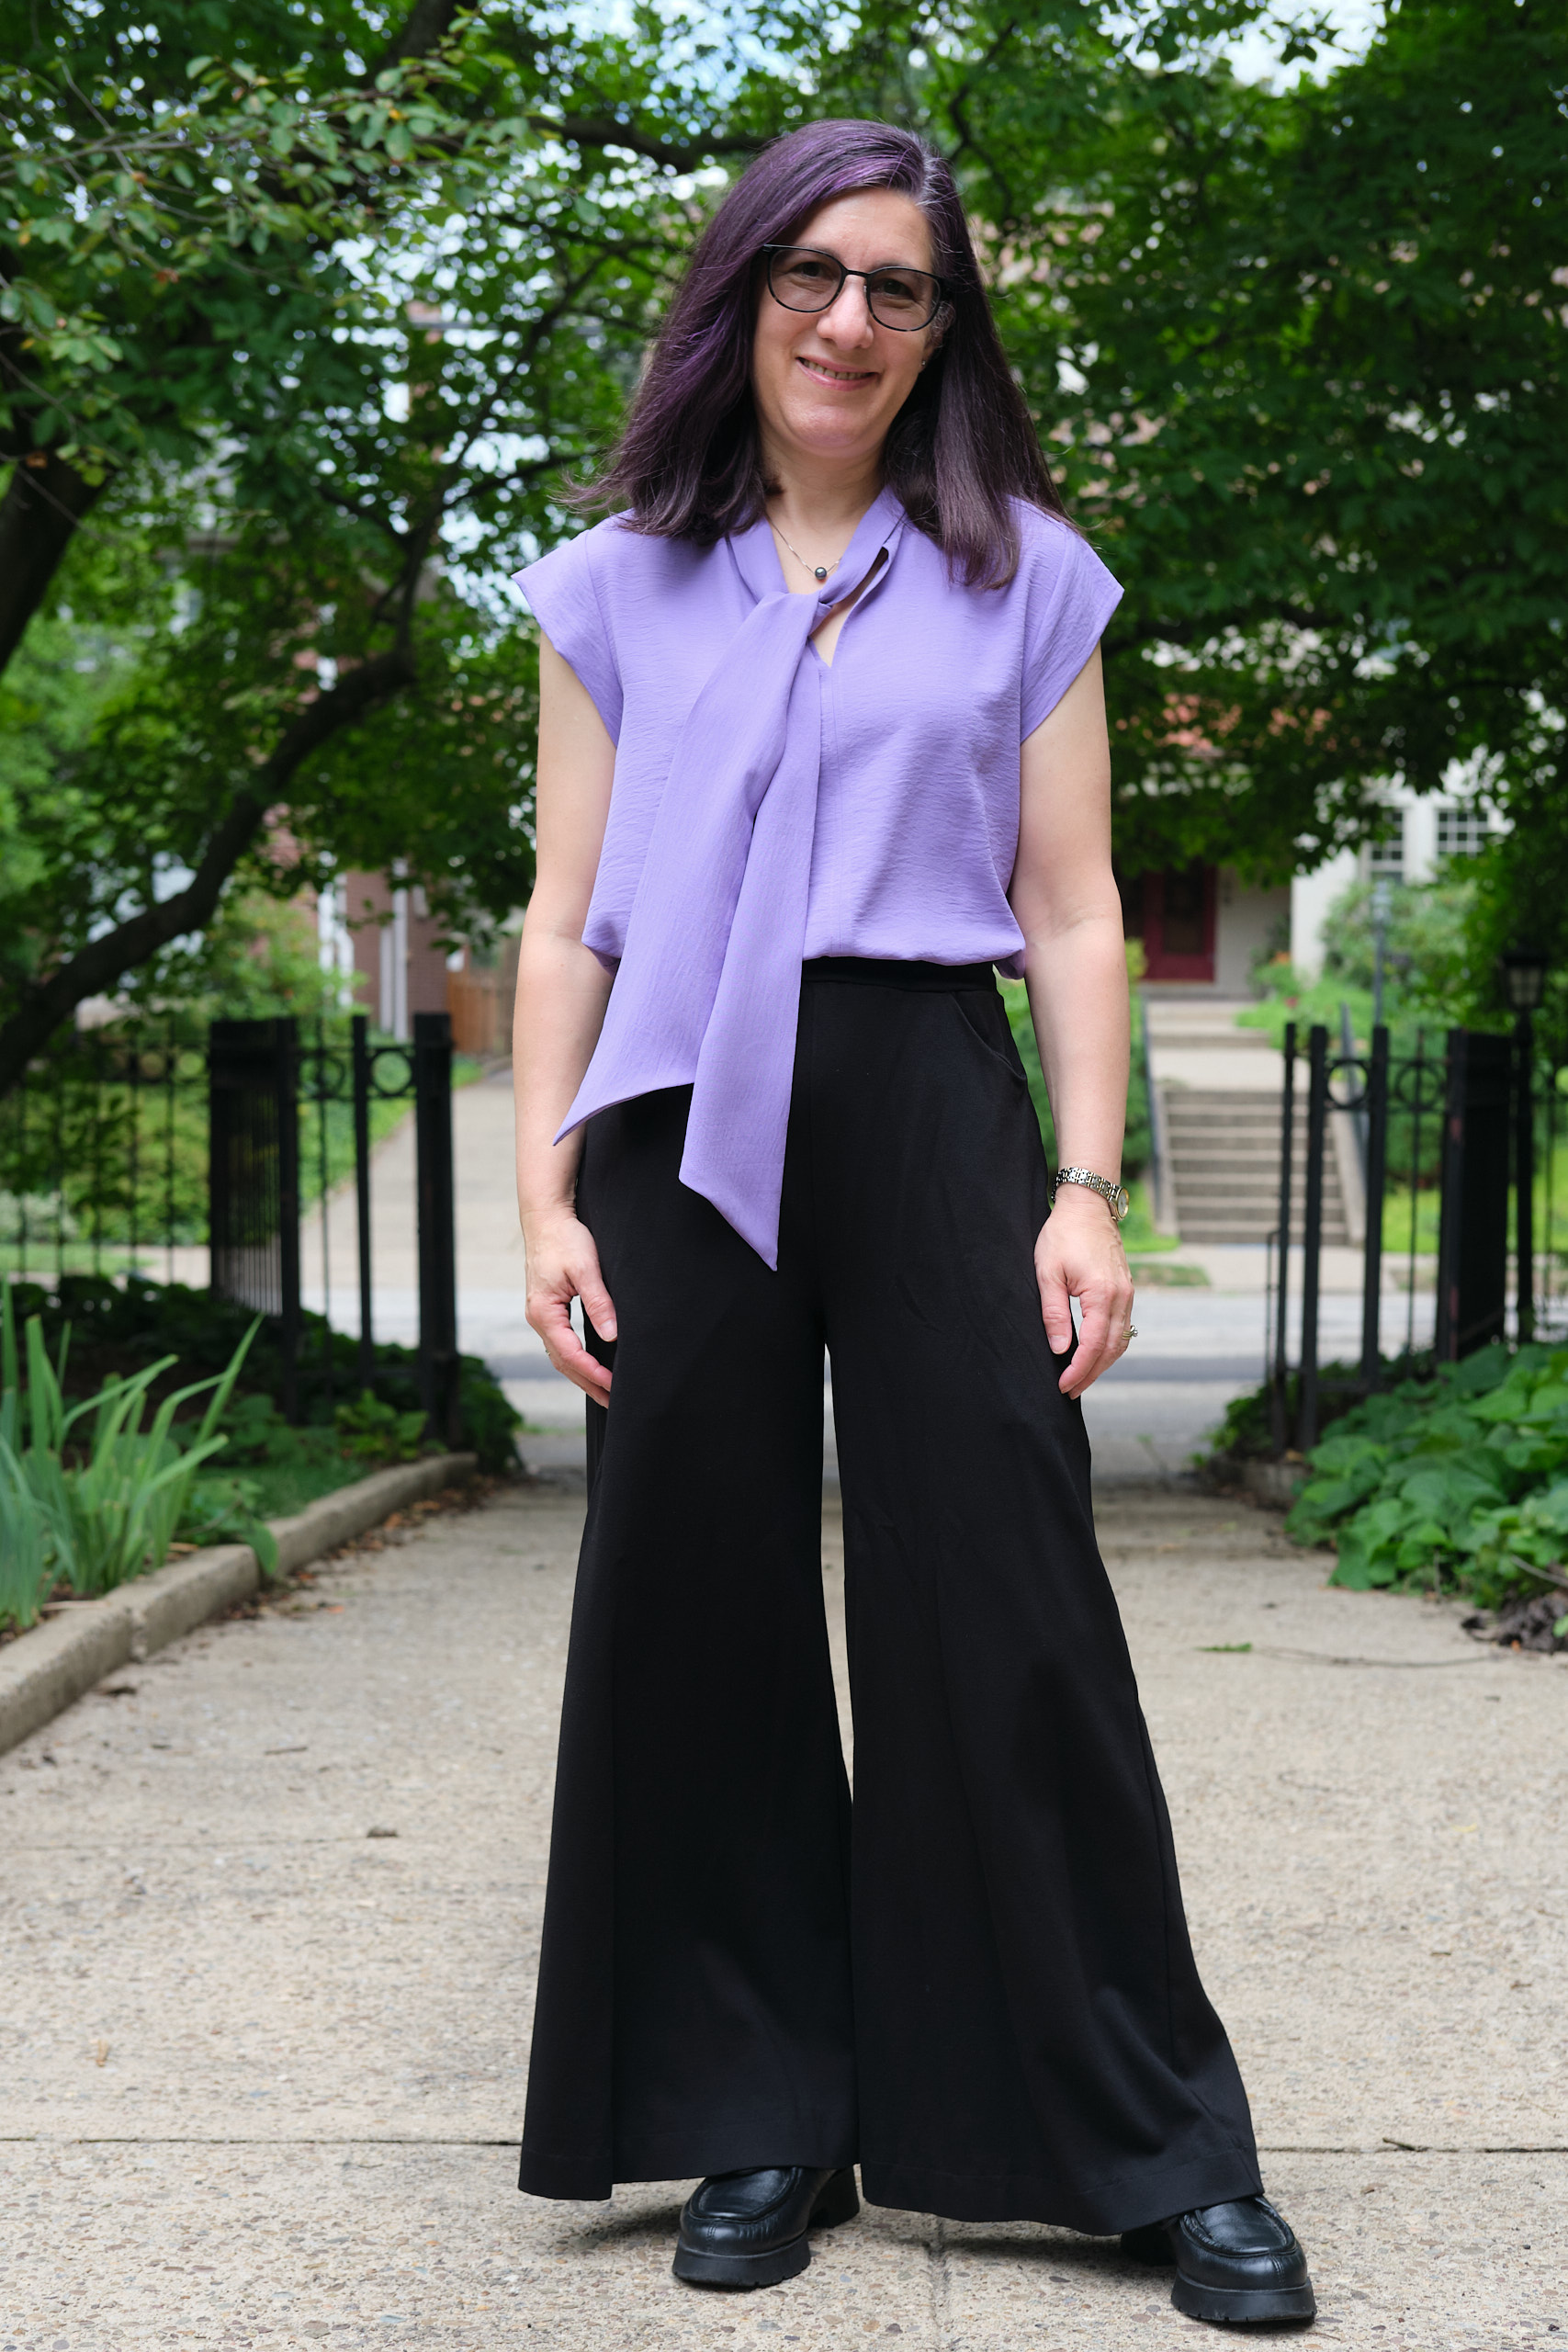
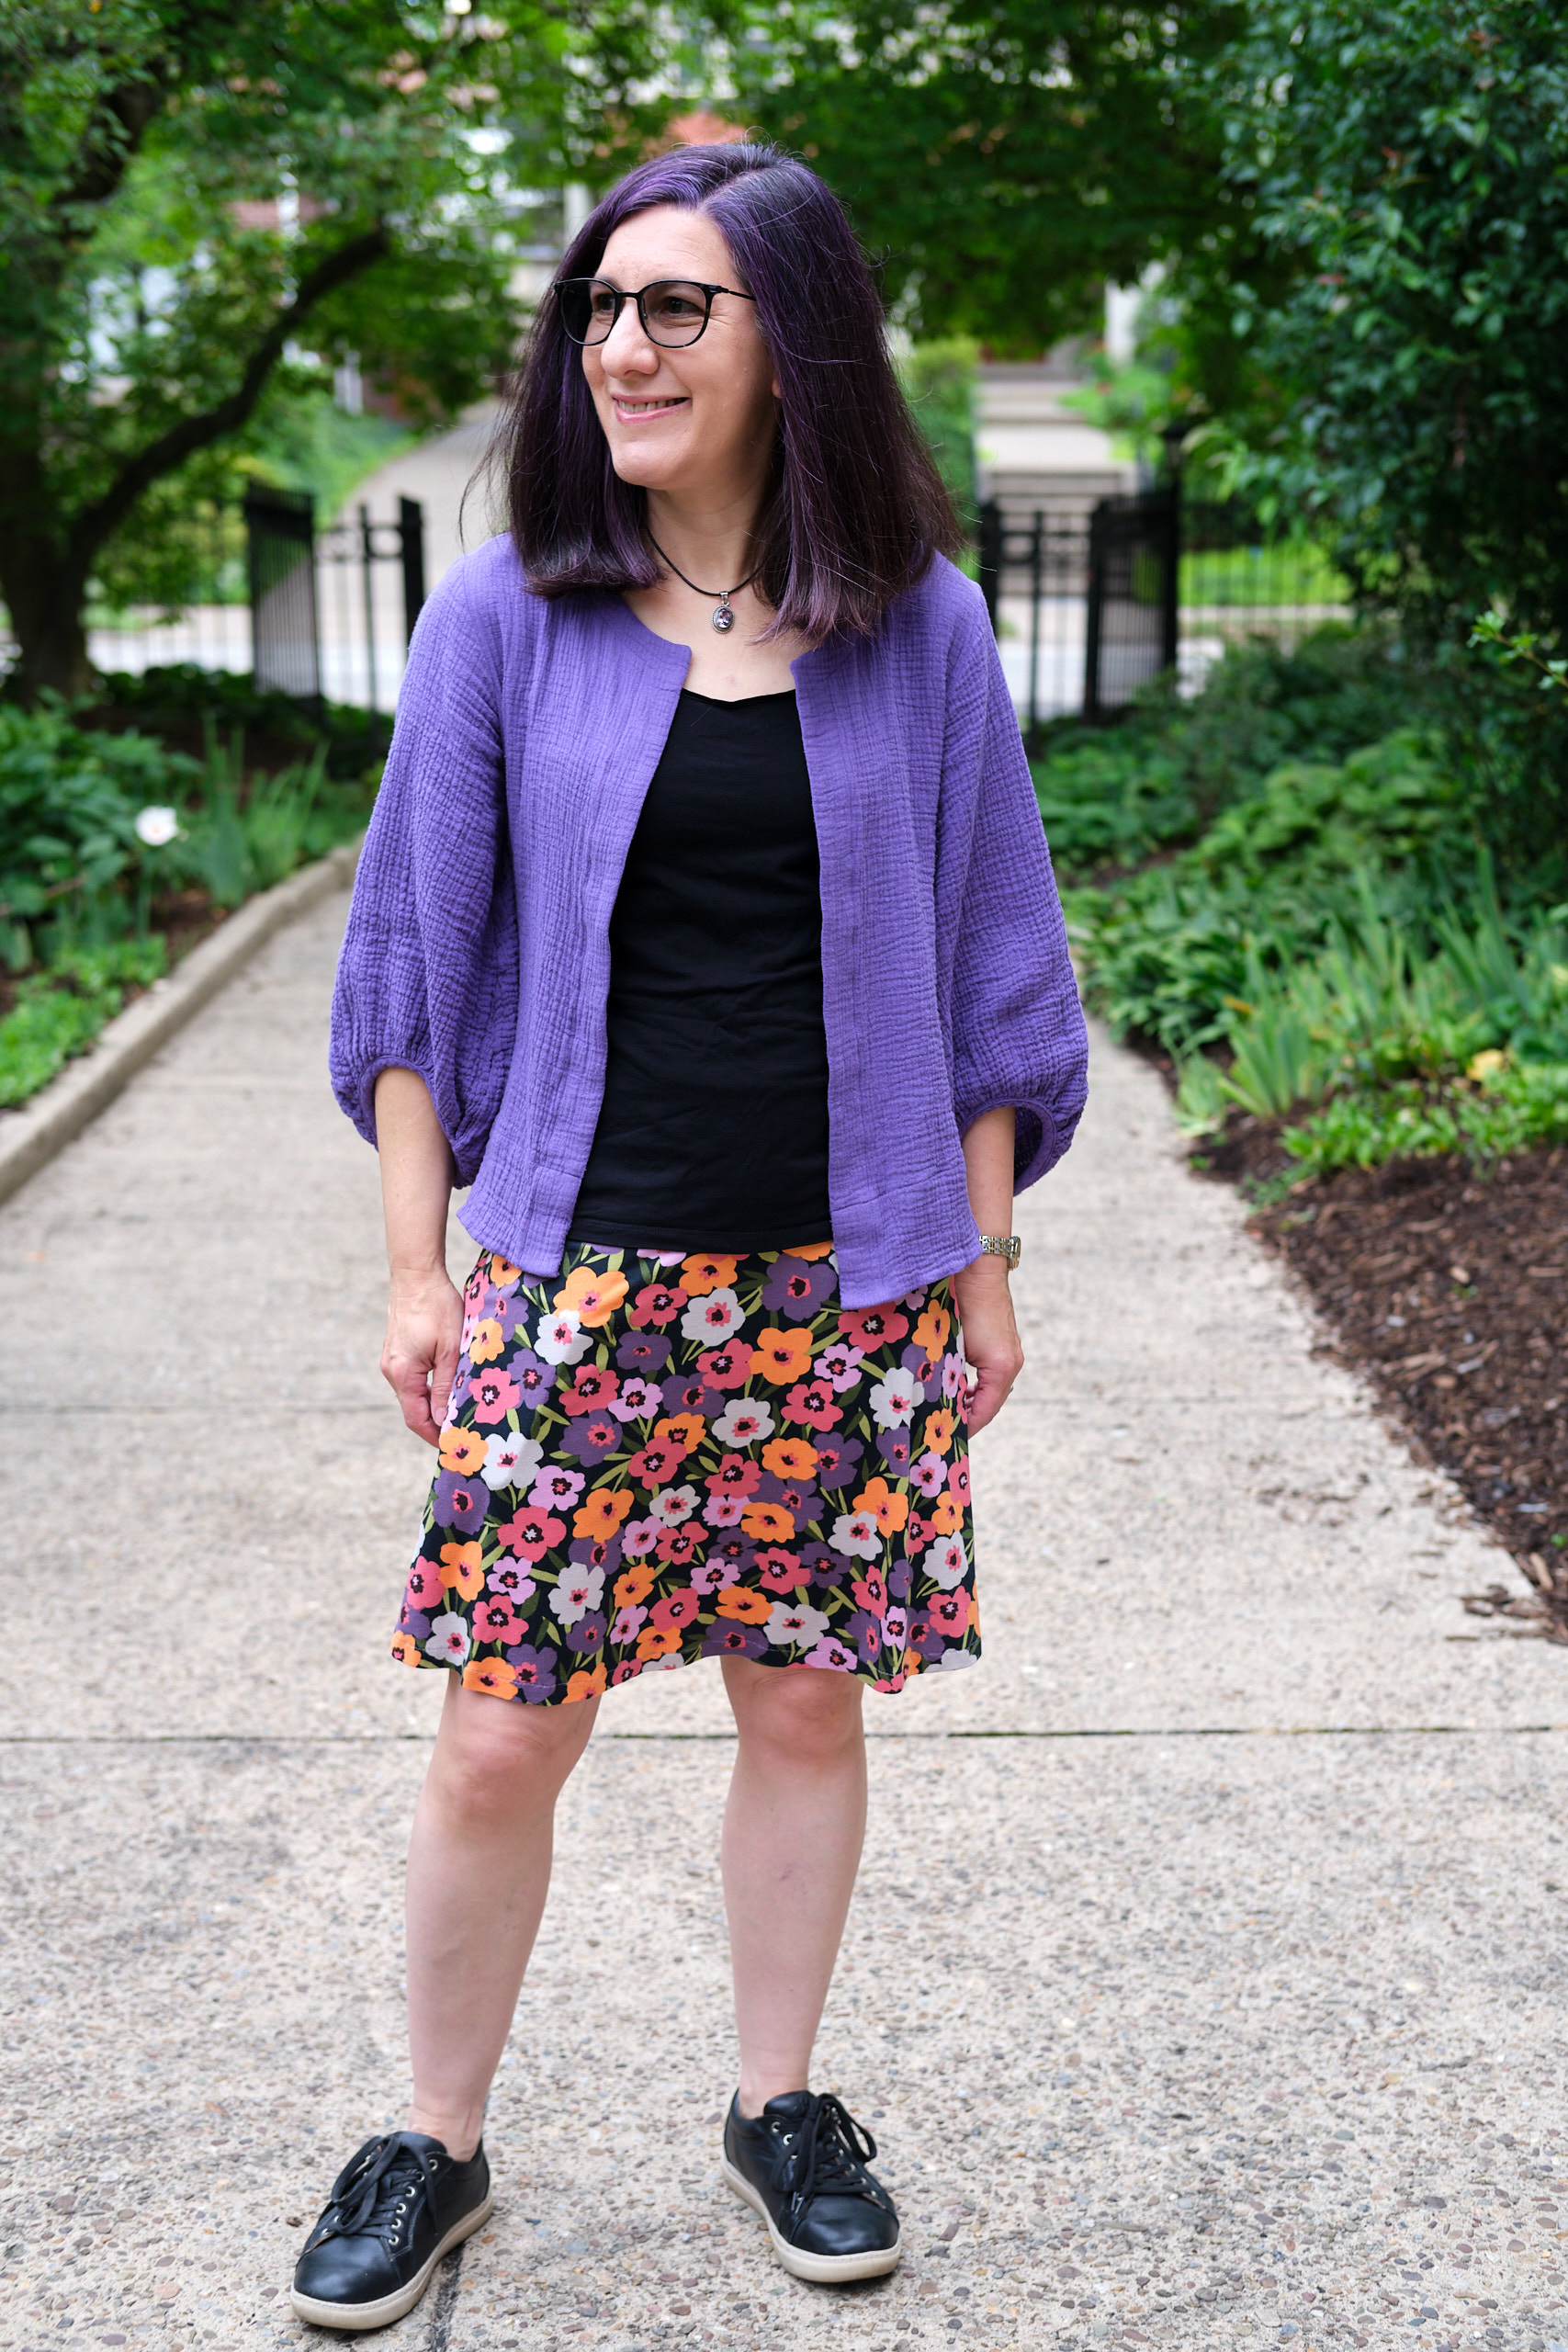
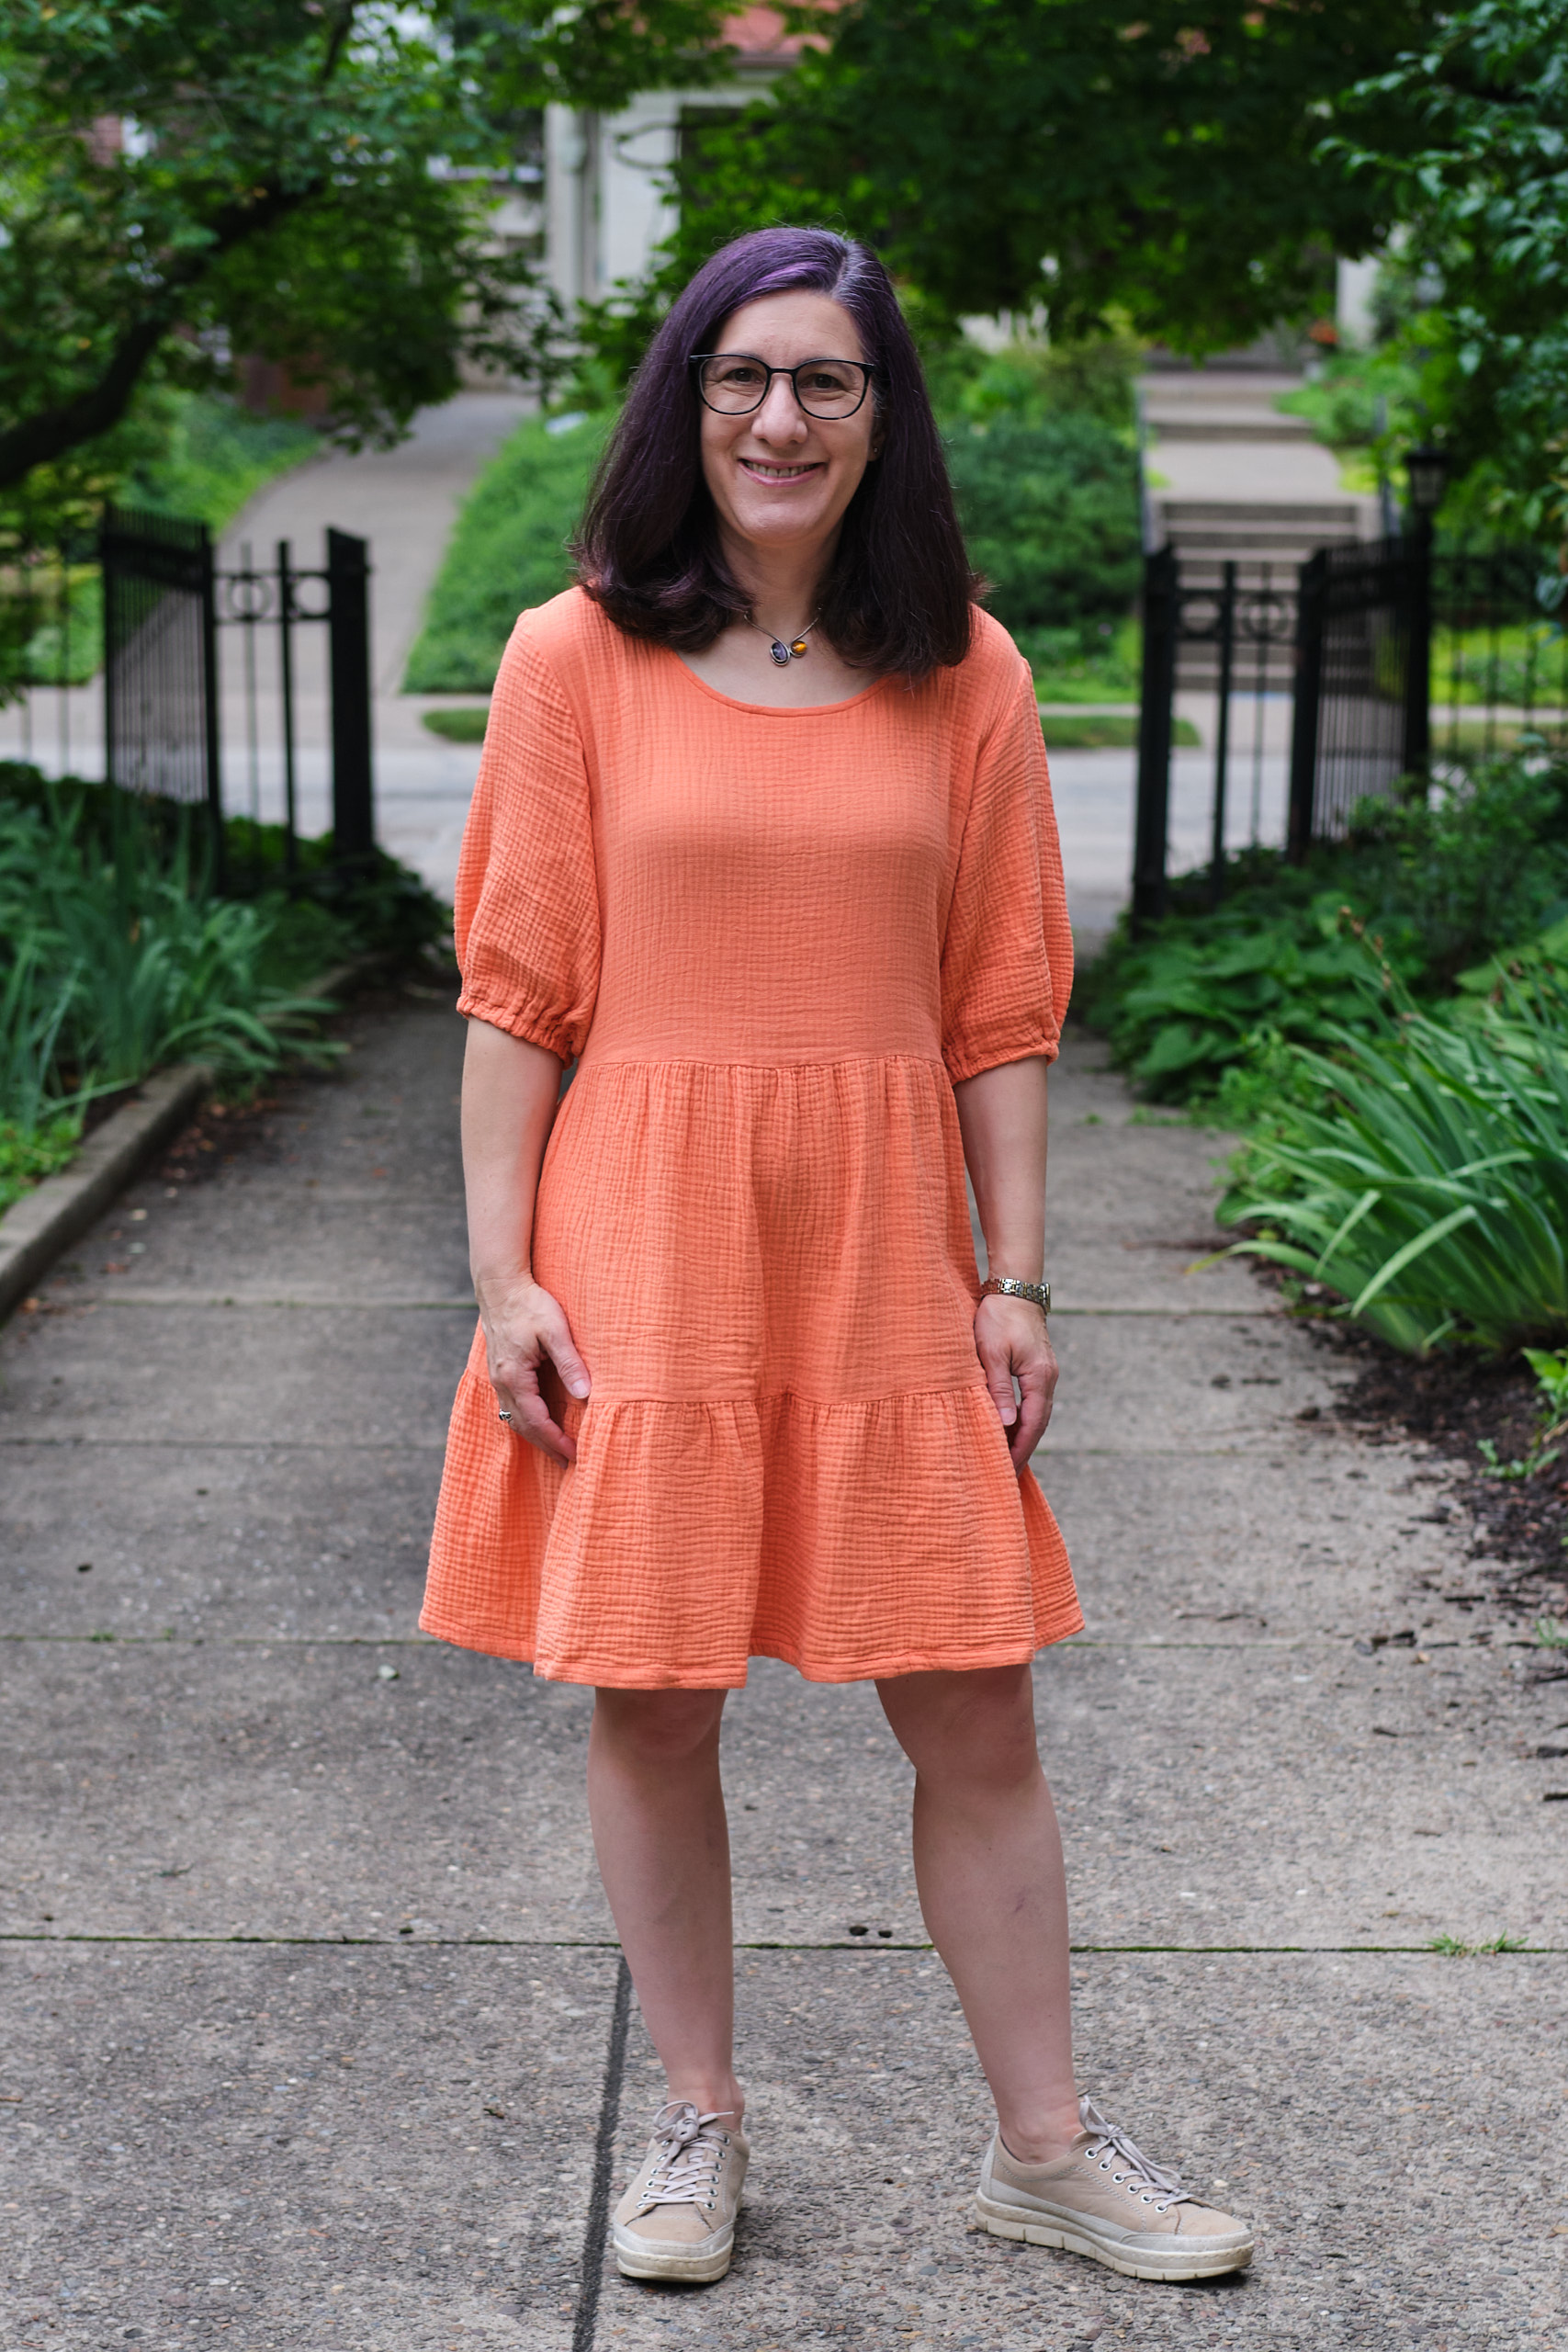
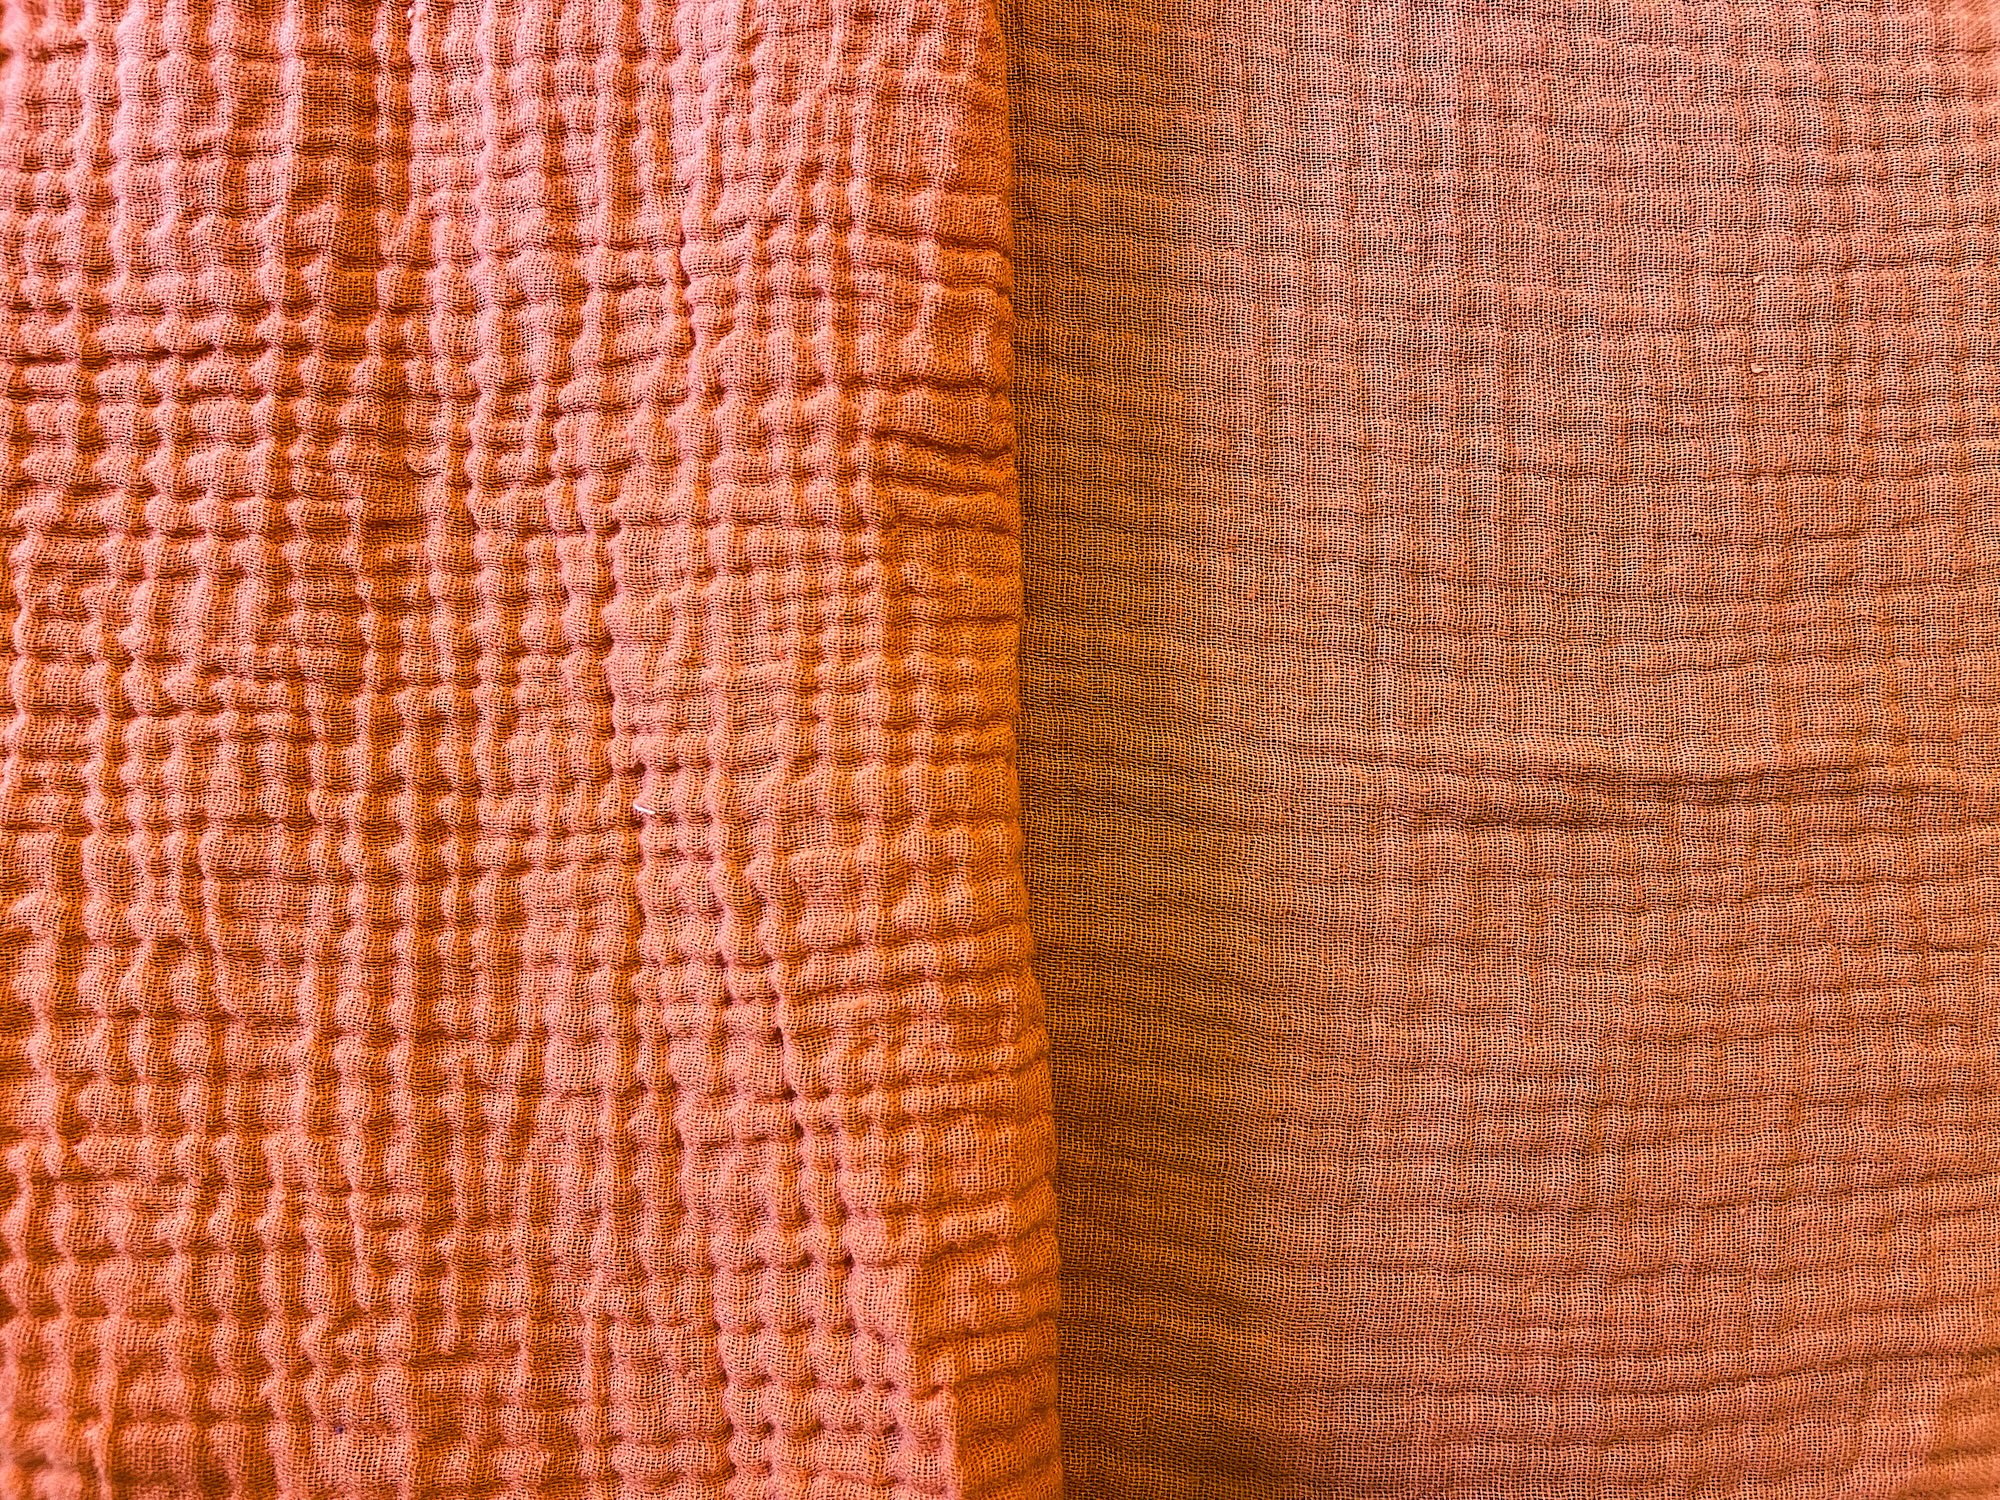
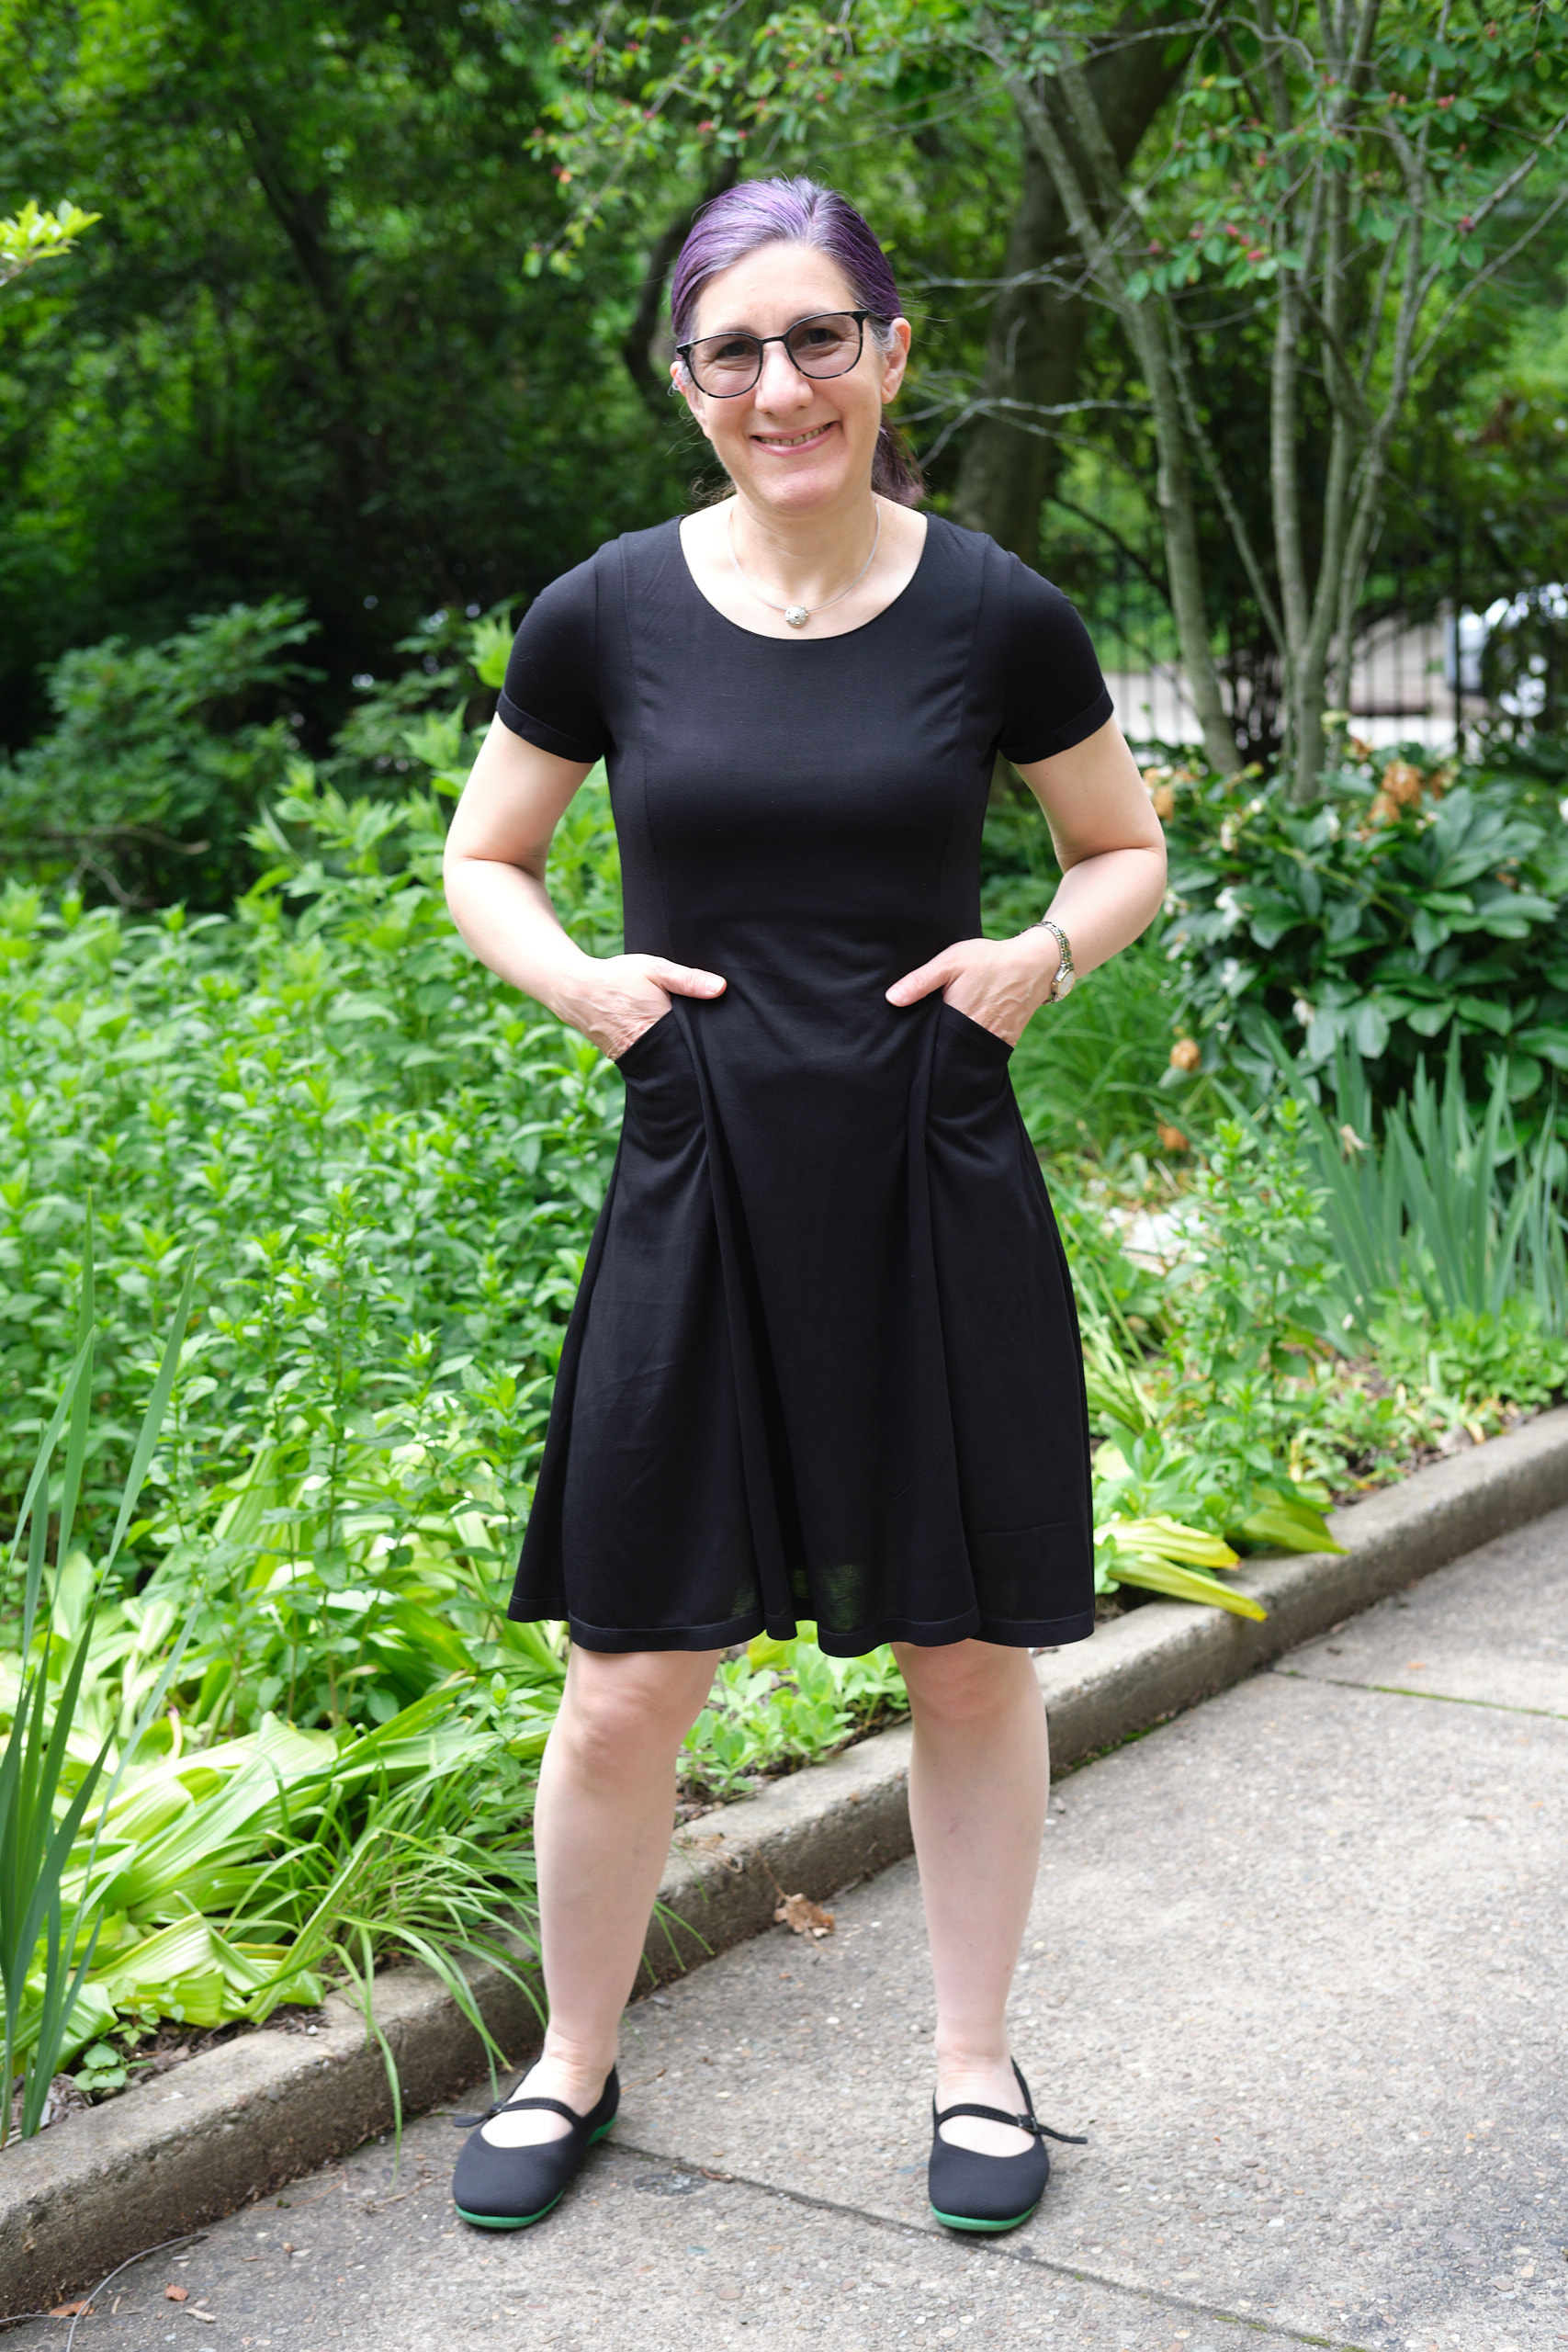
I wanted to make a short-sleeve top to go with my magenta suit. I bought lots of polyester crinkle airflow woven fabric when it was on sale at Mily Mae and I thought the polyester lilac airflow would go well with the magenta. (Note, the airflow is advertised as non-stretch, but because of the crinkle texture, it actually does have a bit of stretch (which could, perhaps, allow sizing down a size). It’s actually fairly similar to the Surge Florence stretch woven that I used recently for a Spill the Tea top; the Florence is just a bit crisper.) I considered making another PE Spill the Tea top, but wanted something without ties. I love the look of the ties, but not futzing with them and having to keep them from getting in the way as I go about my day. I realized that the PE Be Mine Balloon Sleeve top has a very similar bodice to Spill the Tea and that the sleeves are interchangeable. The balloon sleeves are awesome, but don’t play well under jackets and sweaters (and there’s no point wasting a fabulous balloon sleeve under a sweater). So I thought I could get a more practical and layerable top for wearing with jackets and sweaters by putting the Spill the Teas cap sleeves on the Be Mine top bodice.

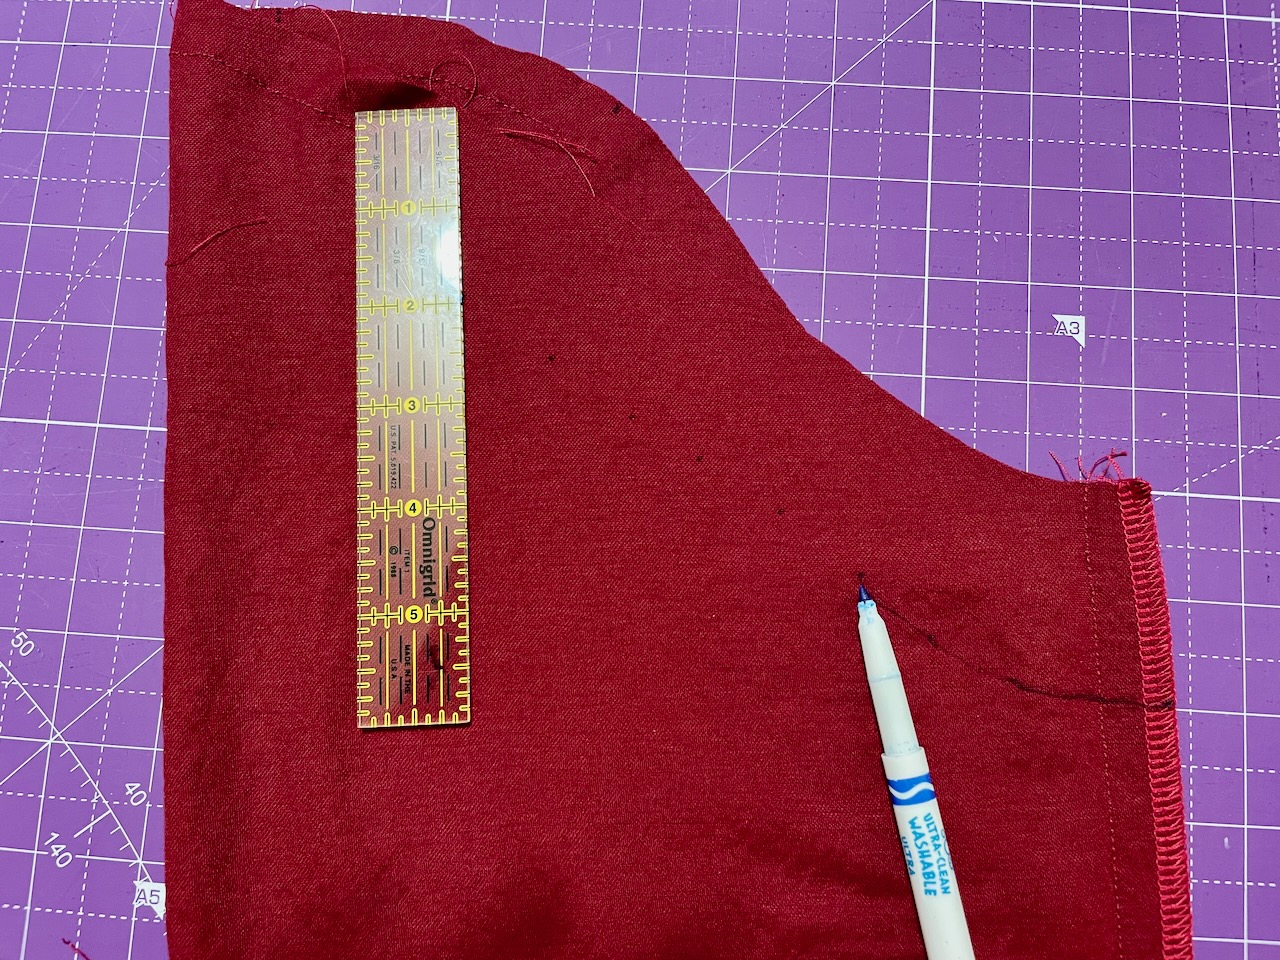
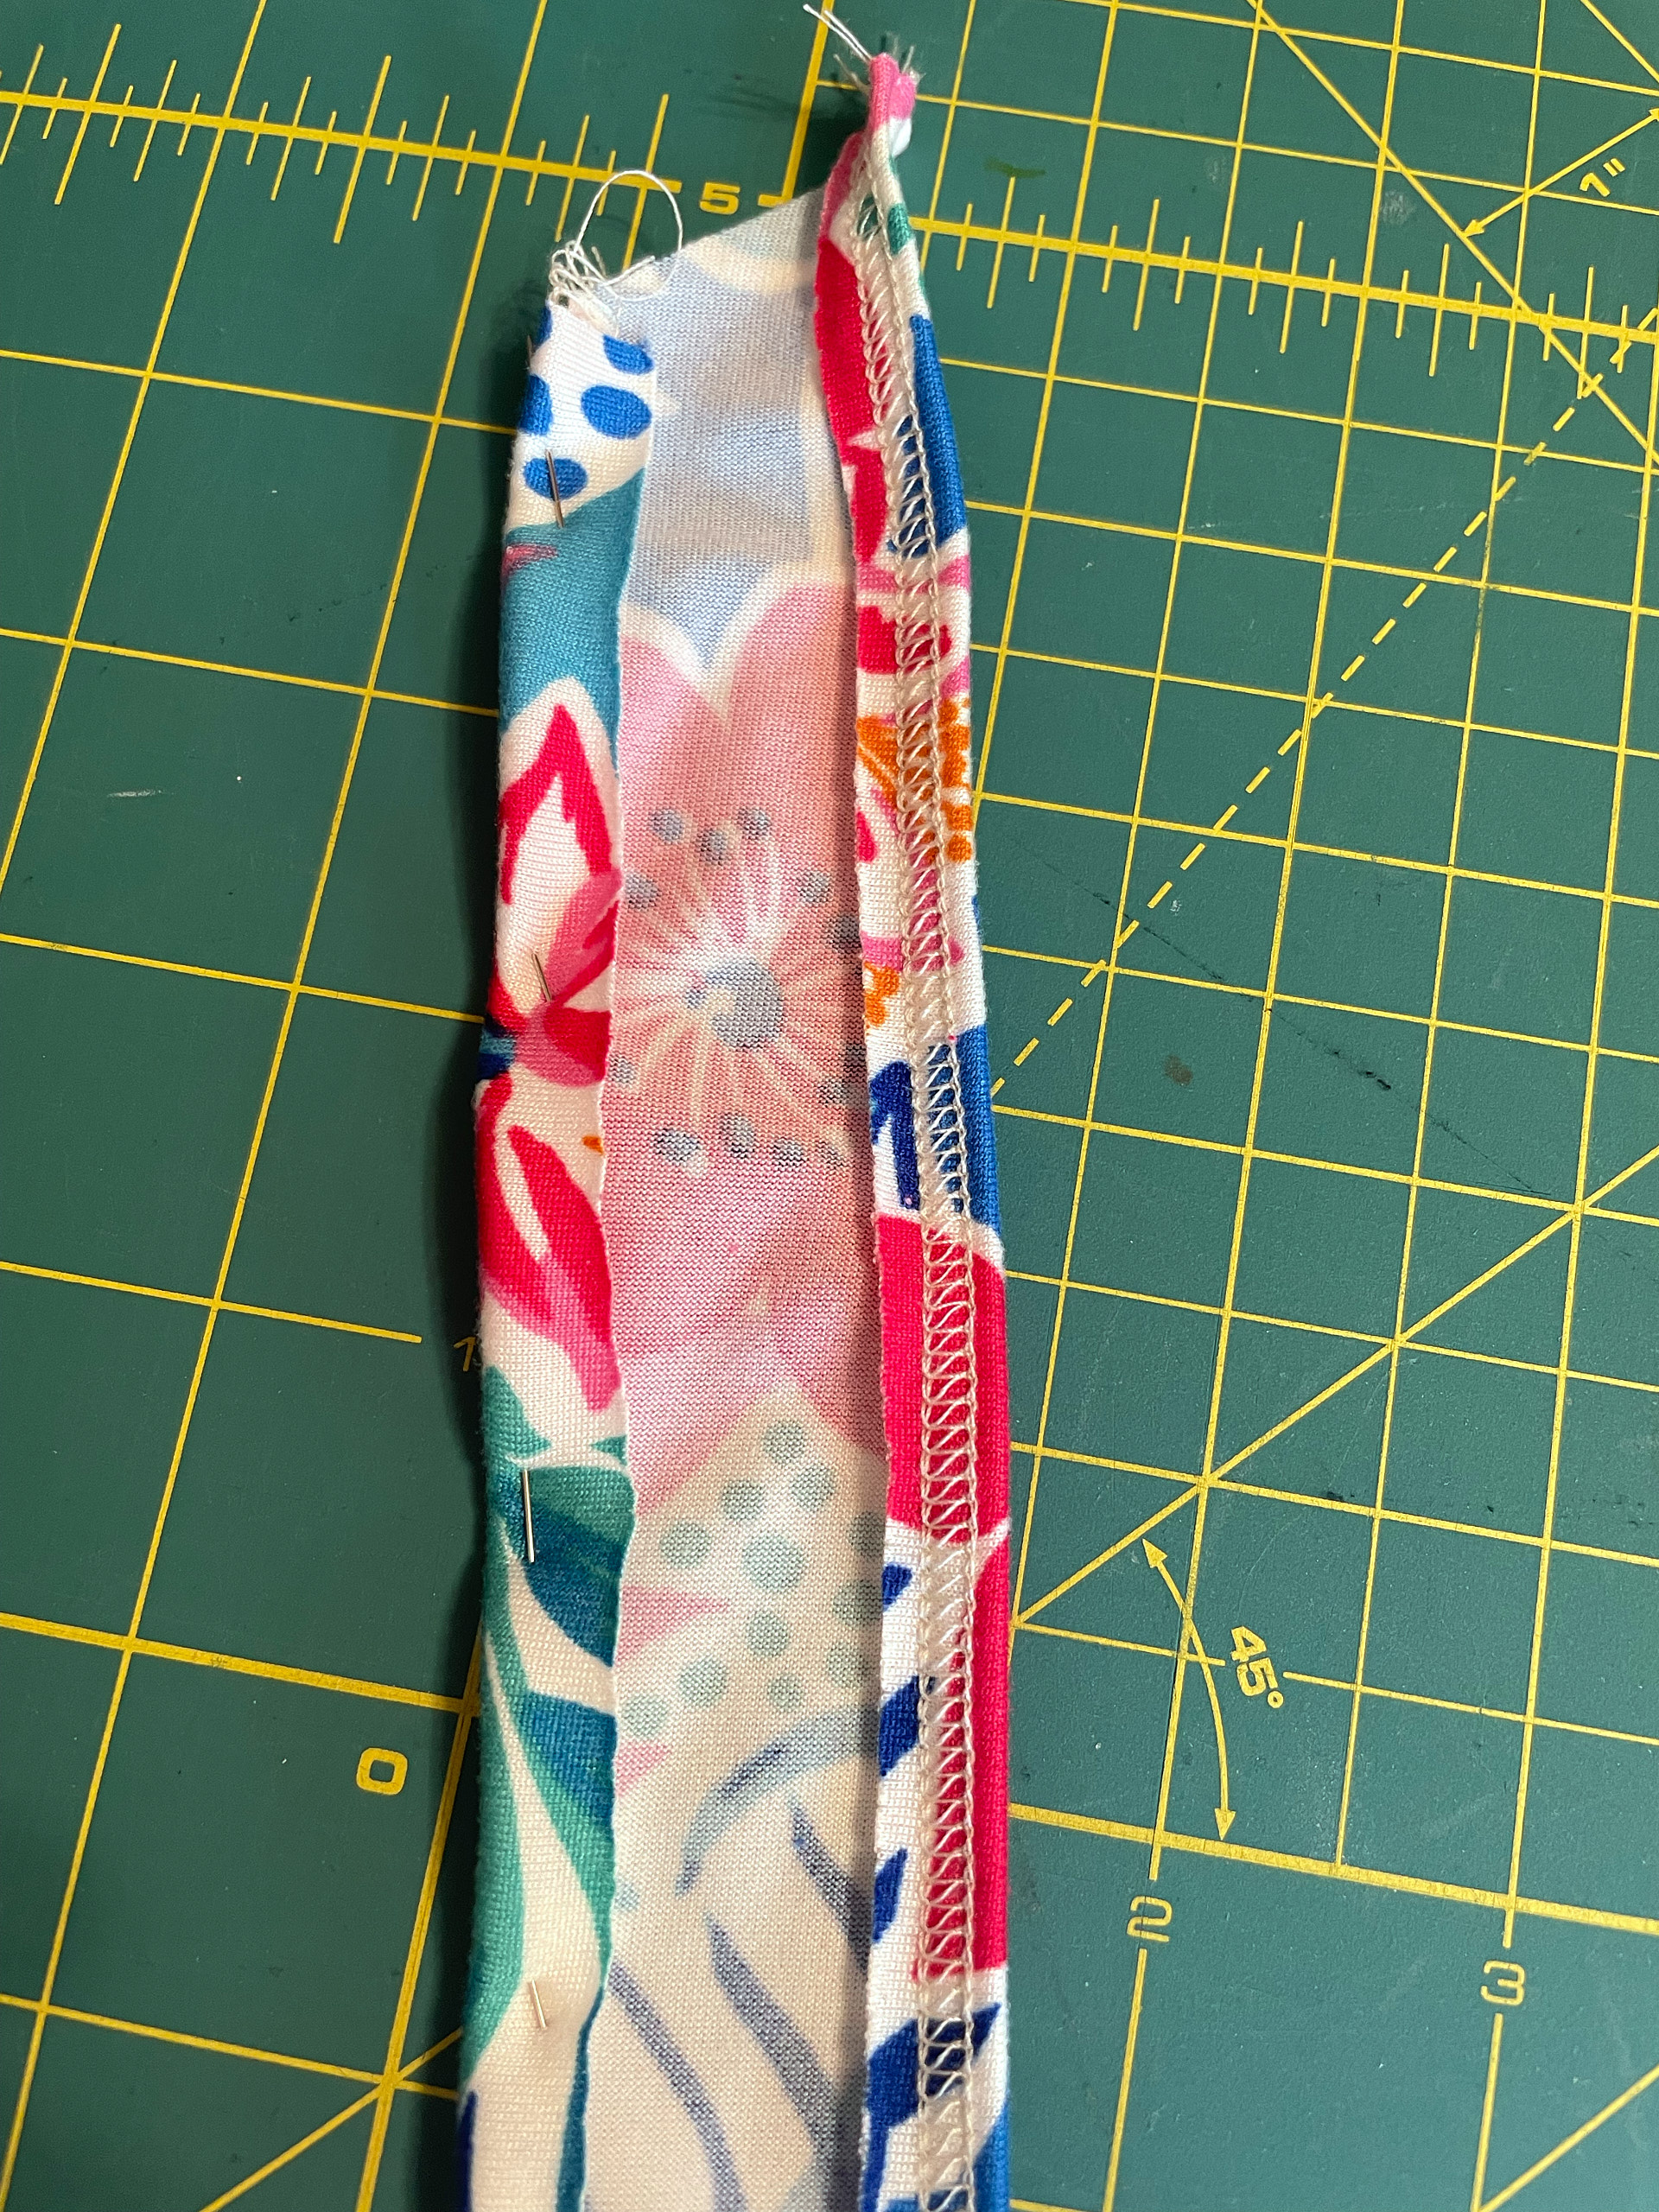
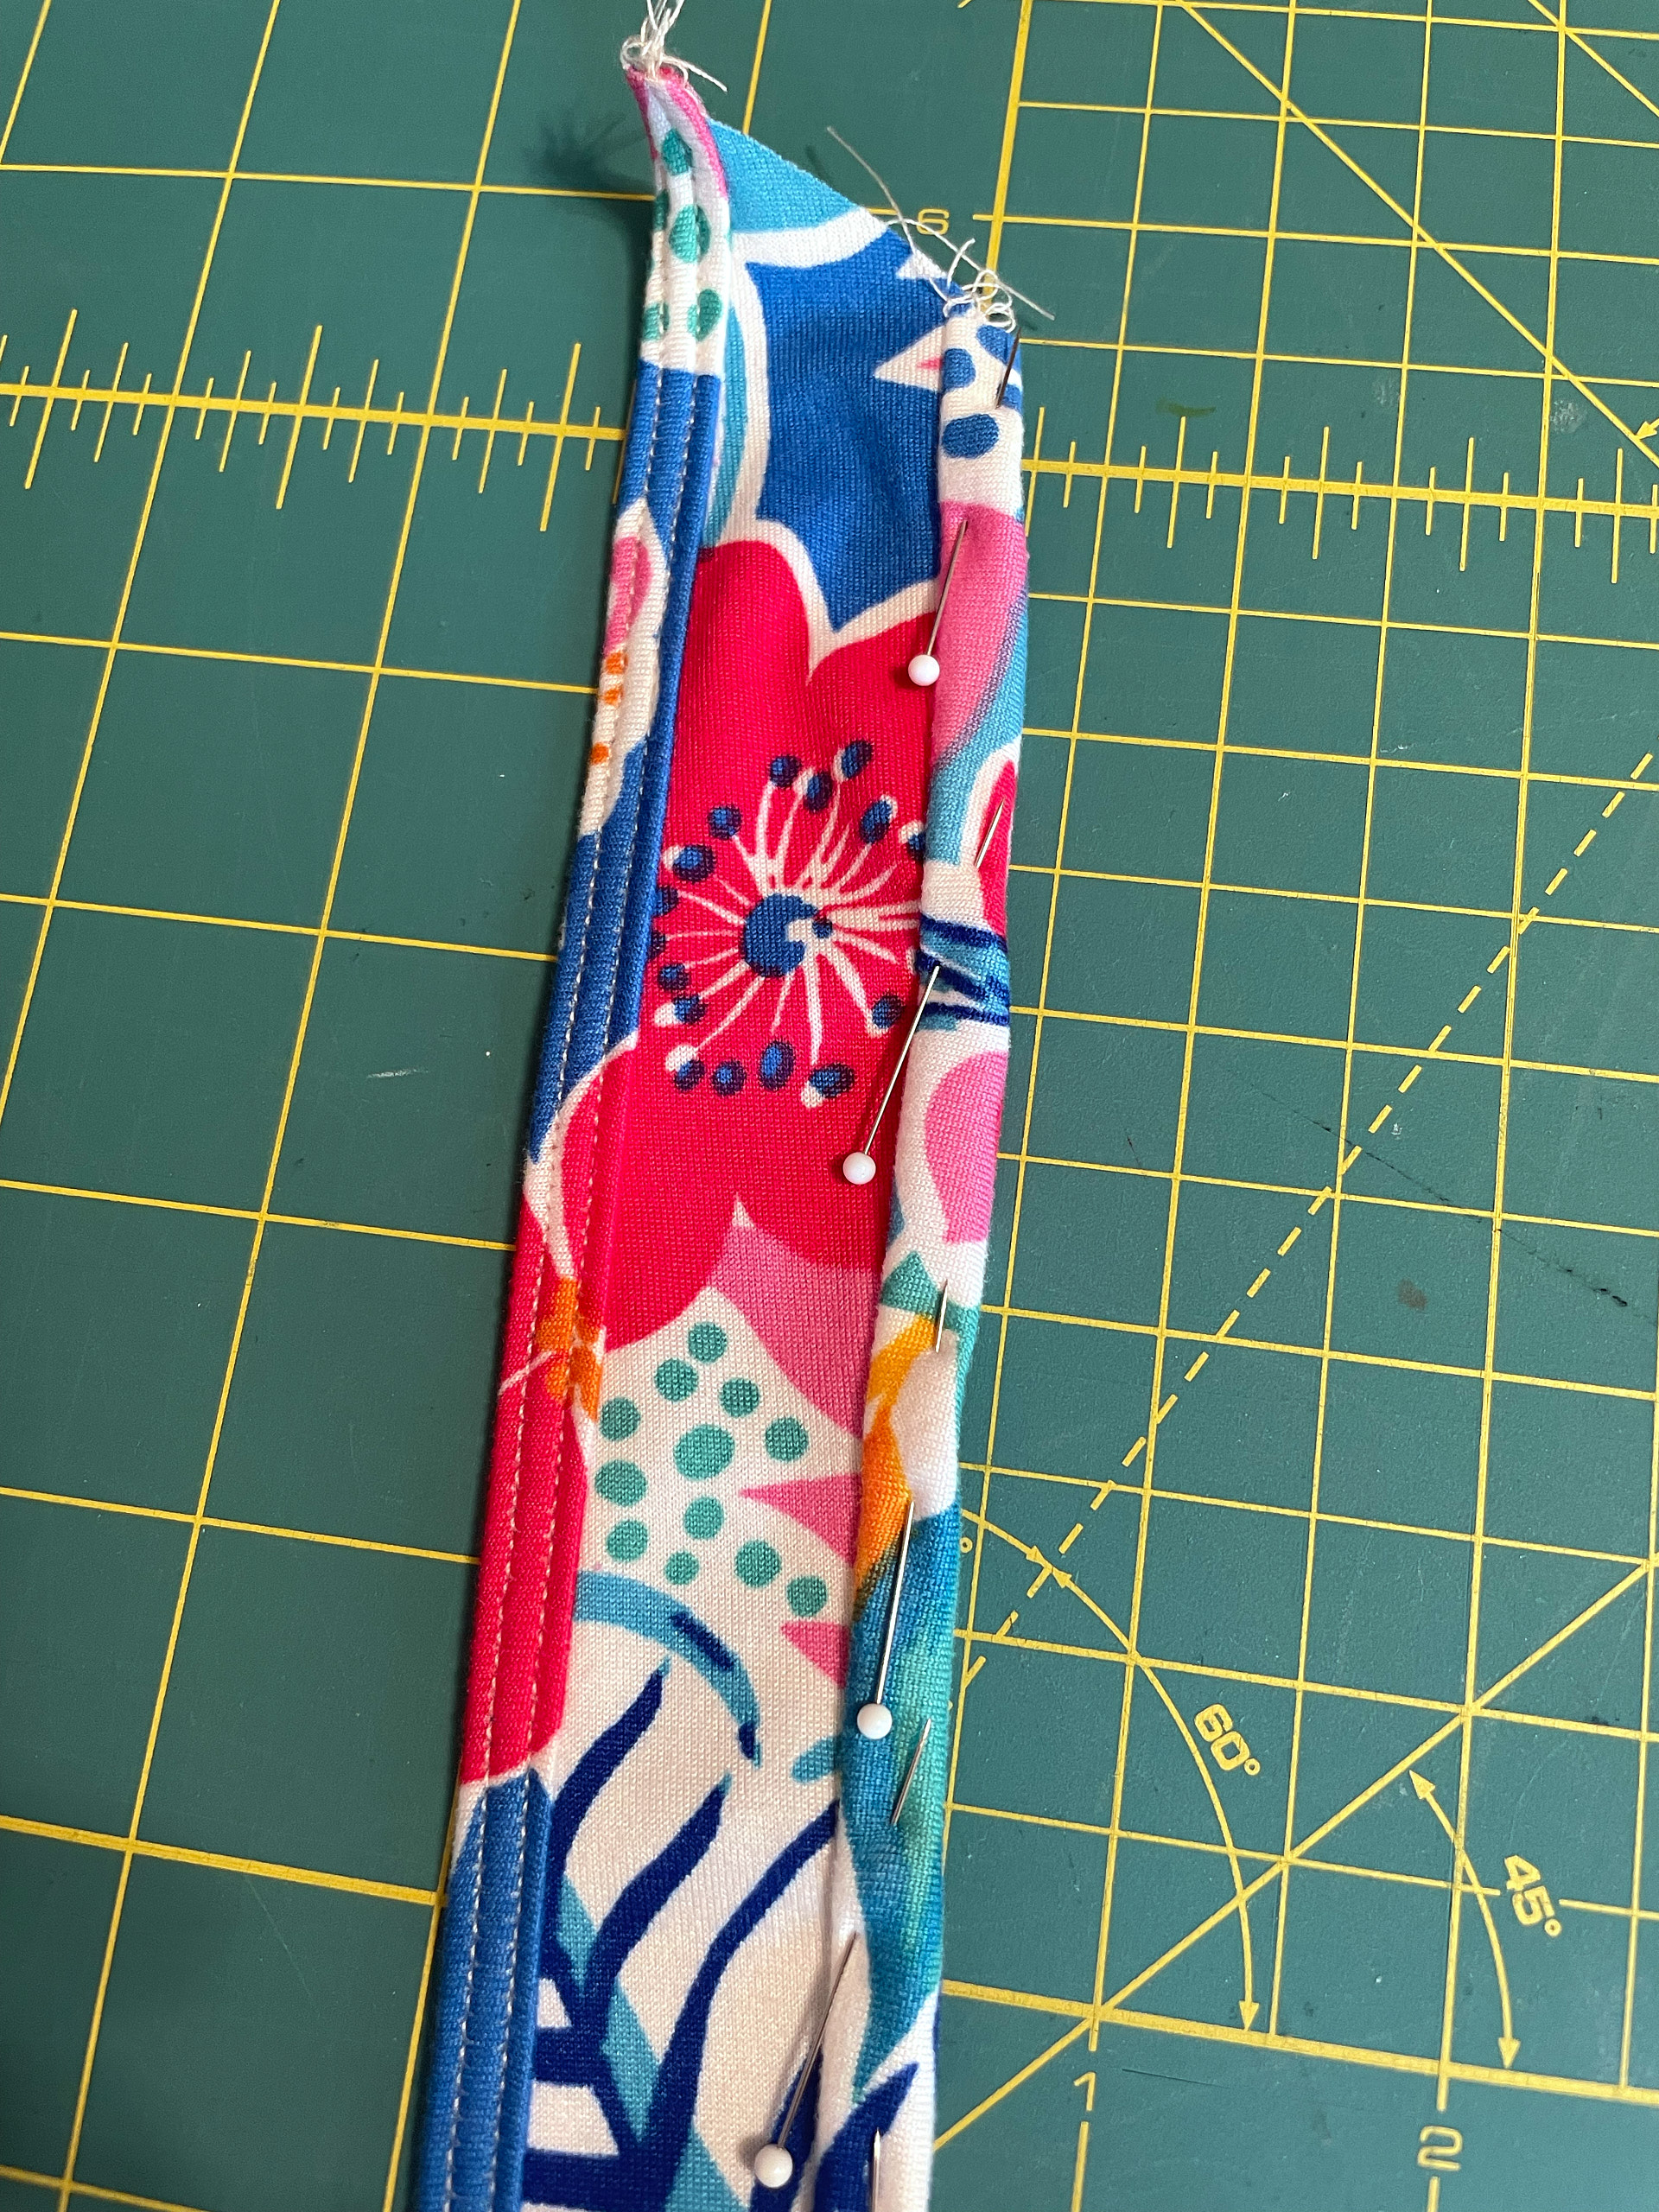
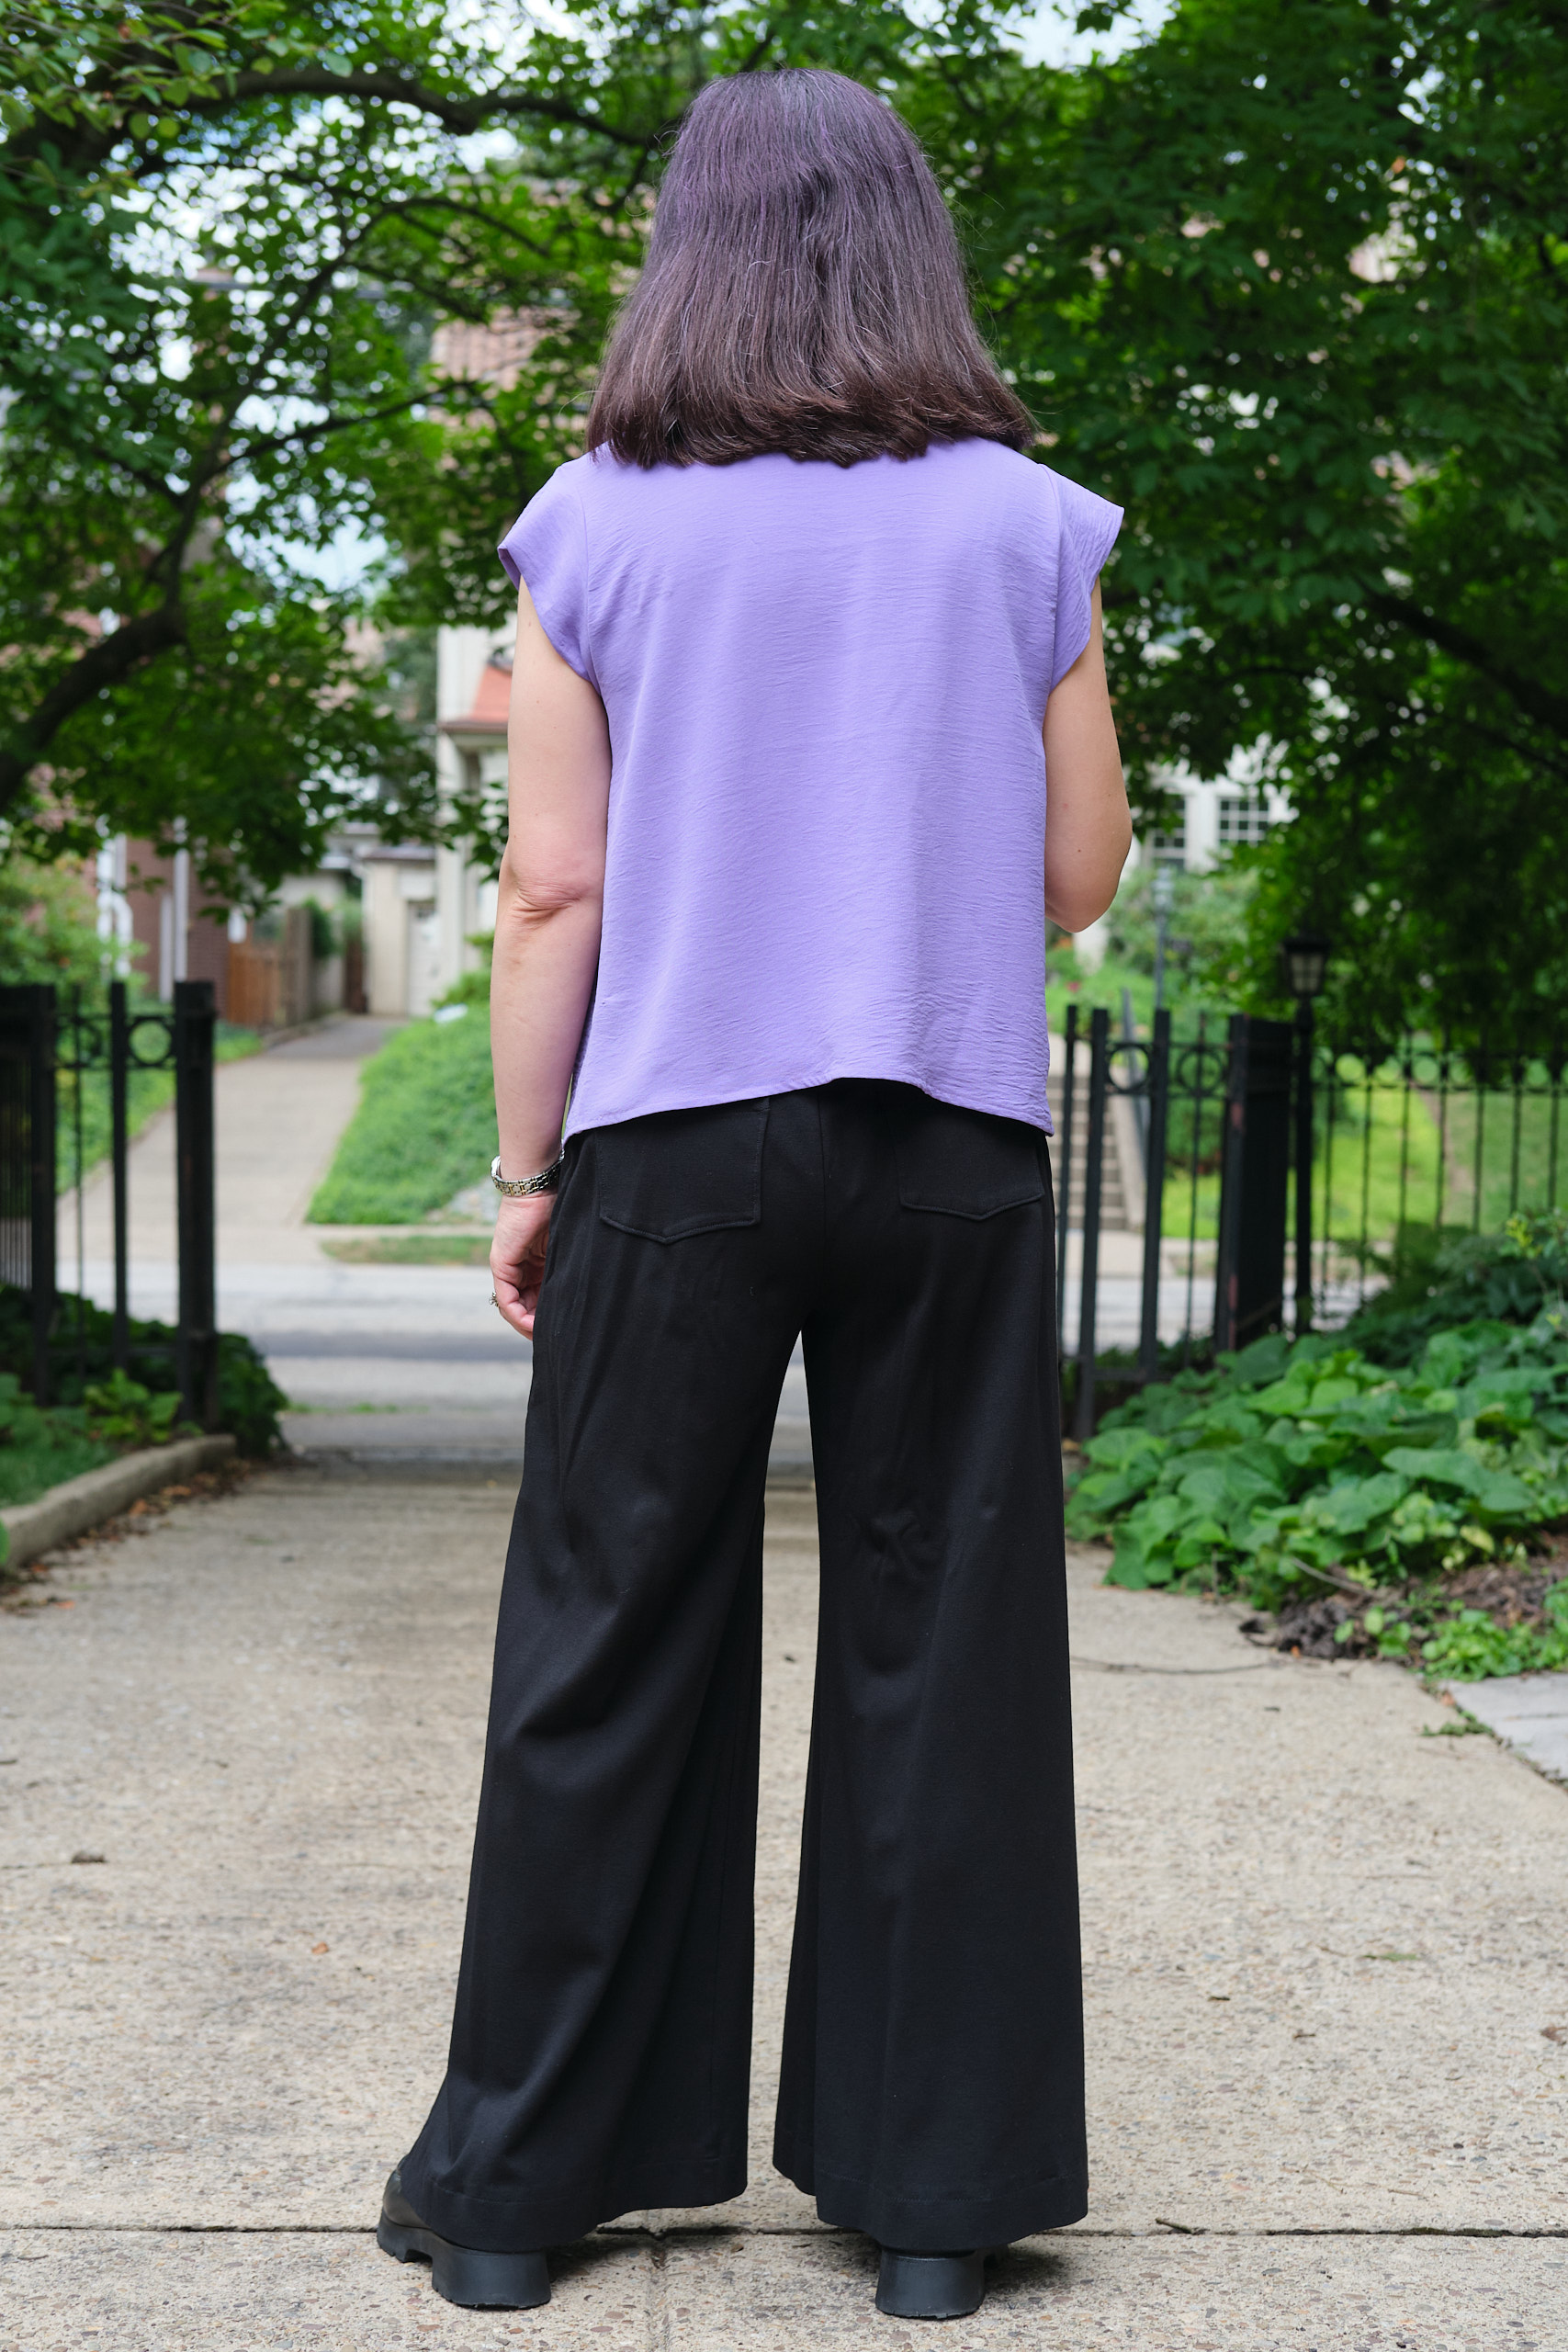
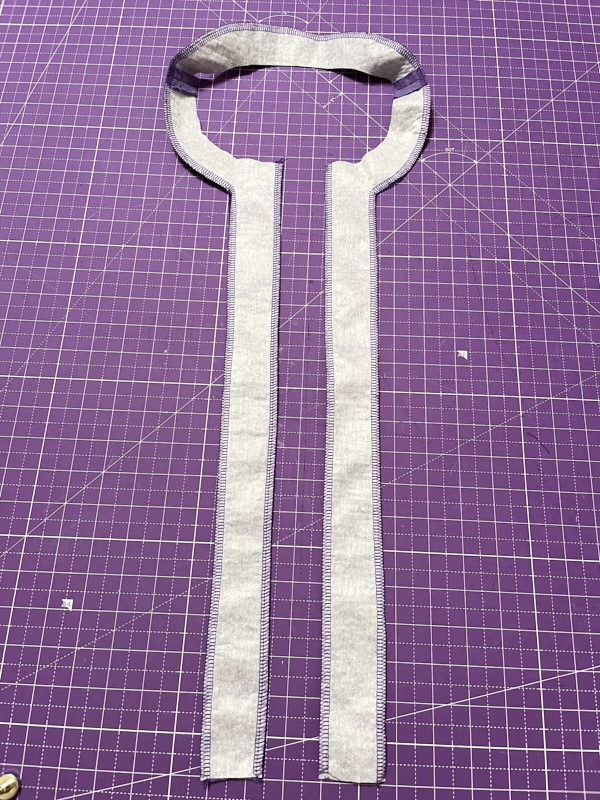
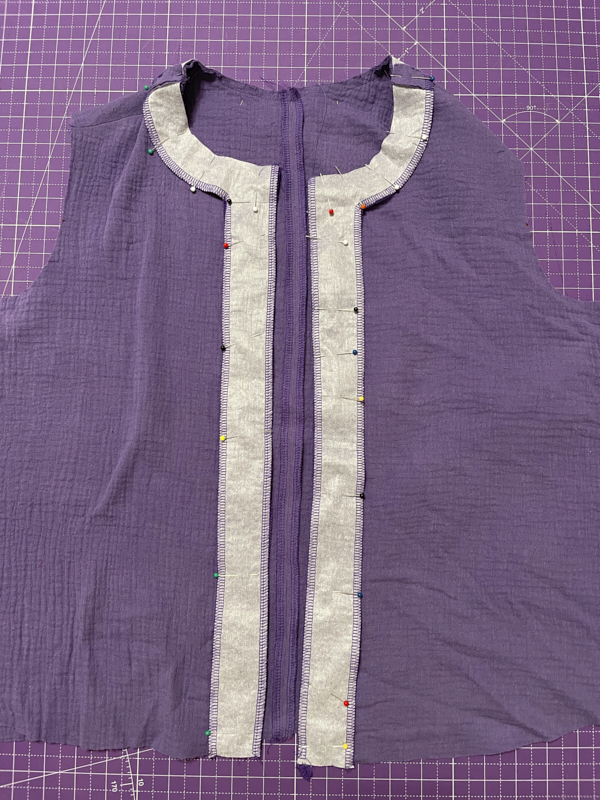
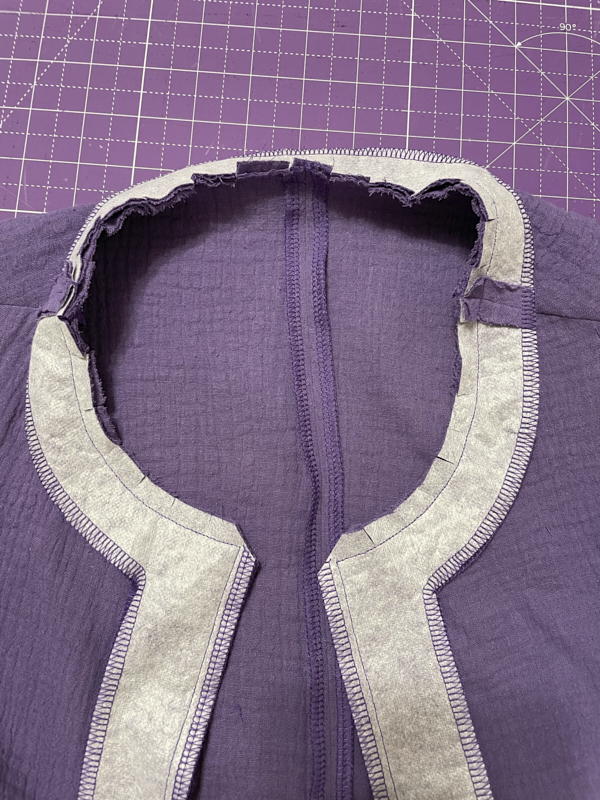
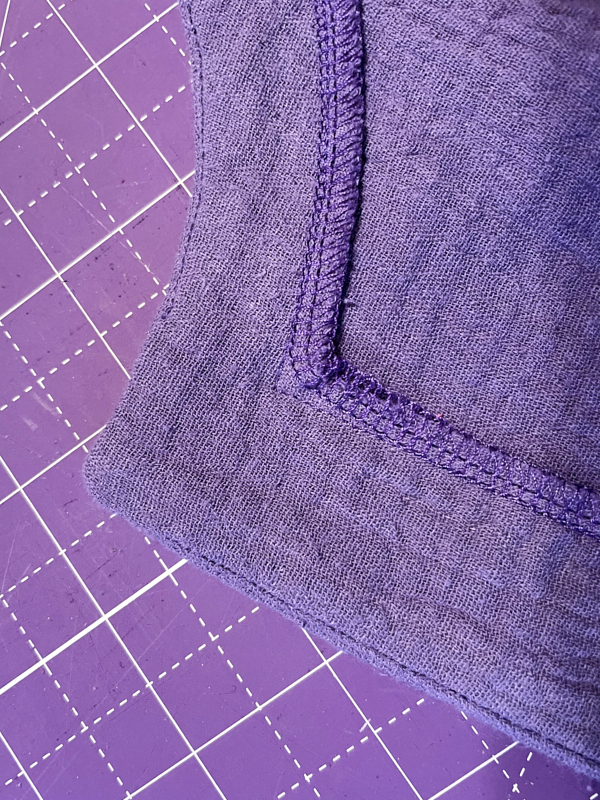
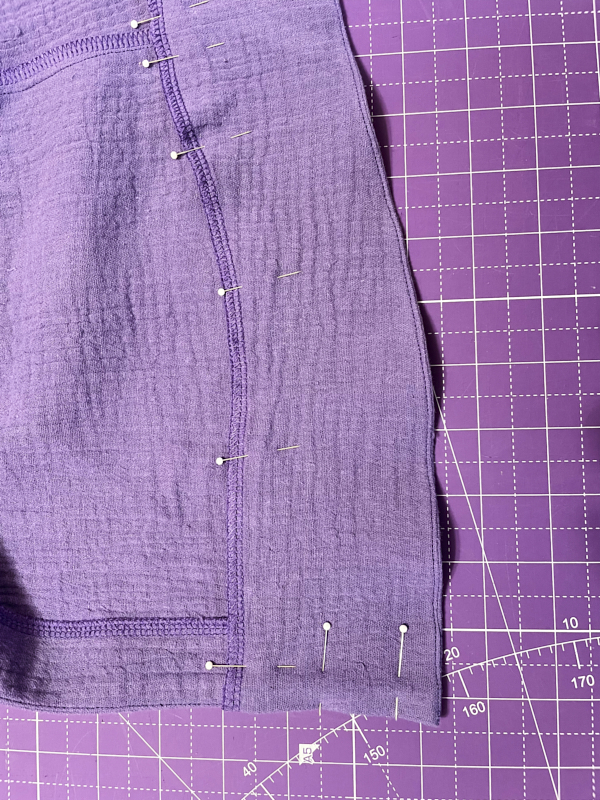
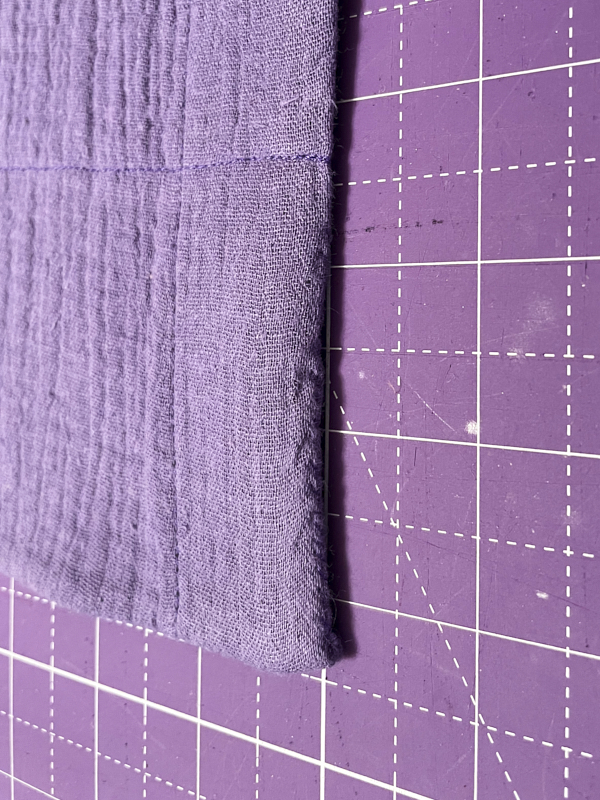
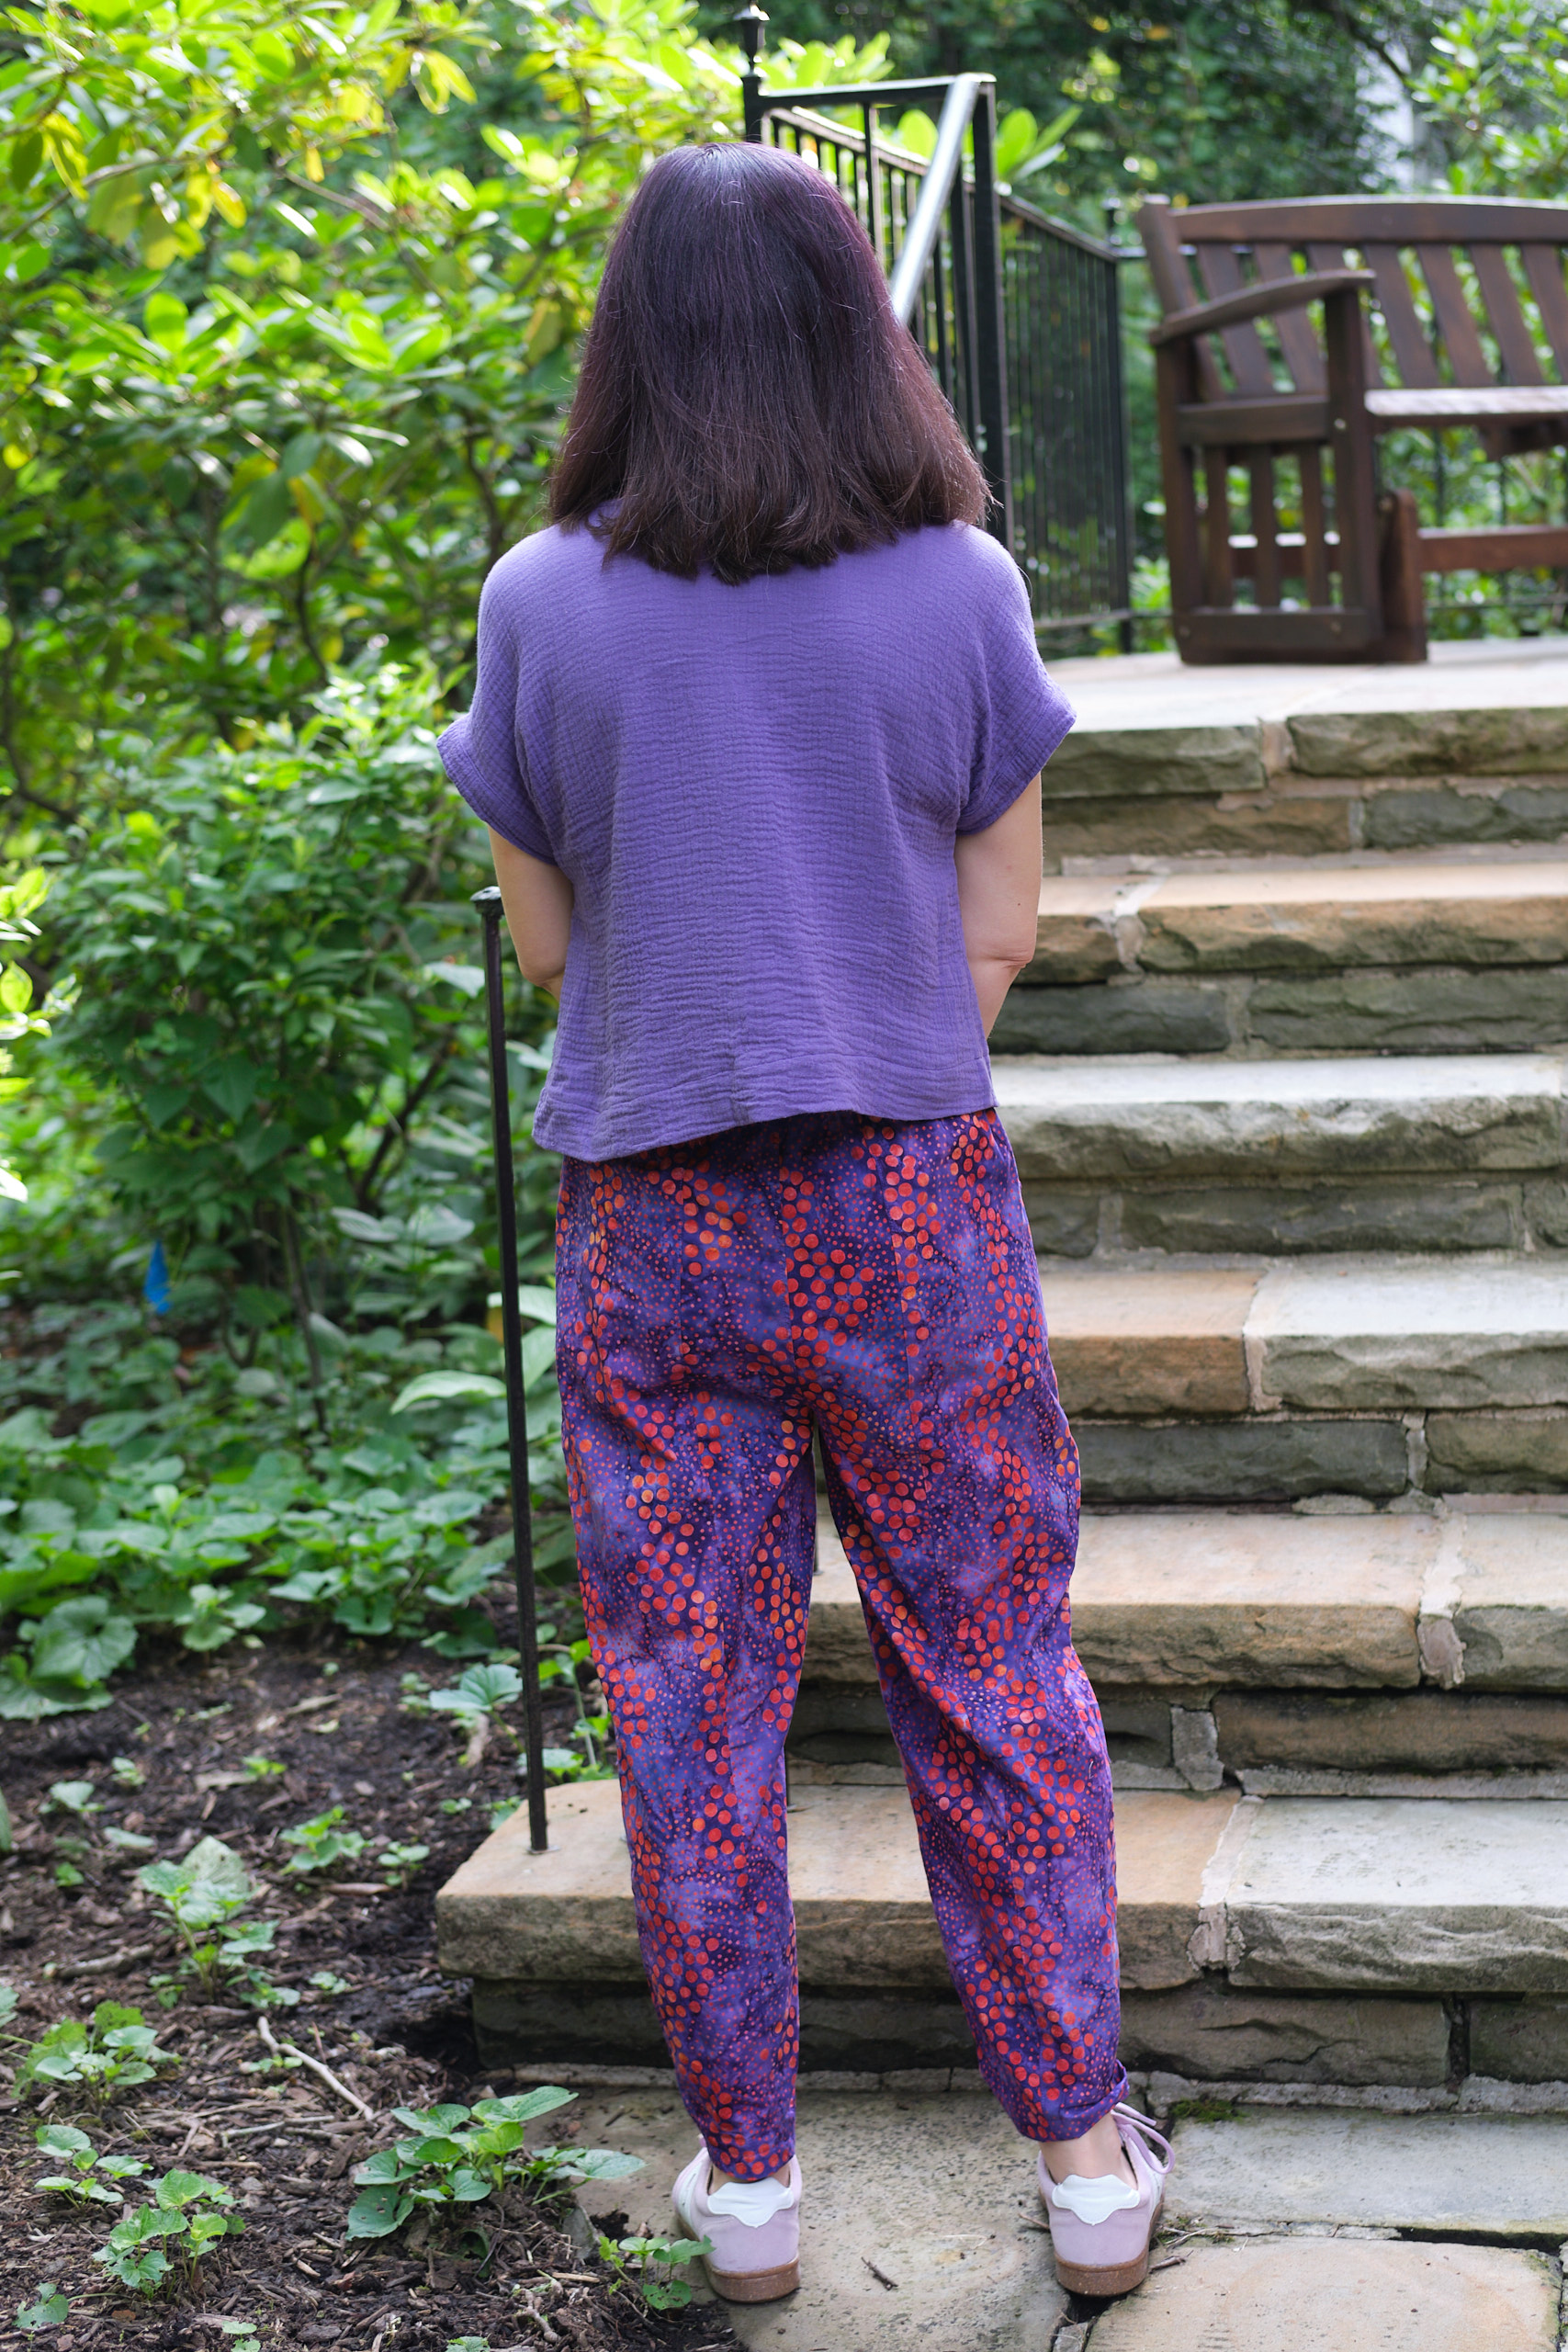
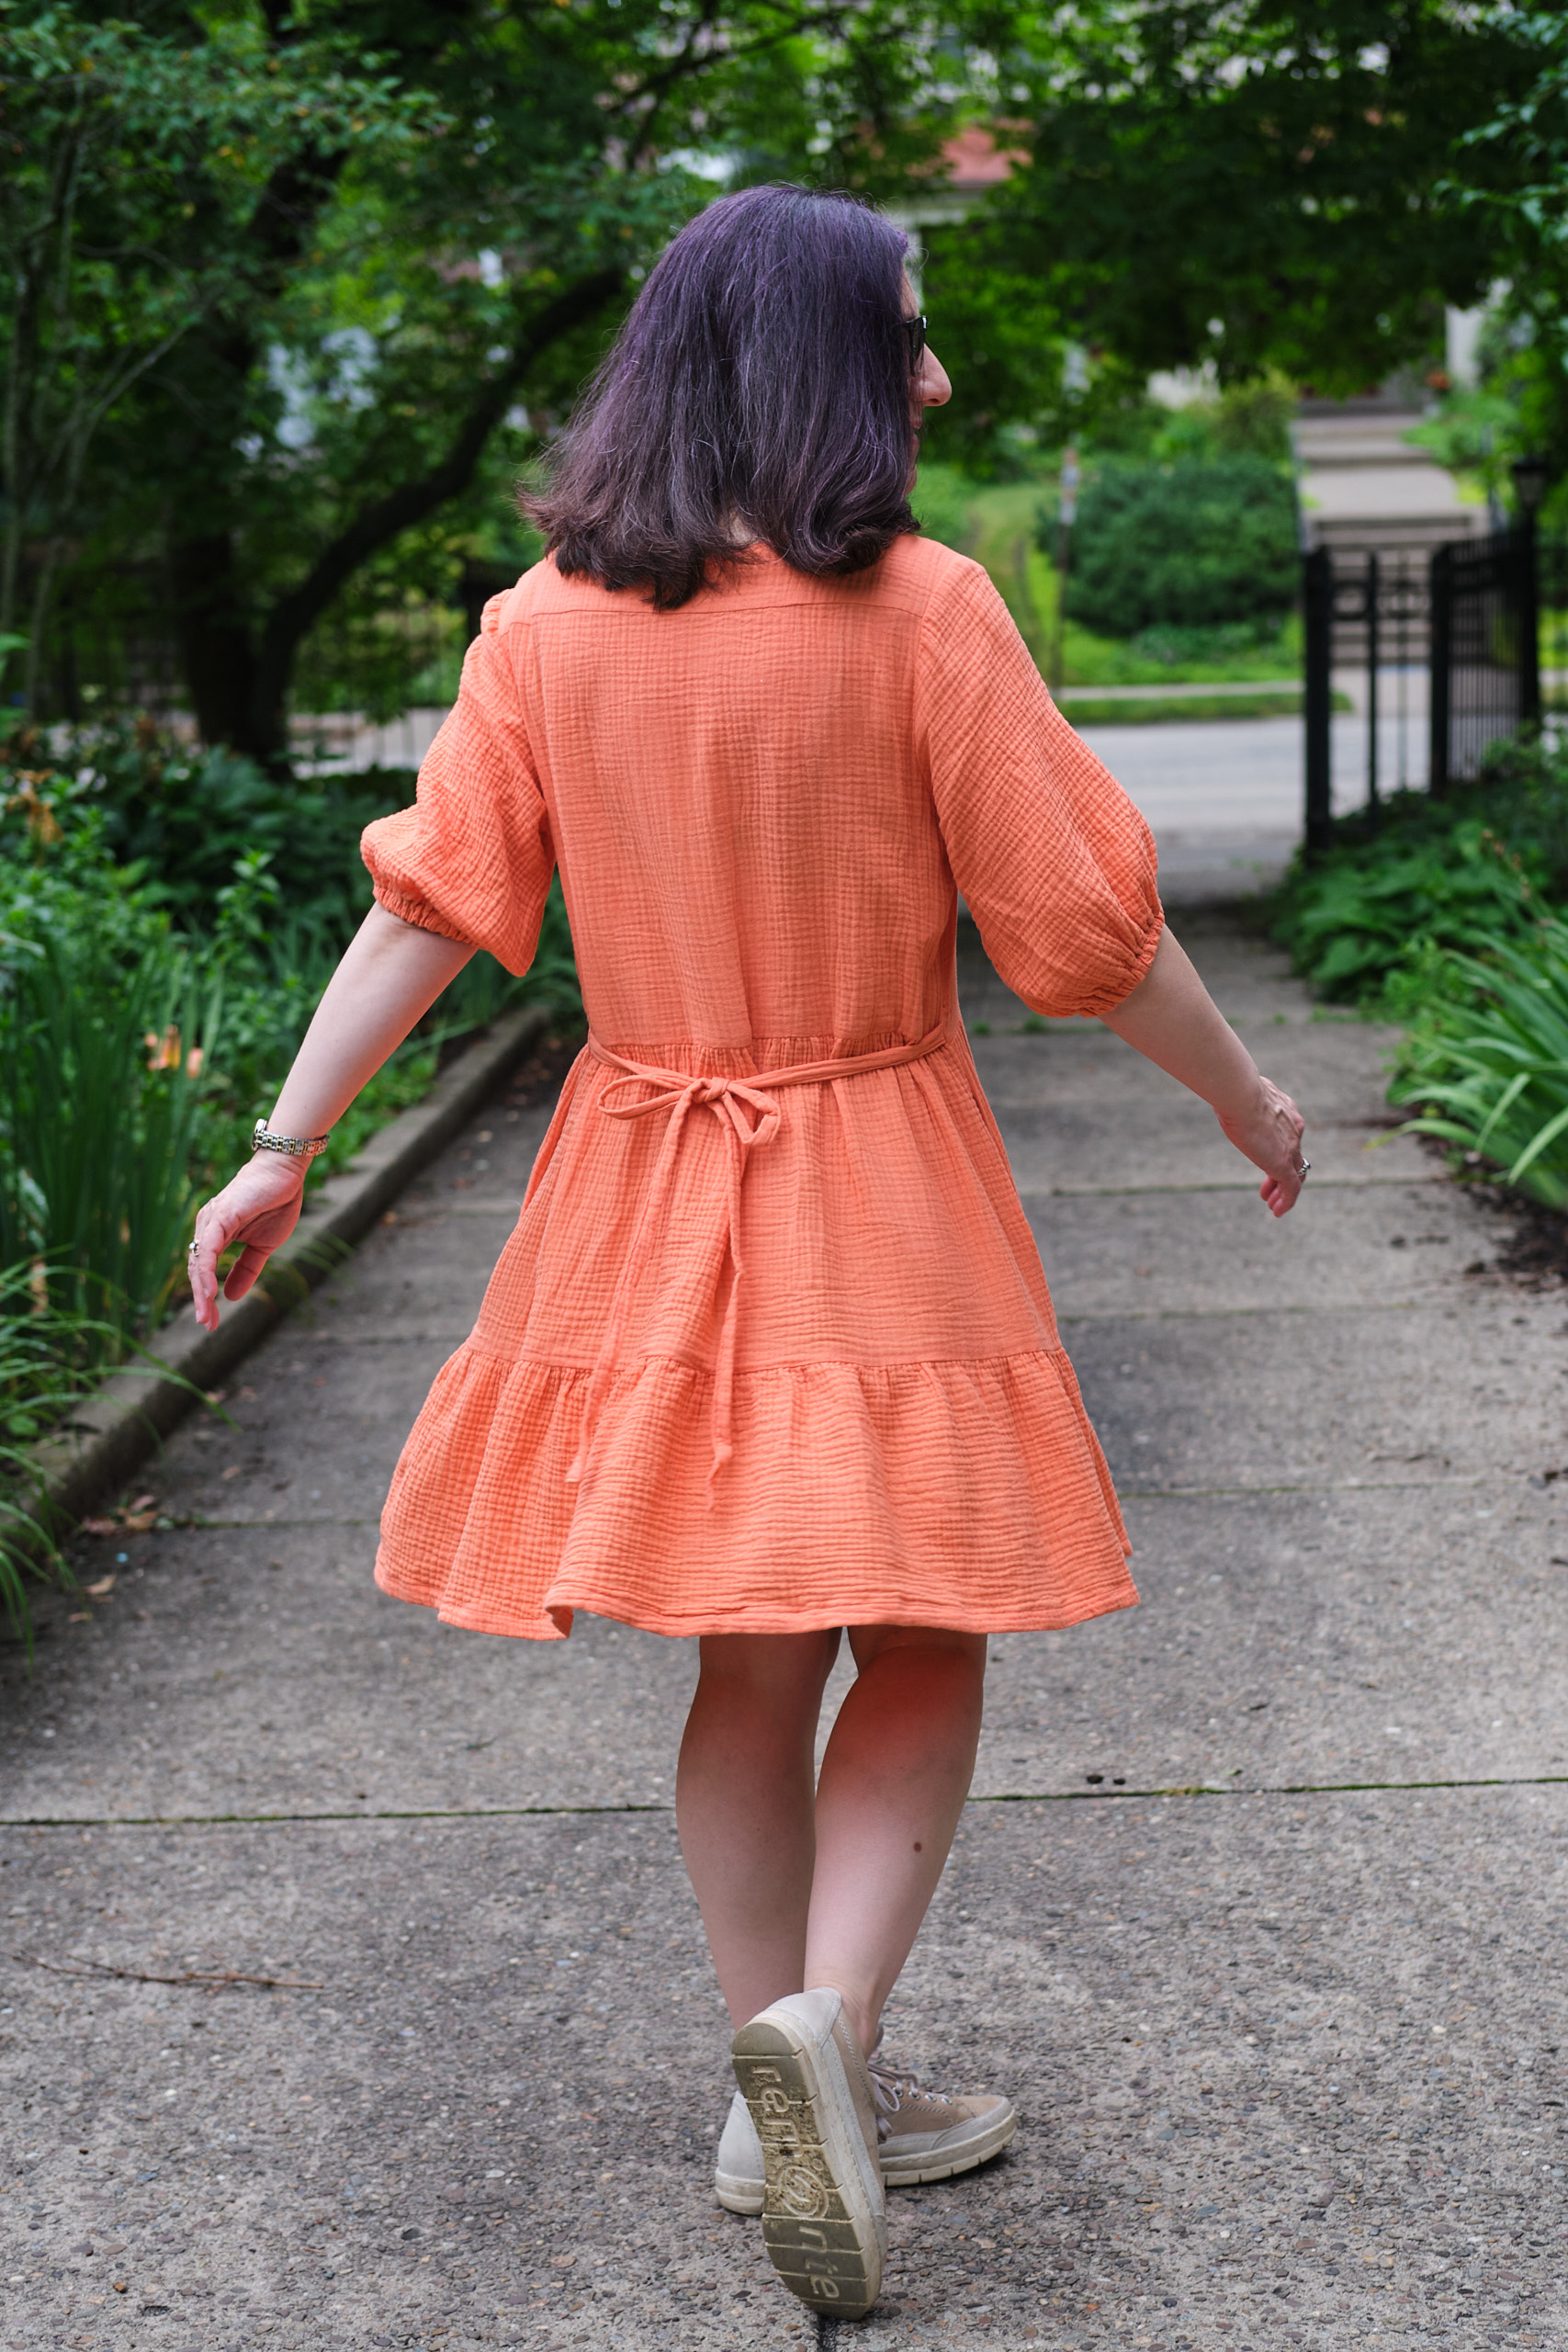
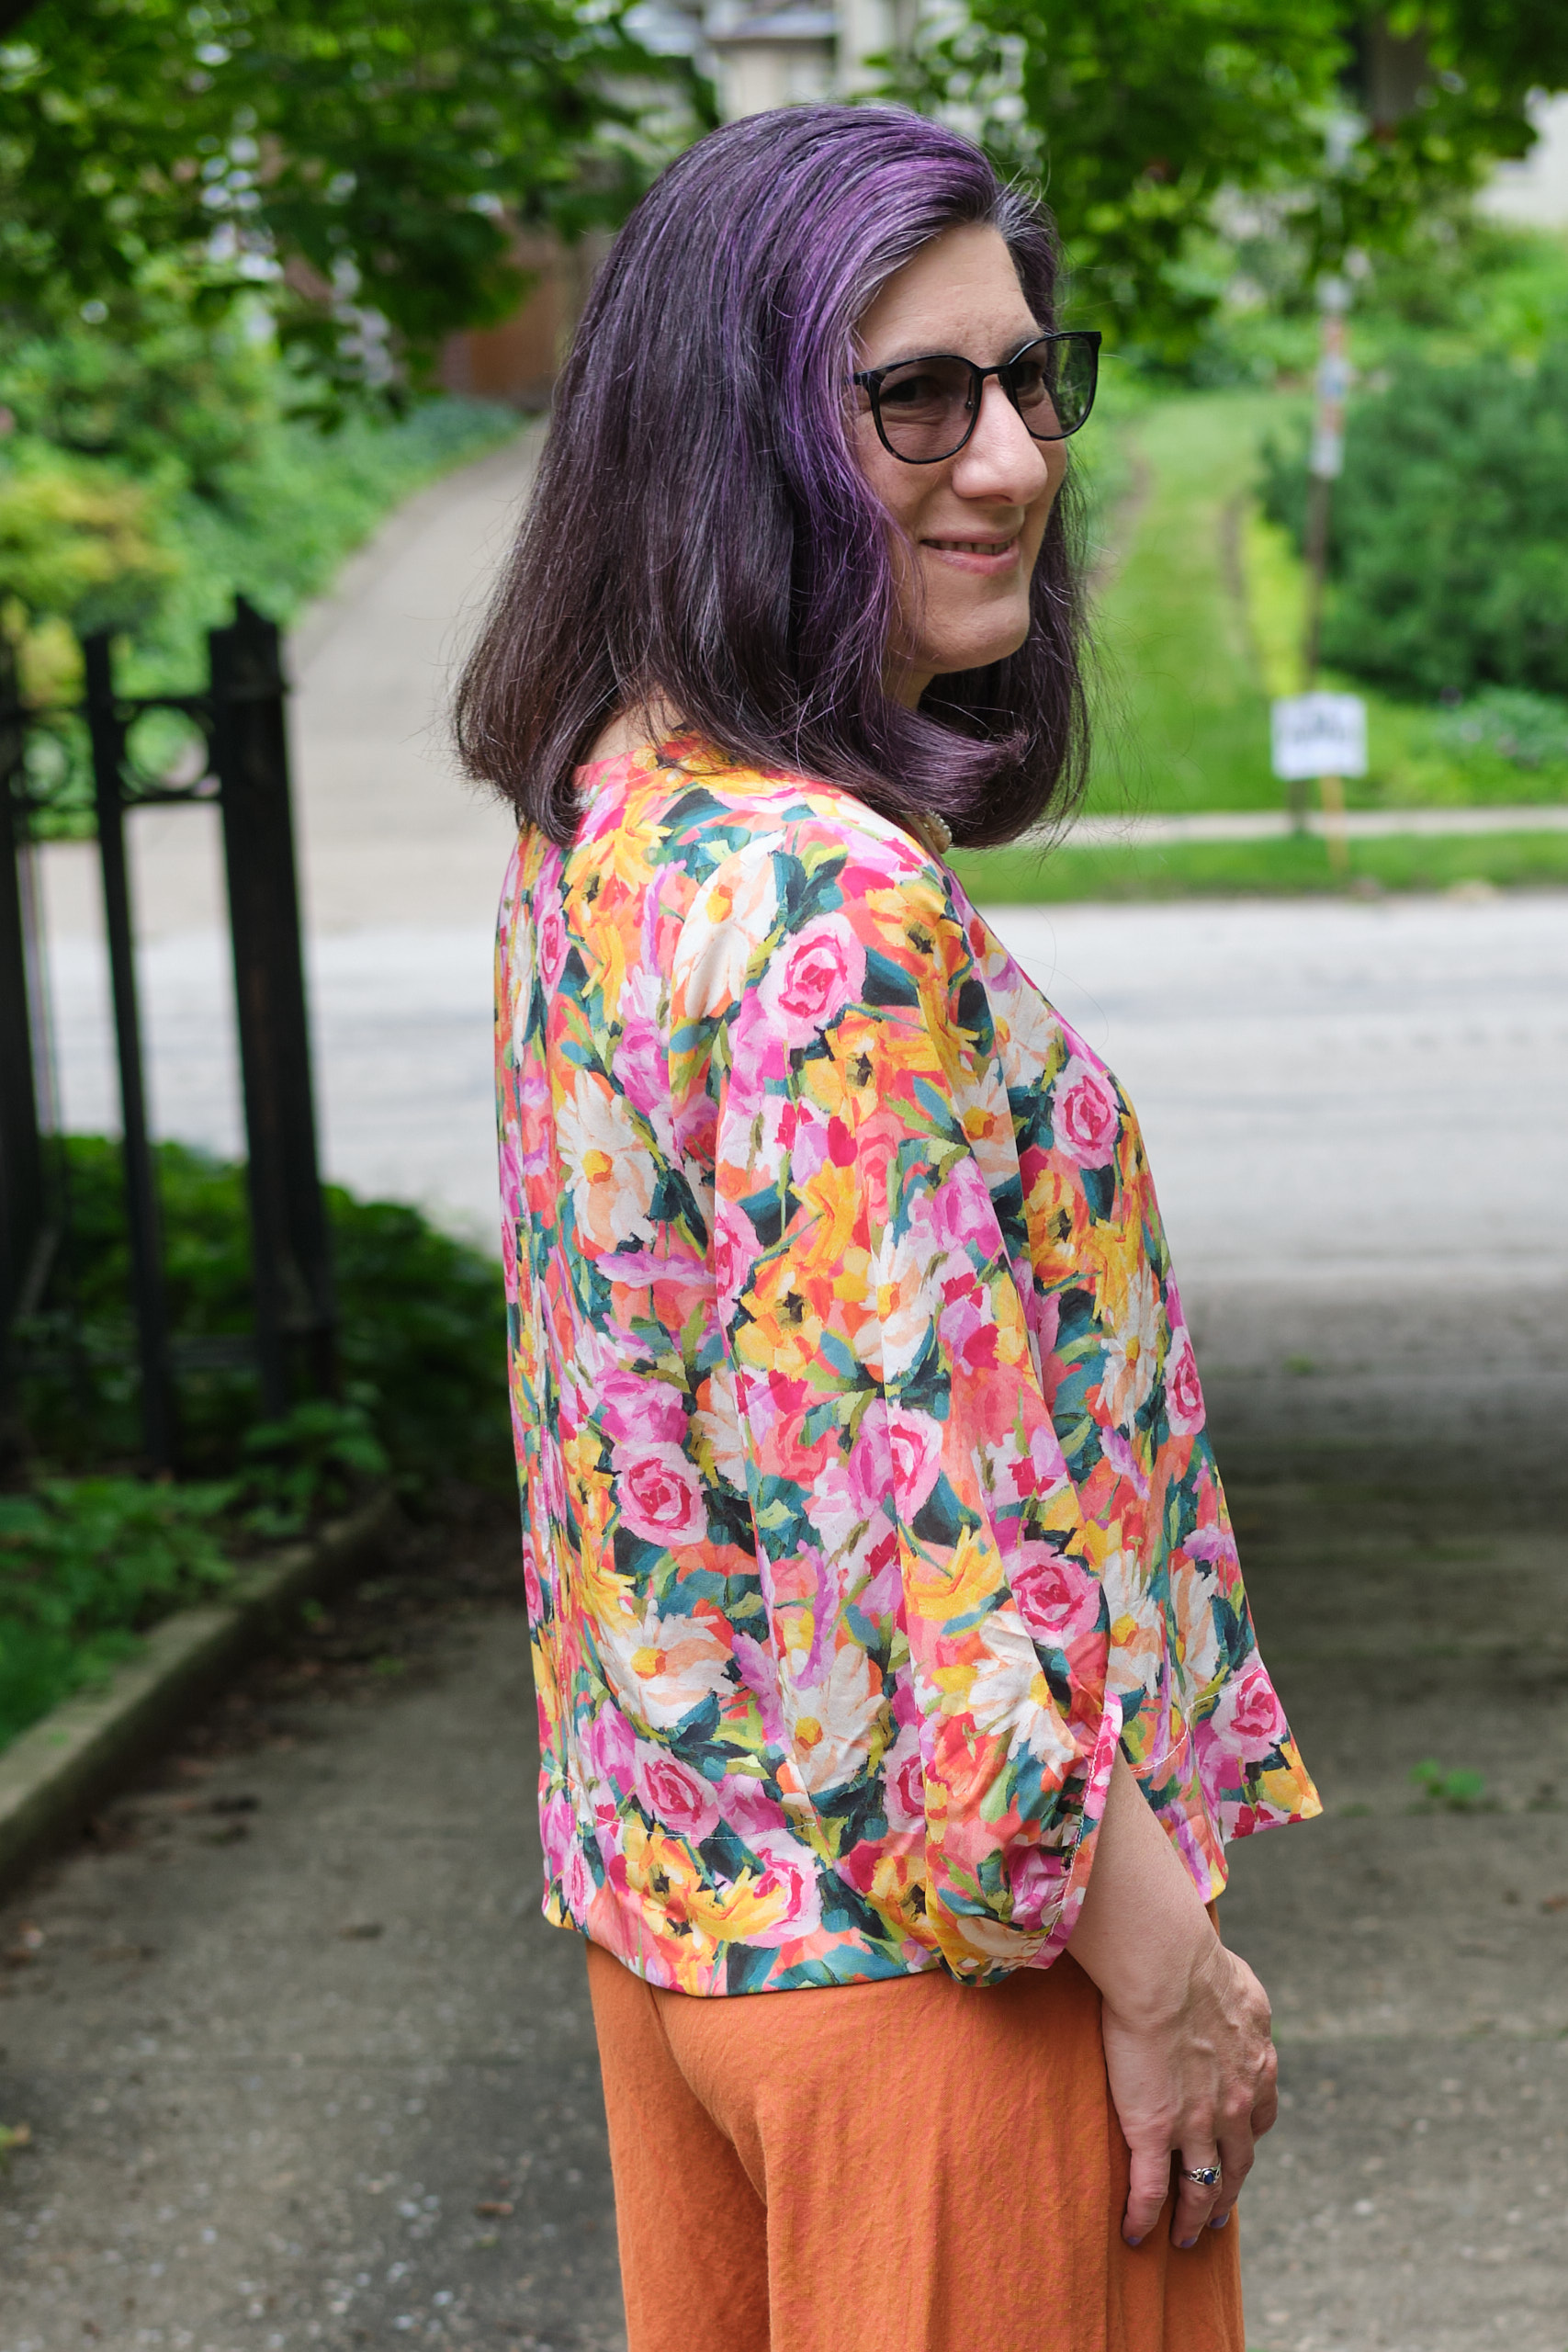
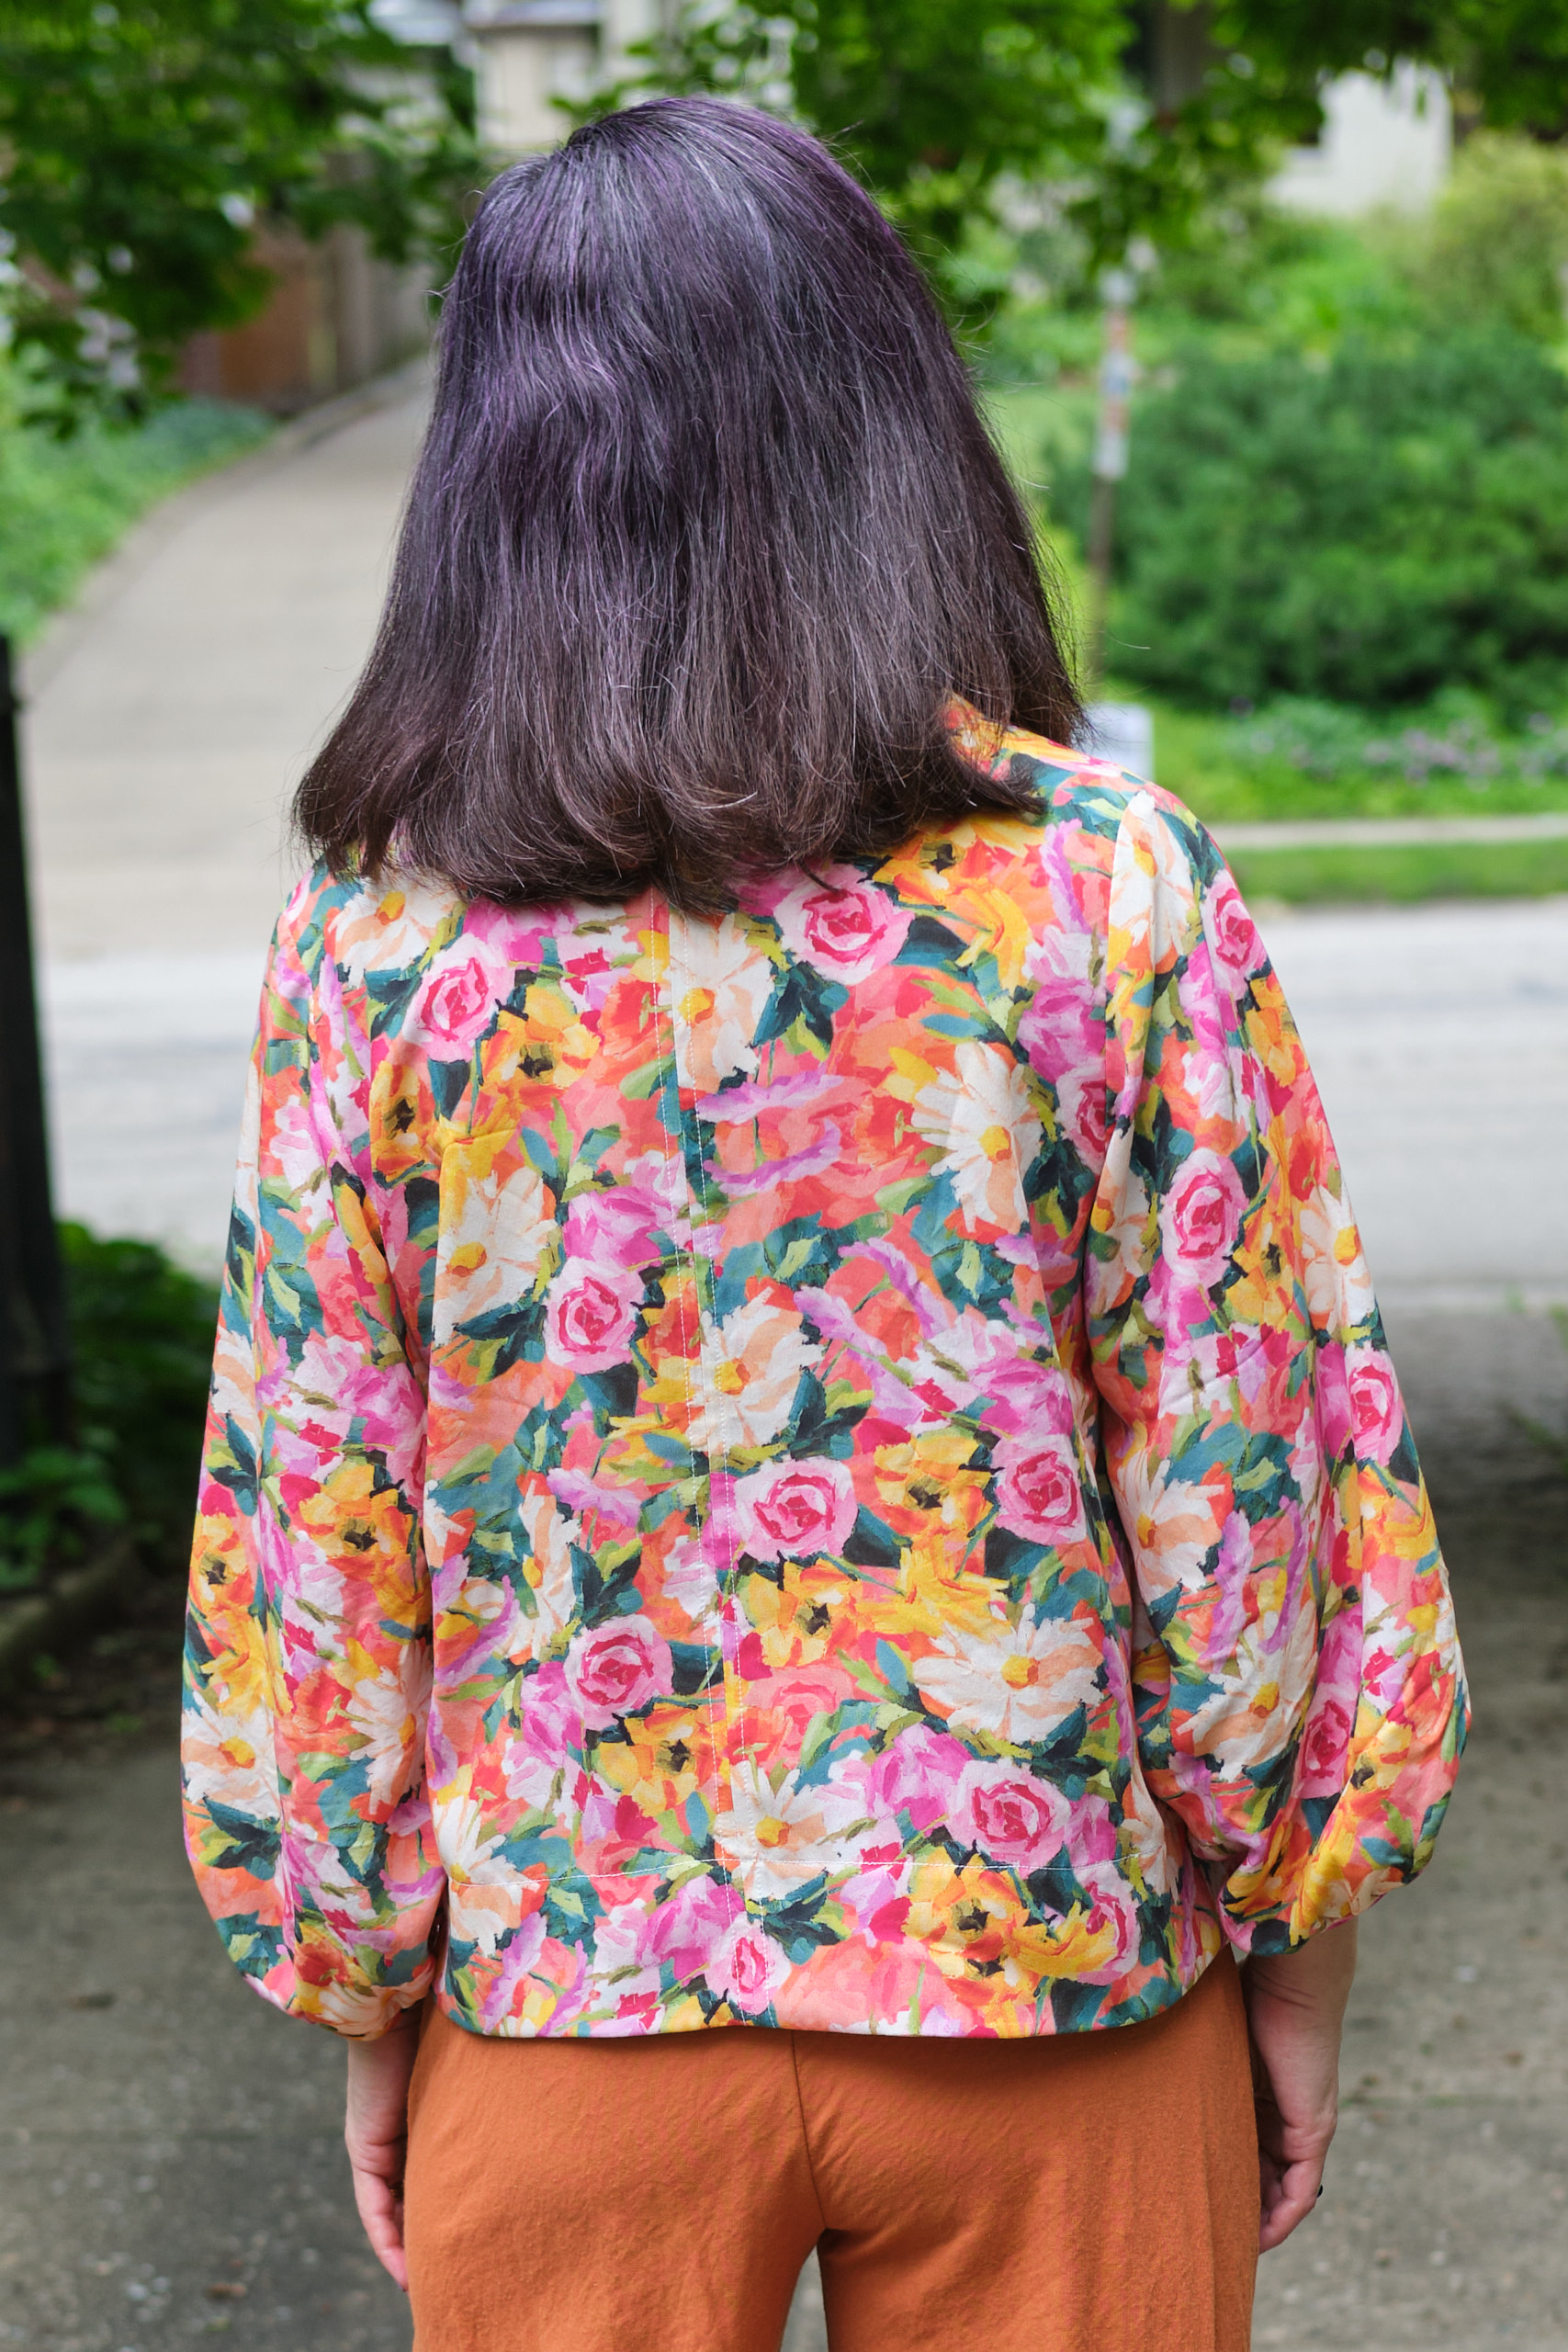
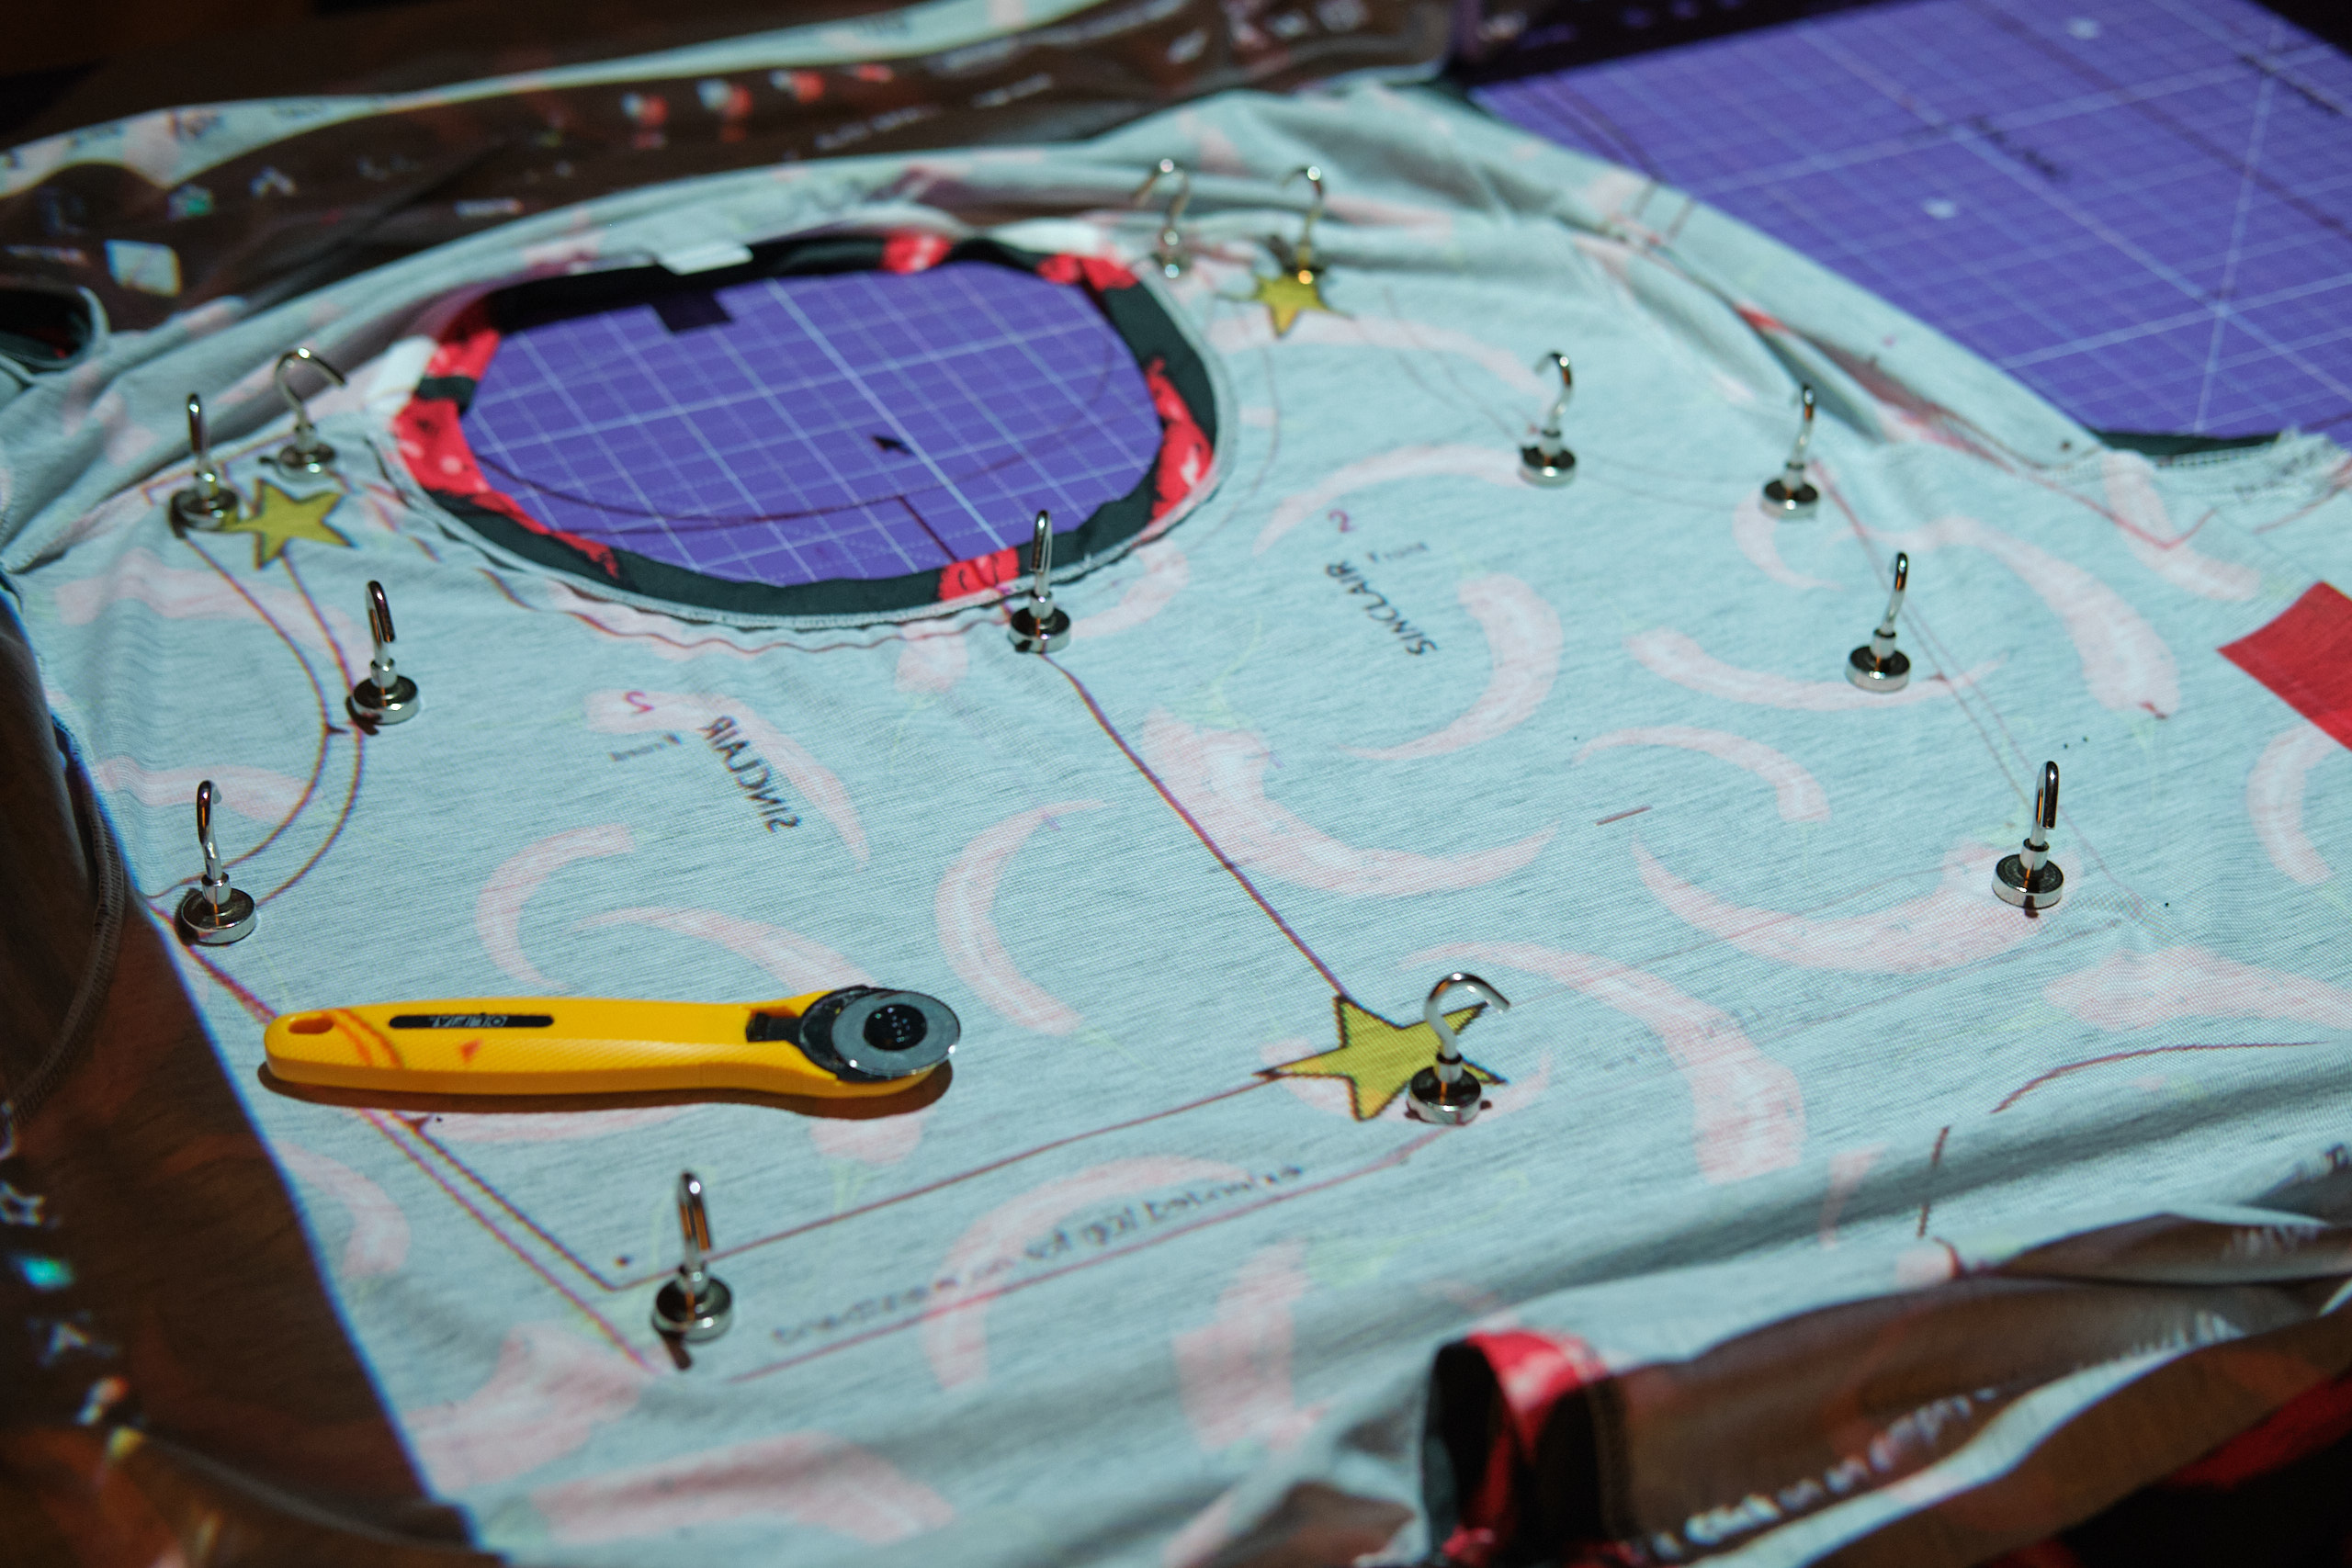
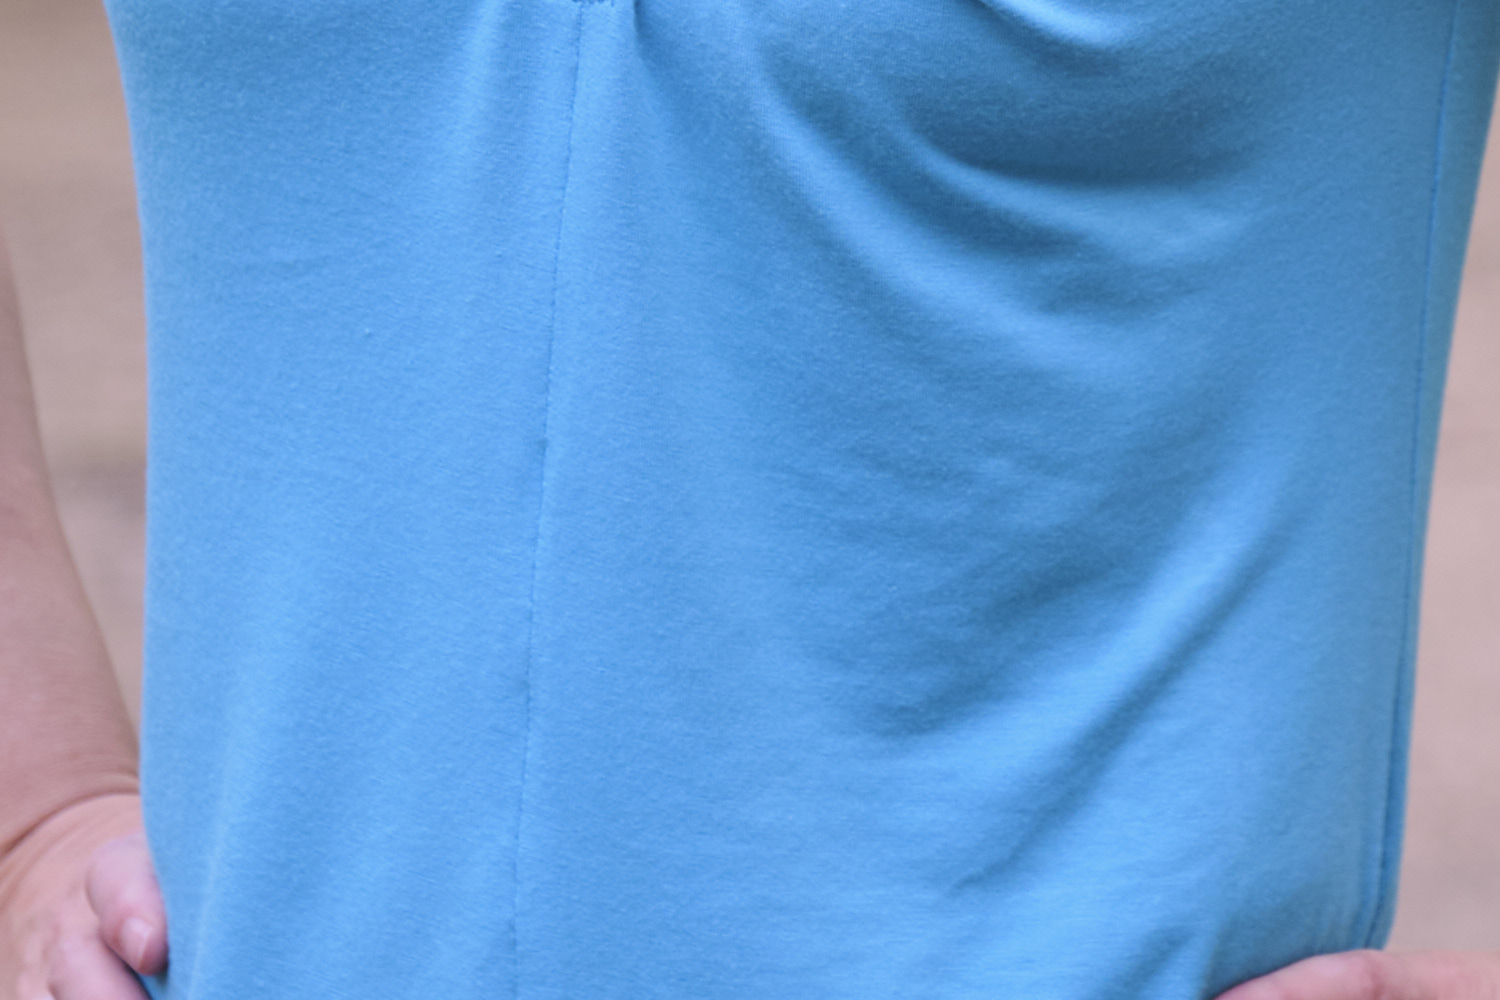
I cut a size AU 8 Be Mine bodice with a sloped shoulder adjustment and eliminated both the front and back center seam. I cut the regular length with the mid neckline and the wide facing. This was fairly quick to sew together without the center seams and no hemming, bands, or binding needed for the cap sleeves. The part that took the longest was the wide hem, which I think looks really nice on an untucked shirt and adds some weight to this light-weight fabric. But the wide hem is quite the process: it requires stitching, surging, trimming, understitching, folding, top stitching, and pressing between each of these steps. The simple hem option would have been much faster.
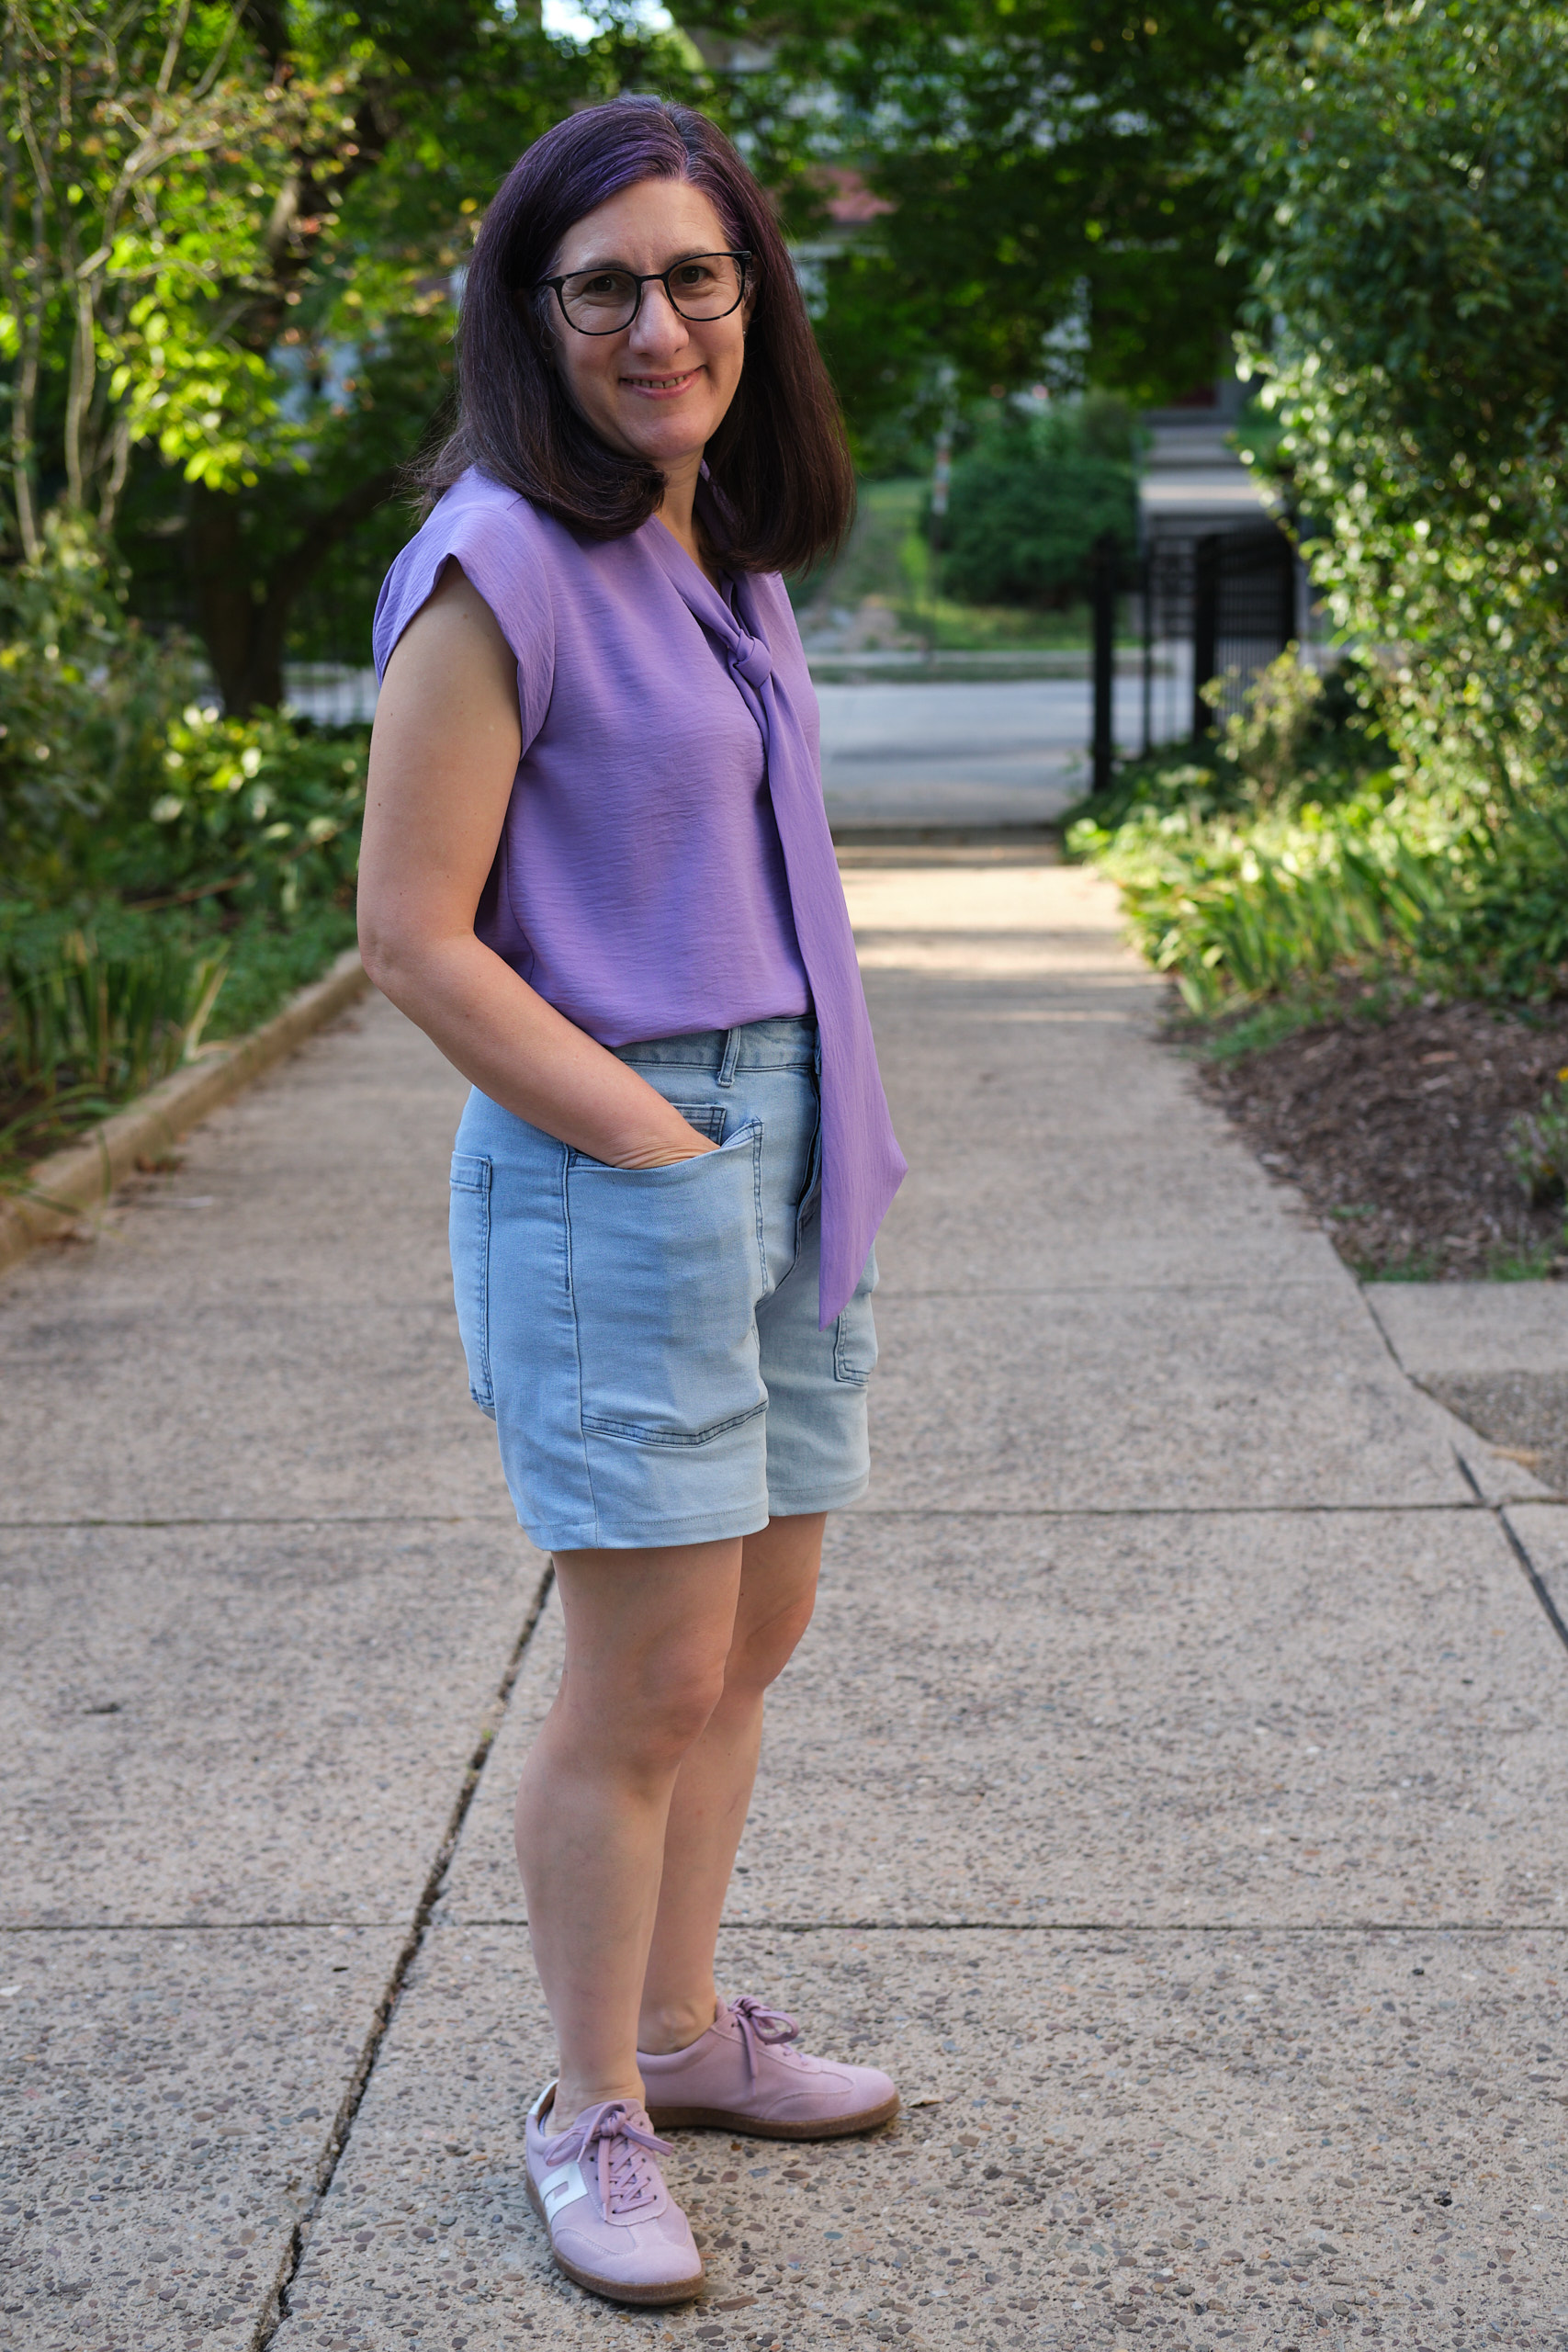
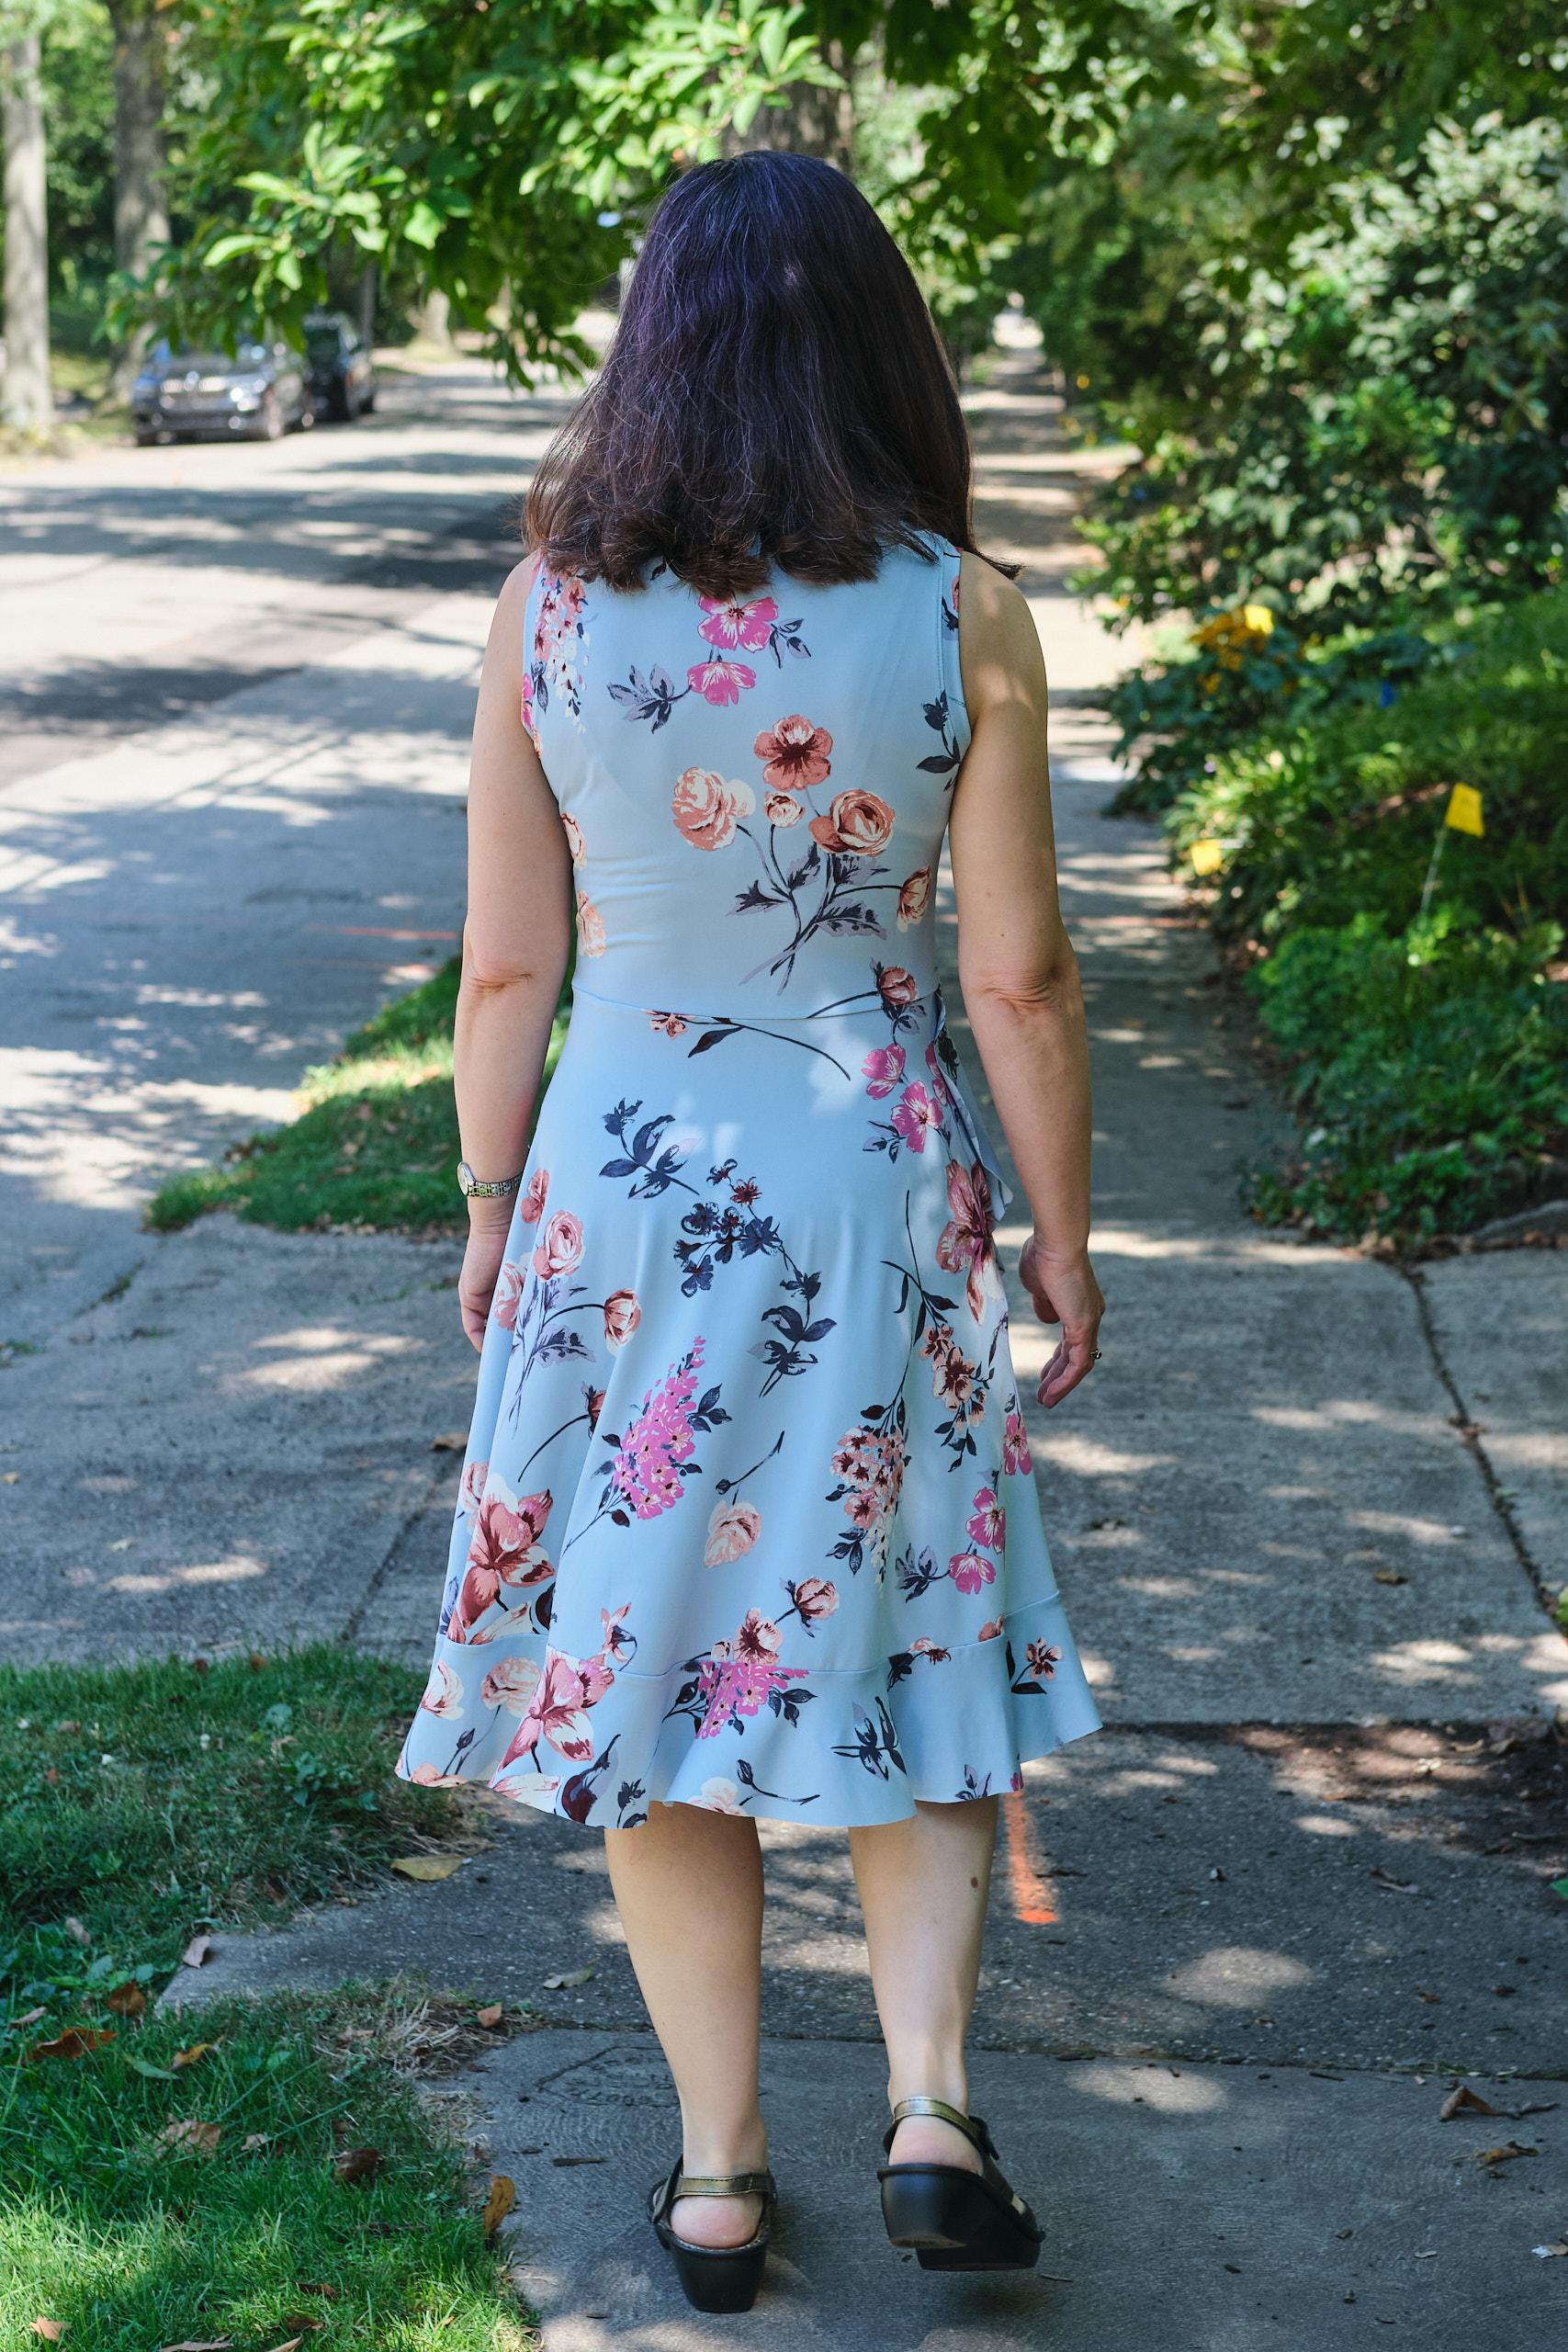
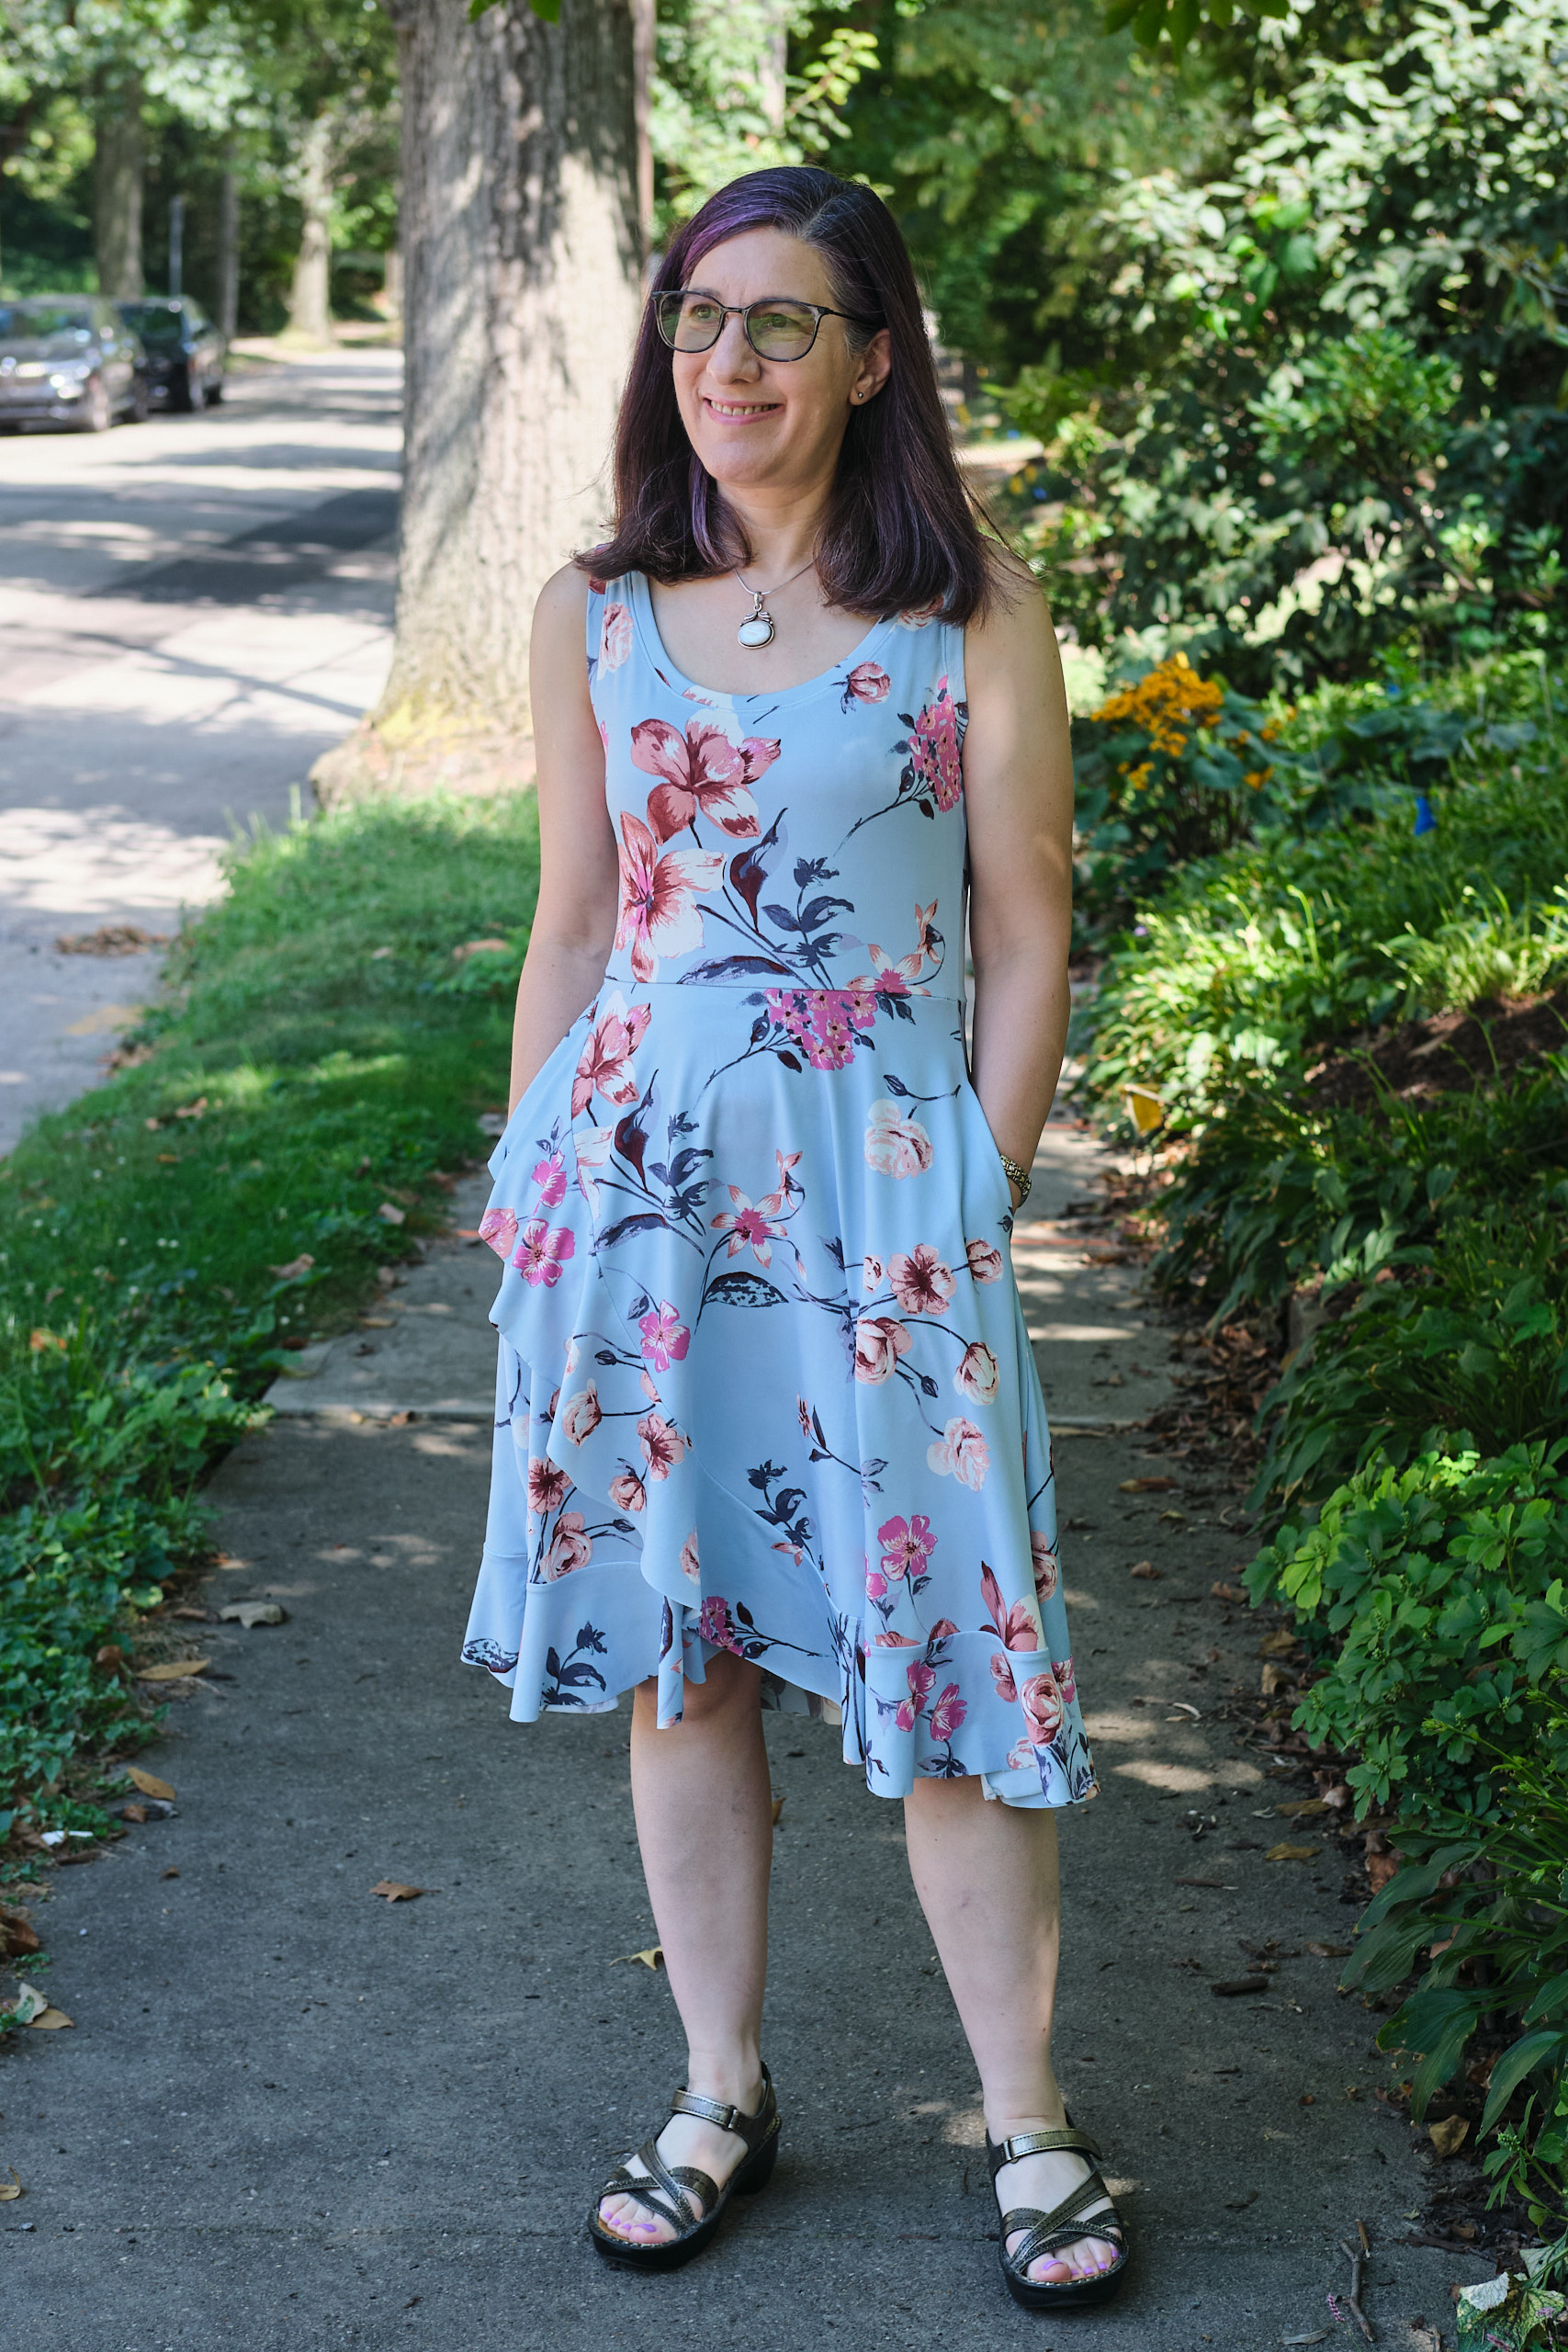
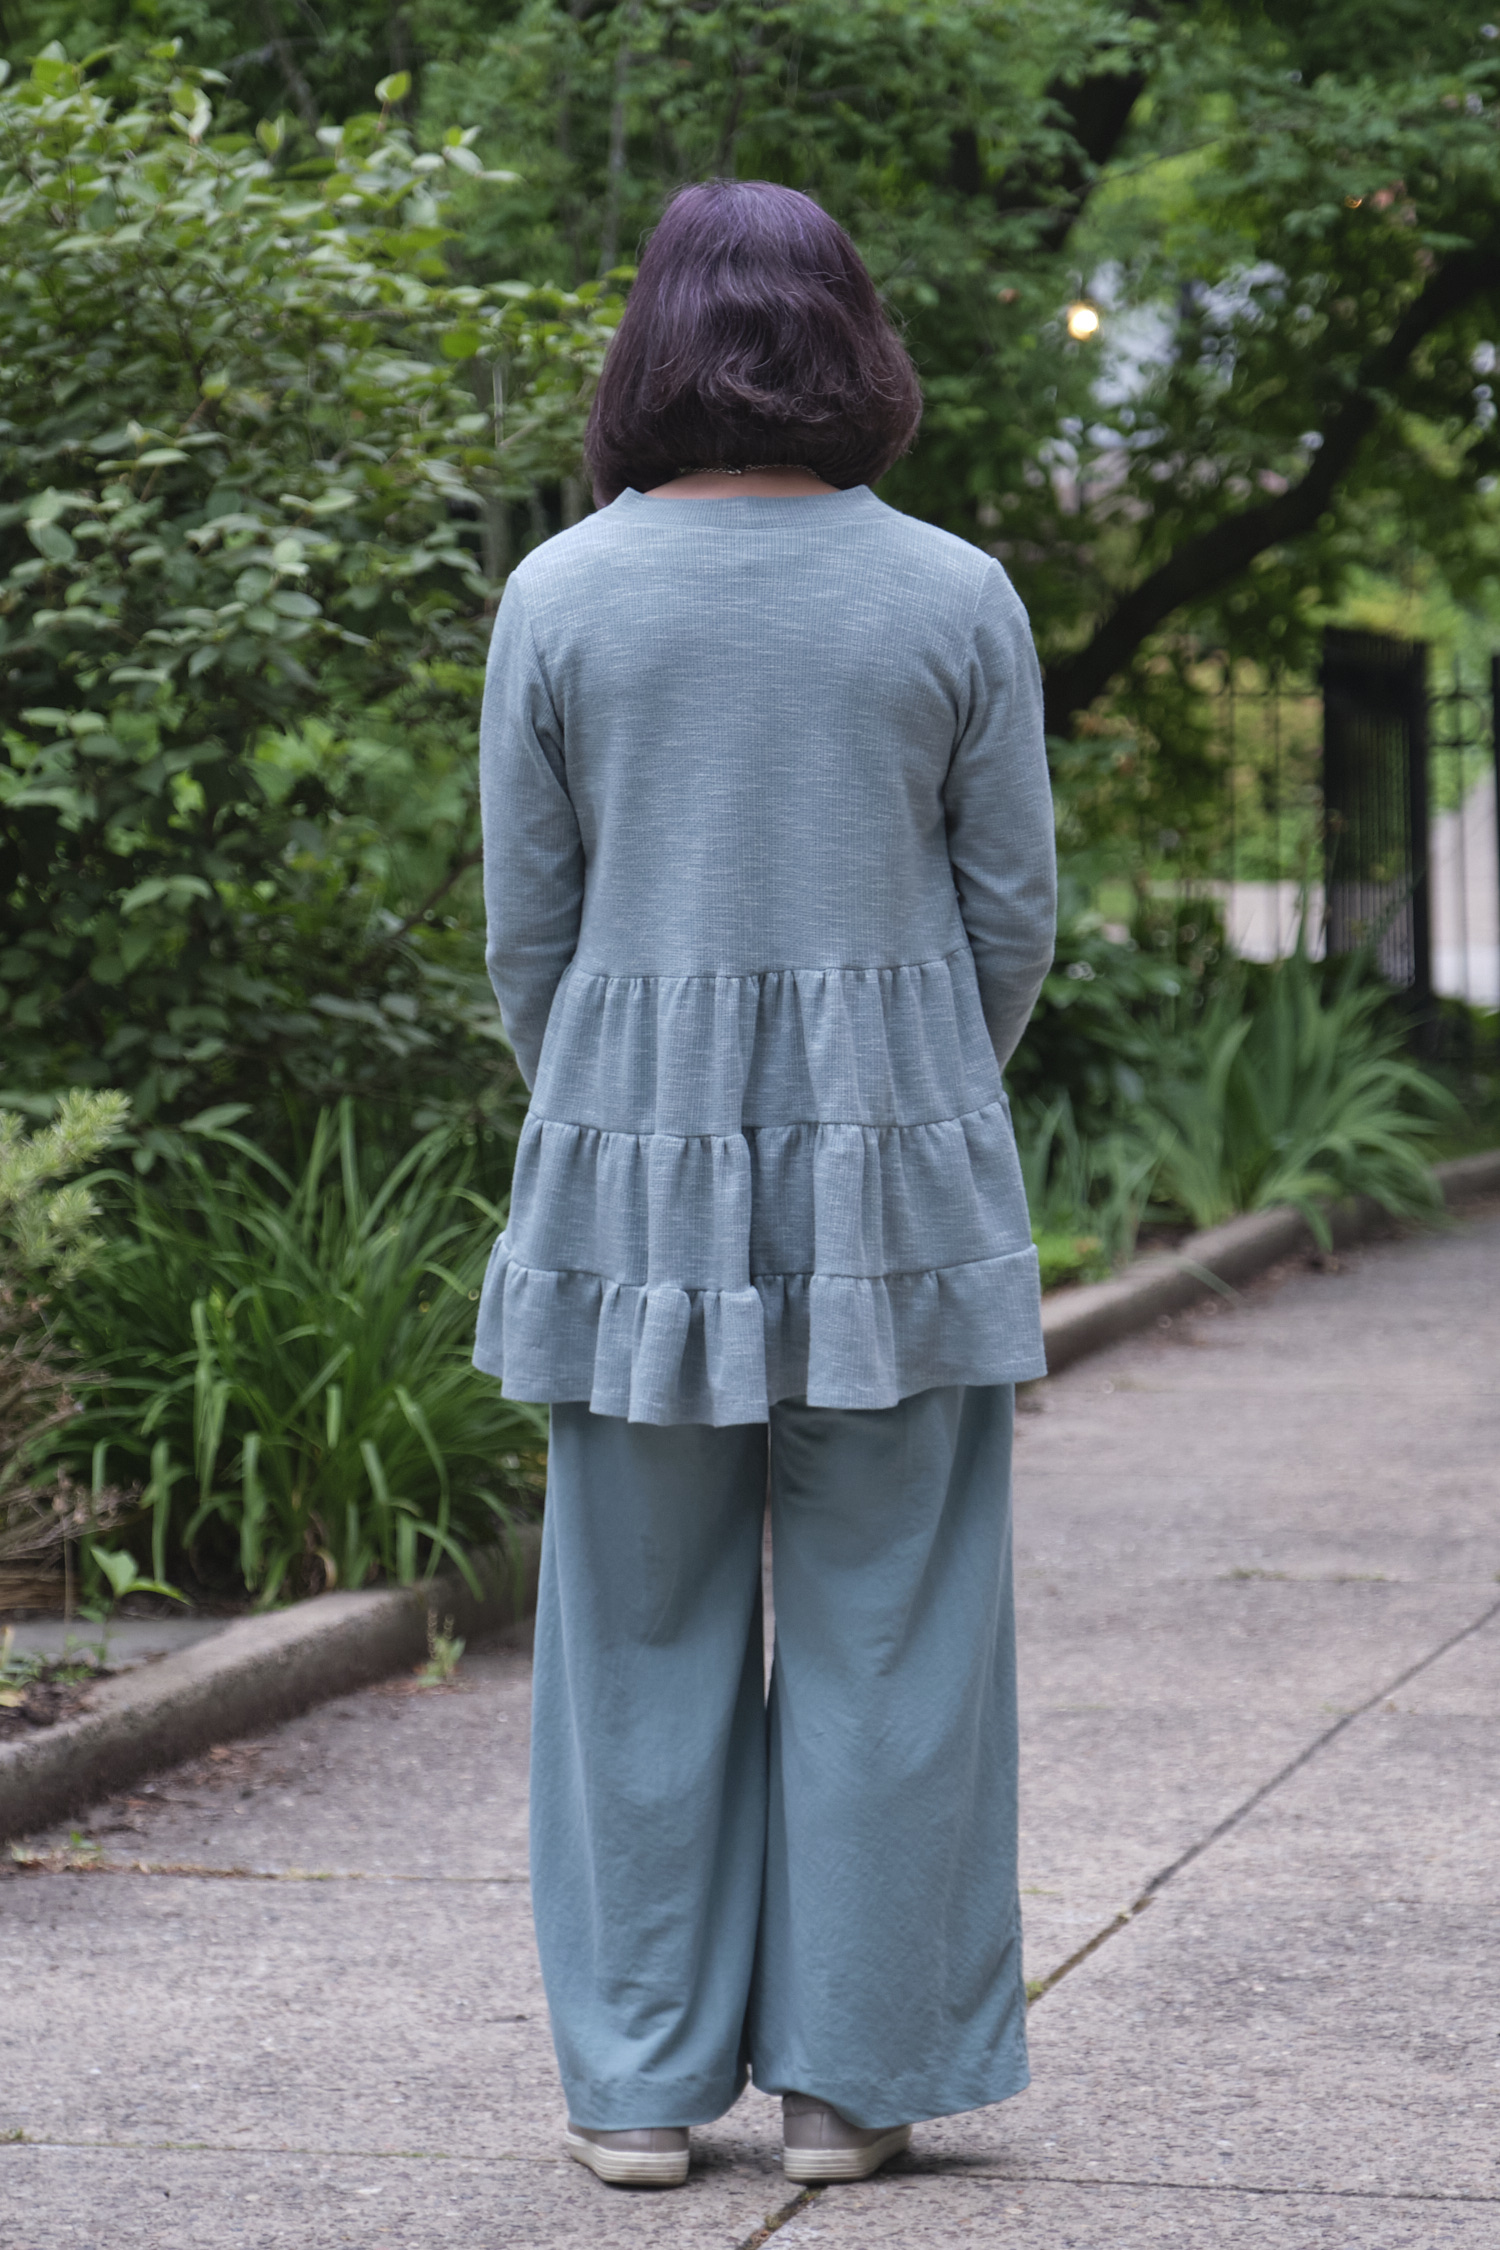
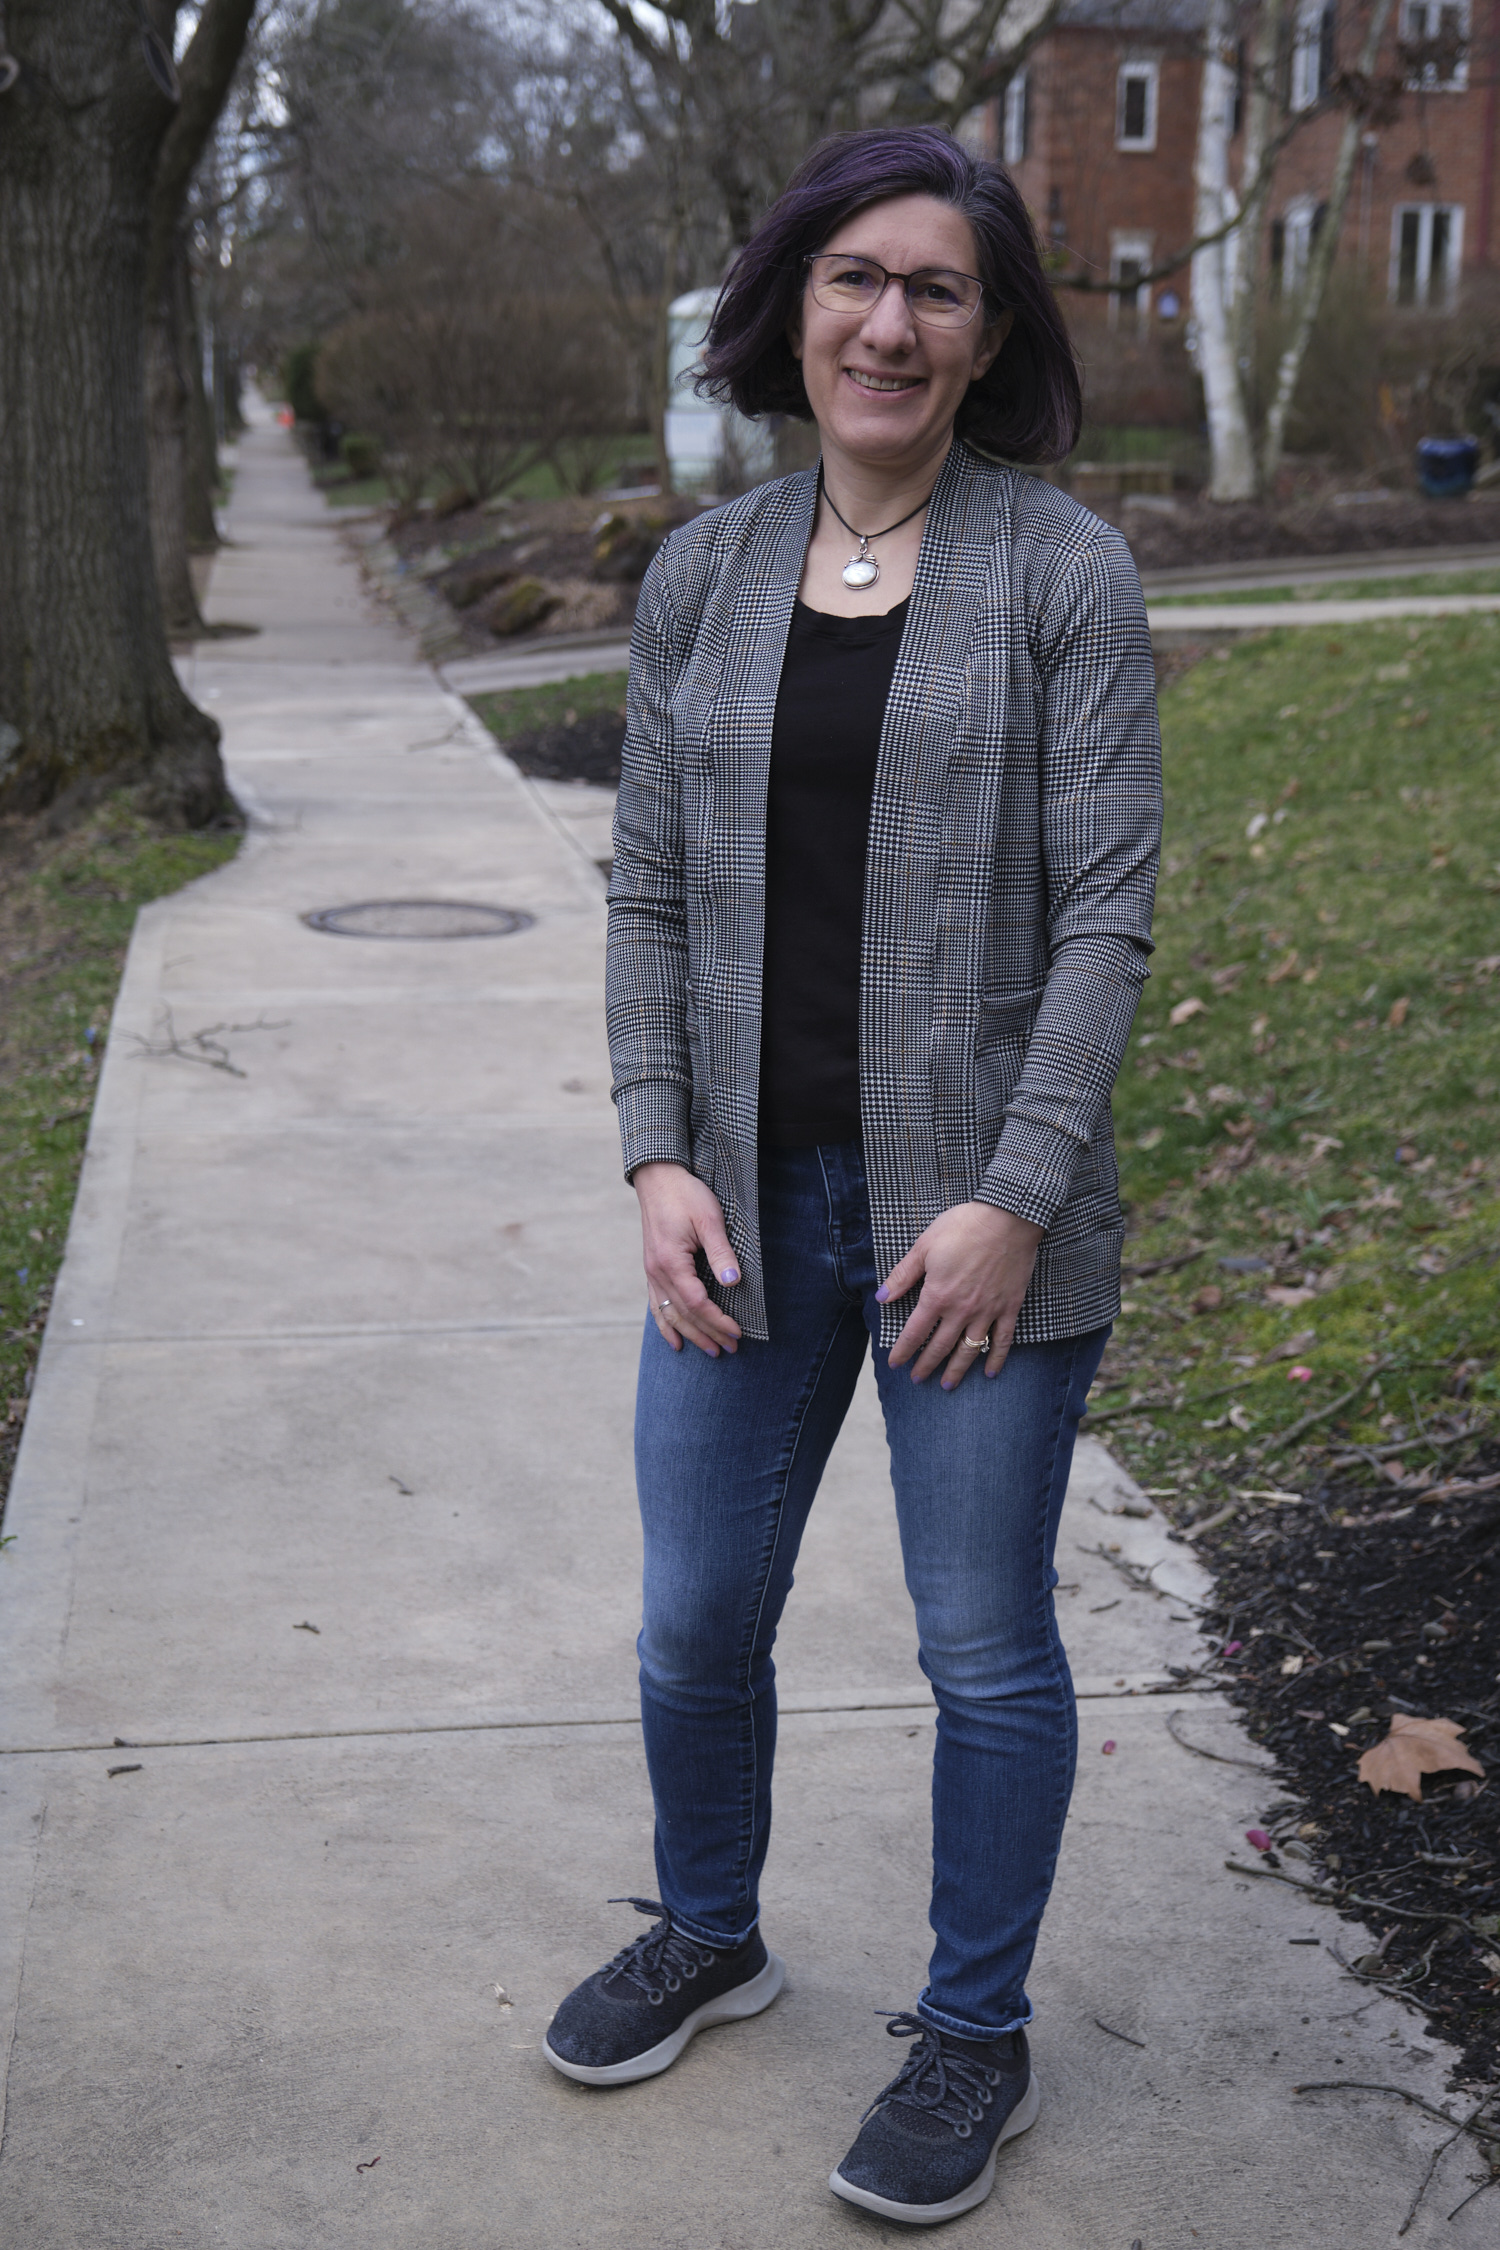
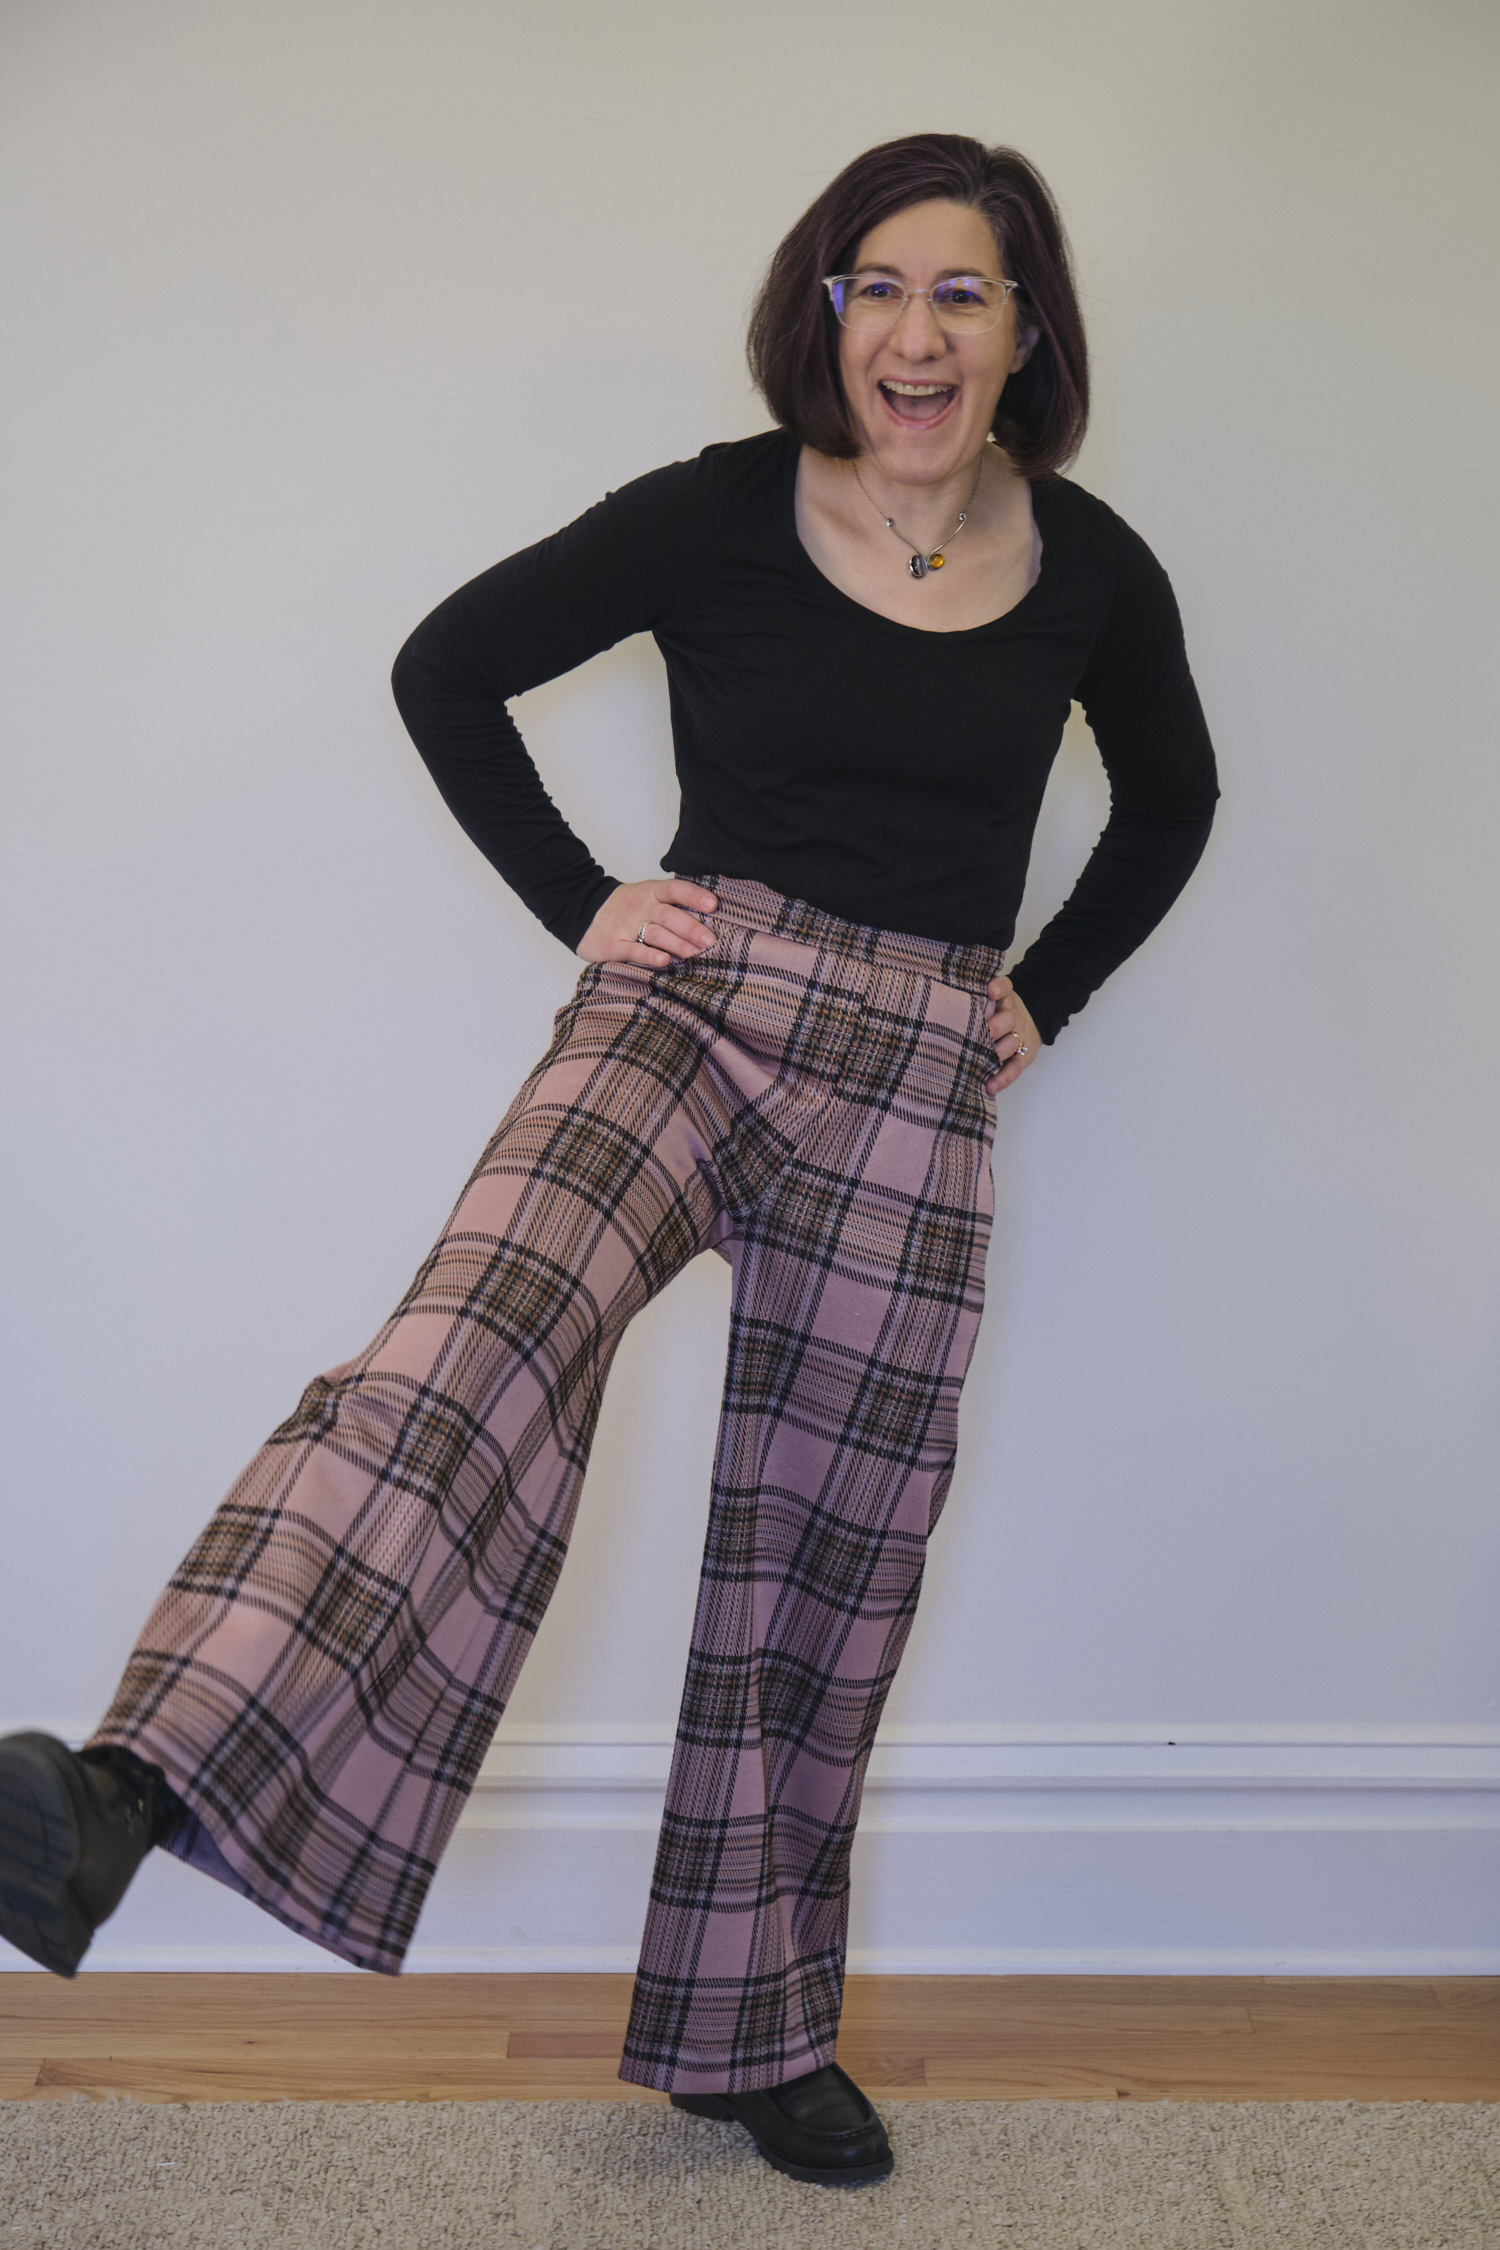
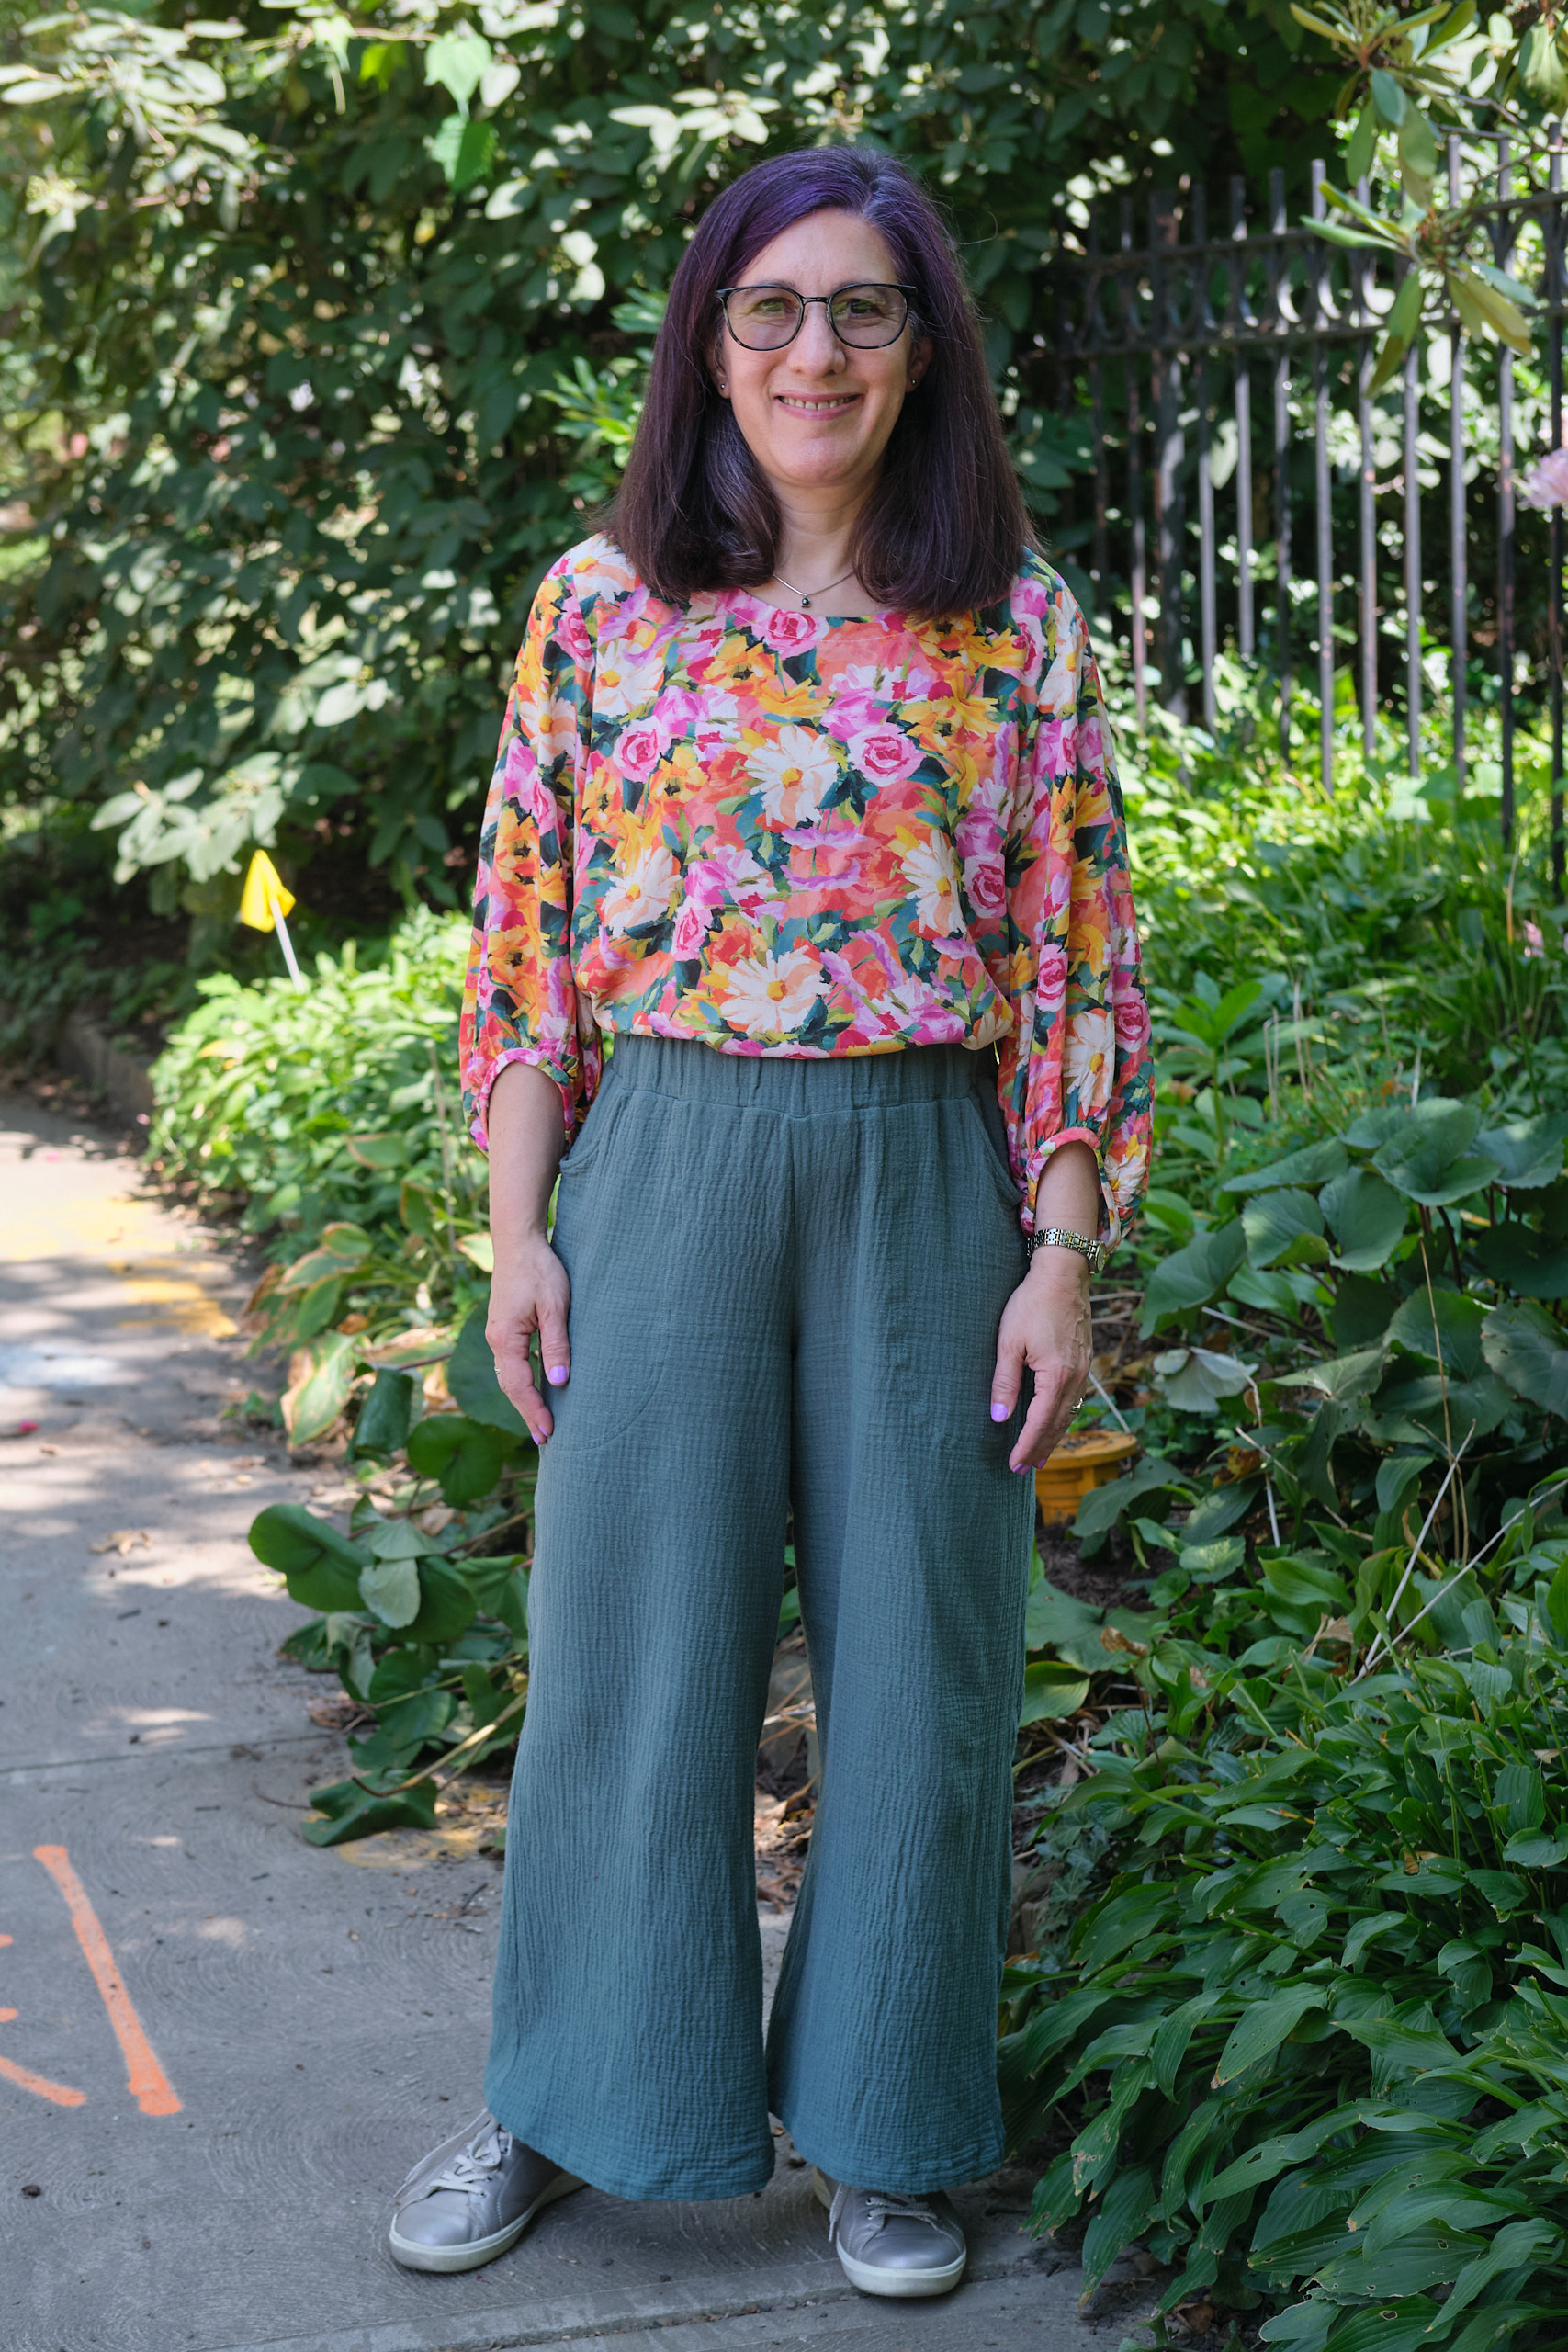
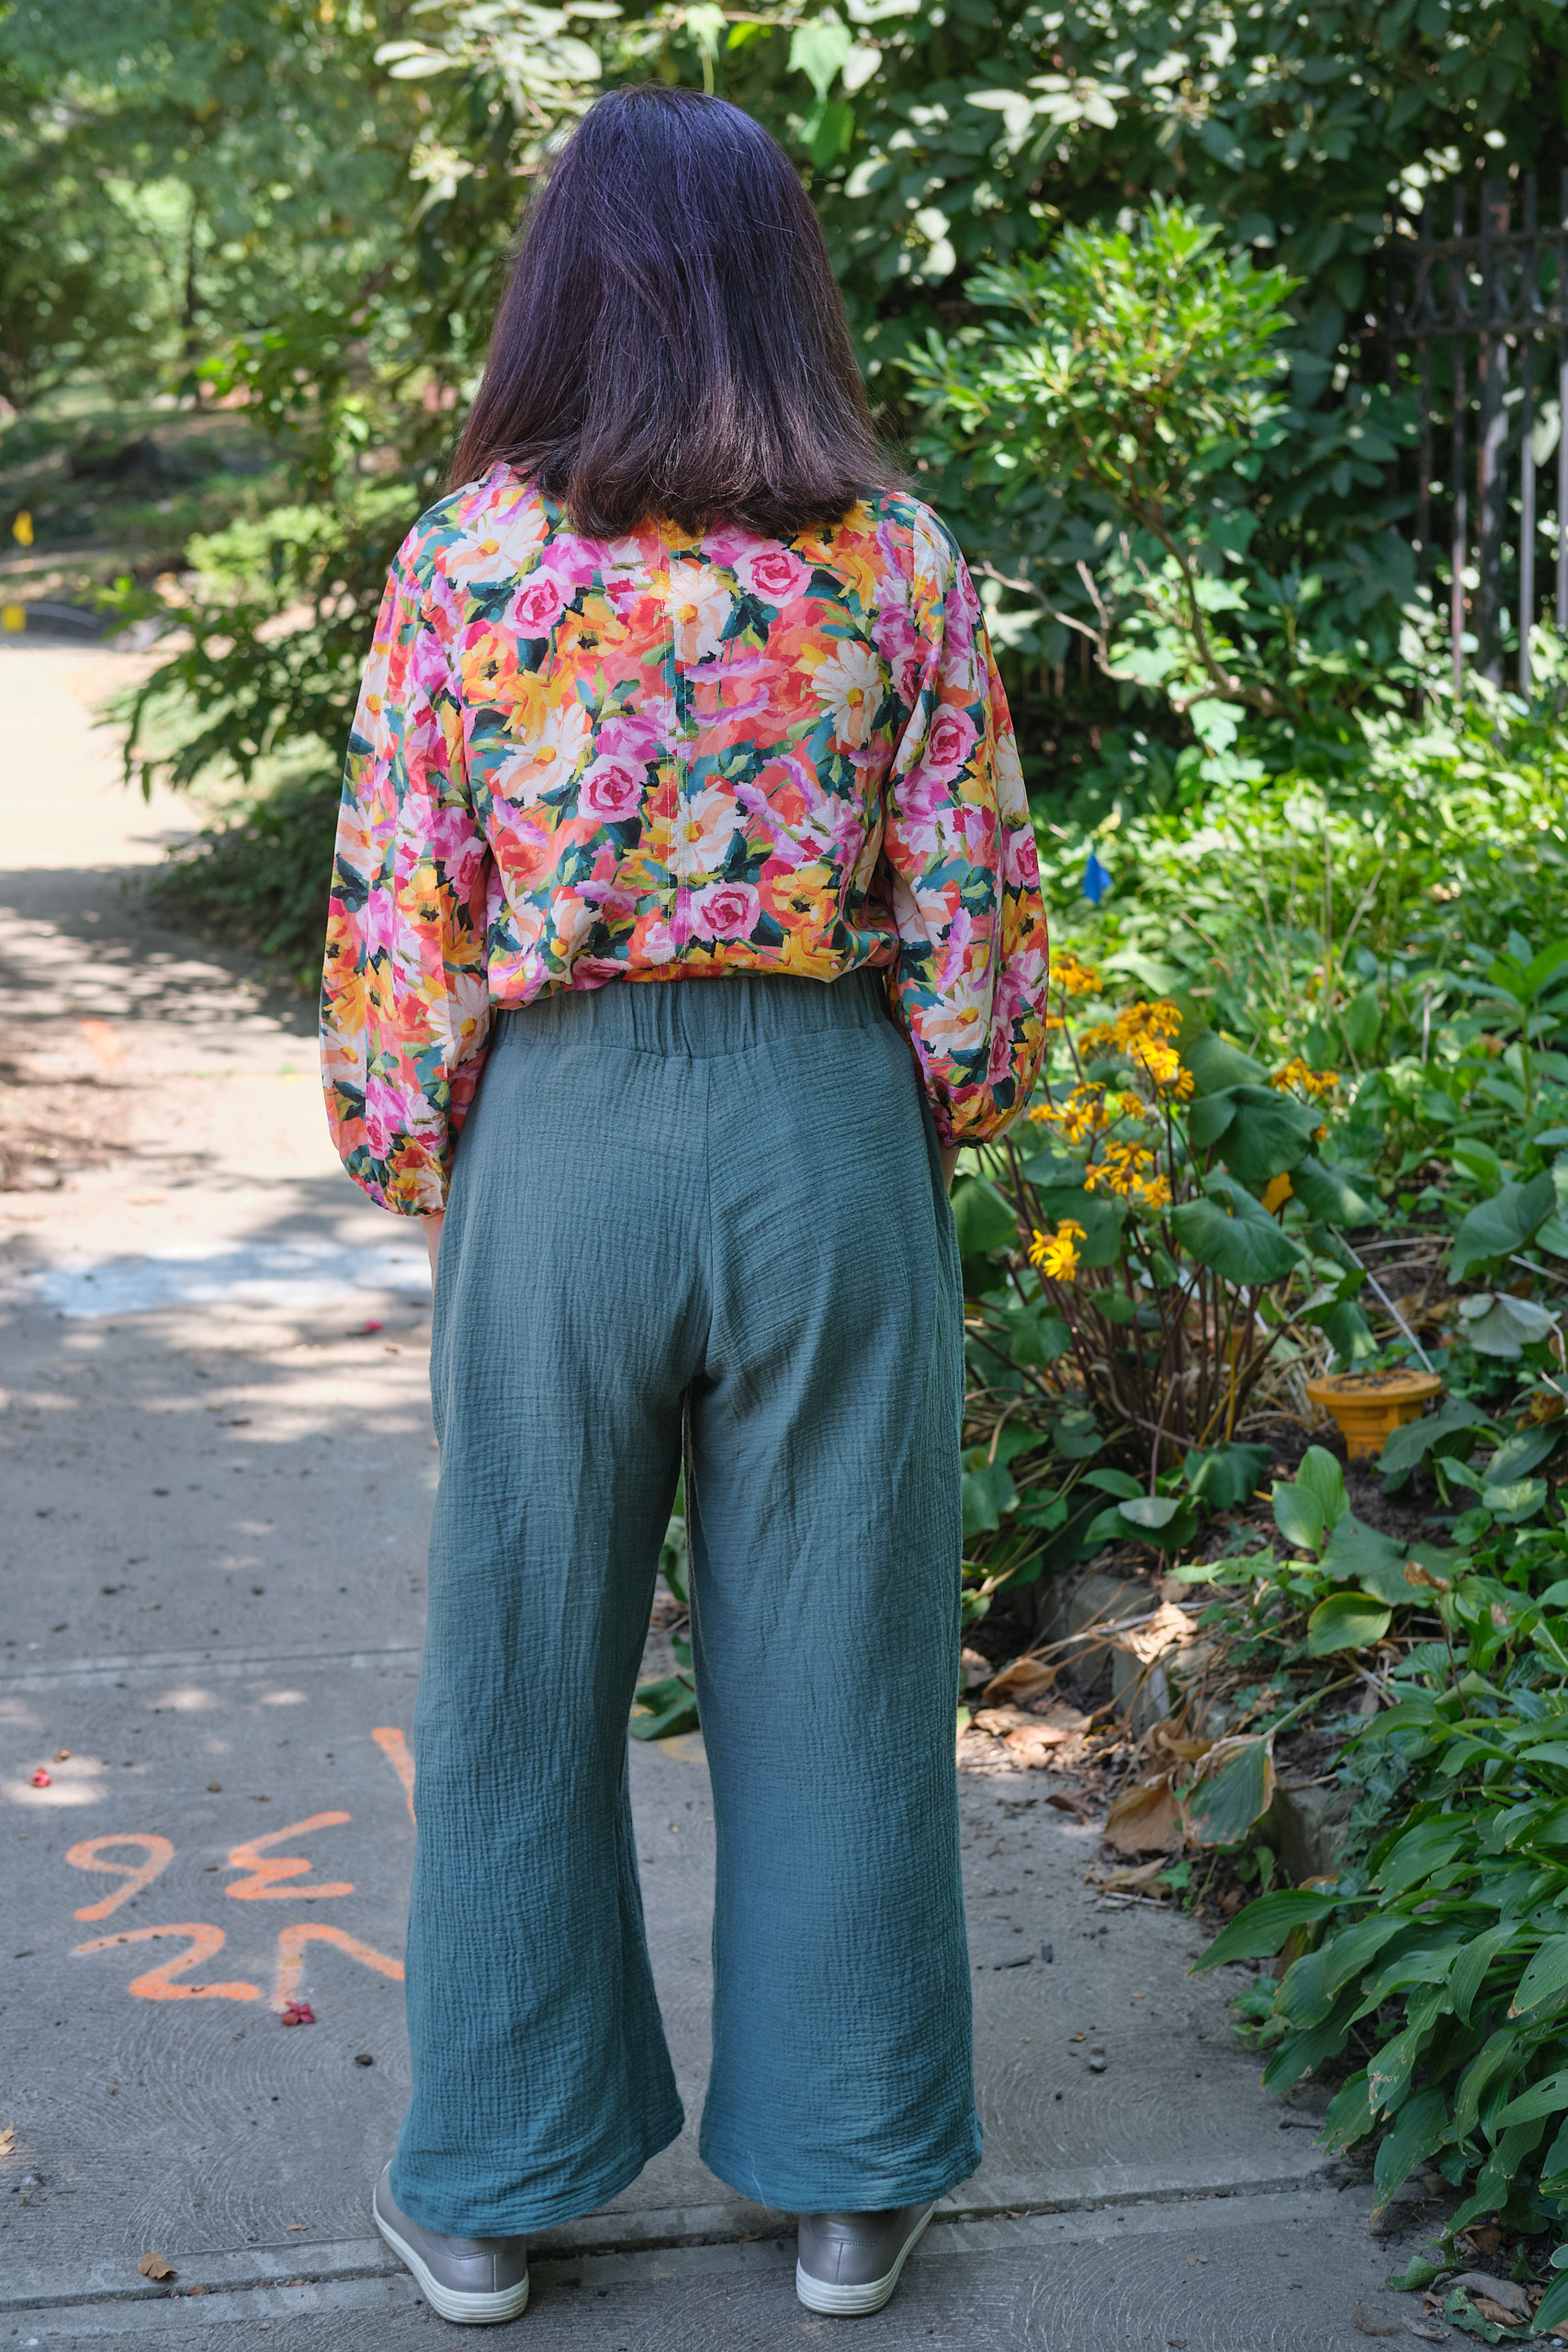
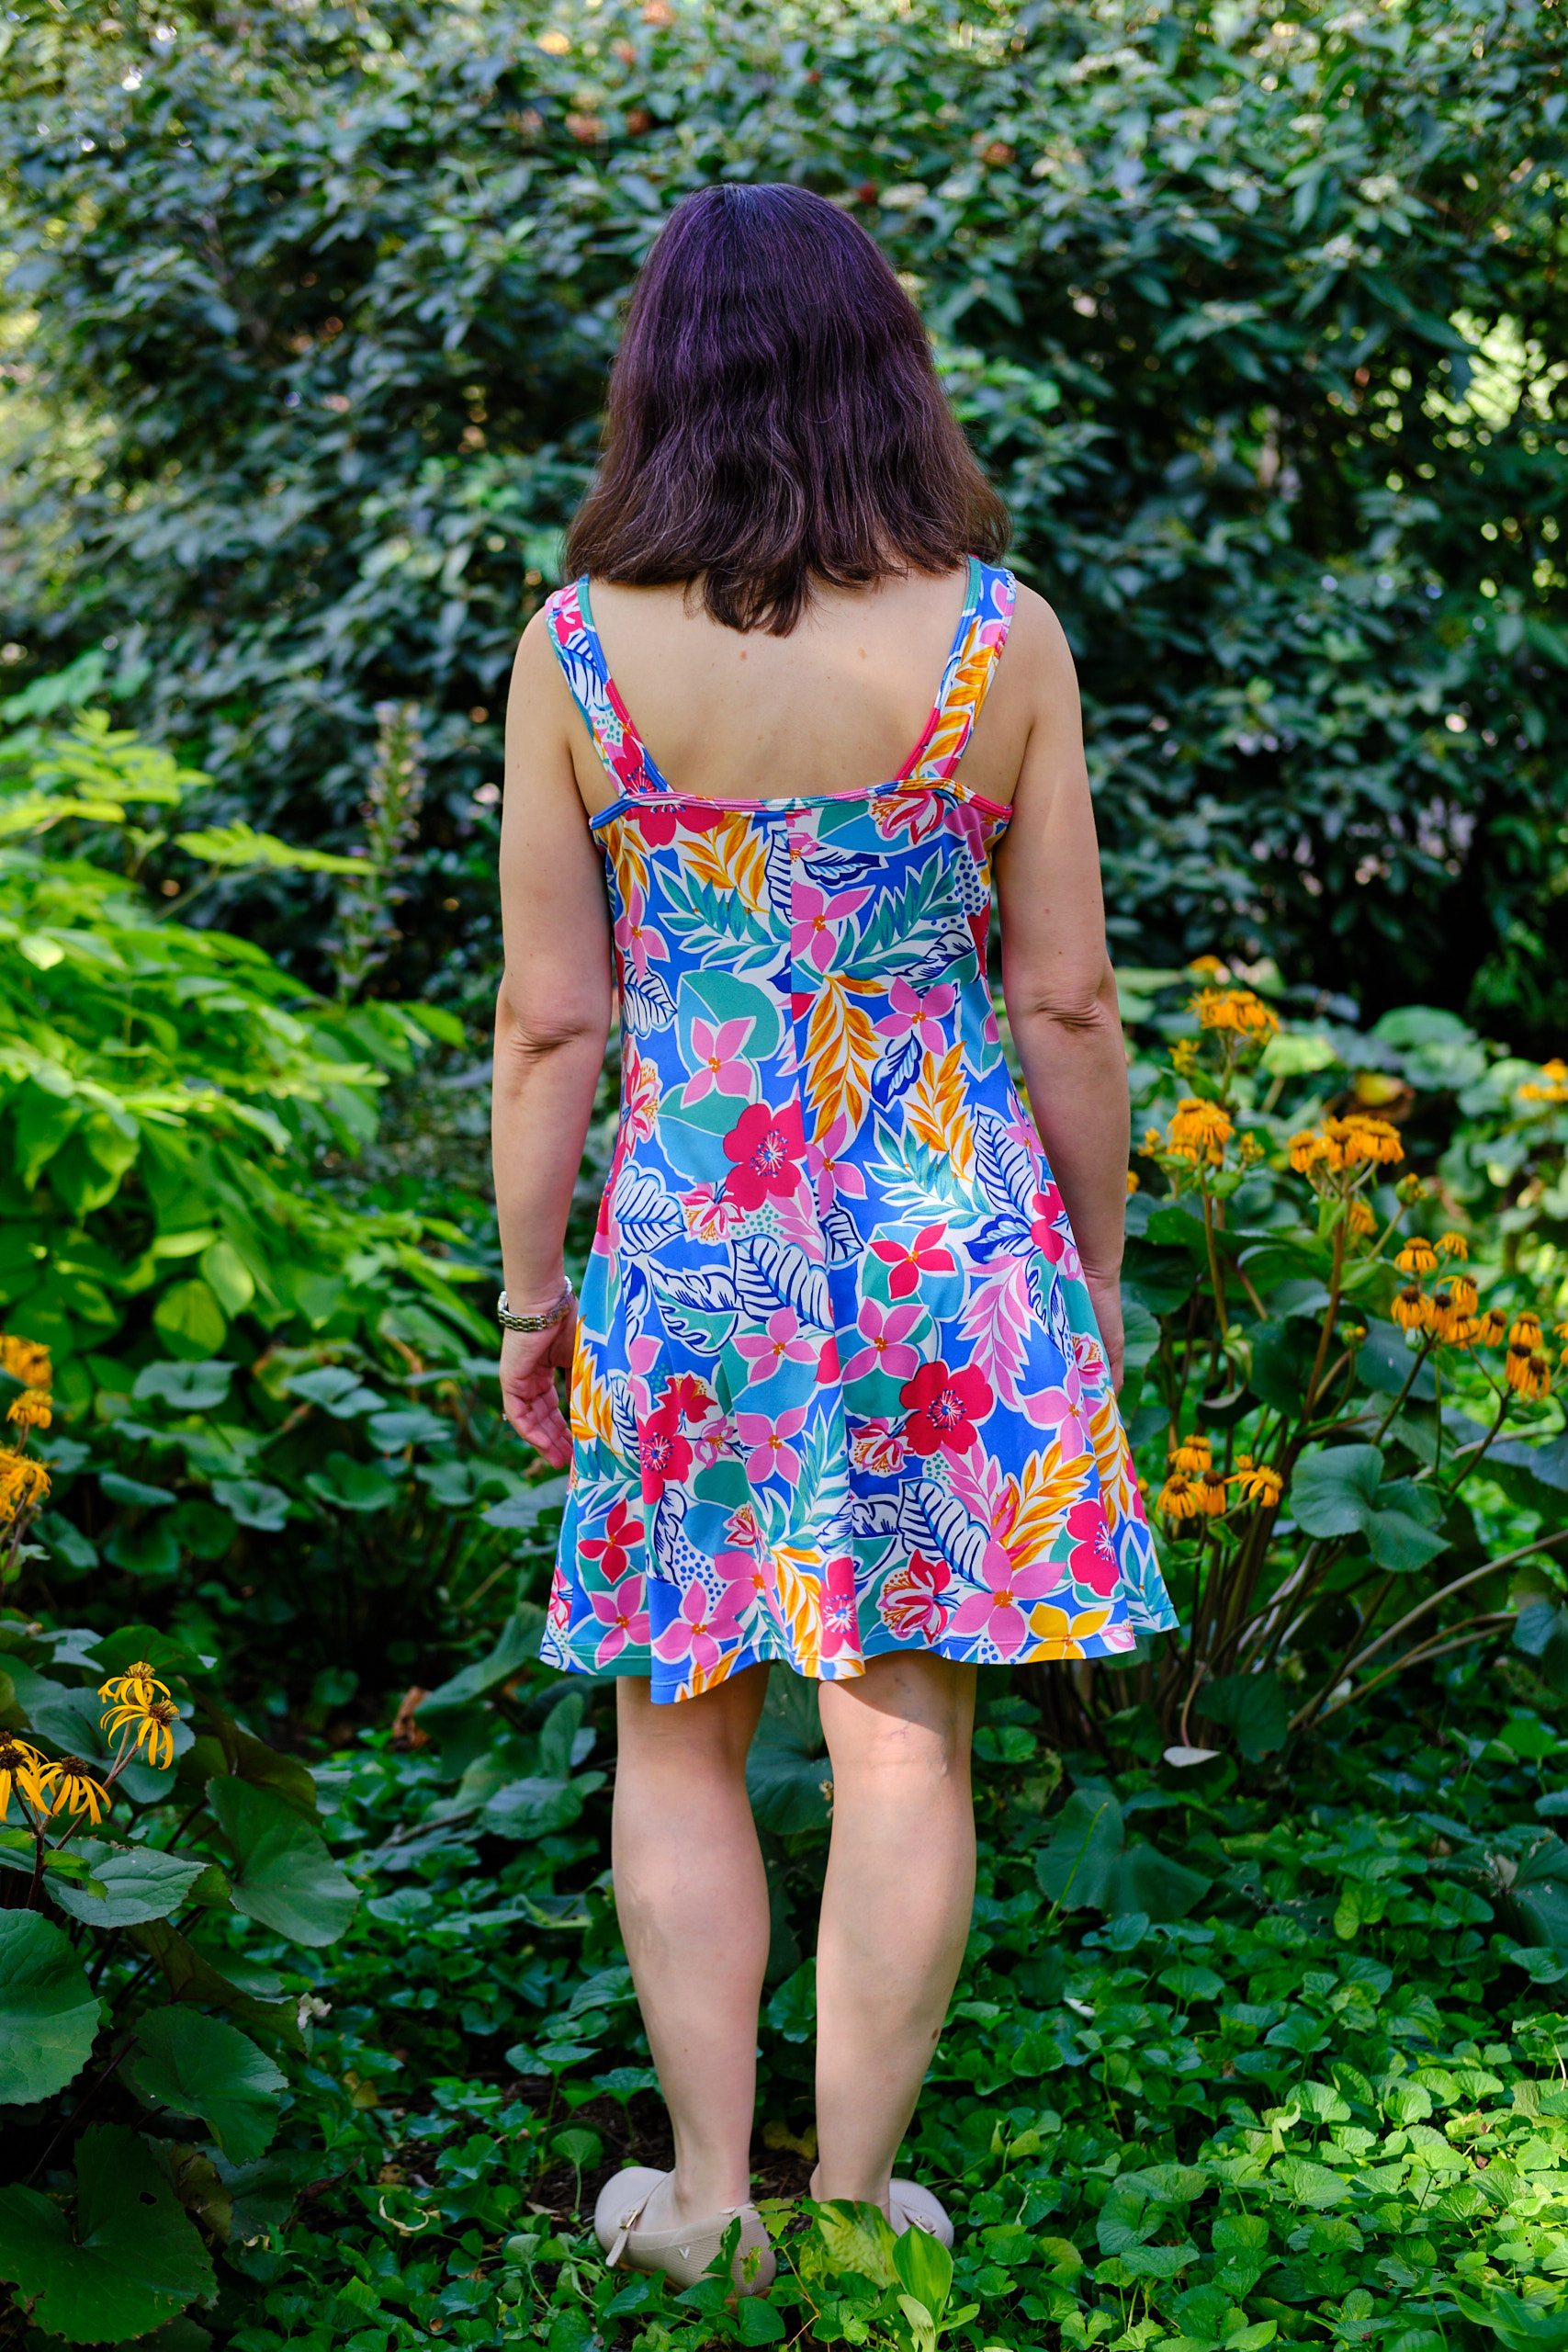
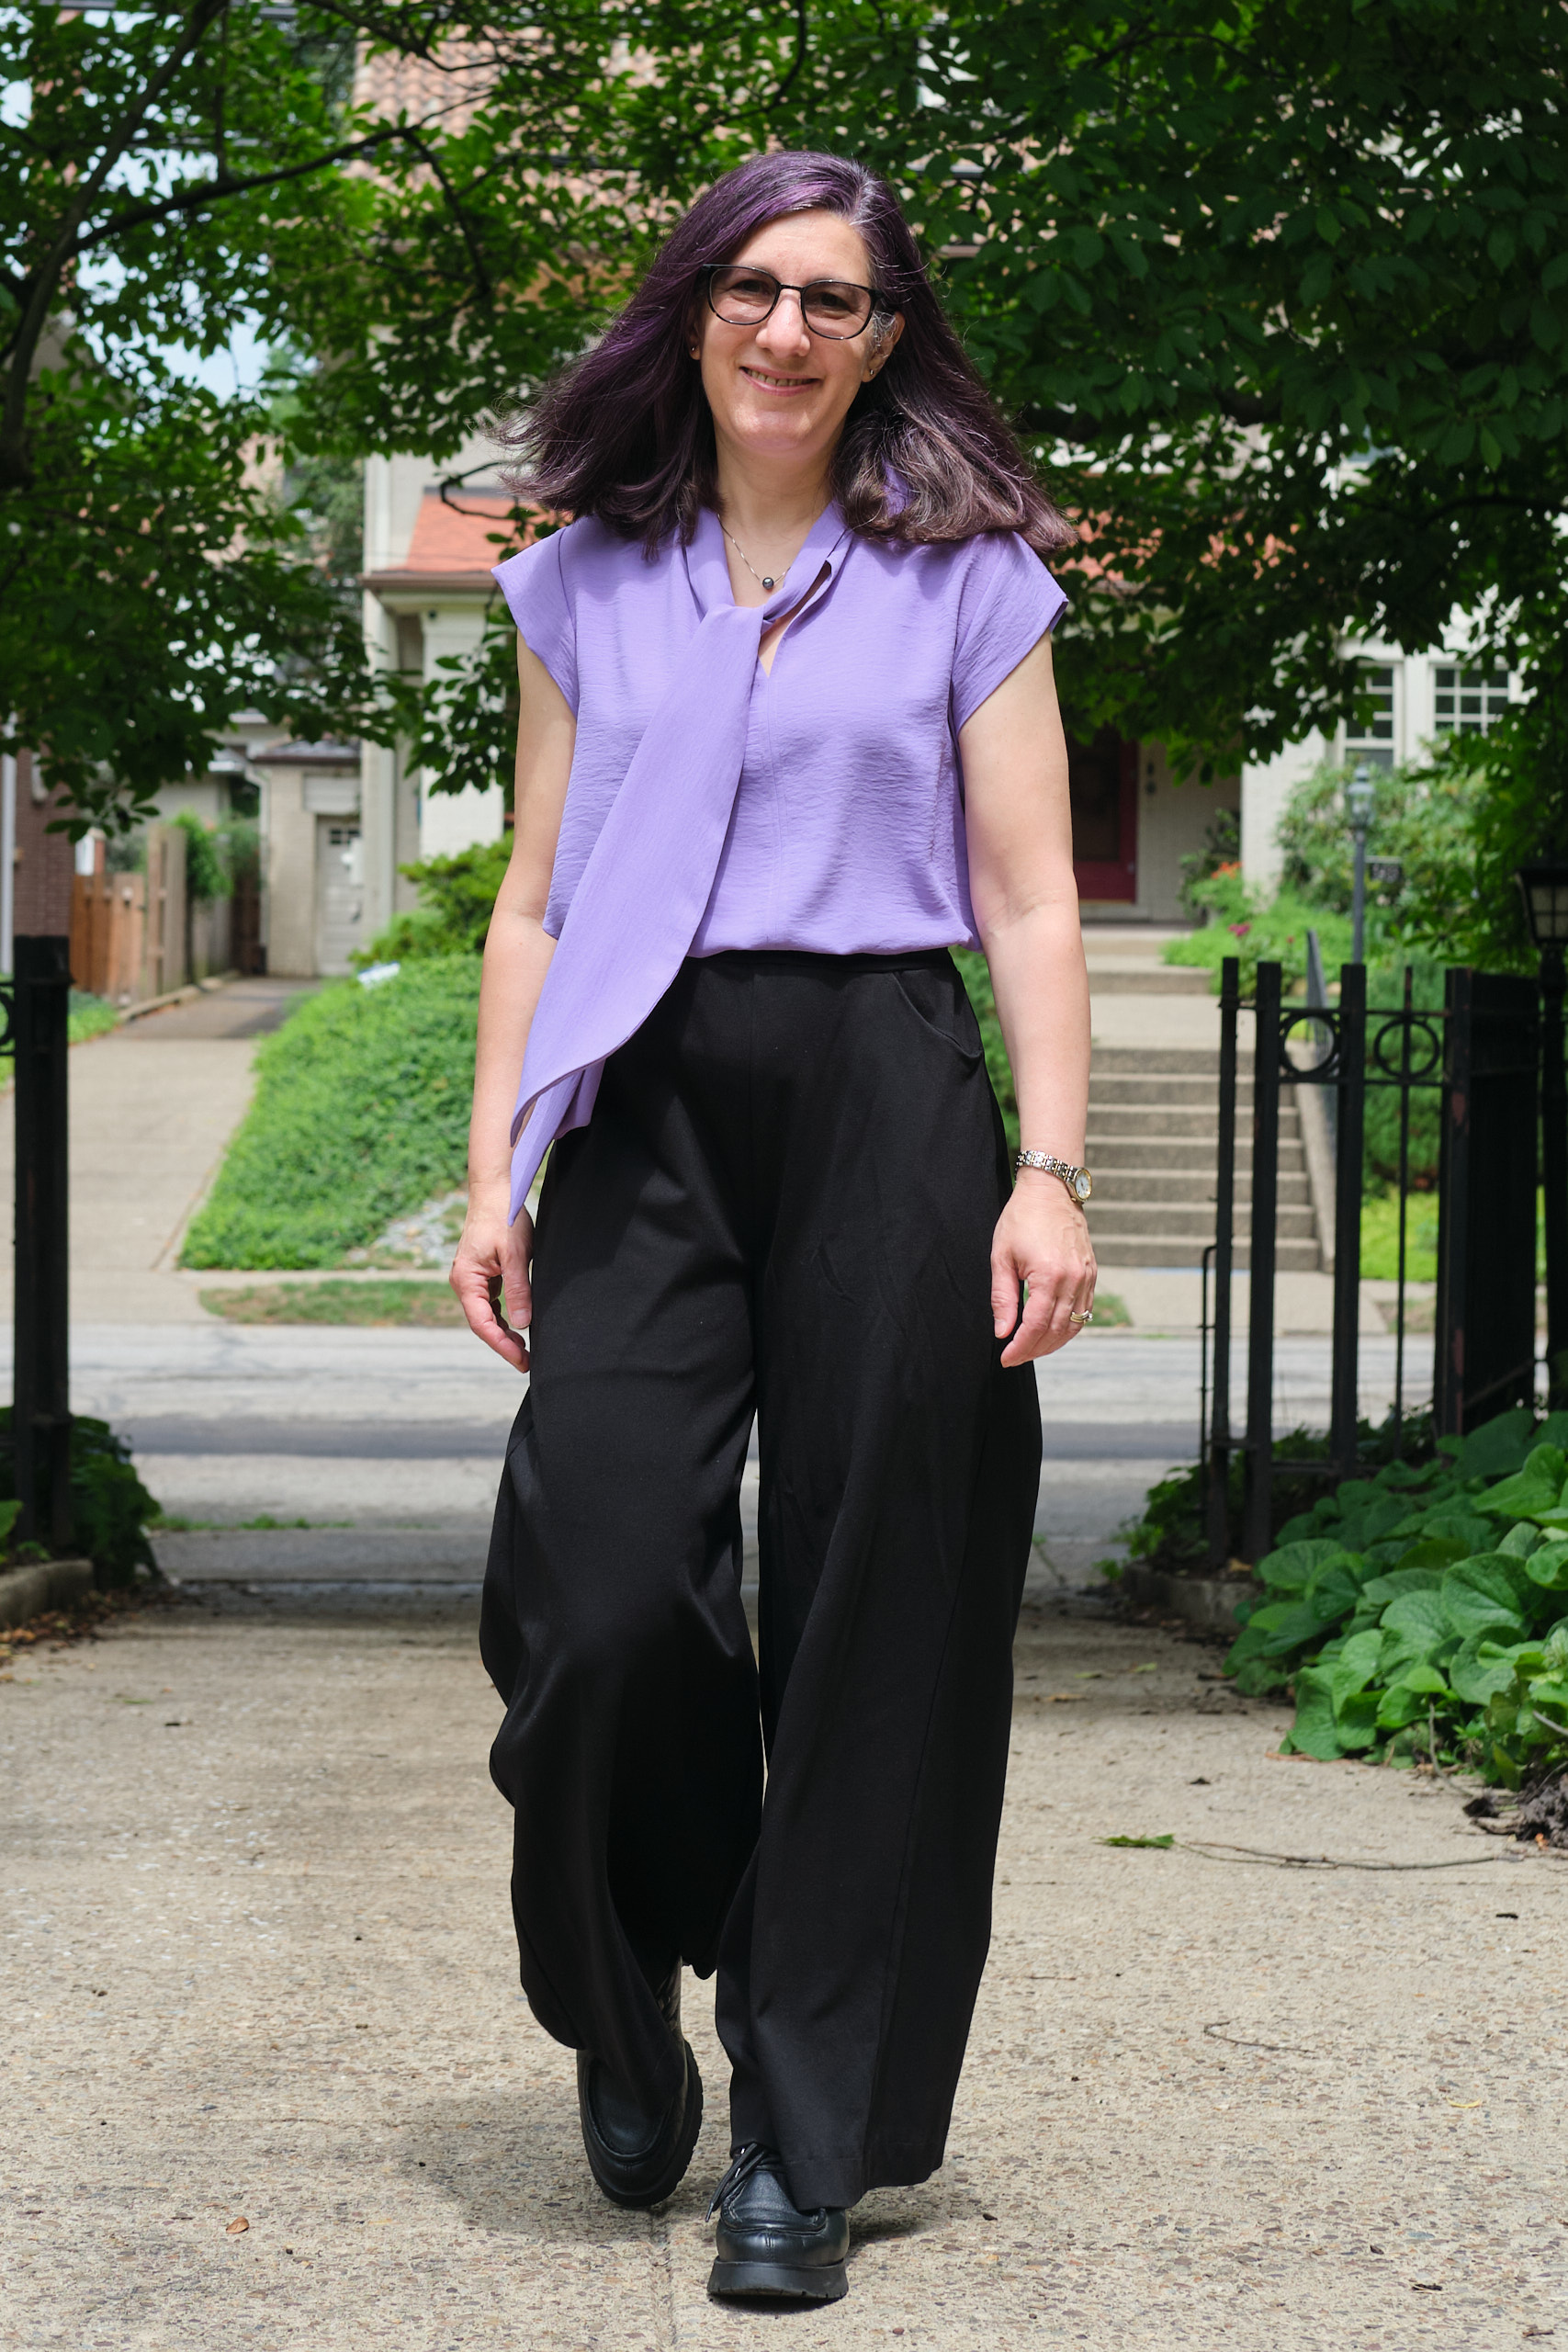
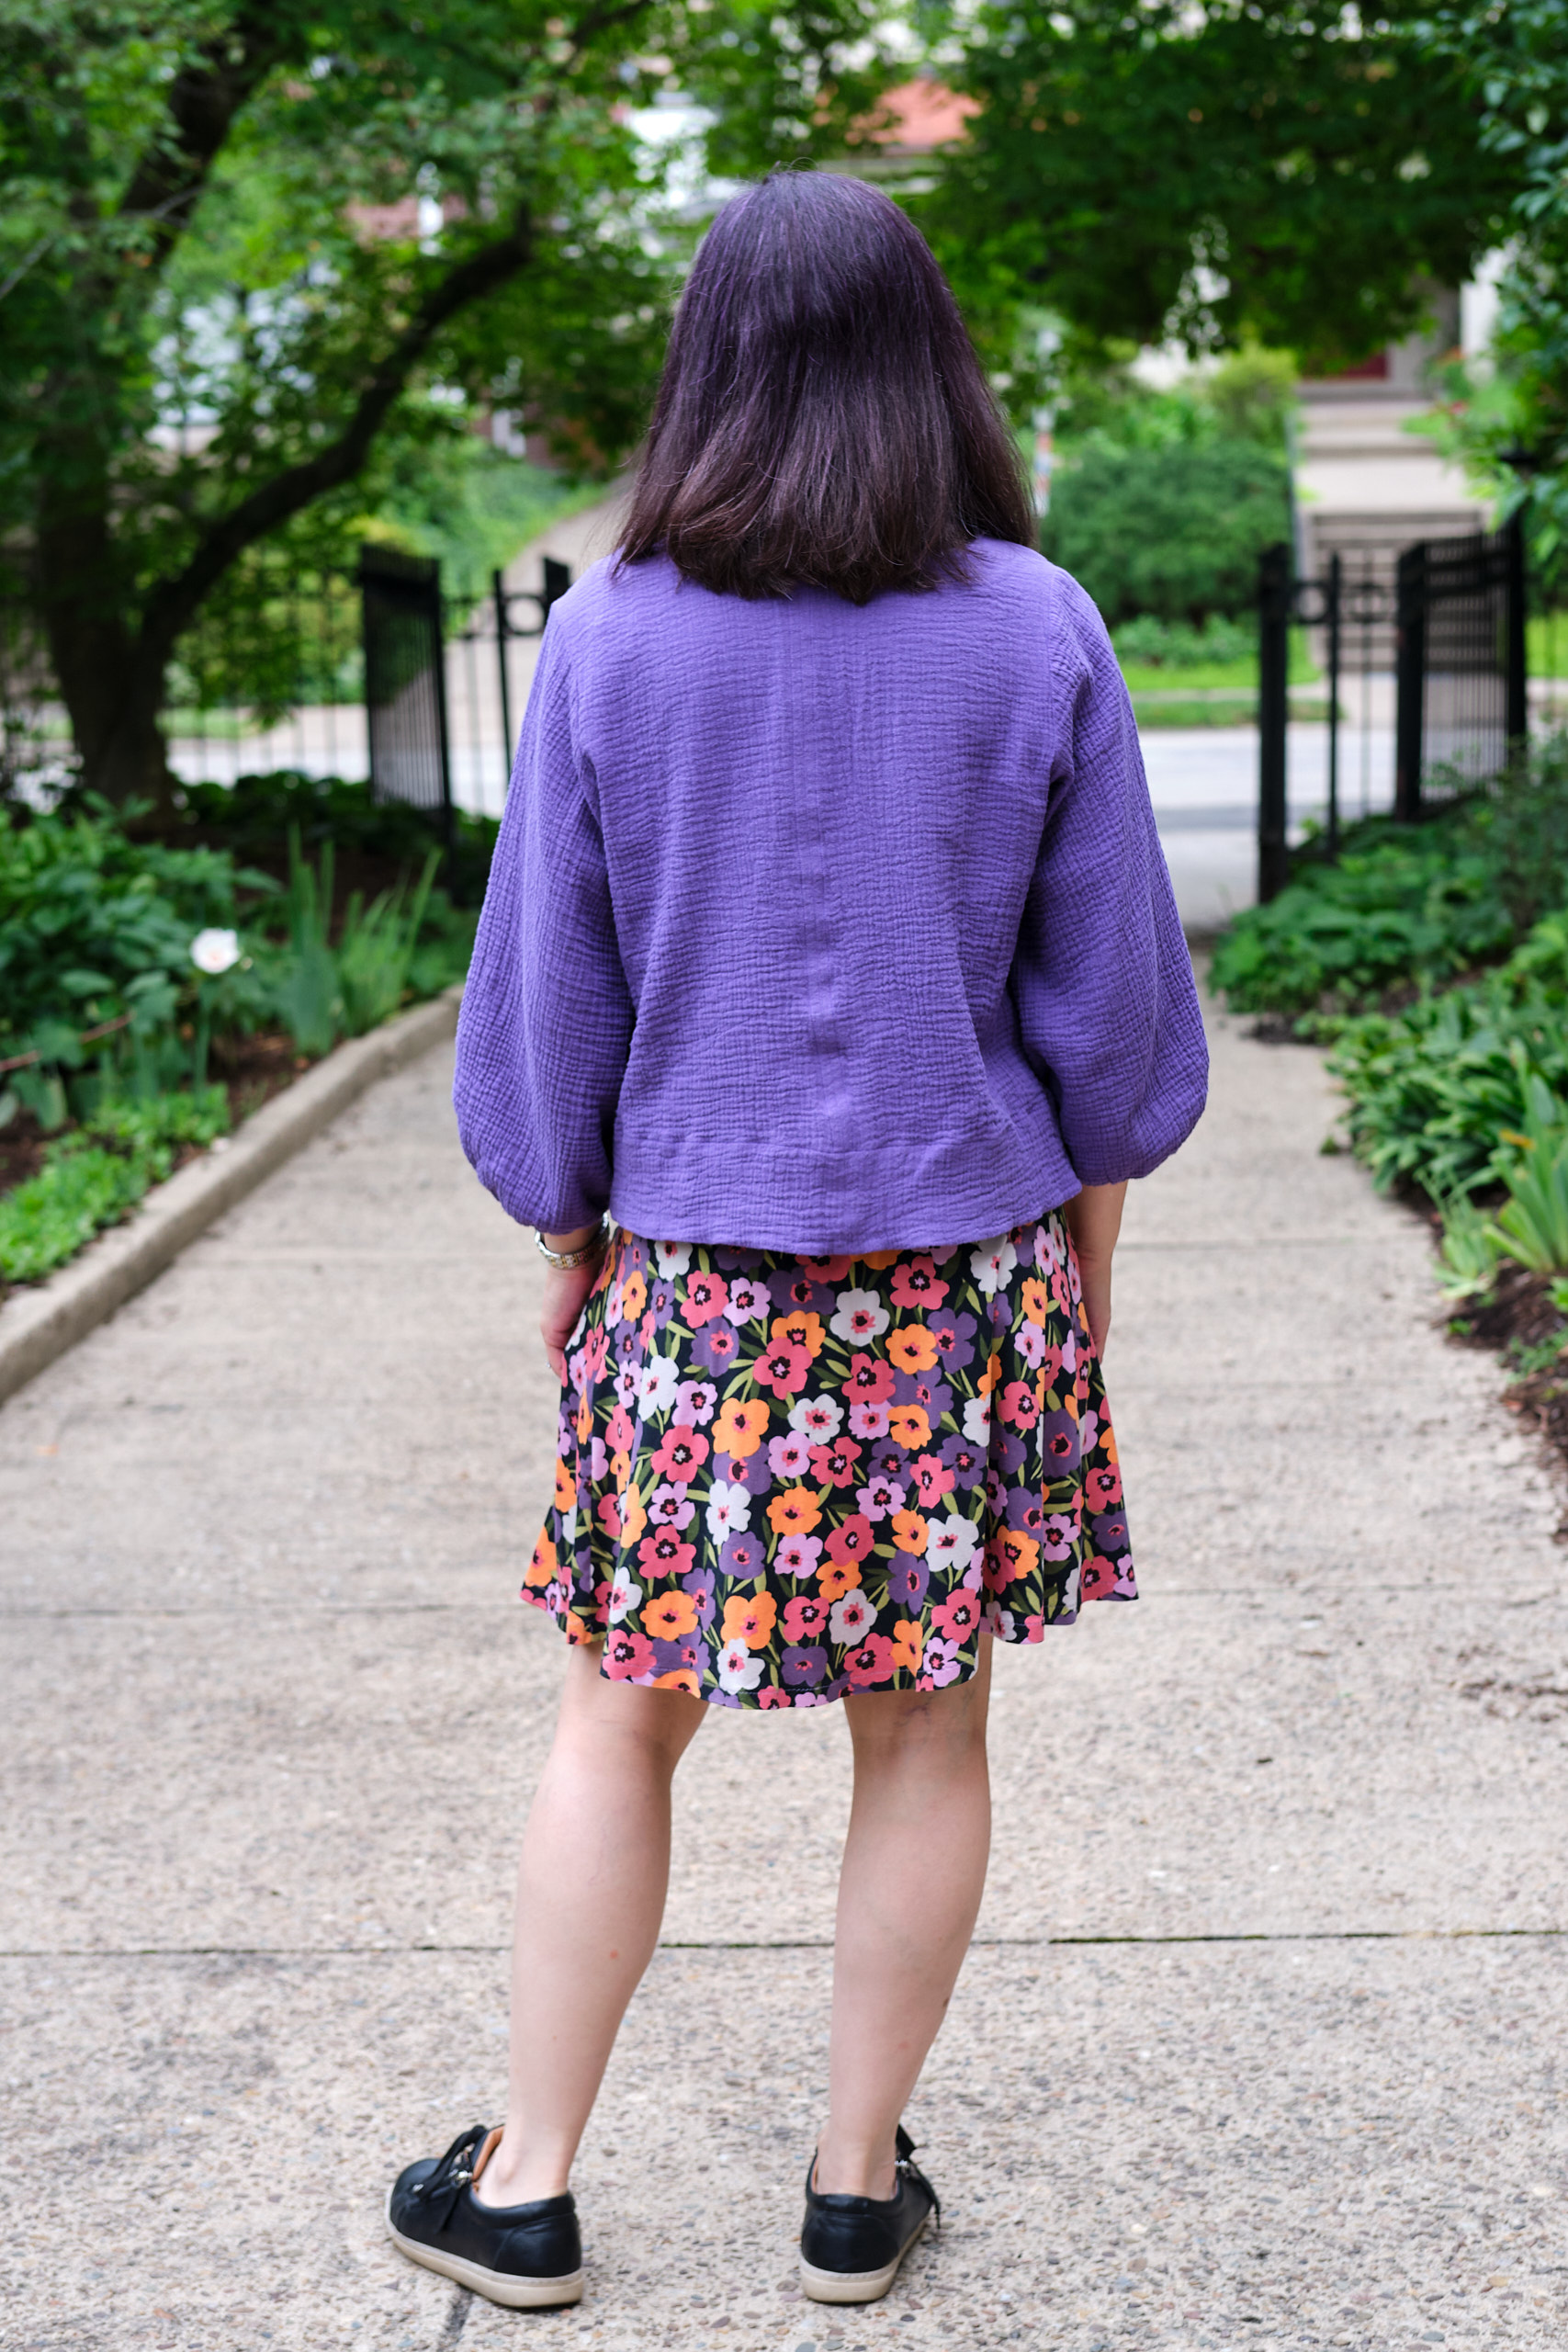
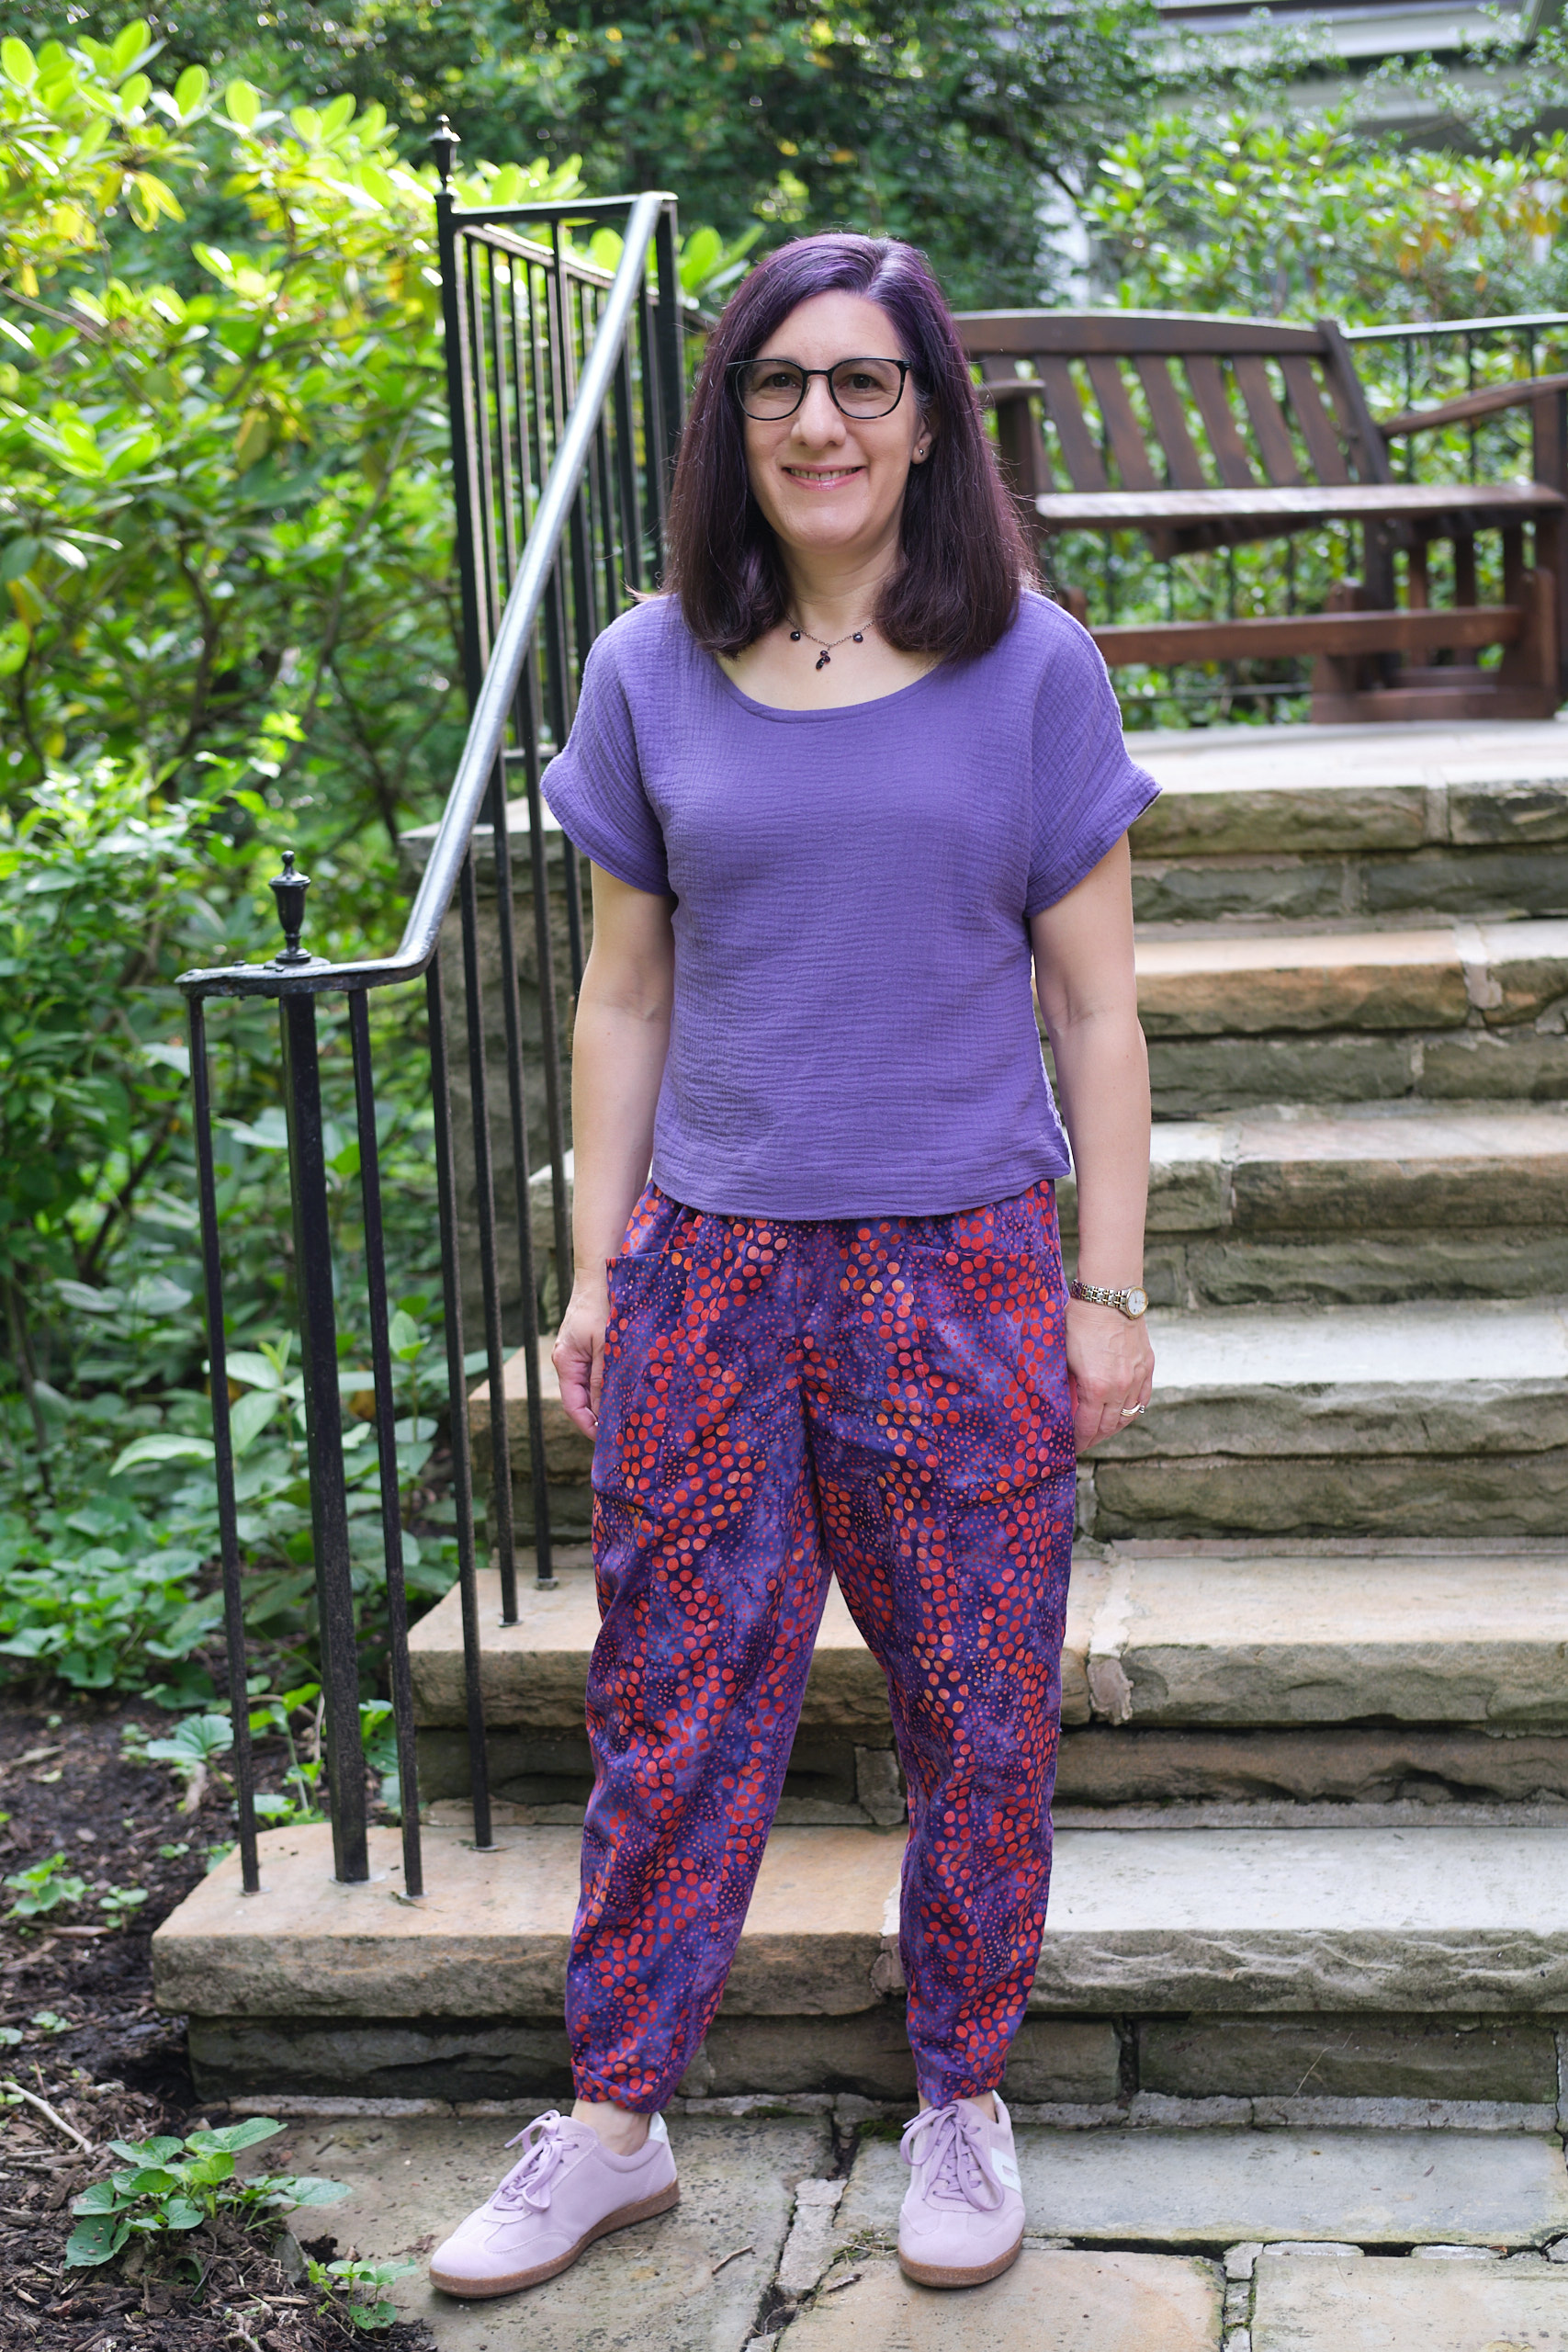
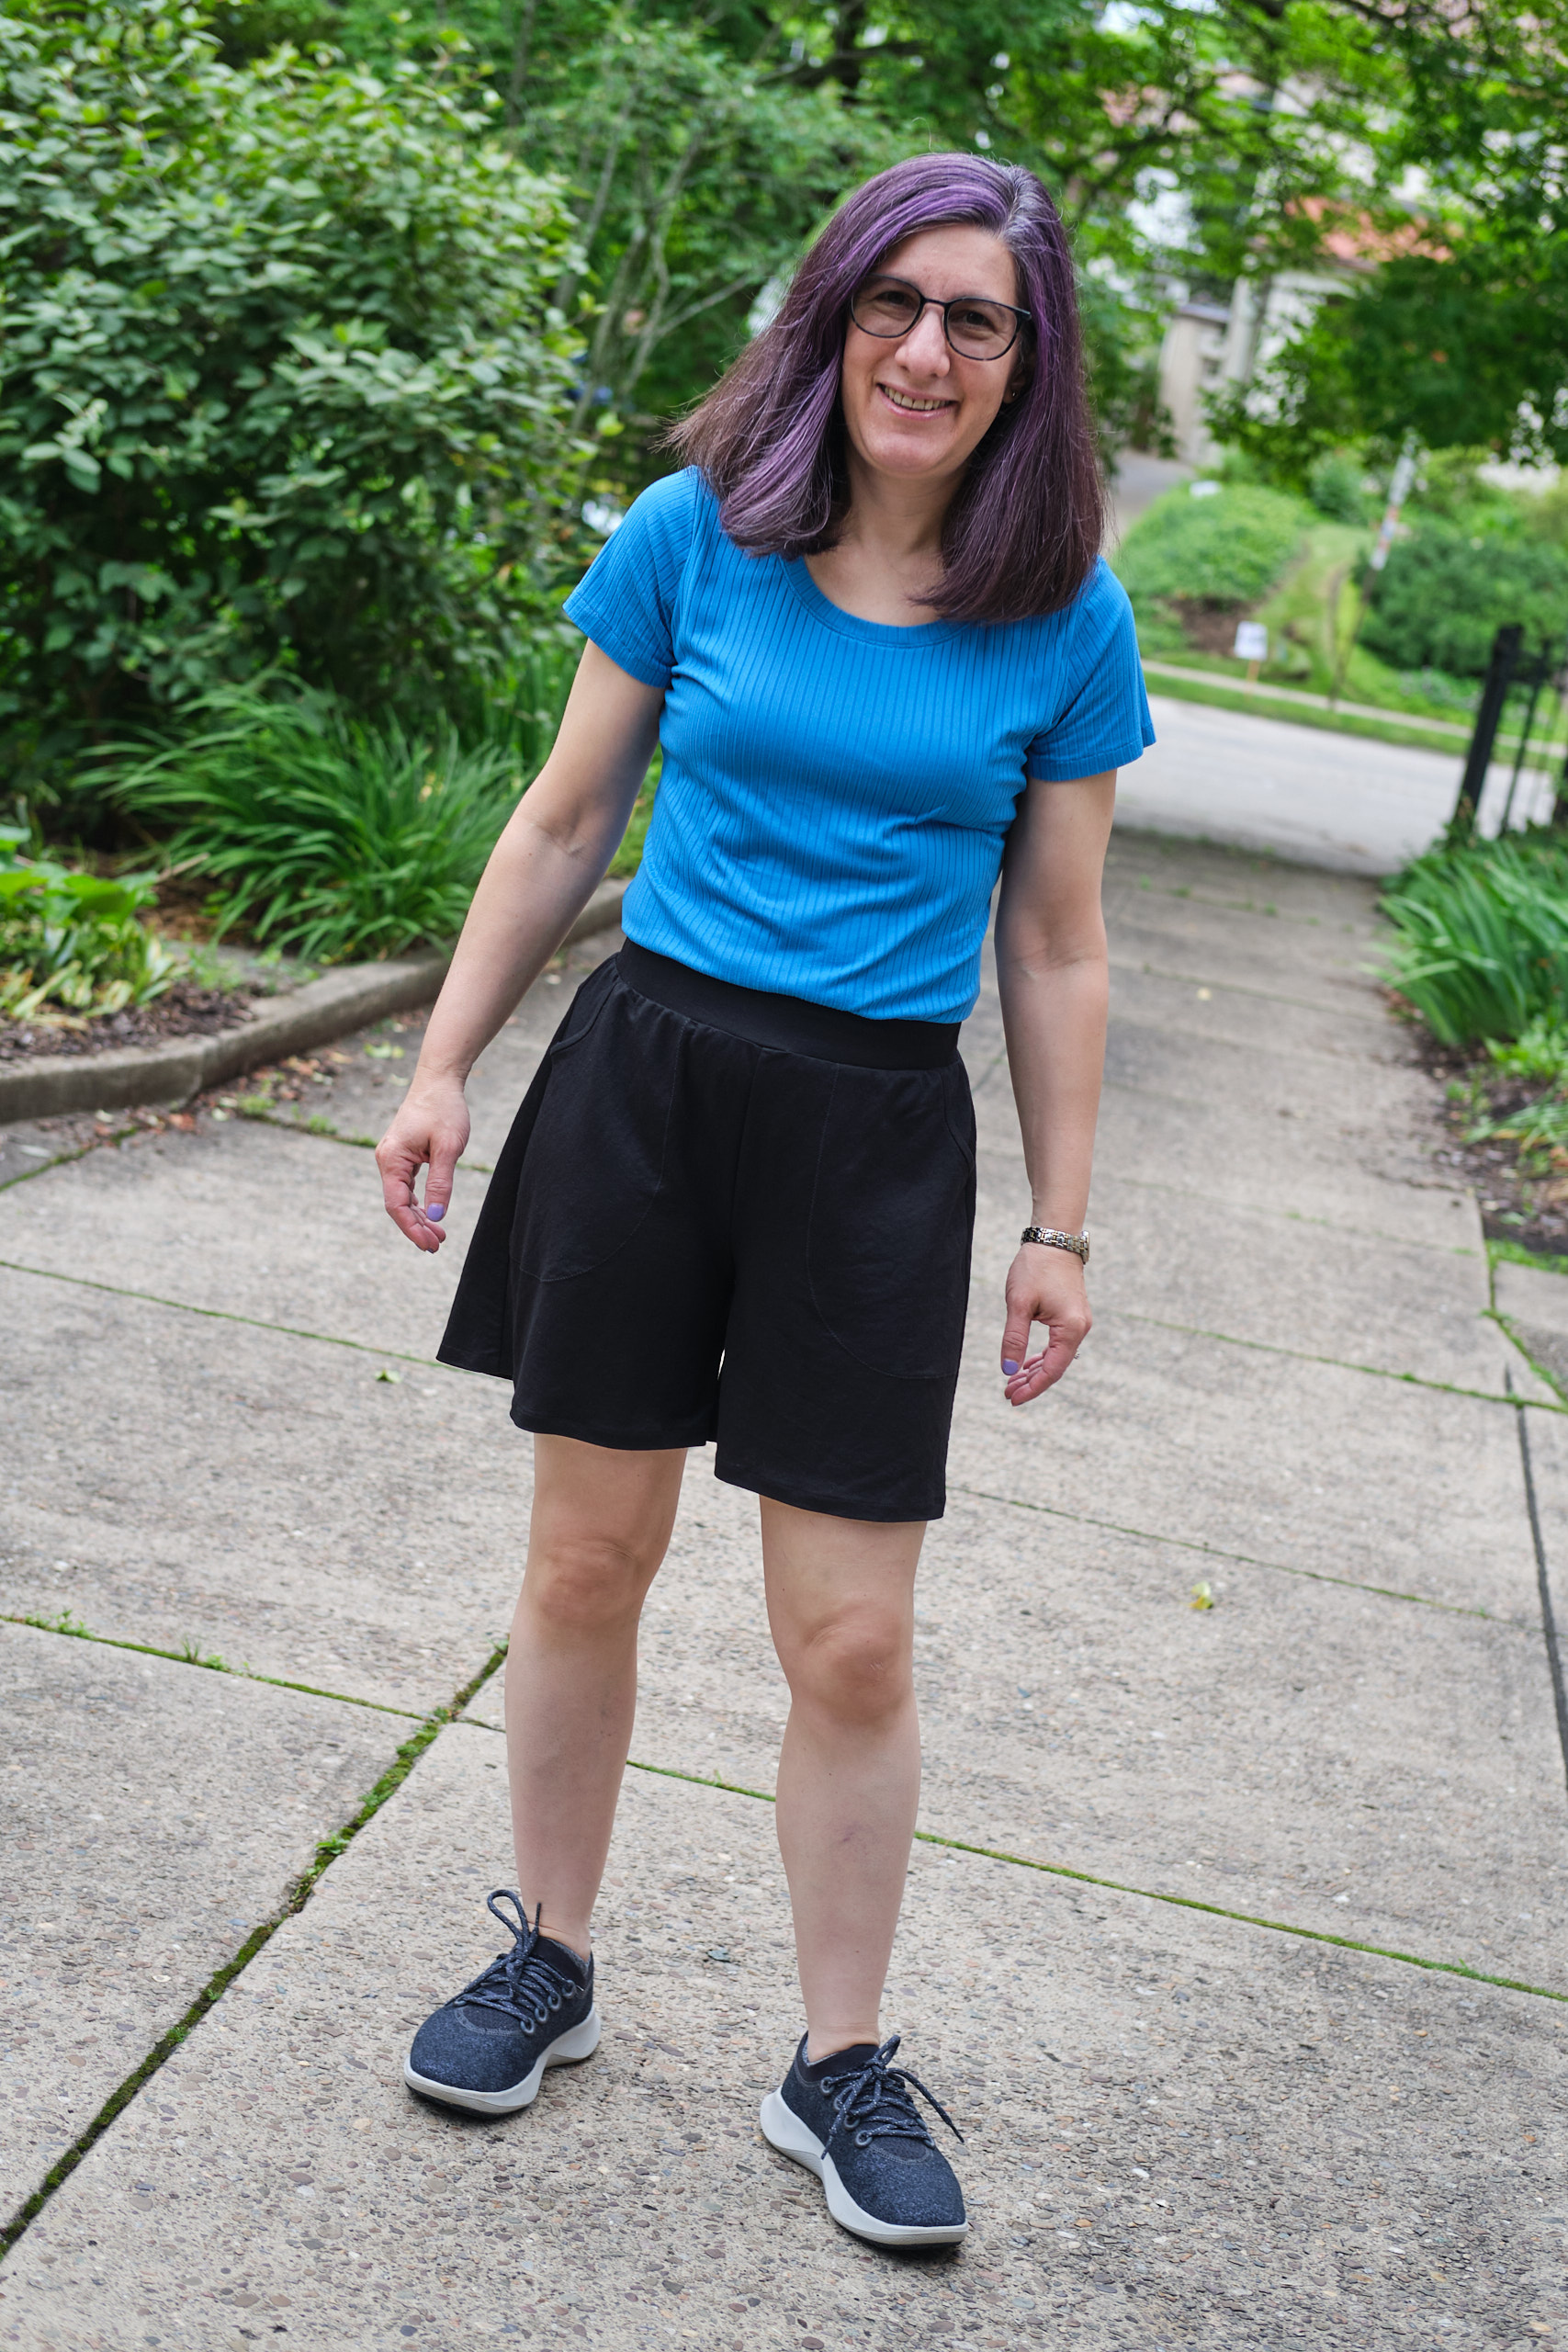
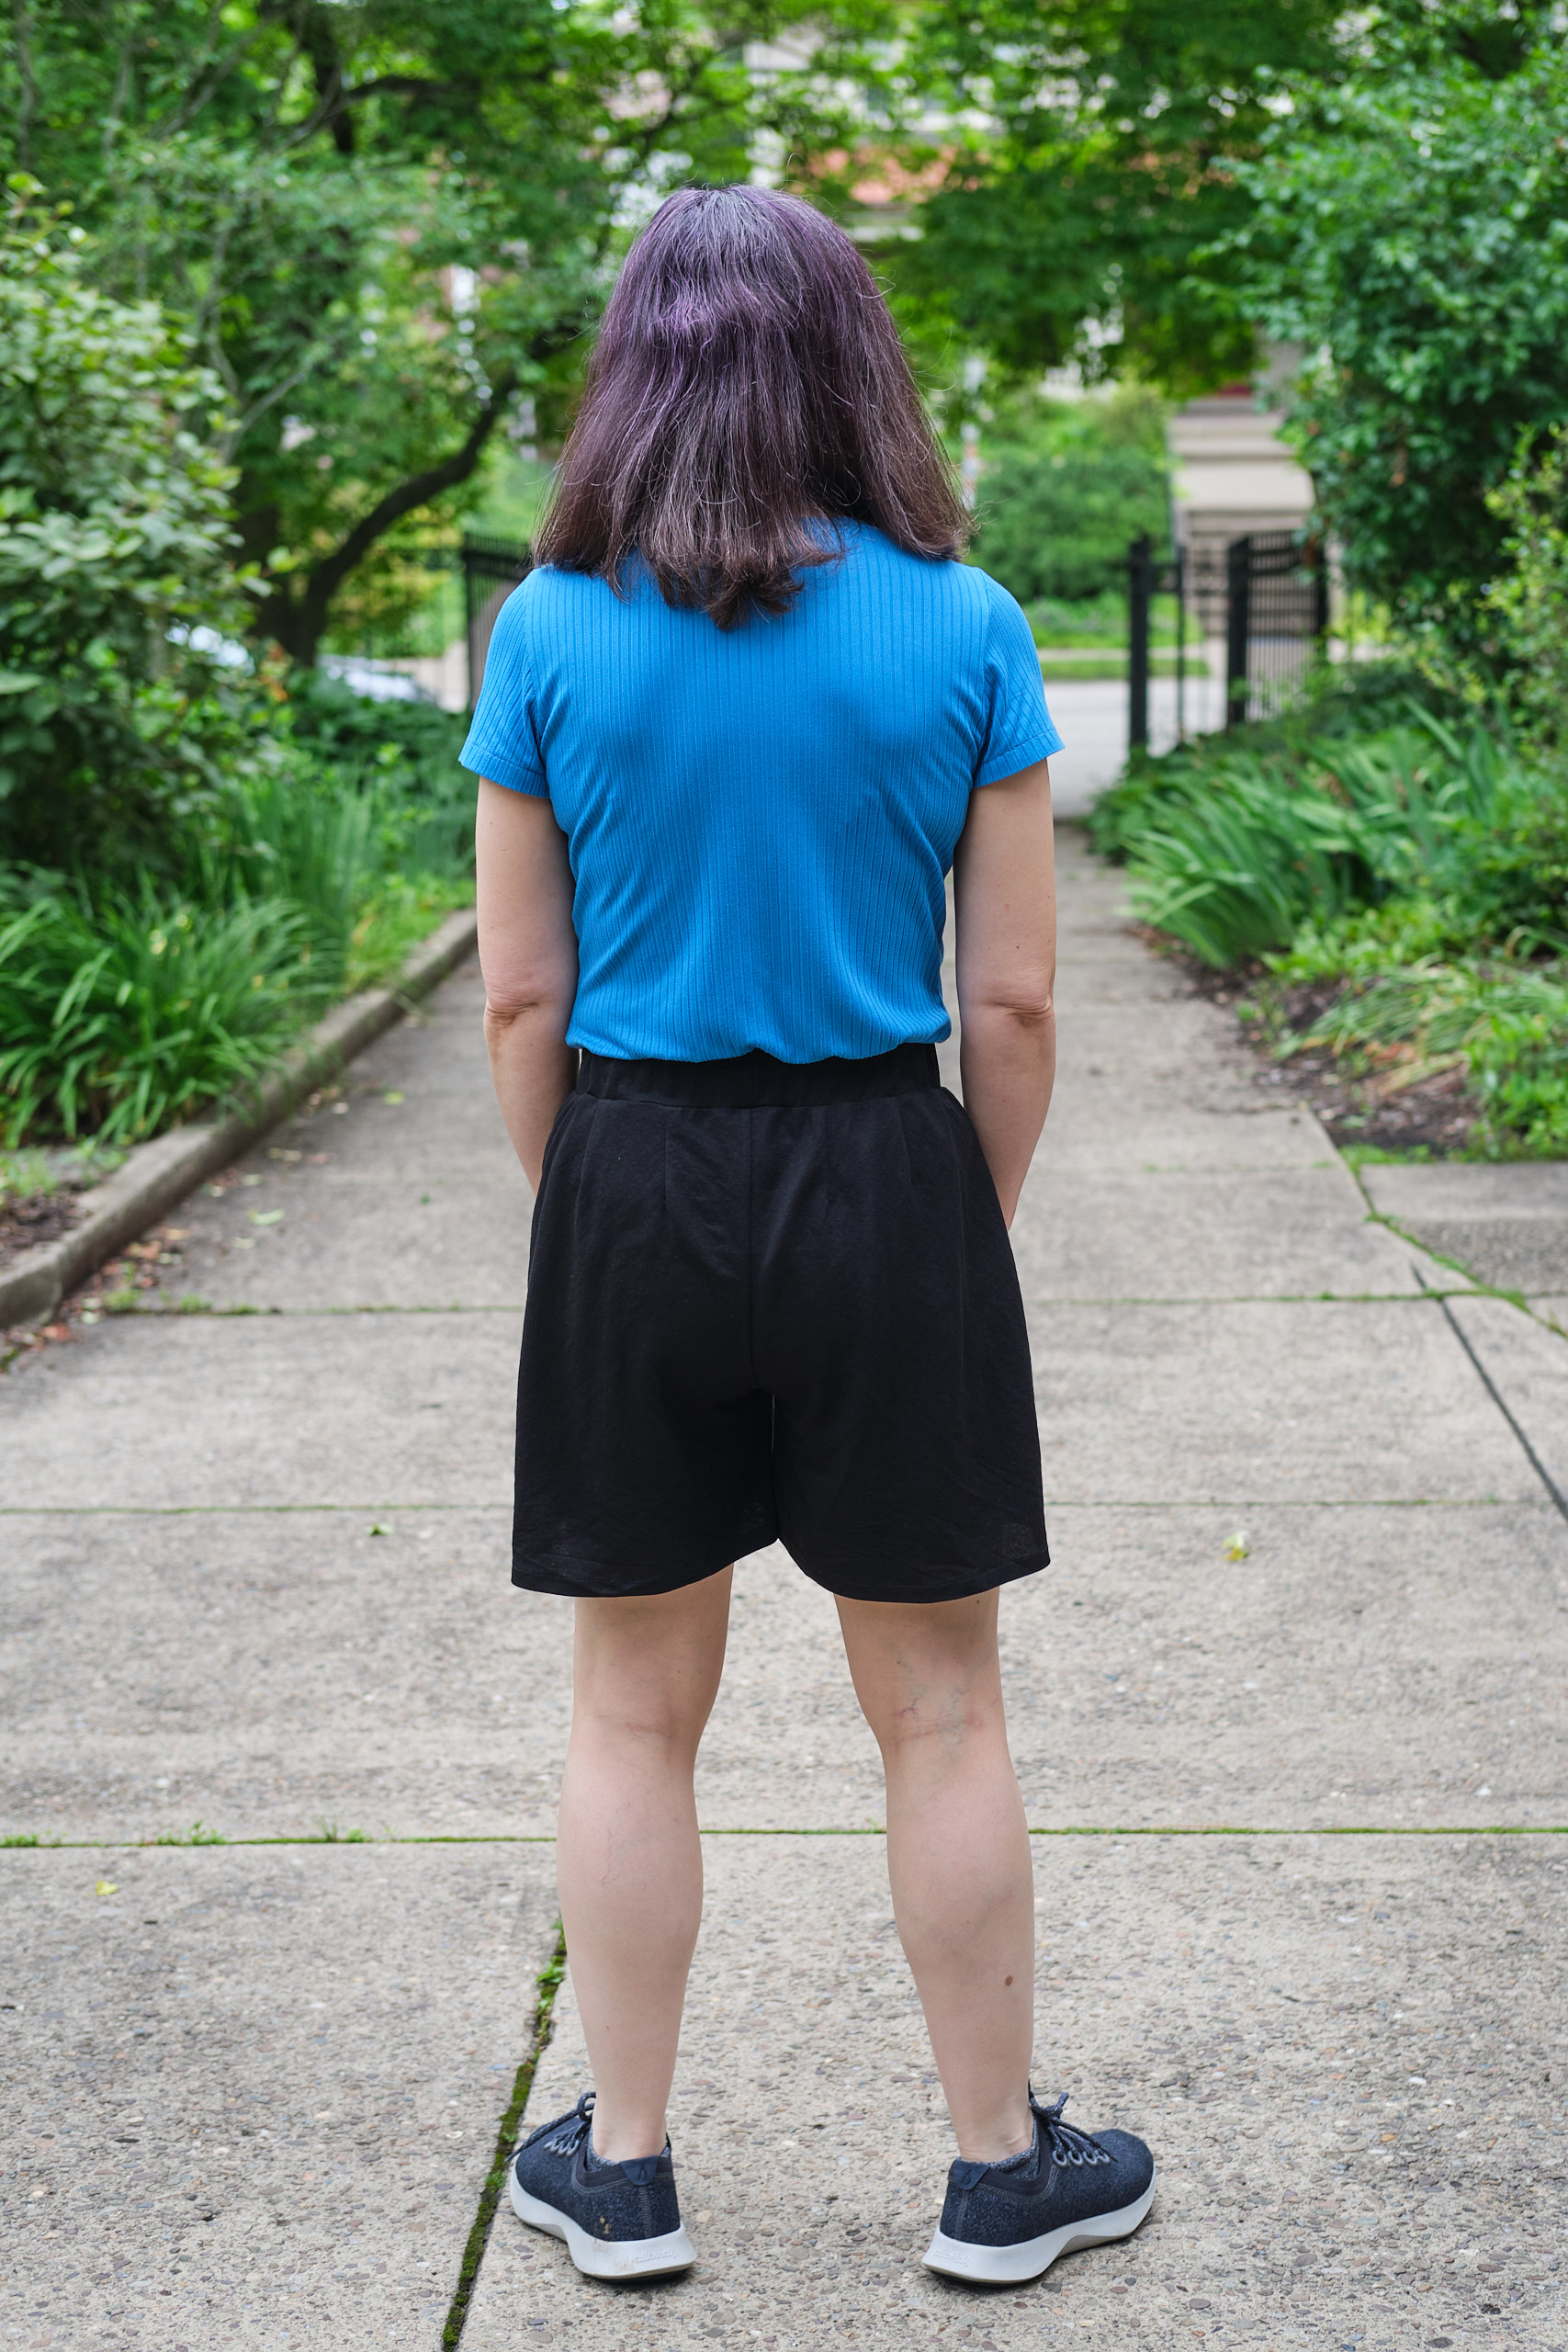
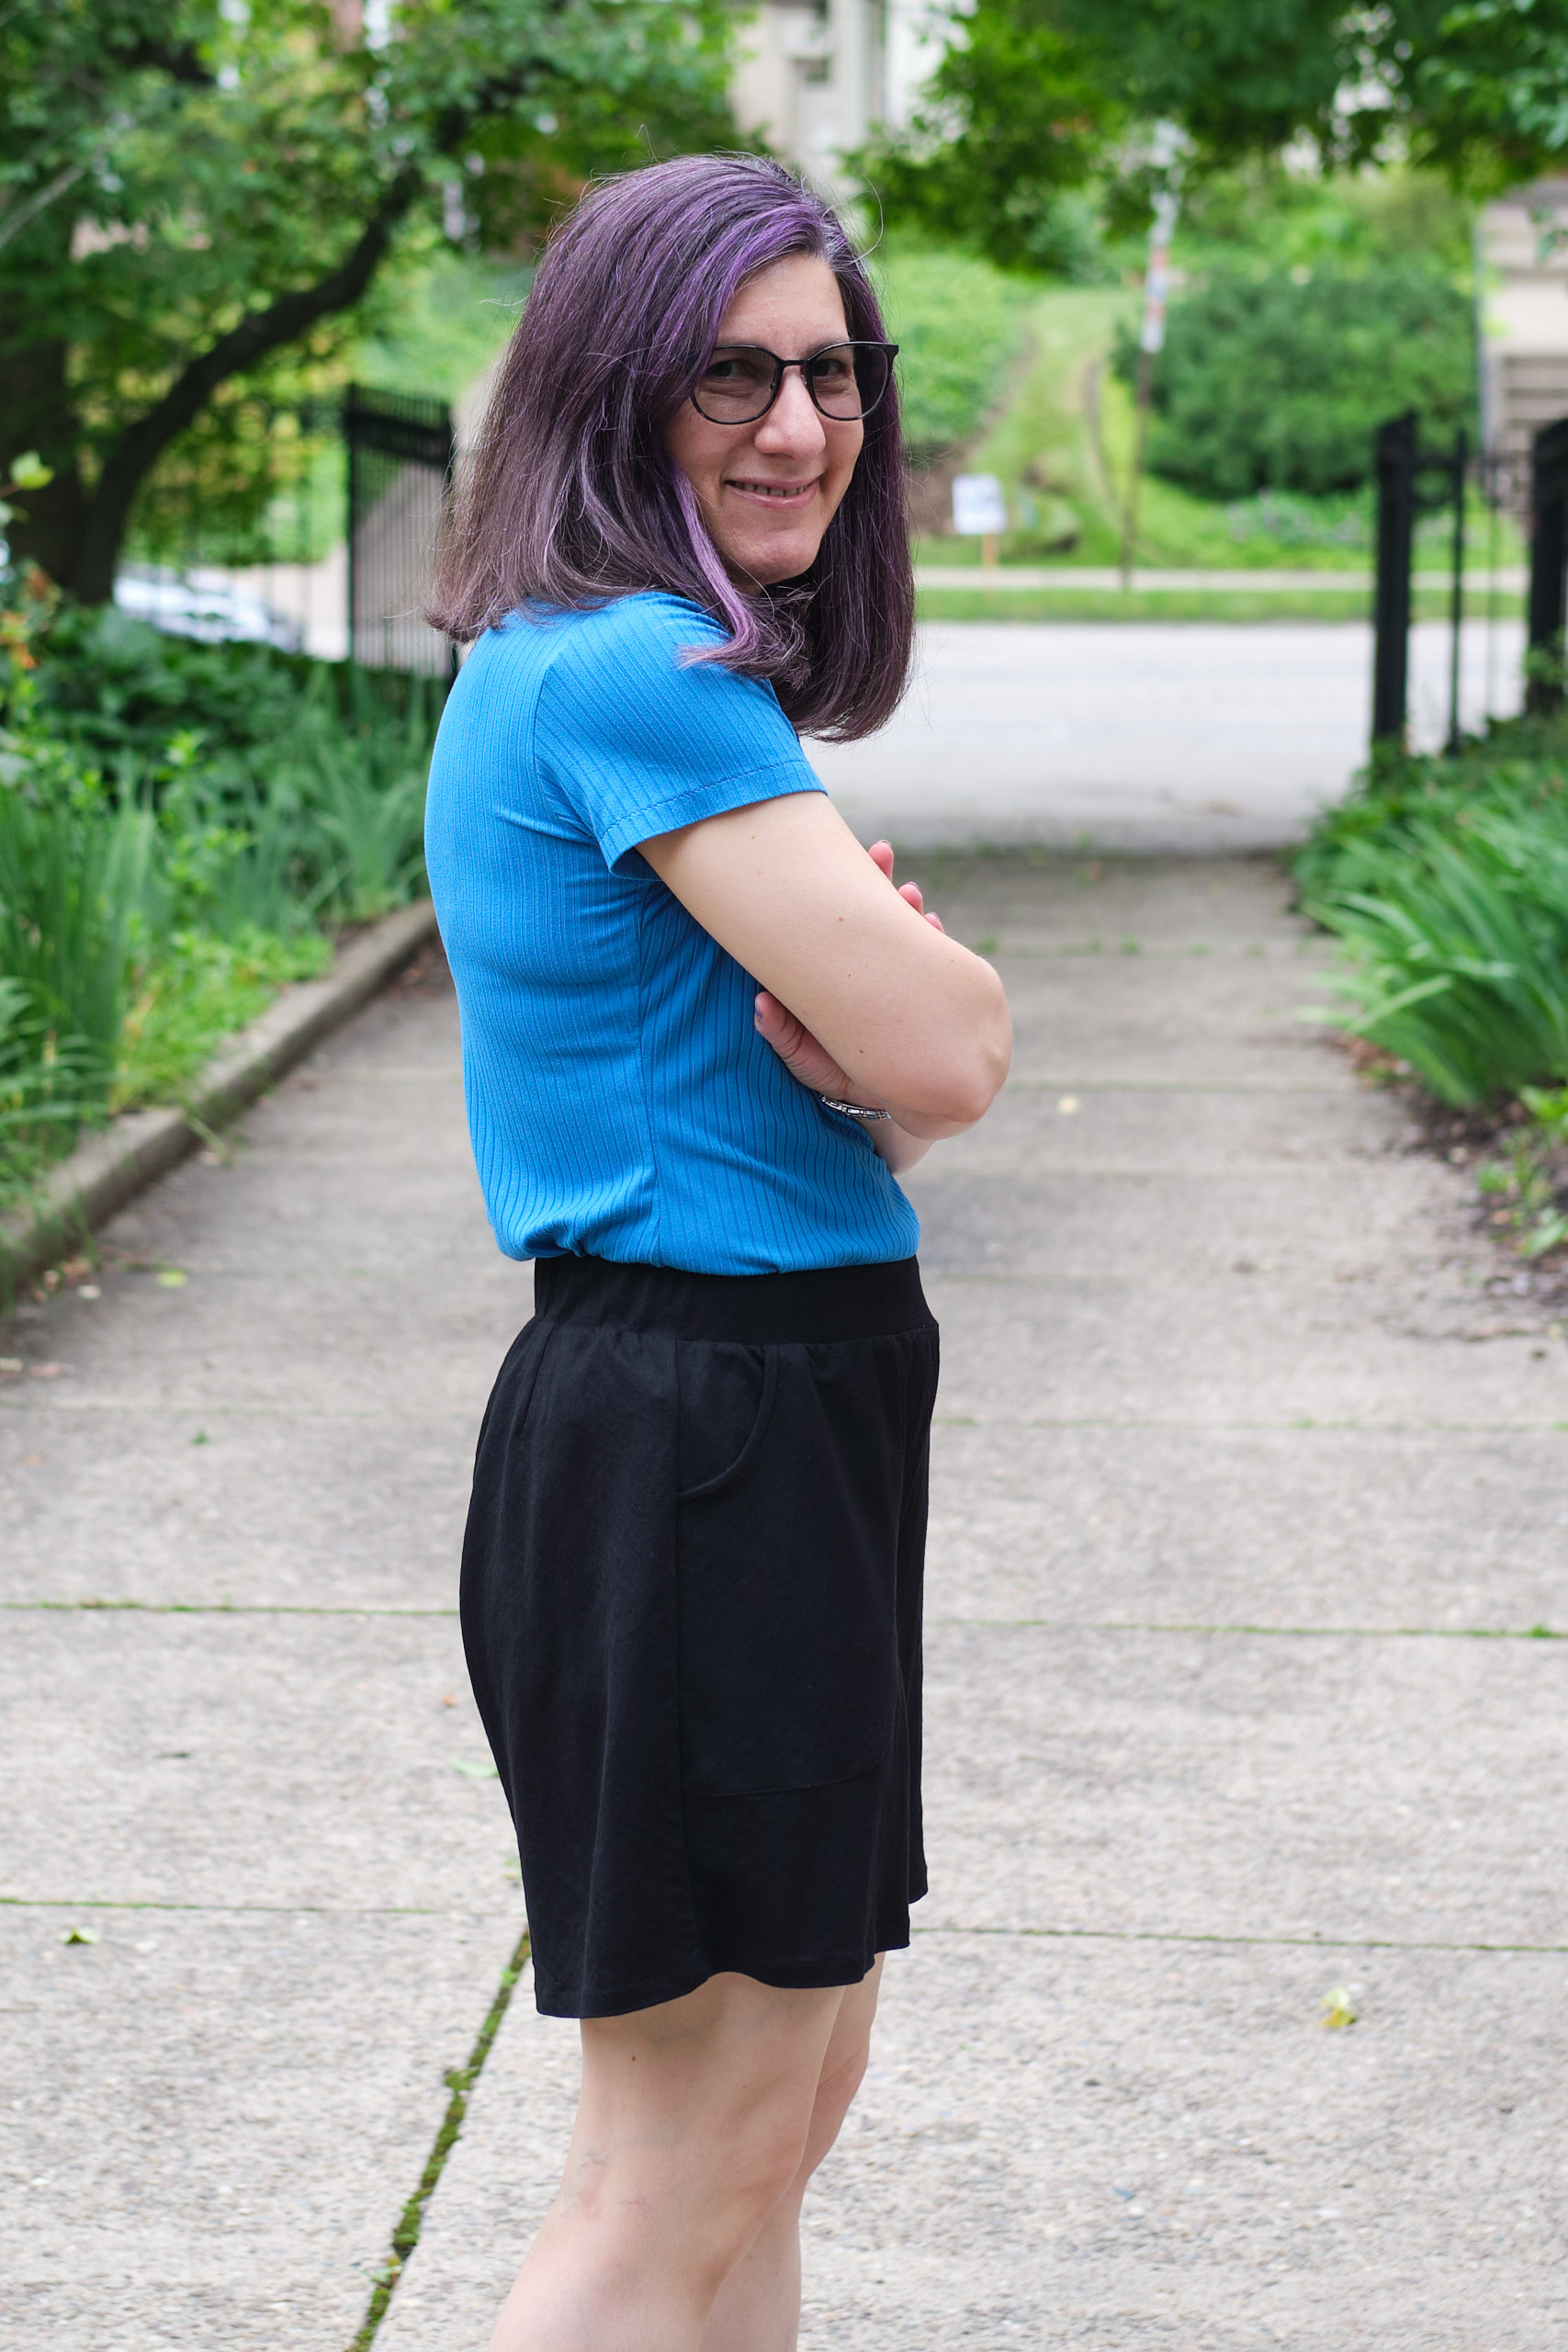
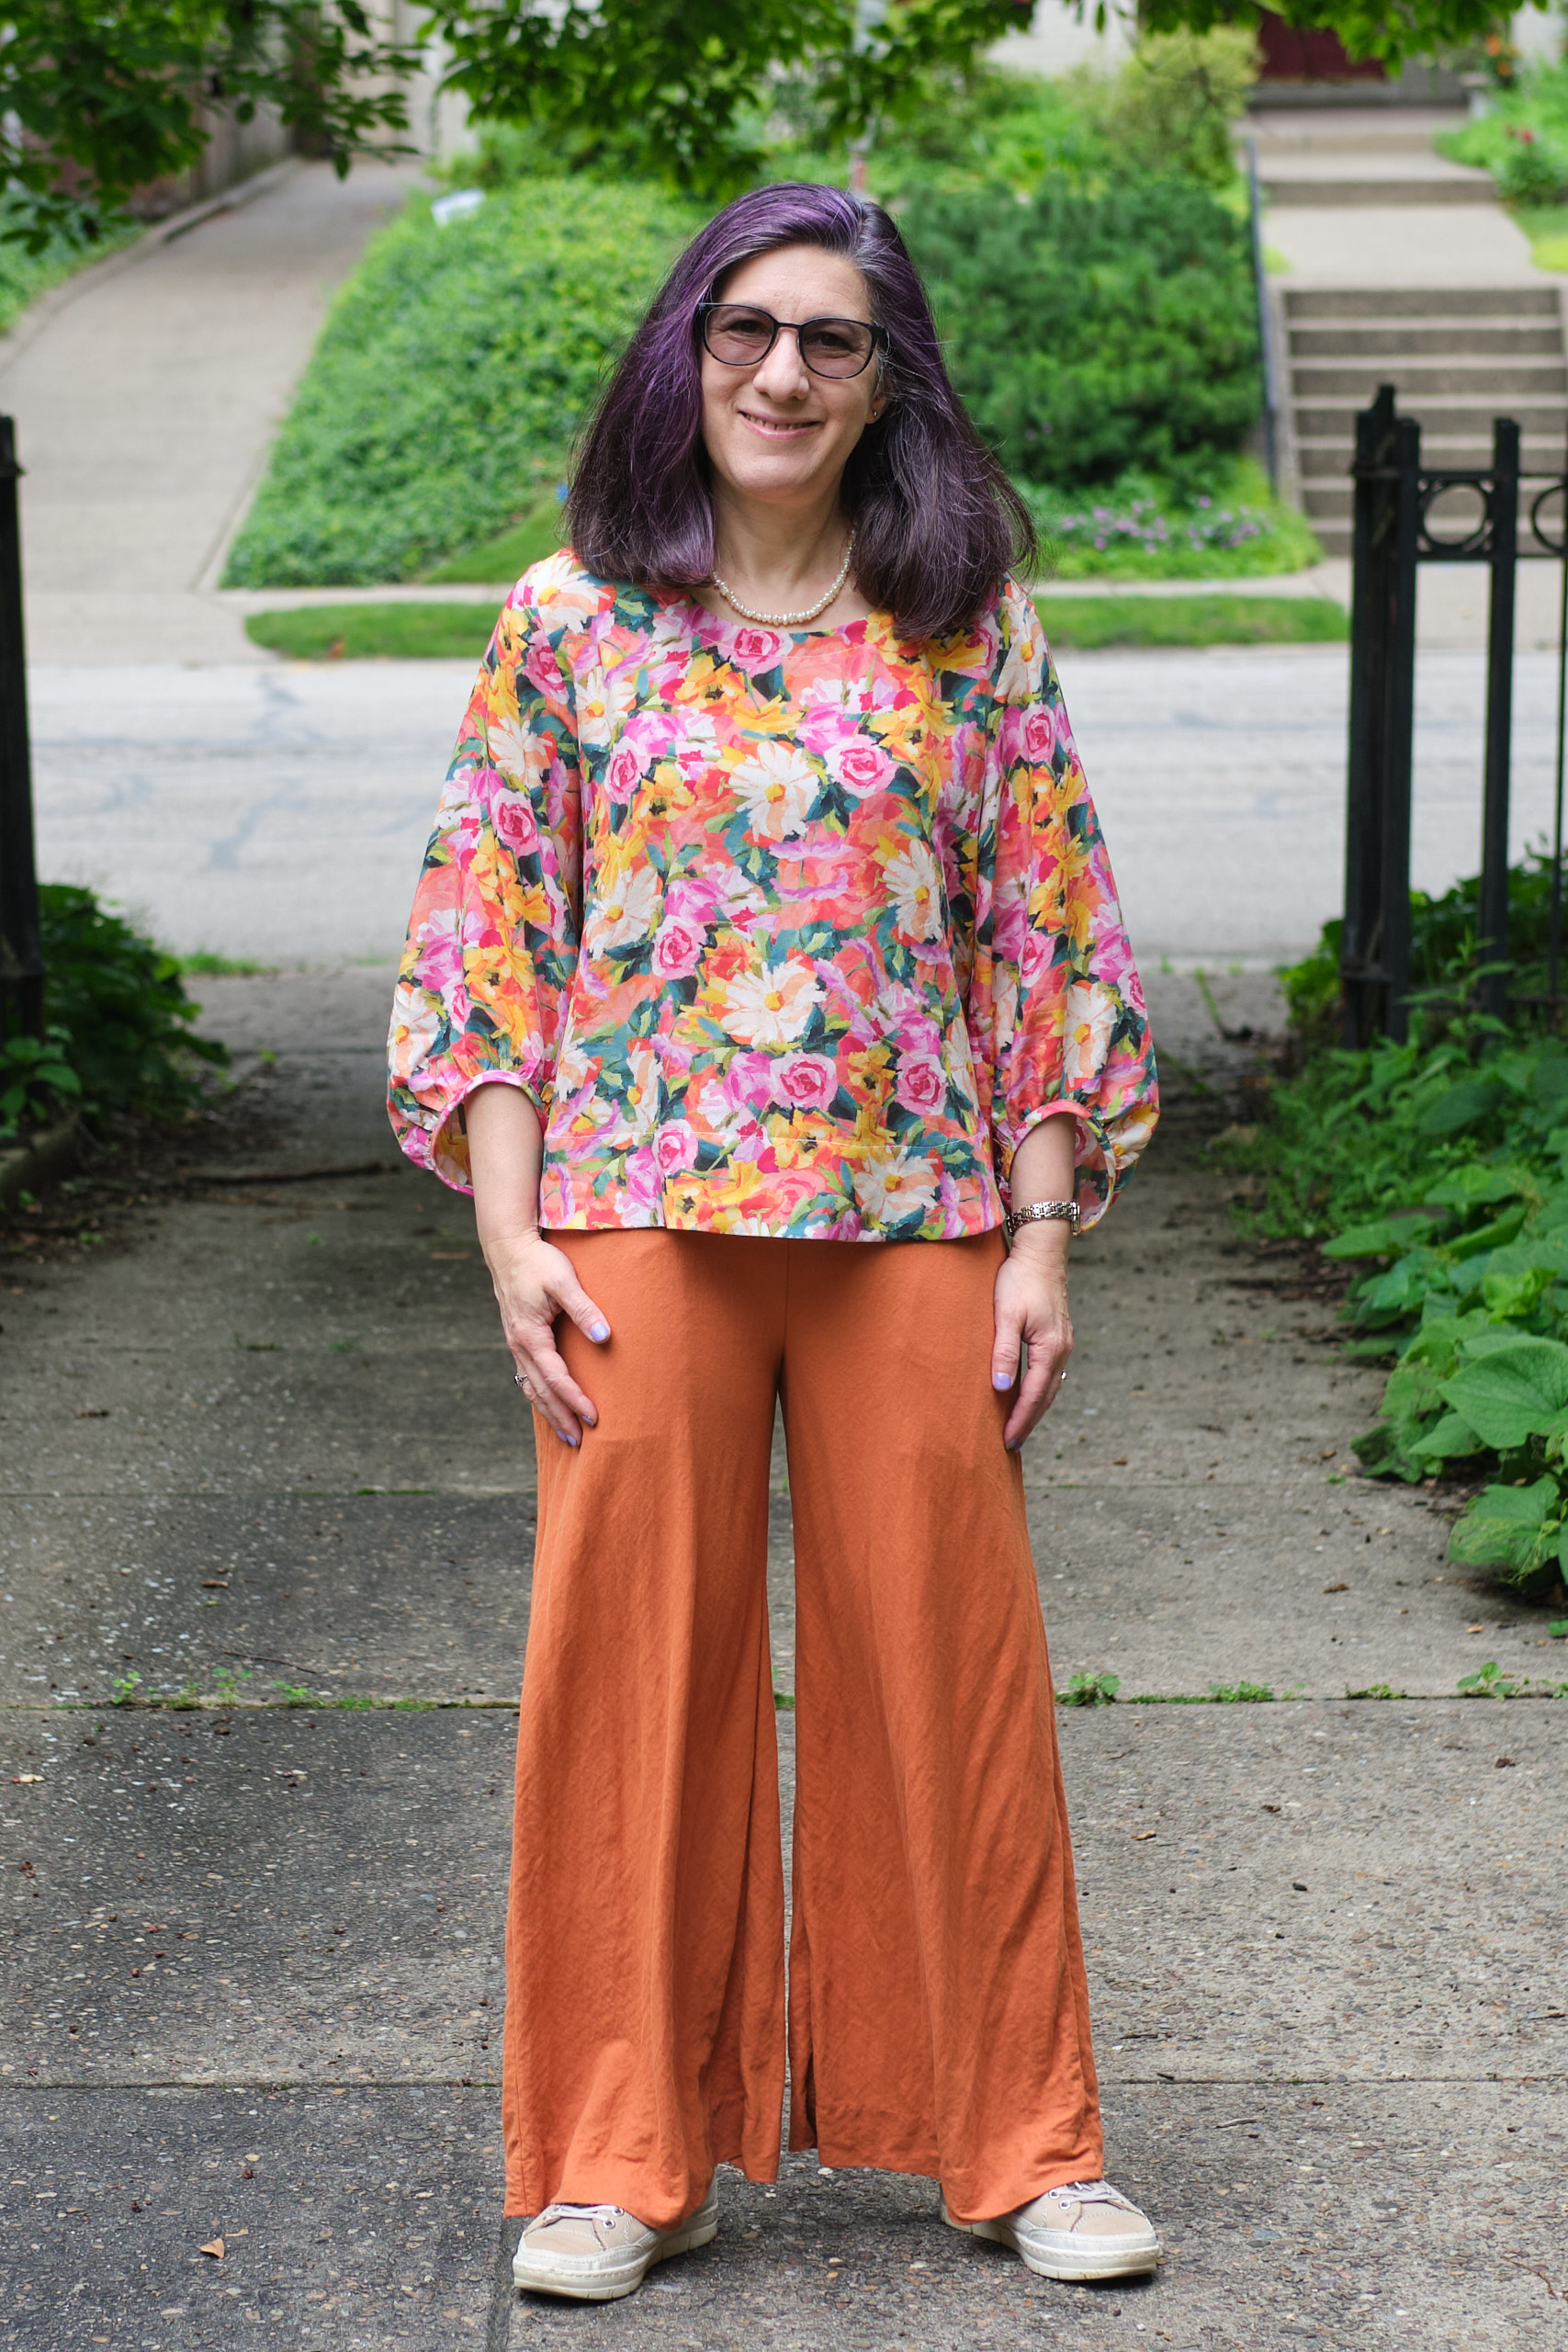
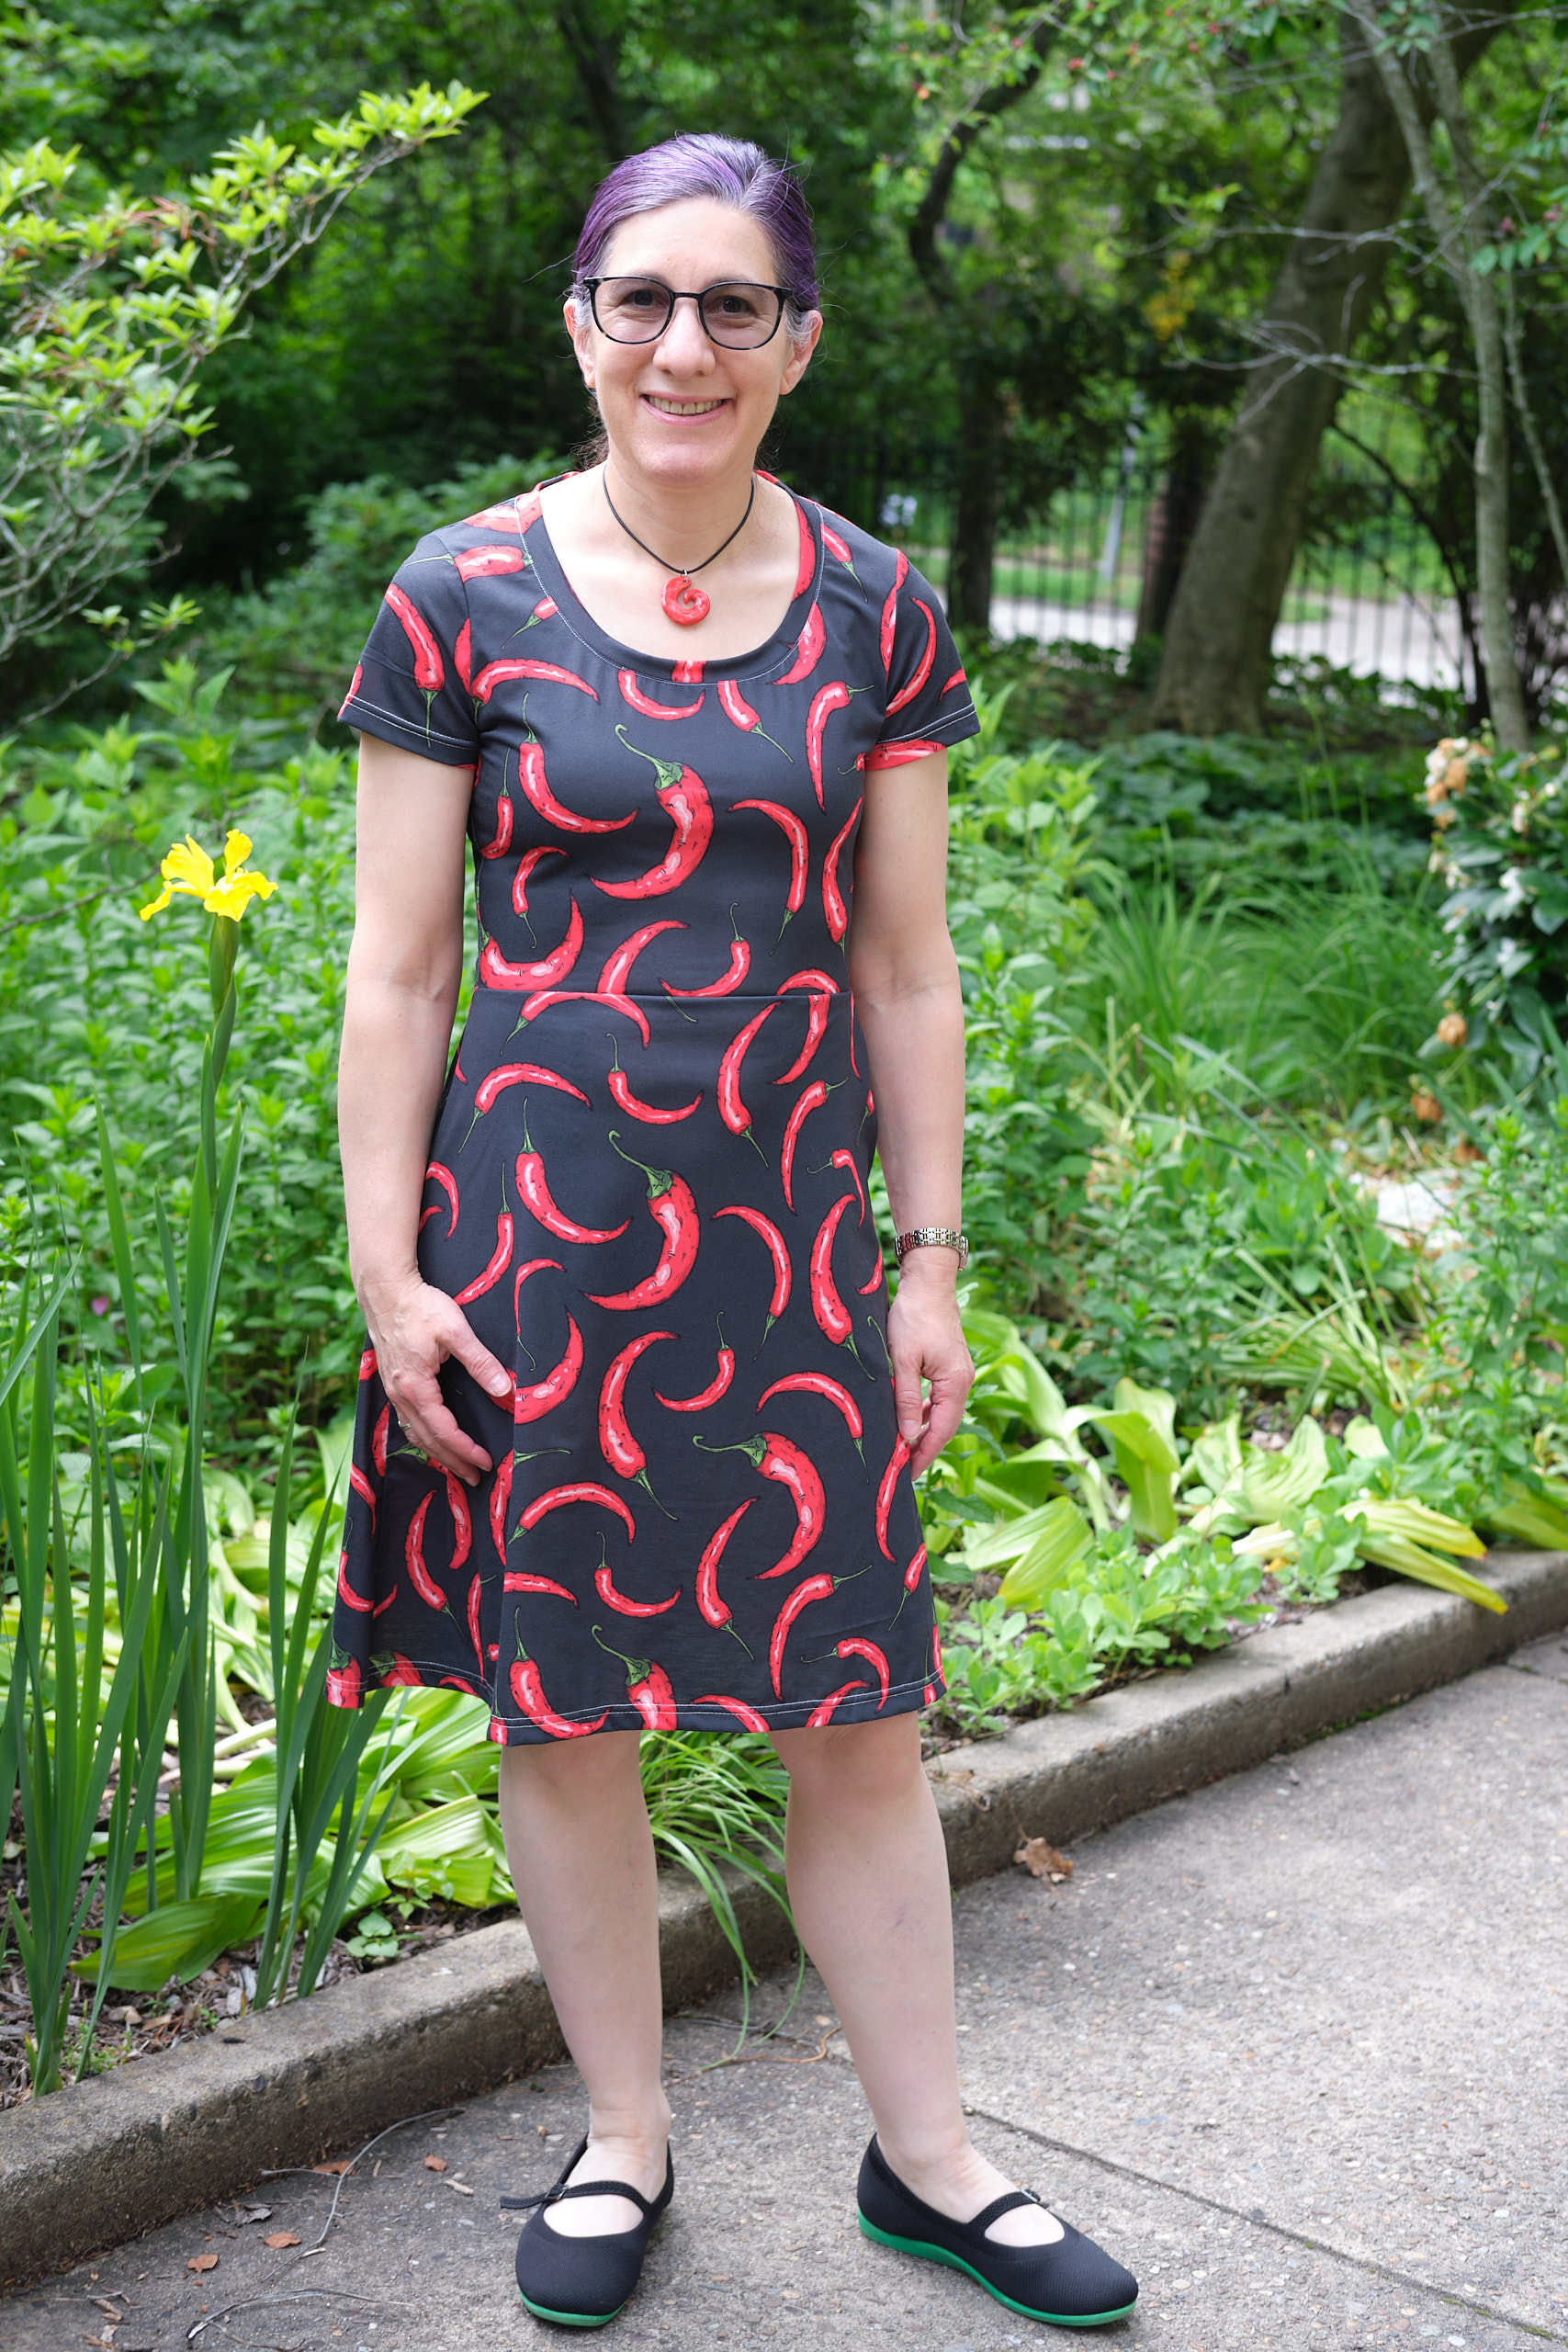
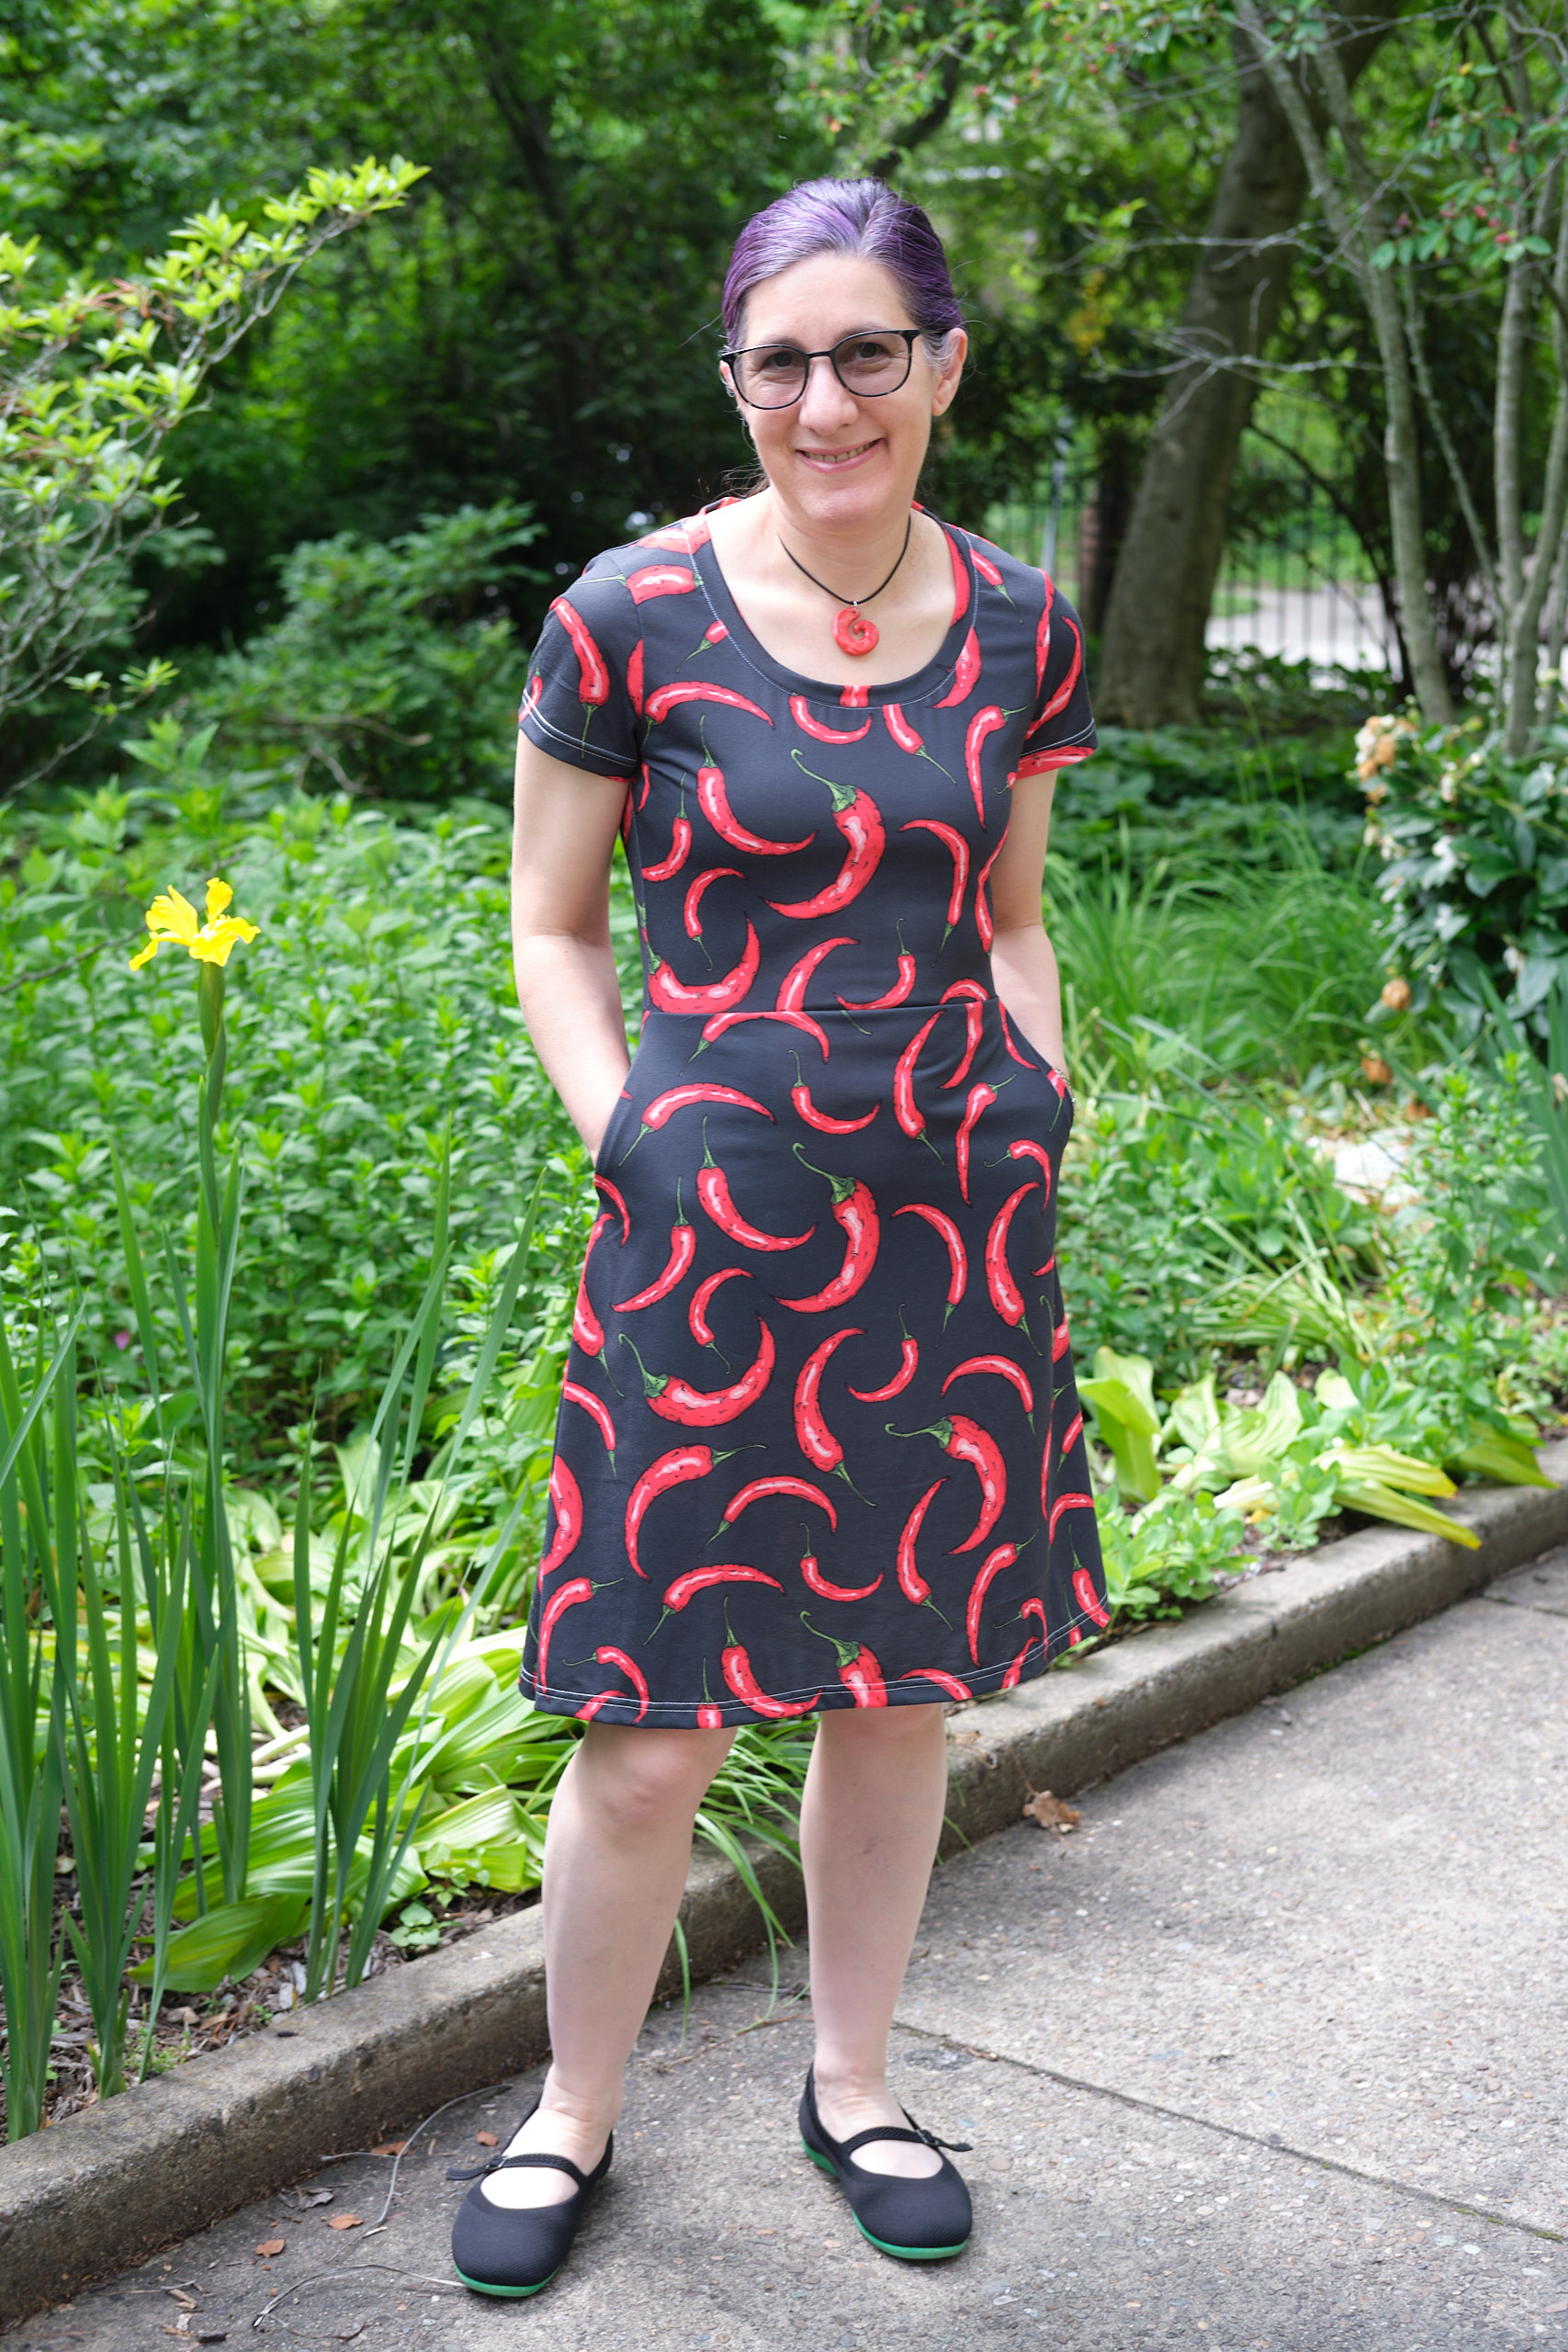
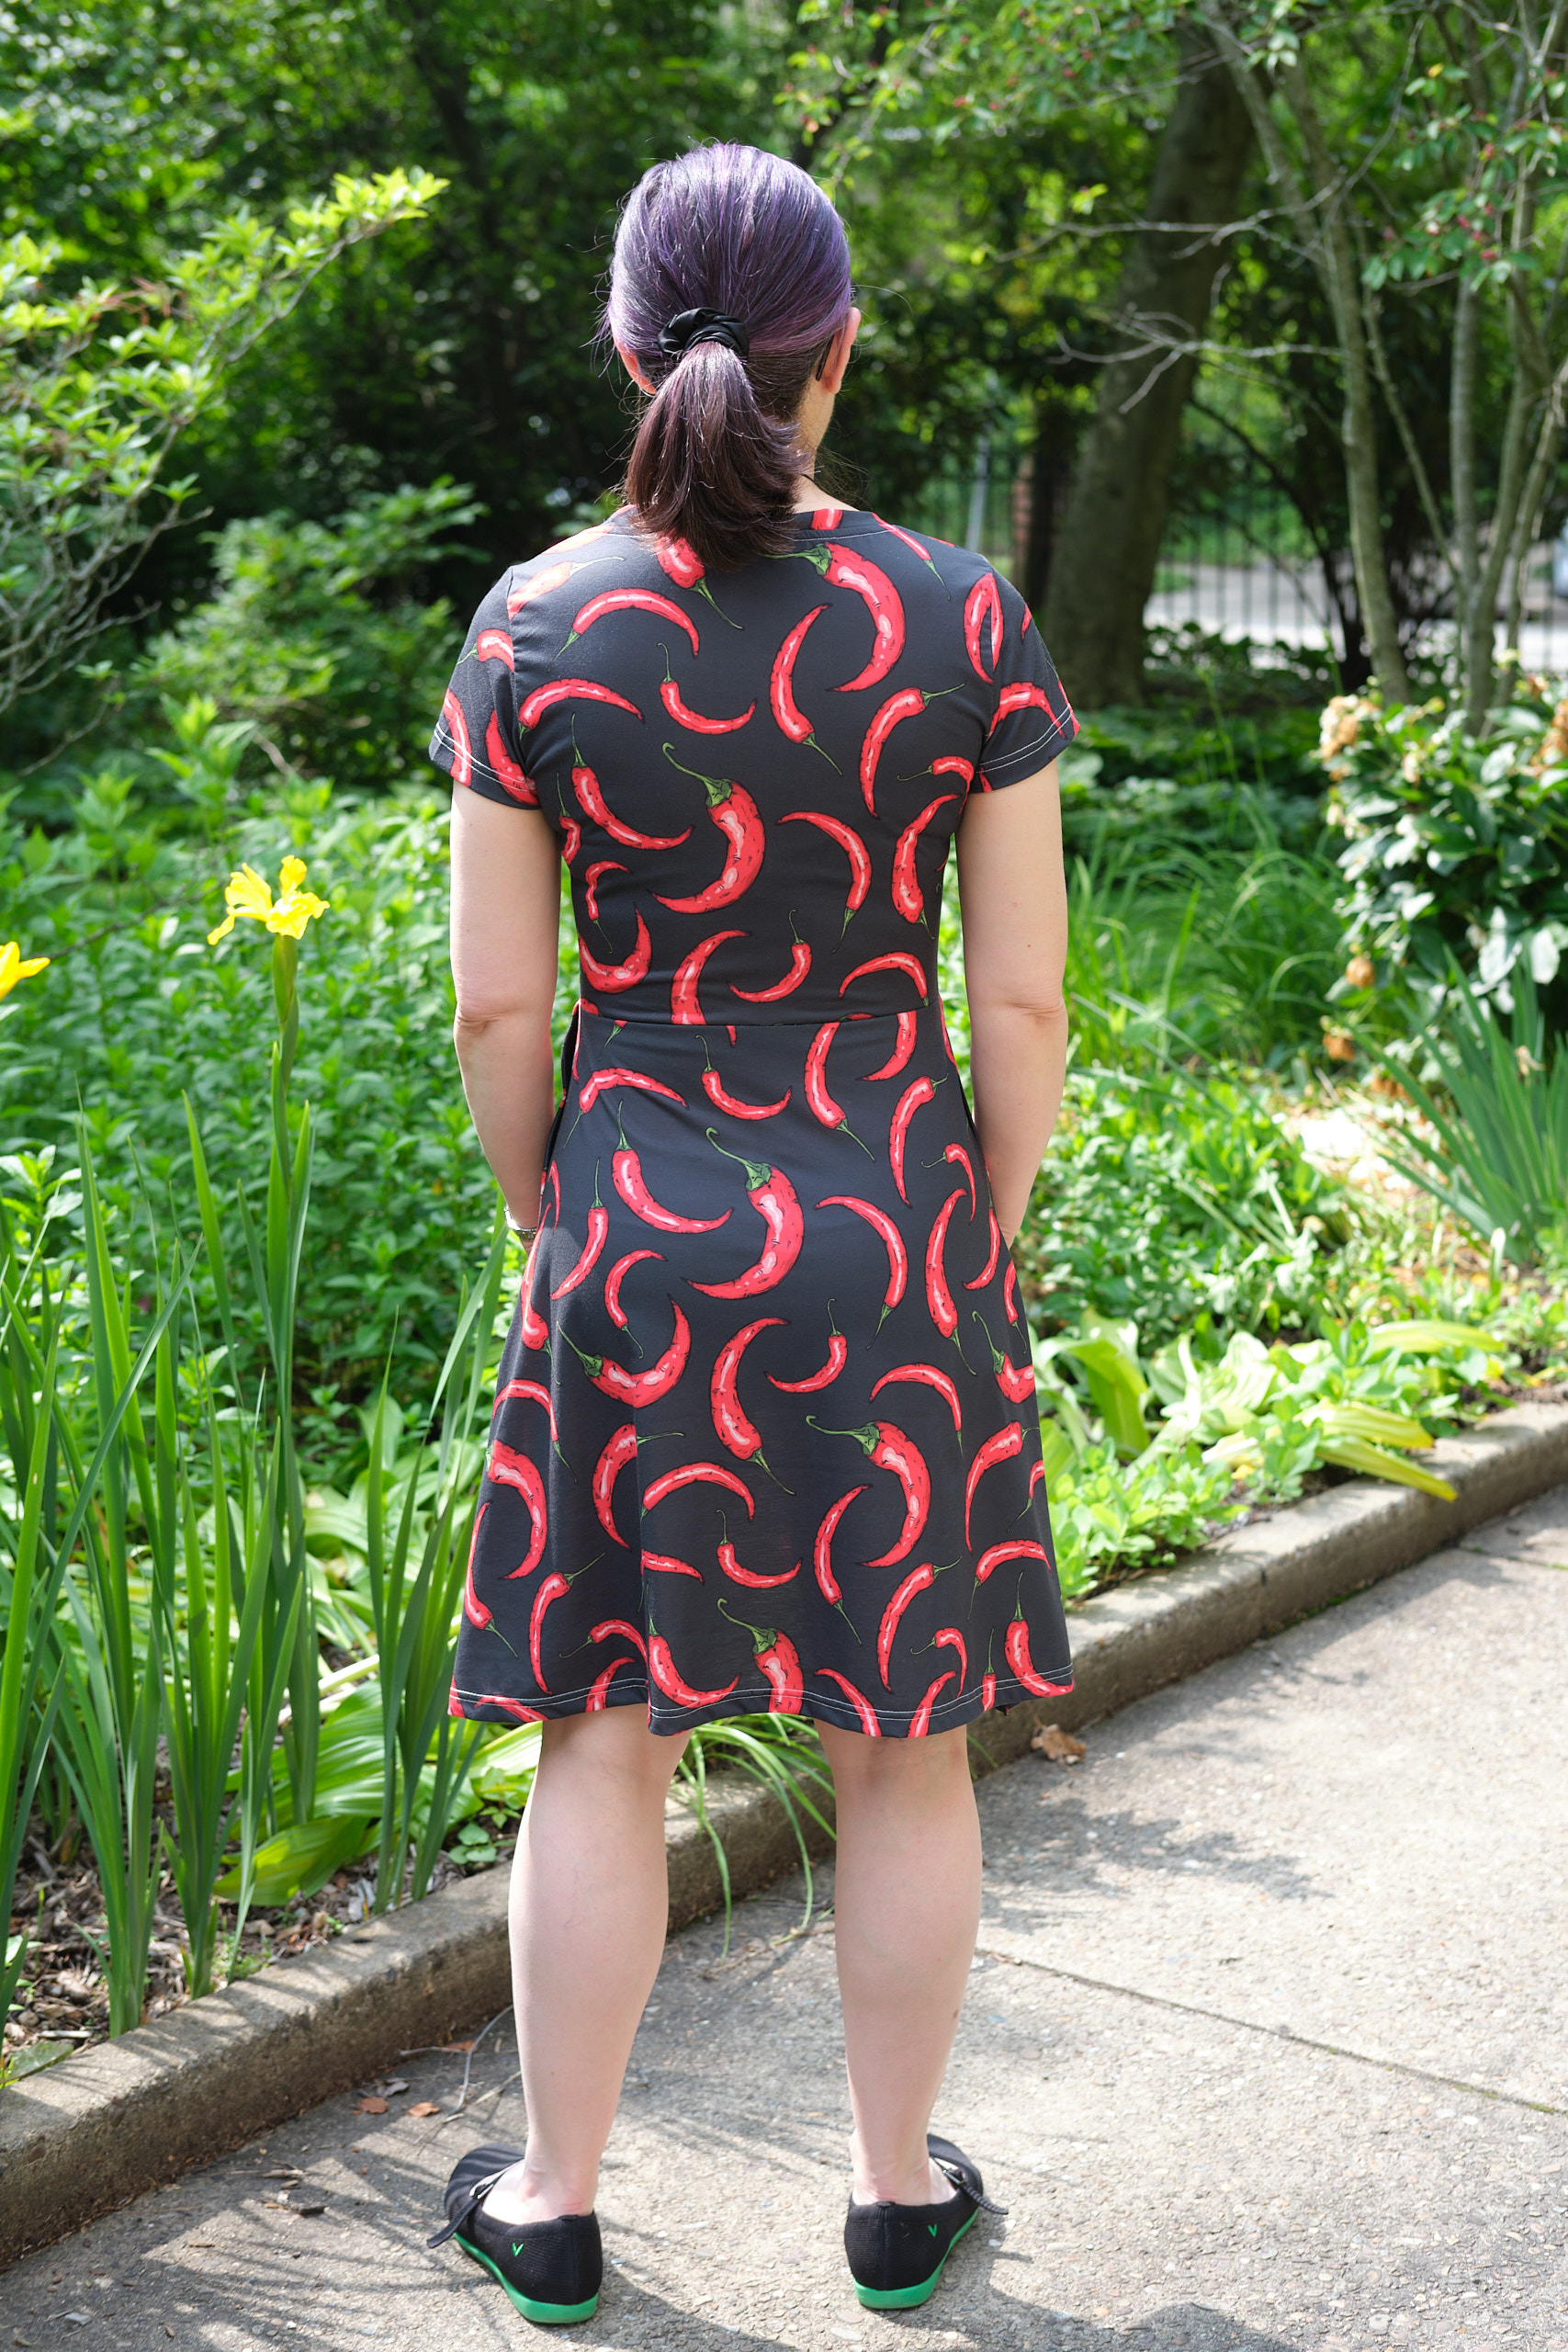
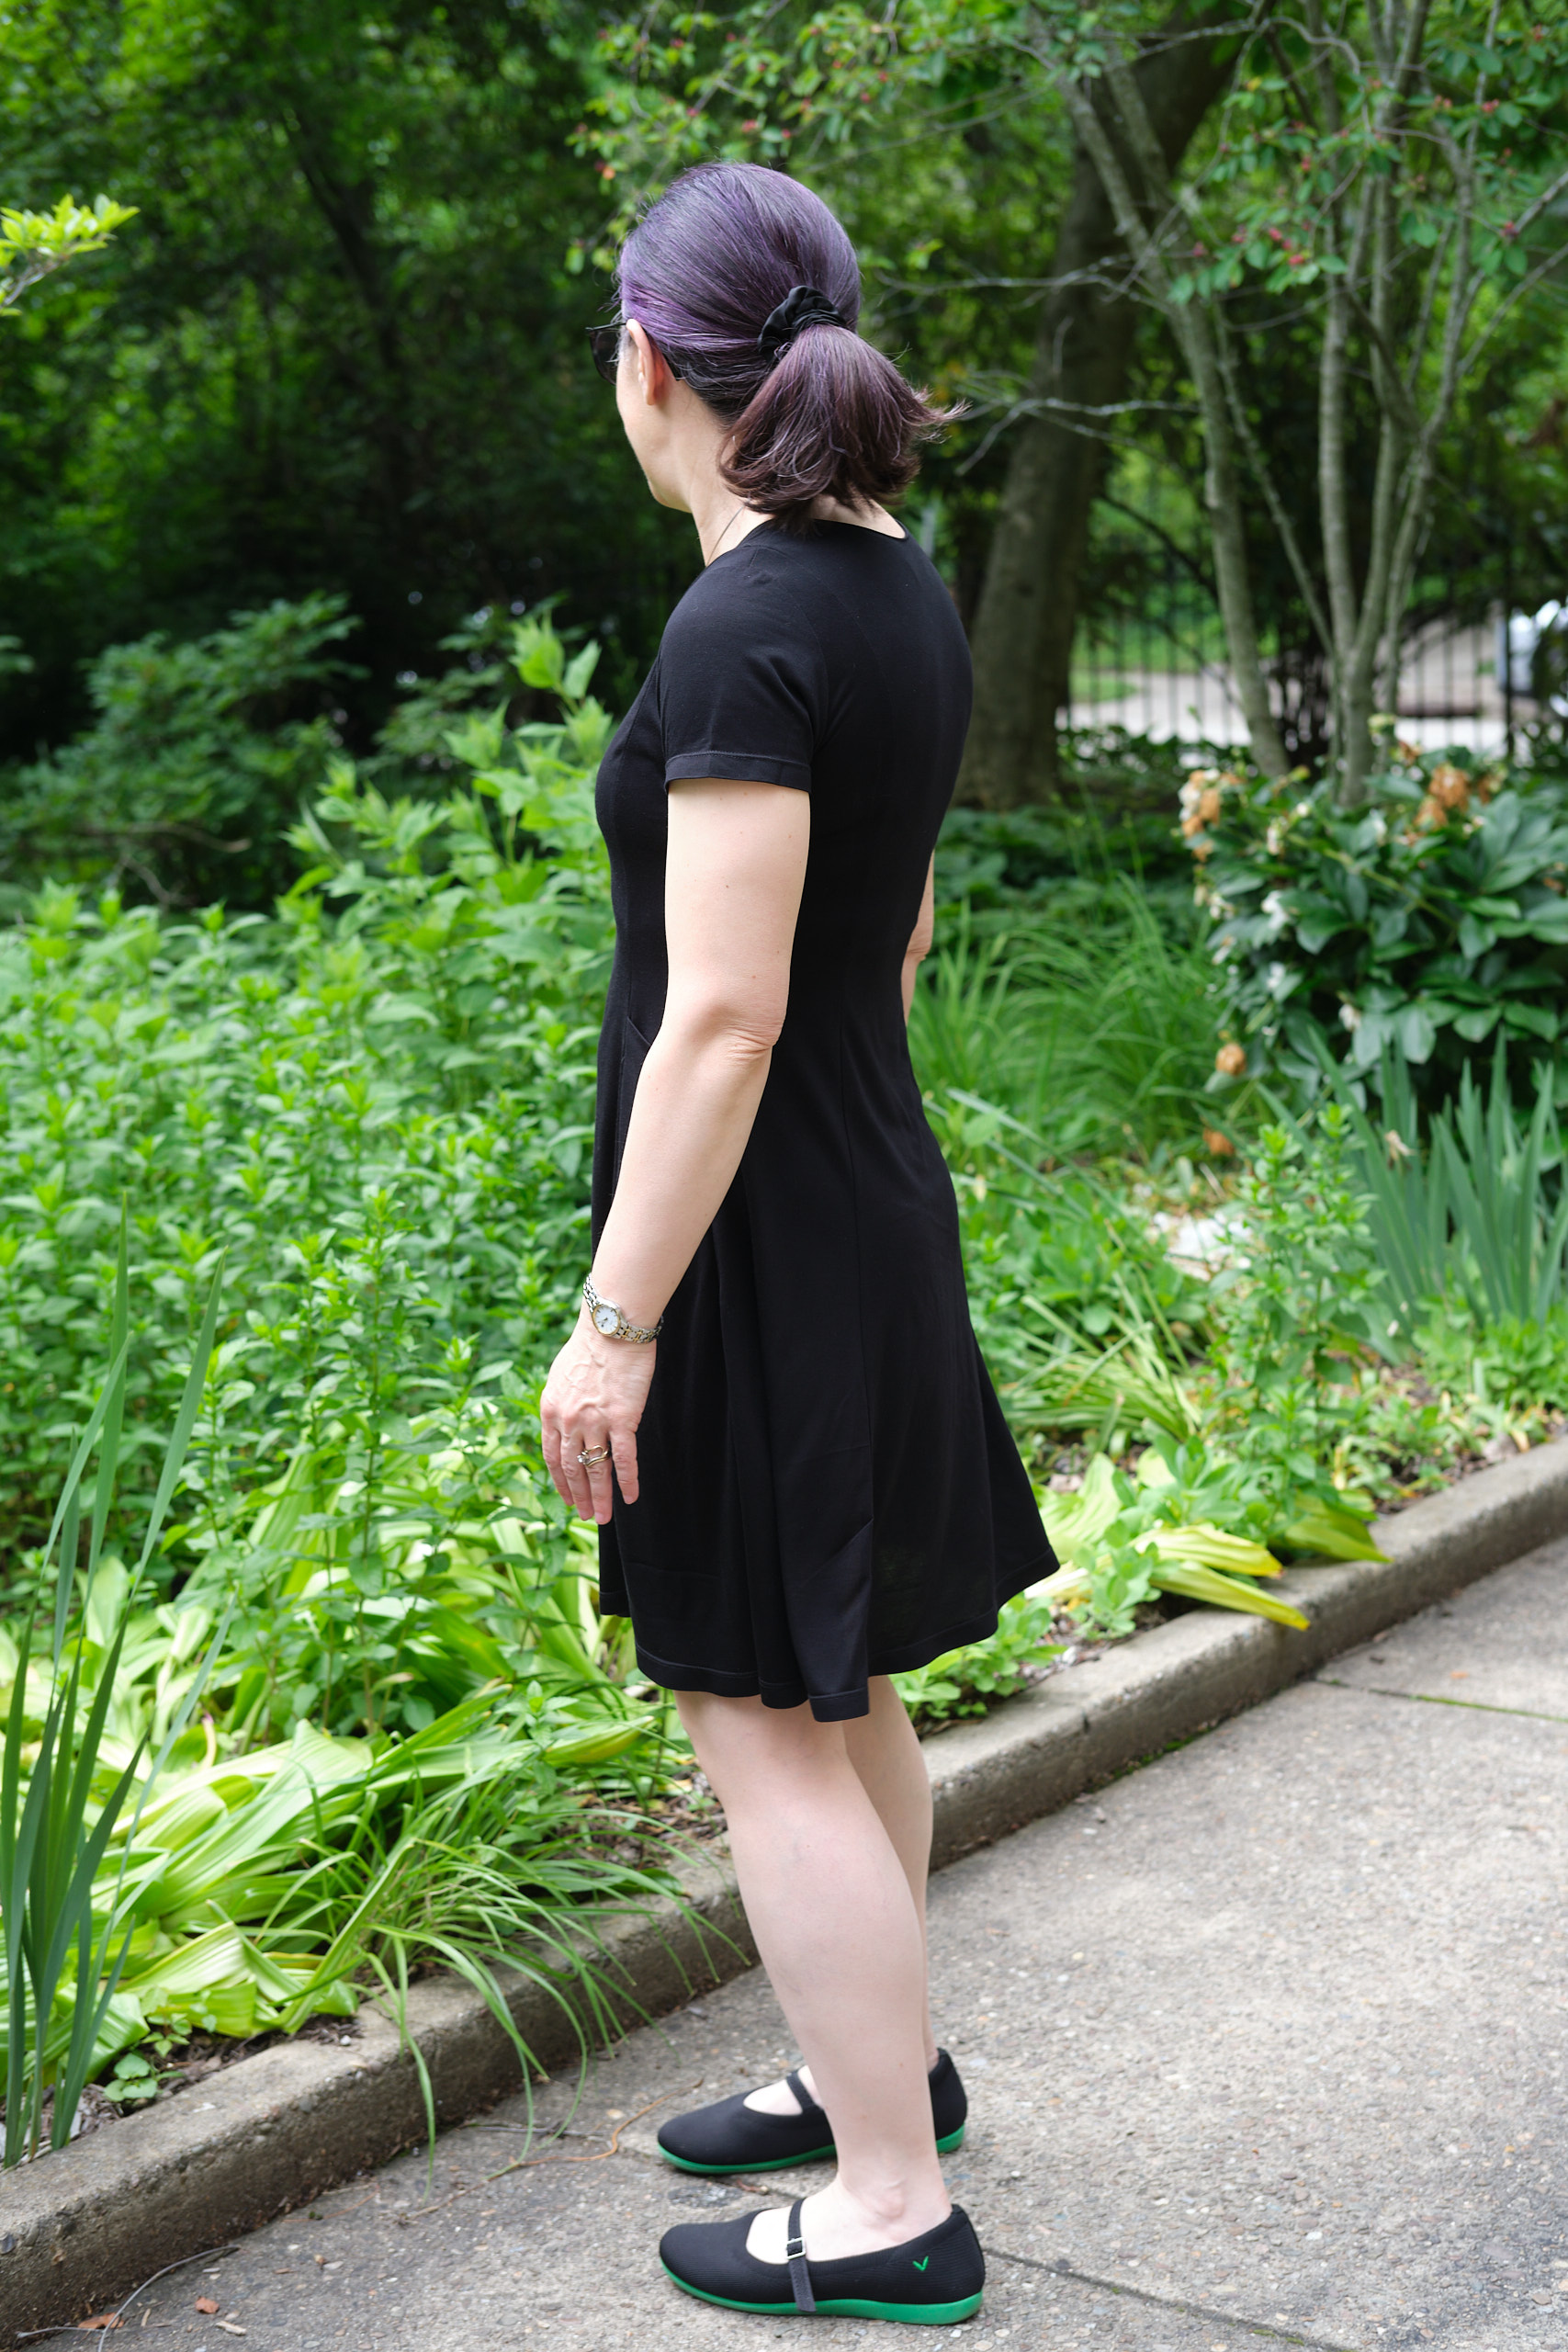
I’m pleased with how my top turned out. It looks good tucked or untucked, coming or going!


(Modeled here with Urban Wide Leg pants in magenta ponte.)


