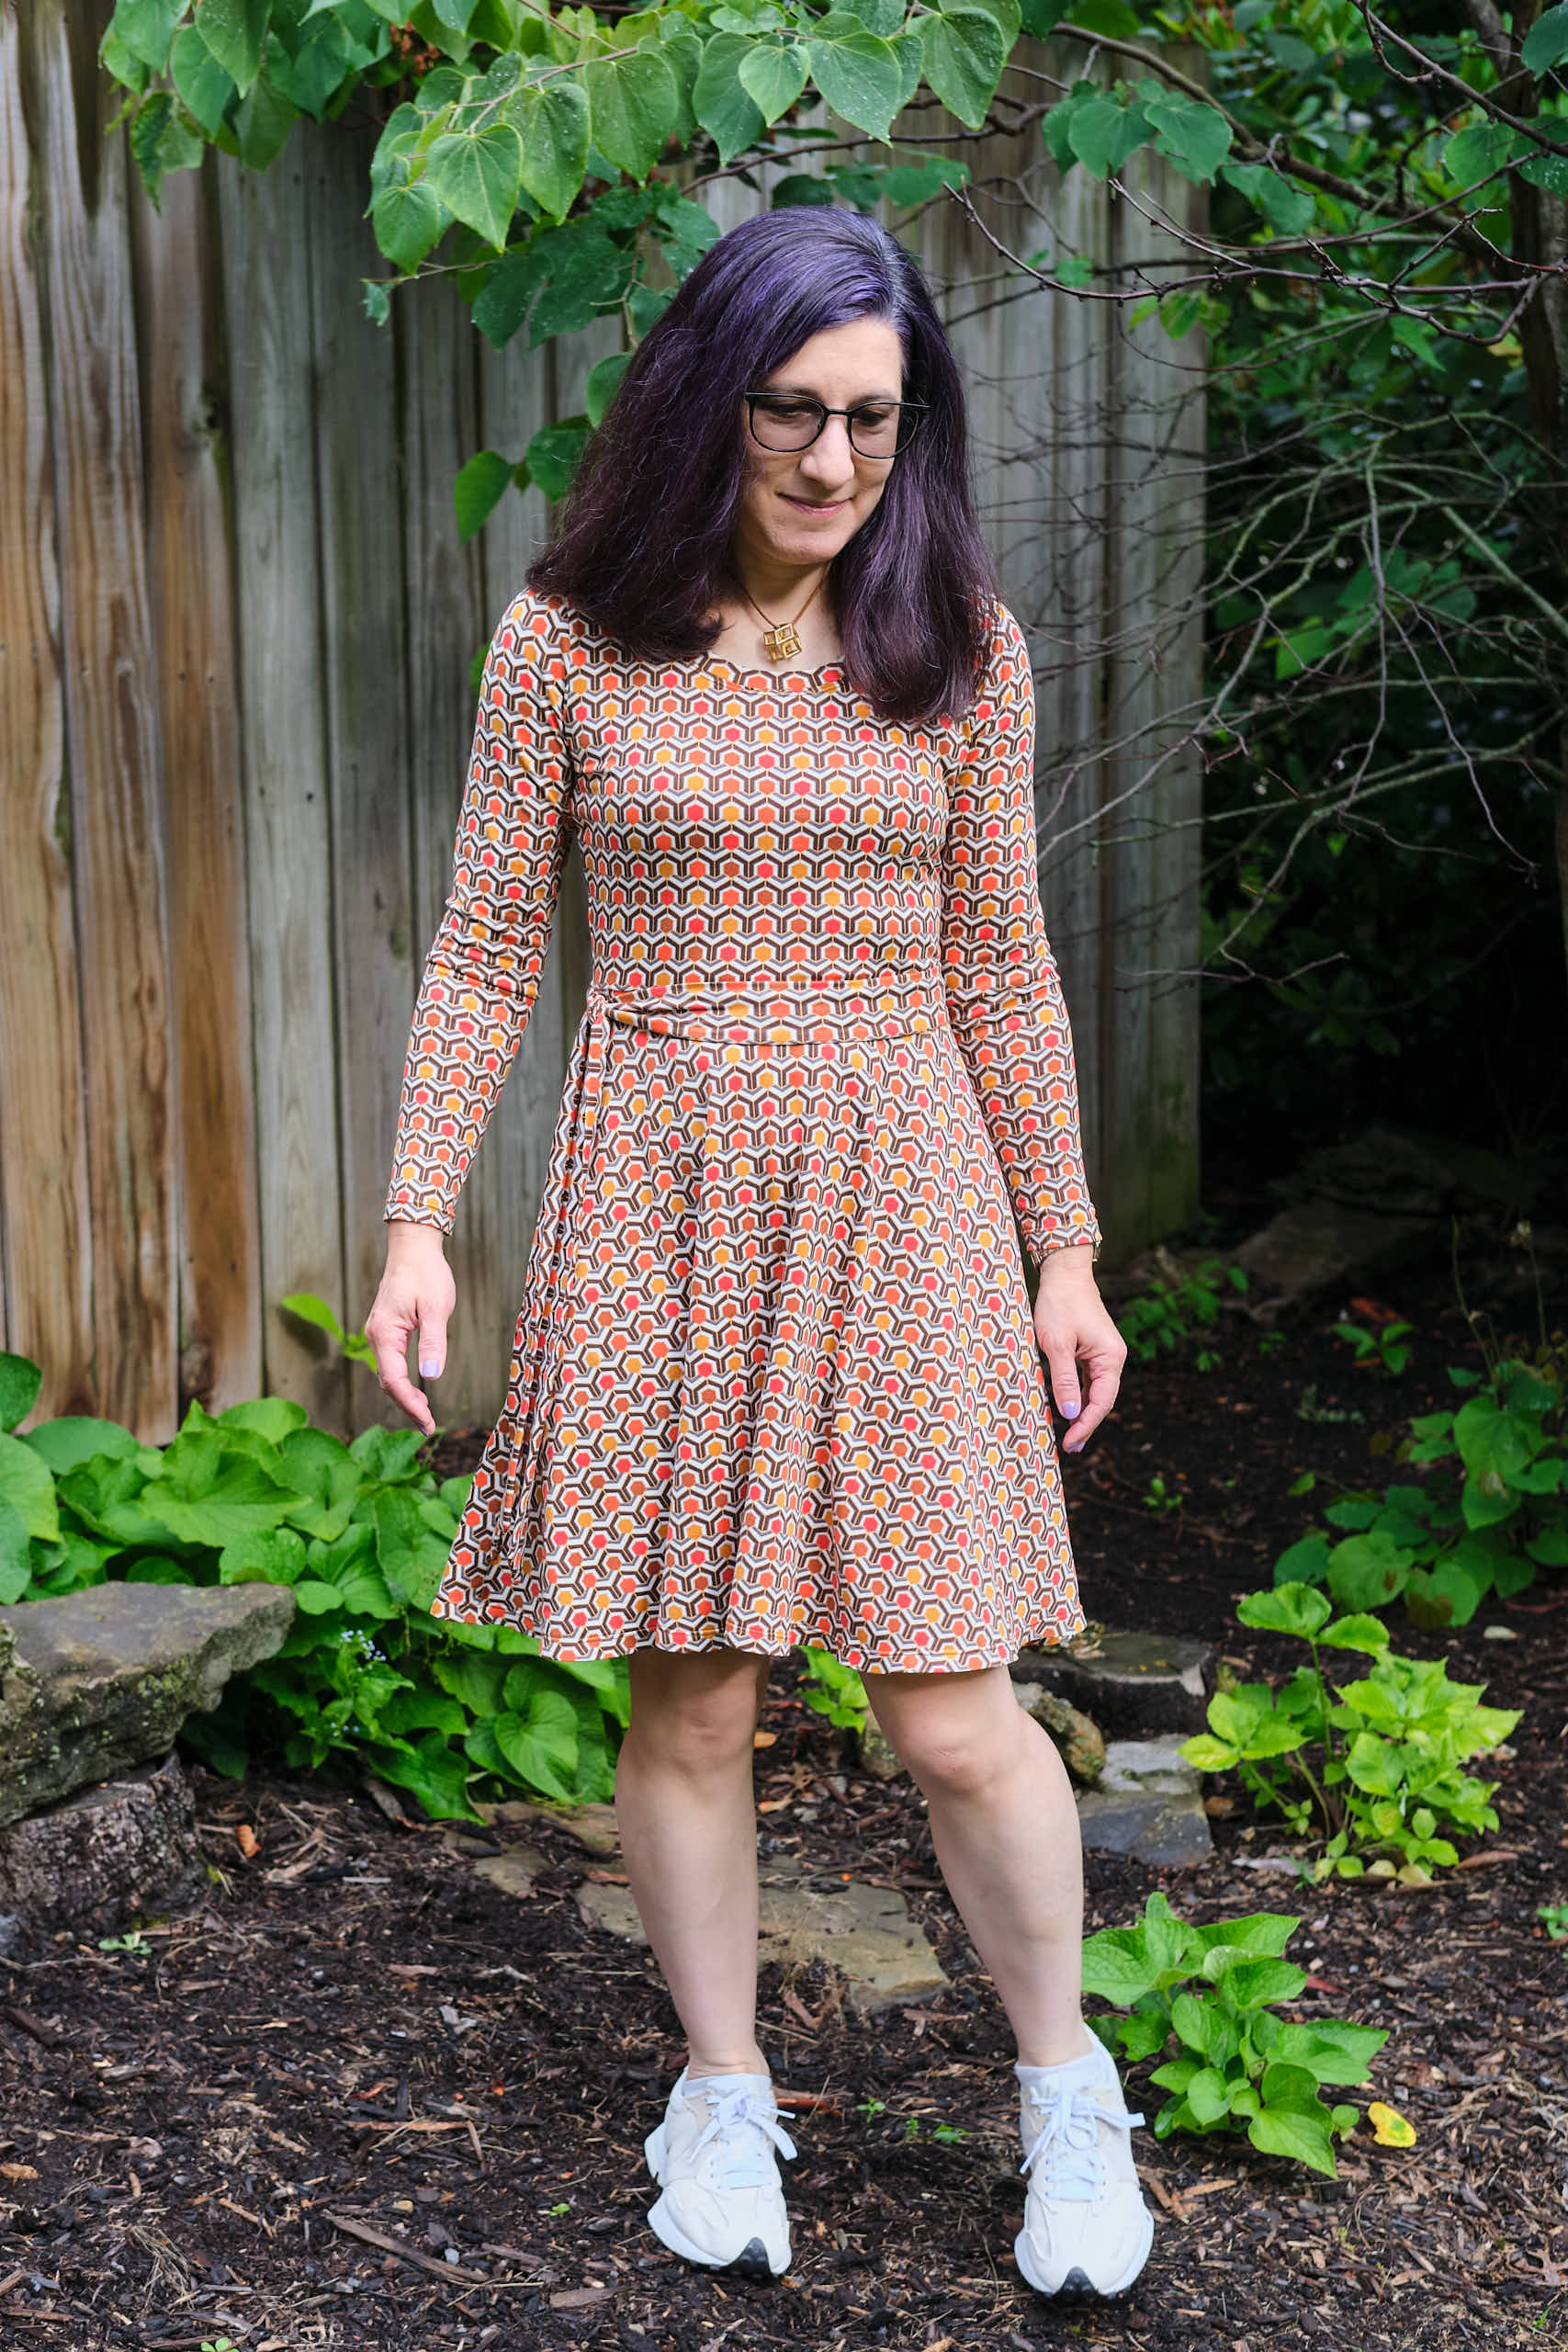
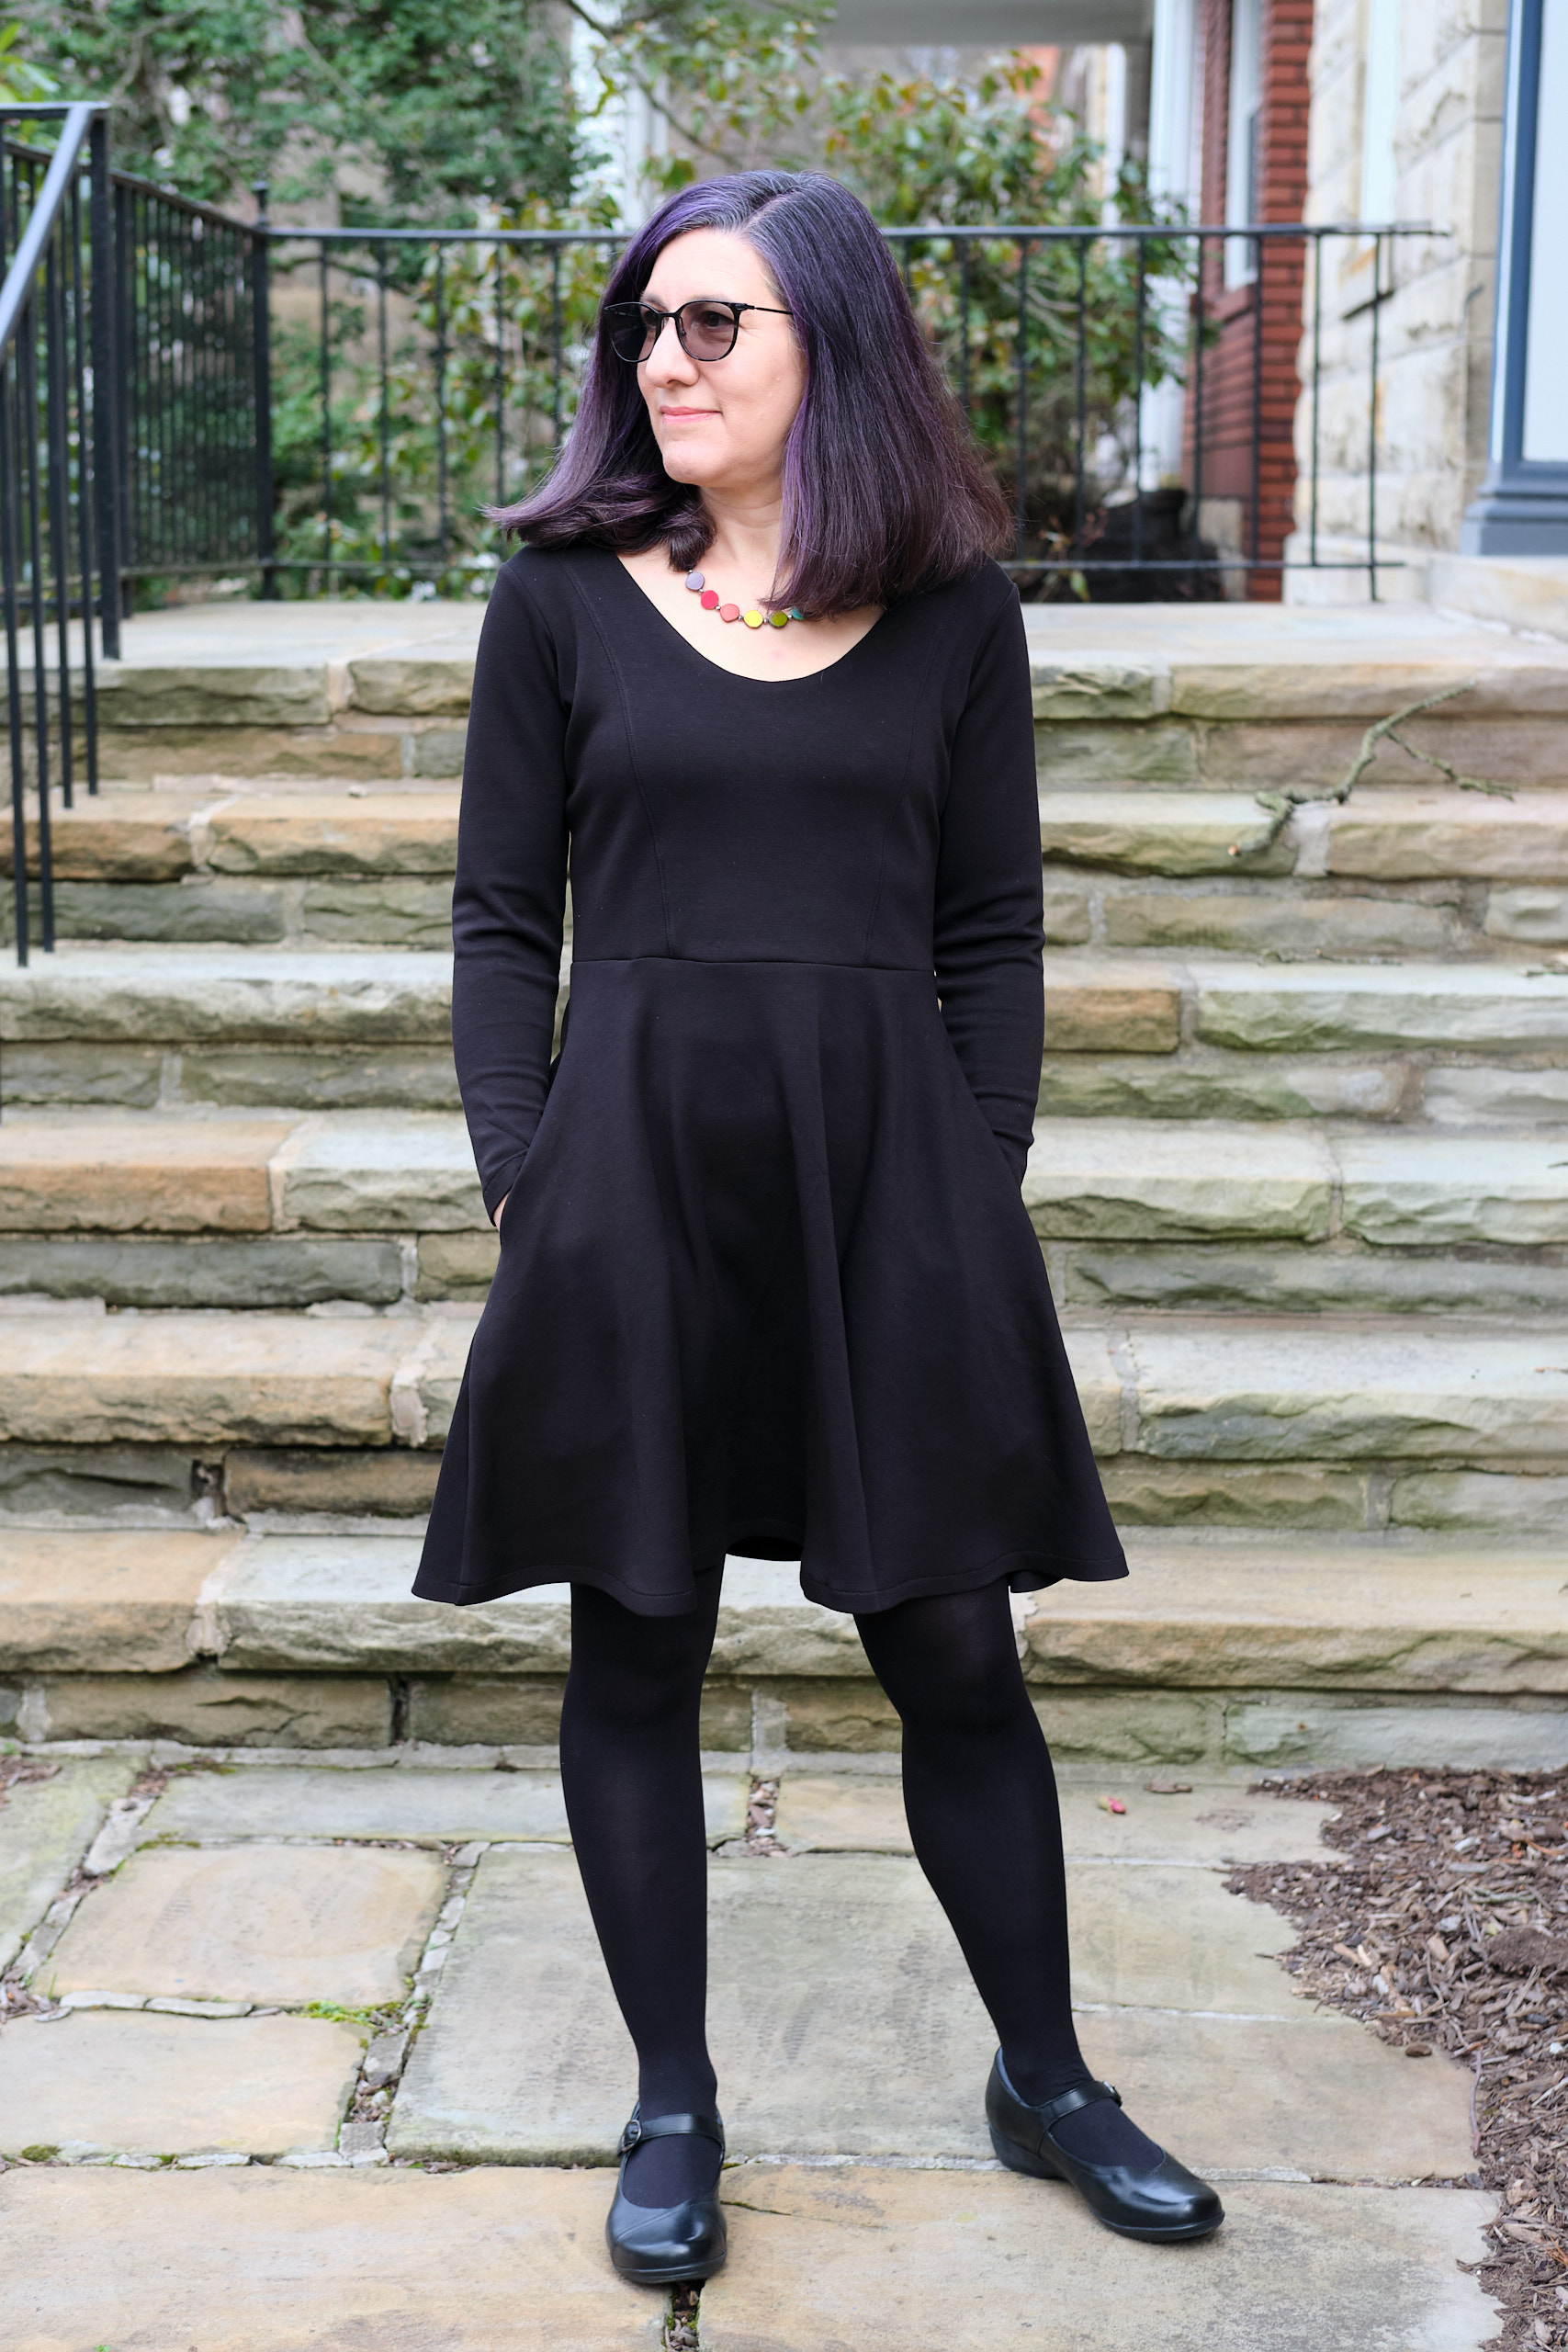
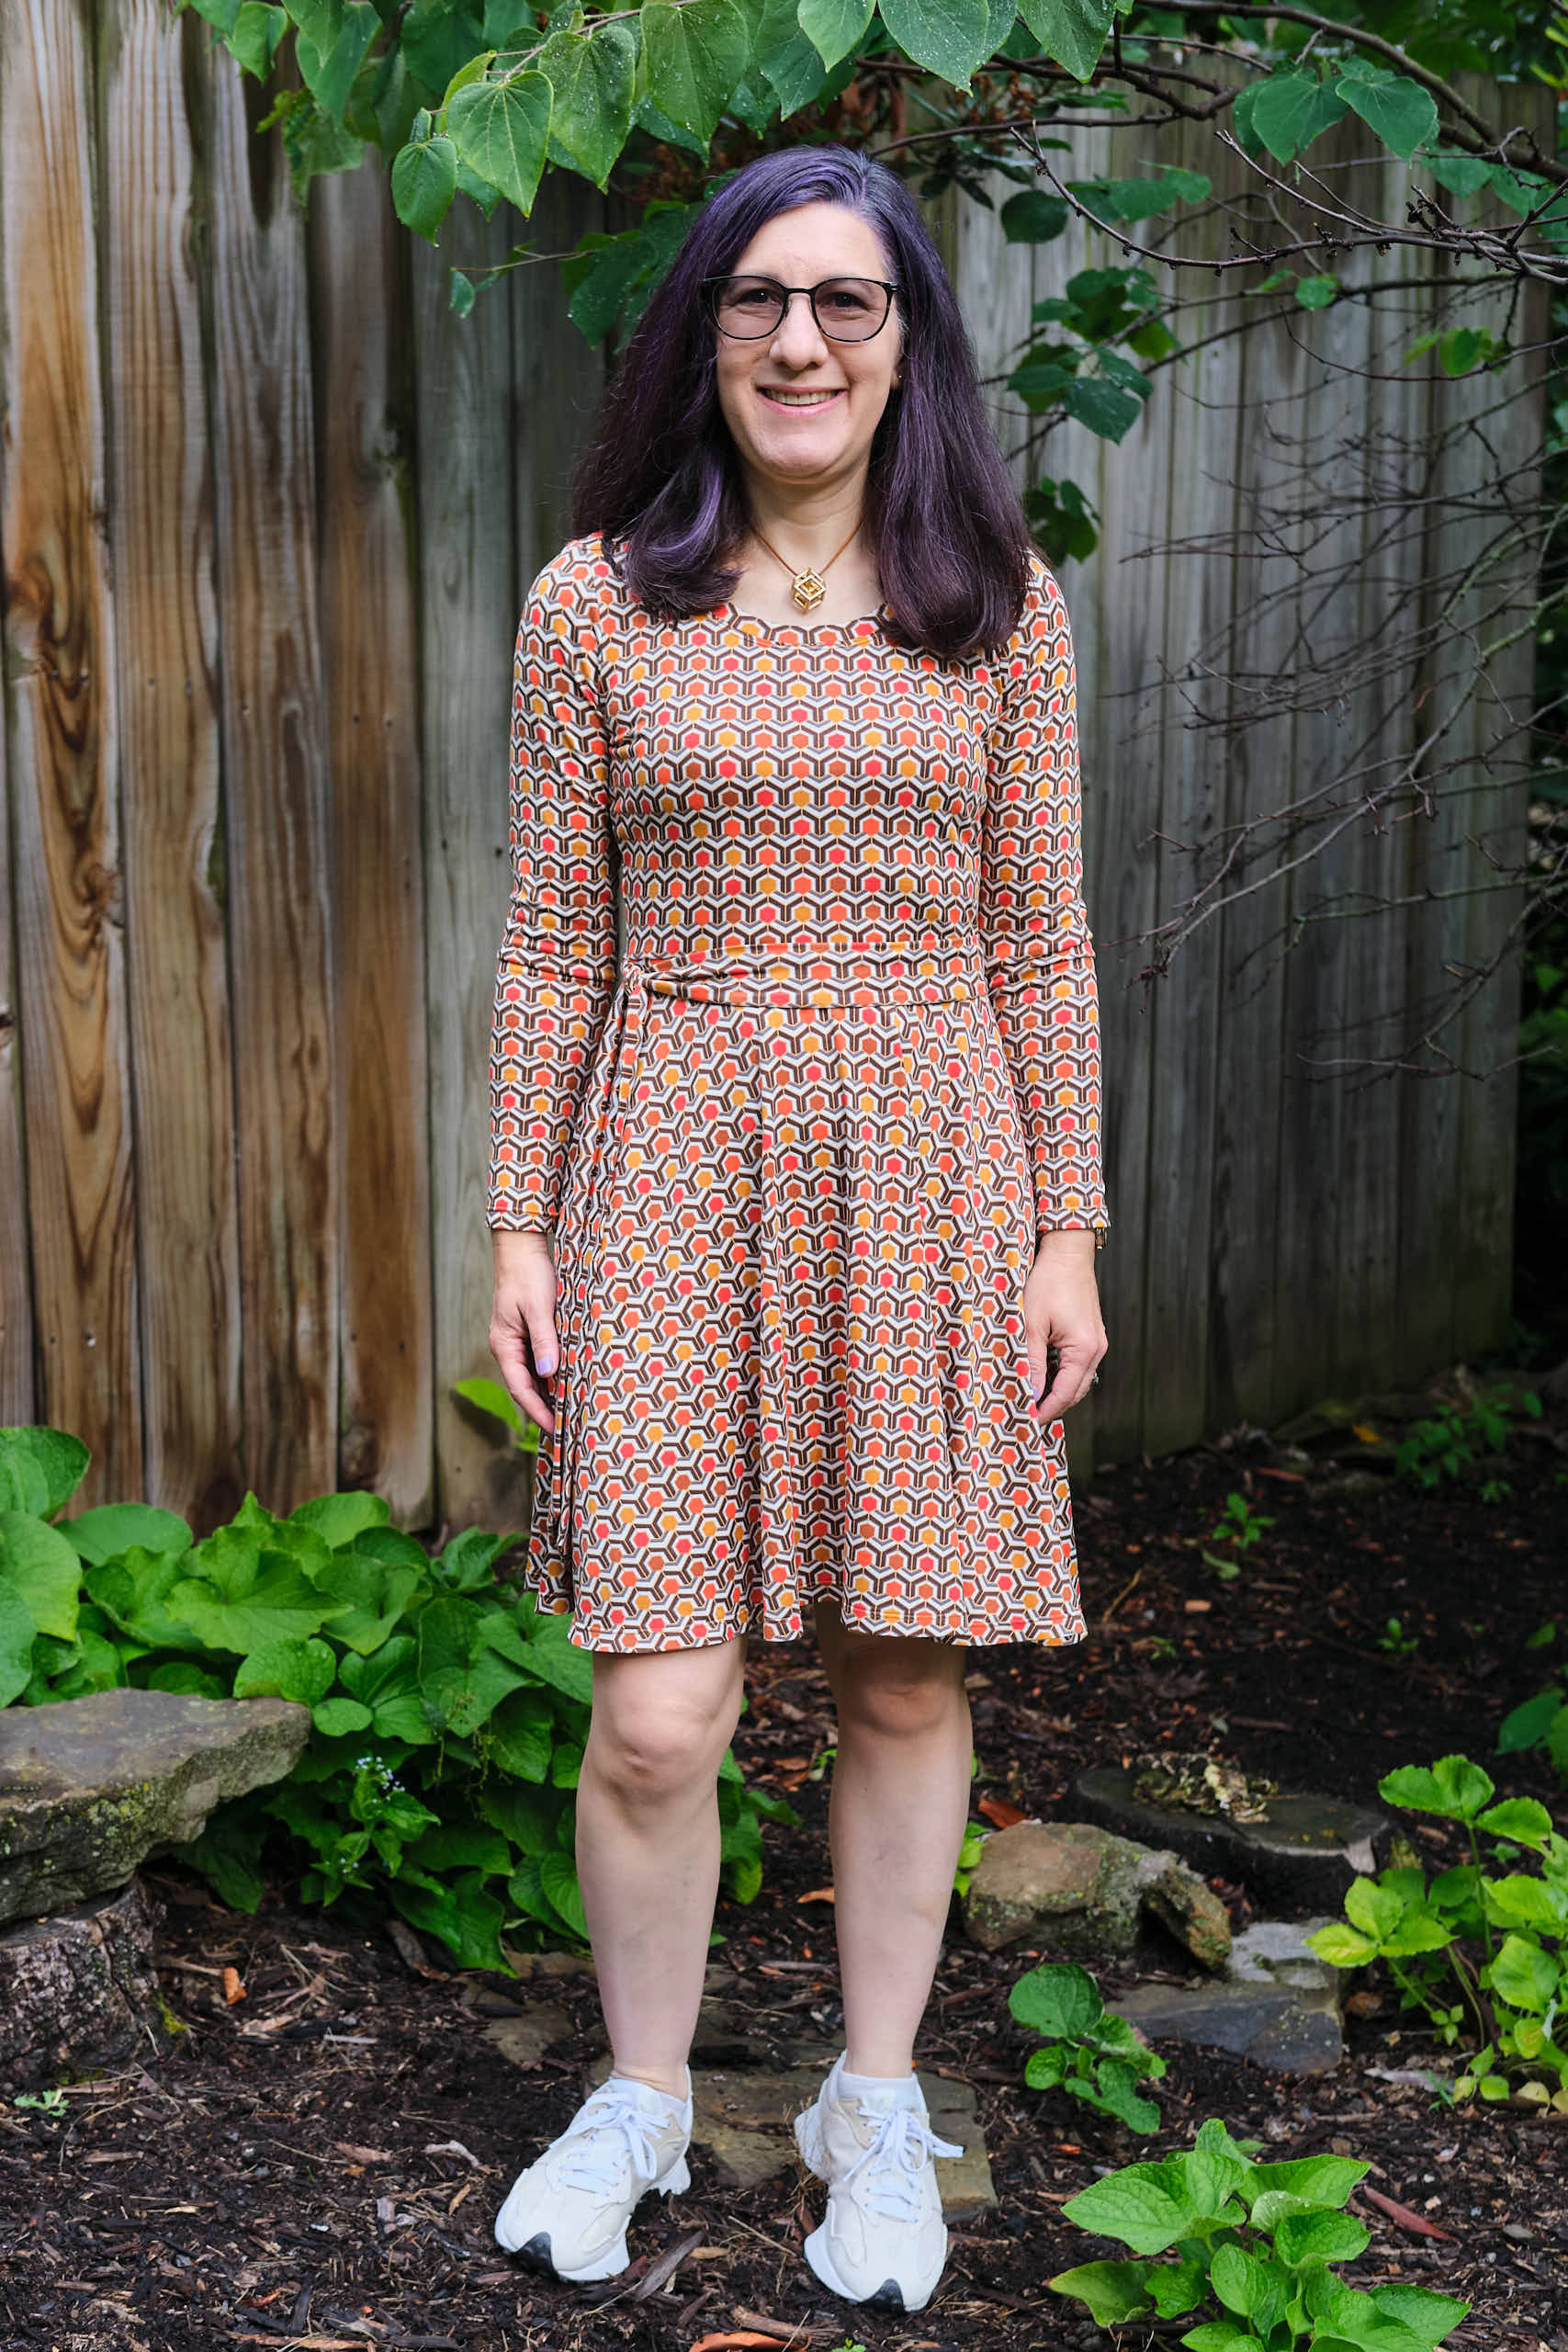
Sinclair Valley Knit Skater Dress with half-circle skirt from Flared skirts ADD-ON, size P6, 1.5 yards double-brushed polyester, long-sleeve, above knee length plus one inch, bodice extended 1.3 inch and no waistband, pockets modified so as not to attach to waist, low “screwp neck” with cover stitching and self-fabric belt
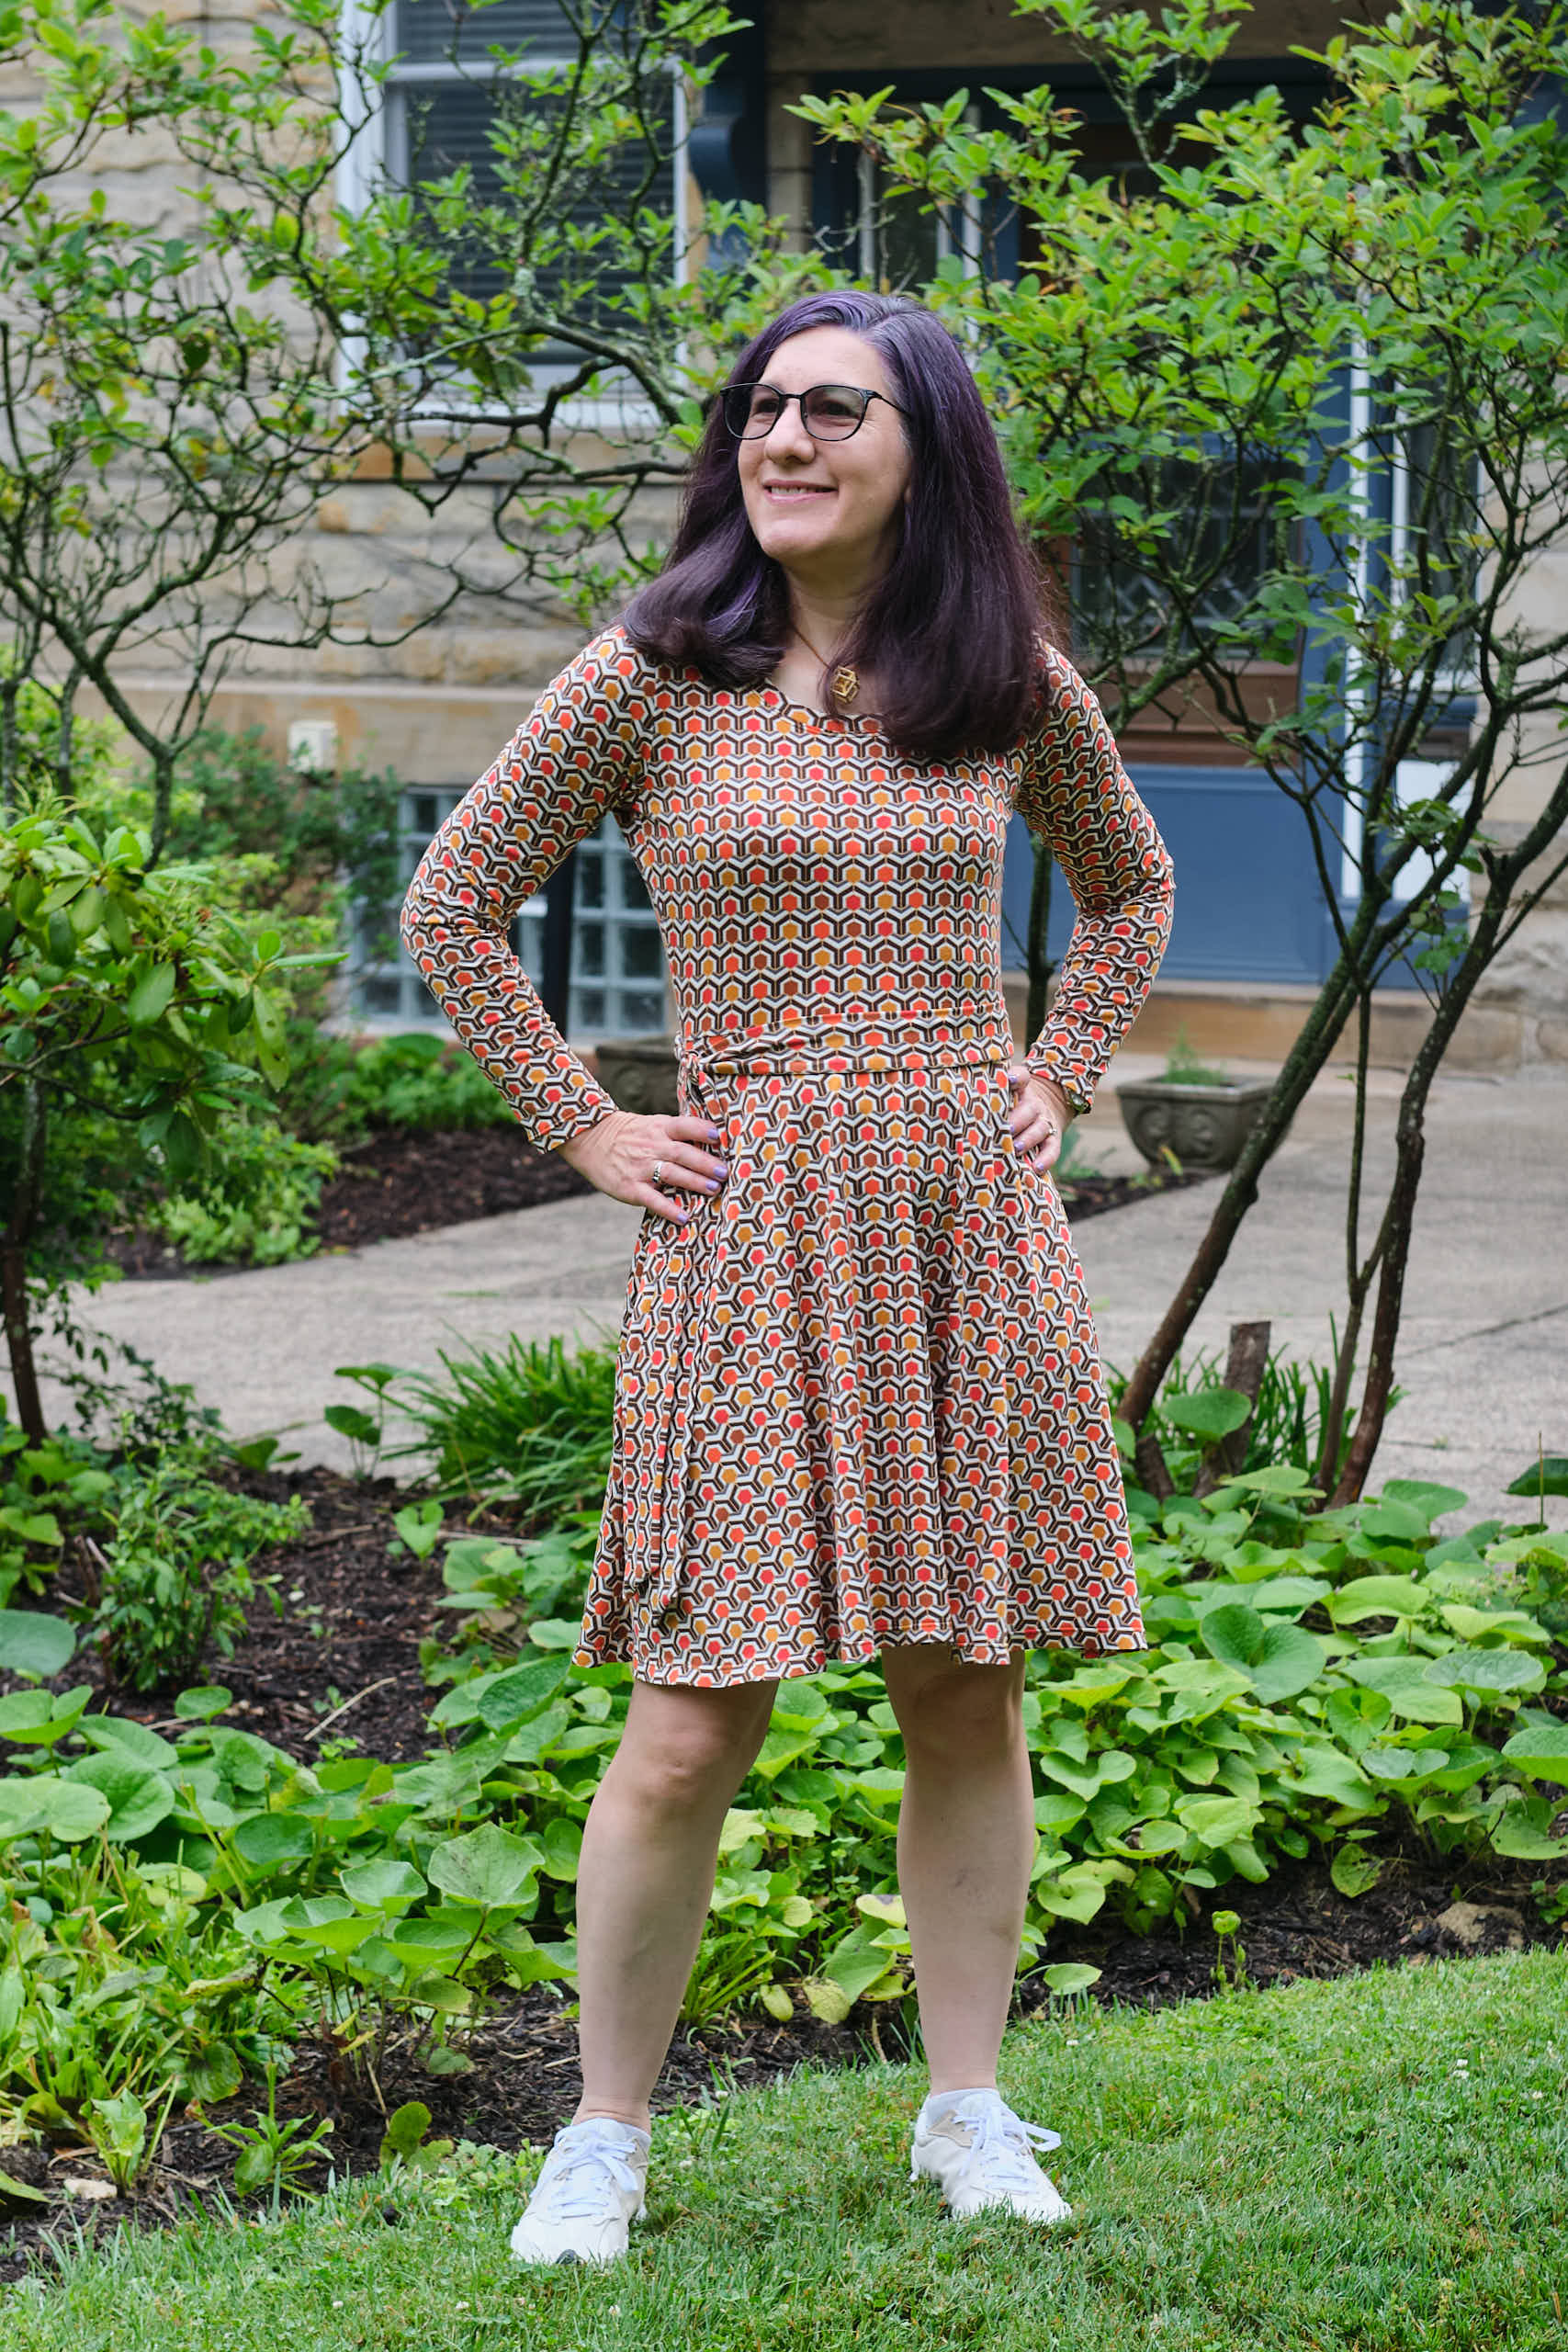
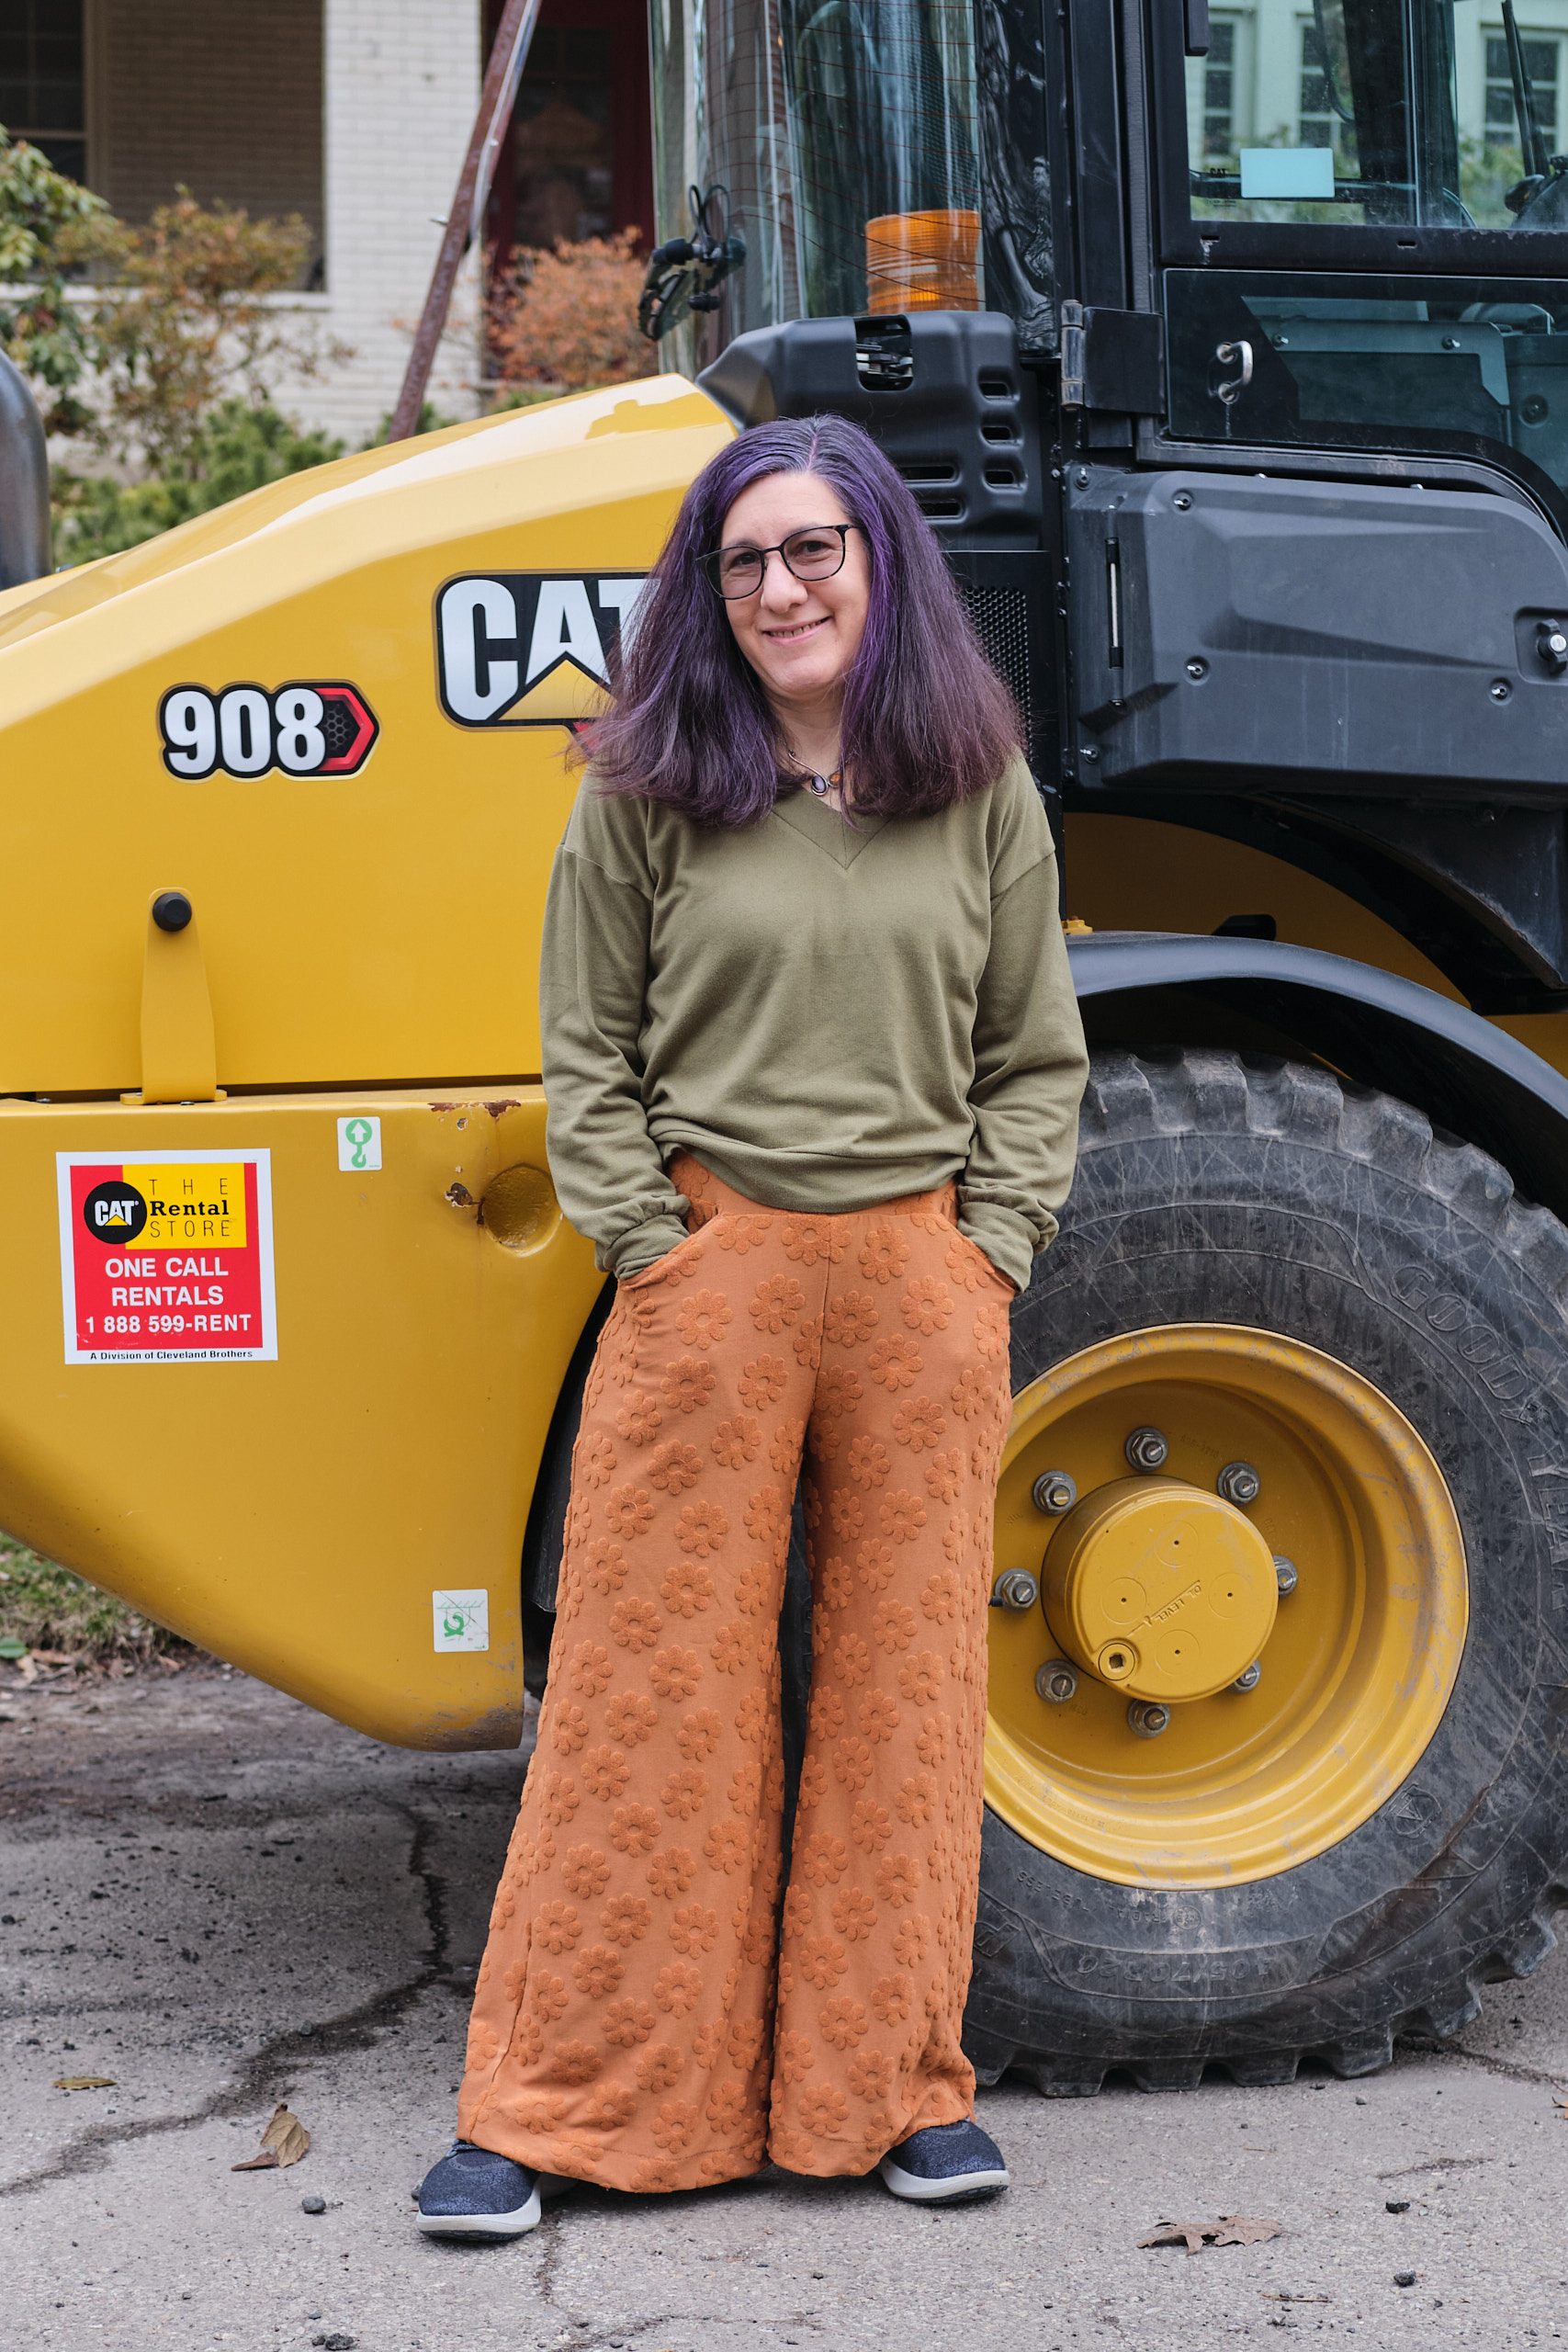
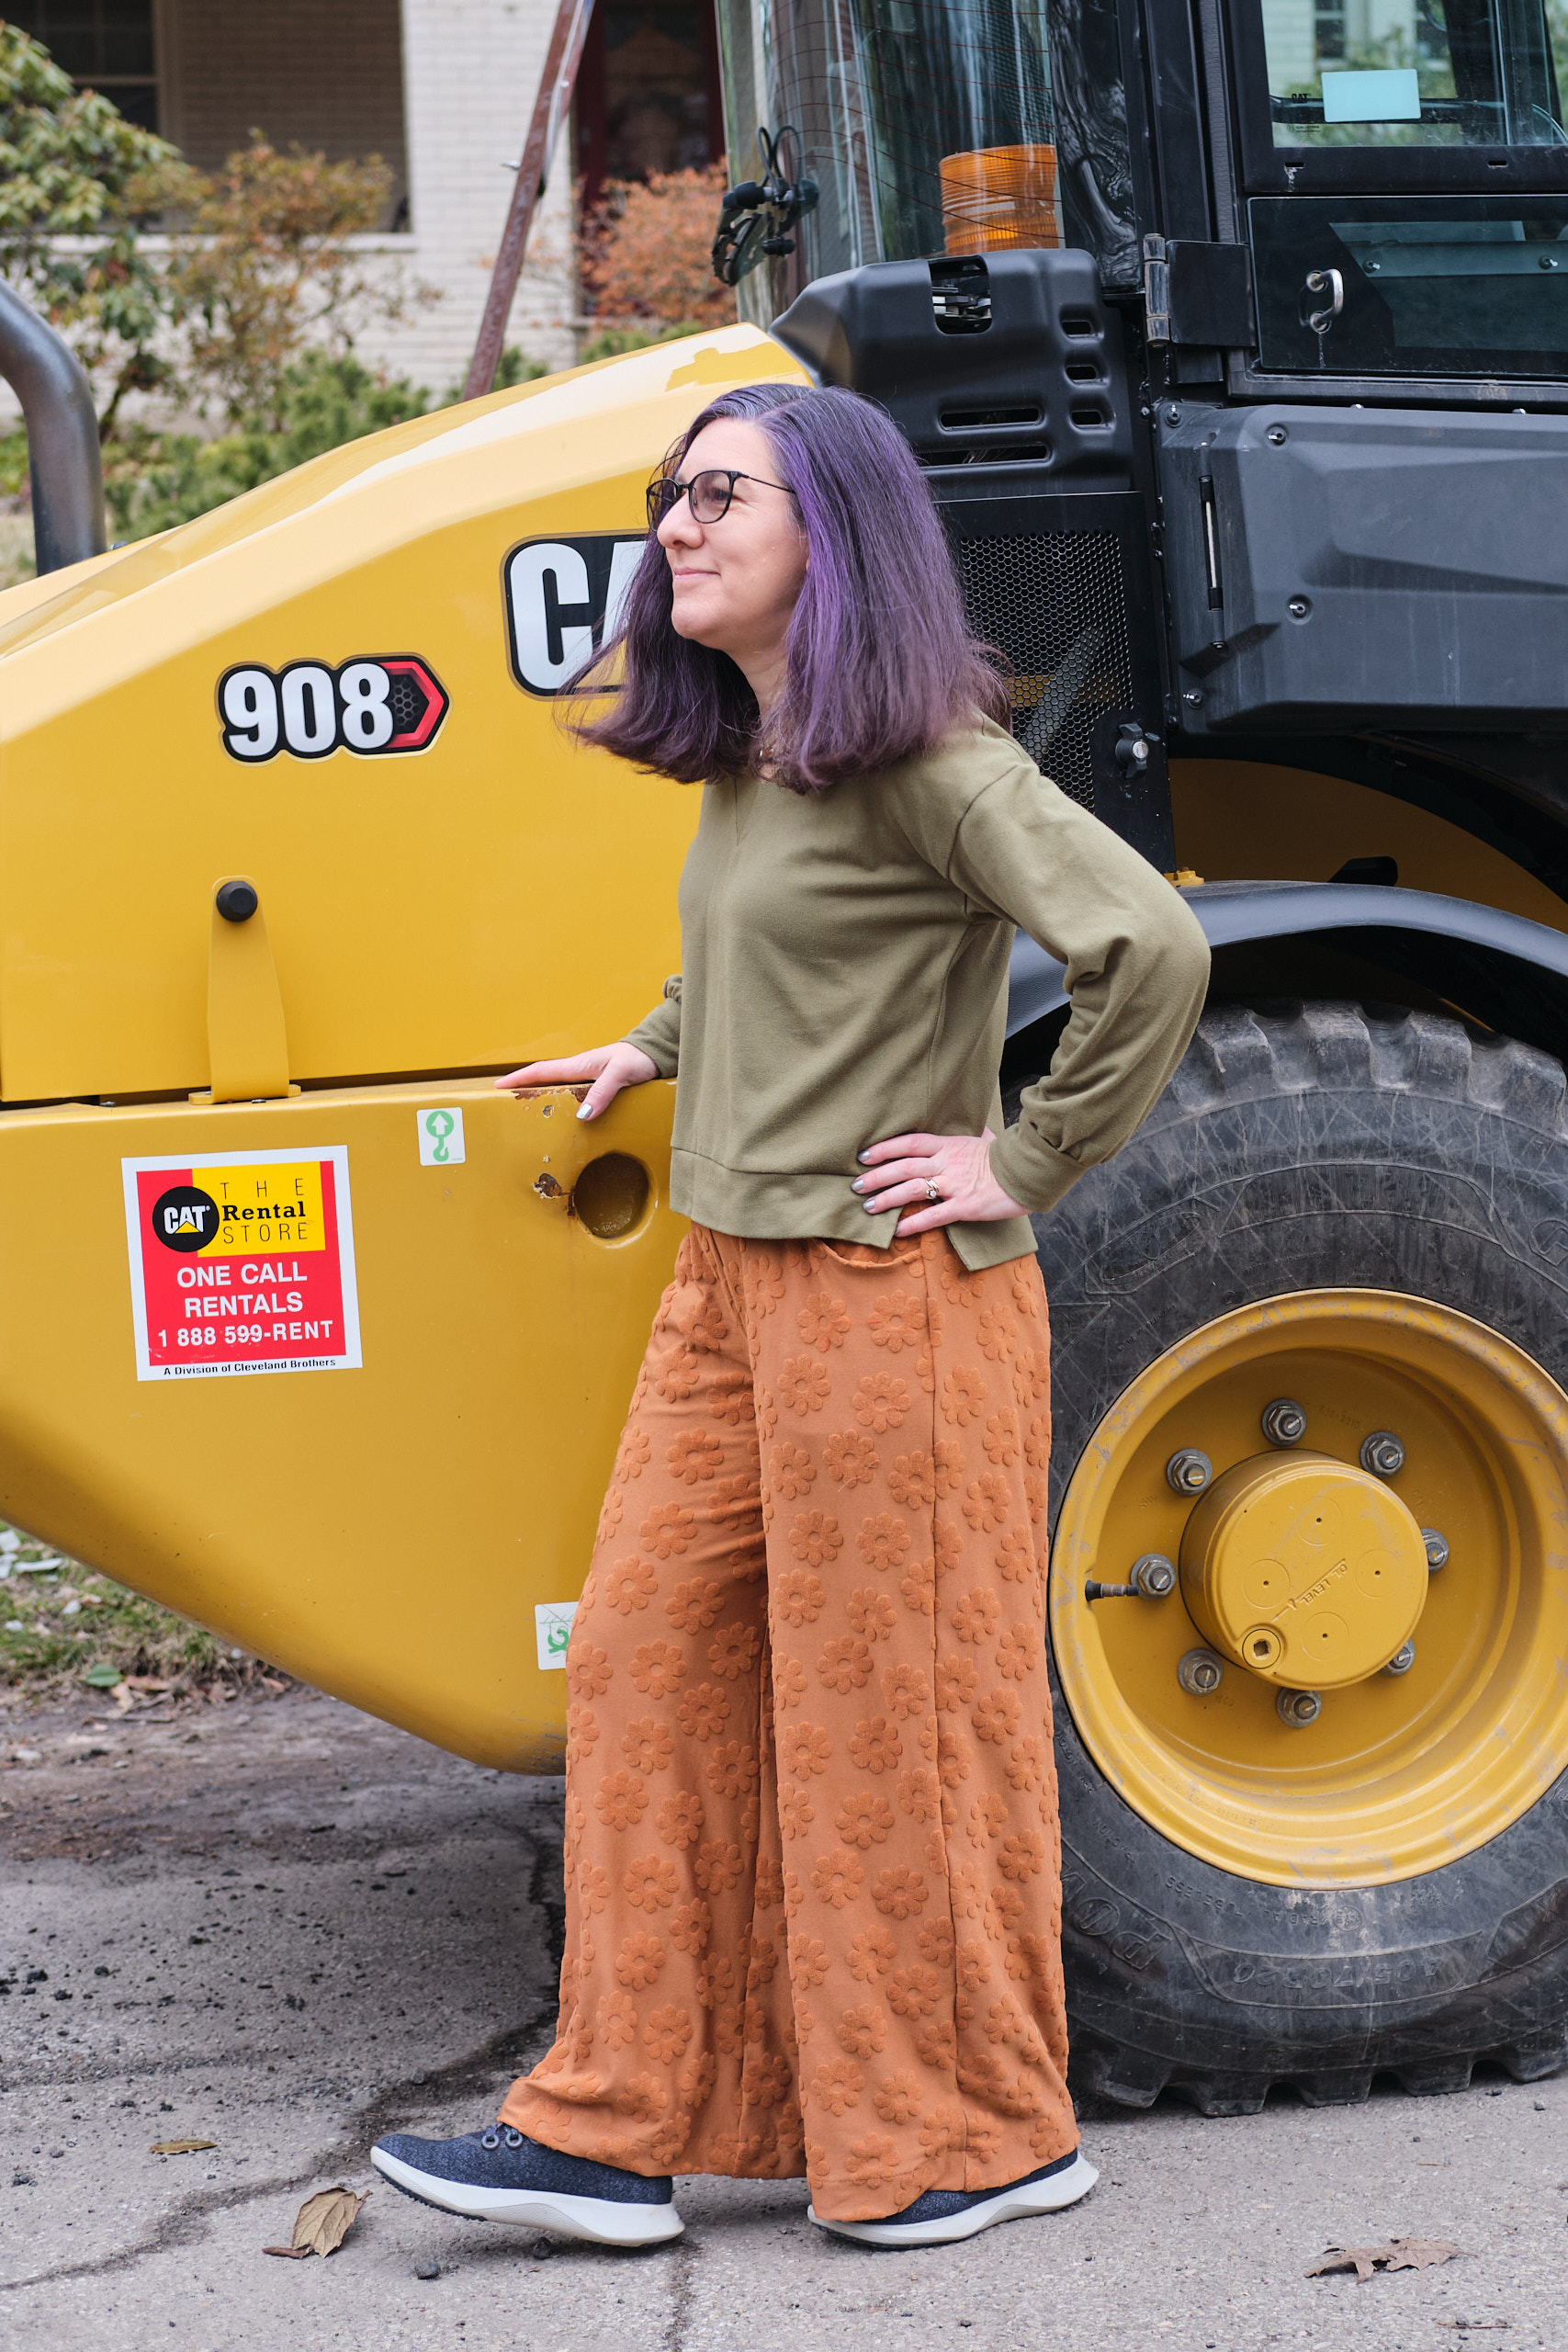
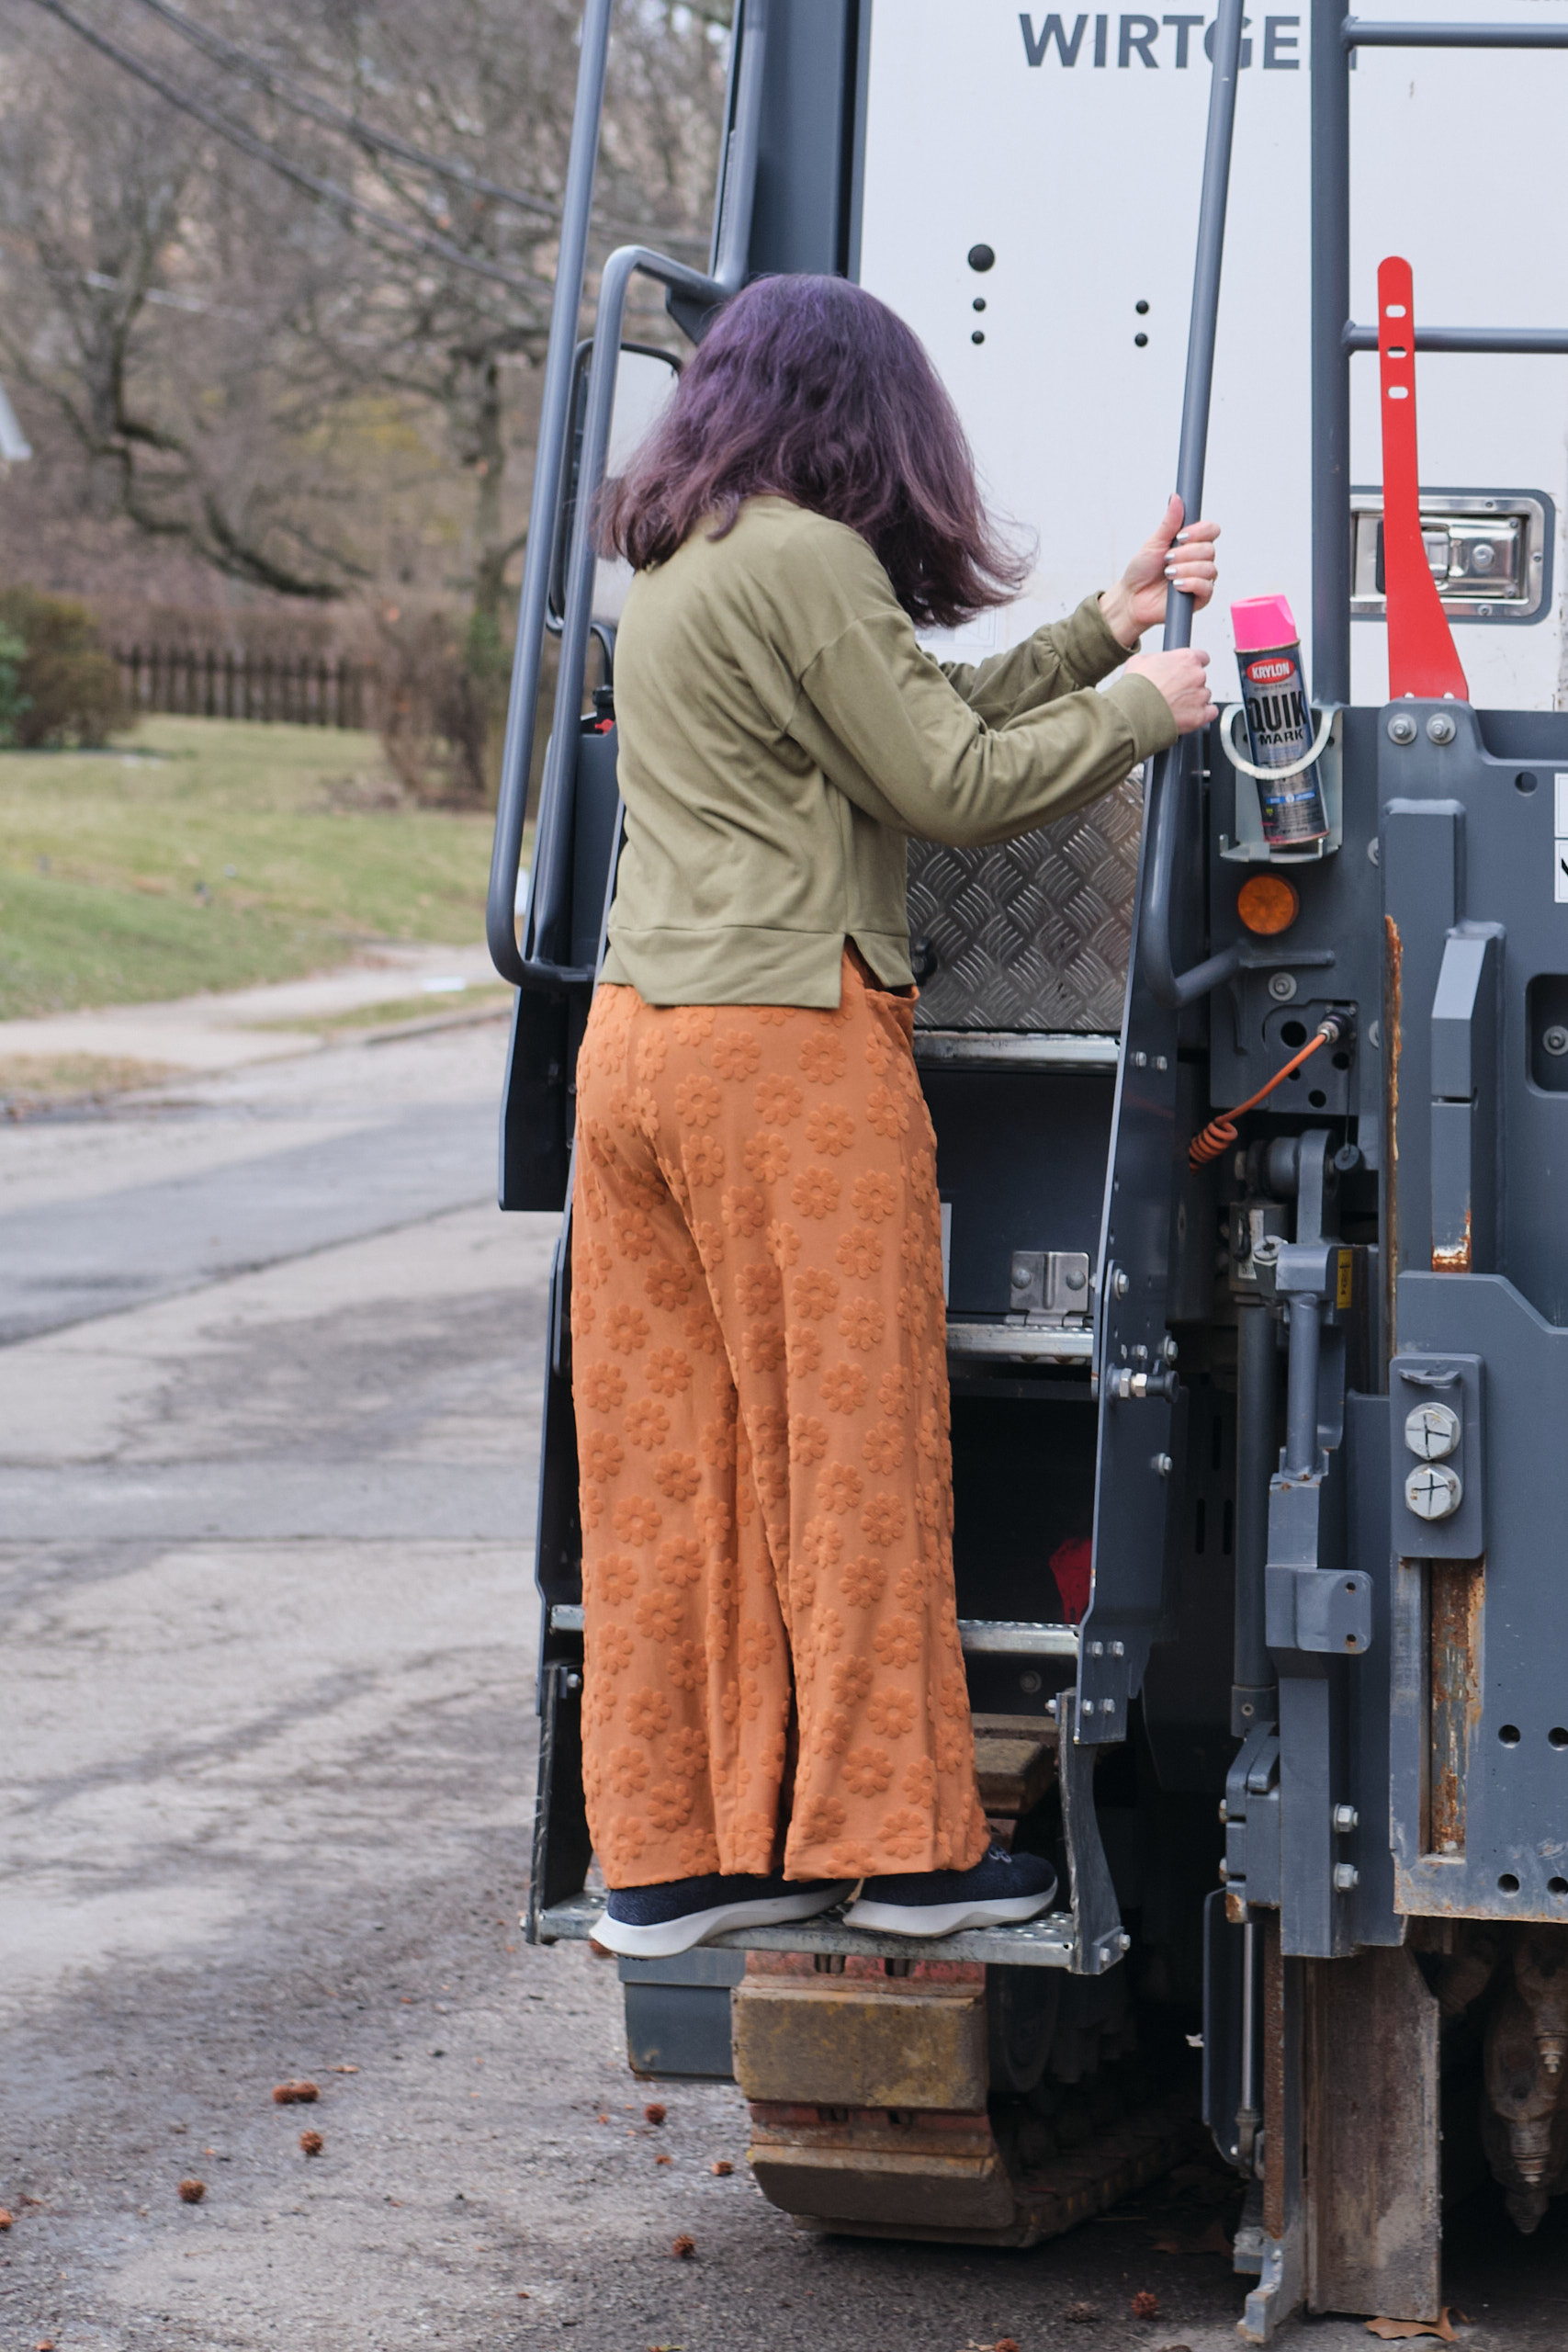
I bought Cali Fabrics’ double-brushed polyester “Autumn tones retro geometric” fabric with red, orange, and mustard hexagons because I can’t resist sewing clothes from fabric that looks like it should be covering a chair. But when my husband saw the fabric, he told me it reminded him of the hexagon carpet on the floor of the Overlook Hotel in the 1980 horror film The Shining. It is not quite the same design, but I can see the resemblance. These hexagons are stacked rather than arranged in a half-drop format, their colors vary, and their dark borders are truncated, making the hexagons look like rows of little houses.
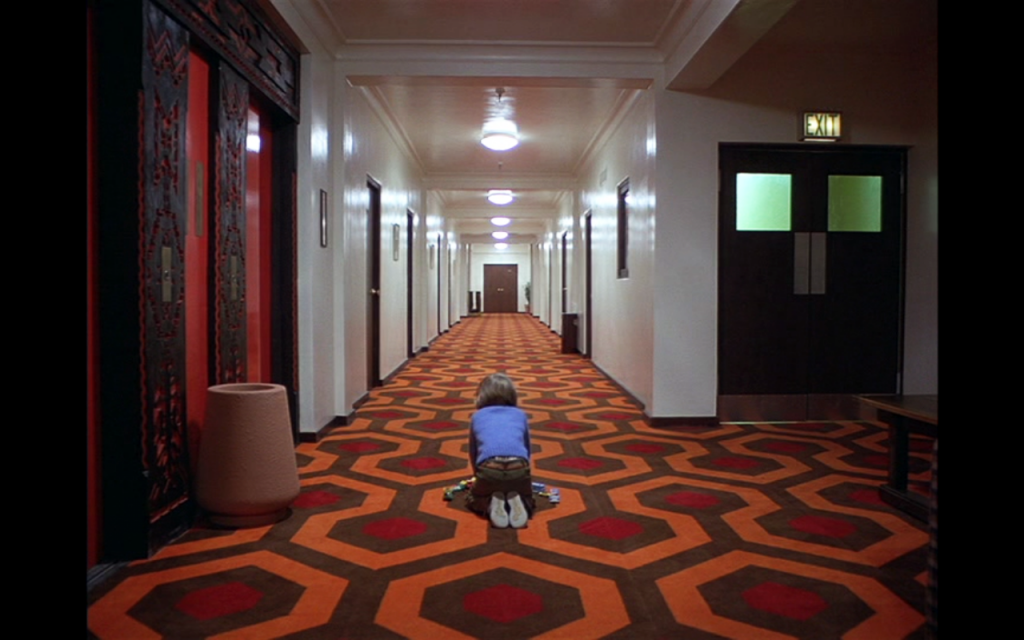
The carpet pattern was designed by David Hicks. It turns out you can buy that carpet, as well as wallpaper, fabric, clothes, and all sorts of other things made in that exact pattern as well as other variations and colorways. There seems to be officially licensed “Hicks Hexagon” carpets, but also lots of knockoffs. Apparently, a lot of people are fans of the carpet because of the movie, but it is also a very cool design. I might have to make another dress with the actual Hicks Hexagon fabric, although I’m not actually a big fan of The Shining (or any horror movie for that matter).
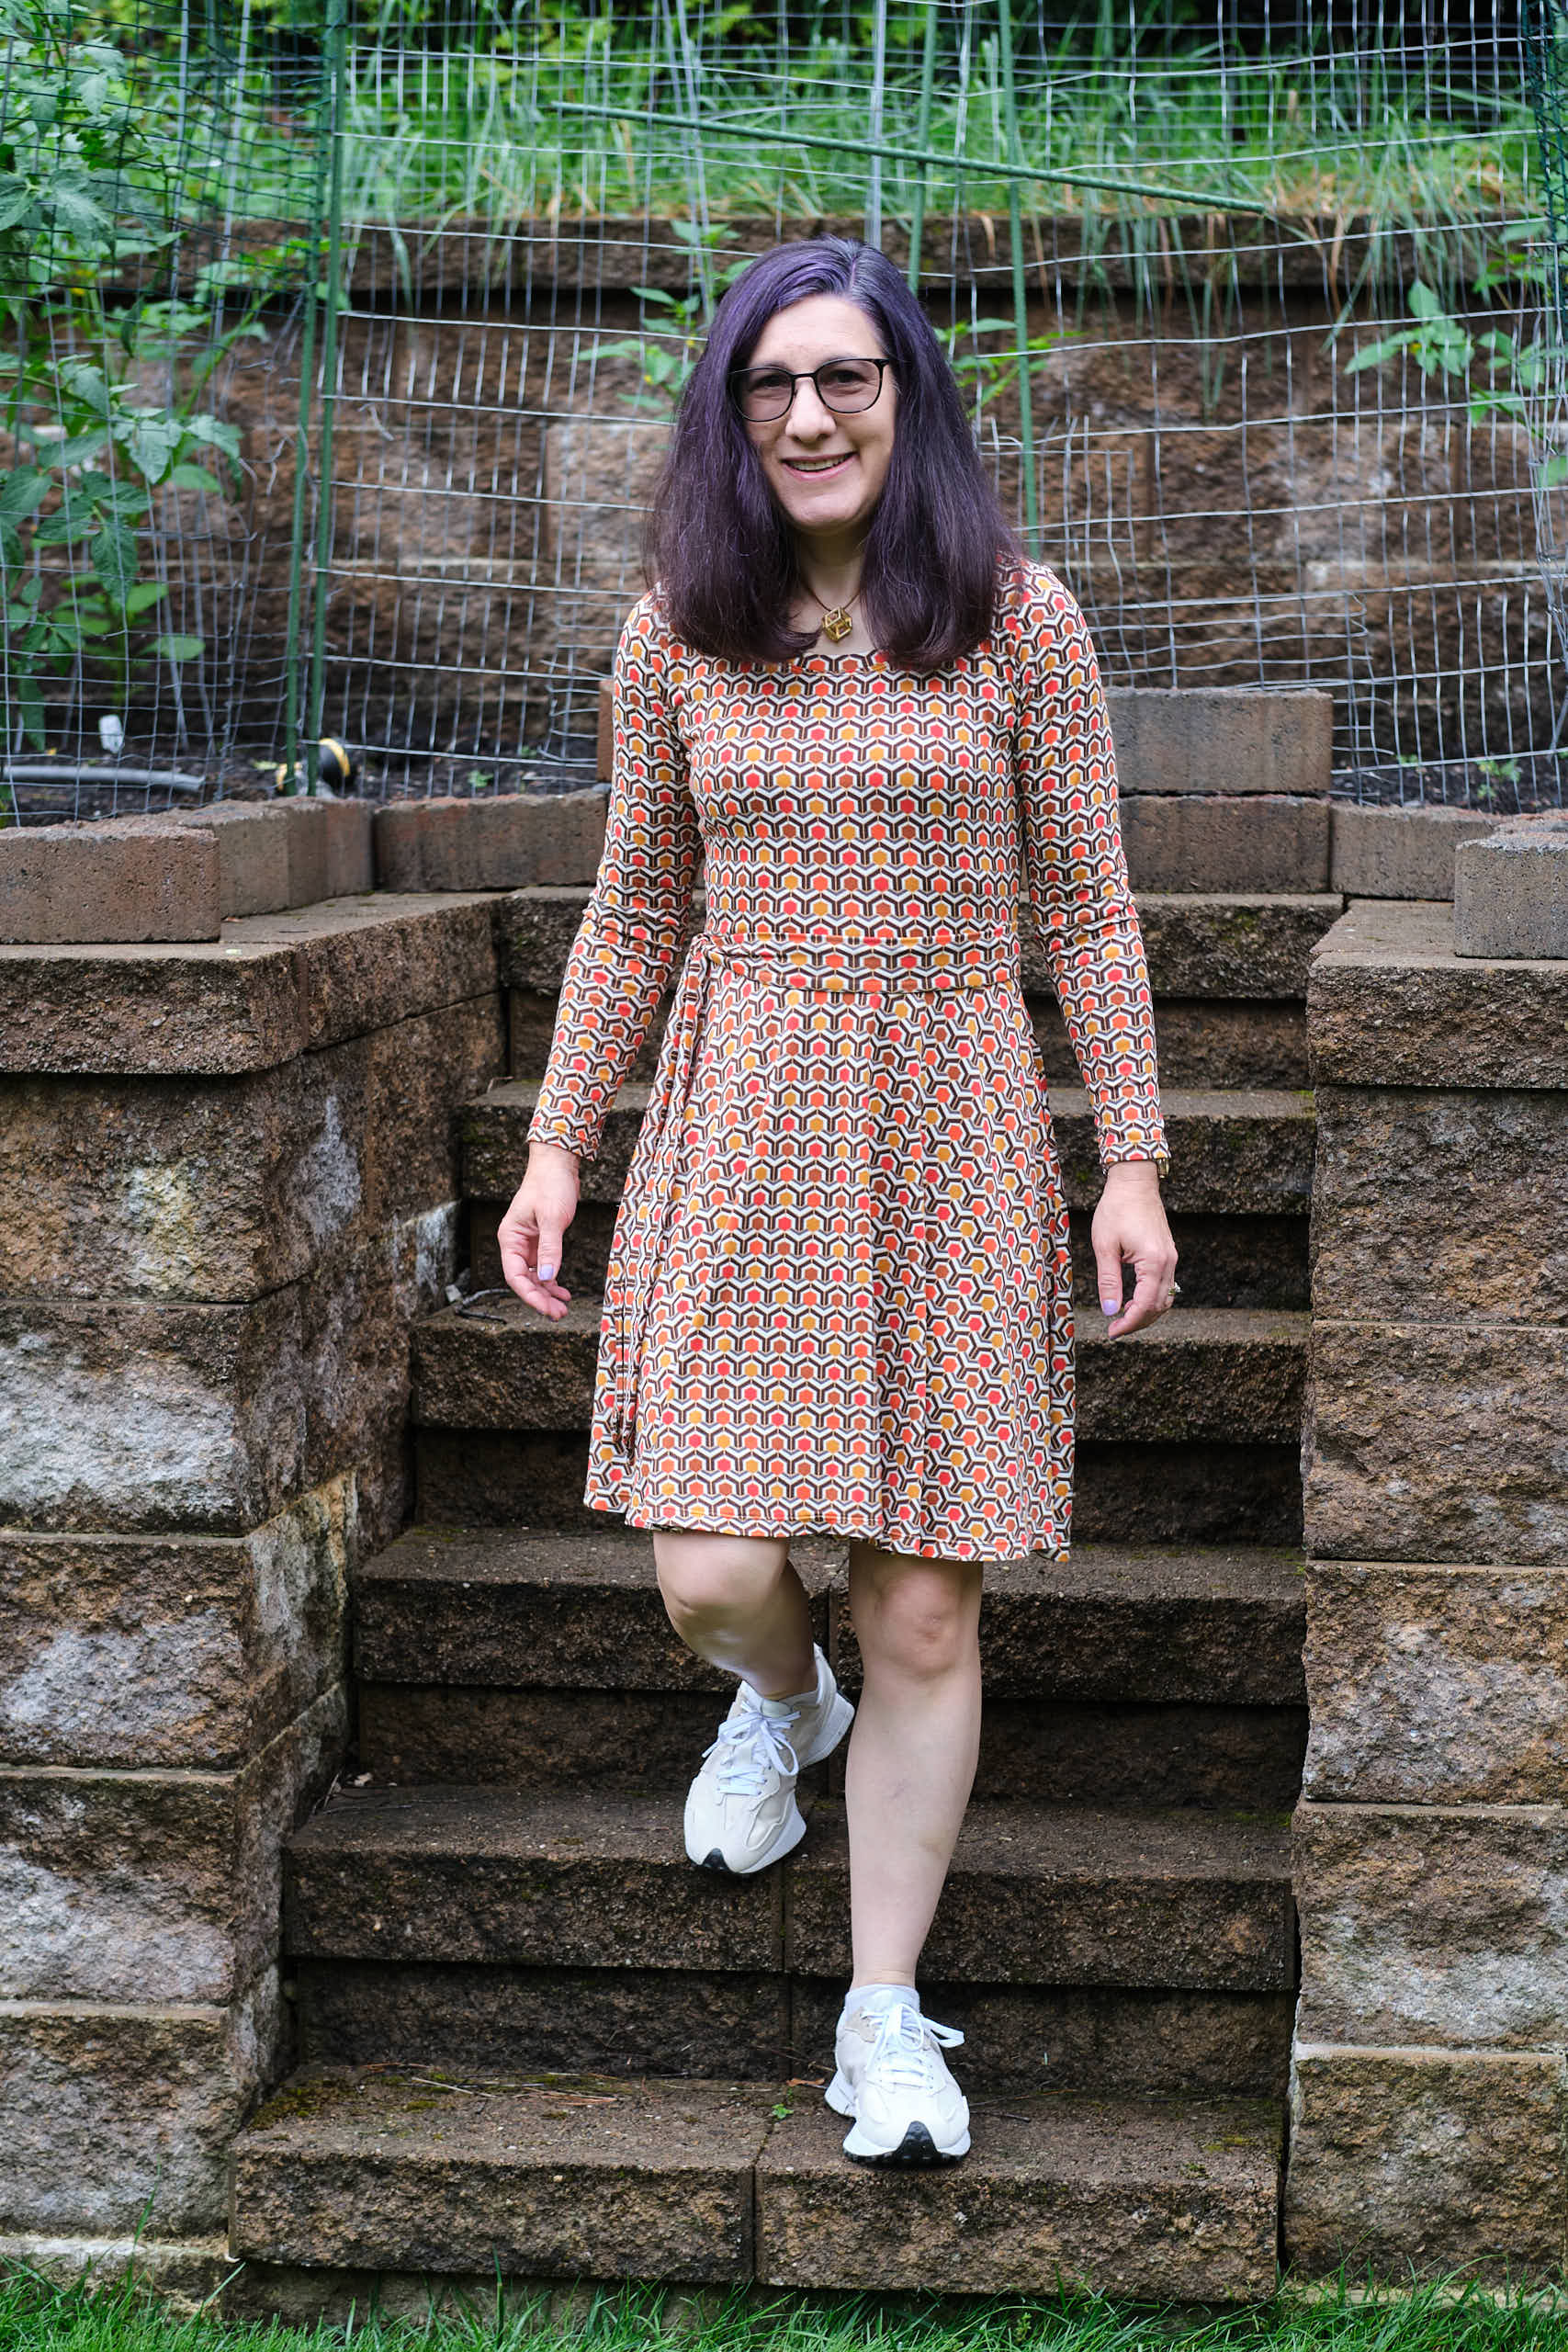
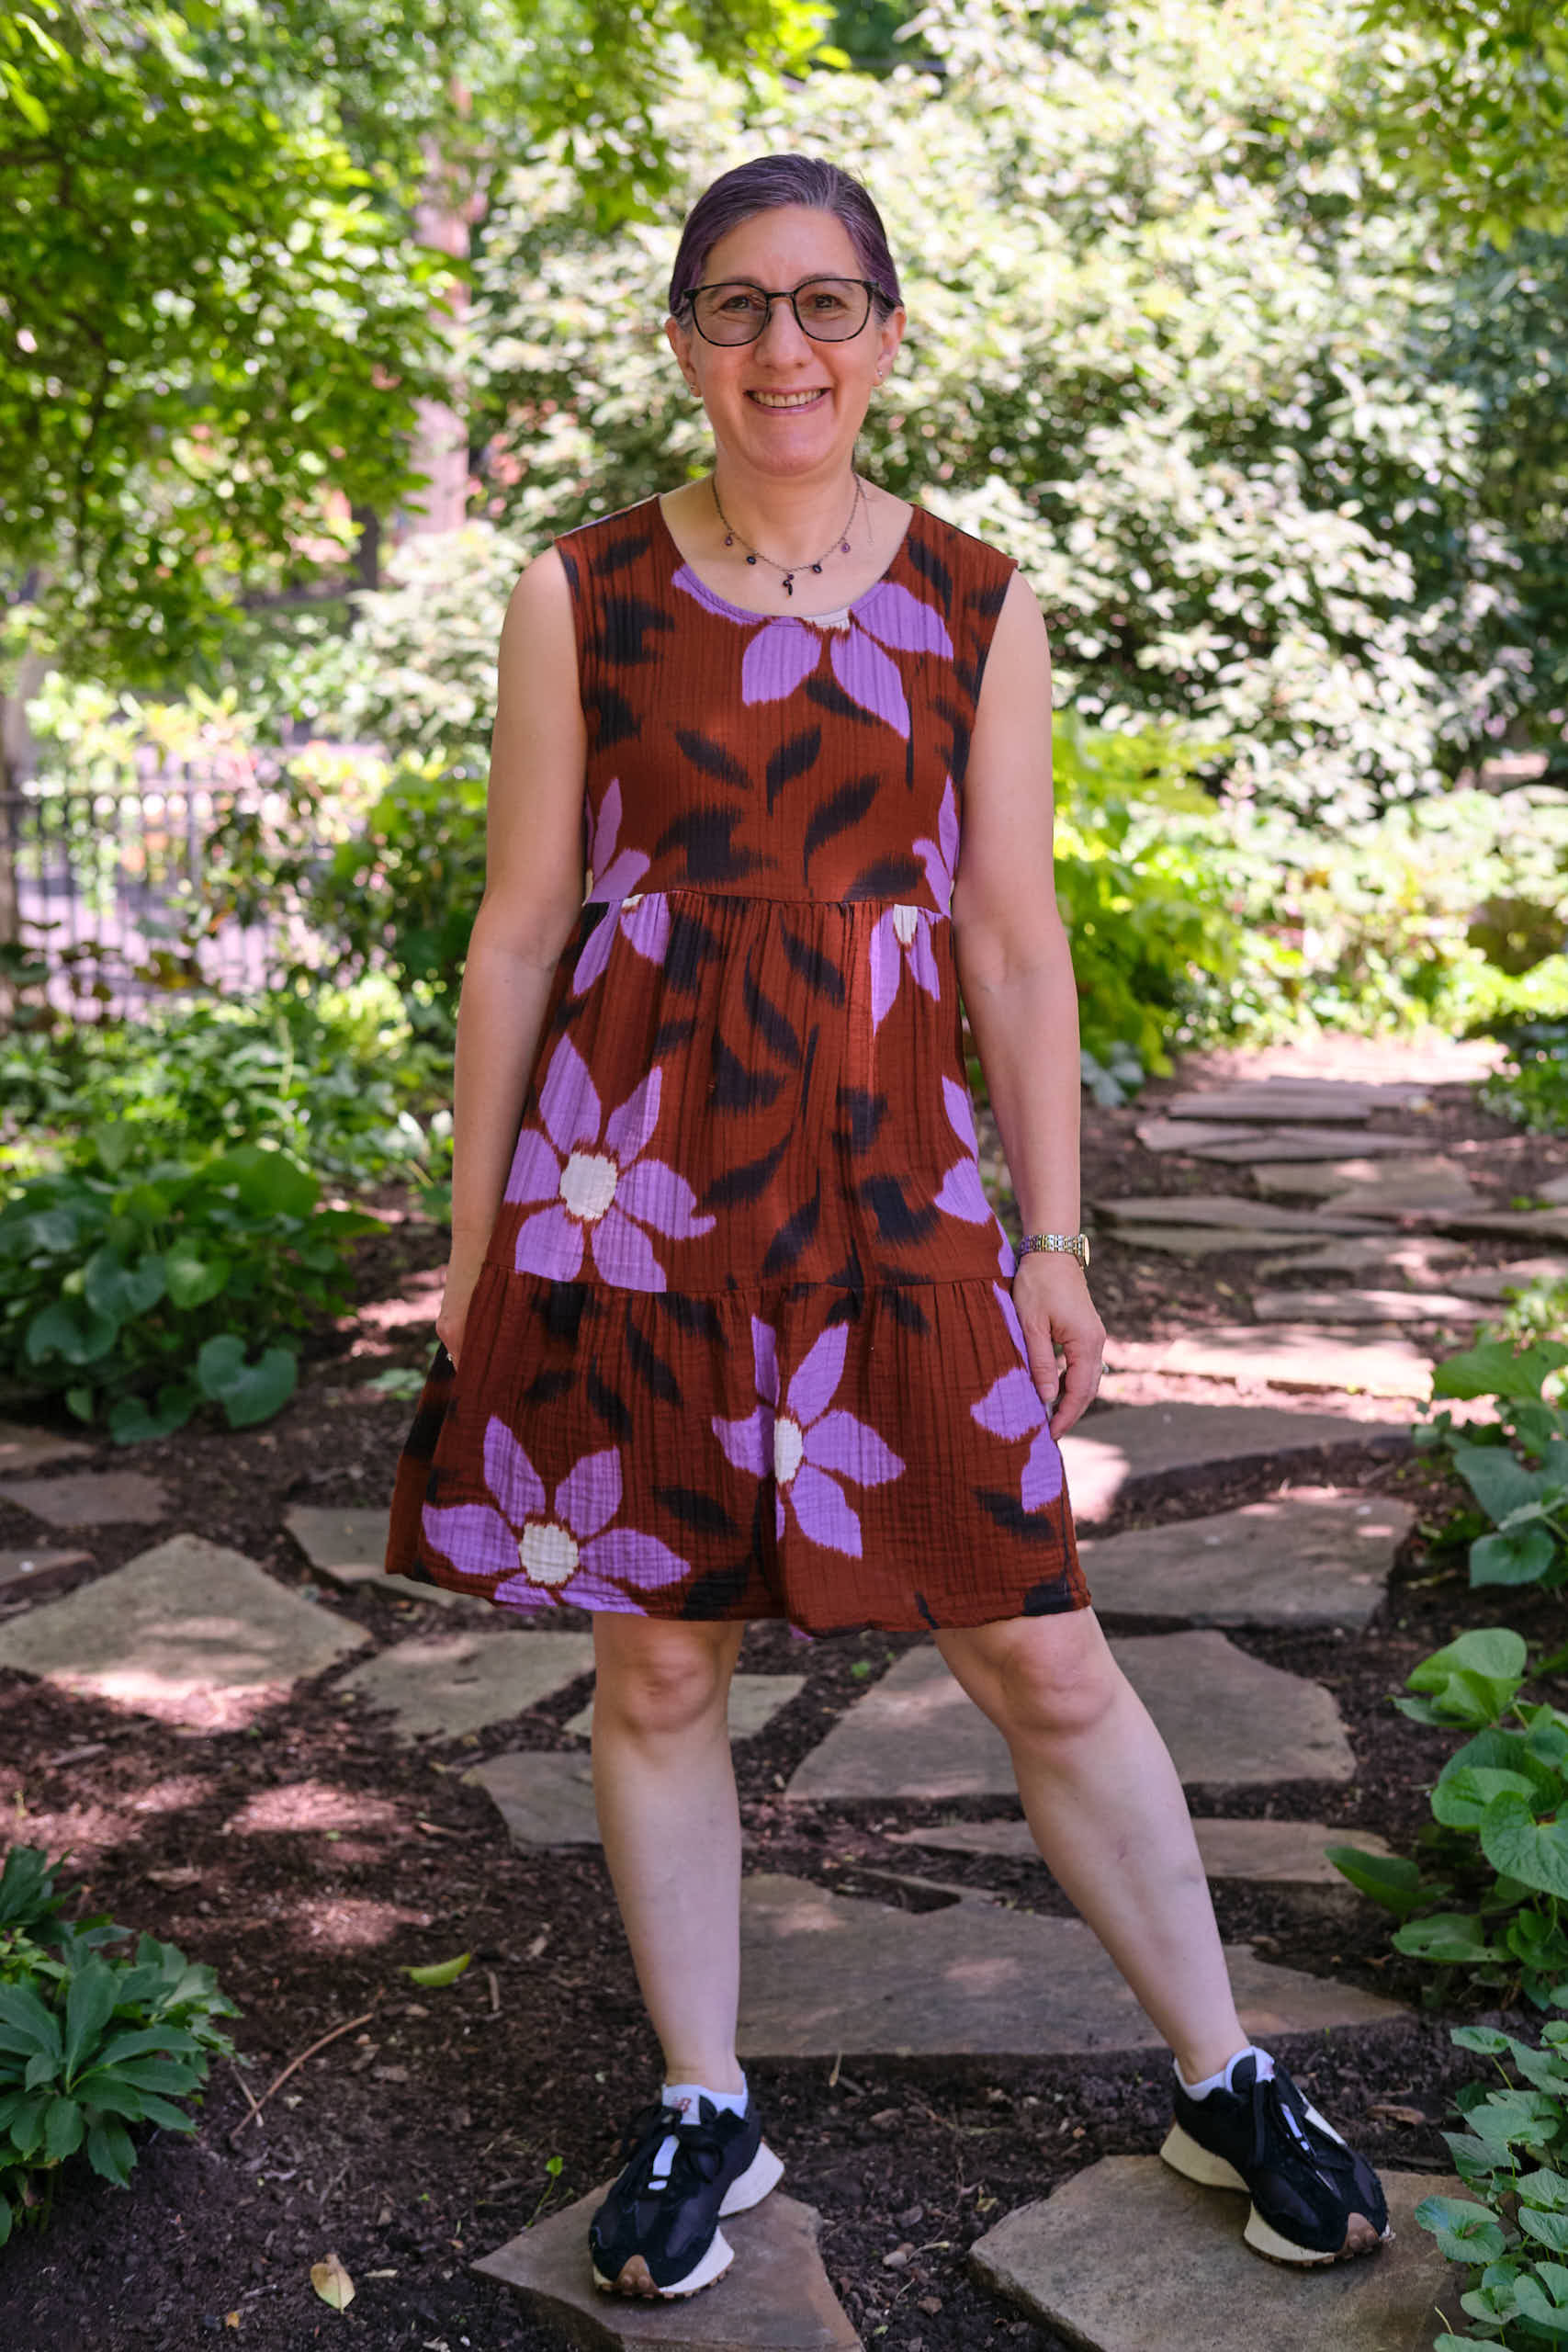
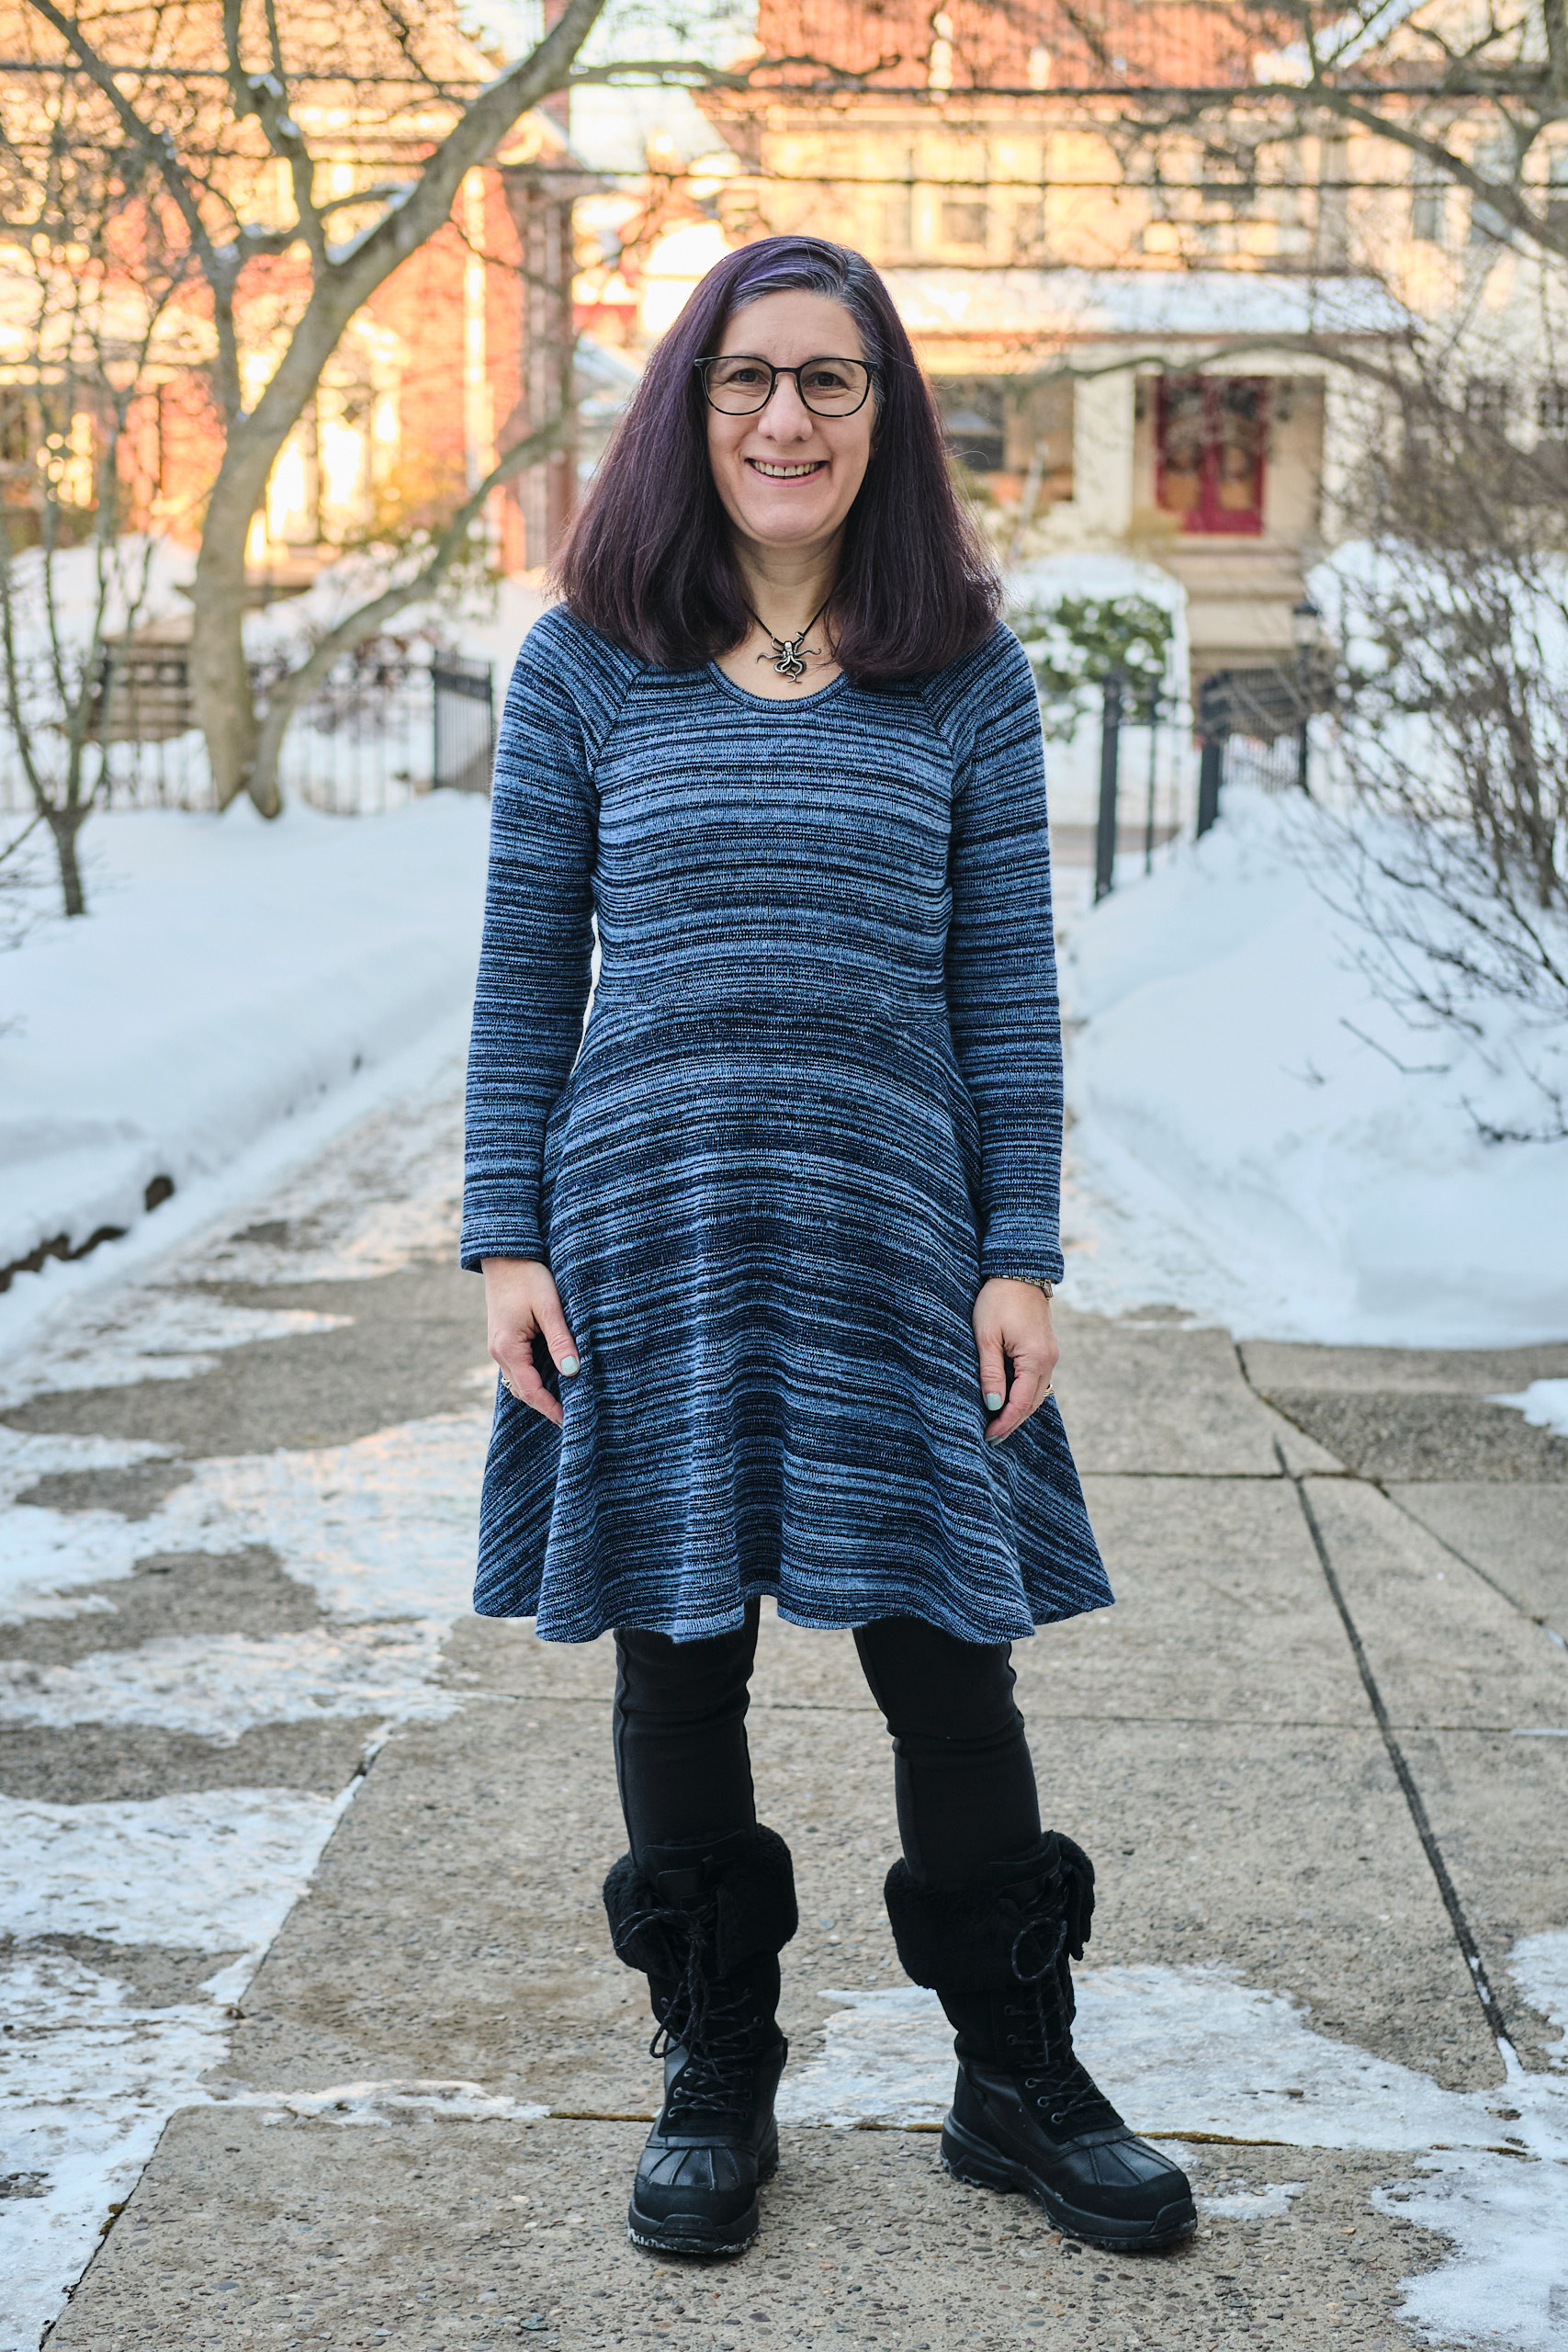
Because this is a busy pattern, I knew I wanted a fairly simple dress design. The fabric seemed to want to be a long-sleeve skater dress, so that’s what I went with, despite the fact that it is summer and it will be a while before I get much wear out of this dress. Fortunately, I finished the dress just in time to wear it to work for what is likely to be the last coolish day for a while.
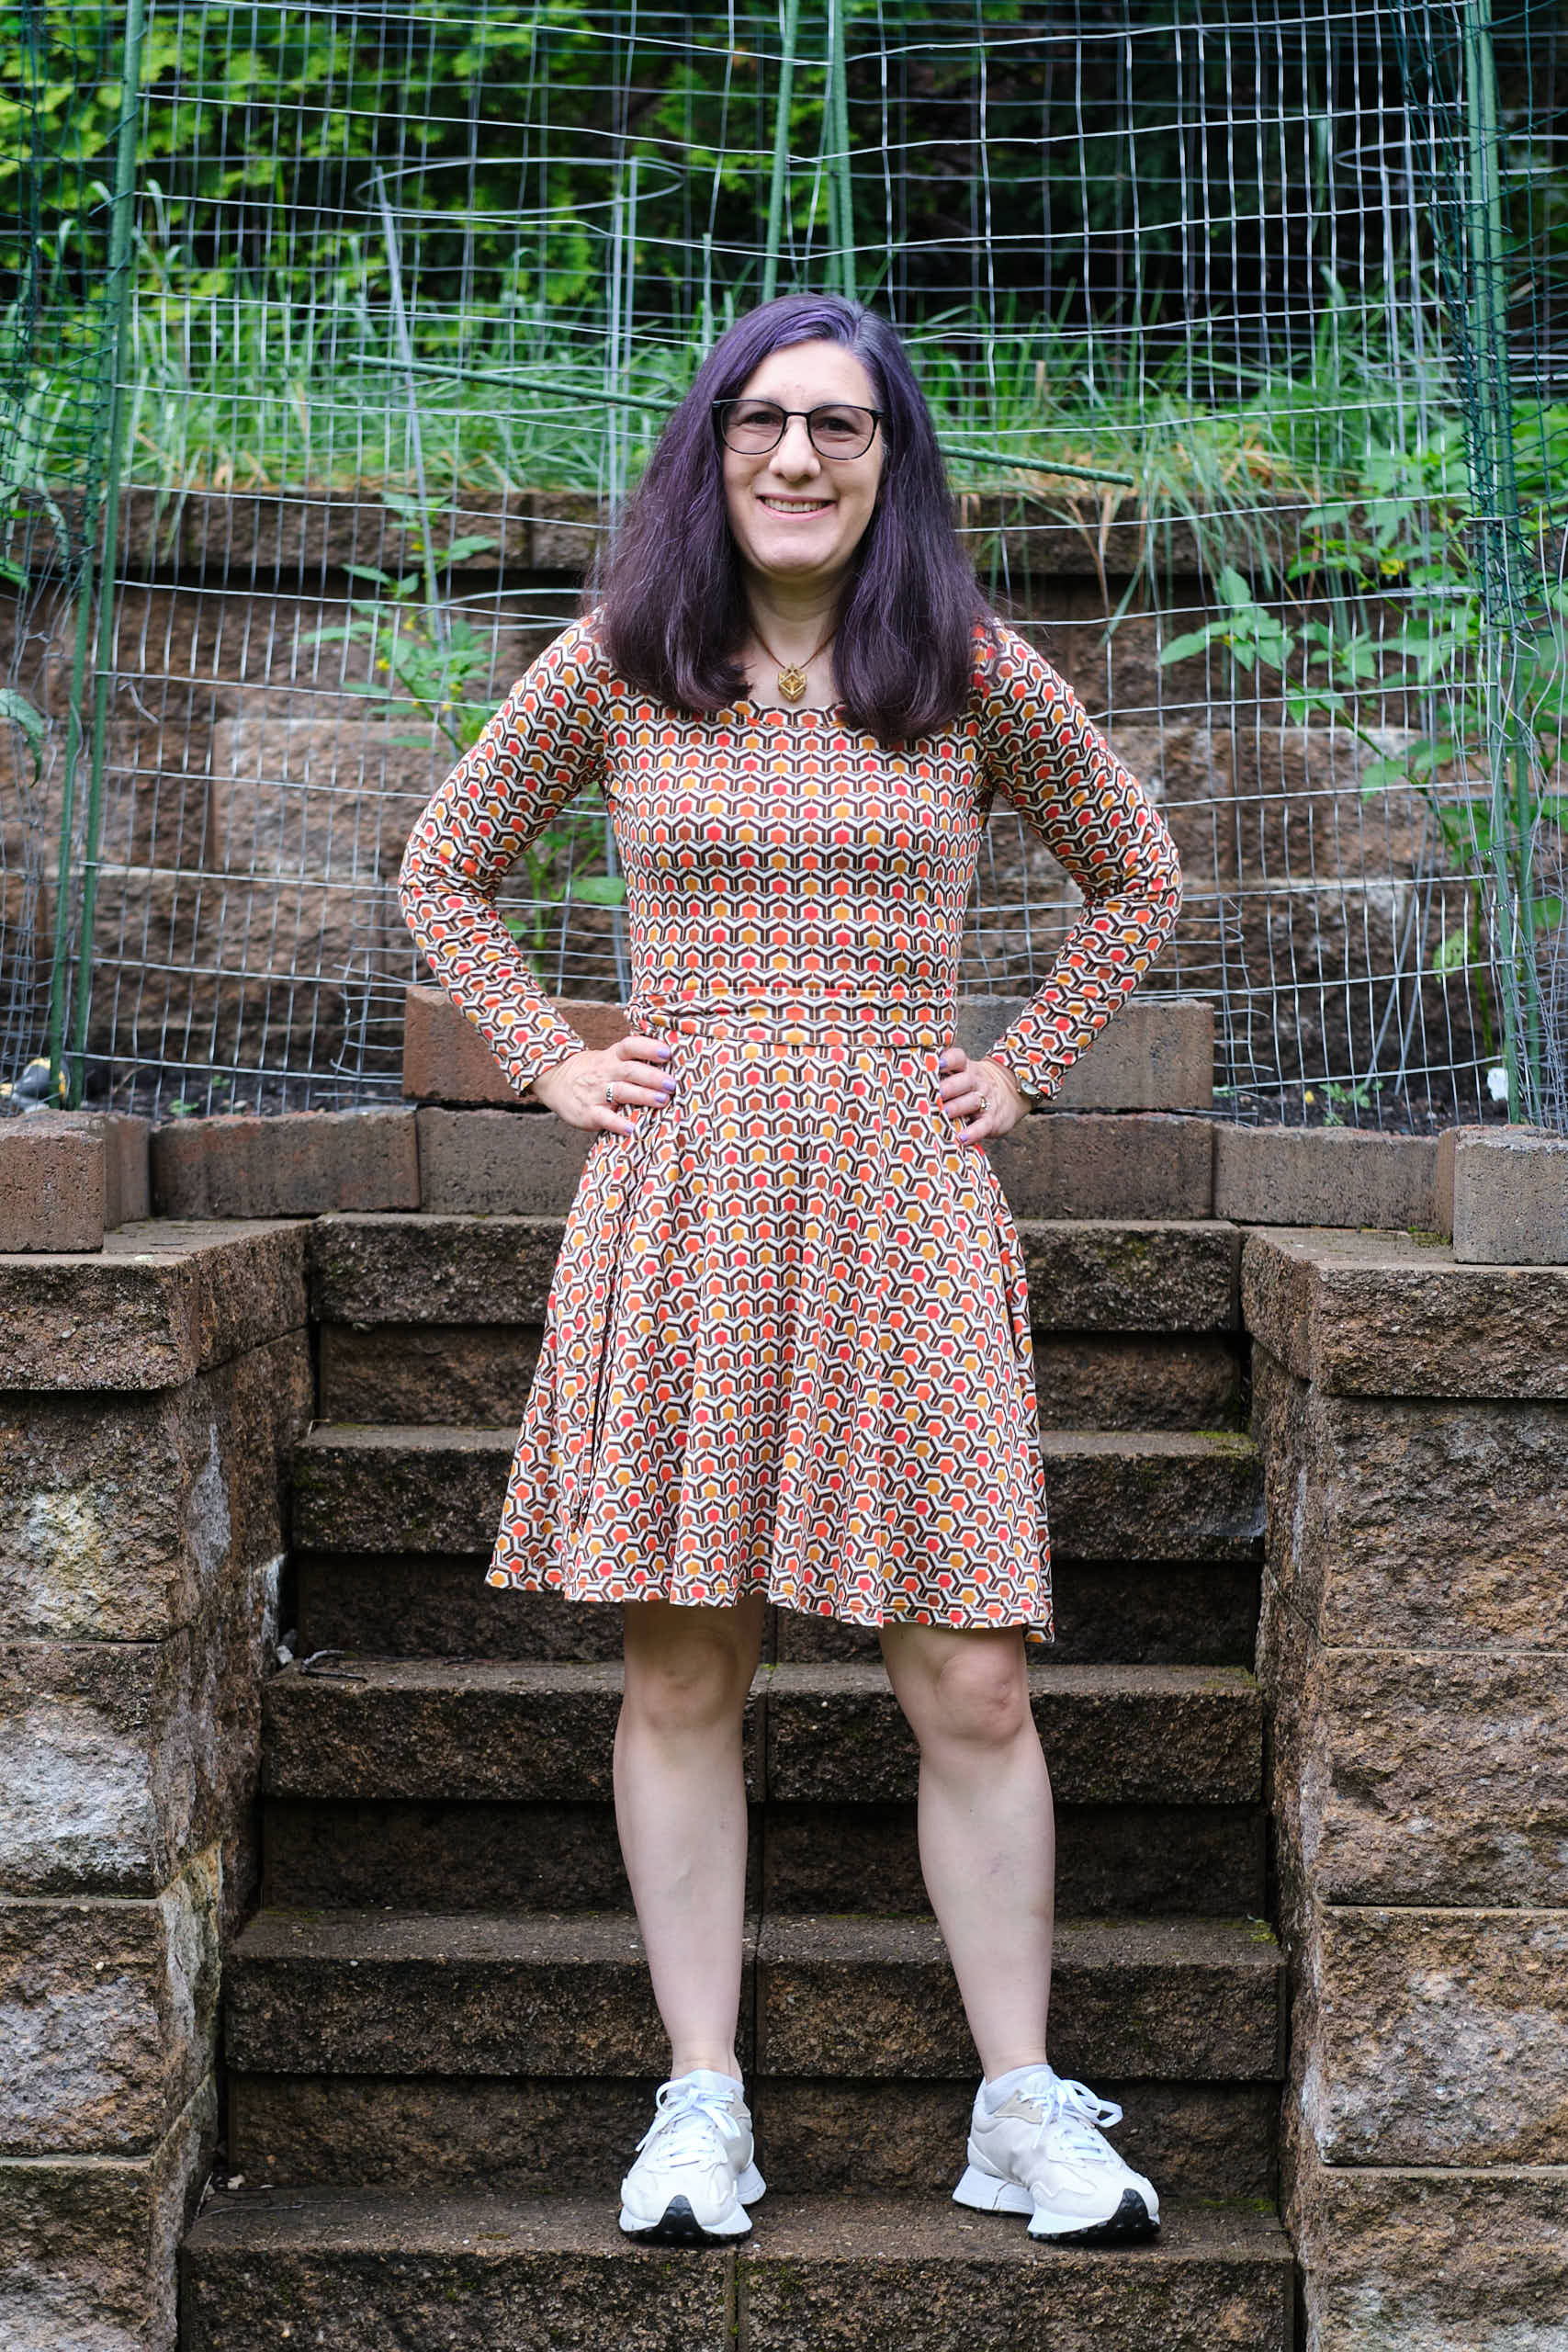
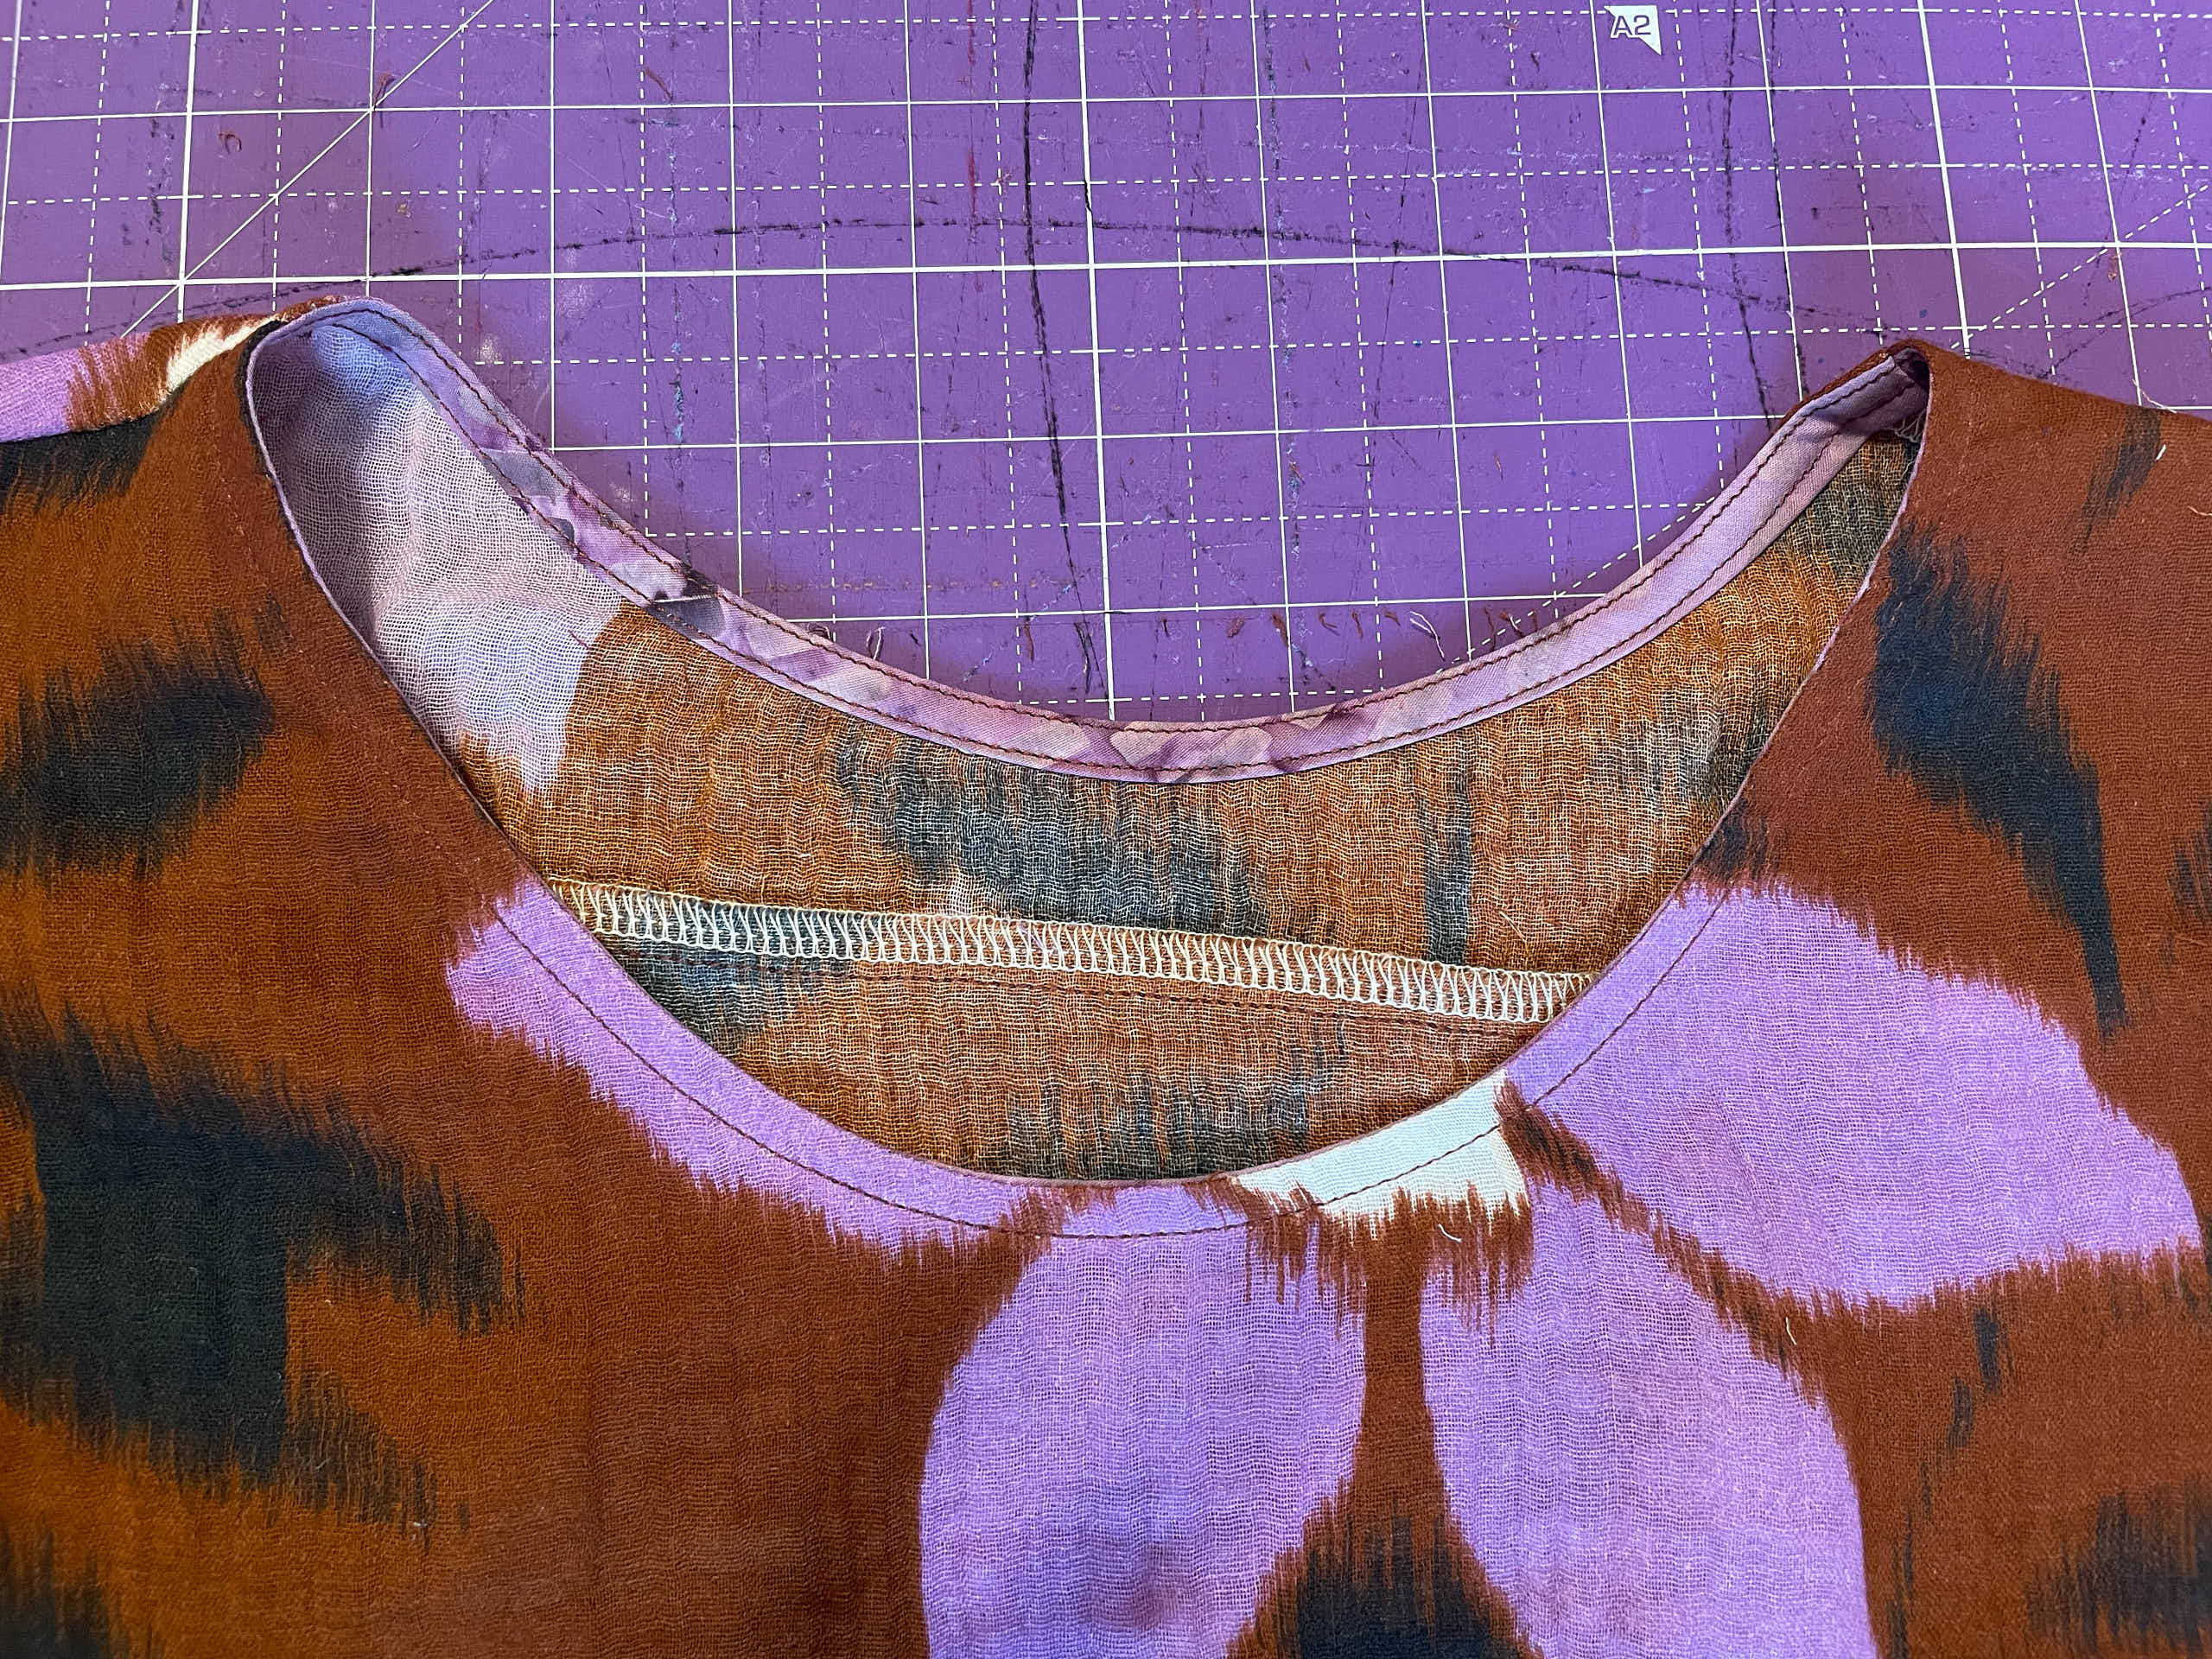
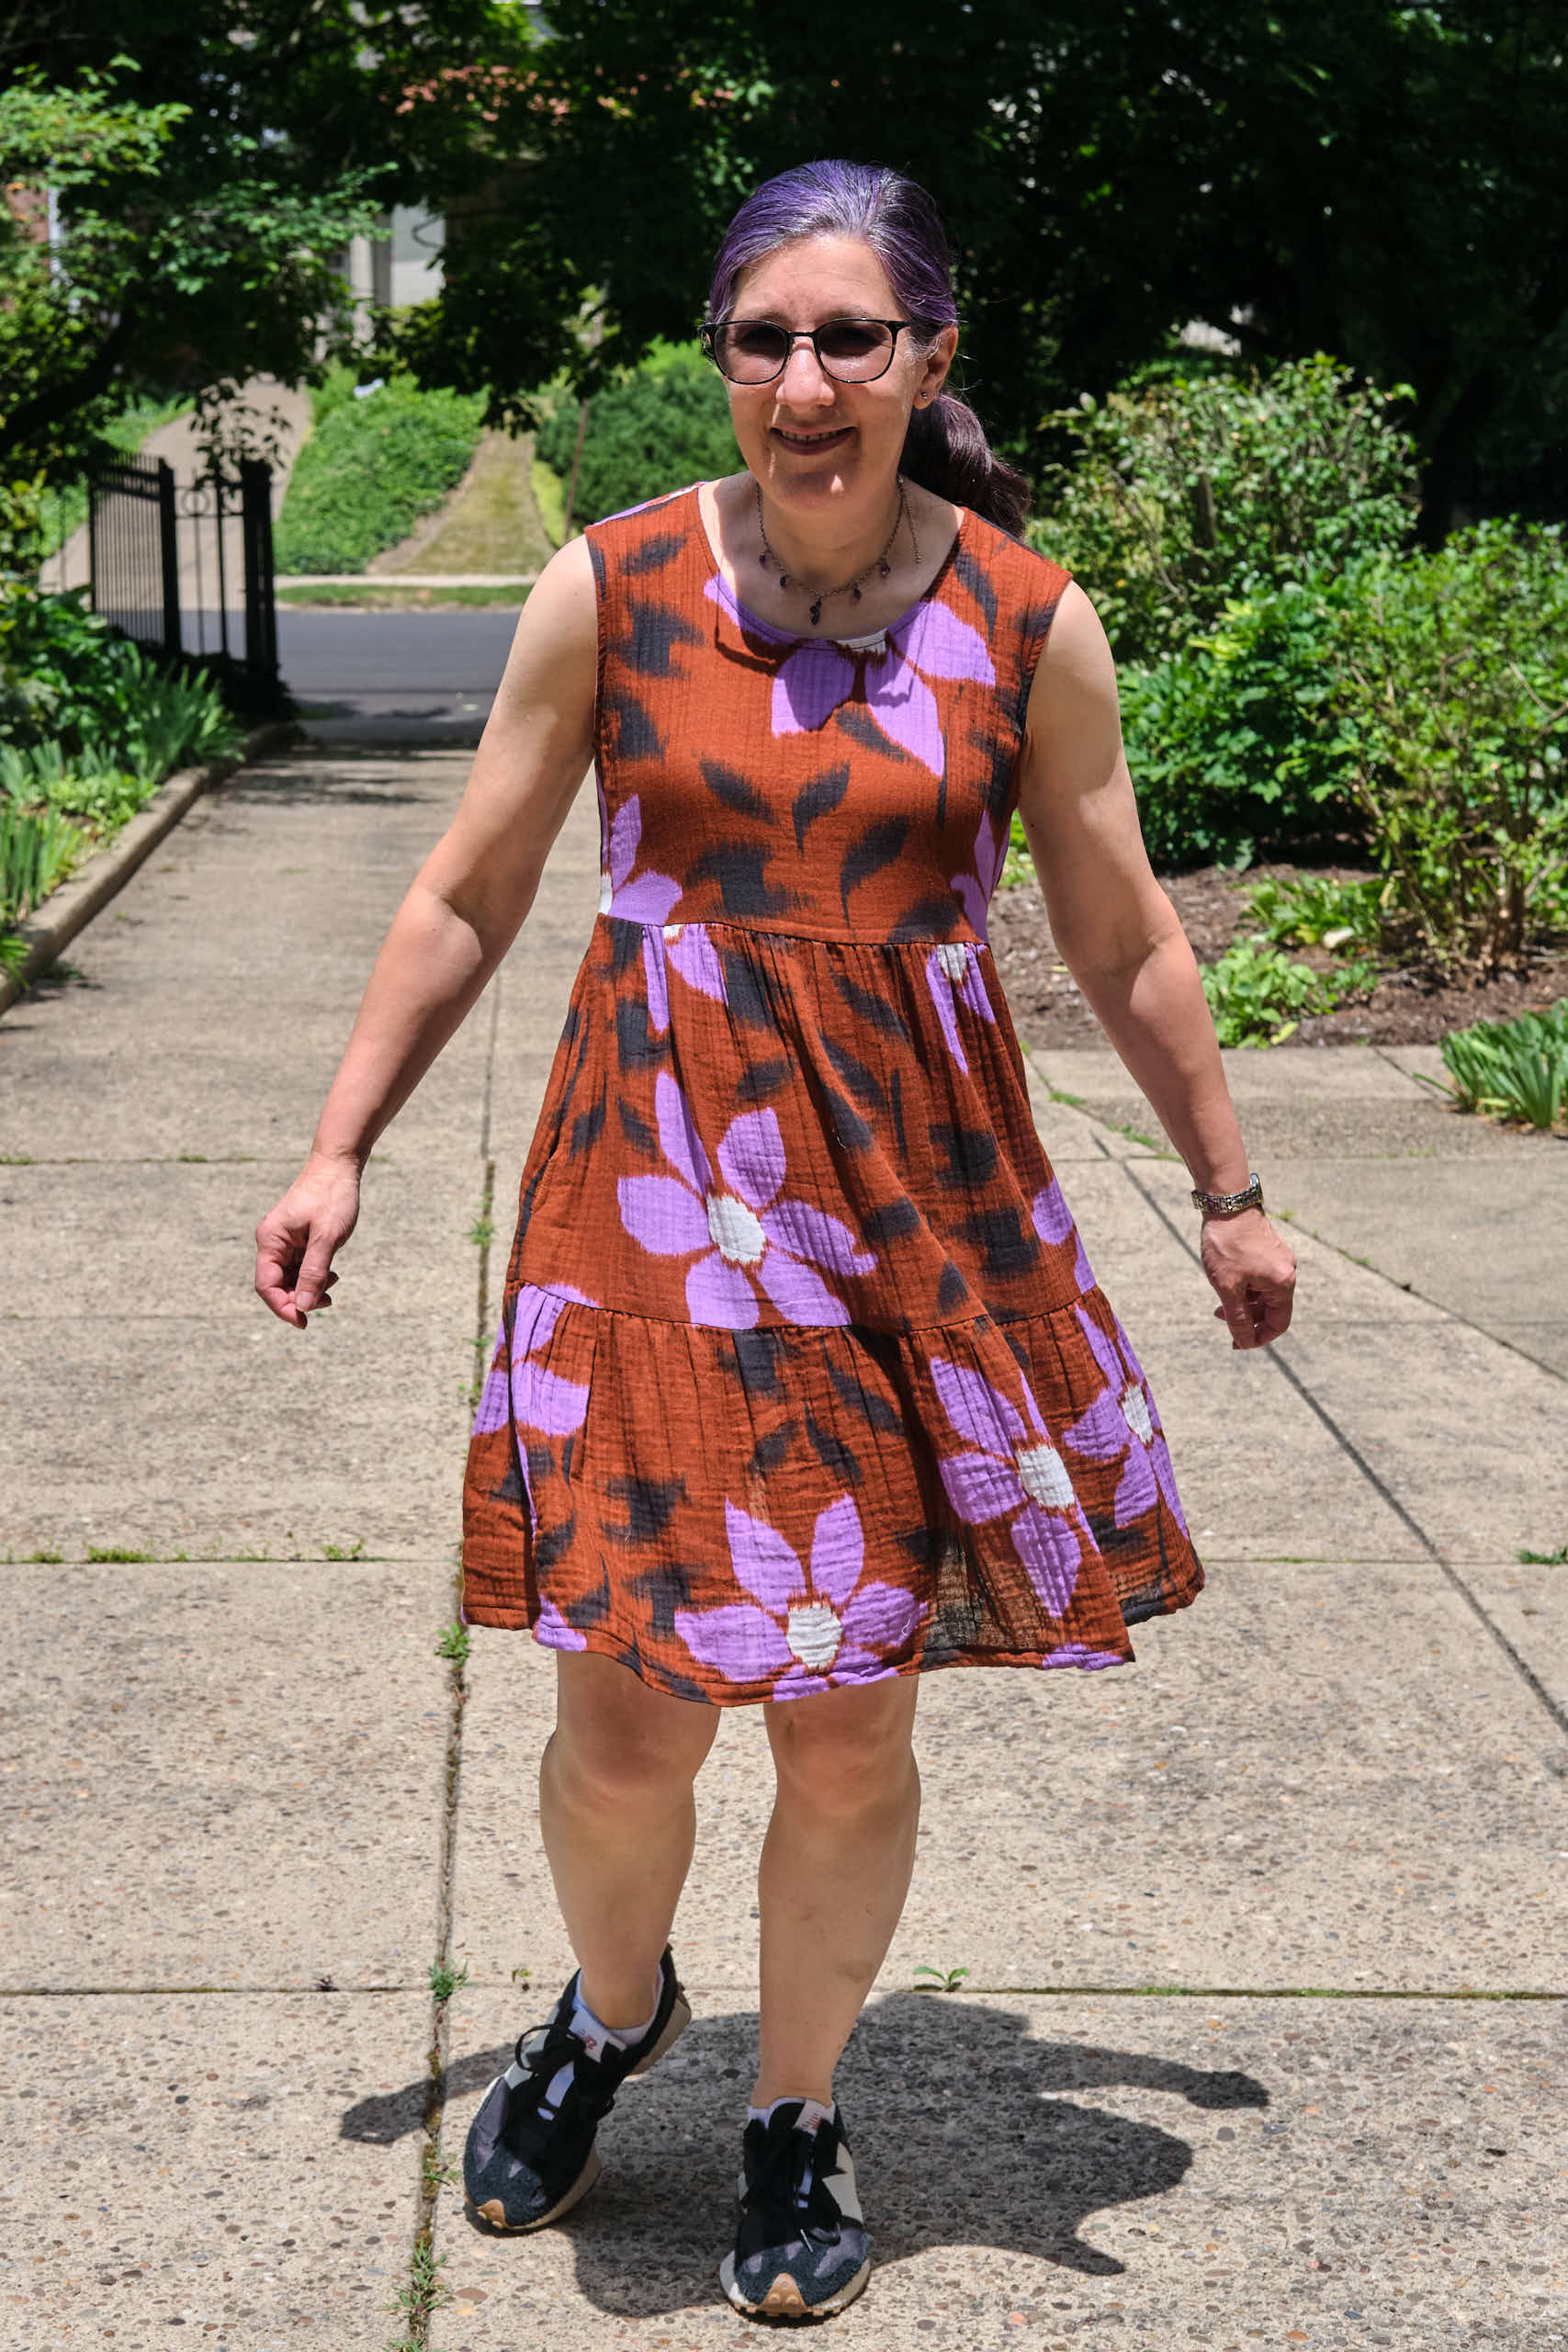
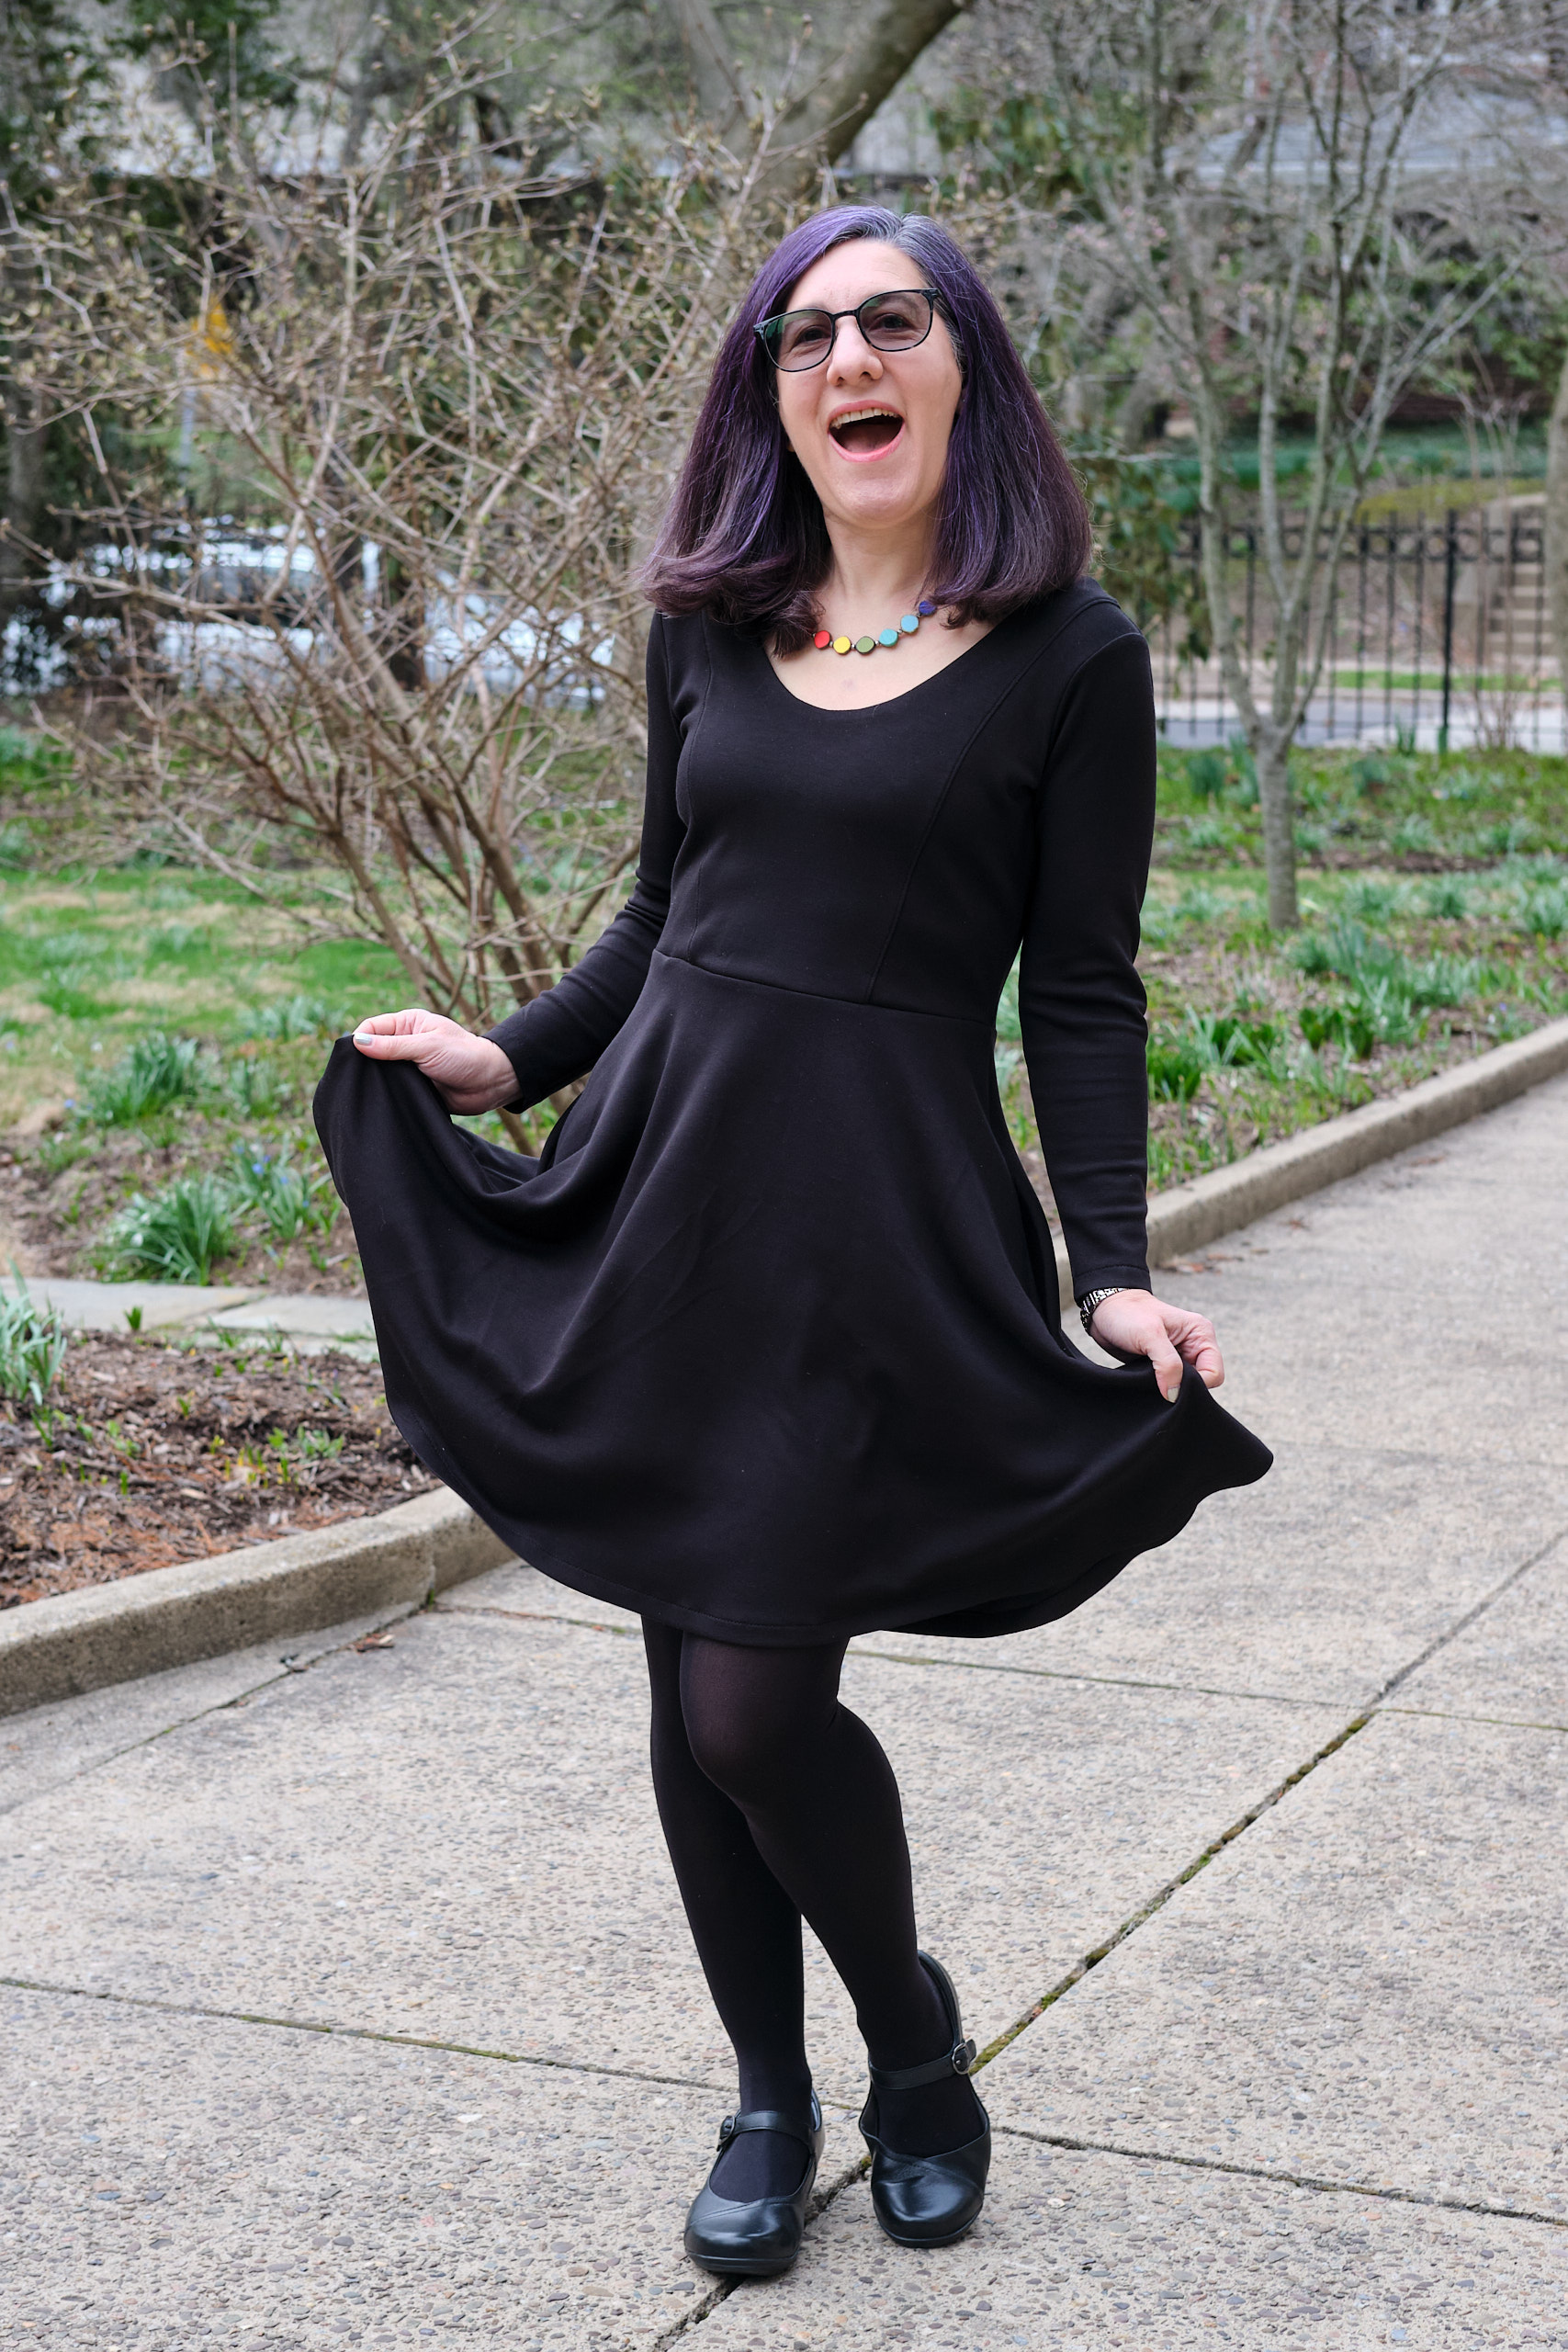
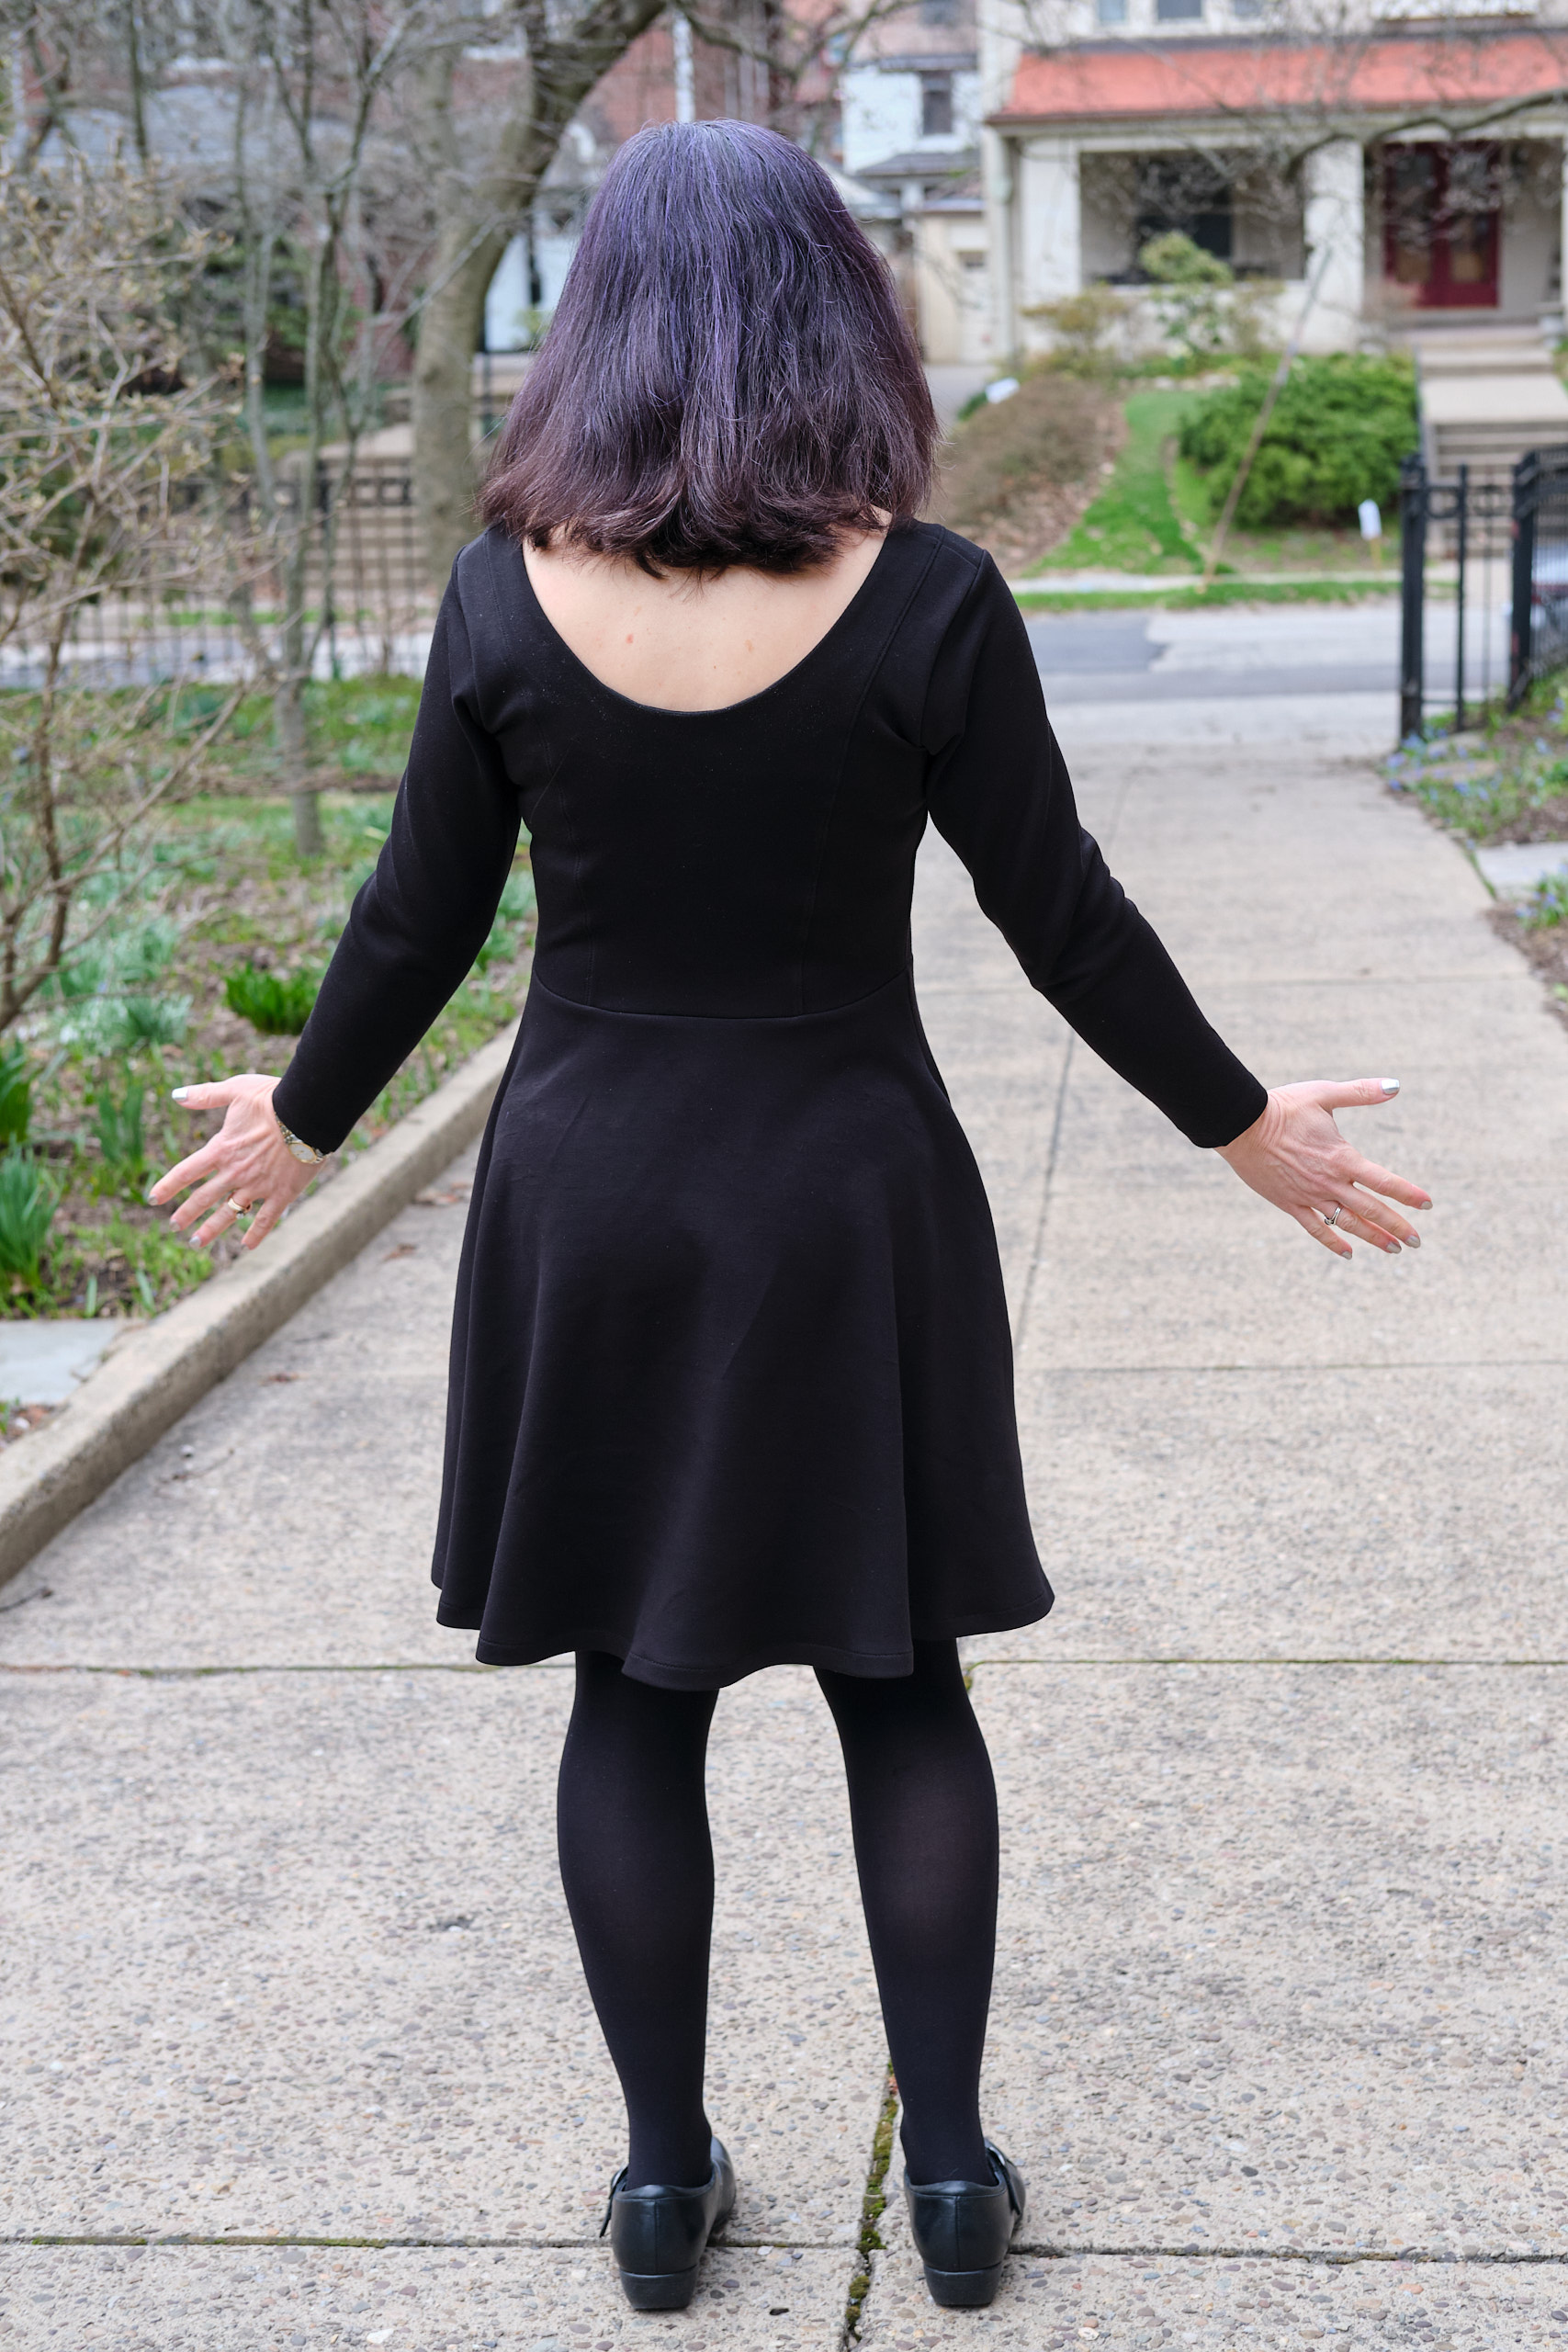
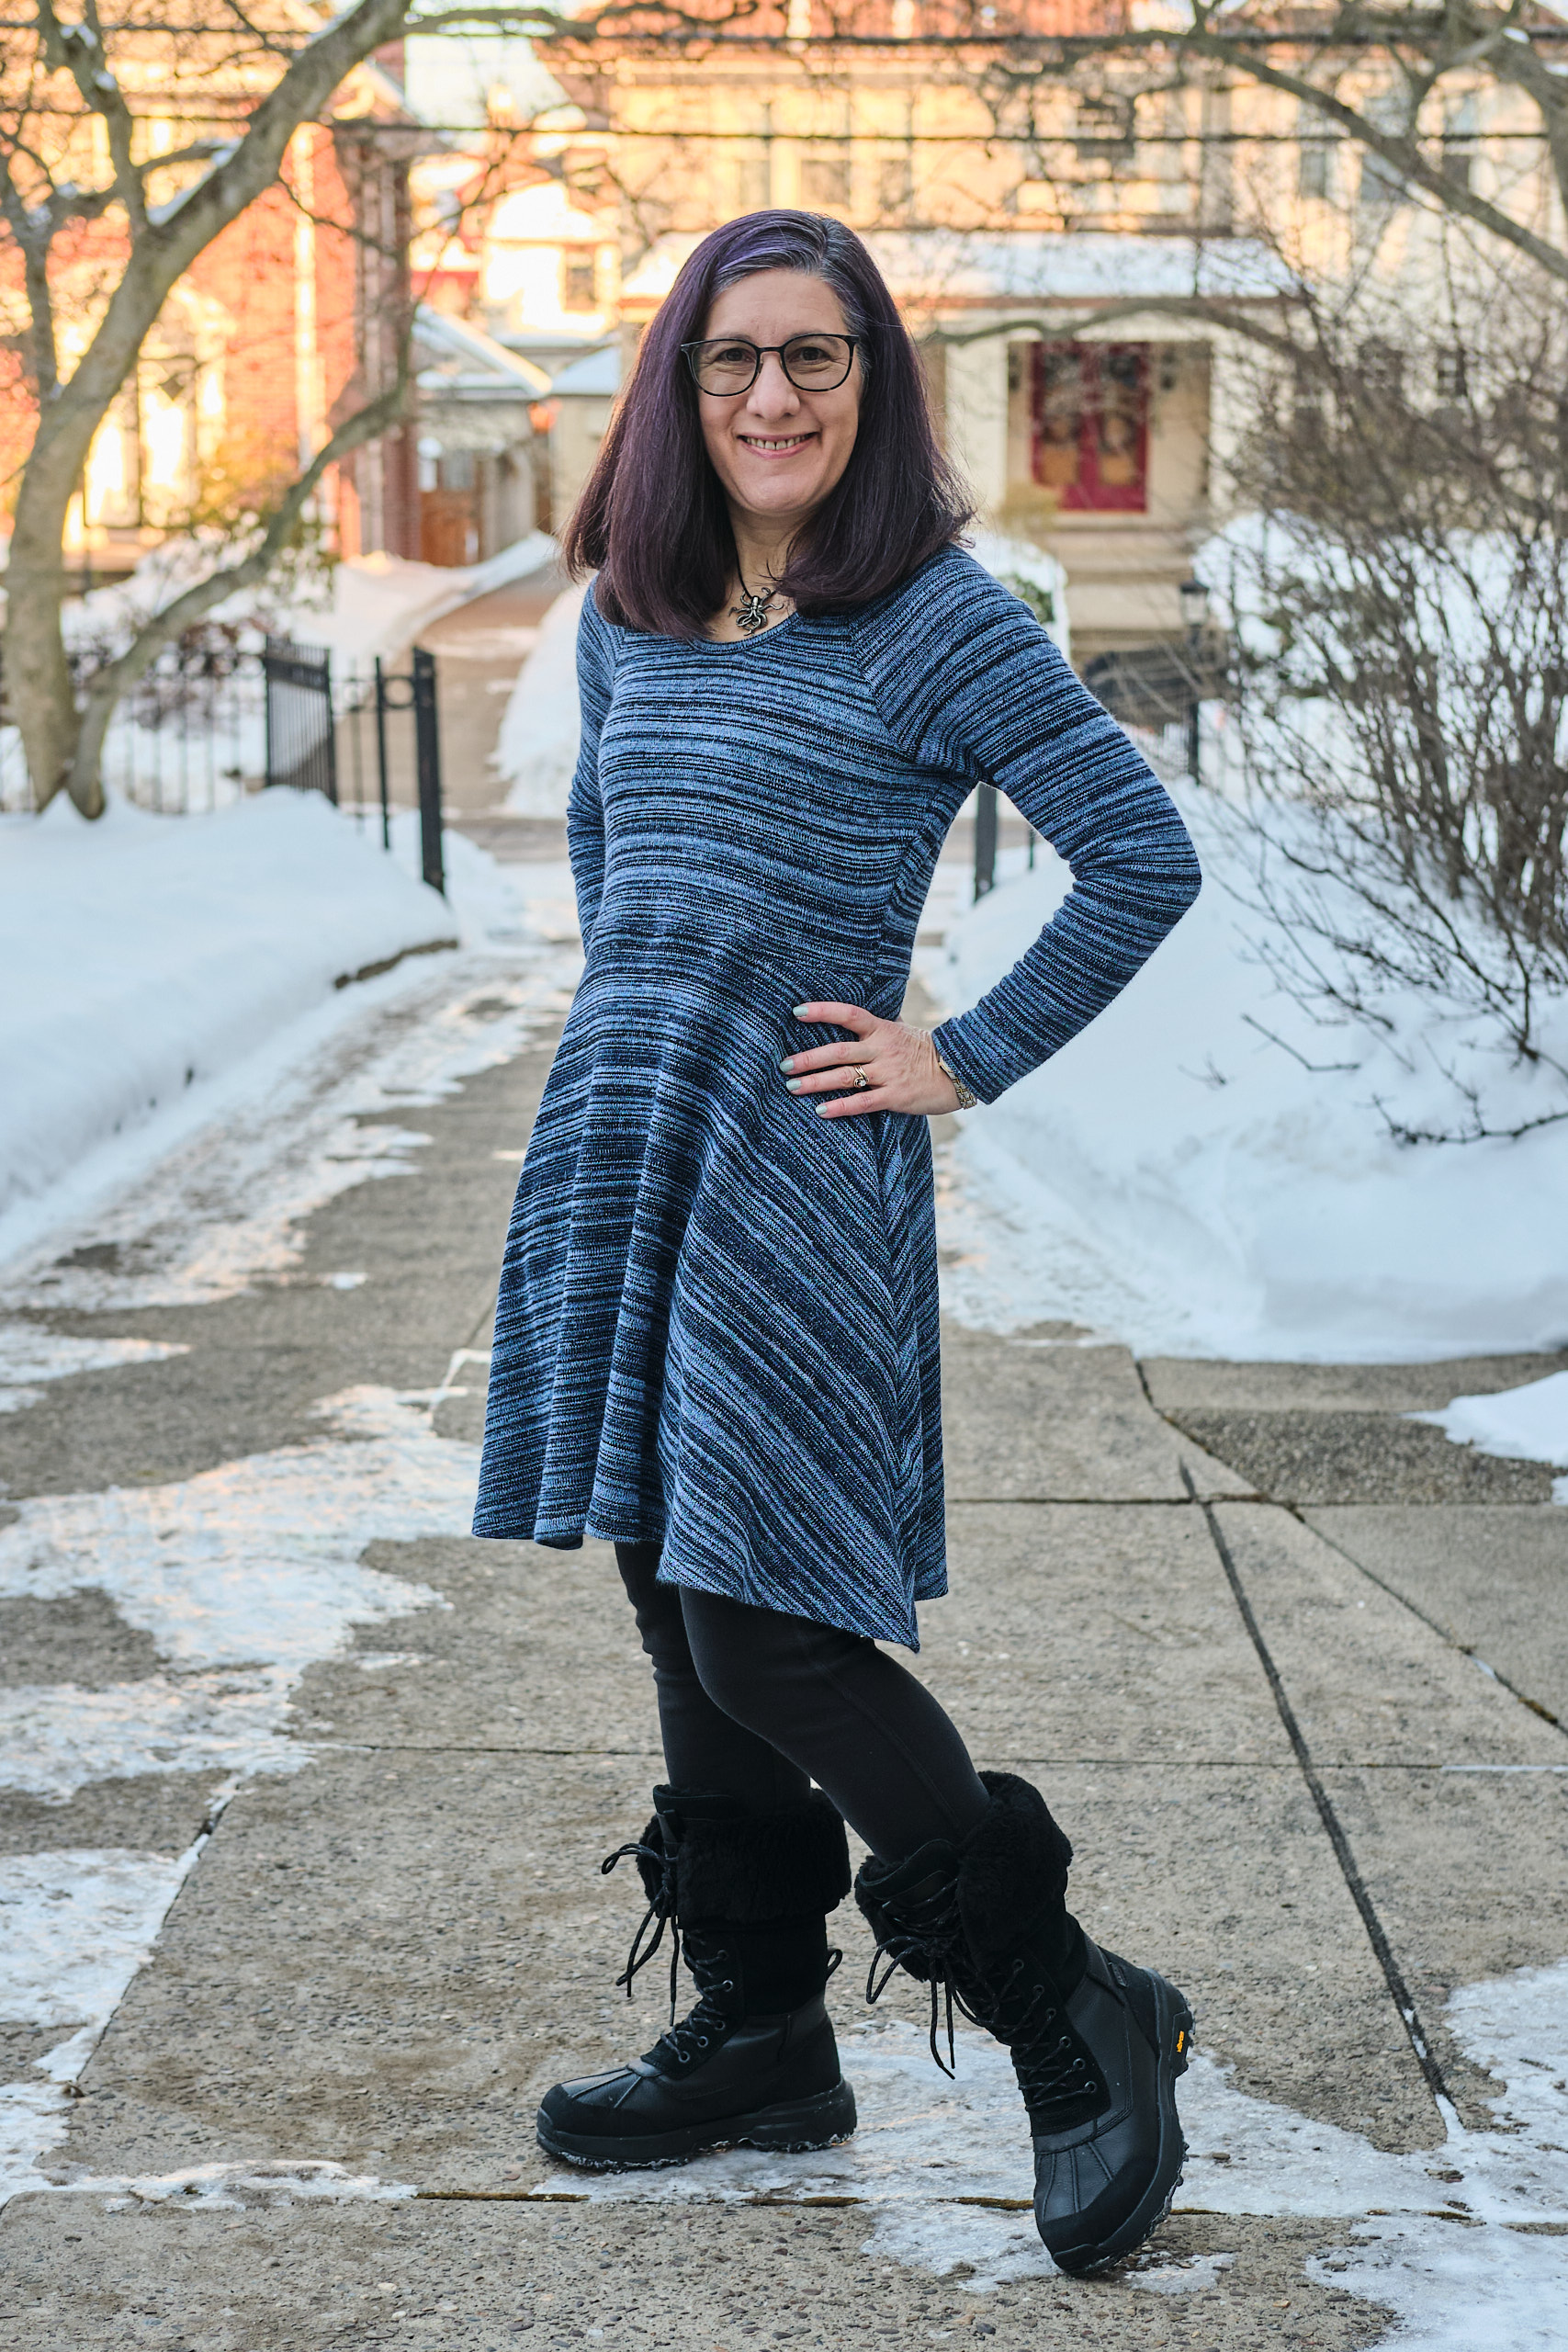
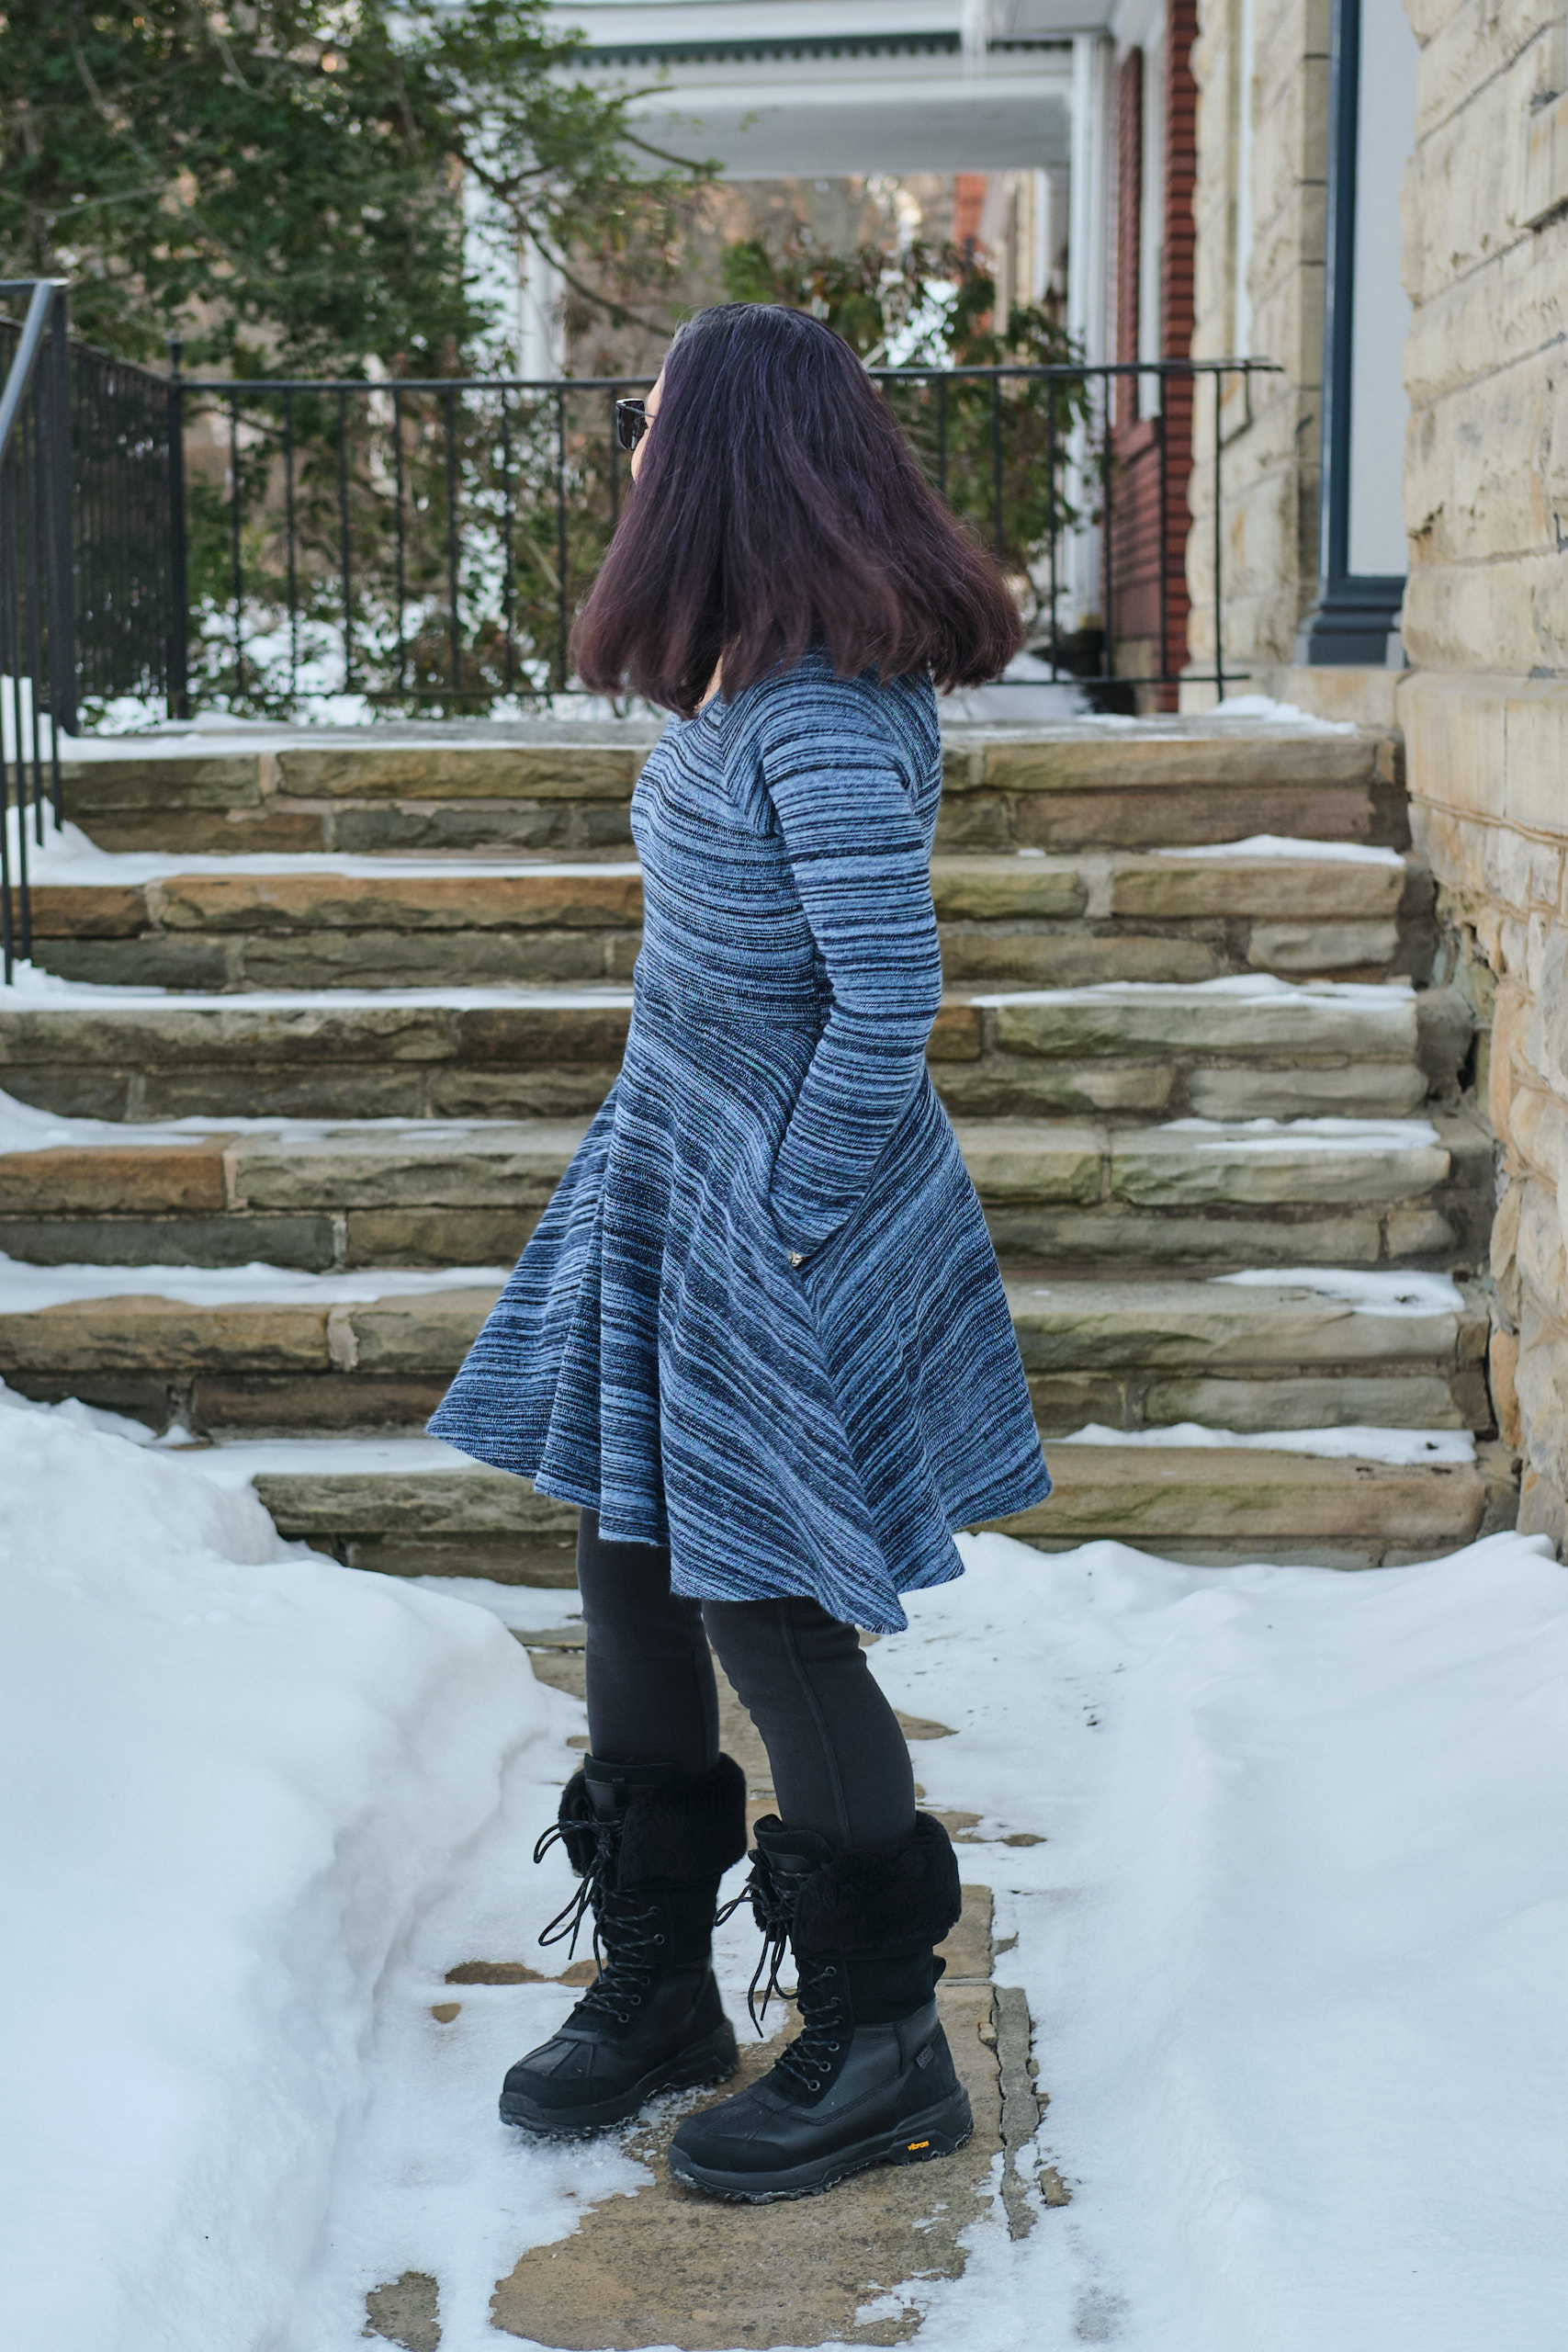
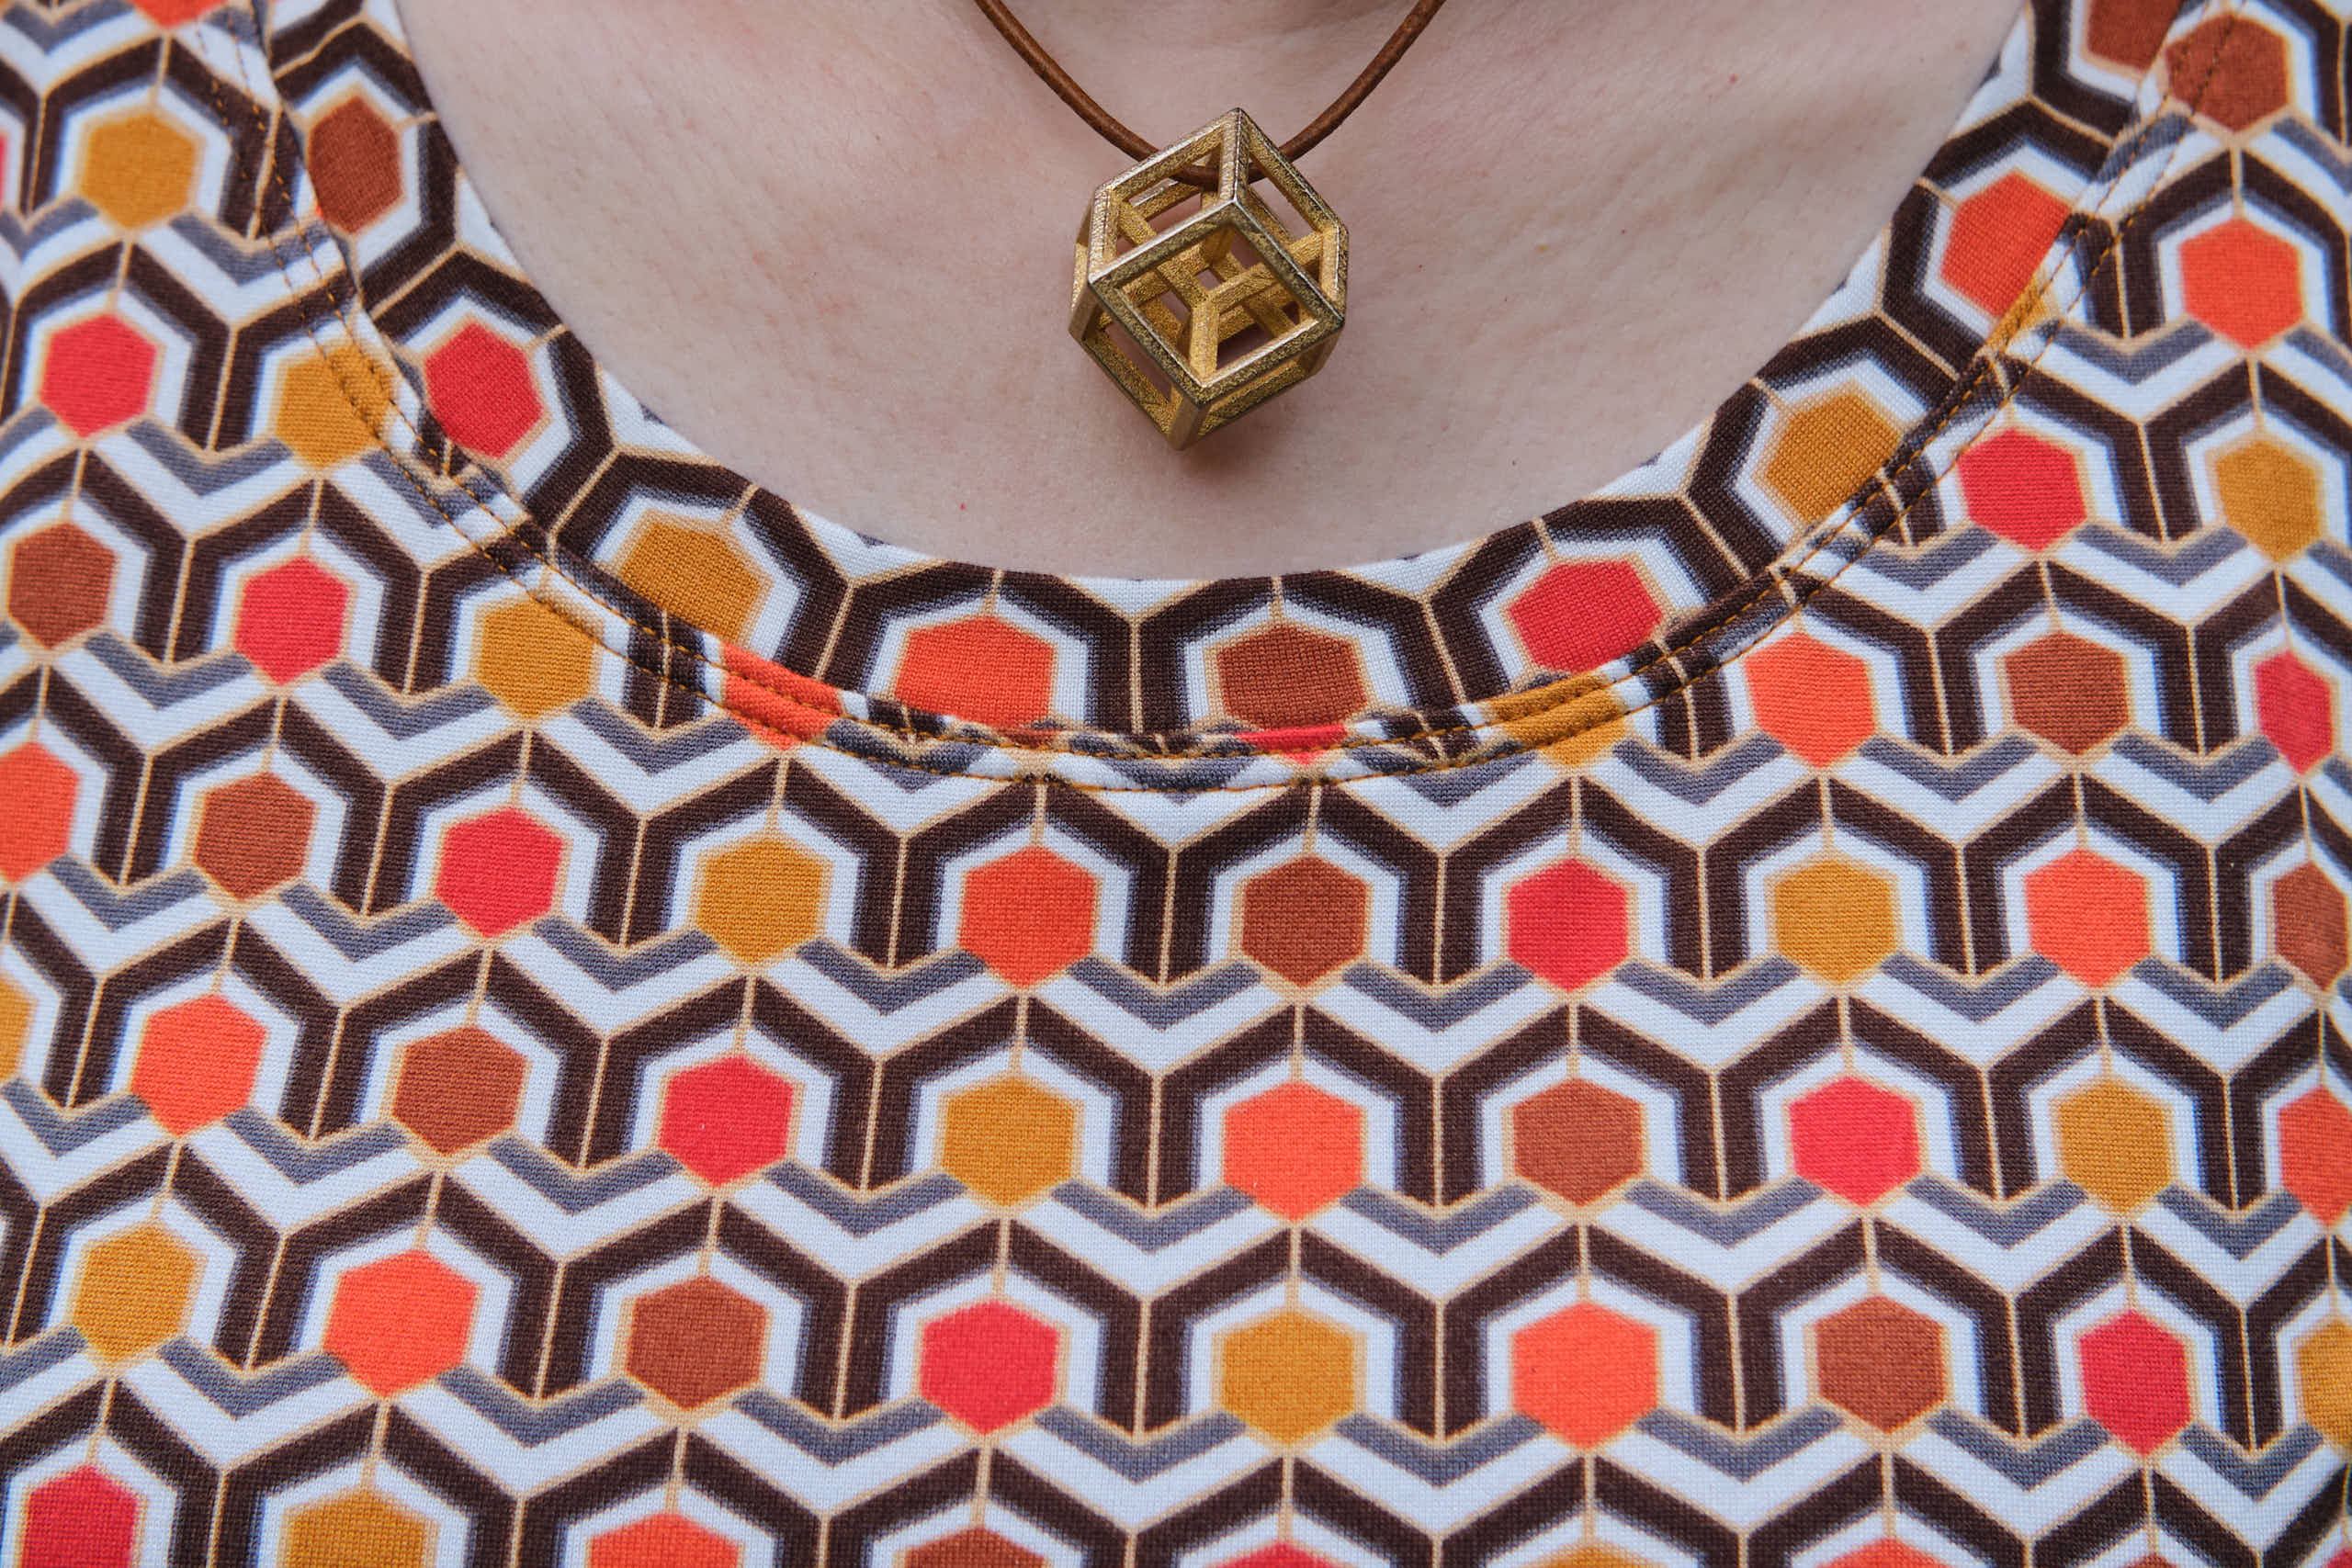
I chose the Sinclair Valley Knit Skater Dress with half-circle skirt from Flared skirts add-on, a pattern combo I have made at least five other times. The pattern is pretty fast and easy, and fits well without much modification (although I keep thinking I should add a slight broad and sloped shoulder adjustment and then forget to do it). I was pretty happy sizing up from my usual P4 to P6 when I made my PETS skater dress with this pattern last year so went with the P6 again. Since I omitted the waistband I extended the length of the bodice by 1.3 inch. As I have done in the past, I modified the pockets so they do not attach to the waist to prevent the waist from being distorted when I put my phone in my pocket. I also found from past experience that I prefer a neckline in between crew and scoop. I’ve made several tops and dresses with my “screwp neck” modification, but recently worked out a low screwp neck variation, which I decided to use on this dress. It is a bit lower than my other screwp neck, but still not as low as the scoop neck designed for this pattern. I like this level of scoop because it plays well with a lot of my necklaces.
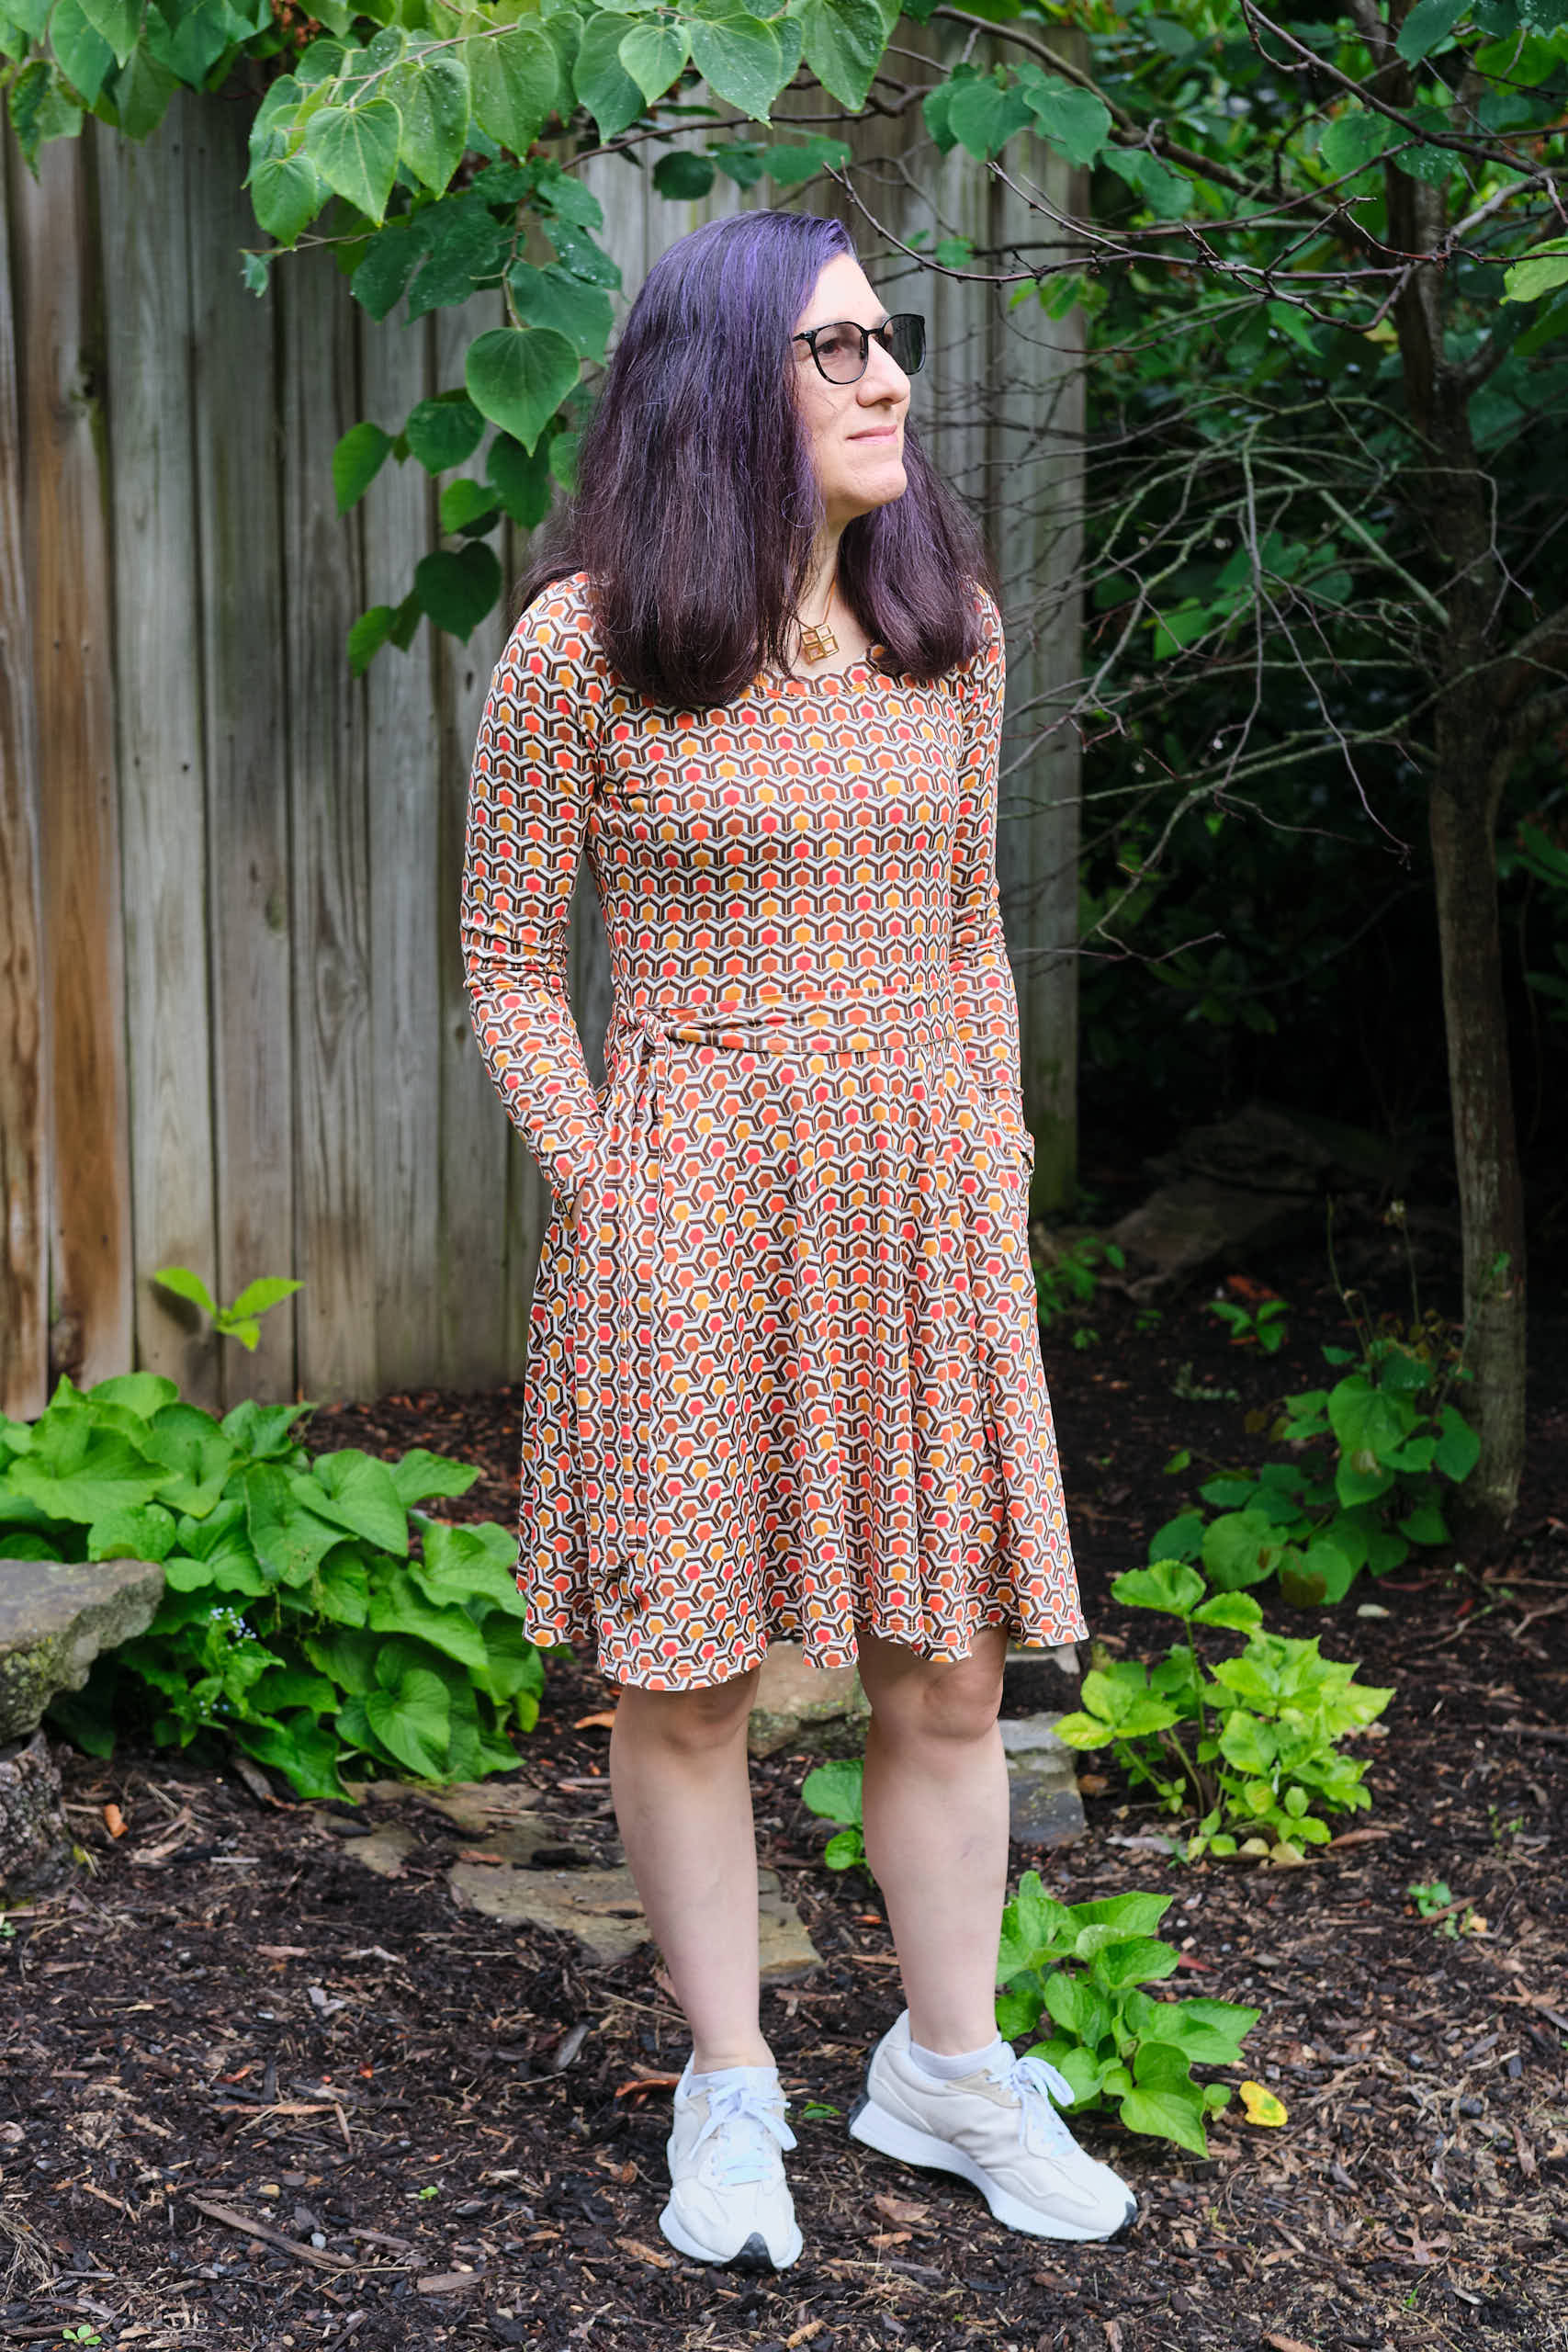
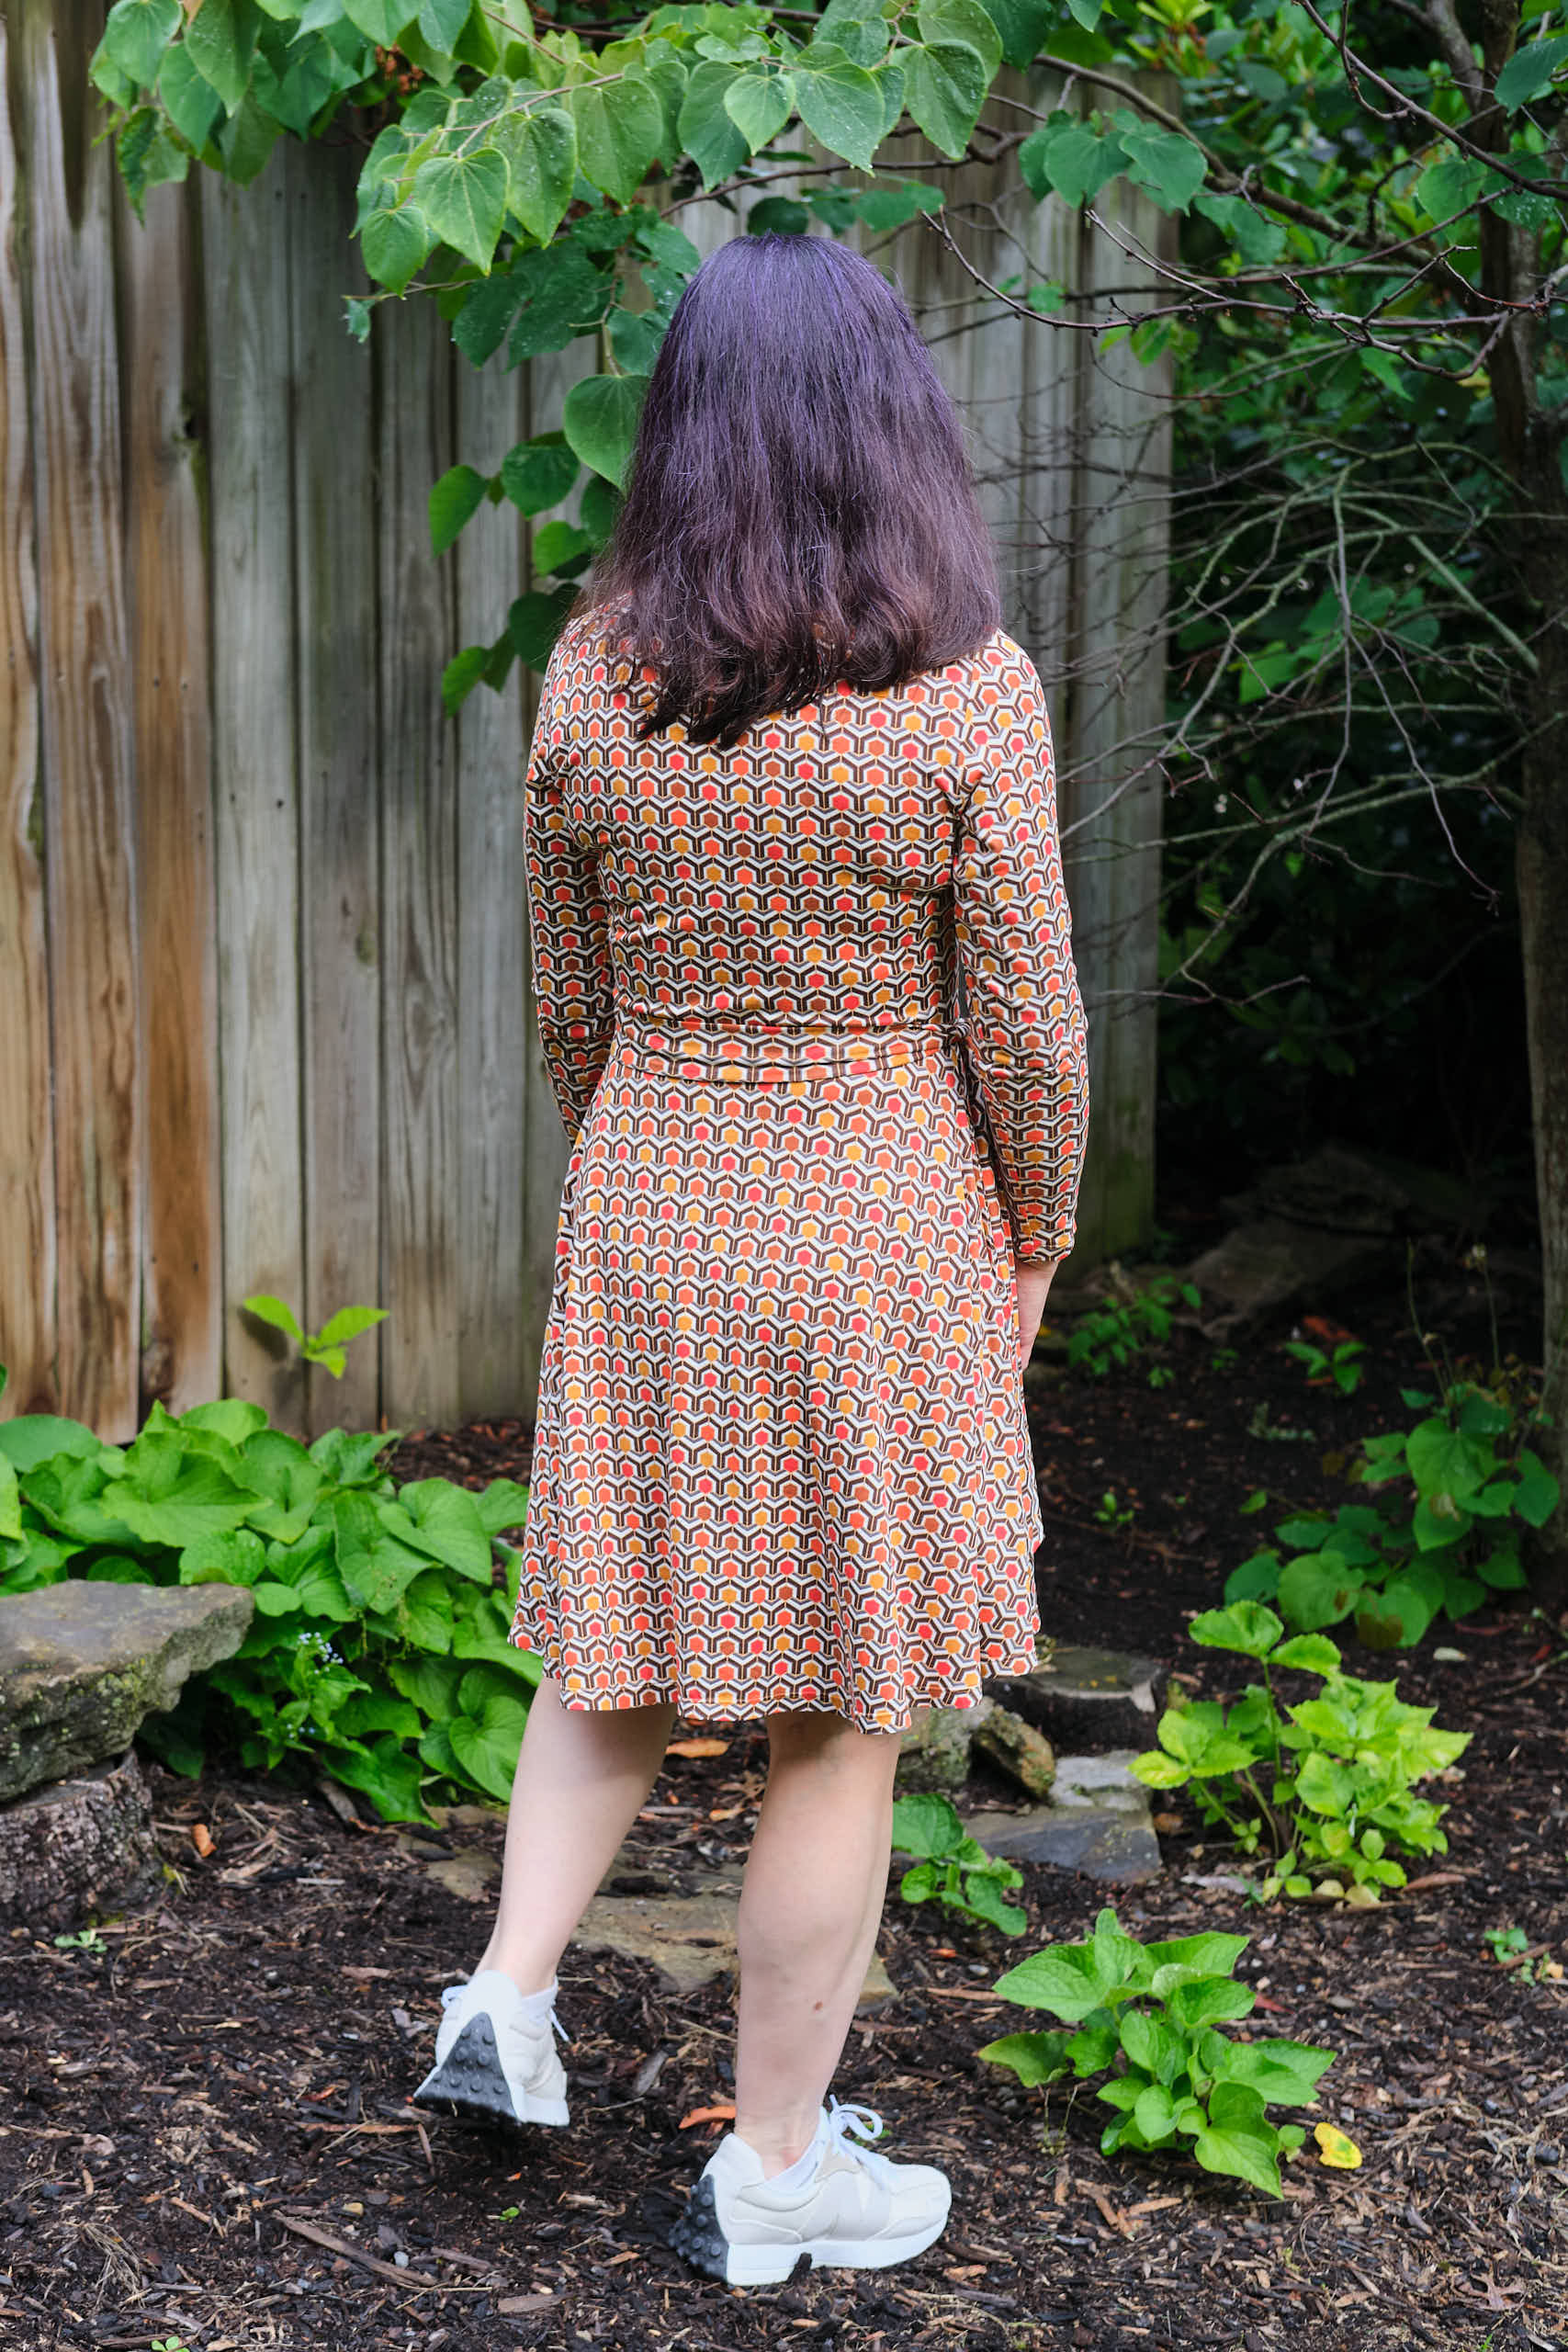
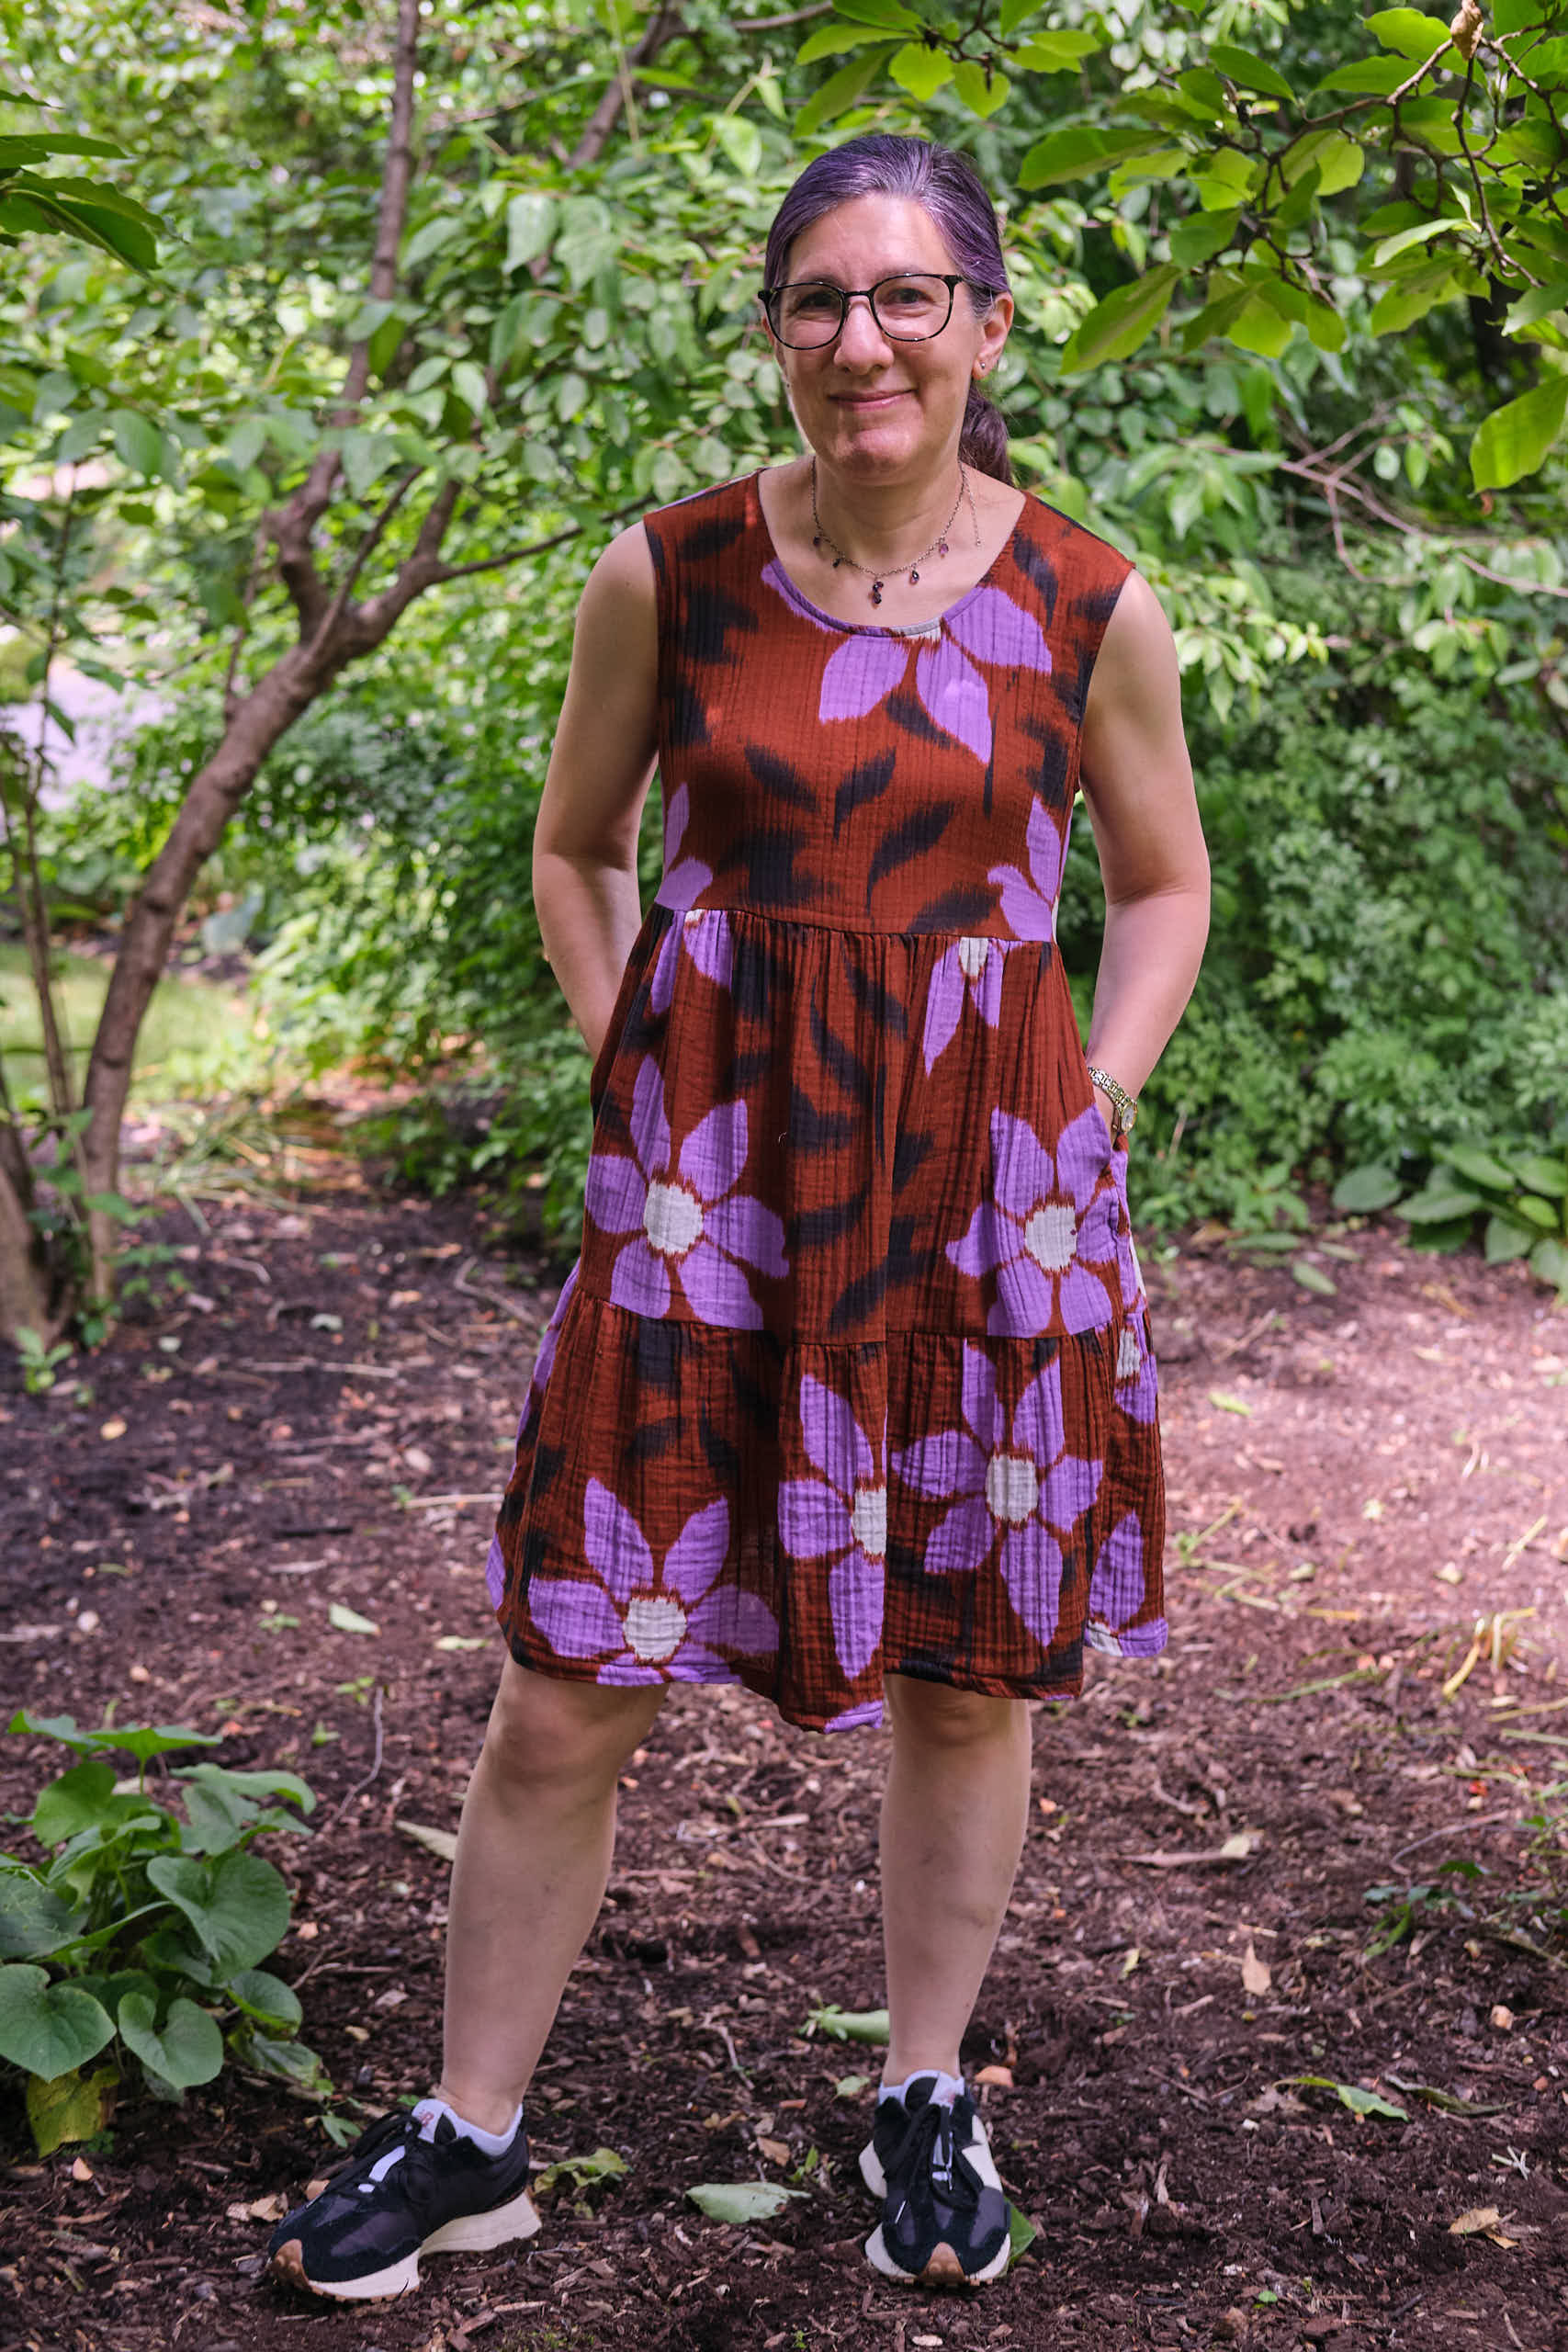
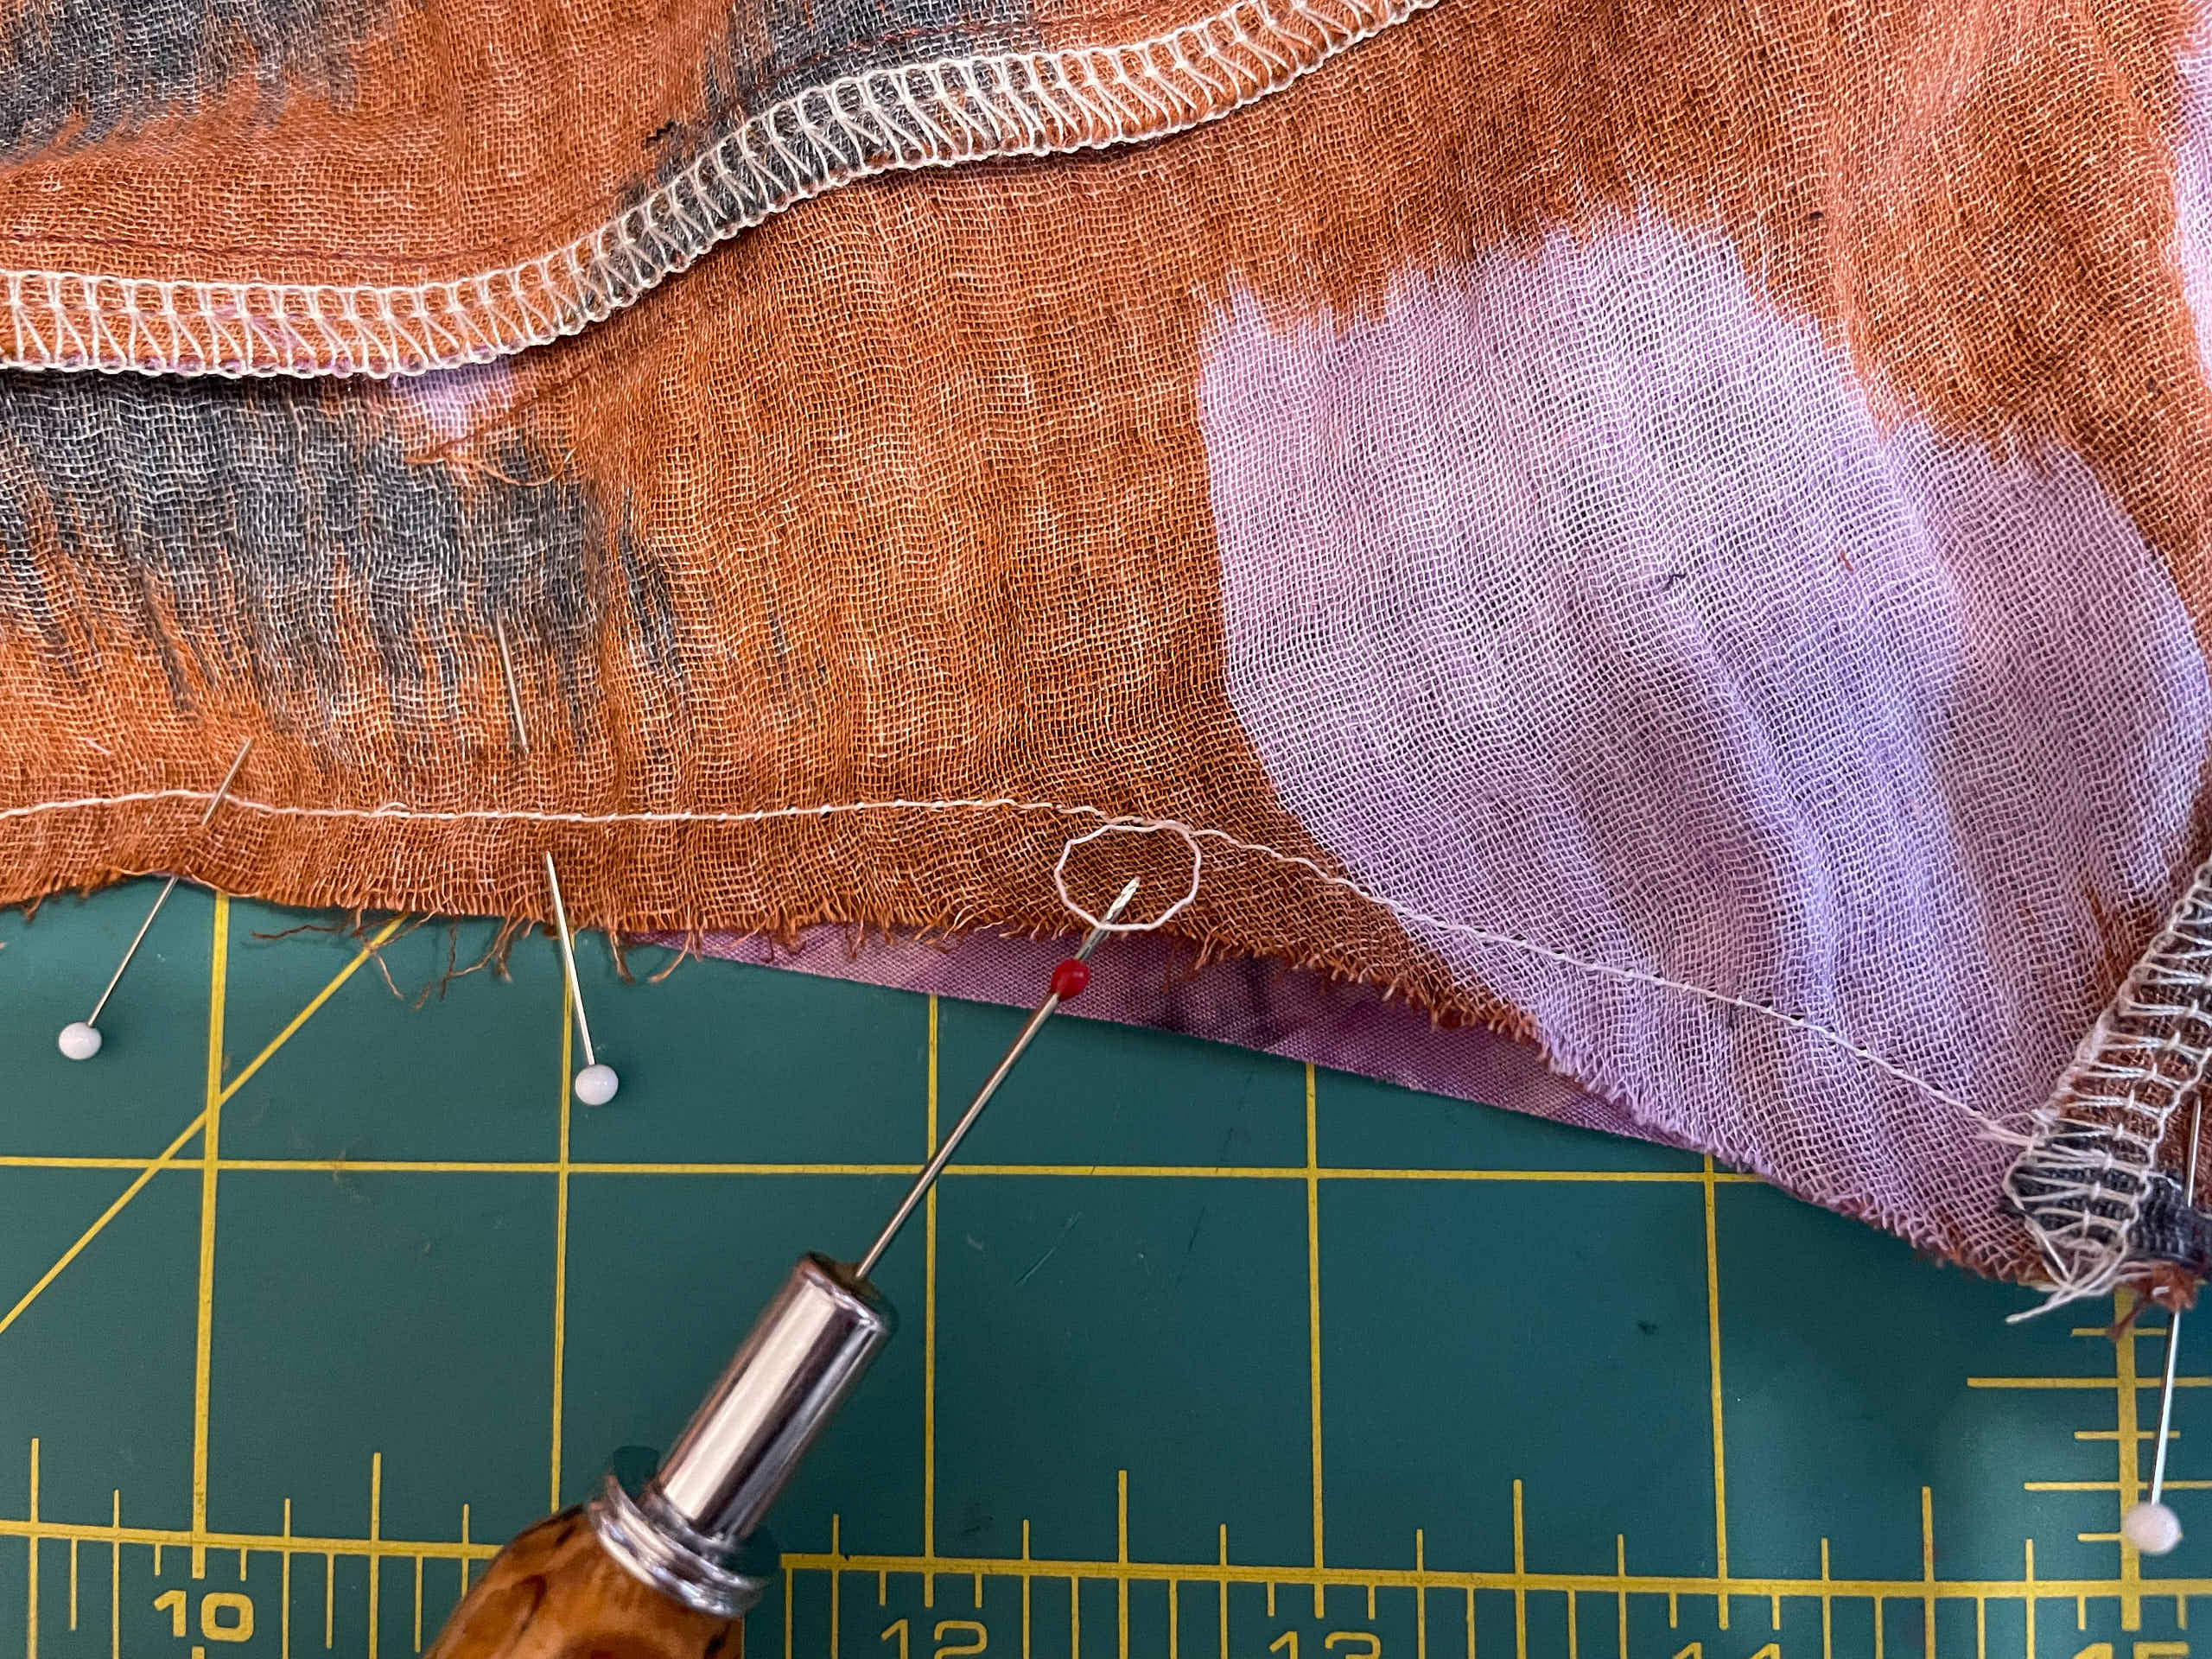
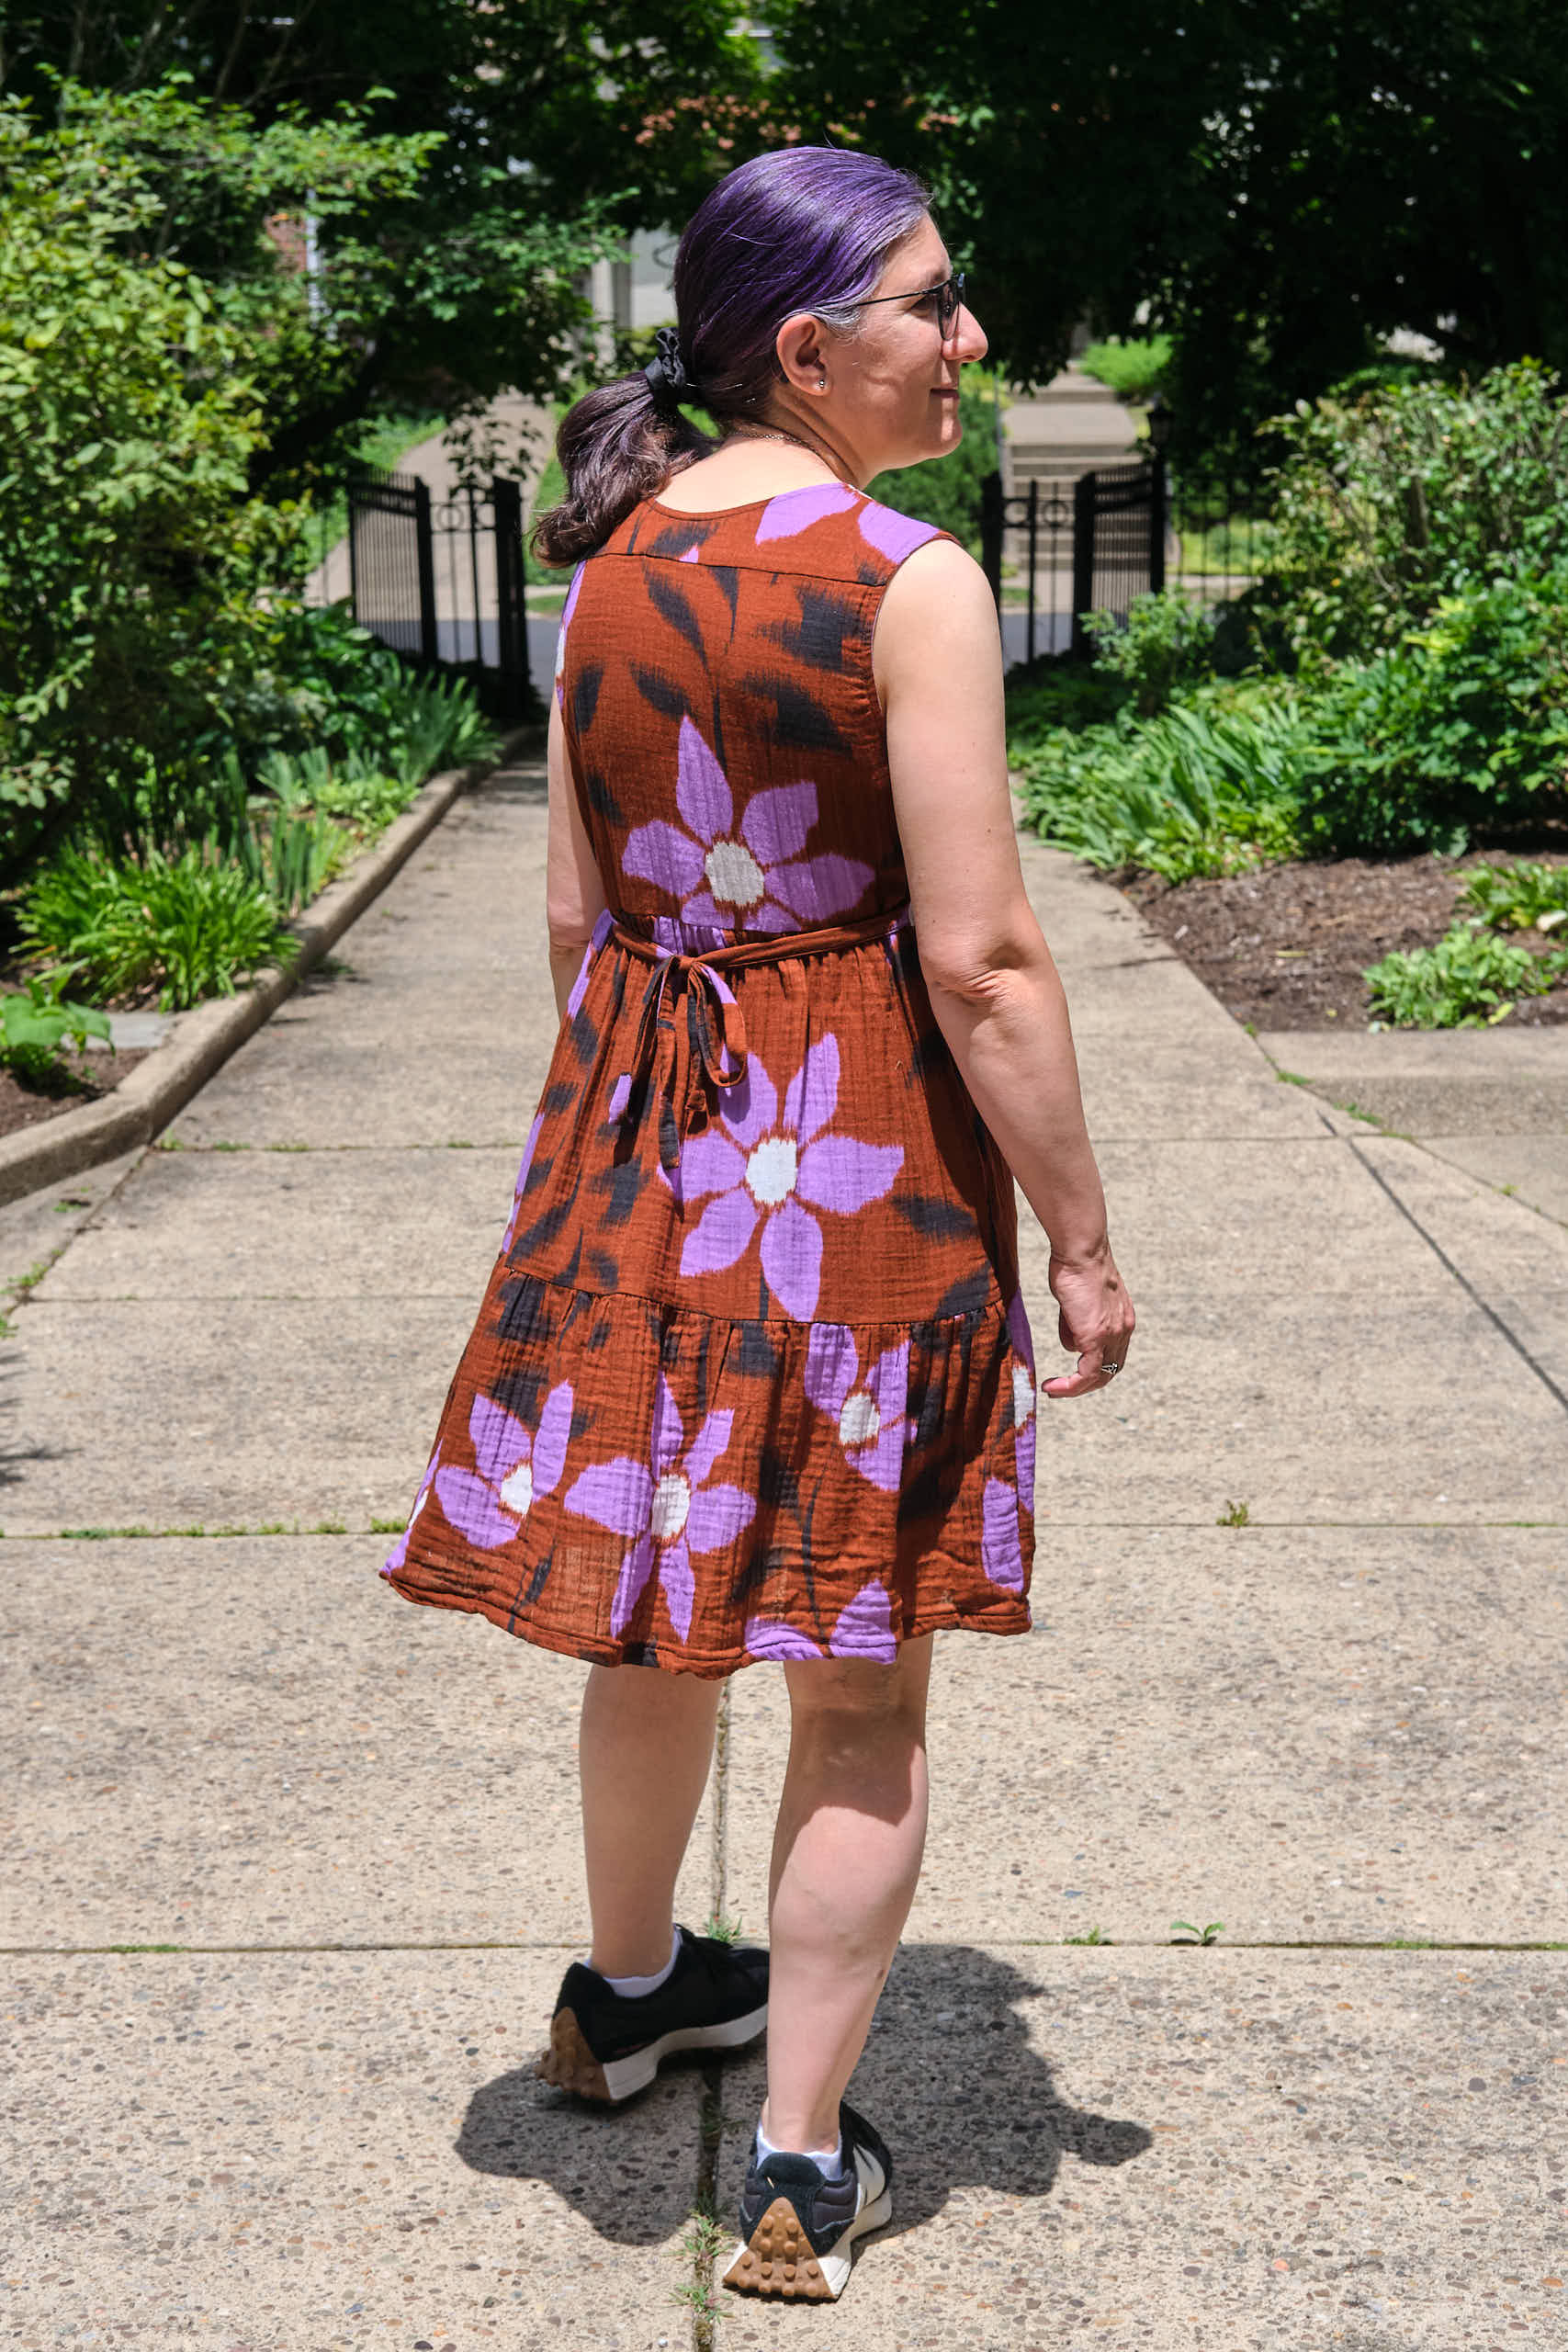
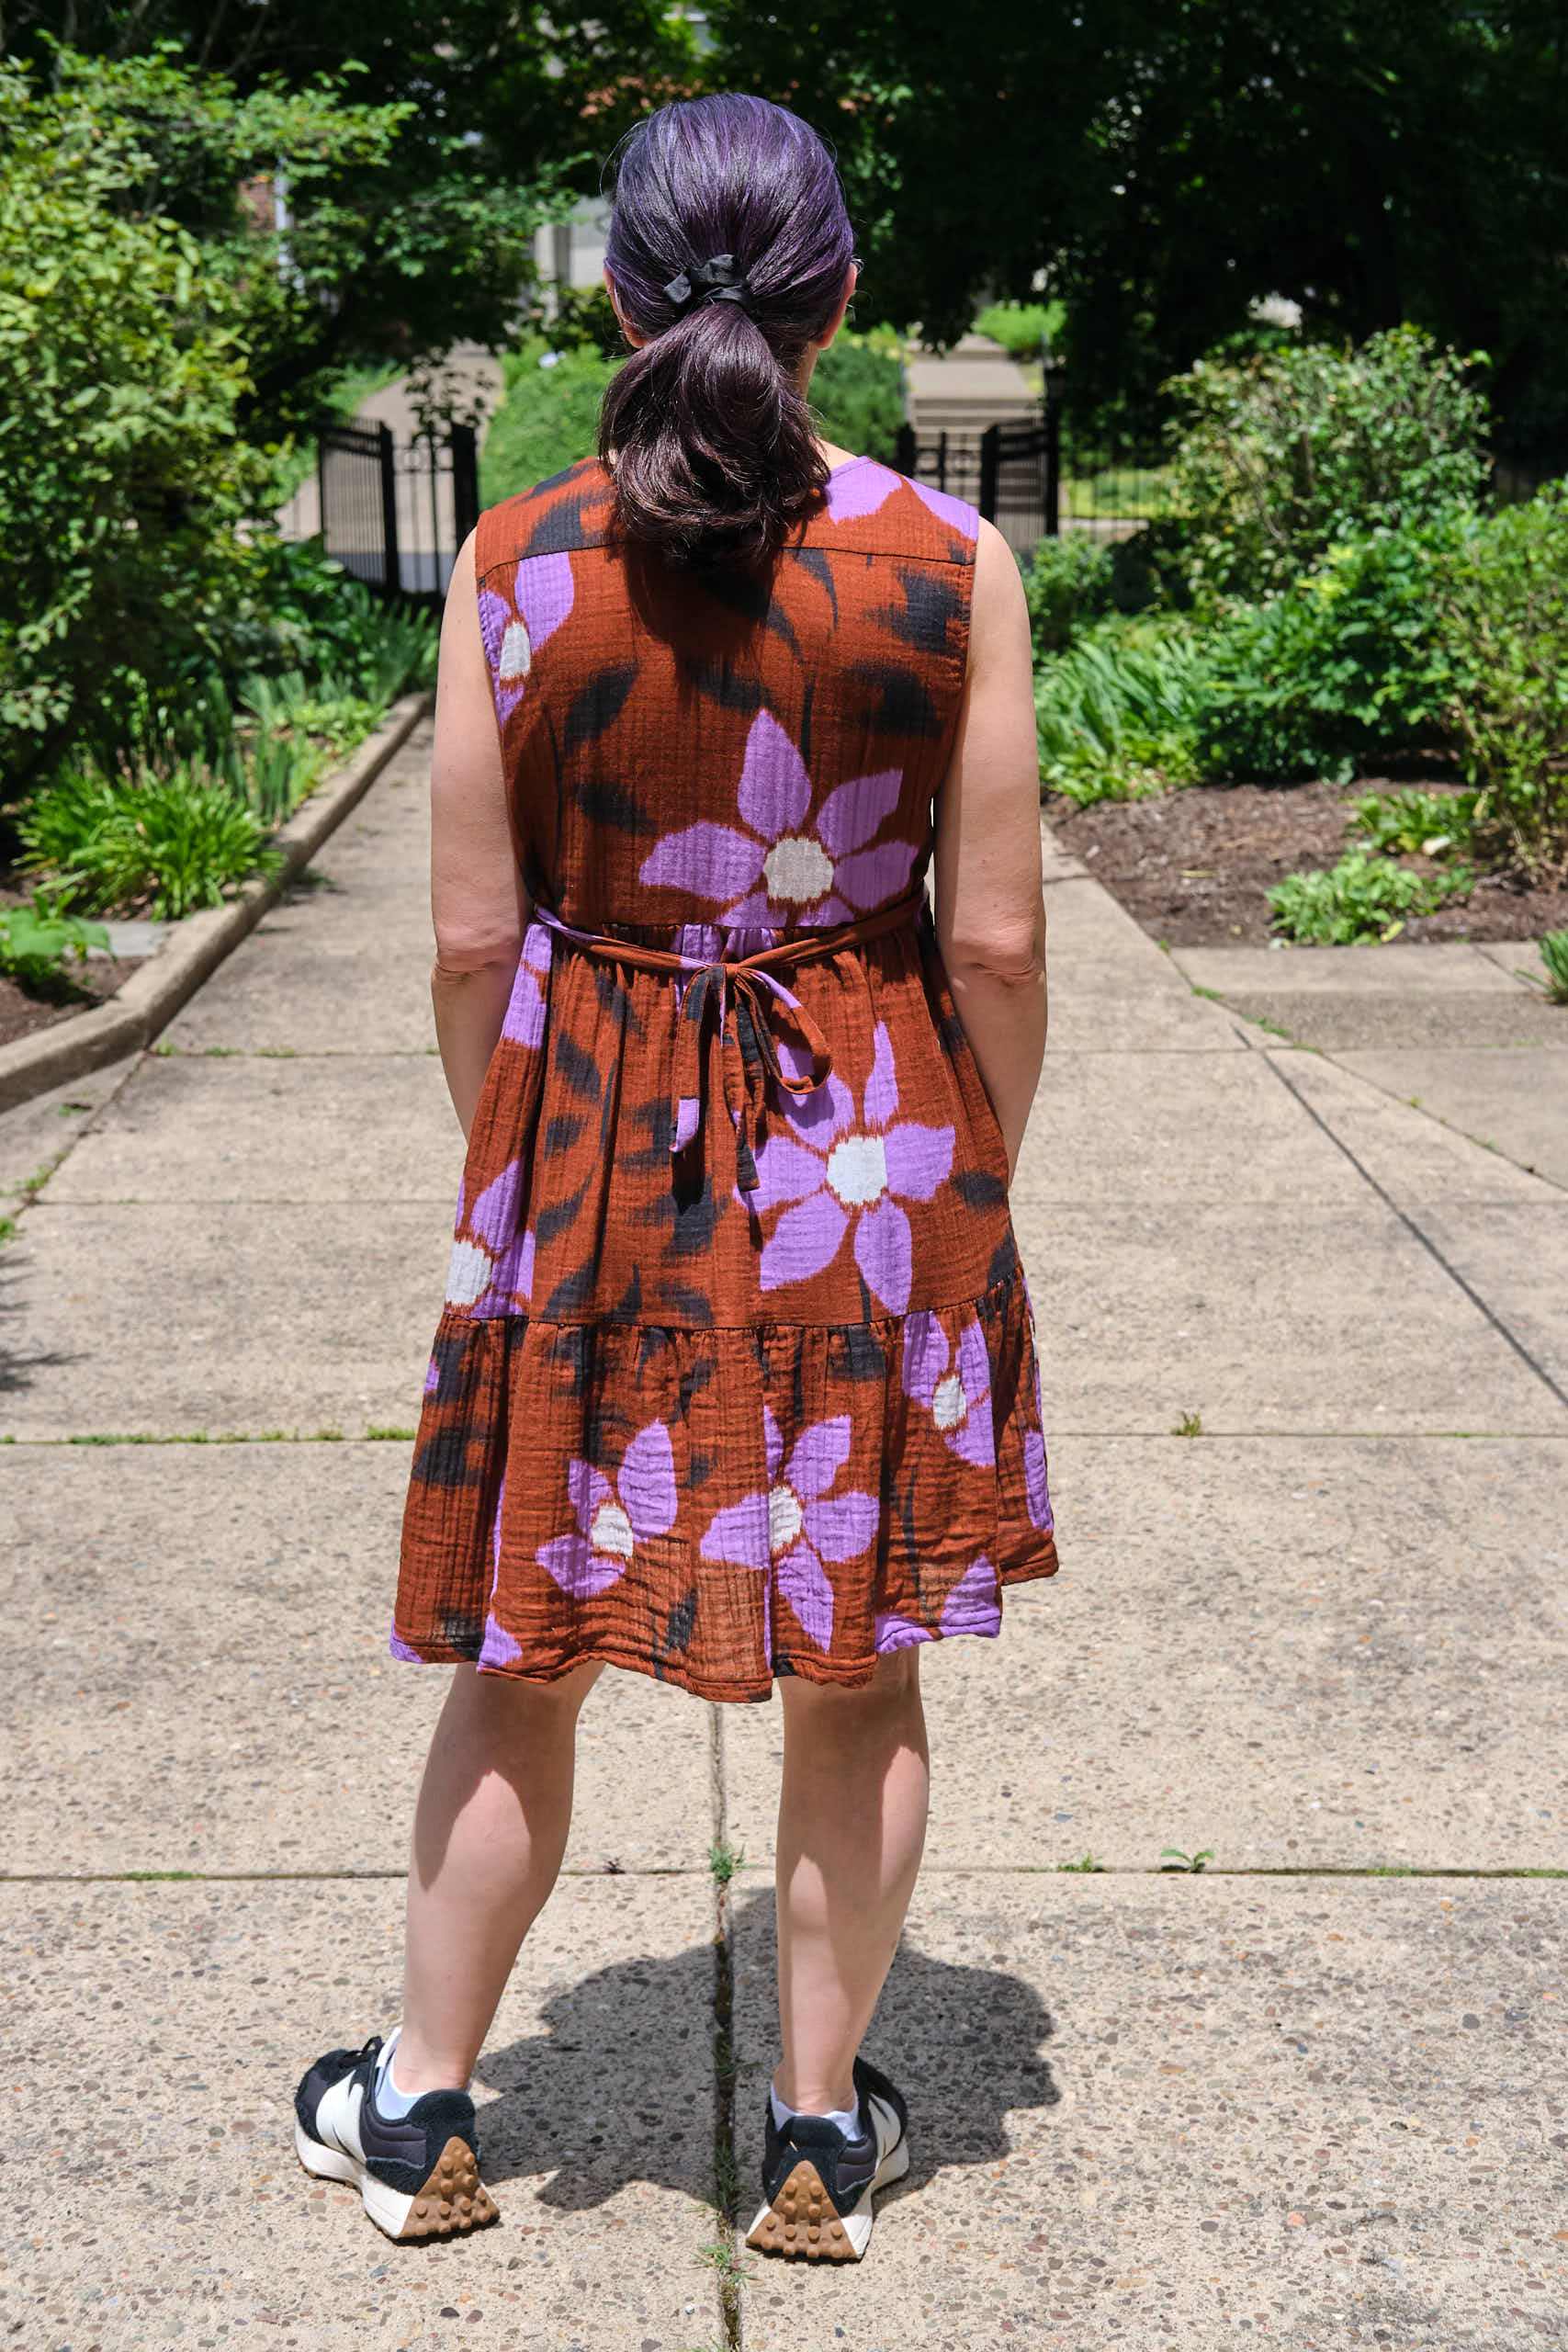
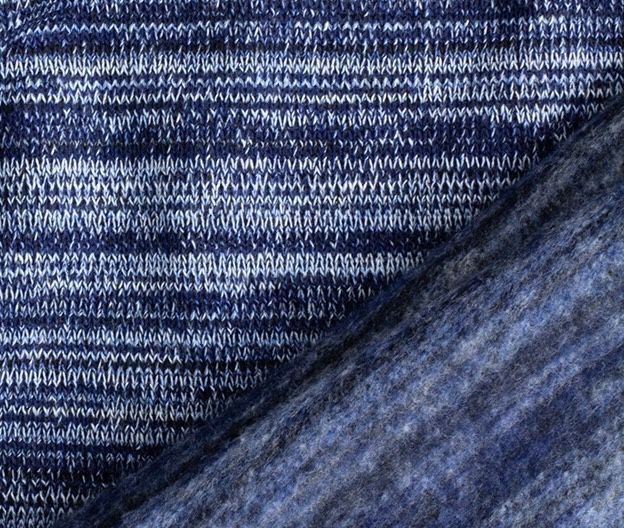
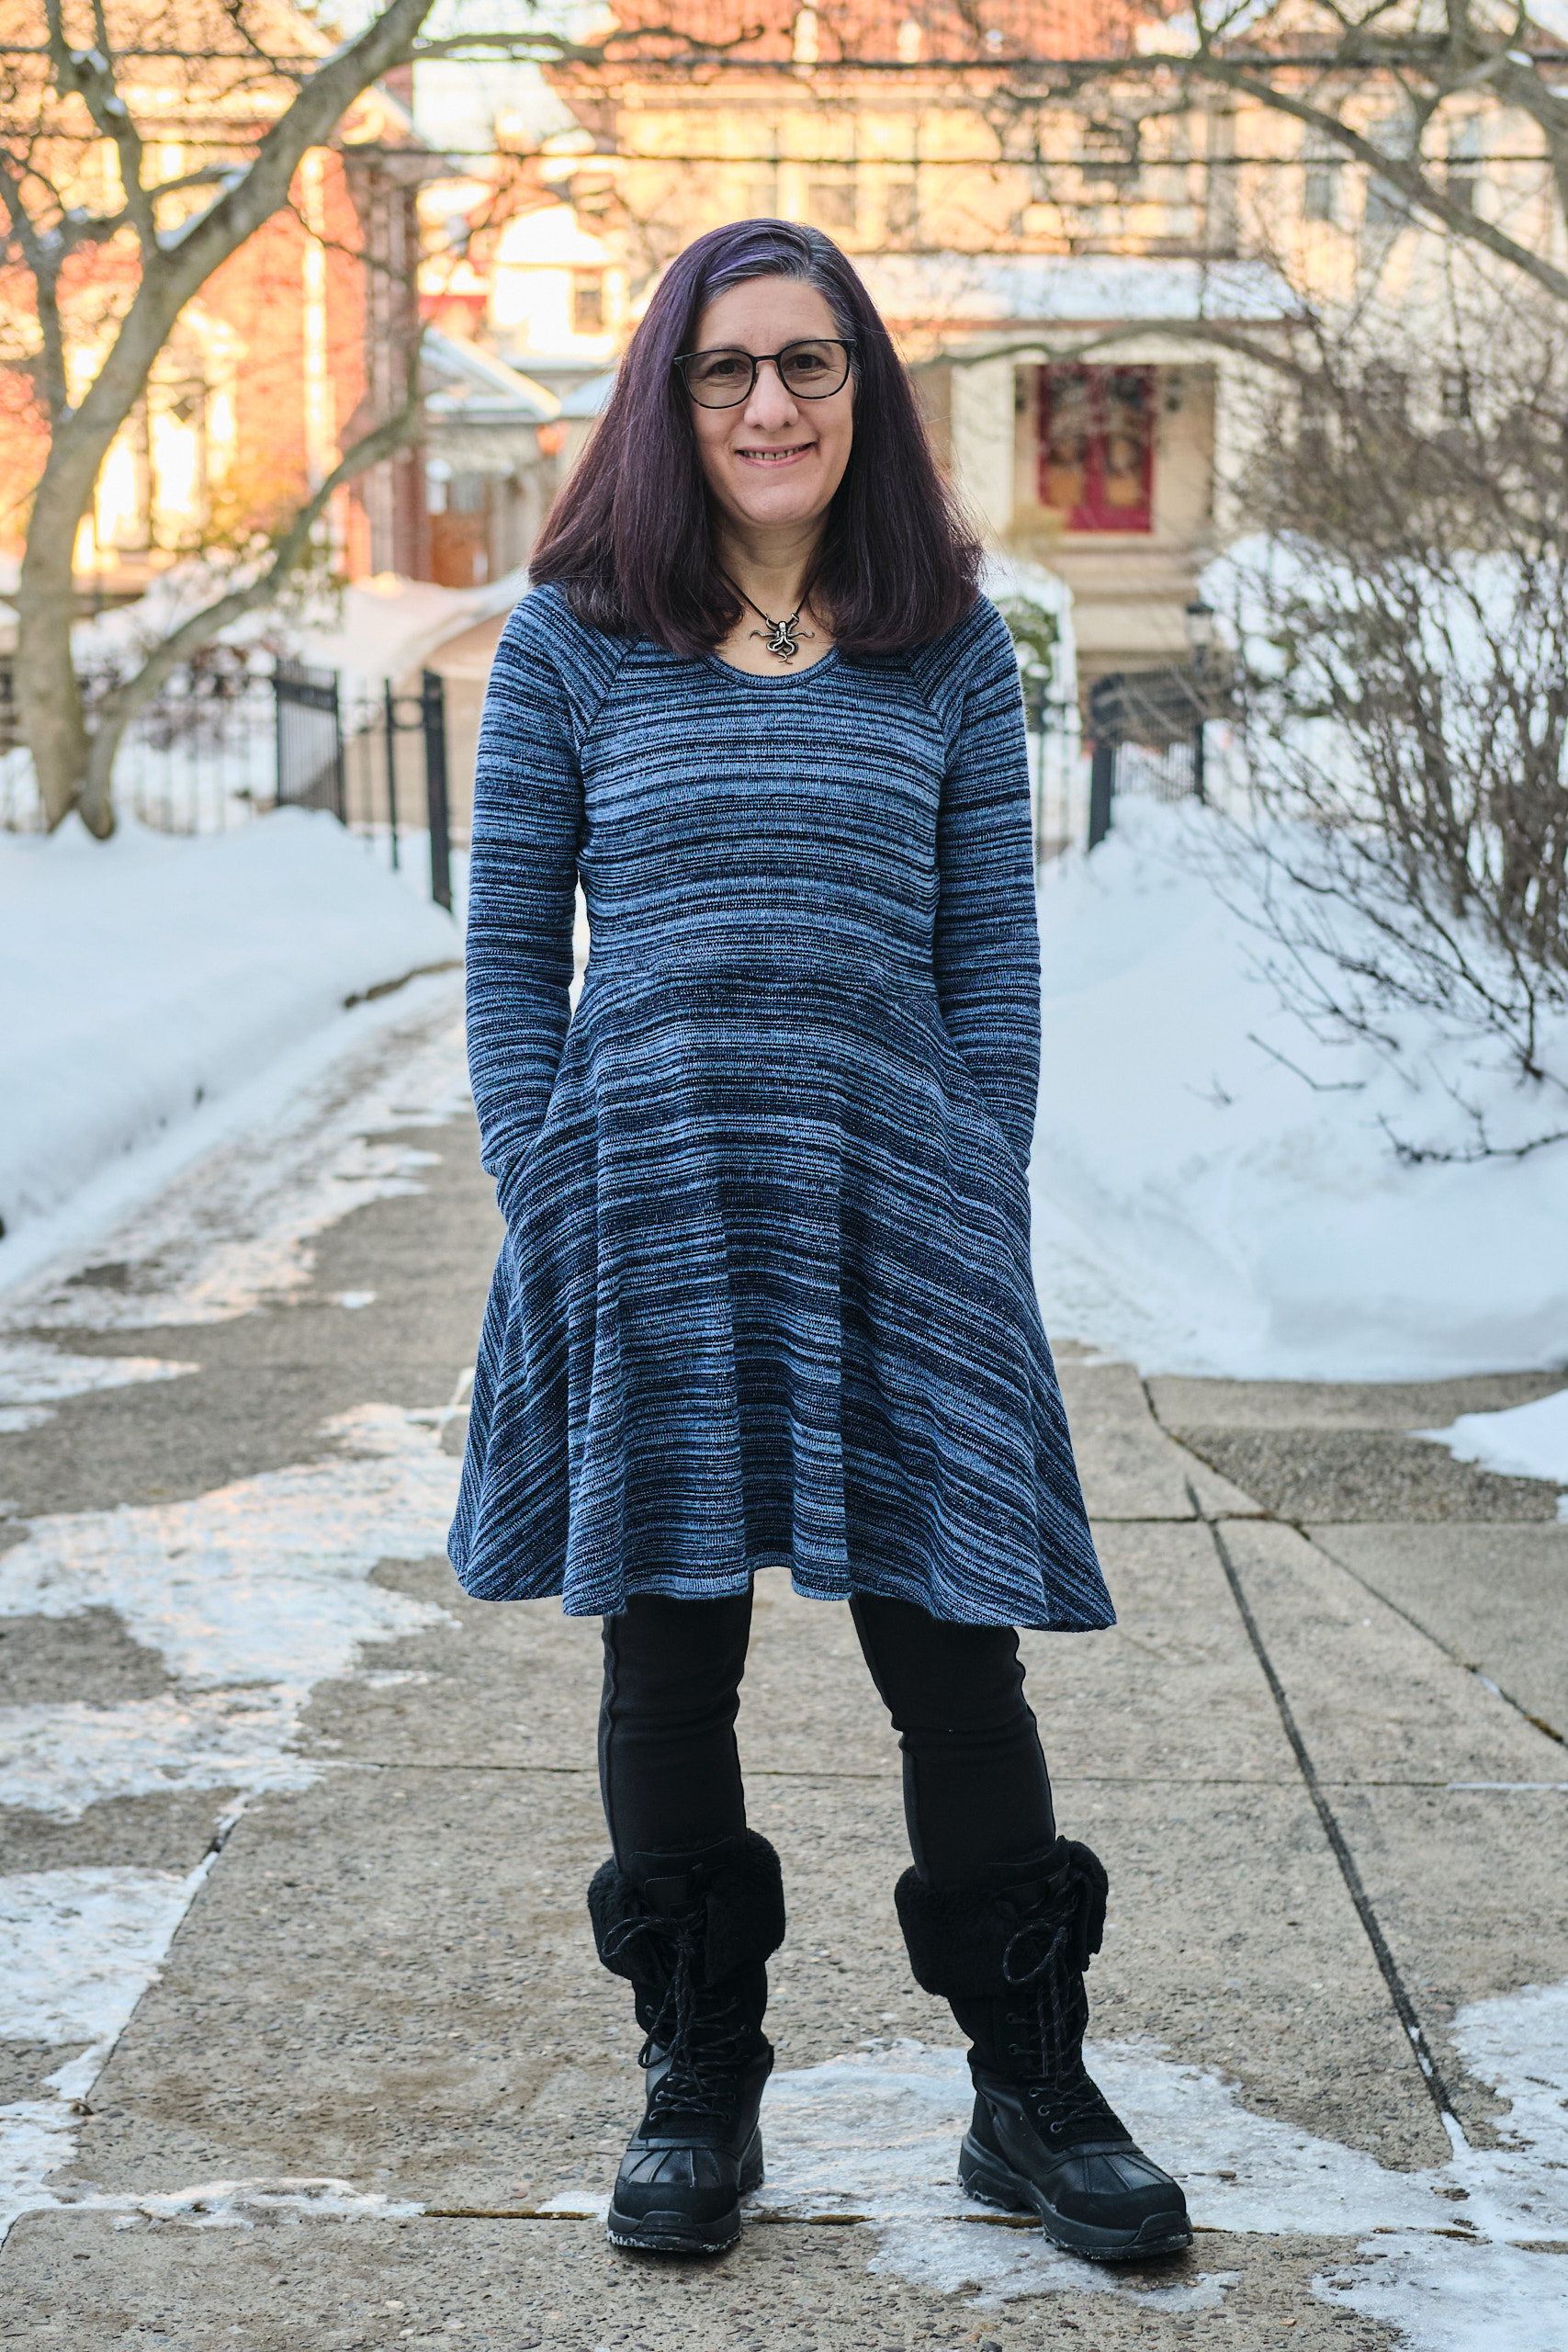
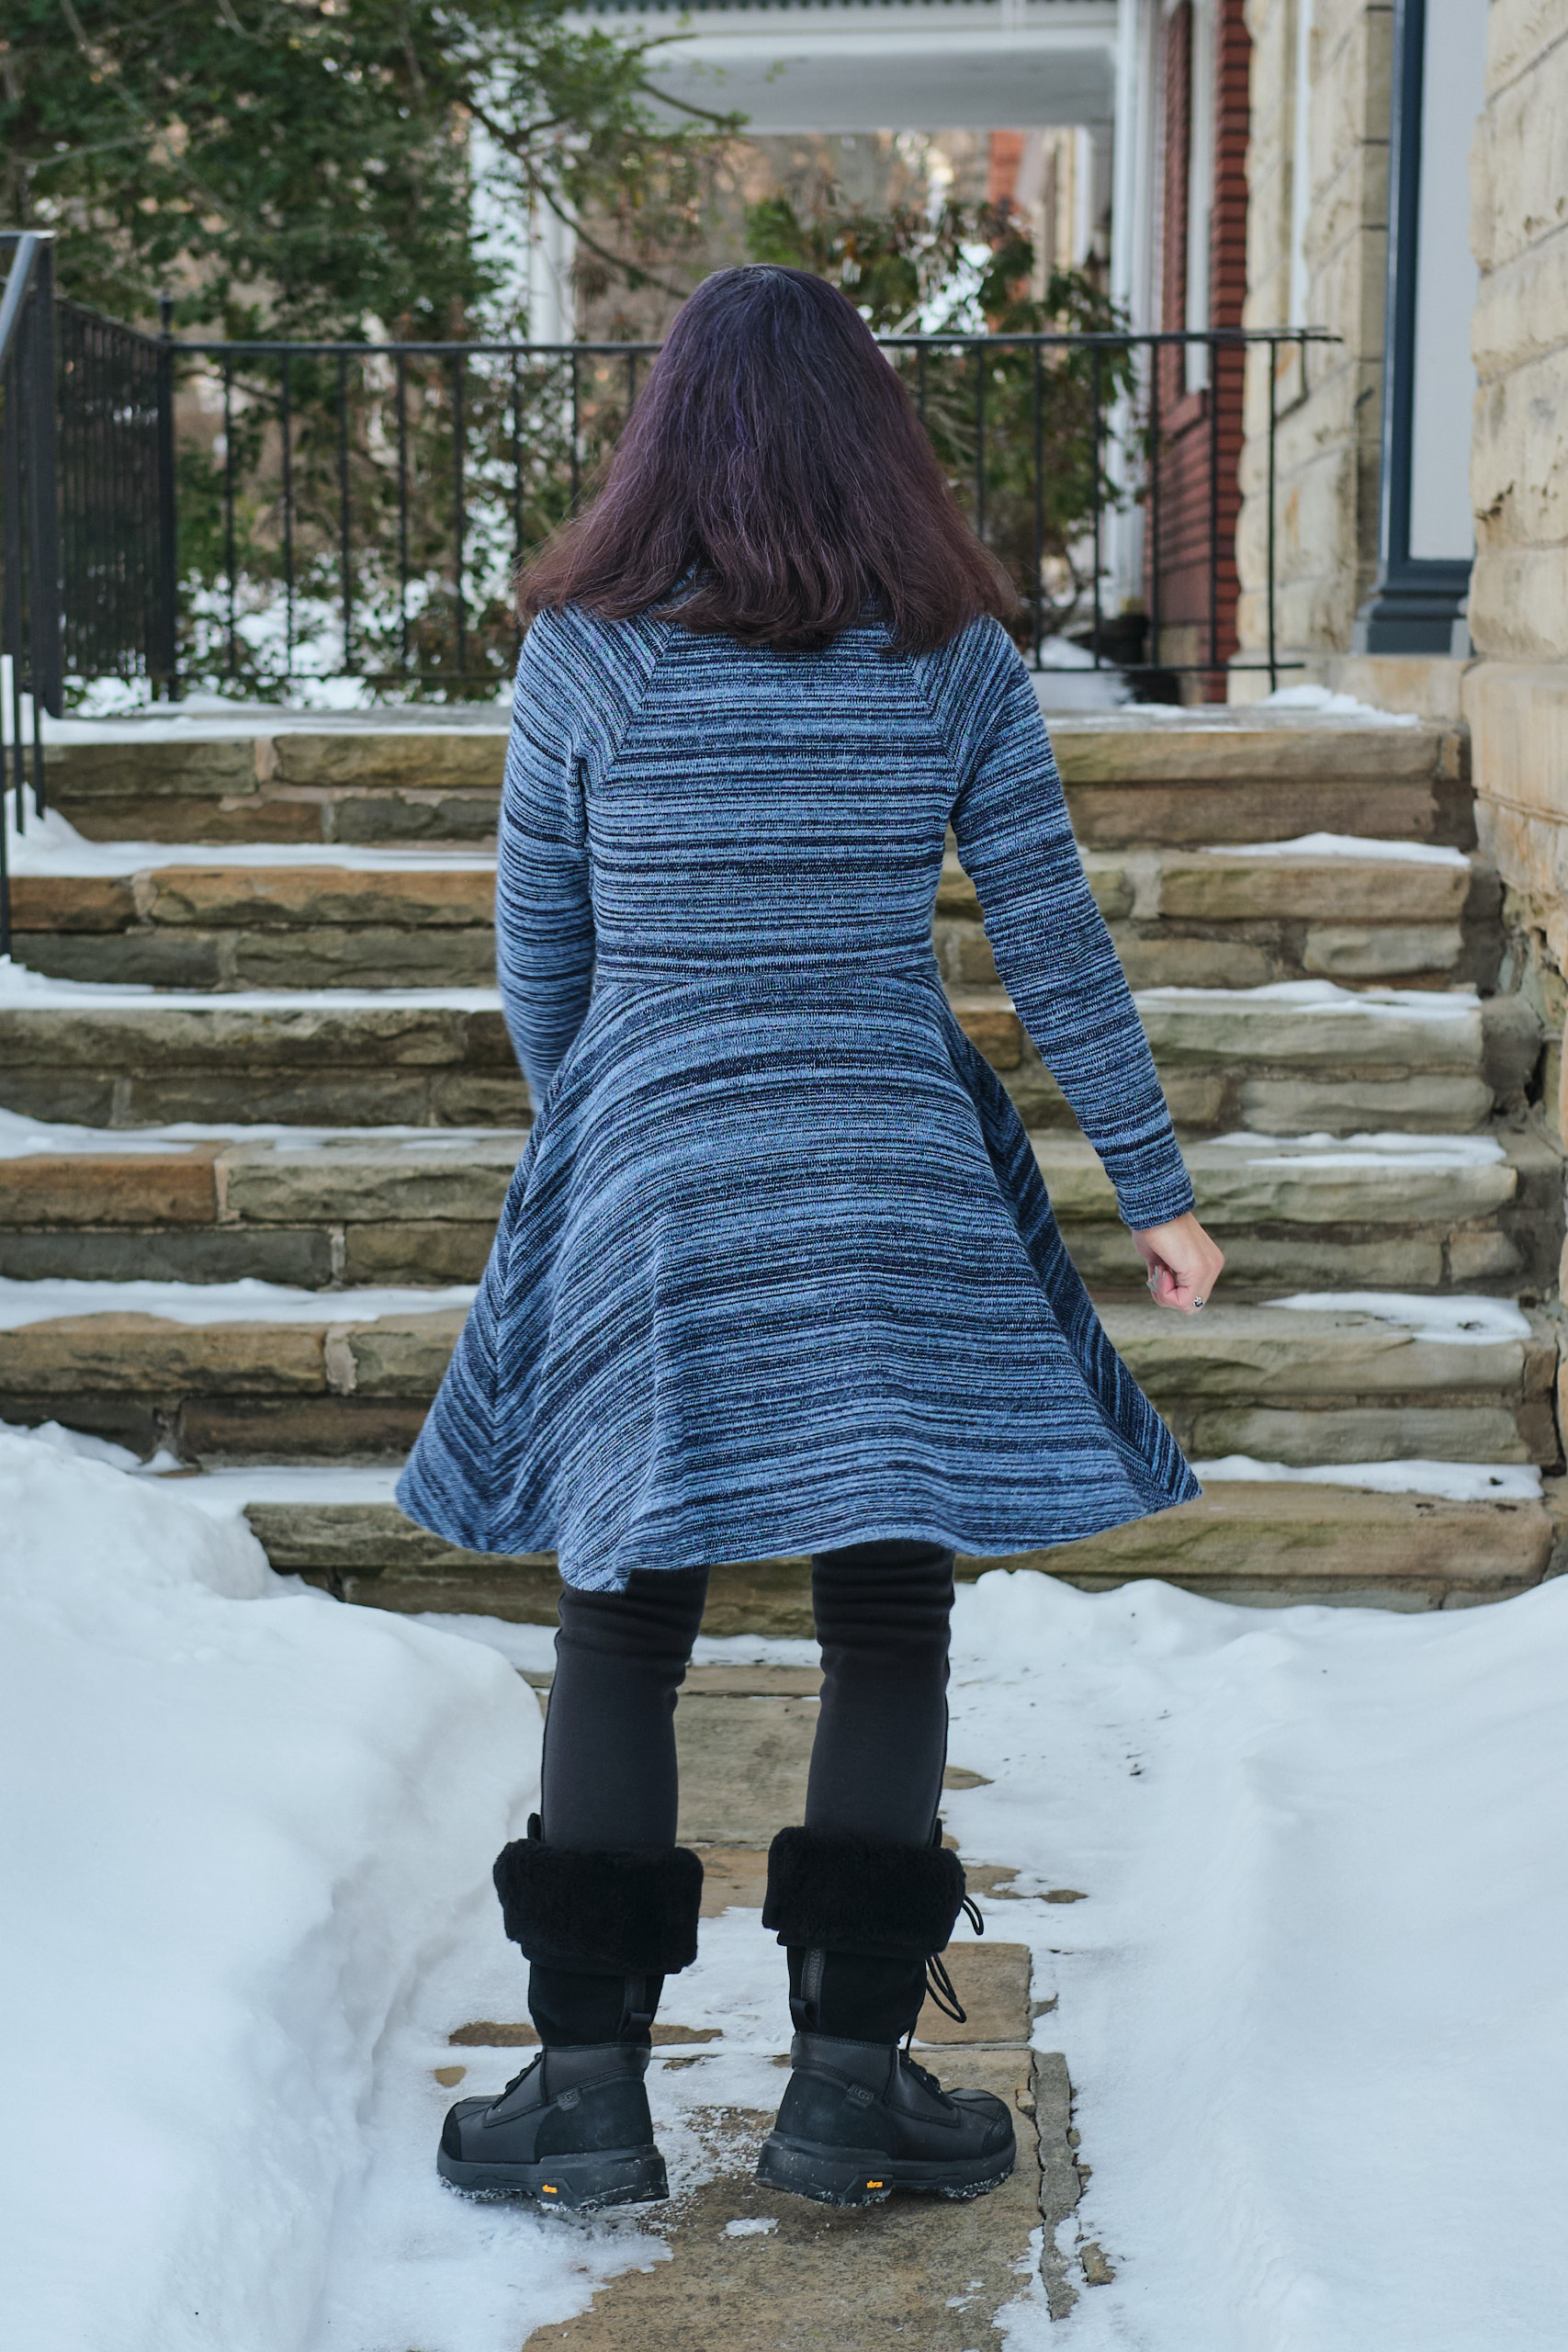
I sewed almost everything on my serger and then fused and cover-stitched the hems with a narrow cover stitch and one of my fancy cover-stitching feet. I used the same narrow cover stitch on the neck band. After much debate about what color thread to use, I chose a dark mustard color that blends with the fabric better than the off-white thread I used for the interior seams. After I tried it on, I decided I wasn’t completely happy with the way the bodice and skirt meet because of the busy pattern and the fact that the top of the skirt is curved while the bottom of the bodice is flat. So I made a 2-inch-wide self-fabric belt to tie around the waist. I think the belt pulls it together better and also adds to the vintage vibe.
It’s summer right now, so I’m wearing the dress with bare legs and off-white sneakers. I could see adding orange or mustard tights in the fall. I may need to make a cropped cardigan in orange, brown, or mustard to go with it for fall.