
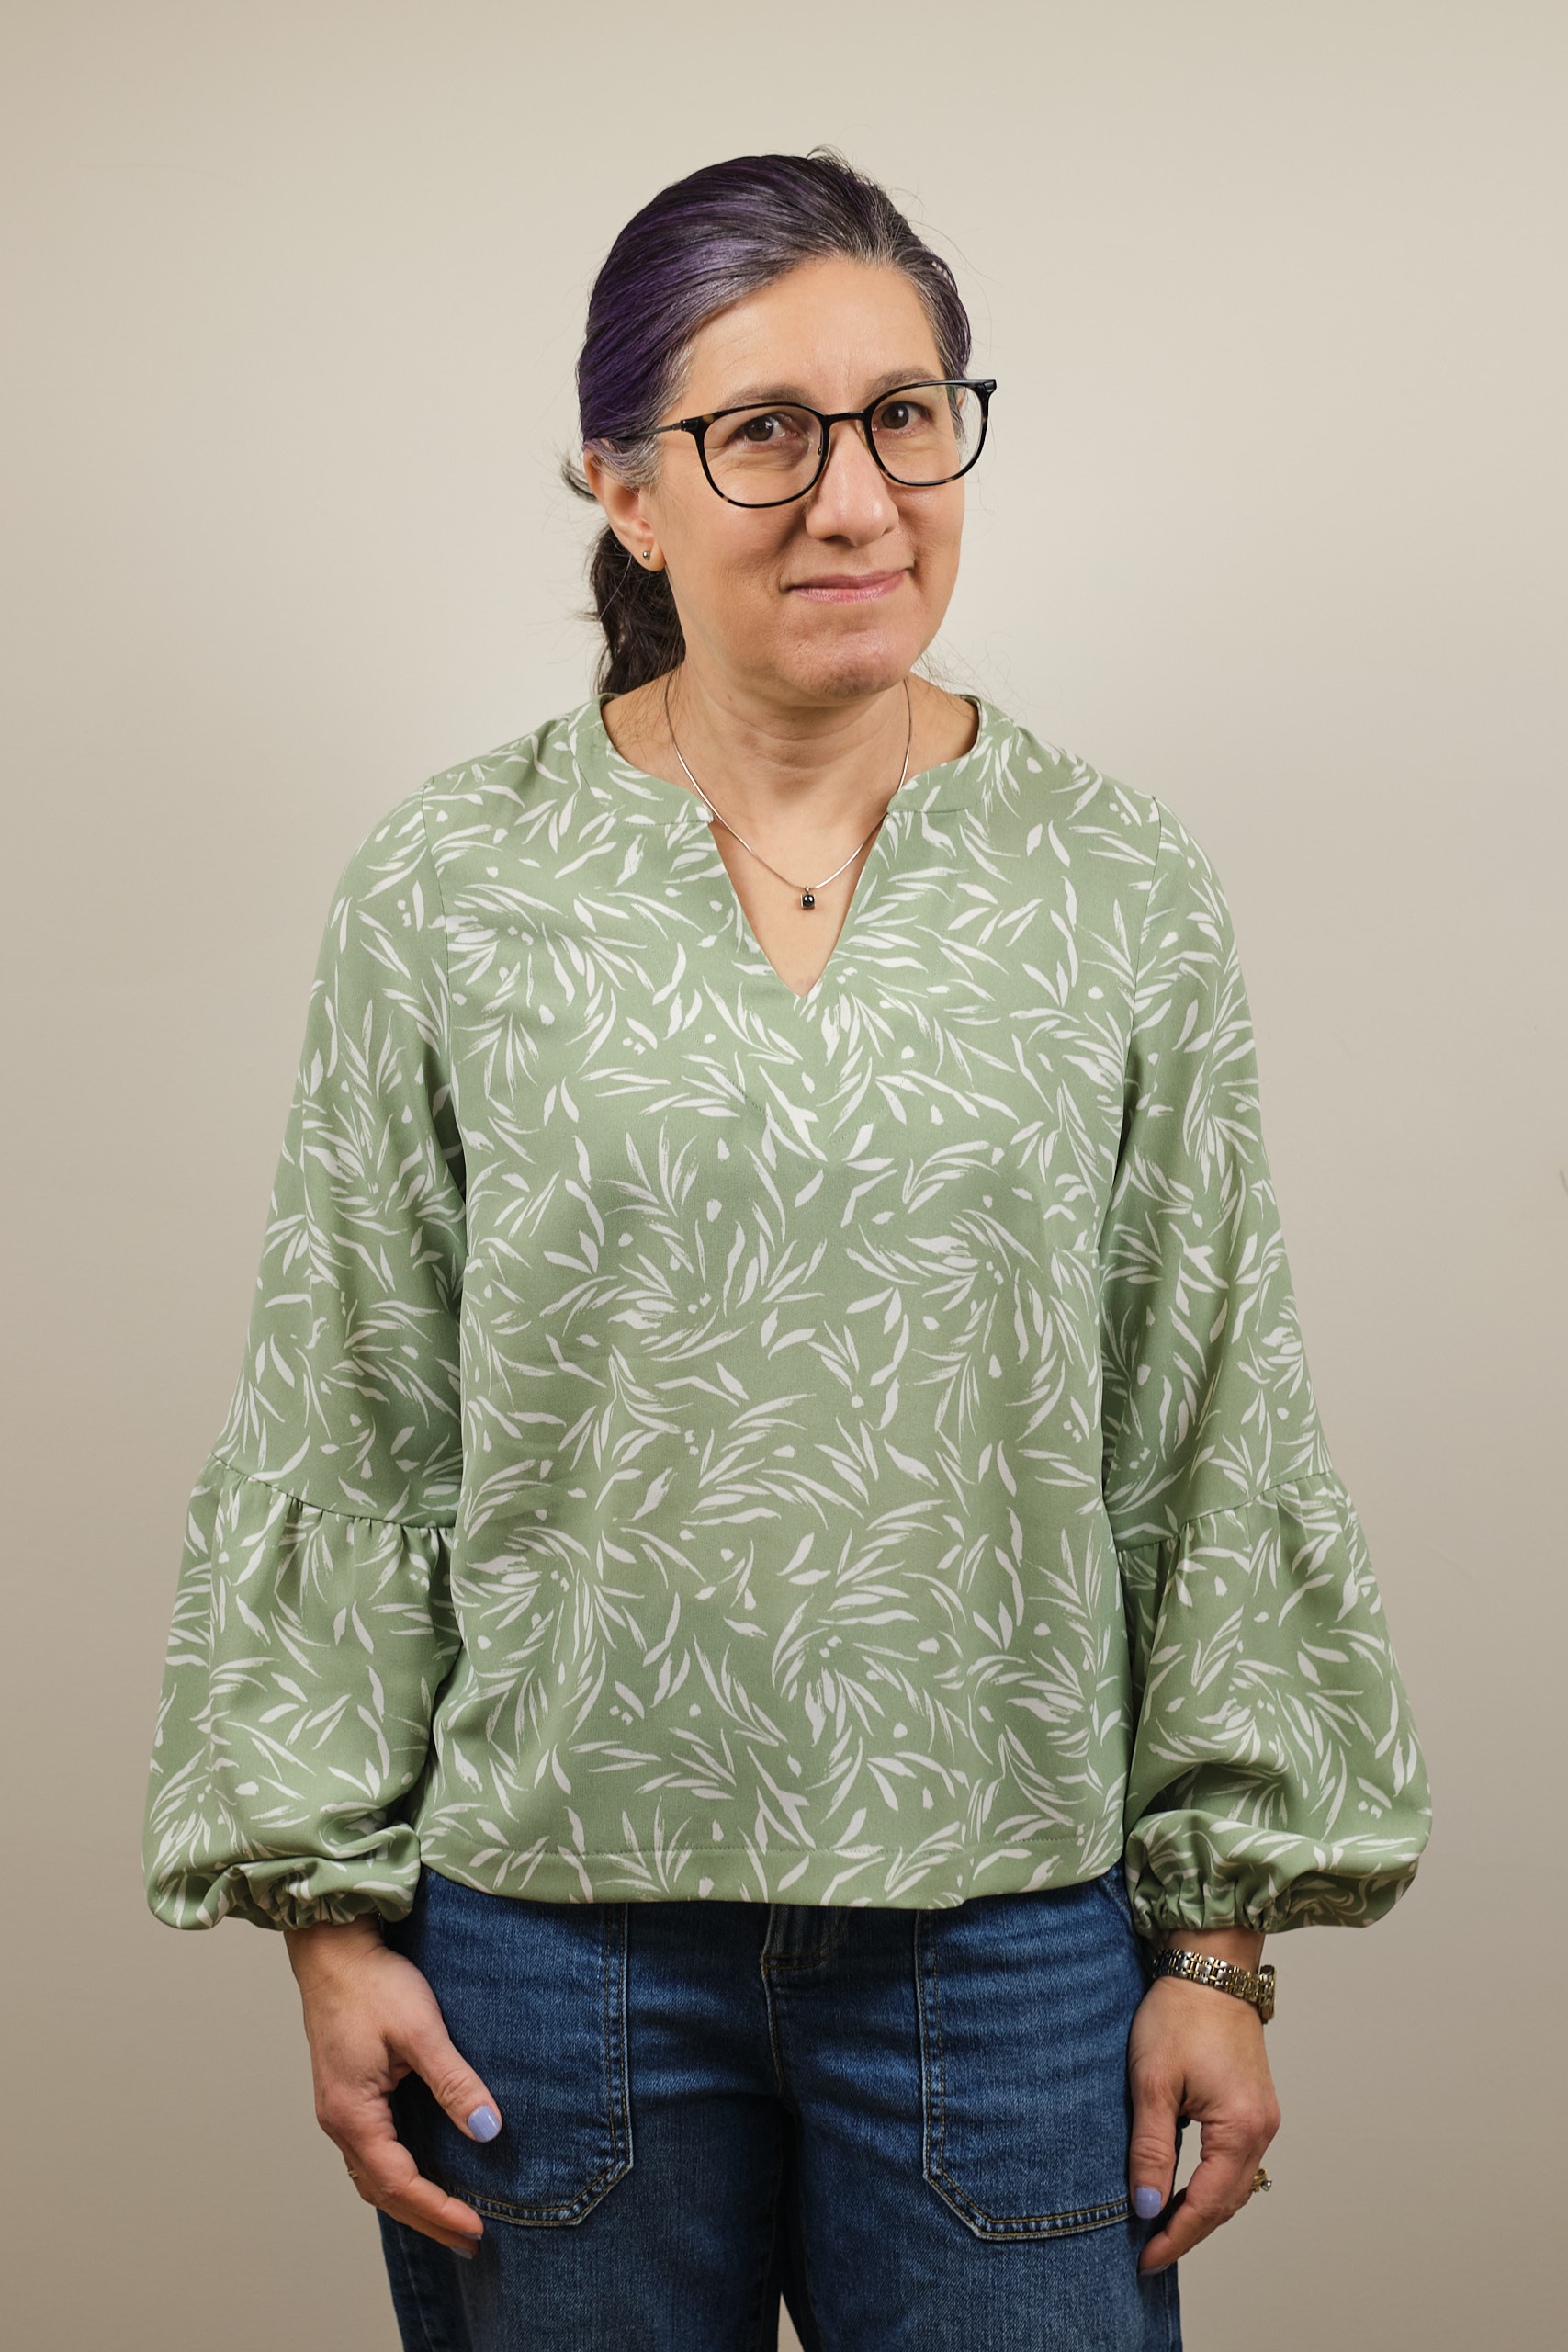
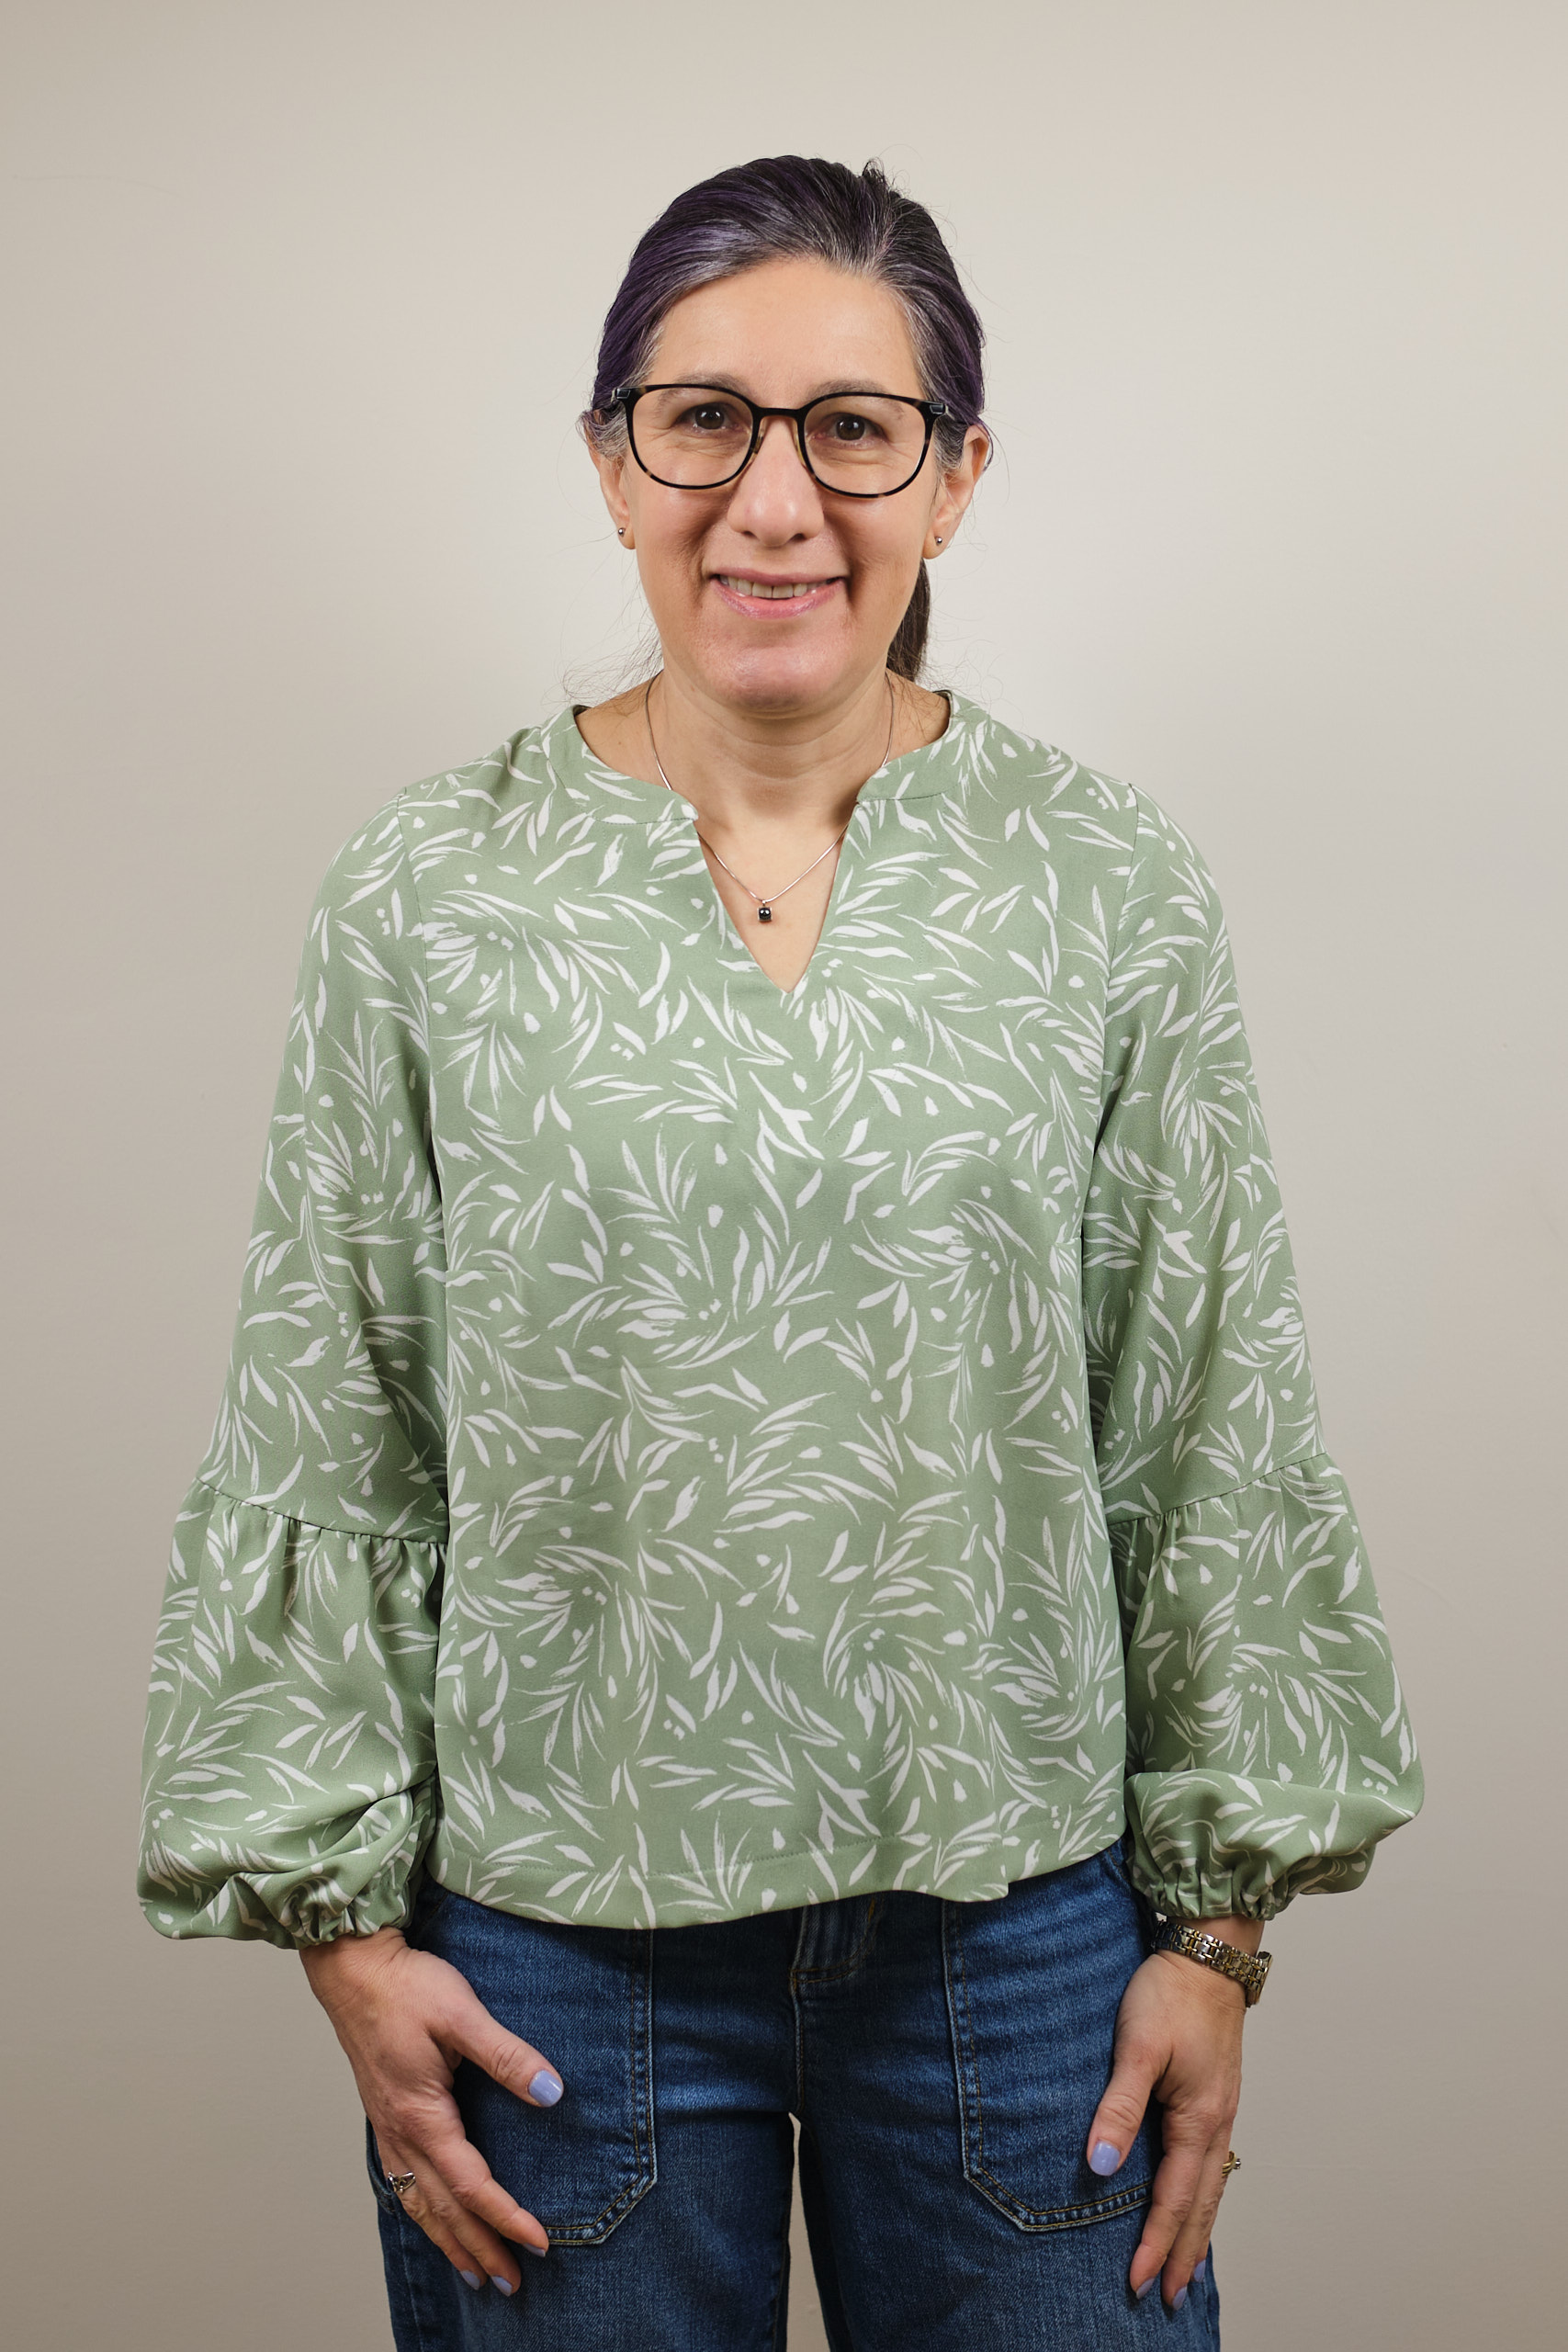
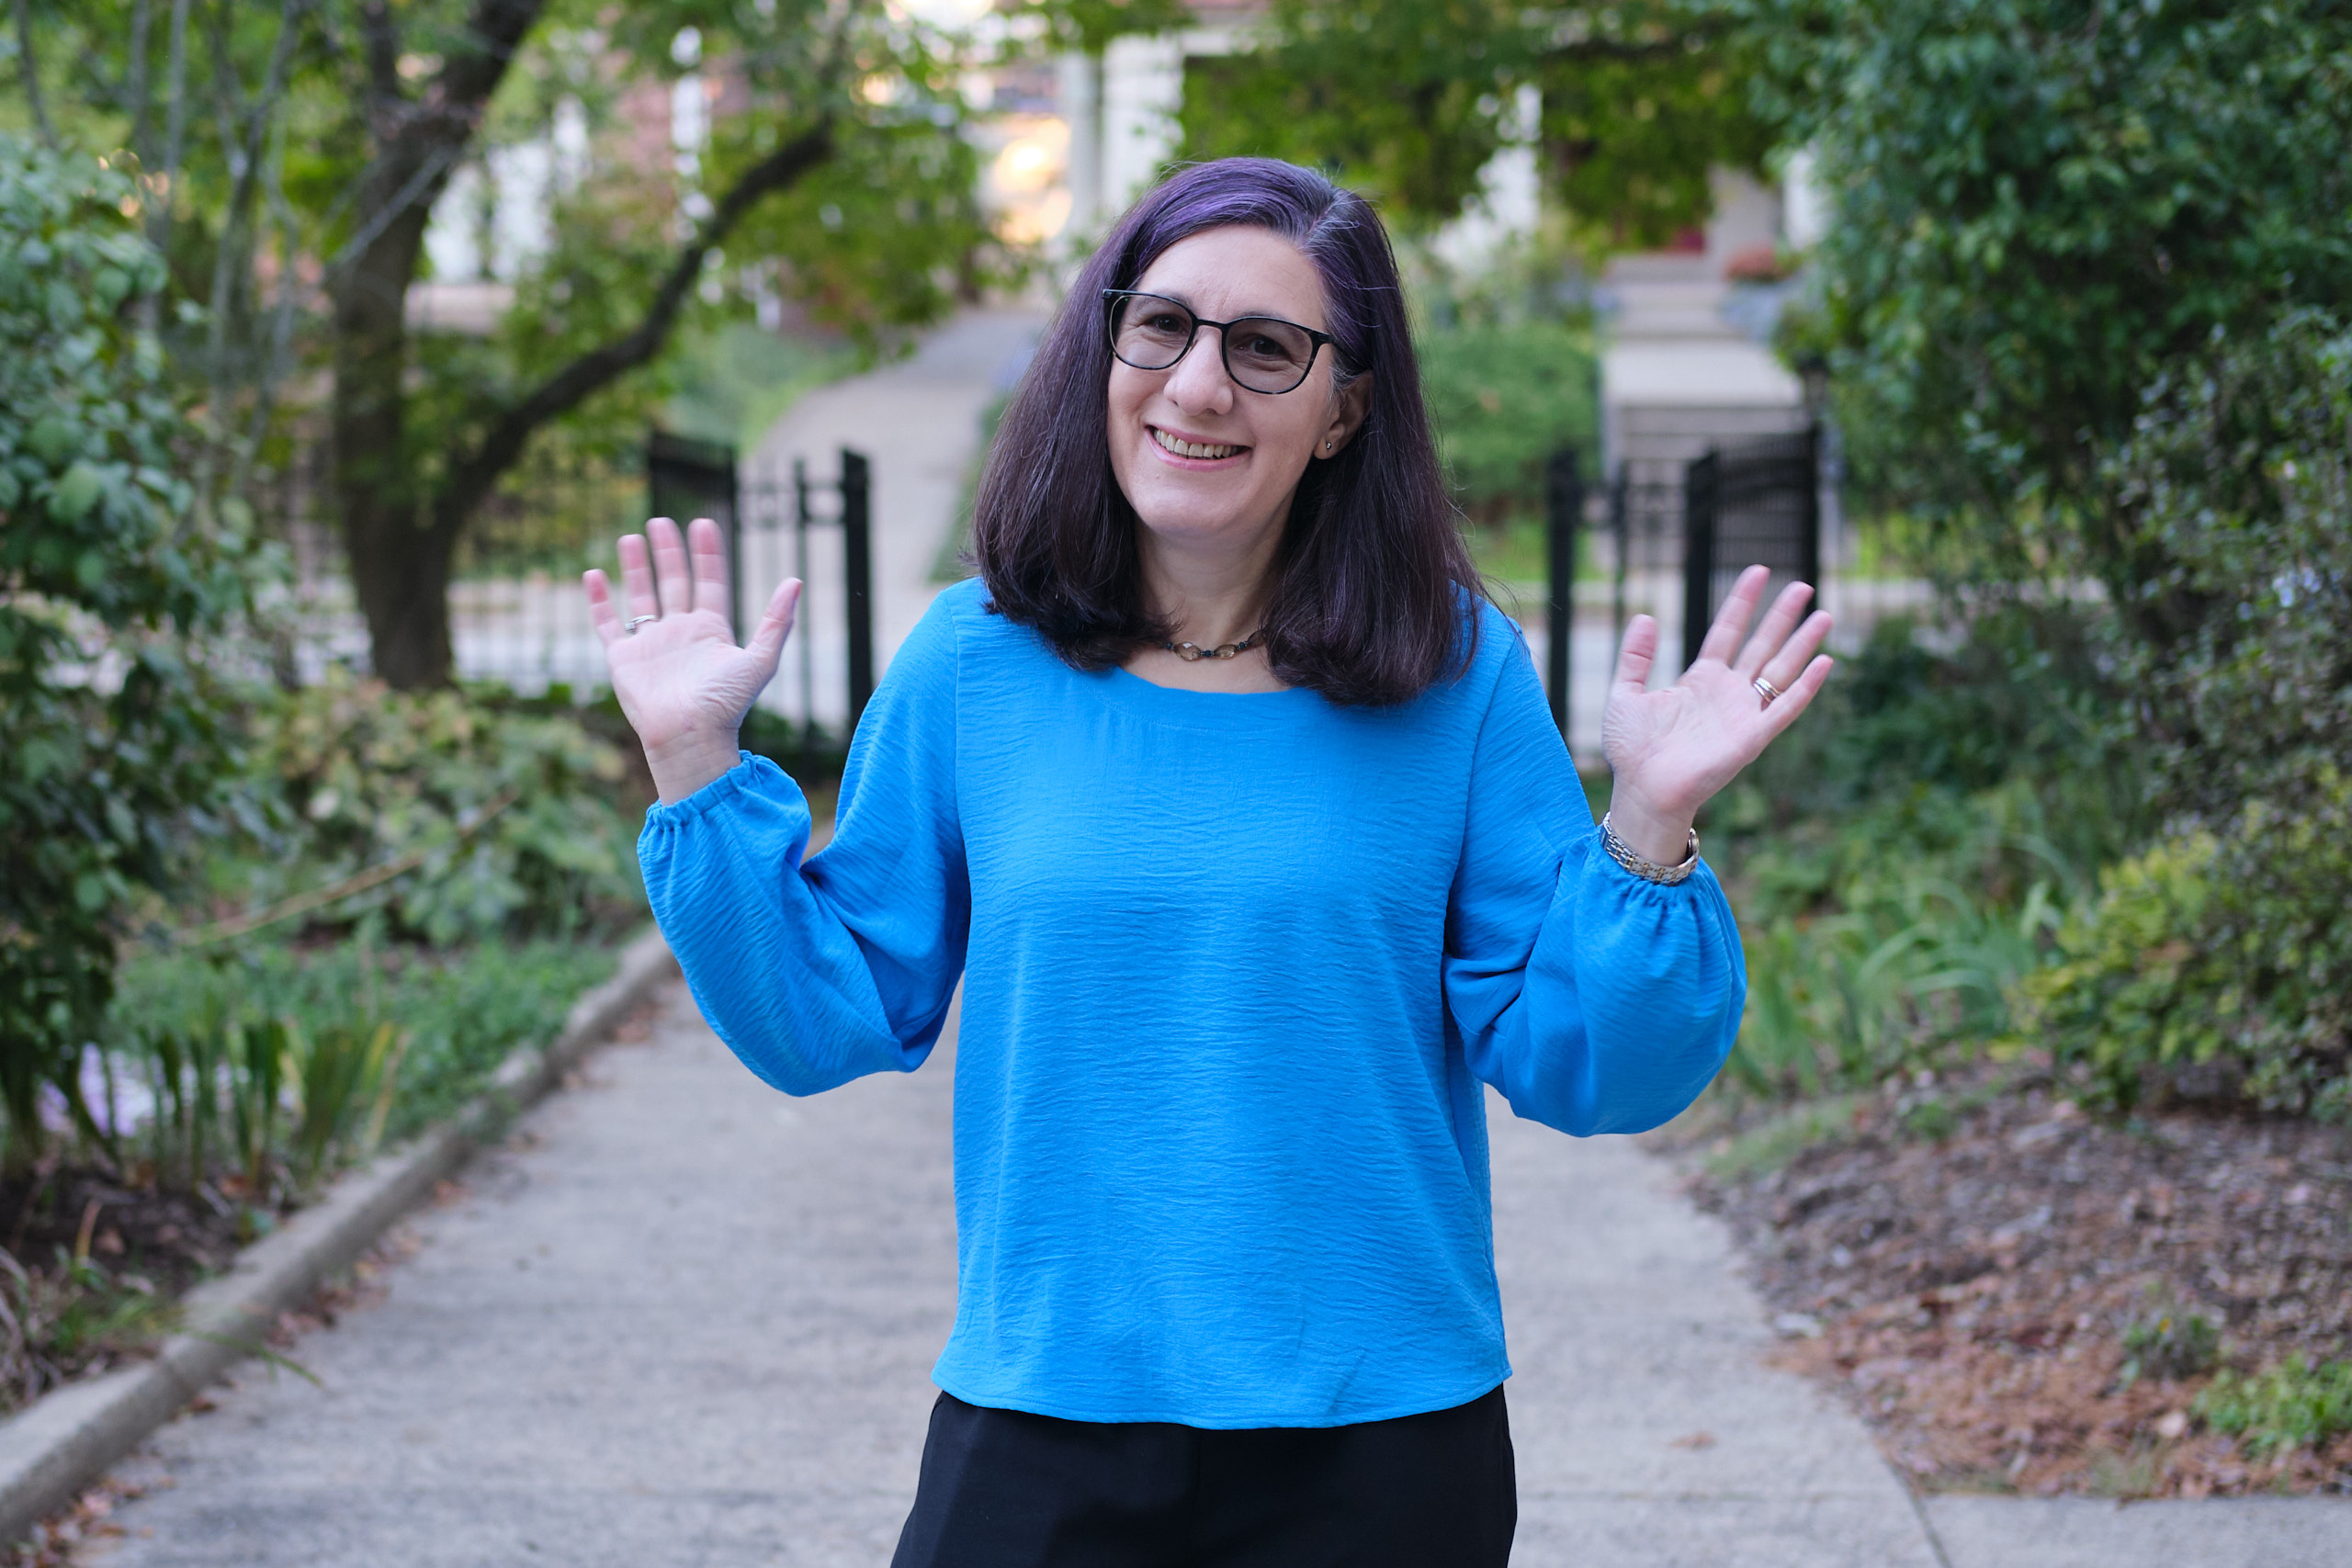
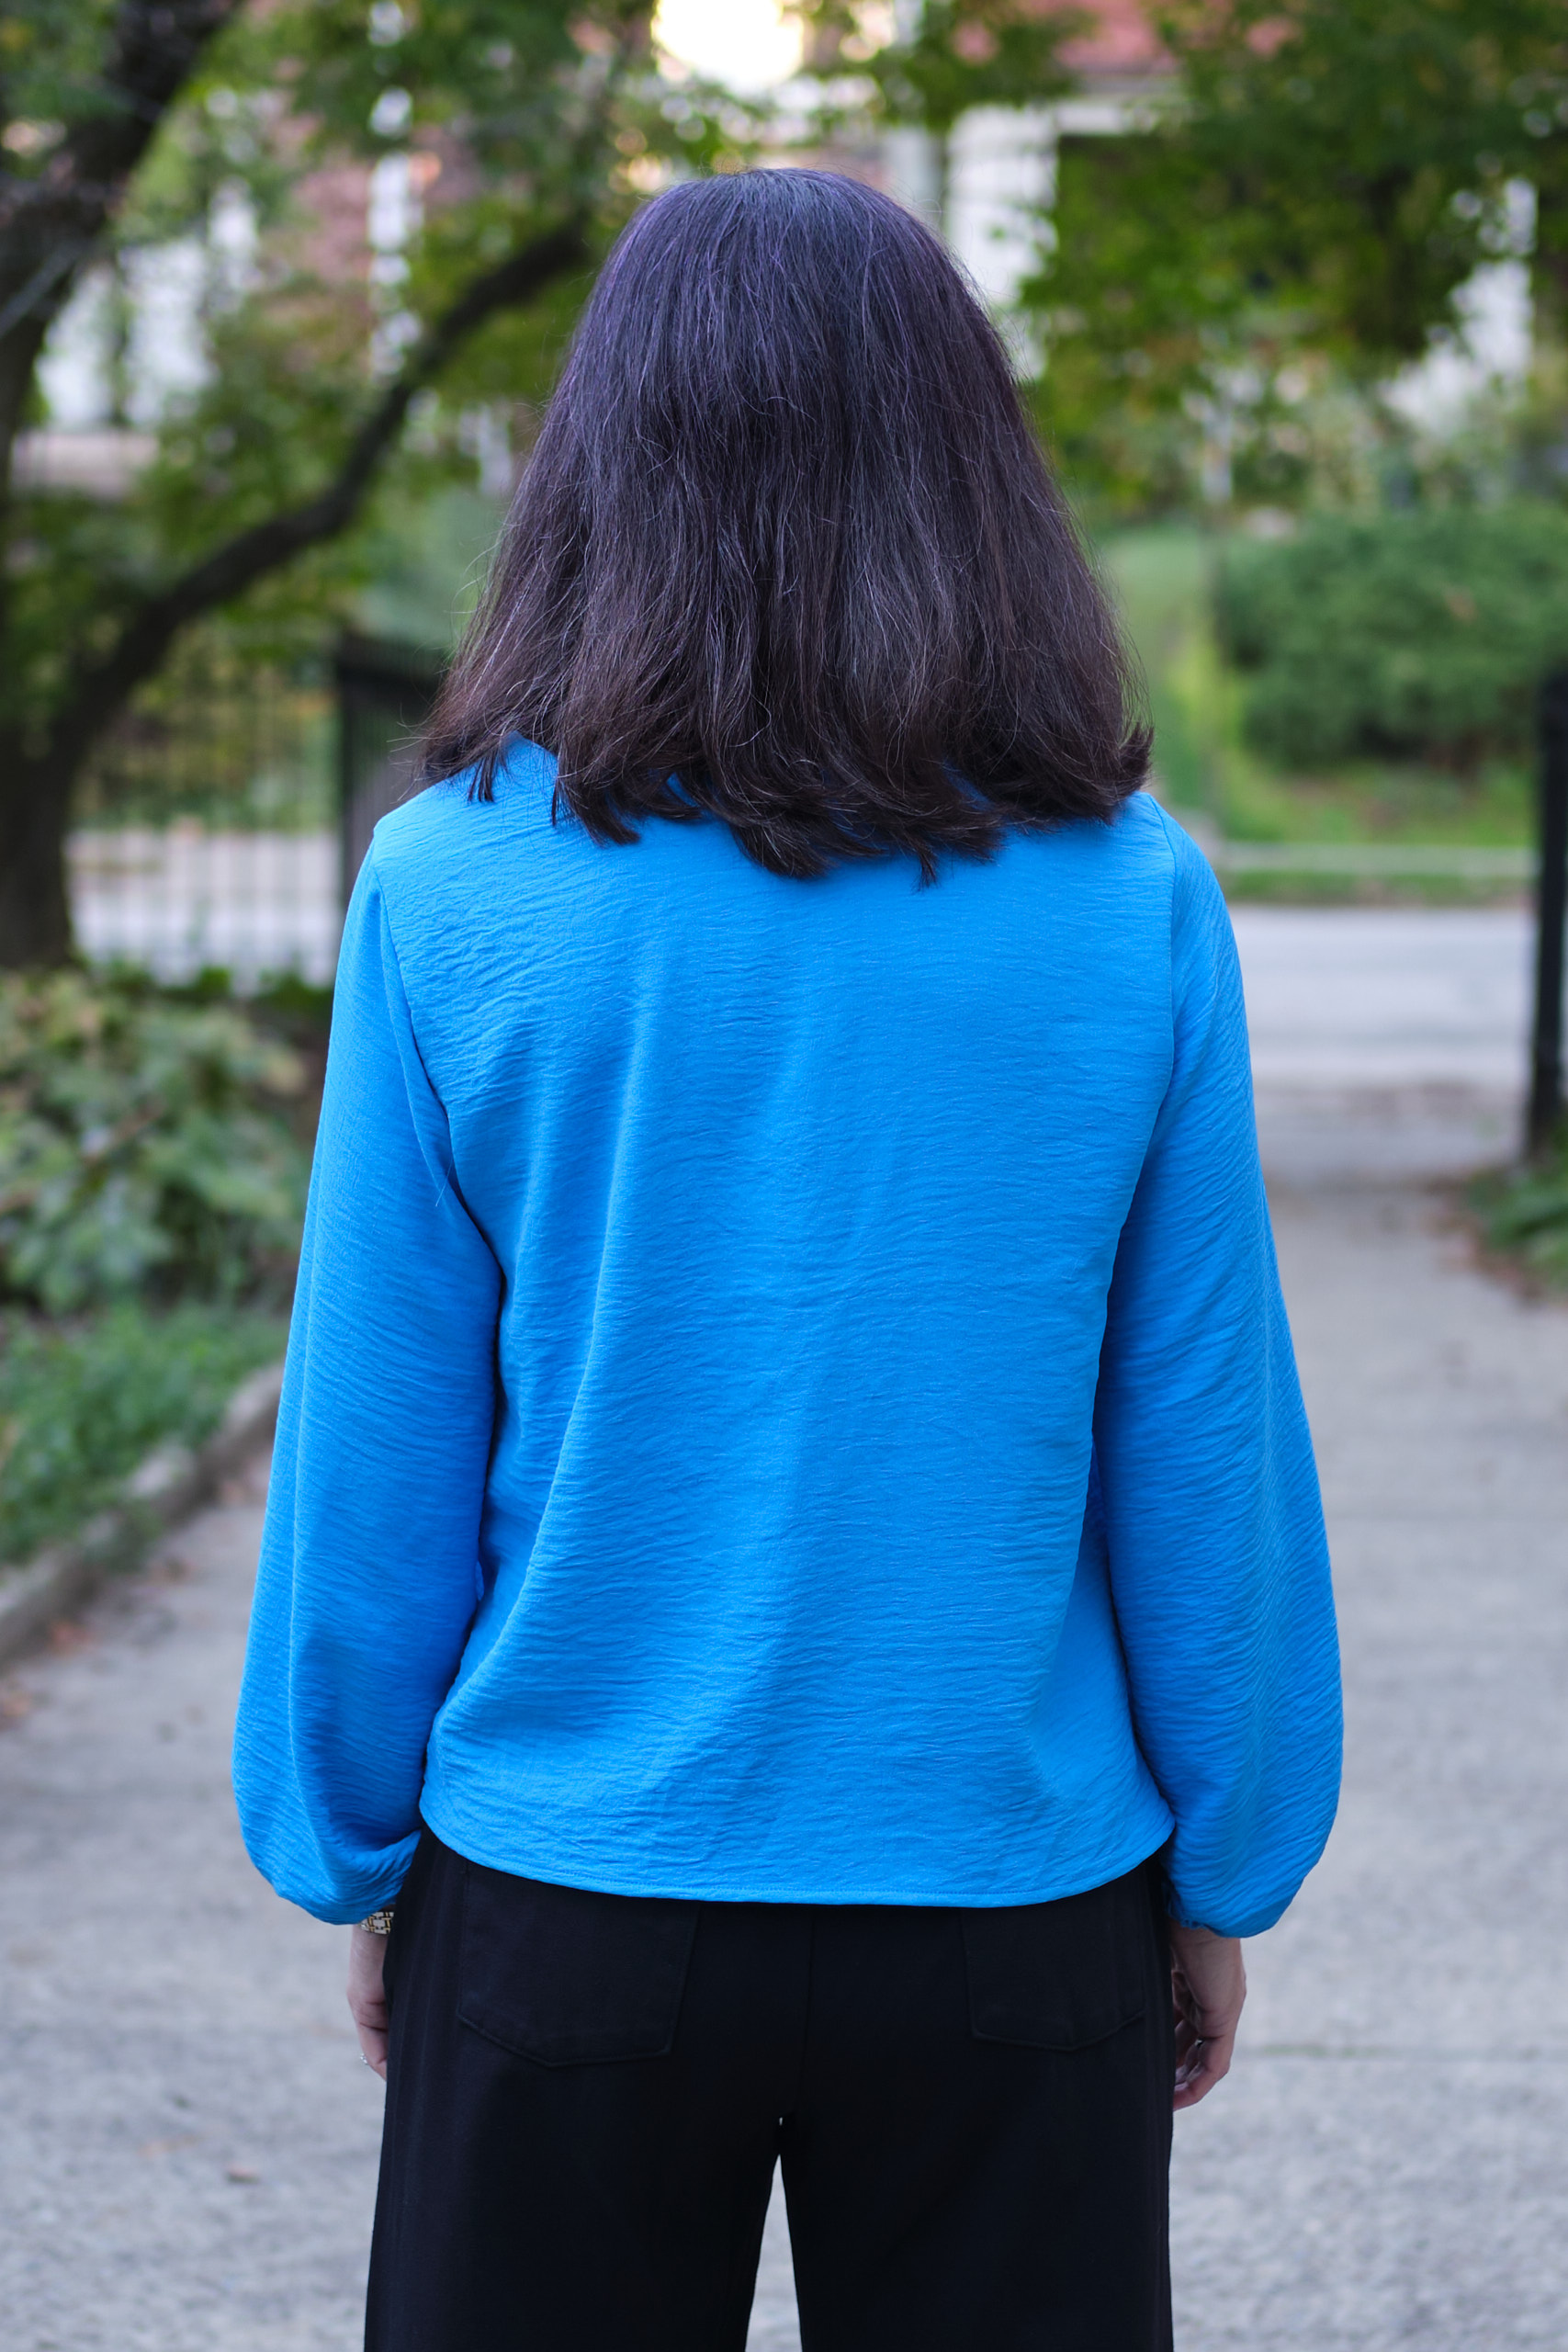
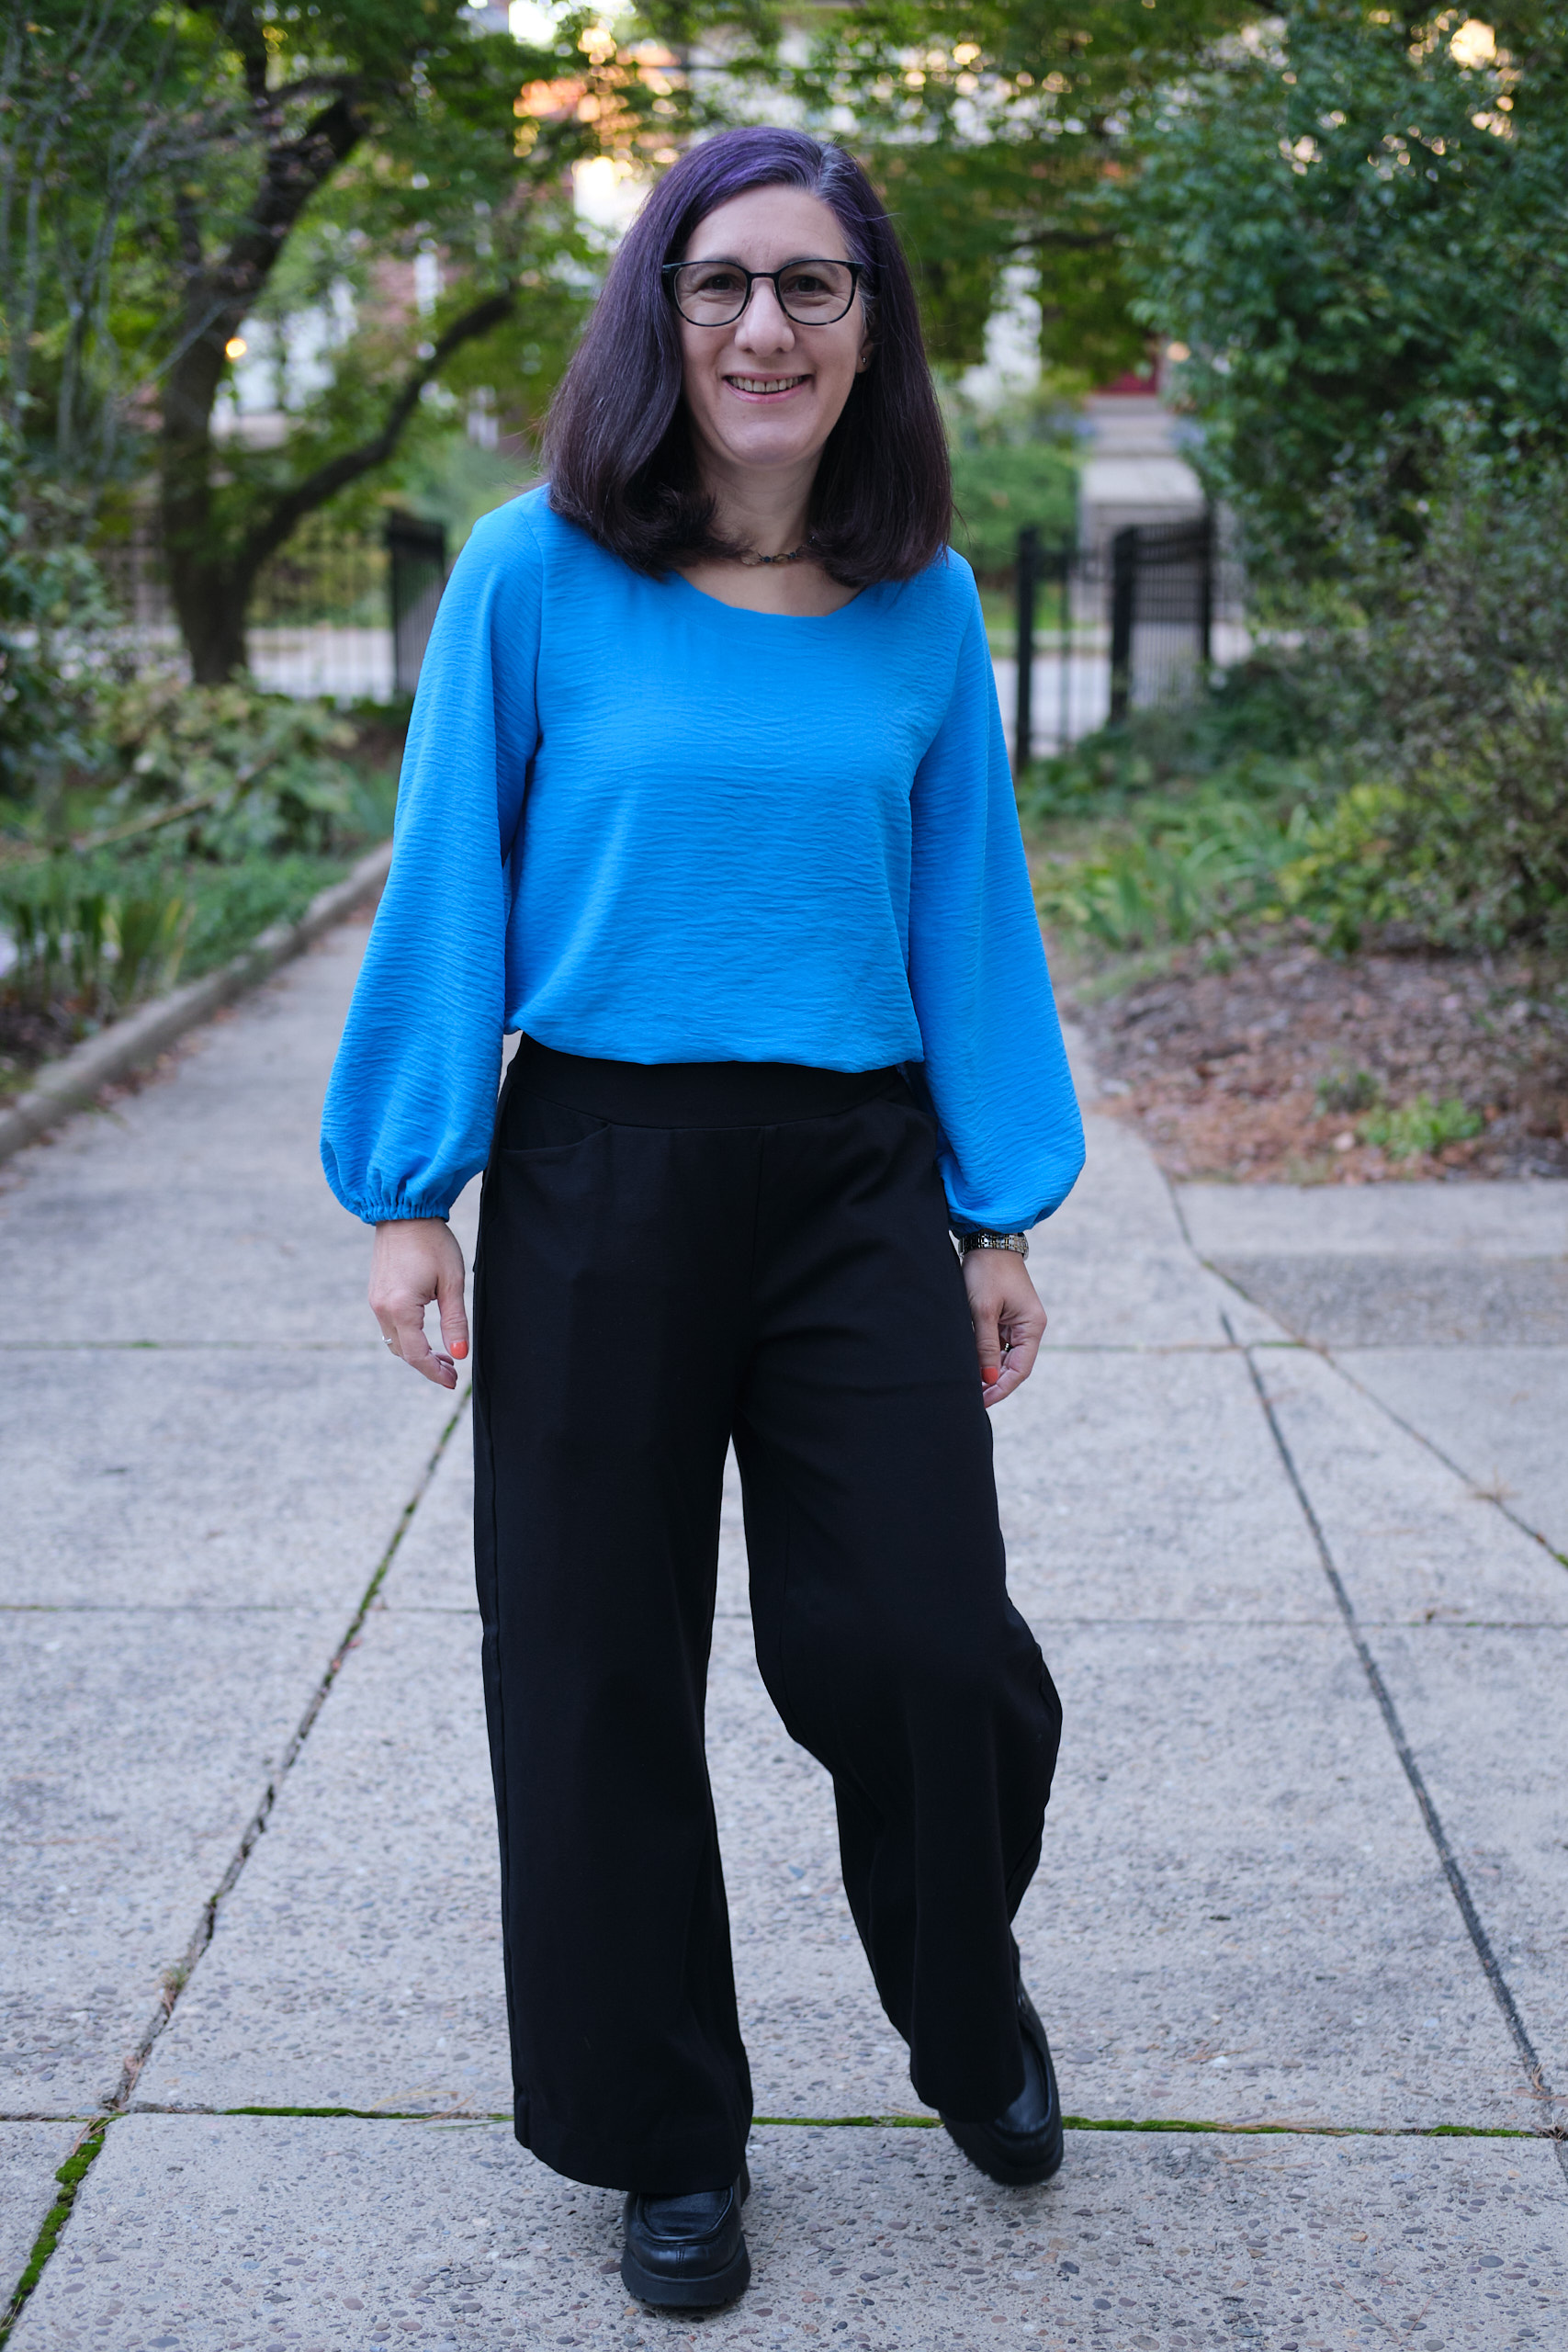
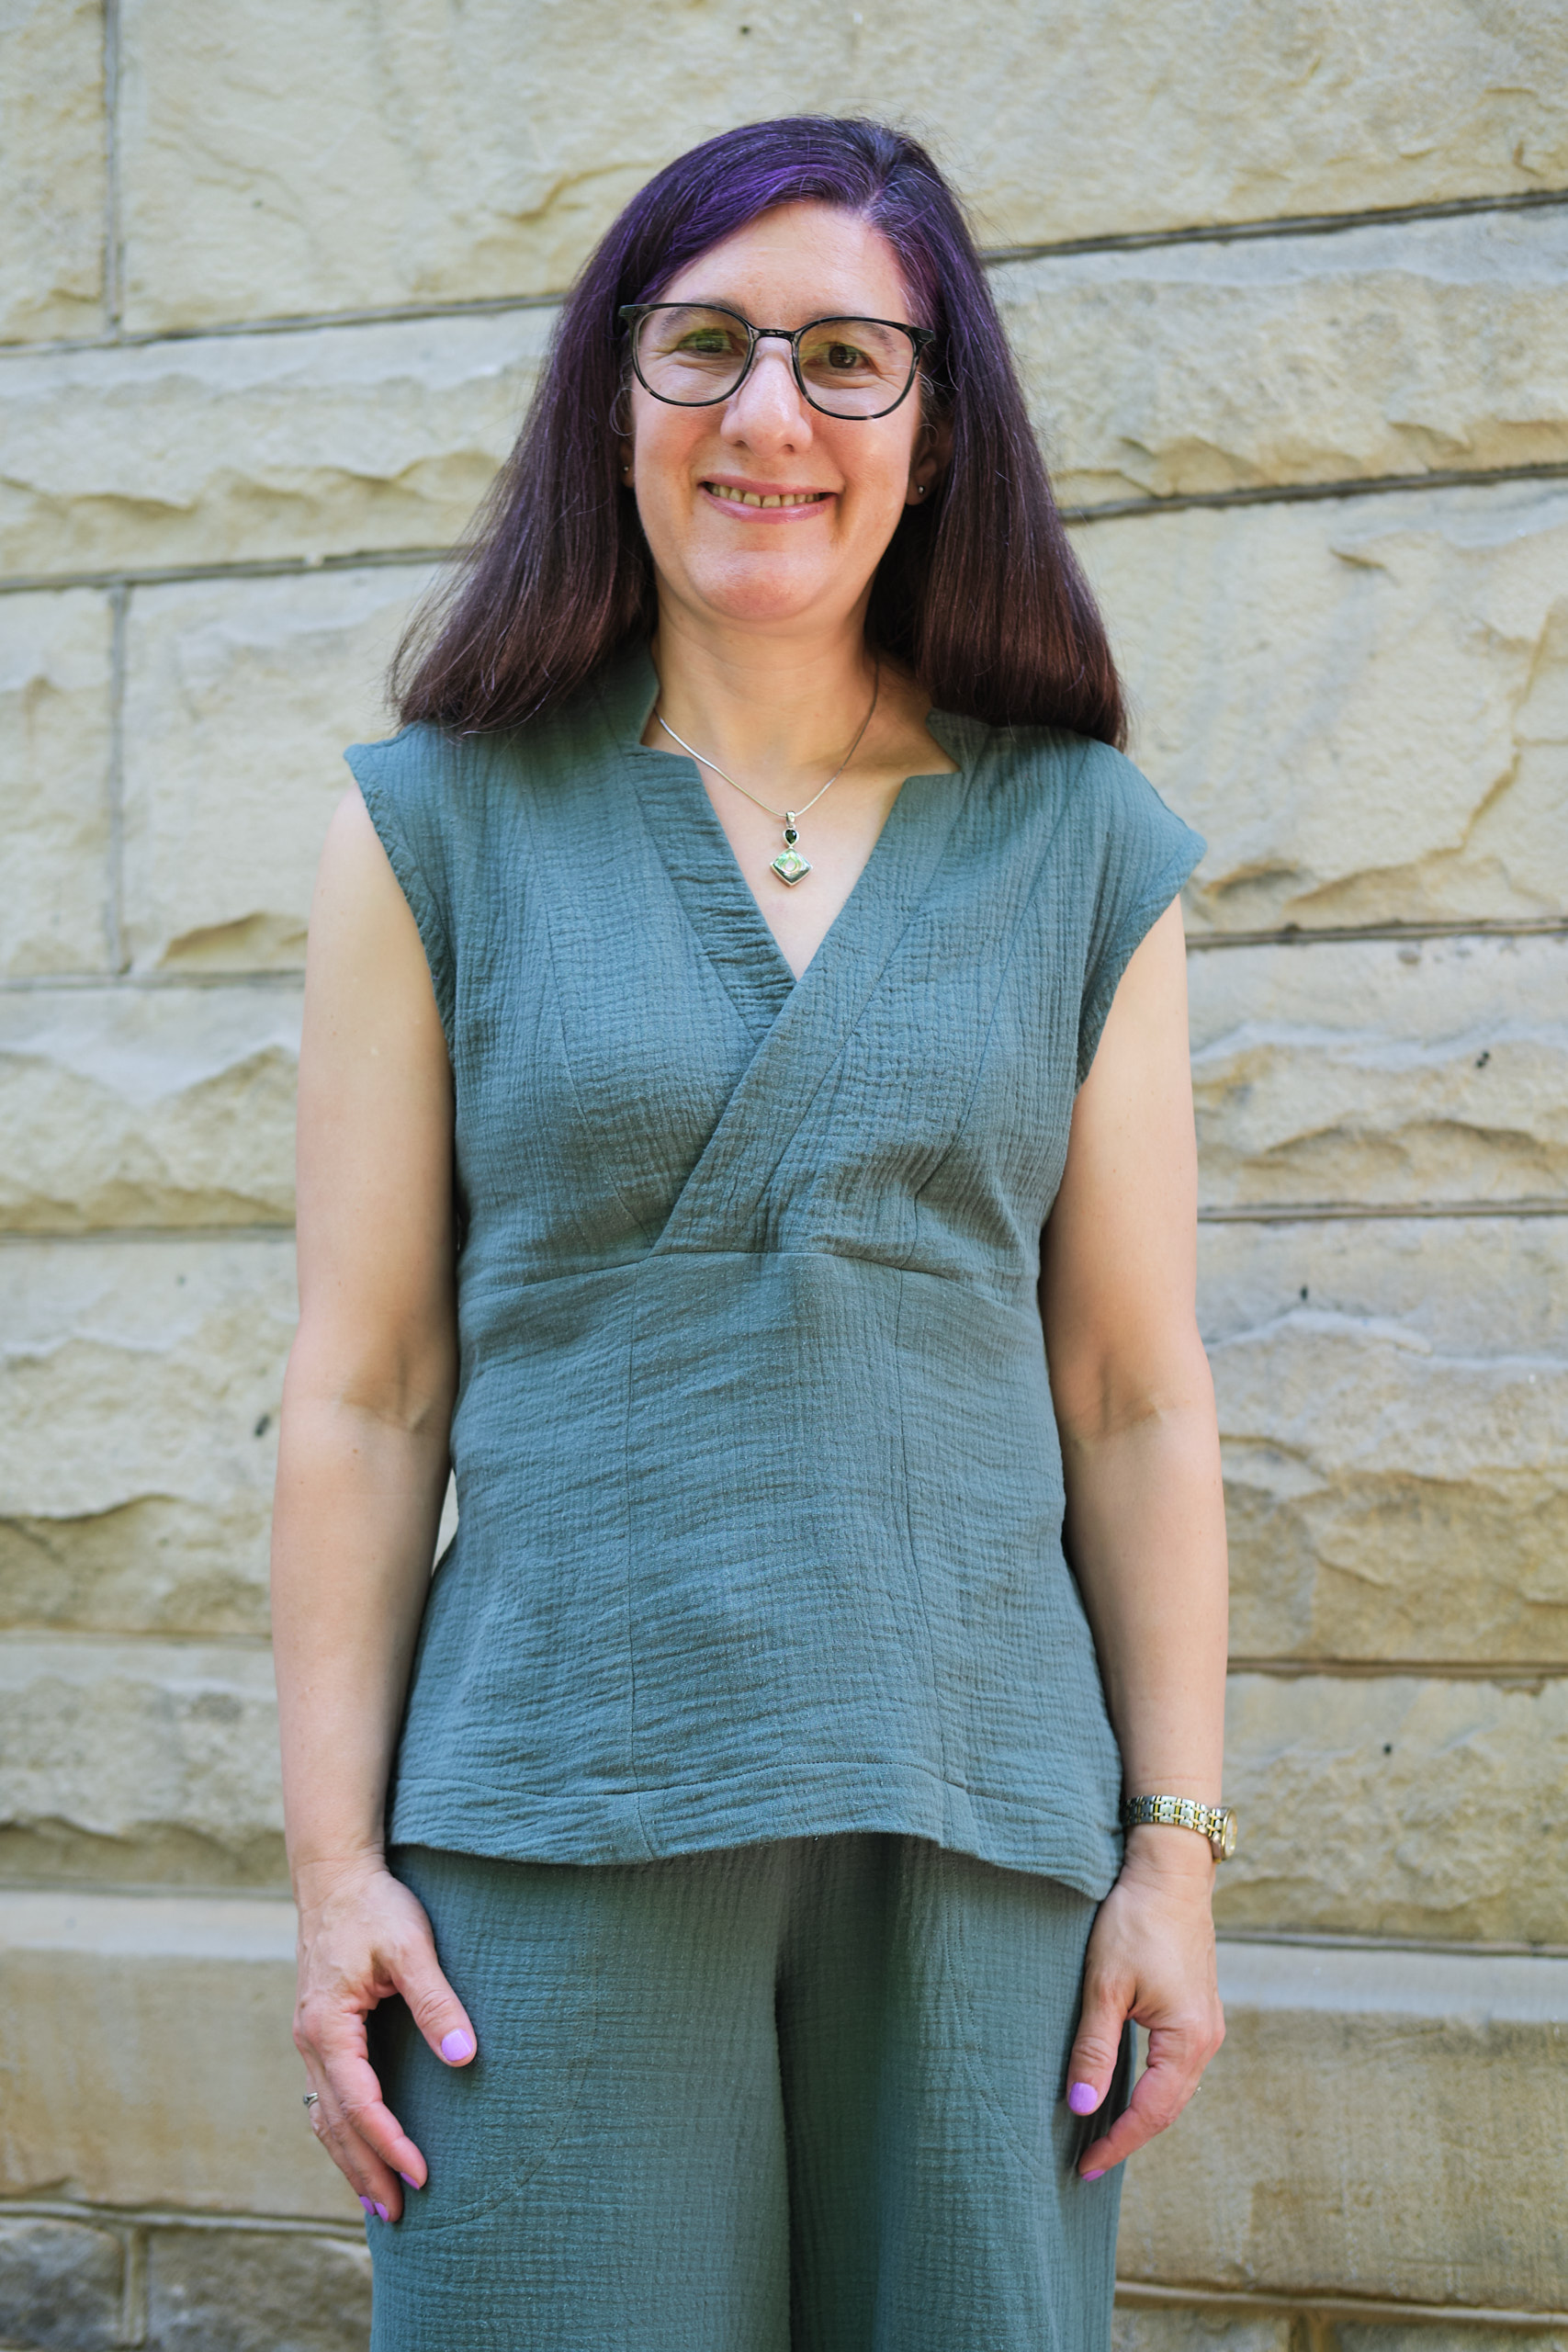
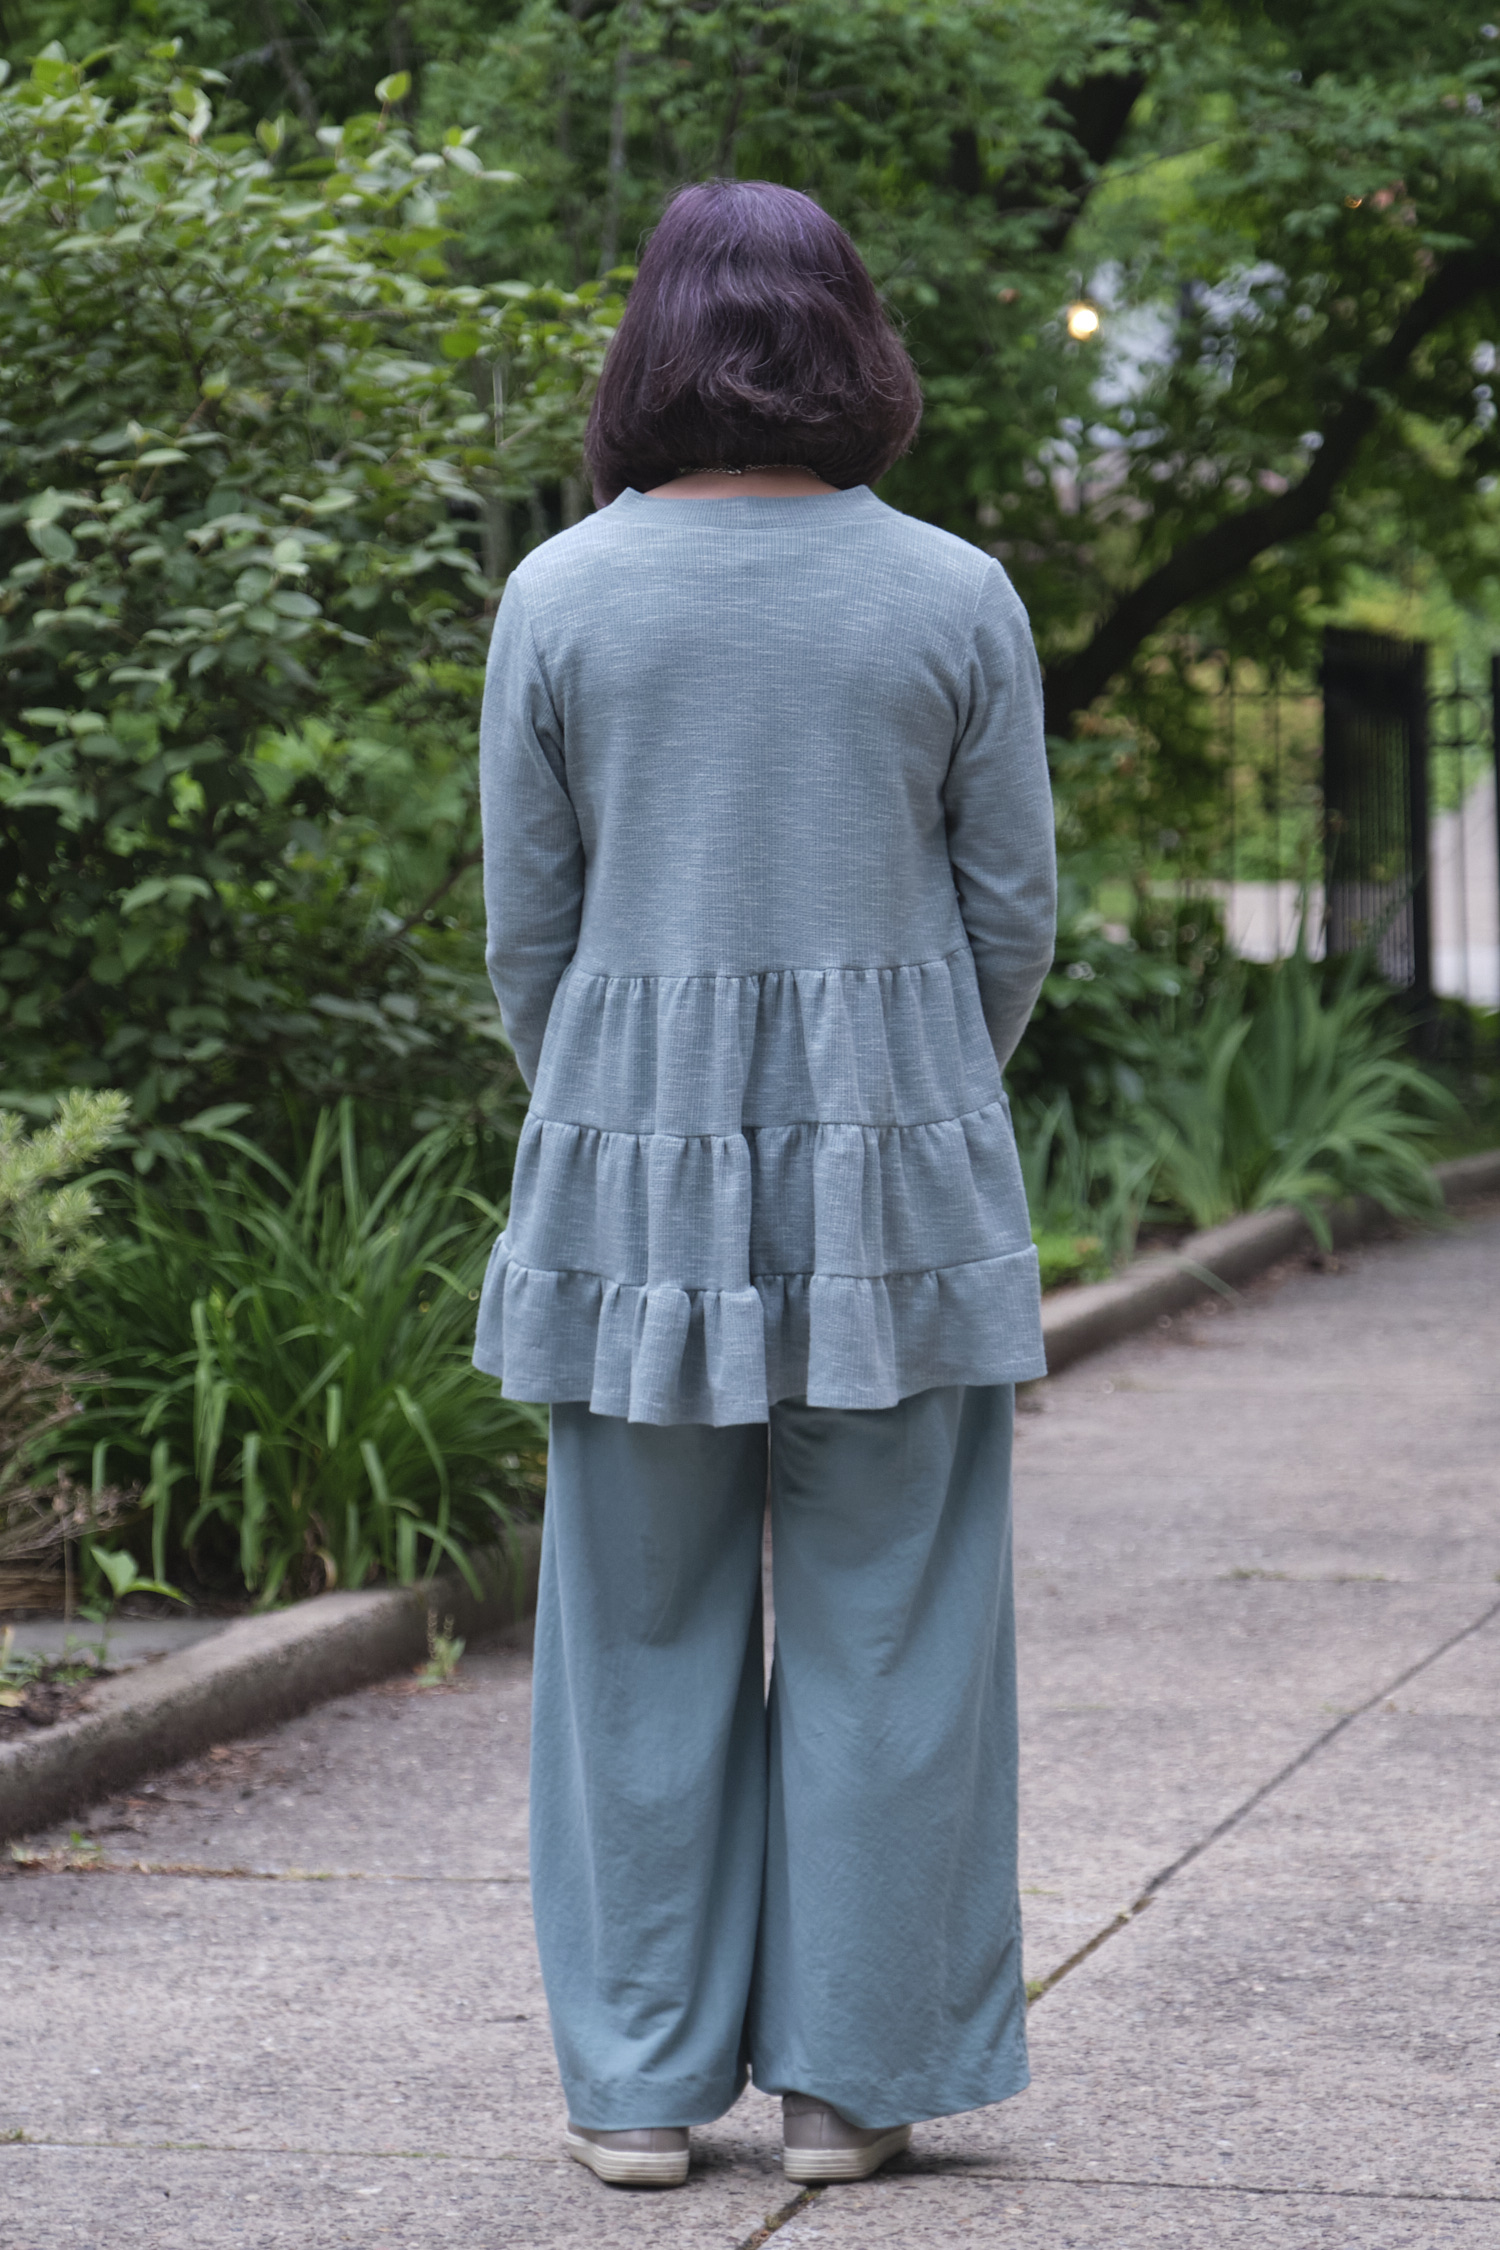
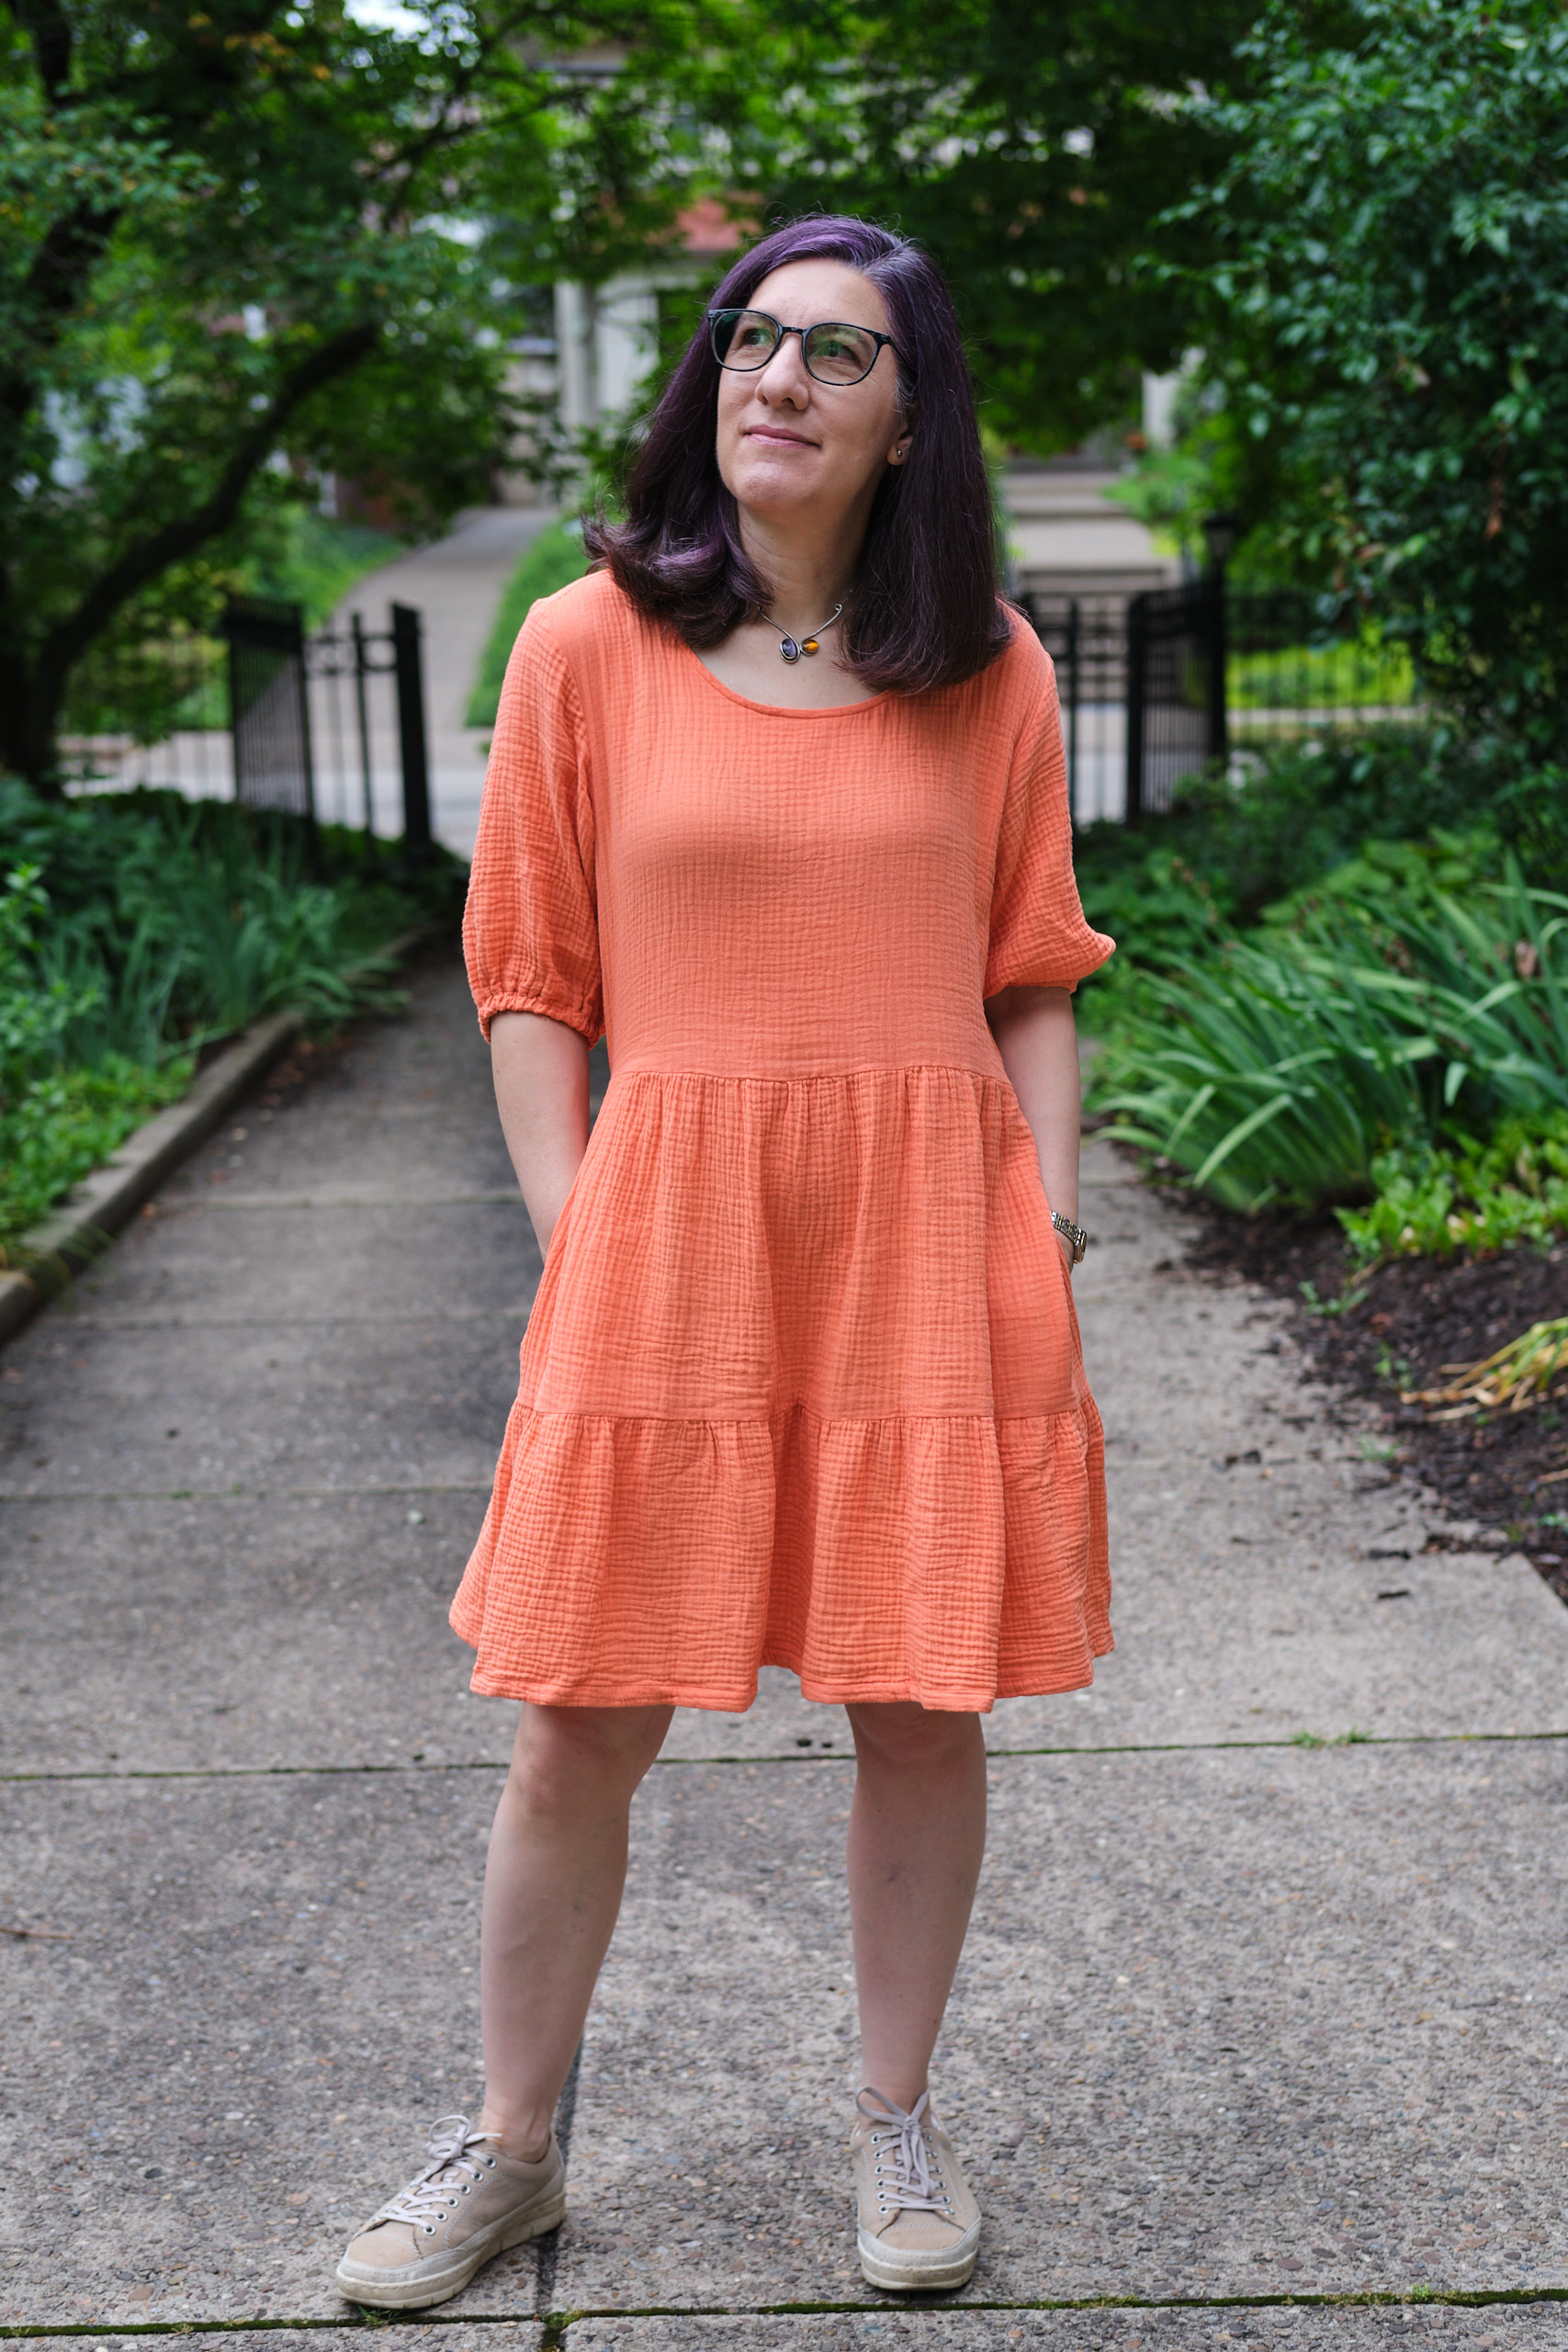
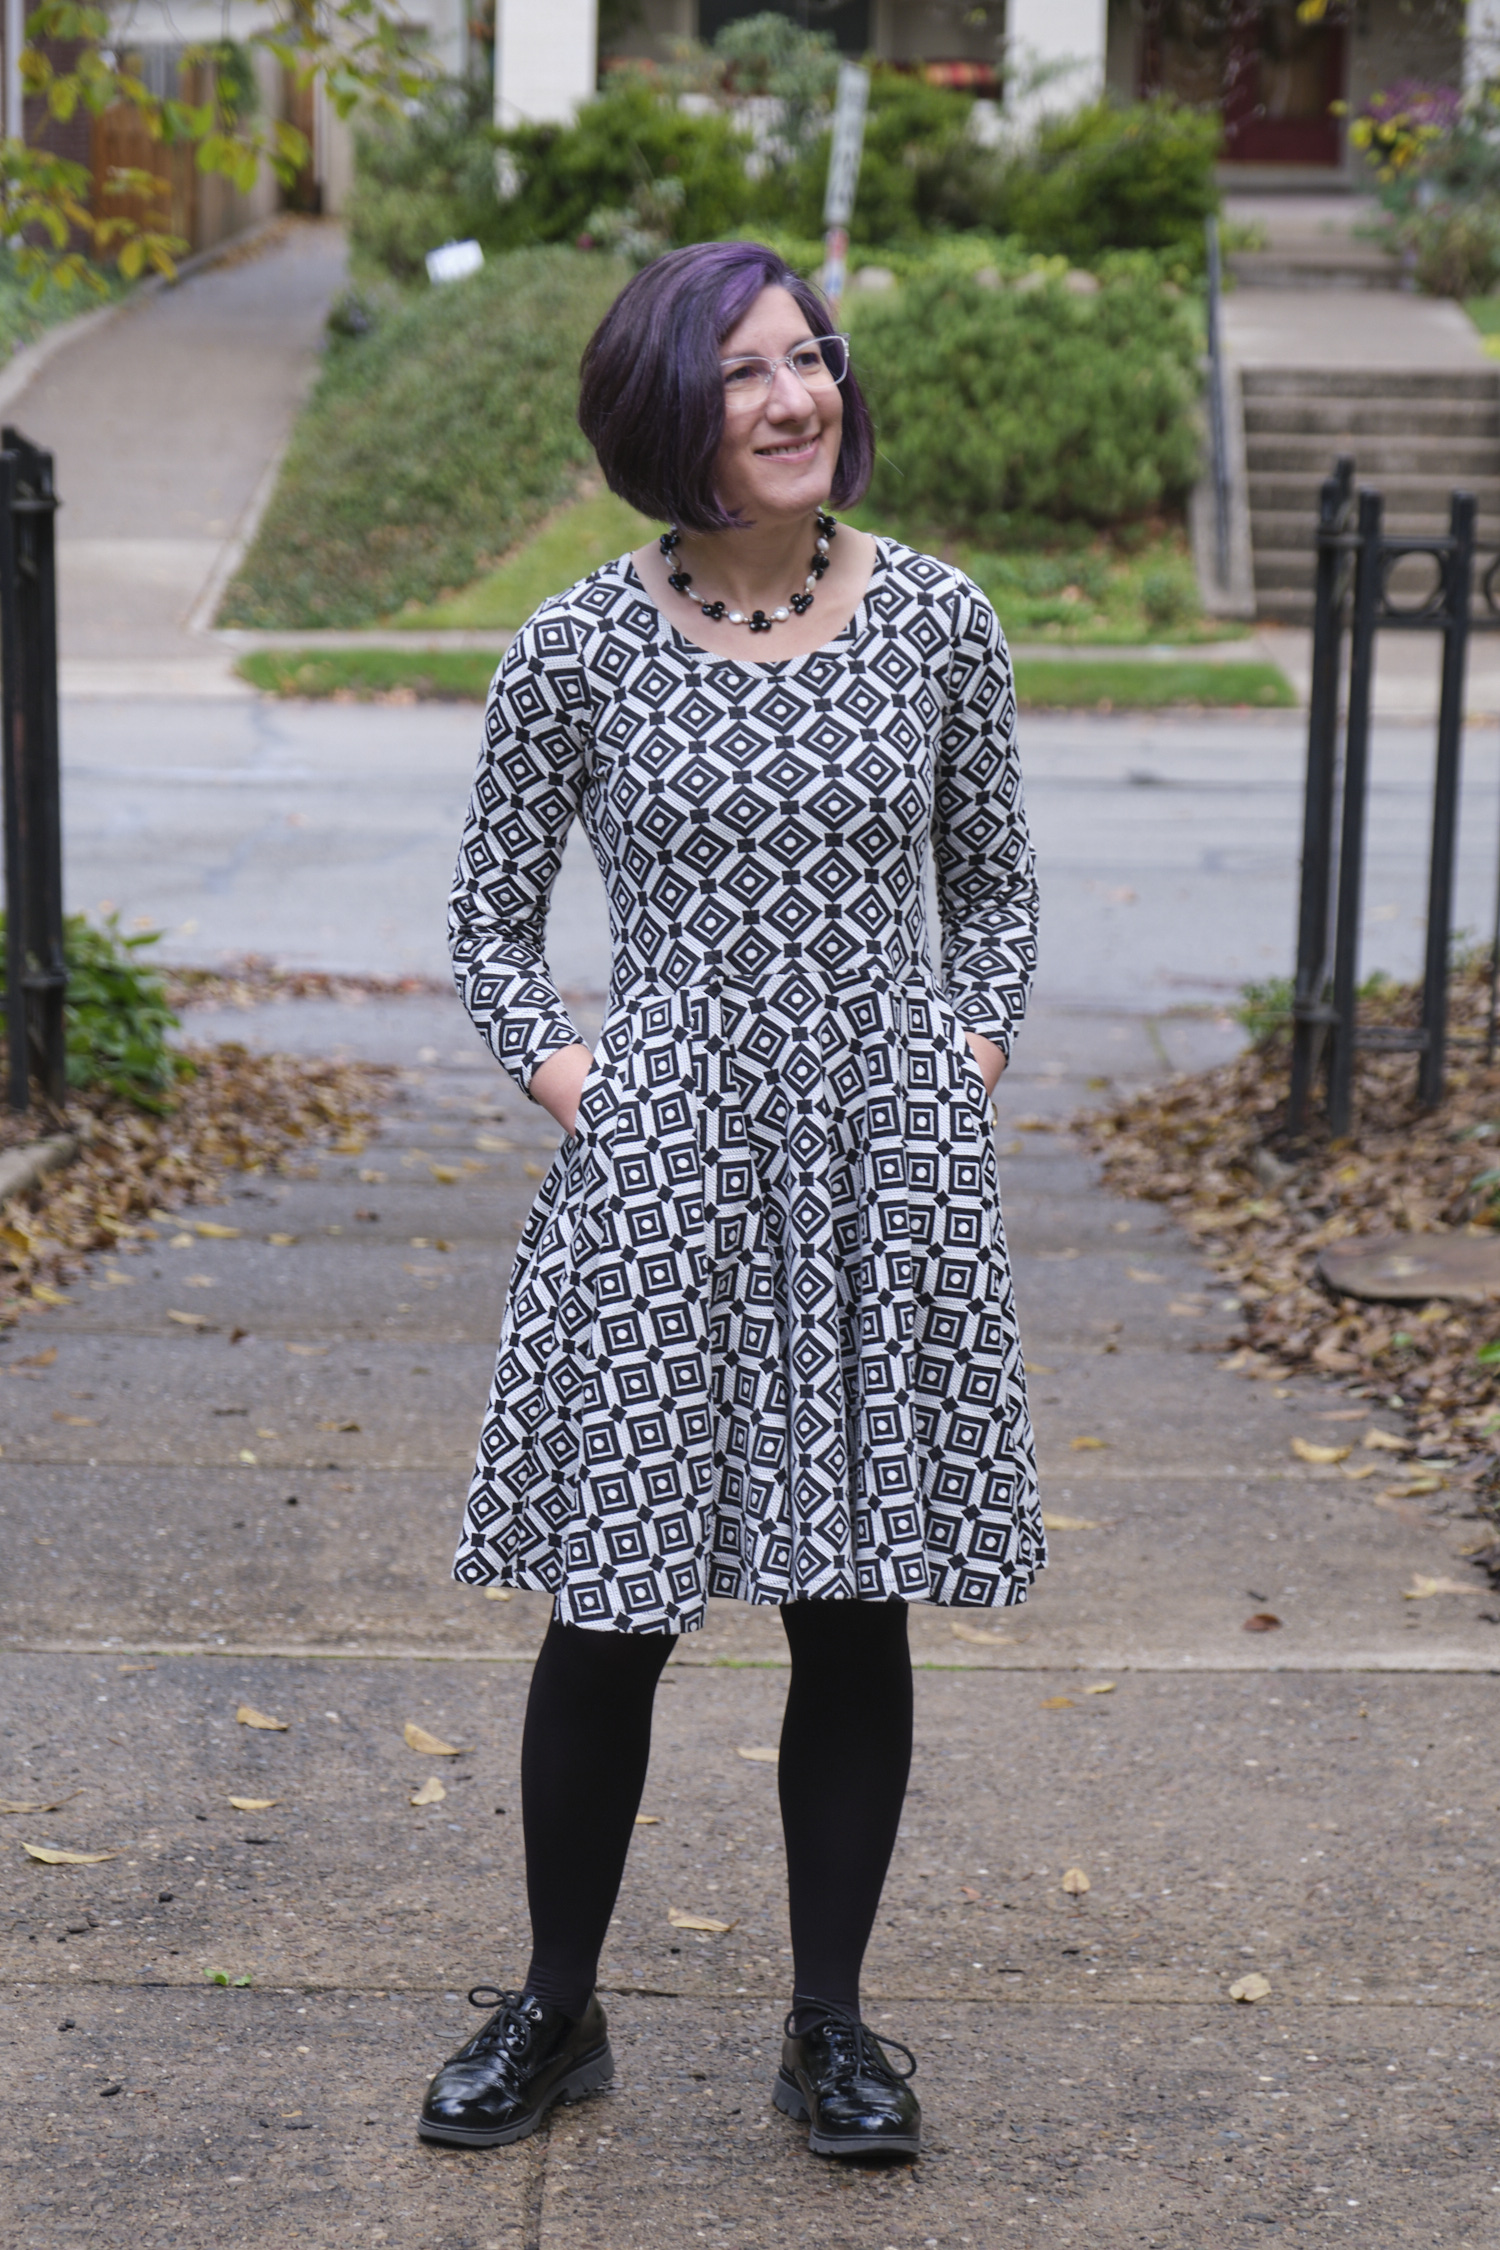
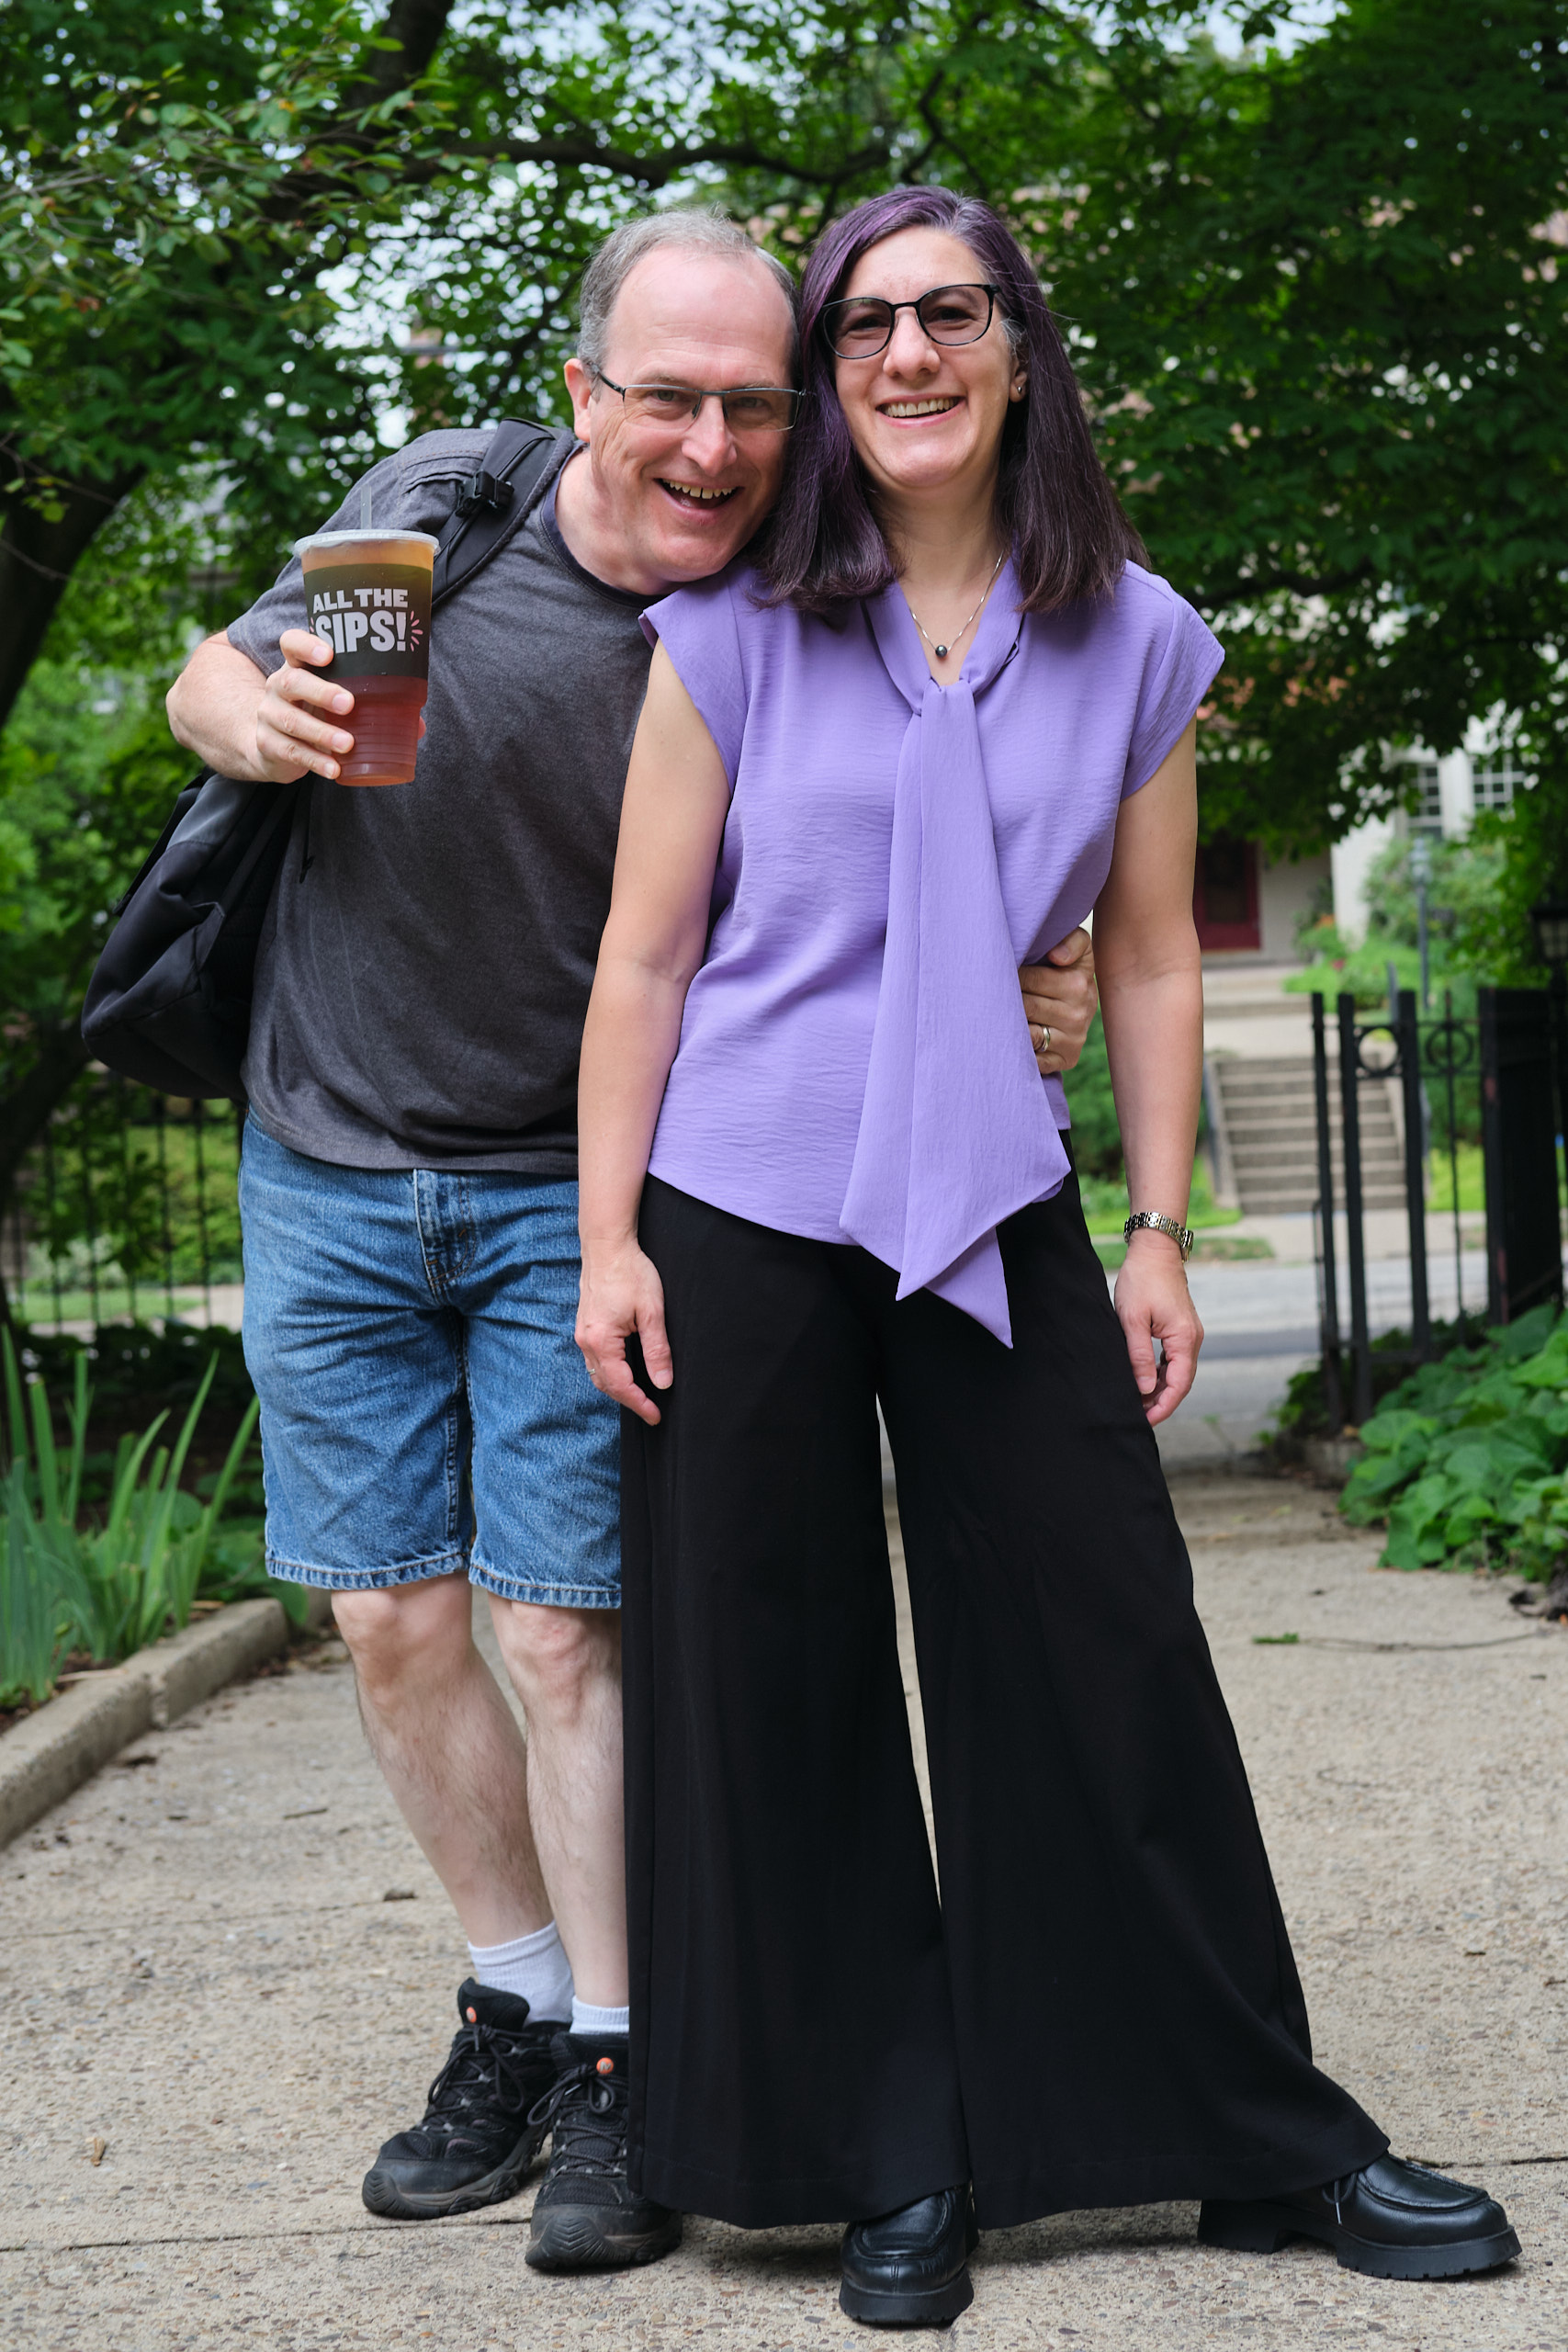
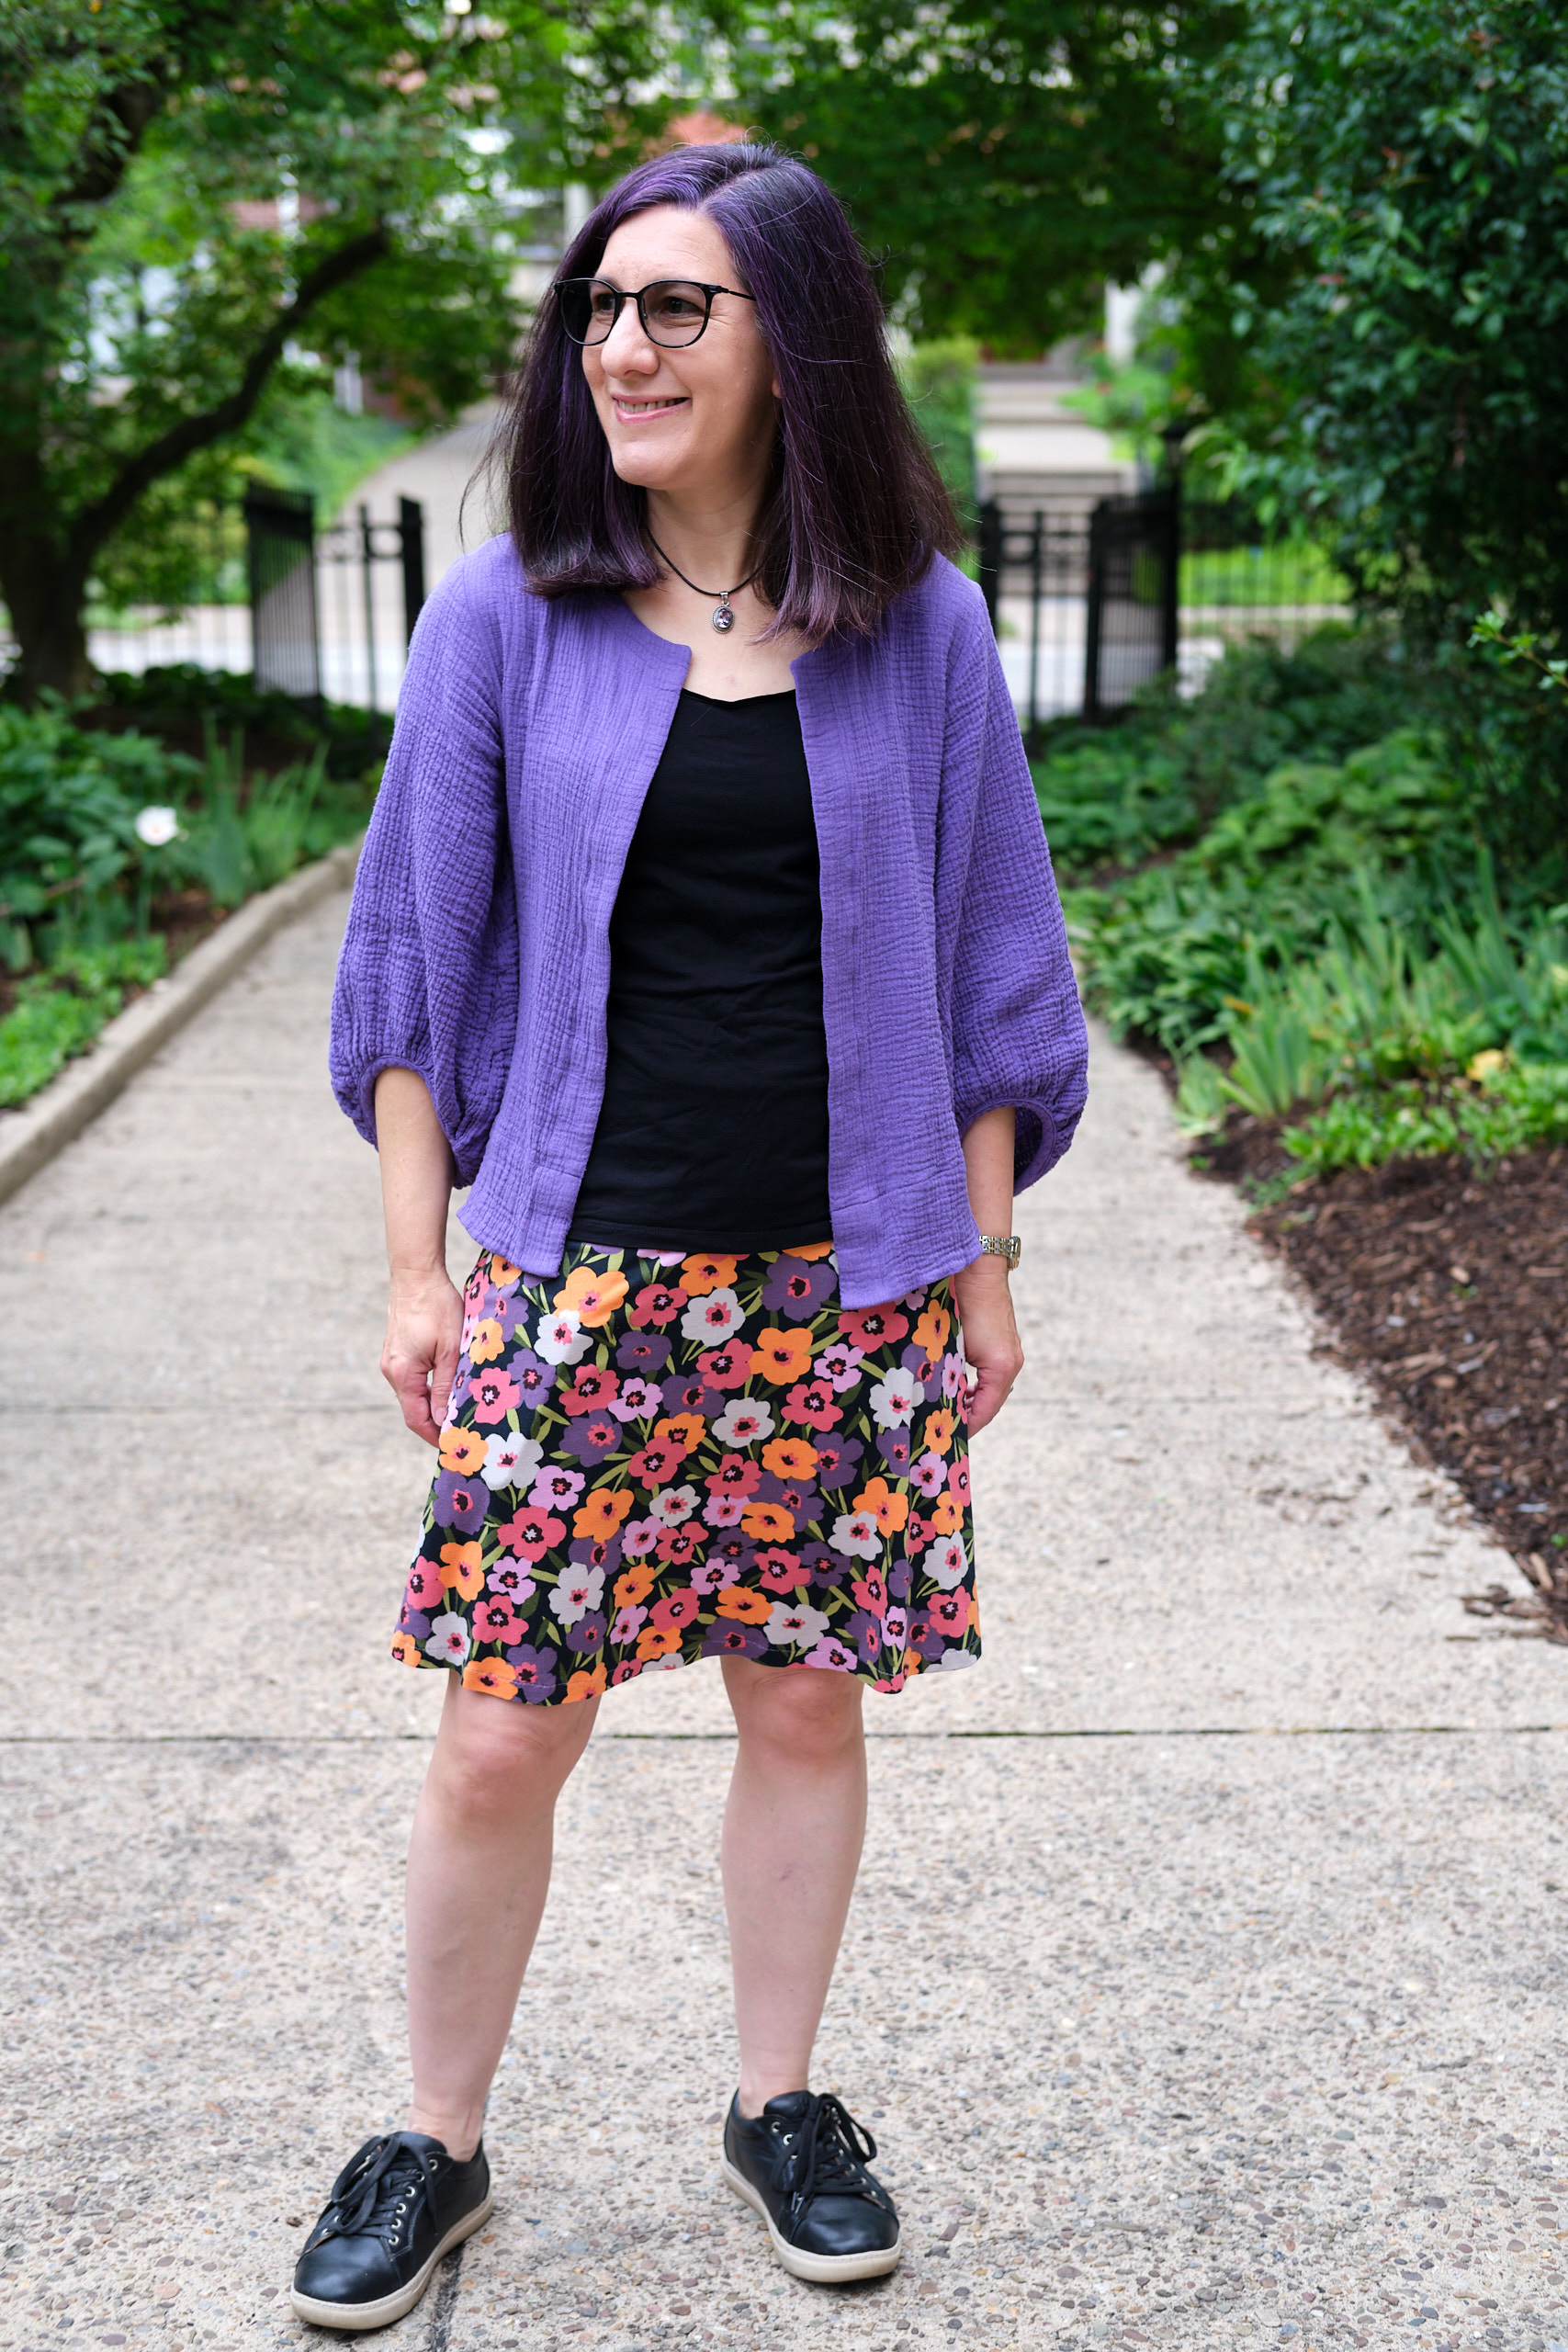
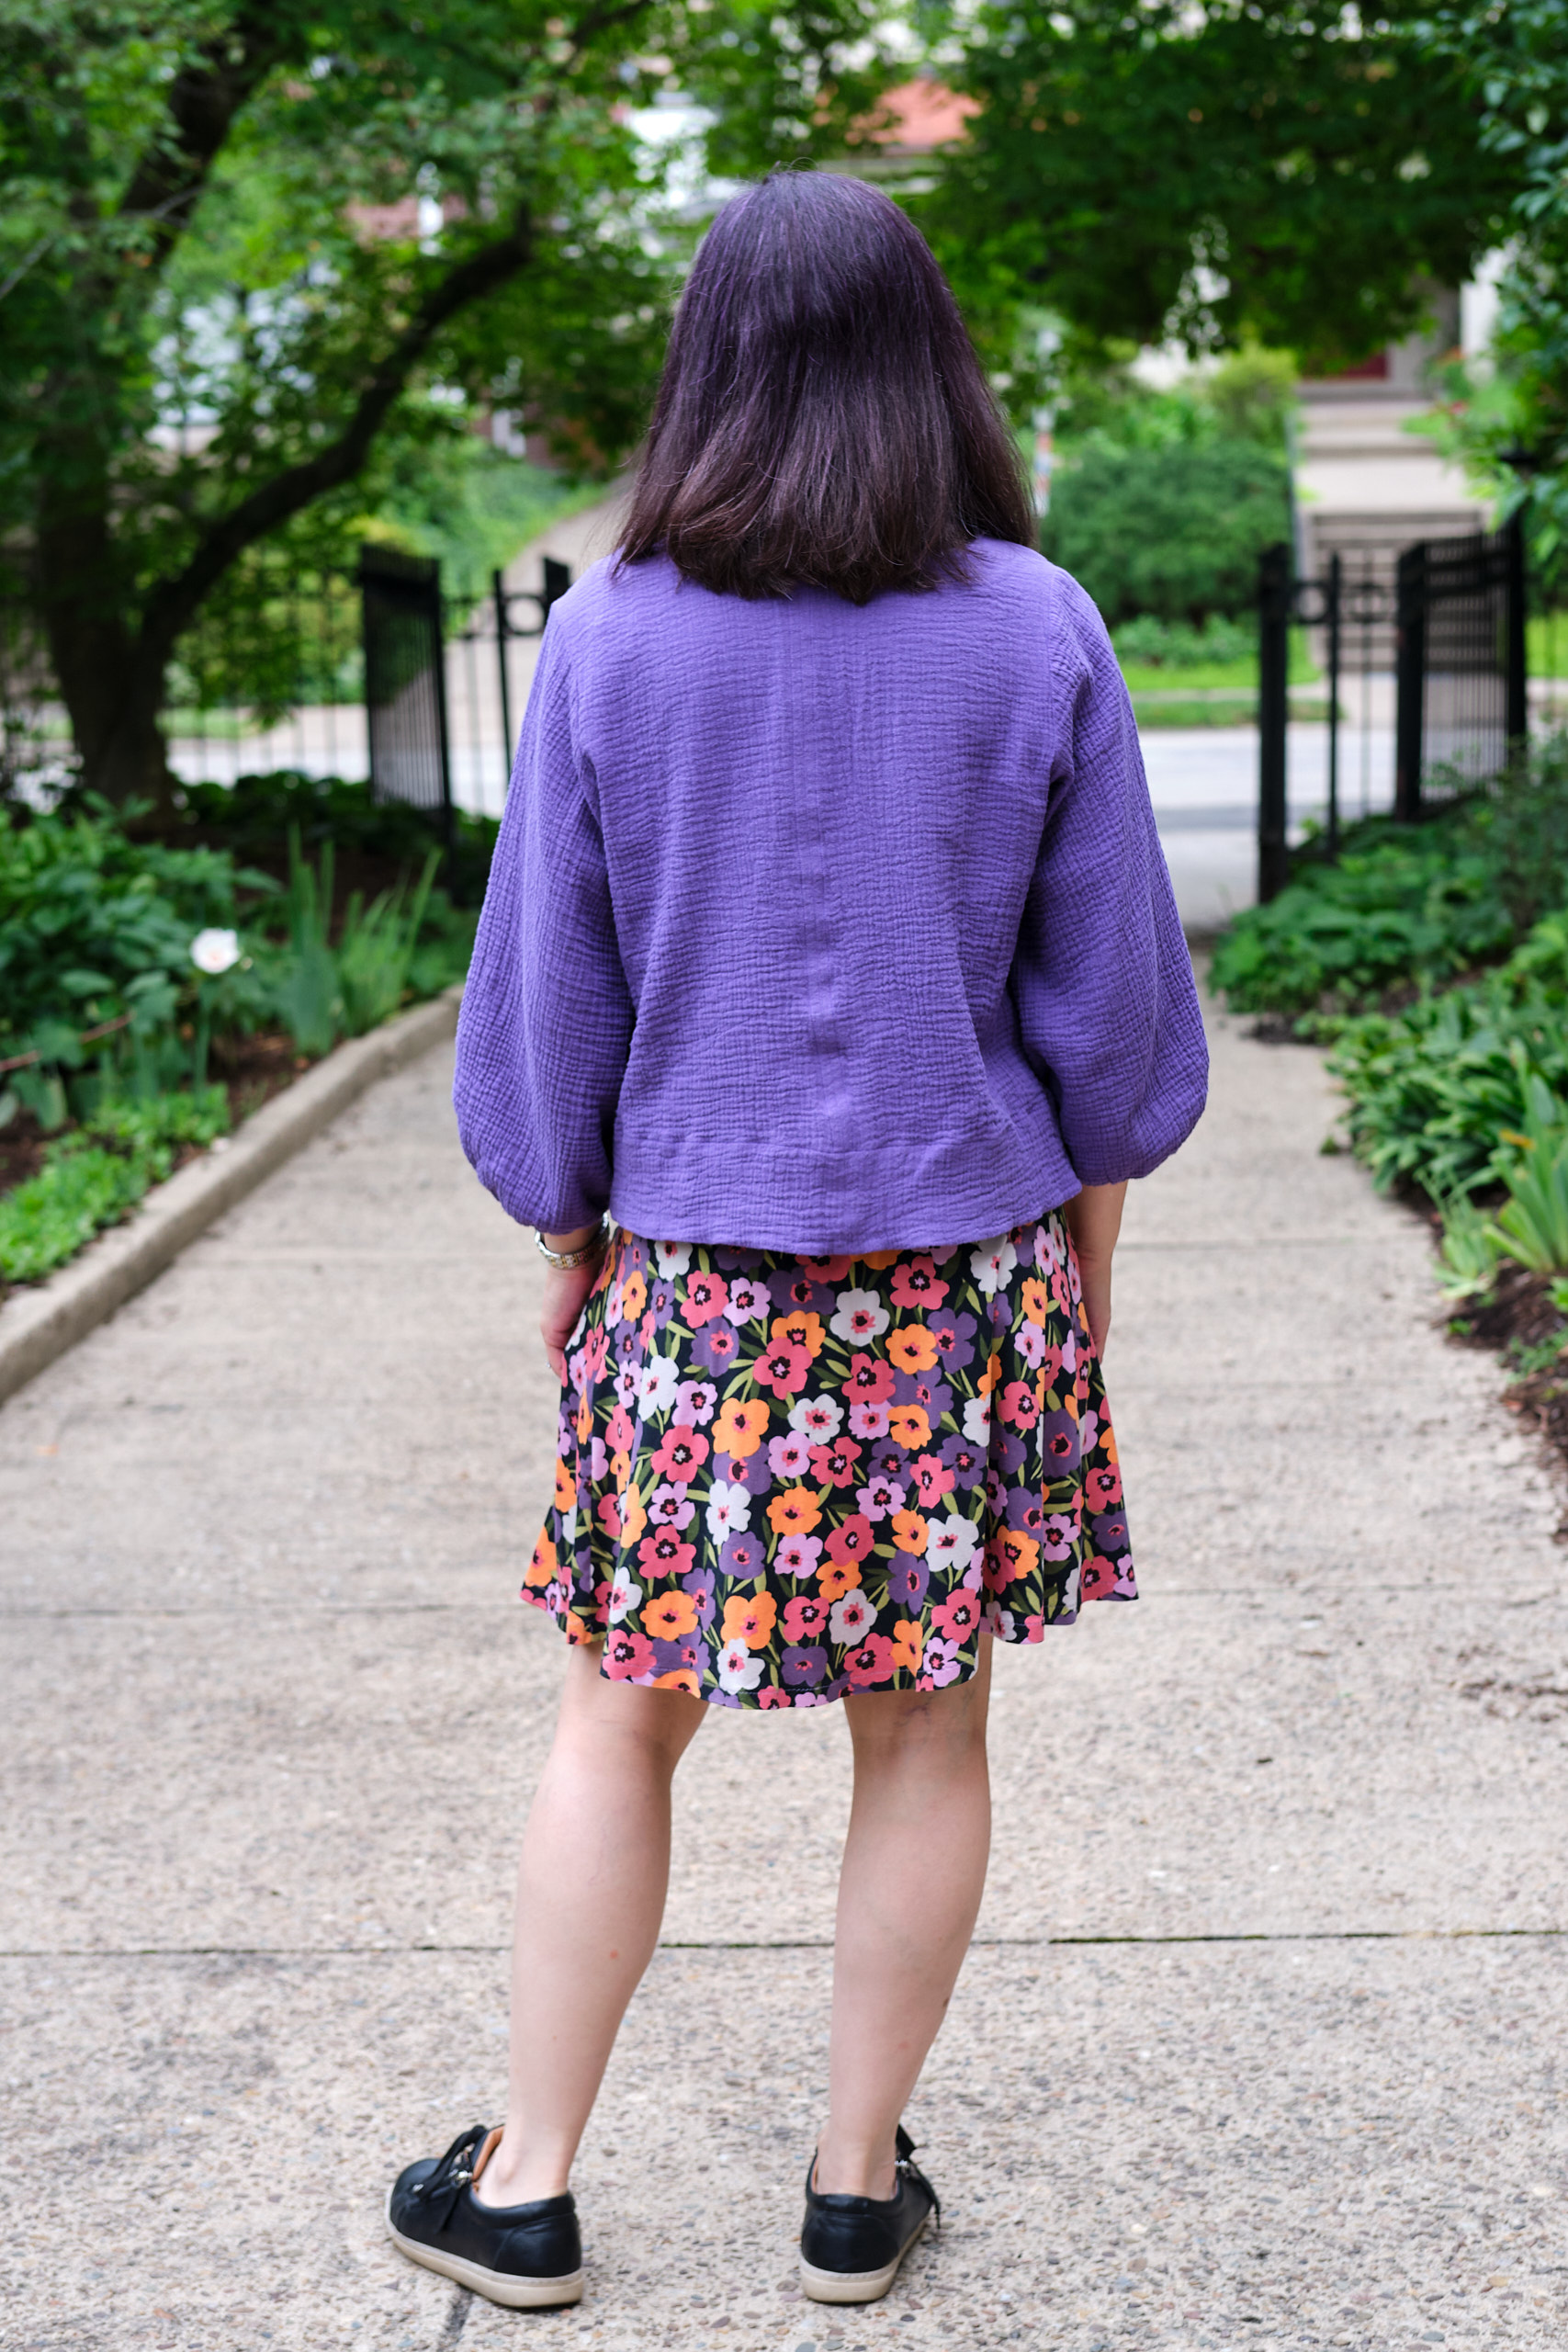
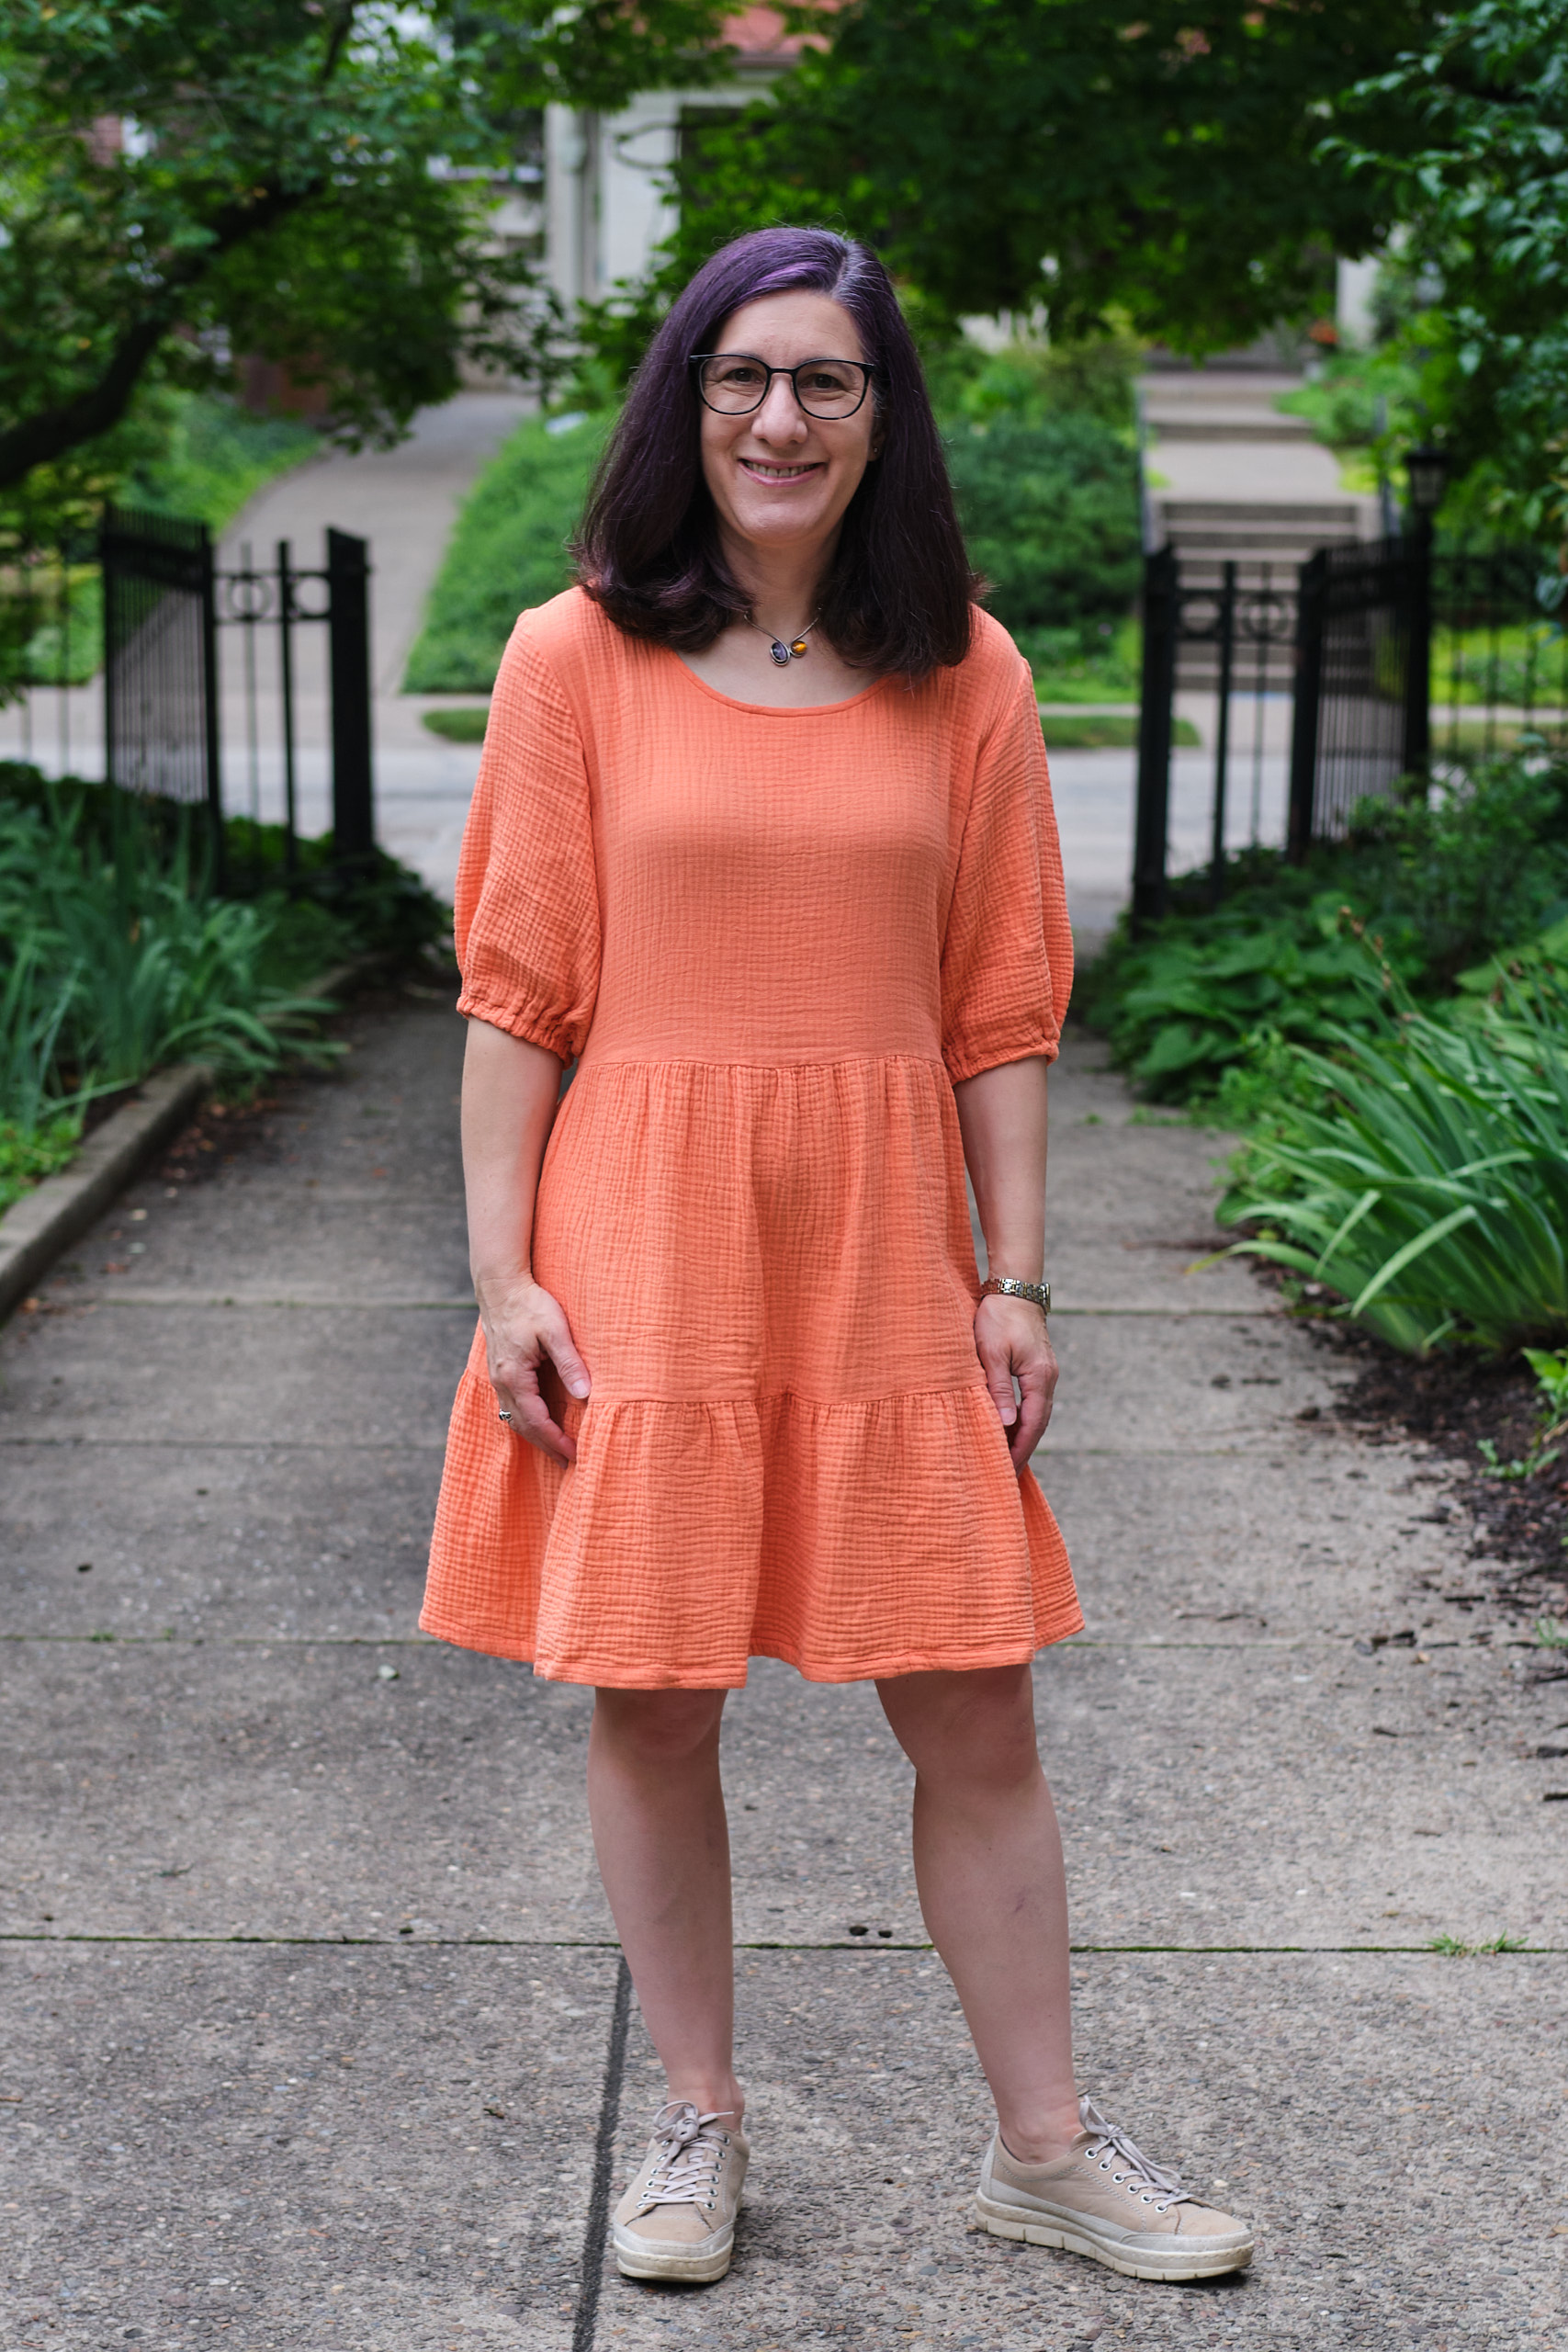
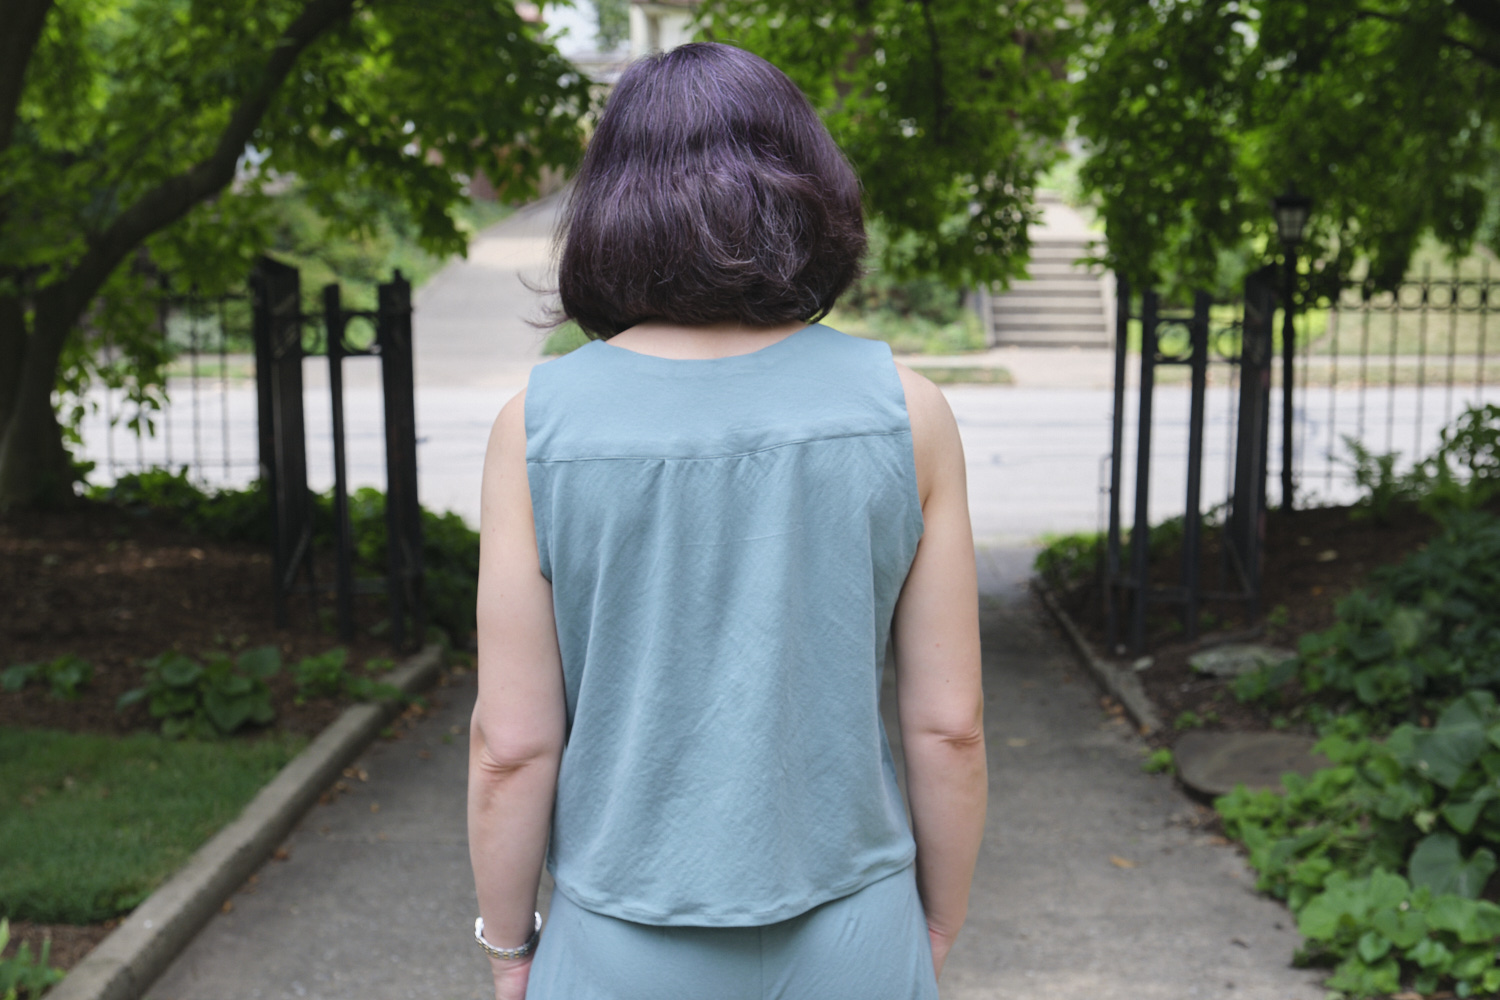
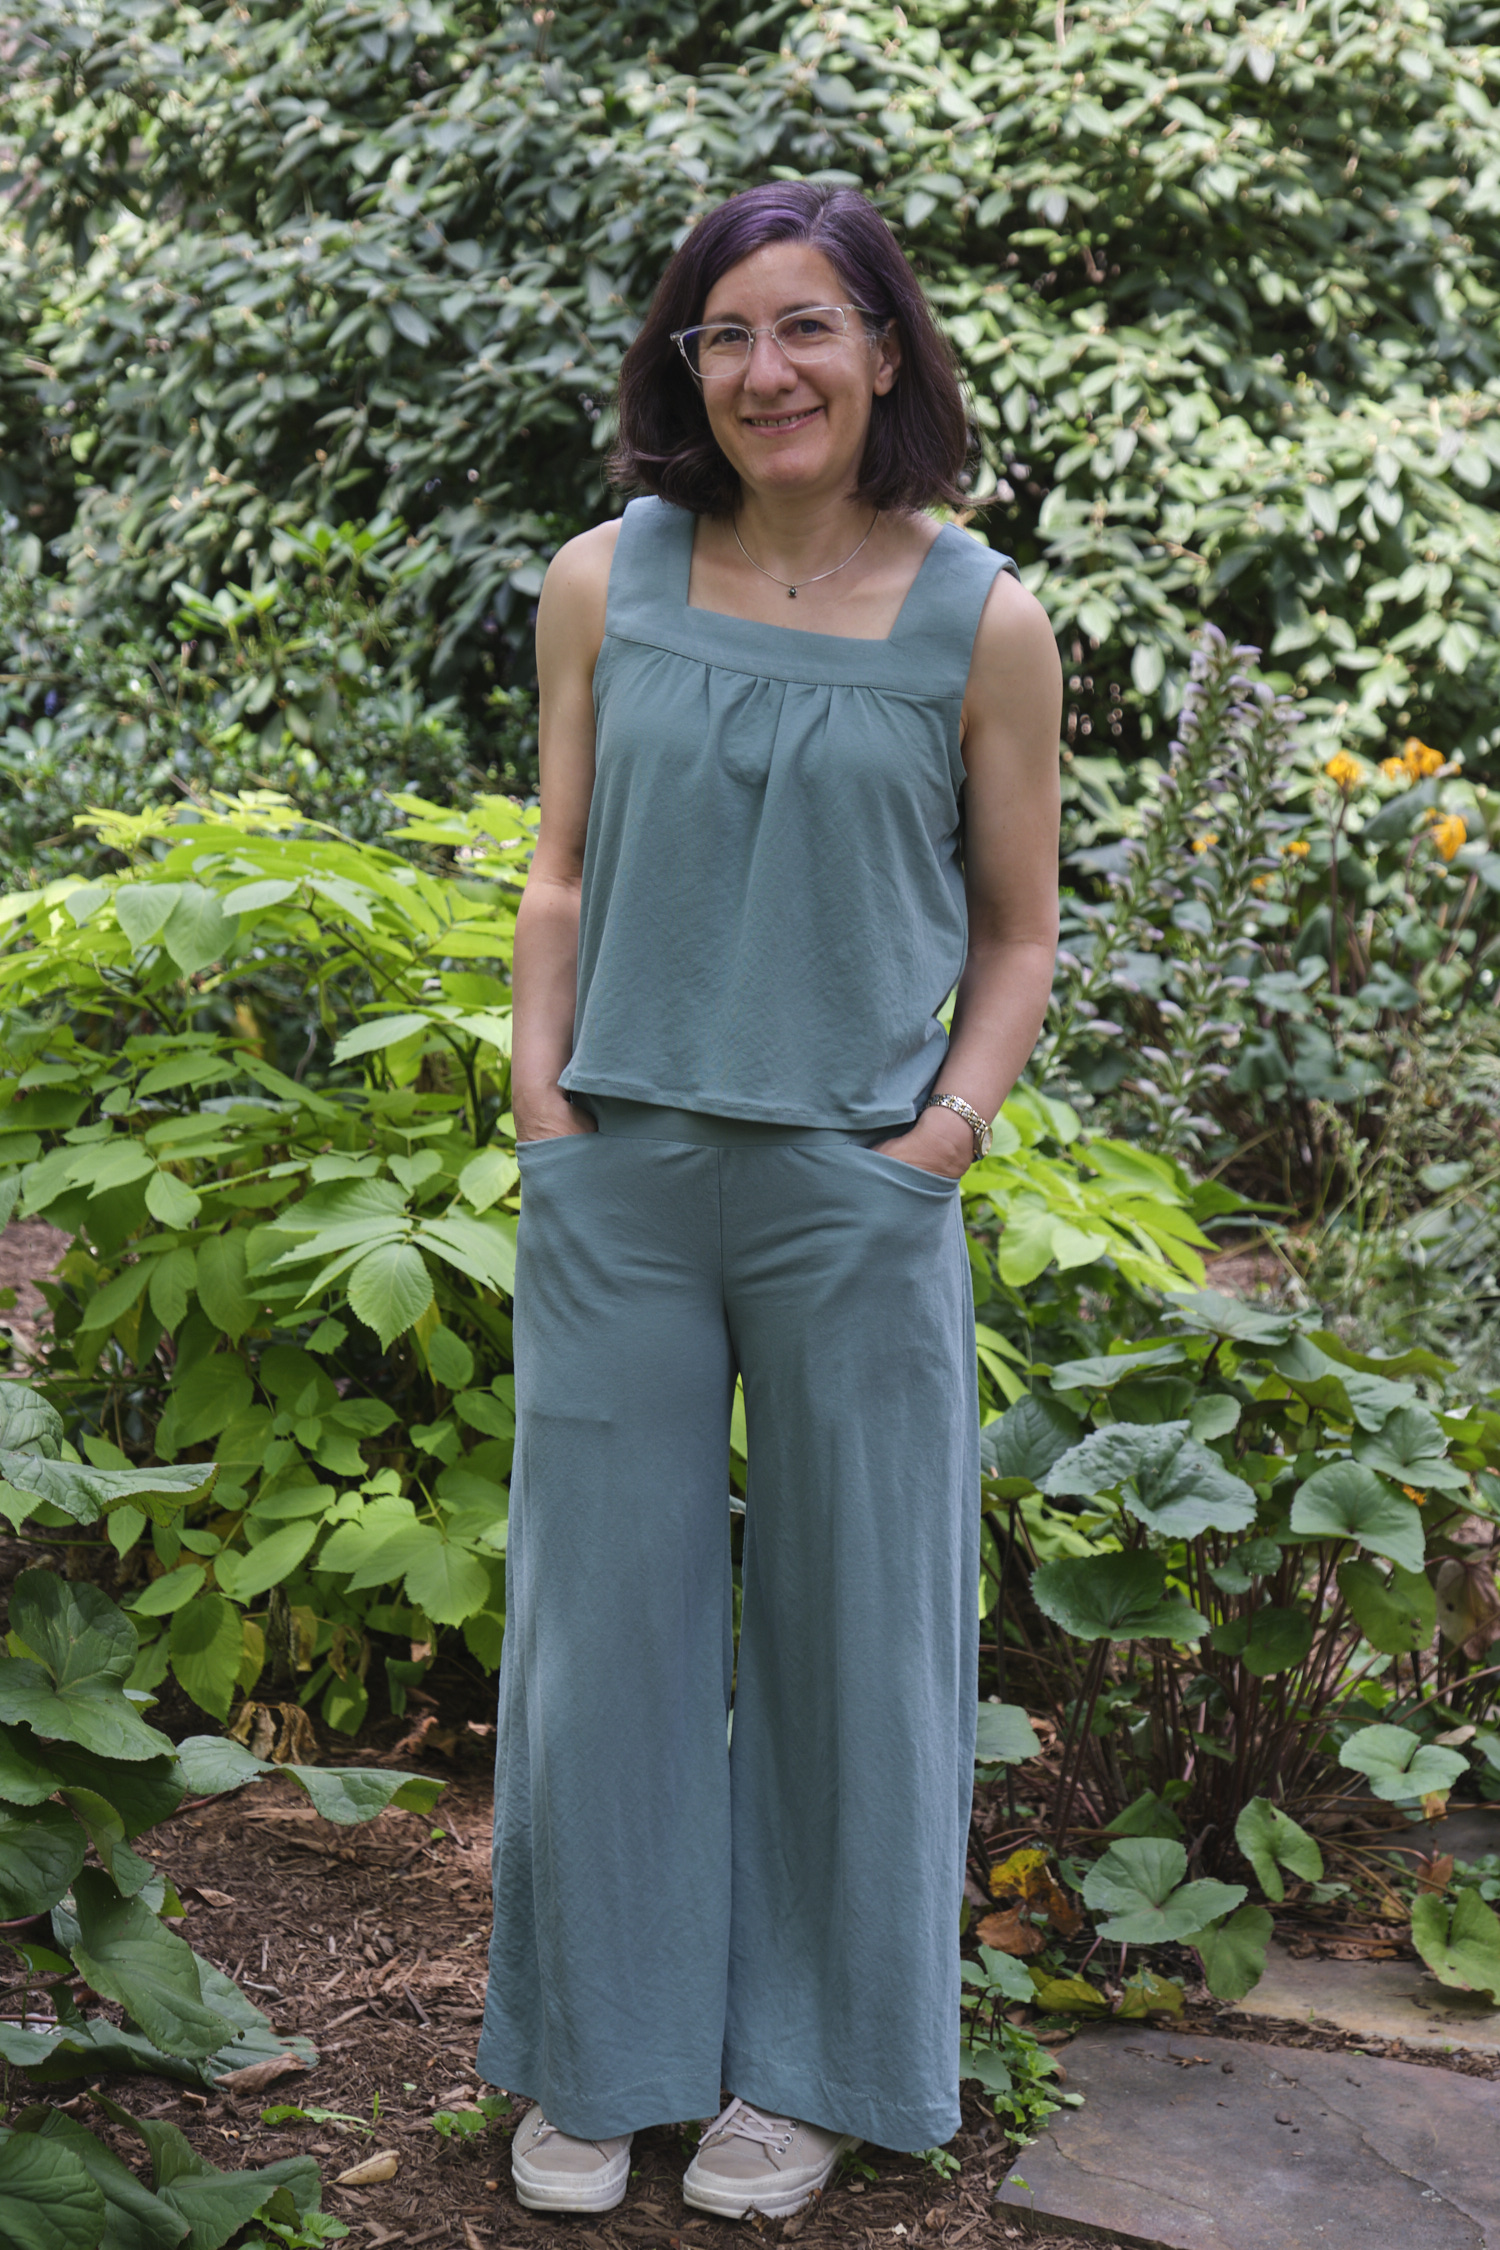
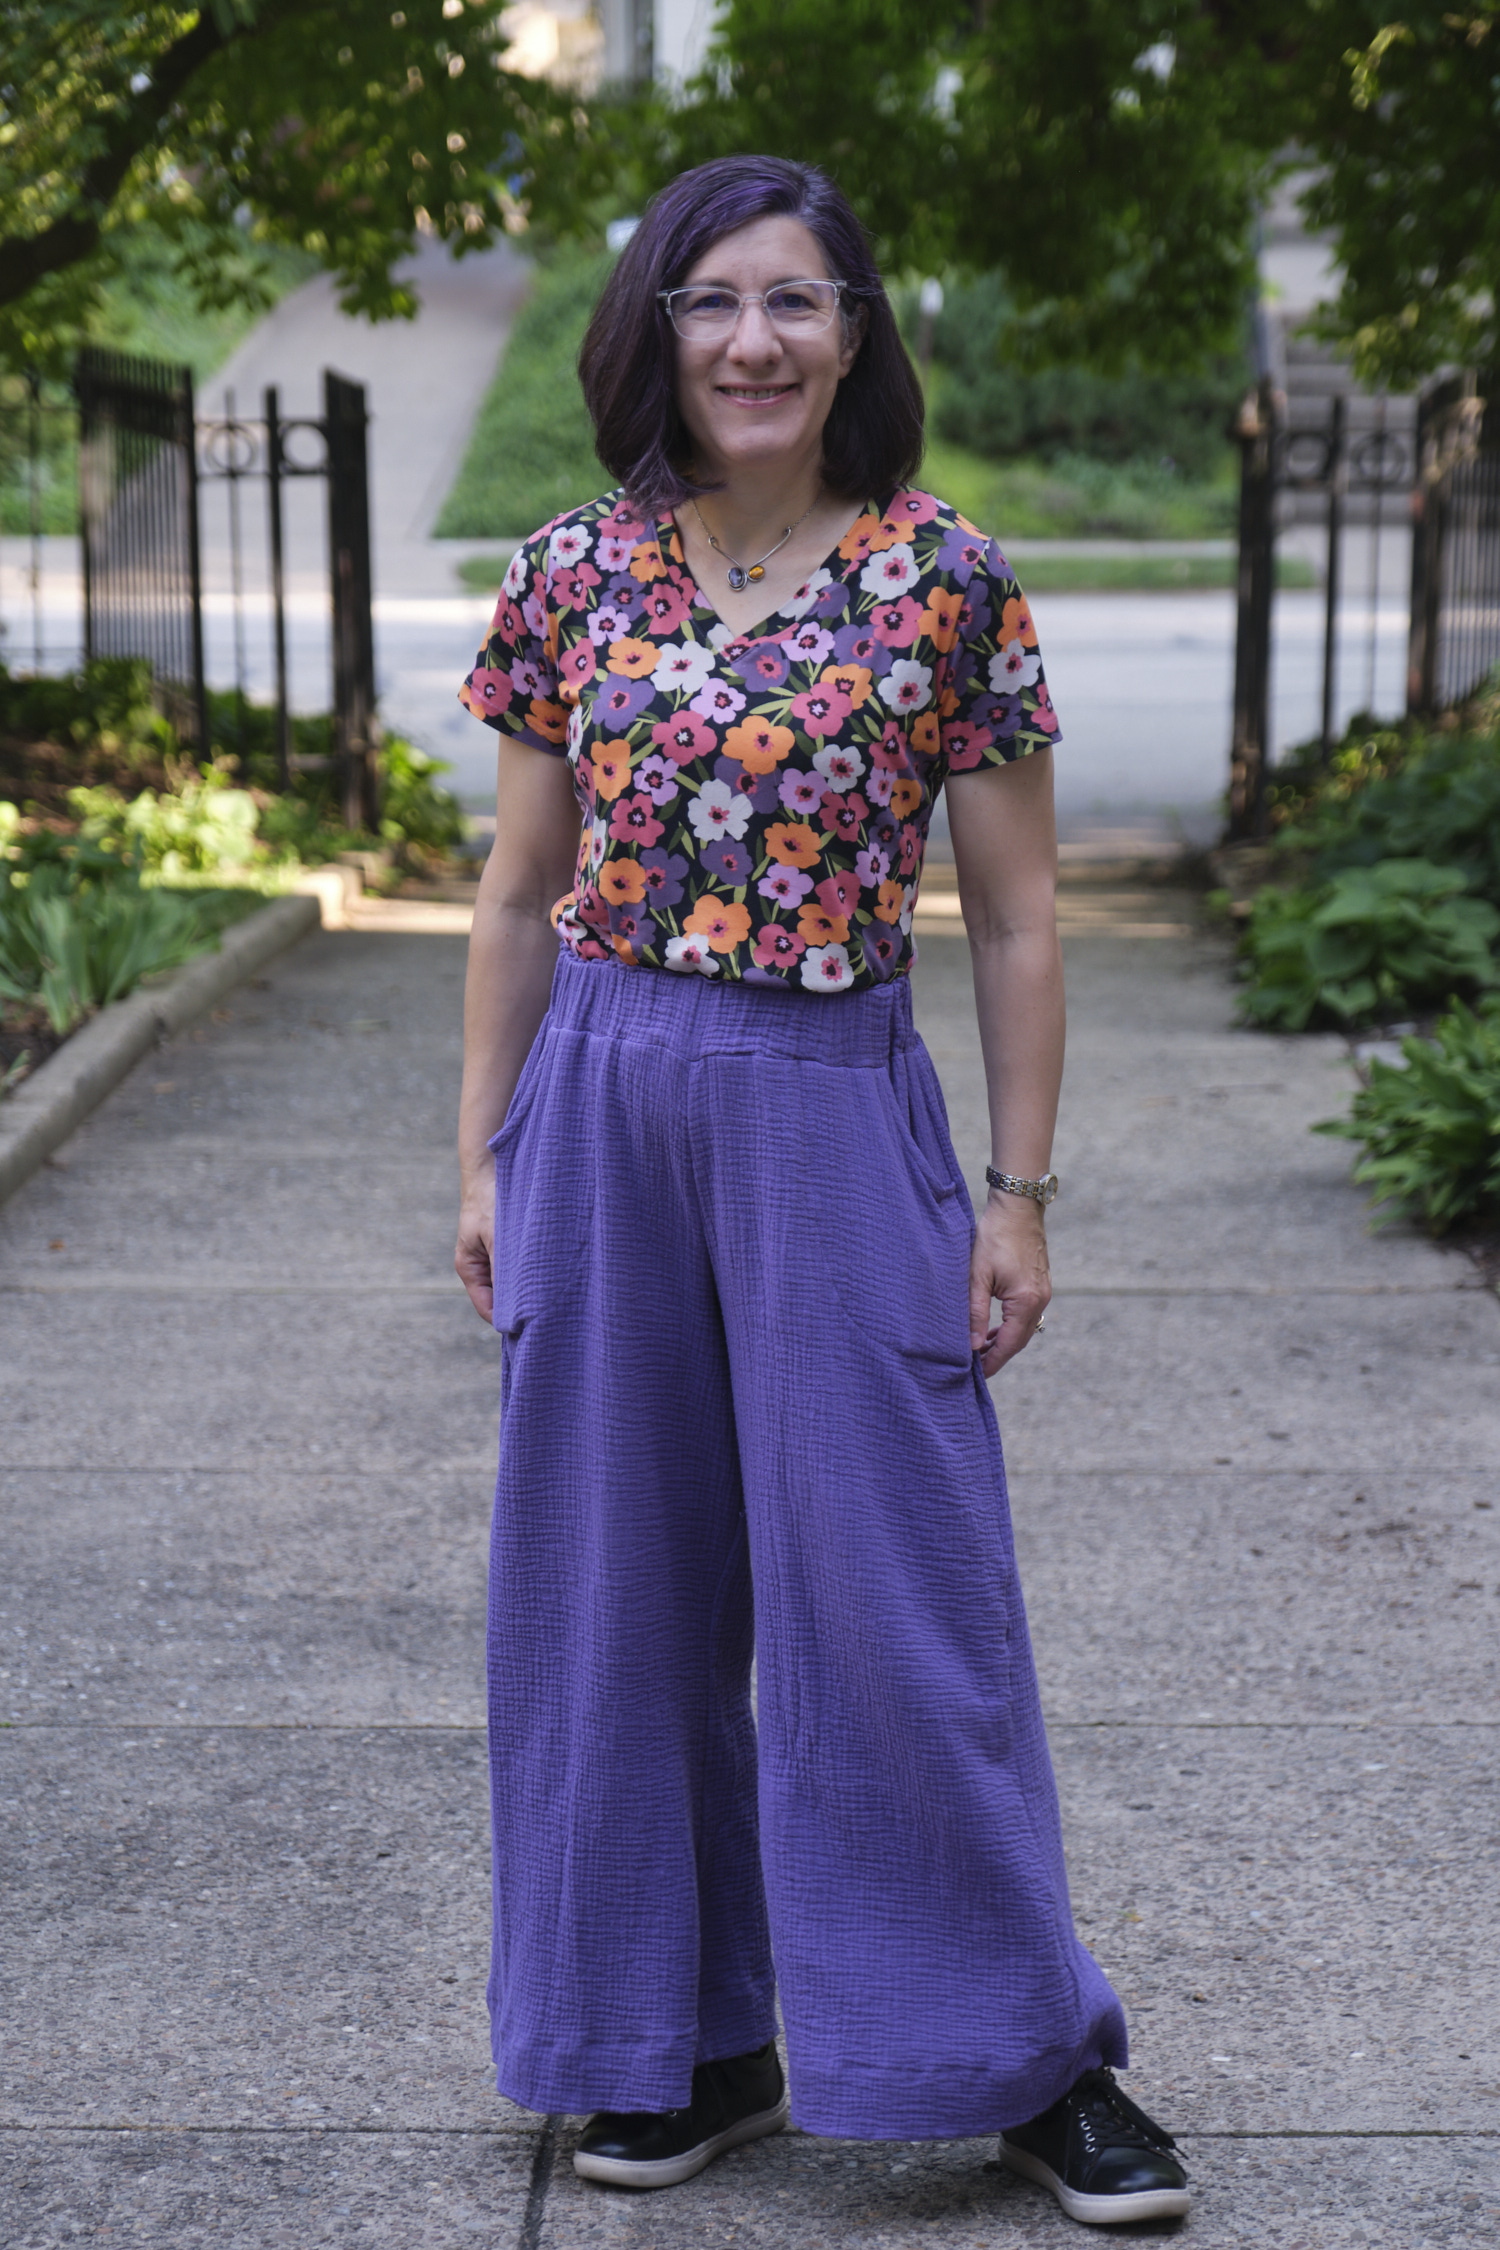
Love Notions Muse blouse, straight bodice, tiered sleeves, size small, shortened bodice and sleeves, from 2 yards or light sage Tess Cey.
In January, I applied to be a pattern tester for Muse, a new top pattern from Love Notions Sewing Patterns. (Here I am in the release video!) I have sewn a few of their patterns, but never tested a pattern for them before. I wasn’t invited to be a part of the main testing group, but was invited to join the later “finals” testers group. This group gets the revised pattern after the first group has already tested it and is assigned a size and features and asked to sew up and photograph the near-final version of the pattern.
Unlike past pattern testing I’ve done that uses a Facebook group for communication, Love Notions uses the Basecamp project management system. There is a section for sharing documents, another for uploading final photos, a to-do list for changes that need to be made to the pattern or instructions, and discussion boards. One of the fun aspects of pattern testing is communicating with and getting feedback and advice from other sewists. It is also nice to see the issues I’ve found with a pattern taken into account as the pattern evolves into the final version.
When I joined the Basecamp group, I could see there had already been a lot of discussion about certain aspects of the pattern and these had been addressed in the revised pattern. I also saw advice about trimming seam allowances and setting in sleeves that was not yet in the pattern instructions but that I could apply immediately.
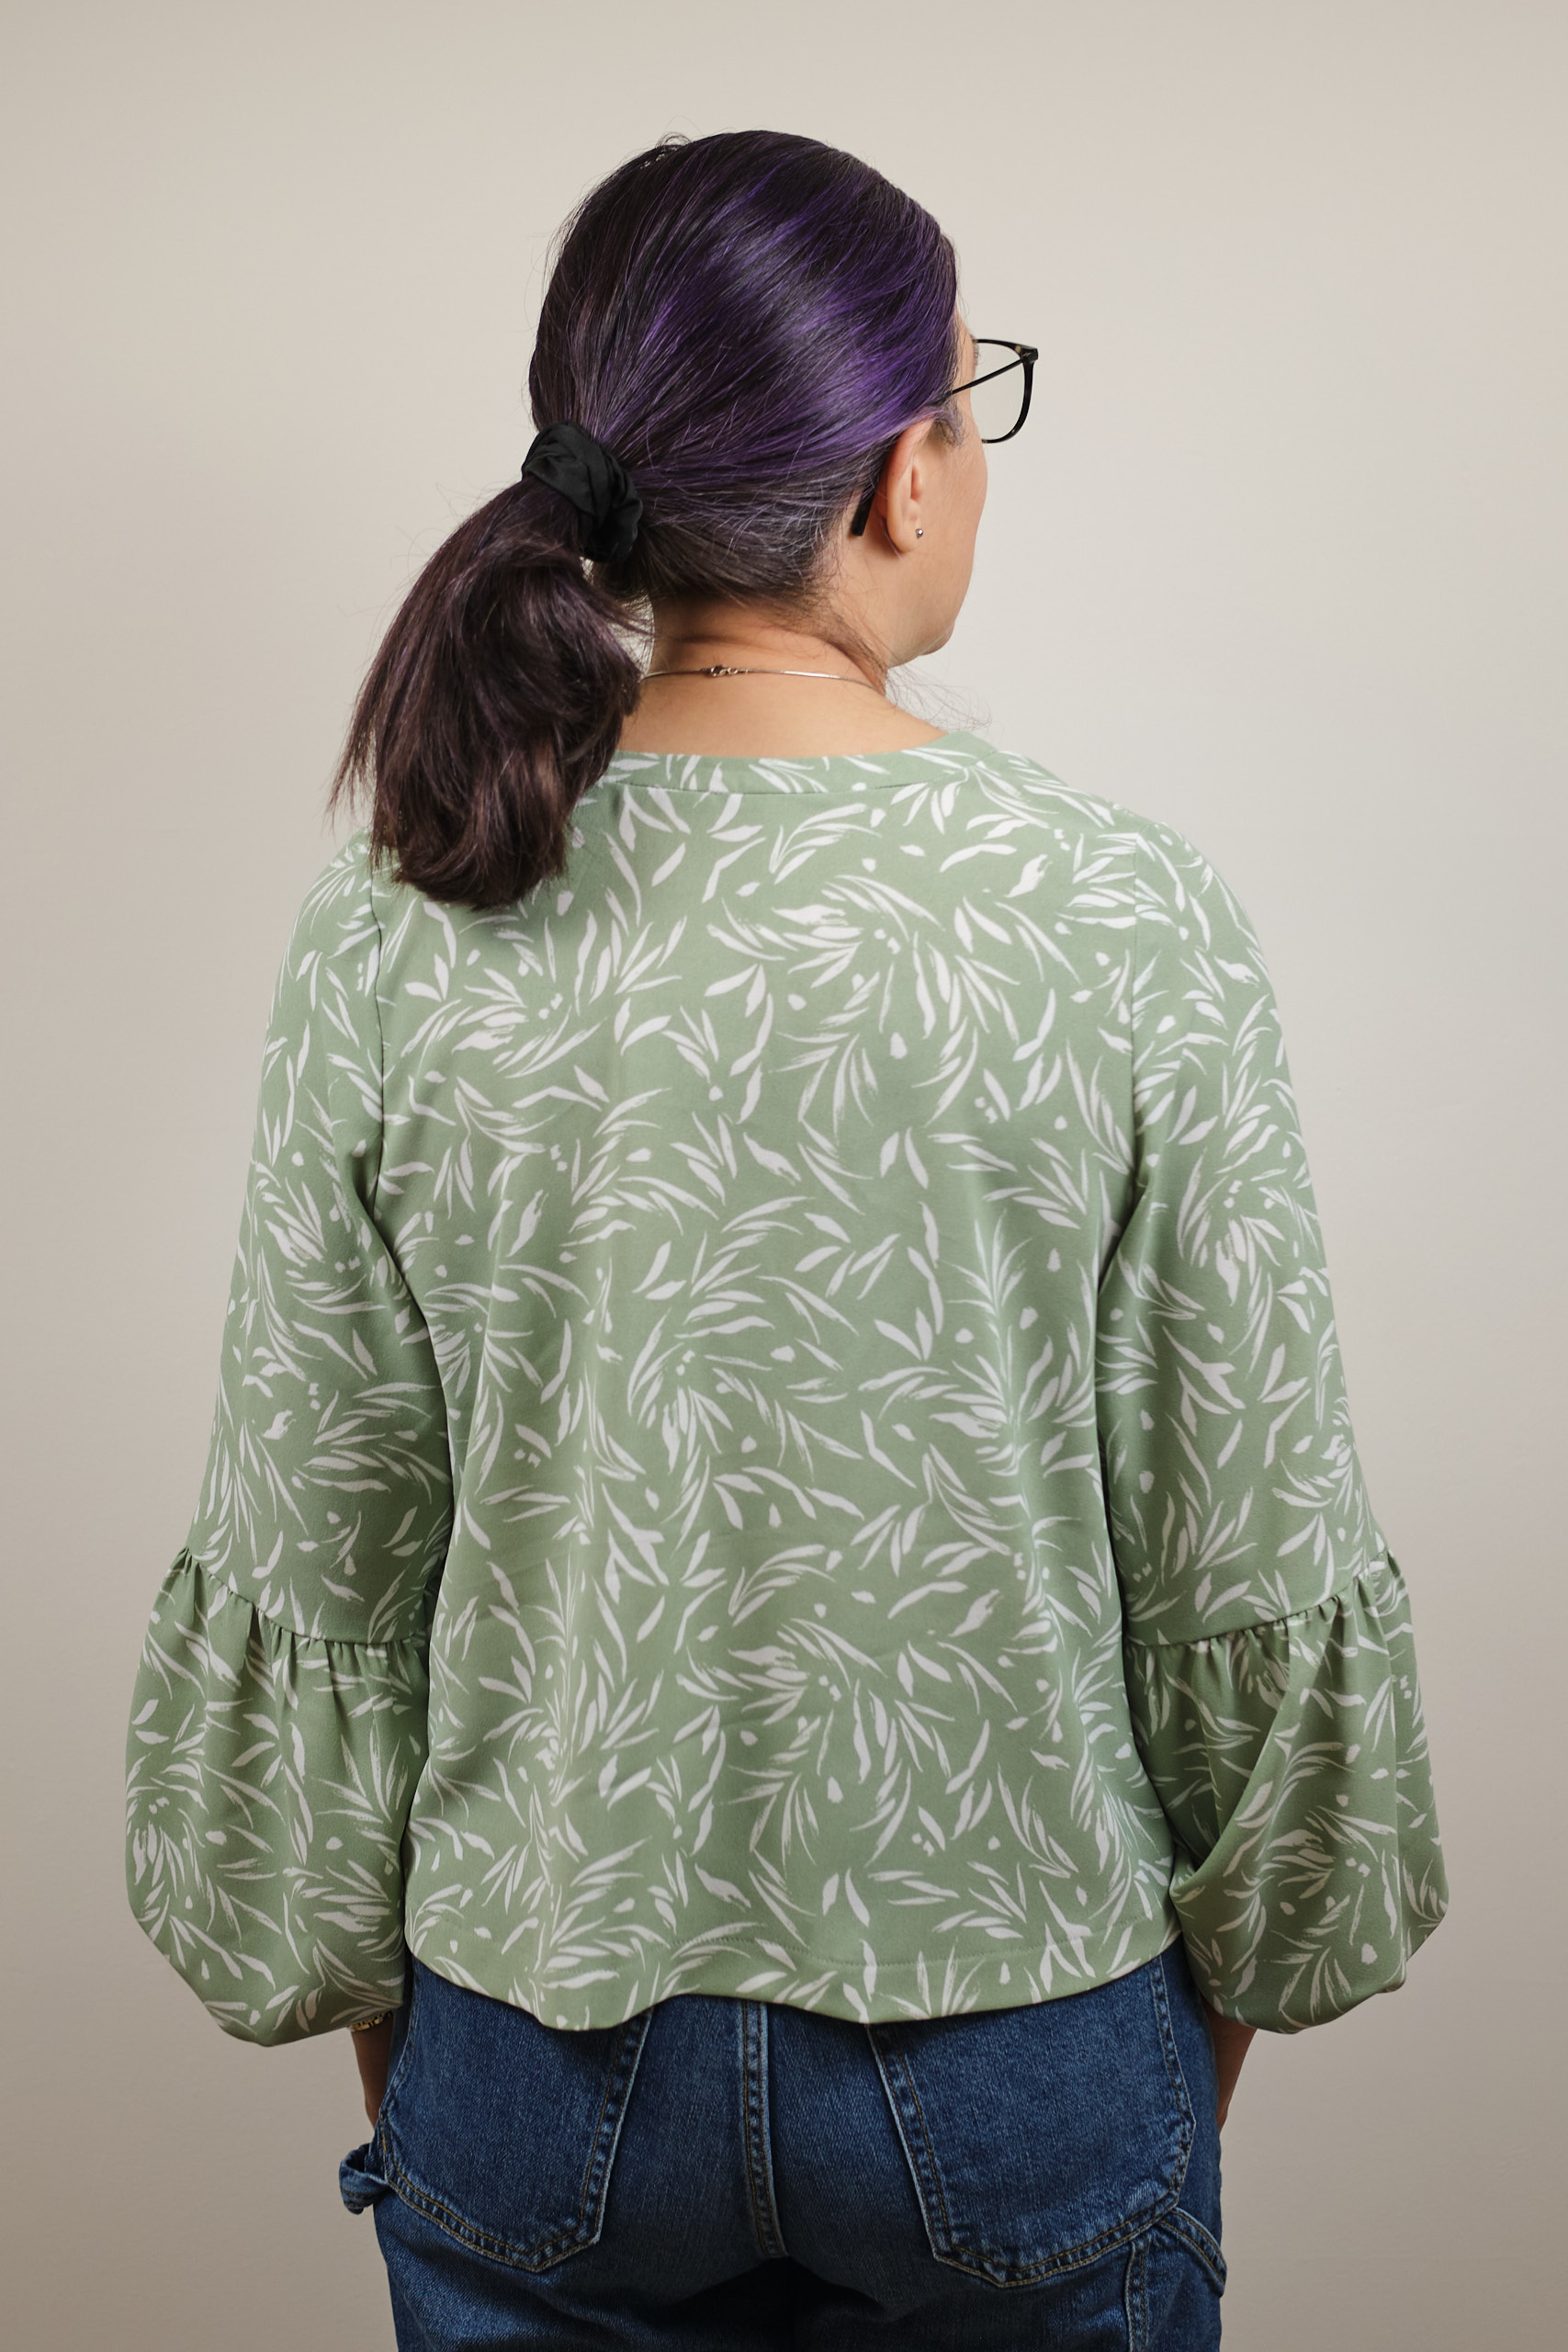
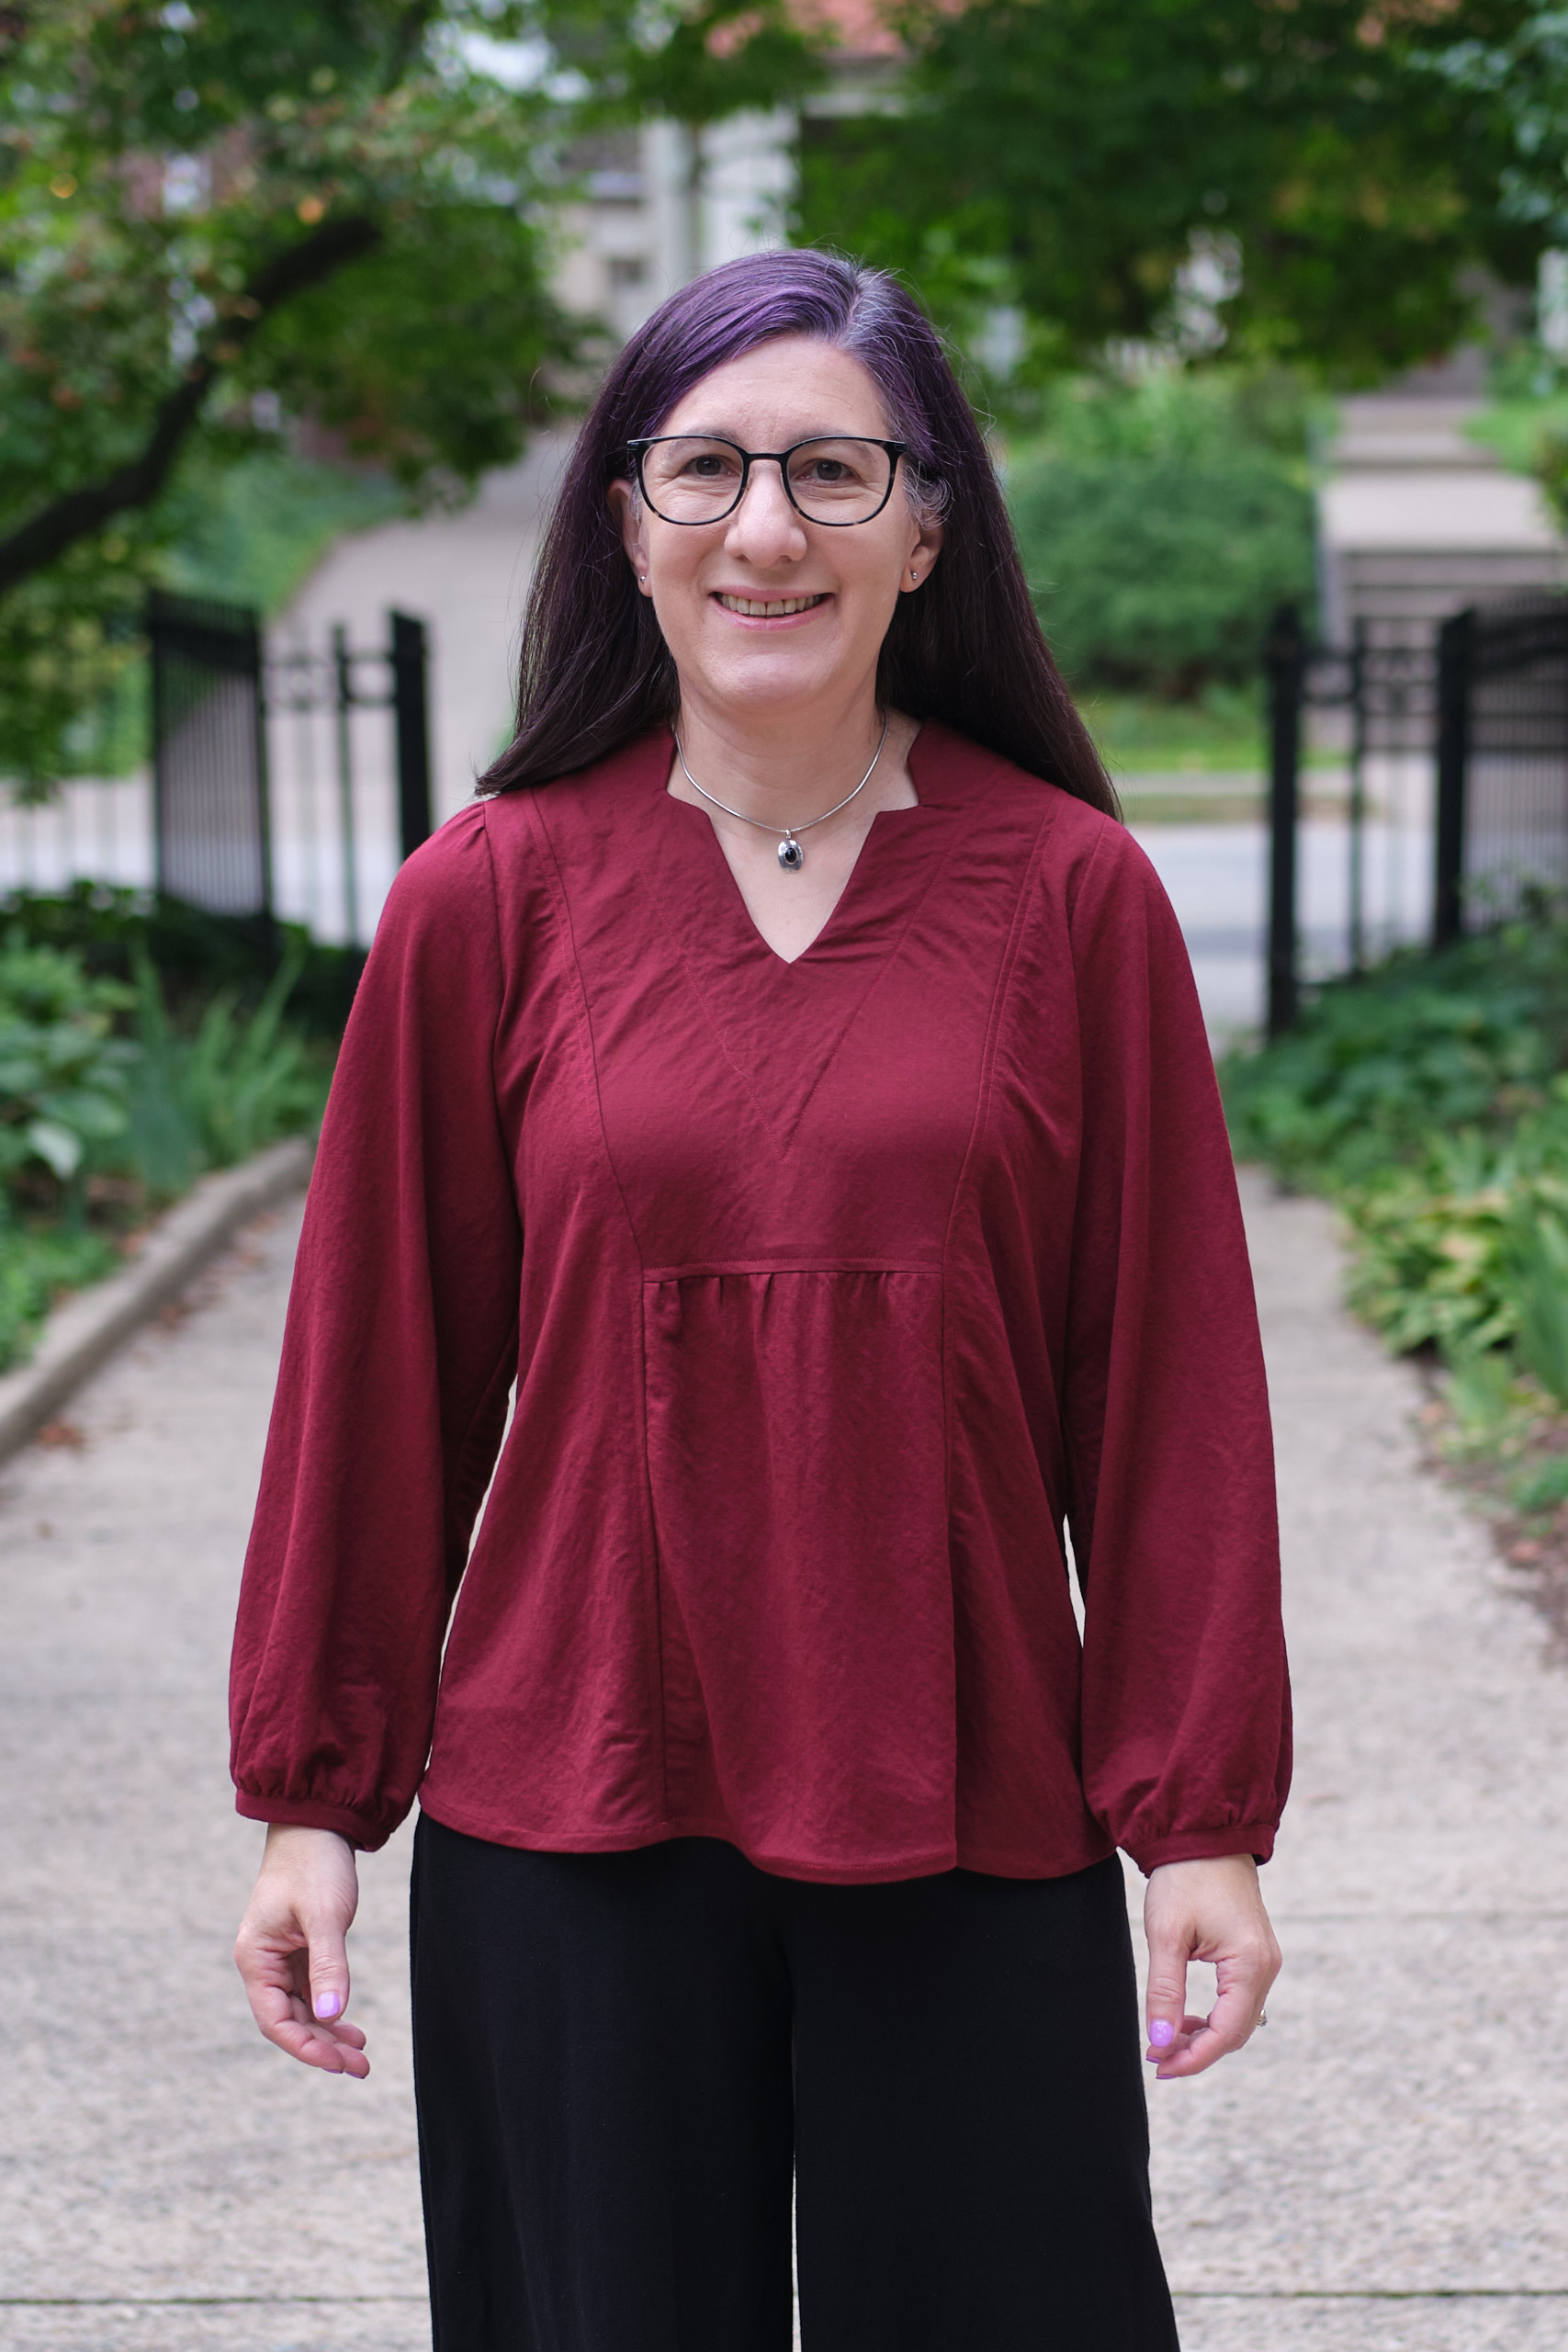
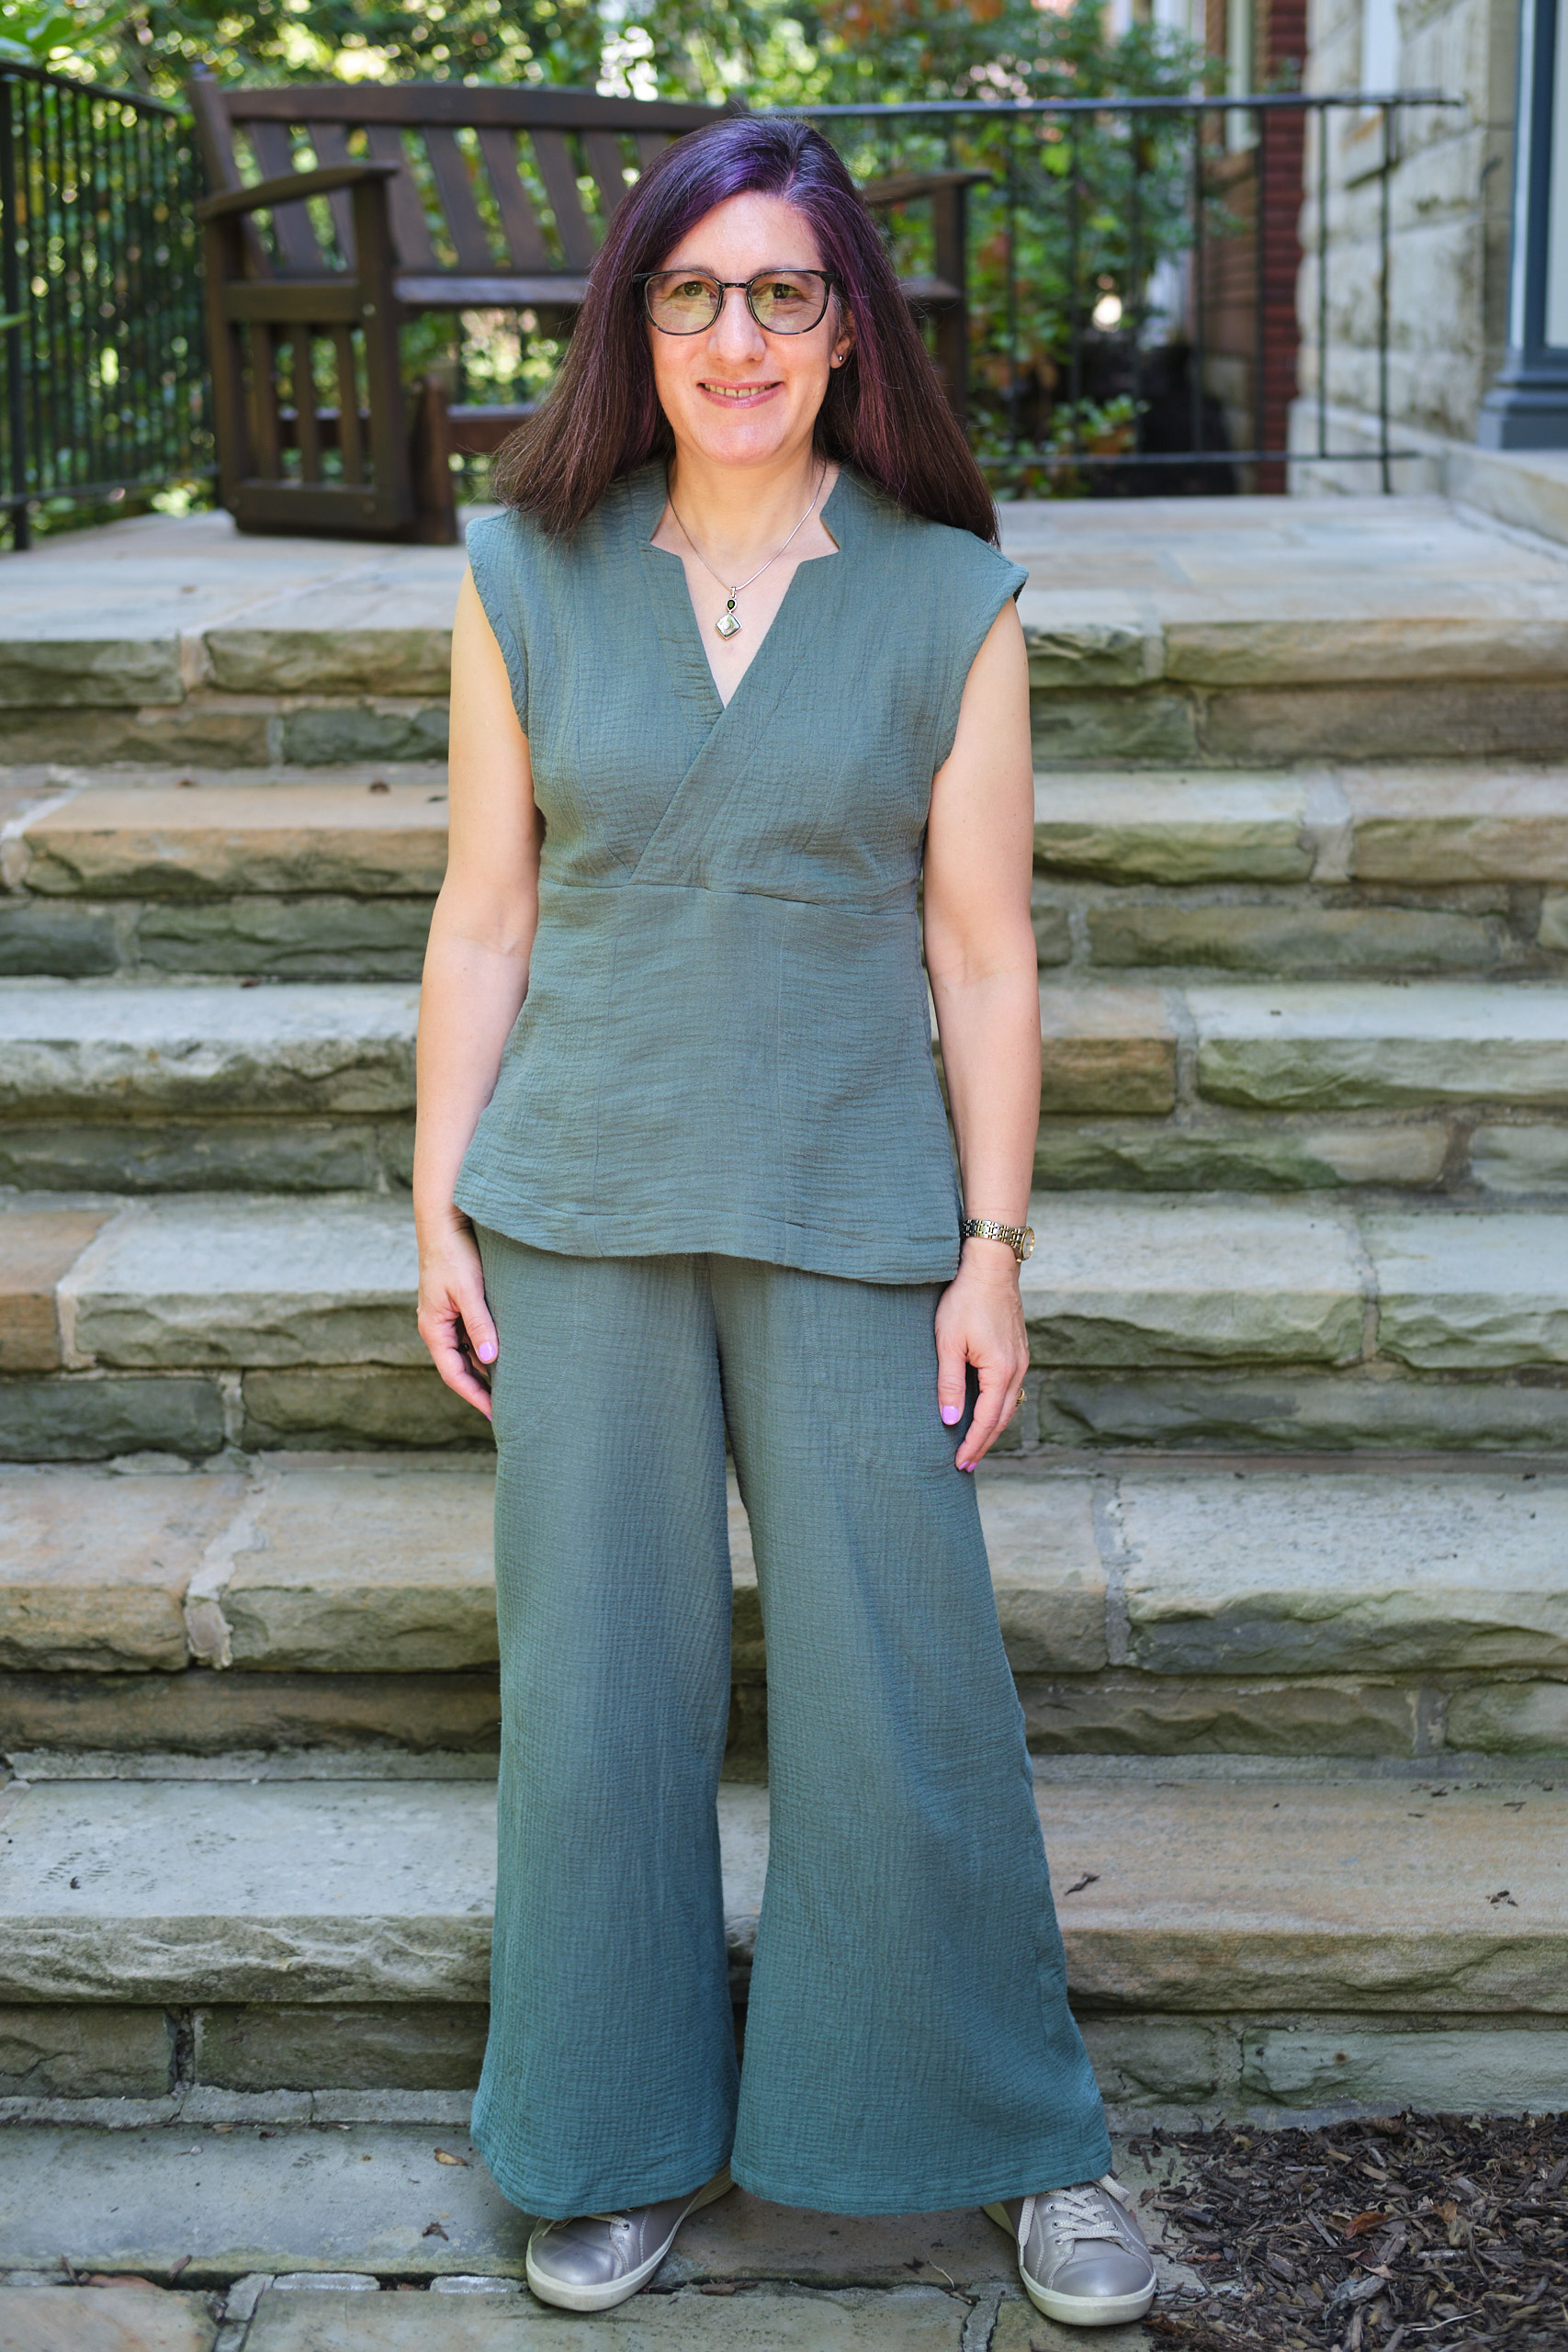
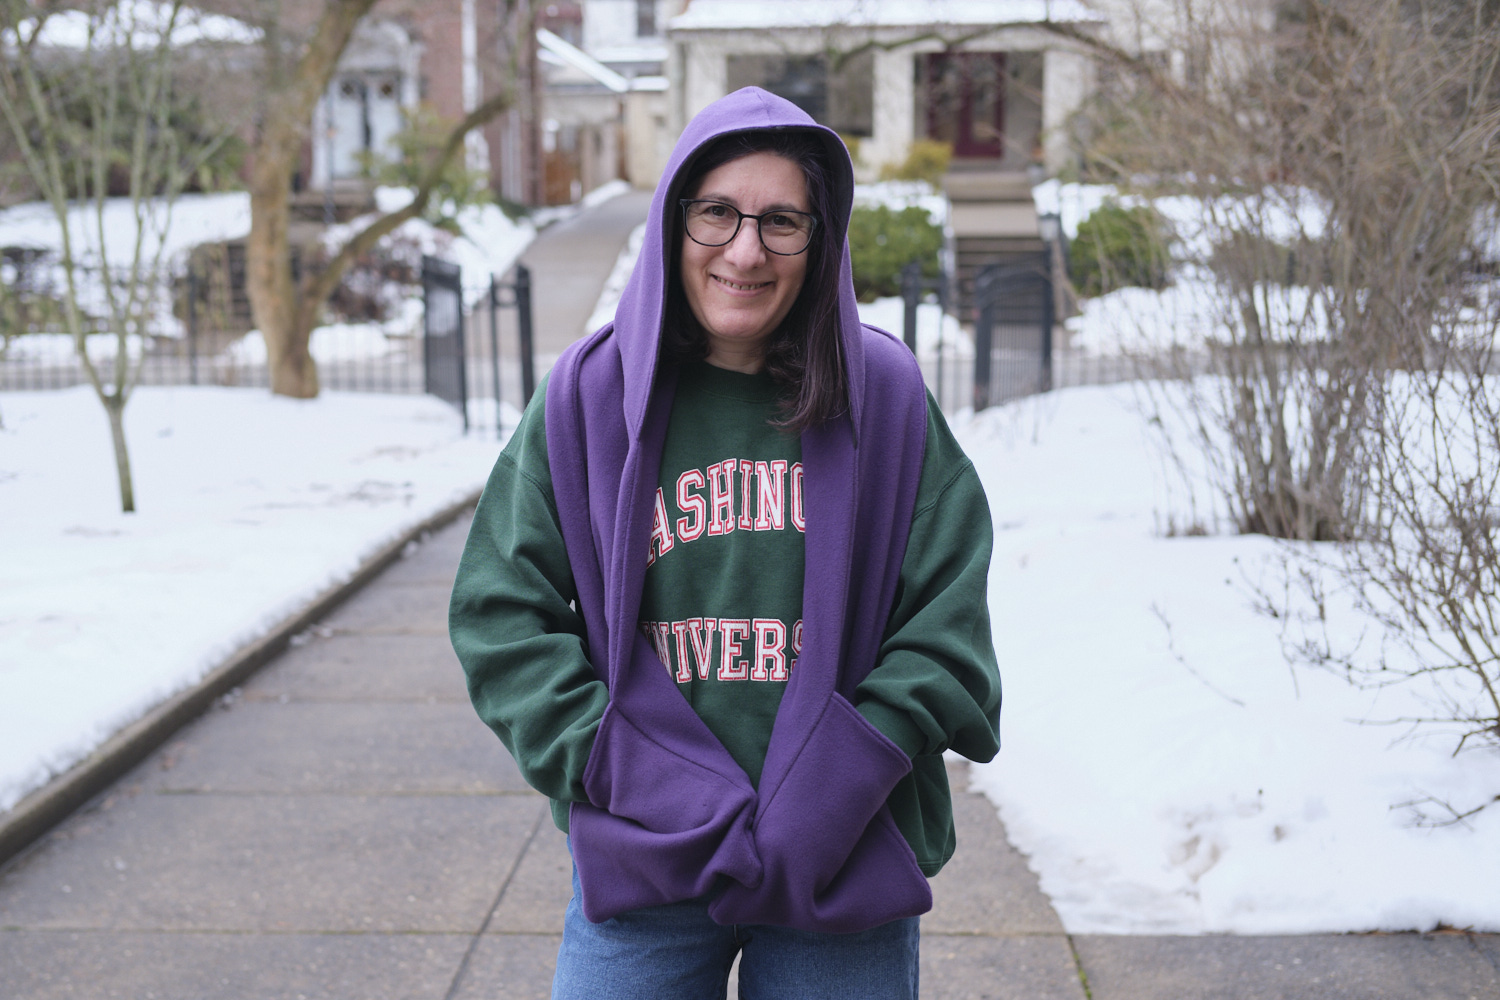
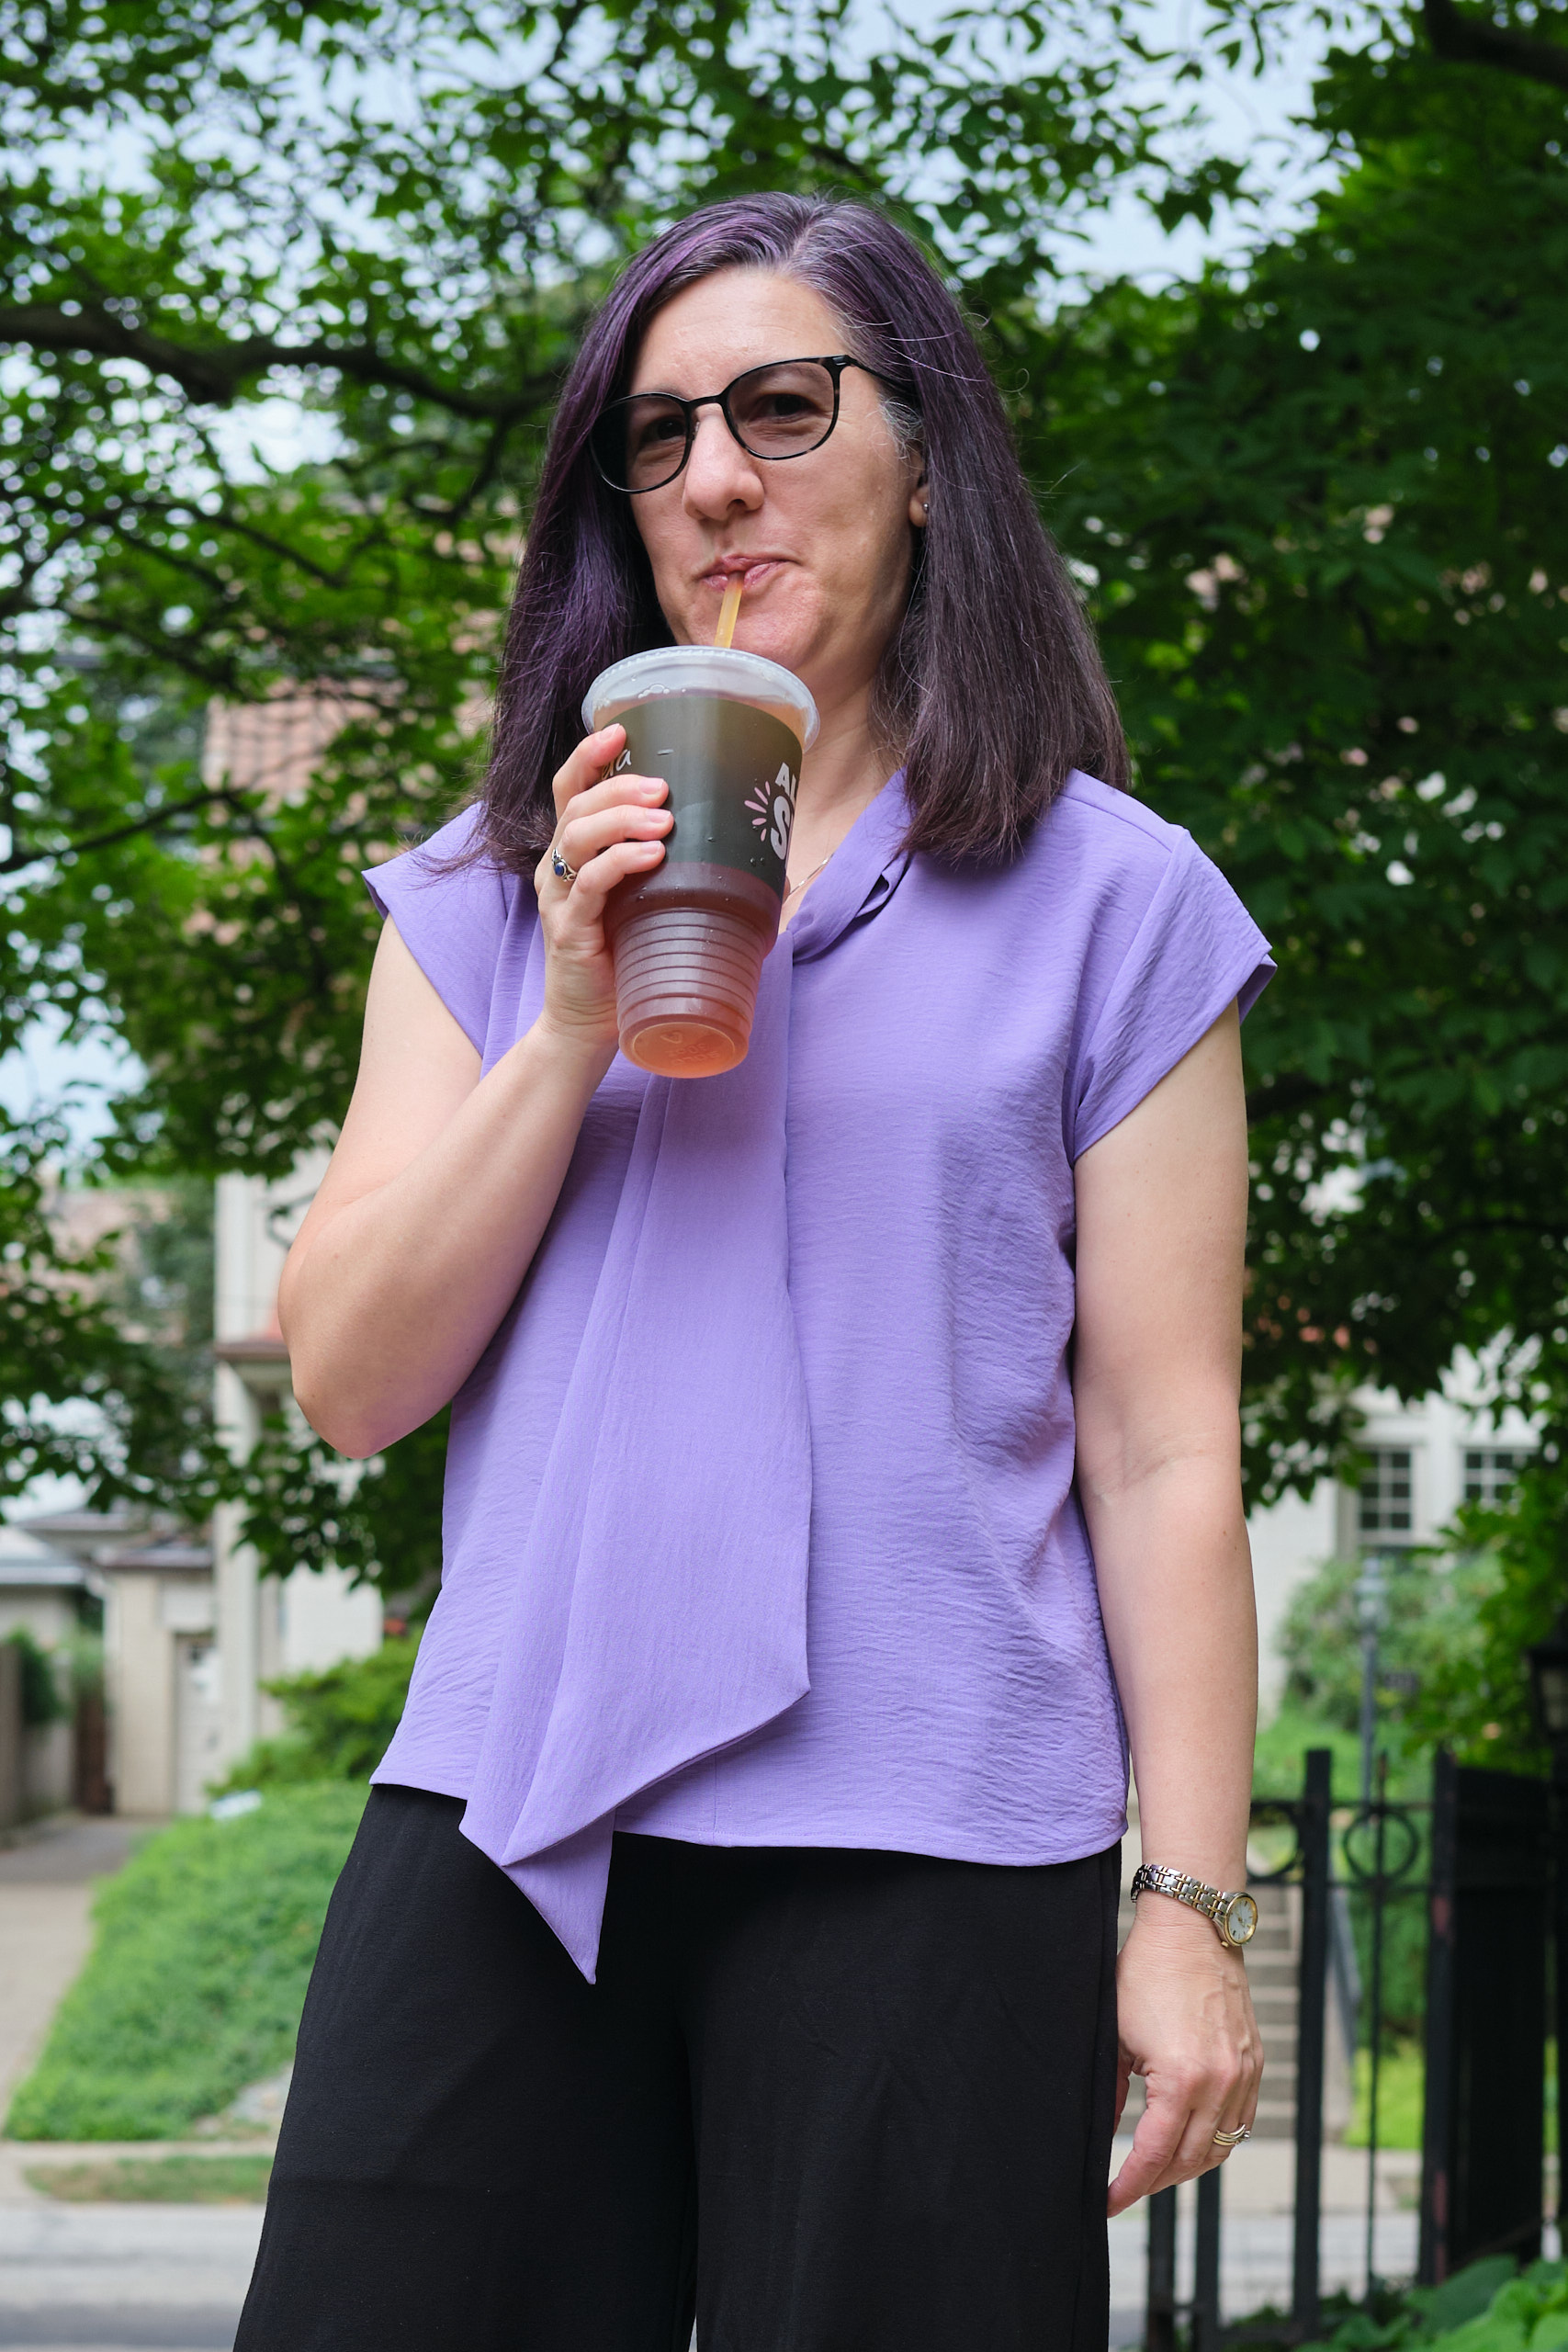
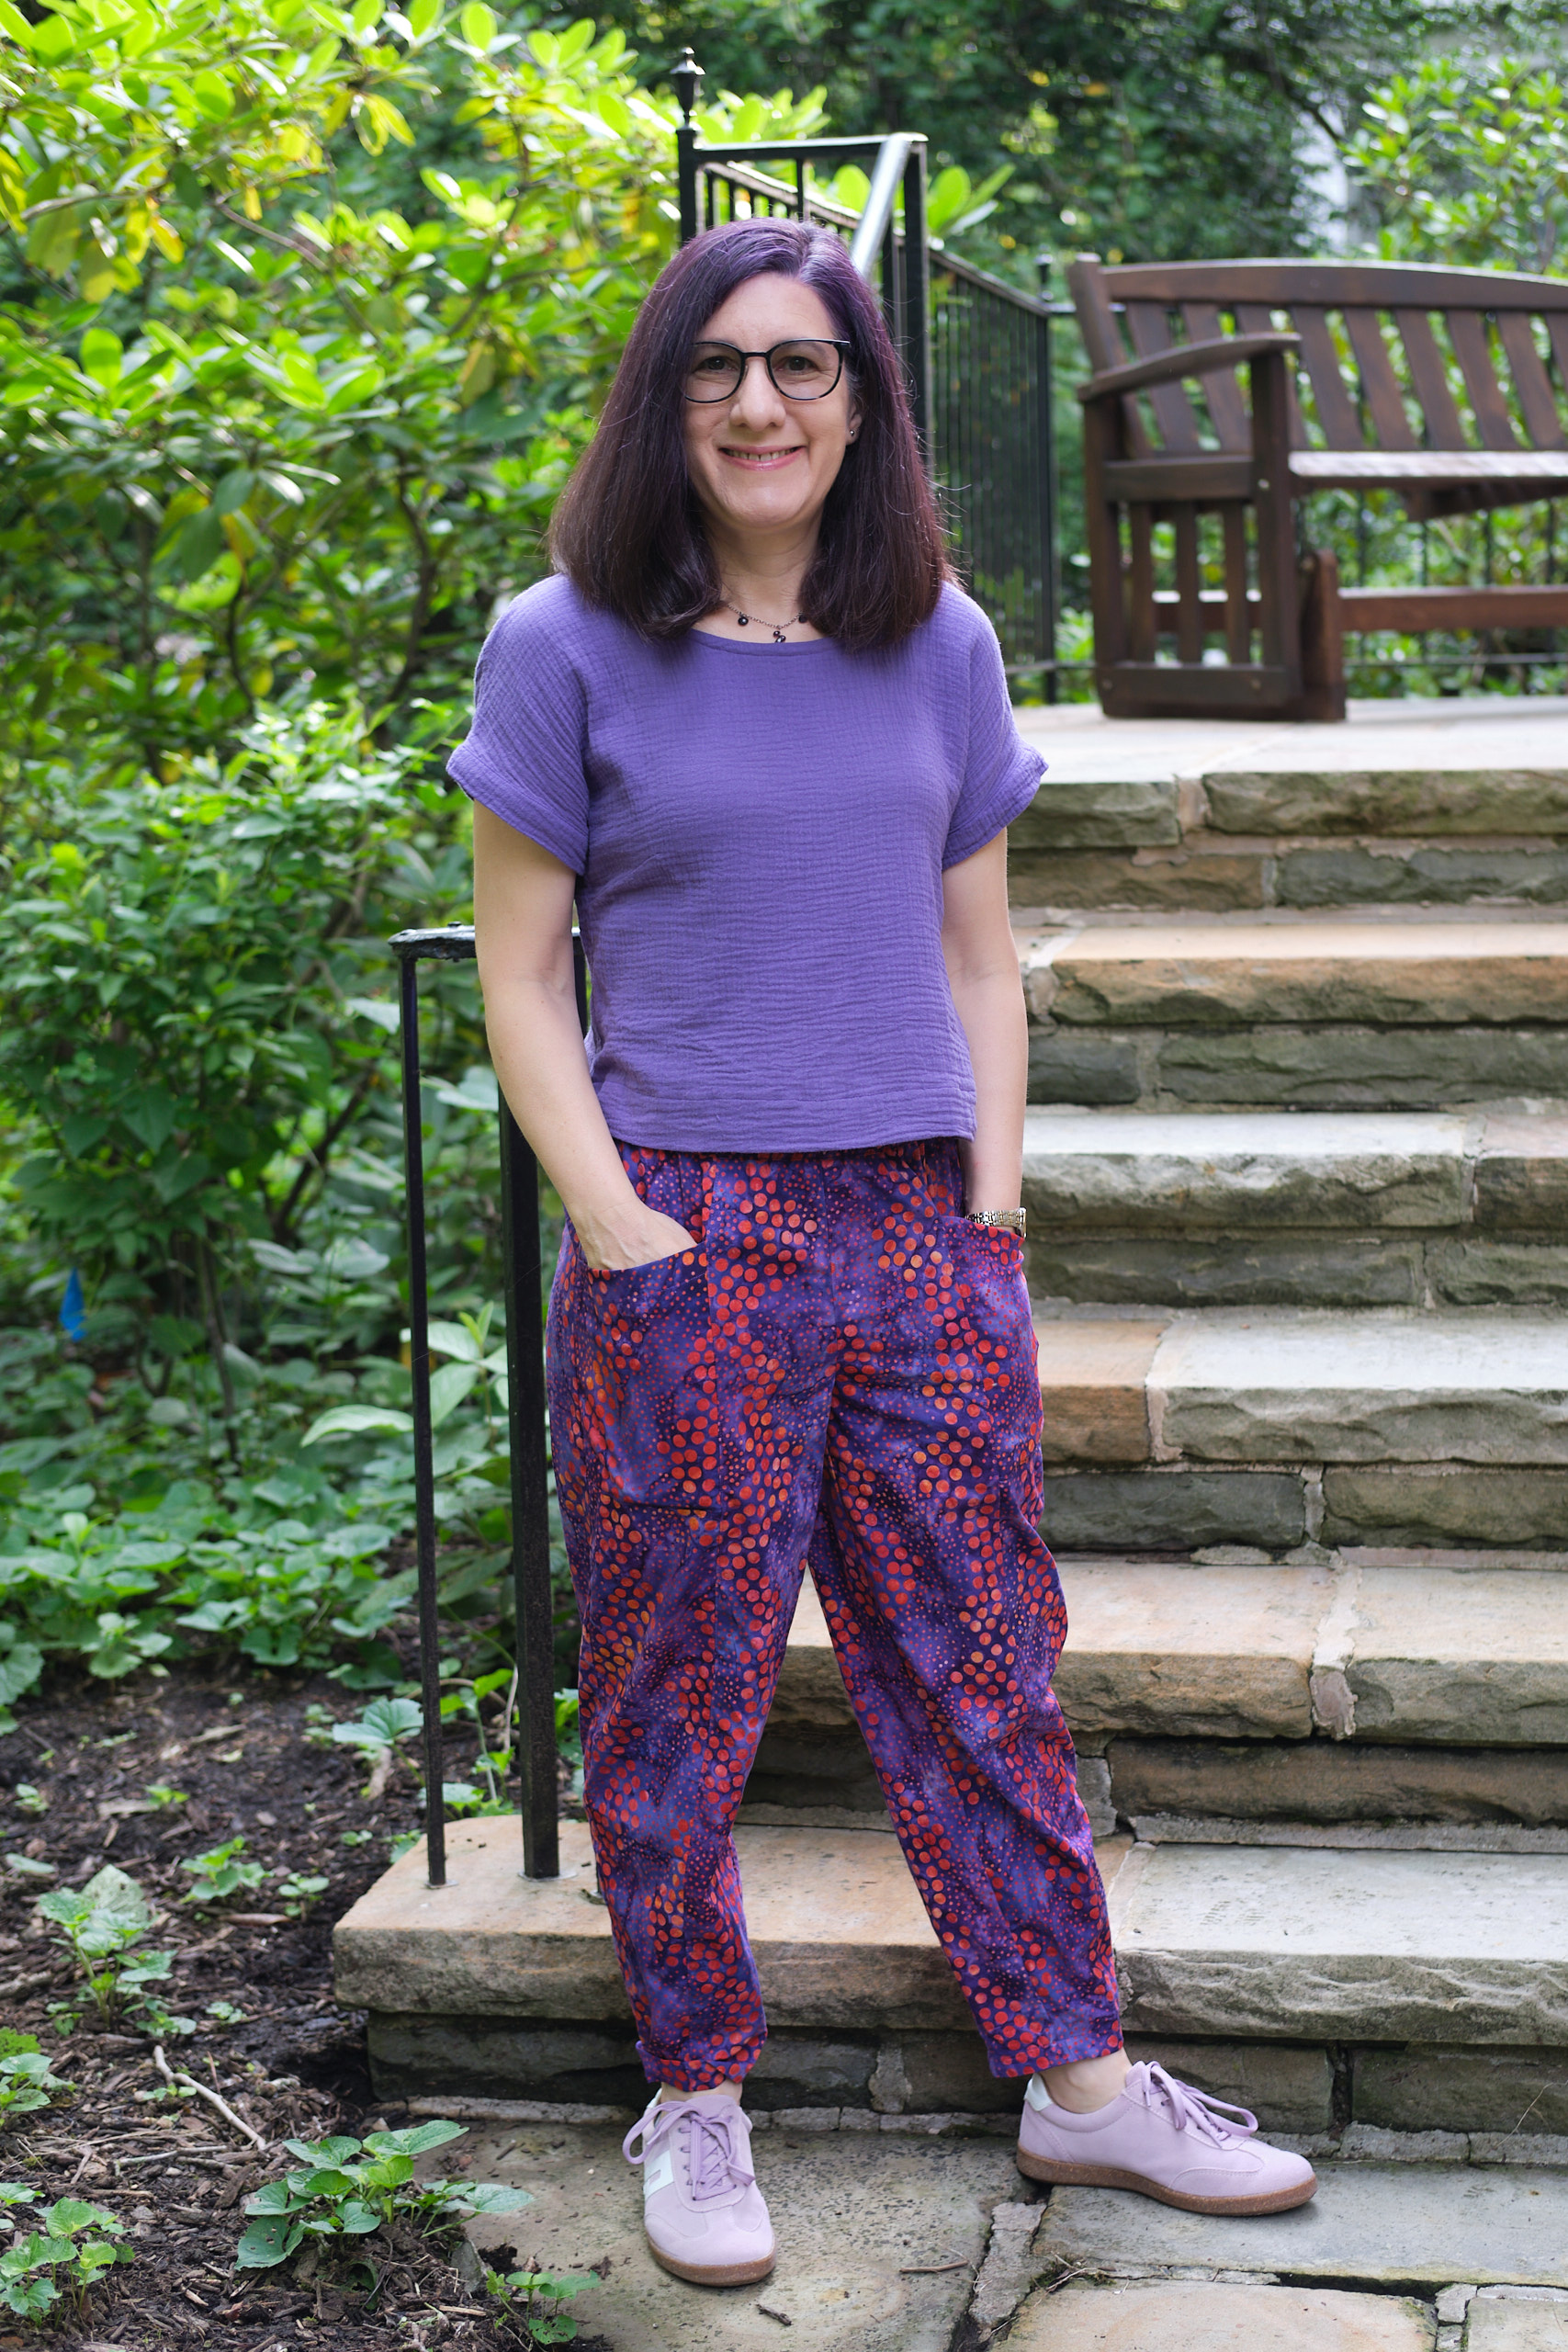
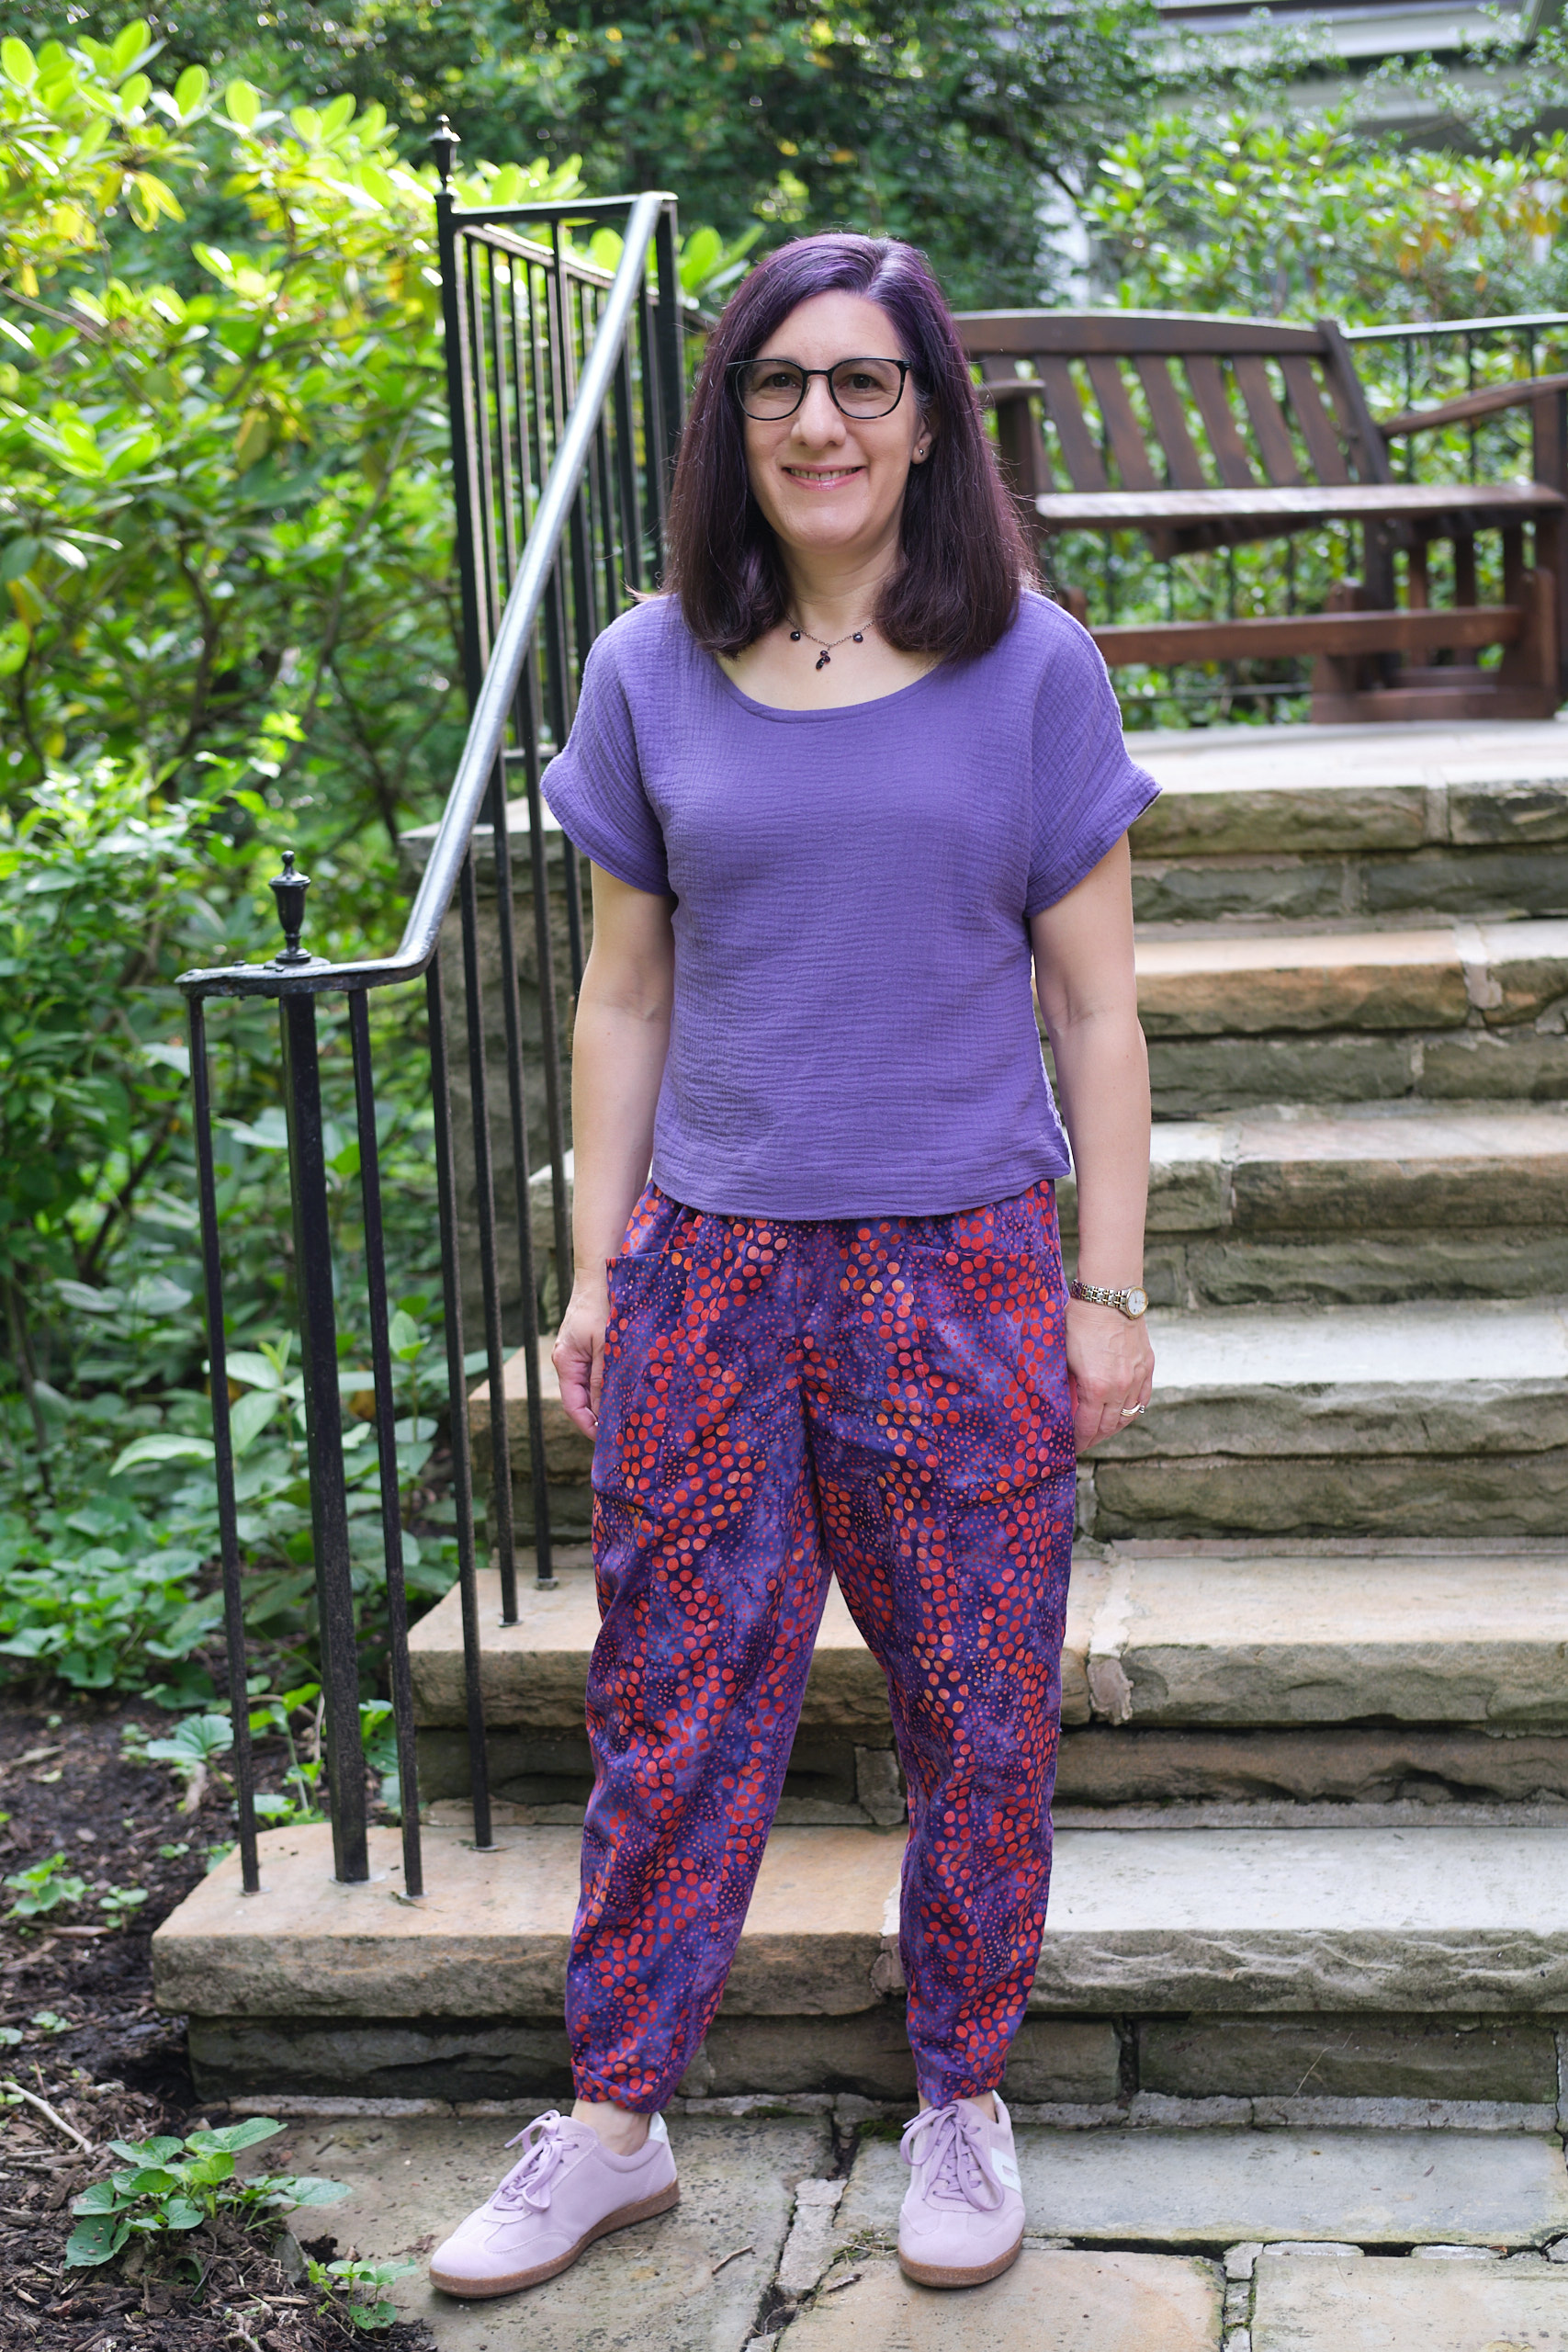
The new pattern is called “Muse” and it is a woven blouse pattern that can be made with regular short sleeves, balloon sleeves, or tiered sleeves. It can be sewn with a straight bodice or a skirted bodice, optionally with a balloon hem. It is cold and snowy in Pittsburgh, so I asked to sew the long-sleeve version. I’ve also not loved the look of most skirted woven tops on me, so I requested to sew the straight bodice. I was assigned to sew size small, according to my measurements.
This pattern was designed for someone who is 5’5″ (as are most women’s sewing patterns that don’t come in petite sizes). The instructions recommended shortening the bodice by .5 inch for every inch shorter than 5’5″ you are, so I shortened it by 1.5 inch. The instructions didn’t offer advice about shortening the sleeves, but I know from past experience that I usually need to shorten sleeves by about 2 inches on most patterns. I asked in the Basecamp group about how to do this on the tiered sleeve and was advised to remove 1 inch from each part, which seemed to work fine.
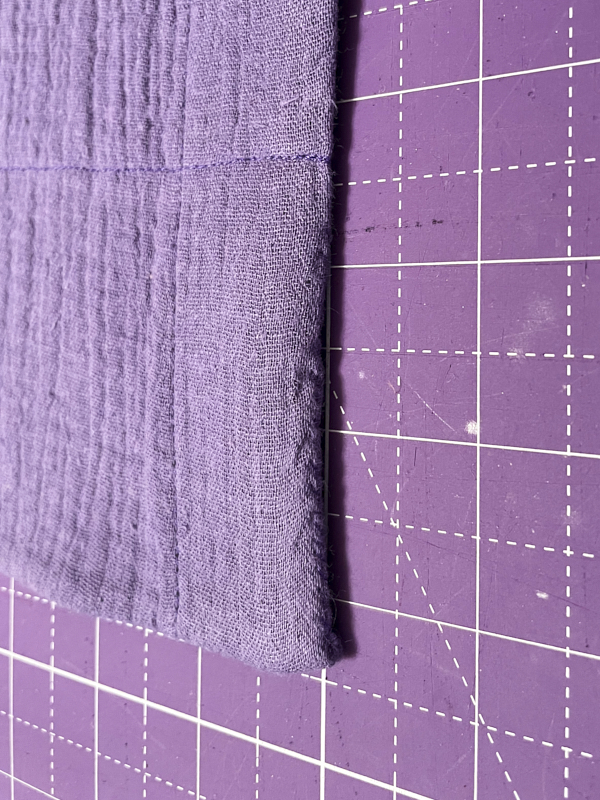
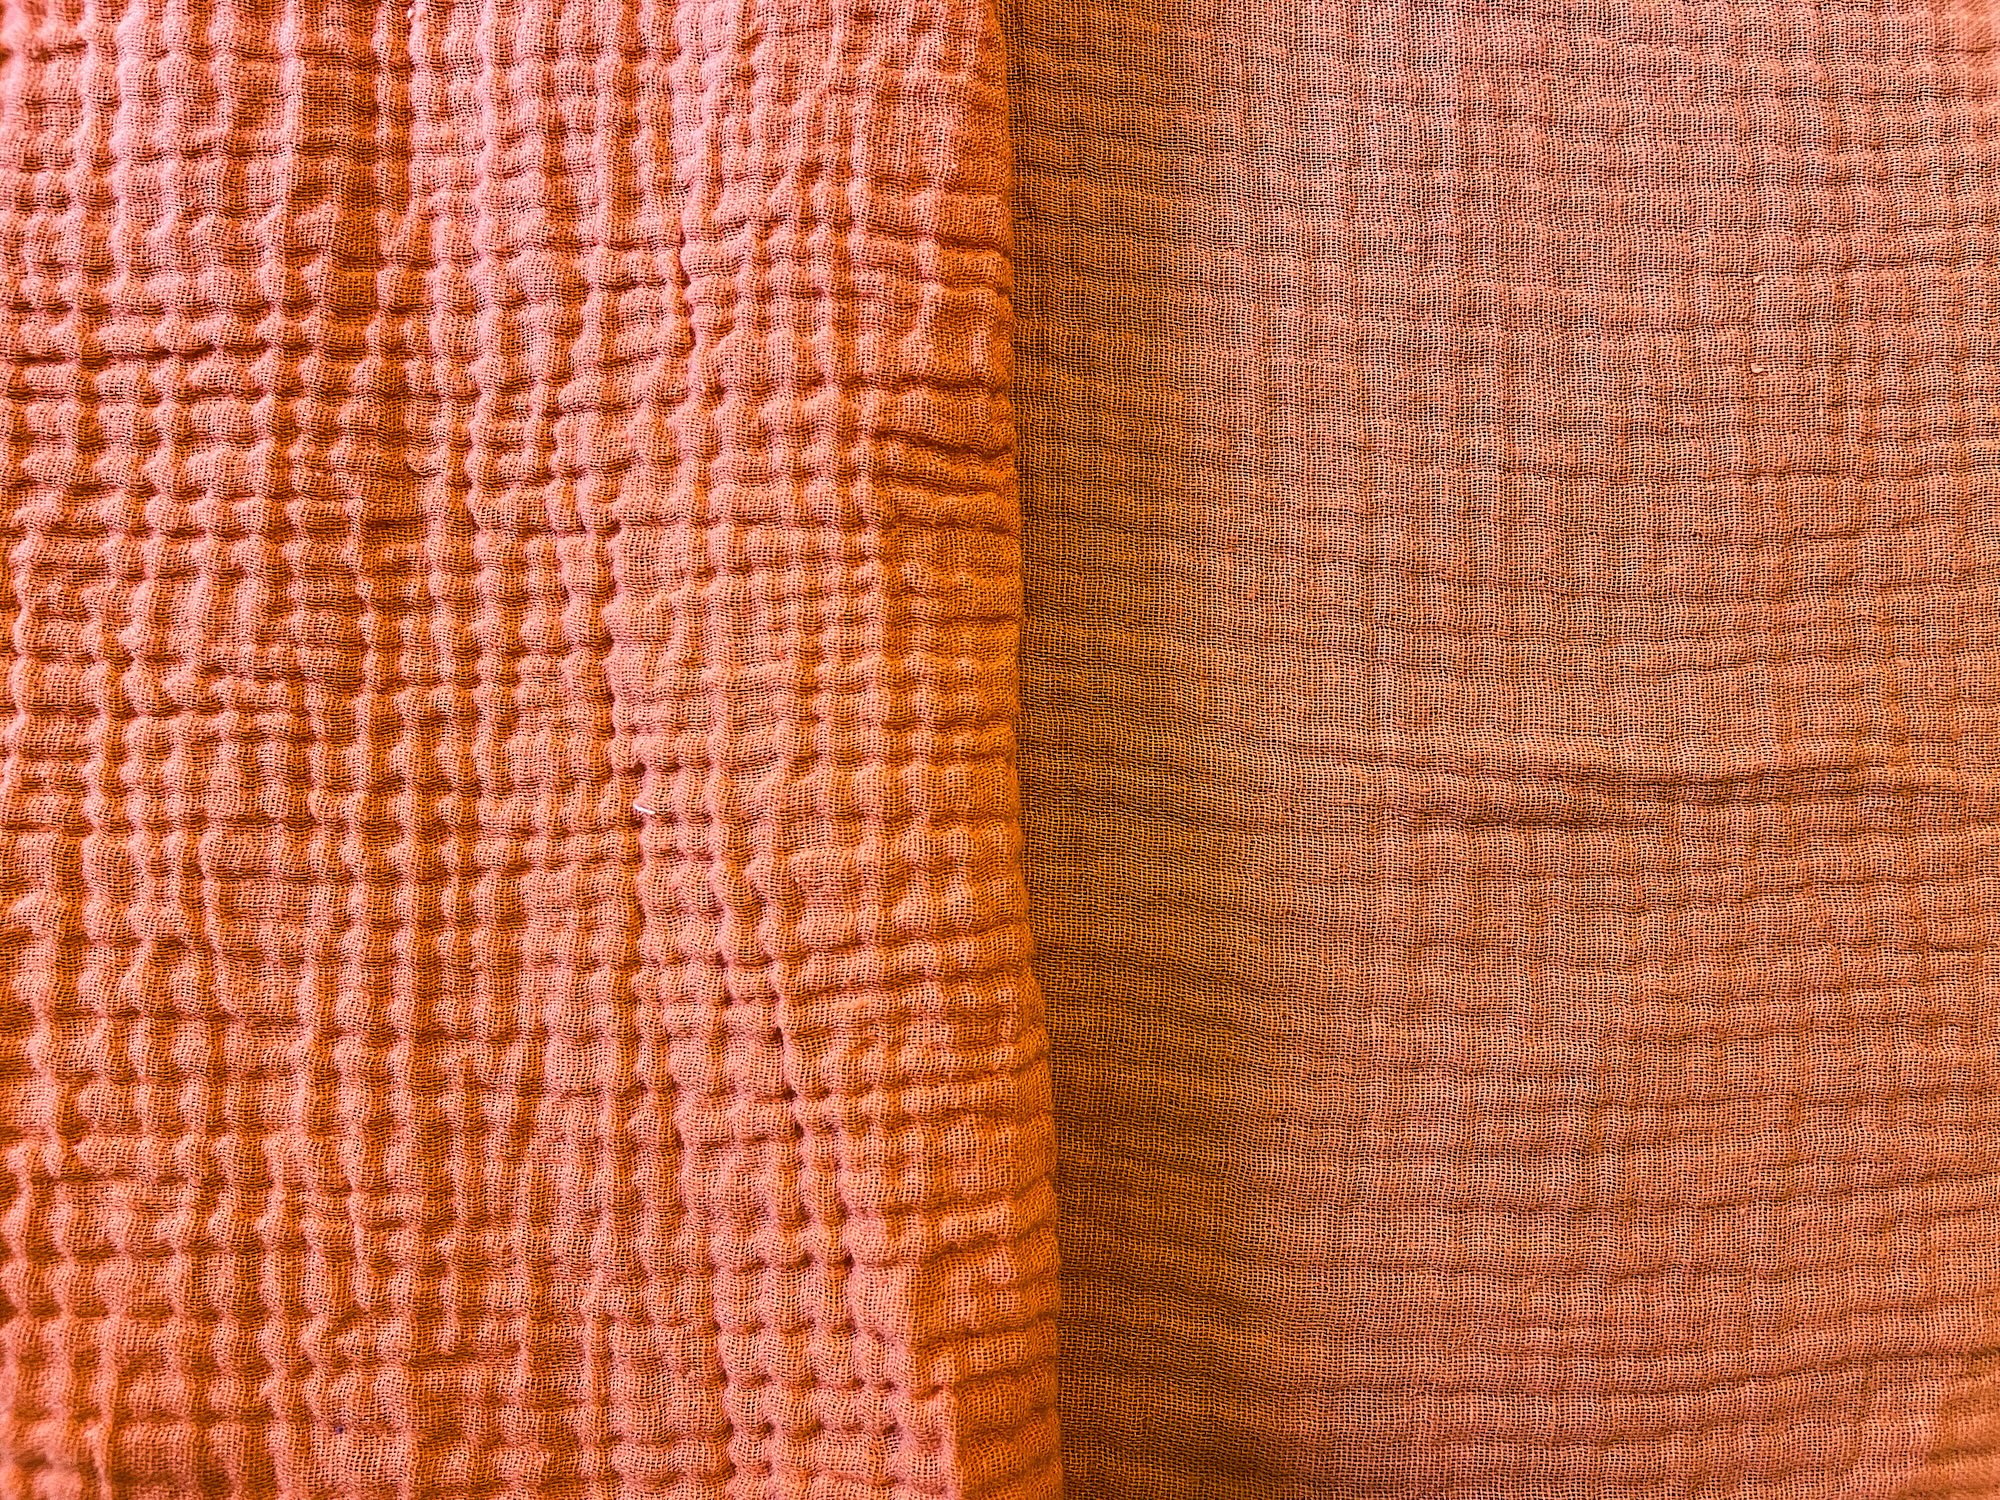
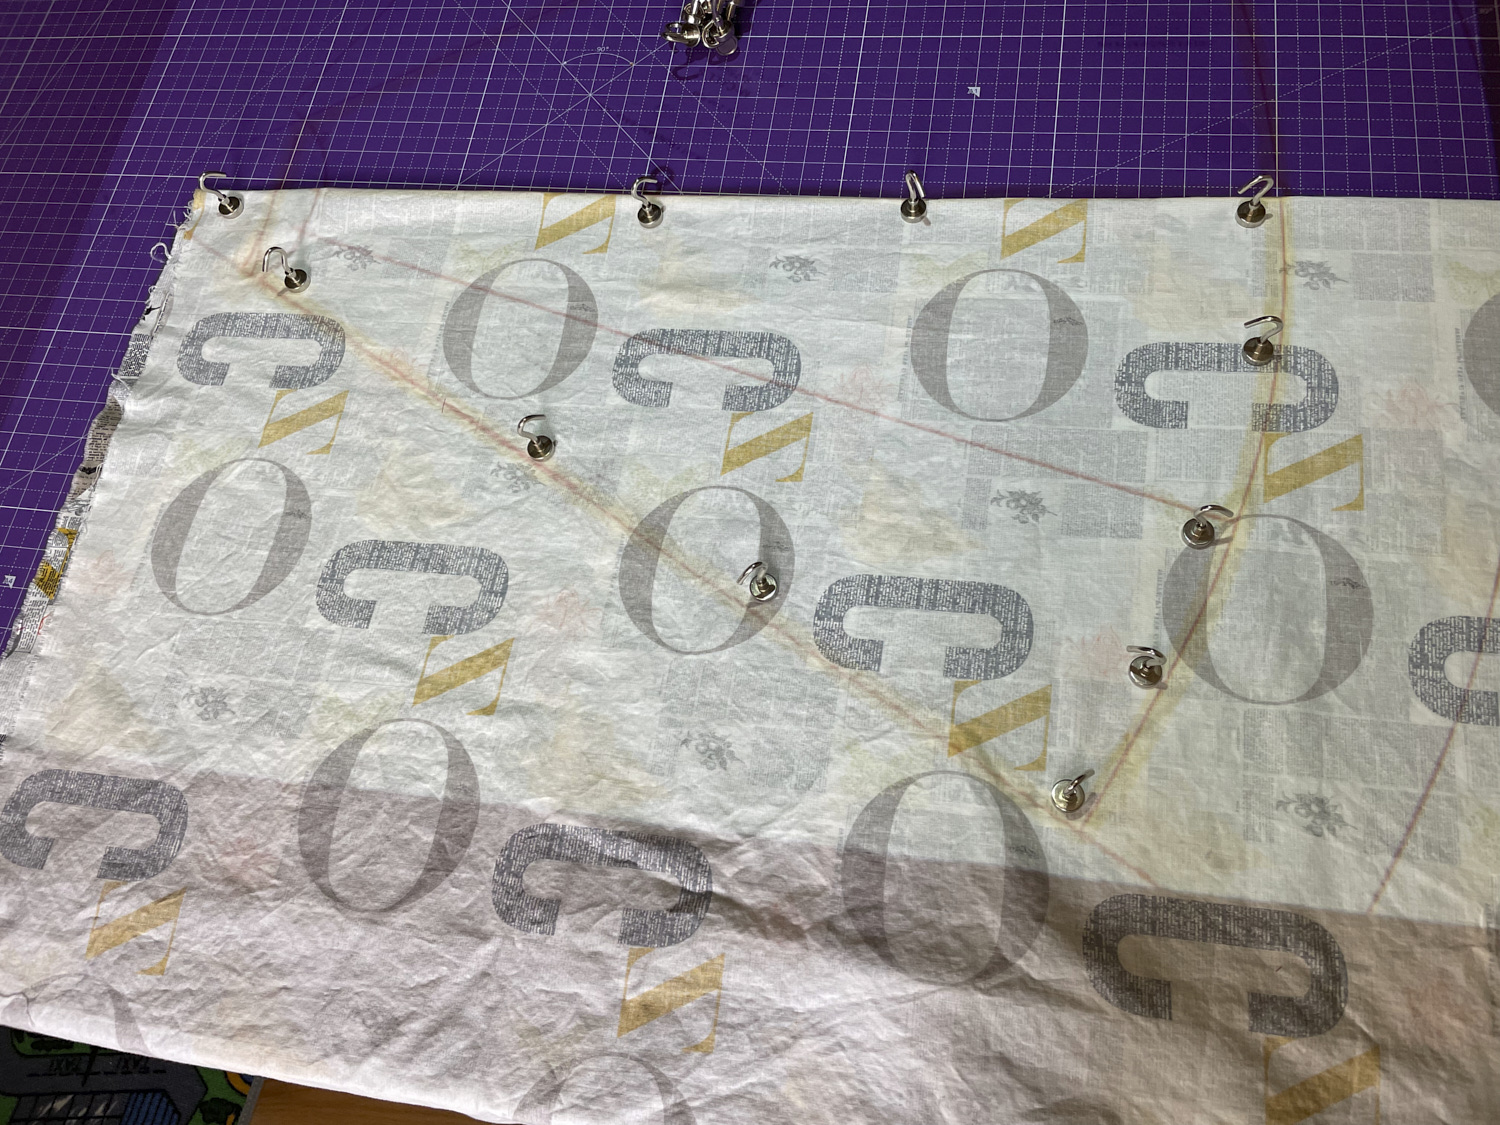
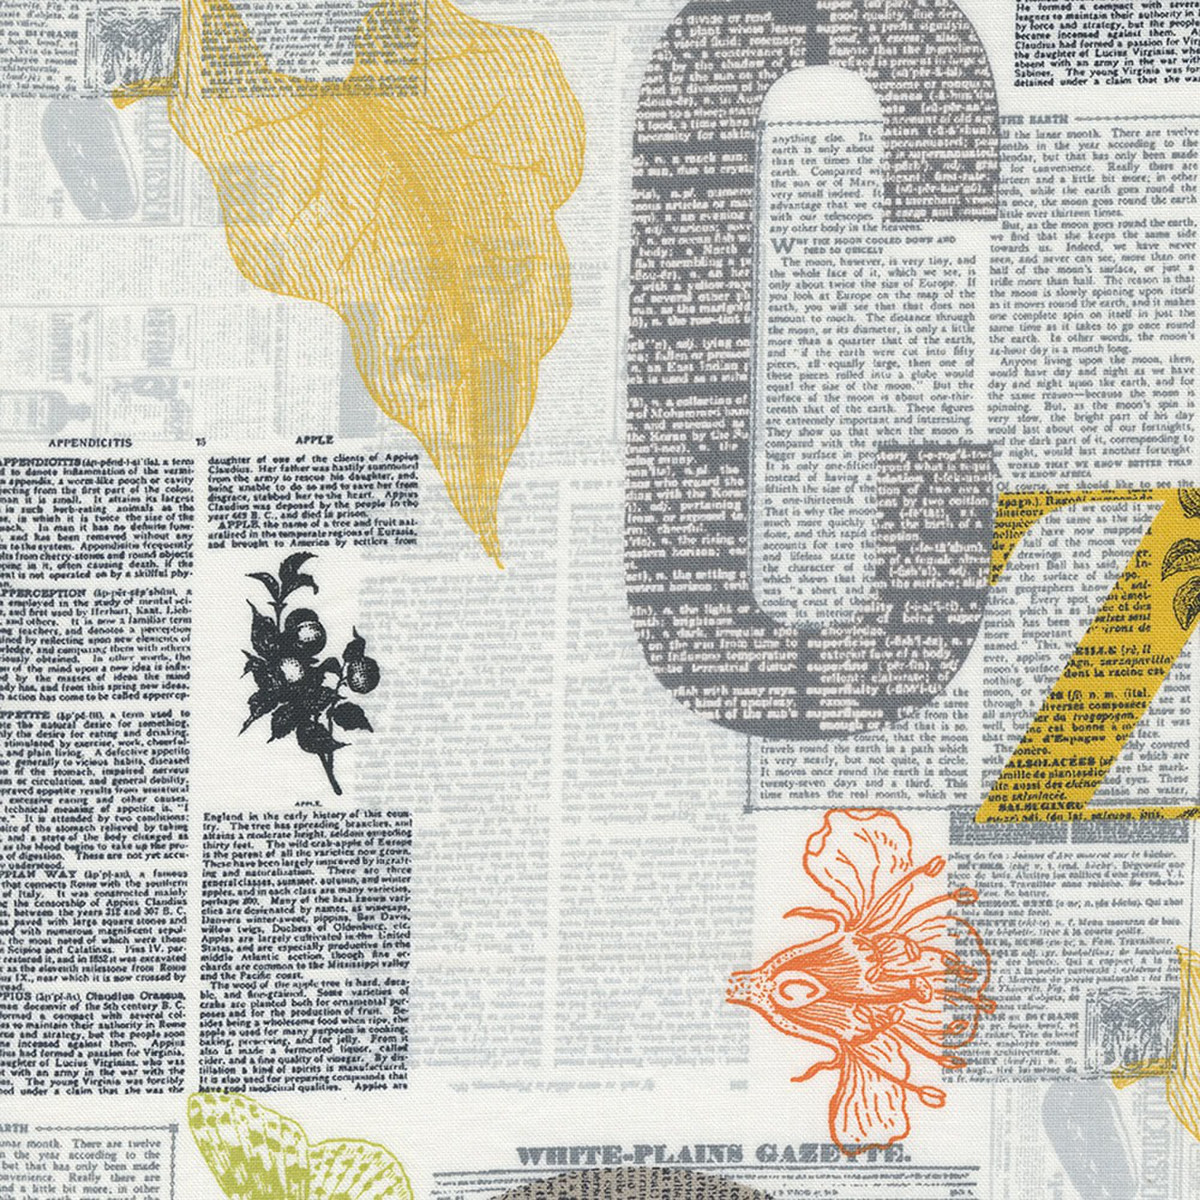
I used a light sage polyester woven “cey” fabric called Tess Cey from Mily Mae Fabrics. I bought it when it was on sale for $3.75/yard. (Apparently, CEY is an acronym for continuous environmental yarn and refers to a type of polyester fabric made with sustainable practices that tends to be soft, drapey, and wrinkle-resistant.) This fabric is a little slippery to work with. It is not a stretch fabric, but it does have a little bit of mechanical stretch. It doesn’t tend to wrinkle, but it does hold a crease when pressed with an iron. I used about 2 yards of fabric.
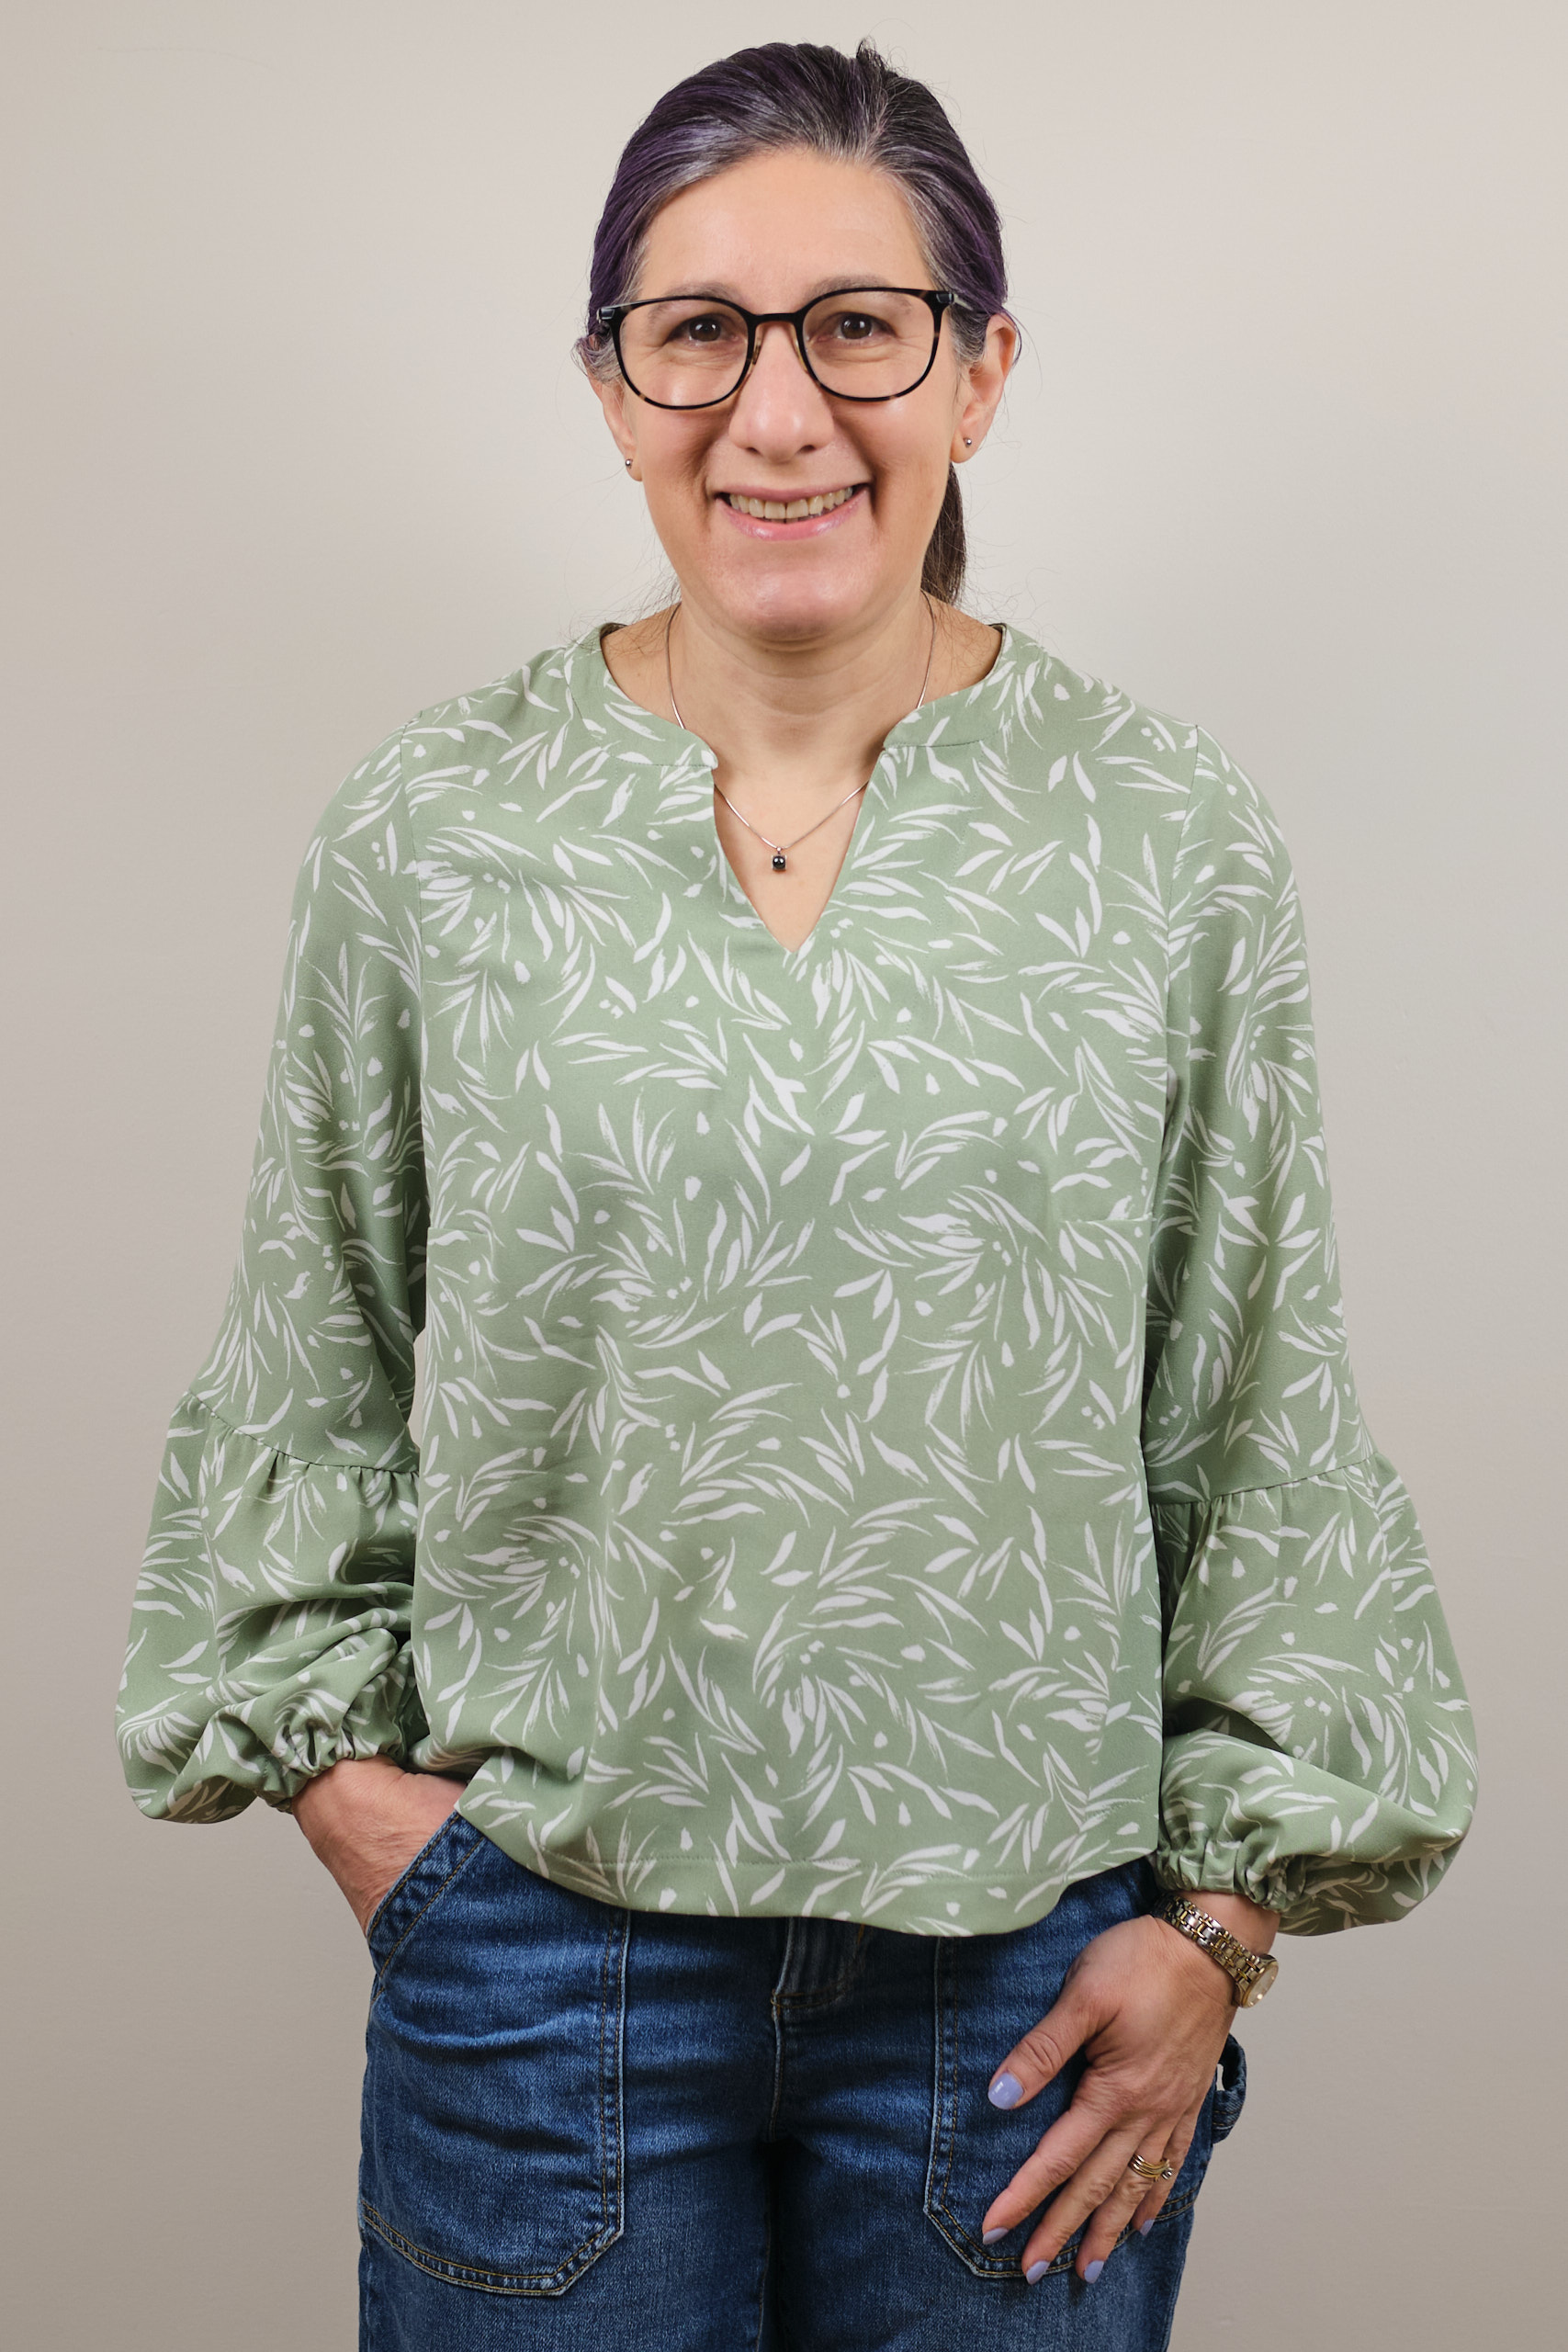
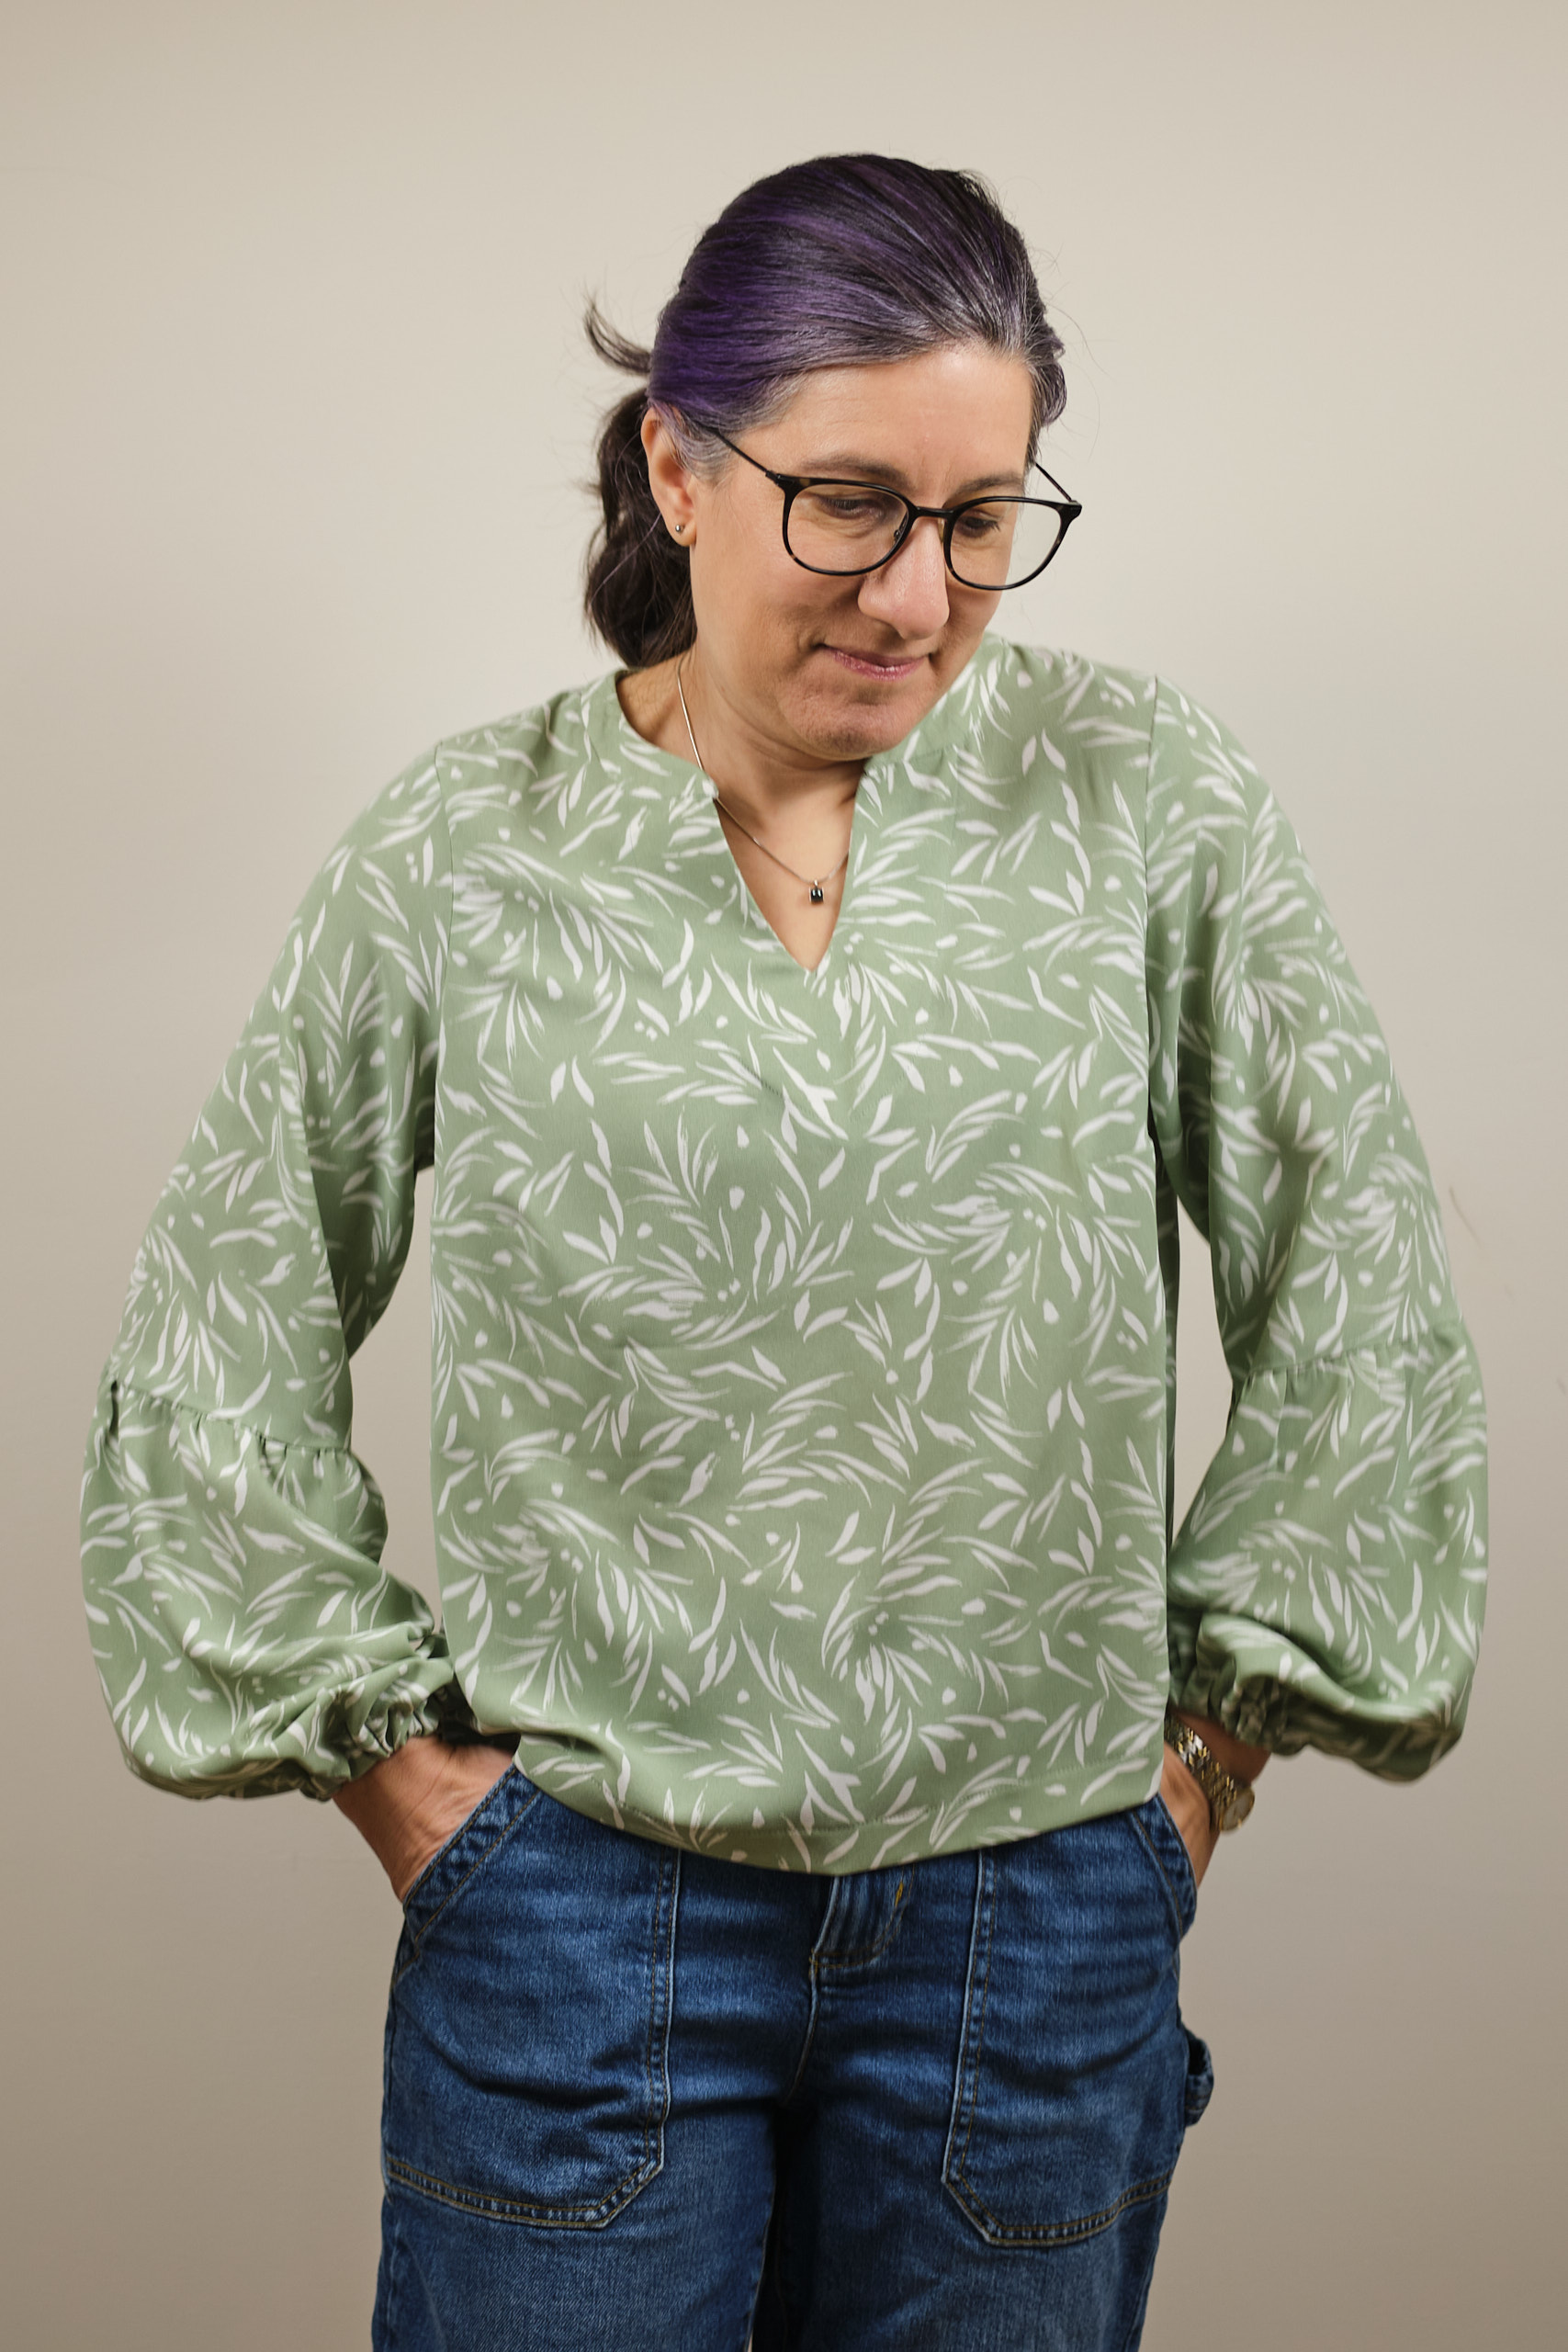
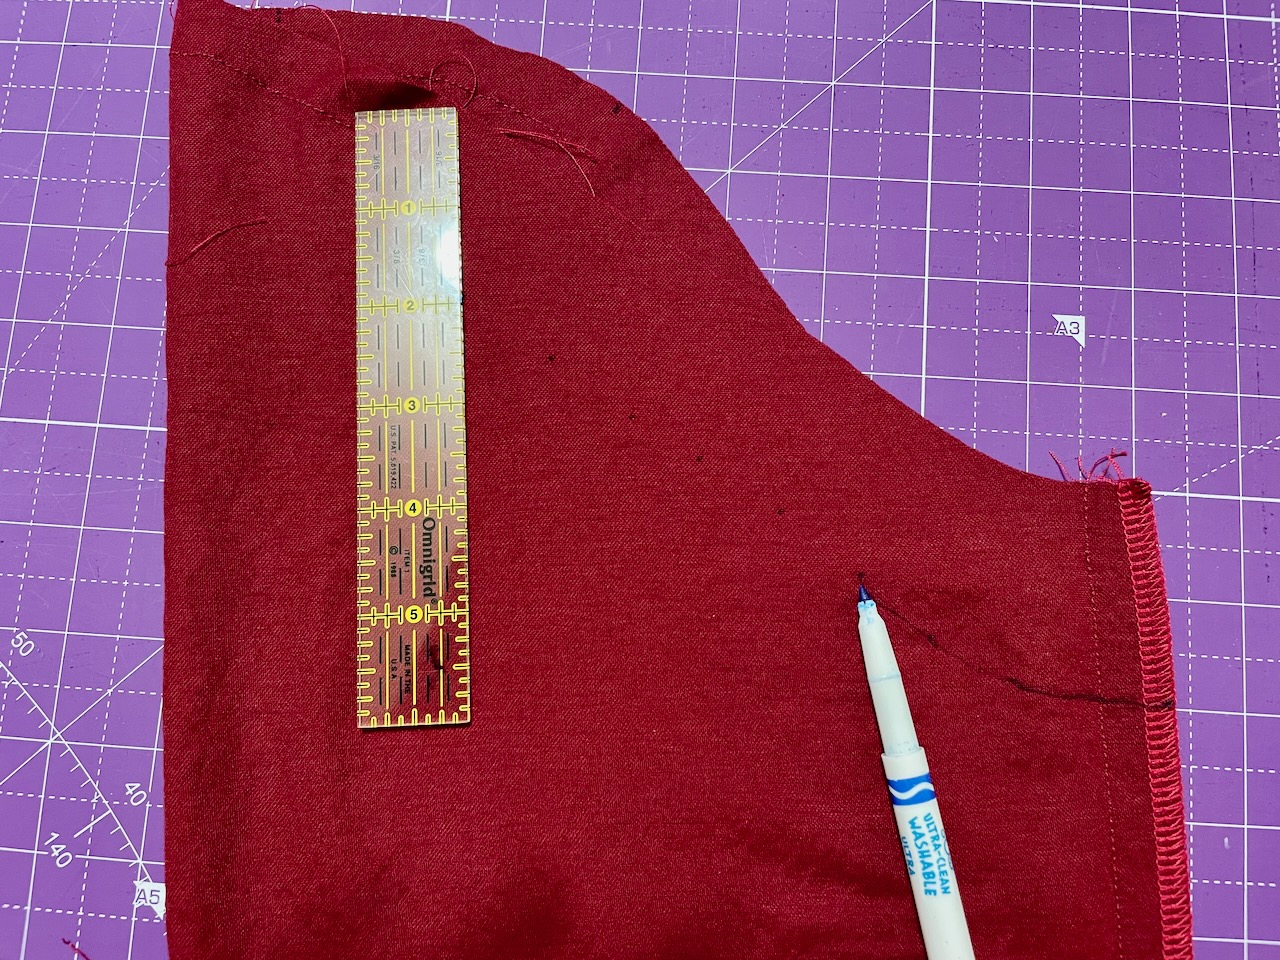
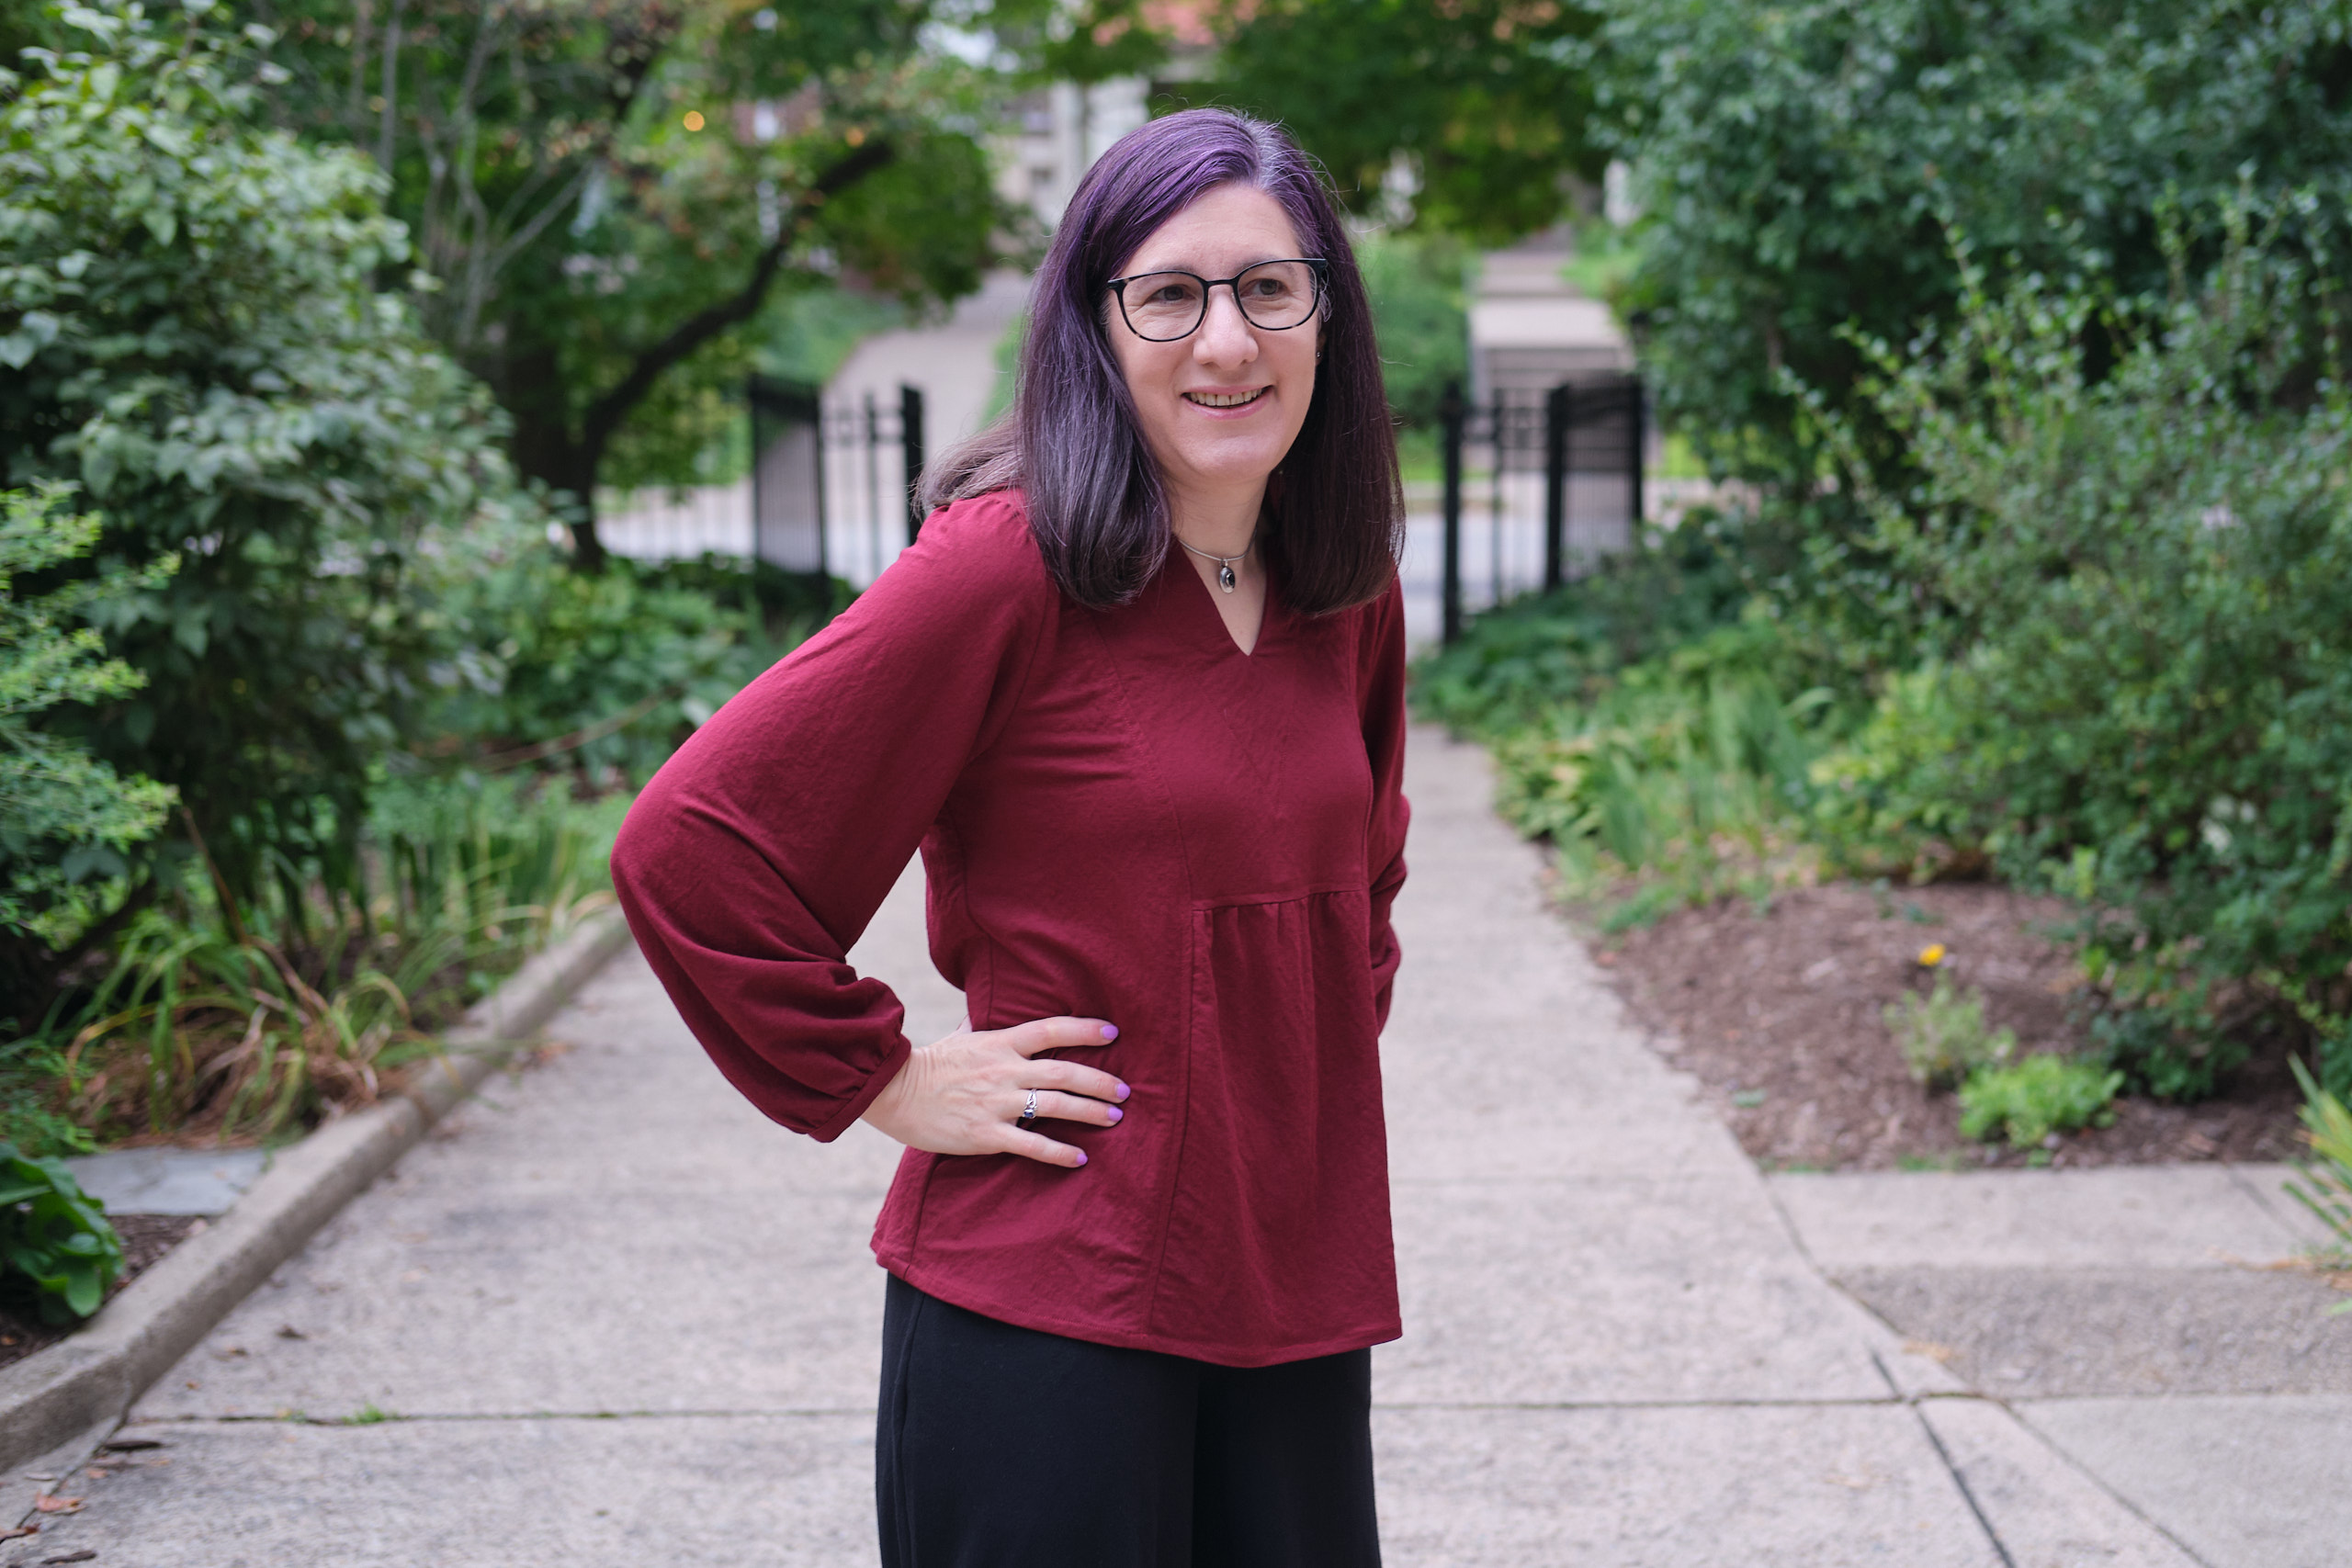
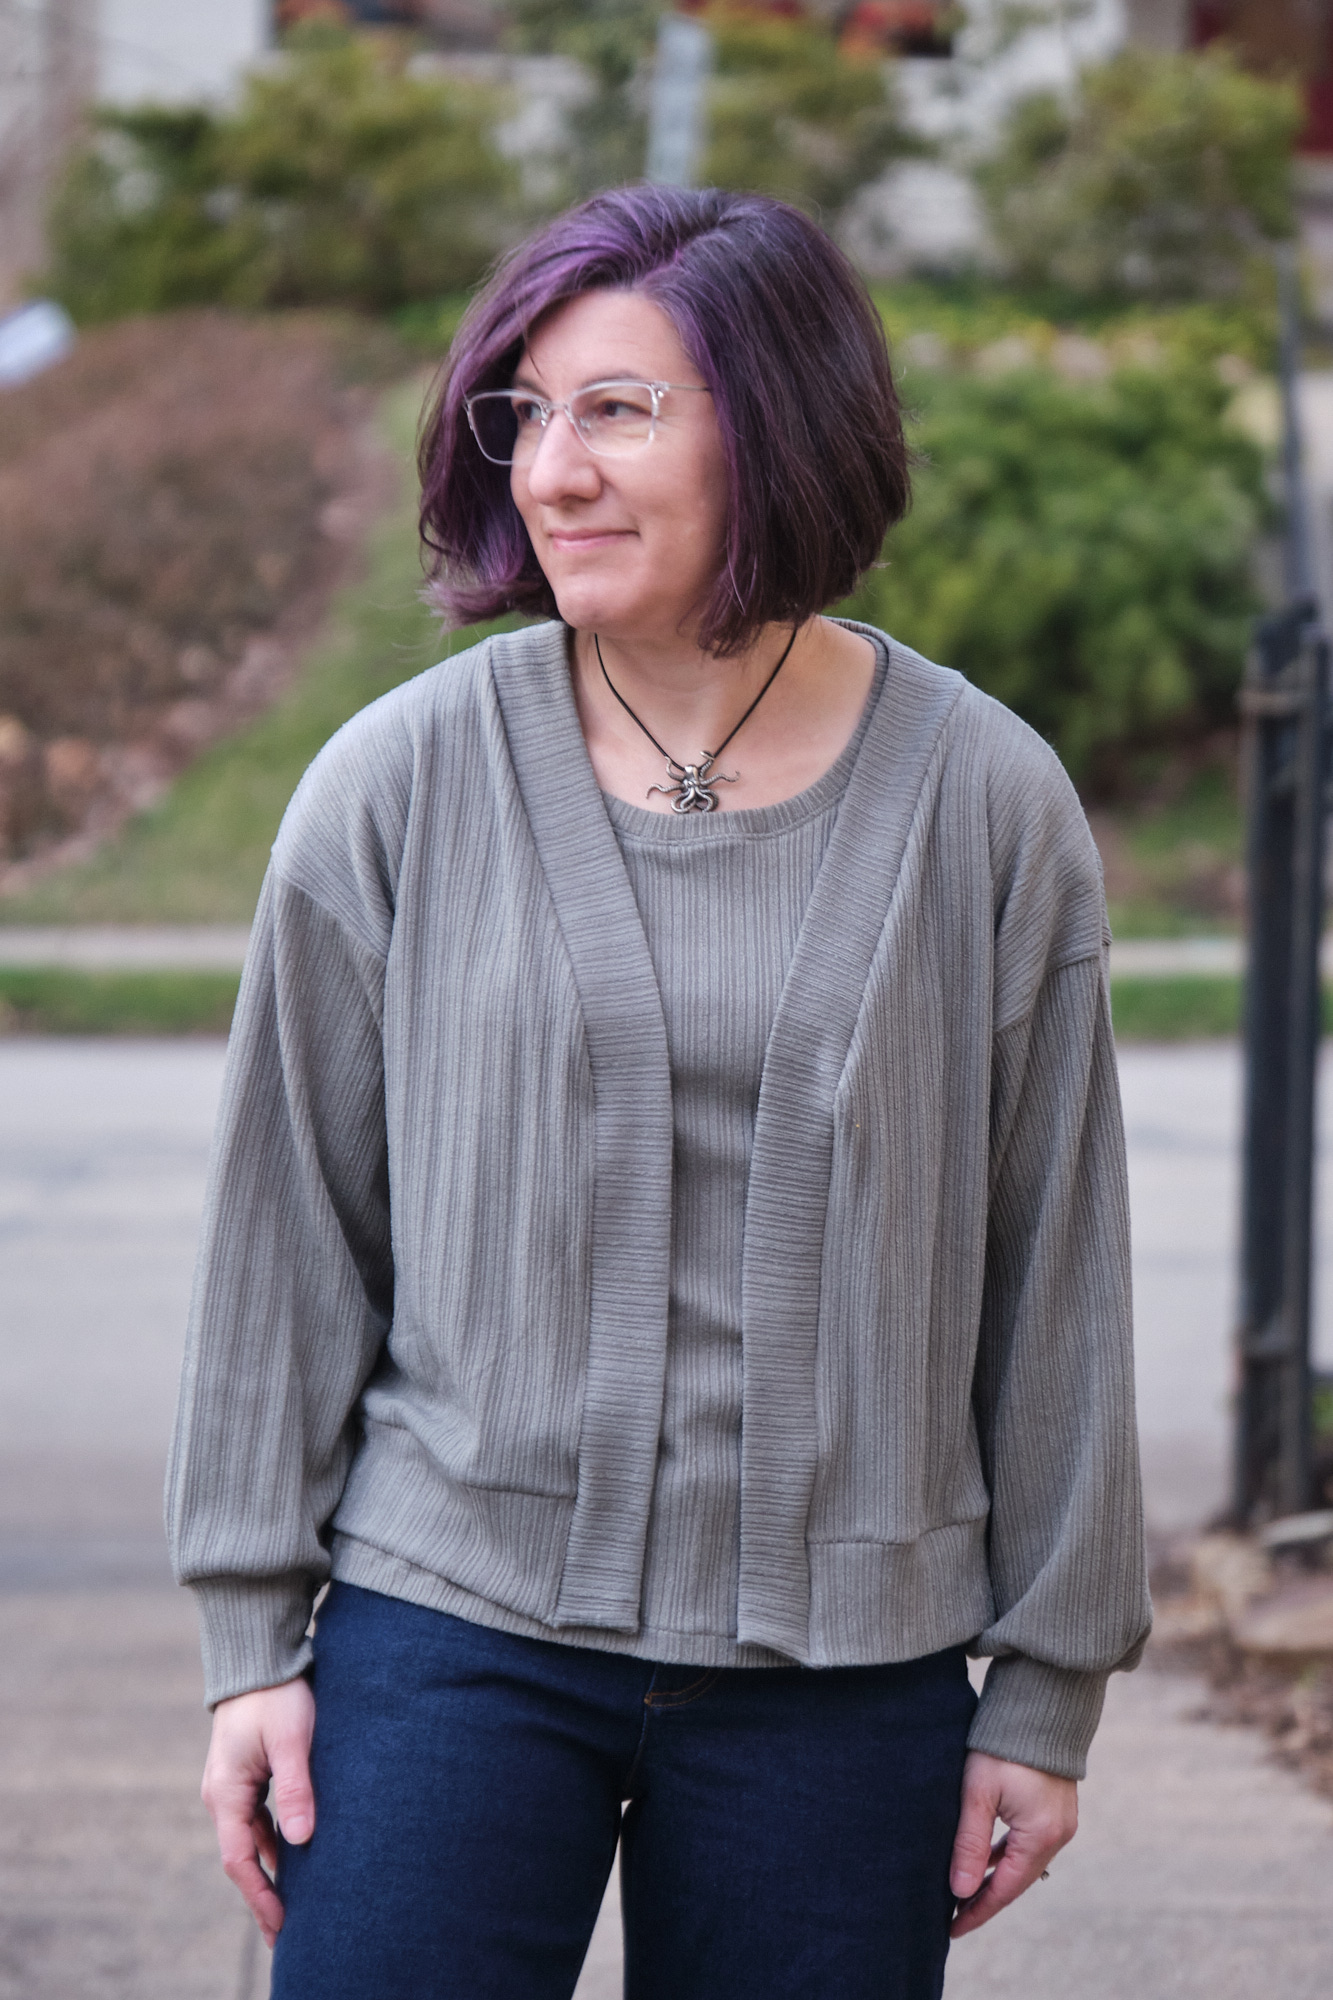
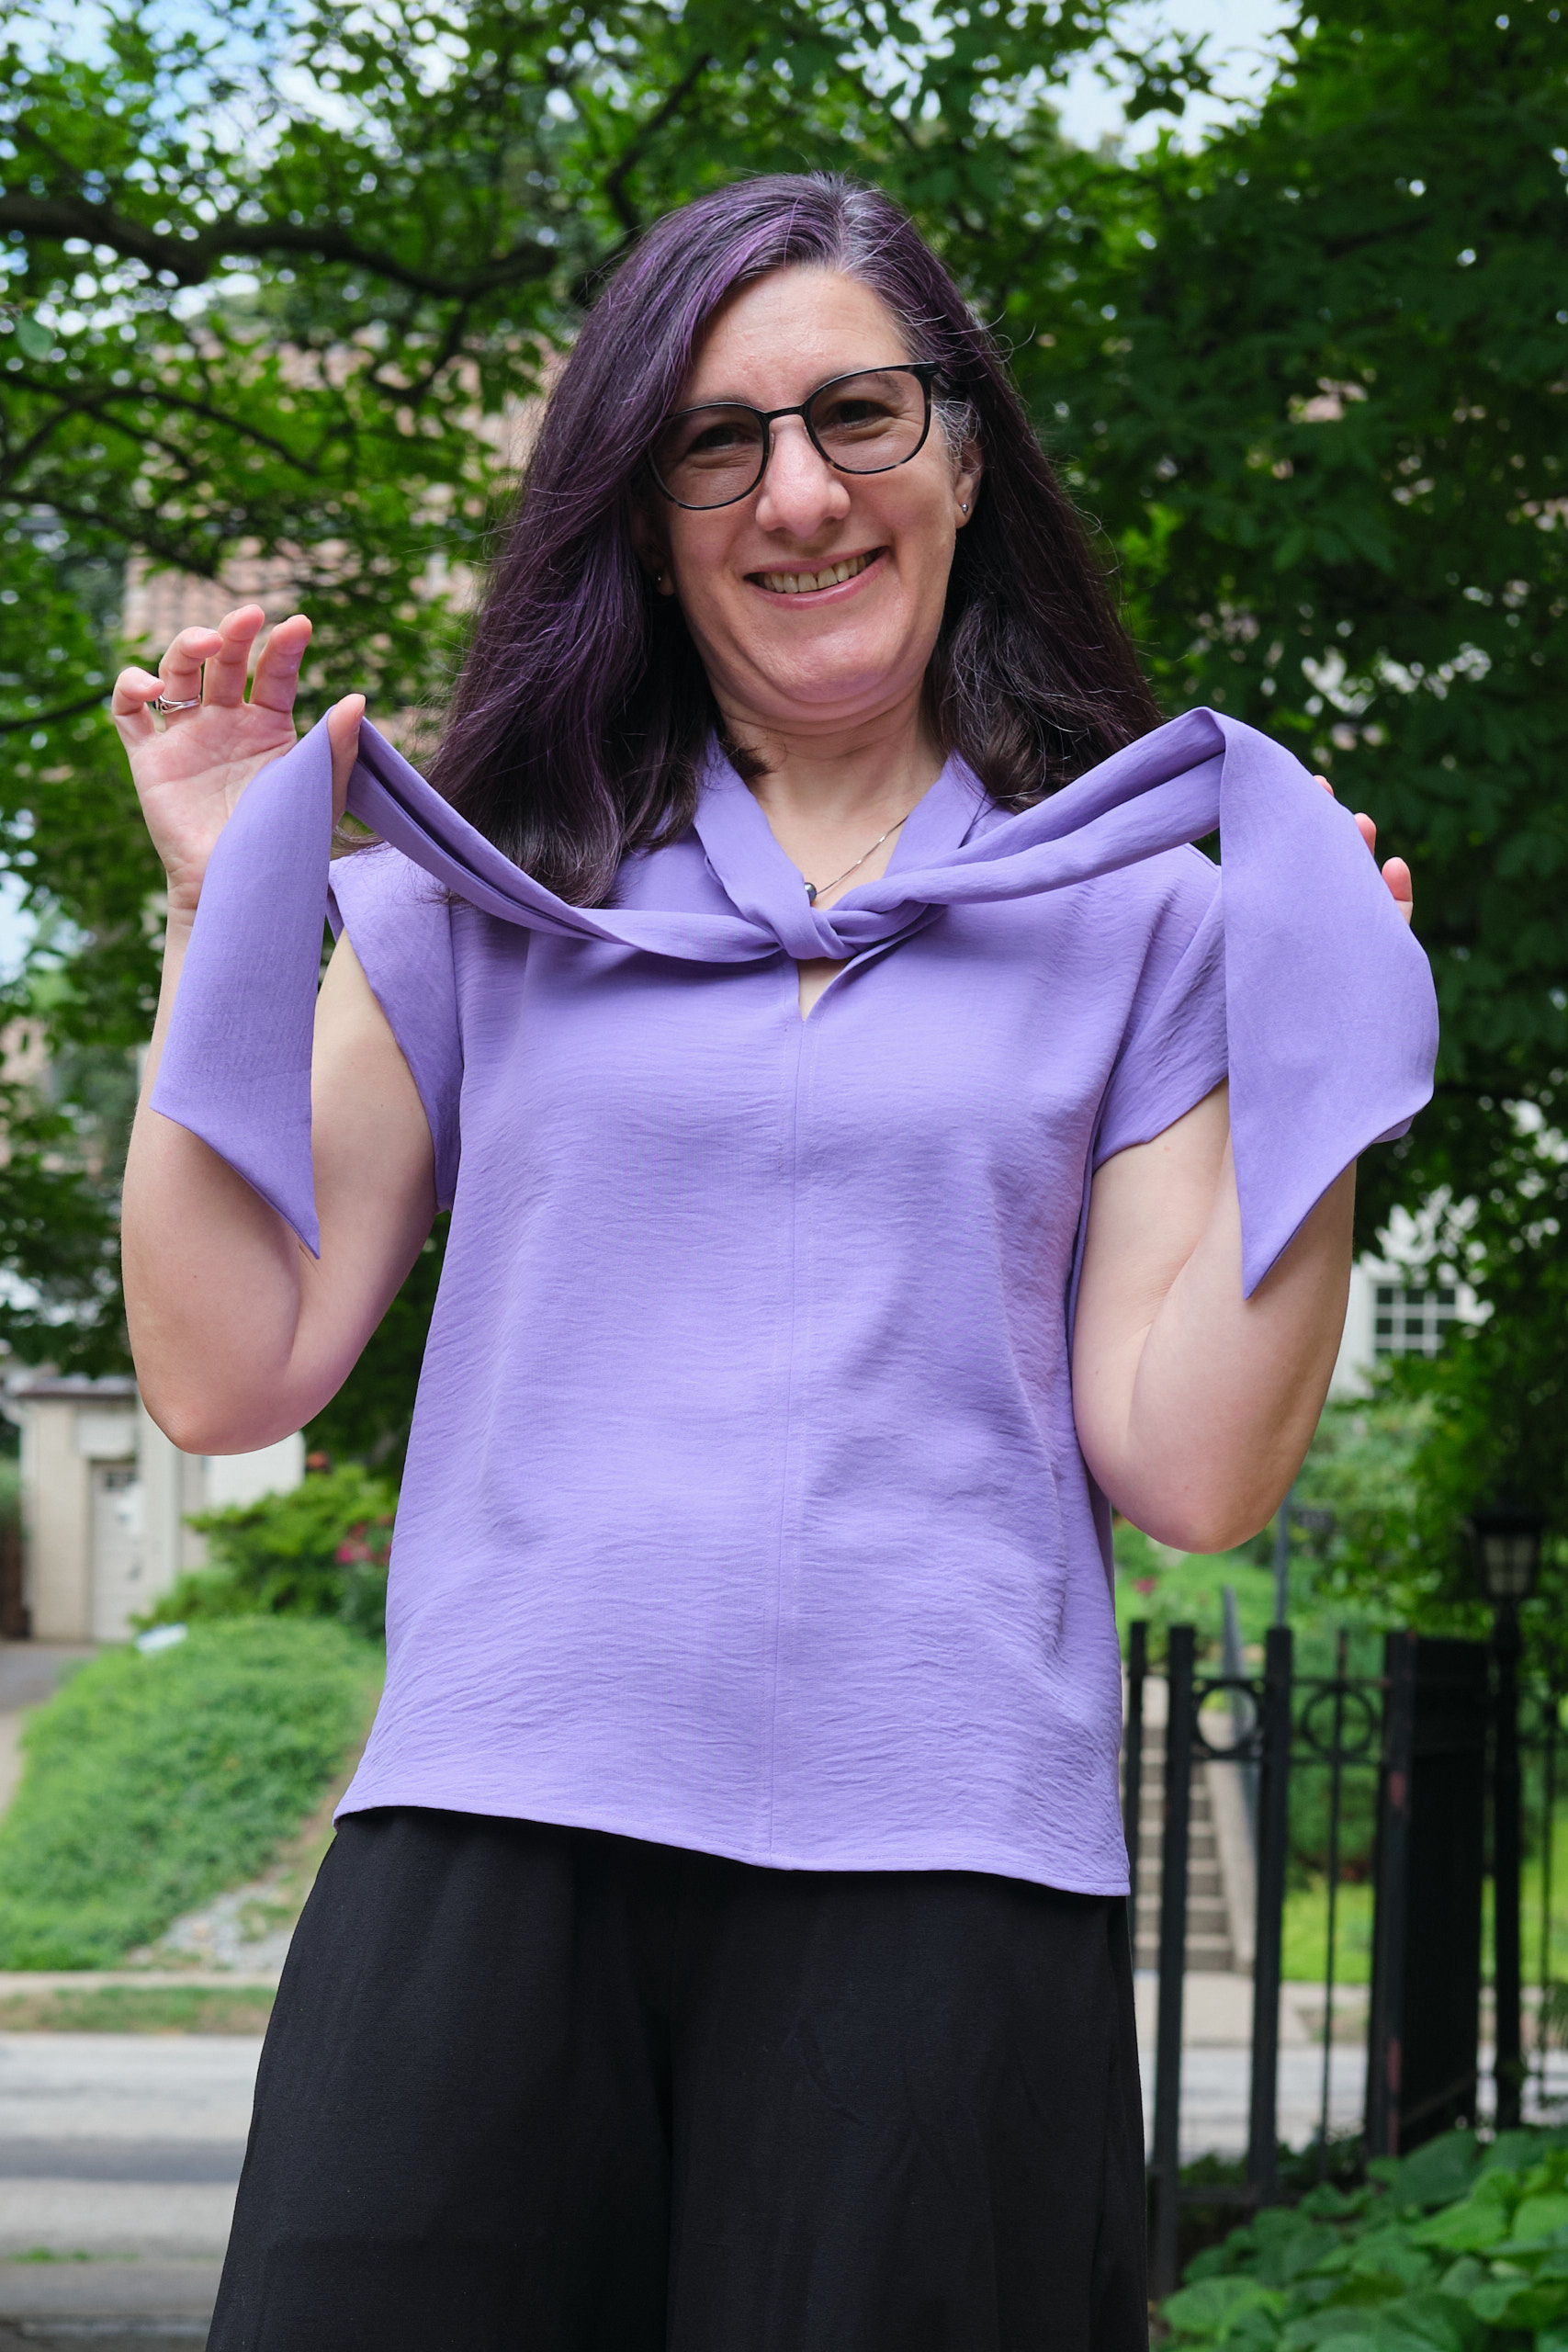
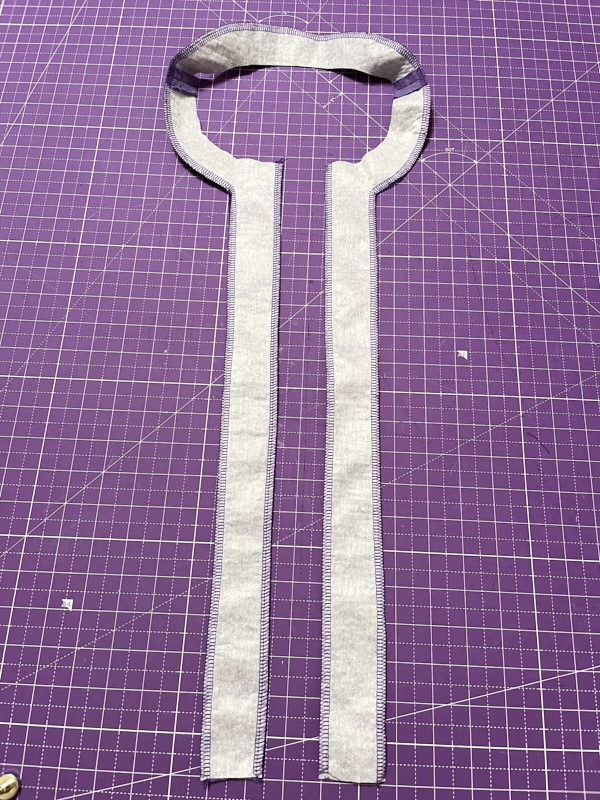
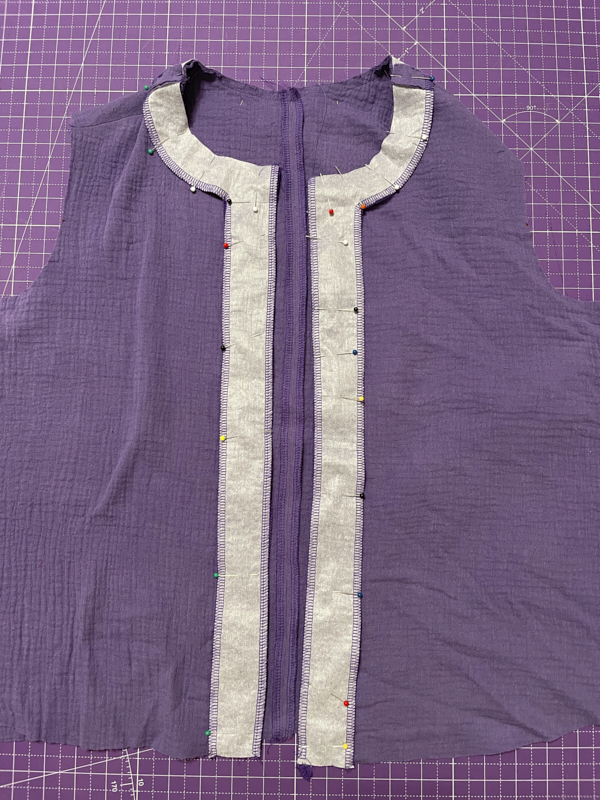
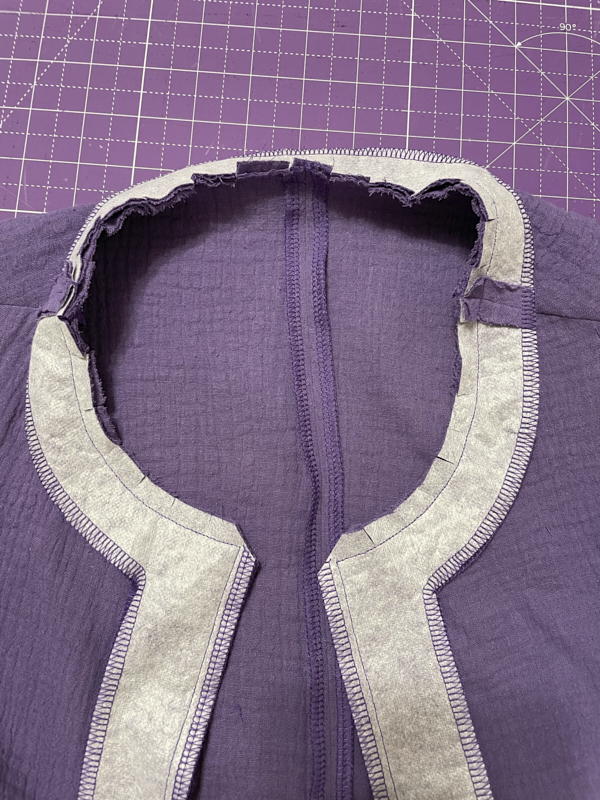
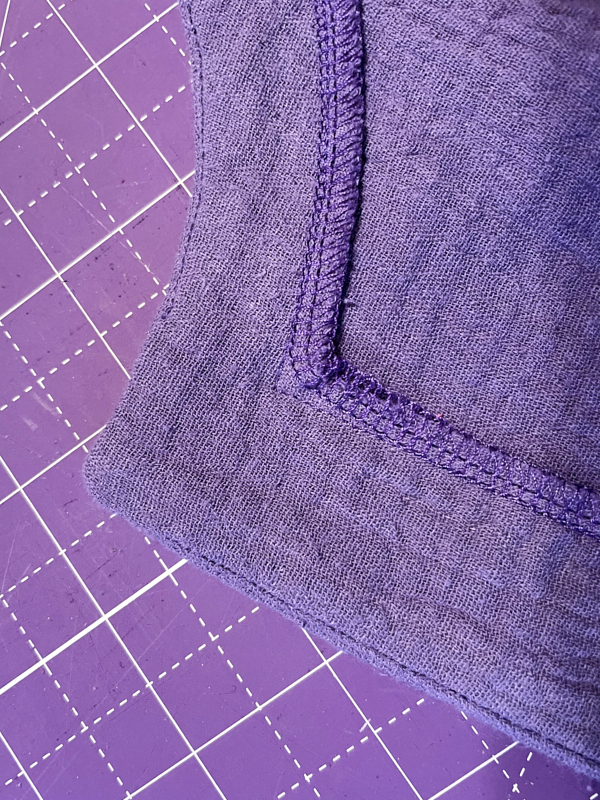
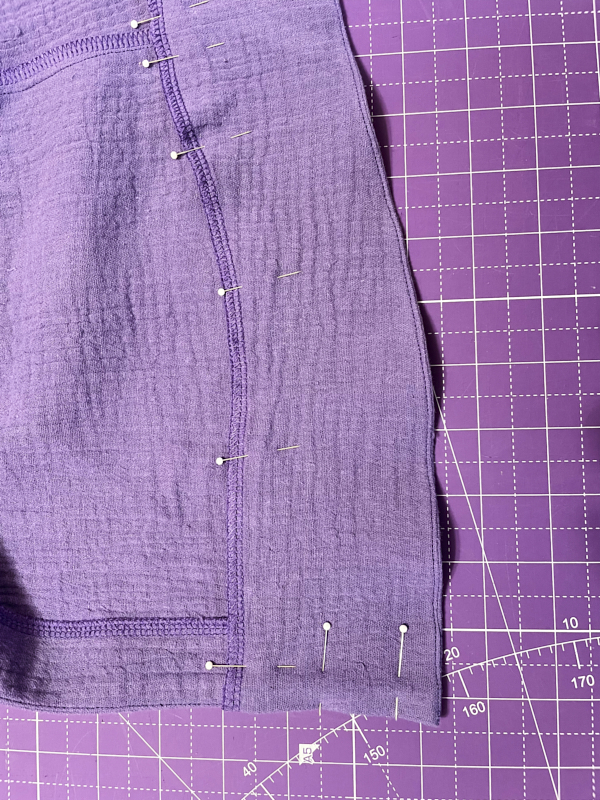
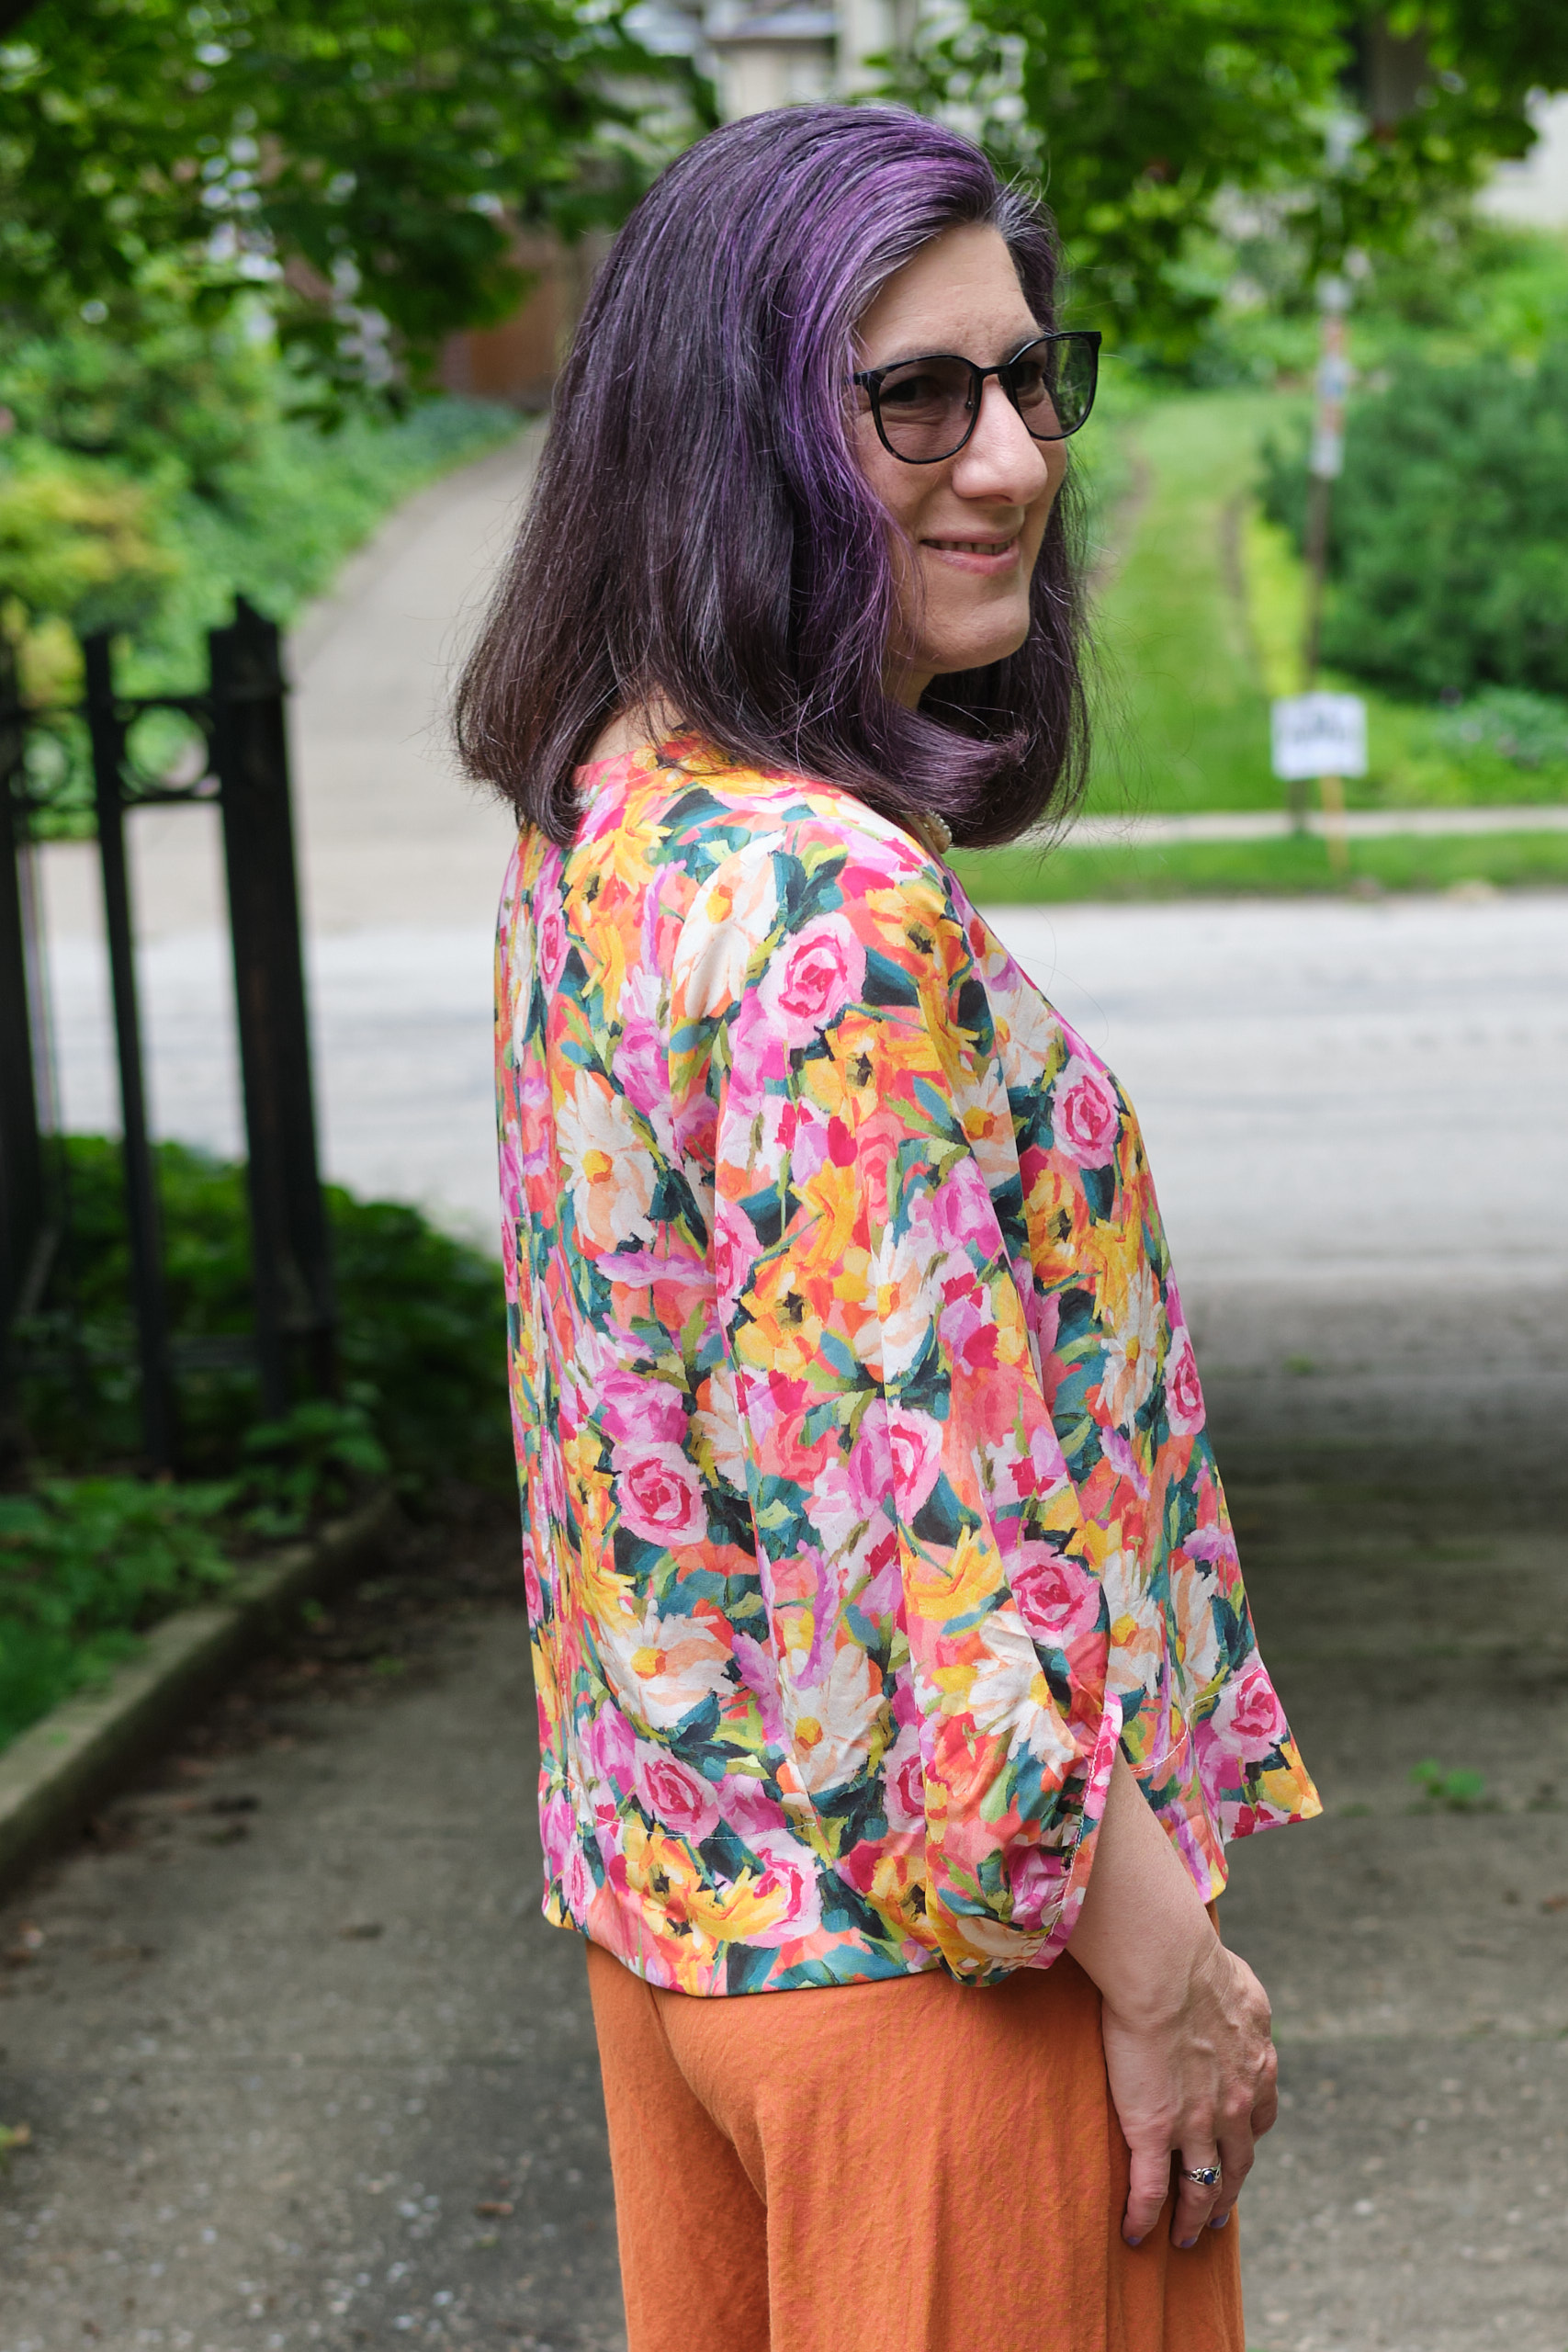
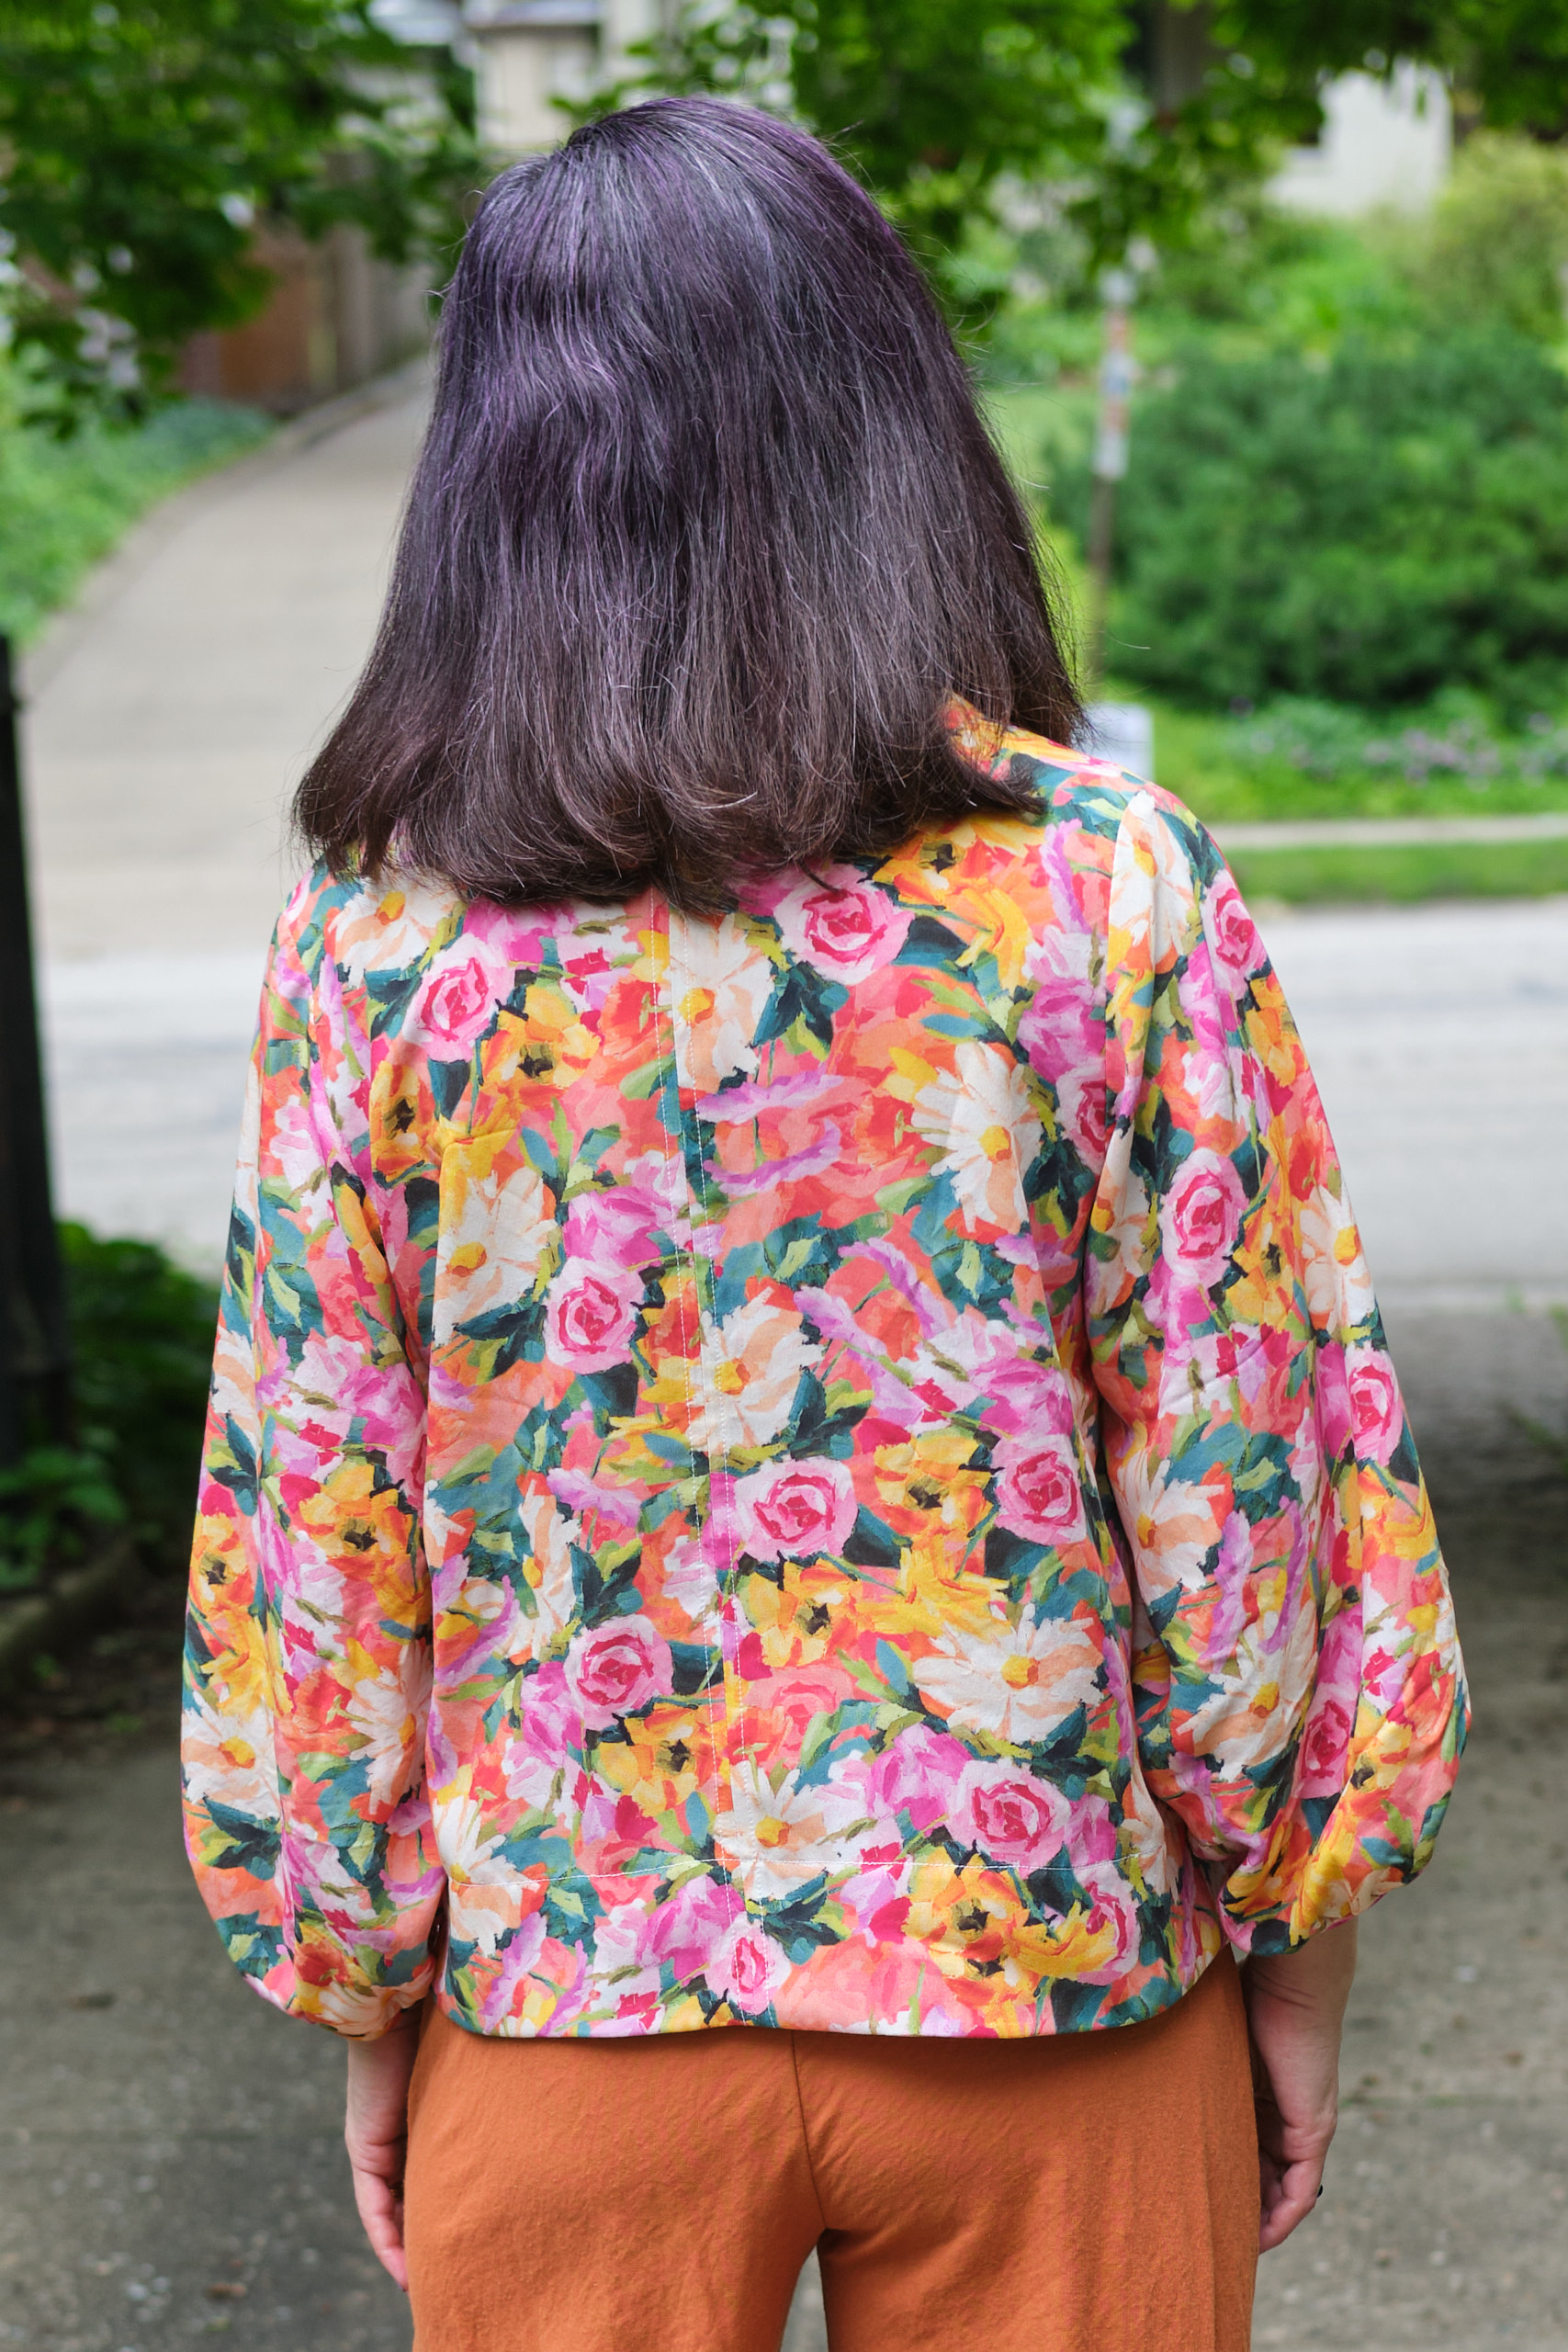
Some testers described this pattern as a “quick sew.” I did not find it quick (and others also disagreed with that description). I think I spent between 5 and 6 hours on it. The main reason it took so long was that the collar construction instructions were confusing and it is a multi-step process. Now that I know how to do it, it would go faster next time, but it will still be an involved process, with inner and outer interfaced layers, top stitching, and stitch-in-the-ditch or hand stitching to finish. Sewing the point of the V is tricky because once you sew past the point in the fabric you no longer can see your 3/8 inch guide on your sewing machine. I ended up marking the stitch lines around the point in pencil so I could see where to stitch. I didn’t cut the facing around the v-neck 100% symmetrically and this was evident when I initially top-stitched the V. I removed the stitching and did it again and it looked a lot better the second time. Next time I will double check the facing before I sew it on. I pinned the collar pieces together backwards and the pieces didn’t fit together right. But I realized my mistake and repinned before sewing. The final version of the pattern instructions are a bit clearer on the process. It still takes soe effort but it is a really nice finish. The final version also now has a ruffled neck option.
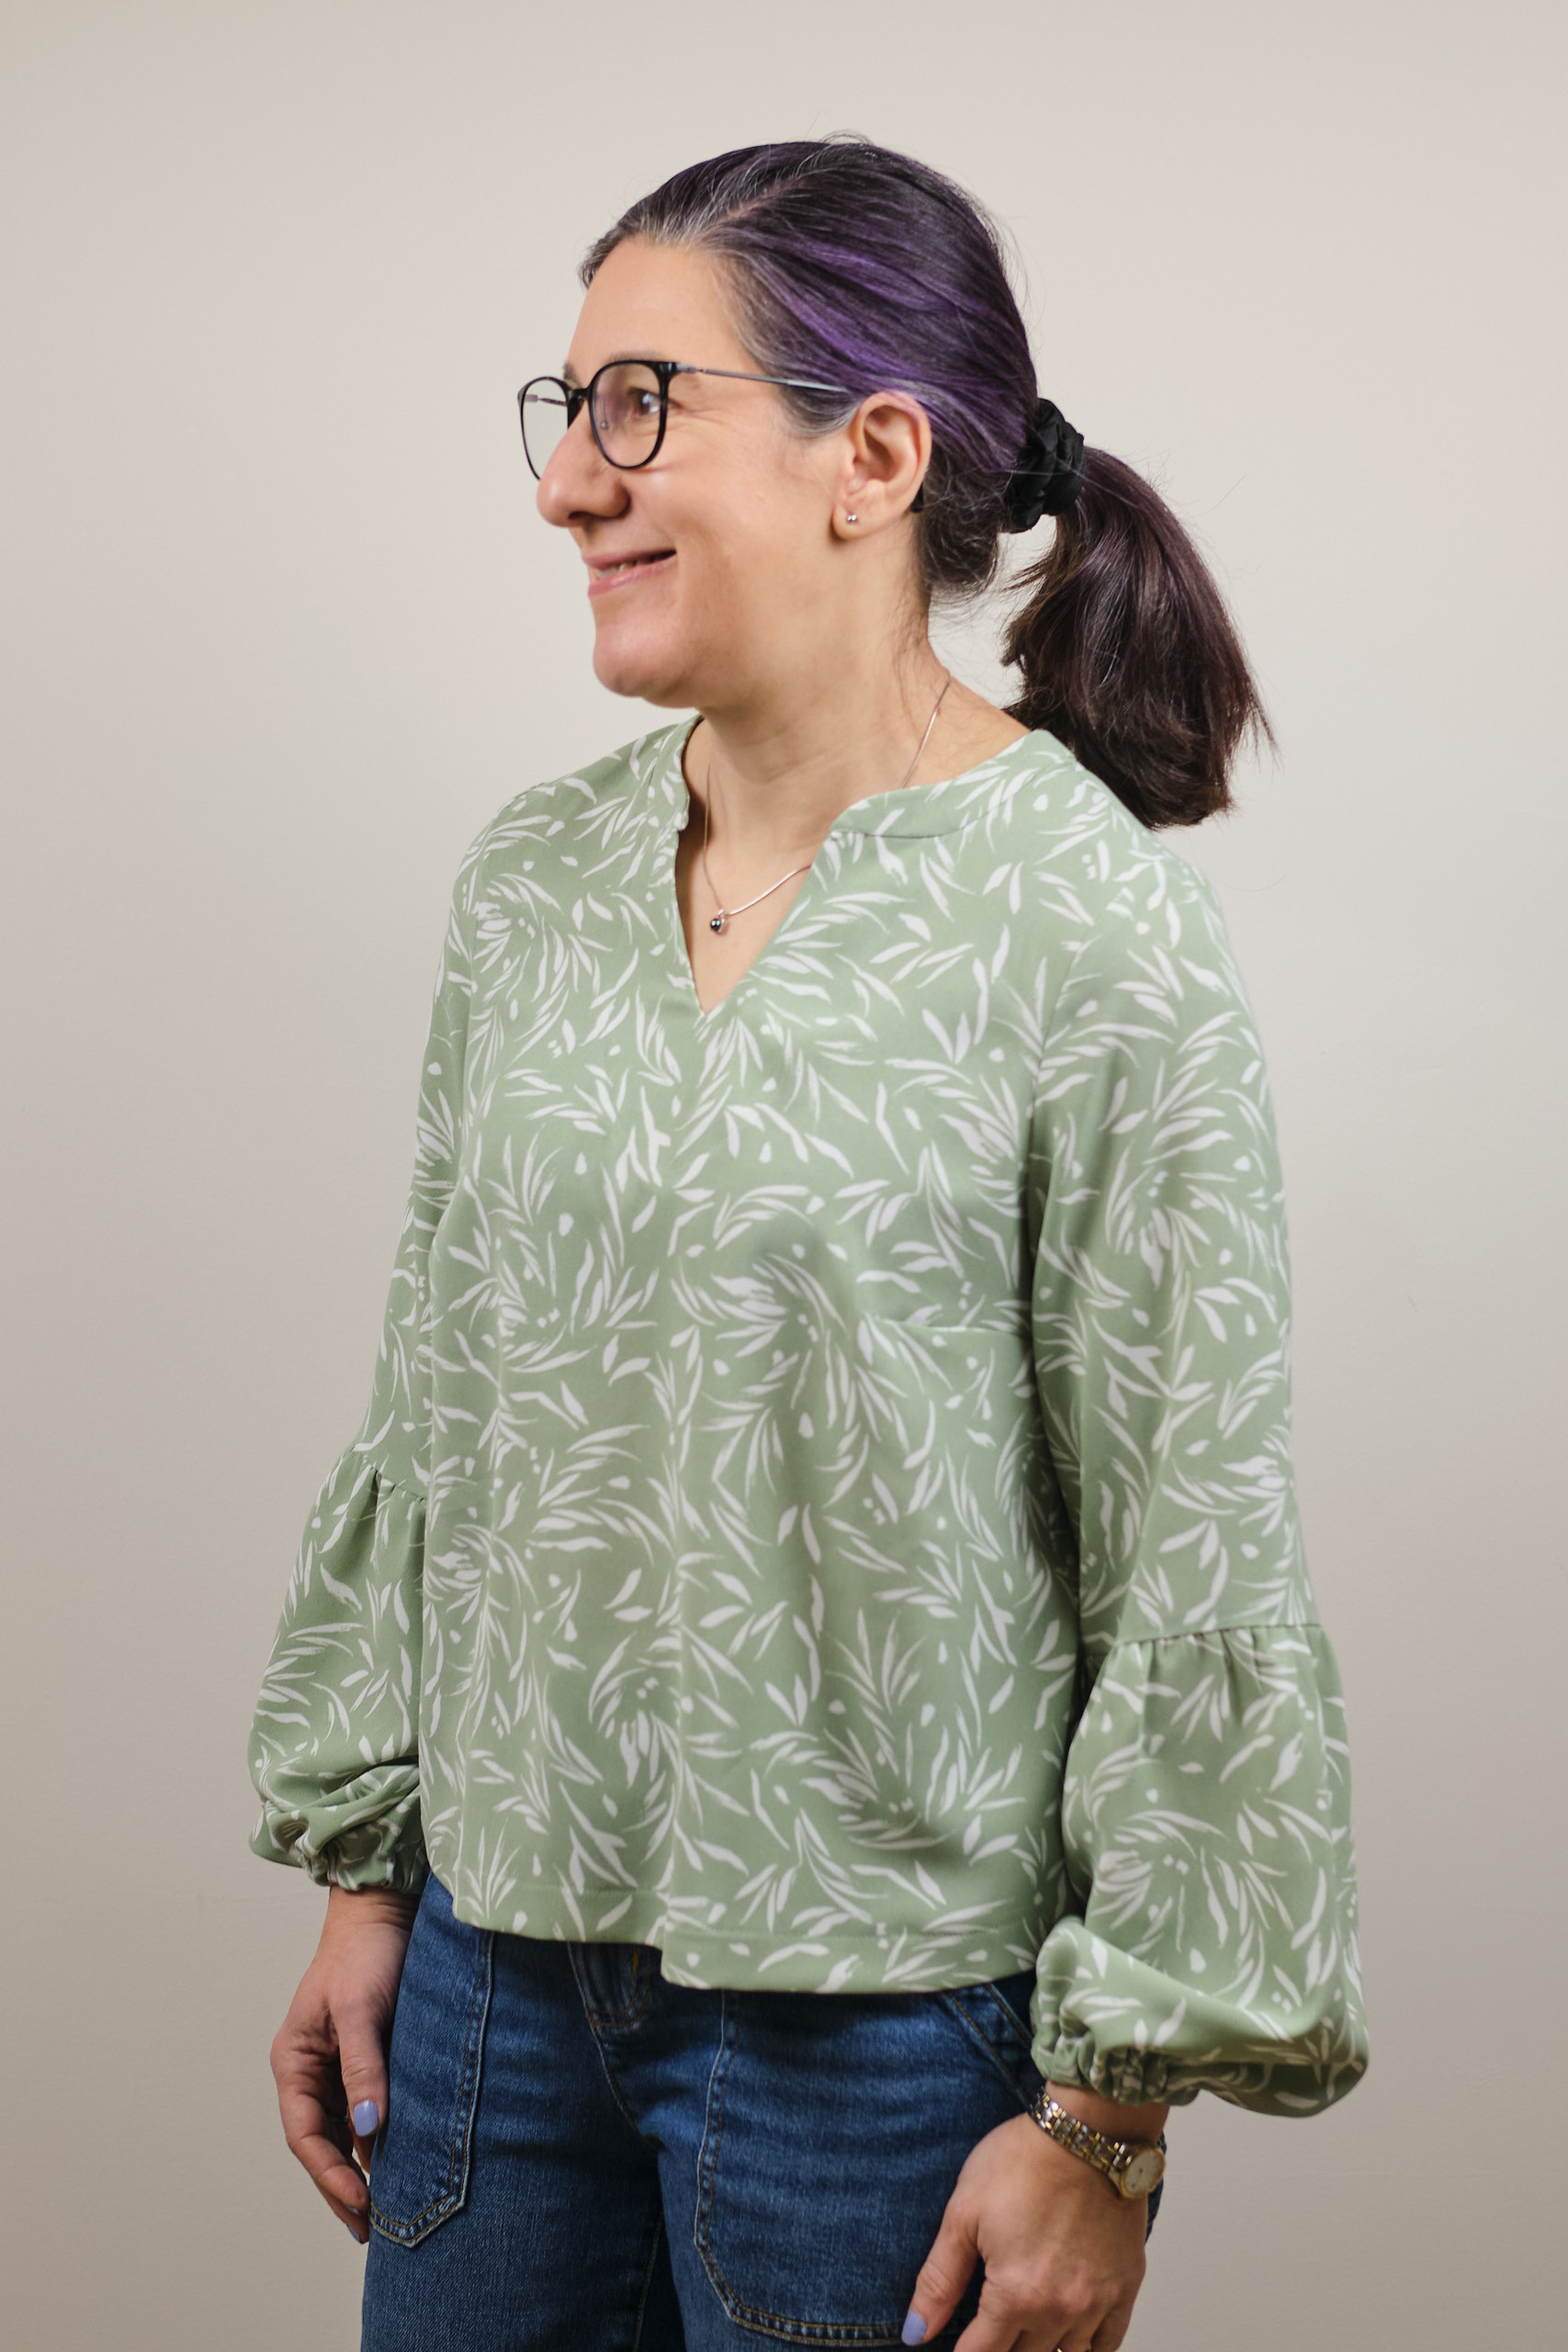
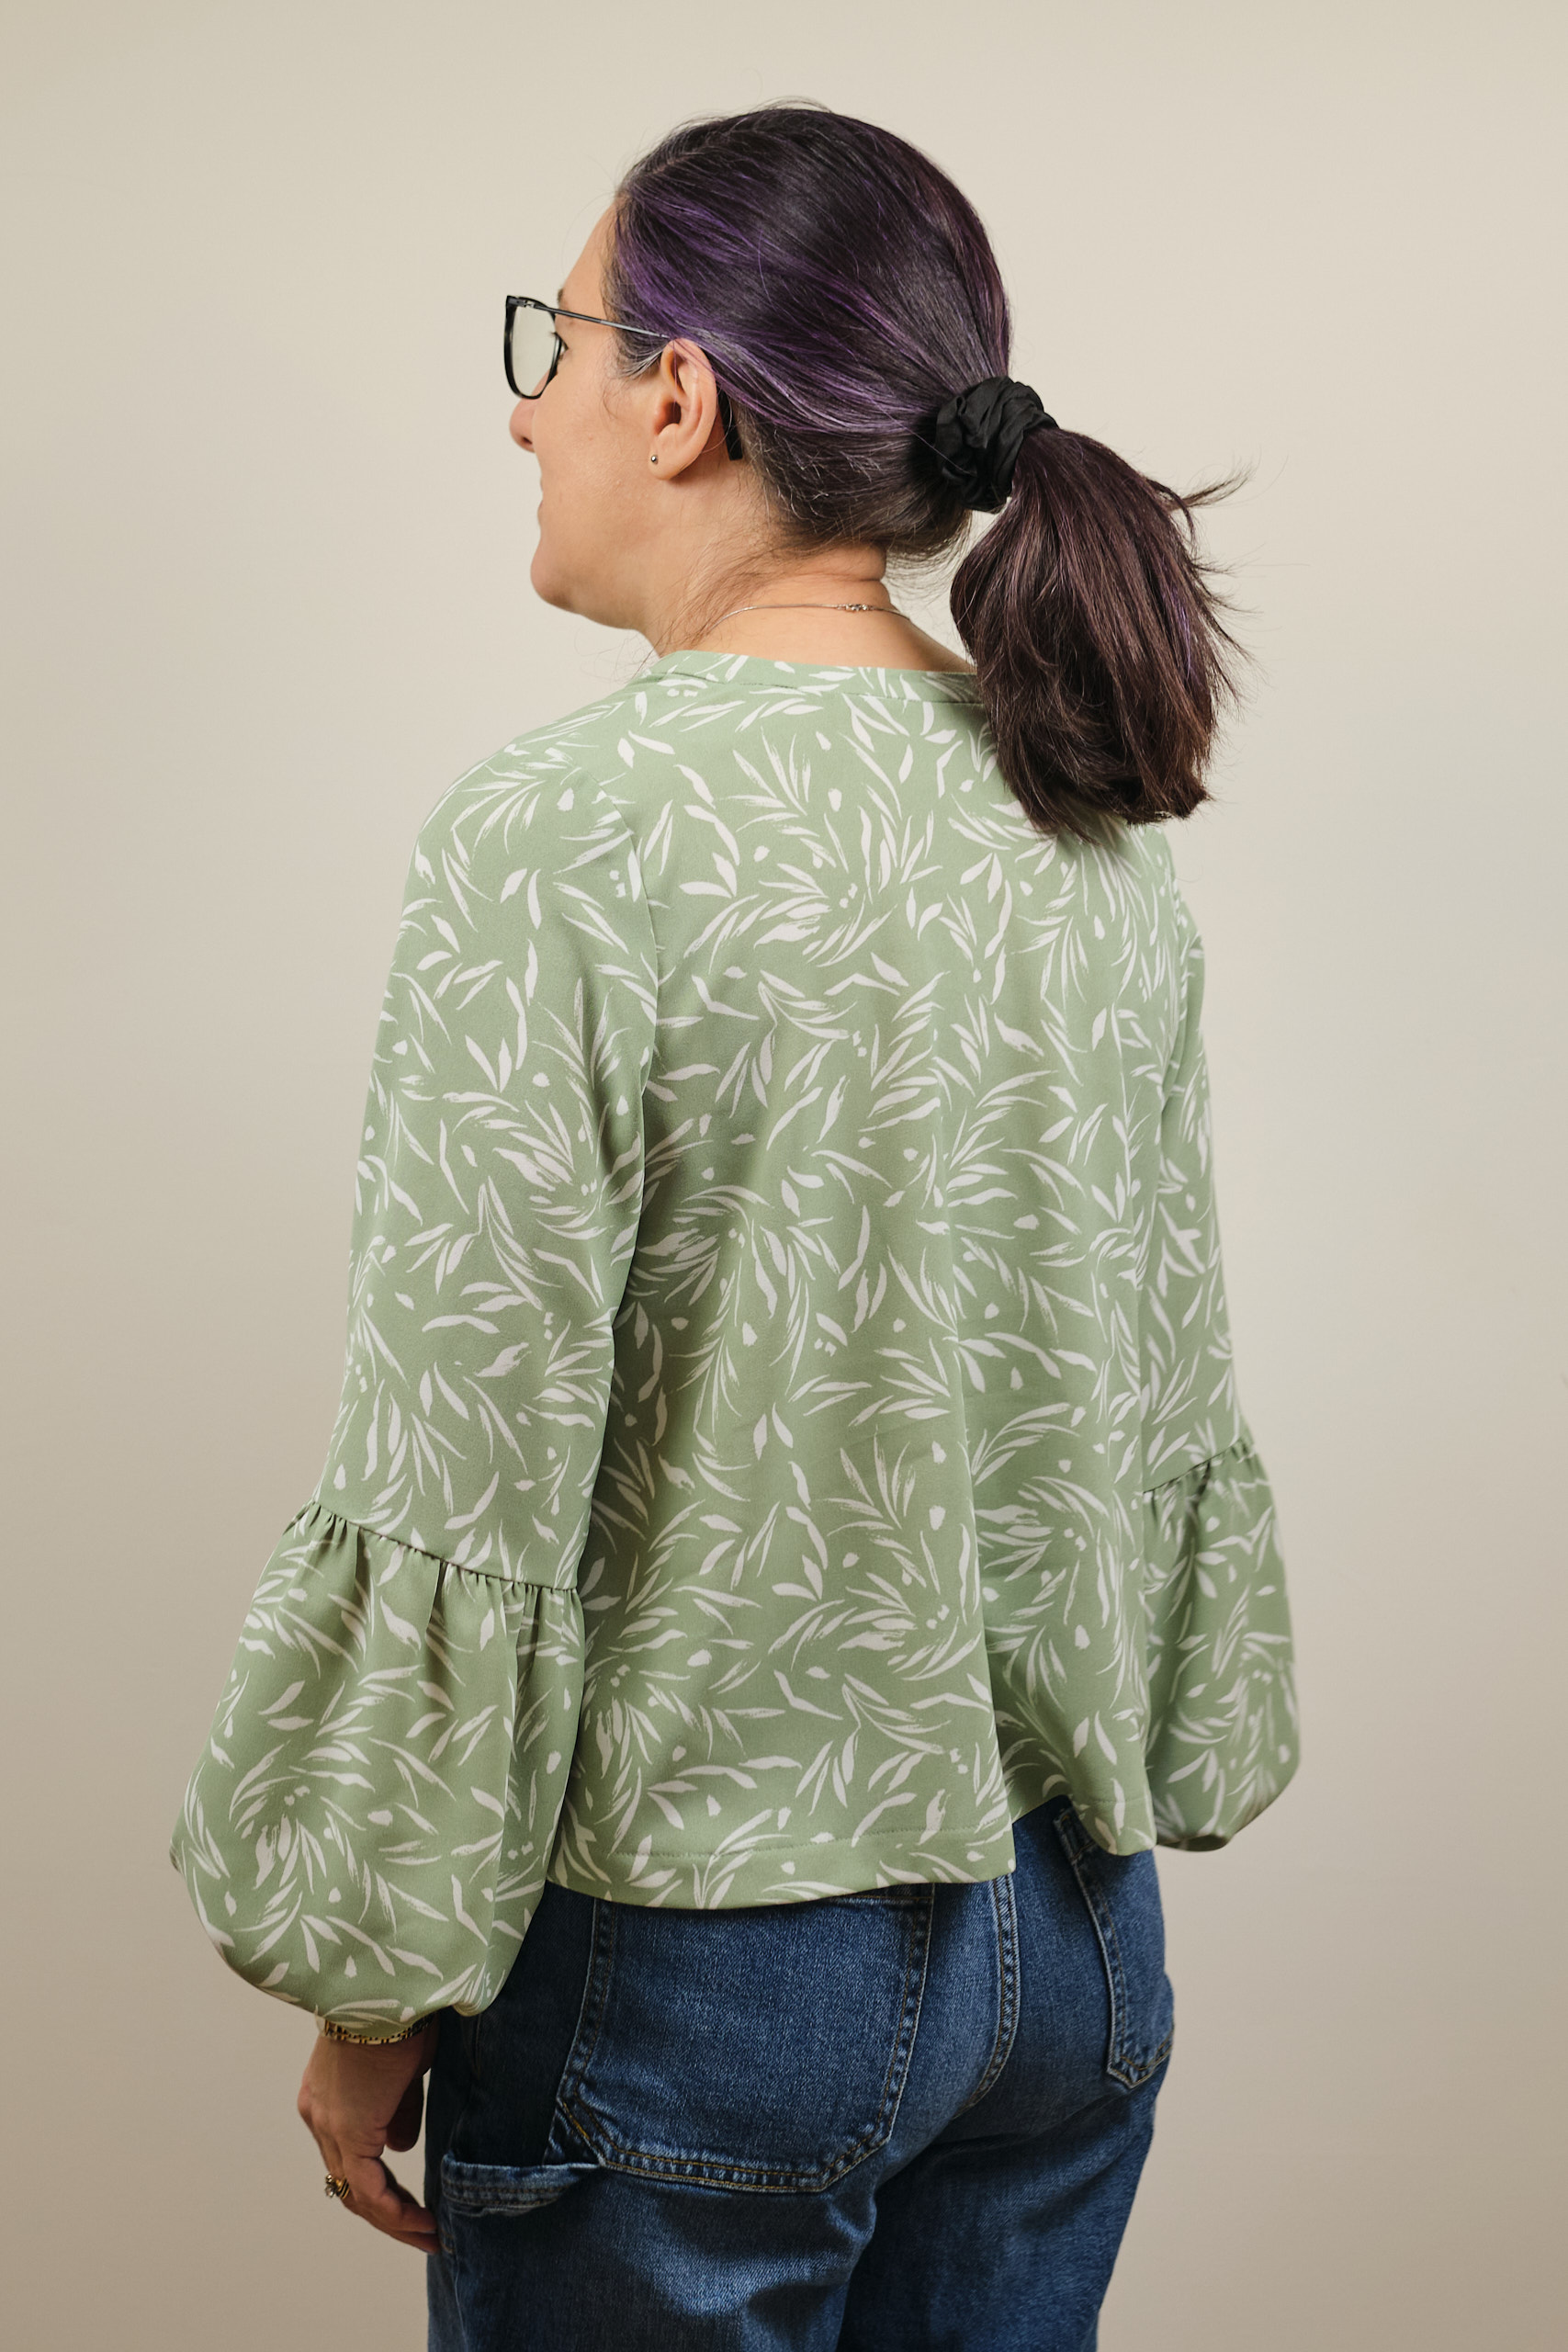
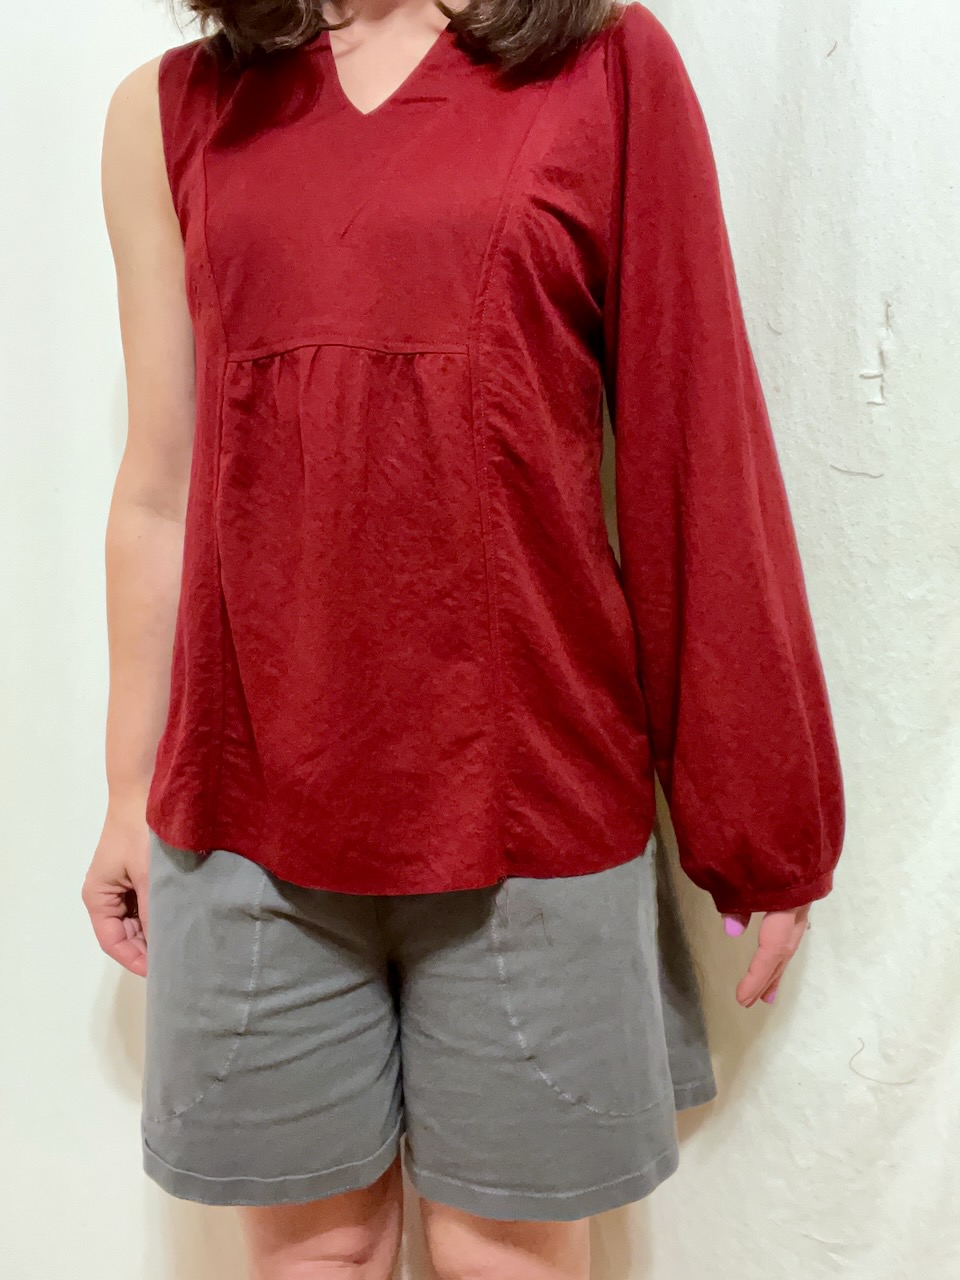
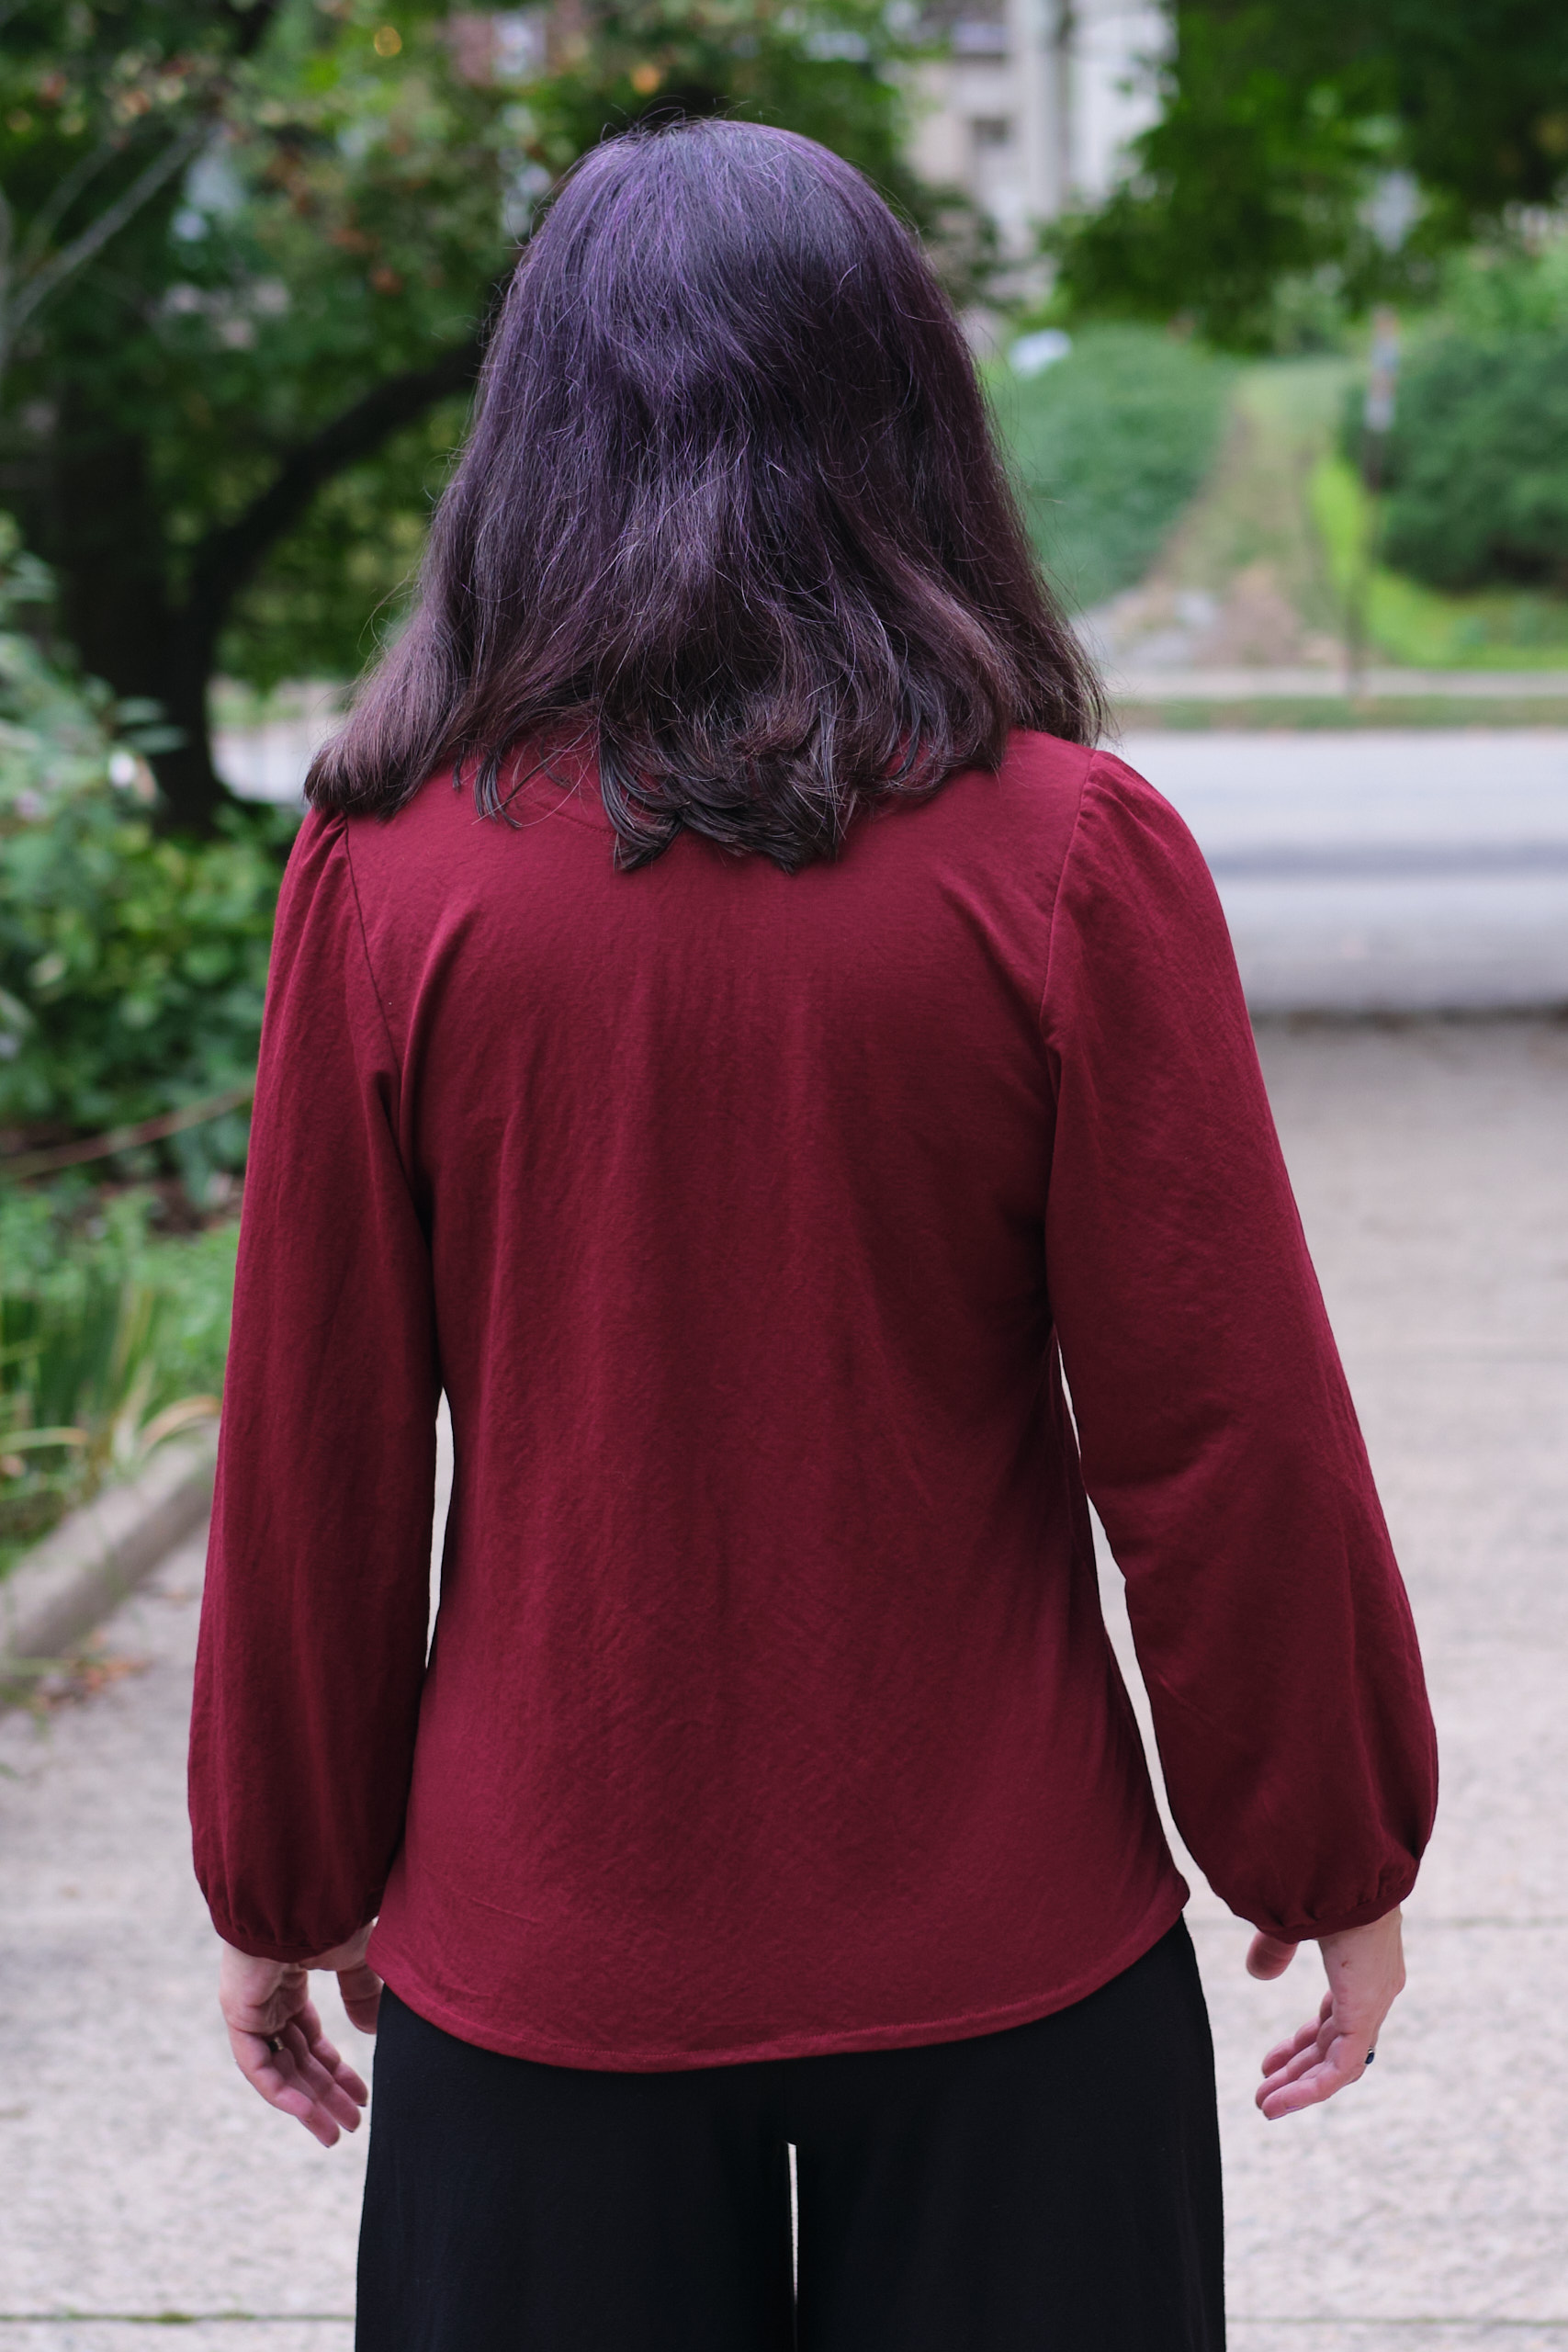
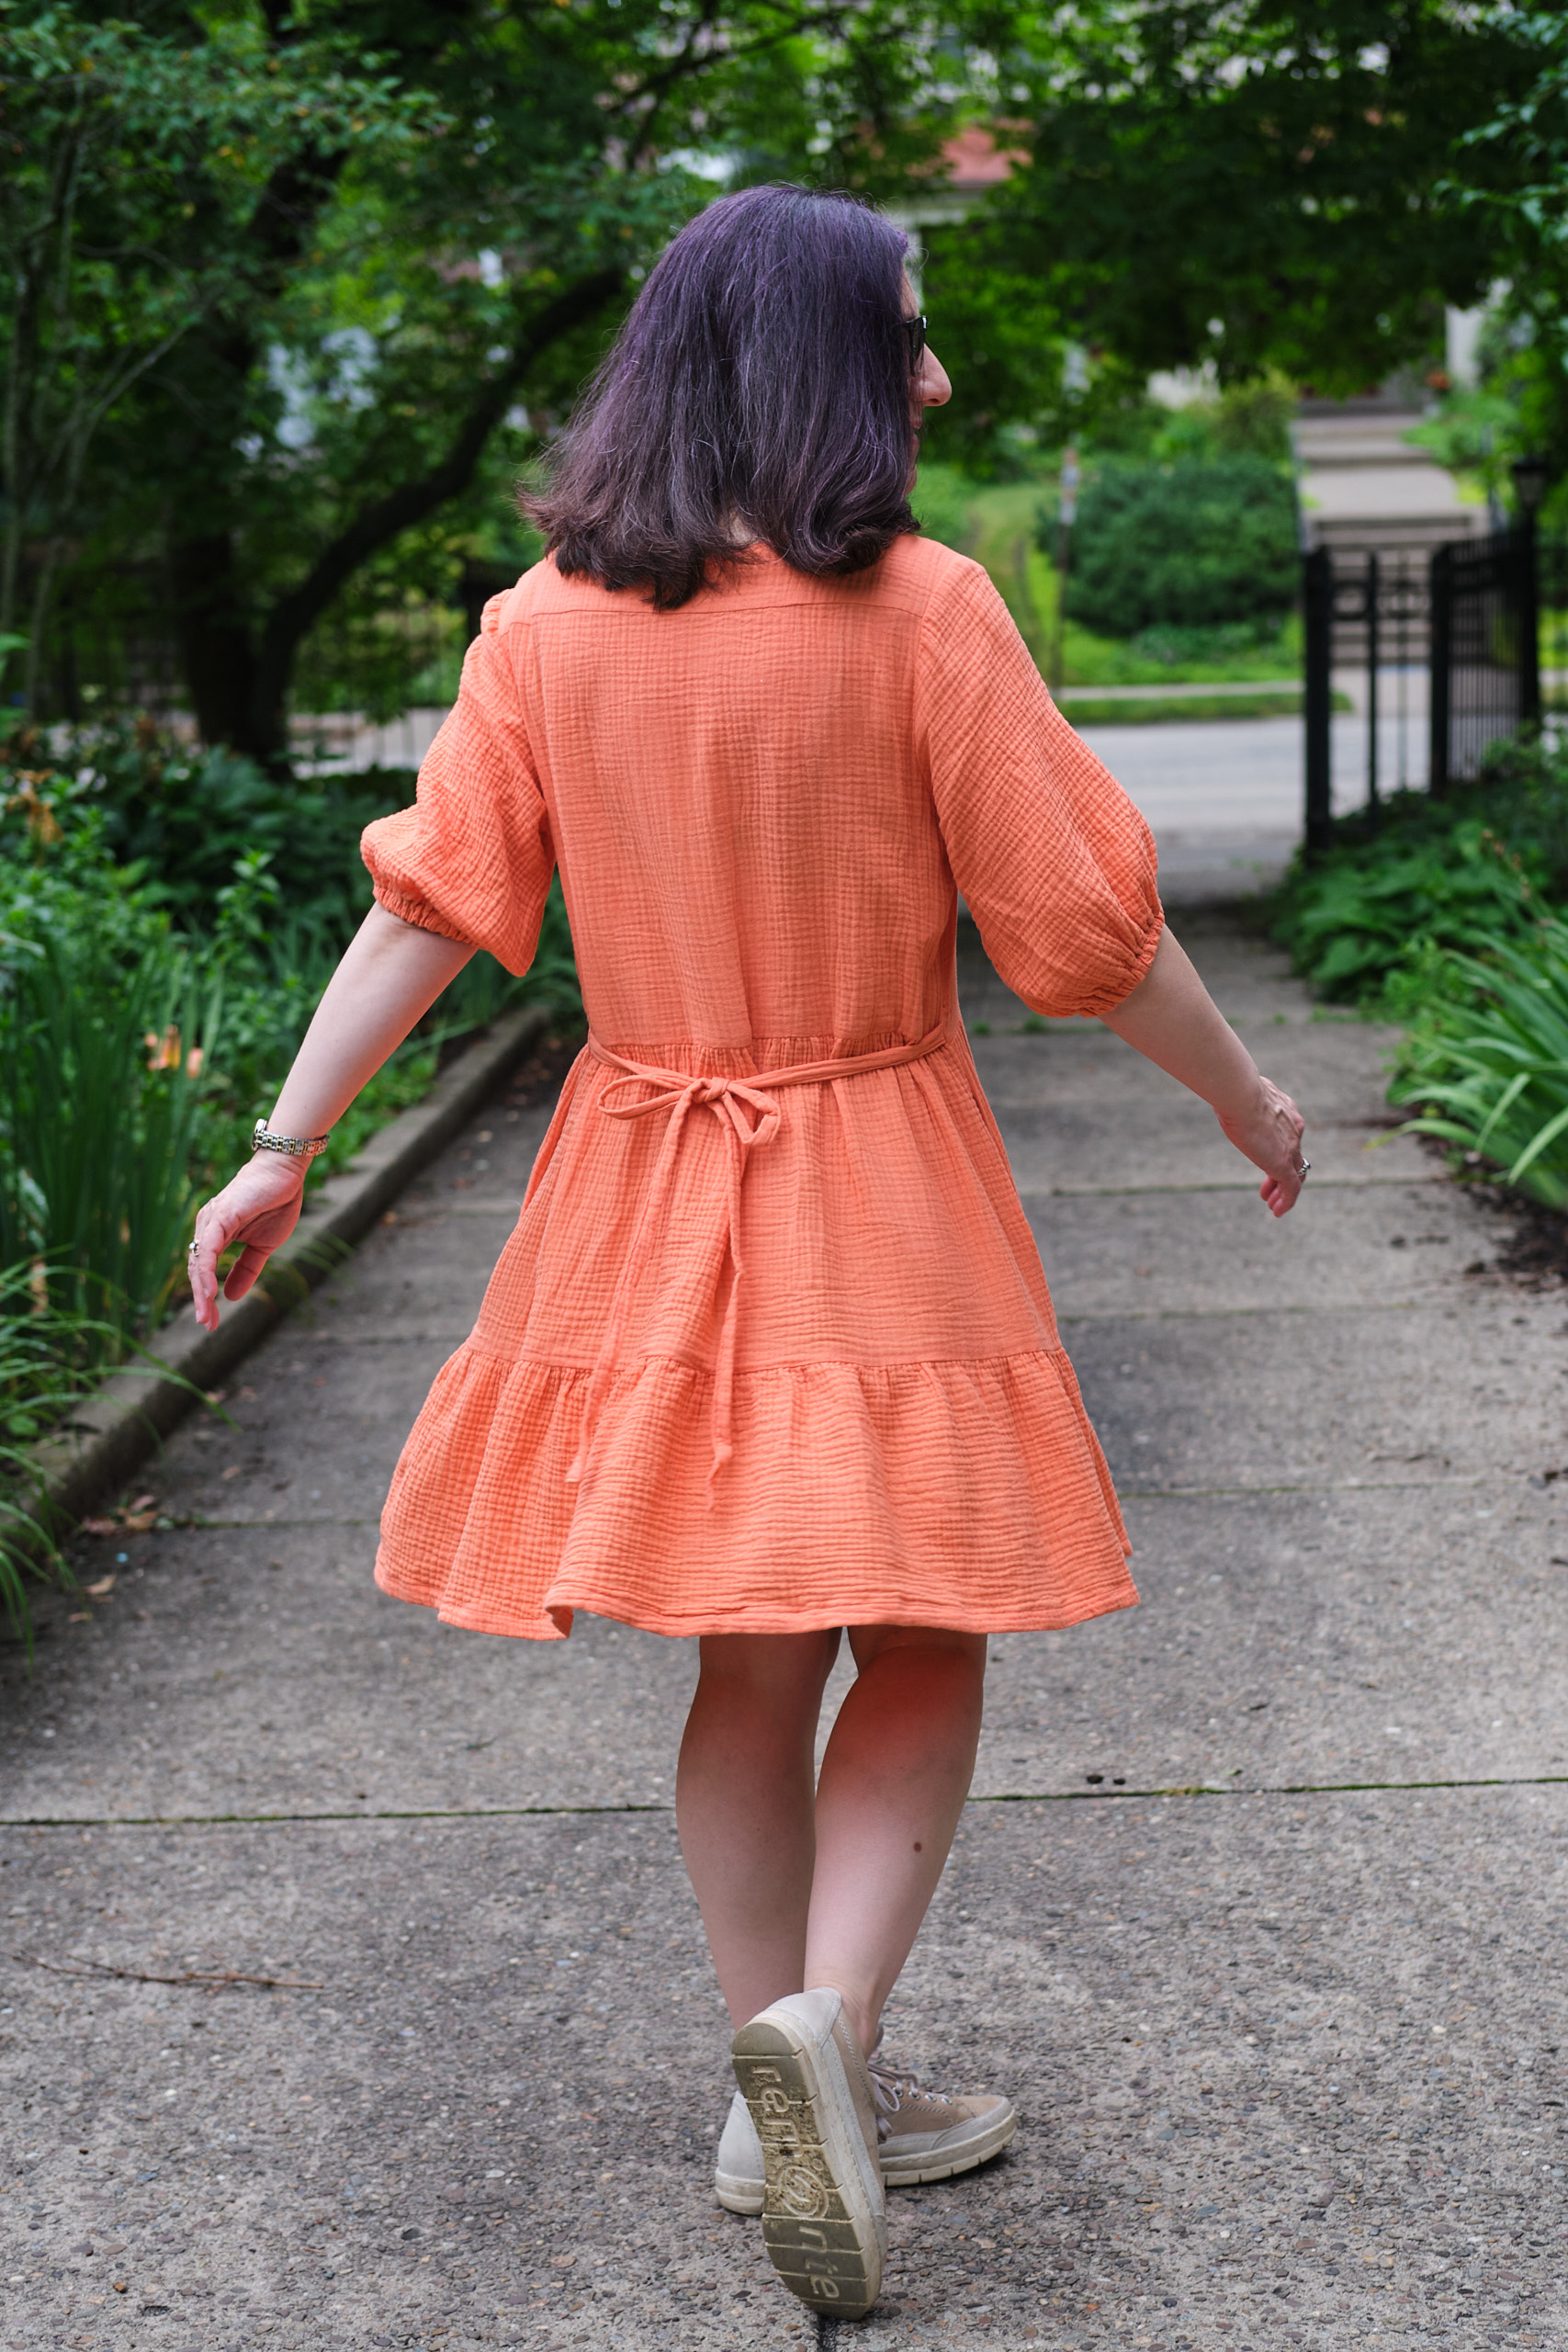
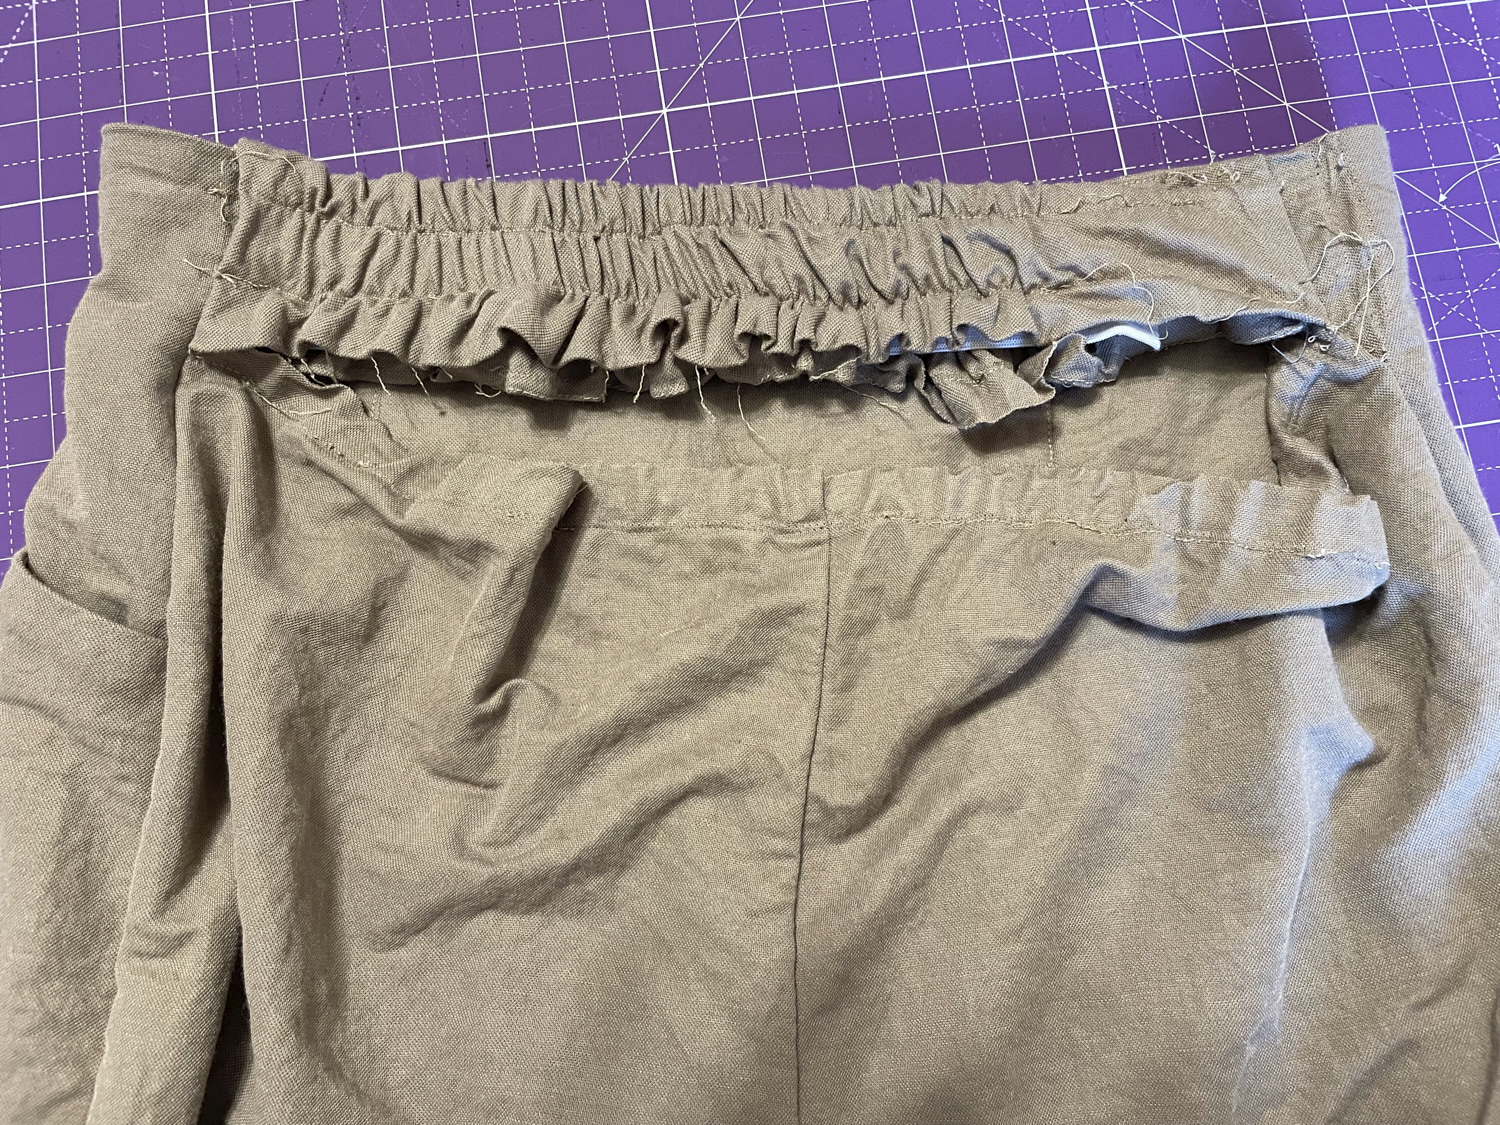
The height and sleeve adjustments worked well for me. The tiered sleeves were pretty easy to construct and look nice. The pattern called for 5.5 inches of elastic at the wrist of each sleeve. I used 7 inches instead for more comfort, and could probably have gone even bigger. The final version of the pattern has adjusted the elastic lengths based on tester feedback, but it’s always a good idea to wrap the elastic around your wrist and adjust as appropriate for you.
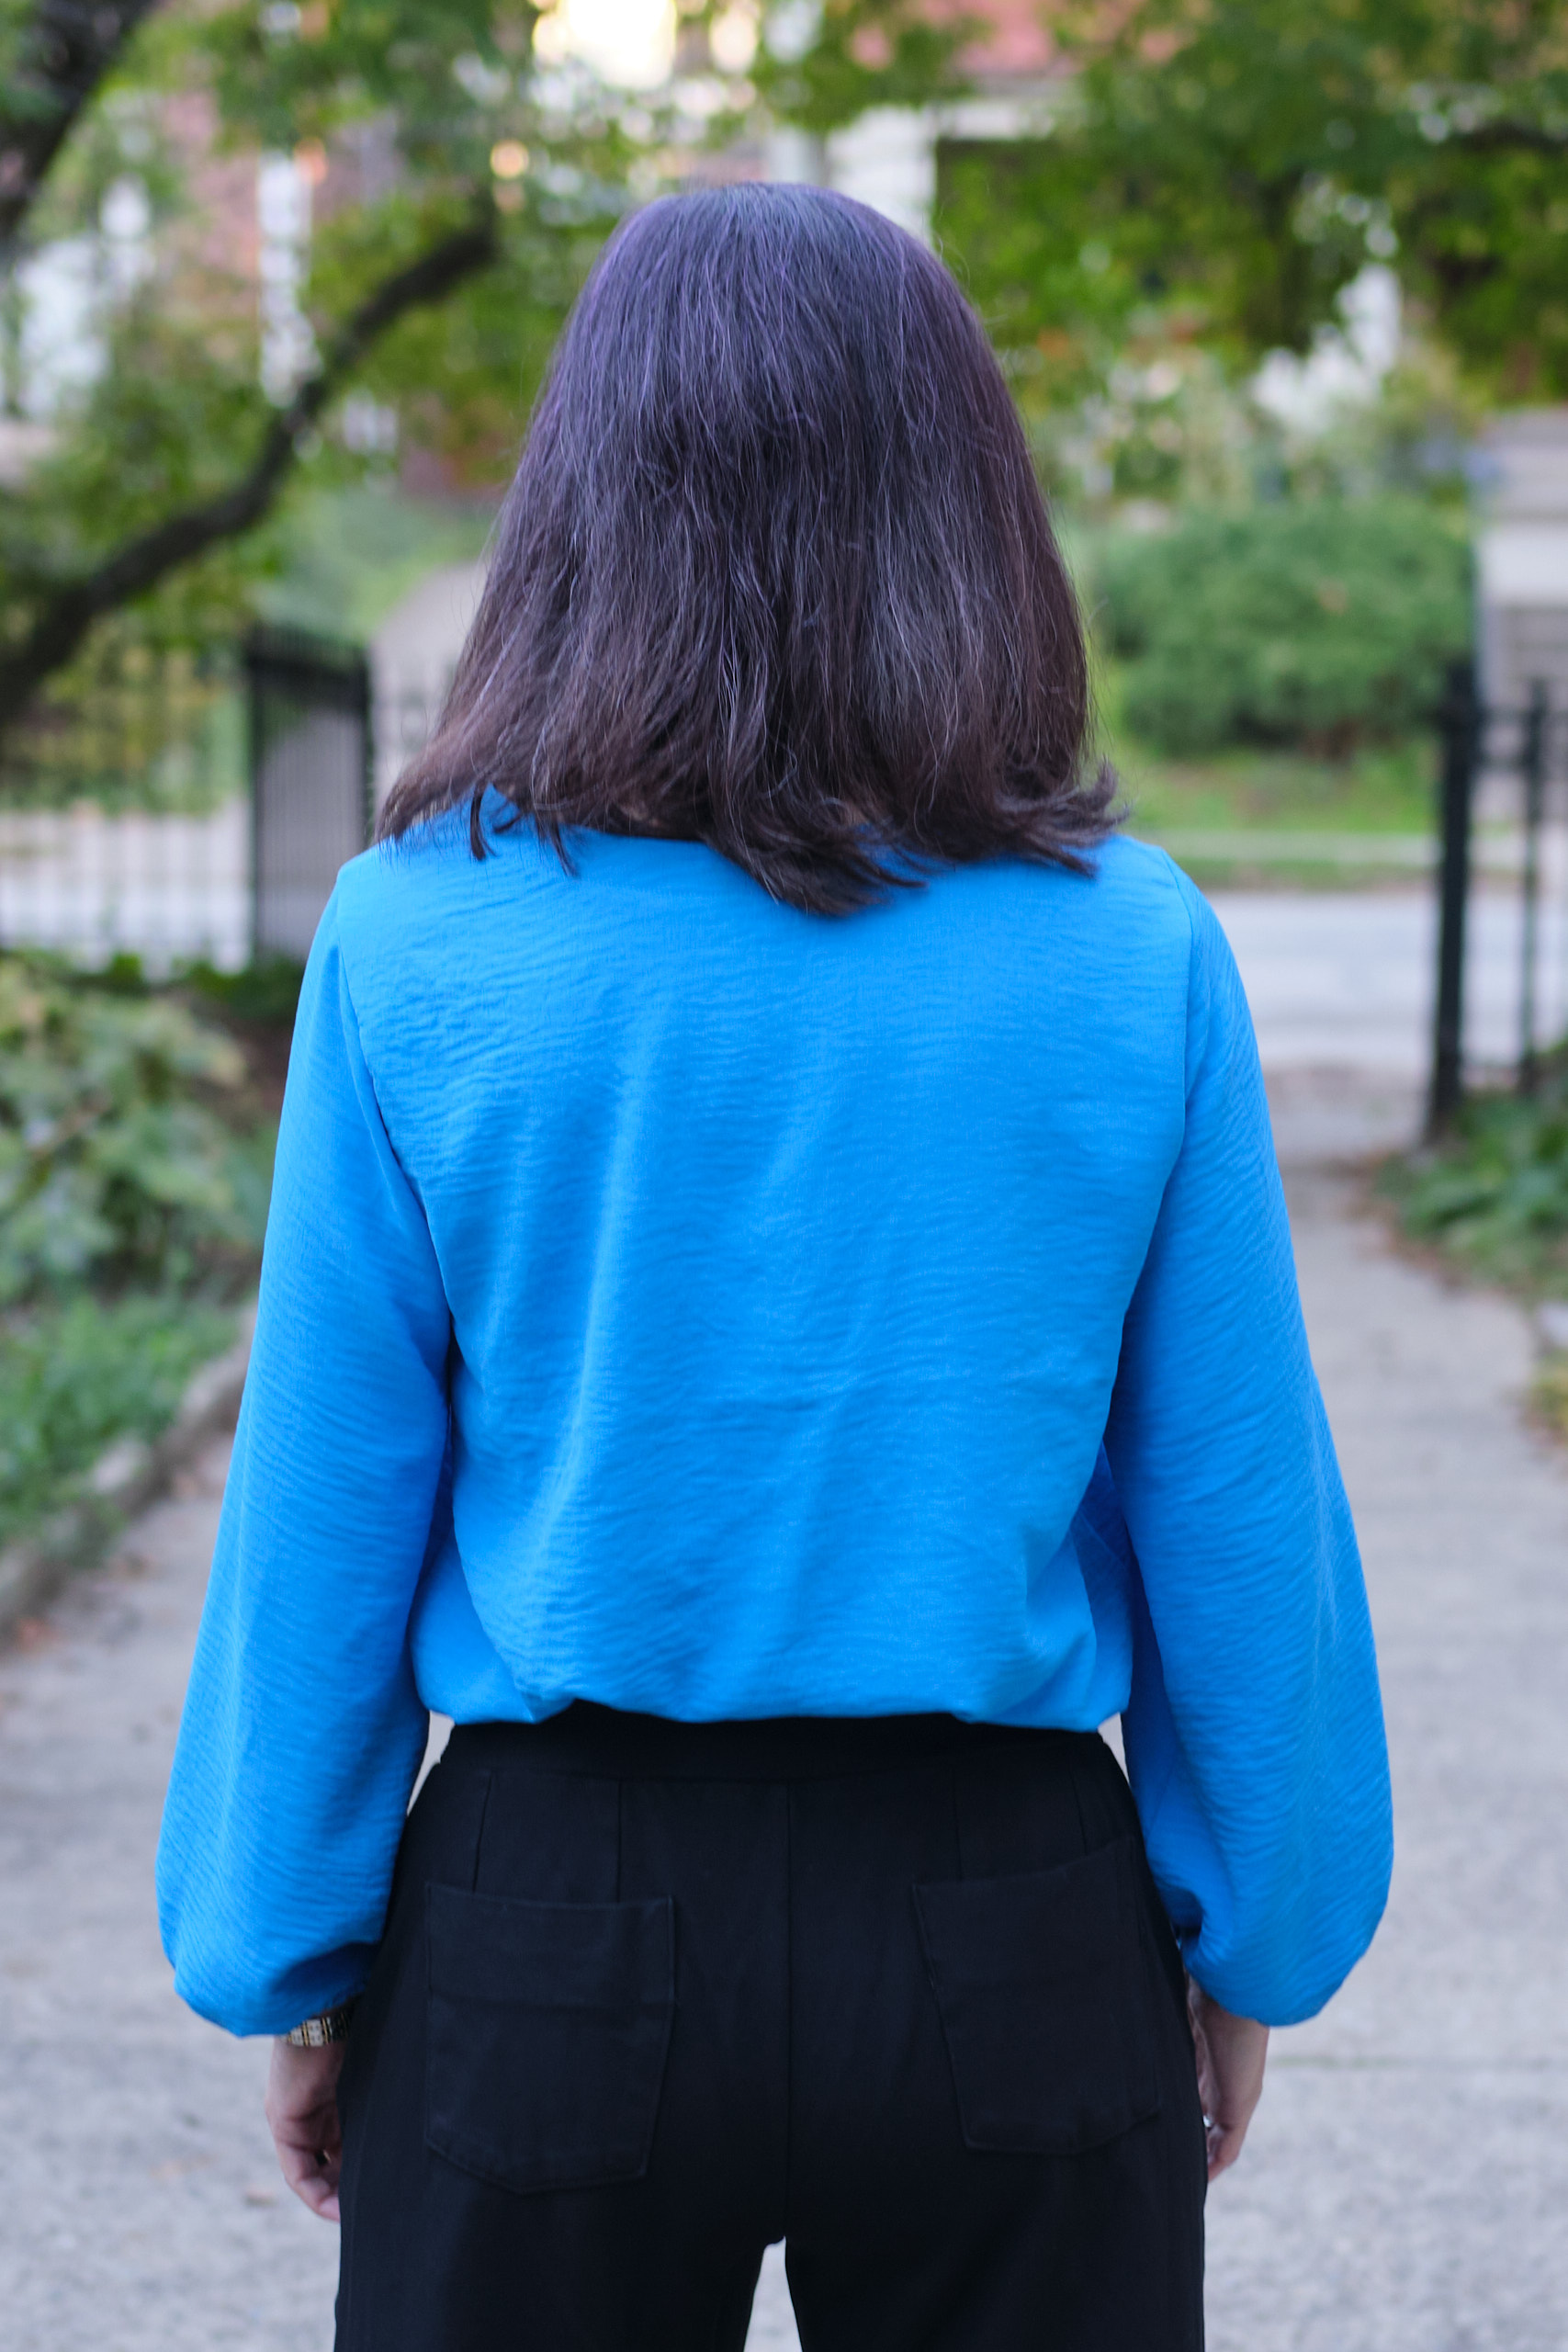
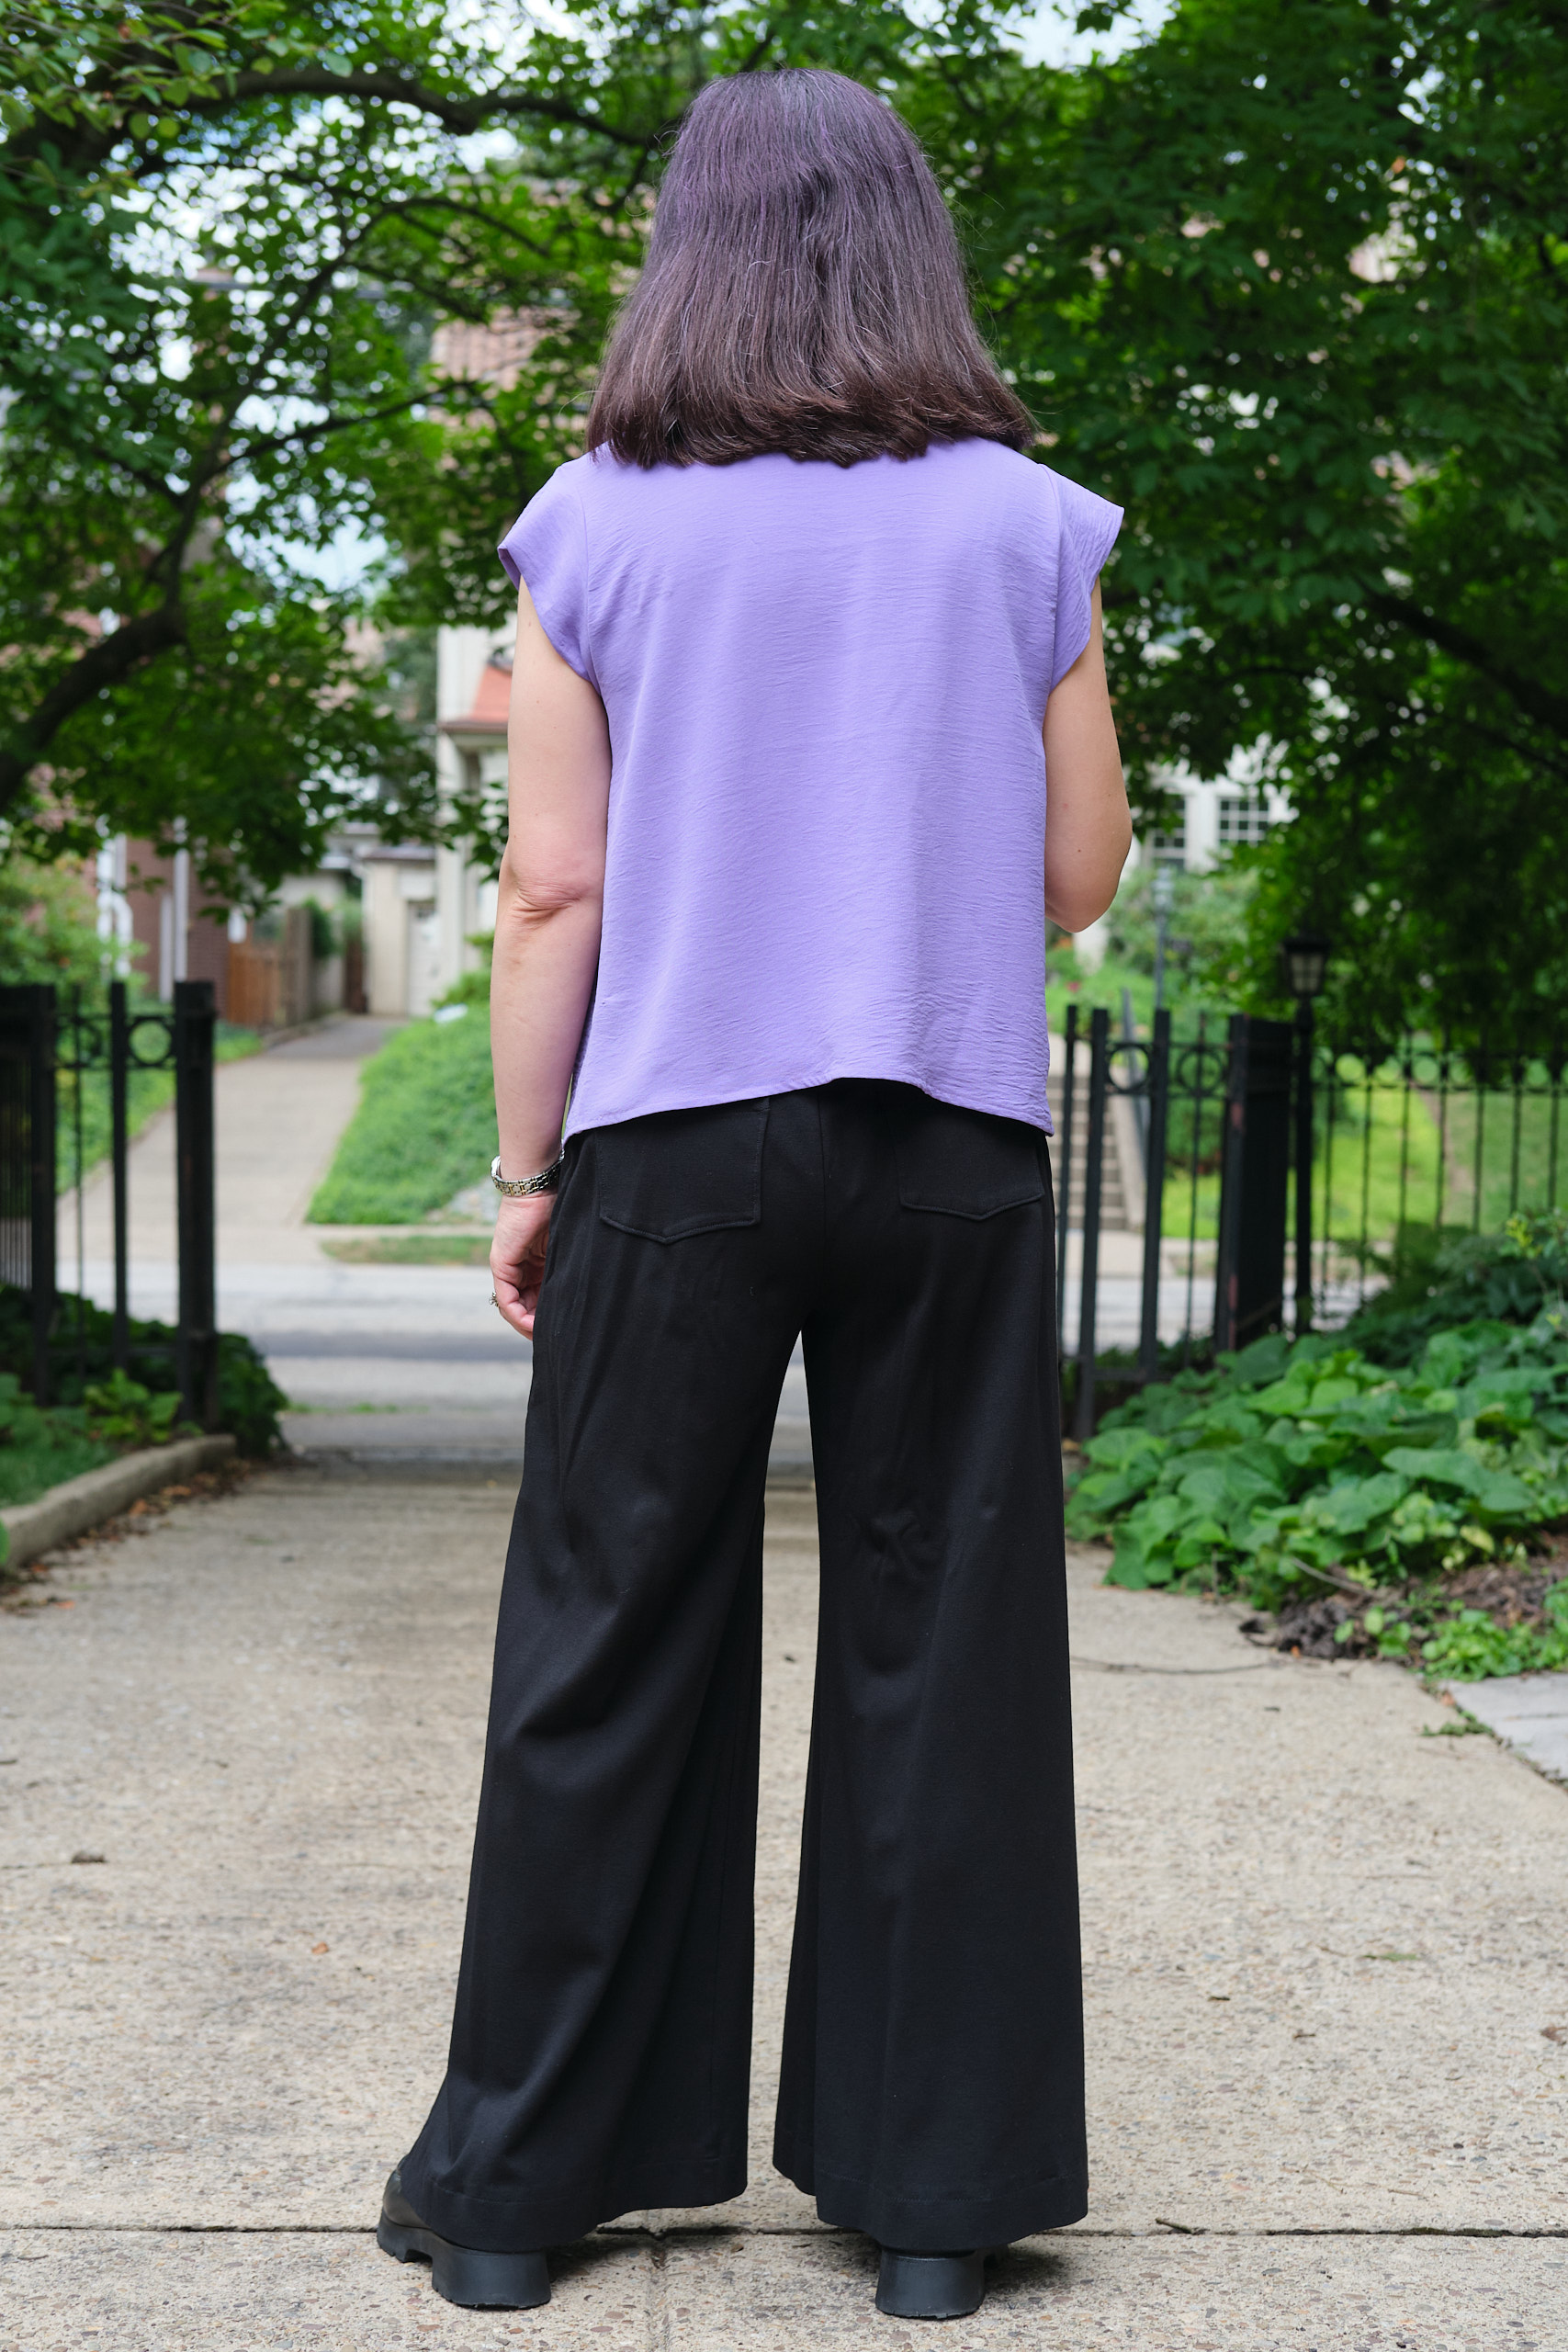
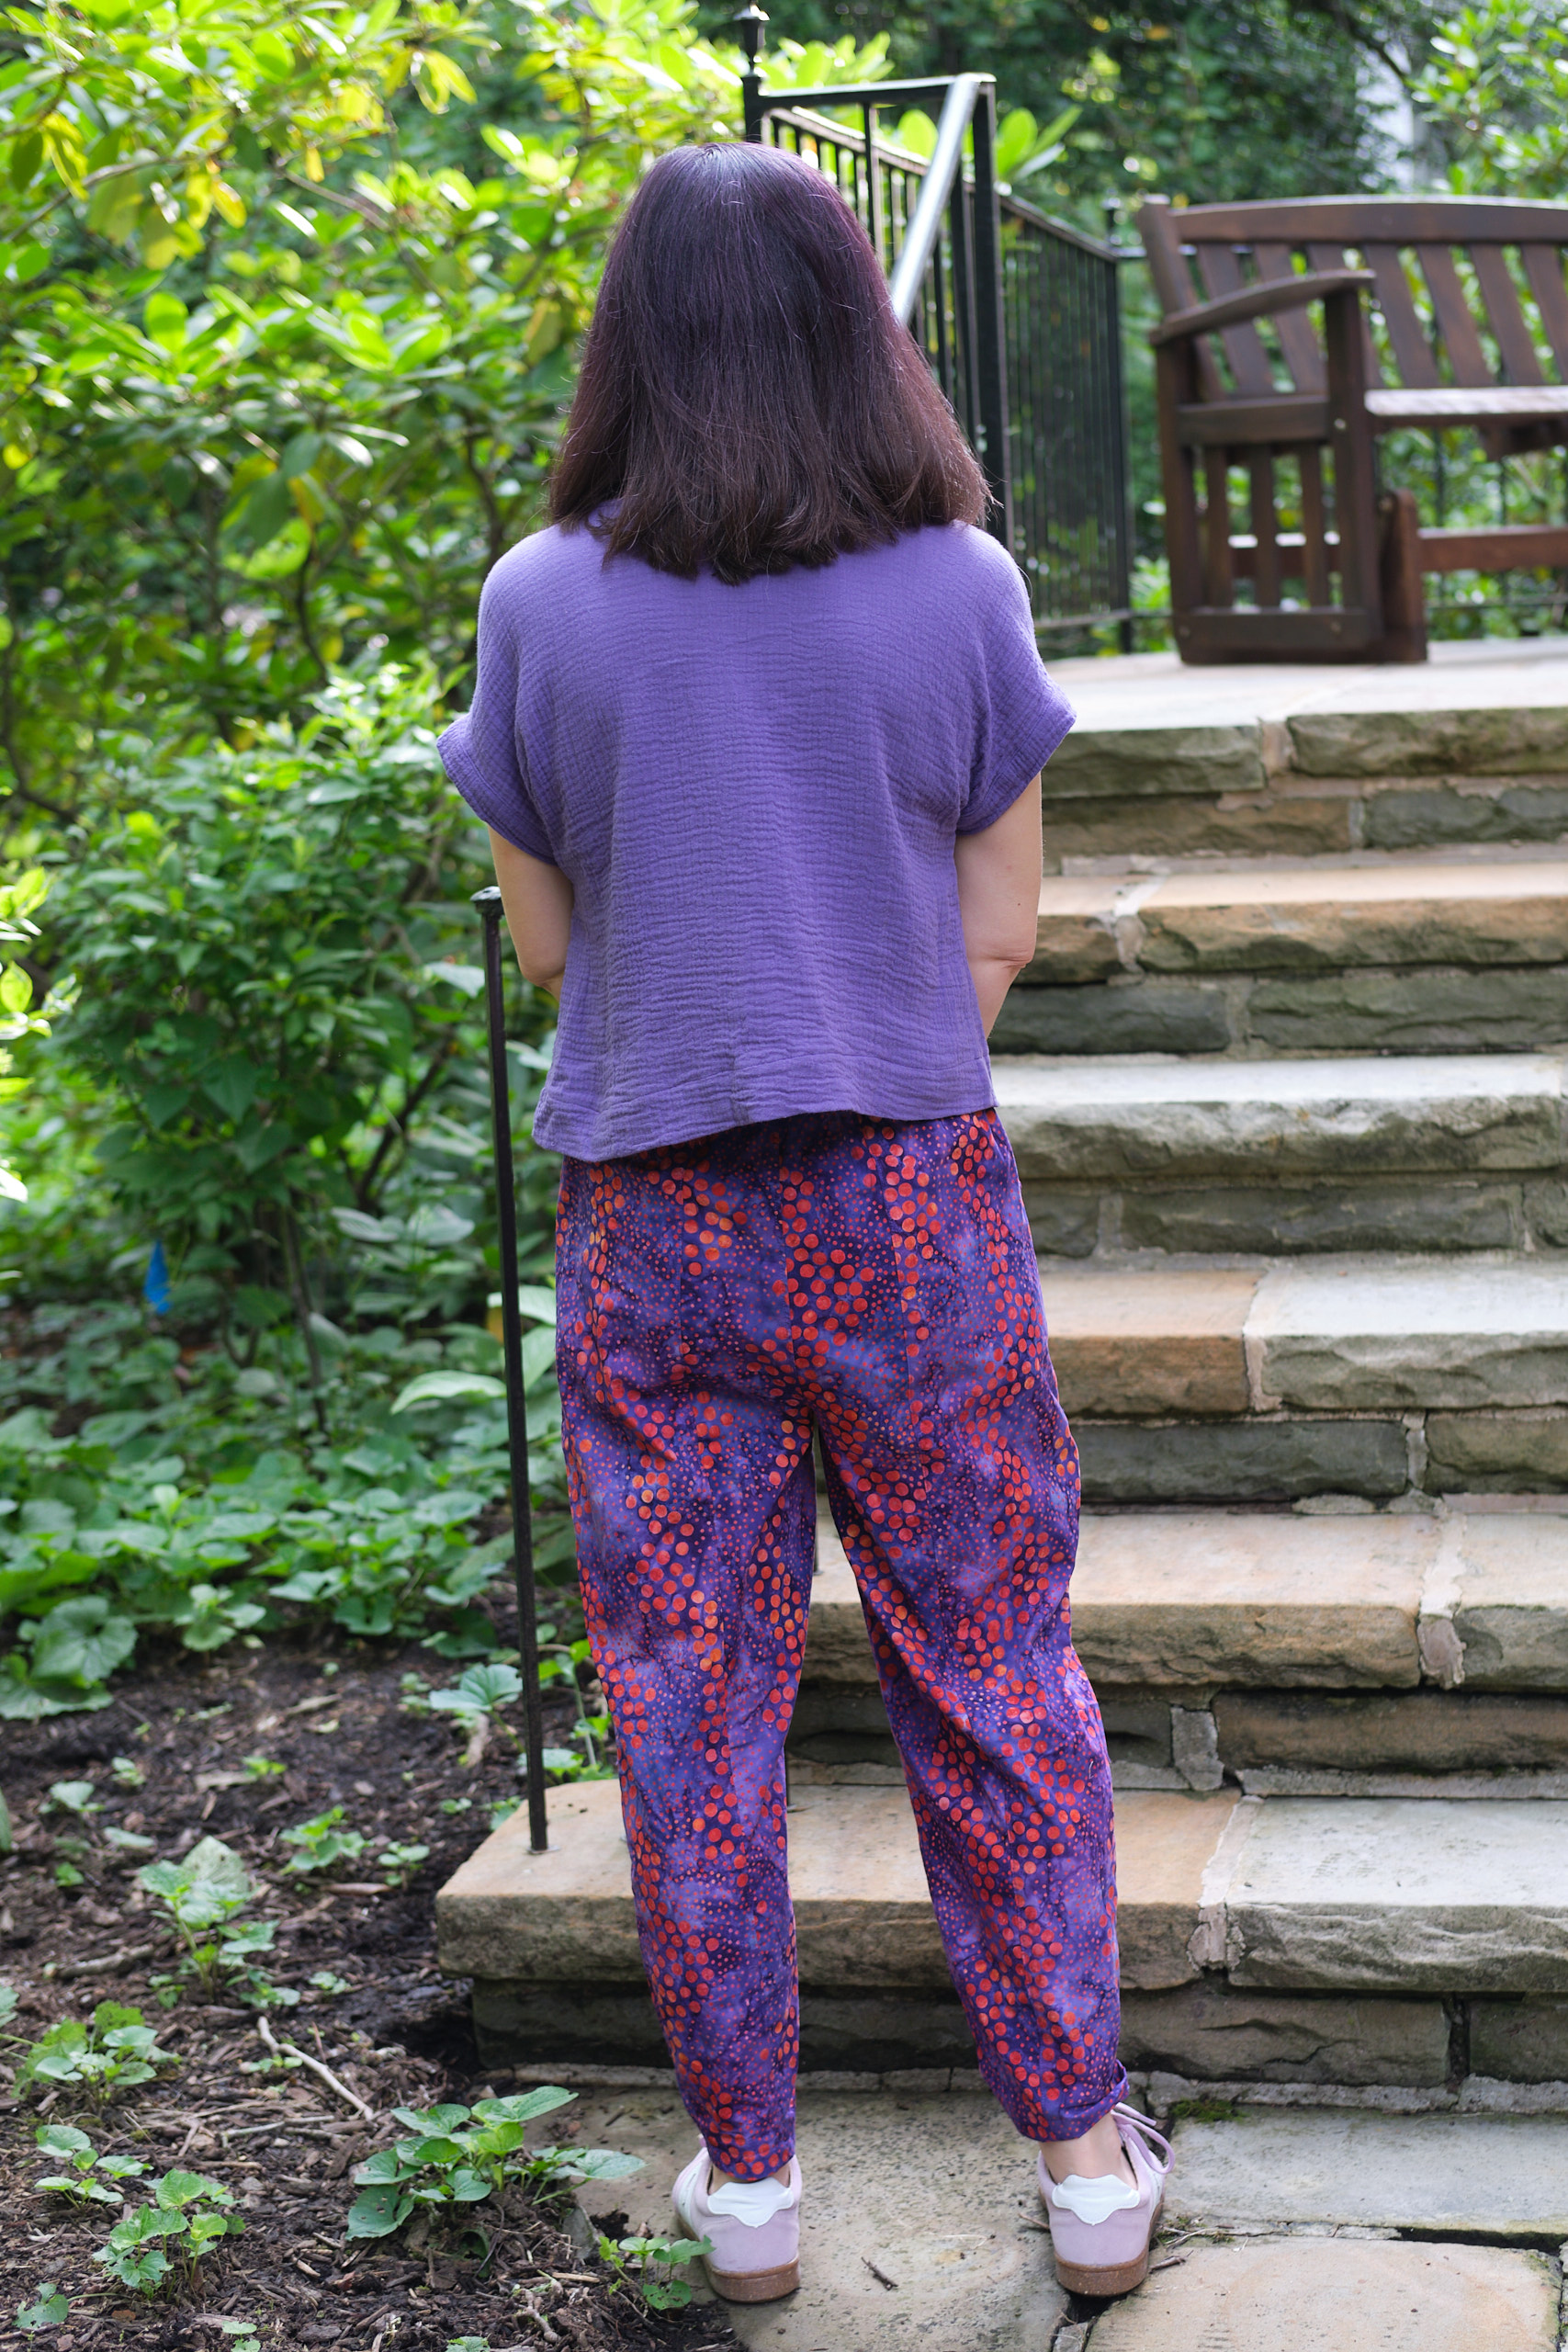
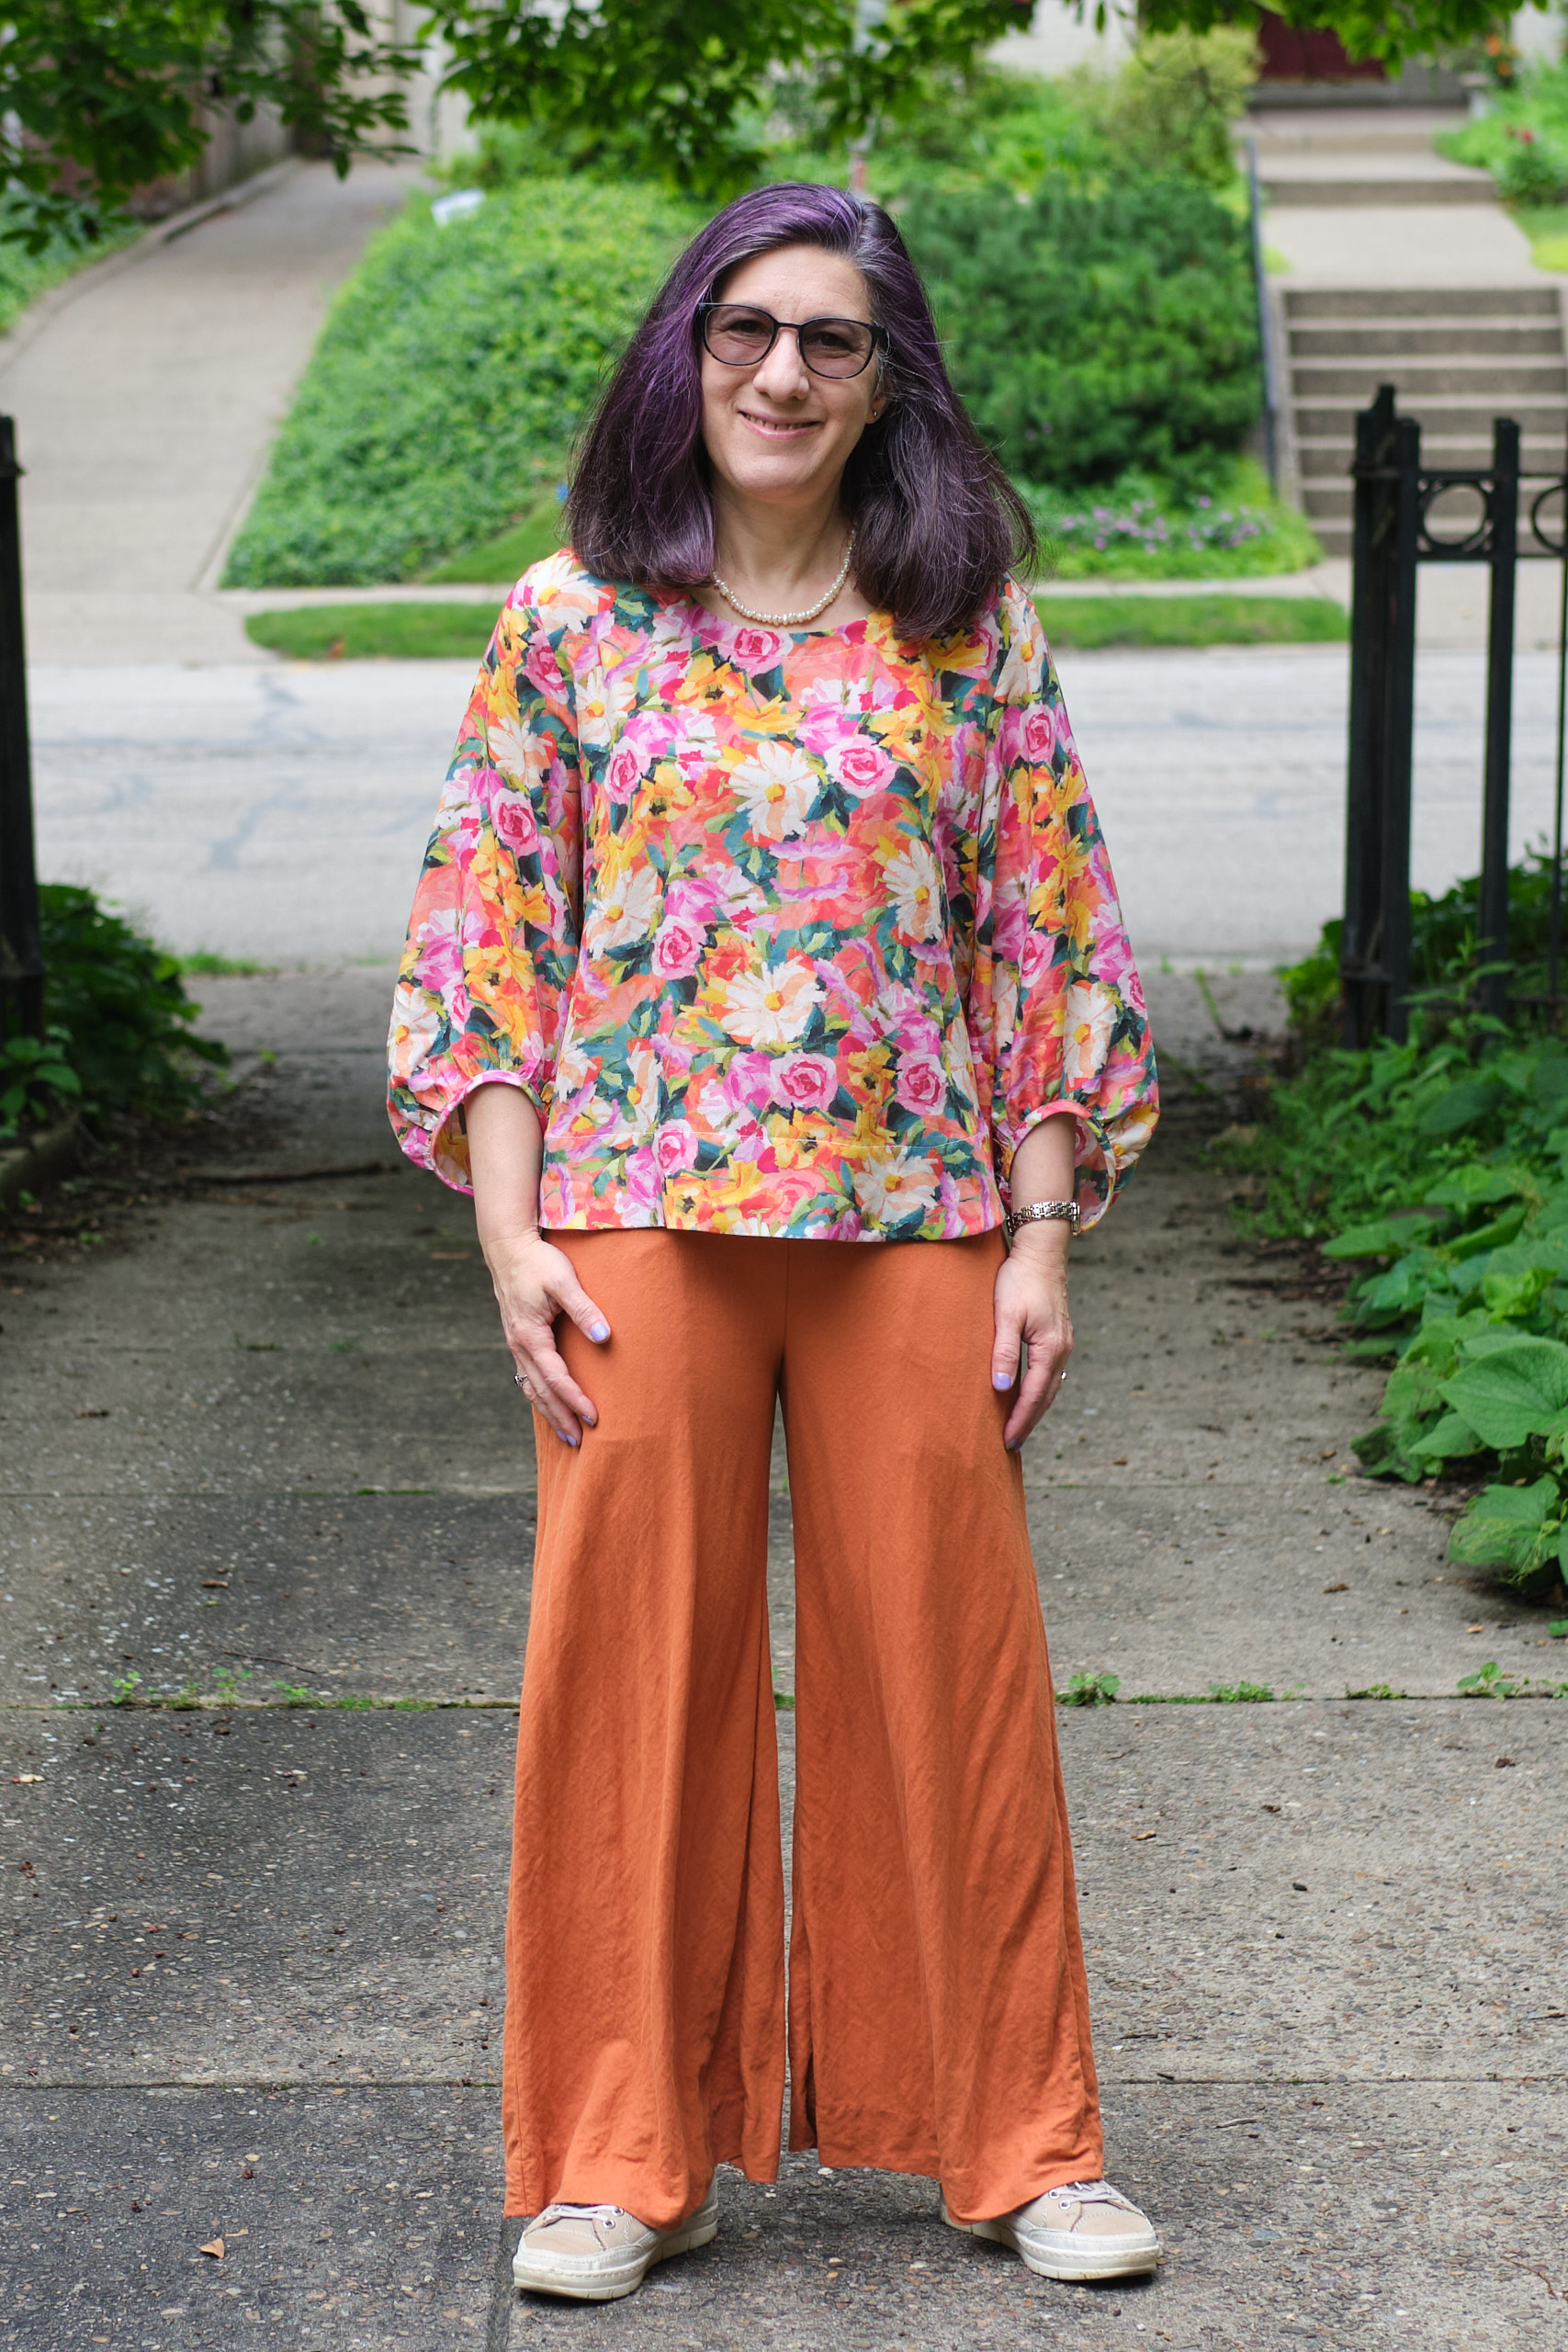
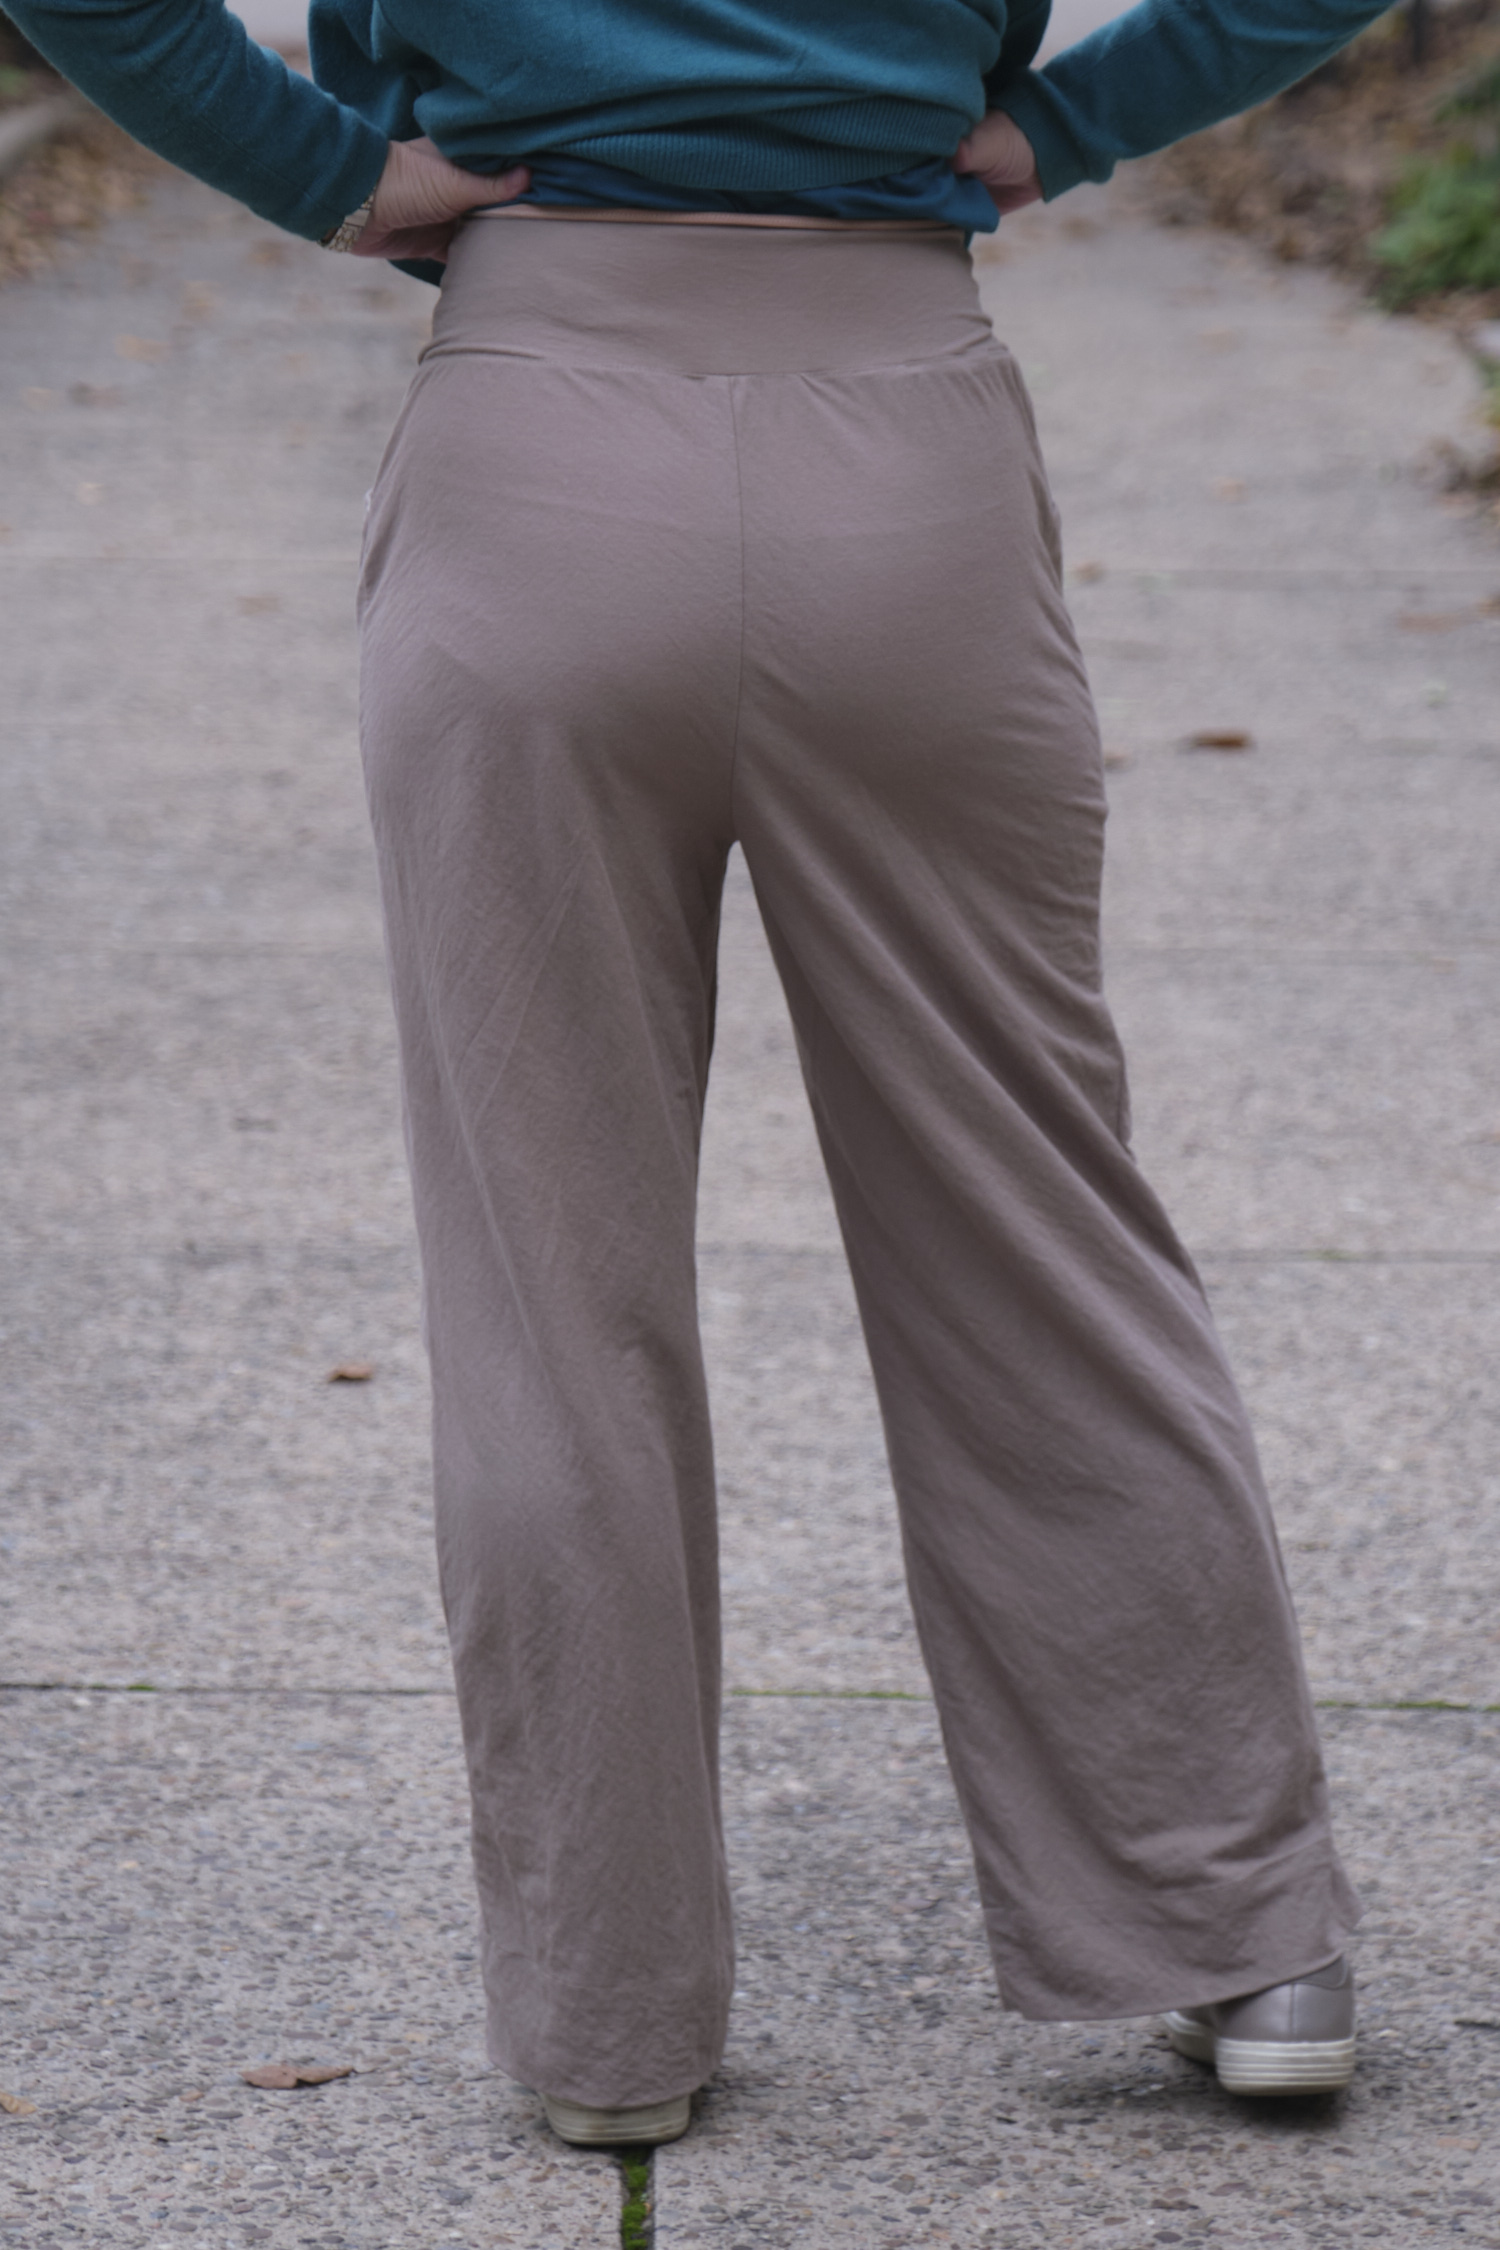
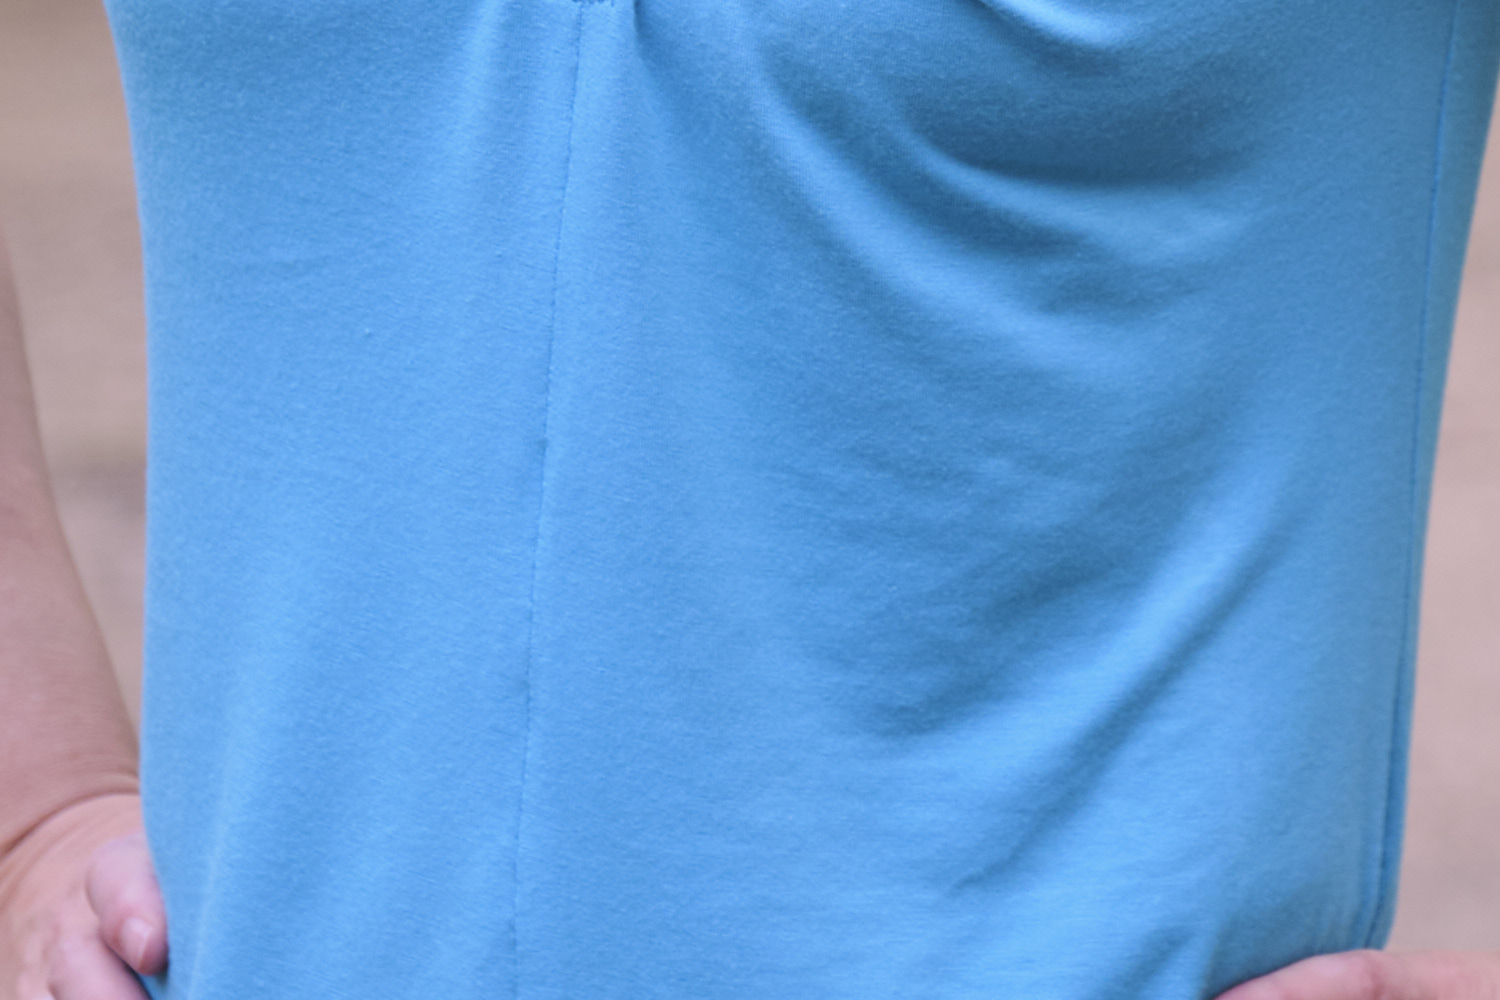
I often do broad and sloped shoulder adjustments on fitted tops. I didn’t do that on this one because it seemed like more of a loose fit, but in hindsight, I should have at least done a broad shoulder adjustment, as the fabric at the shoulders pulls slightly. Other testers mentioned the shoulders were tight so the final version of the pattern has about 3/8 inch more room in the shoulders. I’m not sure about a sloped shoulder adjustment as that would require adjusting the bust dart, which was already set slightly too low for me. I will at least adjust the point of the dart up a bit next time or possibly leave it out altogether.
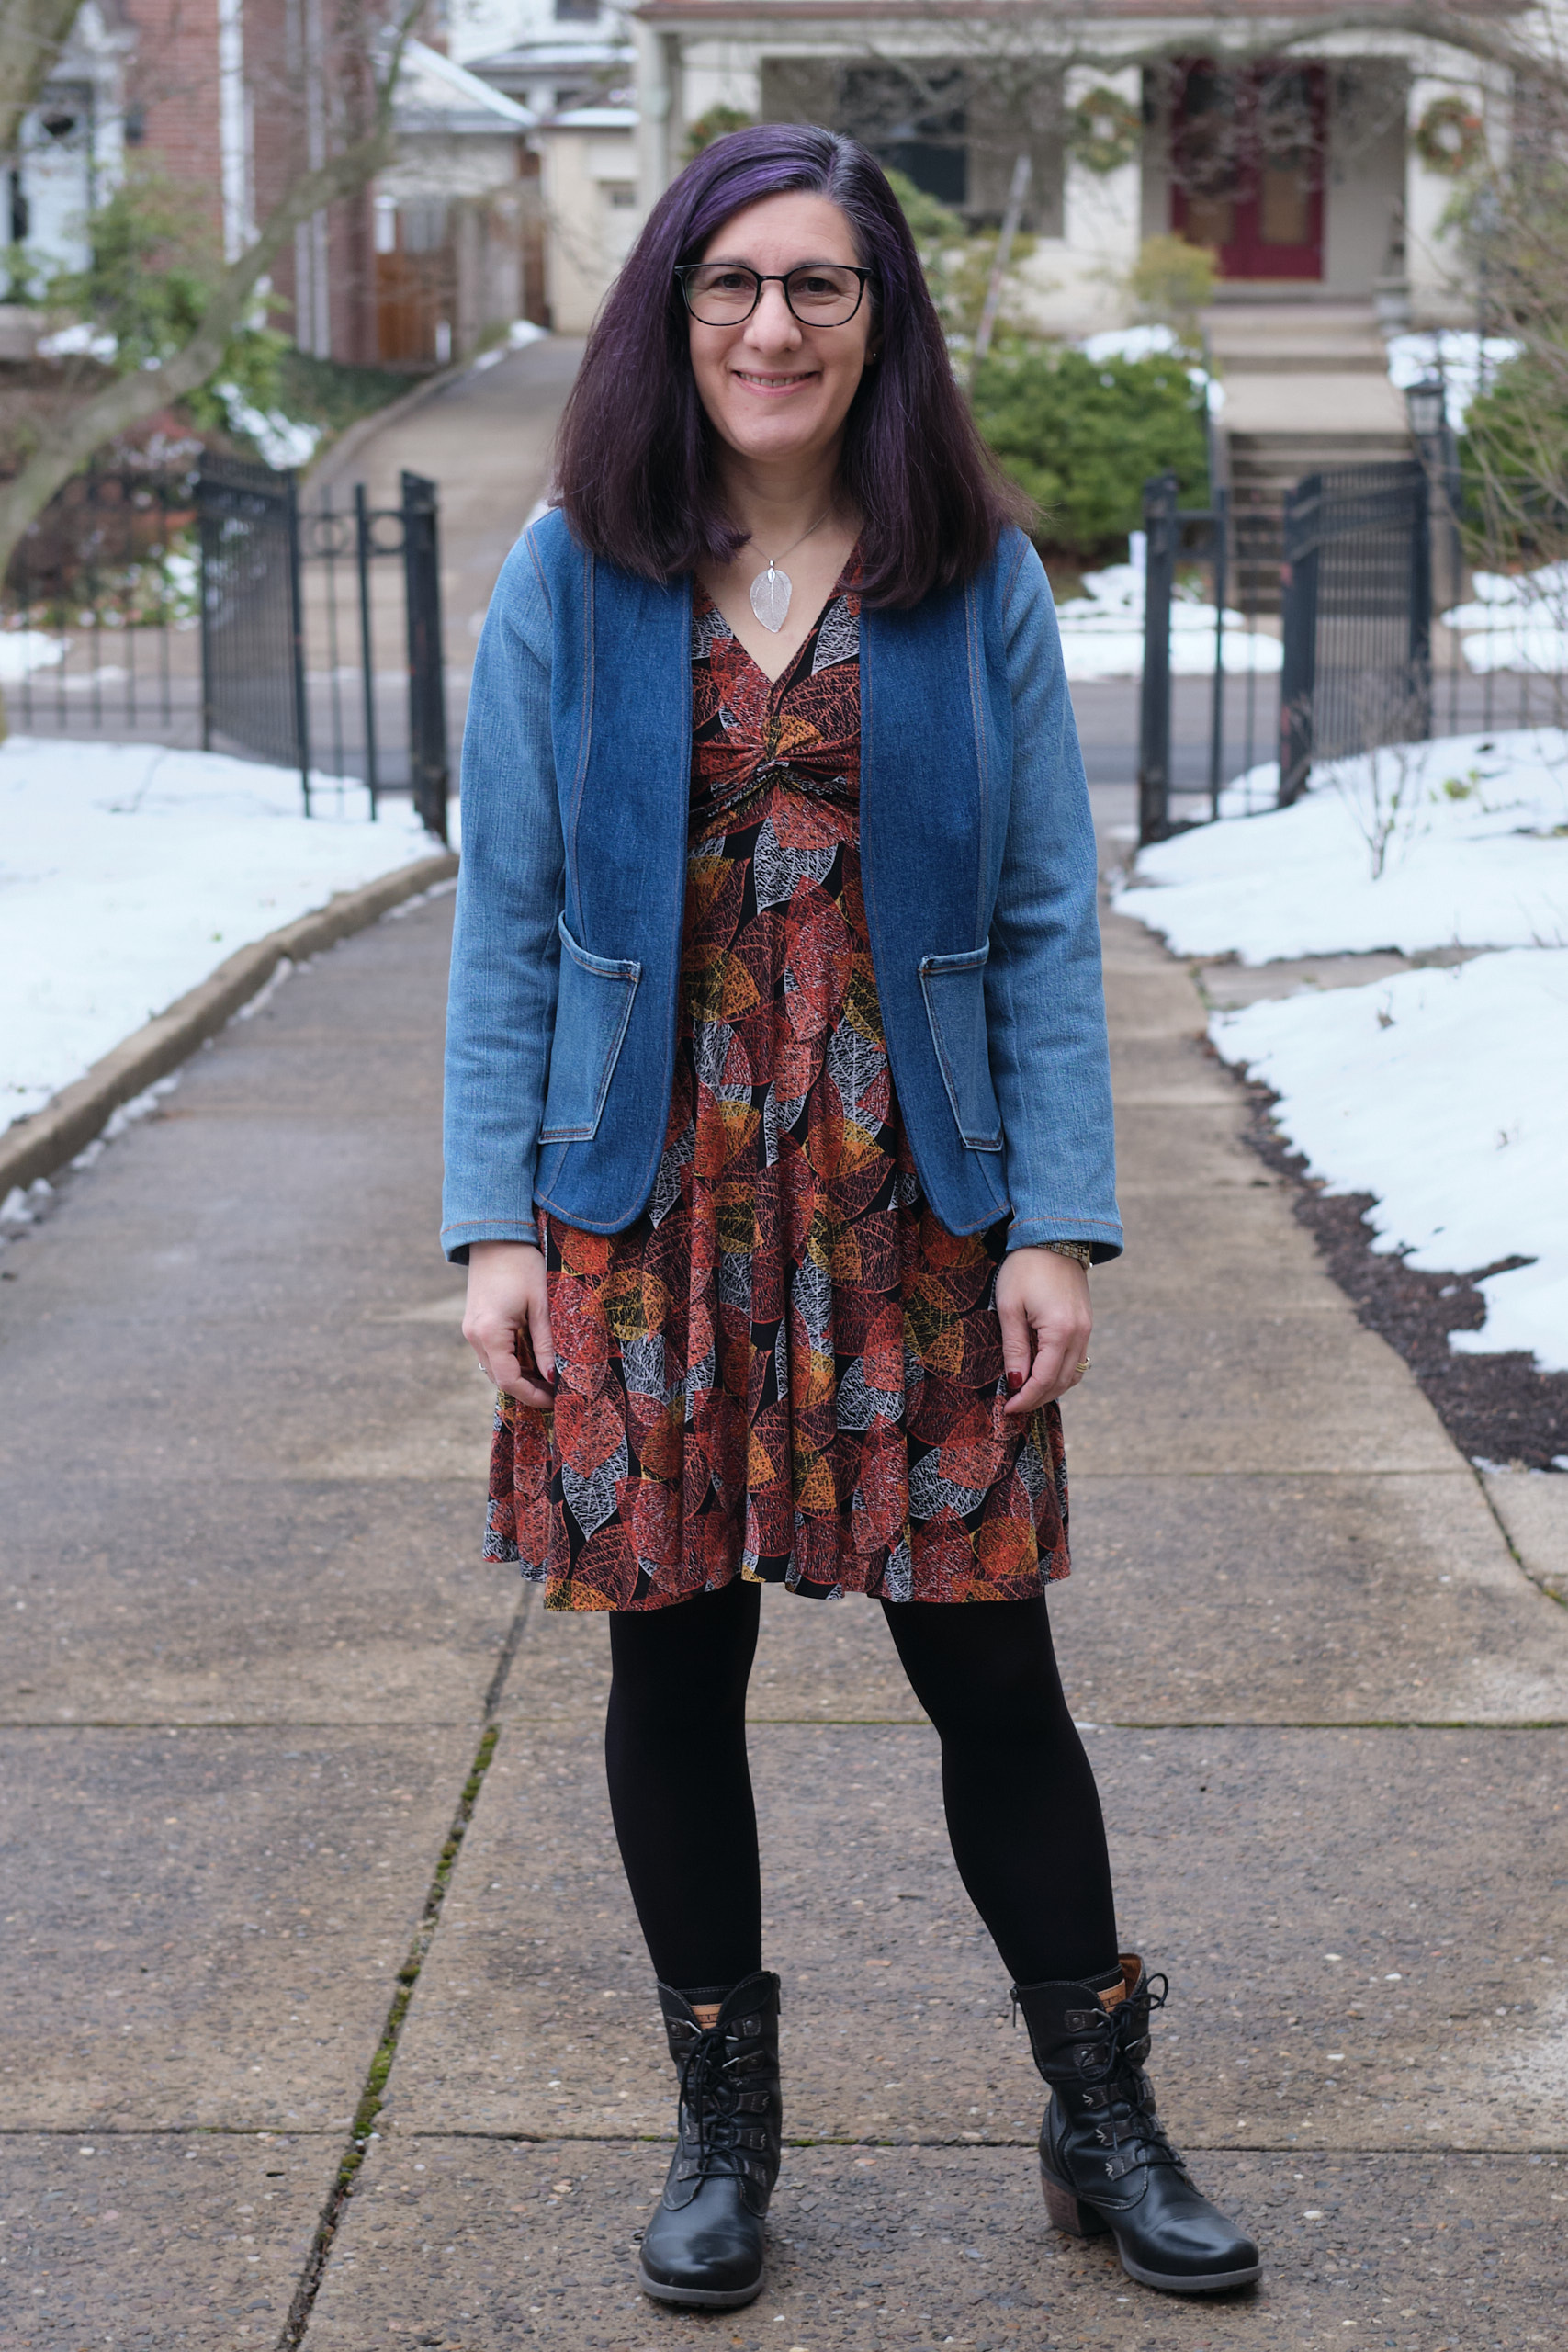
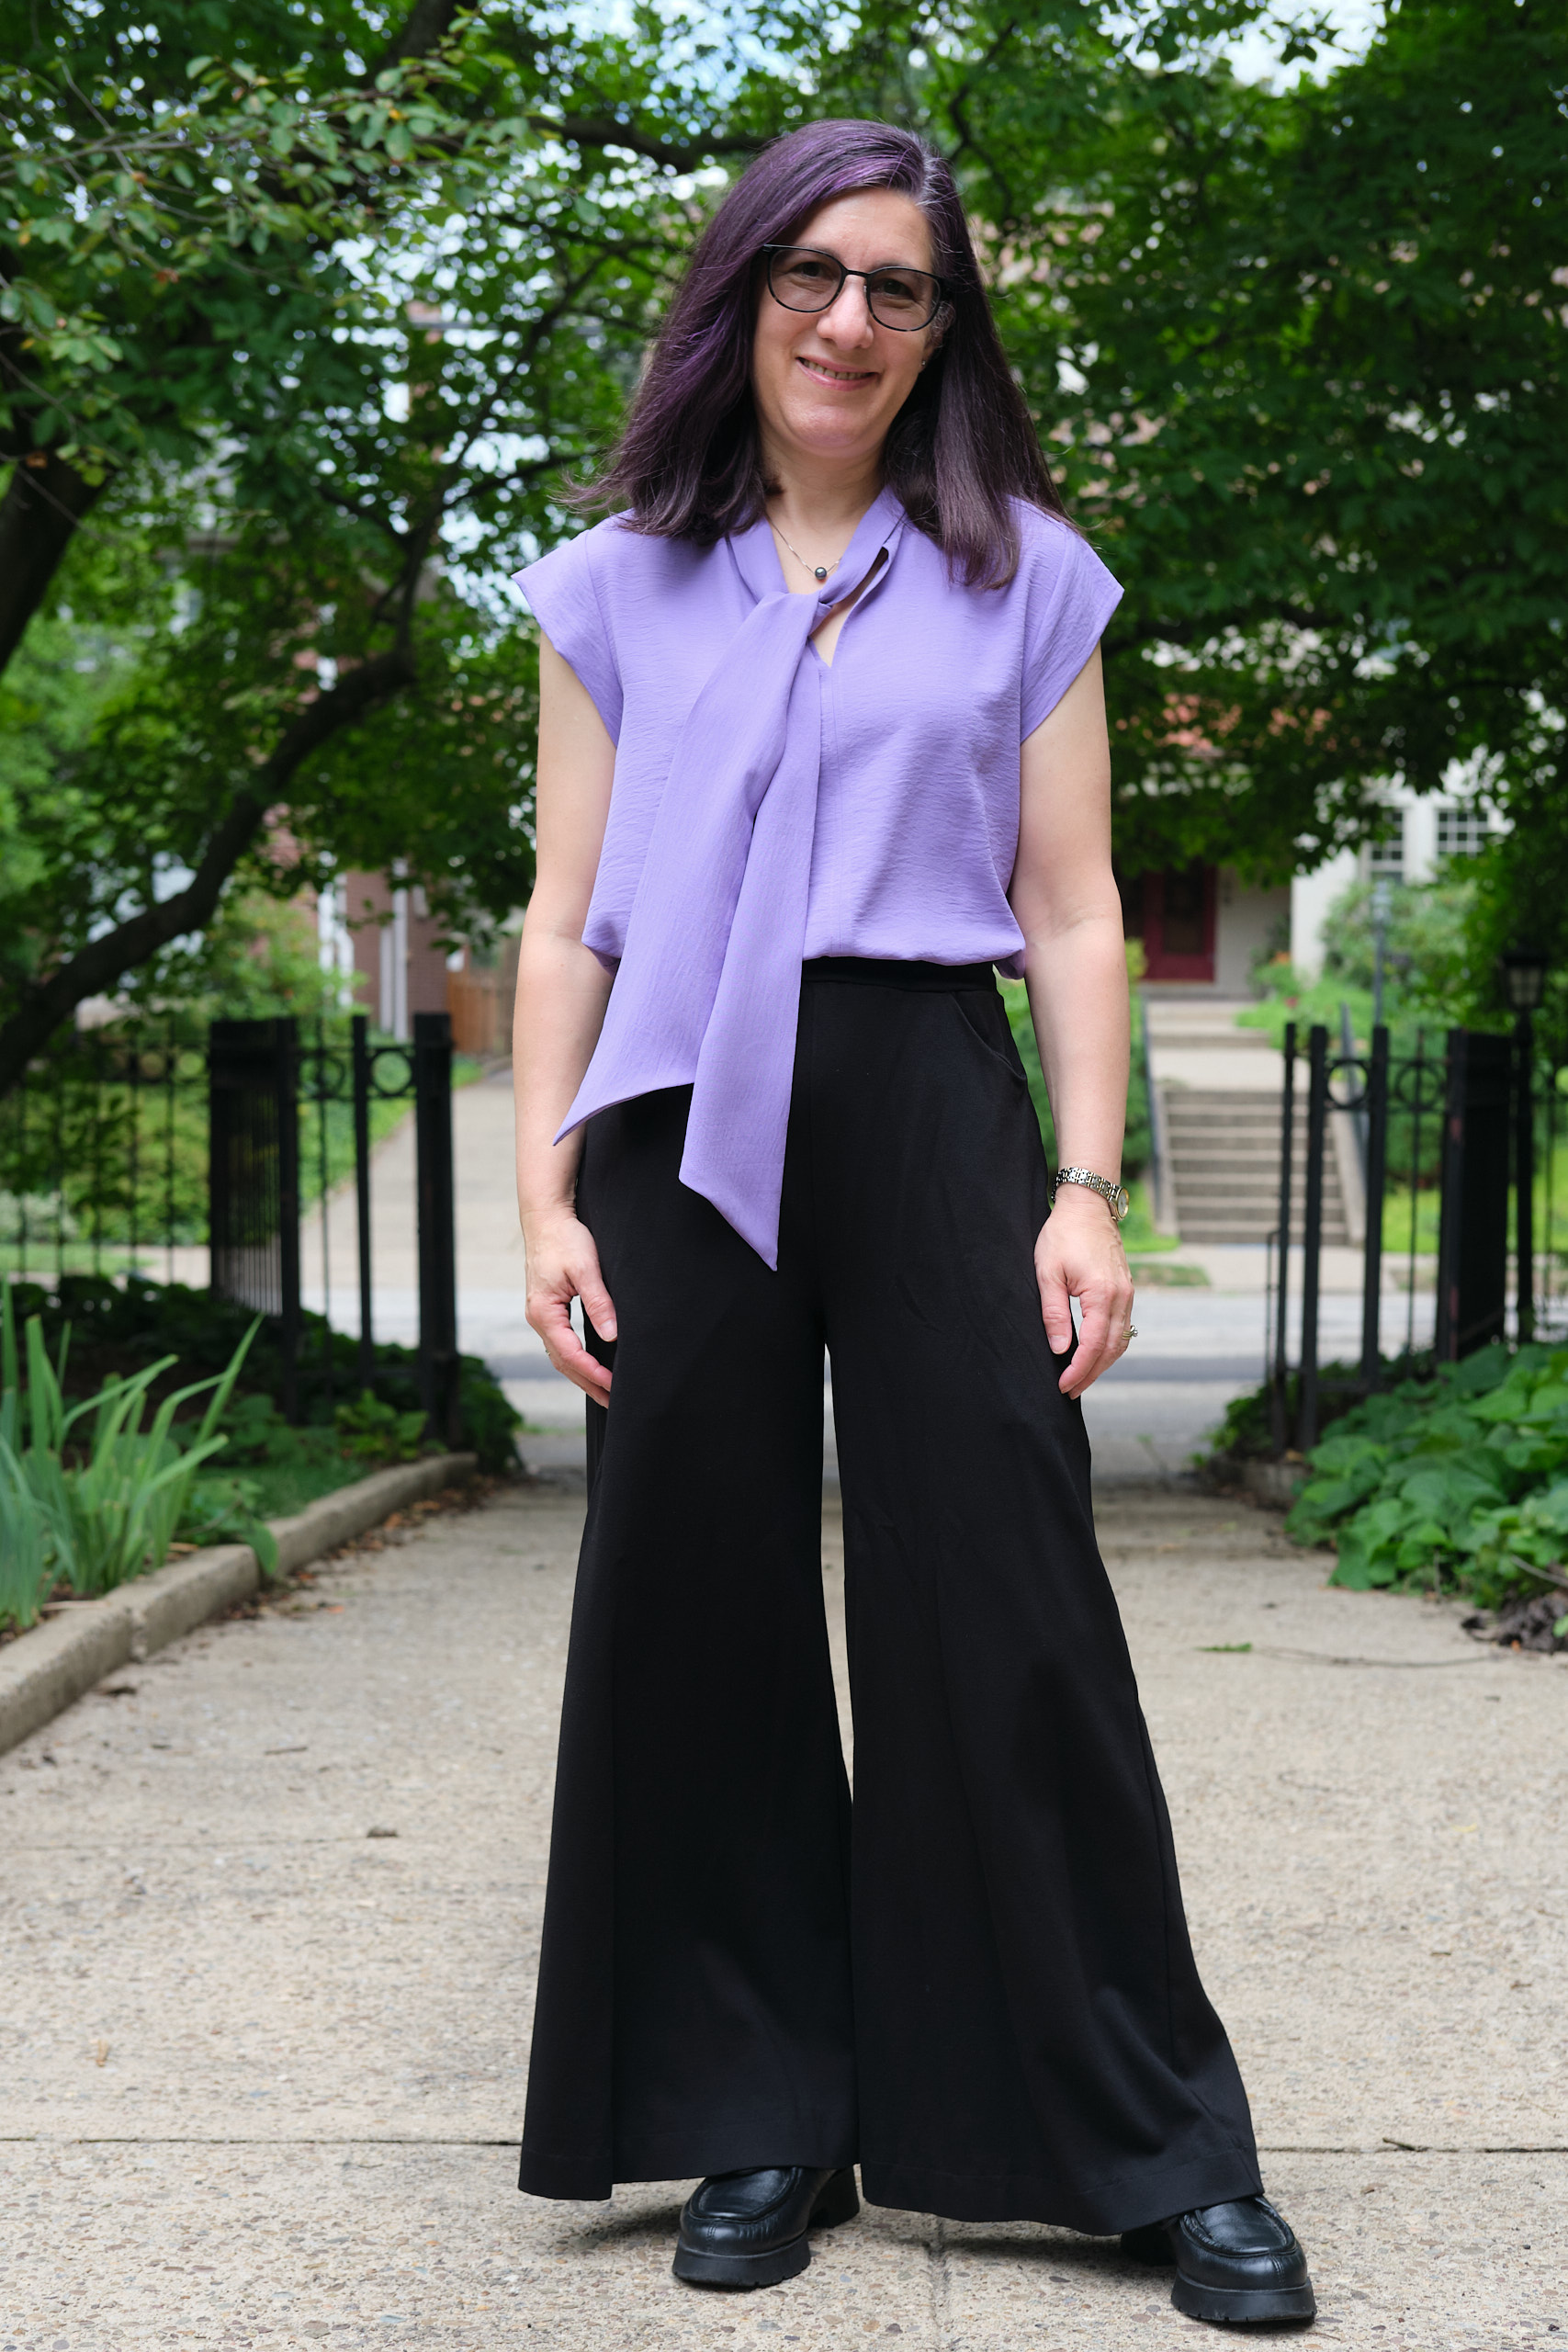
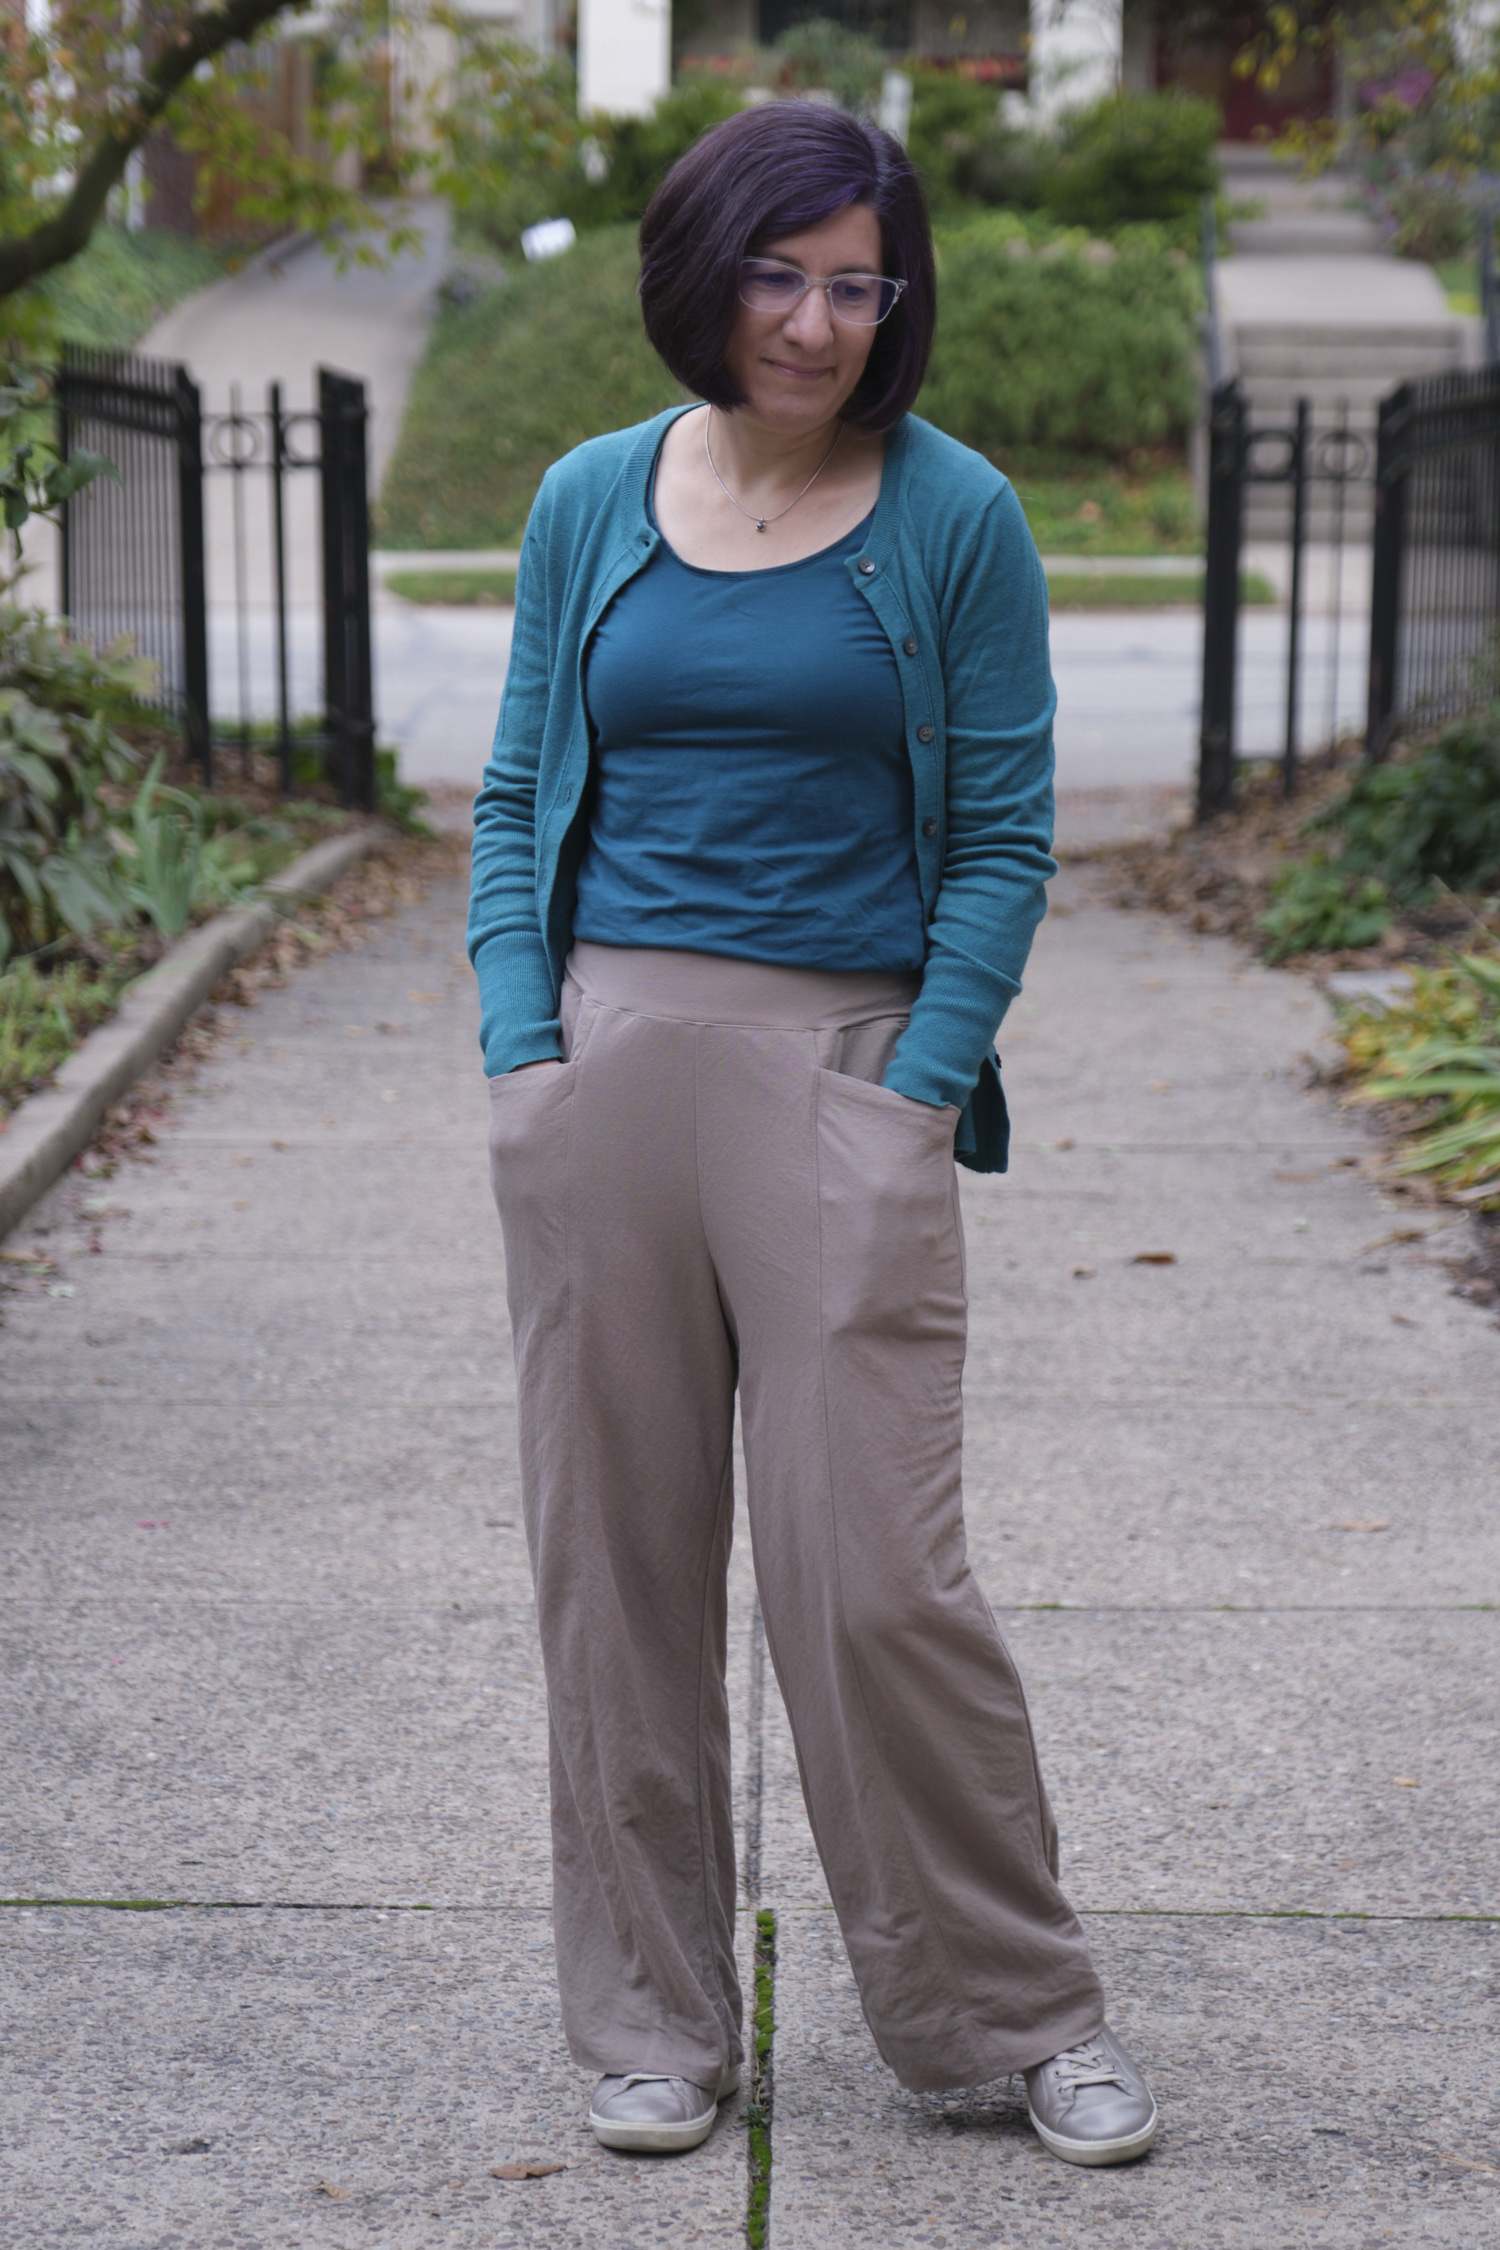
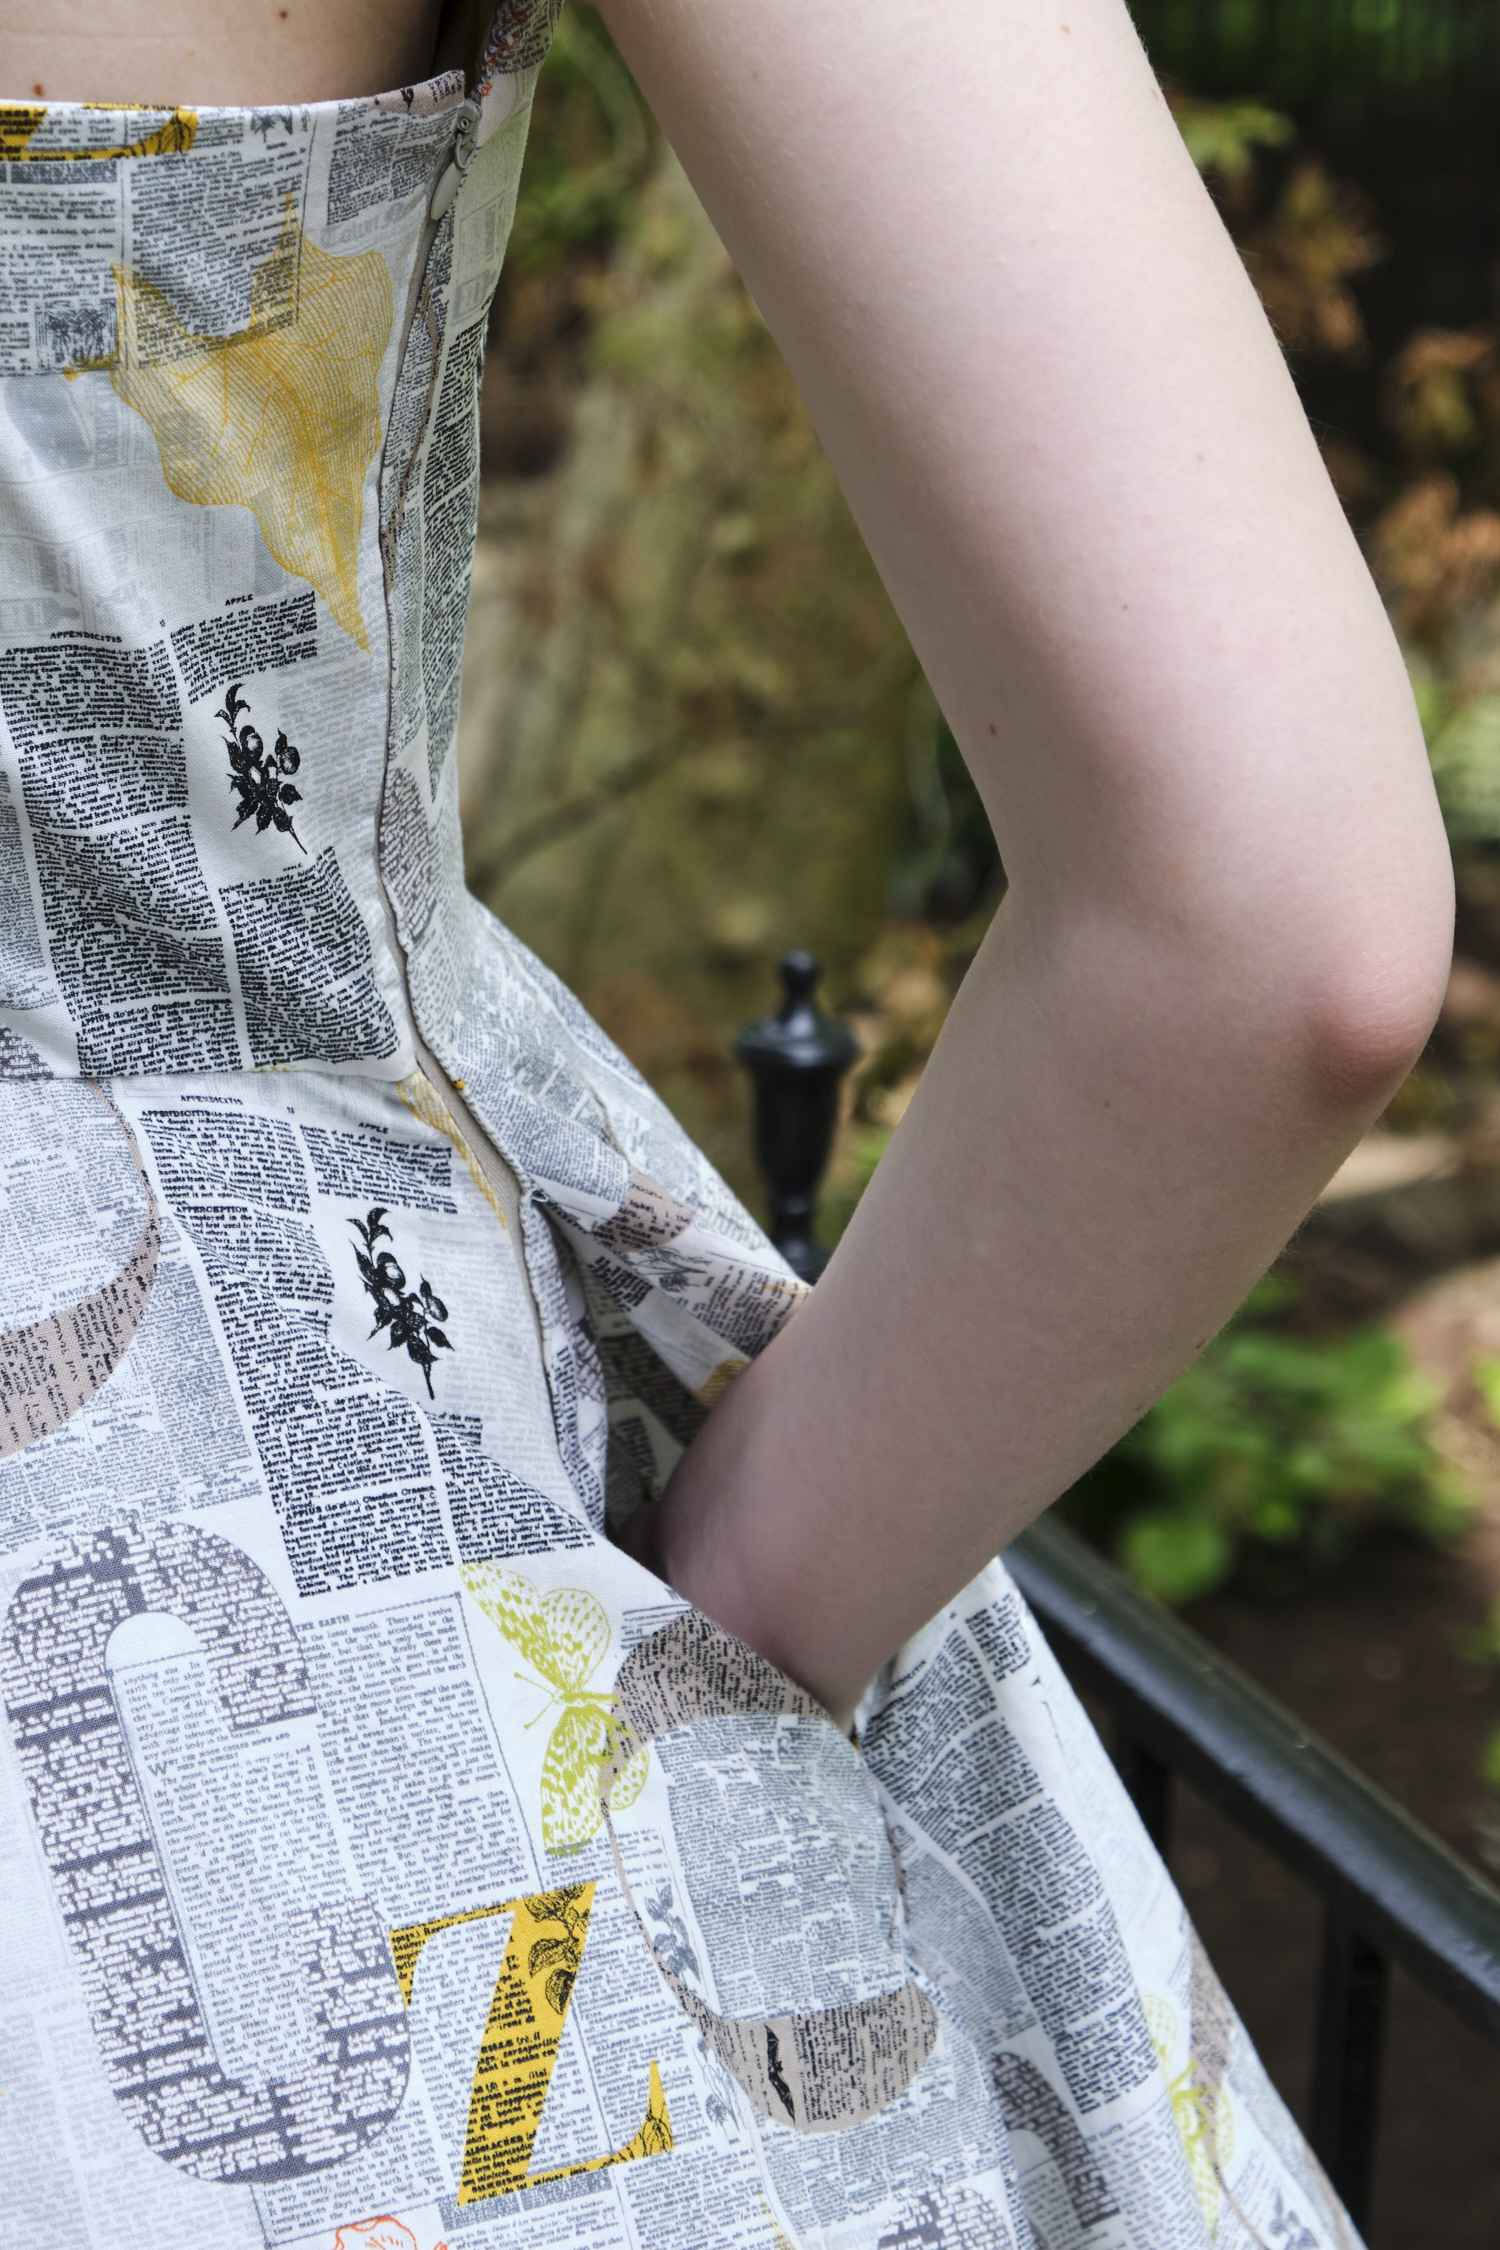
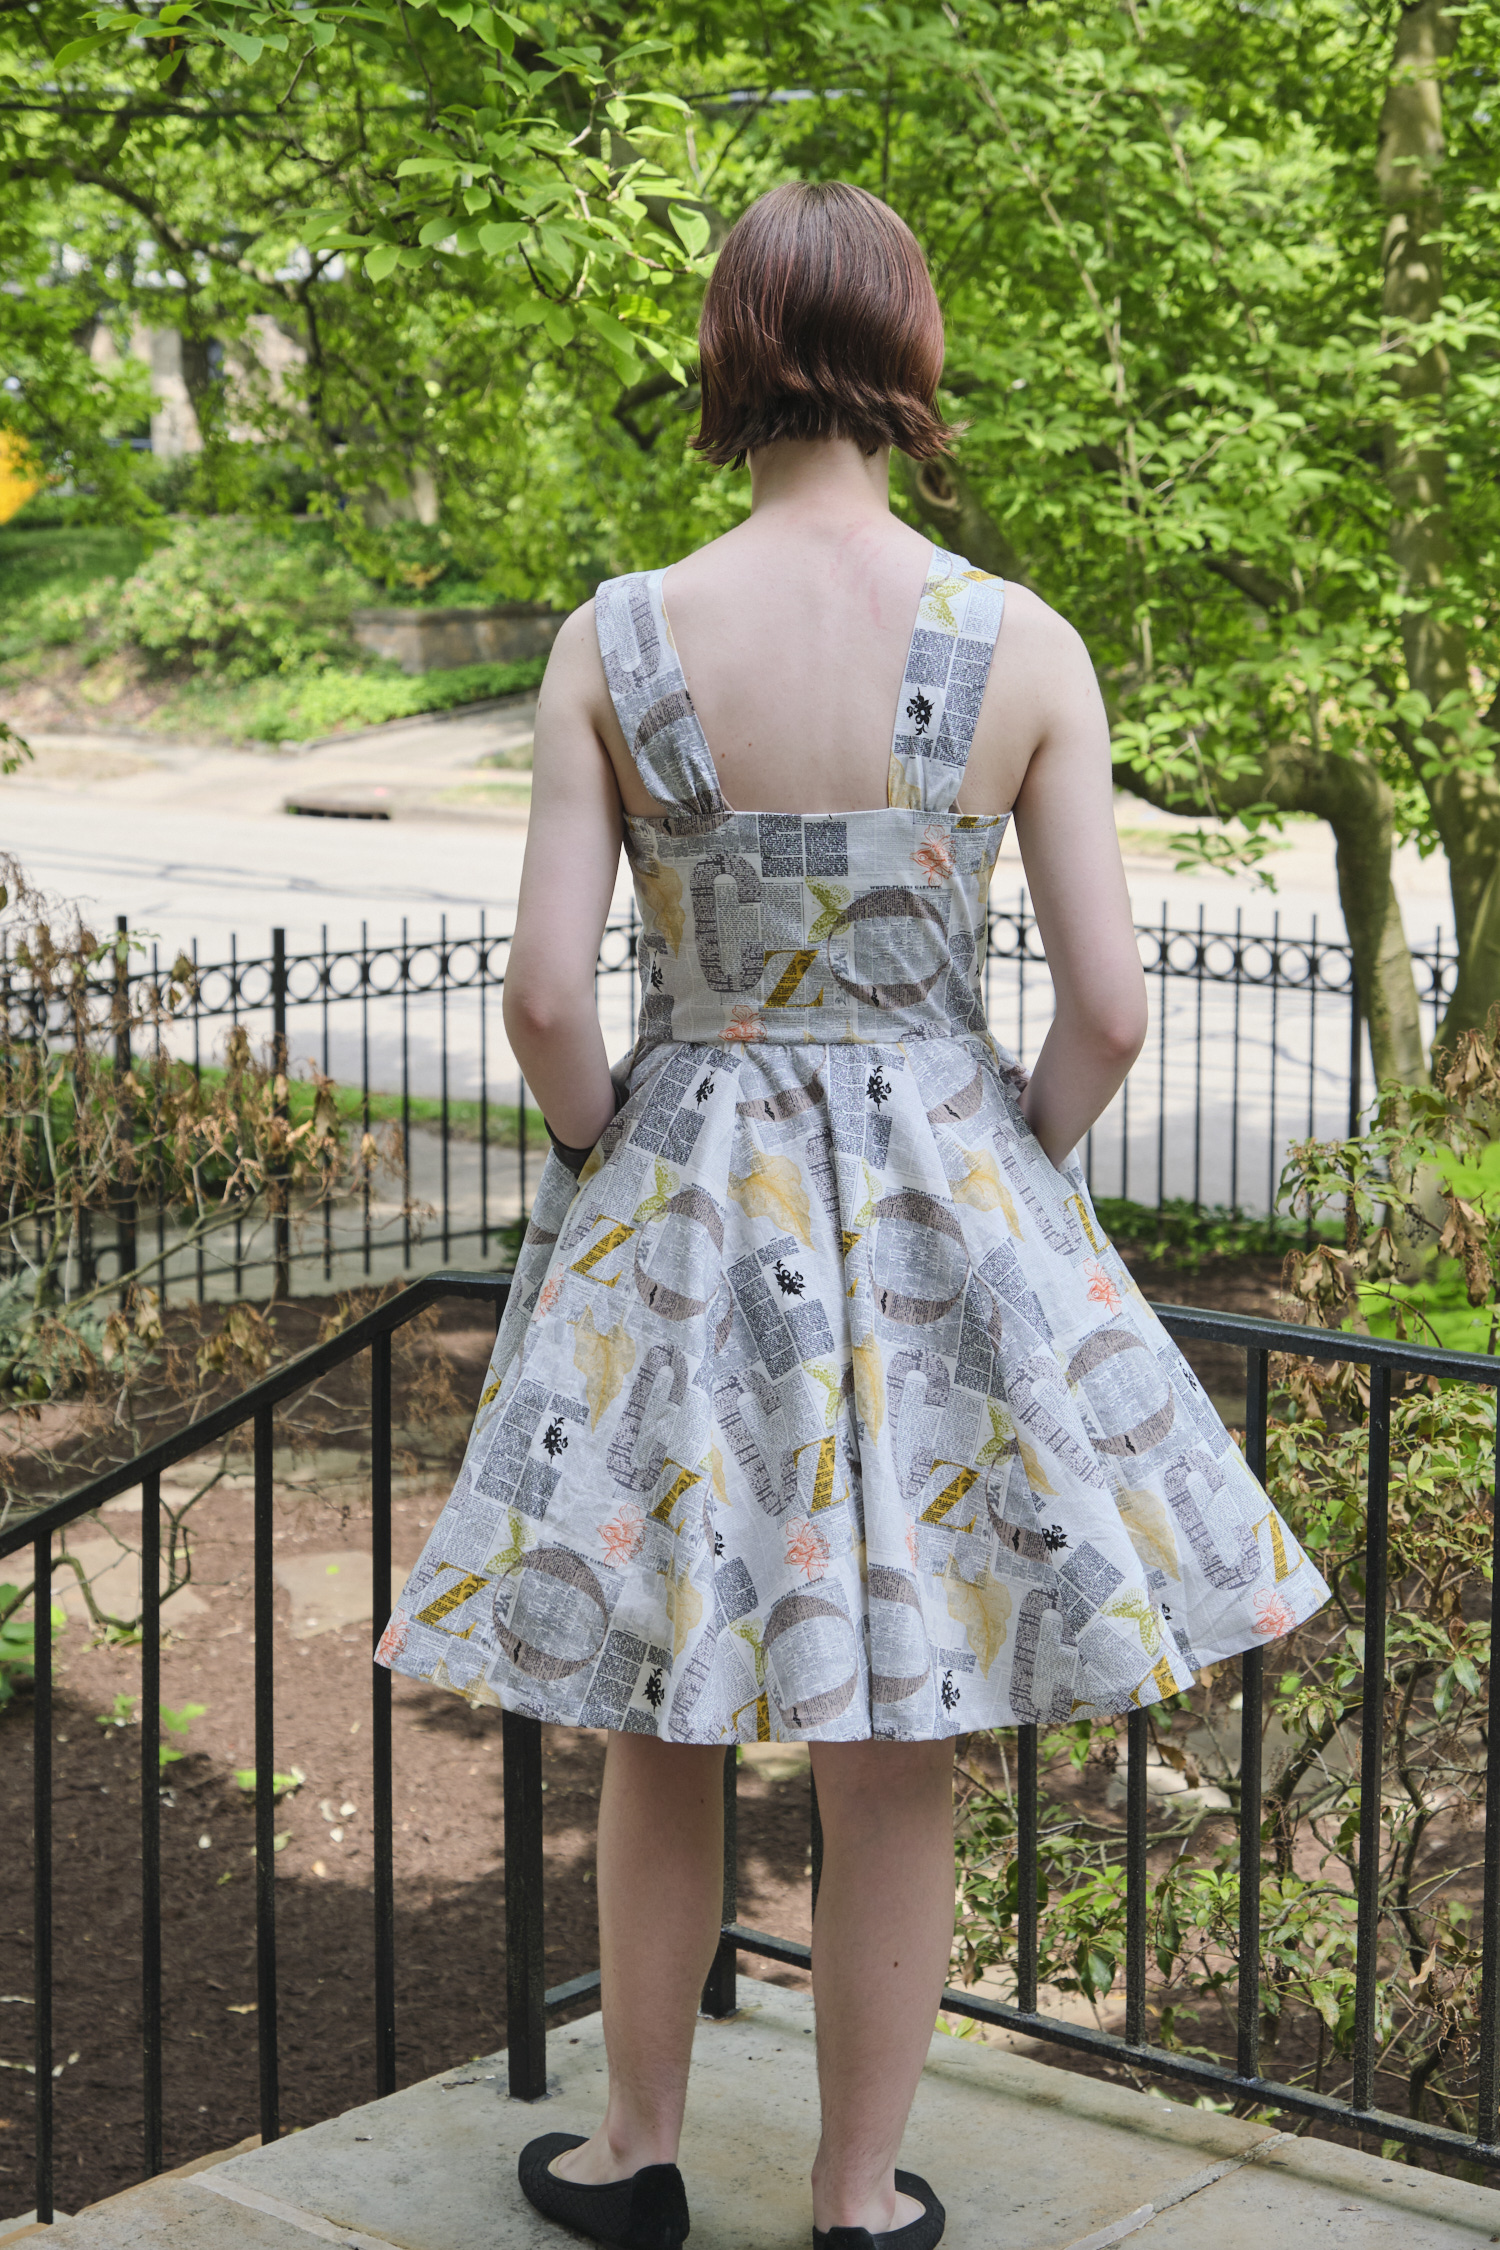
My complaints above are all minor issues that, especially with a print fabric, most people will probably not notice on the finished garment, which I think looks great! I’m sure I will get a lot of wear out of it and enjoy wearing it once the warm weather returns someday.


