
Wow, I’ve sewn a lot of clothes! To make it easier to find my makes, I’ve put together this index page. You can look for garments by type, or by pattern maker. You can also use the search box in the upper right corner of this page to find more specific items.
Garment types: accessories, cardigans, dresses, jackets and blazers, mens, shorts and skorts, skirts, tops
Pattern makers: Boo & Lu, Ellie & Mac, Greenstyle, Love Notions, Pattern Emporium, Petite Stitchery, Sinclair, Styla

Accessories
- Infinity scarves: grandma’s paintings and interleave, tartan tango, lots of grandma’s paintings
- Password ties and other accessories
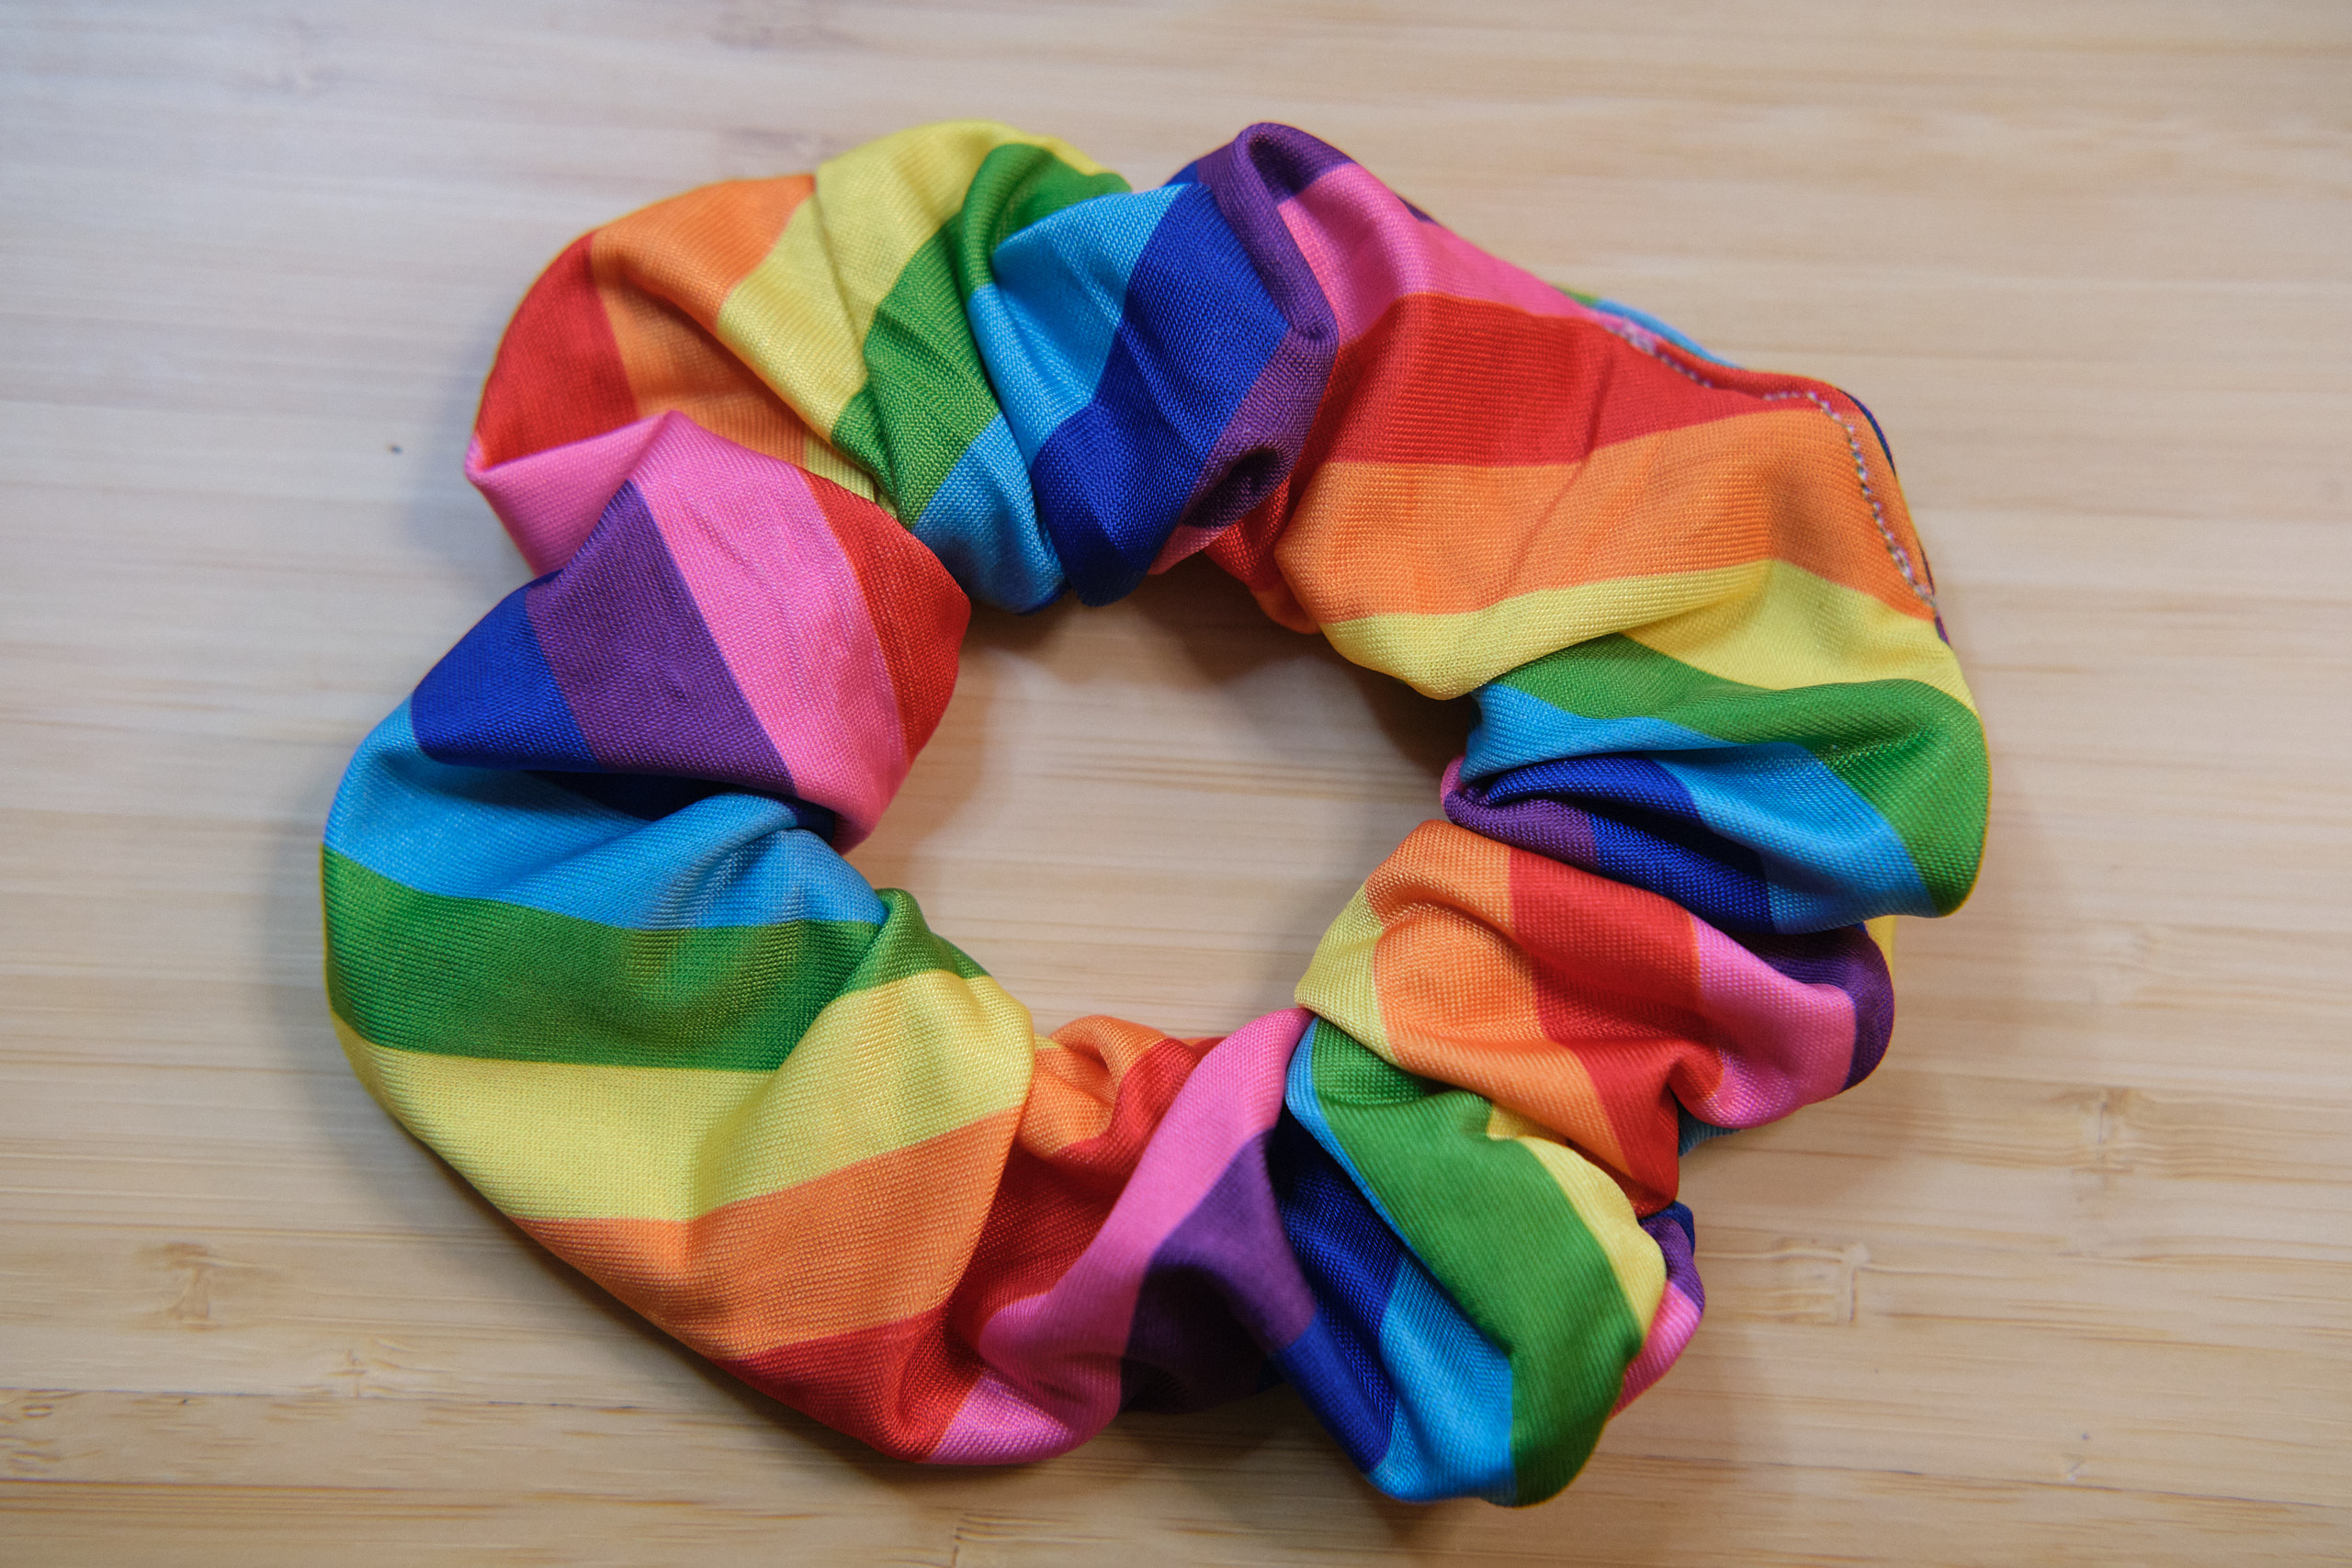
- Scrunchies: rainbow
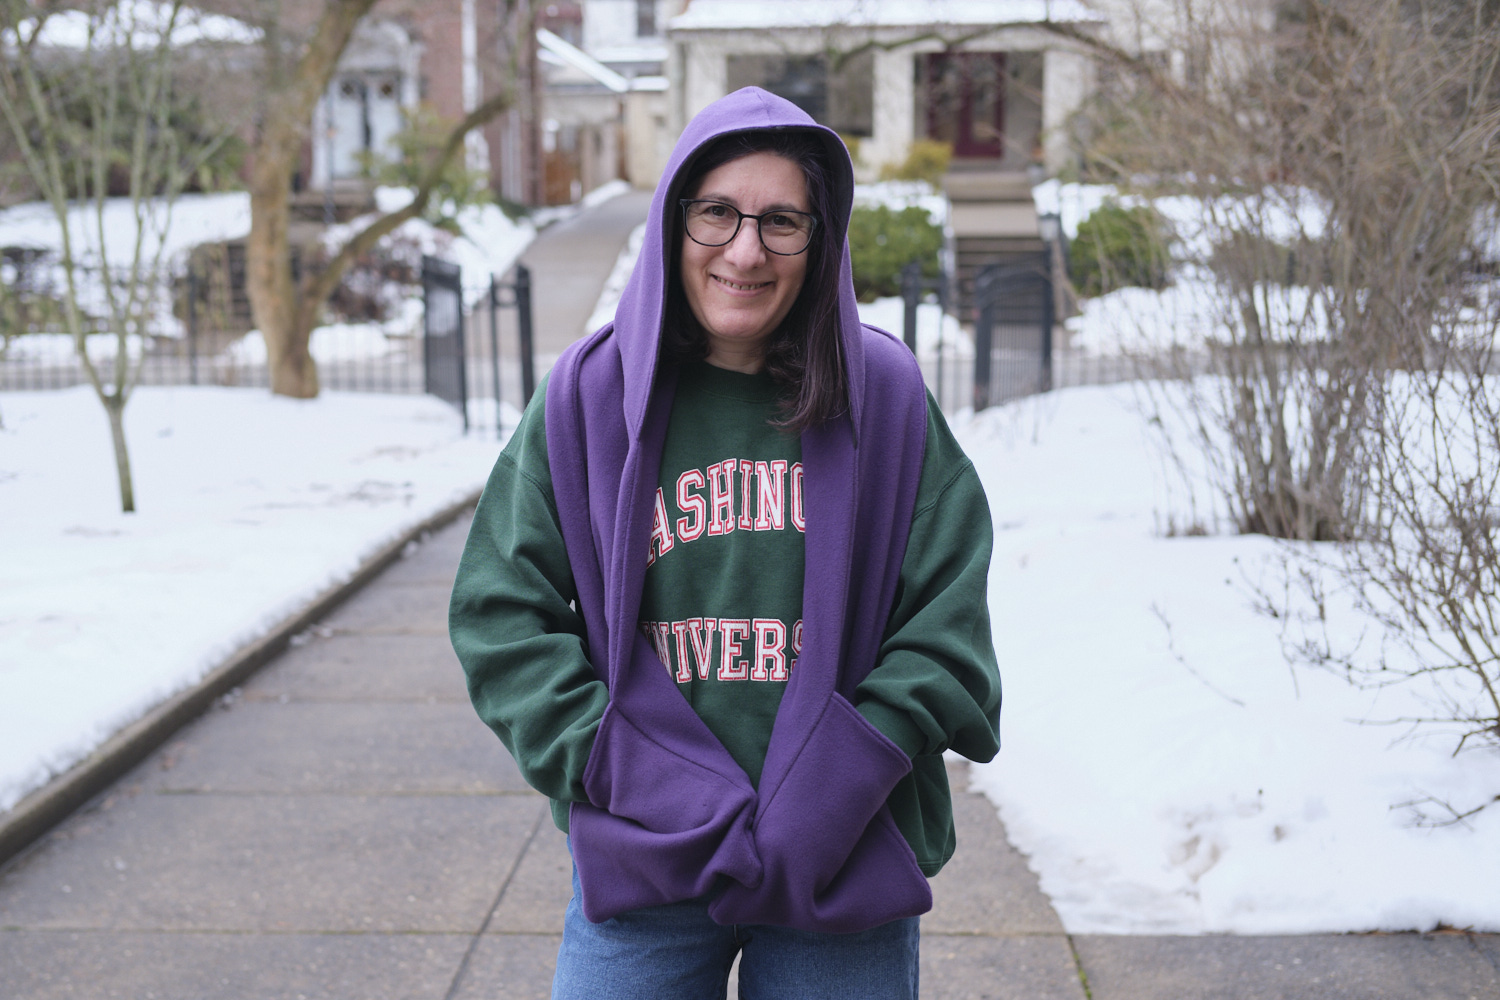
- Sinclair Mojo knit/woven scarf with a hood, a cape, pockets and ears: purple polar fleece with hood
Cardigans


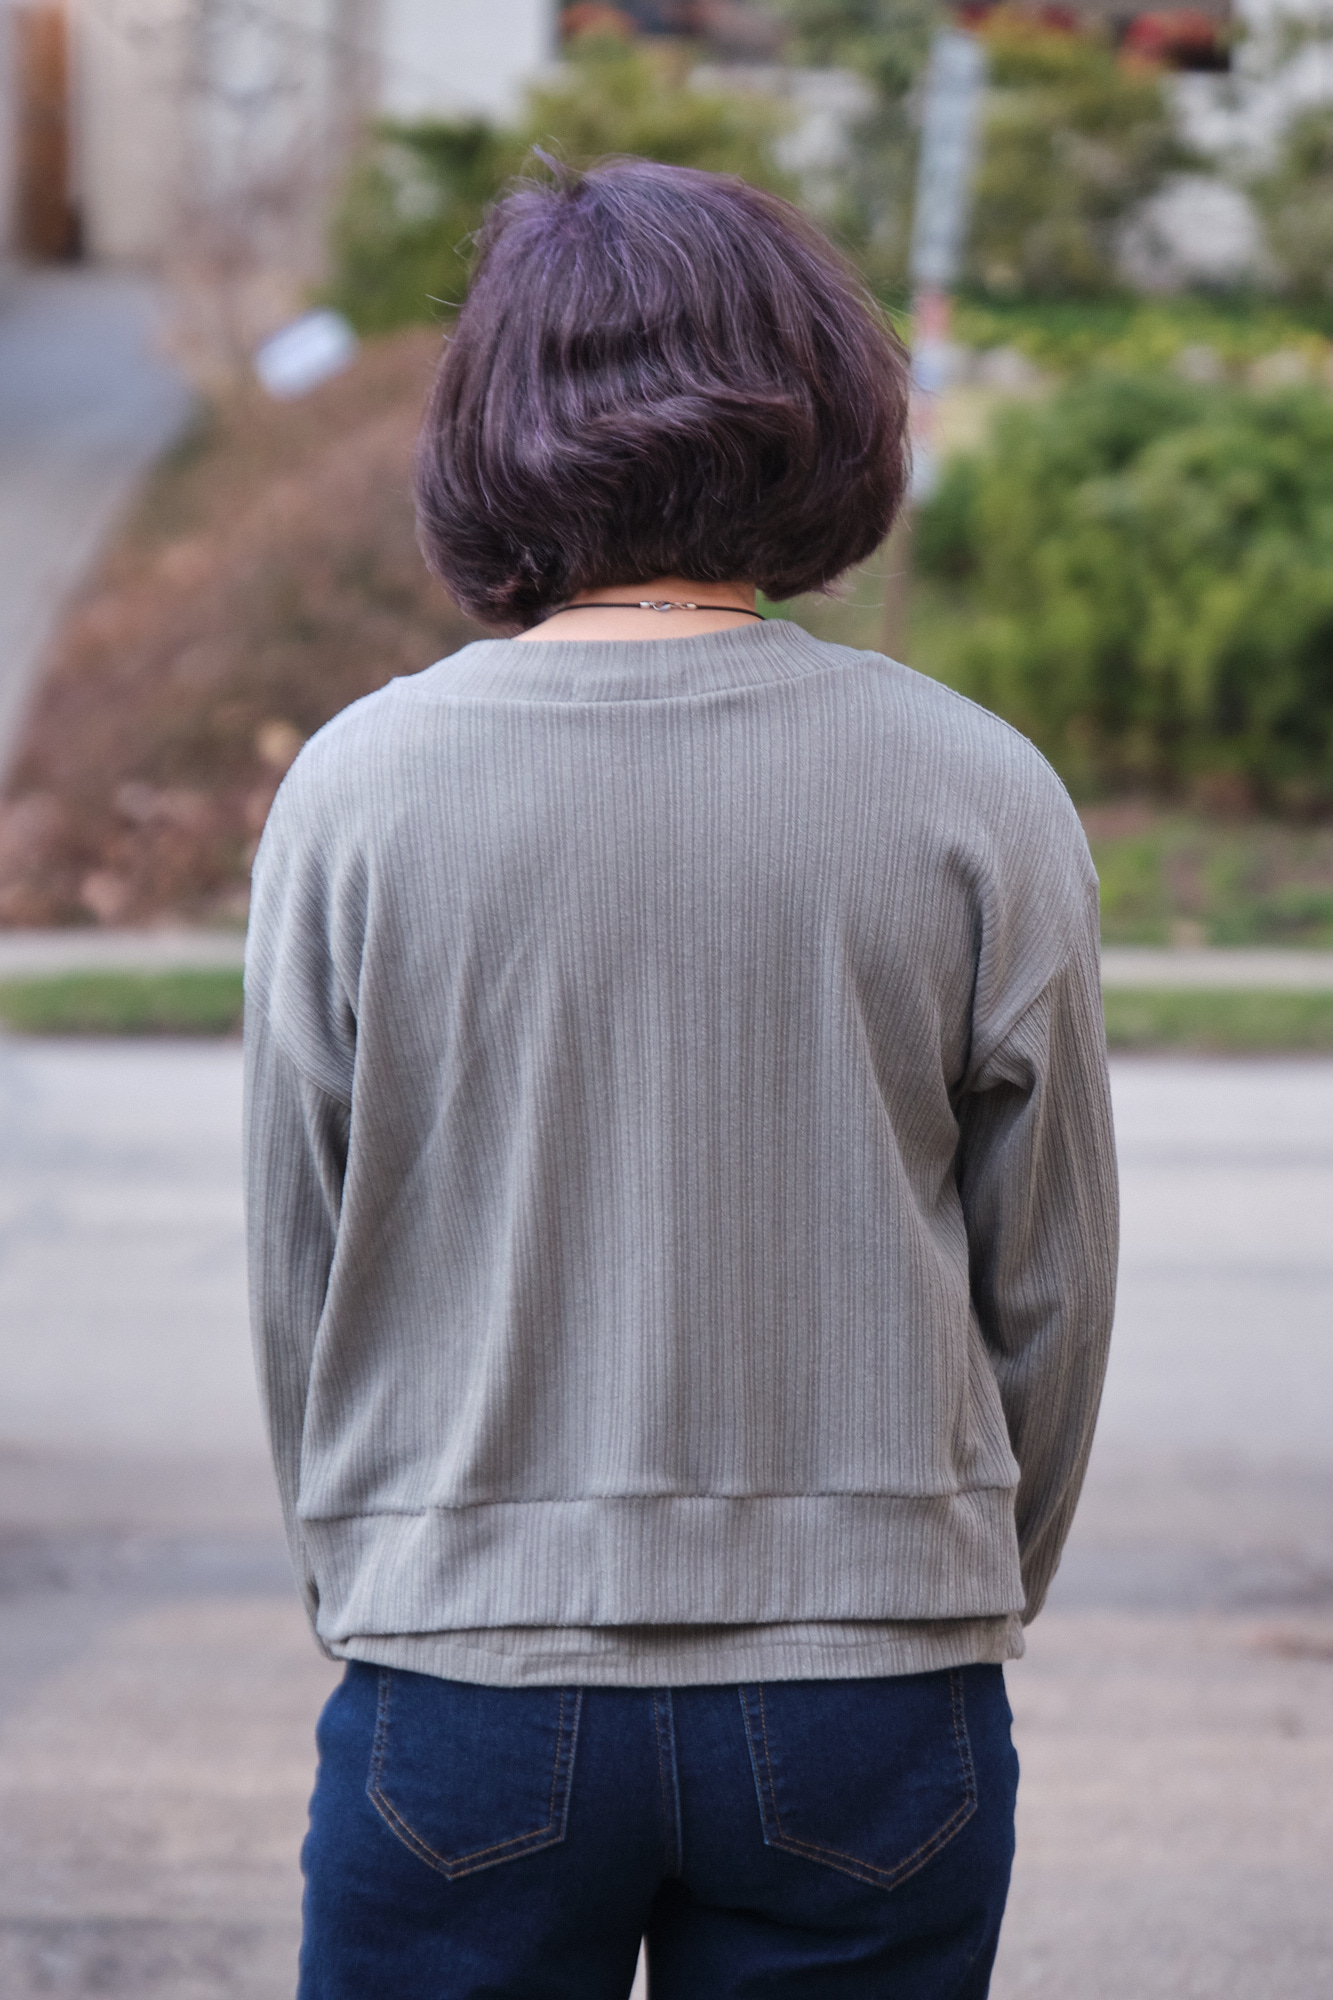
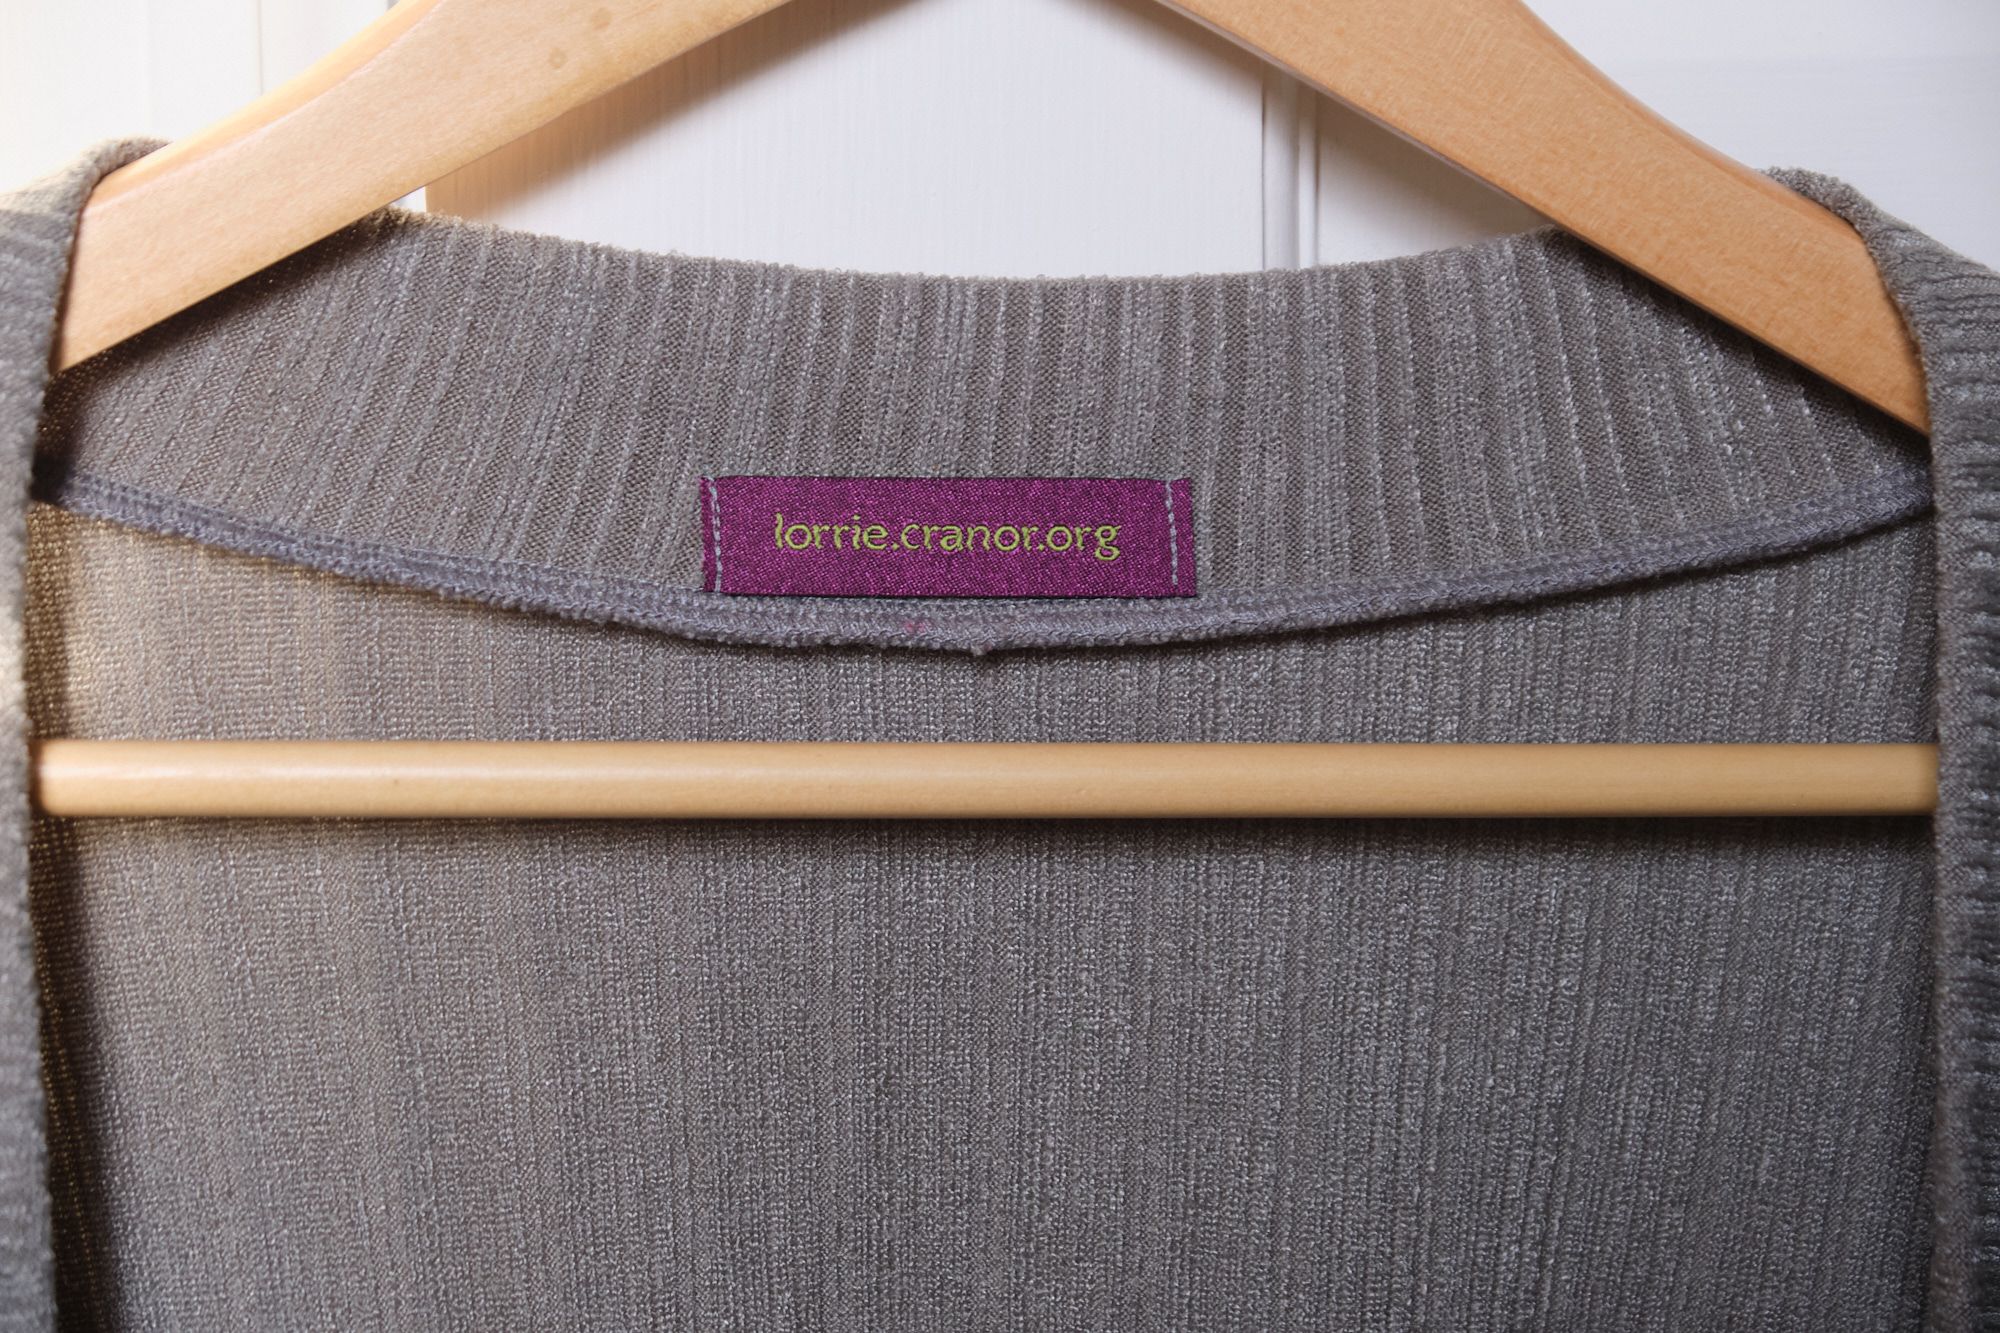
- Pattern Emporium Grab A Cuppa Oversized Cardi (knit): rosemary Cayambe rib knit
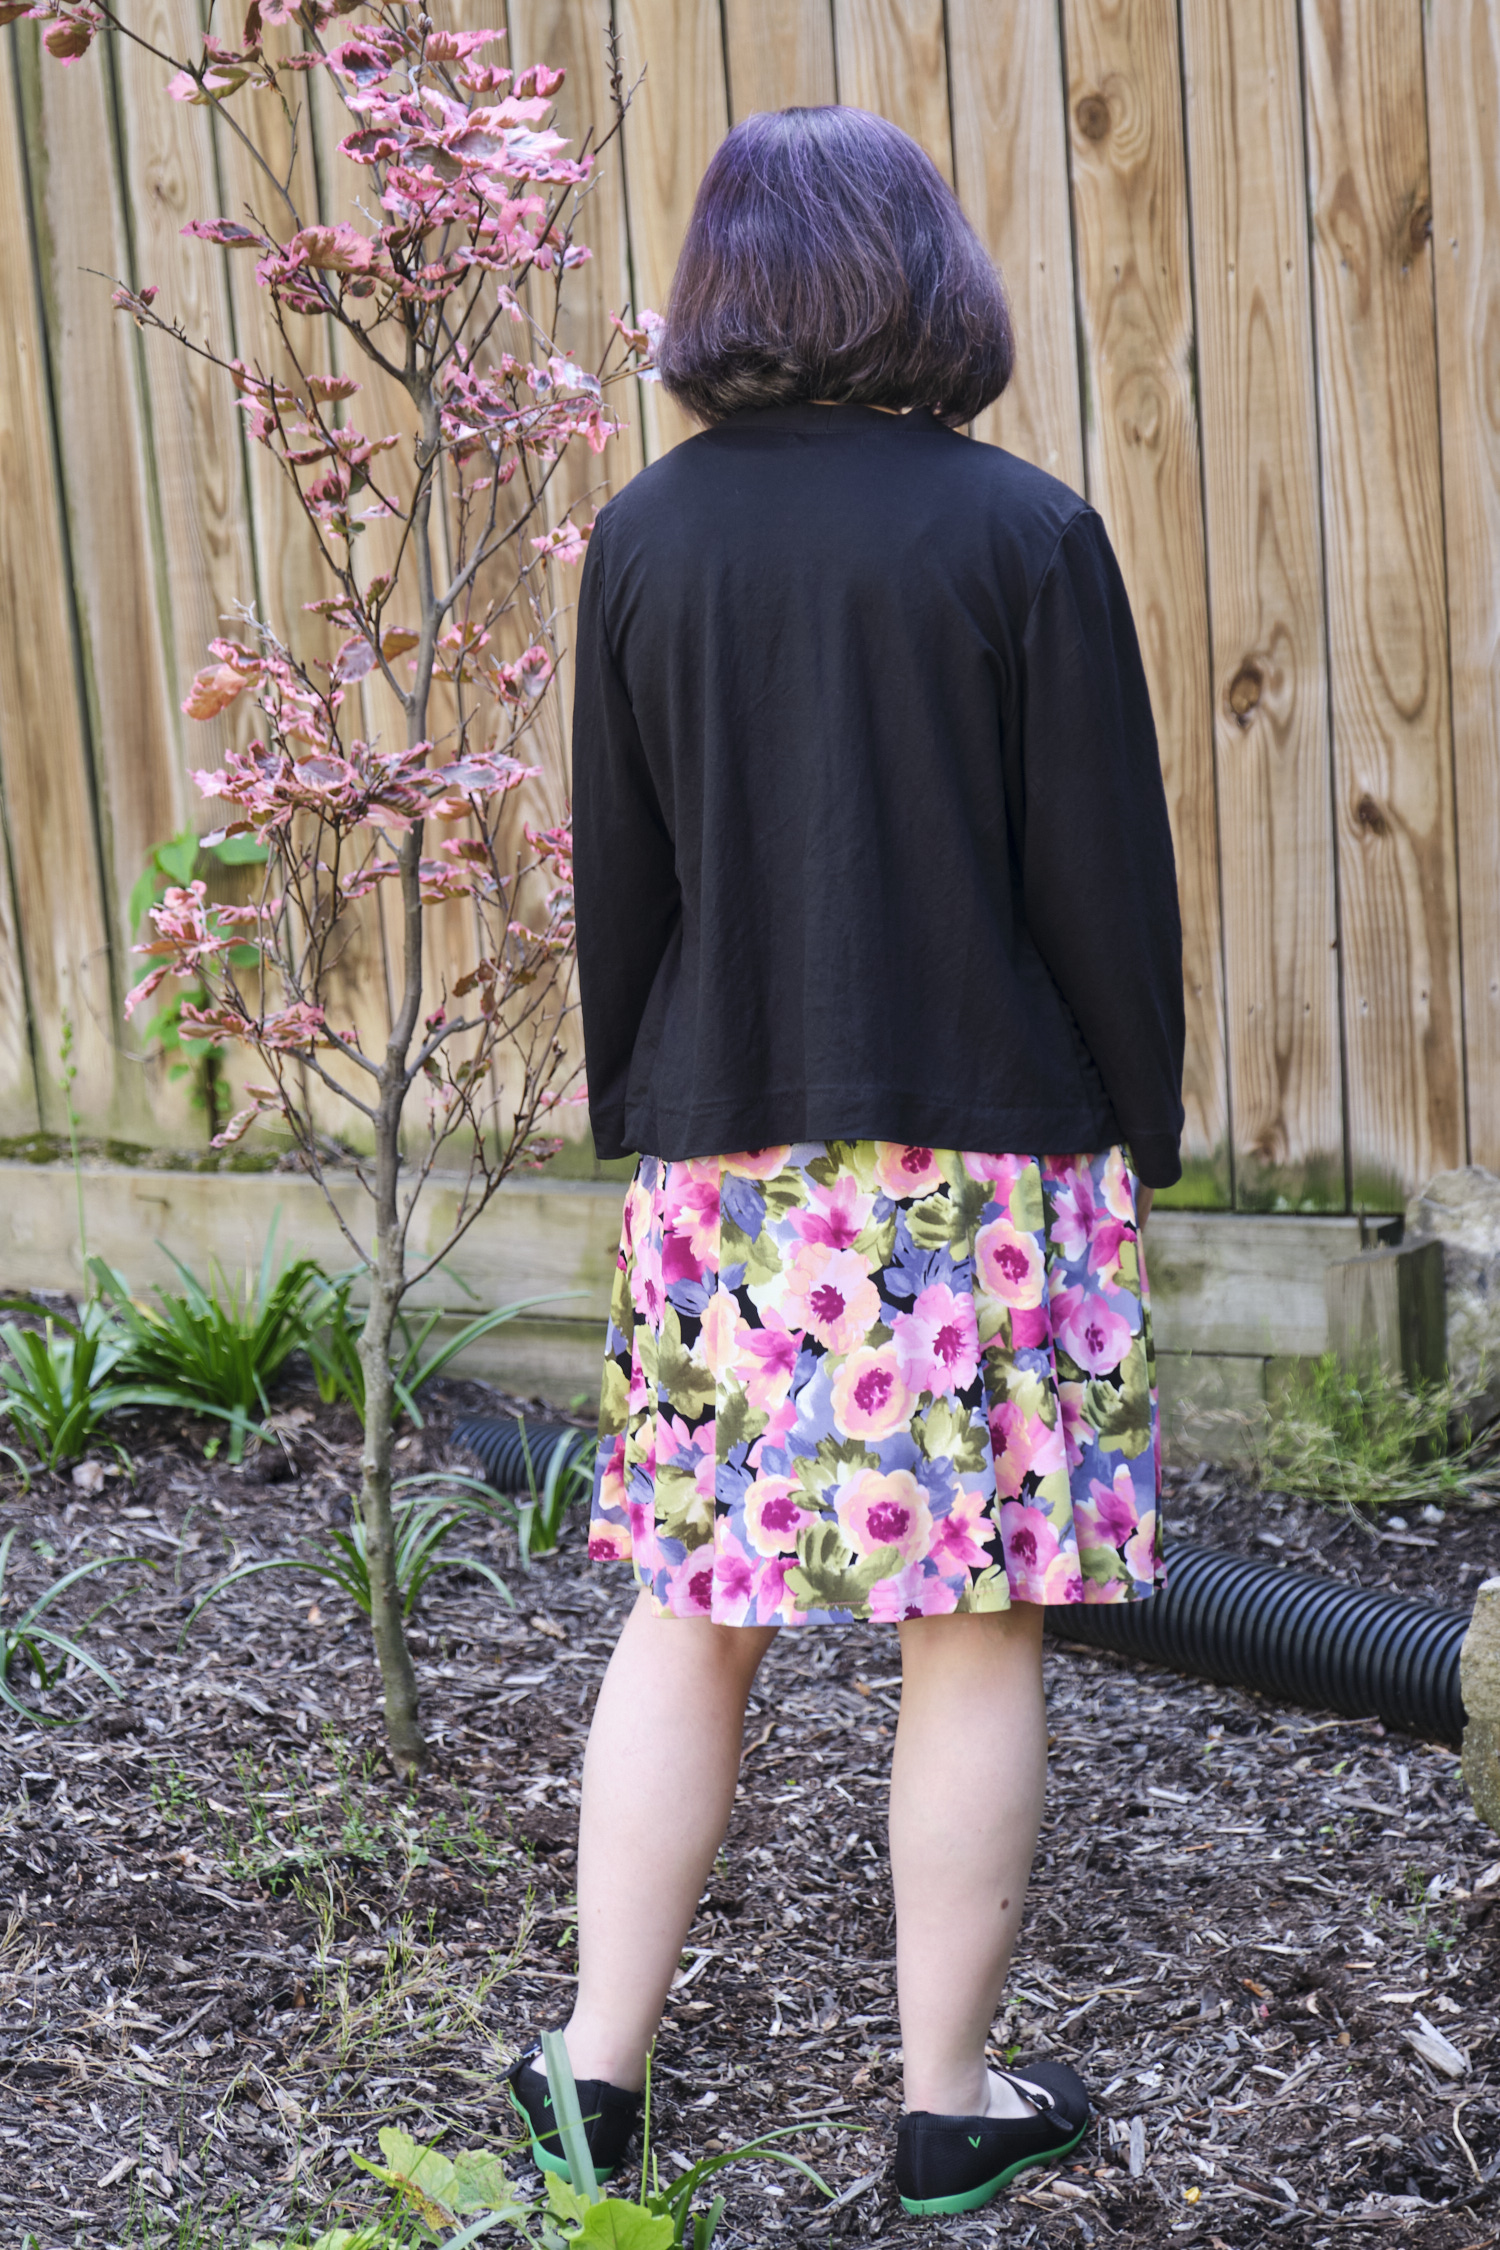
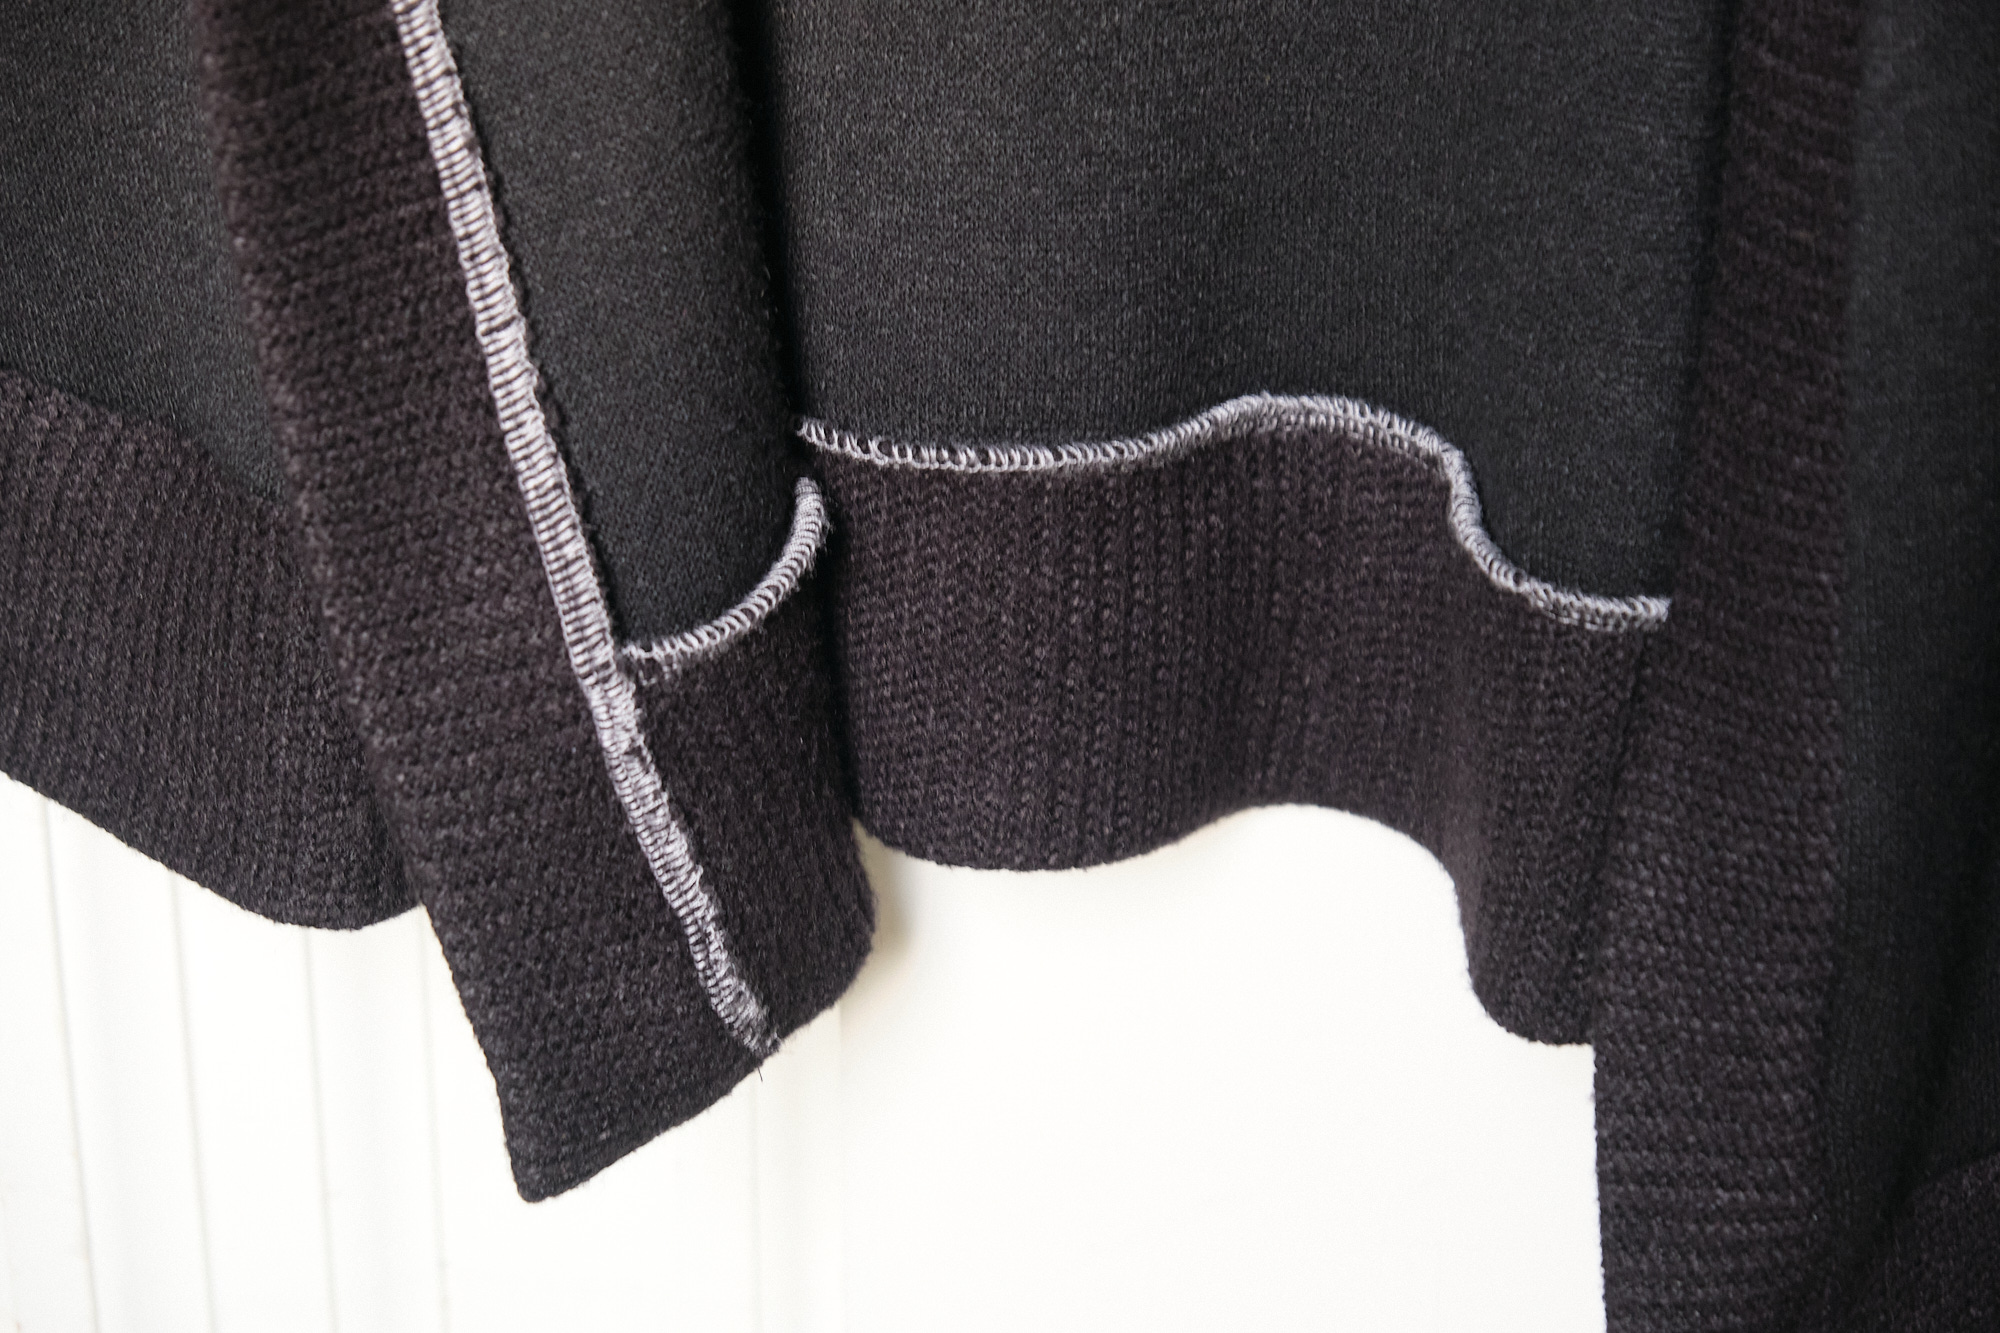
- Pattern Emporium Songbird Duster Jacket & Cardigan (knit or woven): black Pylos LiKnit, lavender PyLos LiKnit
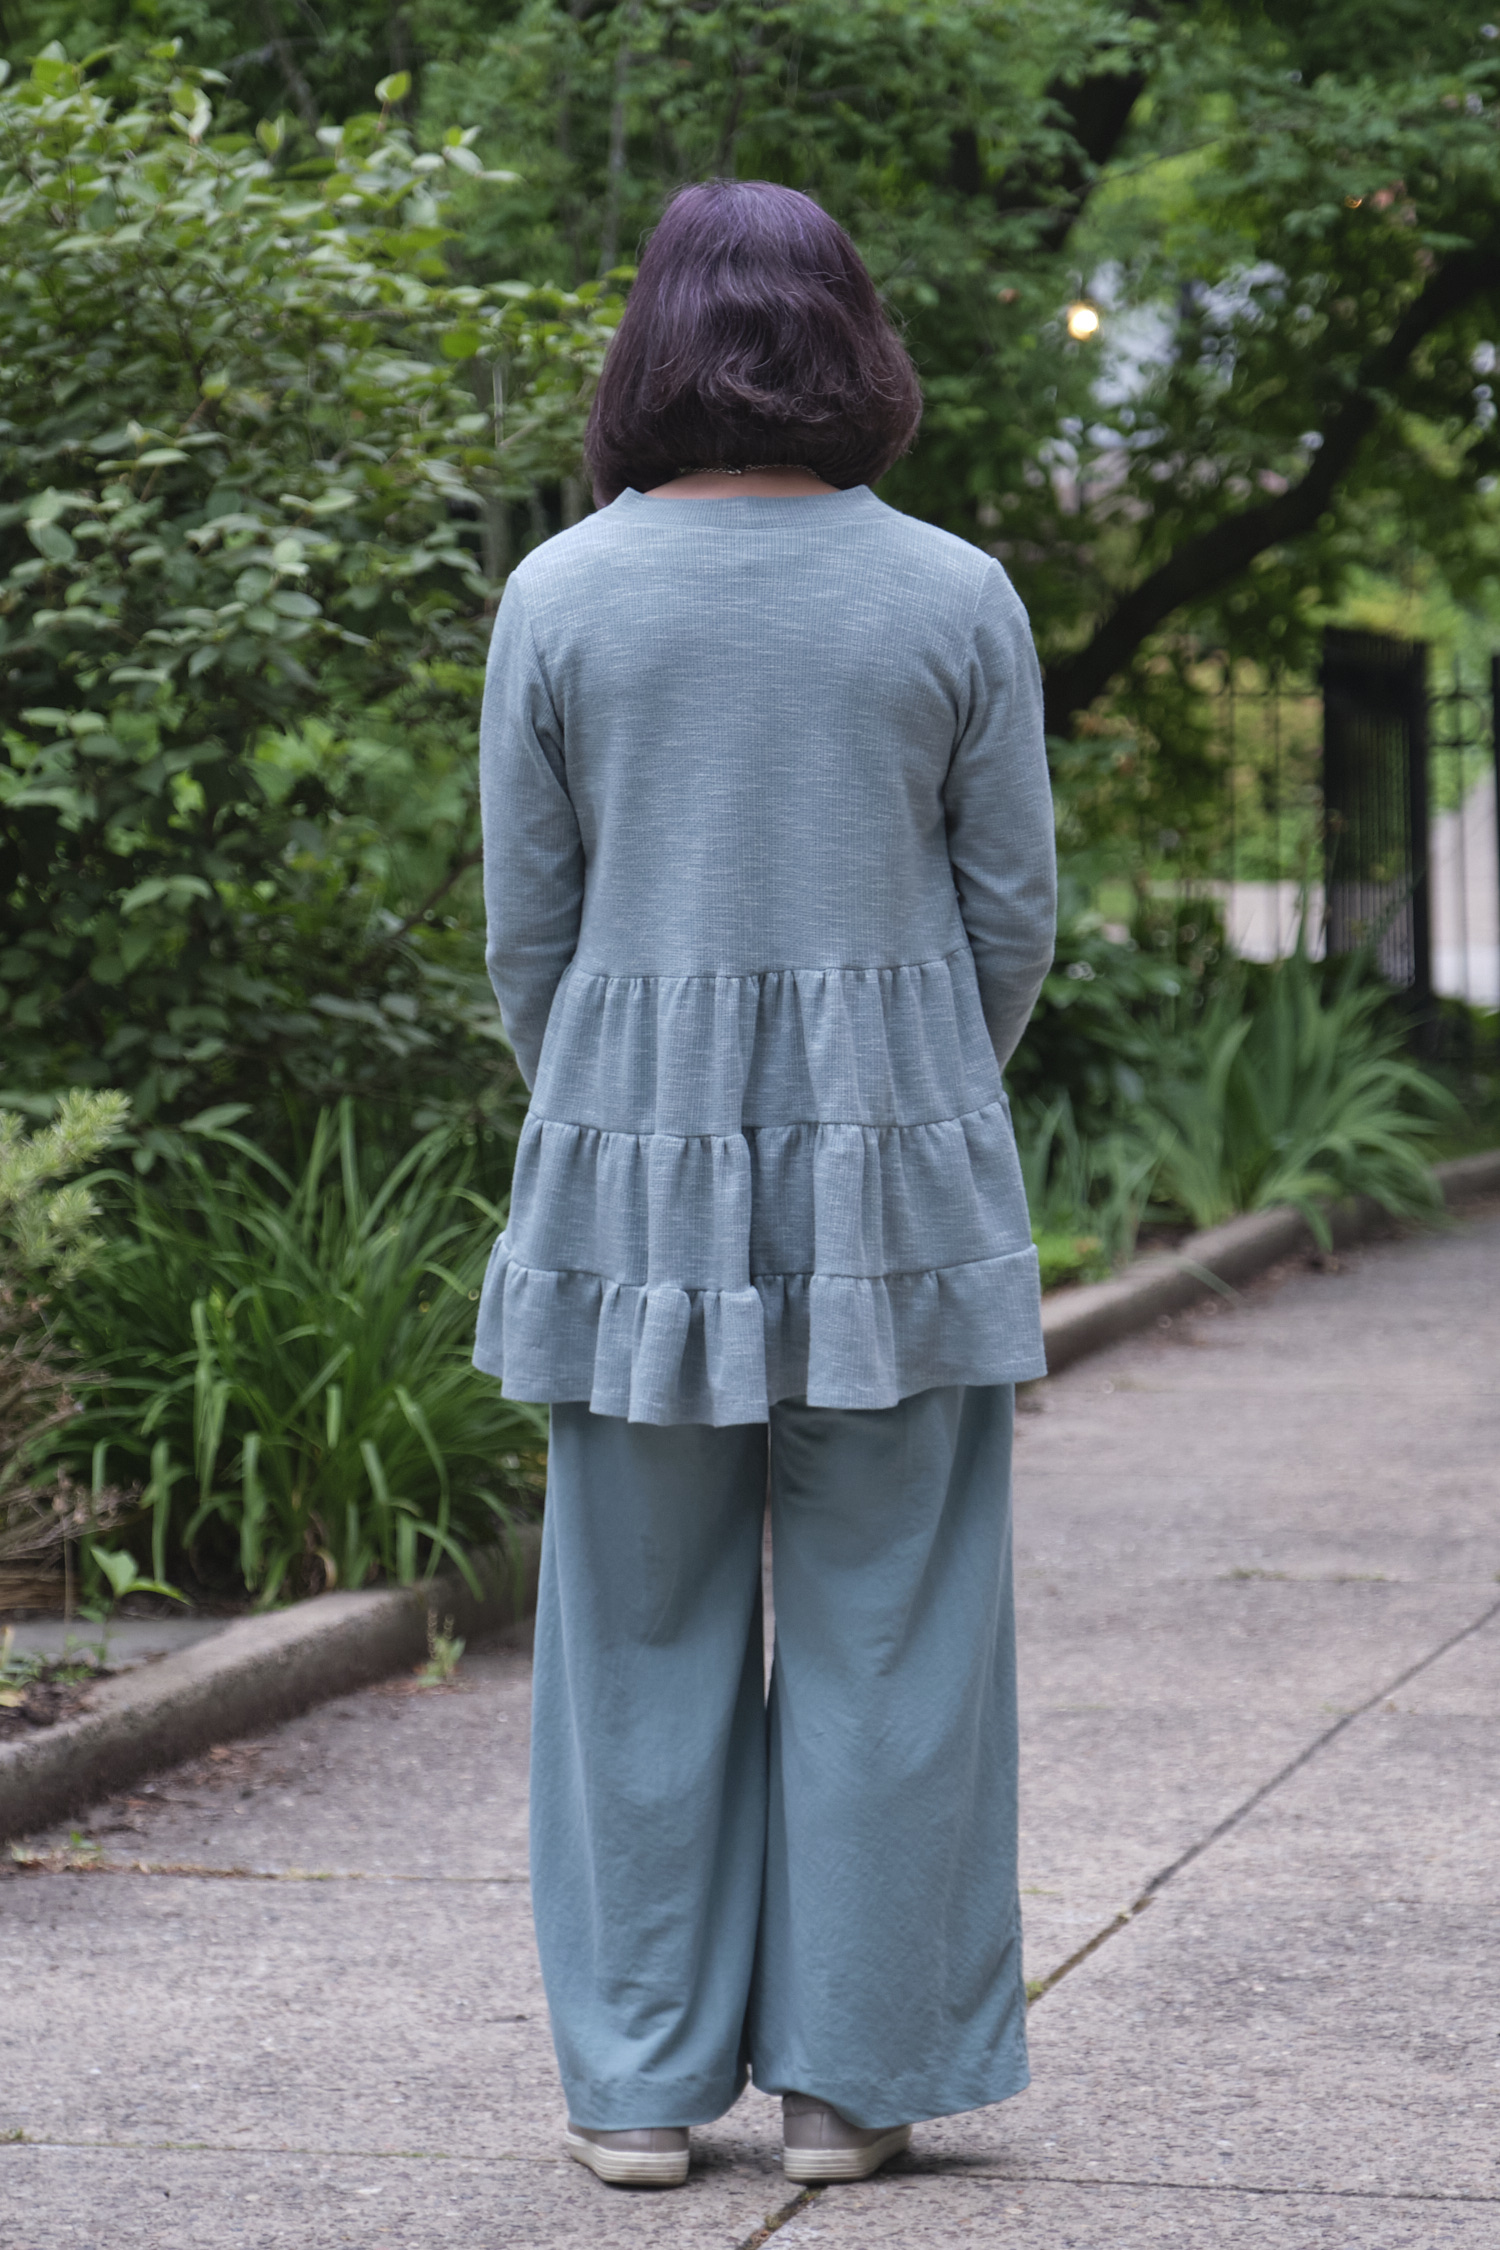
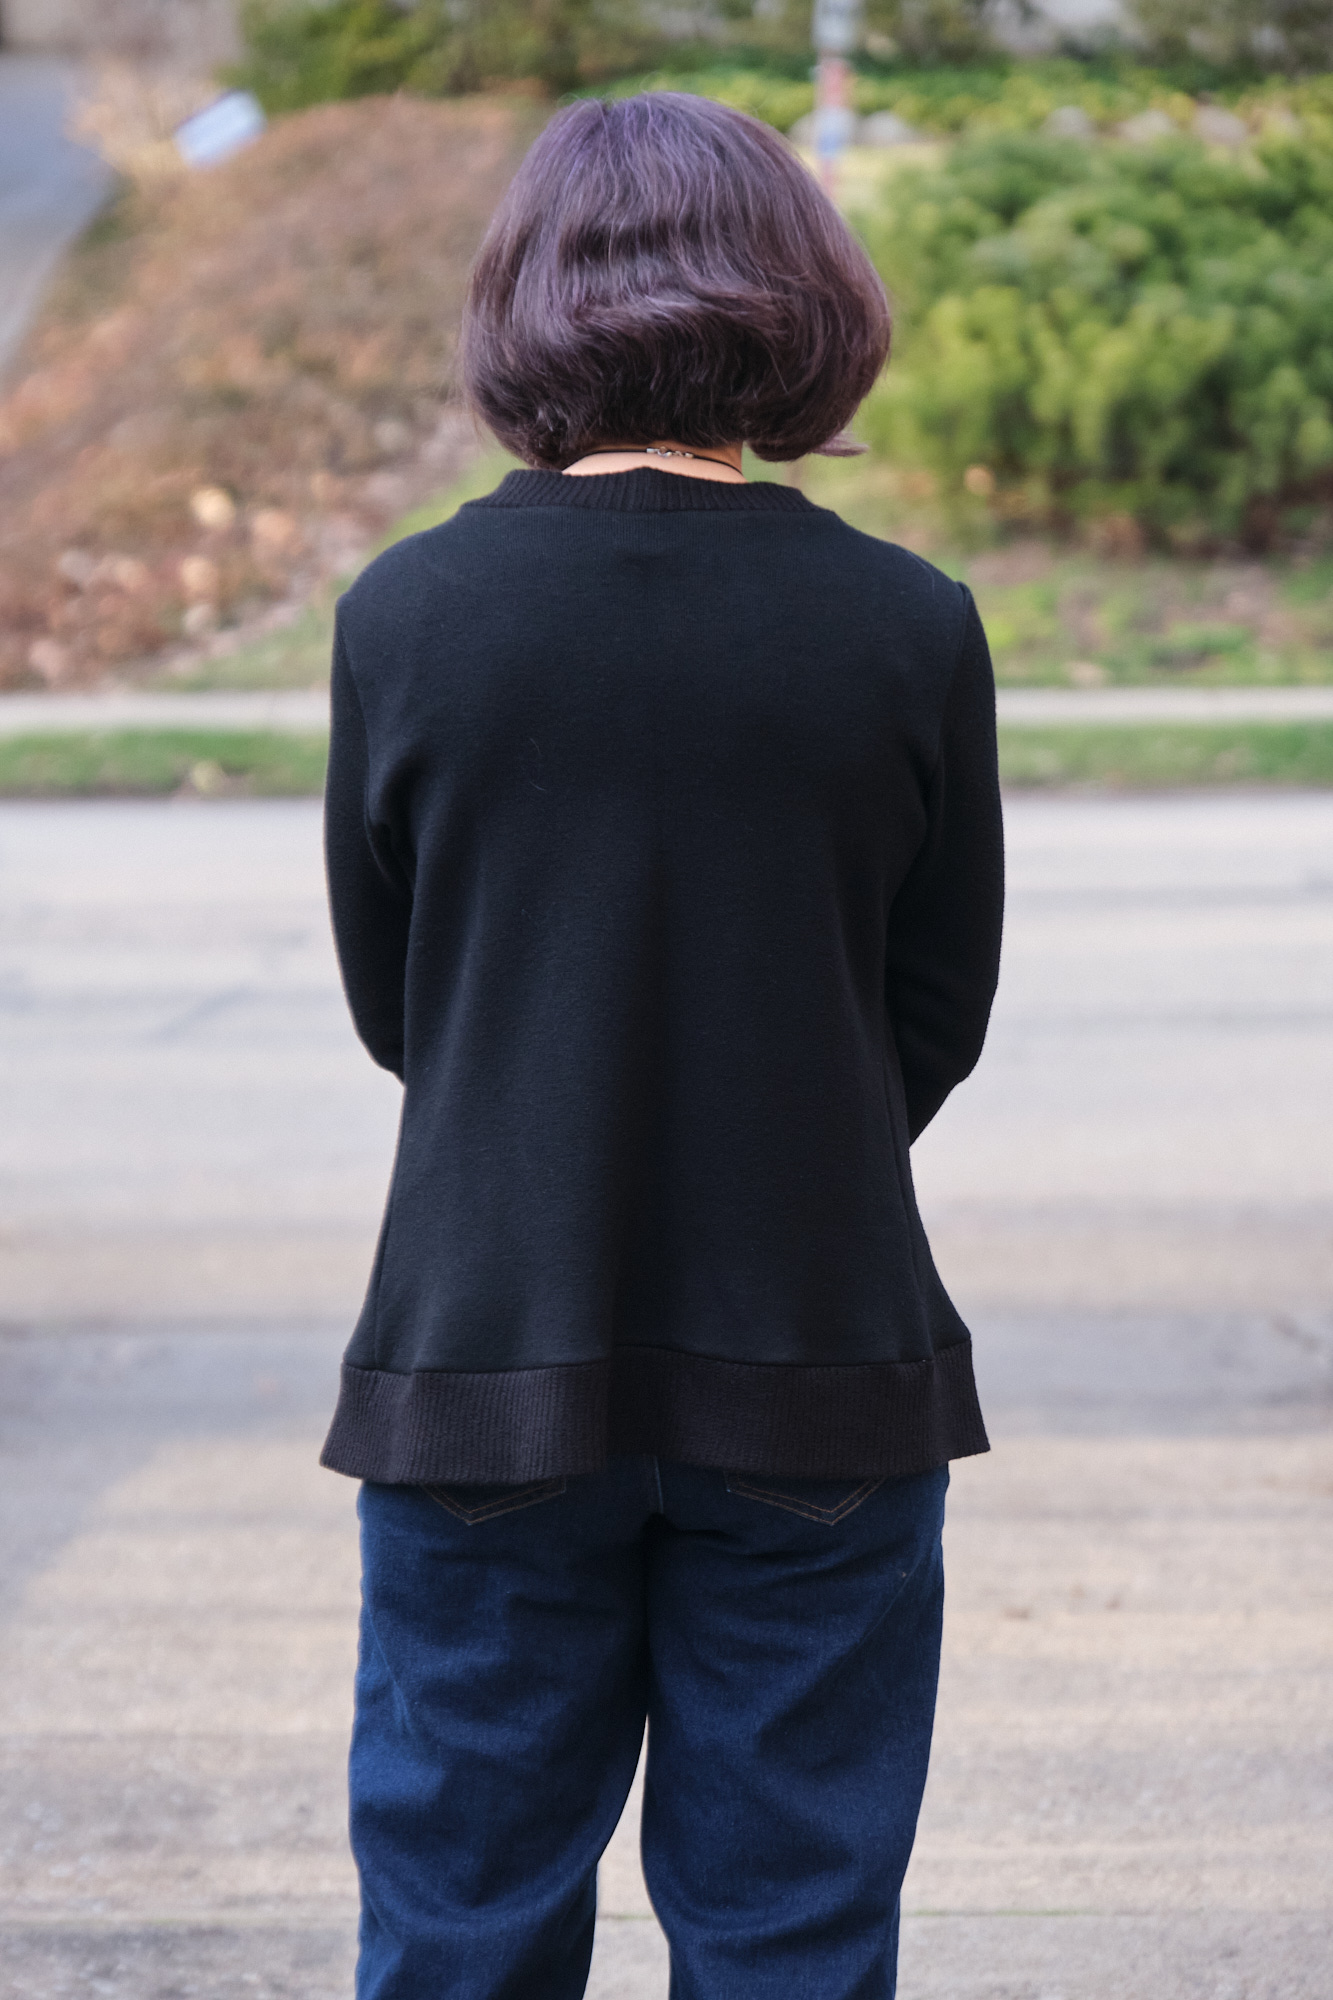
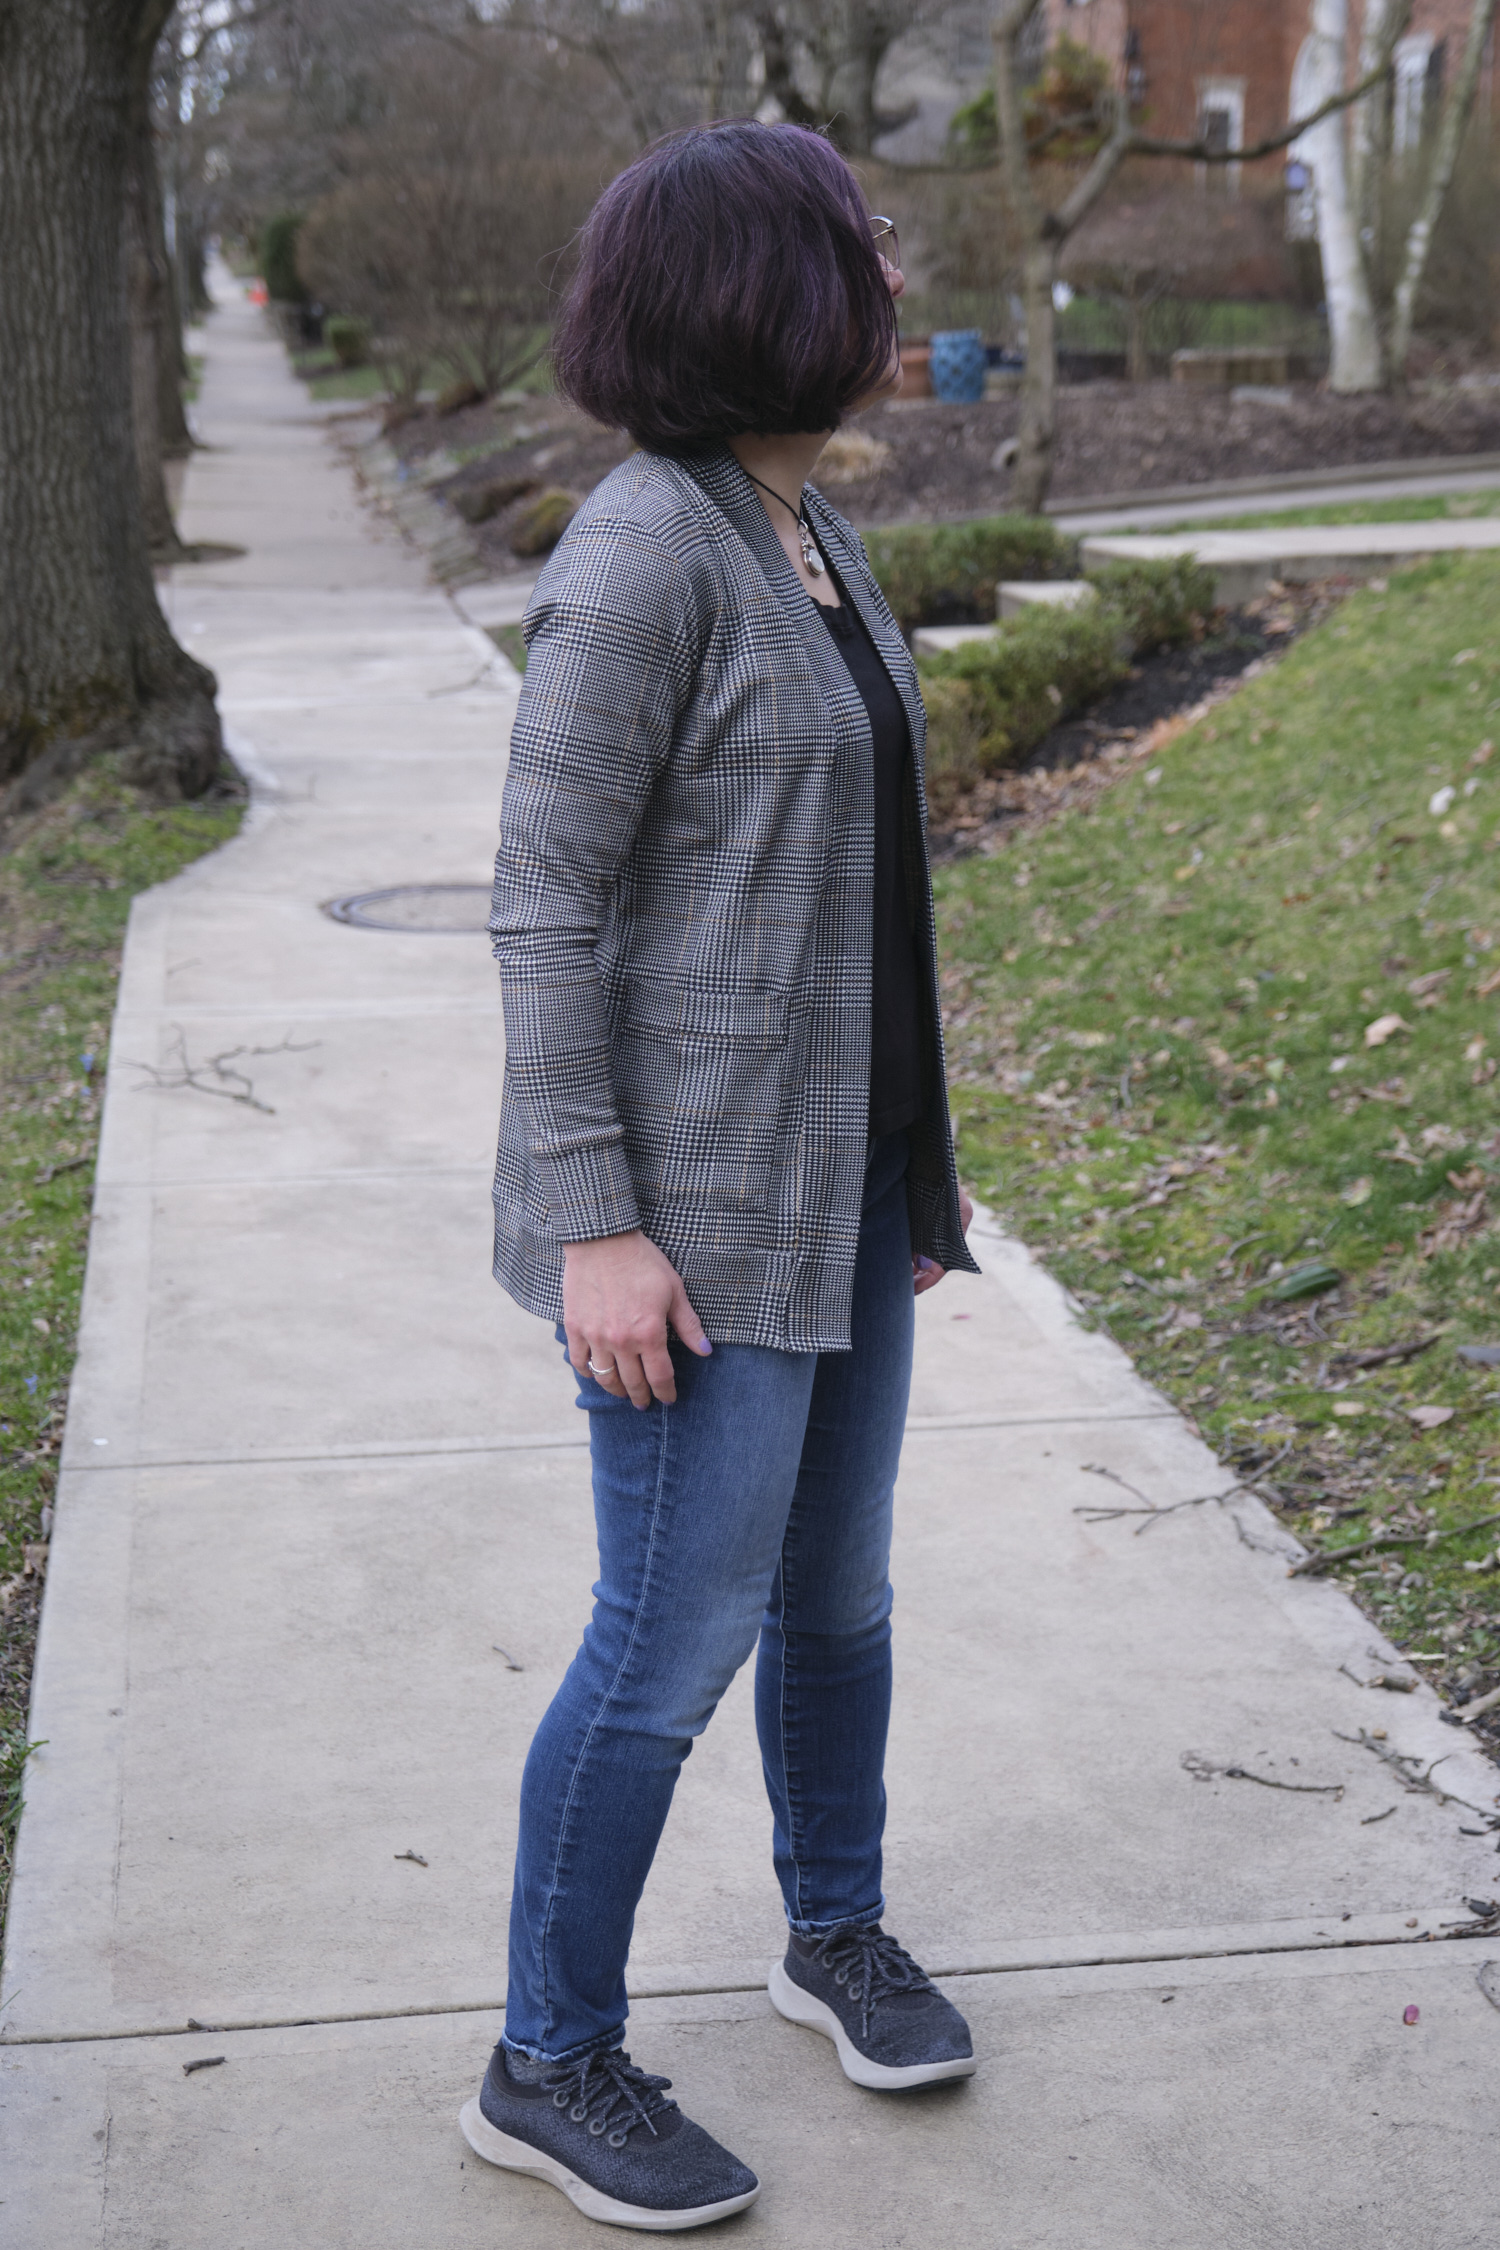
- Sinclair Harper classic knit cardigan and duster (free pattern): glen plaid double knit, warm black double sweater knit, eucalyptus impressionist double sweater knit with ruffle hack
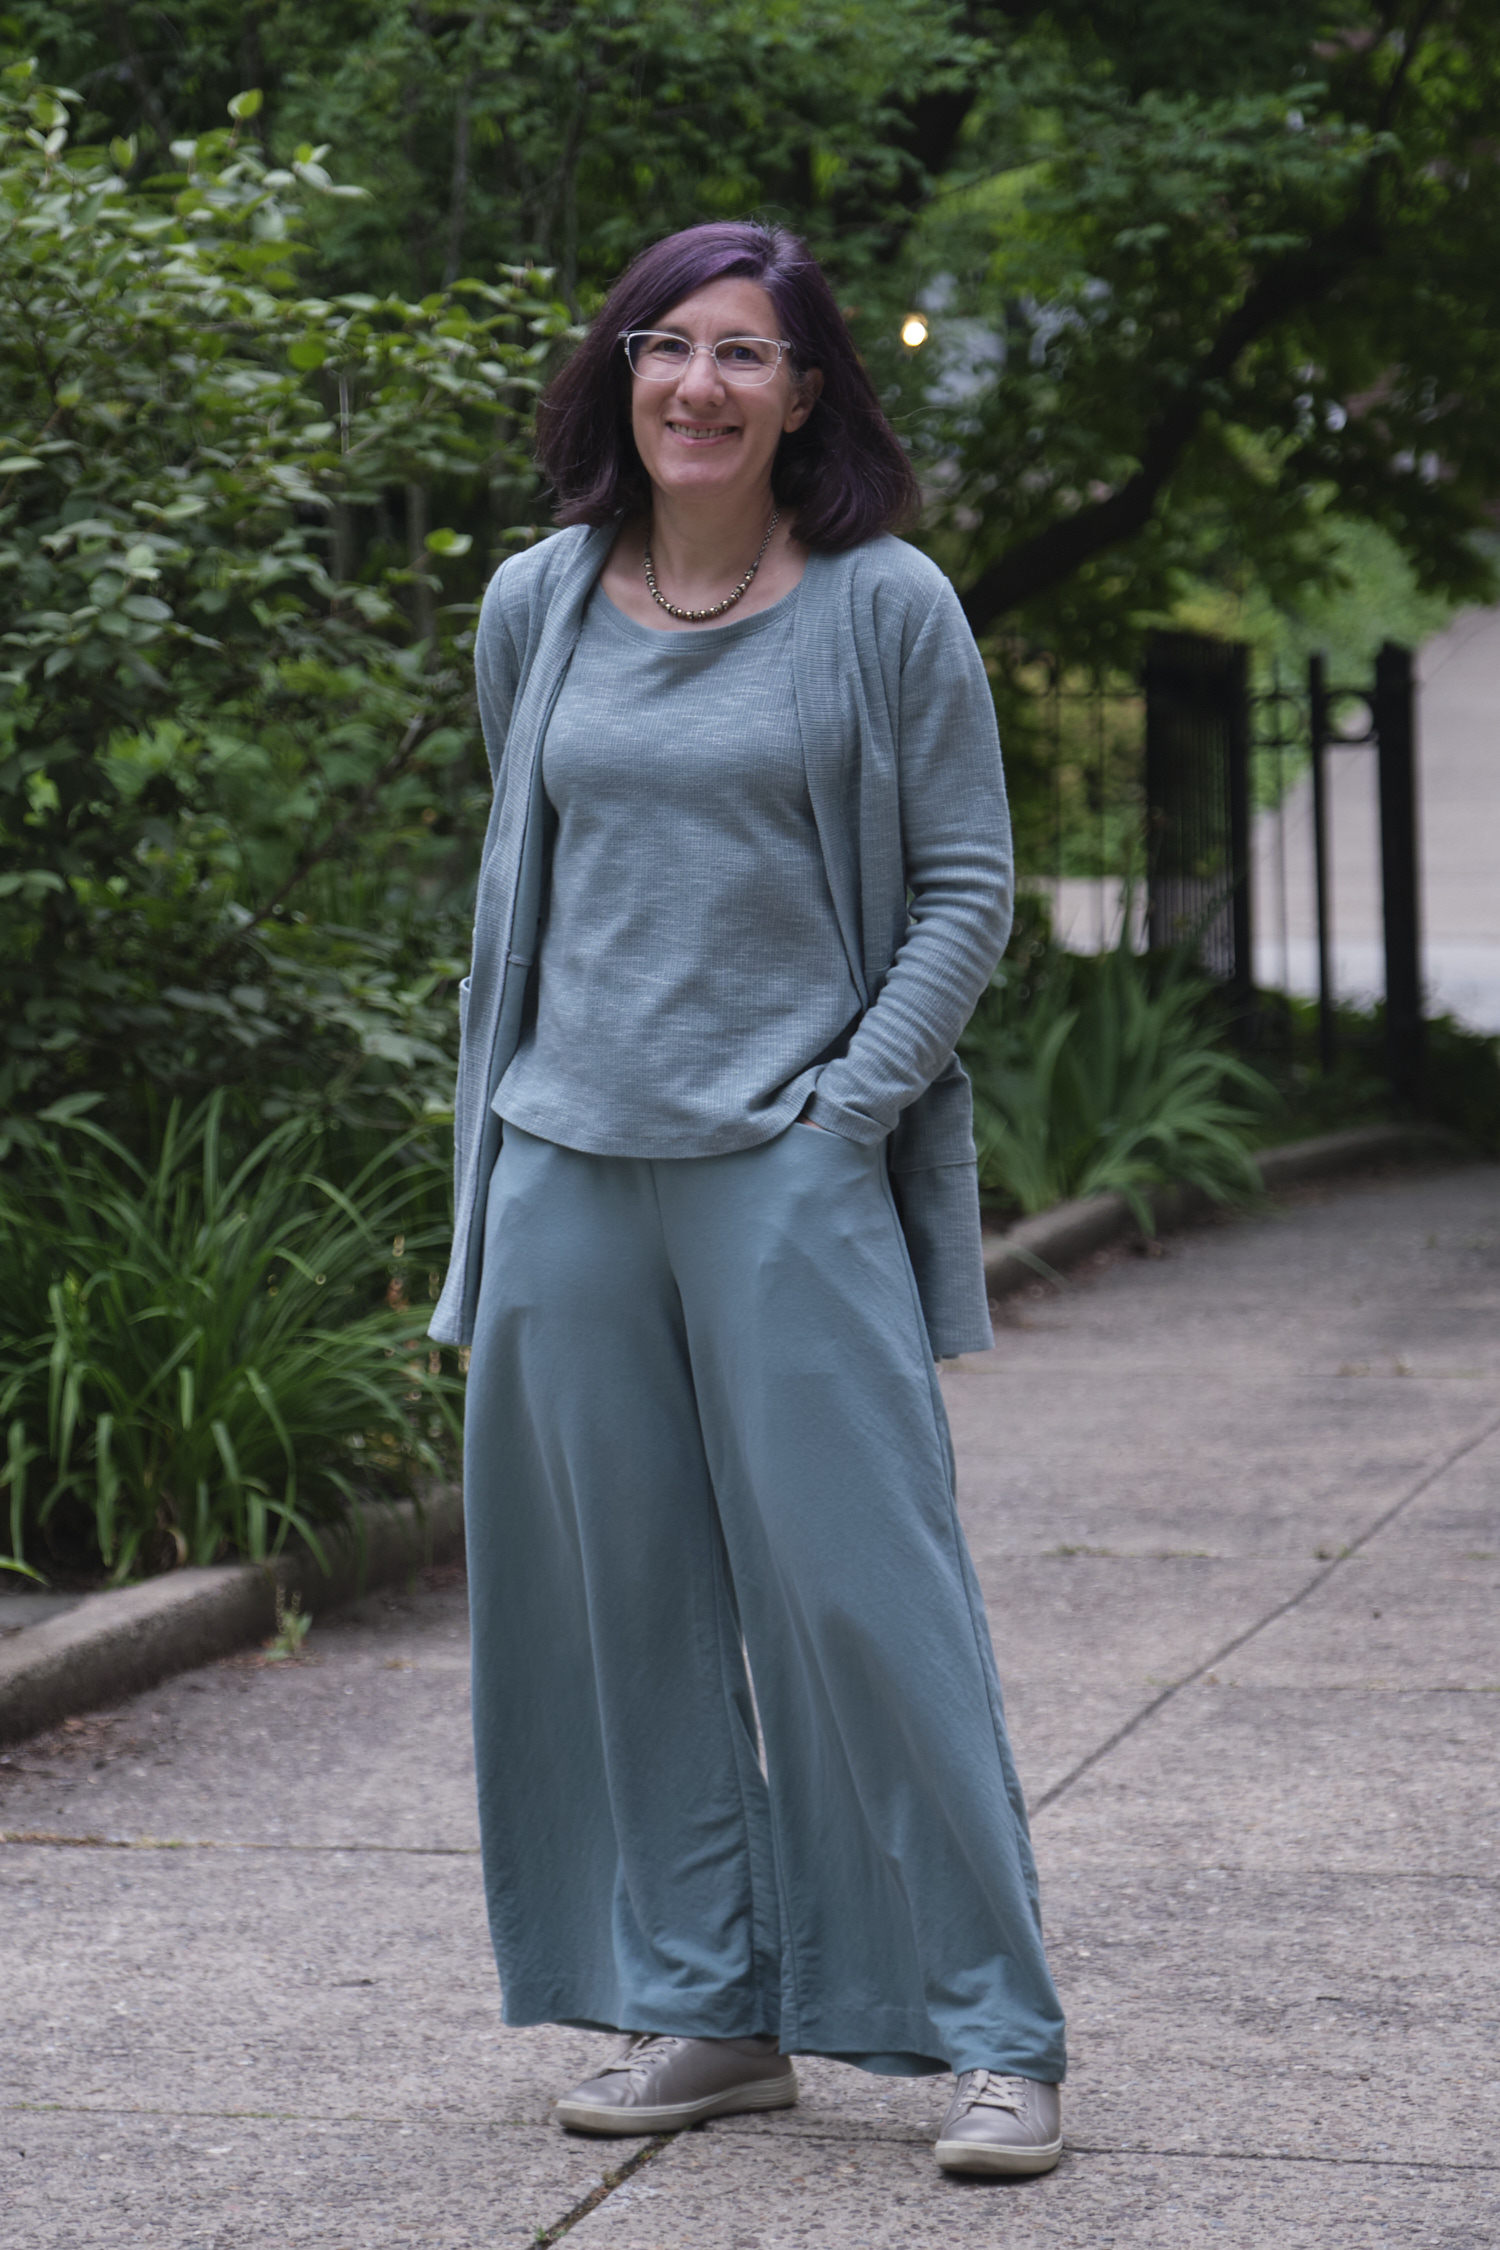
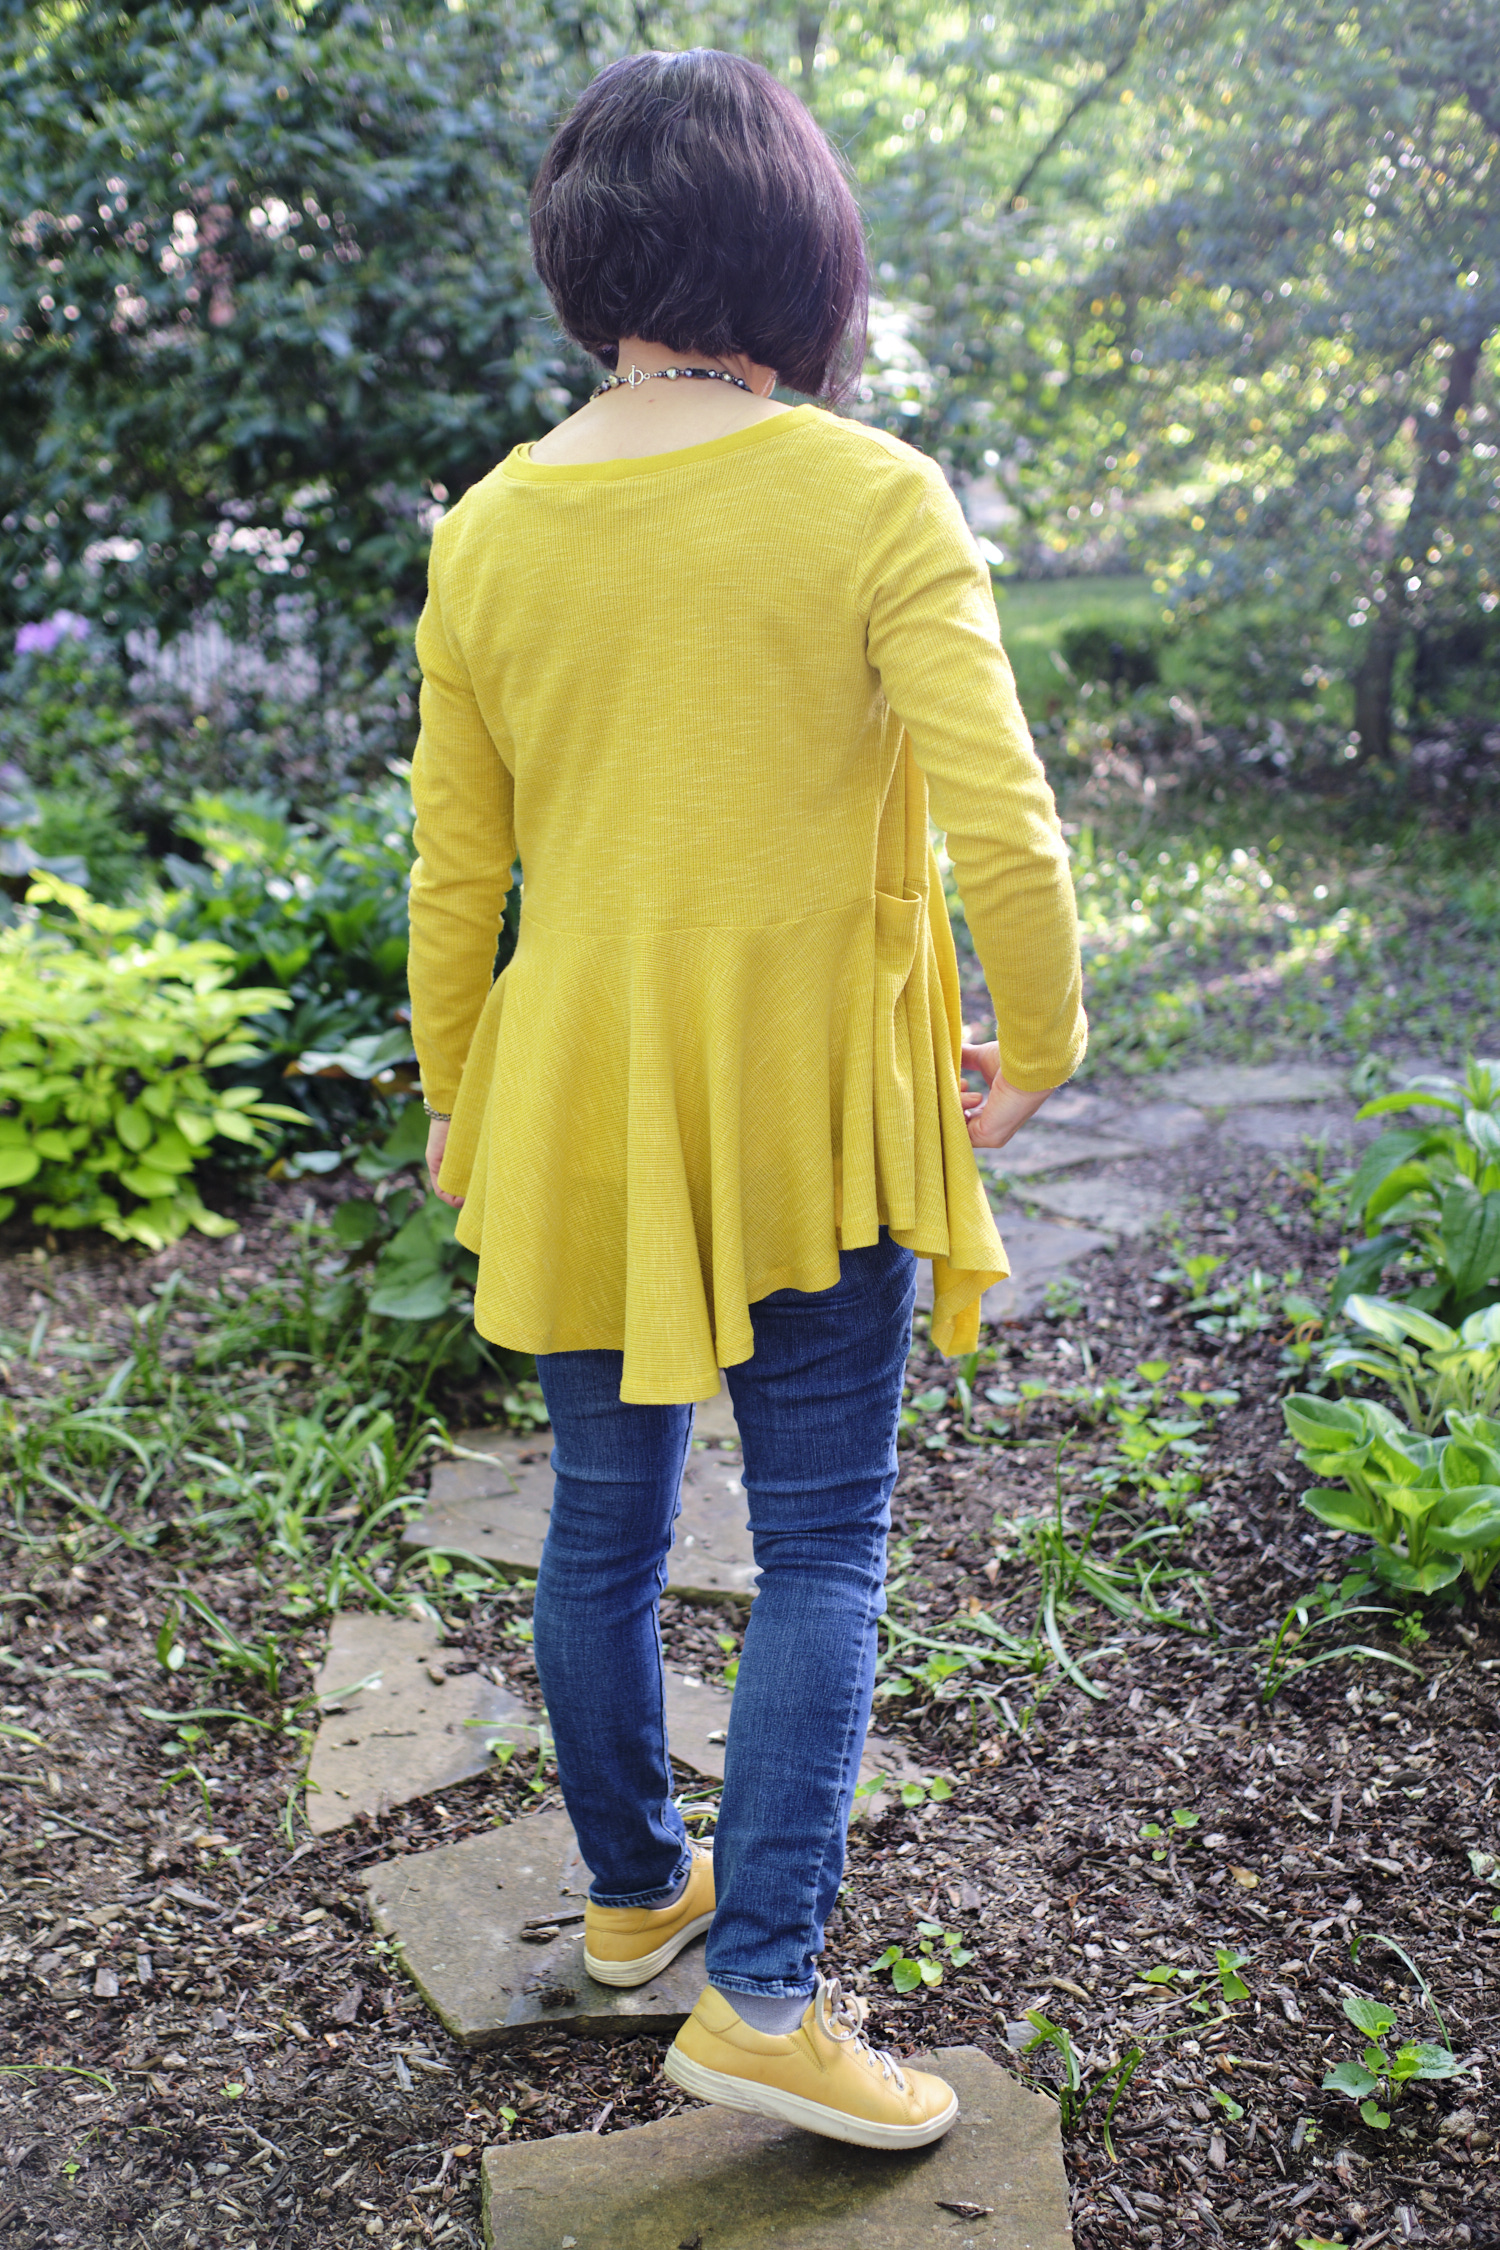
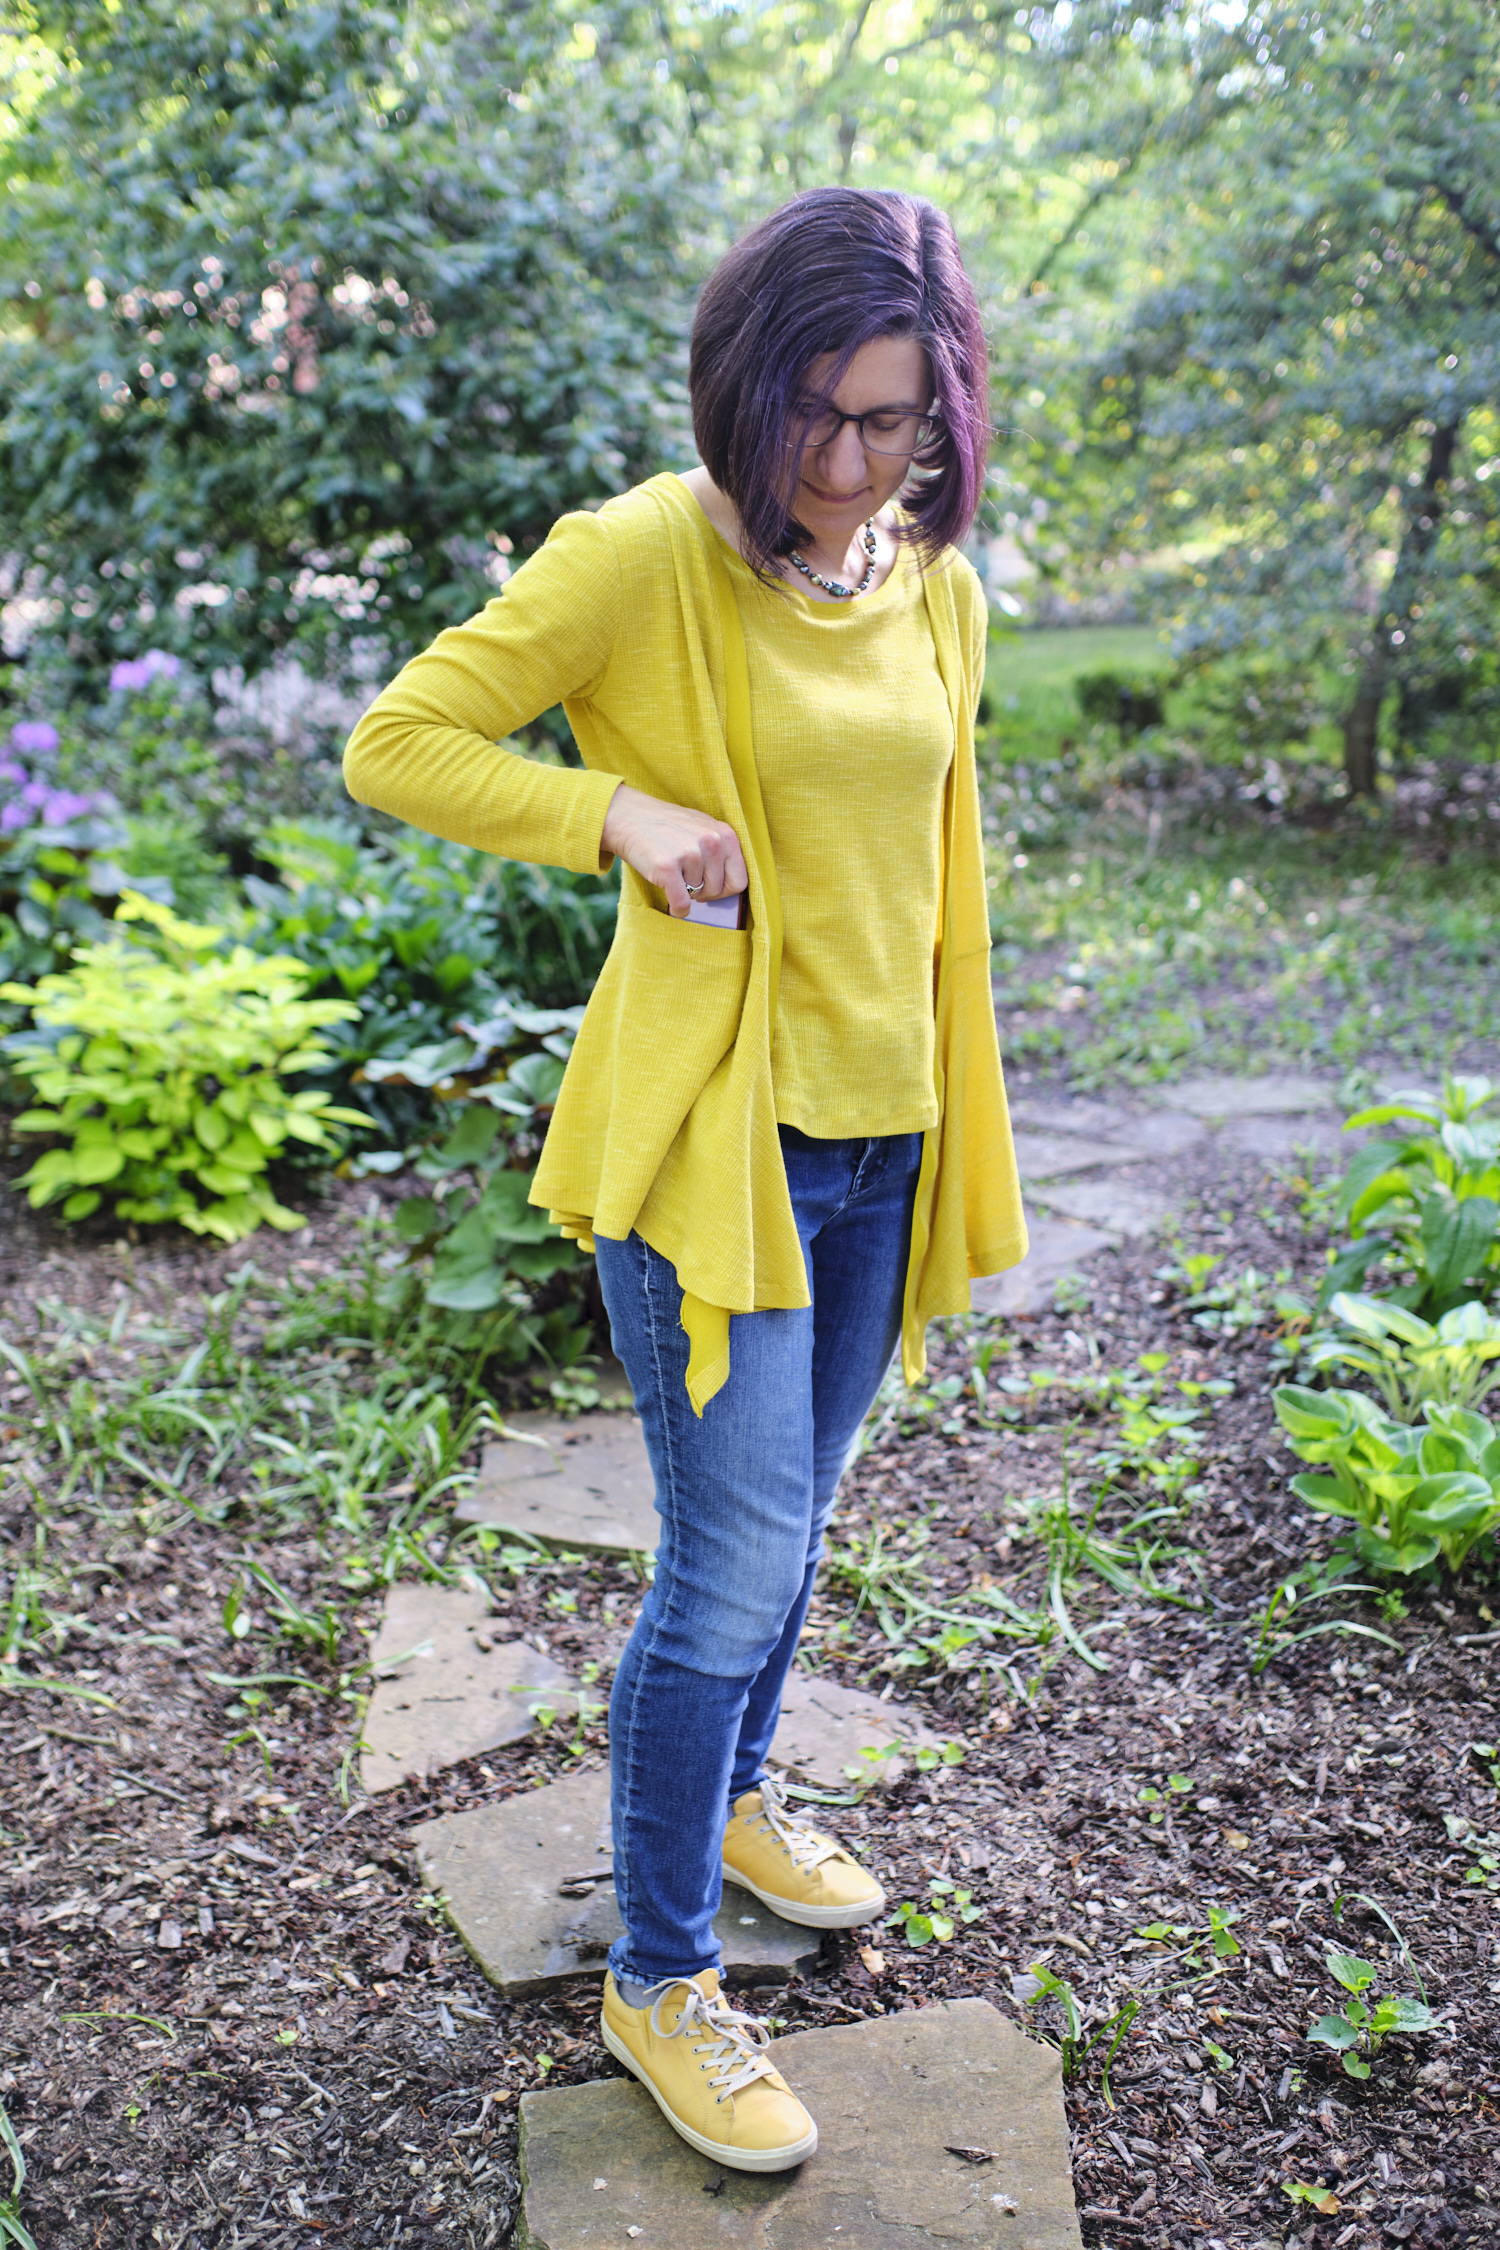
- Sinclair Laura relaxed fit shawl collar cardigan: tea leaf (yellow) impressionist double sweater knit
Dresses
- Boo & Lu Blizzard dress (knit): leaf print ITY
- Ellie & Mac Effortless Hourglass Dress Pattern (knit): cranberry Banff ultra thick rib sweater knit
- Ellie & Mac Felicia Custom-Fit Cup Size Dress (knit): pink/white/grey floral rayon spandex with flutter sleeves and hem ruffle
- McCall’s 1950s Misses’ Lined Fit-and Flare Dresses with Petticoat (woven): newsprint quilting cotton
- Pattern Emporium Going Places Fit-Flare and Fitted dress (knit): tropical print DBP
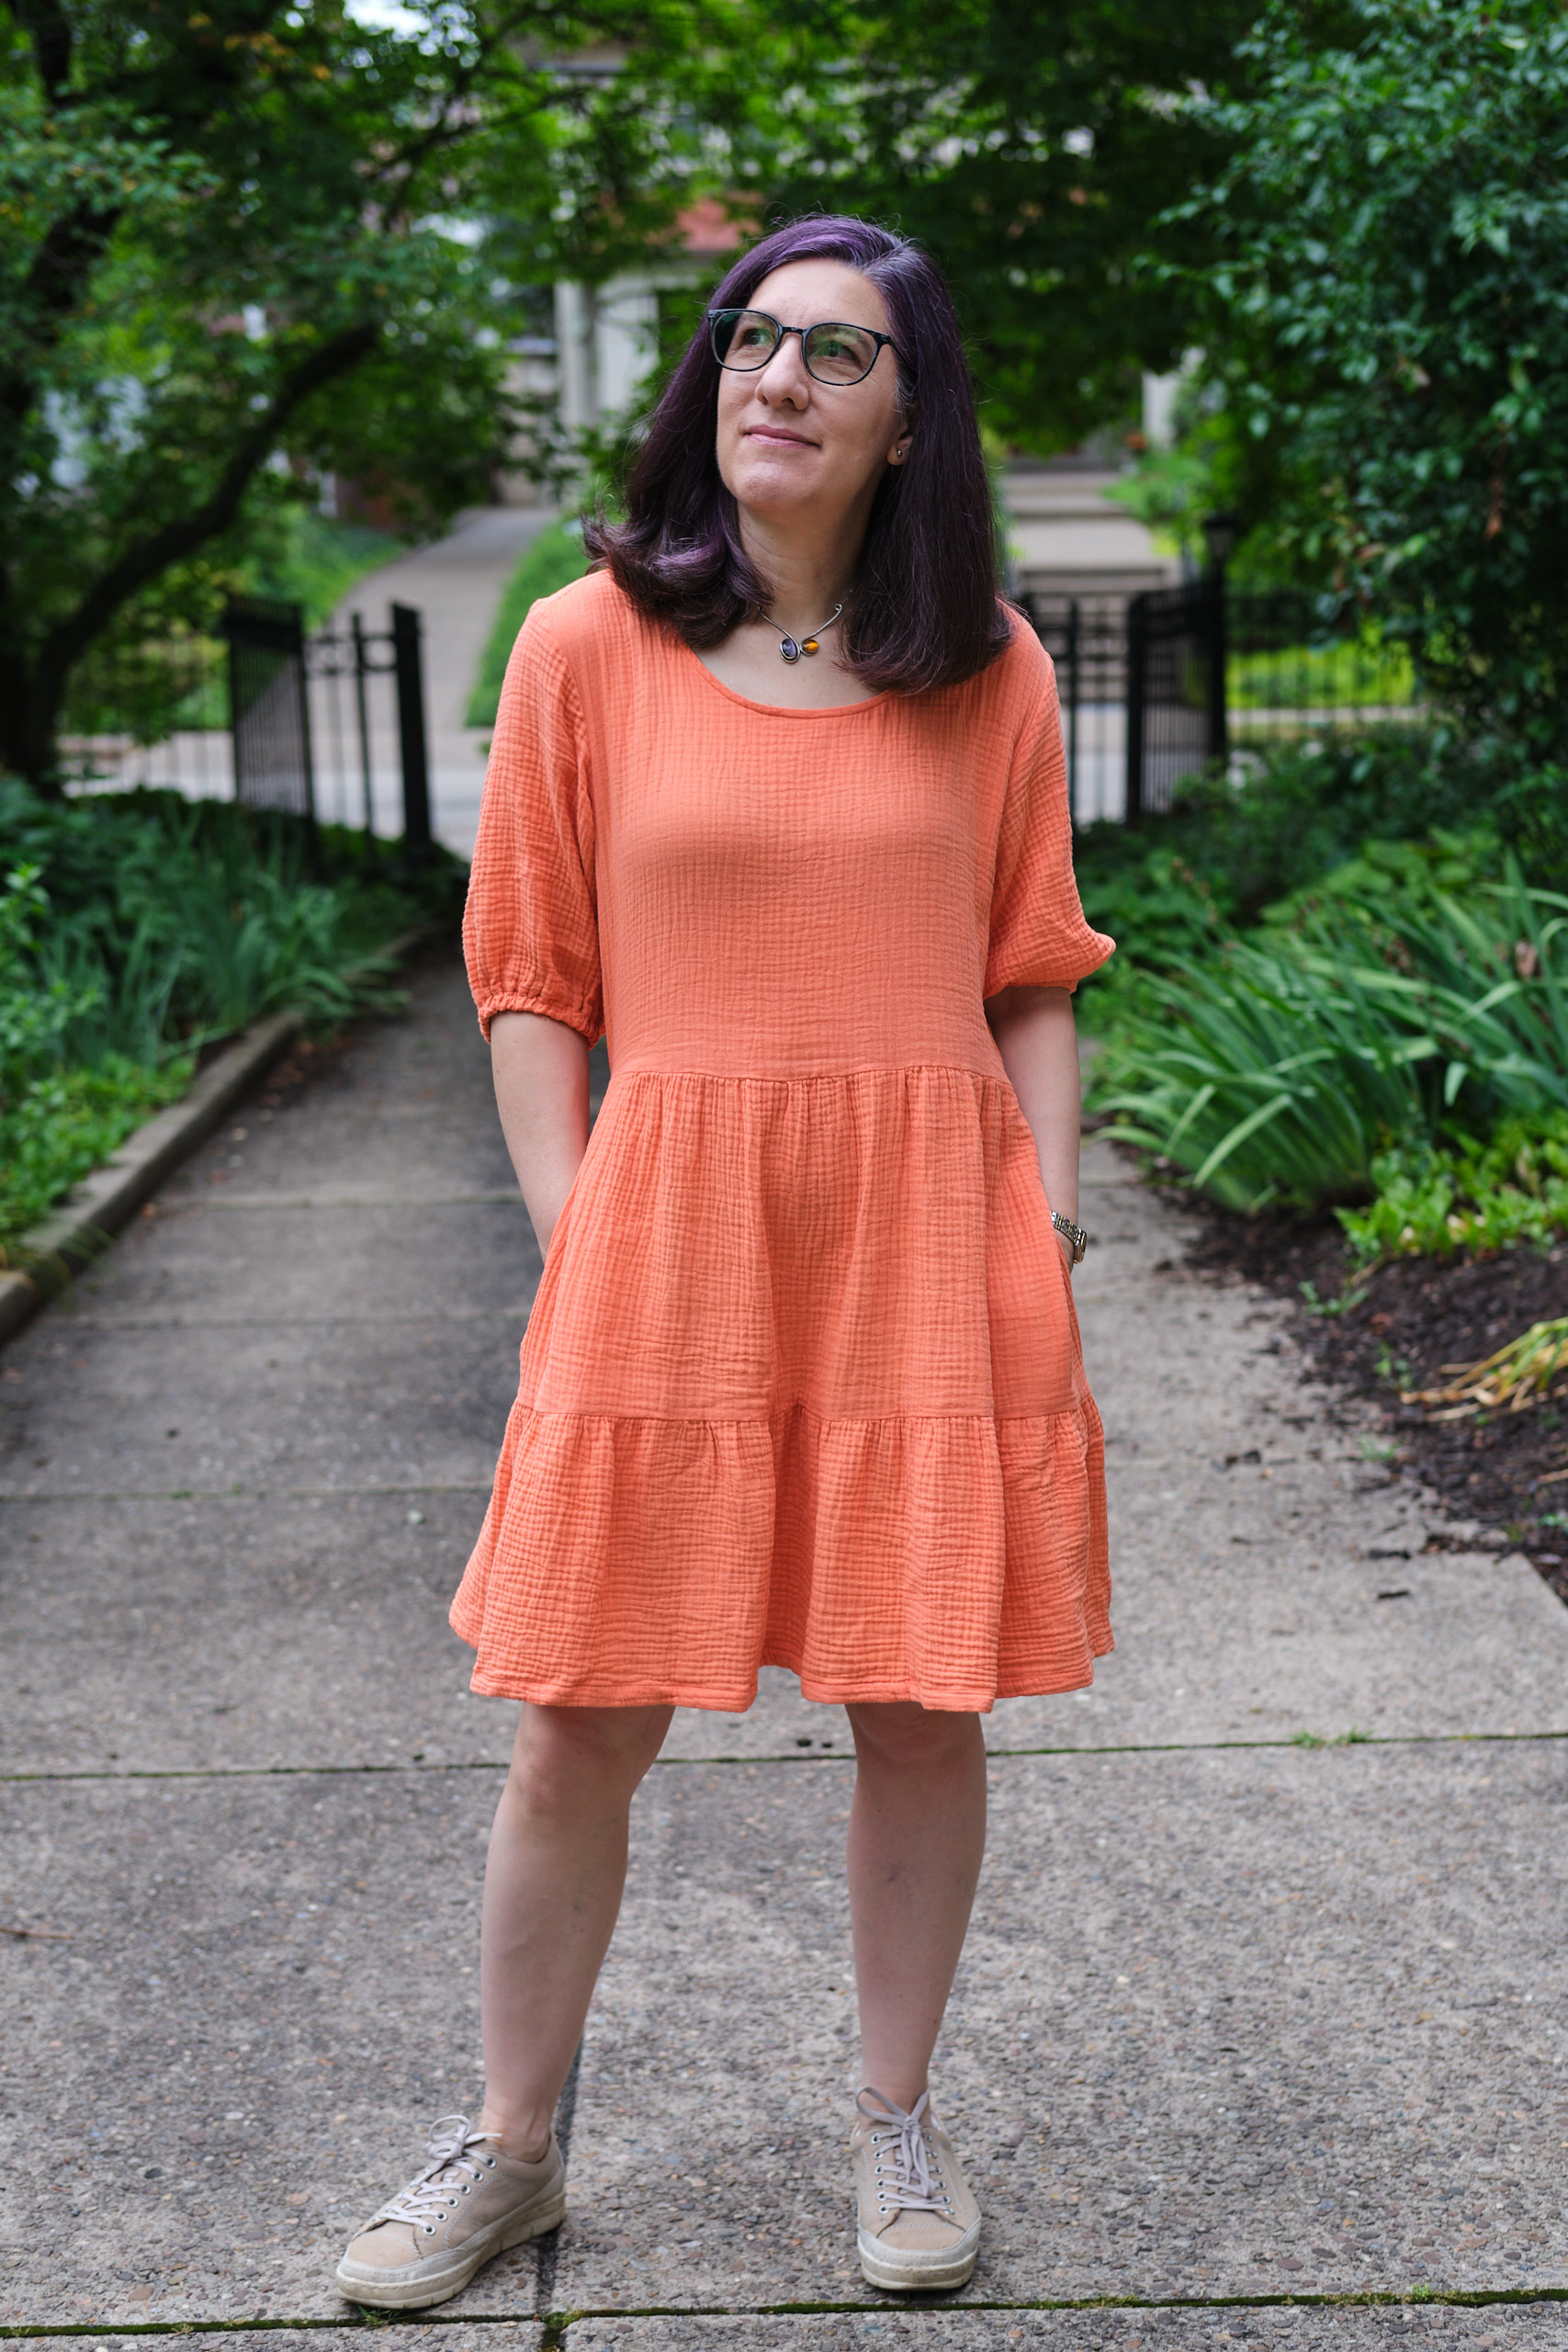
- Pattern Emporium Meet You There dress (woven): orange cotton double gauze
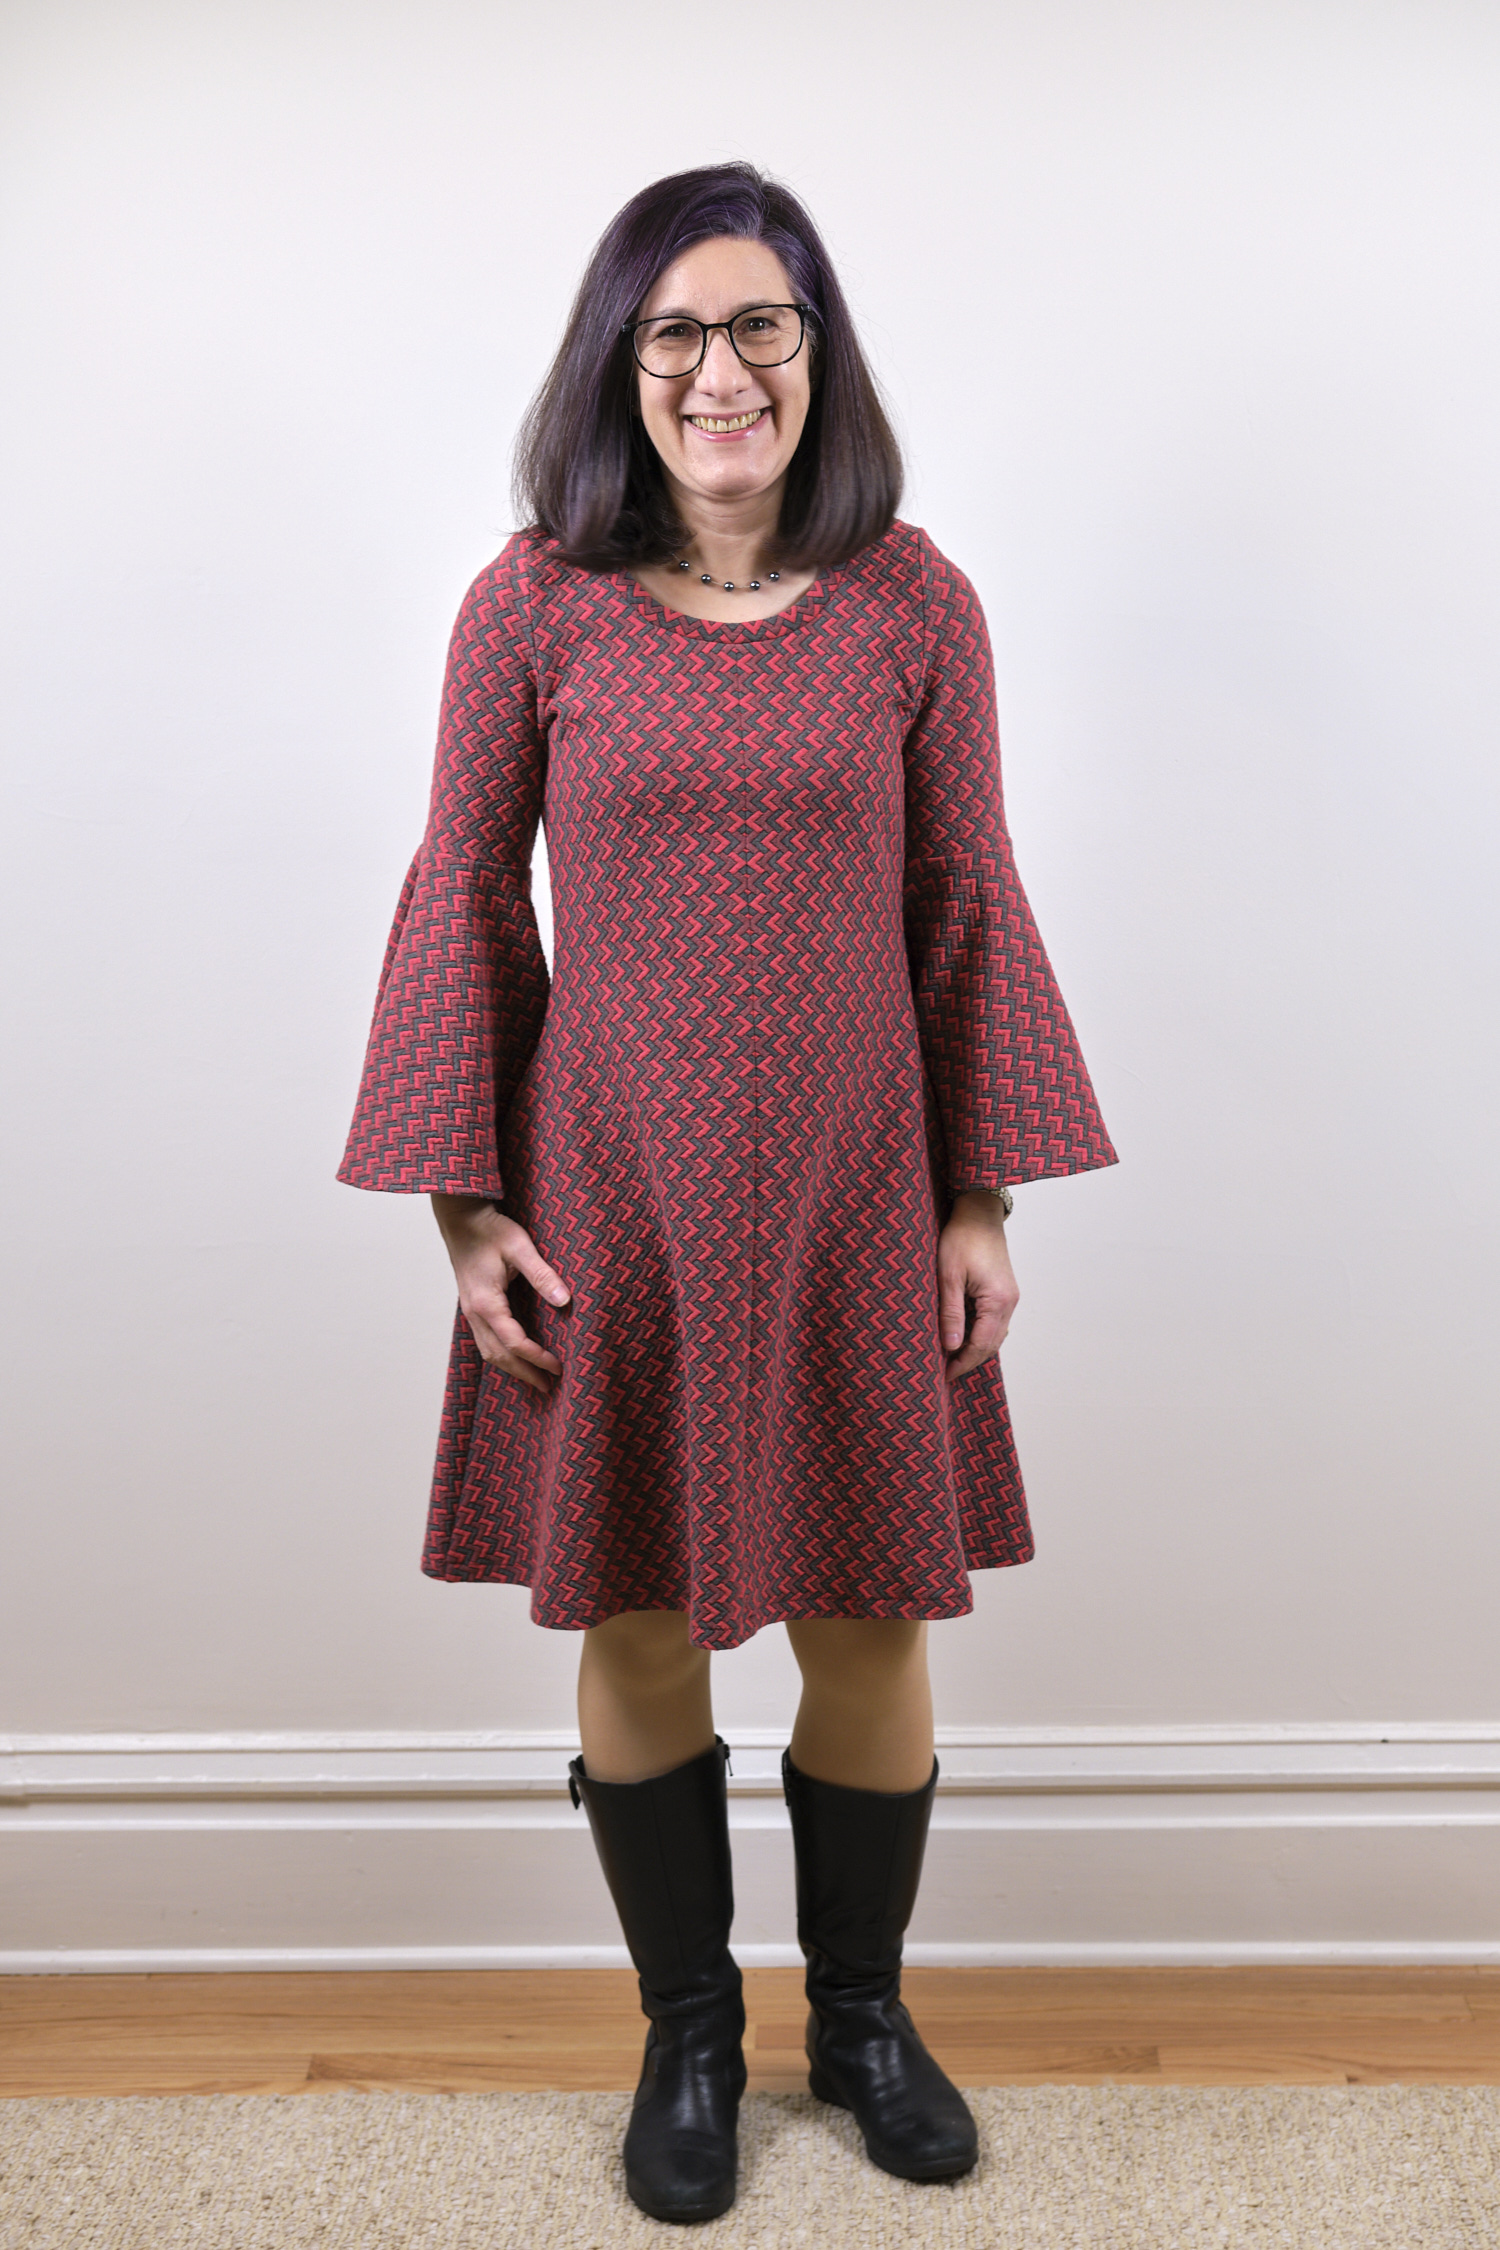
- Pattern Emporium Wanderlust fit and flare dress knit): green stretch cord, red geometric poly/rayon/spandex double knit with Allure flared sleeves, poly/spandex blue wave rib knit tunic with Allure flared sleeves
- Petite Stitchery Adult Dovie Longline Crop & Top (knit): light sage poly spandex rib knit
- Rivet Patterns Senna Raglan Dress (knit): variegated blue sweater knit
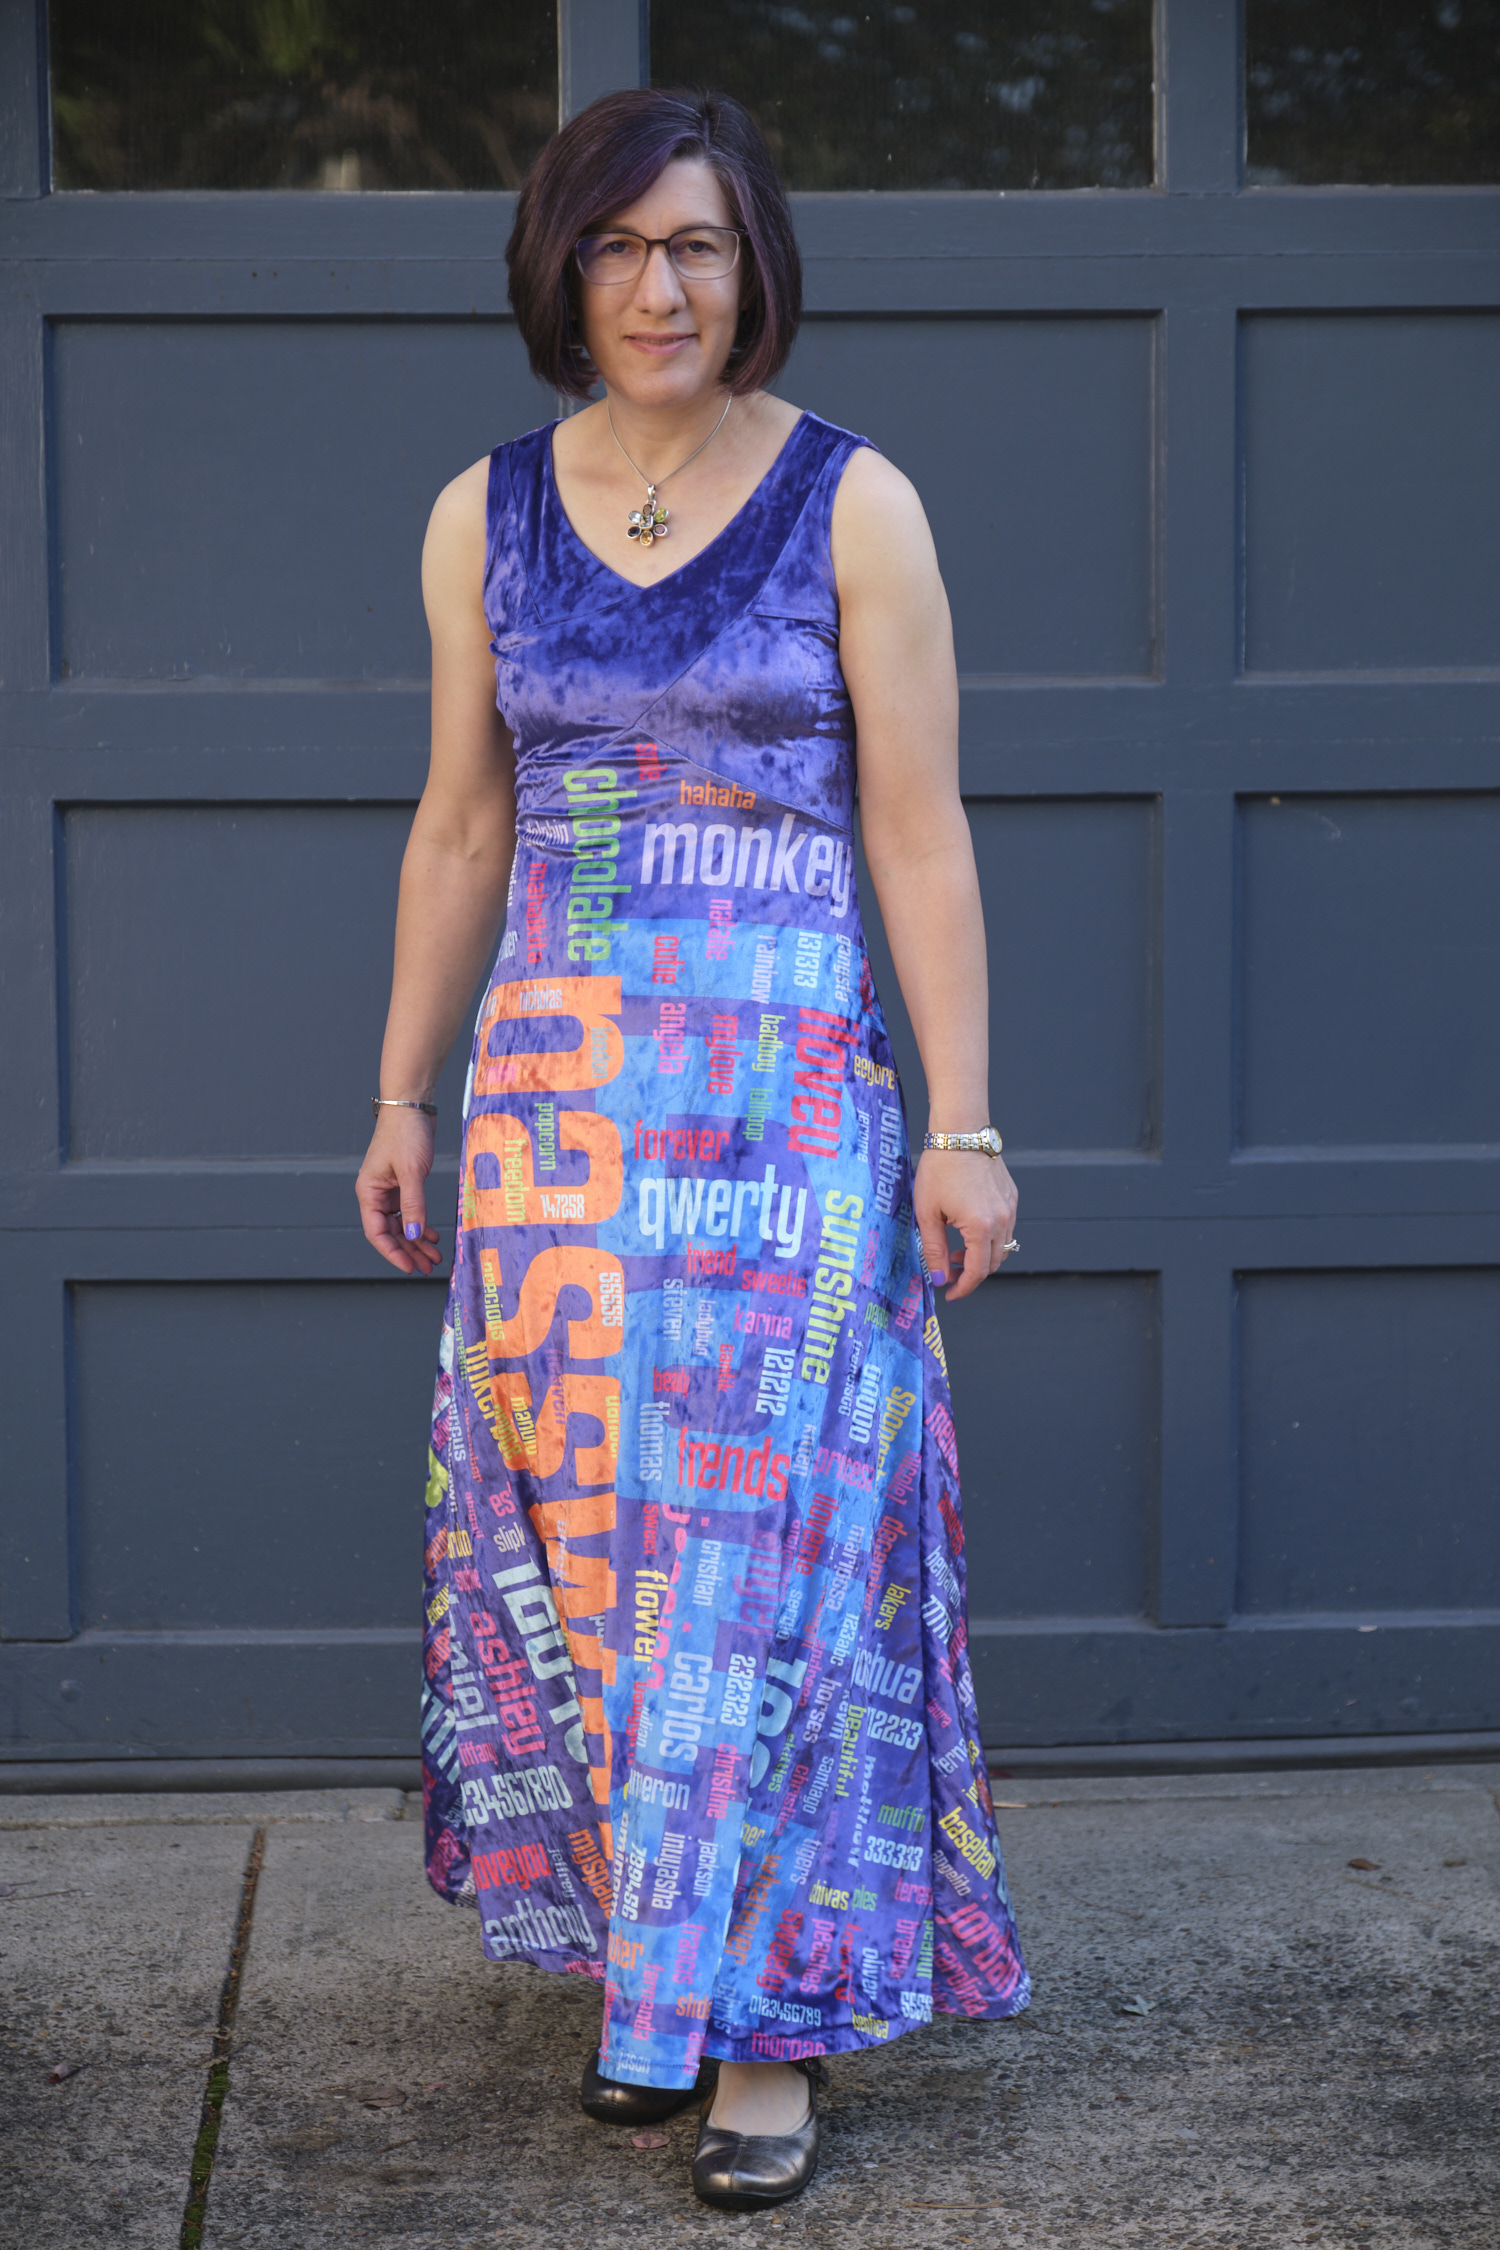
- Self-drafted sleeveless knit sheath dress: purple password dress
- Self-drafted sleeveless knit skater dress: SOUPS modern jersey, CUPS modern jersey
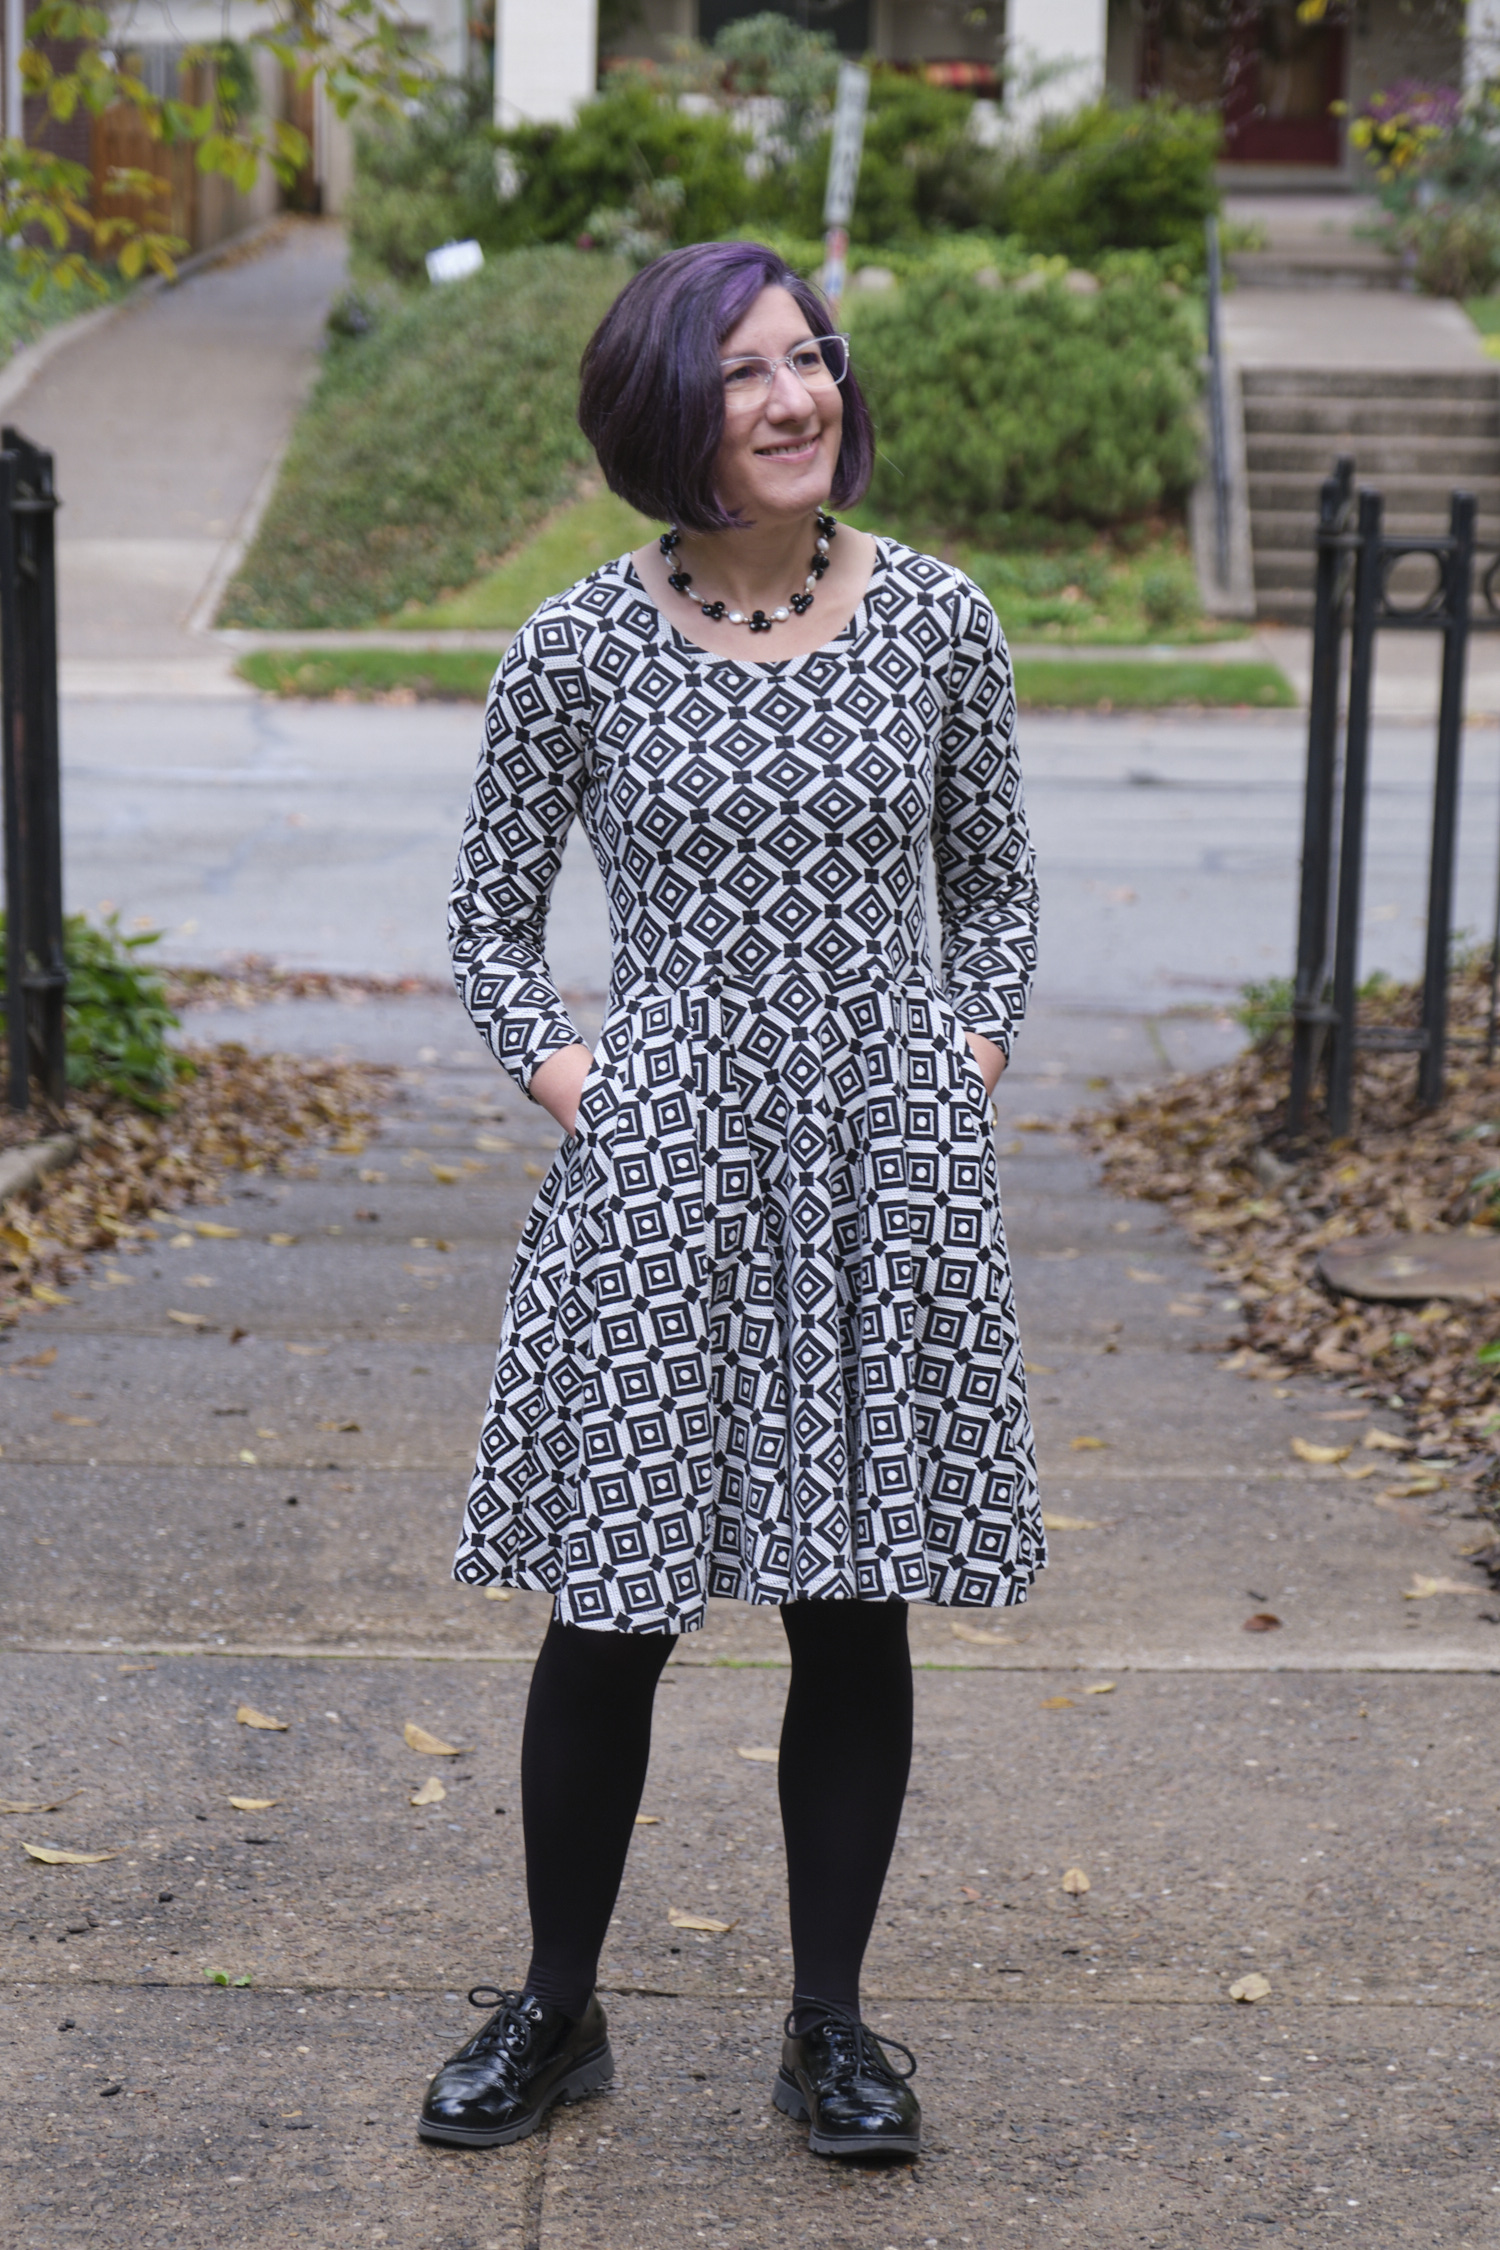
- Sinclair Alana princess seam knit dress with pockets:
- Long sleeve: modern jersey eyes, purple scuba suede, passwords modern jersey, black/blue/white geometric double knit
- Short sleeve: black cupro jersey, blue/black tweed boucle
- Sinclair Serena crossover knit top and dress: purple floral DBP sleeveless, purple crushed velour sleeveless, purple crushed velour sleeveless ballgown
- Sinclair Joanne faux wrap knit dress with flared skirt: turquoise swirl ITY flounce sleeve, black and white ITY with flounce sleeve and faux wrap flounce skirt from Flared skirts ADD-ON, sienna brushed hacci long sleeve
- Sinclair Valley Knit Skater Dress (free pattern)
- with half-circle skirt from Flared skirts ADD-ON: green CL long sleeve, pink daisy ITY short sleeve, orange floral DBP short sleeve, hot pepper upcycled night shirt, pets modern jersey short sleeve
- with full-circle skirt from Flared skirts ADD-ON: black/white polyester double knit 3/4 sleeve
- with faux wrap flounce skirt from Flared skirts ADD-ON: blue floral ITY sleeveless
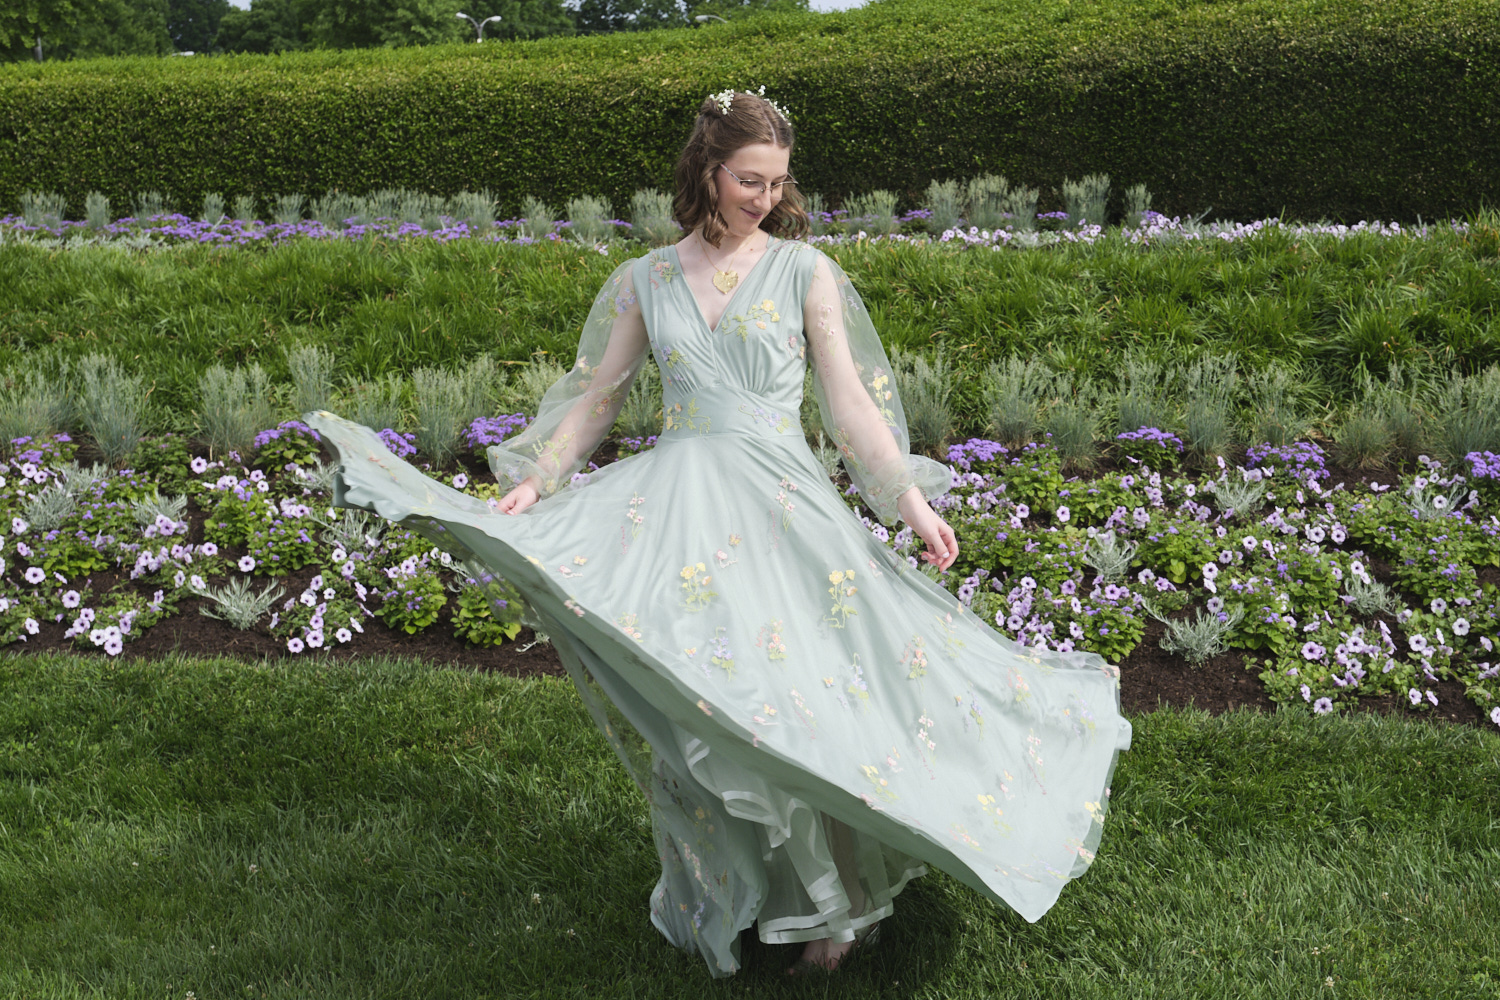
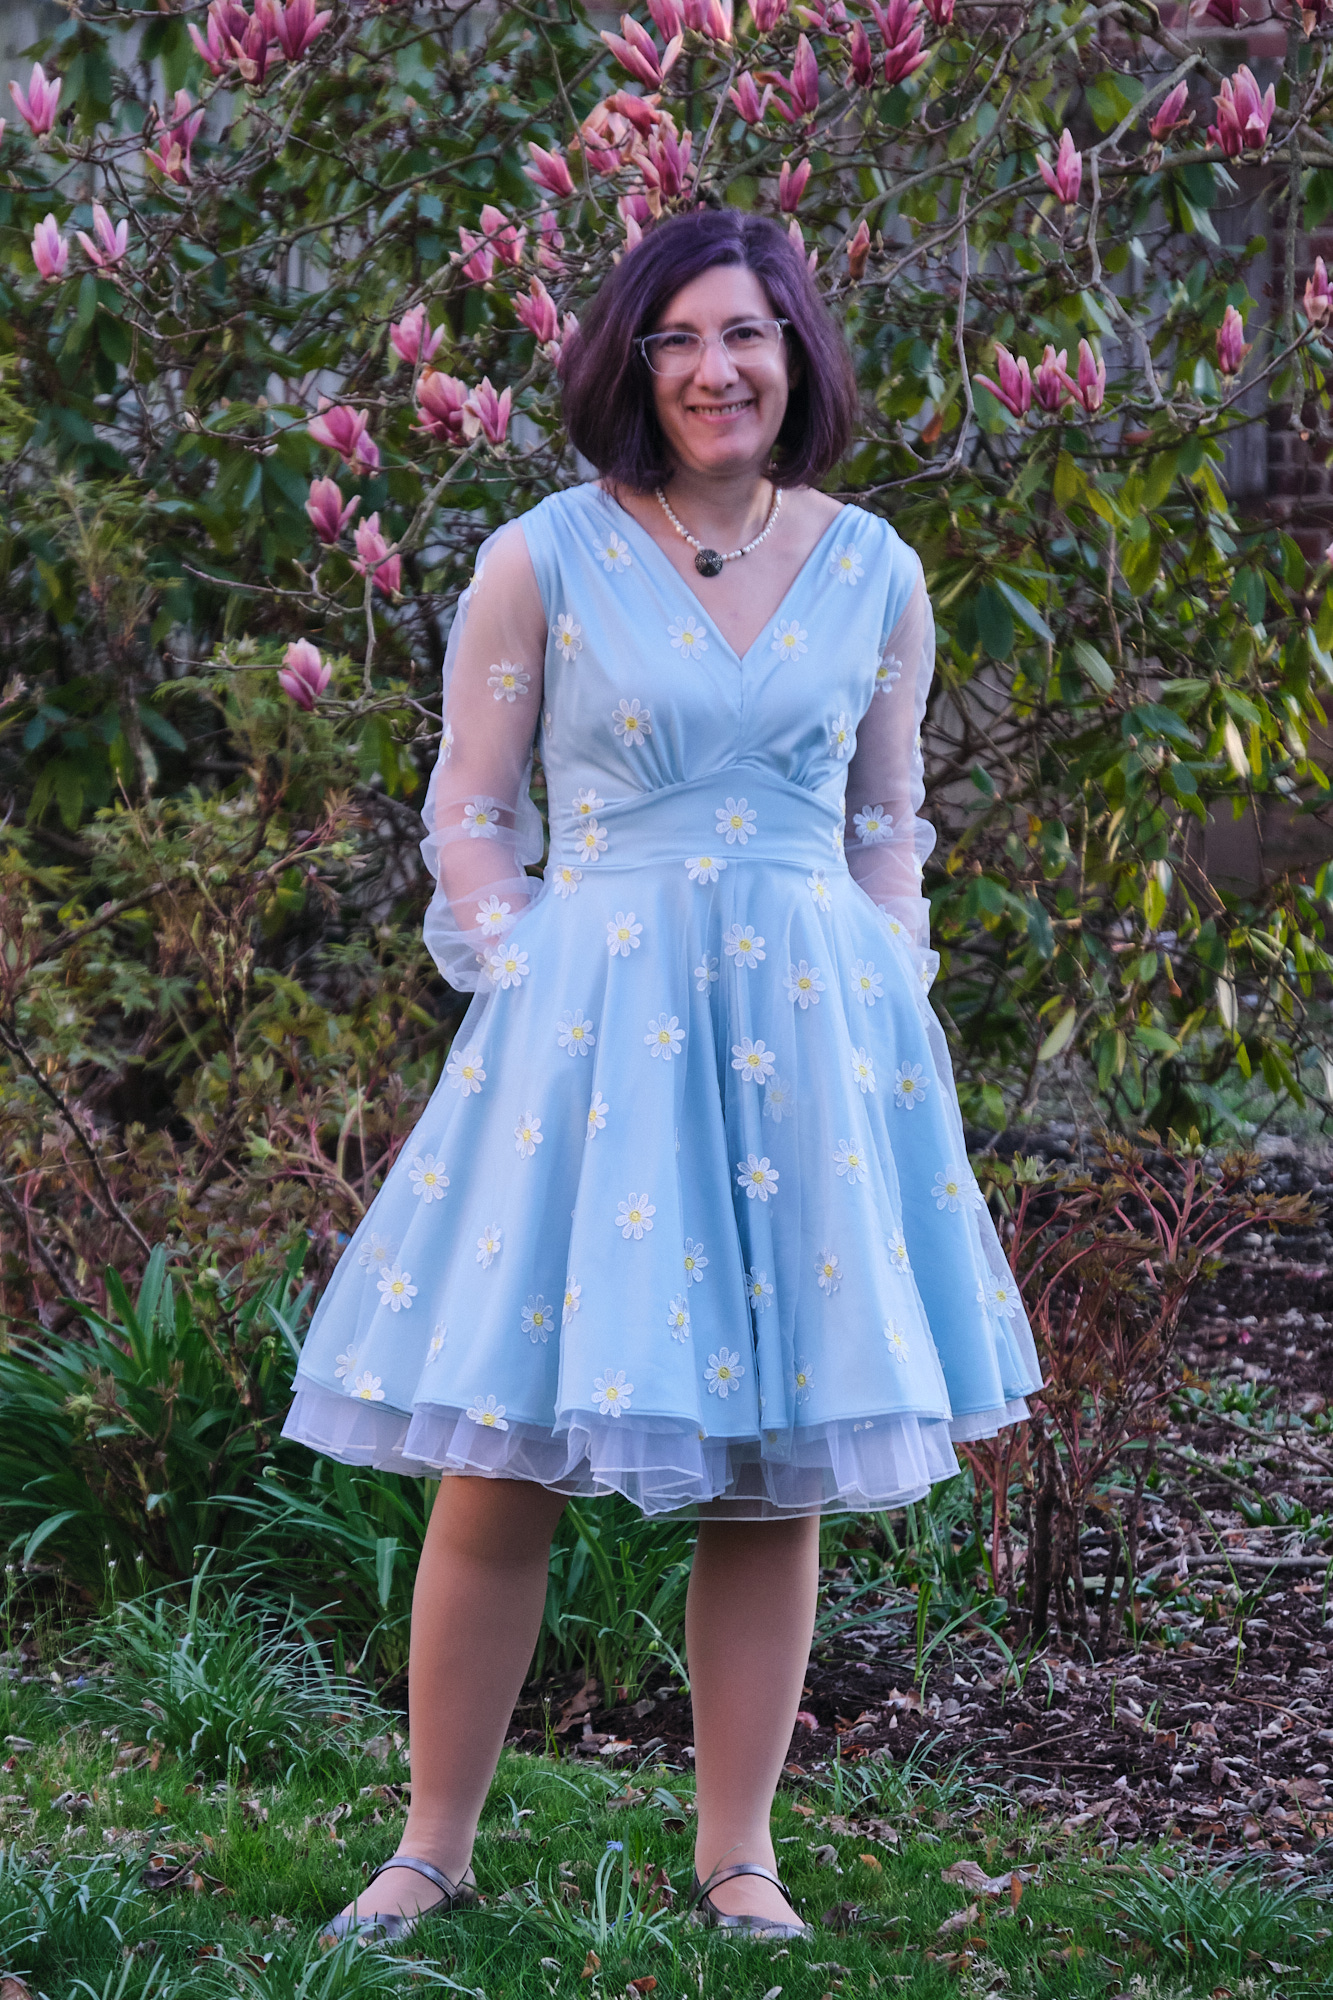
- Sinclair Yasmin V neck knit dress with pleated accents: pink/green floral ITY, sangria microsuede top hack, blue daisy tuille overlay with sleeves and neckline hacks, sage green tuille overlay ballogwn with sleeves and neckline hacks
- Styla Dublin (puff sleeve knit): CL tartan plaid
- Styla Vail Dress (knit): red ponte
Jackets and Blazers


- Boo & Lu Adult Onyx Blazer: black ponte tulip bottom, purple scuba suede cropped, grey ponte hip length, magenta ponte hip length, upcycled denim hip length, blue/black tweed boucle
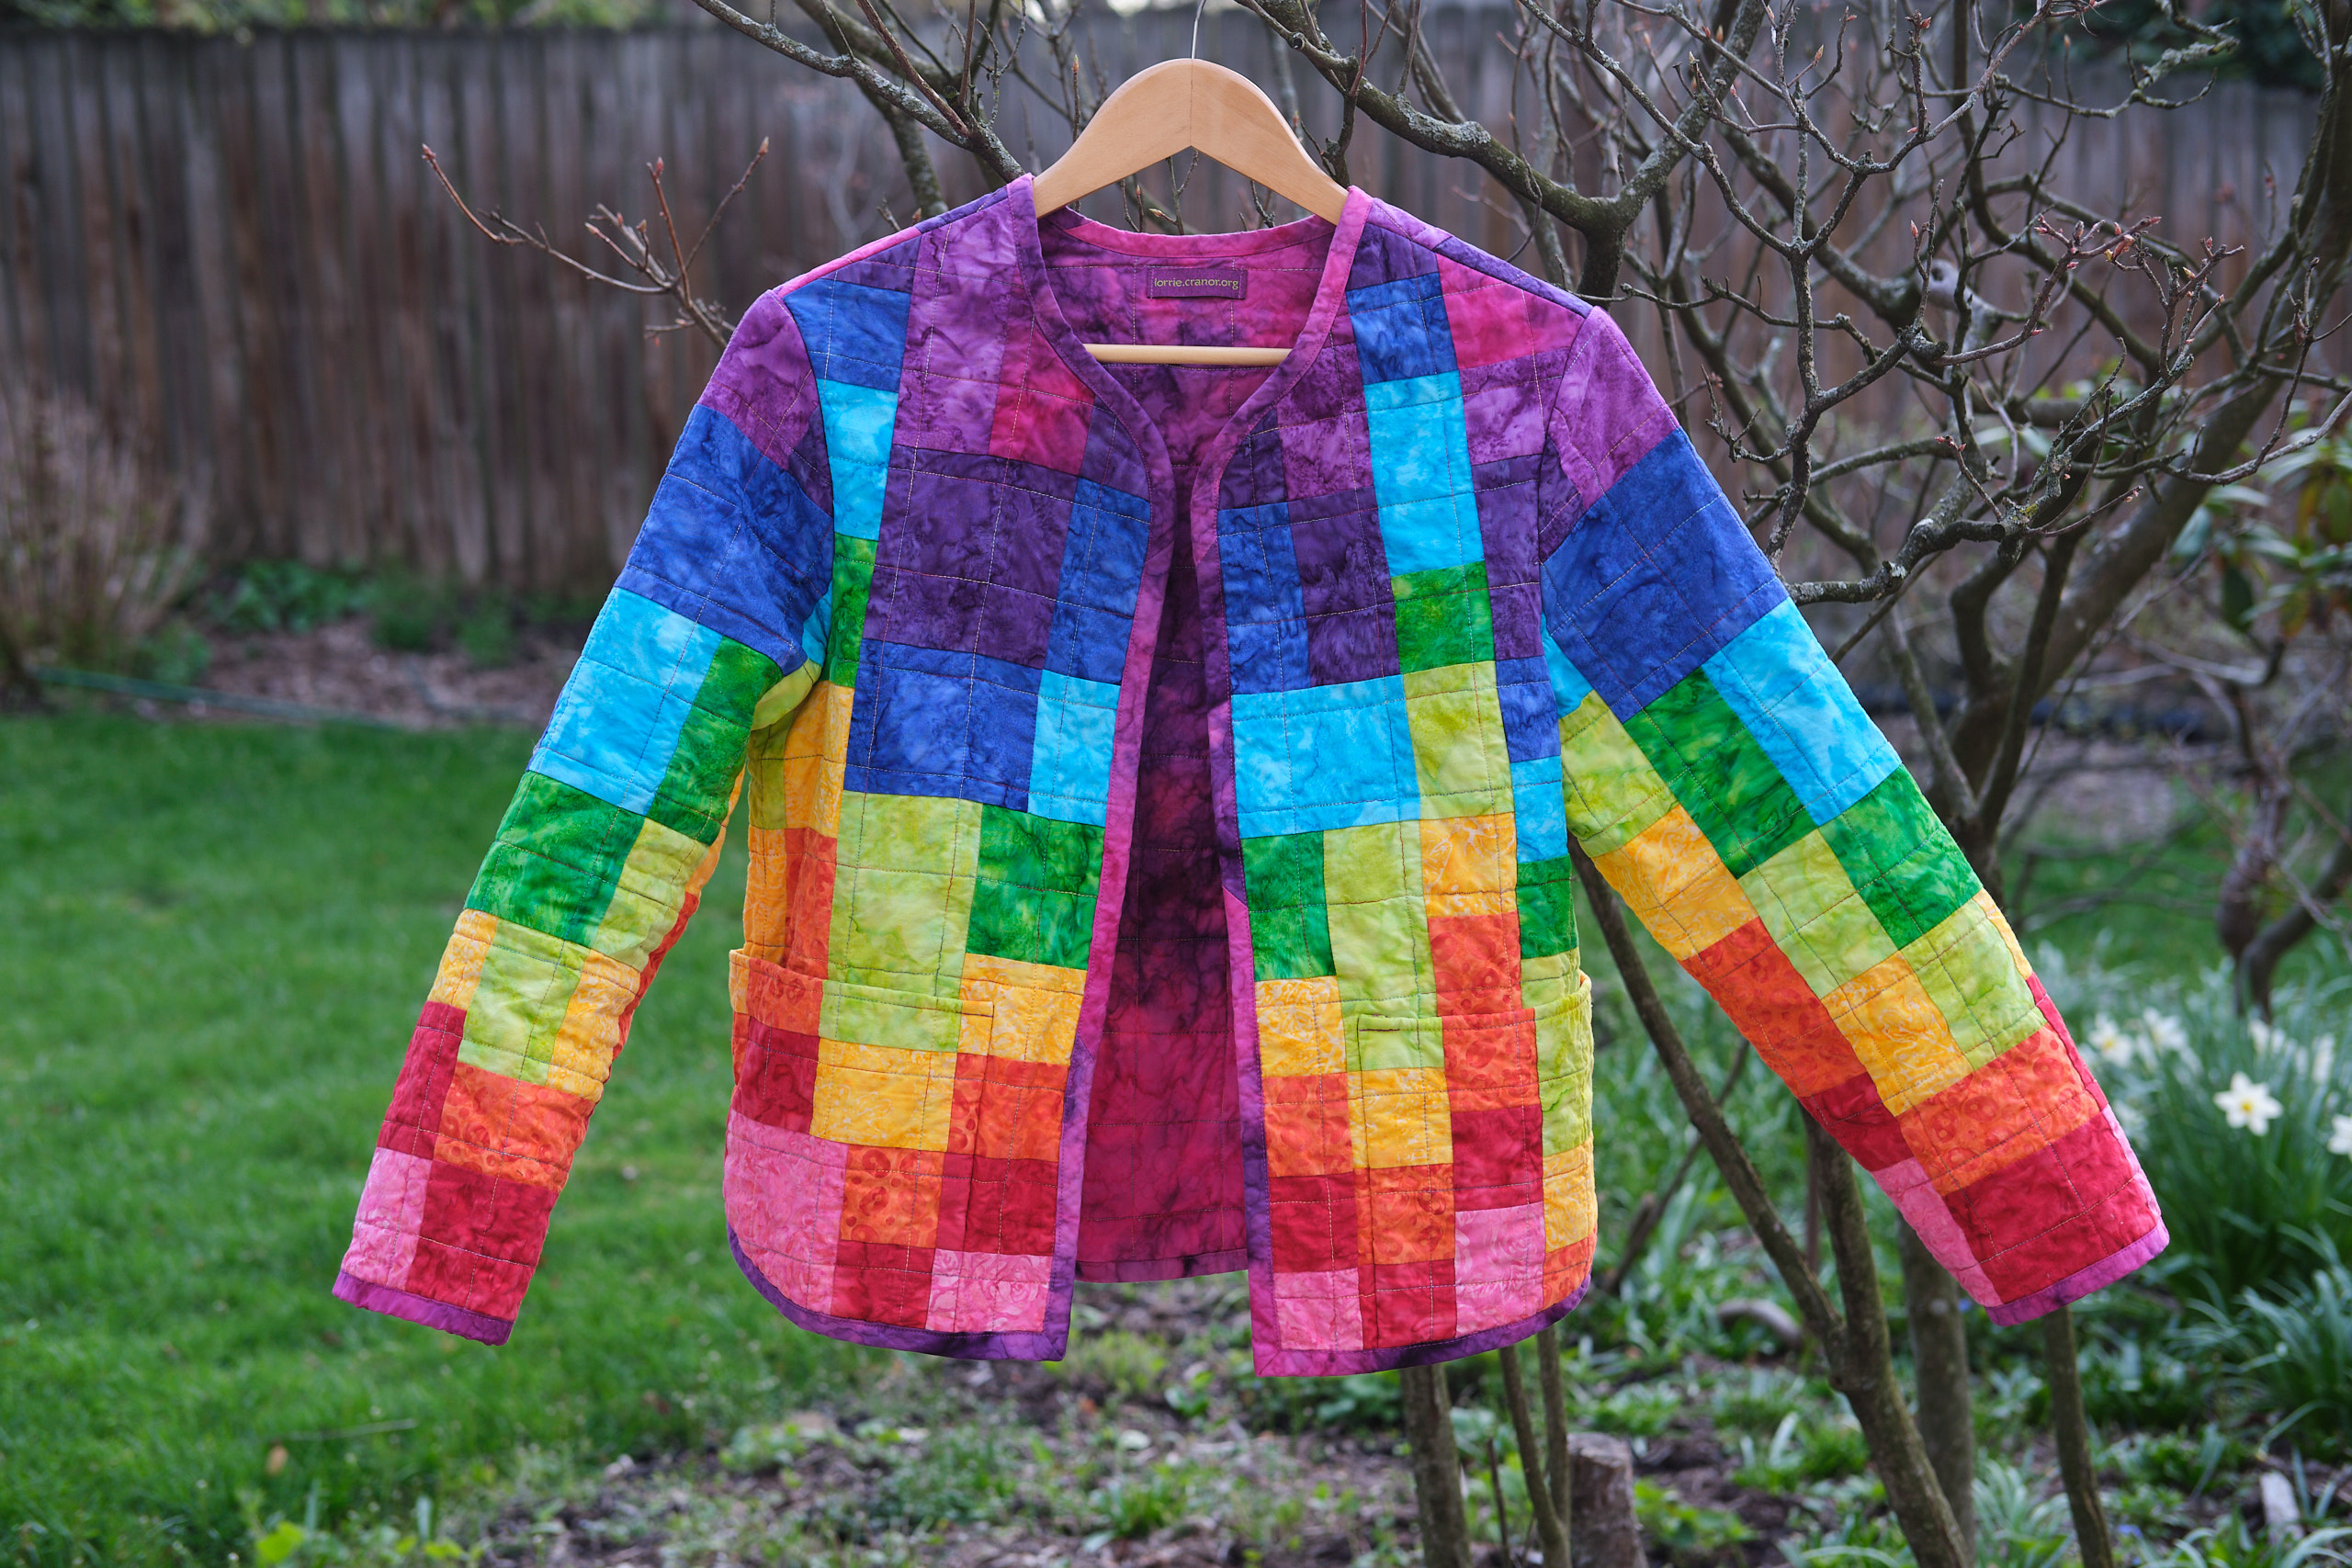
- Love Notions Coda Quilted Coat: rainbow batik
- Pattern Emporium Be Mine Balloon Sleeve top (woven): purple double gauze jacket hack
Mens


- Bryanna’ Free Neck Tie Pattern and Tutorial: password and cookie ties
- Sinclair men’s Crew pullover: red/caramel/black brushed cashmere rib, black/caramel/red brushed cashmere rib, black/red/caramel brushed cashmere rib
- Sinclair Kai semi fitted crew neck t-shirt for men: long sleeve olive/navy rayon blend stripe rib, long sleeve yellow rayon blend stripe, short sleeve sage stripe CL, long sleeve ivory/rust/green stripe rib, short sleeve yellow stripe CL
- Sinclair Tao semi-fitted classic raglan tshirt: rust and cornflower Monaco rib long sleeve, royal blue and tartan short sleeve
Pants
- Love Notions Sabrina Slims pants: grey ponte
- Pattern Emporium Palazzo Pants (stretch): black athletic brushed poly
- Pattern Emporium Urban Pants Collection (knit):
- Tapered: grey CL, black ponte, charcoal grey Polartech stretch sweatshirt fleece
- Wide leg: purple ponte, black ponte, heather grey ponte, black french terry (tall), magenta ponte, spruce fleece
- Extra wide leg (Urban Boldly mashup): seafom LiKnit, metal rust LiKnit, black LiKnit (tall) x2, black ponte (tall), black butter scuba, black designer deadstock ponte (tall)
- Pattern Emporium Vacation Vibes Palazzo Pants (woven): Purple double gauze, dark sage double gauze
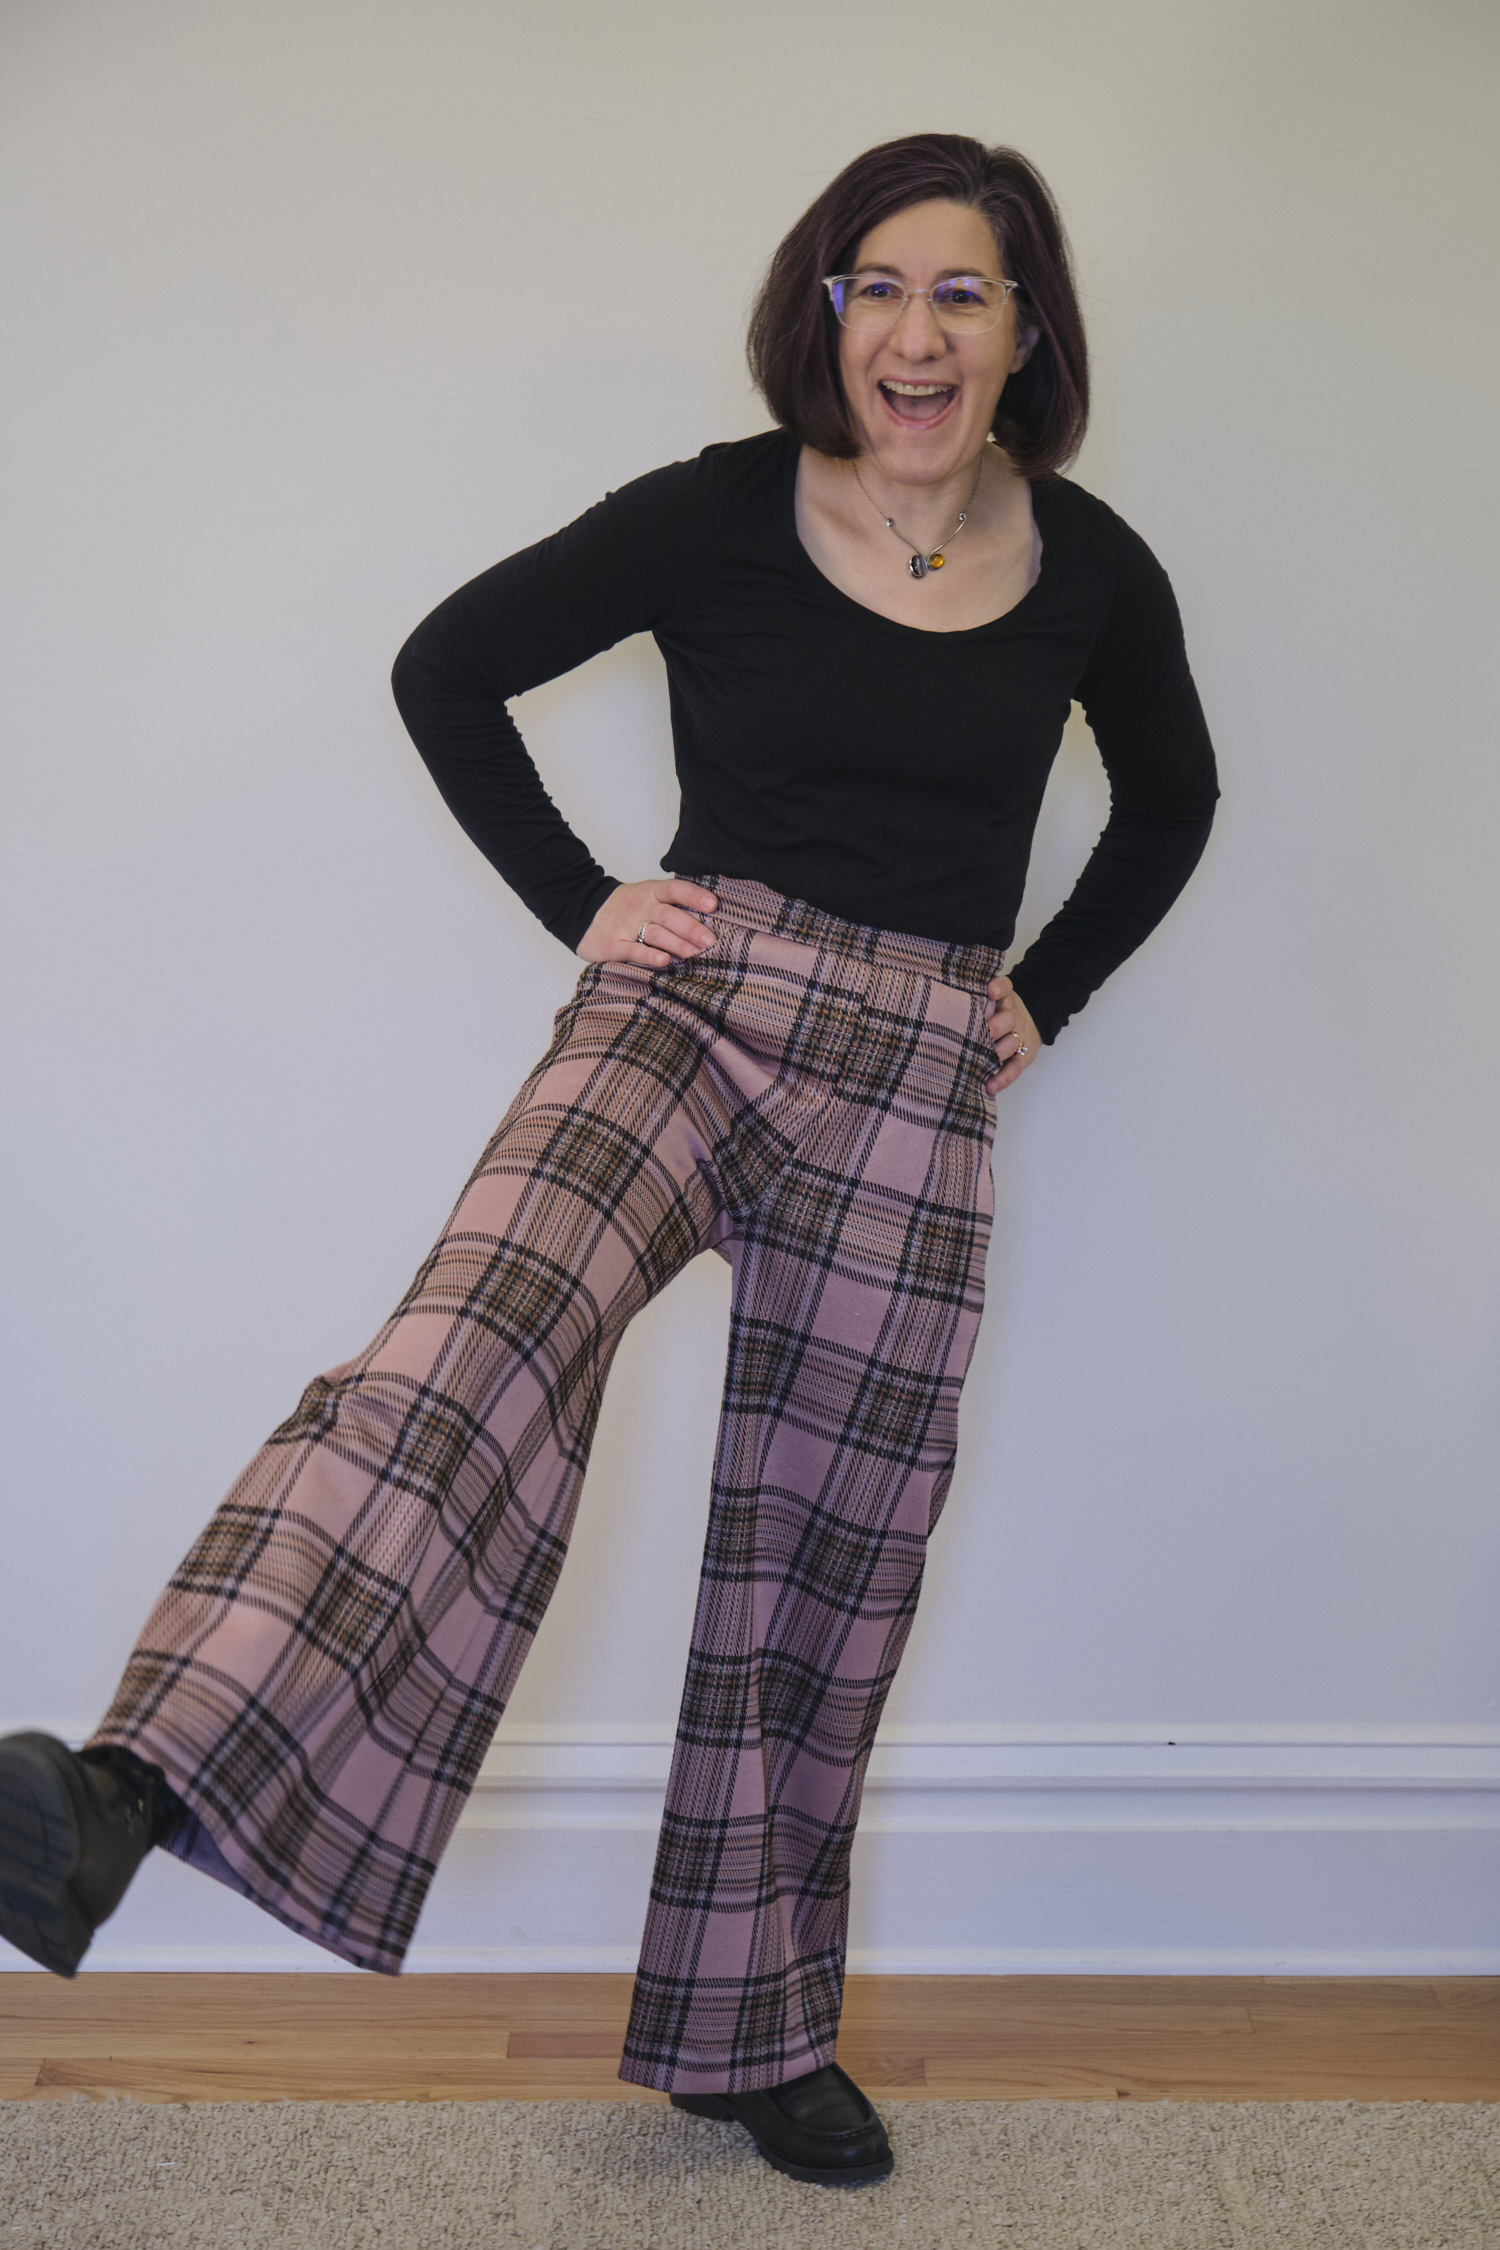
- Pattern Emporium Walk Boldly Wide Leg Pant (knit): black ponte, pink plaid jacquard knit, caramel daisy jacquard
- Sinclair Cleo knit shorts and culottes with yoga waistband (hacked to be palazzo pants): lilac floral DBP, black LiKnit (short), black LiKnit (tall), black stretch velour corduroy
- Sinclair Flex No Front Seam Leggings: tartan spandex
- Sinclair Helen Stretch Pants: black ponte and light yellow with red flowers urban rib
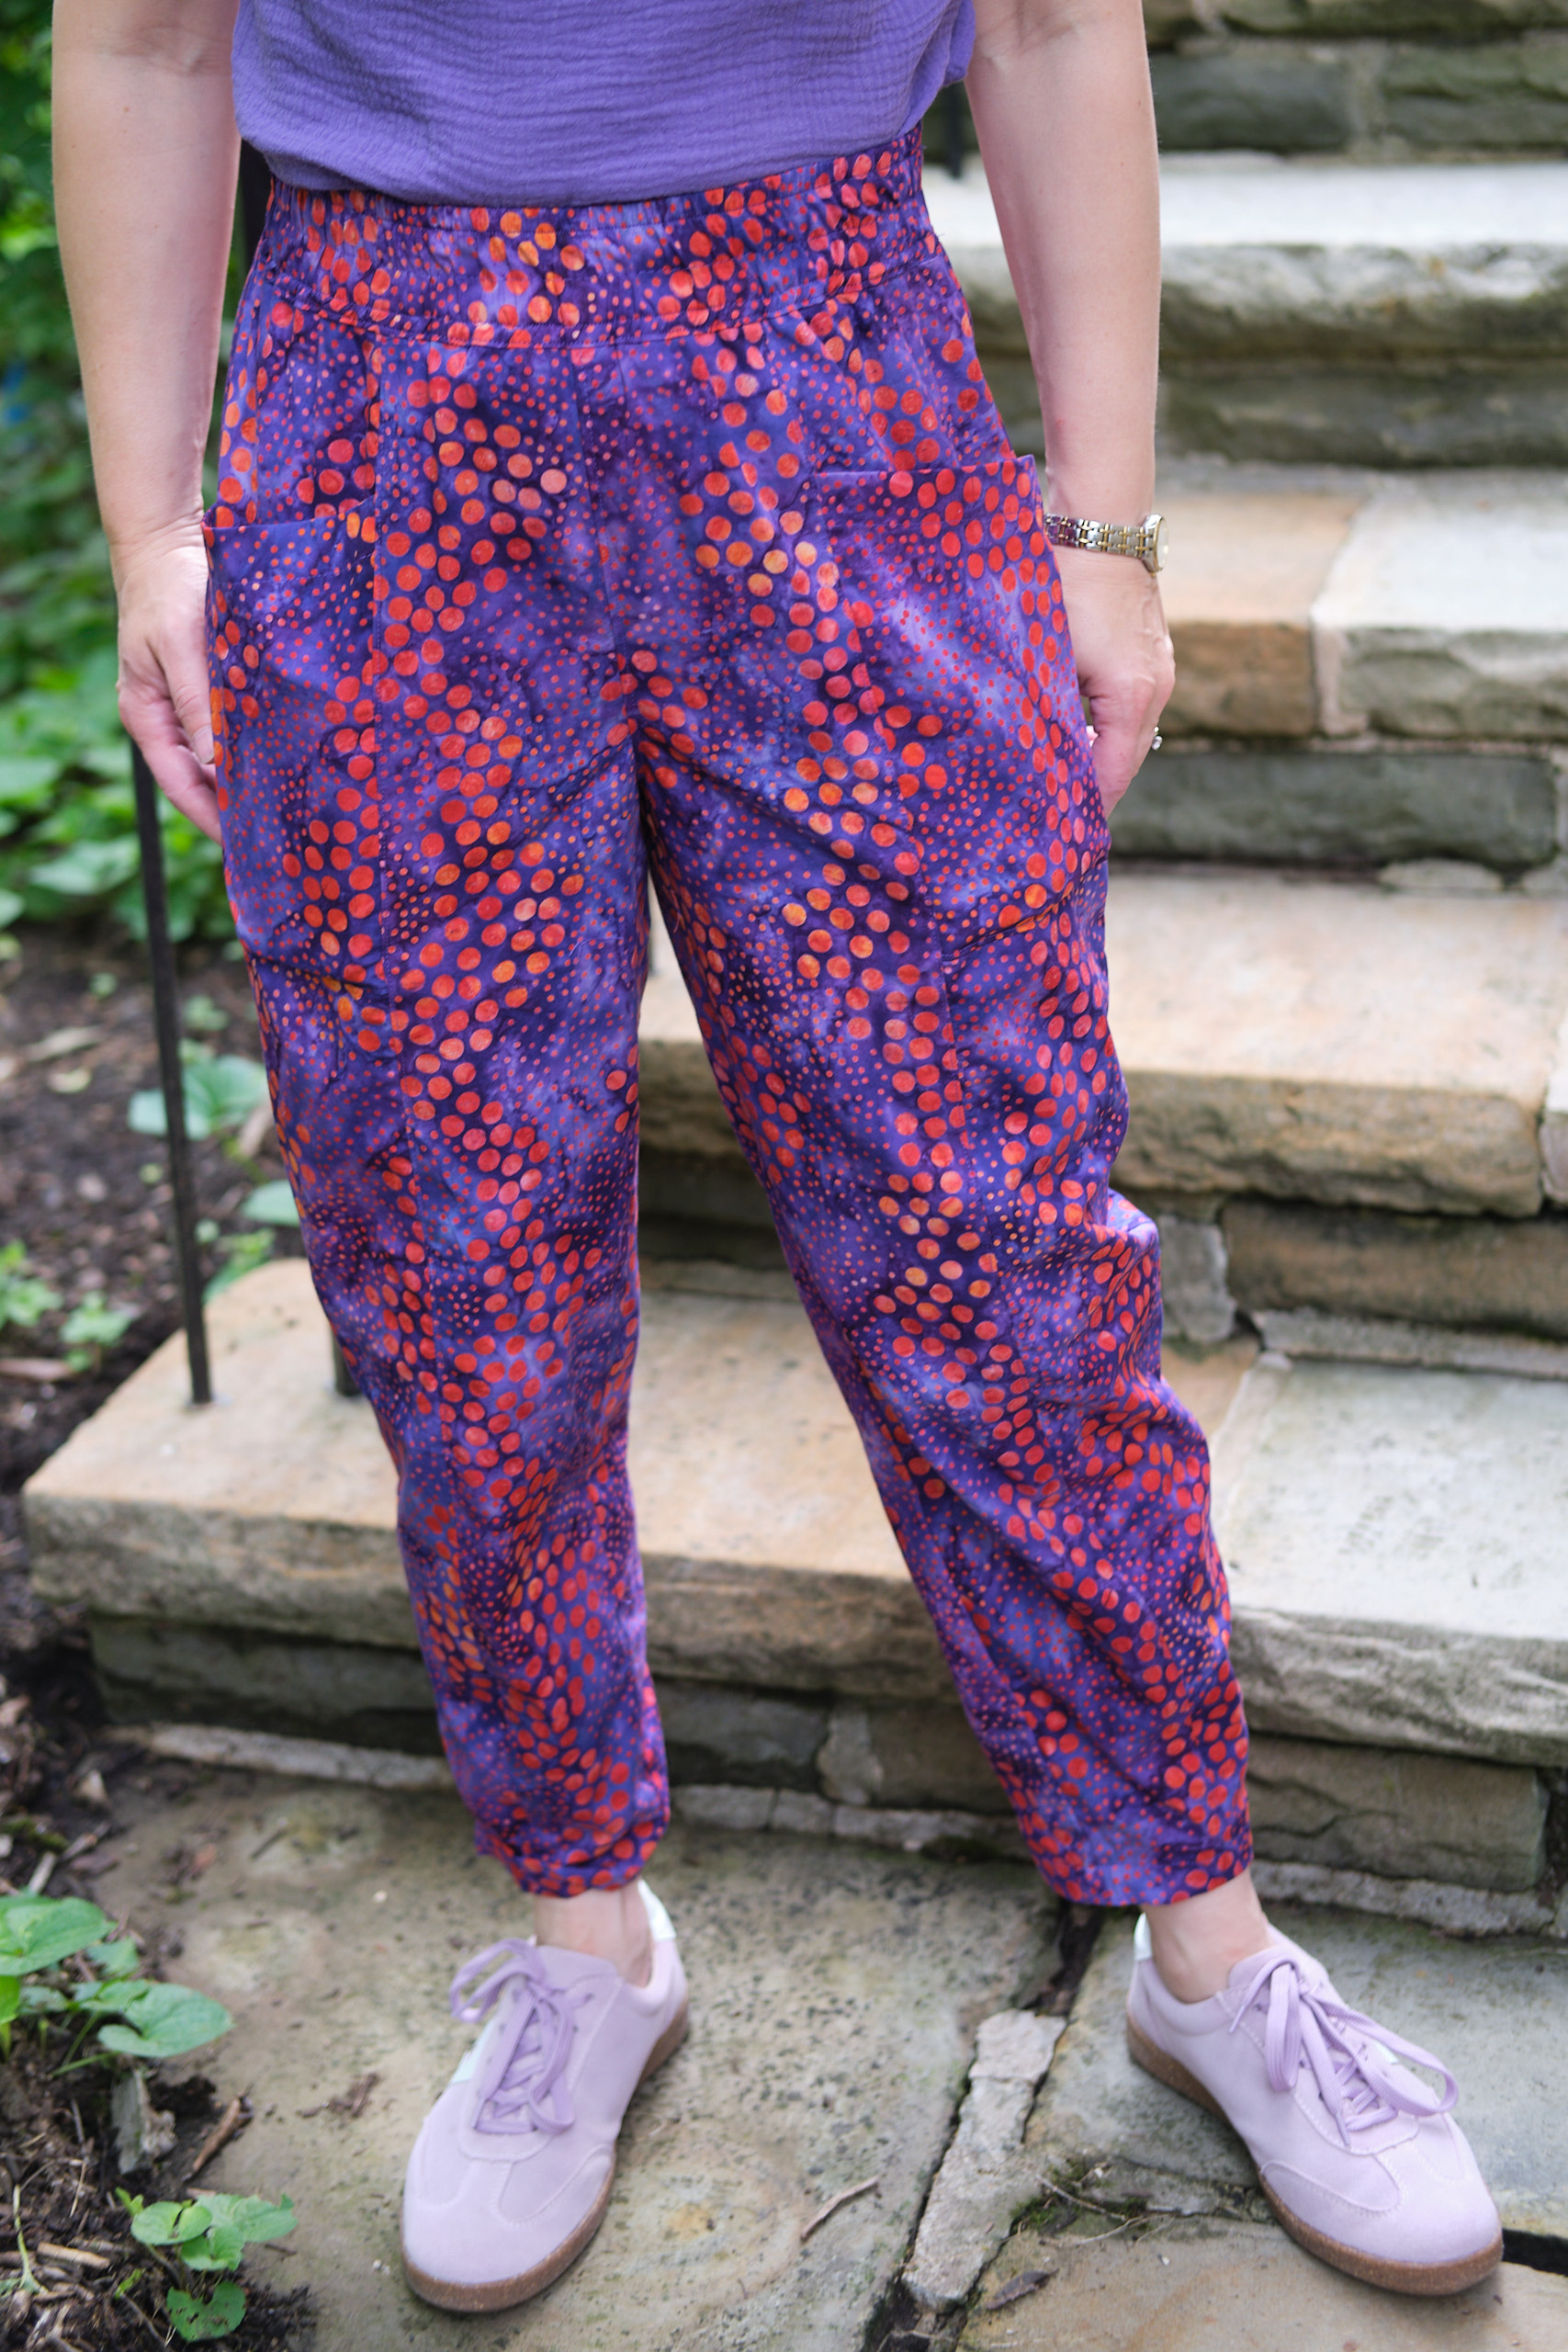
- Sinclair Nori Woven Peg Trousers: purple/red batik quilting cotton
Shorts and skorts


- Pattern Emporium Just Peachy stretch shorts: grey CL yoga waistband, black LiKnit elastic waistband
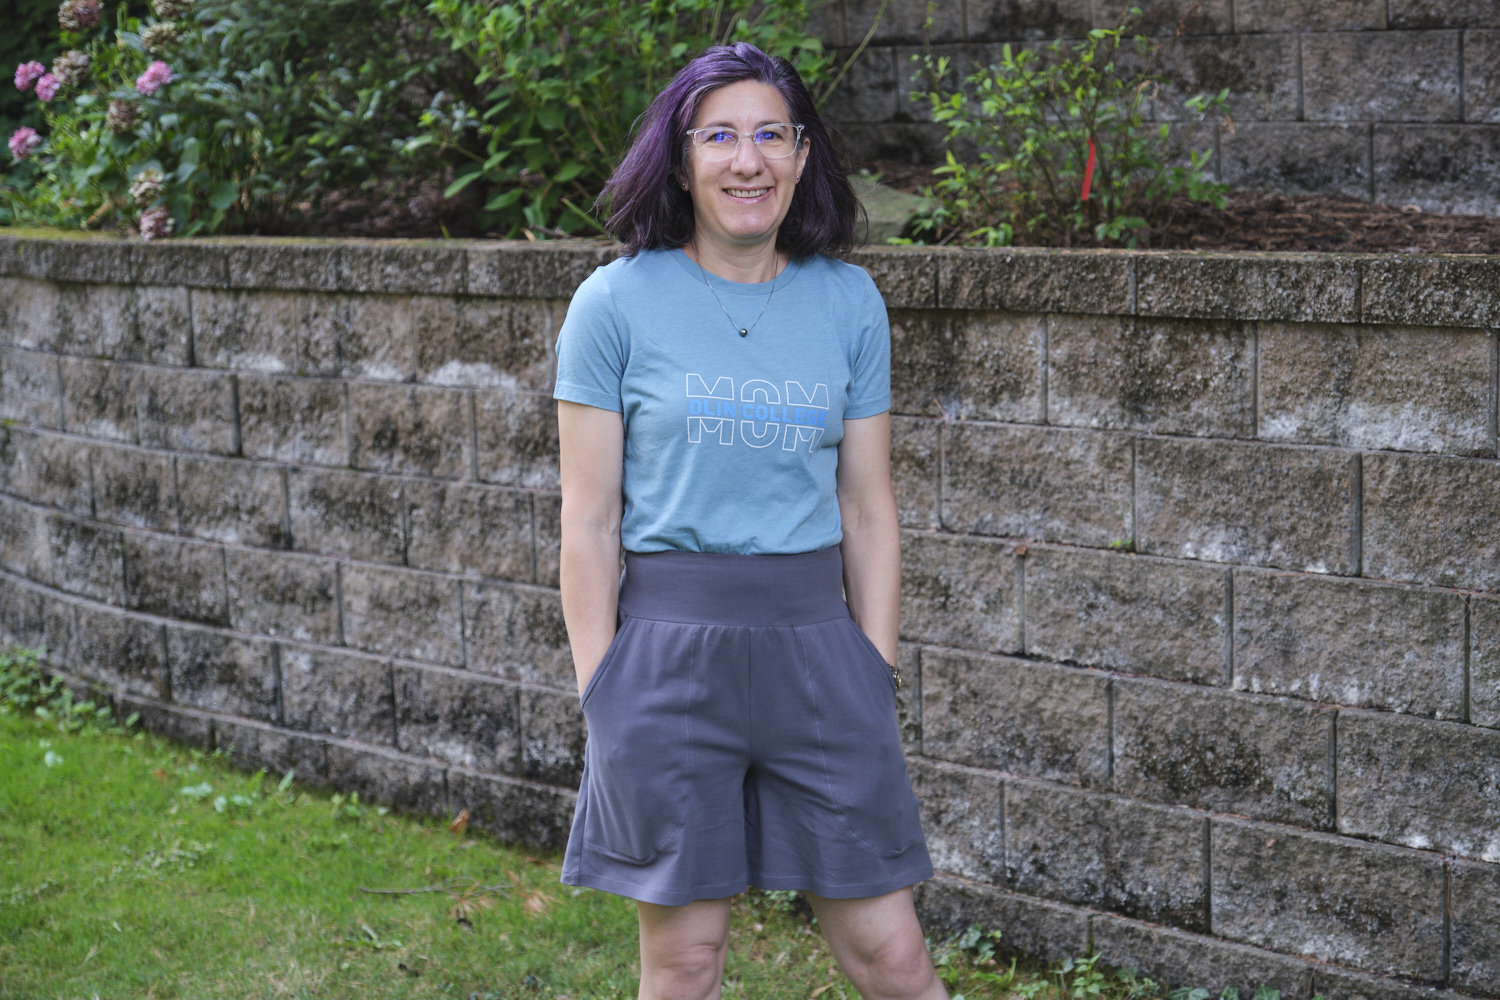
- Pattern Emporium Sashay Stretch Flared Shorts: rainbow polyester full flare short, dusty sage LiKnit full flare long
- Sinclair Cleo knit shorts and culottes with yoga waistband: black DBP
Skirts

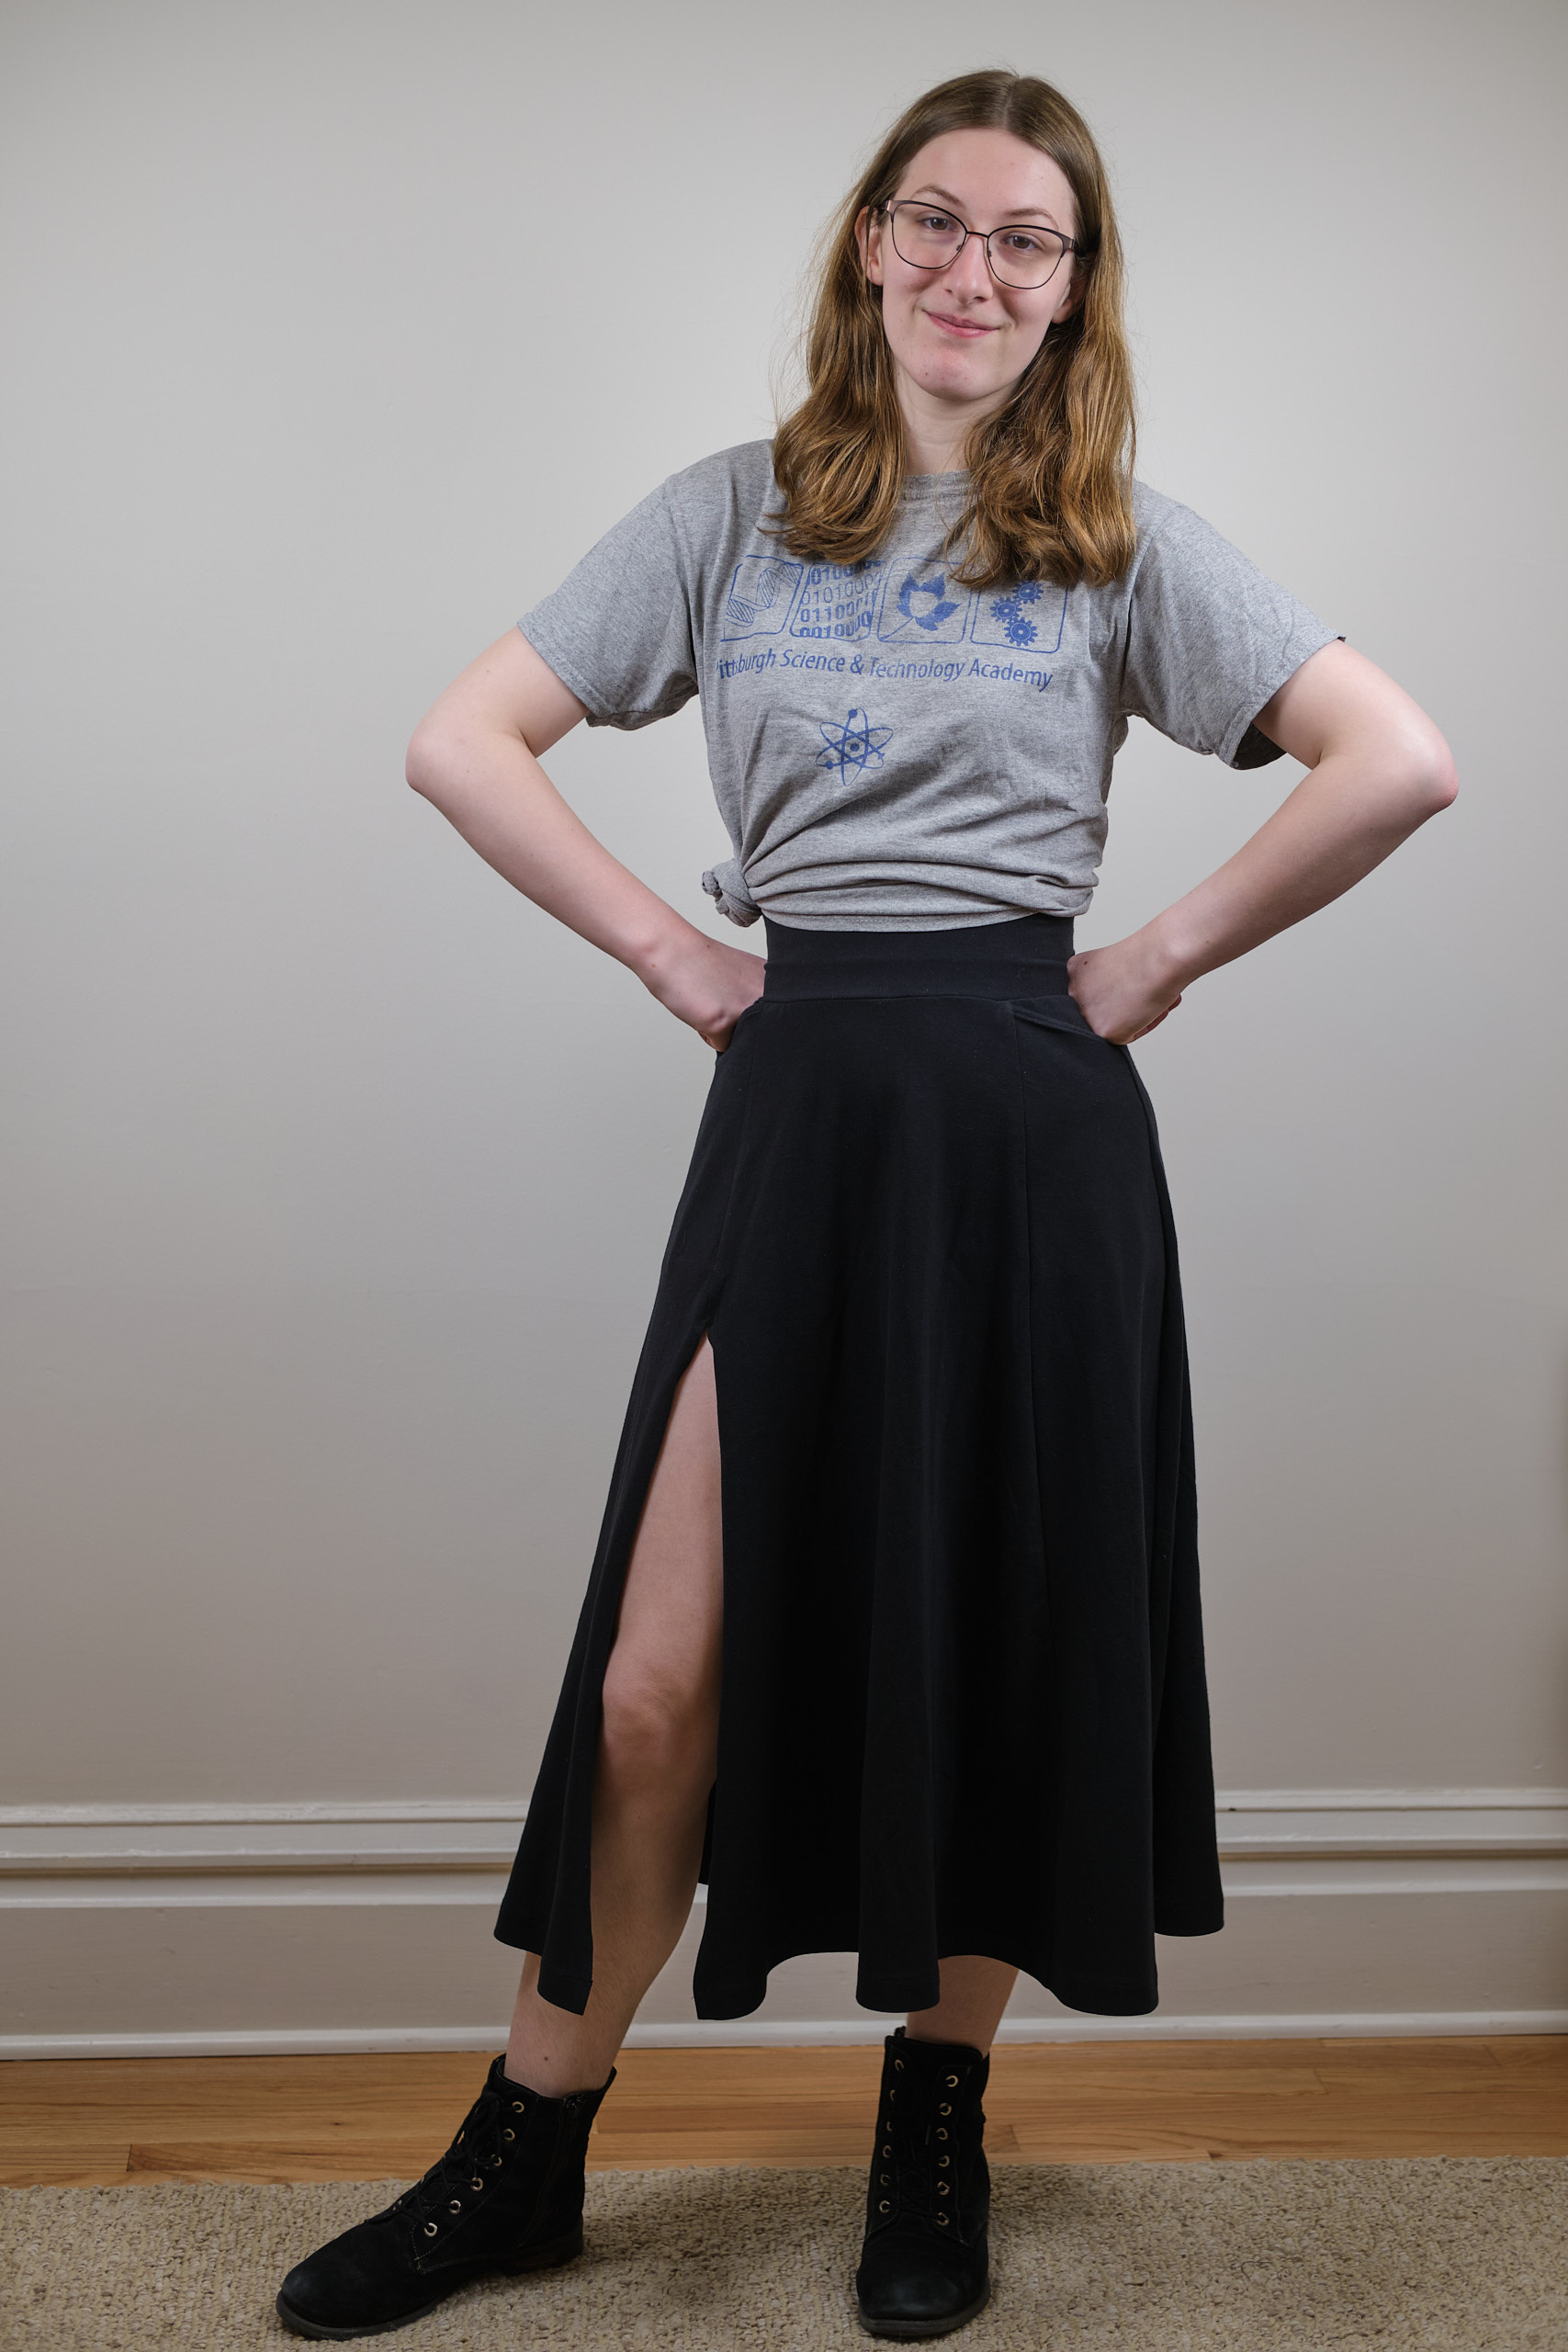
- Pattern Emporium Heartlight Stretch Flared Skirt: floral DBP with hacked pockets, black CL midi with hacked slit and pockets
- Pattern Emporium Meet You There dress skirt: black cotton double gauze maxi
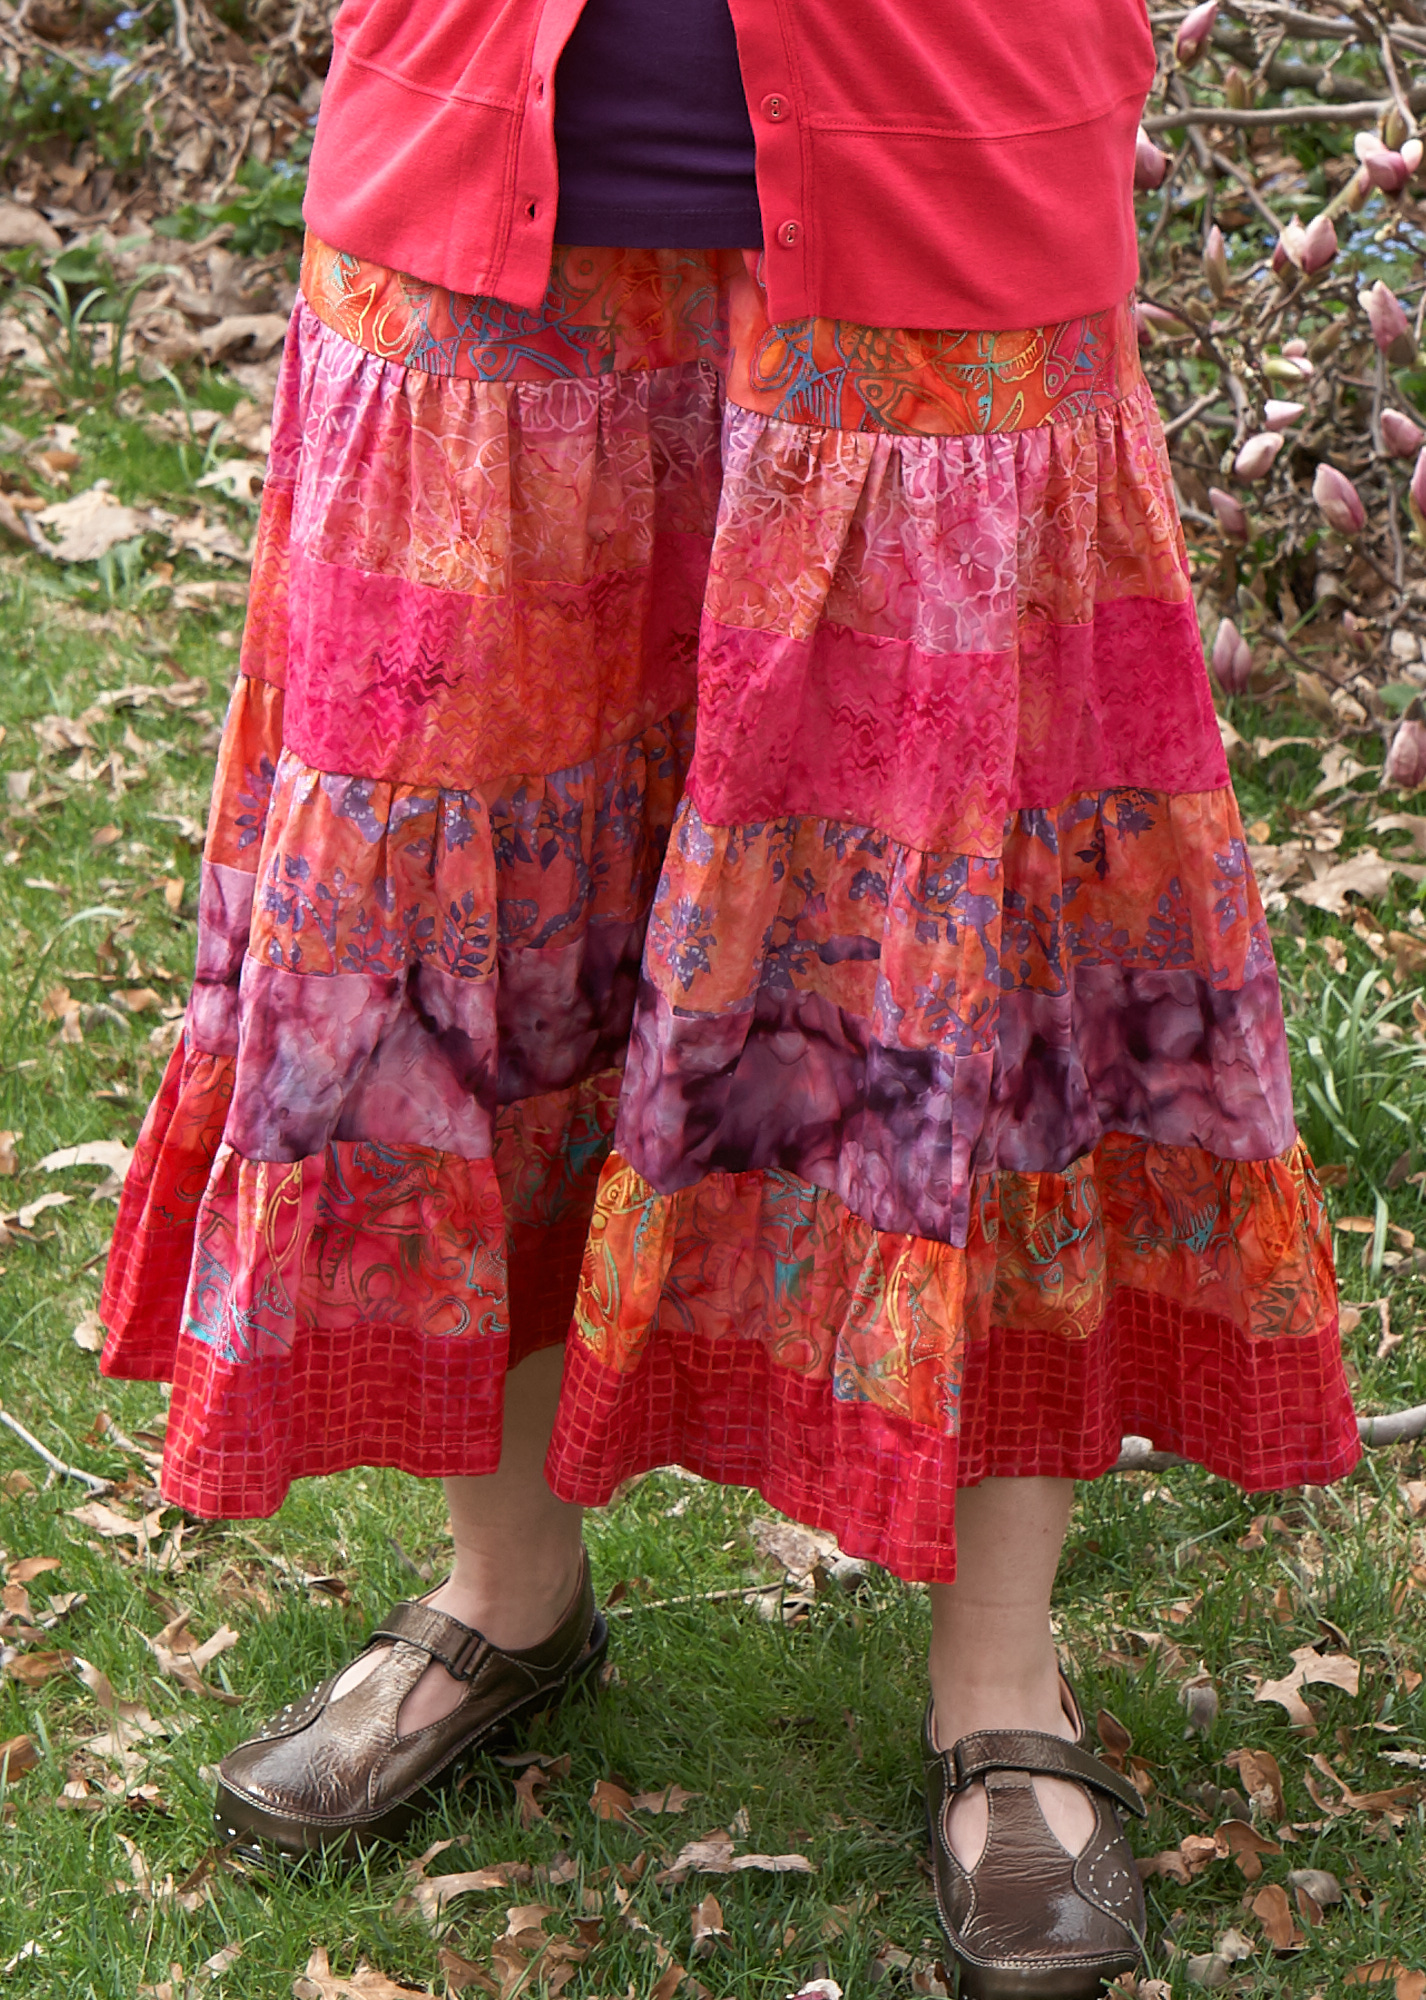
- Self-drafted ruffled tiered skirt: red/orange/purple/pink batik maxi, turquoise purple batik mini [blog post coming soon!]
Tops


- Greenstyle Bianca Pullover (knit): spruce fleece
- Greenstyle Surge Sweatshirt (knit): black Polartec Wind Pro
- Pattern Emporium Allure Bell Sleeve Top (knit): black and white ITY with double-bell sleeves, red wool with plain sleeves, dusty olive cupro with plain sleeves, dusty olive cupro with short sleeves
- Pattern Emporium Be Mine Balloon Sleeve top (woven): orange floral rayon, purple double gauze jacket hack, lilac airflow with Spill the Tea cap sleeves, cobalt airflow with Spill the Tea flared sleeves
- Pattern Emporium Spill the Tea tapered tie neck top (woven): lavender polyester Florence stretch woven
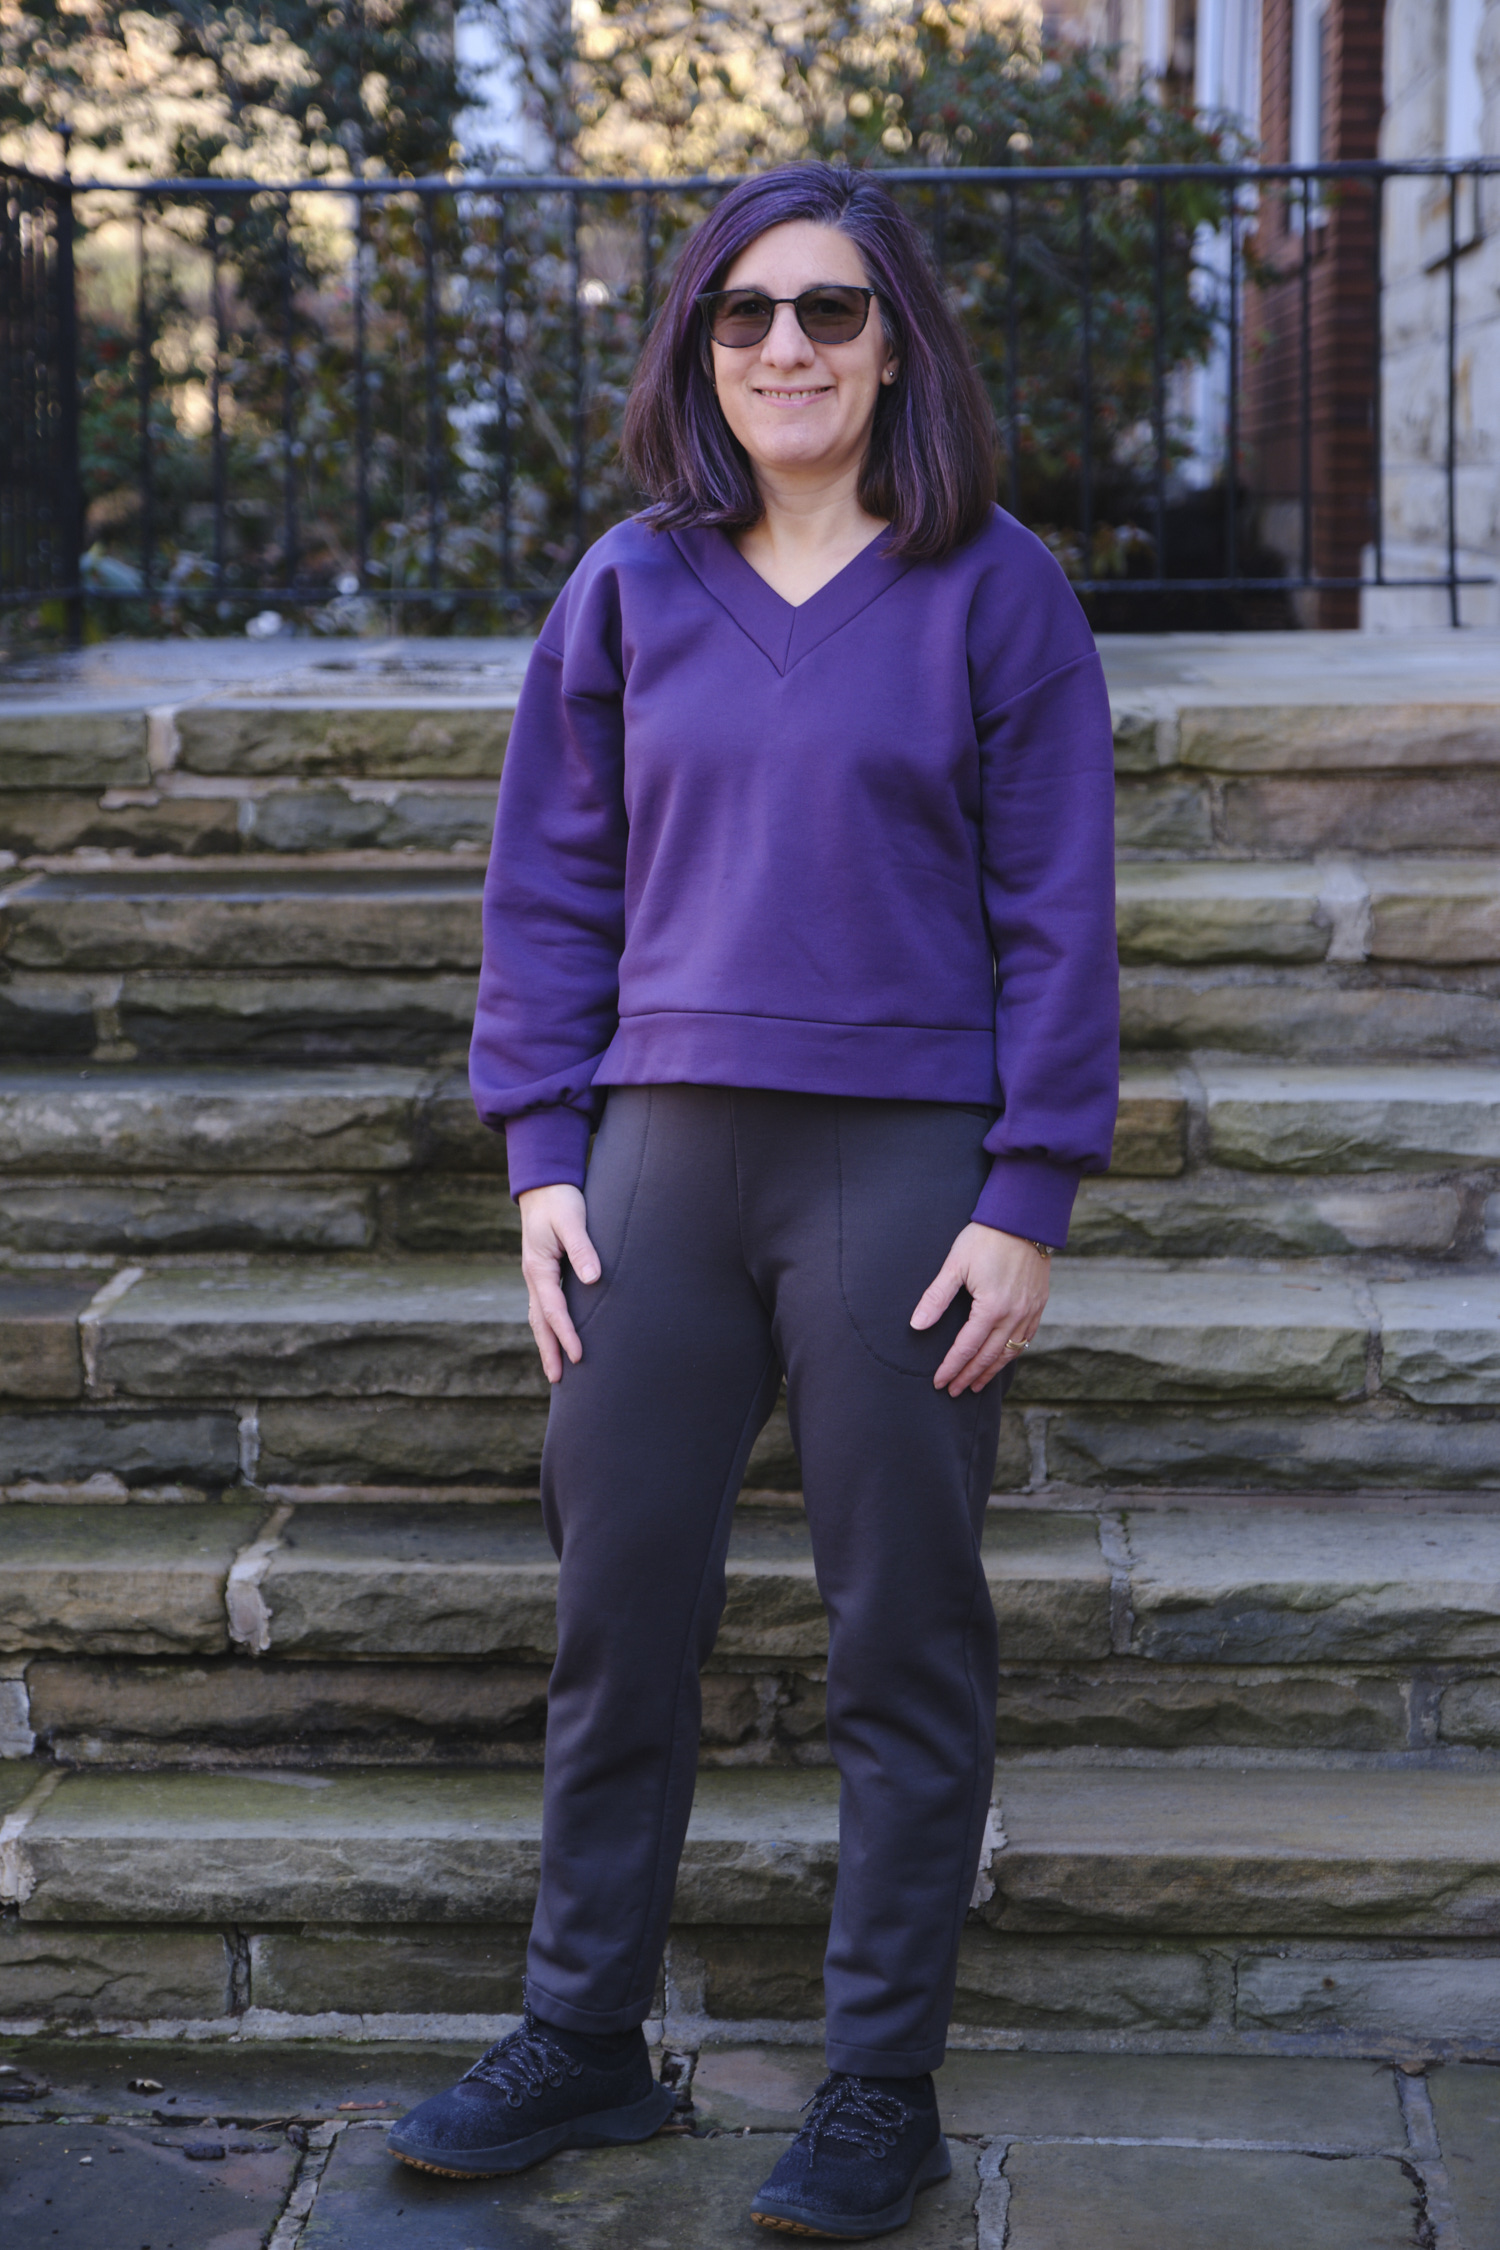
- Pattern Emporium Sweet Cheeks Roomy Sweater: umber mid neck, green hacci vneck, green double sweater knit vneck, purple polartec sweatshirt fleece vneck, rosey mauve hacci vneck
- Petite Stitchery Adult Dovie Longline Crop & Top (knit): lavender DBP
- Sinclair Alva Woven Dolman Style Top: purple cotton double gauze
- Sinclair Bloom square neckline woven top with a split hem: seafoam LiKnit sleeveless
- Sinclair Bondi 22 fitted t-shirt:
- Long sleeve: interleave custom print modern jersey, yellow CL, hand-drawn custom print modern jersey, red/white polka dot DBP, tartan custom print modern jersey, blue wool spandex jersey long sleeve, cornflower and rust rib poly/rayon/spandex, plum brushed sweater knit, charcoal washable wool, magenta rib poly/rayon/spandex
- Bishop sleeve: sangria microsuede jersey, turquoise swirl ITY, black/purple/blue ITY, aqua poly spandex, dark grey crushed velour
- Elbow sleeve: black LiKnit
- Short sleeve: groovy wide-rib poly spandex, floral DBP v-neck, sage CL cropped, rust rib poly/rayon/spandex cropped, sage stripe CL cropped short sleeve, aqua poly spandex, green ITY, white/seafoam stripe rayon jersey, sage green CL
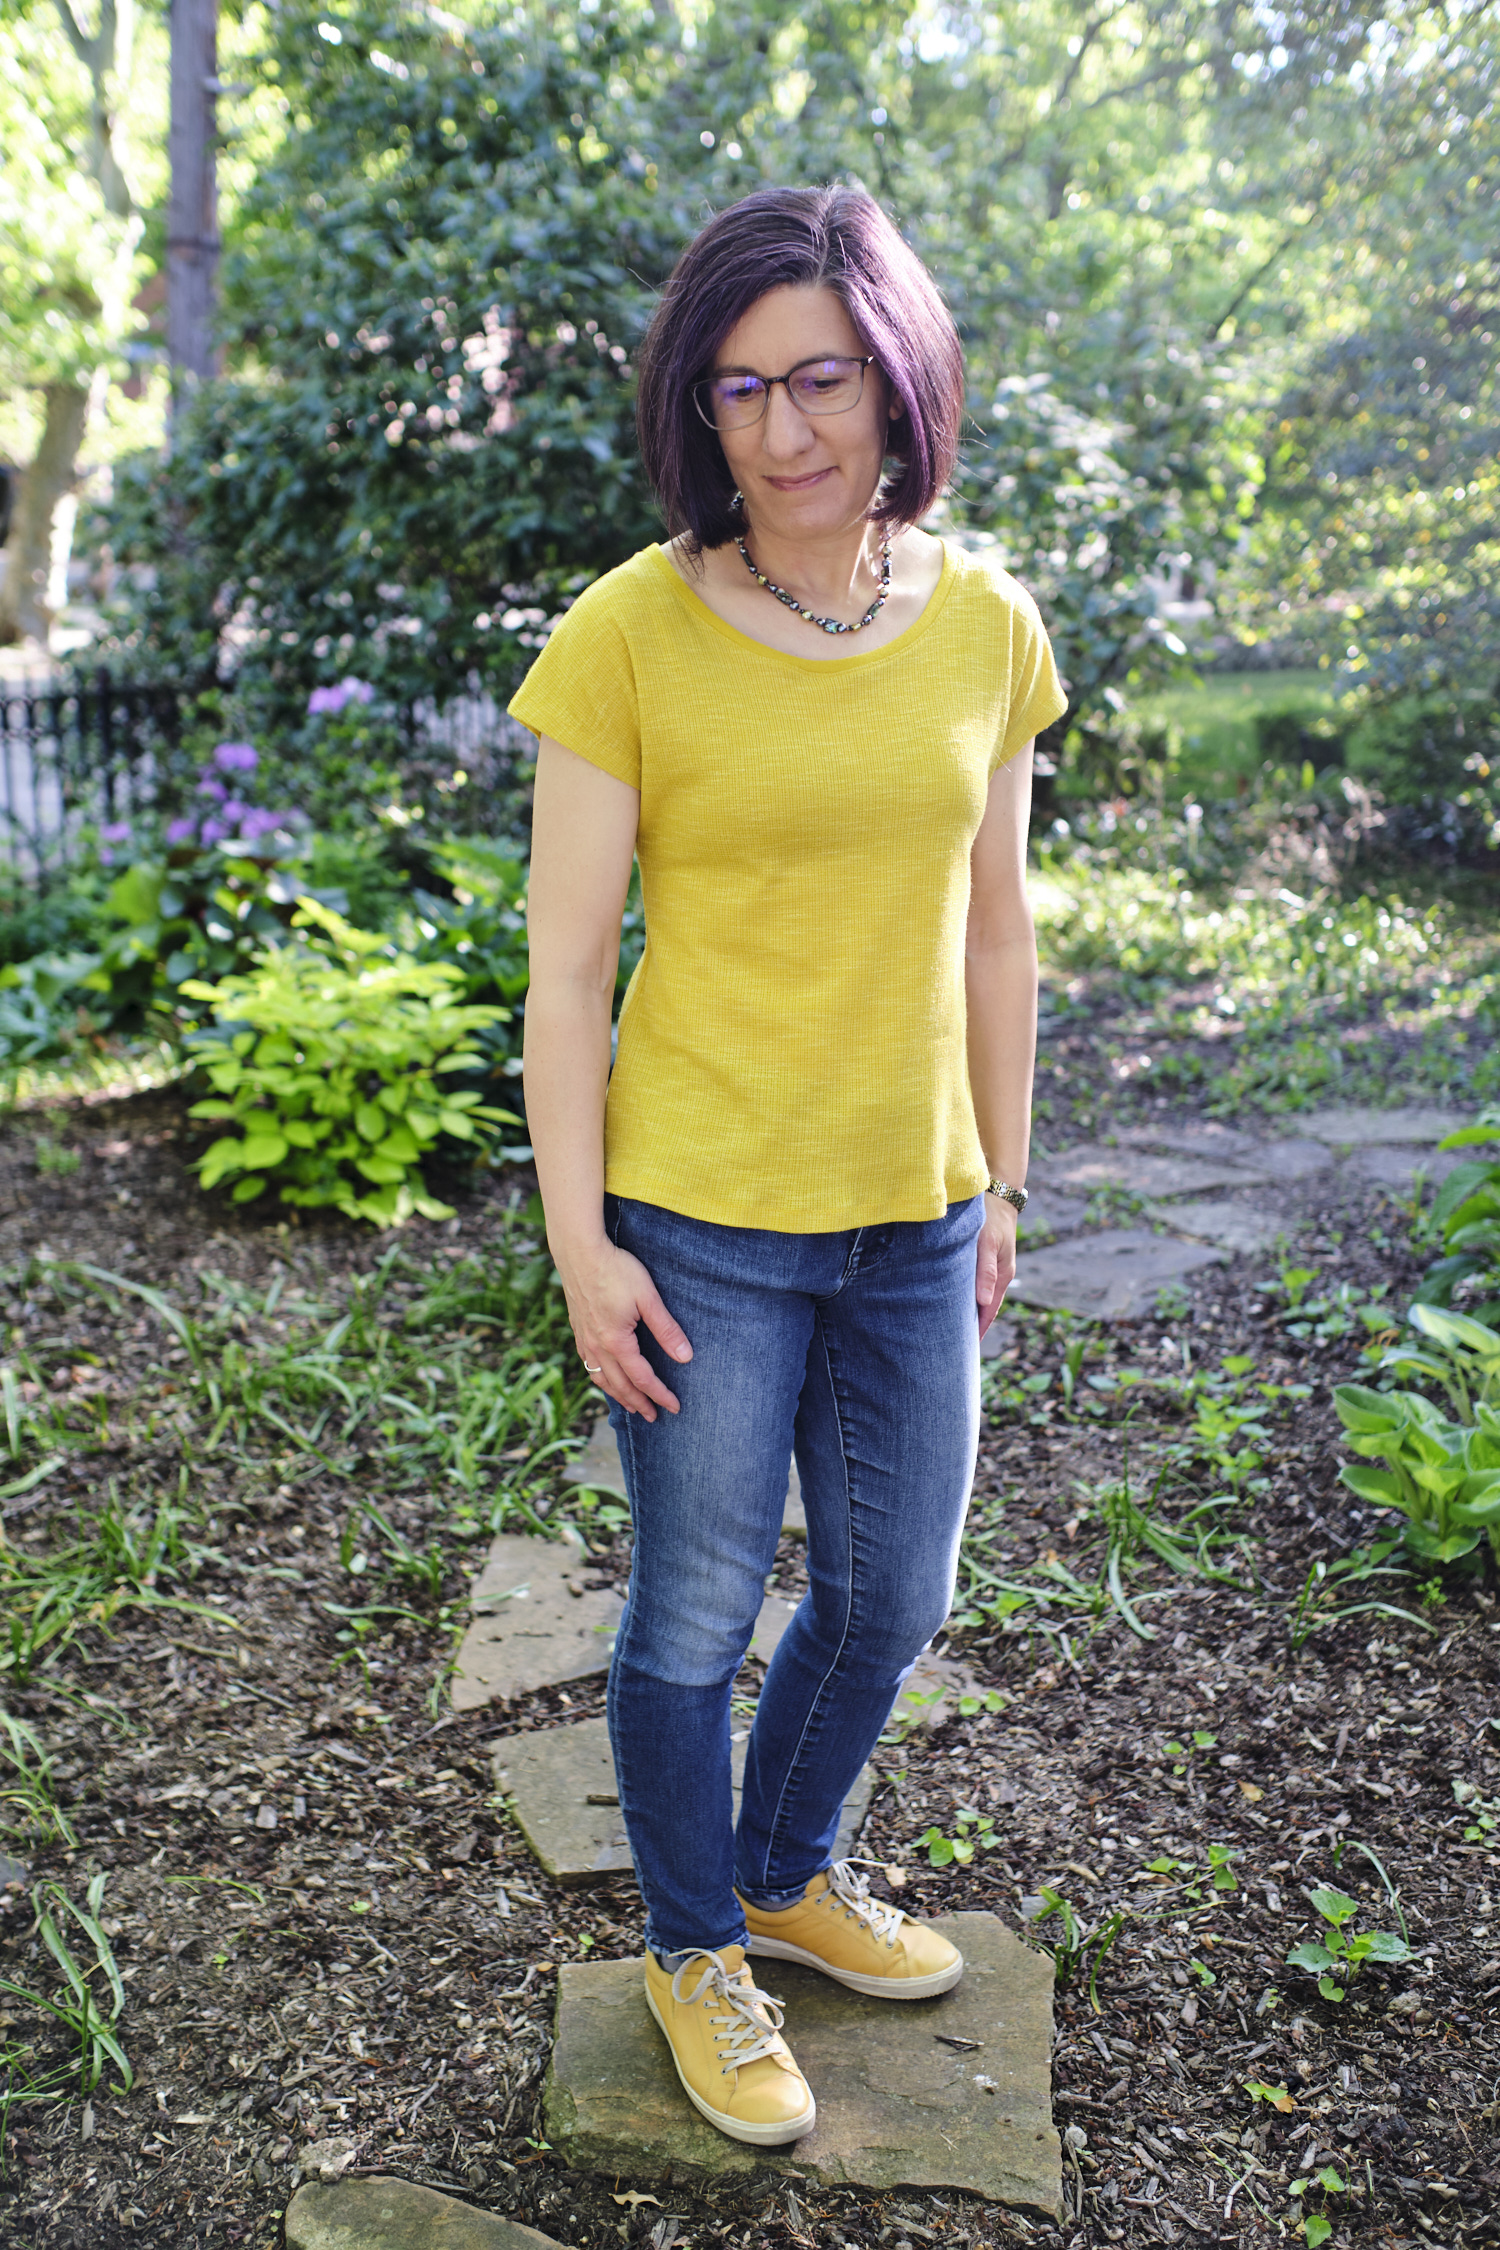
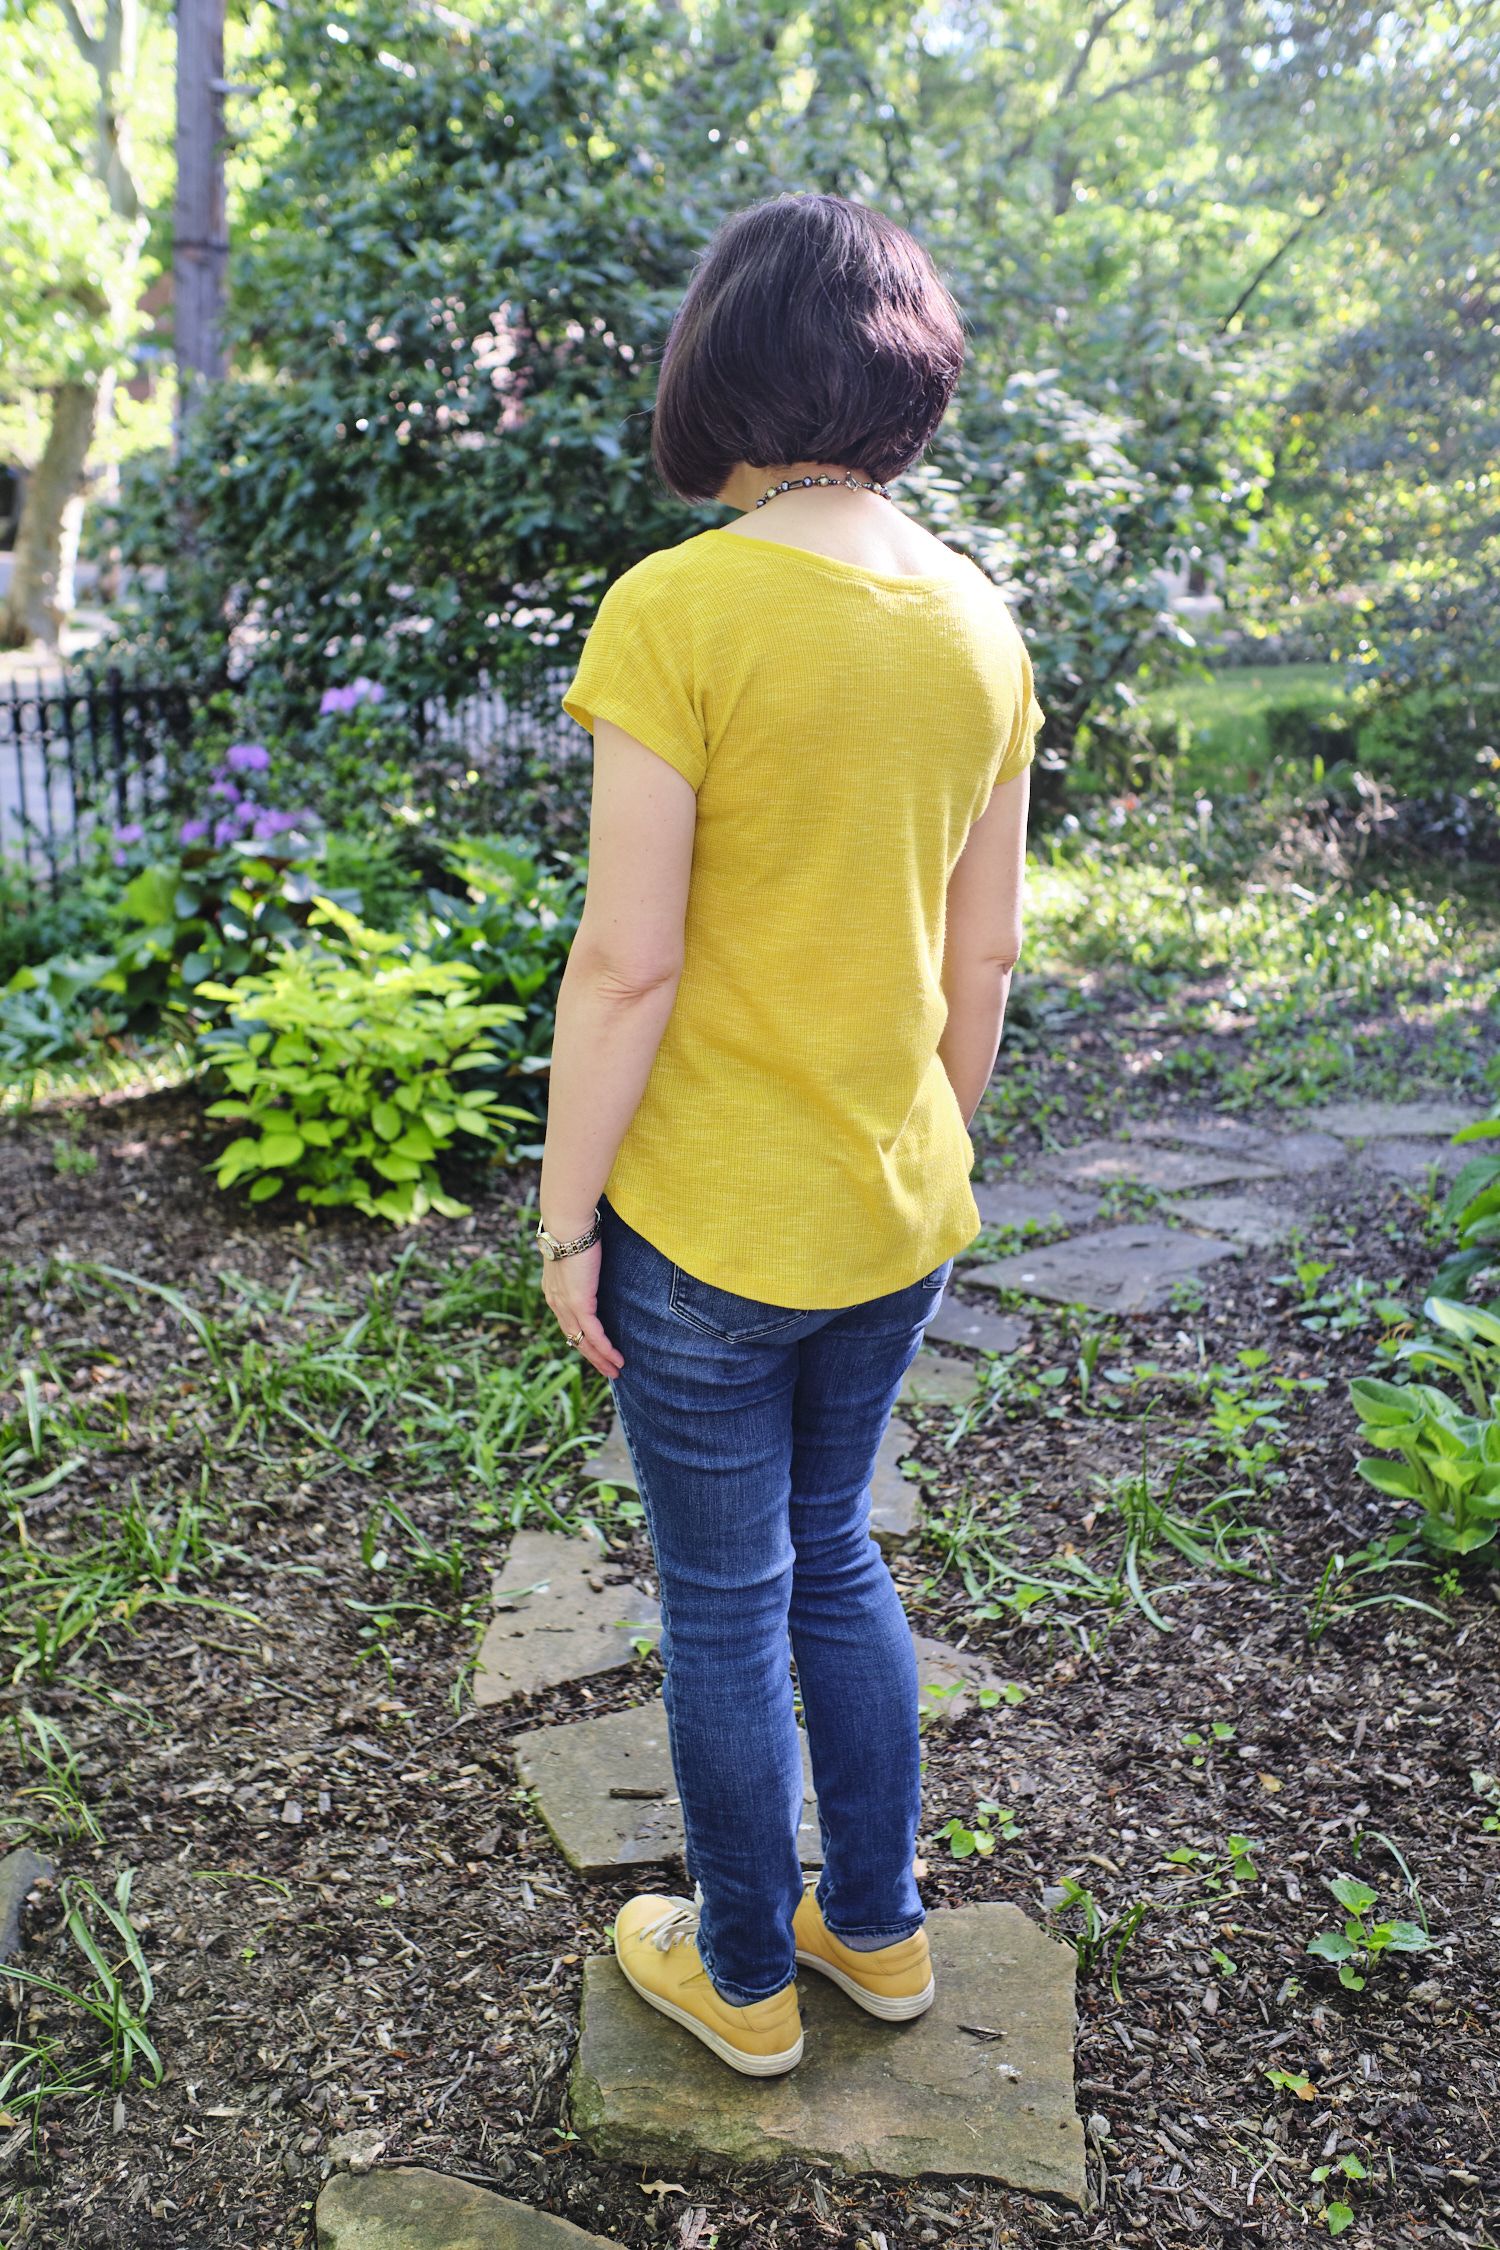
- Sinclair Cachet relaxed cut t-shirt (knit): tea leaf impressionist double sweater knit, eucalyptus impressionist double sweater knit, rosemary Cayambe rib knit with shortened back
- Sinclair Cassie V neckline top and dress for woven fabrics: dark sage cotton double gauze cap sleeve V1 pattern, burgundy LiKnit long sleeve
- Sinclair Crew pullover: brushed cashmere rib black/caramel/red color block, brushed cashmere rib caramel/red/black, brushed cashmere rib caramel/black/red color block color block, brushed cashmere rib red/black/caramel/red/black color block crop length
- Sinclair Demi classic raglan knit top: rust and cornflower Monaco rib long sleeve, royal blue and tartan short sleeve
- Sinclair Linda twist neckline knit top and dress: turquoise modal spandex short sleeve
- Sinclair Loop drop shoulder knit top: black and white polyester sweater knit long sleeve split hem, Marsala LiKnit short sleeve cropped length
- Sinclair Soho dolman relaxed style top, tunic and mini dress (knit): marled hunter brushed rib sweater knit long sleeve top length, clematis (purple) interwoven squares quilted knit banded tunic with pockets hacked for attached sleeves, all spice sweater knit hacked for attached sleeves and cuffs with PE Sweet Cheeks v-neck, colorblocked Versailles brushed hacci with cuffs
- Sinclair Wave Athletic Knit Tank Top With Waistline Shaping and Pockets: tartan spandex and black stretch mesh
- Styla Dublin (puff sleeve knit): CL turquoise print


