I was intrigued on mulltiple levels when I read Rory Evans NYTimes Wirecutter article about how she found a dupe of her $410 jeans and turned them into shorts. So first of all, these must be really special jeans to be worthy of paying $410 for them. I am often the goldilocks of jeans purchases, so I can respect Rory’s satisfaction at finally finding the perfect jeans, especially perfect jeans with enormous pockets, high rise, and barrel legs. I want jeans with a high rise but a short length, pockets big enough that I can store my phone vertically below my hip crease, snug at the waist so they don’t fall down but enough room in the seat and legs that they are comfortable to wear all day and sit in for long periods of time. But although I could afford a $410 pair of jeans, I’m not sure I could bring myself to buy them. And I don’t love the styling of Rory’s dream jeans as much as she does. So instead I wait until Lands End puts my current favorite $90 pair of jeans on sale for half price and then alter them myself to closer to perfection. My most recent jeans purchases from Lands End were a pair of barrel-leg jeans with inadequate pockets that I extended and a pair of wide-leg jeans with decent pockets that I had to take the hem up nearly three inches. The wide-leg jeans look great as long as I wear them with a belt. The barrel-leg jeans are more of a casual look but don’t require a belt at all. Both are comfortable and seem to be holding up well. In both cases I invested less than $50 and about half an hour of my time for alterations.
But what really caught my attention about Rory’s article was that she had also been on a quest for jeans shorts, which I can also relate to. I have a few pairs of jeans shorts that look good on but I have stopped wearing them completely due to a combination of their inadequate pockets and not being all that comfortable to sit in. Instead I sewed myself a couple of pairs of elastic waist shorts, which are really in no way a substitute for classic denim shorts. At this point I’m sure I have the sewing skills to sew a pair of denim shorts or even full-length jeans, but I haven’t taken that plunge yet and I know that it will be a time-consuming experience and I likely won’t get the fit right the first time. So when Rory recommended hacking the legs off a $35 pair of jeans from Amazon that were somewhat of a dupe for her beloved jeans, it was an idea I could get behind.
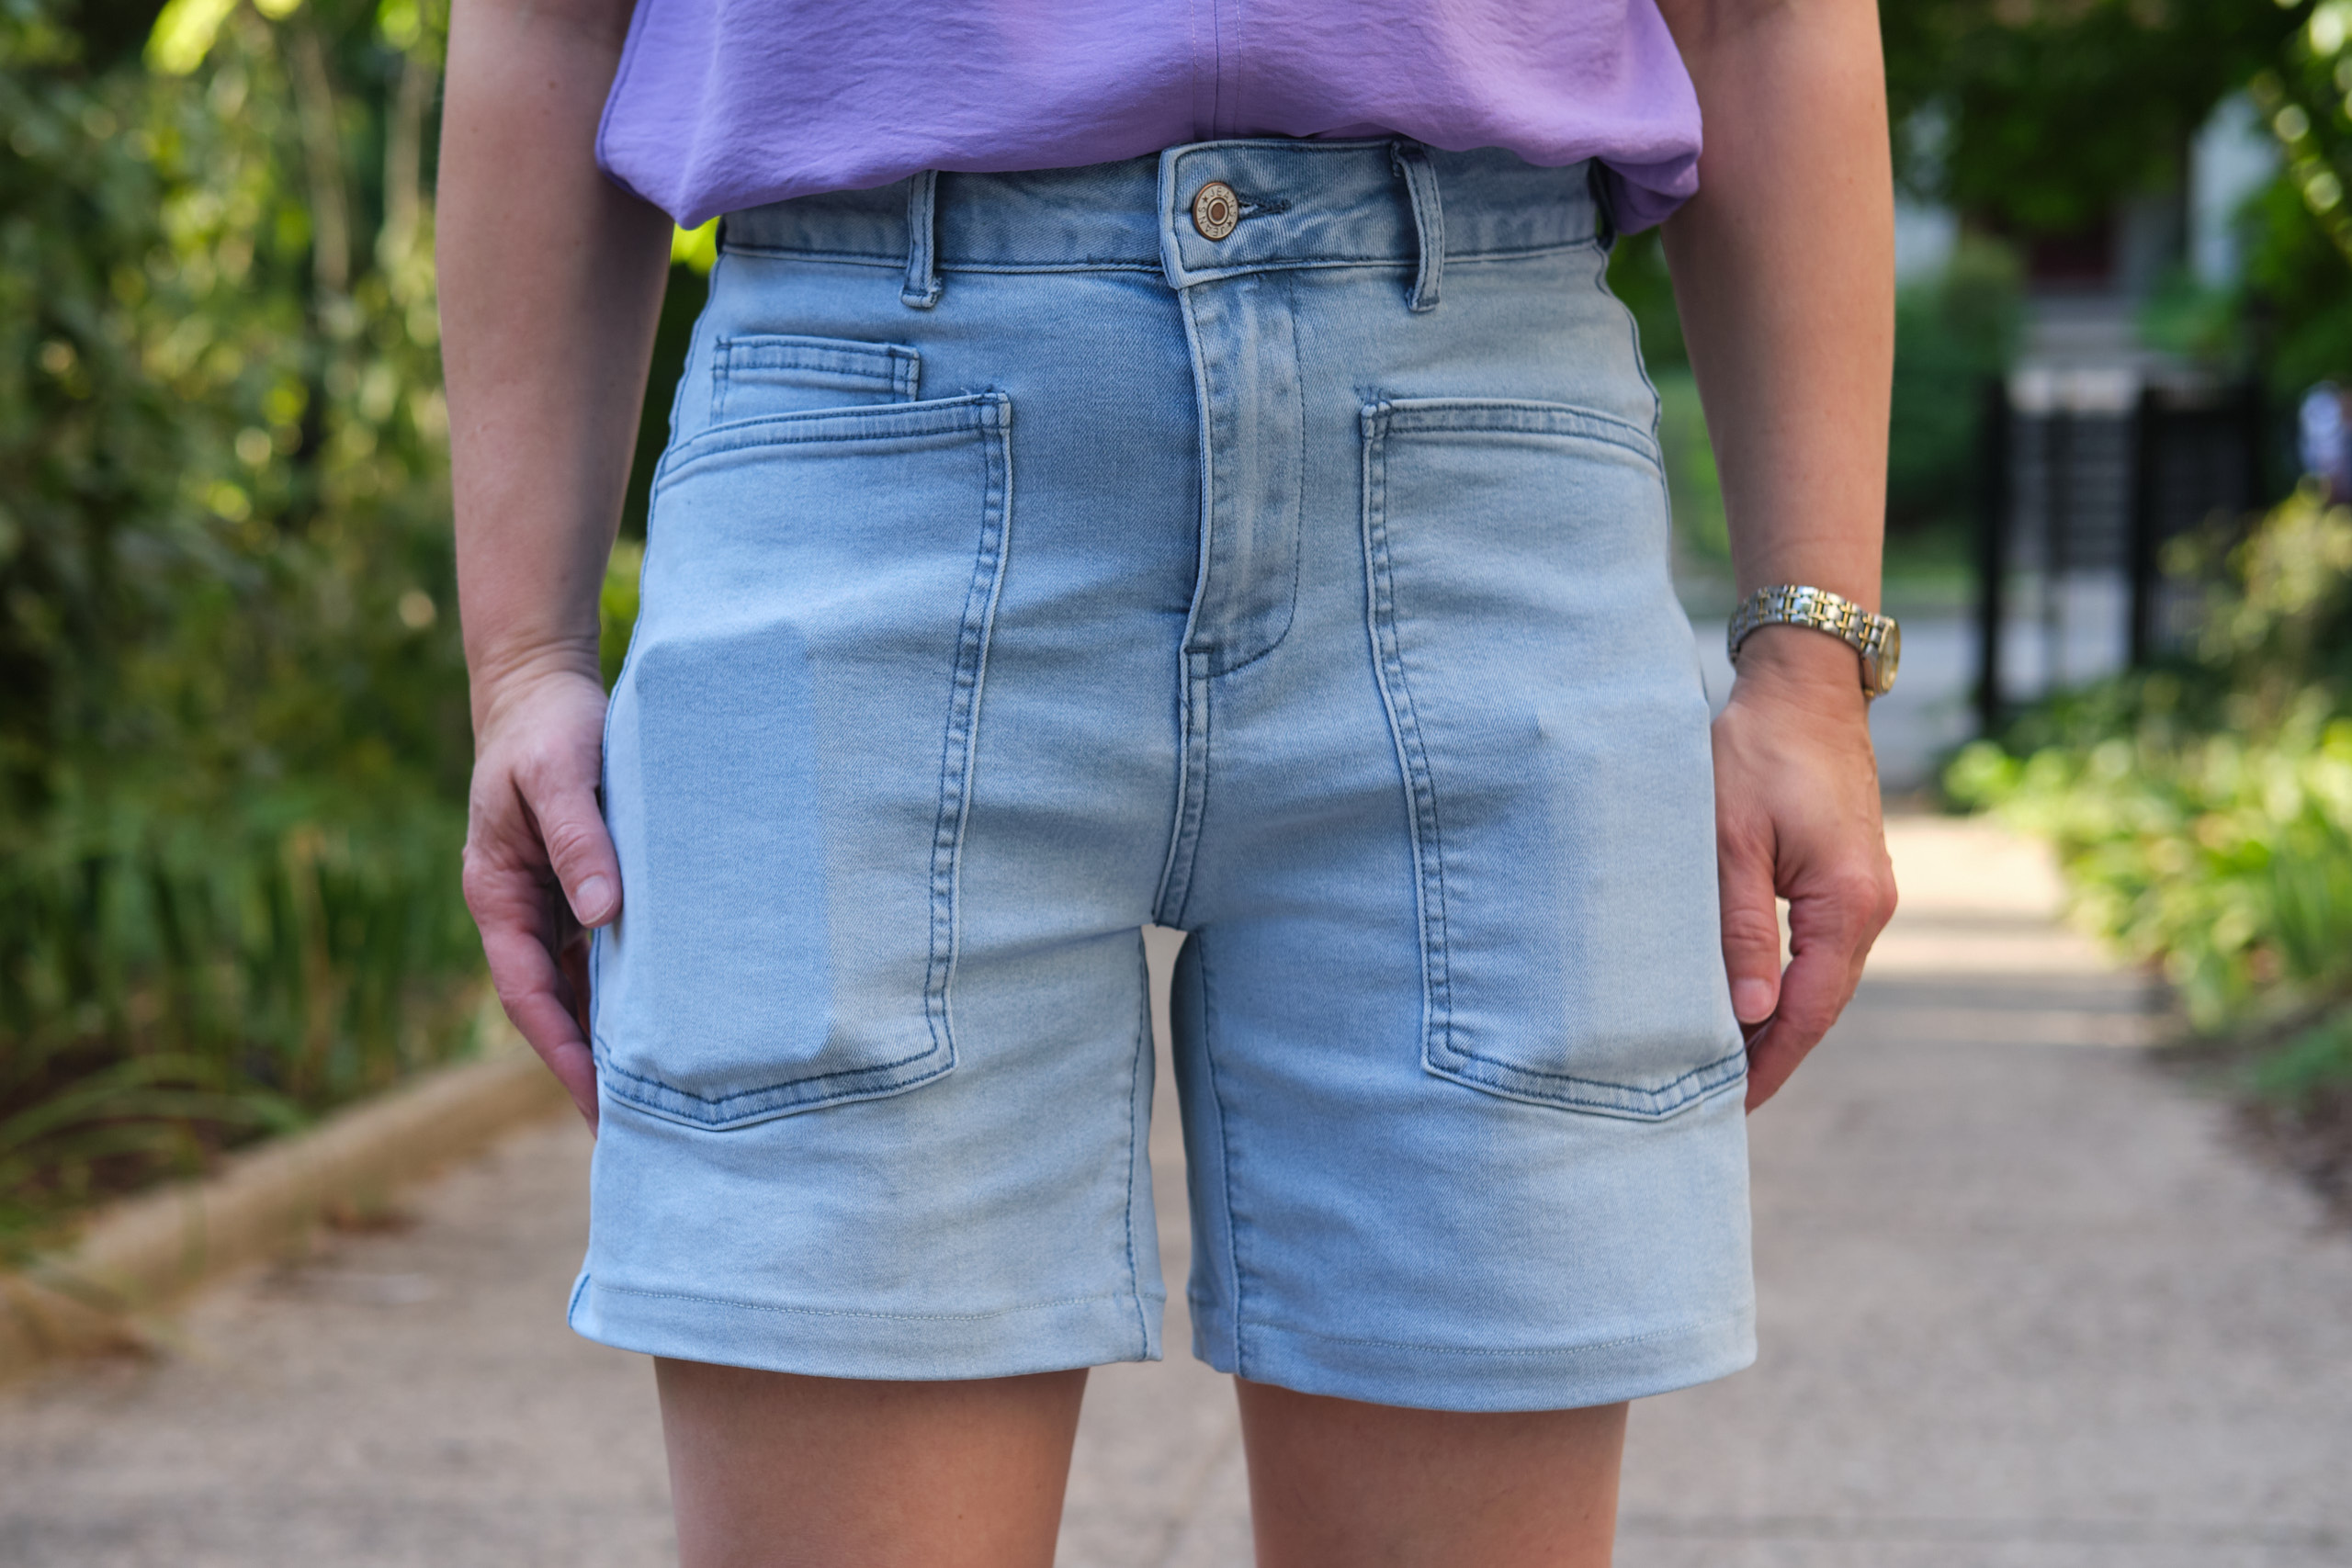
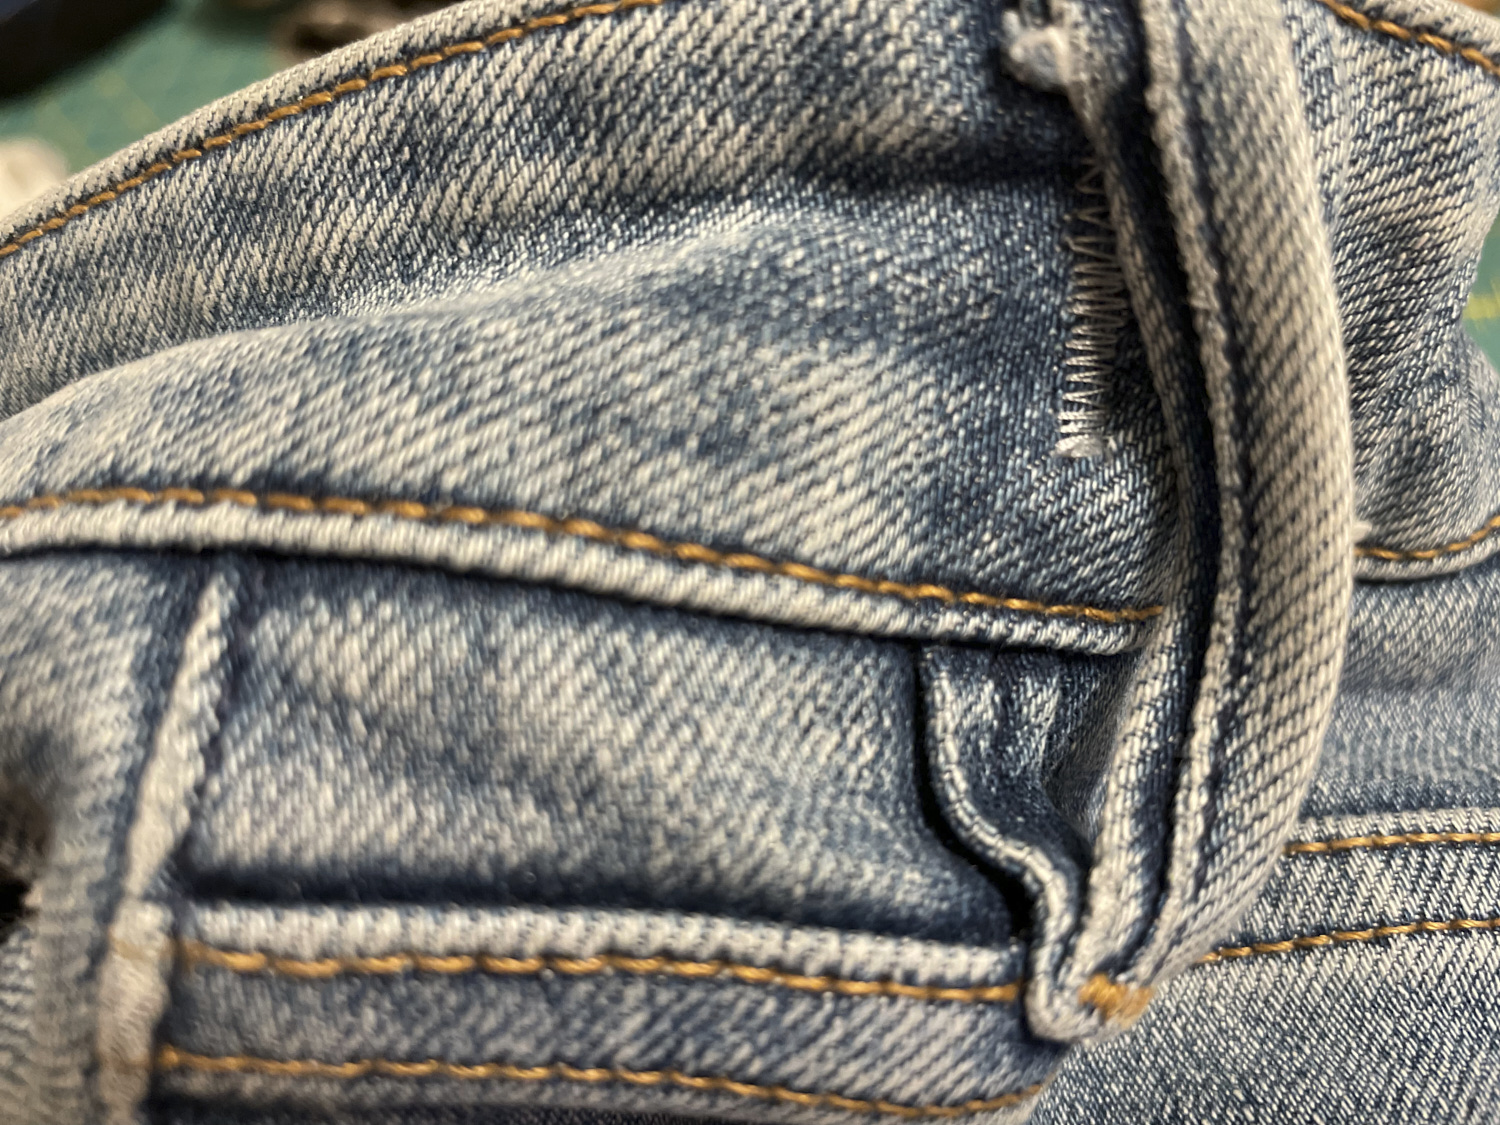
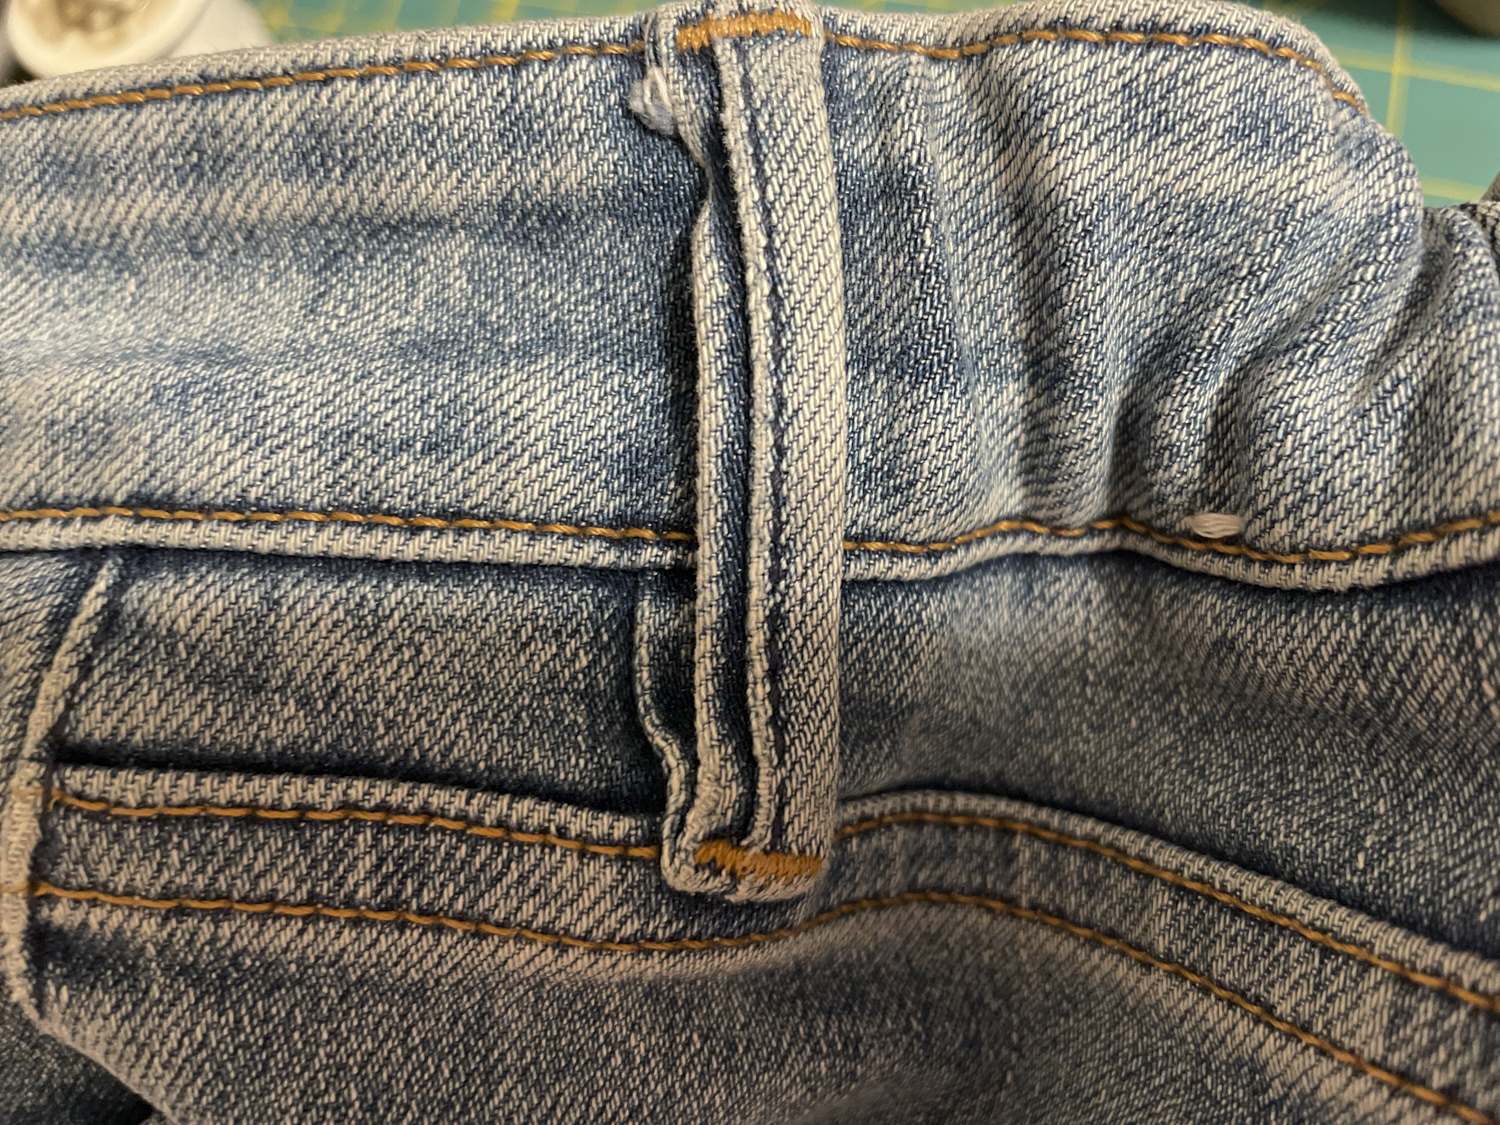
Rory purchased a pair of the EVALESS Baggy Barrel Jeans from Amazon, cut off the legs, and hemmed them to create her perfect jeans shorts with pockets big enough to hold her water bottle. I figured they were worth a shot and I could always return them before cutting them up if they didn’t fit. I ordered a pair in size 4, Beau Blue for $31.99. The price has since gone up to $39.99. When they arrived I tried them on and the fit was indeed almost perfect. They are made of 65% cotton, 33% polyester, 2% elastane (spandex) and are super stretchy. The waistband stretches so they fit like a glove, but the waist is firm enough that they don’t fall down, and the cut is roomy enough that they are pretty comfortable to wear. The denim is lightweight (good for shorts in summer) and fairly smooth. The jeans look pretty good, but there are some flaws in the stitching and they don’t have rivets or other features of high end jeans. I’m not crazy about the way the knee darts are sewn, but that’s ok because I cut them off. They come with four enormous pockets. They are ankle jeans, but since I’m short they are full length on me. (Note, I tend to wear a size 2, 4, or 6 depending on brand. 4 is the smallest size these come in and it fits me fine. I think a 6 would probably also work for a looser fit, but I like the fit of the 4. I would not go any smaller even if they came in a 2. Because of the stretch most people could probably wear more than one size.)
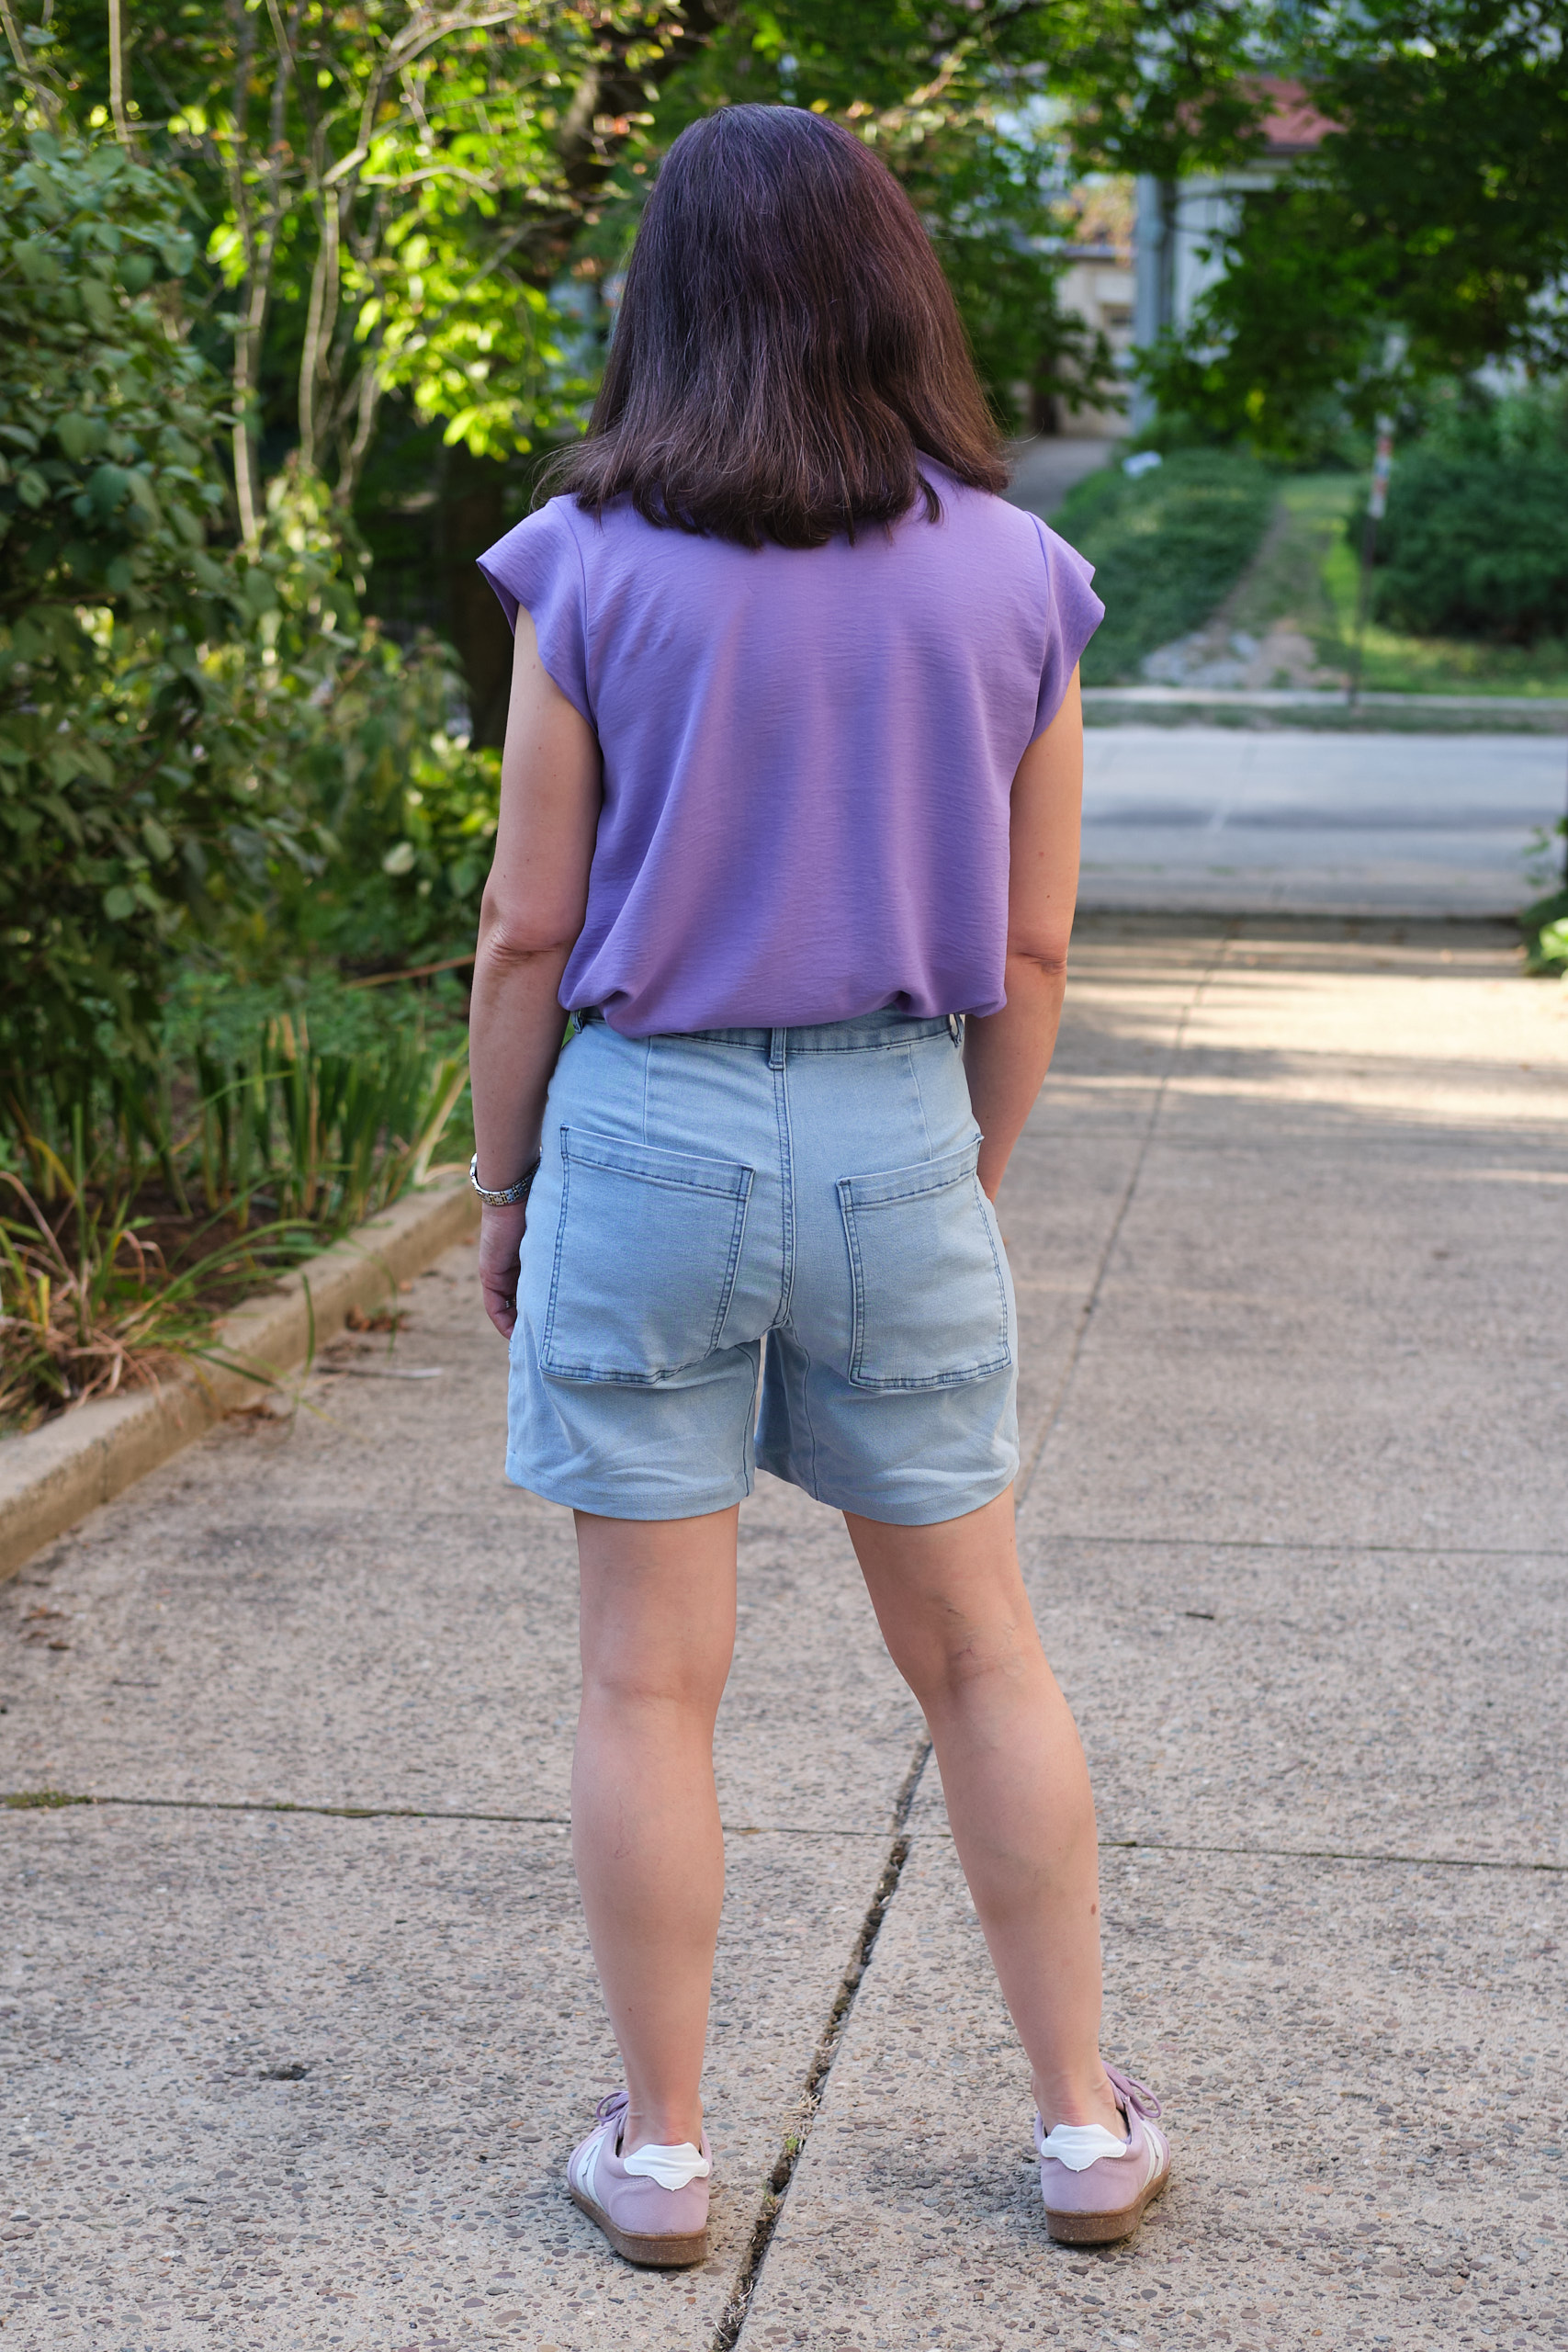
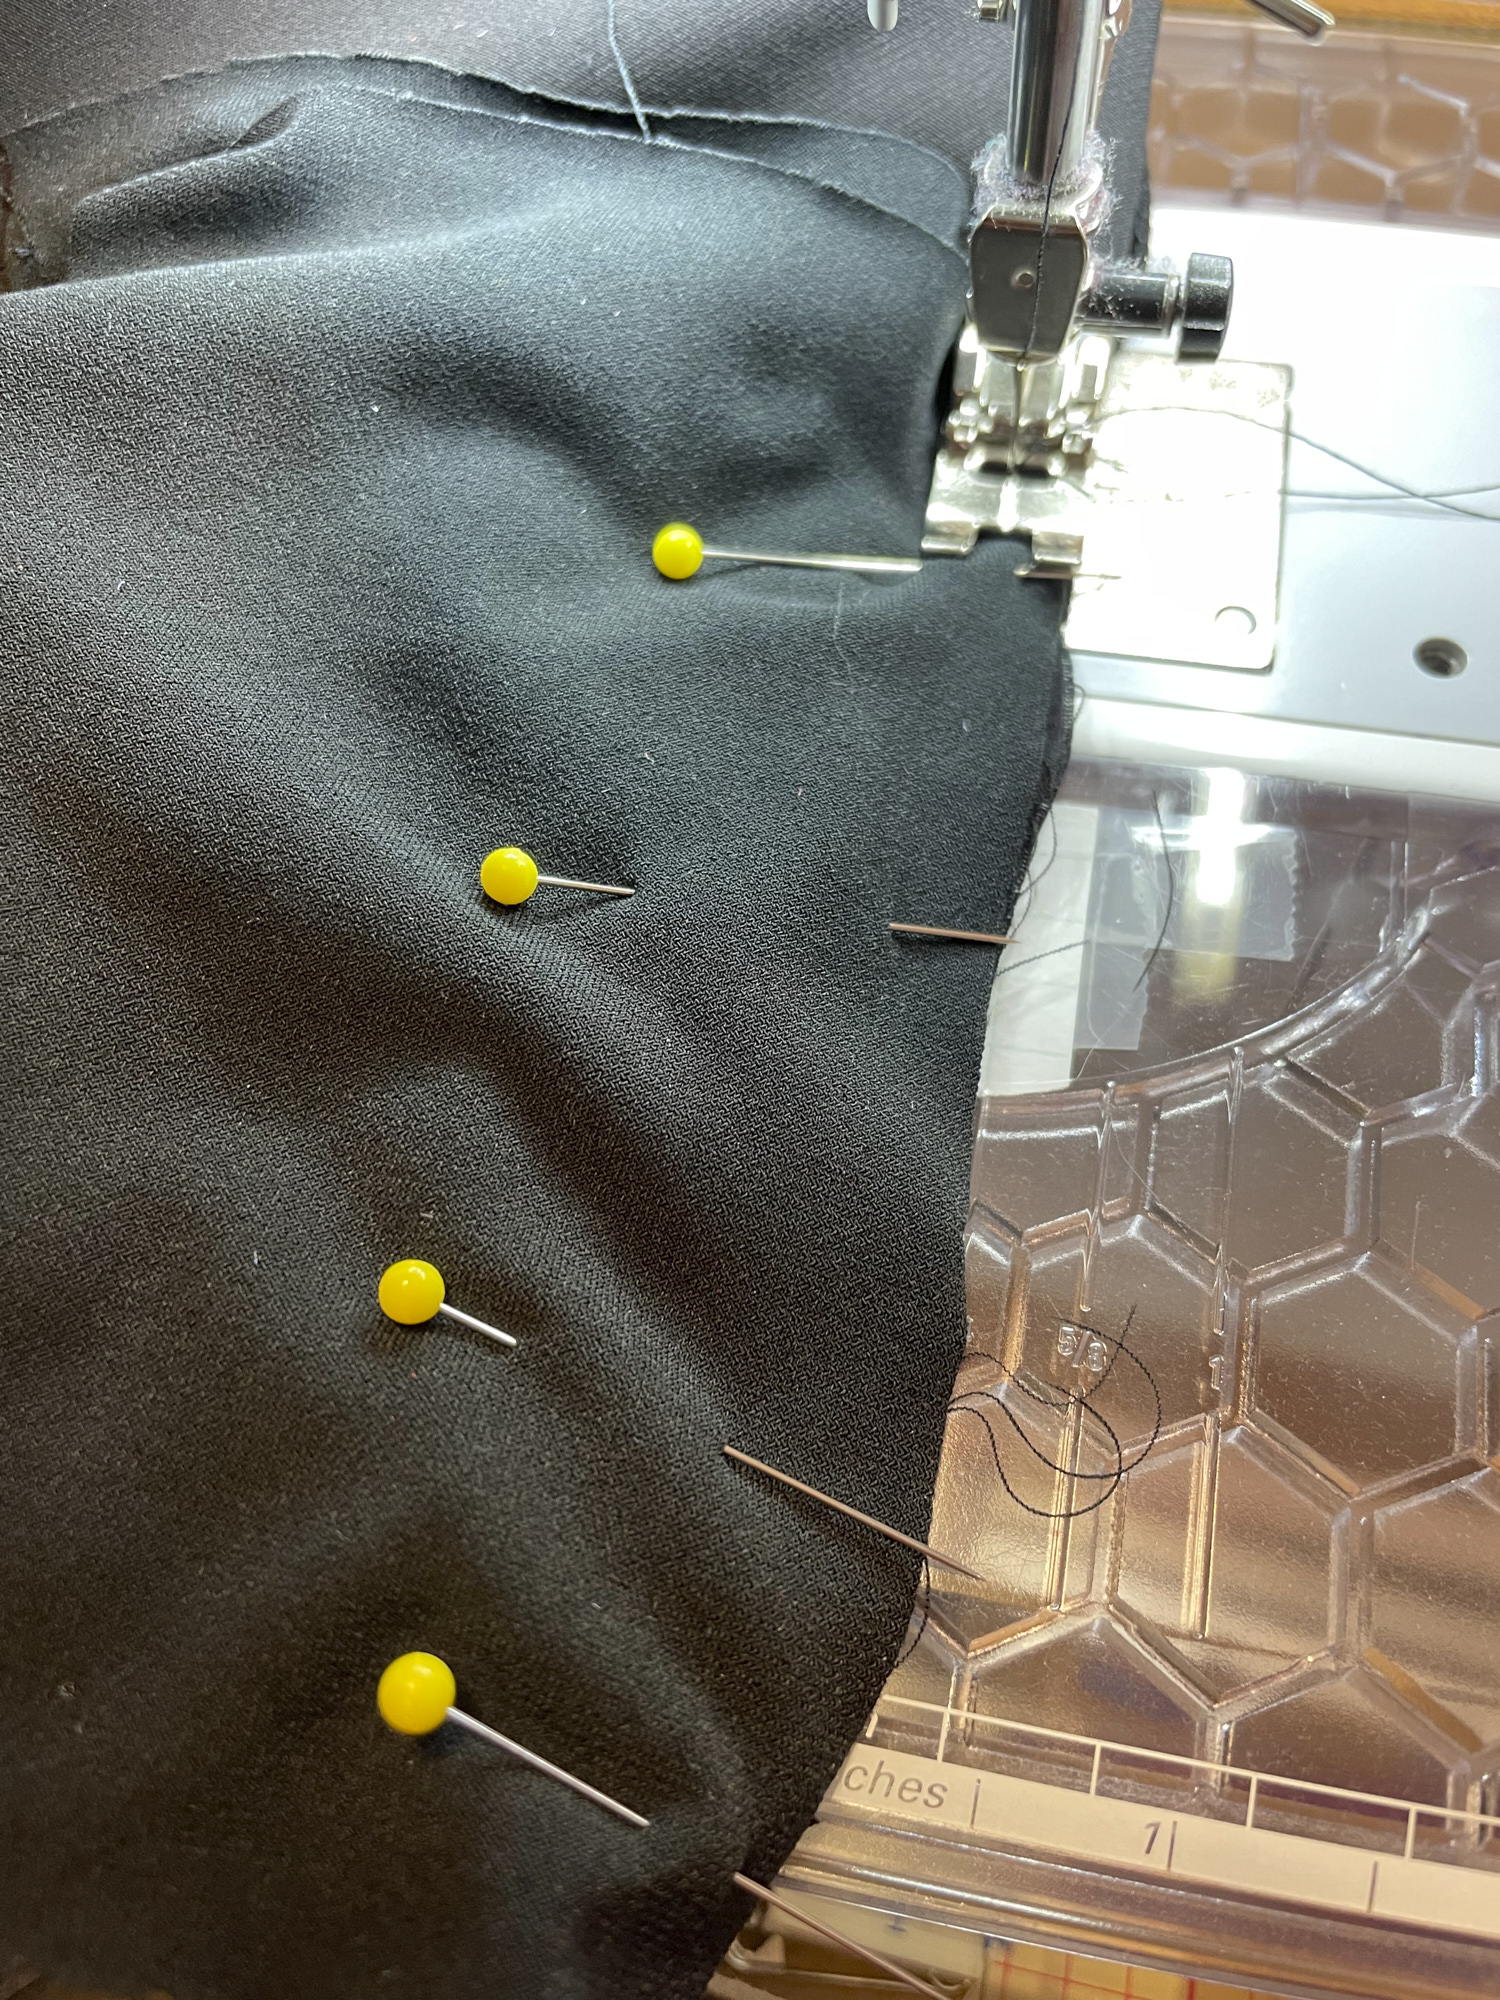
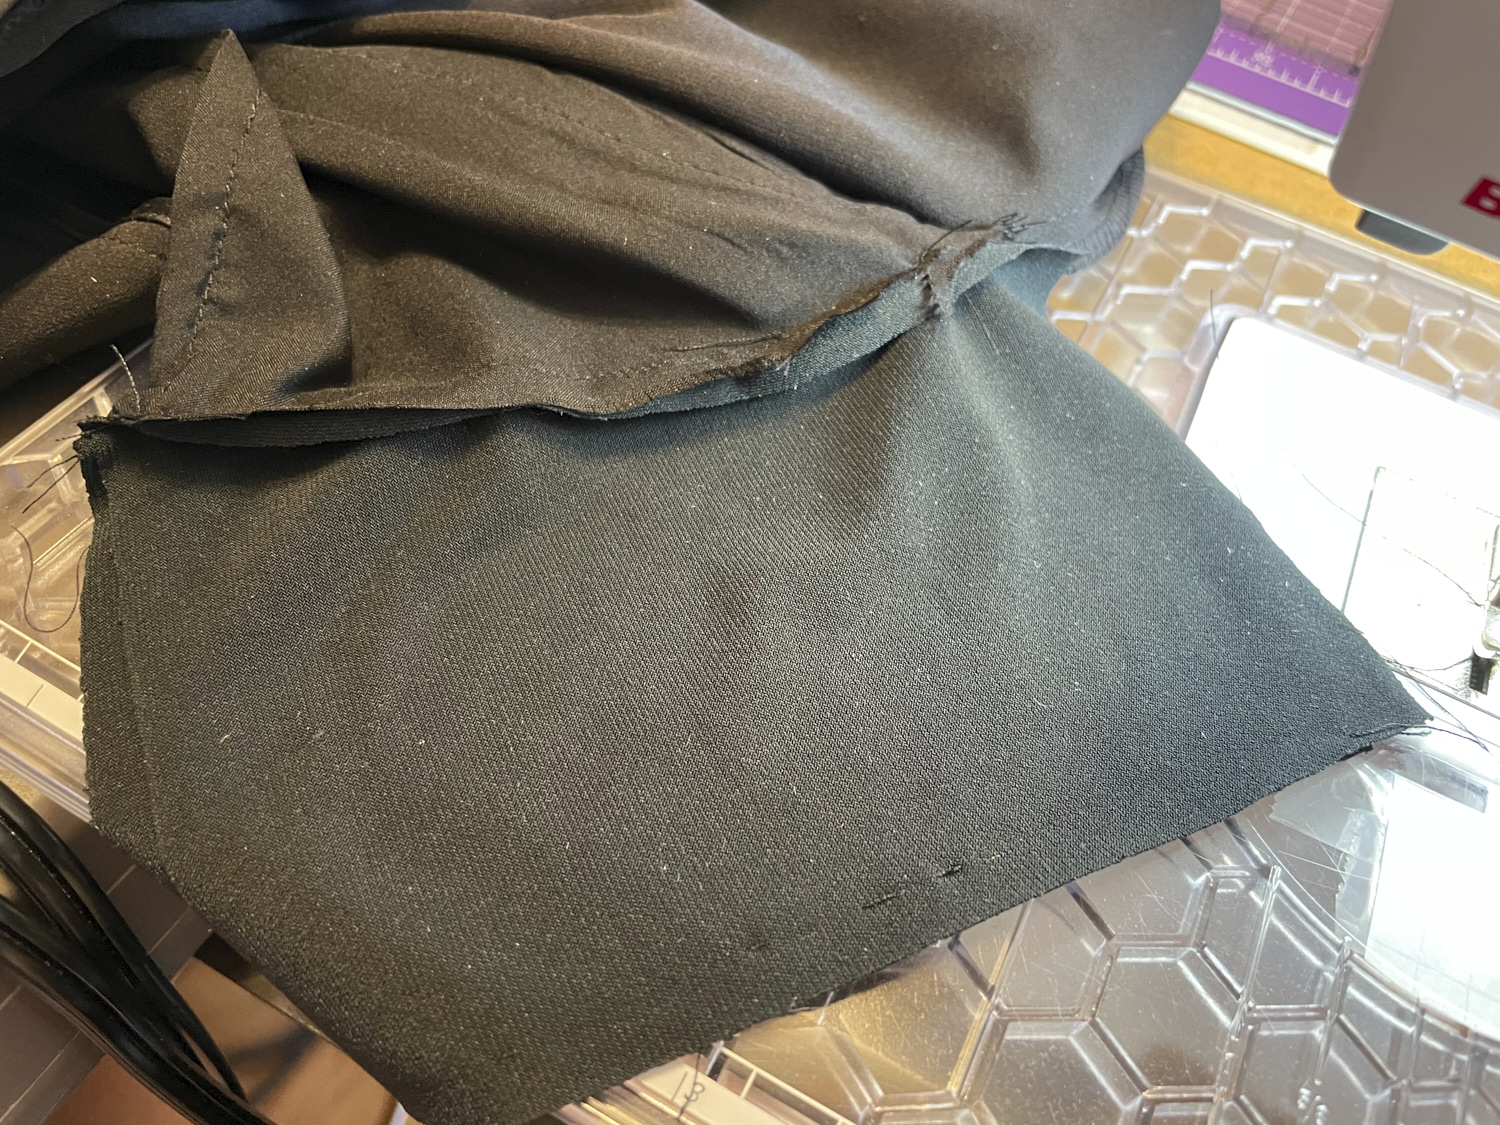
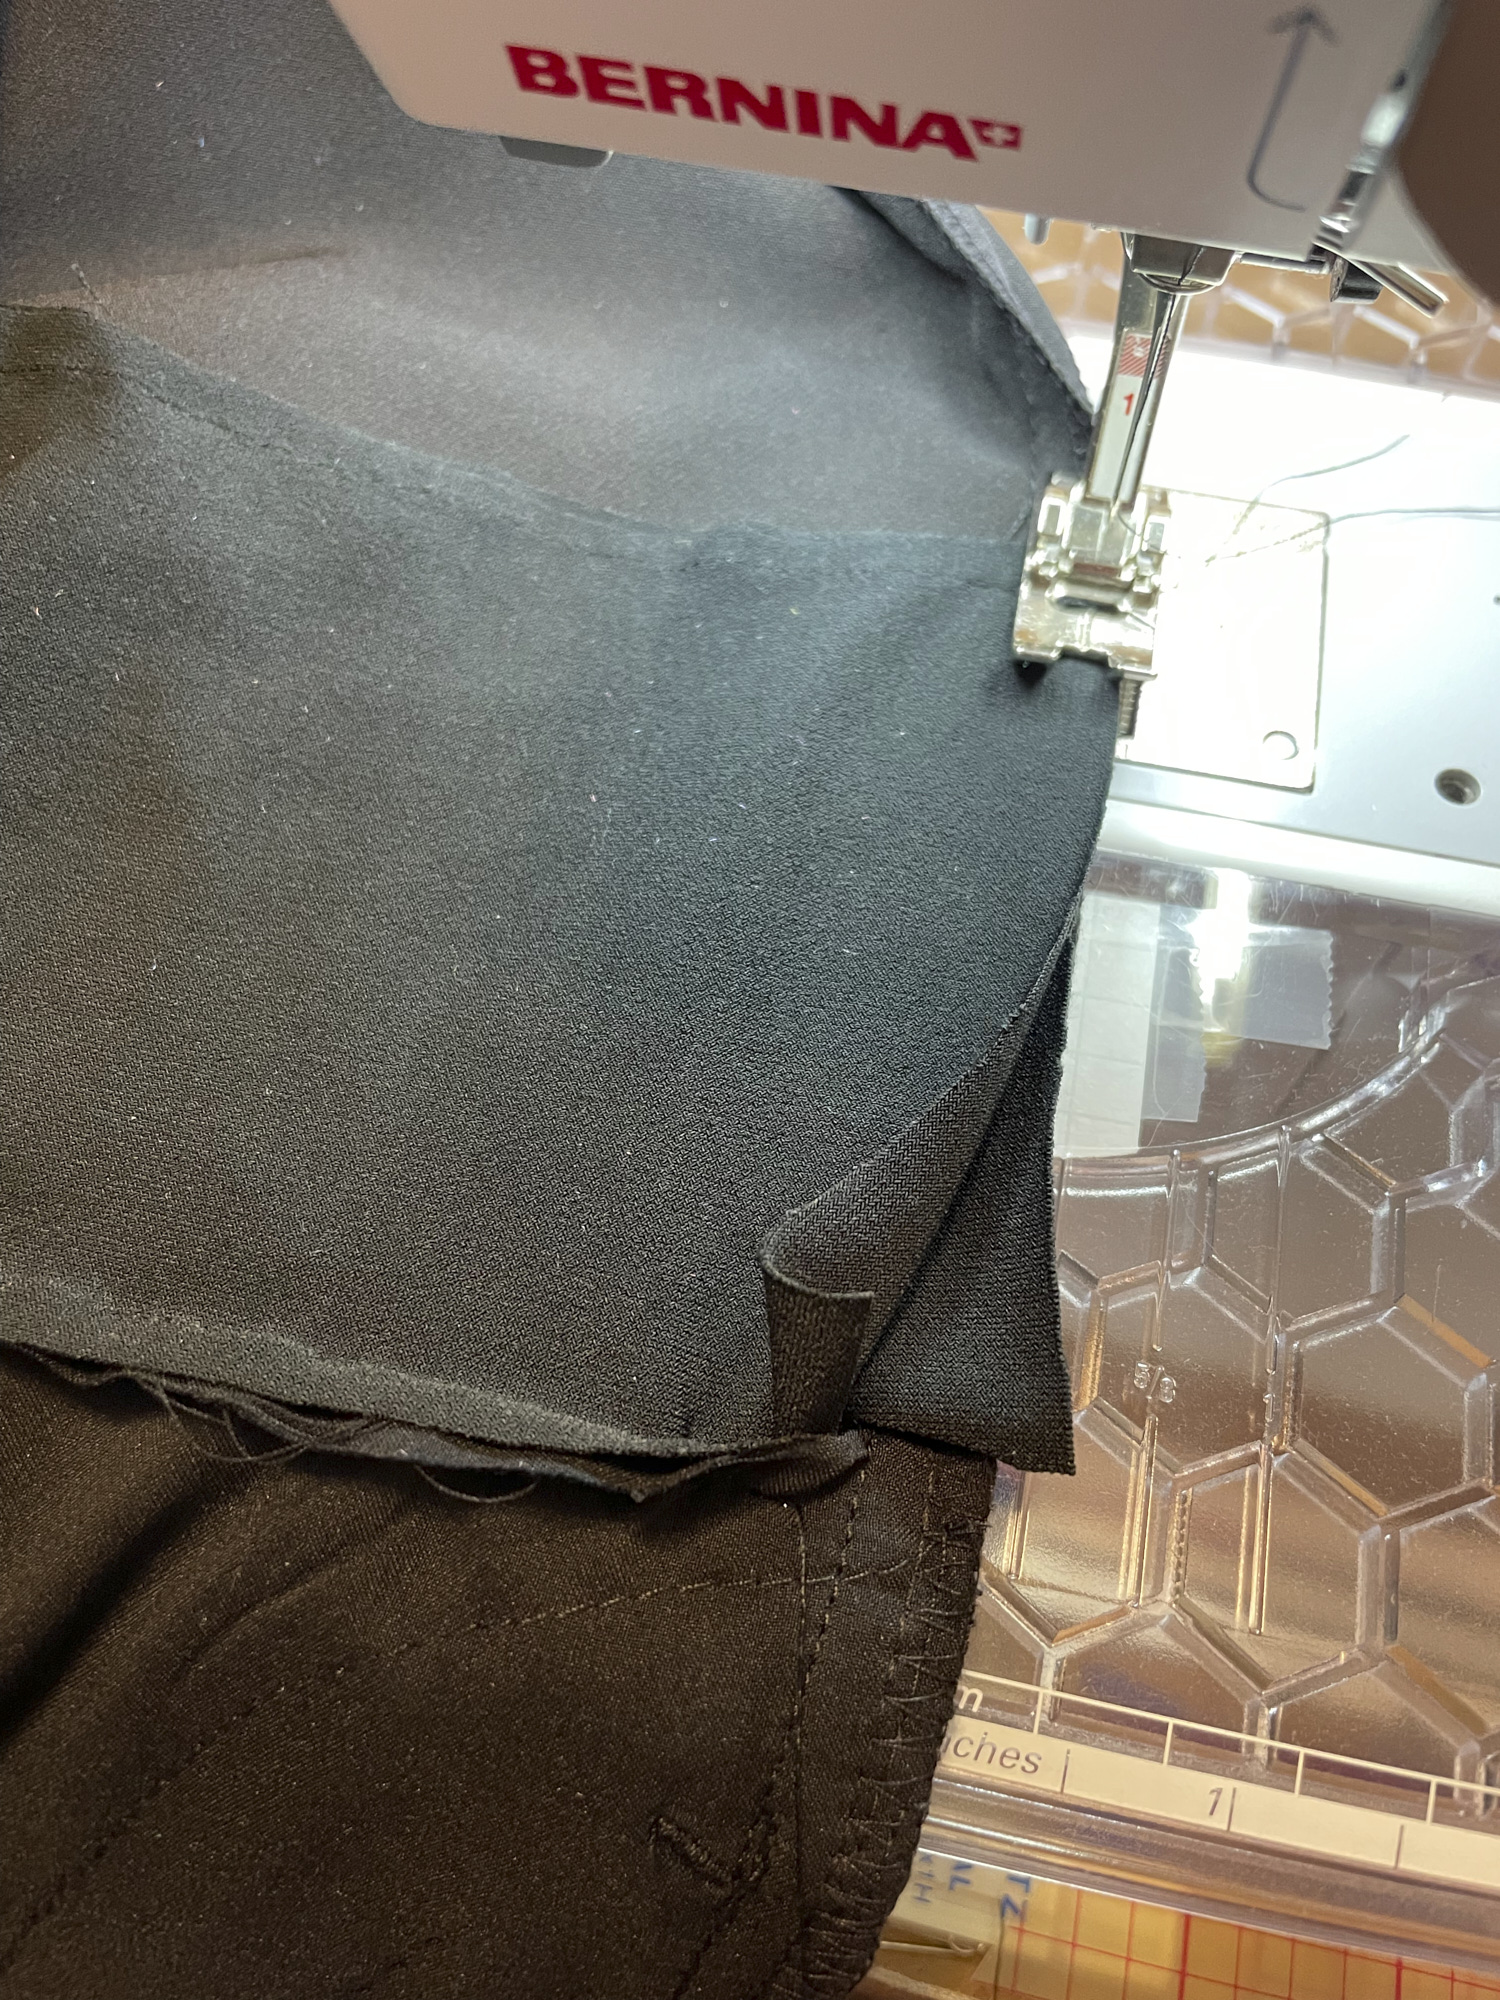
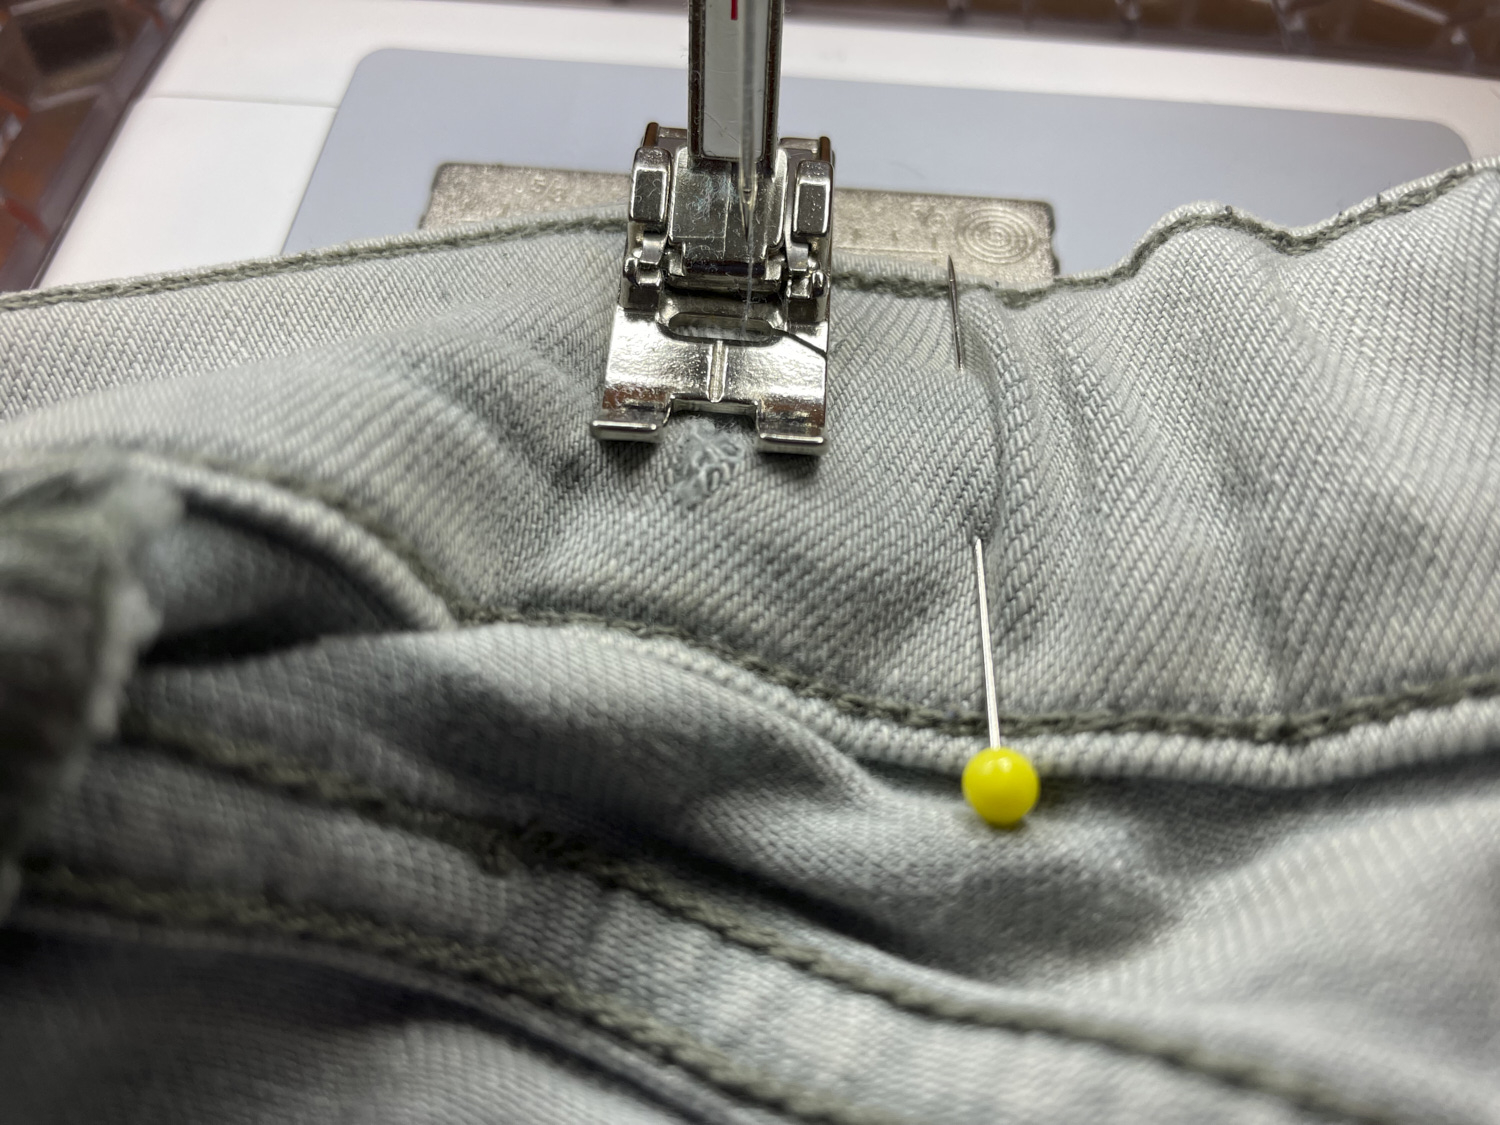
I decided to make shorts with a 6-inch inseam so I measured and cut the inseam at 7 inches. Then I folded and pressed them up 1/4-inch and then again 3/4-inch. I stitched them with a straight stitch on my sewing machine from the inside about 1/8-inch from the folded edge.

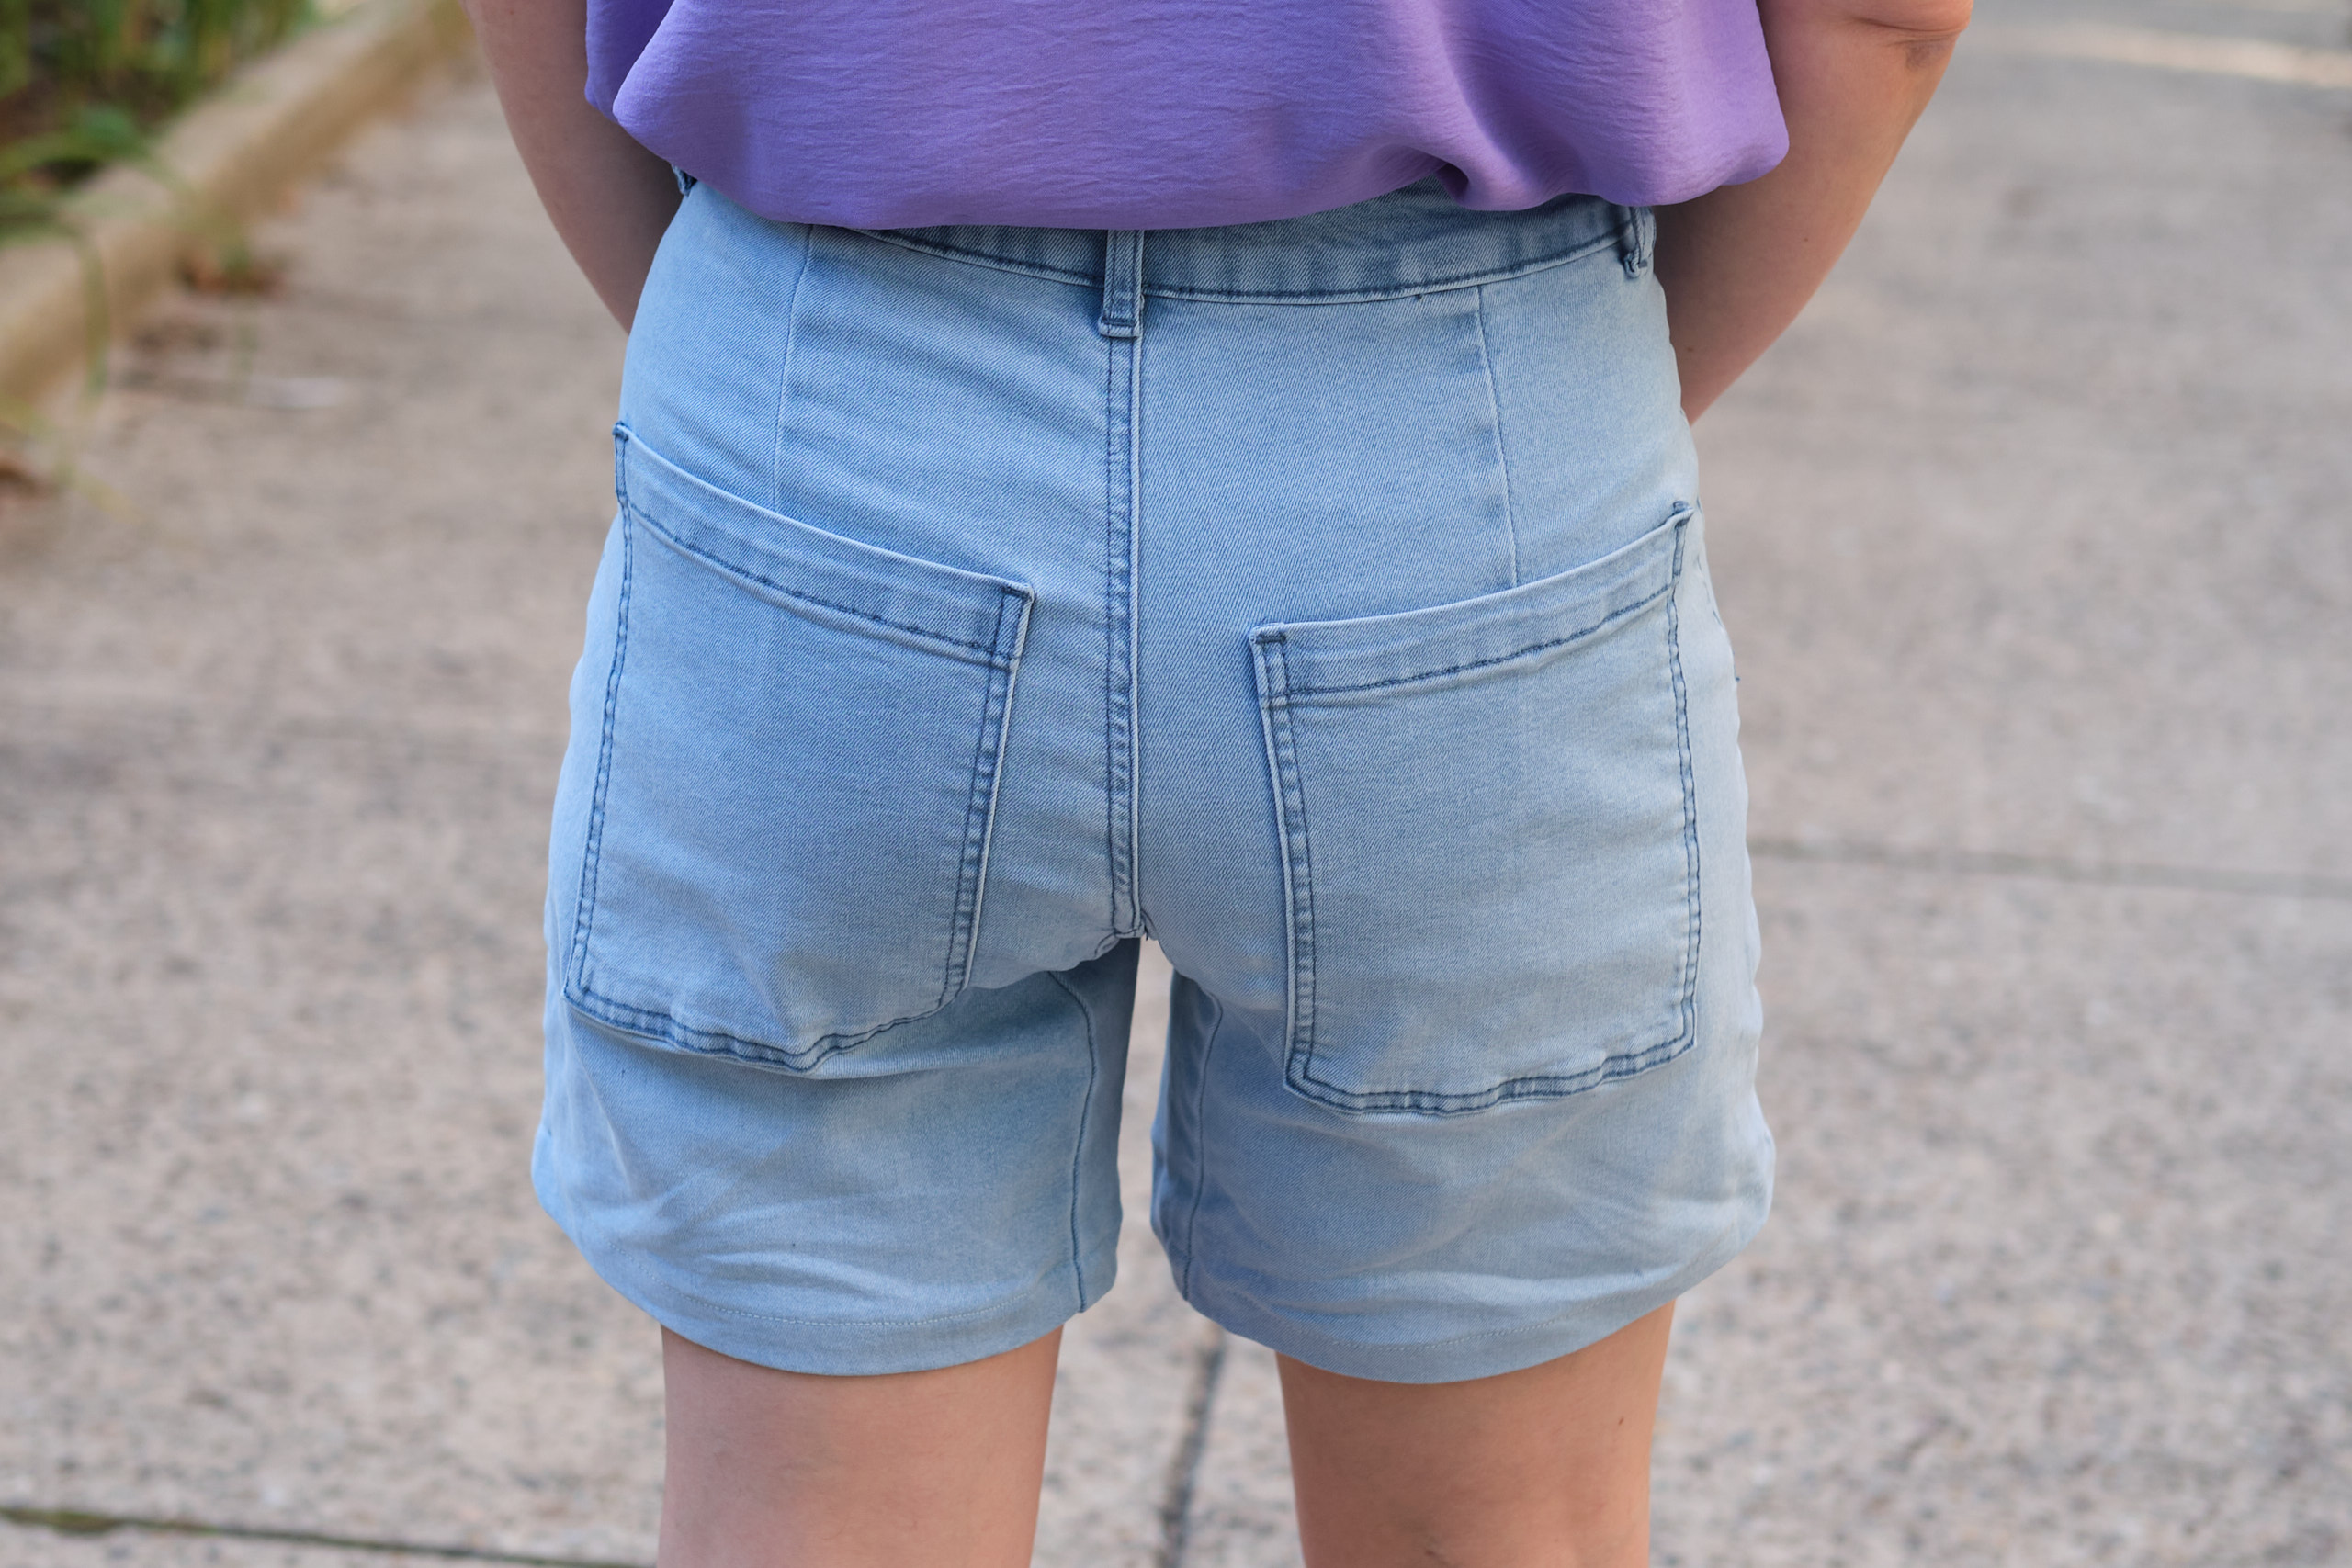
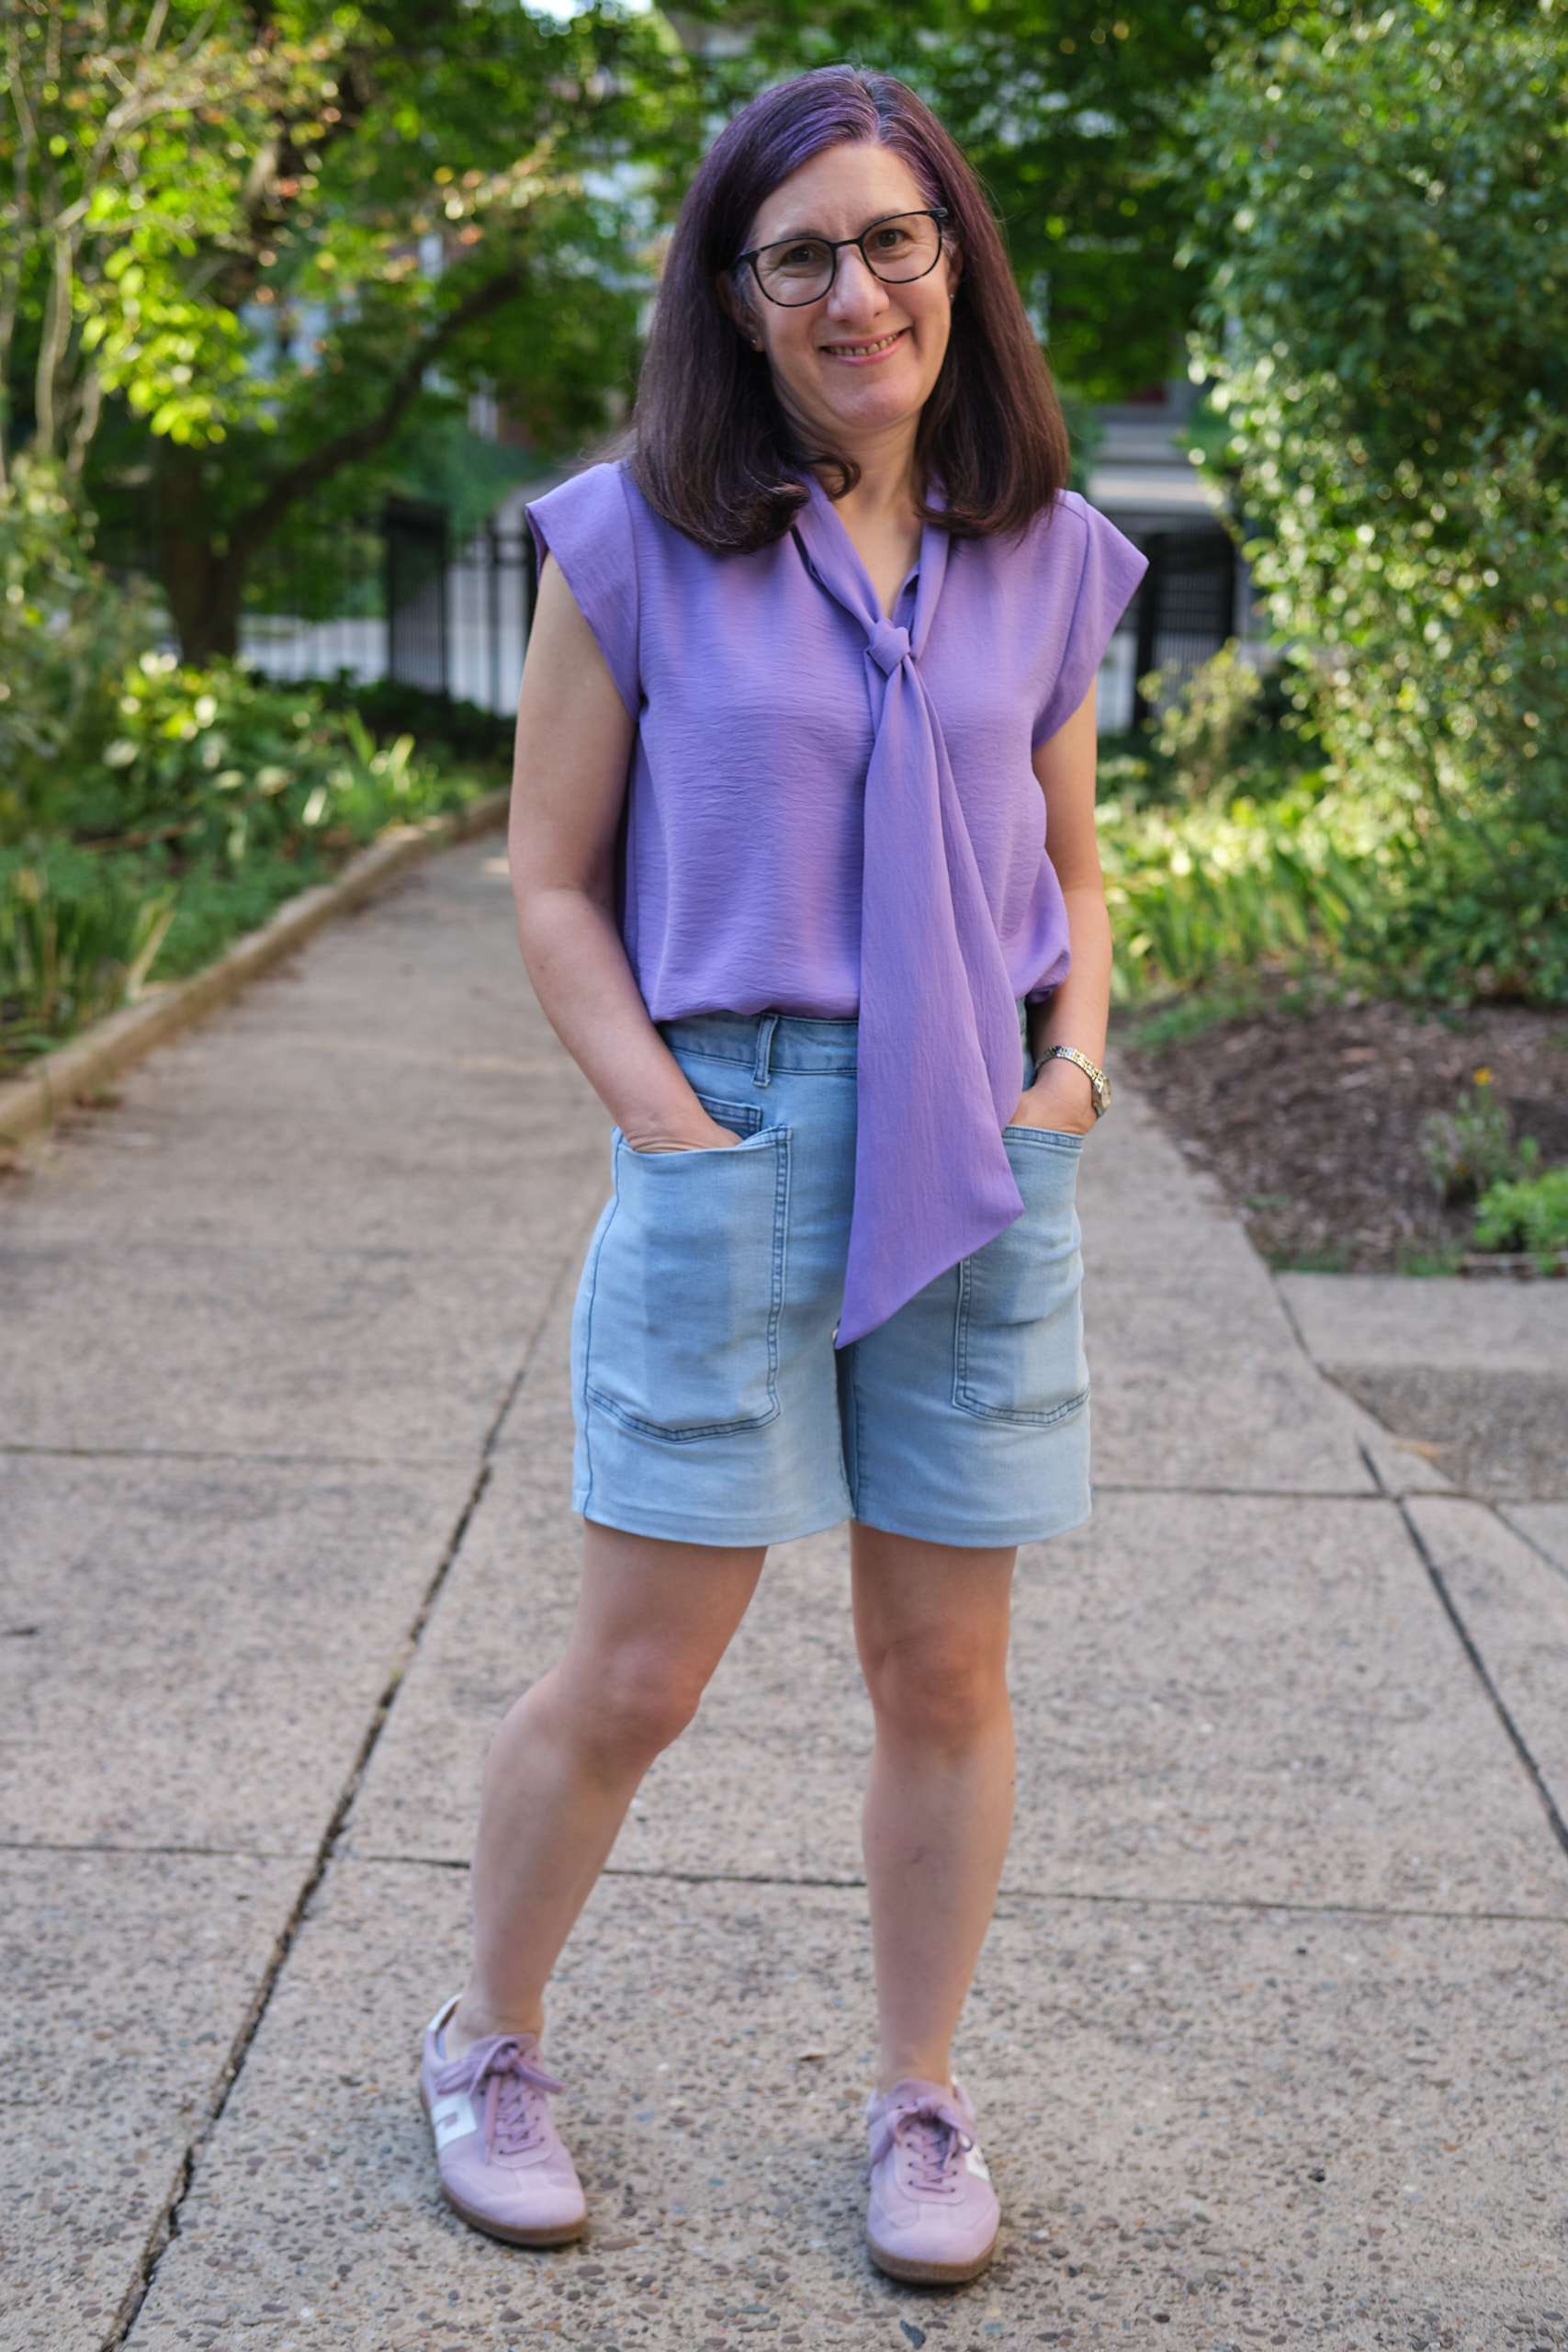
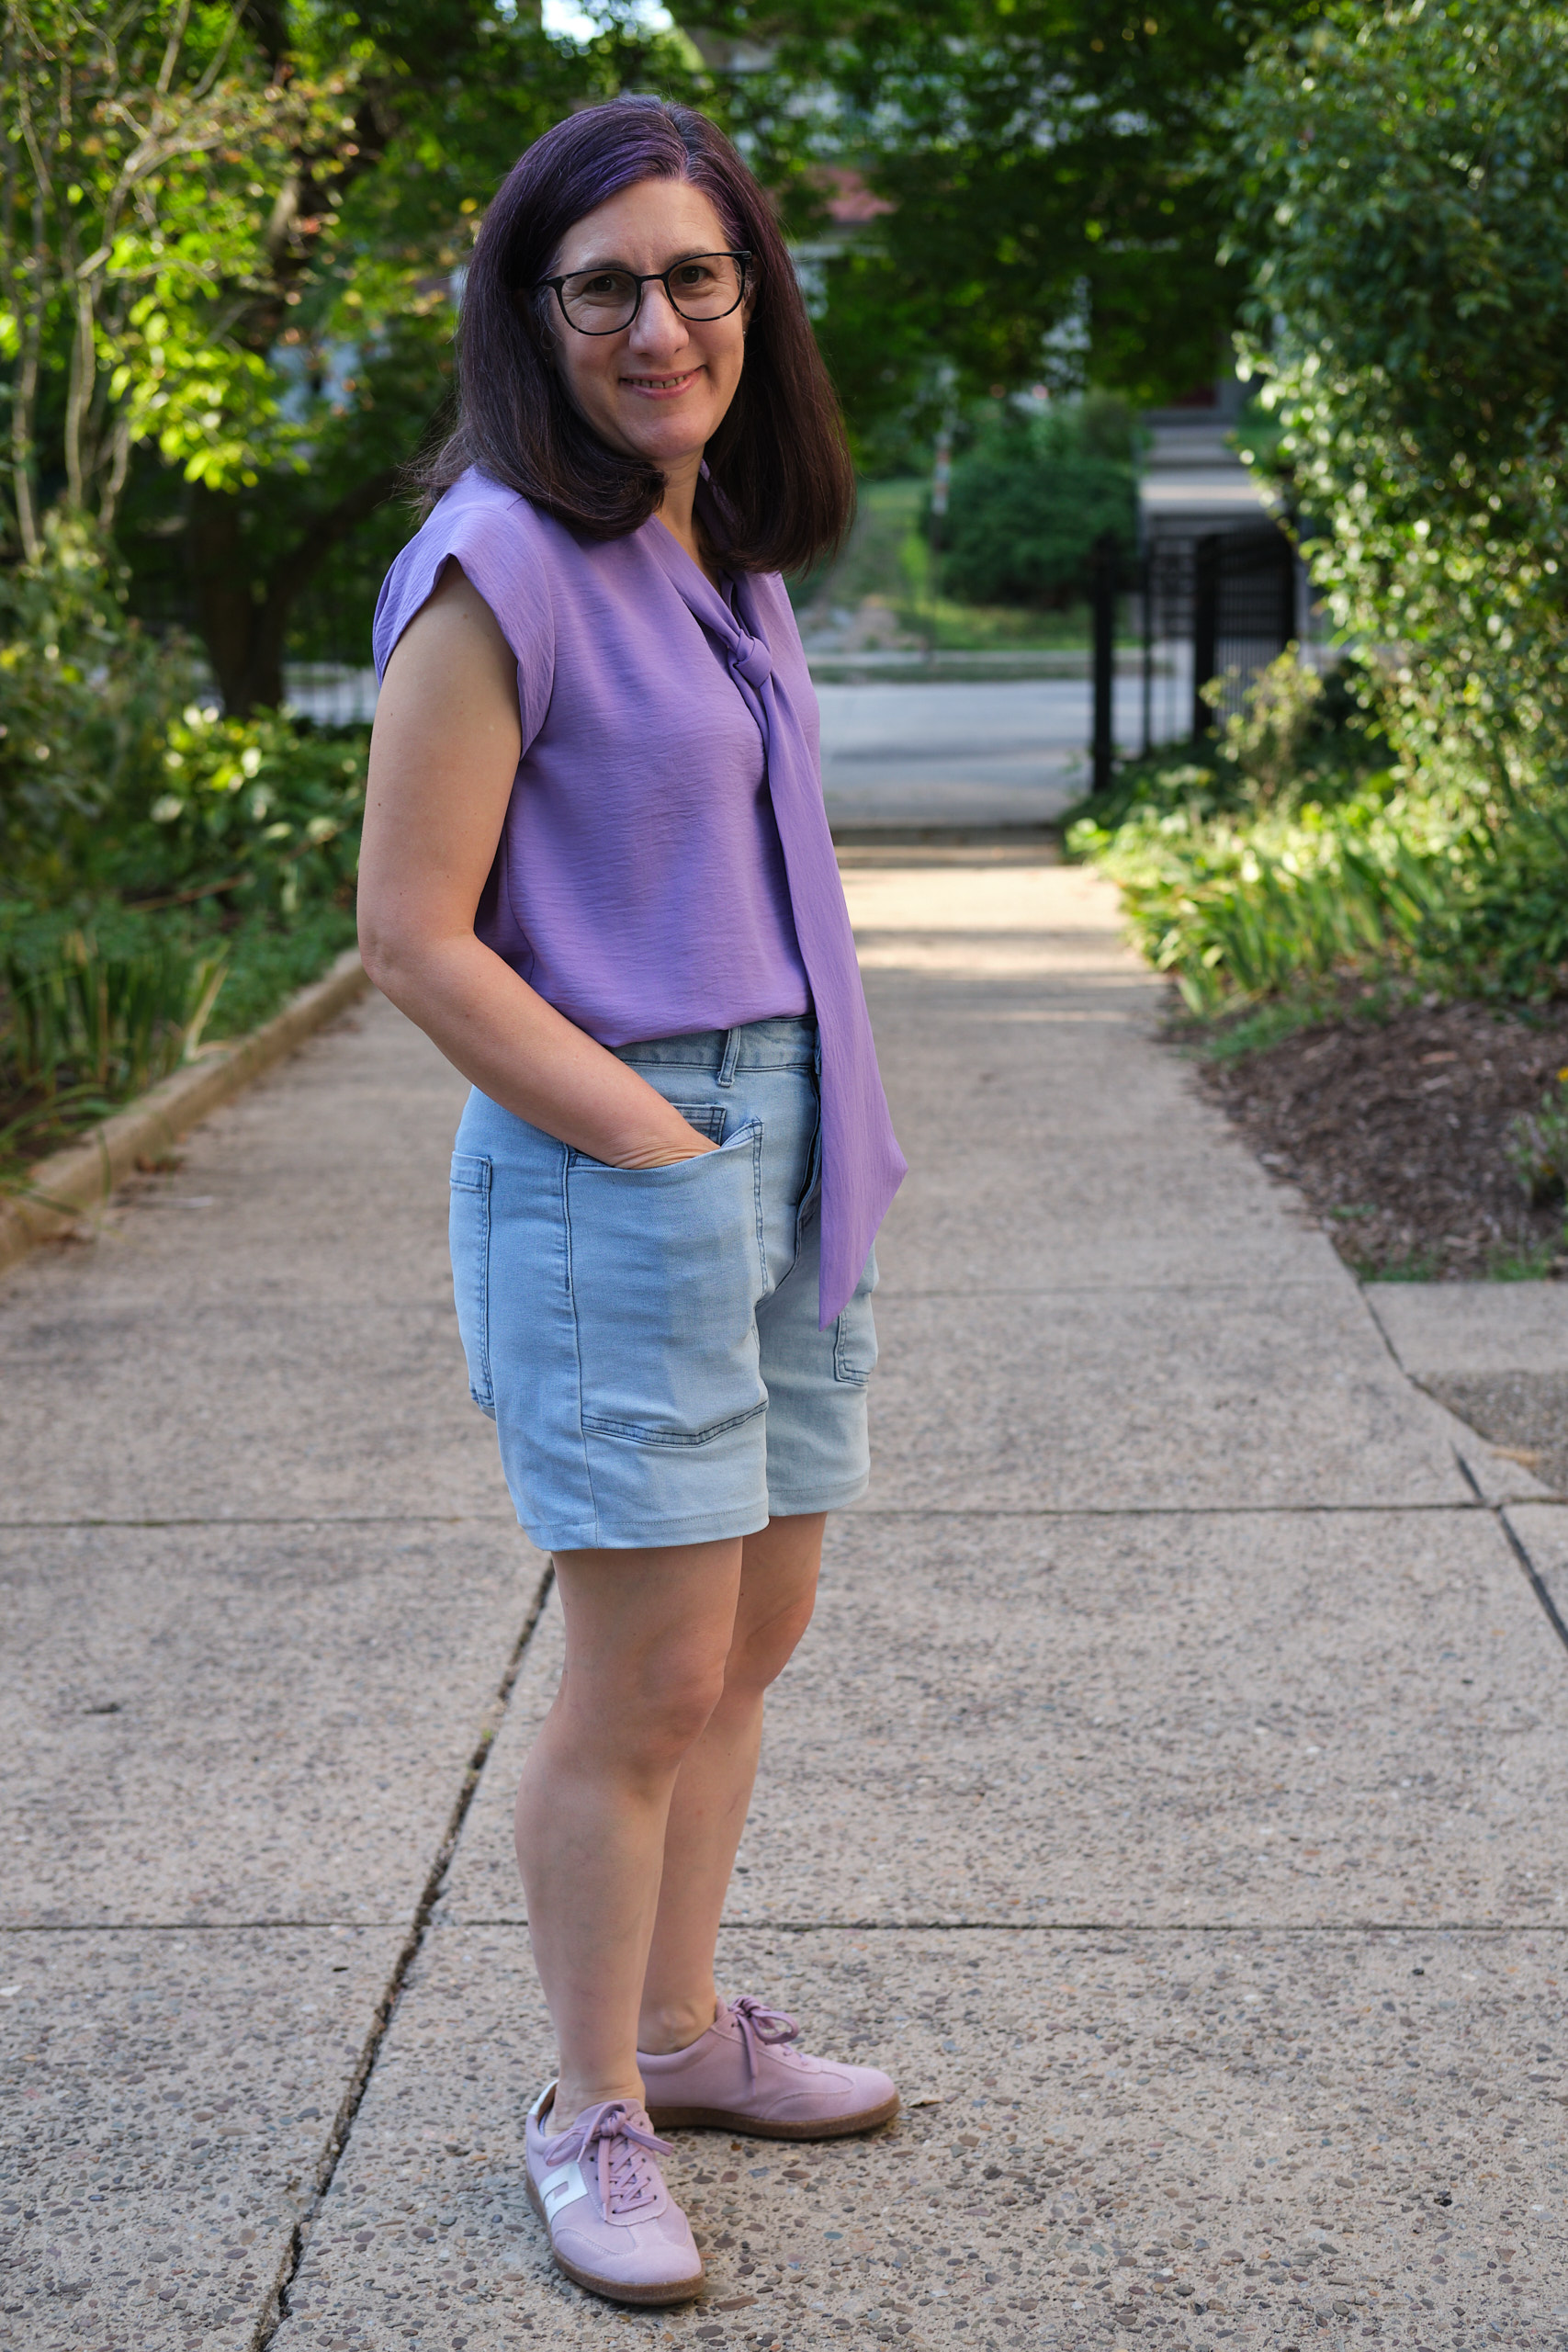
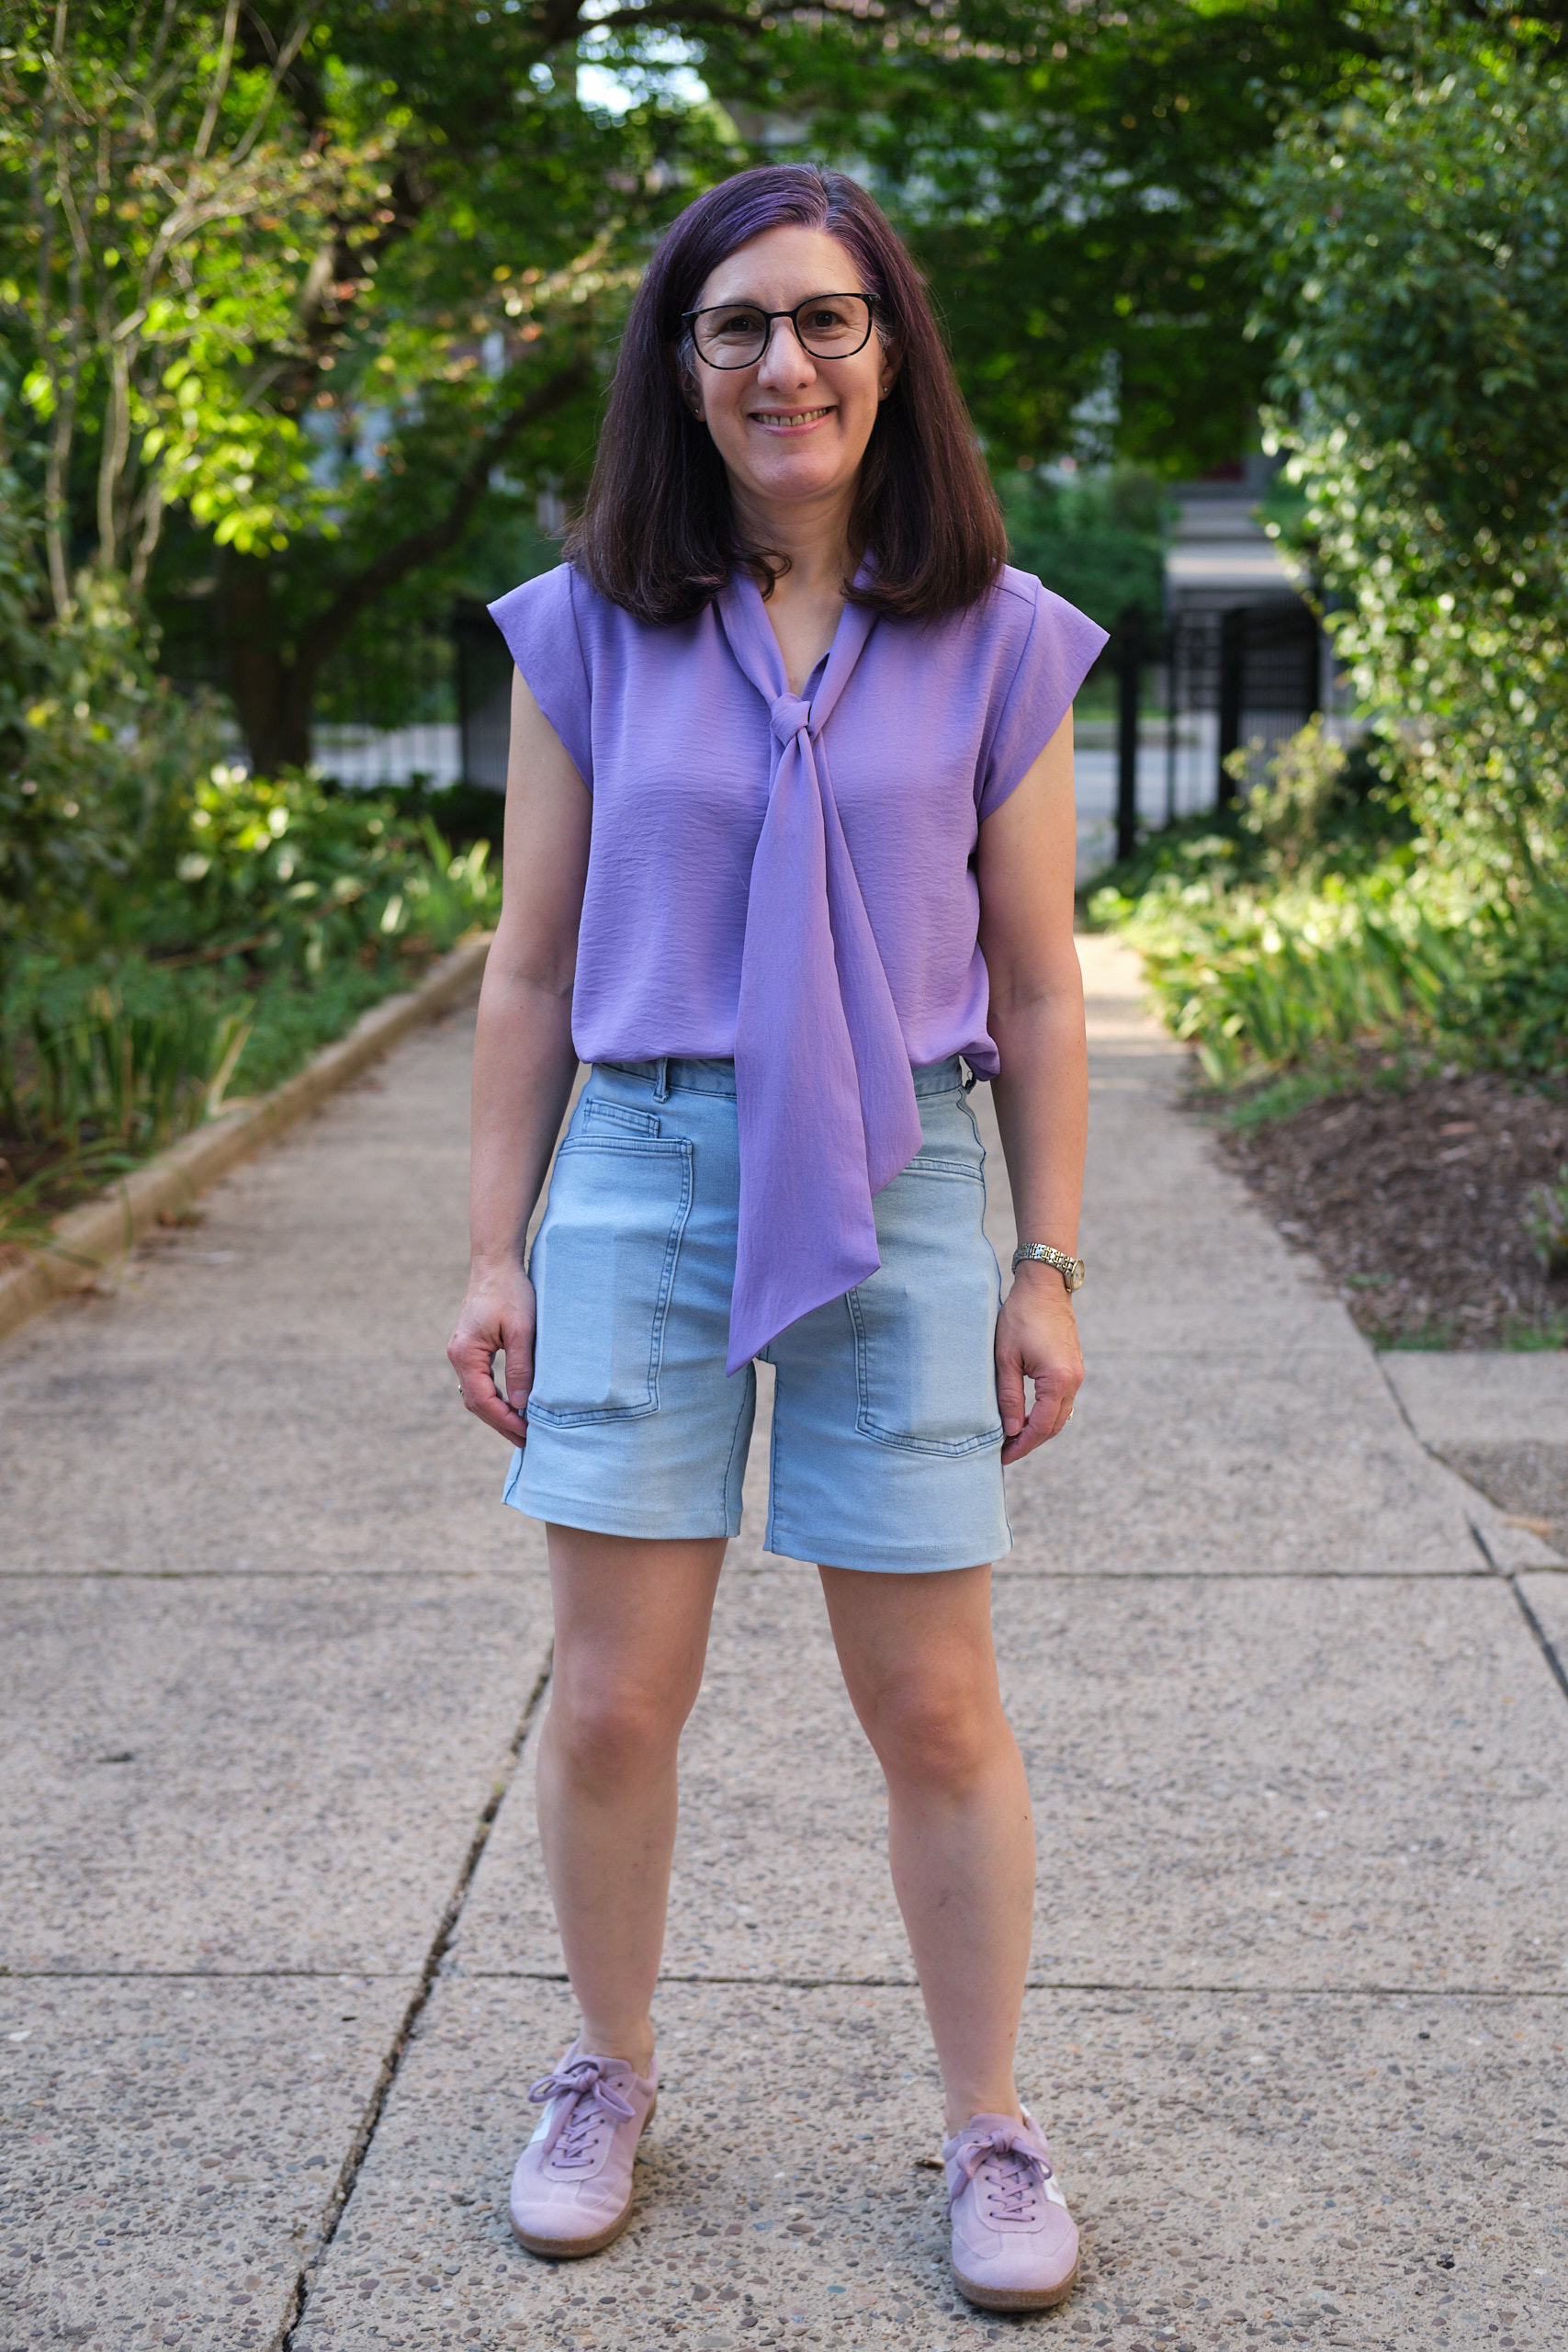
I tried on my new shorts and they fit great! The pockets are incredibly large too — with storage like cargo pockets but without looking like you’re wearing cargo pockets. I like the back waist darts and I’ve been told they make my butt look good. I might even get more in other colors and maybe even another pair to keep as-is and wear as pants.
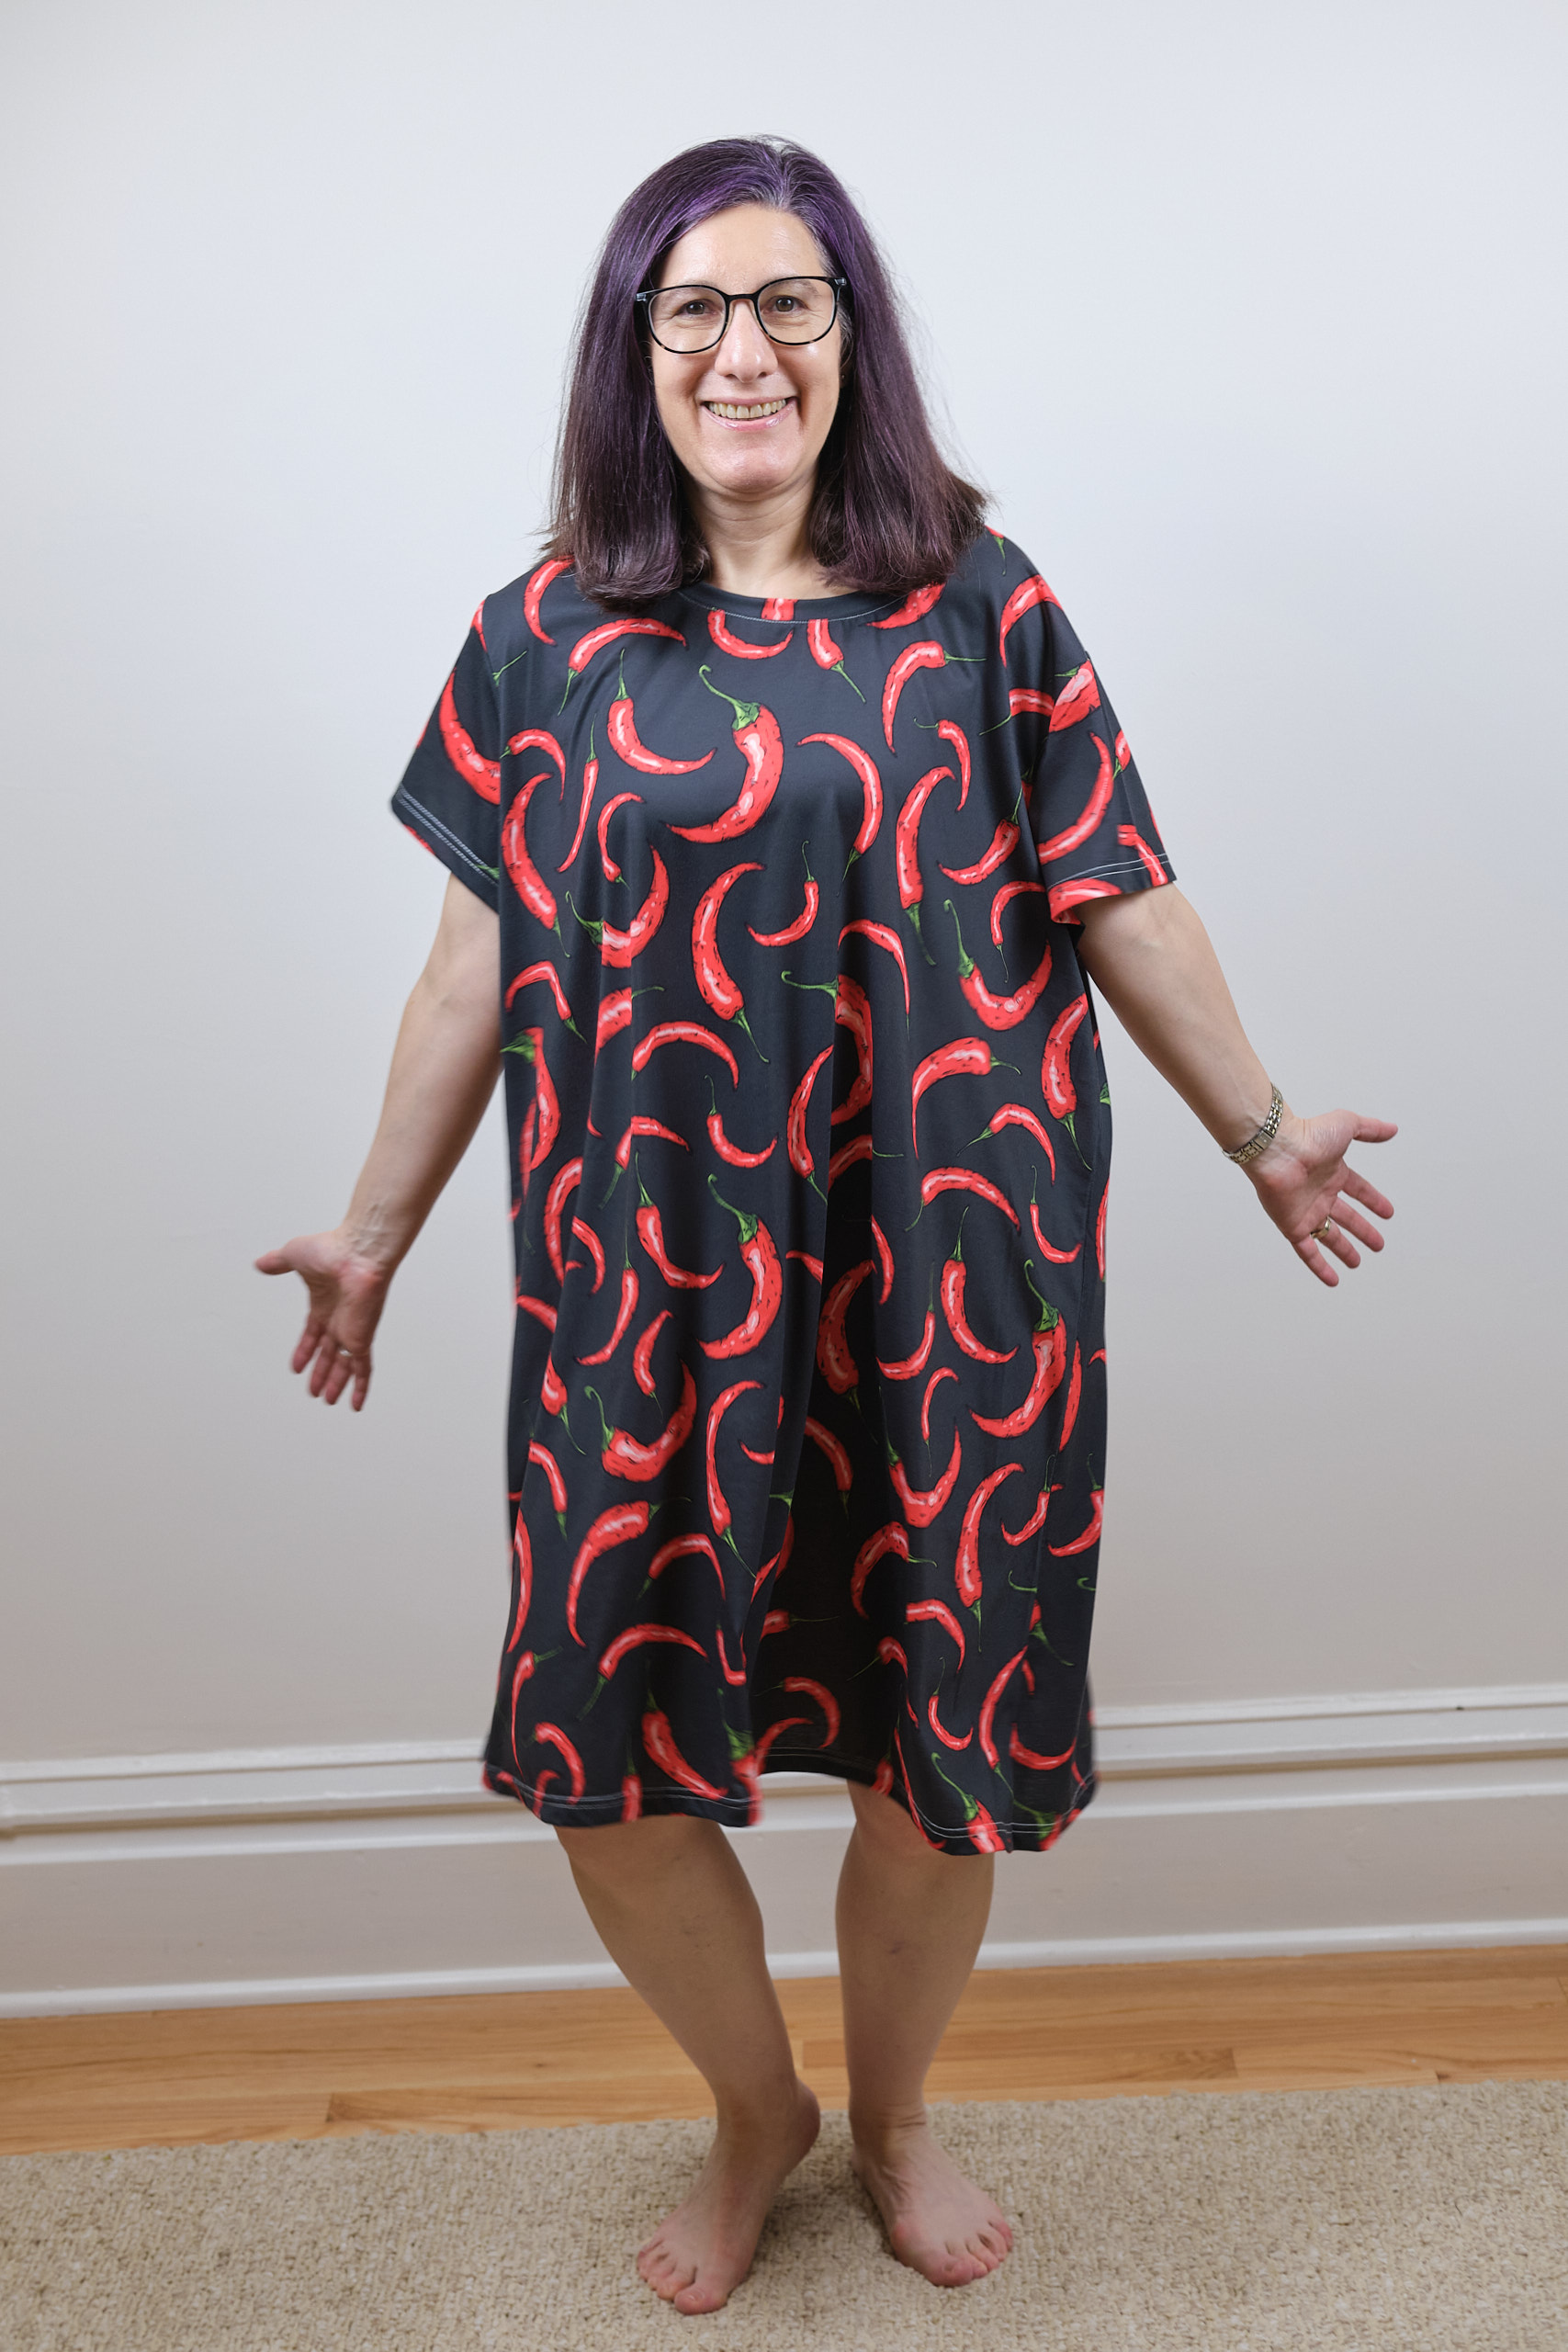
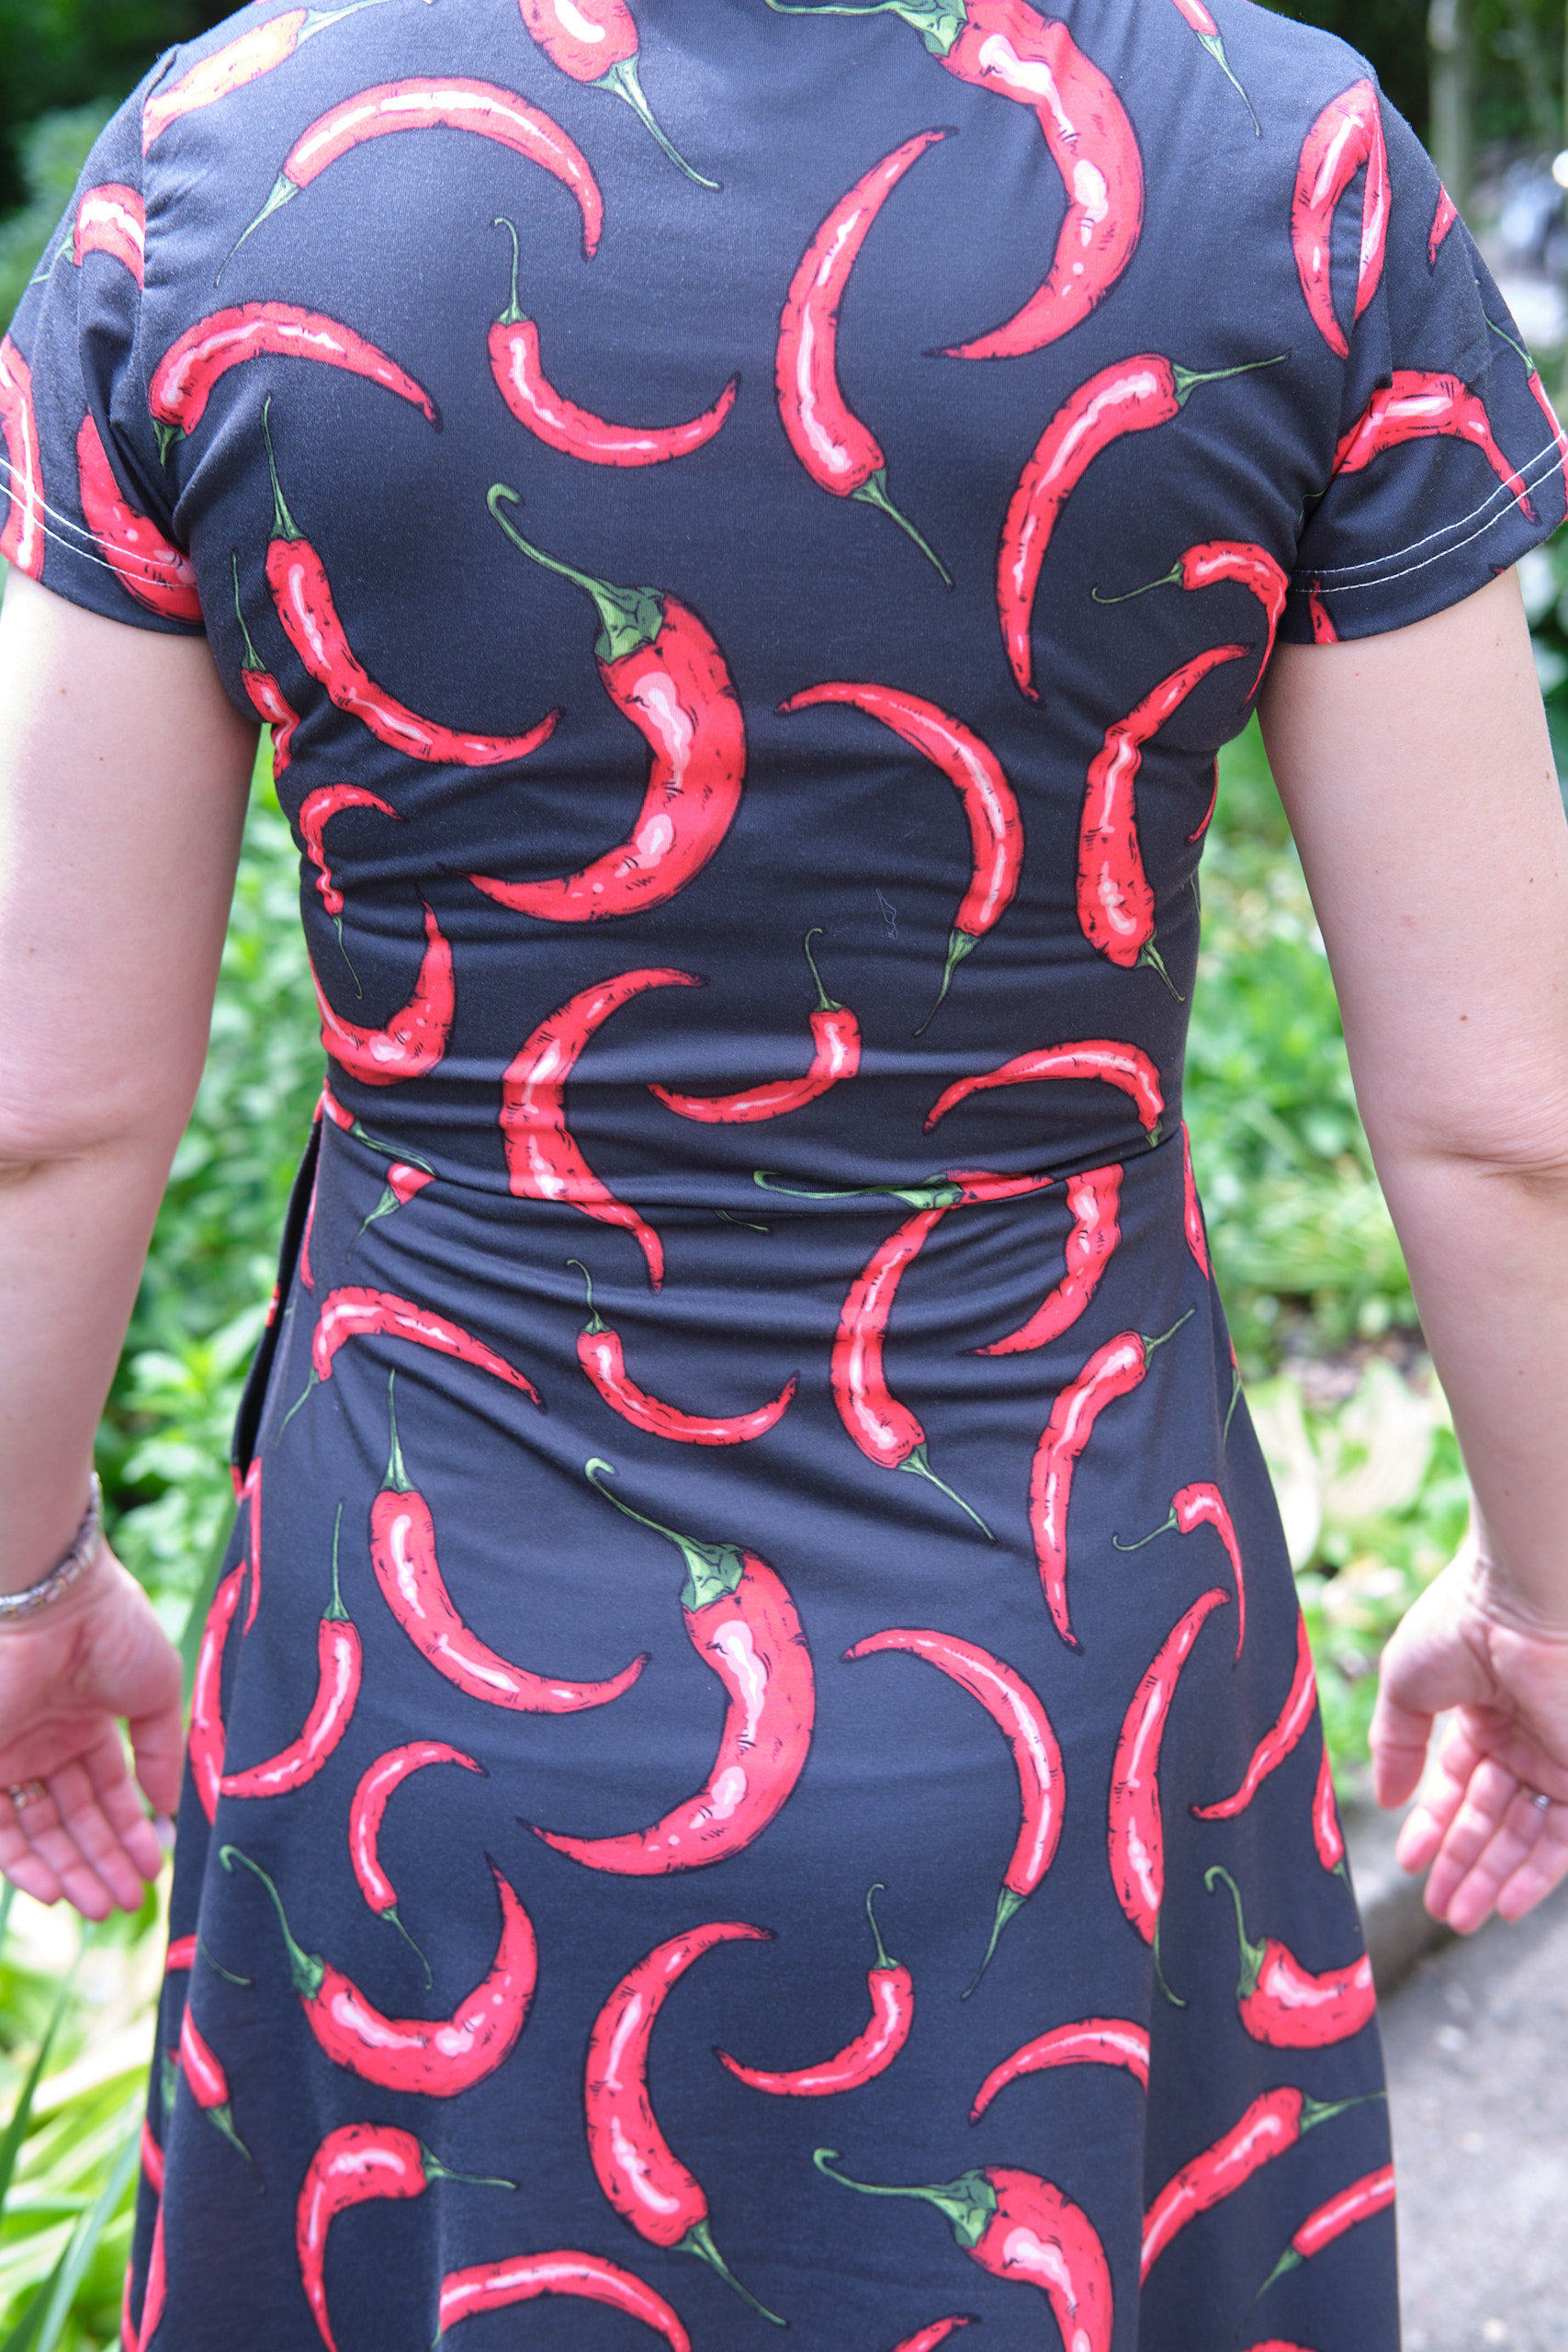
(Shorts are modeled with my Pattern Emporium Spill the Tea top in Florence stretch woven.)