
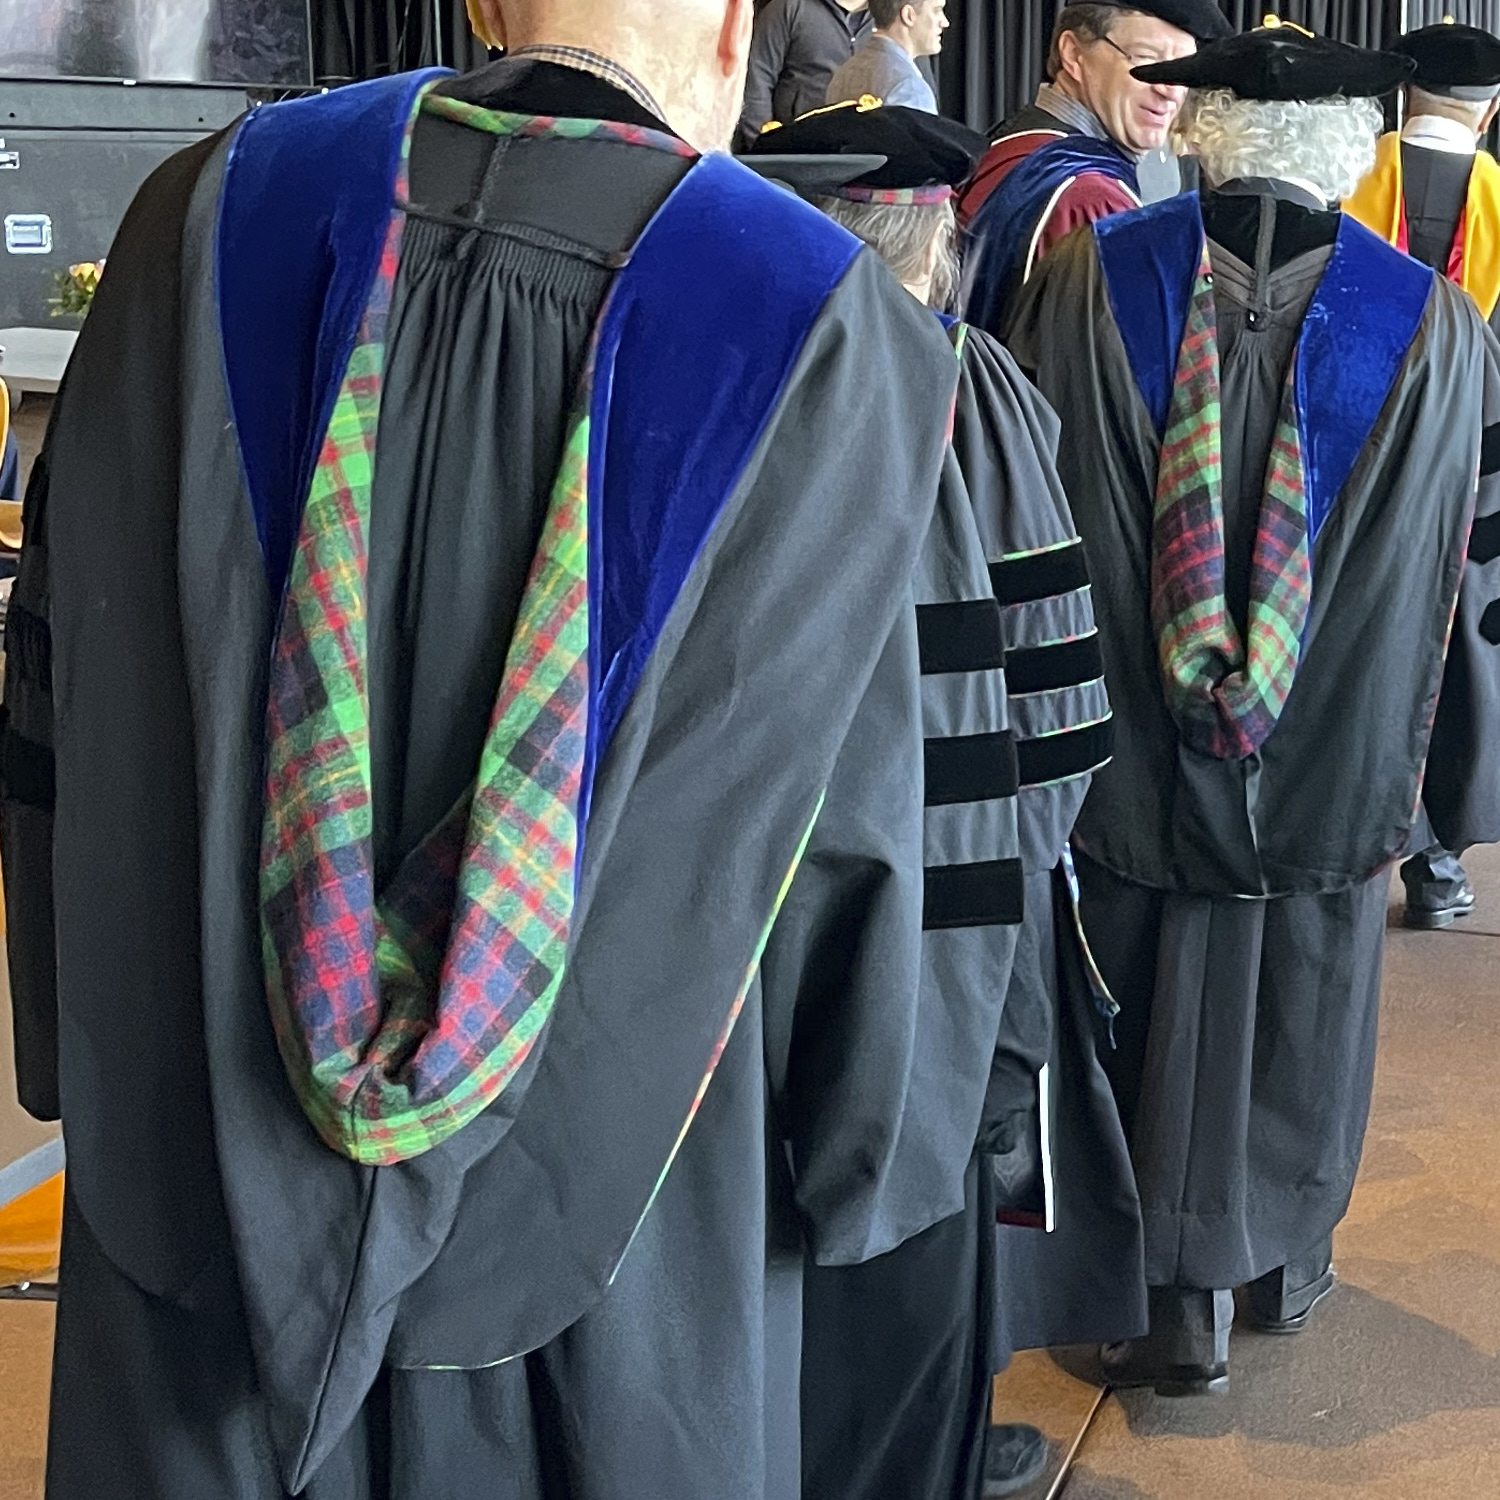
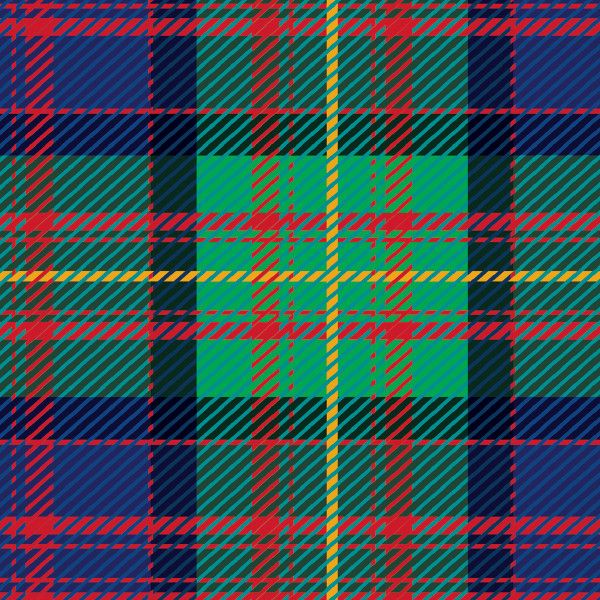
When I joined the Carnegie Mellon University faculty in 2003, the school mascot was tartan. Yes, a plaid scarf. Kind of strange, but maybe not in a town where the terrible towel is also a thing. But in 2007 CMU decided to adopt the Scotty Dog as the official mascot, which is much better if you want someone to put on a costume and run around at sporting events. Nonetheless, the official CMU tartan remains a major part of the university identity. The CMU Kiltie band (affectionately referred to as the band without pants) wears tartan kilts and the CMU doctoral robes and hoods are adorned with wool tartan trim. You can even buy wool tartan fabric at the book store along with matching tartan flannel pajamas. I have purchased both and have even used the wool tartan in an original quilt design and as part of an original fabric design.
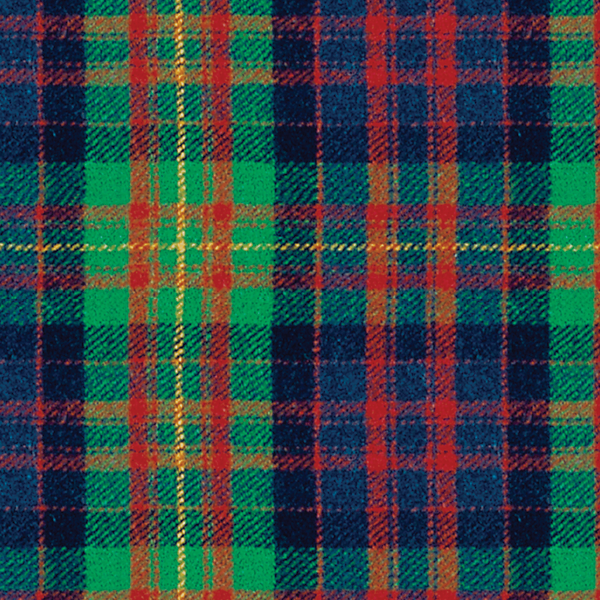
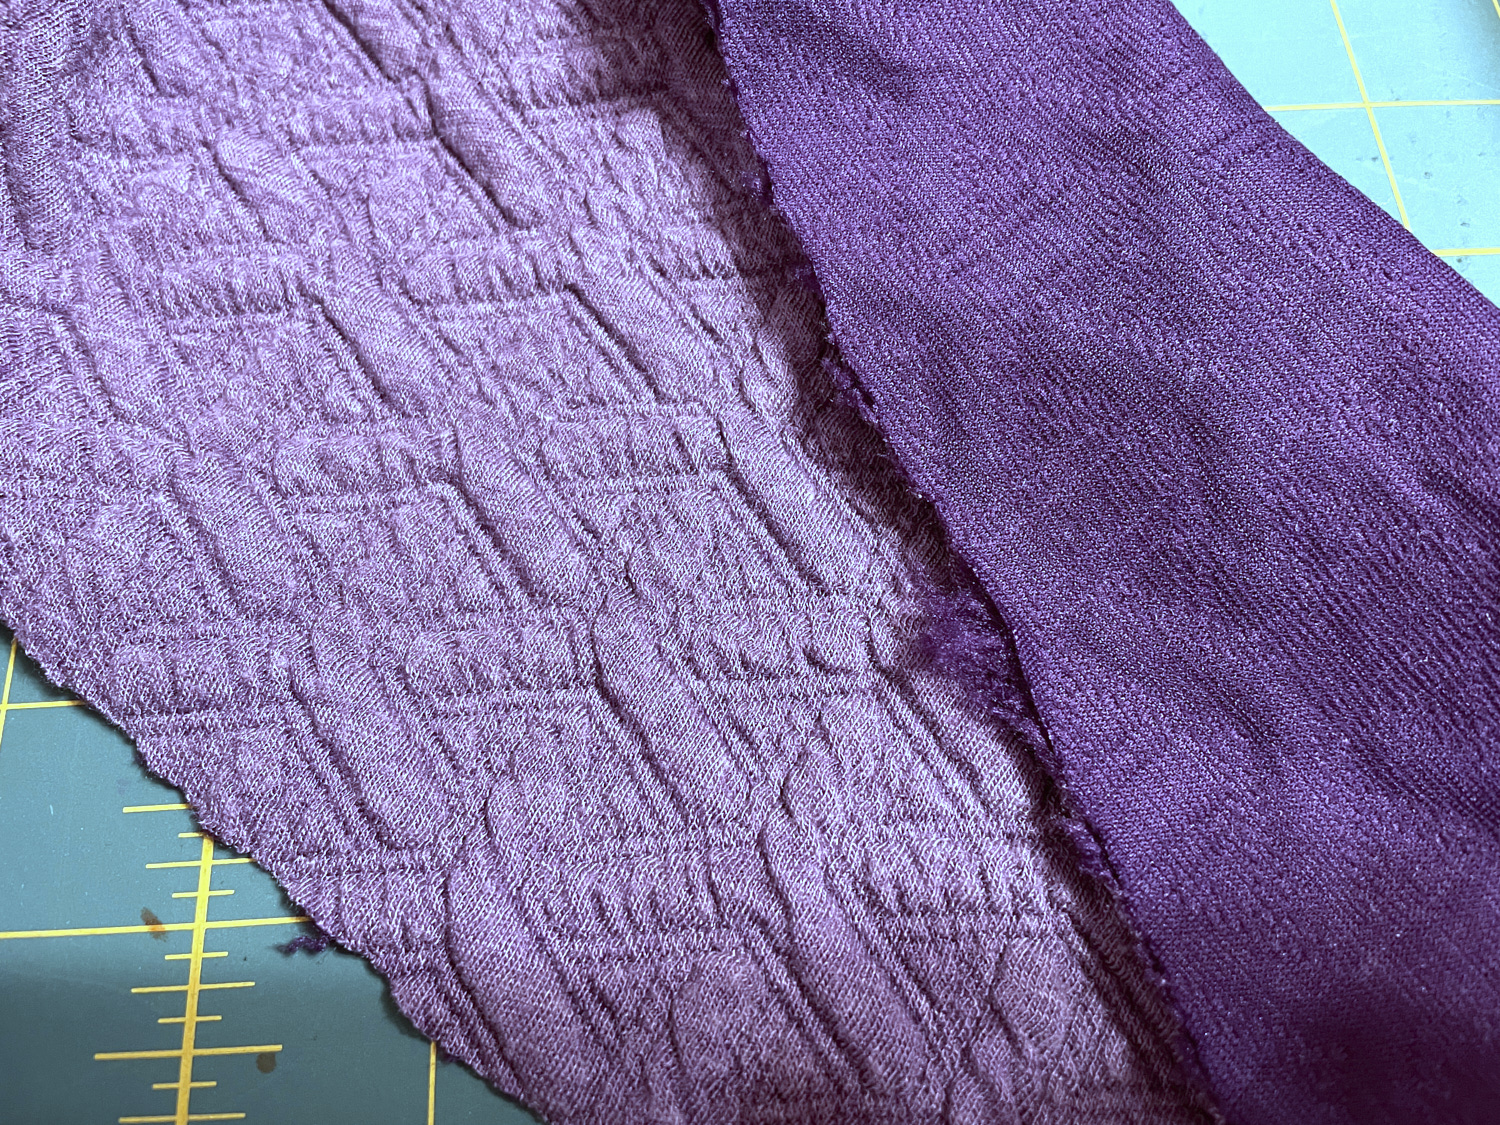
I’ve wanted to buy the tartan design in a fabric other than wool or flannel, and thought I might just digitally print some tartan knit fabric. However, the digital tartan file on the university website since 2010 does not actually properly tile for a fabric repeat. I have spent many hours futzing with it and trying to figure out if there was a way to crop it so that it would tile. I succeeded in a vertical tile, but not a proper horizontal tile. I came close, and maybe nobody else would notice that it is a little off, but I couldn’t bring myself to use it. You might say I was “mad about plaid” and you would be right. So last Fall I reached out to friends in CMU marketing and communications and asked if anyone knew where I could find a version of the digital tartan that would properly tile. After a few weeks of searching my friends reported the answer was “no.” Apparently the lack of repeatability was a known problem and I wasn’t the first to ask, but nobody had ever fixed it. But as CMU was winding down for winter break, one of the designers offered, in the holiday spirit, to fix the digital tartan for me for. I was thrilled! A few days later I received my first repeatable digital tartan files and uploaded them to Spoonflower for printing. I printed a sample of a cotton spandex jersey knit, a couple of yards of polyester modern jersey with 4-inch squares, and a couple of yards of sport Lycra with 5.5-inch squares.
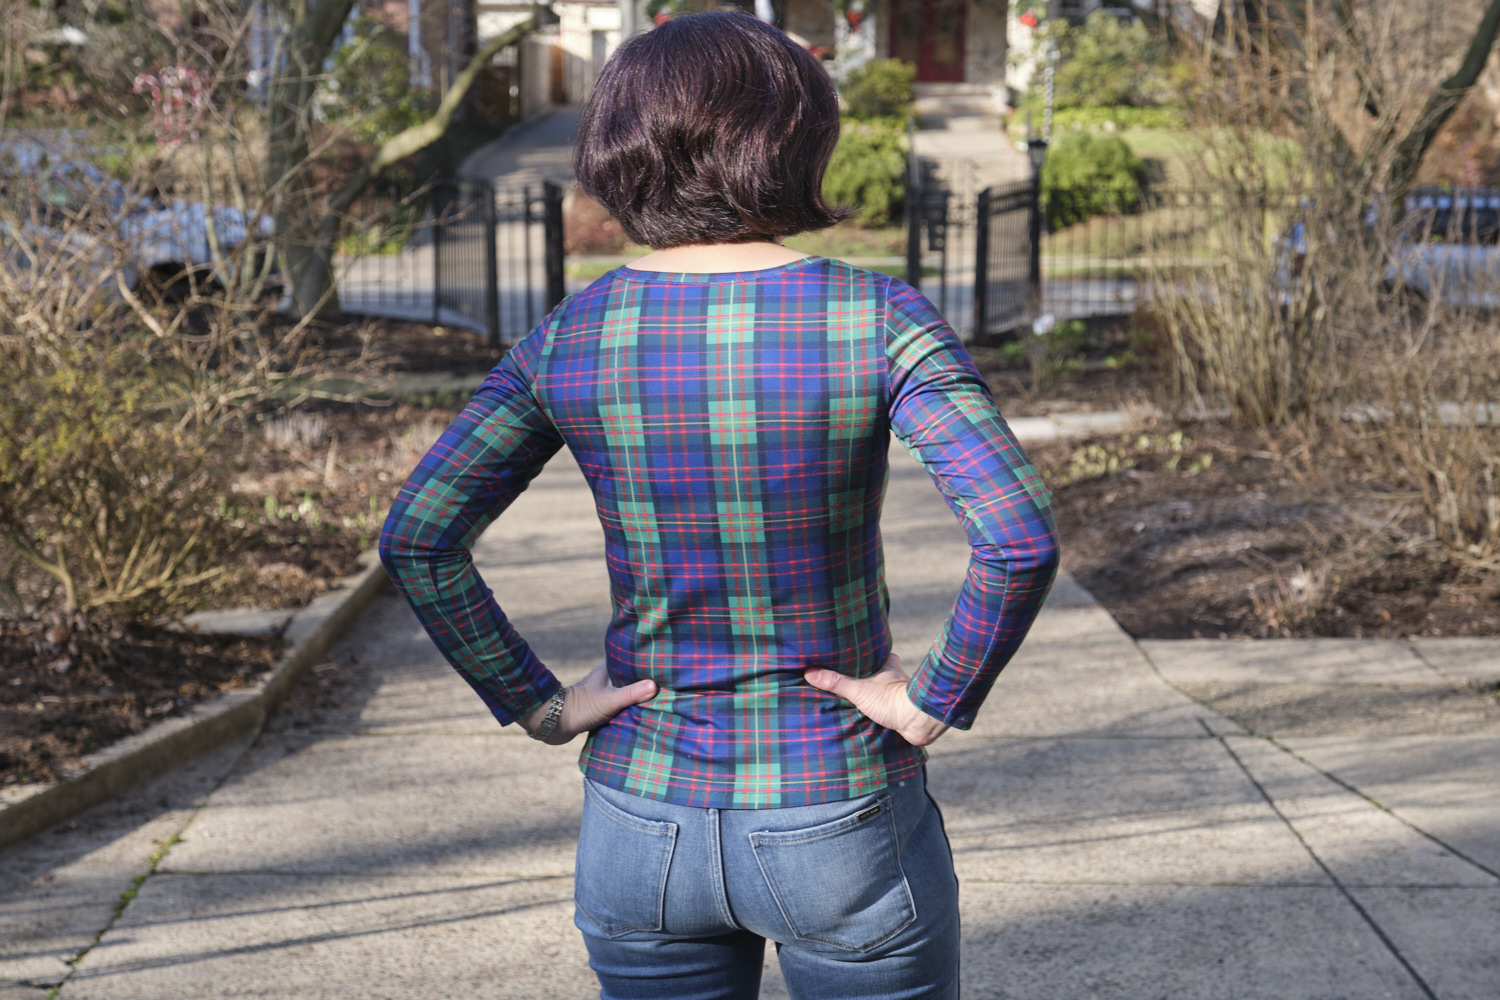
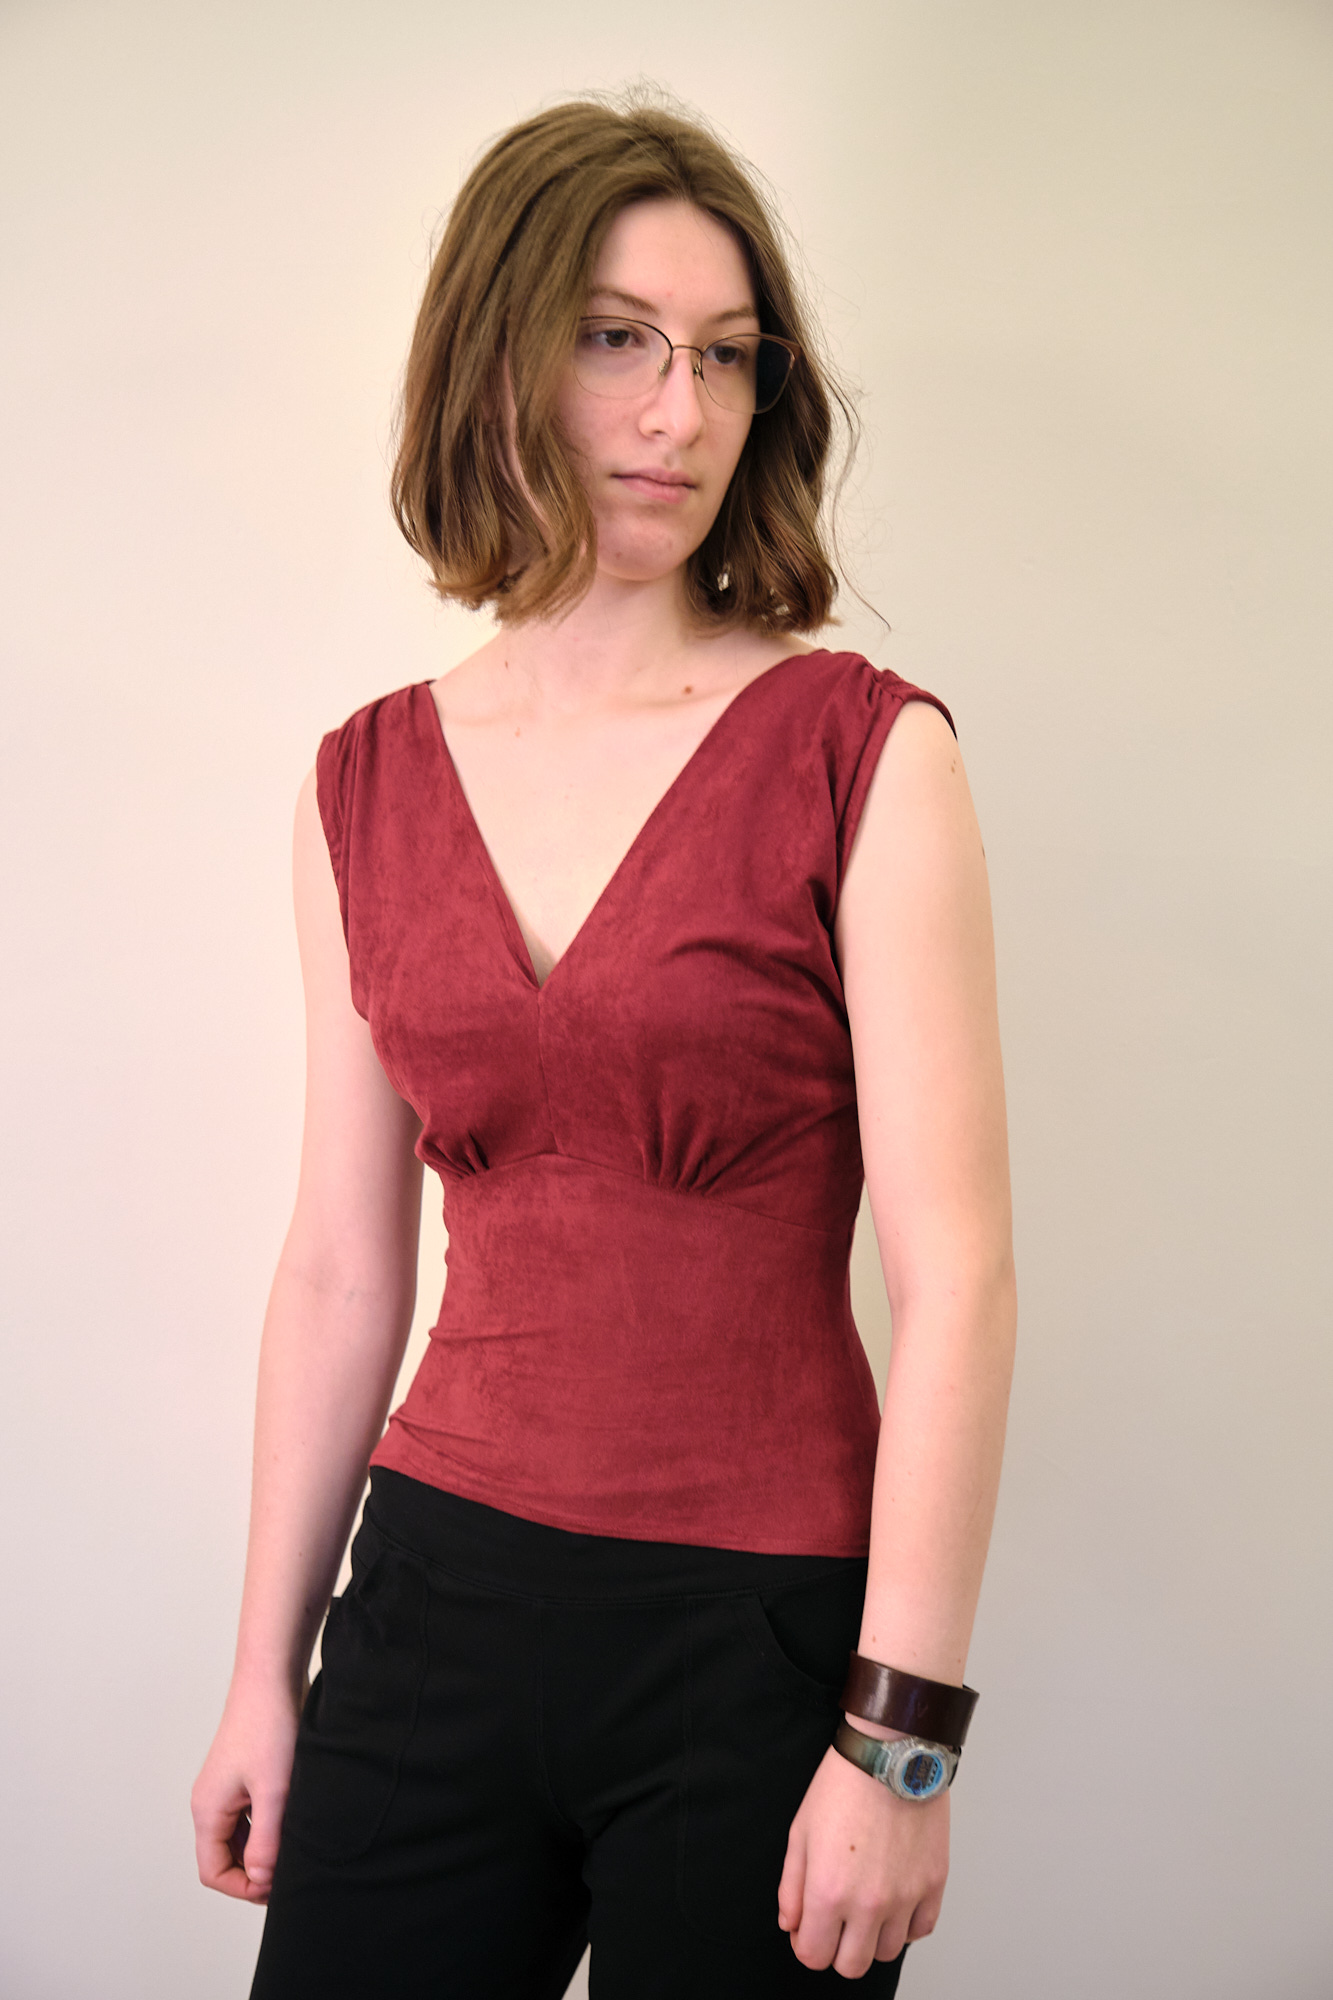
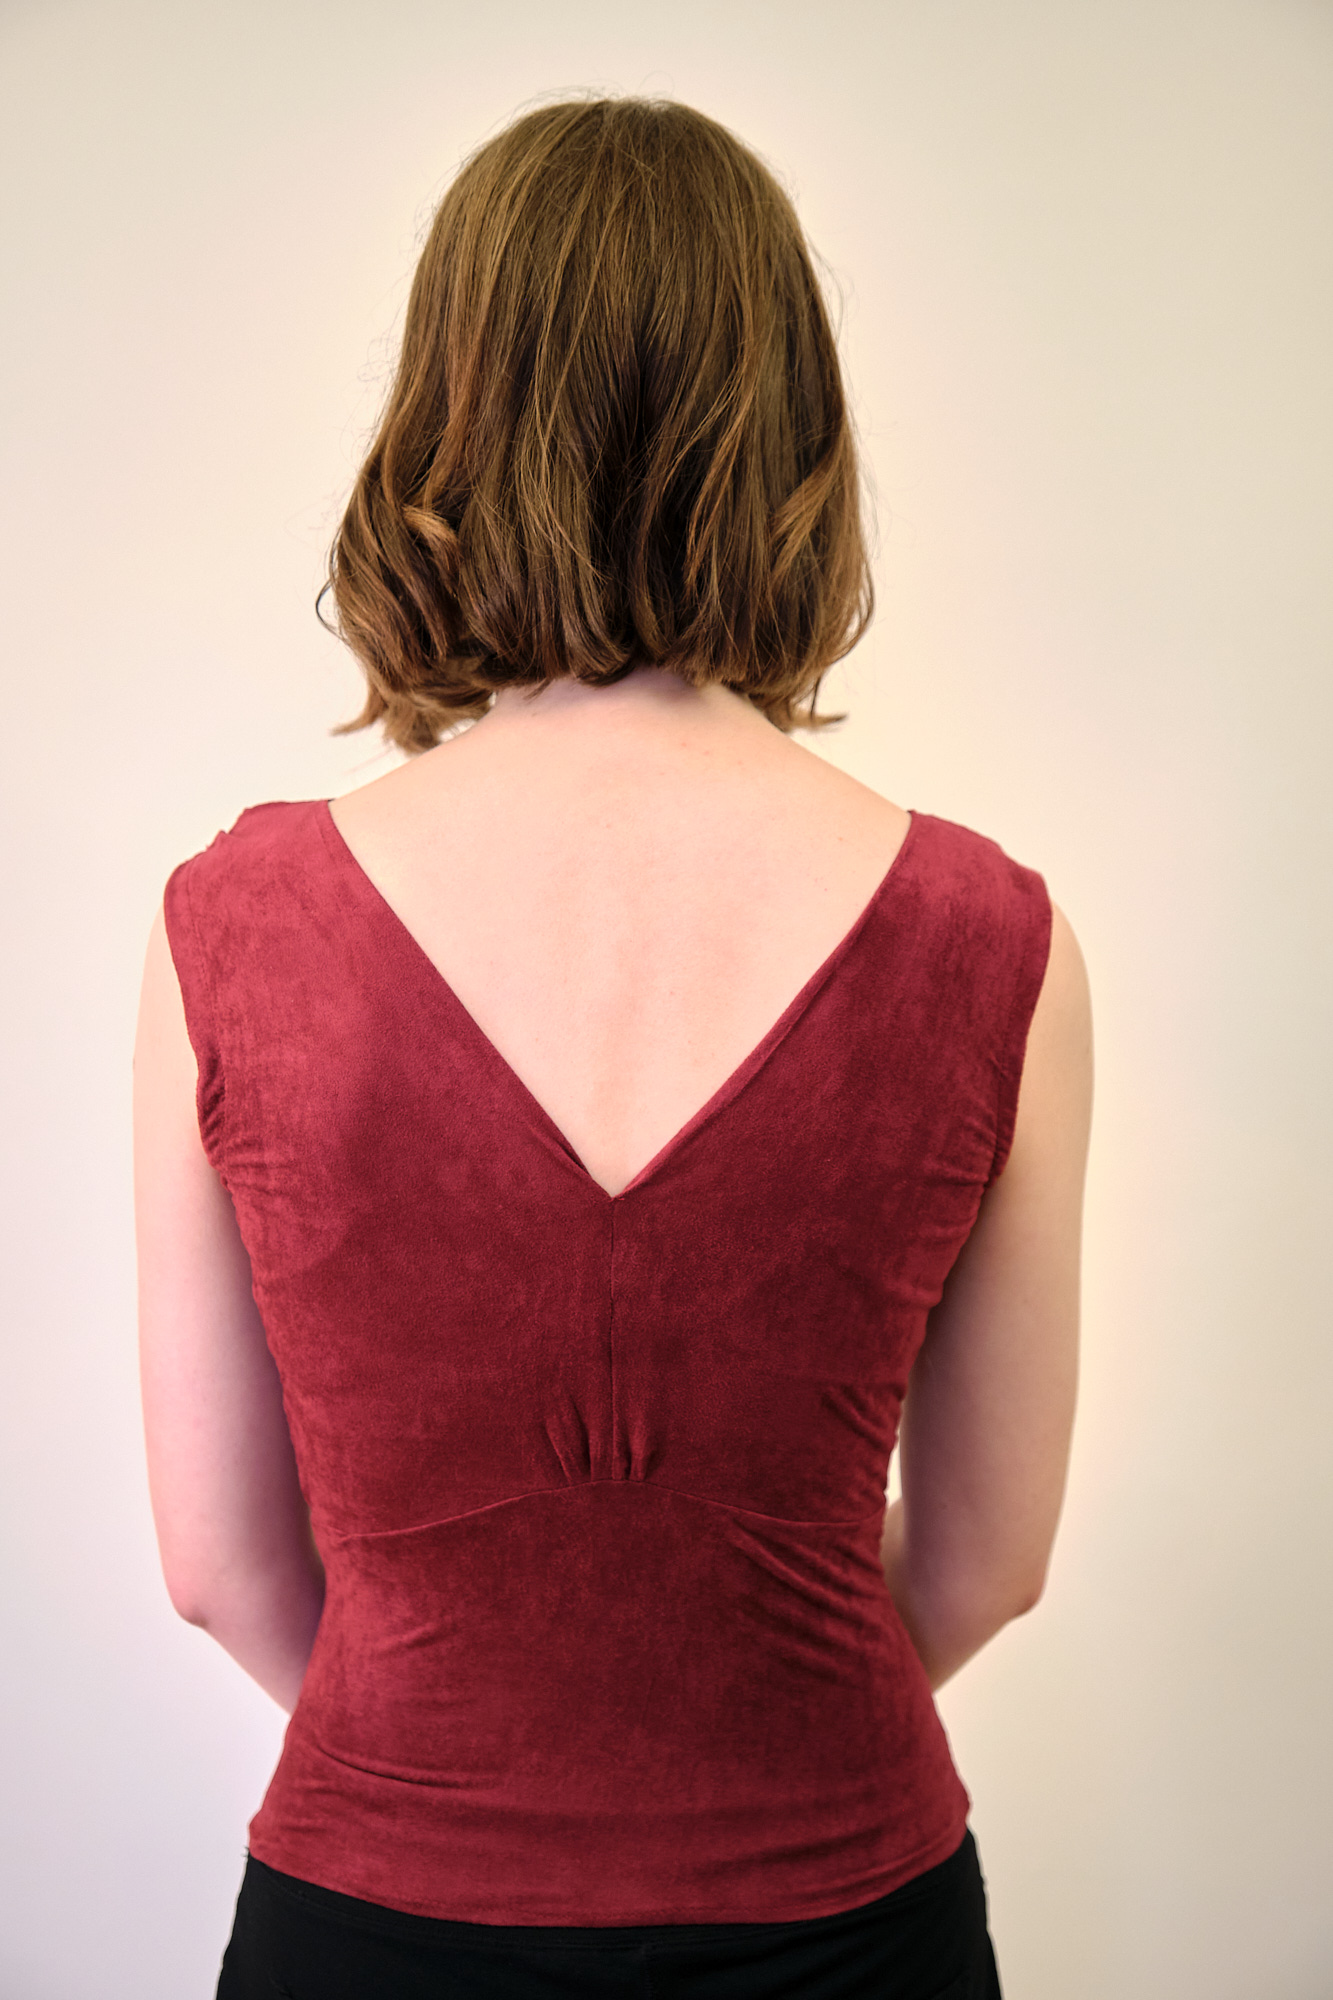
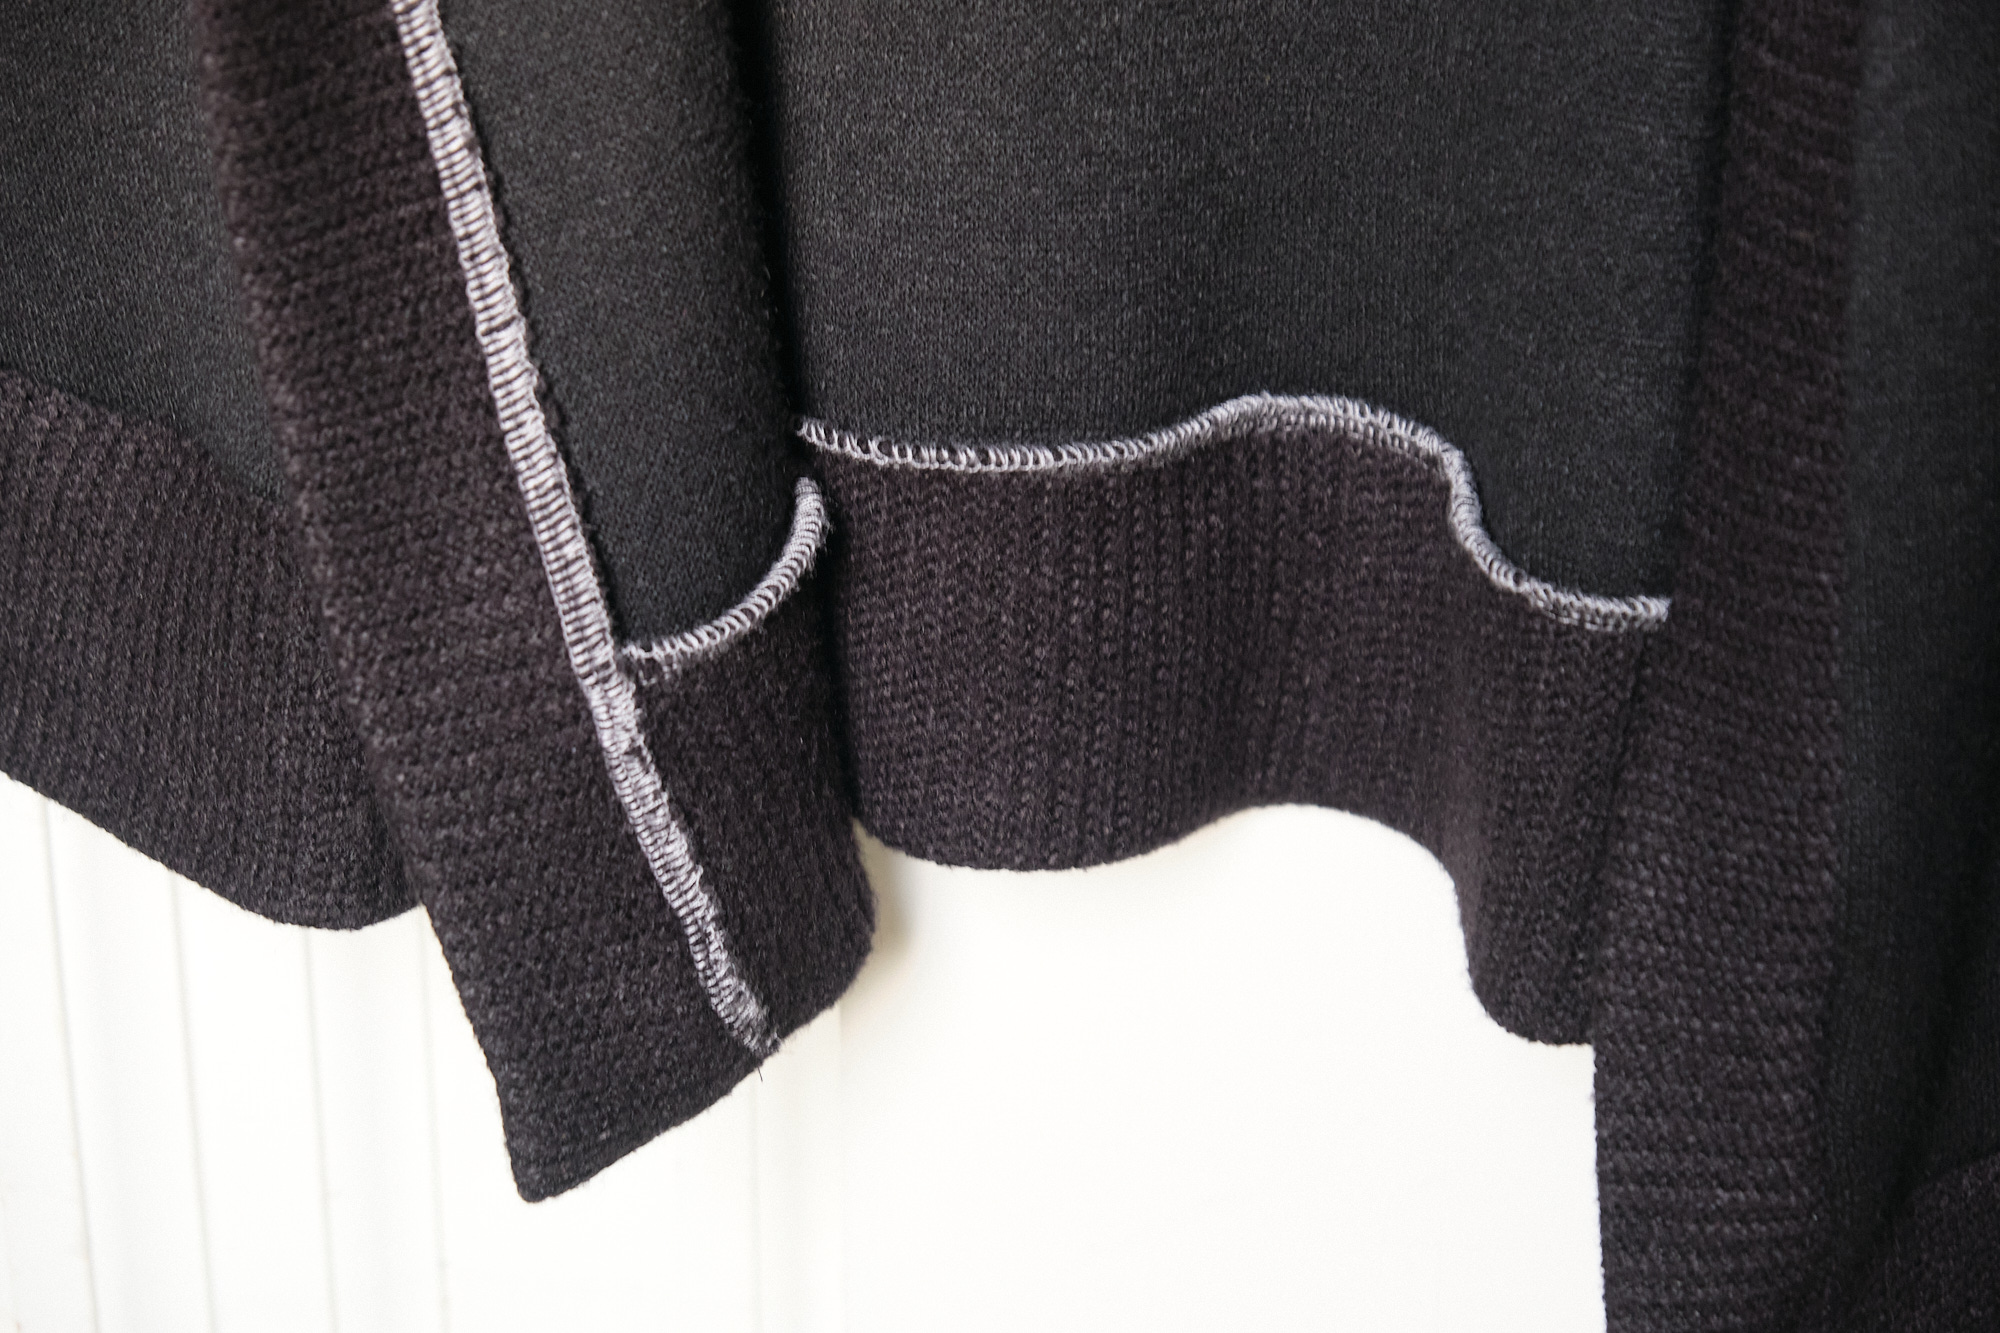
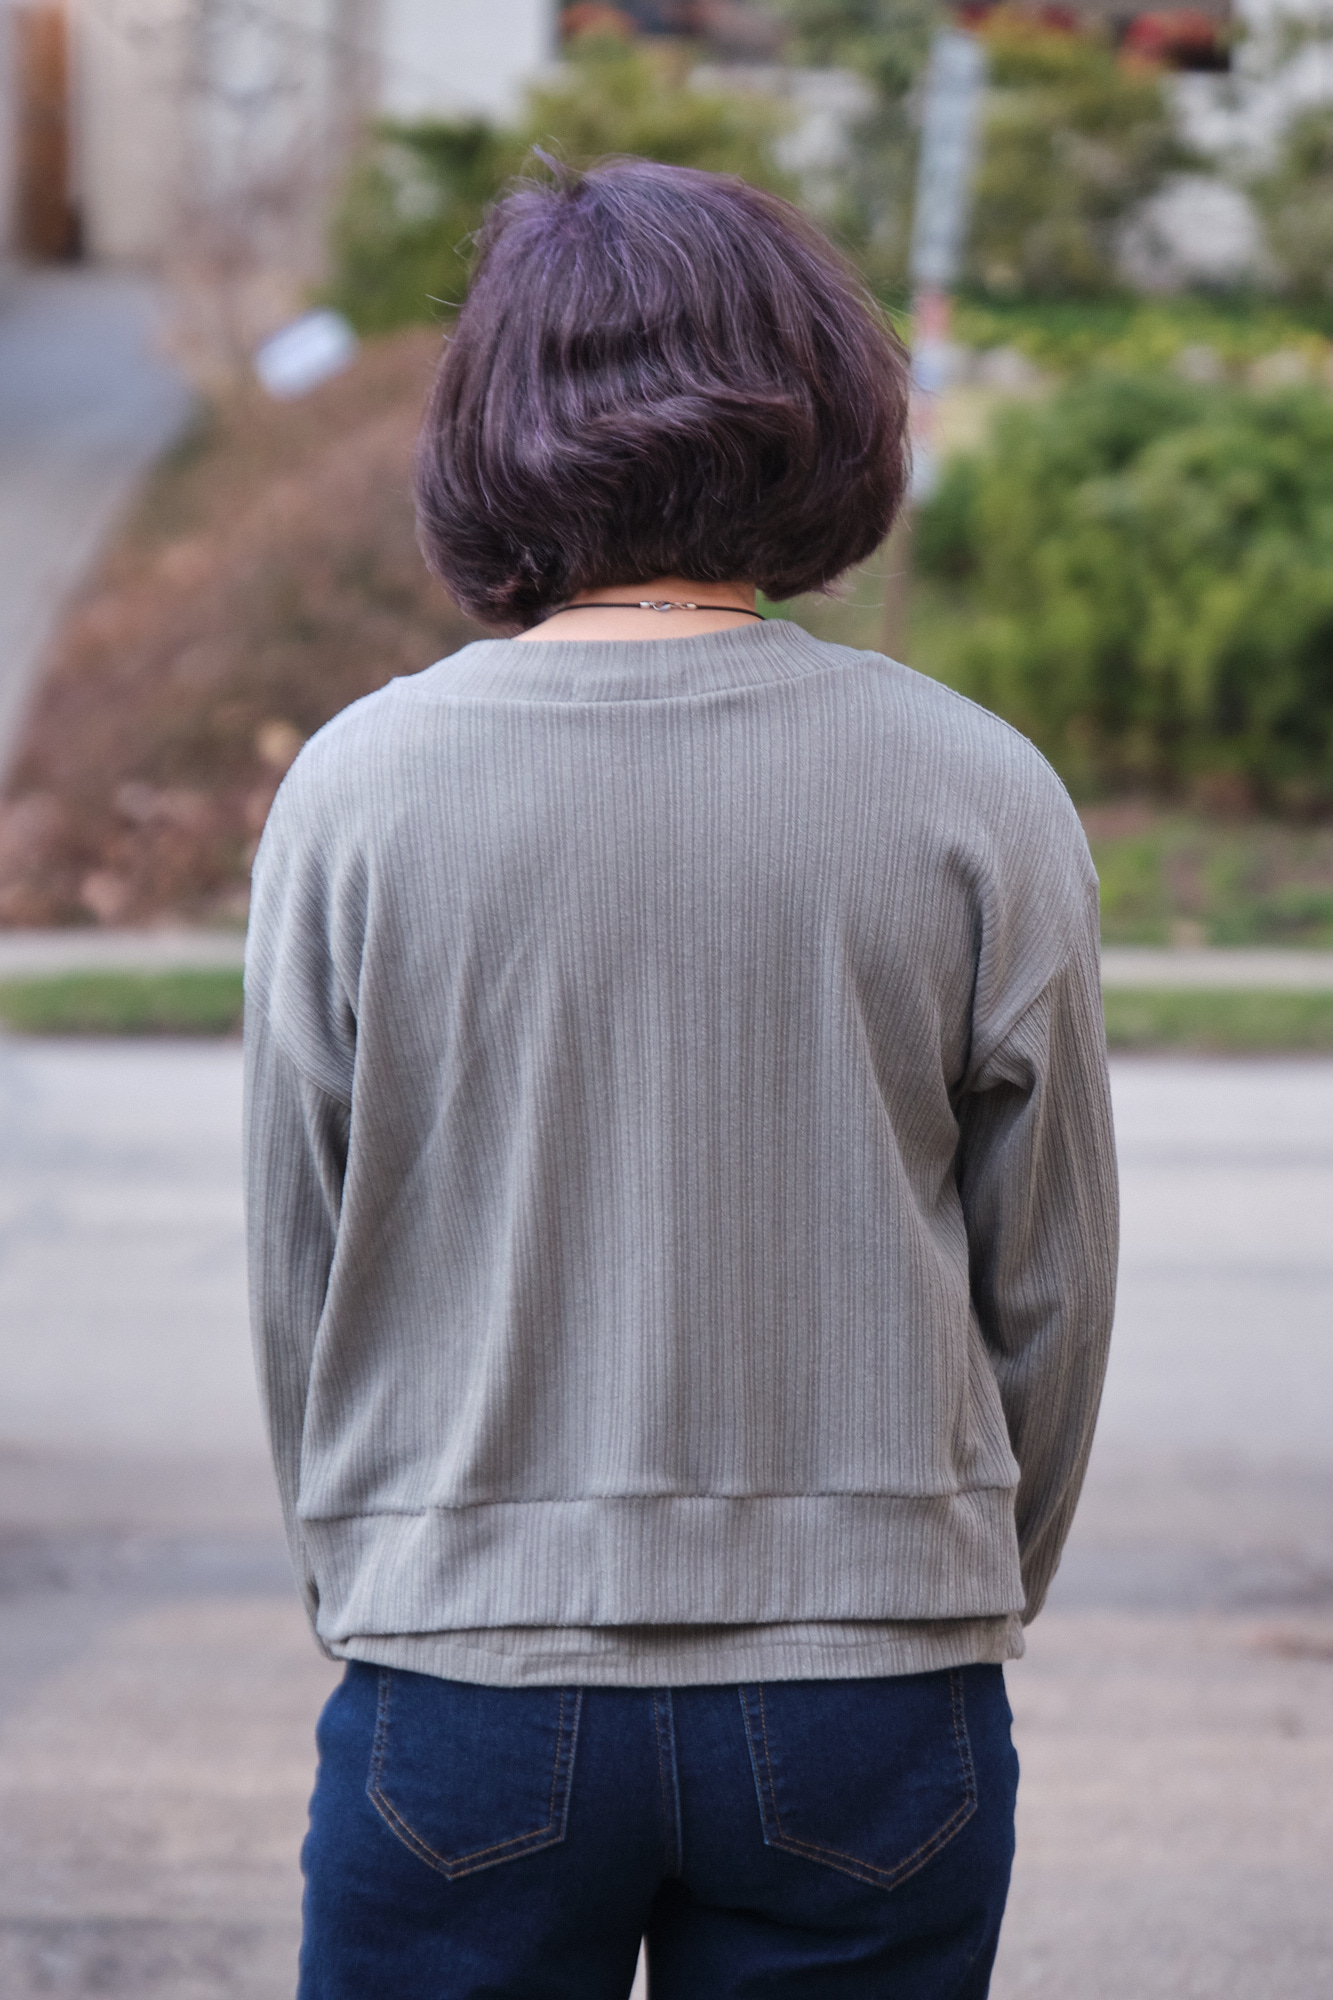
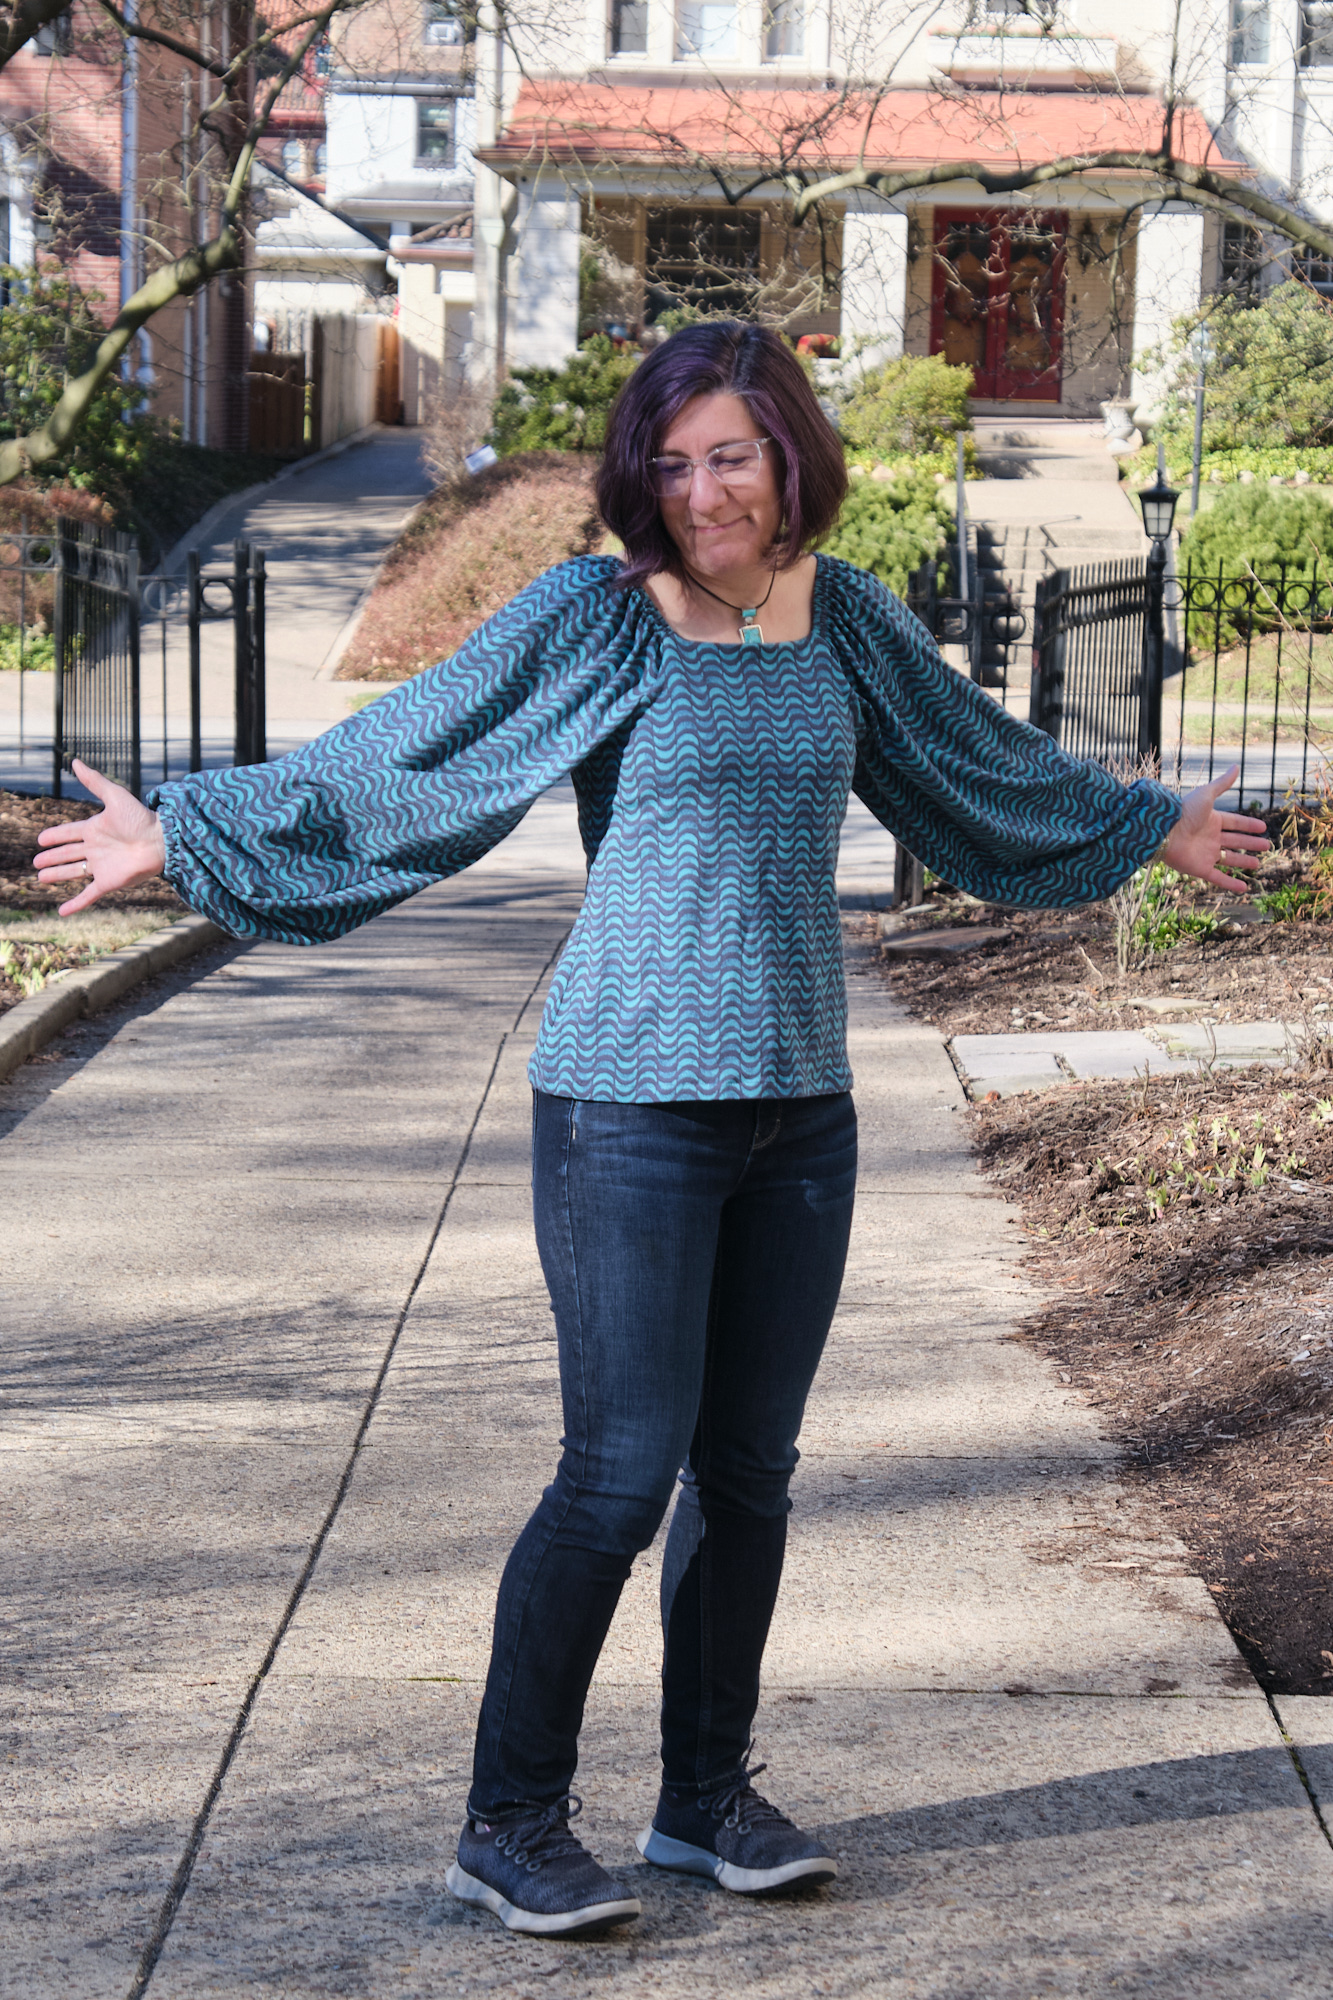
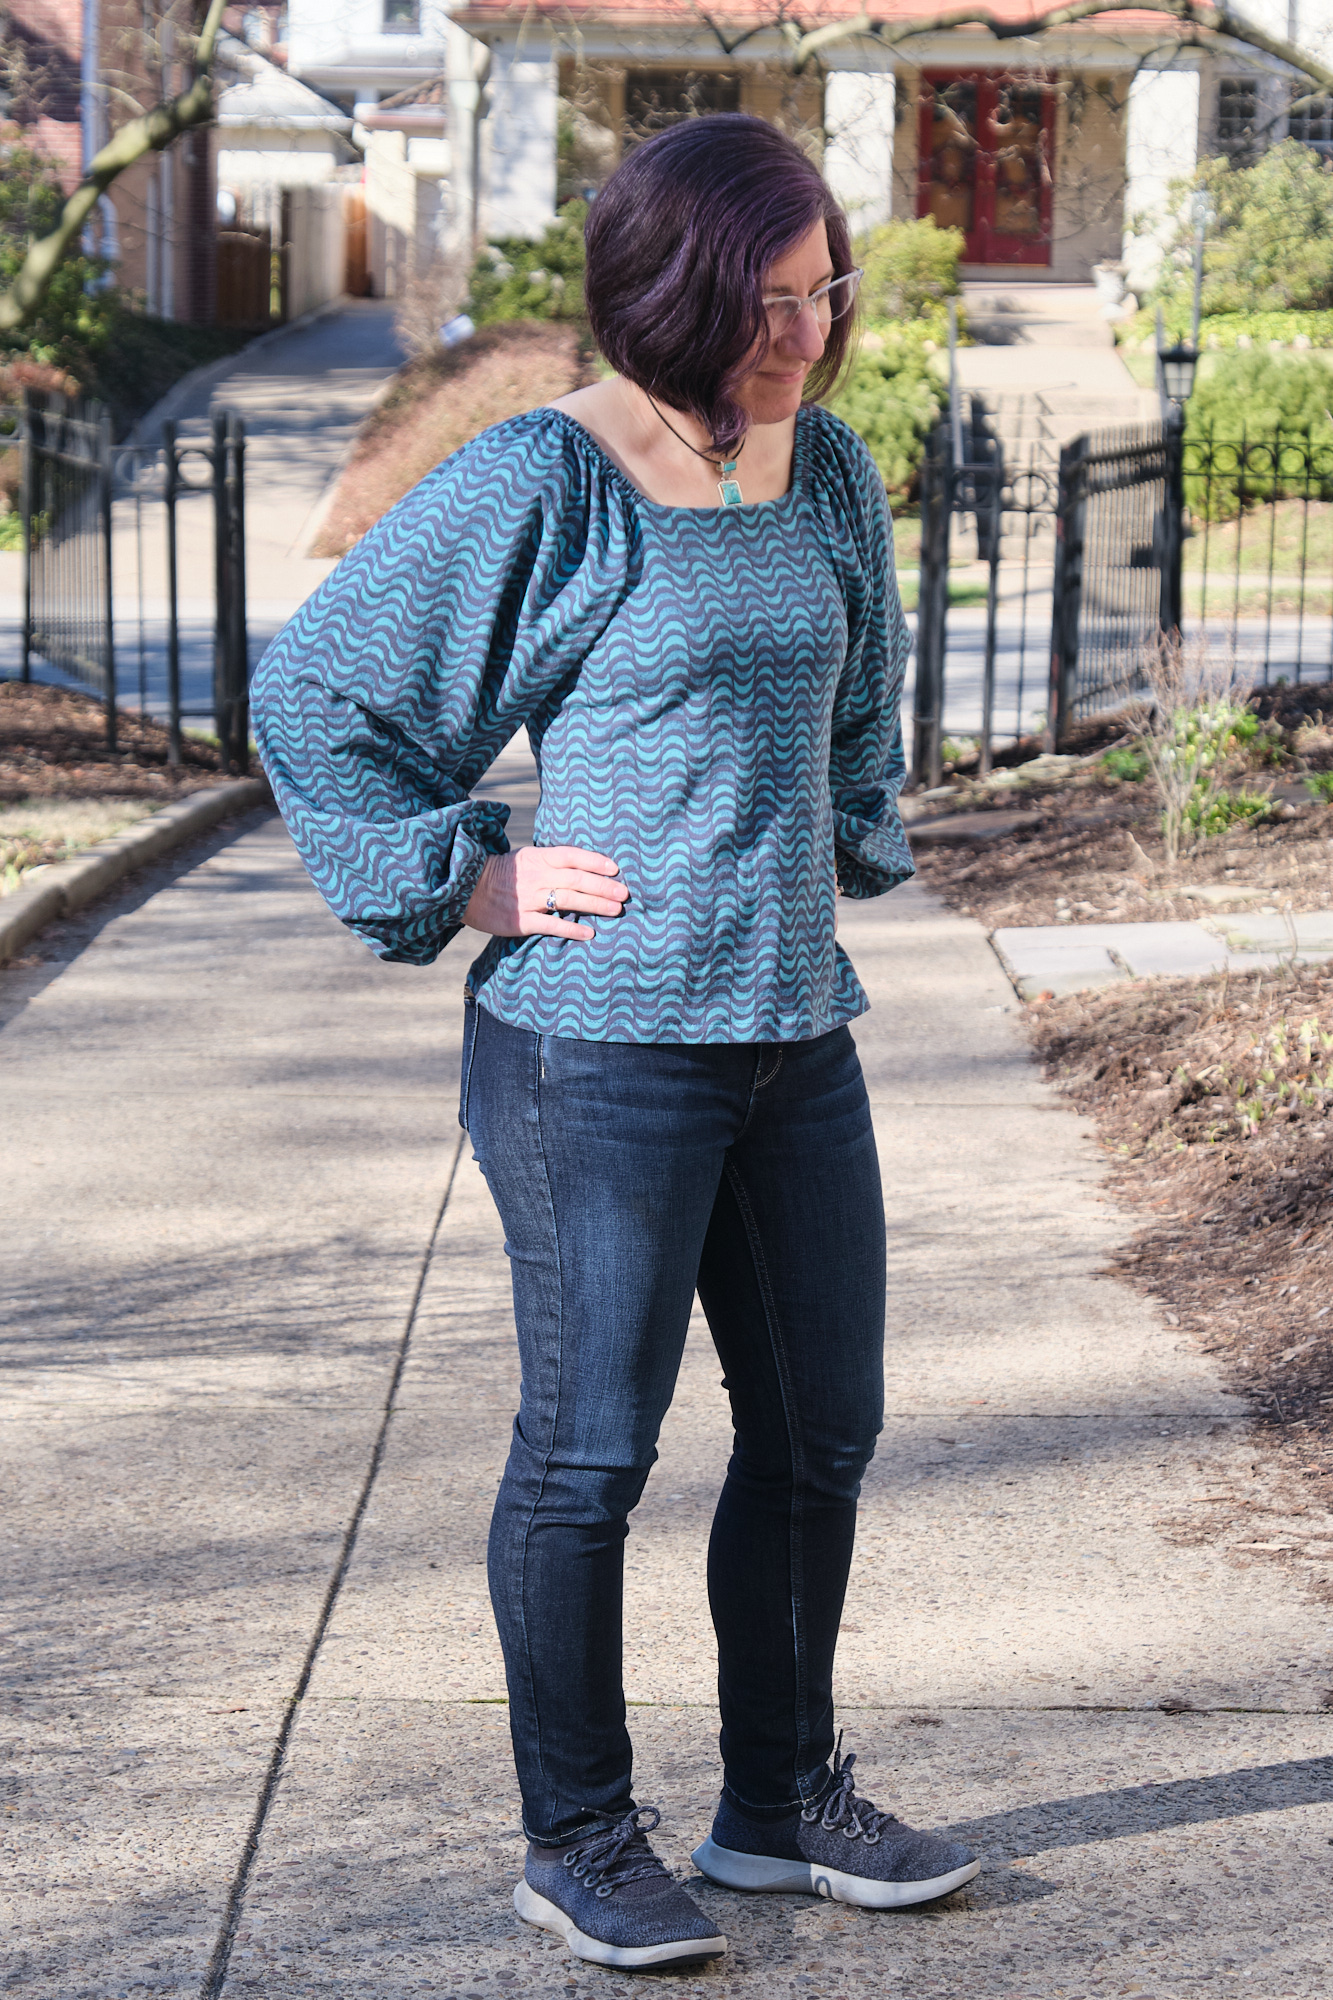
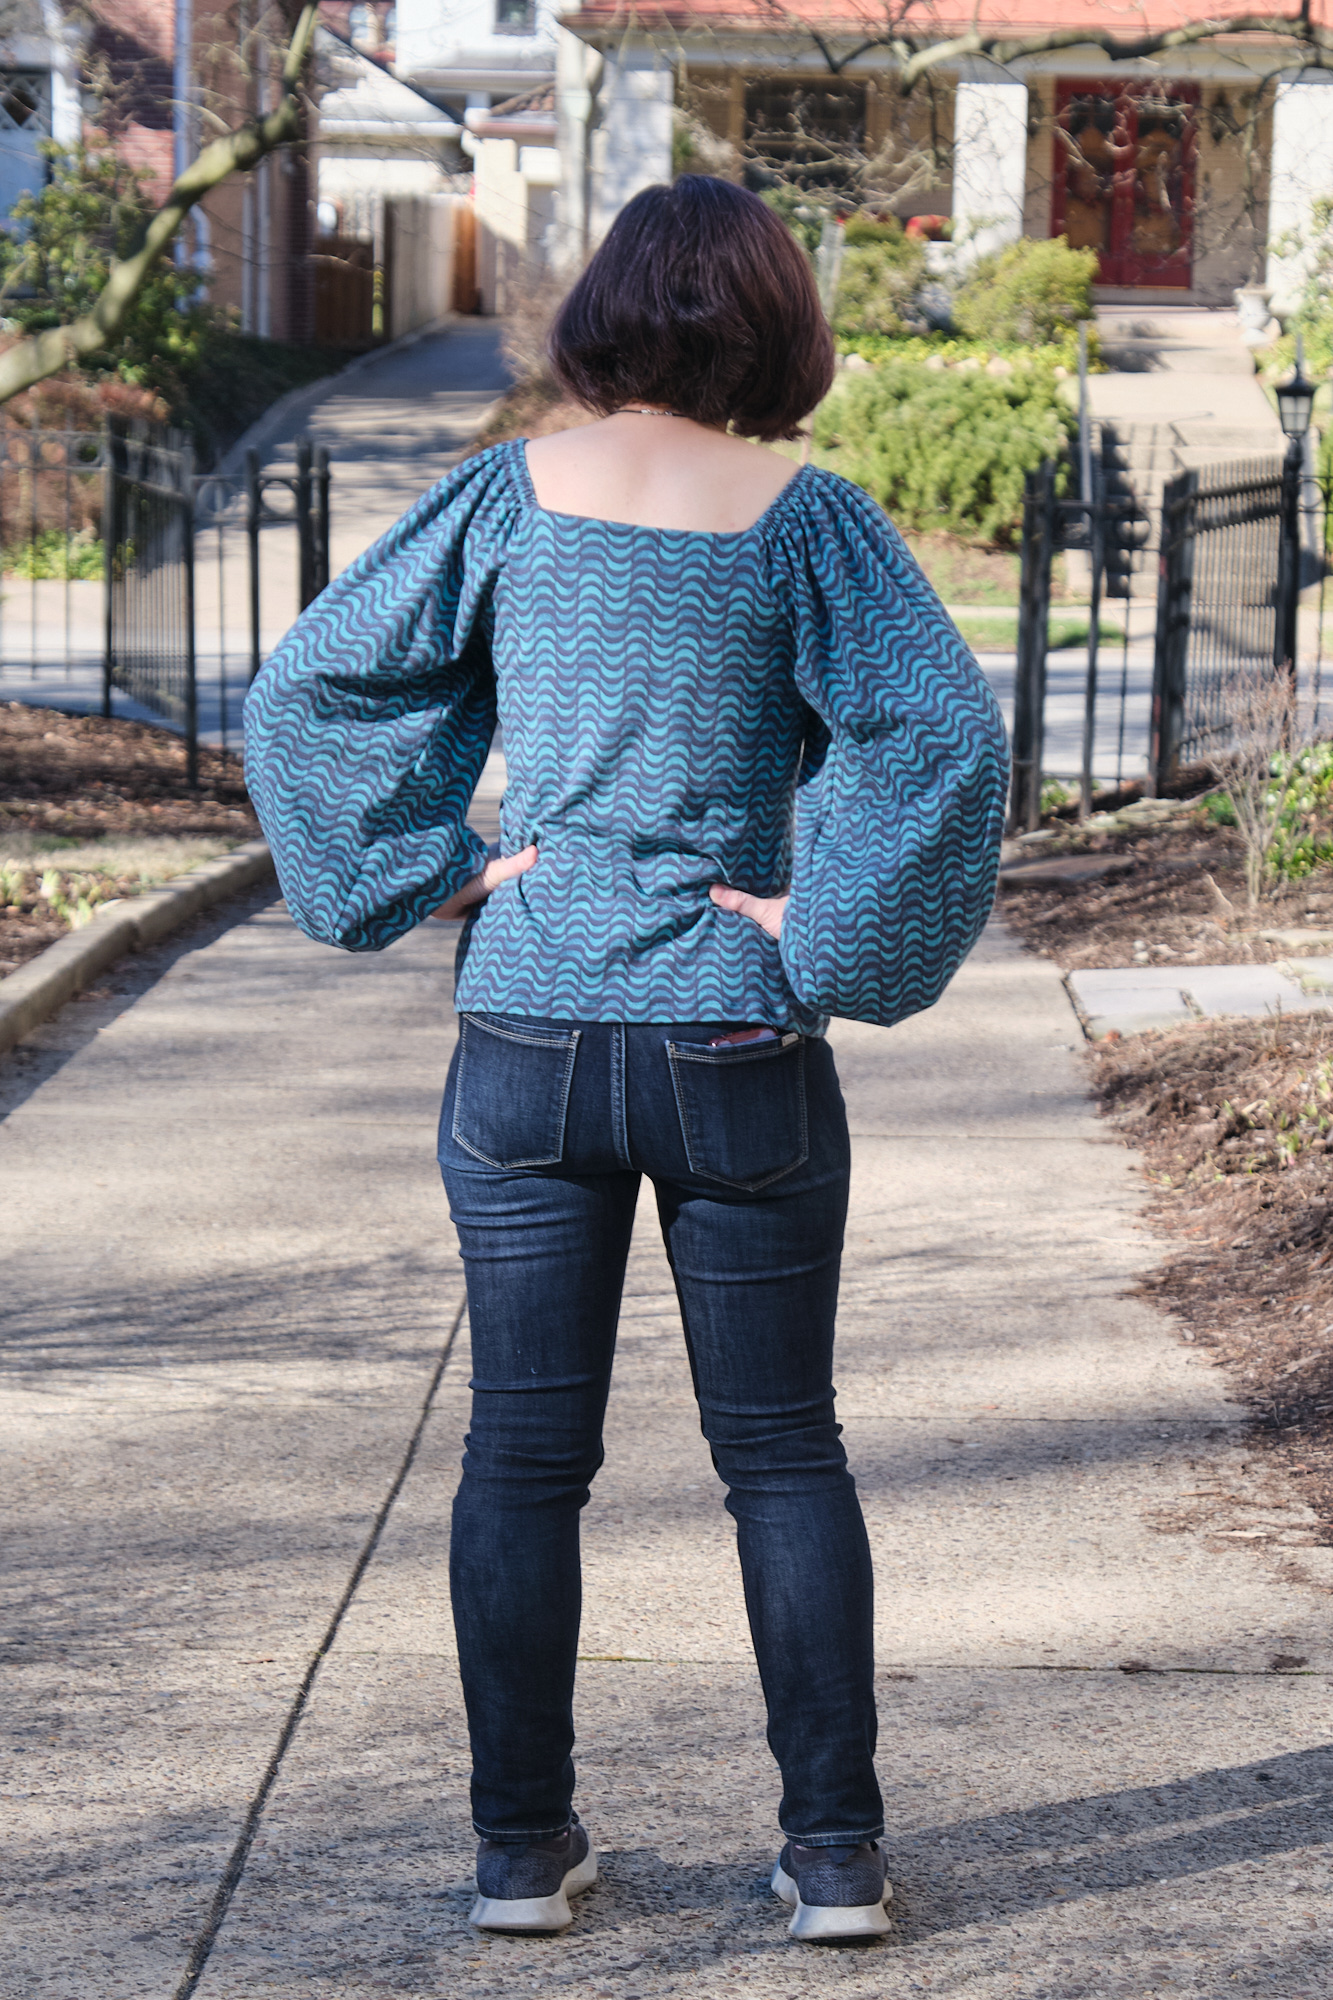
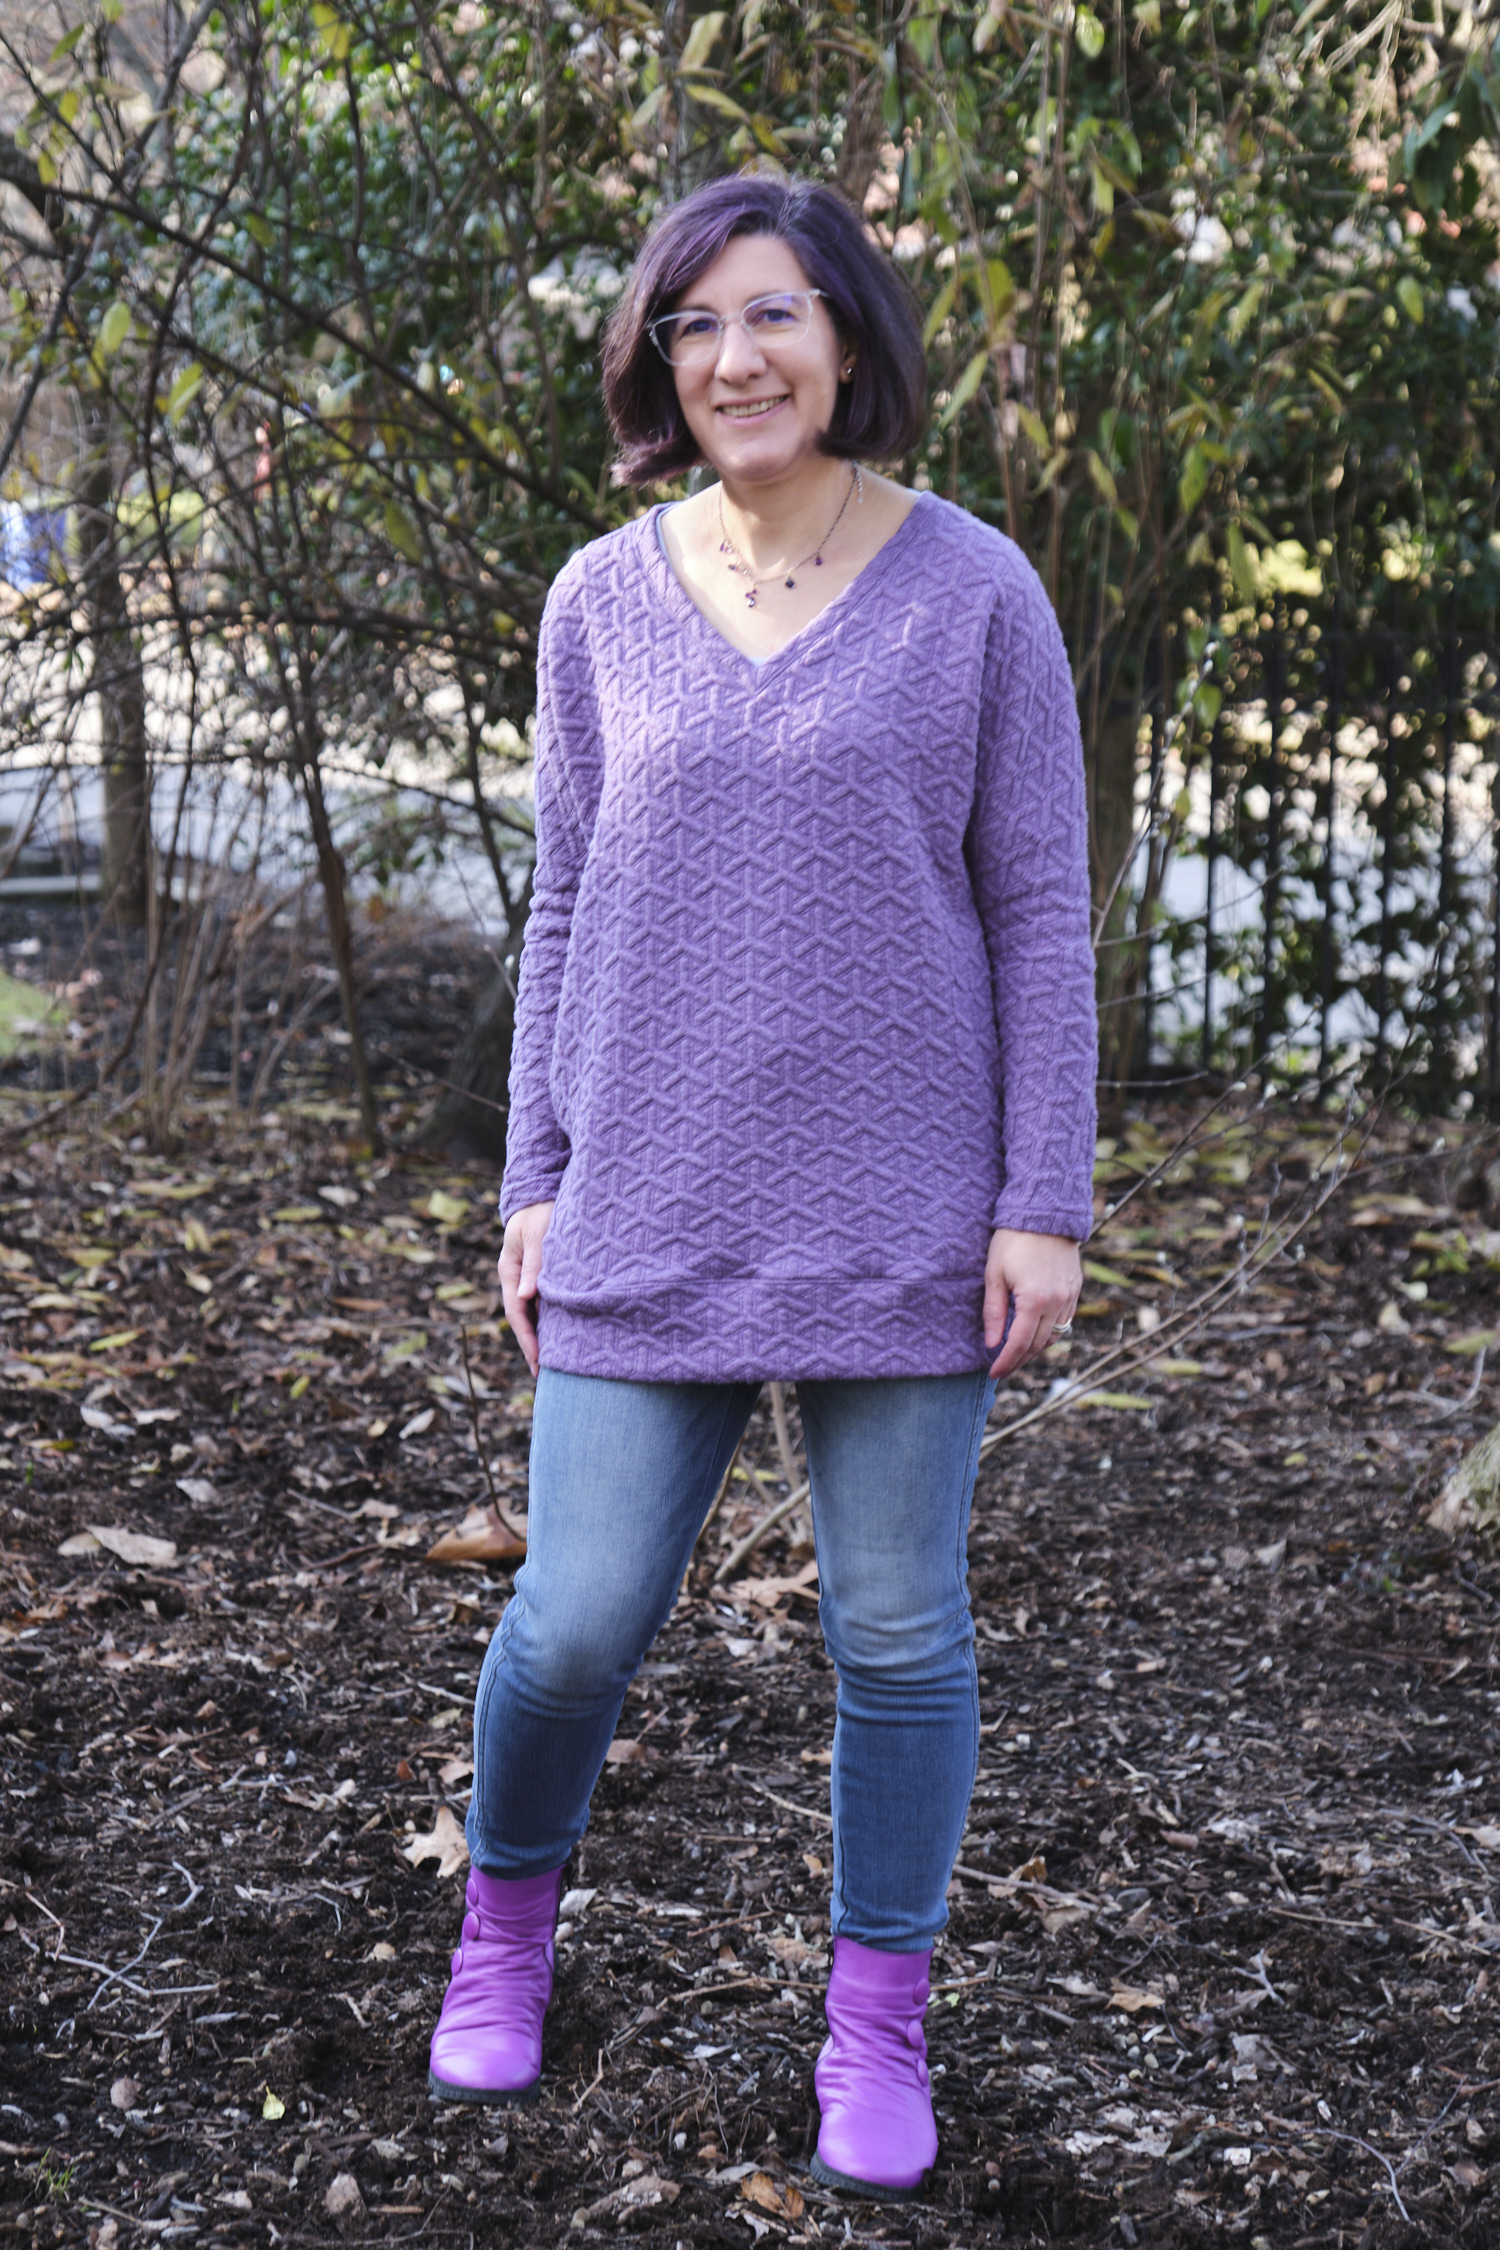
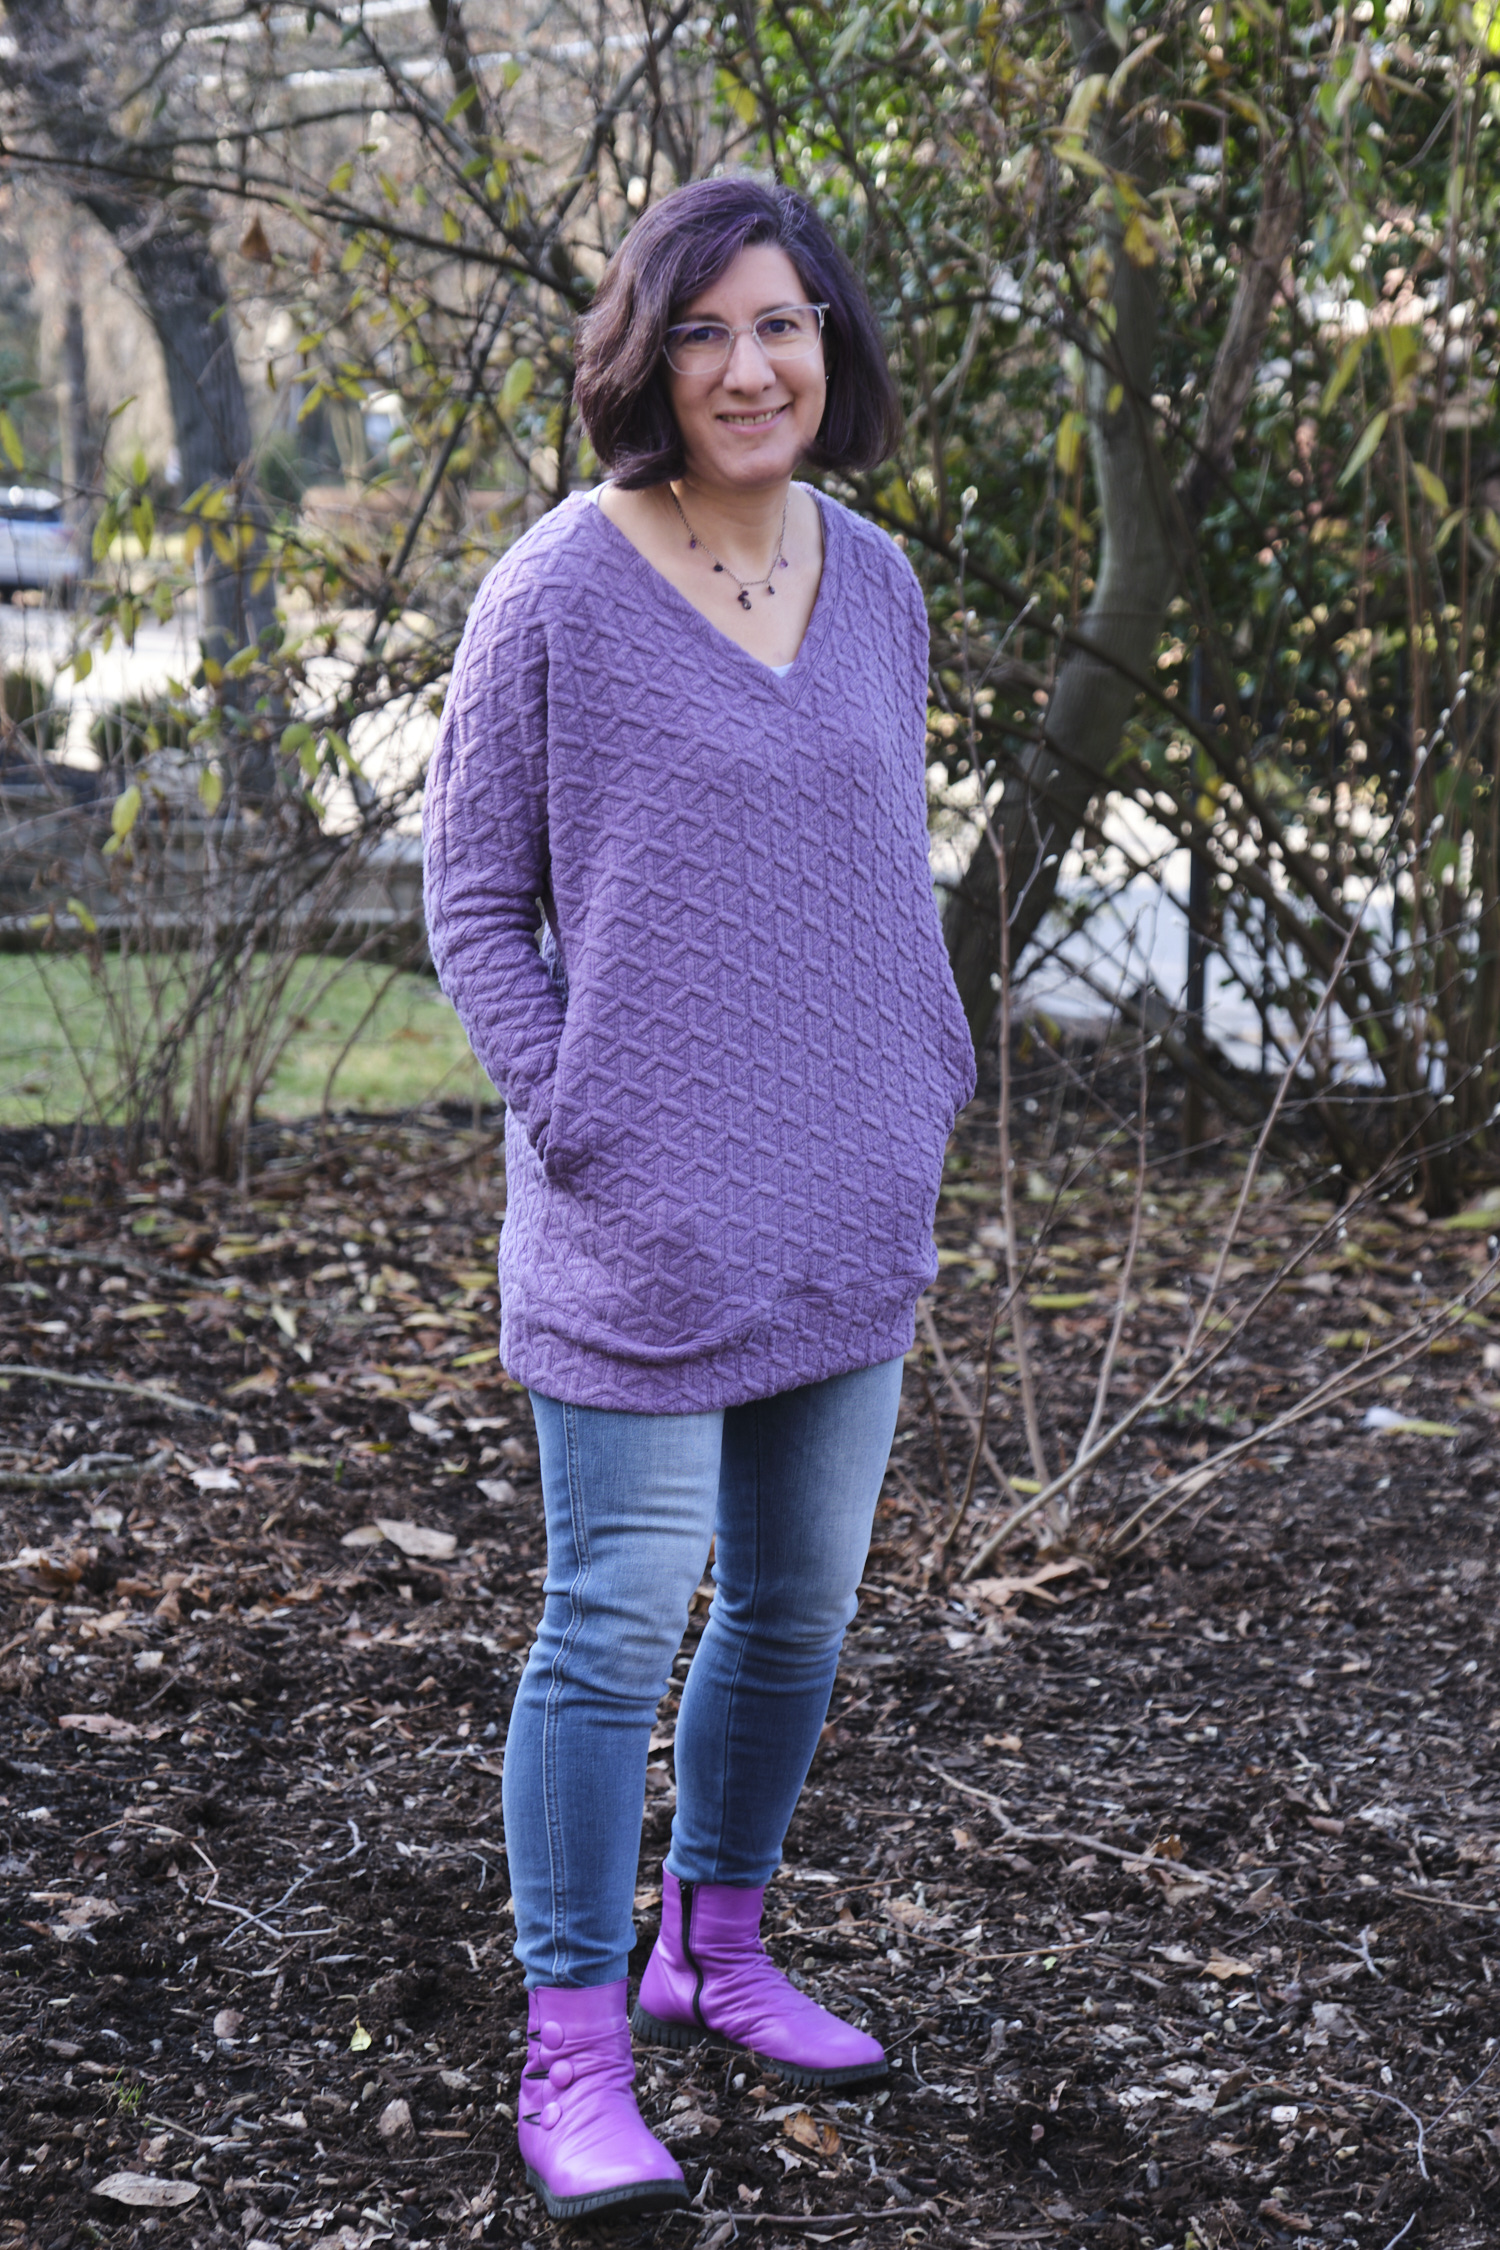
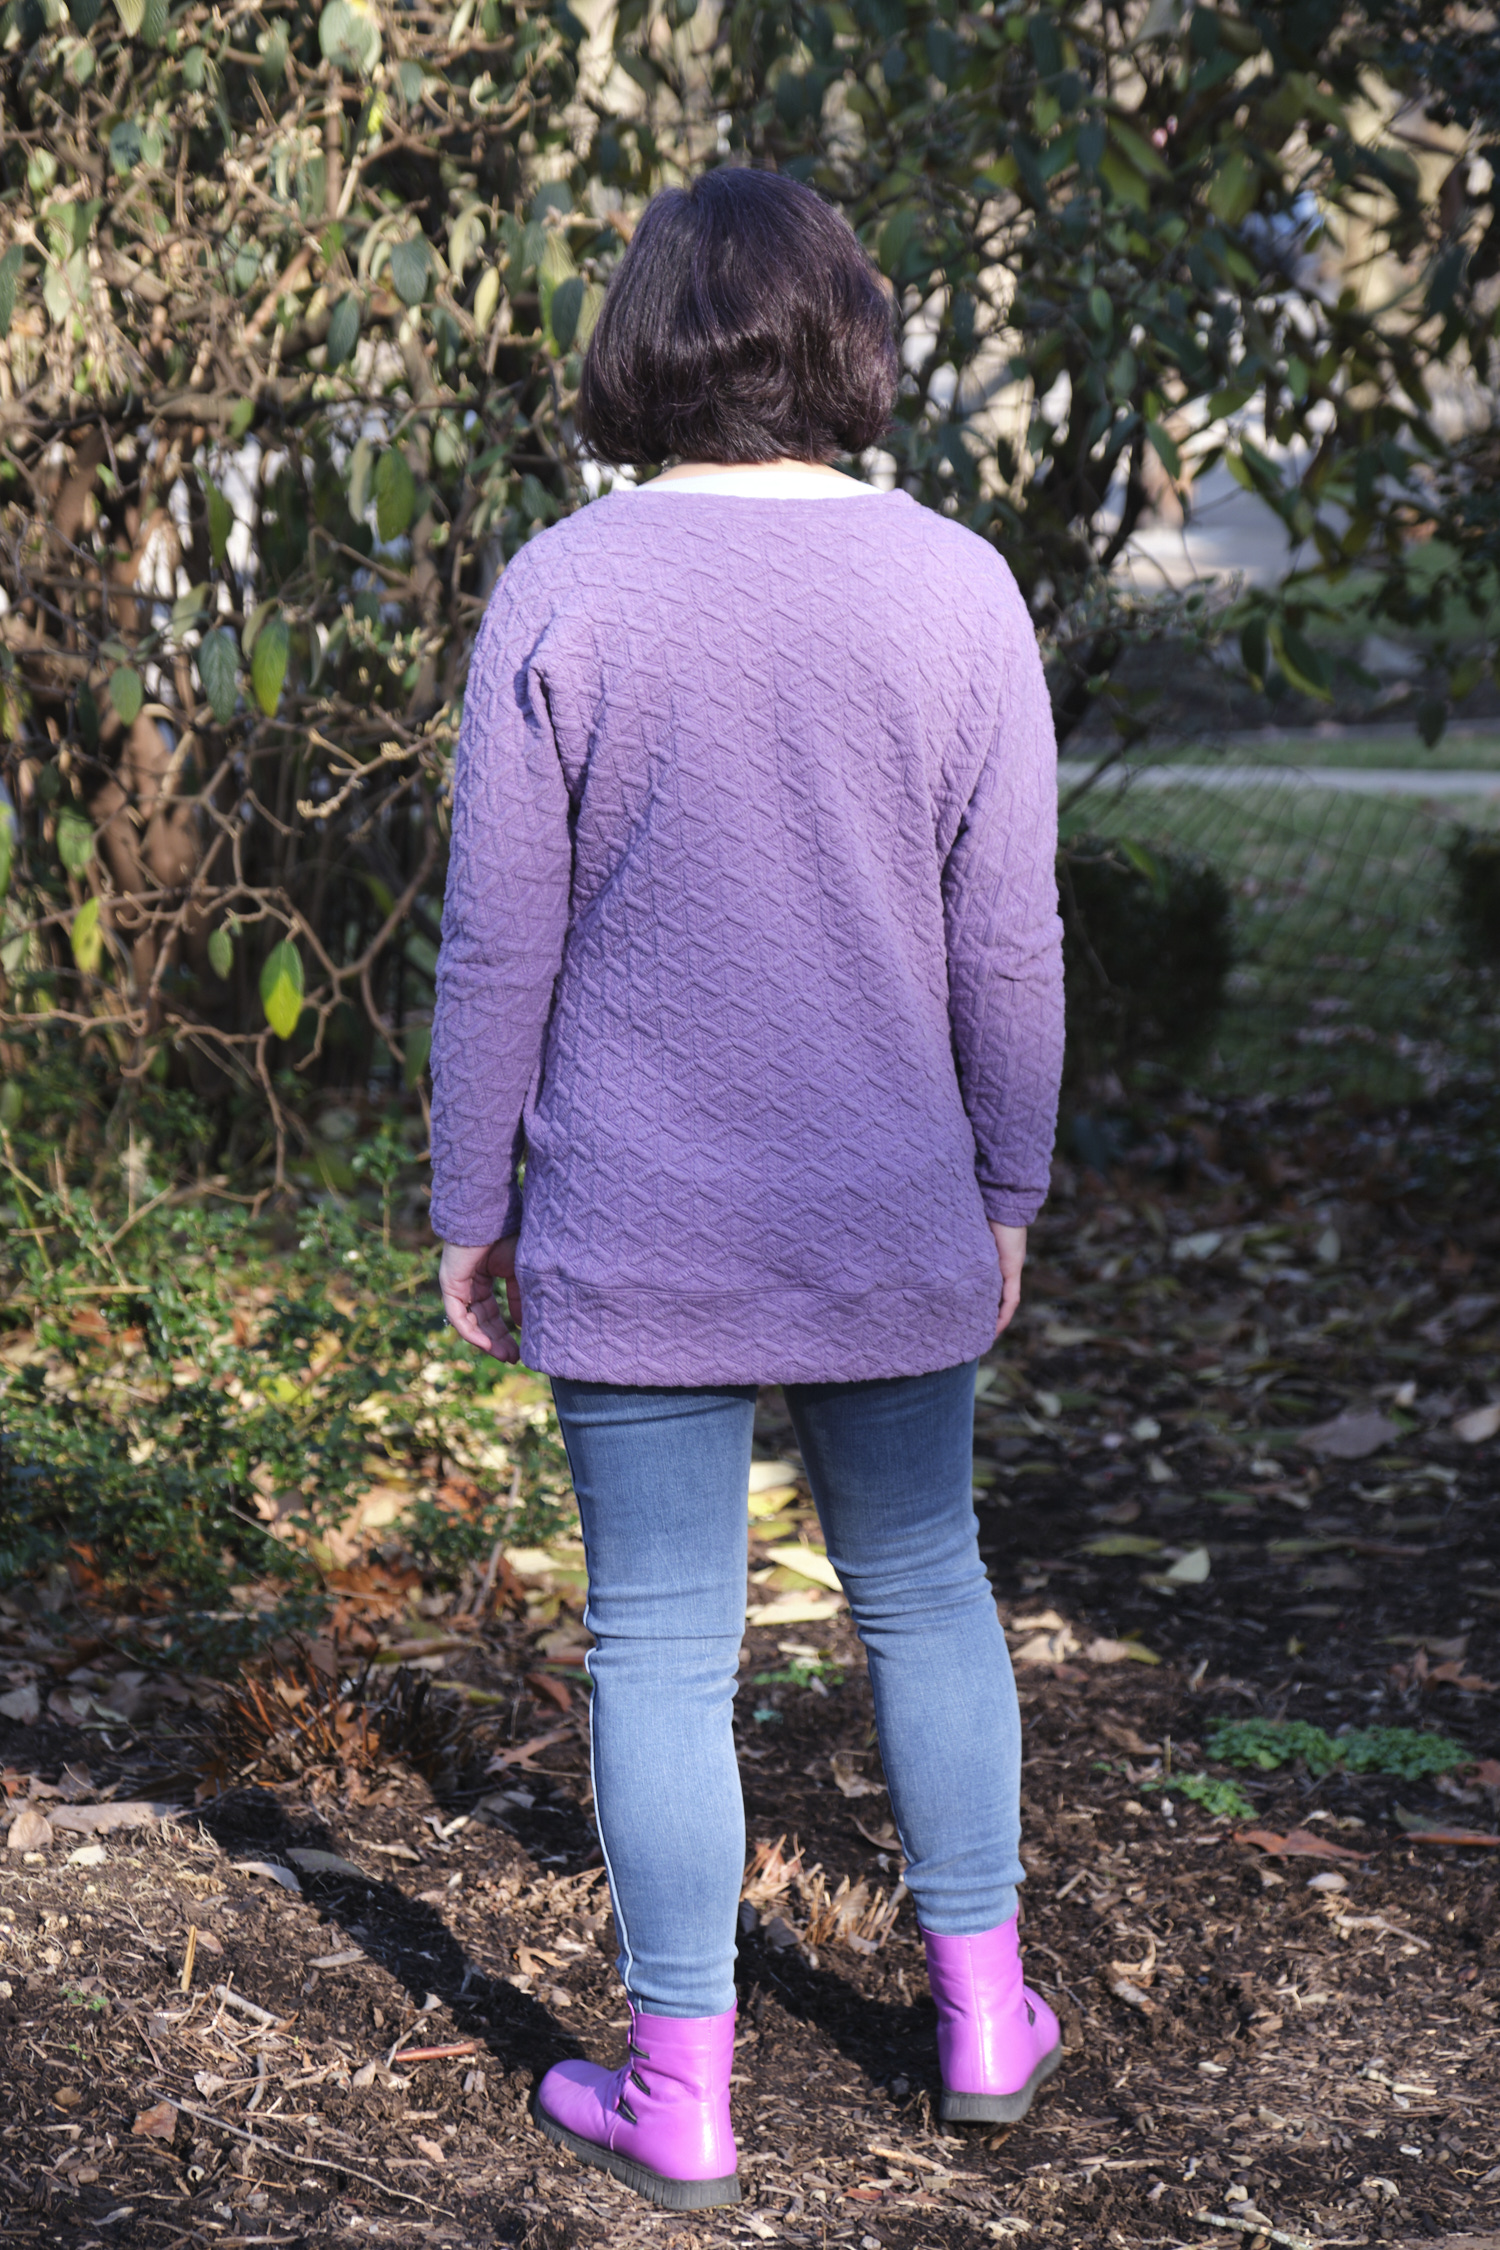
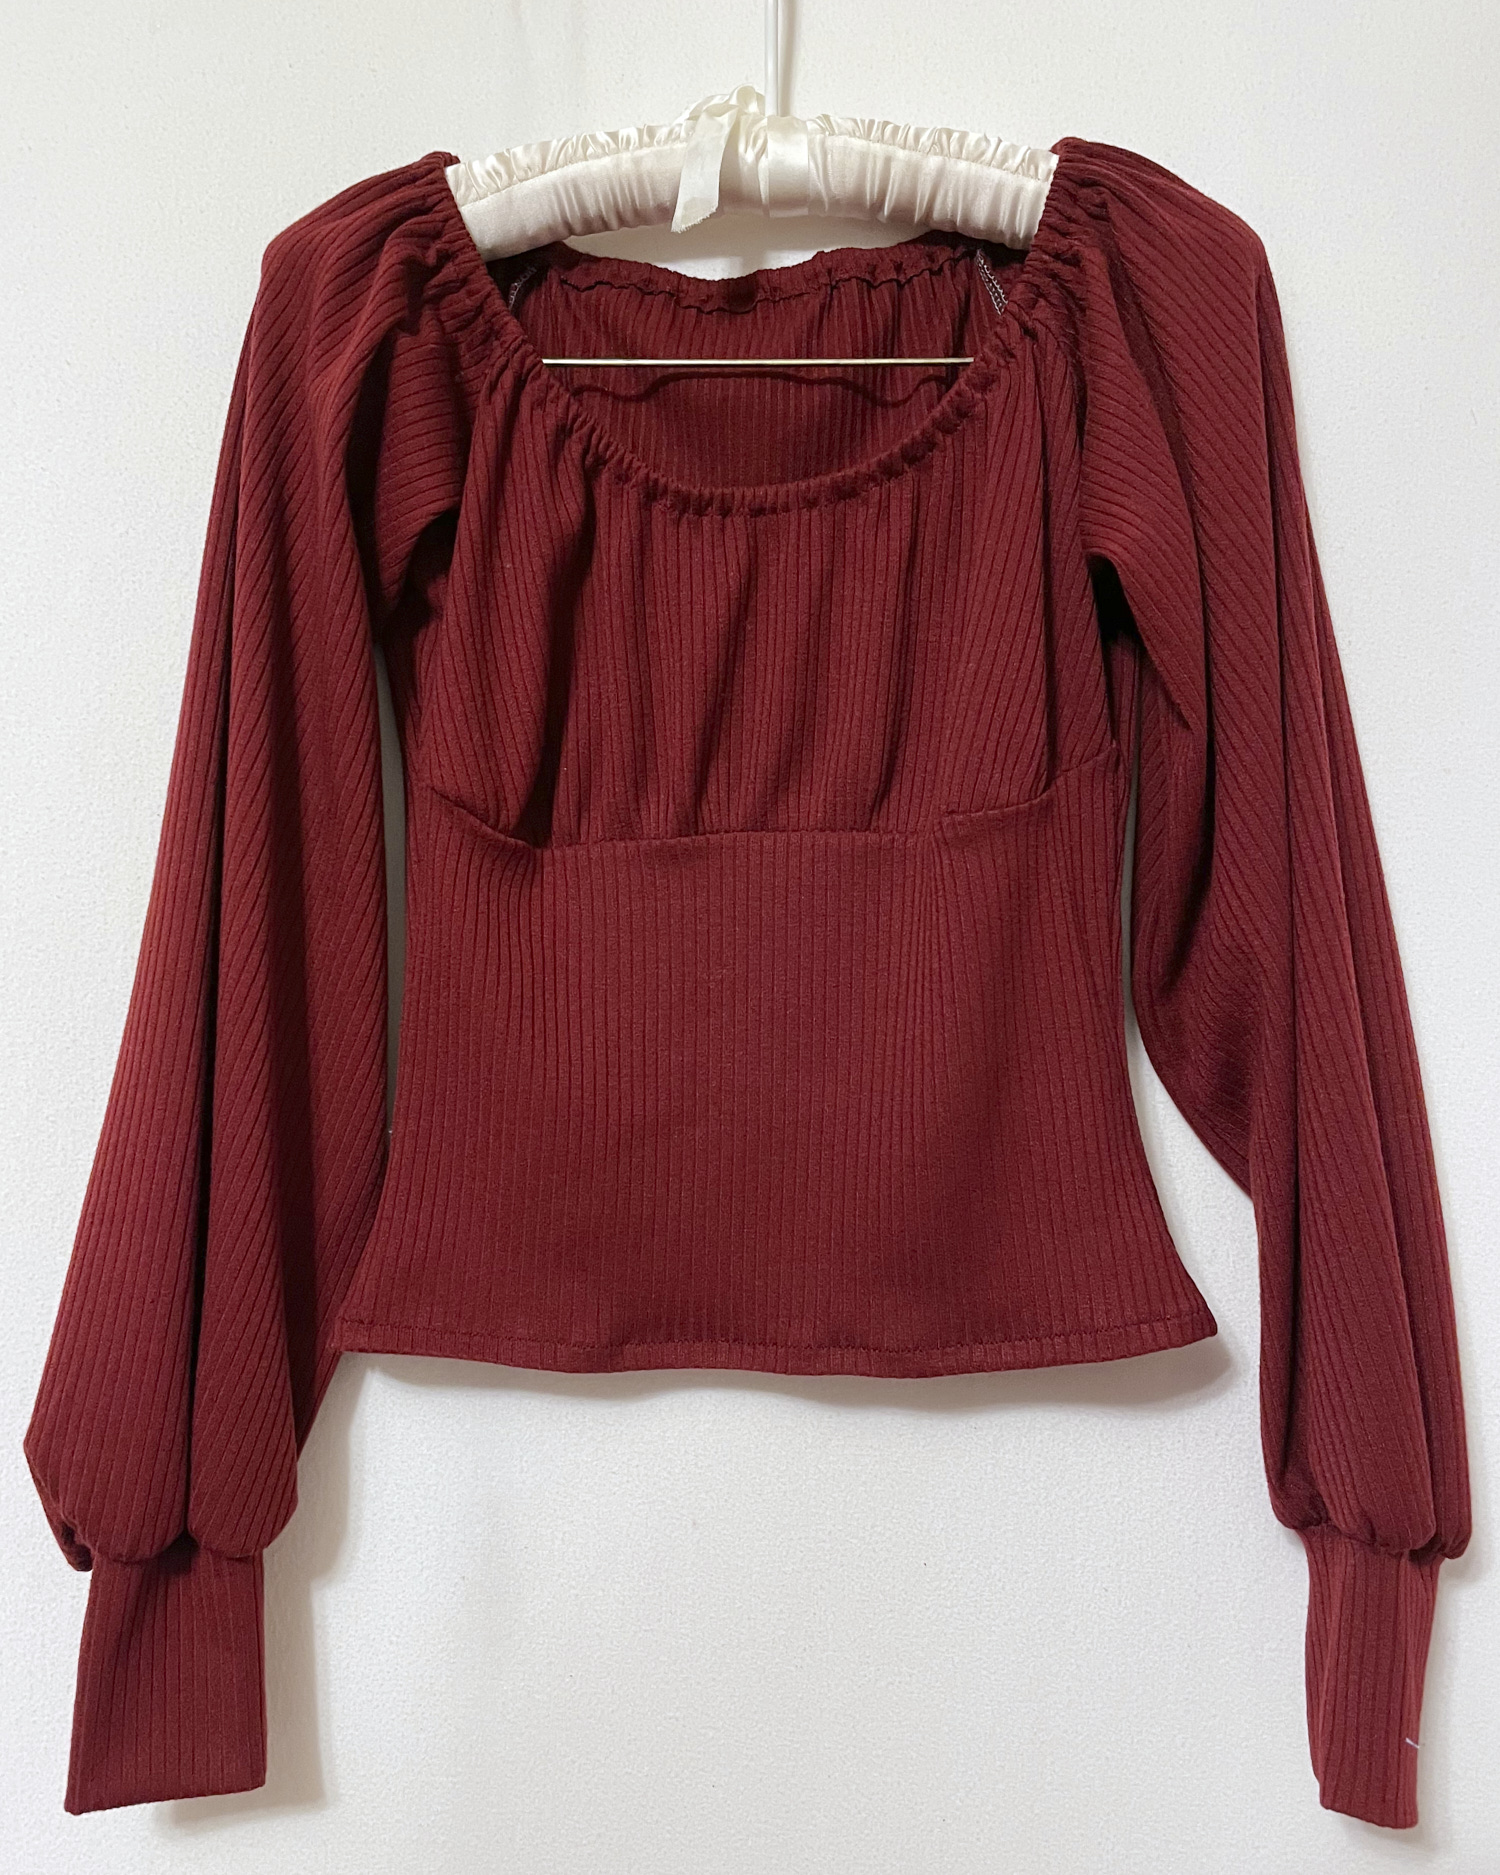
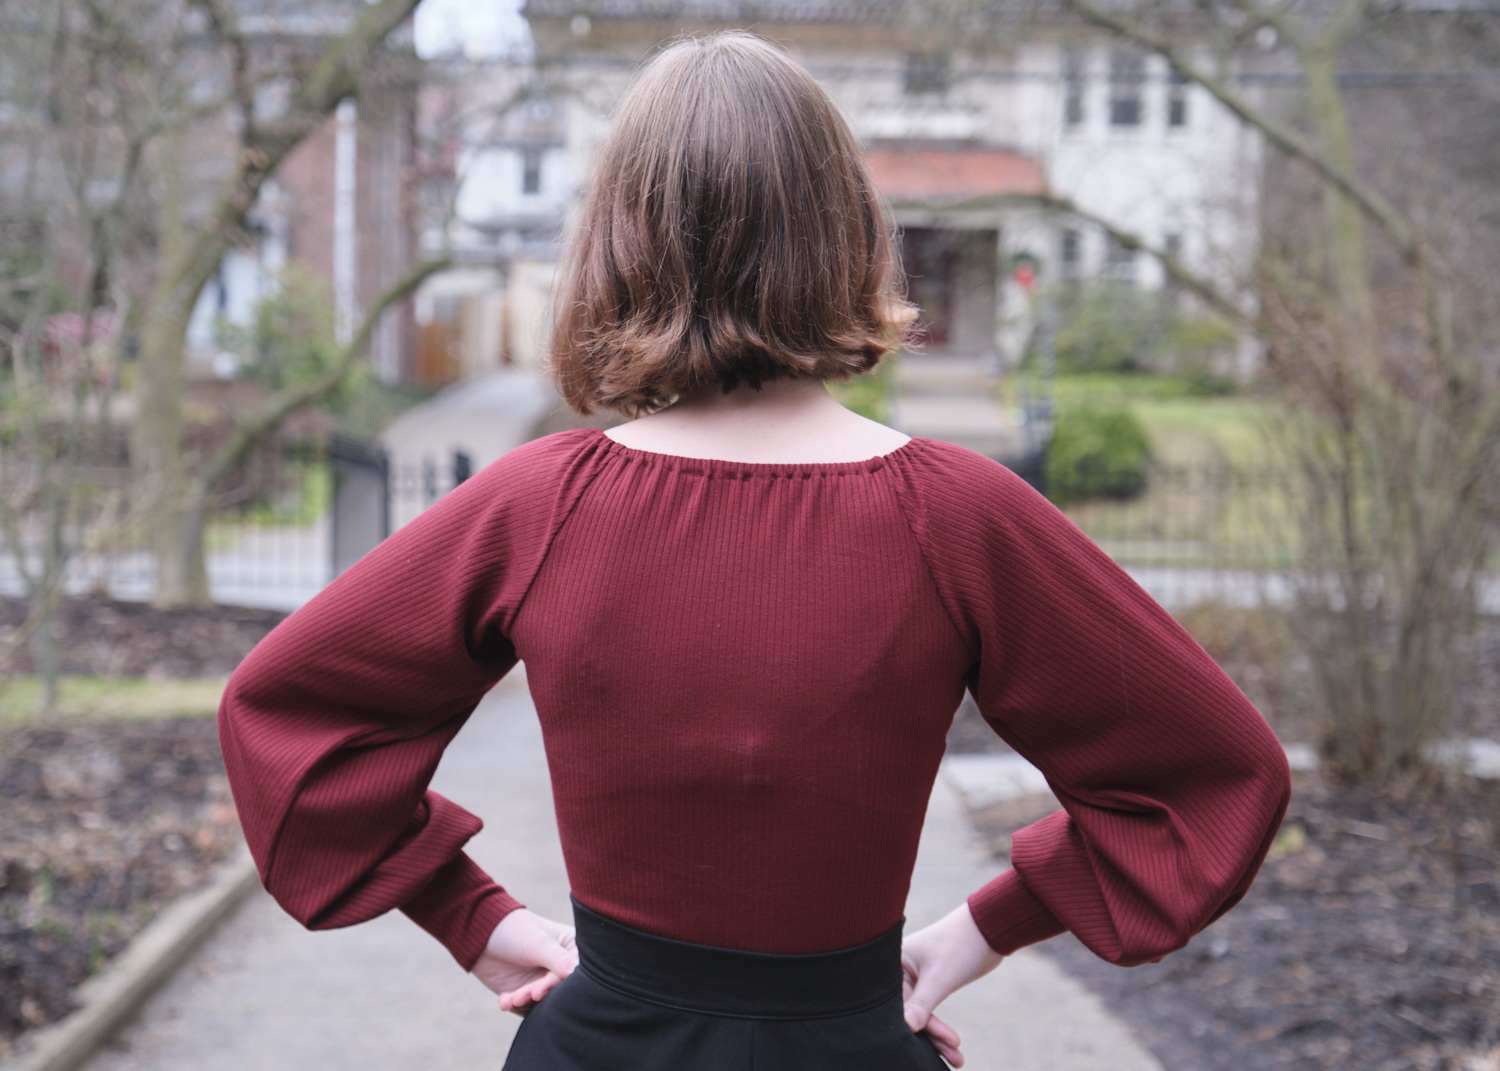
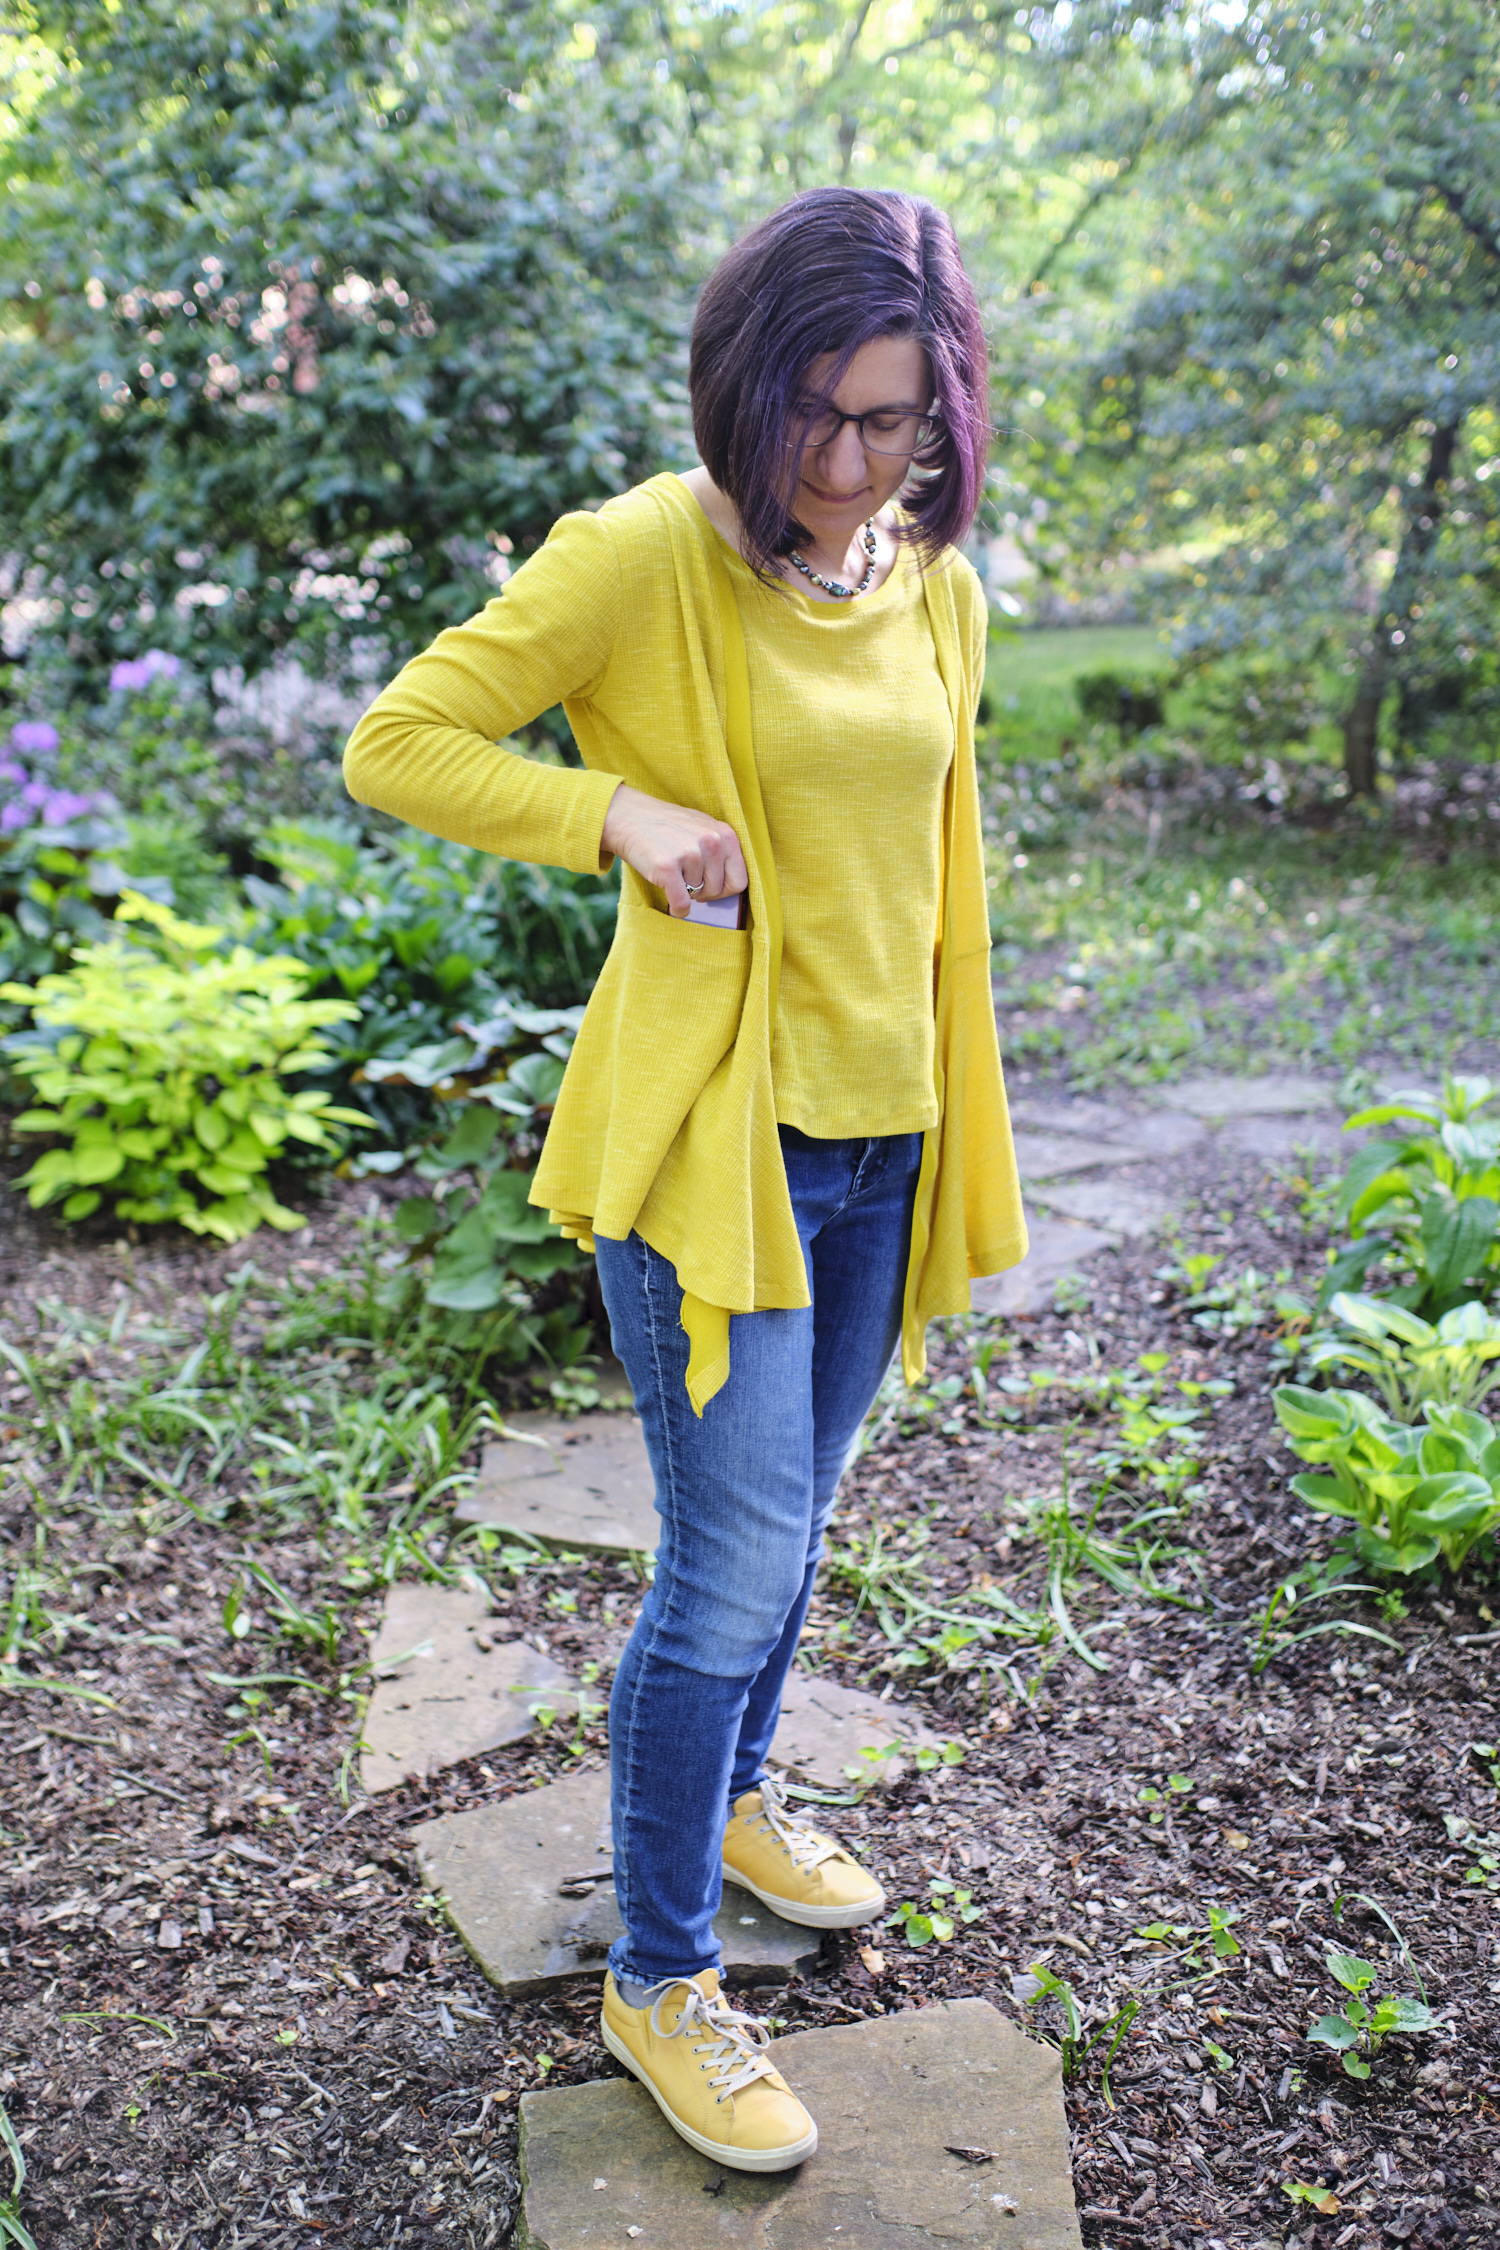
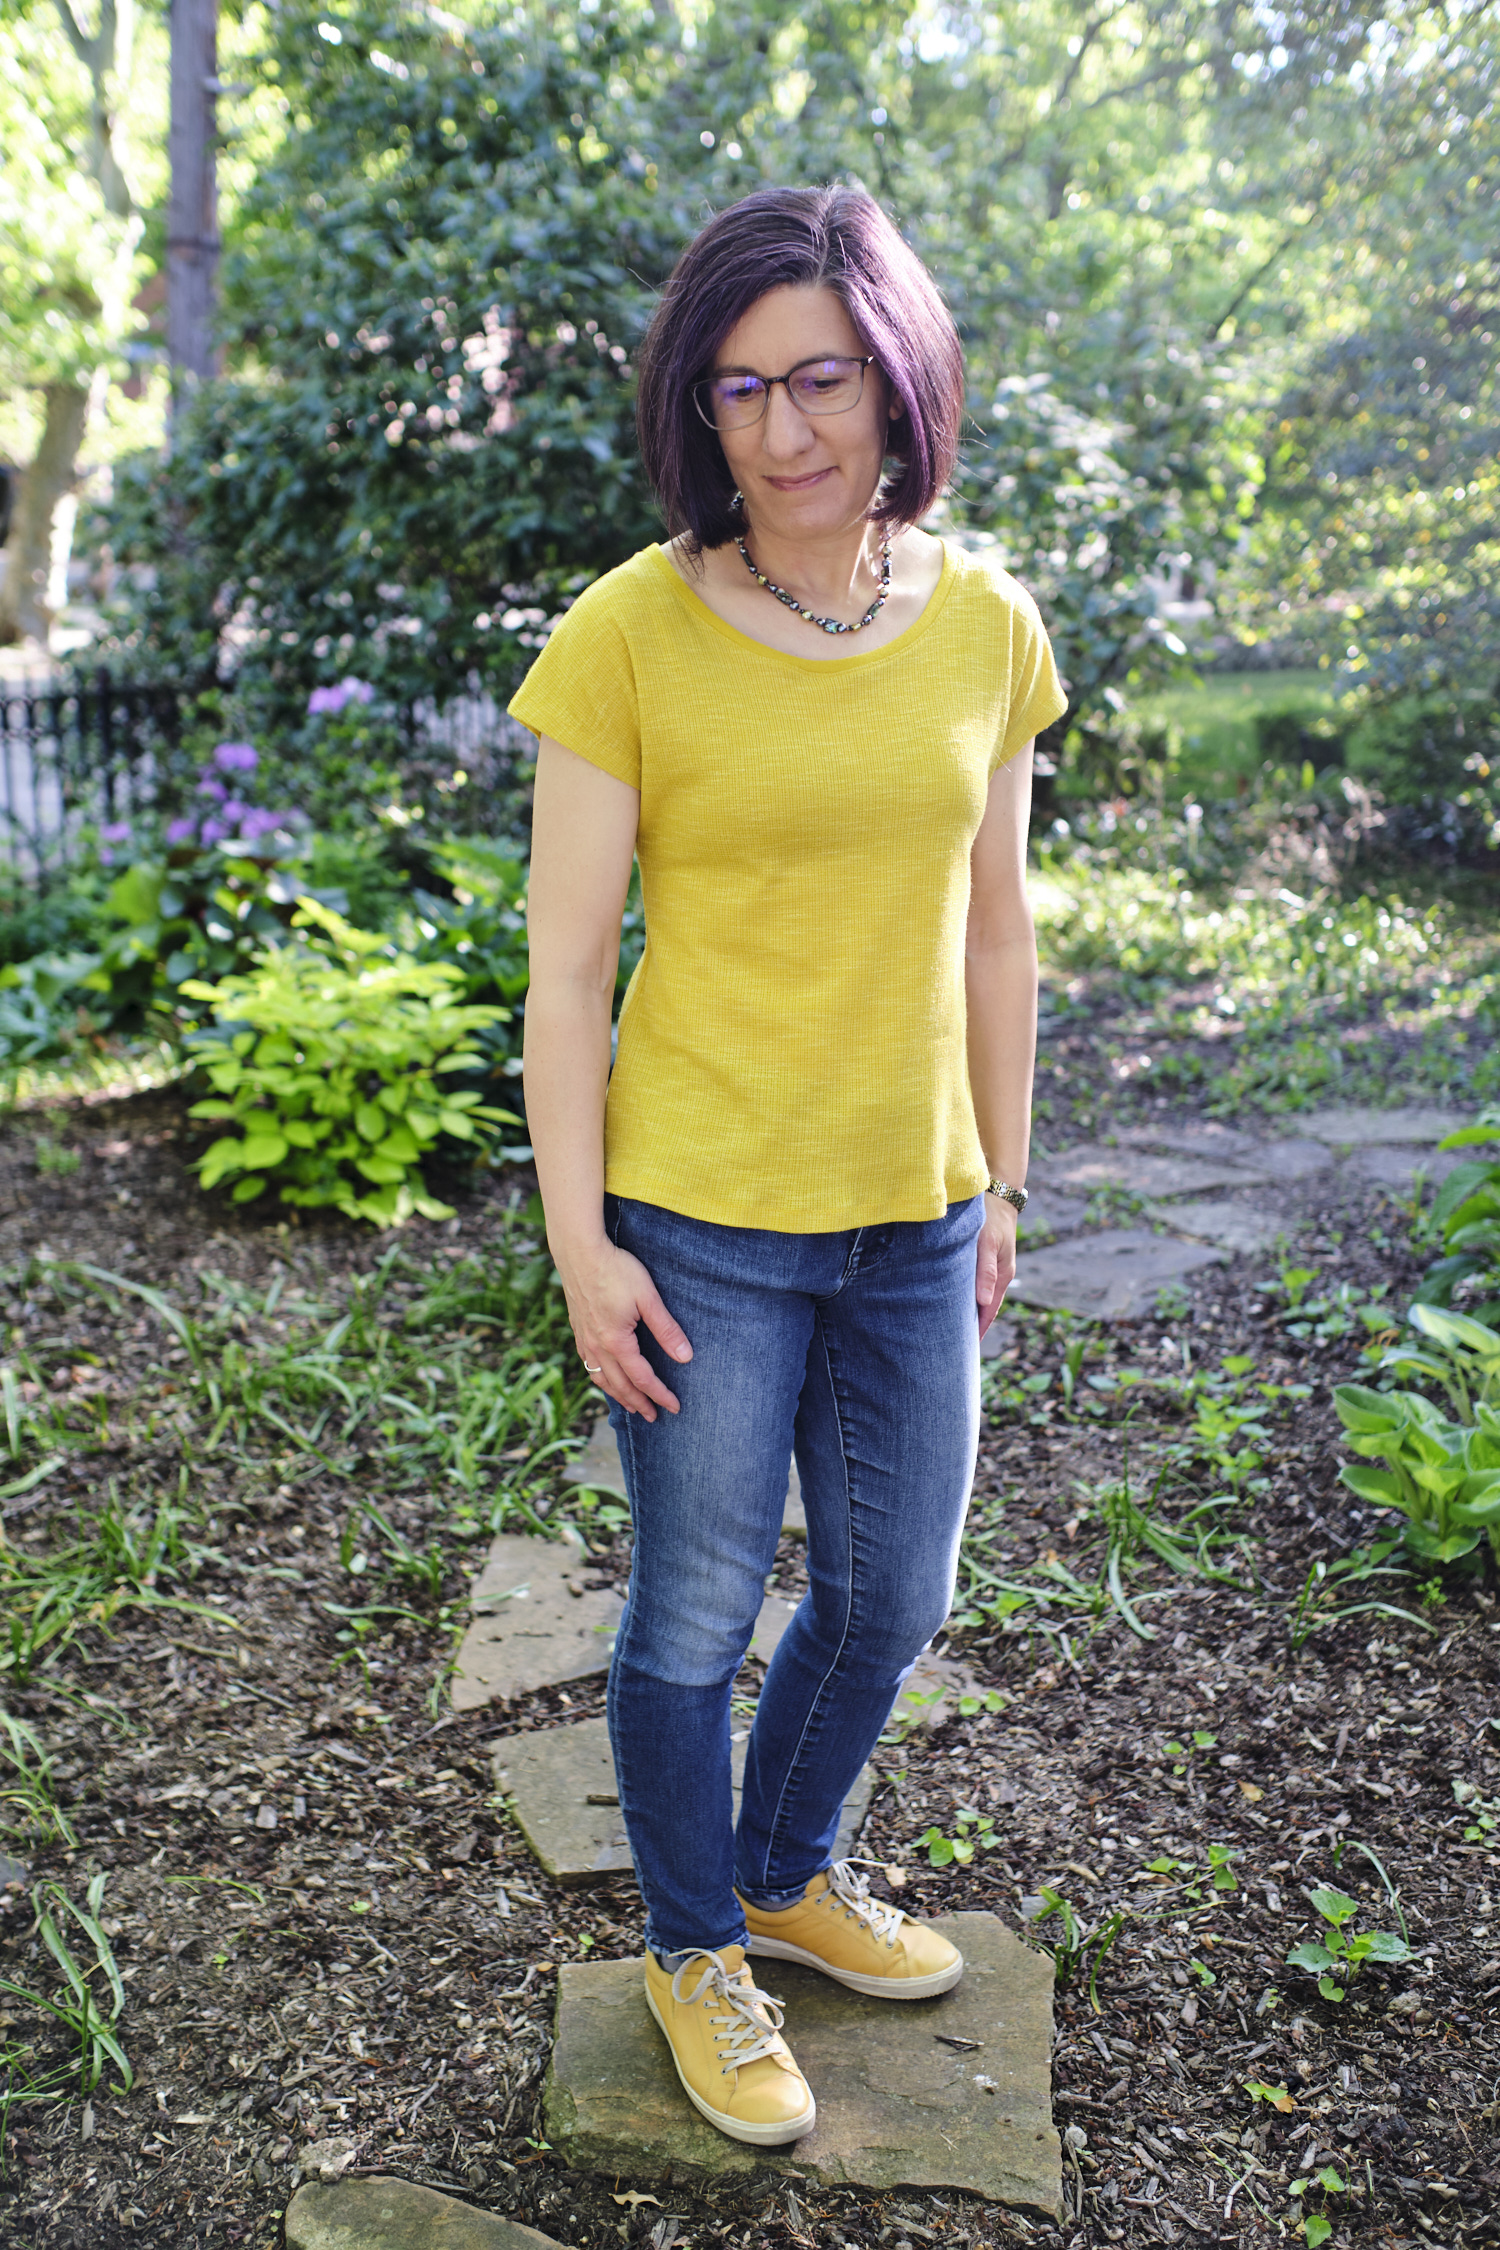
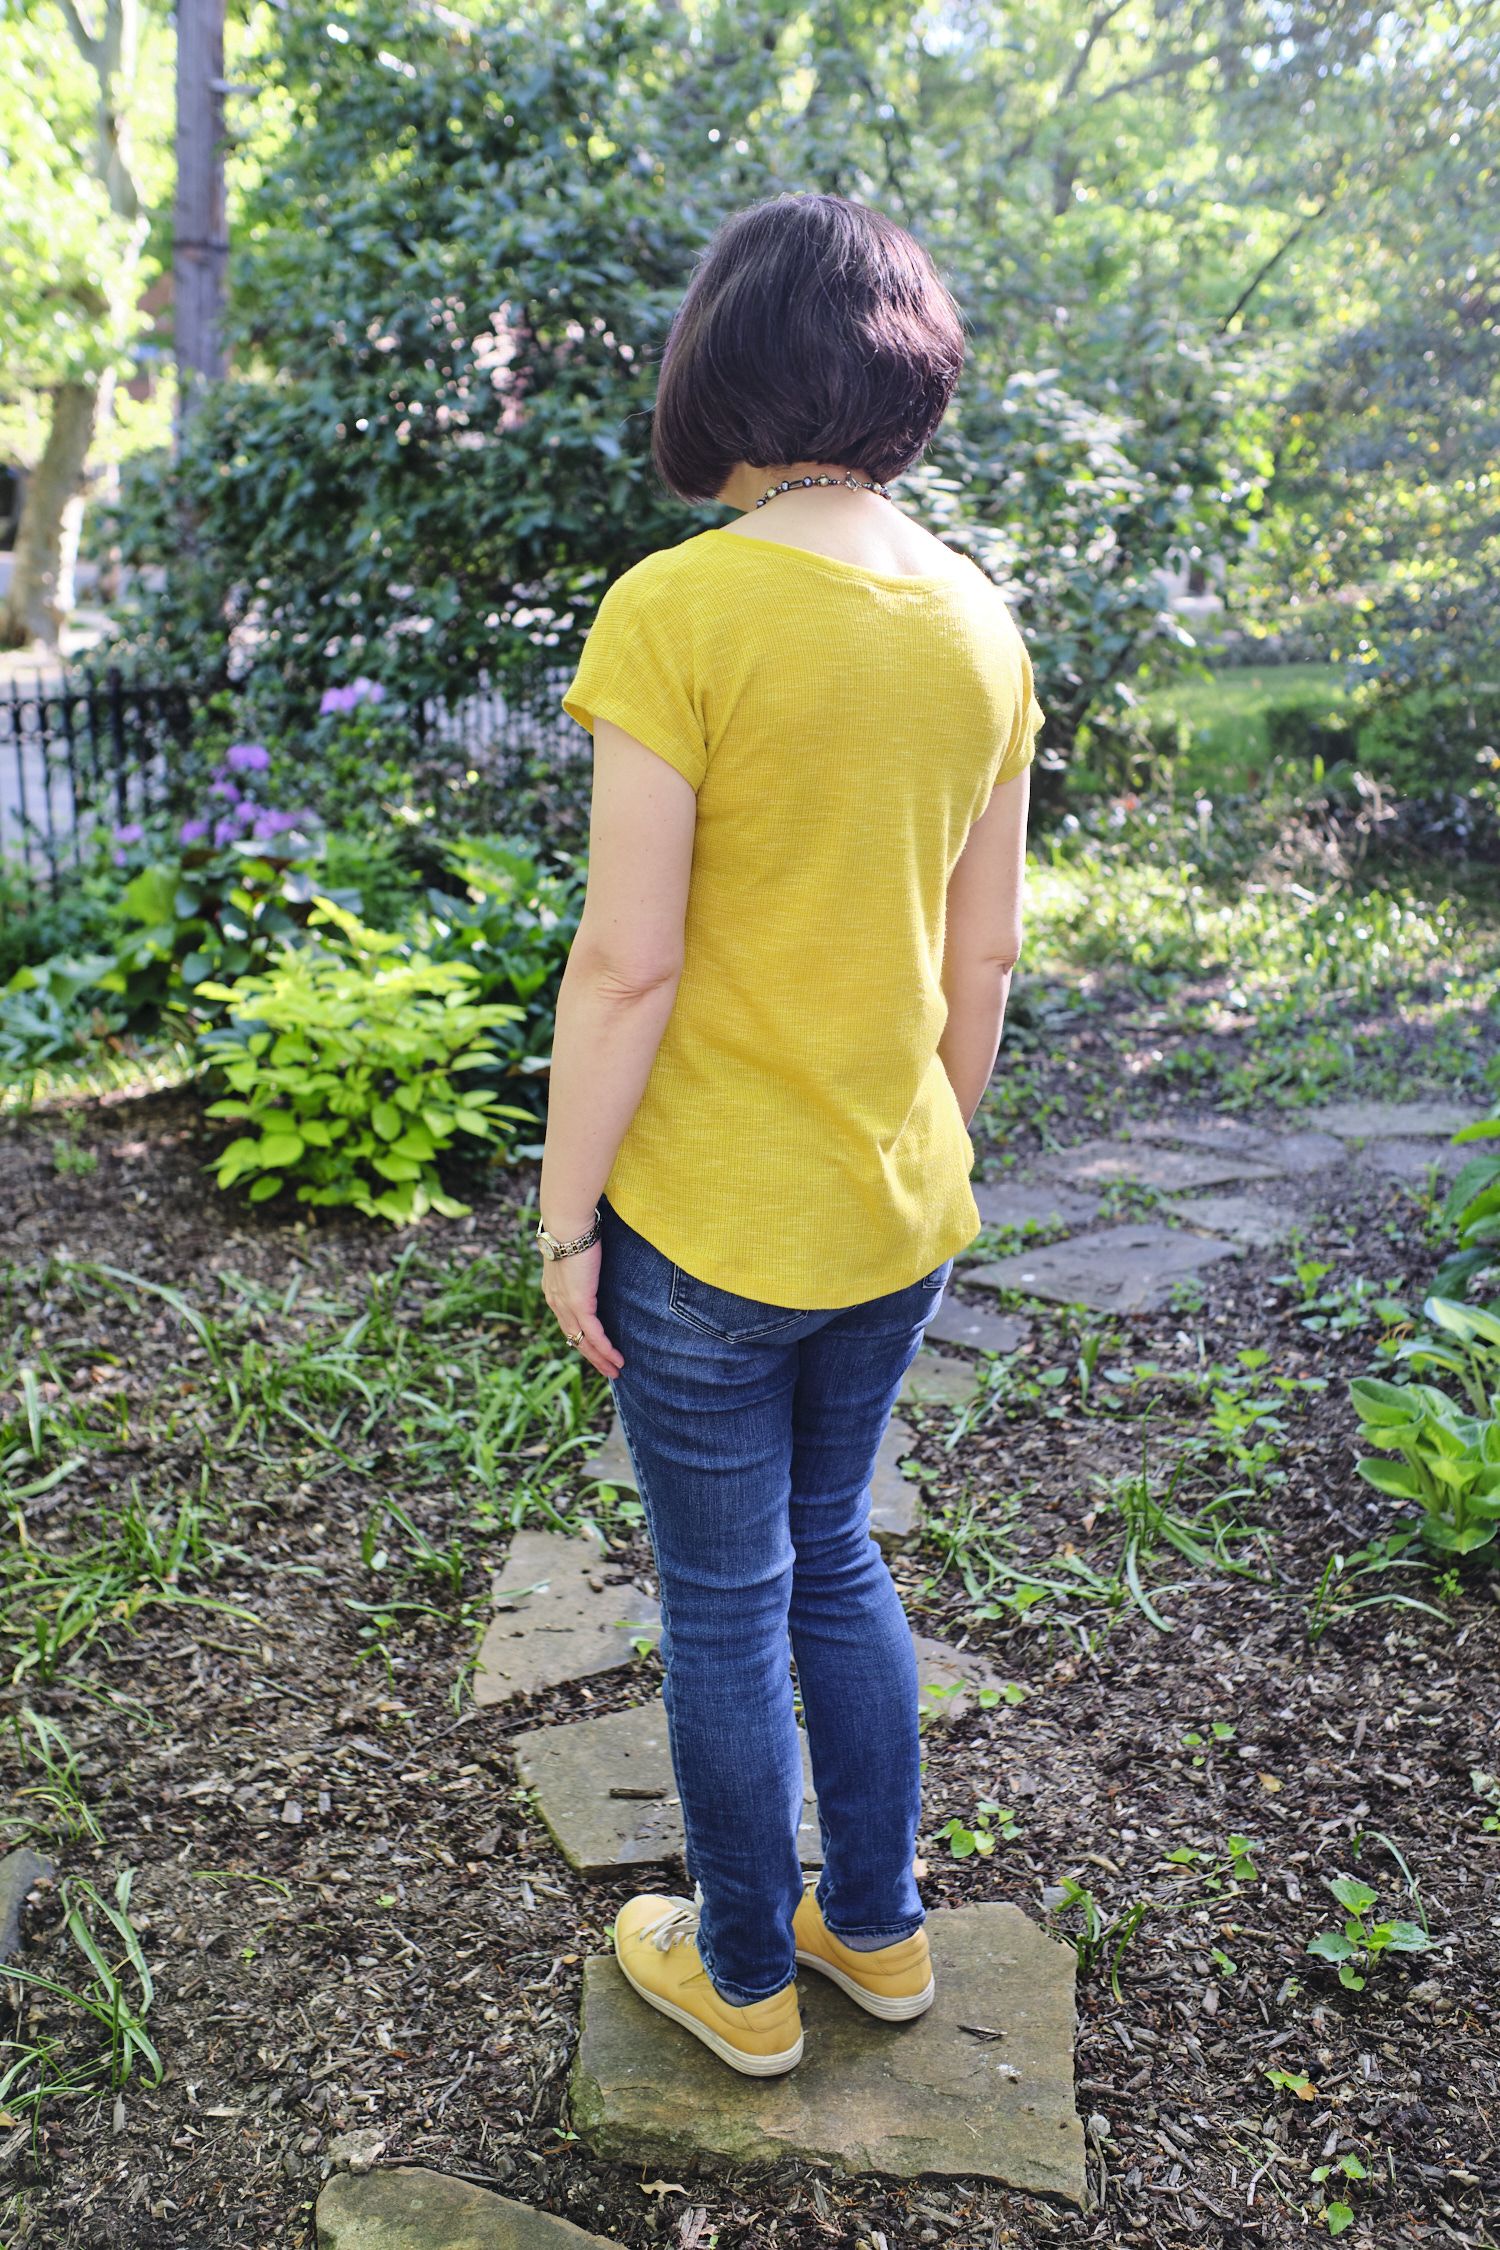
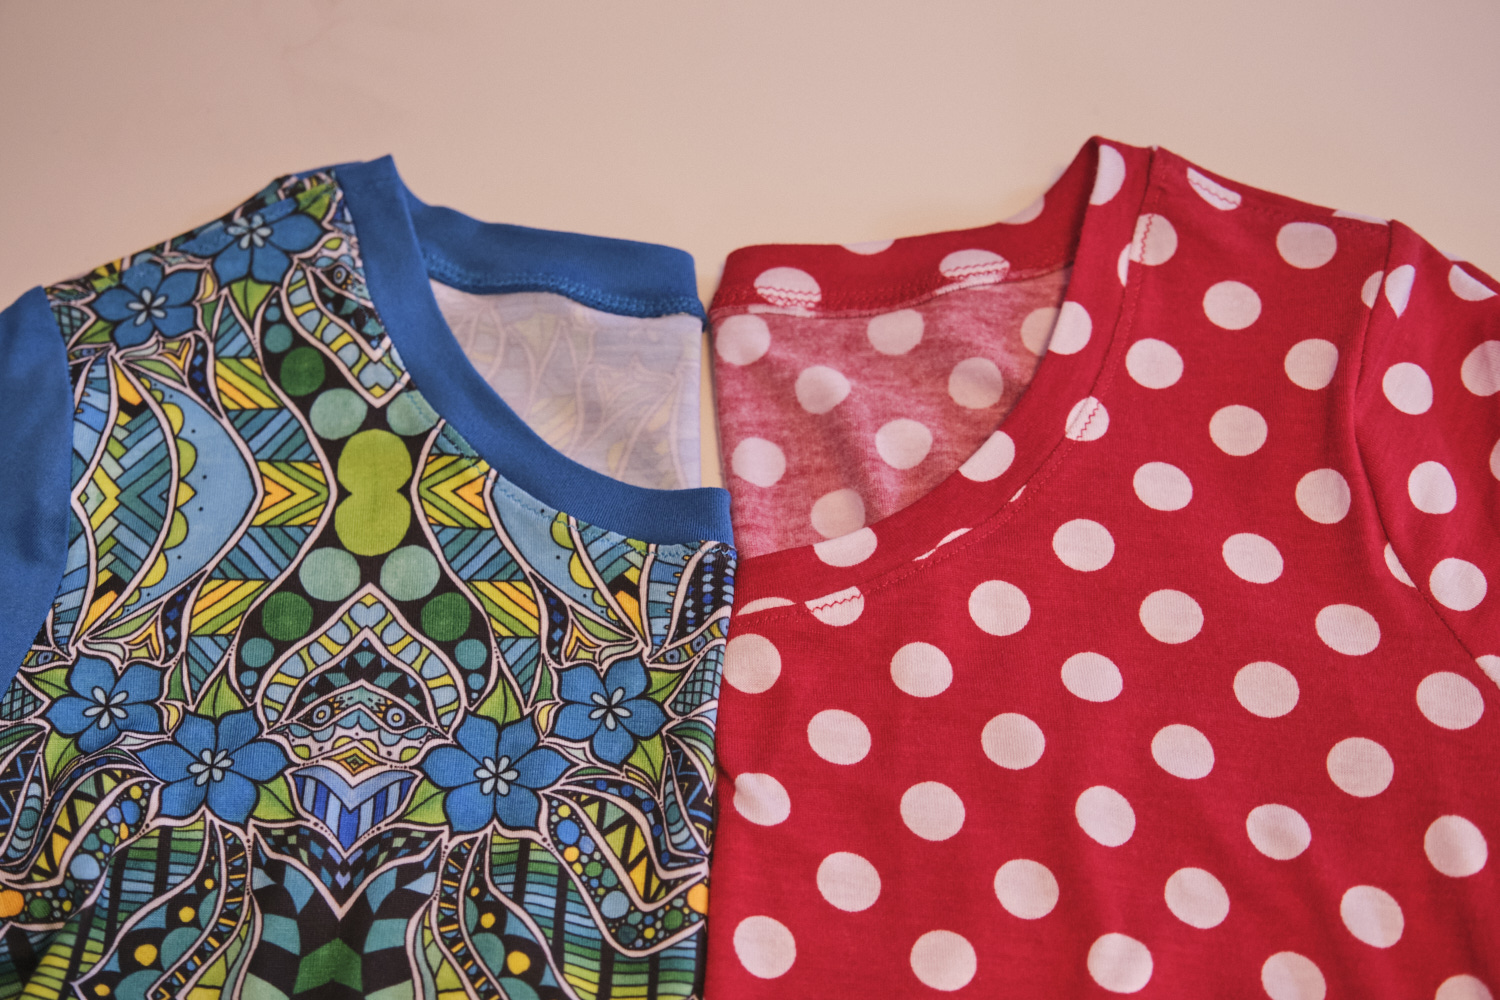
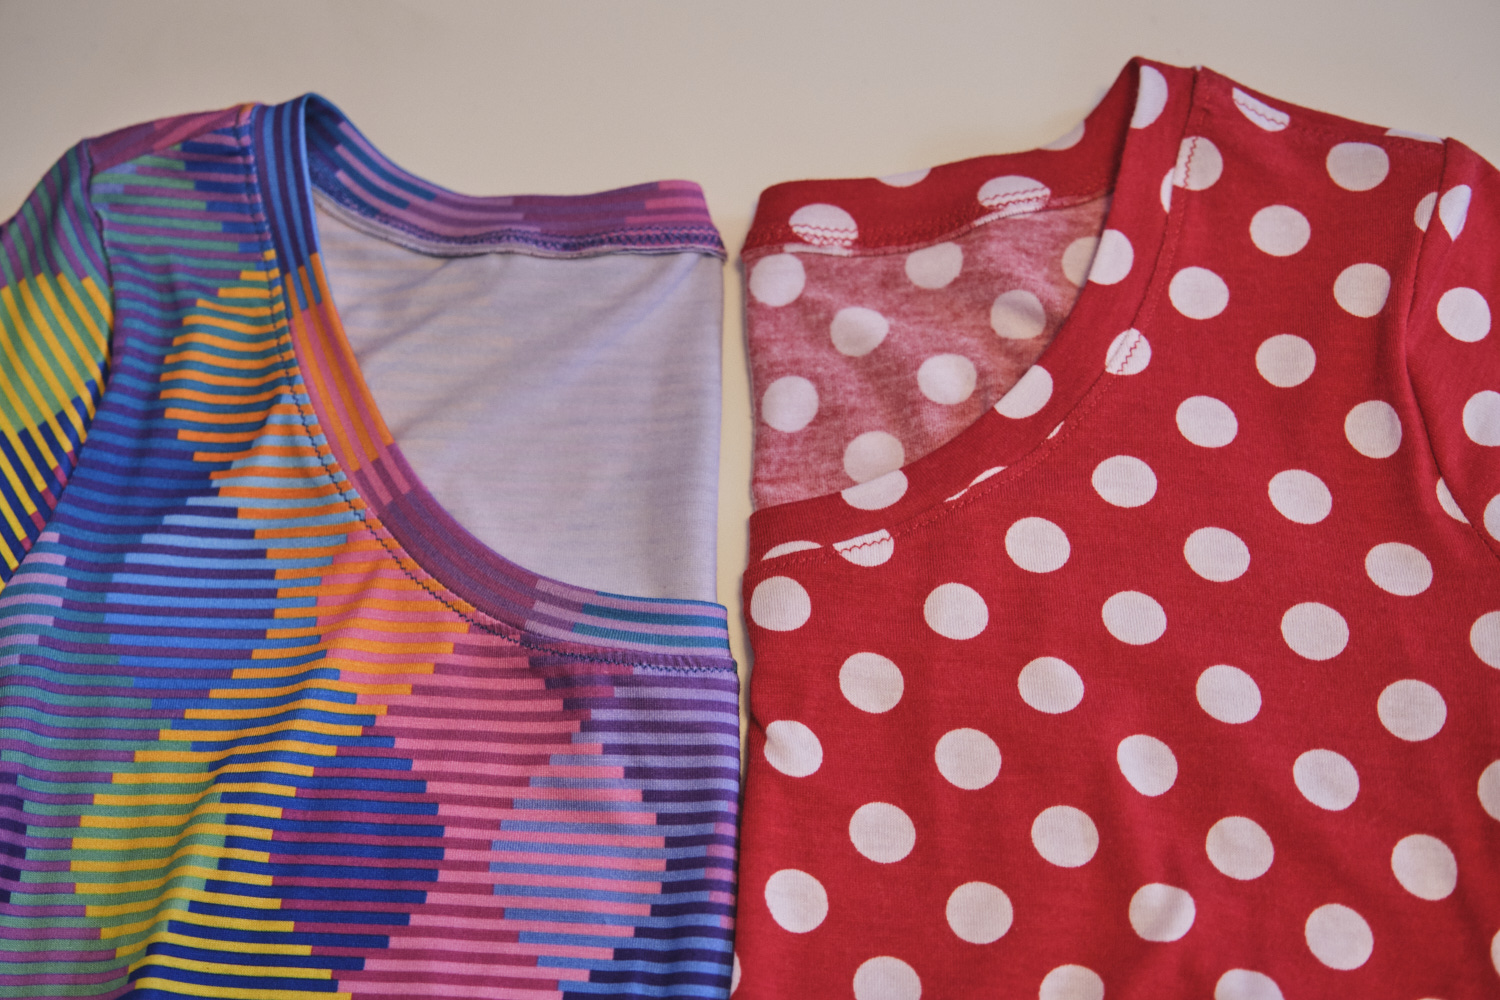
When my fabric arrived I checked out the printing and the sizes of the plaid. After looking at lots of pictures of plaid dresses, I decided I wanted the 5.5-inch version printed on point for a dress, so sent a request to the designer for a diagonal version. In the mean time I decided to make a shirt out of the modern jersey, using the Sinclair Bondi pattern, a pattern I have used many times before. I tried to cut the plaid so it would match horizontally, but otherwise didn’t worry about plaid matching. I’m pretty happy with the results.

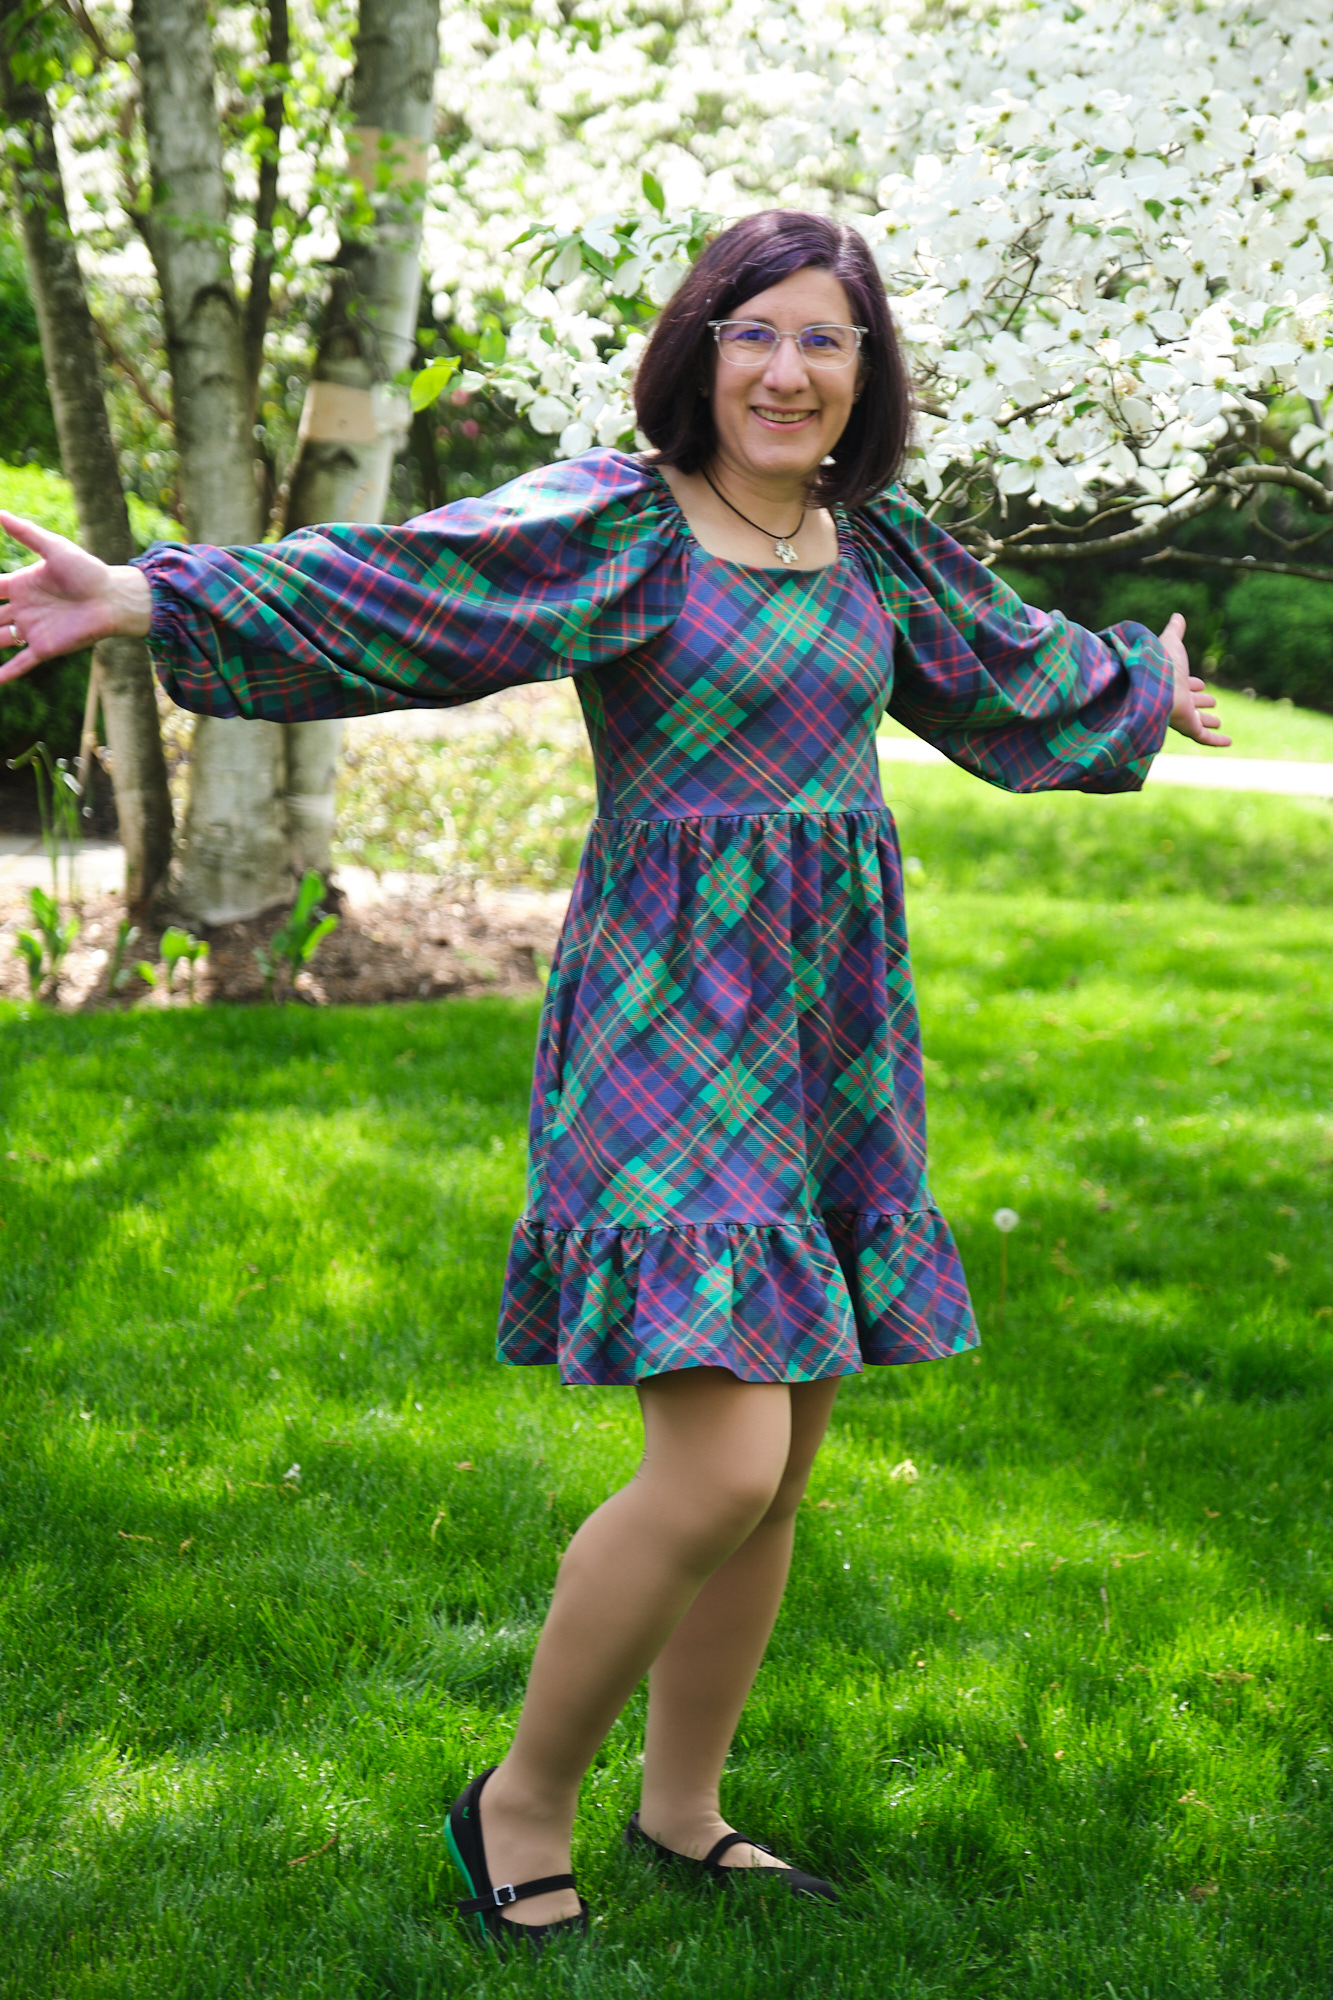
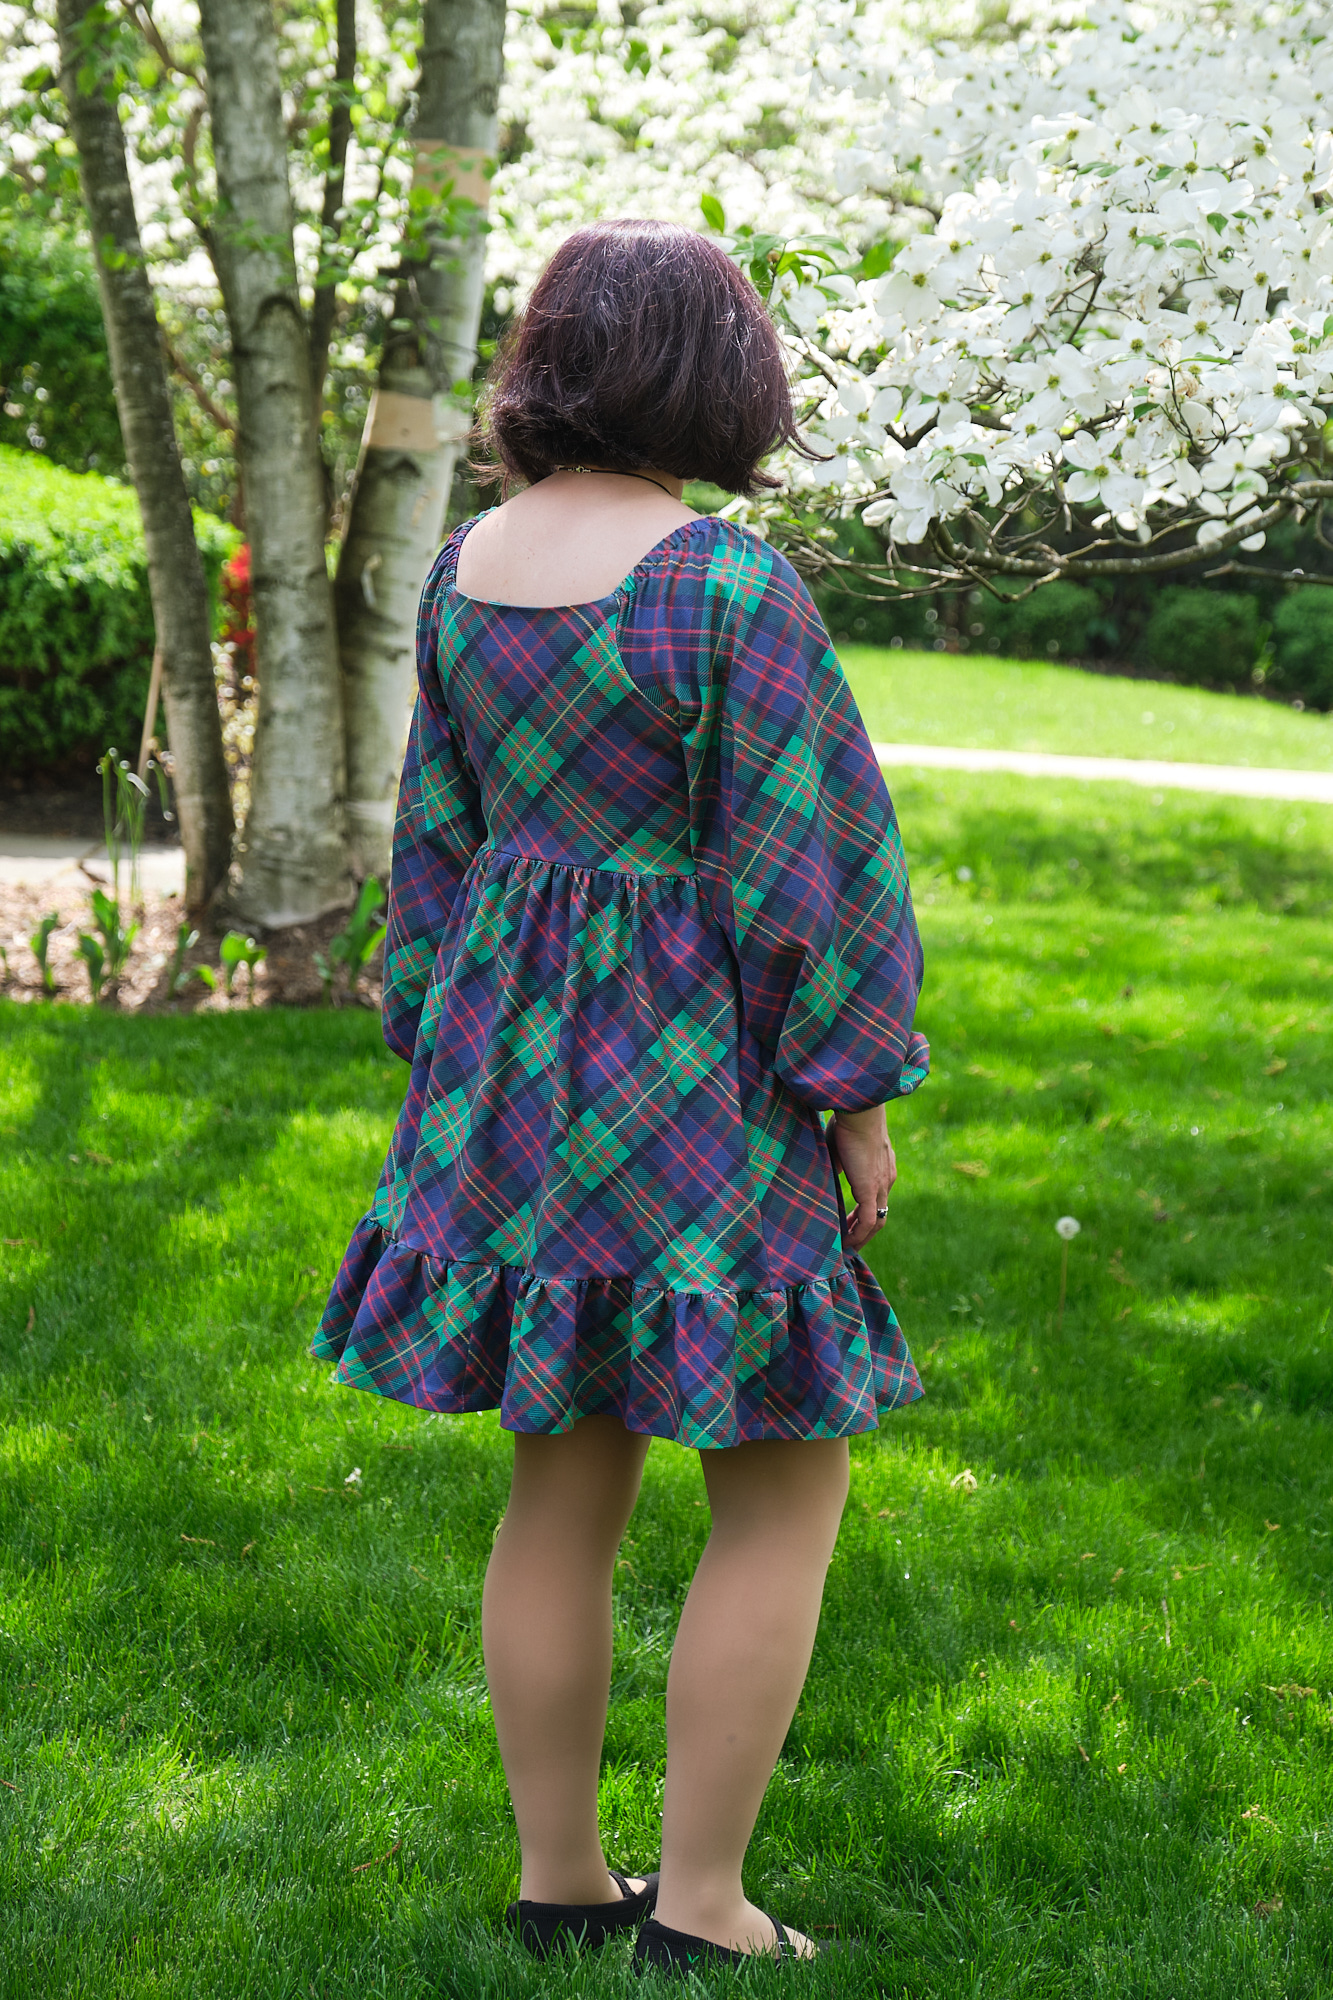
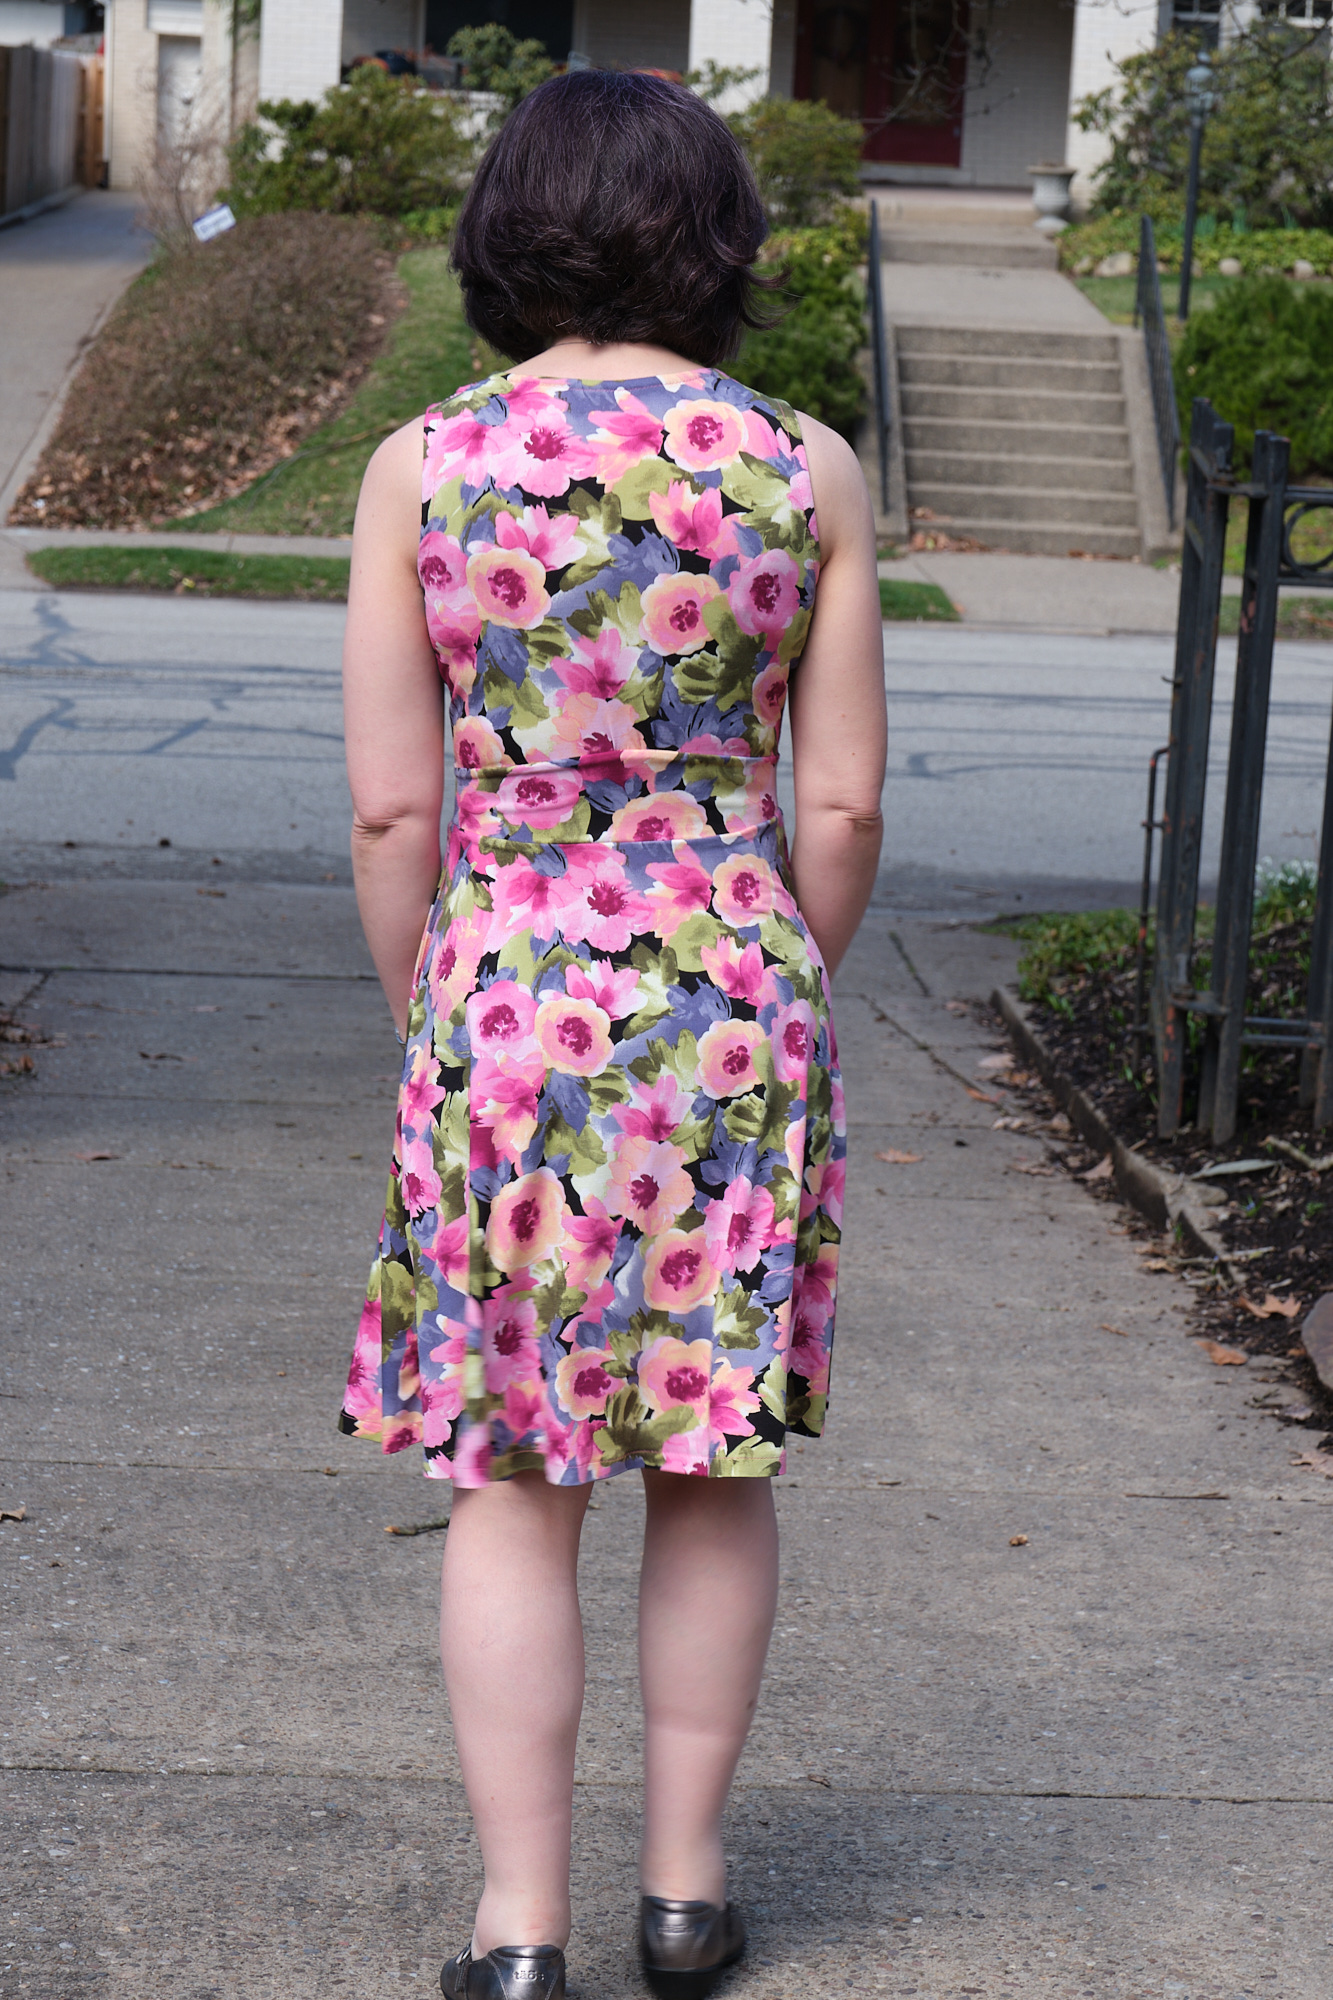
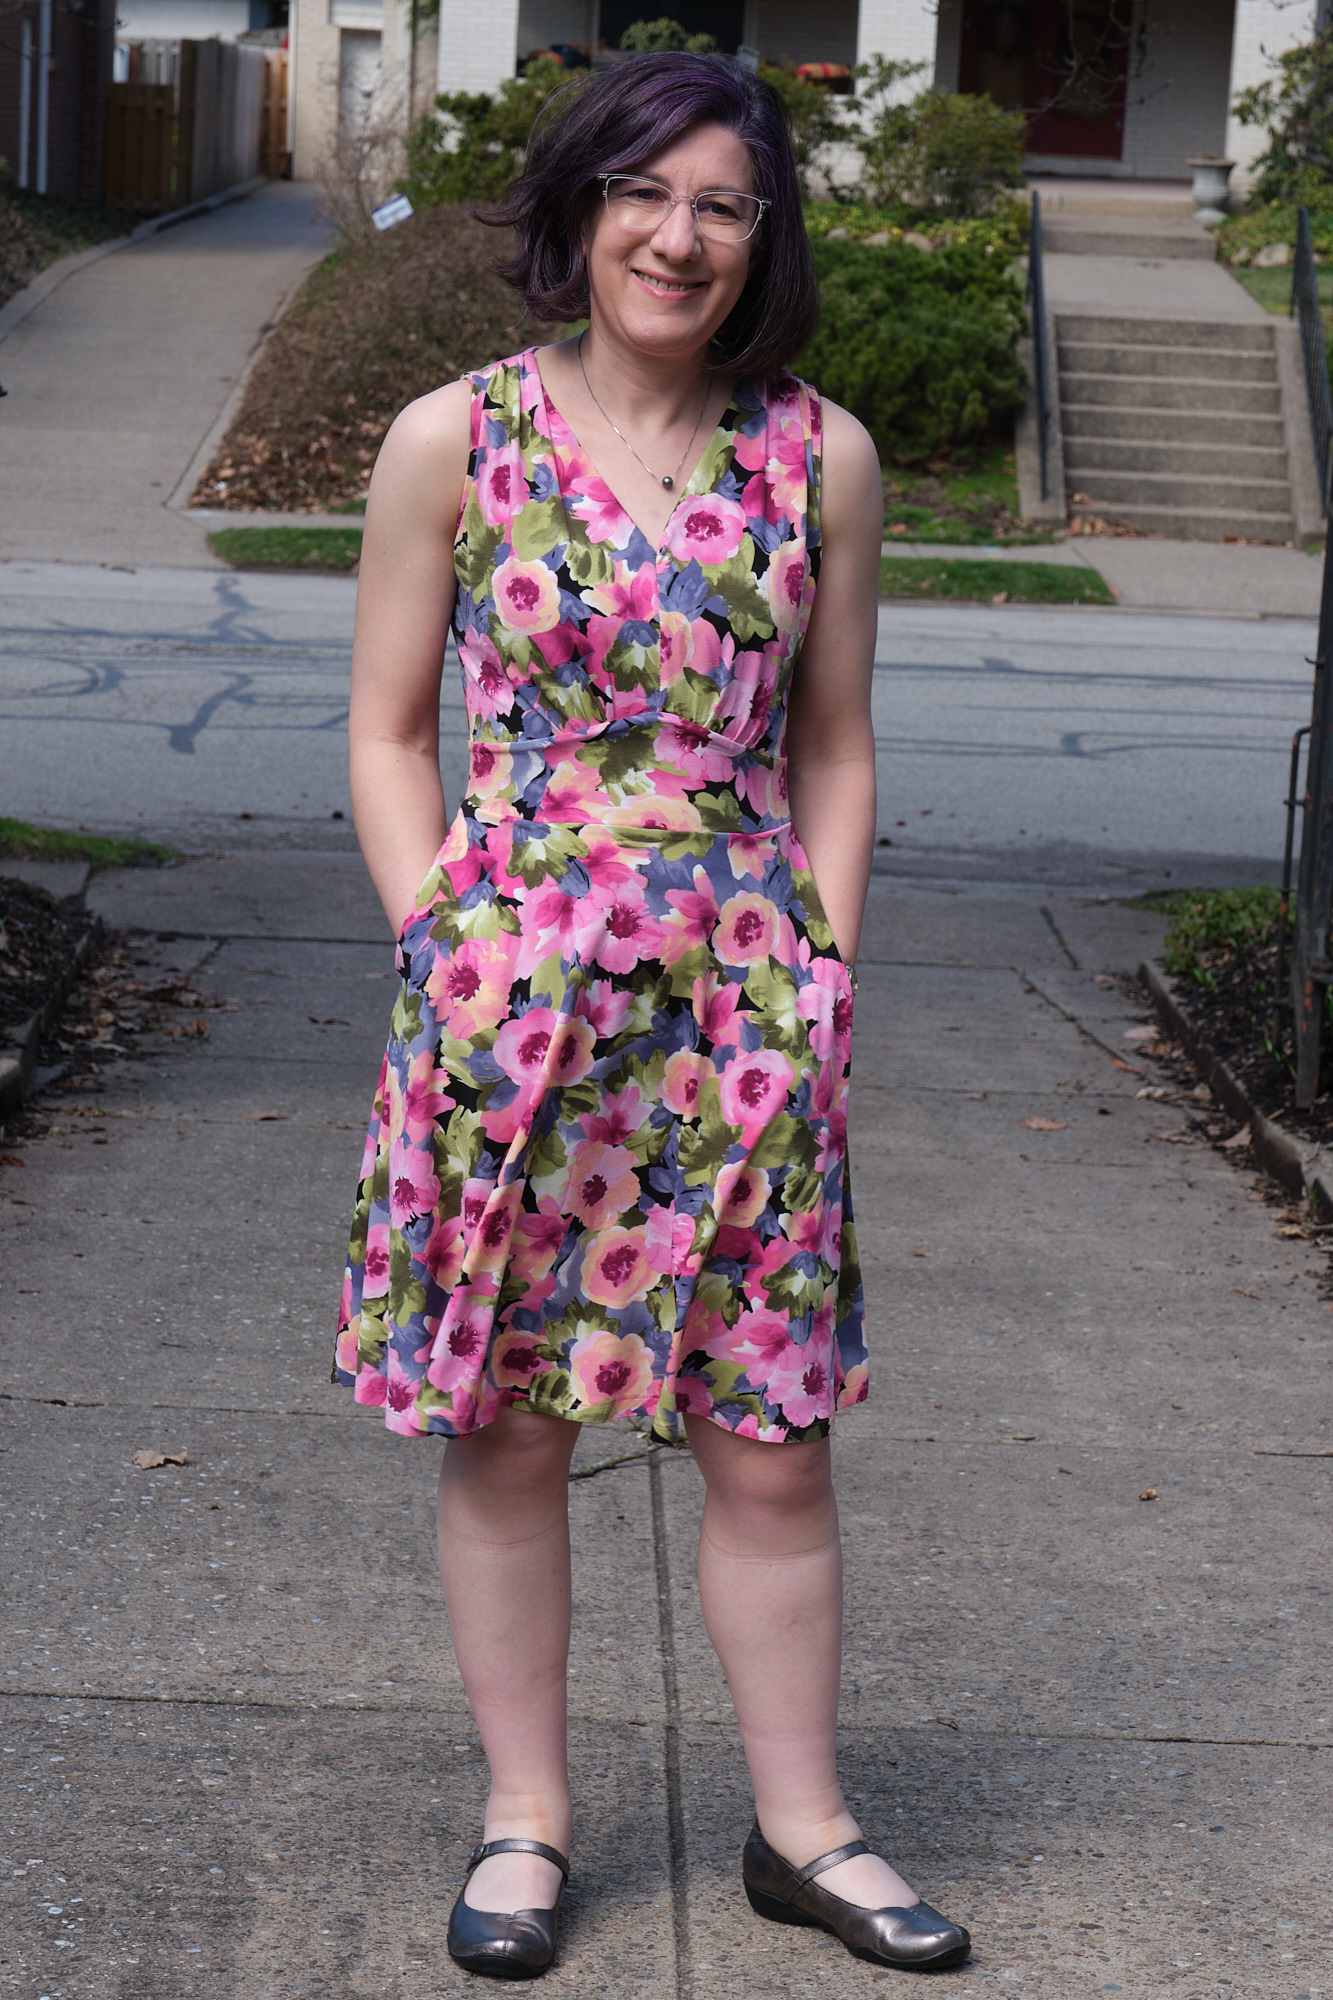
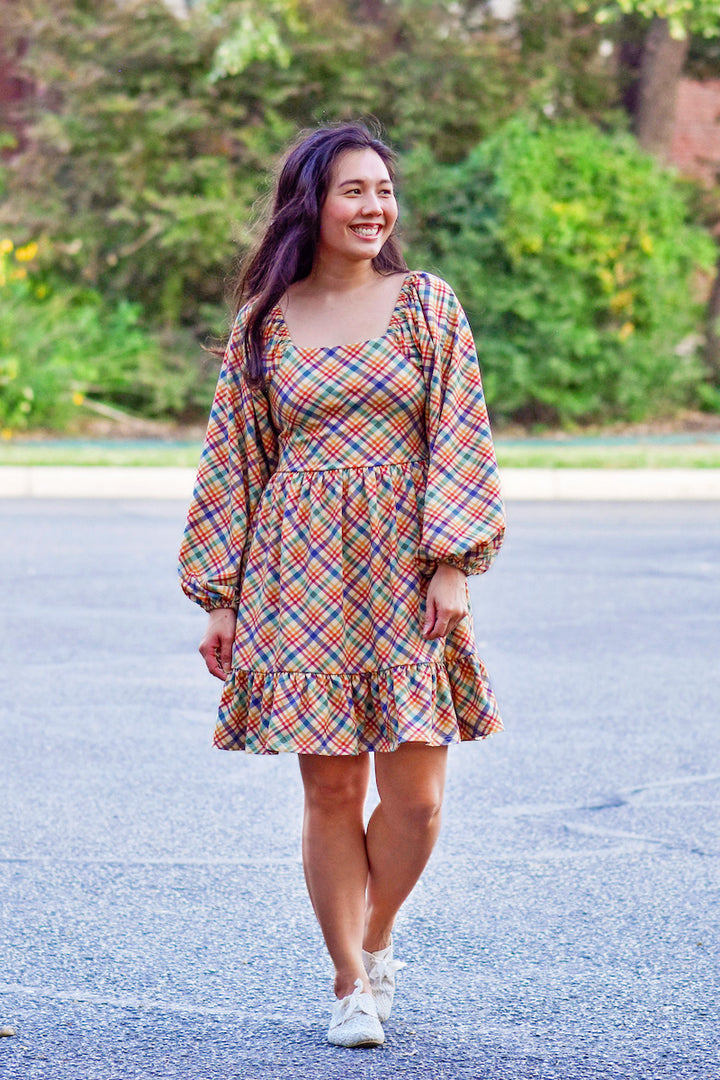
After printing up the diagonal tartan in Spoonflower cotton spandex jersey knit, I started working on my tartan dress. I was looking for a pattern that would allow me to keep all the tartan running in the same direction, and thus chose a gathered skirt rather than a circle or semi-circle skirt (which would have had the plaid appear to curve). When I saw a Styla Dublin dress with enormous puff sleeves sewn up in cotton-lycra plaid by another sewist, I decided to try the Dublin pattern. I first used the pattern to make a cotton-lycra Dublin top. Since this pattern didn’t come in a petite size, I was tempted to shorten the skirt of the dress, but decided to go ahead with the size 6 pattern as written, only shortening the shoulder elastic. This seems to have worked just fine. My tartan dress came out great and looks much like the plaid dress that inspired it. And, of course, I made it with usable pockets (lengthened slightly to better hold my phone). The pattern suggests optionally adding clear elastic at the neckline. I didn’t do that but I did understitch the font and back neckline and also understitched the pocket openings.
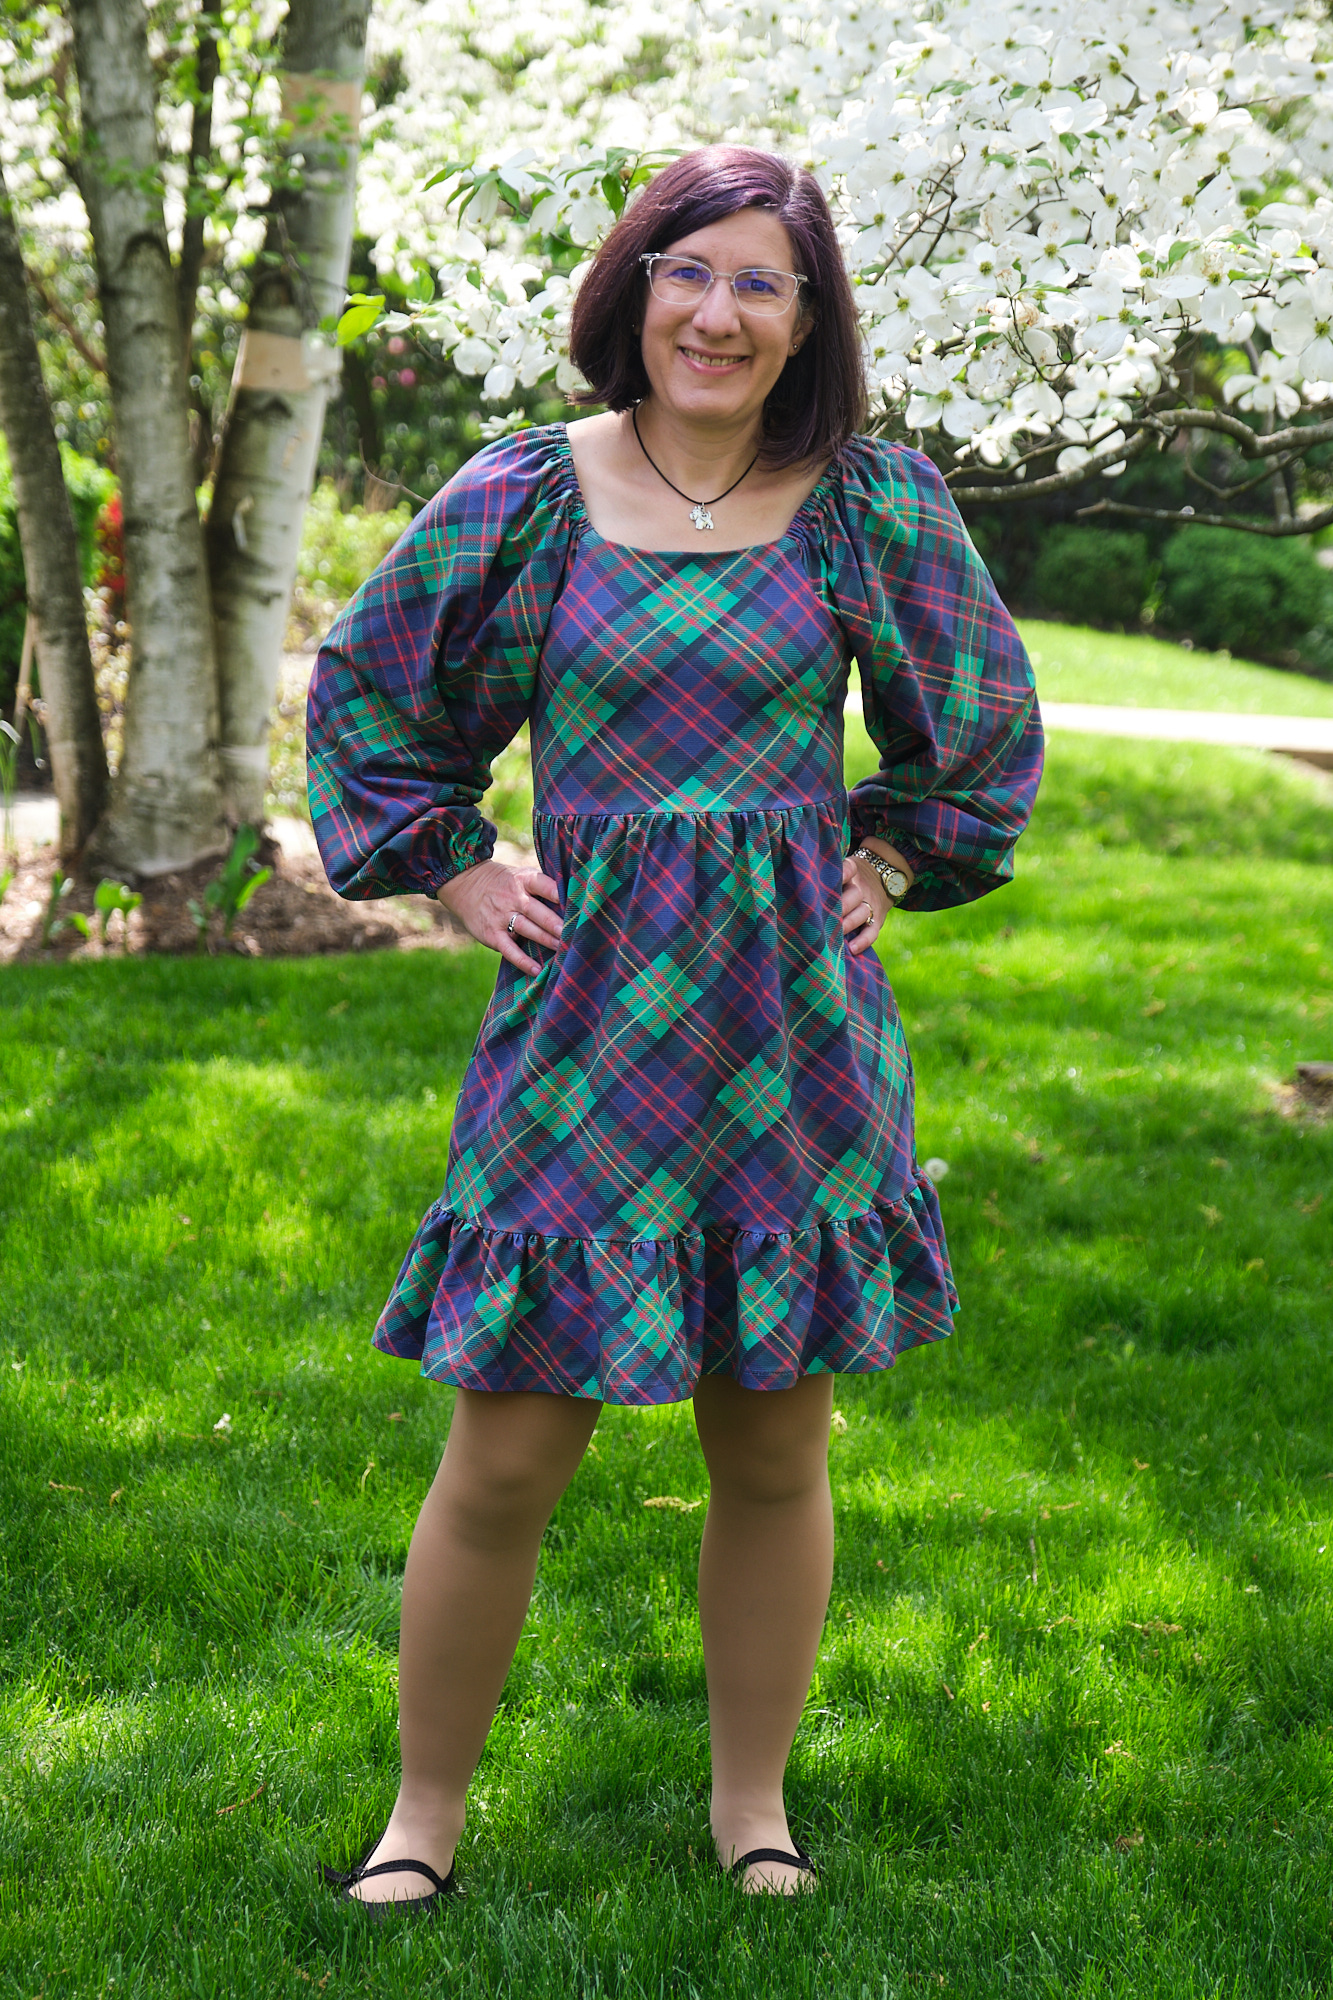
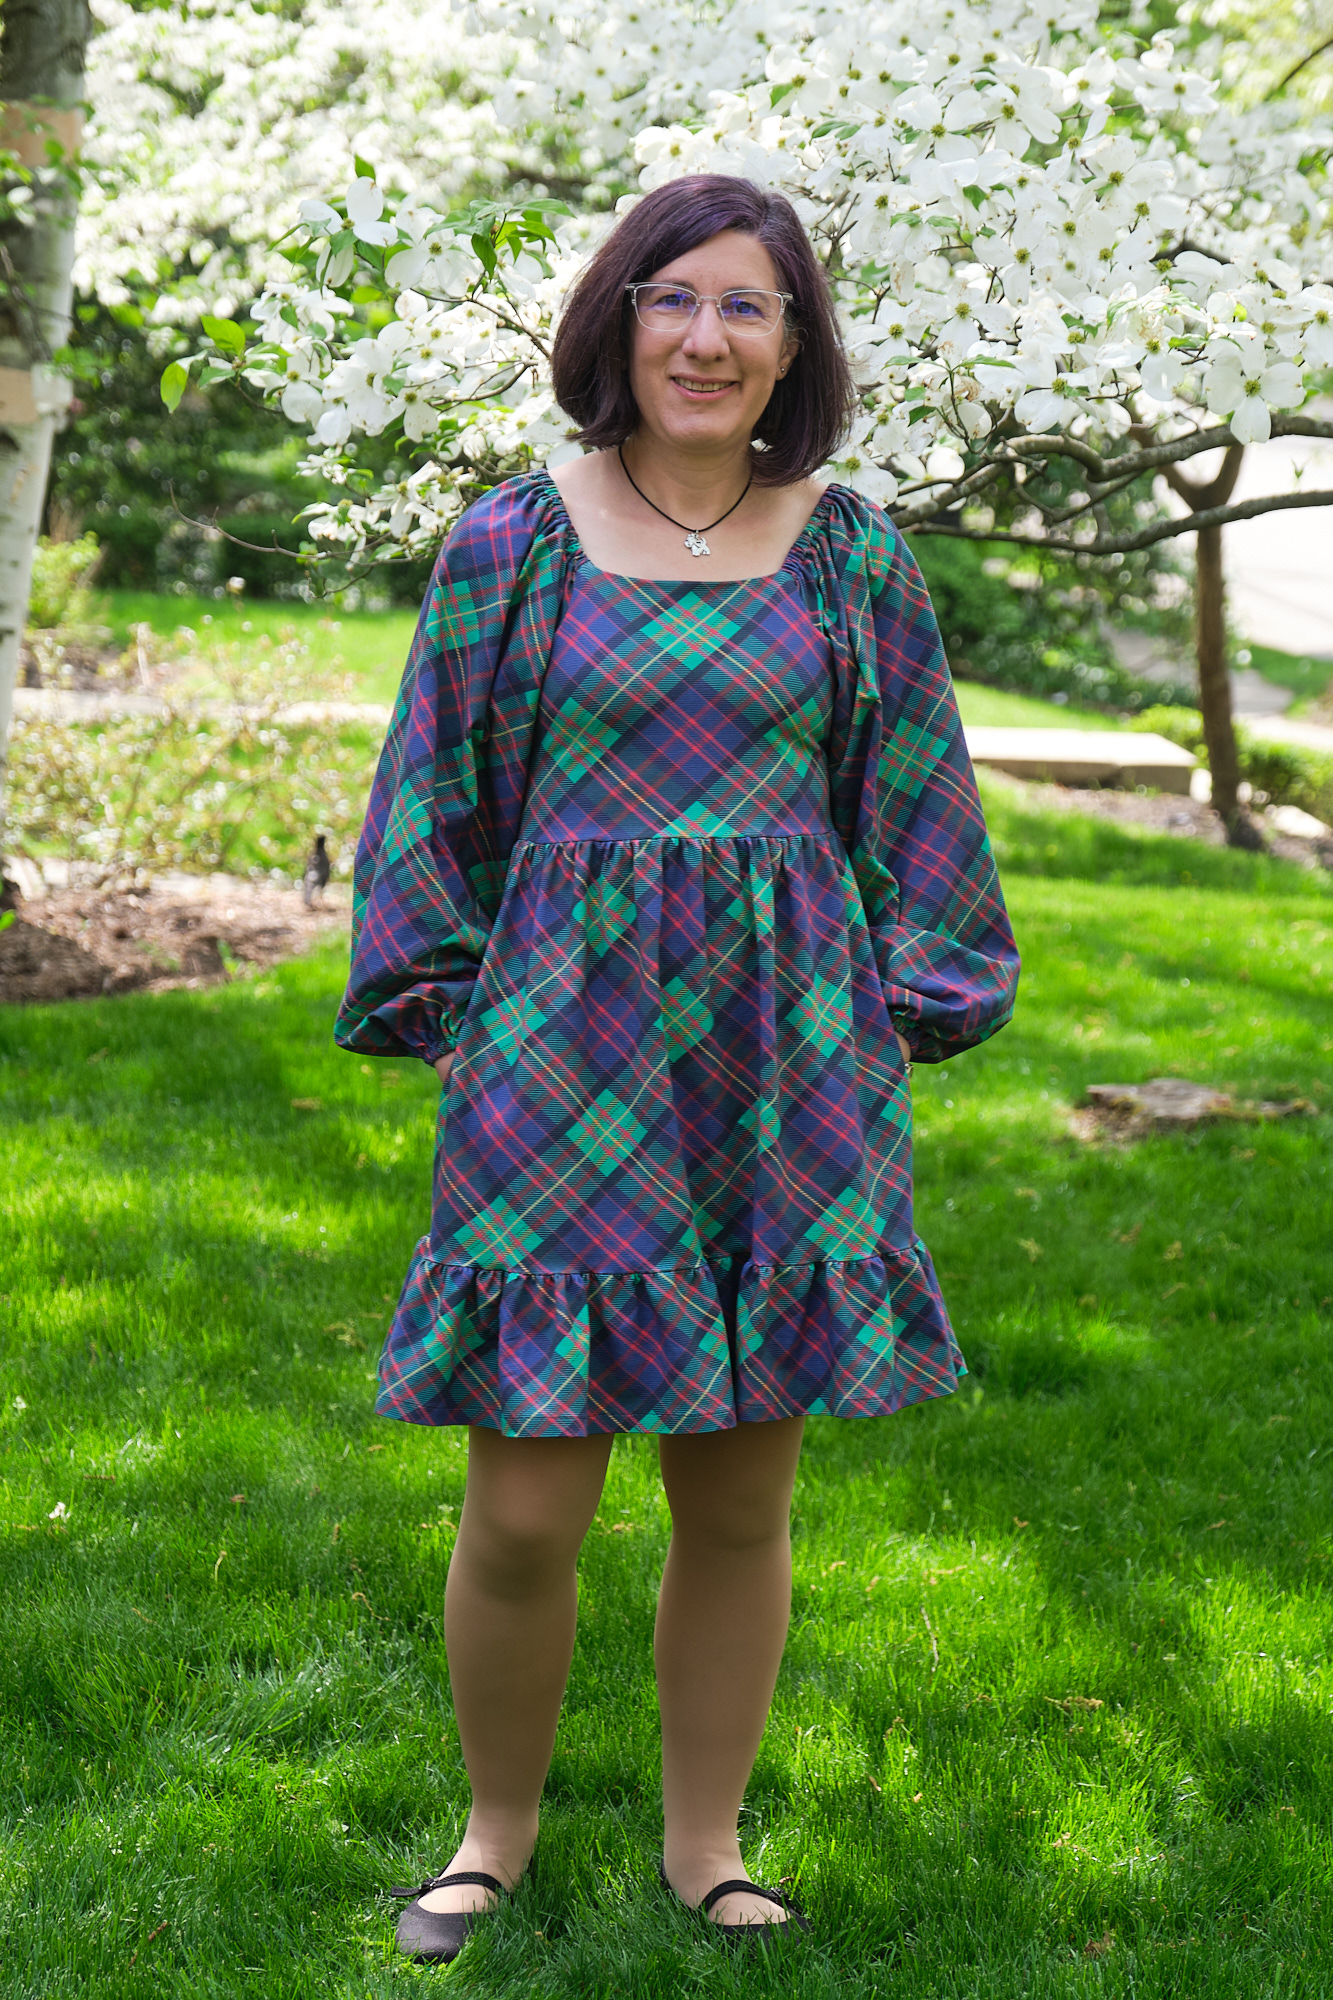
This is a bit of a different style than I usually wear, and I usually prefer circle or semi-circle skirts for less bulk around the waist. The Spoonflower cotton spandex is somewhat stiff from the saturated inks that sit on top of the fabric rather than absorbing into it so the gathers do poof out a bit. I don’t think this is the most flattering waist style for me, but I still think the dress looks pretty cute. I do love how the stiffer fabric poofs out the sleeves and the ruffle at the bottom of the skirt. The dress is fun to wear and looks great with my Scotty dog necklace (an inexpensive online purchase to keep the outfit on theme). Also, thanks to my neighbors for letting me pose in front of their dogwood, which was in full bloom on the day we took these photos.
I’ve started working on making some athletic wear out of the sport Lycra fabric and have ideas for using up the rest of the cotton spandex fabric. Stay tuned for more totally tartan posts in Part 2 and Part 3!


