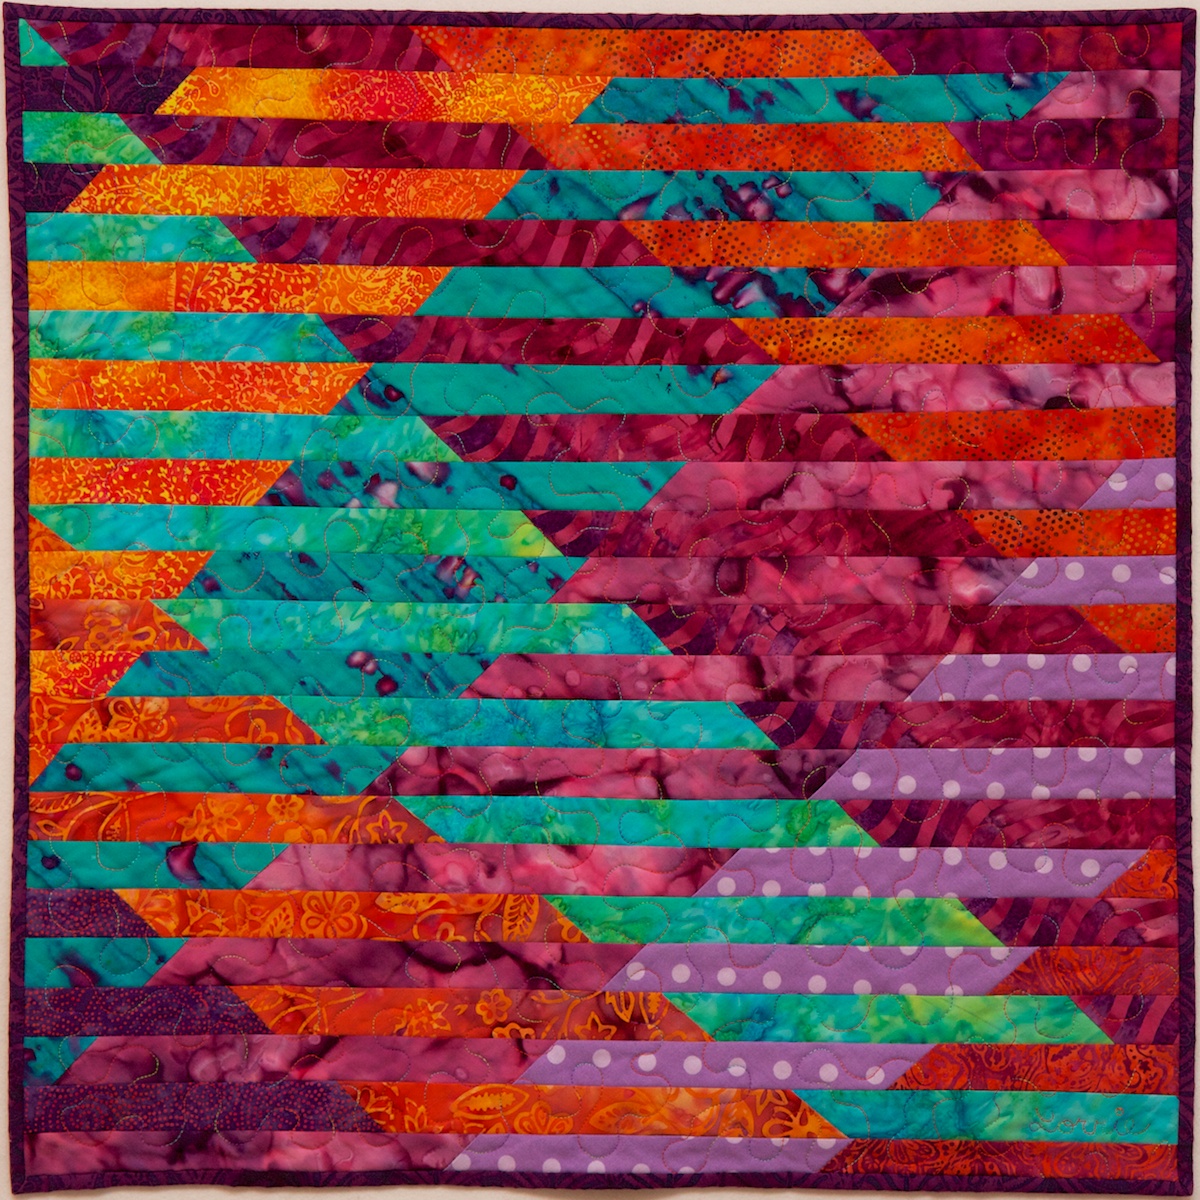
My Interleave quilts are pieced using a quilt-as-you-go technique in which thin strips of fabric are sewn to batting and backing. The interleave design results from cutting these strips from two panels of fabric and piecing alternate strips from each panel. In my quilts, some of the panels are pieced and some are photos printed on fabric. For added interest, I often shift my strips in a wave pattern. The result of this process is a complex-looking quilt that can be pieced quickly from thin strips sewn in straight lines.
Here is a quick tutorial on how I make a small Interleave quilt. I put this together for a 1-day workshop. We will be making a roughly 18 inch square interleave quilt with .5-inch stripes that can be used as a wall hanging, placemat, or pillow top. You can make a smaller sample if you prefer, but I would not suggest going any larger for the class project.
Materials
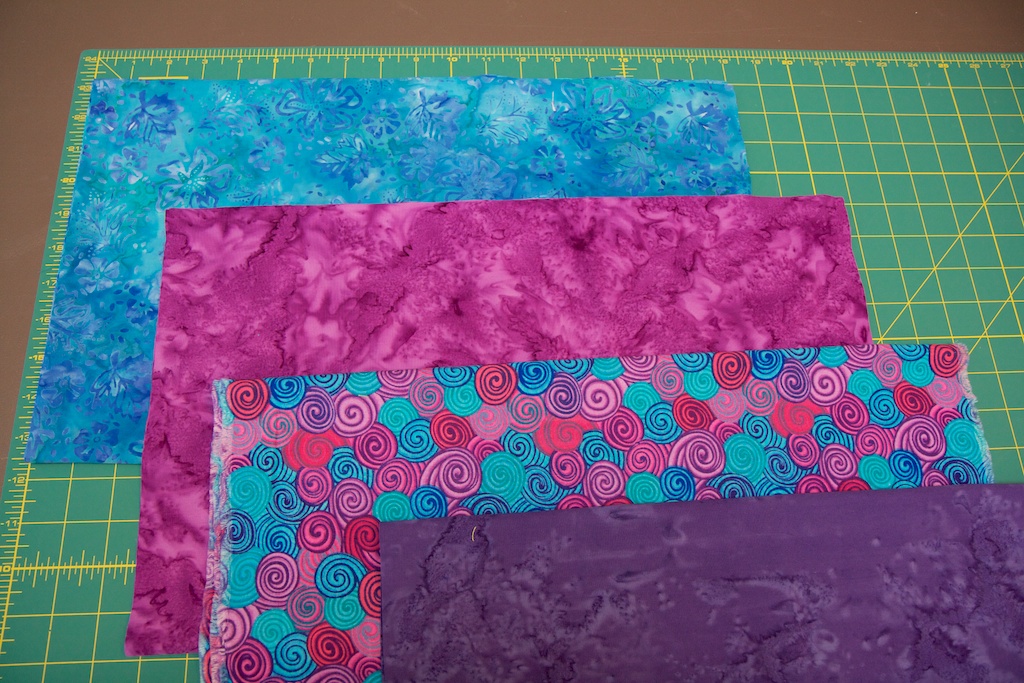
- 5 fat quarters (or larger) of cotton quilting fabric – Select 4 fabrics that go well together for the top, and 1 backing fabric that can be whatever you want. There should be some contrast between the 4 top fabrics – if they all blend together too much the interleave design won’t stand out. You should have enough left over from the top fabric fat quarters to make a binding. But you are welcome to provide extra fabric for a binding or to turn the finished quilt into a pillow. You will probably be doing the binding at home after the workshop.
- Gridded cutting mat, at least 18 inches long
- Ruler, at least 18 inches long (you need a ruler that will allow you to easily cut 18-in long and 1-in wide strips)
- Rotary cutter
- Scissors
- Iron
- Ironing pad or towel
- Sewing machine and needles with a ¼ in. foot (if you have a ¼ in foot with a guide, even better!)
- Neutral cotton piecing thread (I recommend Aurifil 50/2 in grey, but whatever you like to piece with is fine)
- Pencil and pen
- Pins
- Fat quarter of cotton/polyester fusible batting
- Fat quarter of quarter-inch grid cotton fabric — available at http://www.spoonflower.com/fabric/2046219
- Instructions and templates
Instructions
Select four fat quarters of four fabrics for the quilt top. They should be fabrics that go well together, but have some contrast between them.


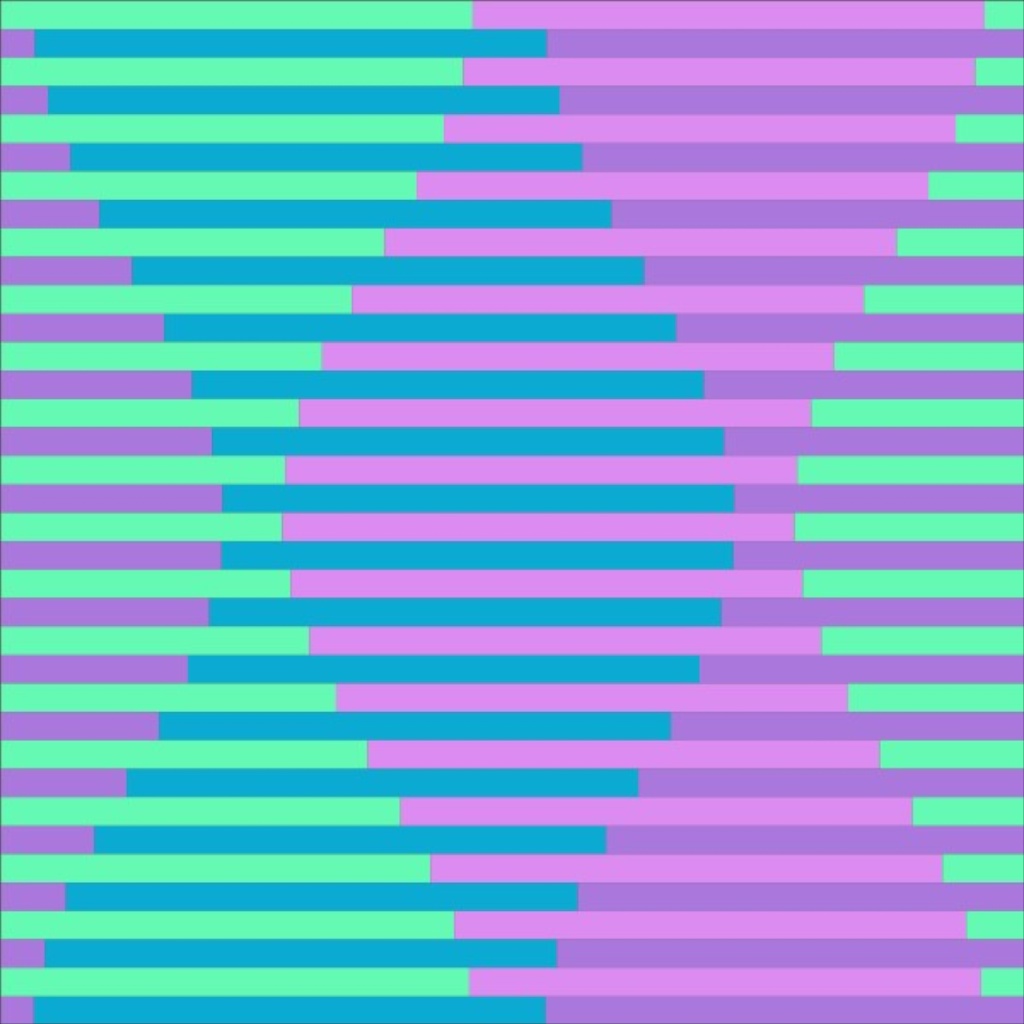
Next elect the style of interleave you want to try. The most basic shape would be straight, with no shifting. If you follow the instructions below and do not shift your fabrics, the result will be something like what you see here to the right. If you want to try this, just join your pairs of fabric on one edge rather than making tubes and skip the part about templates and cutting open the tube.
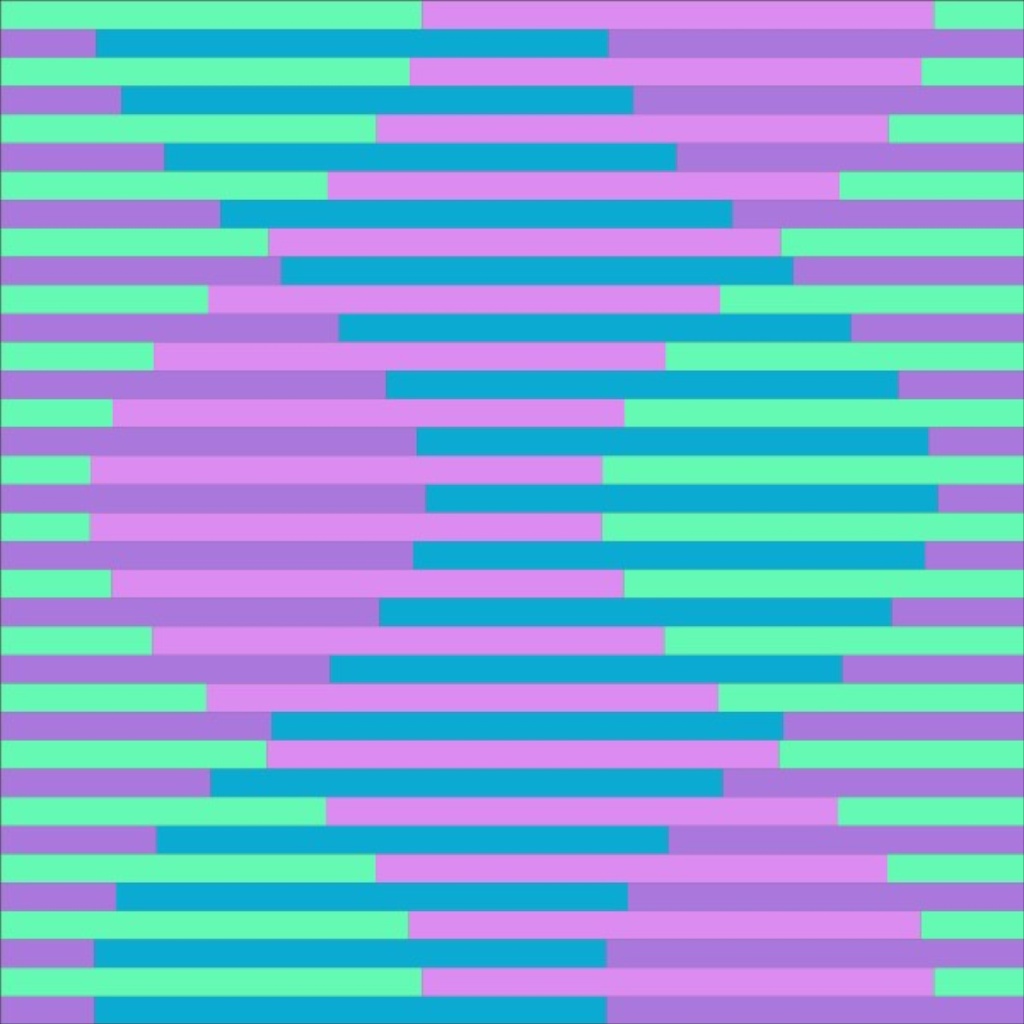
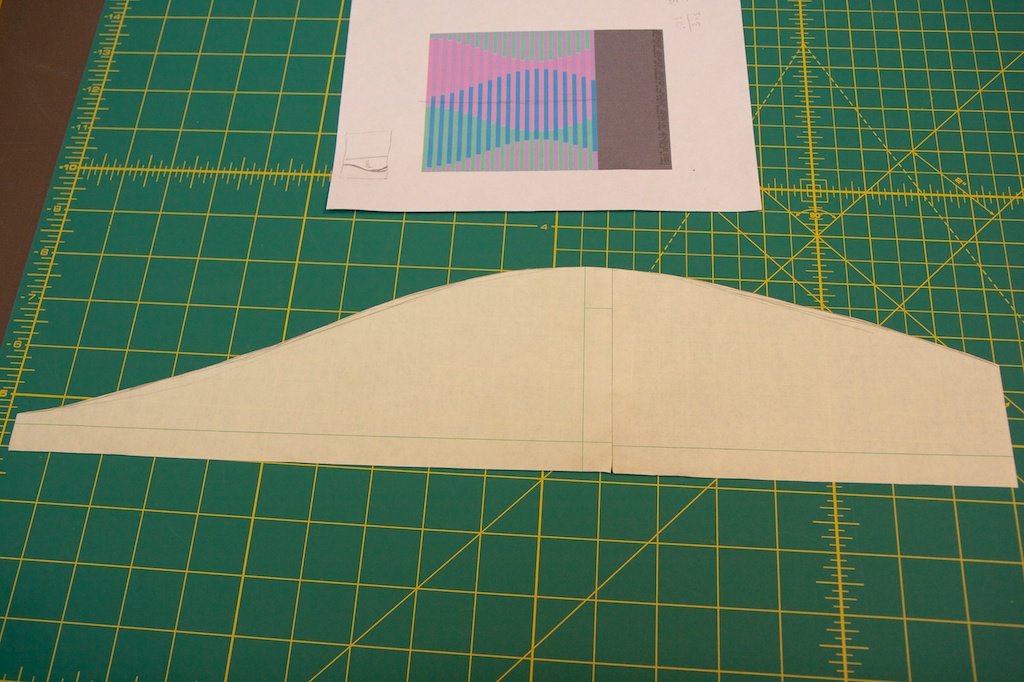
 In the instructions below I used a vase shape (shown here on the left) to shift my interleave design, but there are lots of other designs you might choose.
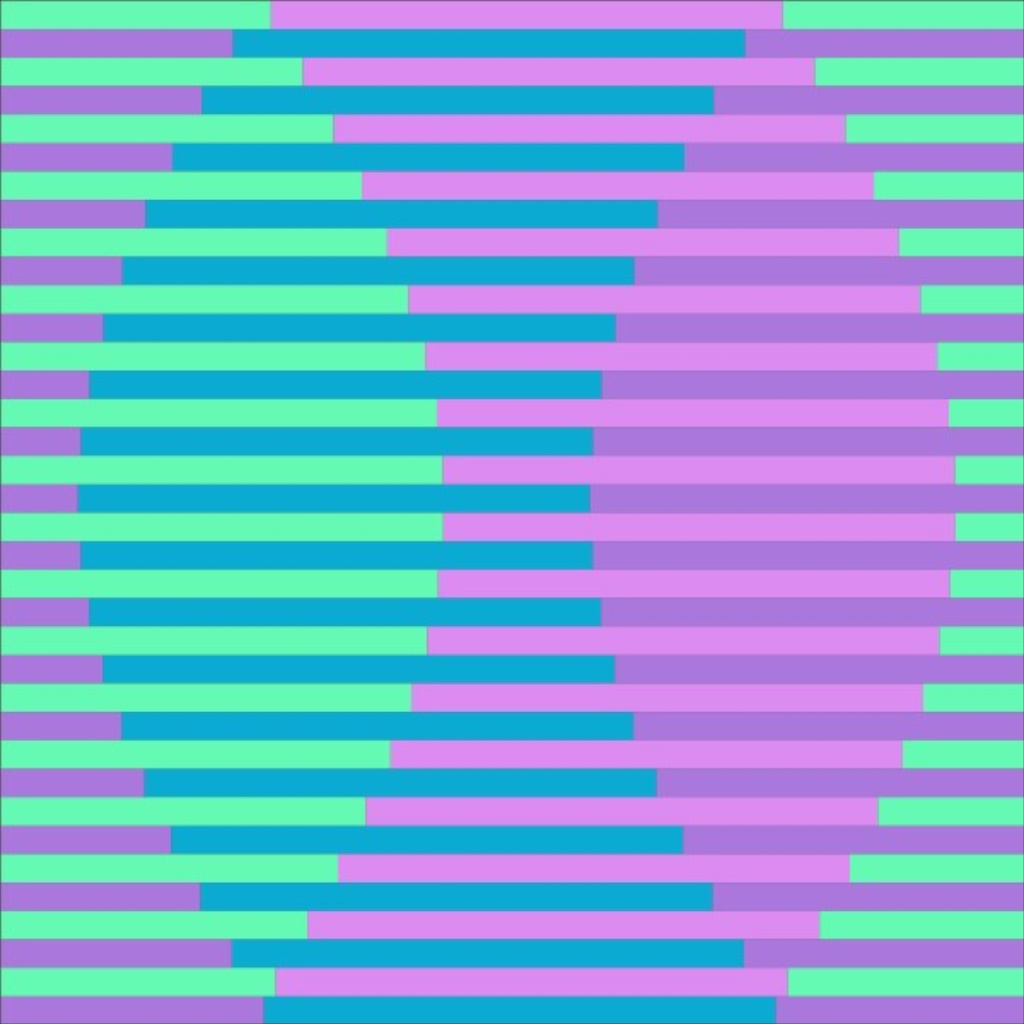
Below are example of the following shapes: sine wave, mirrored sine wave, skewed sine wave, hour glass, helix, and marquise. These shapes are all based on sine waves of differing frequencies and amplitudes. I generated them all using a computer program that I wrote. But once you have a feel for how this process works you can adapt these designs yourself without the aid of a computer.


Once you select the shape you want to use, you will need to create a paper template. I have prepared templates for the designs you see here. You can enlarge, reduce, or adapt them to suit your needs. This template is a PDF file designed to print on 11×17 paper.
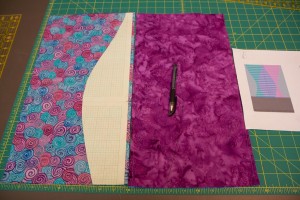
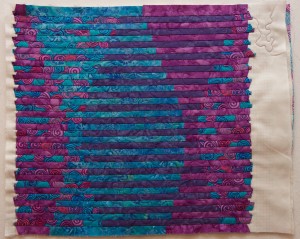
The next step is to prepare the foundation for your quilt. Since this is a quilt-as-you-go technique, we will be layering the batting with a backing and a foundation. I like to use a fusible batt so I don’t have to baste it. I also find it makes things easier if you mark your foundation fabric with parallel lines. After marking several foundations by hand with pencil, I designed a grid fabric and had it printed at spoonflower.com on basic combed cotton. I know it is a little pricey for fabric you will never see in the finished piece, but it does save a lot of time and effort. If you would prefer, you can use any white or light-colored fabric and mark it with parallel lines, .5-inch apart.
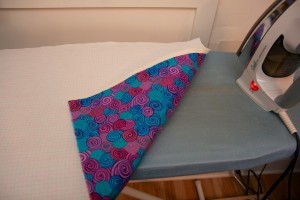
Layer backing, fusible batting, and grid fabric and fuse together.
After your foundation is prepared, follow the instructions below to cut your fabric and assemble your quilt.

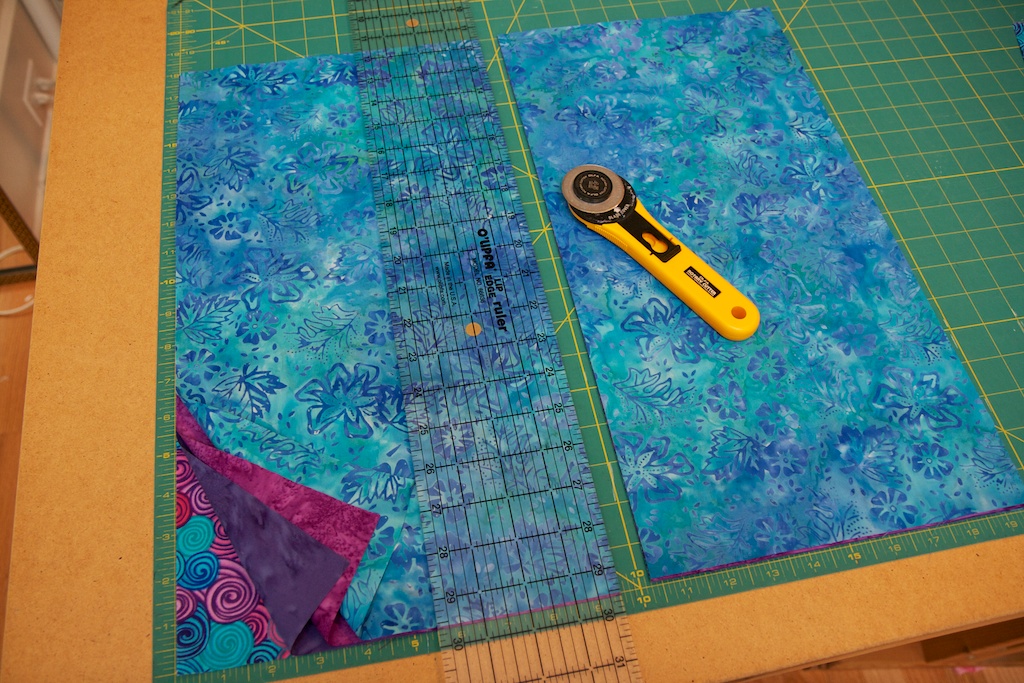
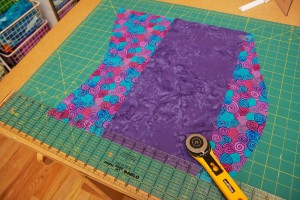
Cut a 18×9.5 inch strip from each fat quarter.
Decide how to pair your strips; I suggest pairing them so the strips with highest contrast are paired together. Place a pair of strips right sides together, and sew along both long edges with a 1/4-inch seam allowance to form a tube (leave the short edges open). Repeat for the other pair of strips.

Cut out a paper template with shape you will use to shift your strips.
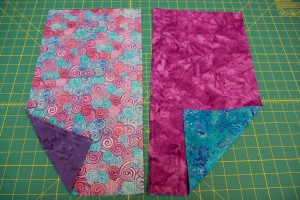
Lay the paper template on one of the fabric tubes and trace along the edge with a dark pen. Flip the template over and repeat on the other tube.
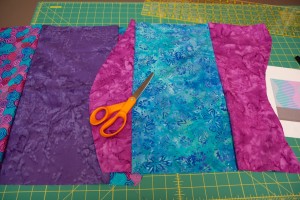
Cut both tubes open along the lines you just traced.
Press all the seams to one side. You should now have two panels that are cut to match the curves in your design. To make it easier to keep track of your panels, place a piece of tape on each panel and label them “1” and “2.”
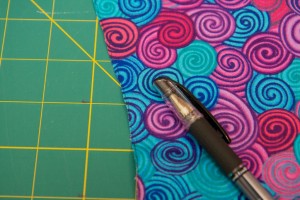
Using your dark pen, draw a line down the left edge of the front side of each panel. Remember “the Line is on the Left” so that you know how to orient your panels and strips when you sew them together.
Starting at the bottom of each panel, use your ruler and rotary cutter to slice a 1-inch strip. You may want to slice several strips at a time, but if you do, I suggest numbering them along the edge so you can keep track of what order they are in.
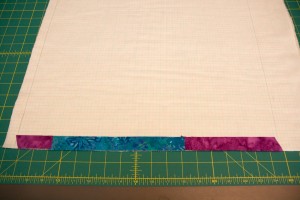
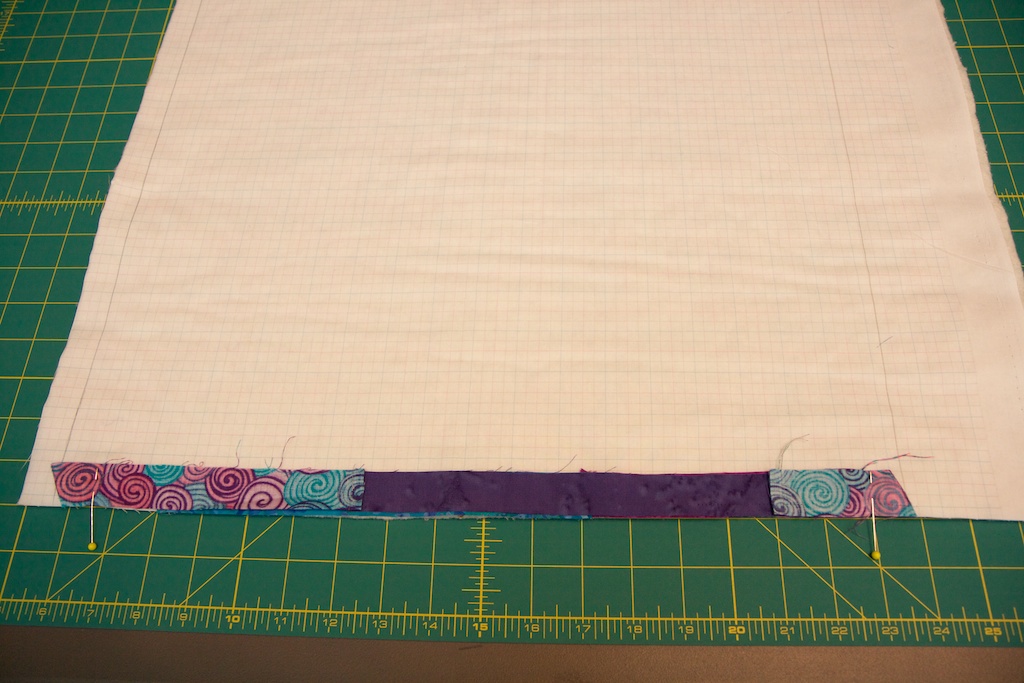
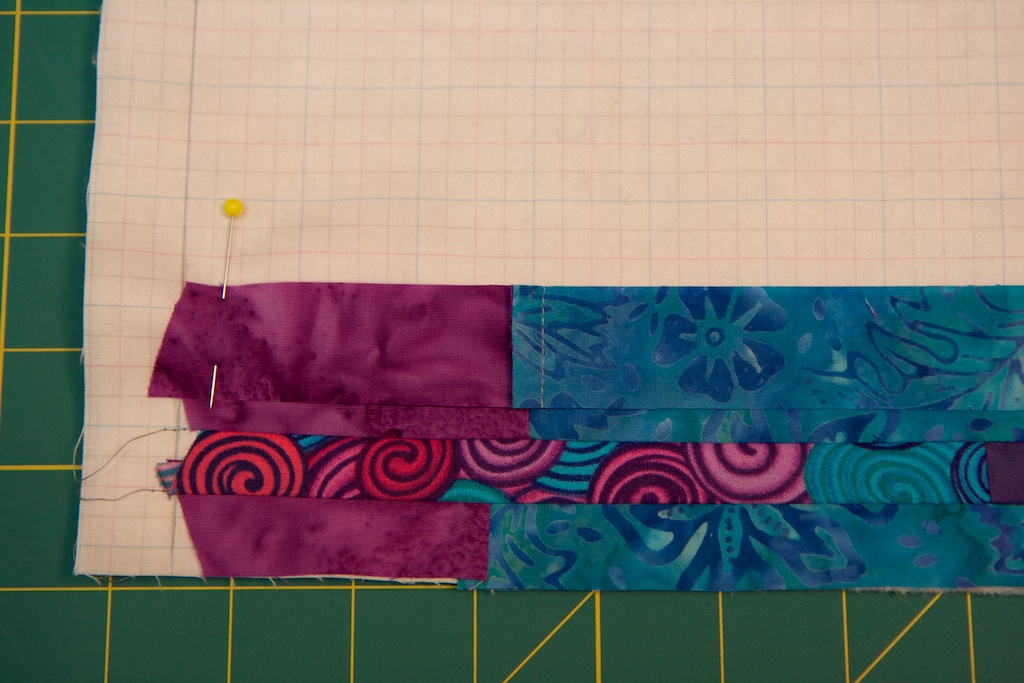
Line up the bottom strip from panel 2 on the bottom edge of your grid fabric, aligning with the line 1-inch from the bottom edge. The strip should be face up with the edge where you marked the line on the left side. Since the edges of the strip are not perpendicular the alignment with the left and right edges will be approximate.

Line up the bottom strip from panel 1 face down on top of the strip from panel 2. Pin in place.
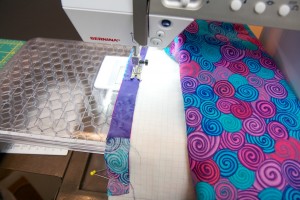
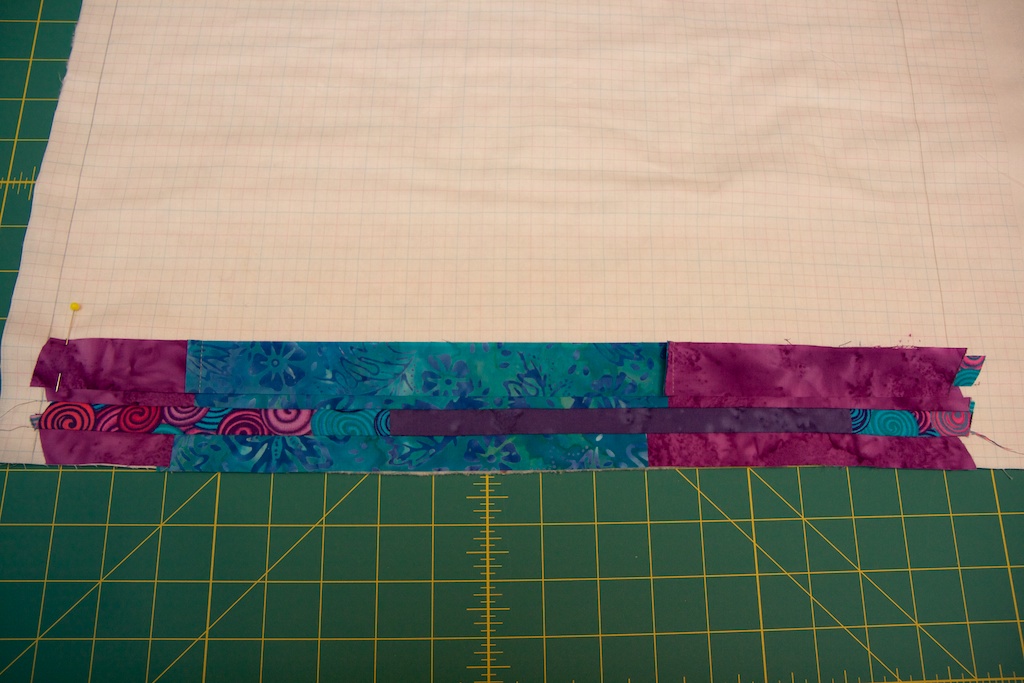
Using a 1/4-in foot sew along the top edge of your strips. A foot with a 1/4-in guide can make this easier. You may prefer to use a walking foot,
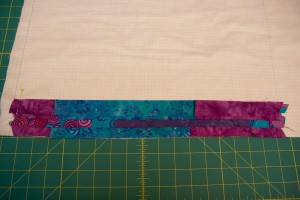
Press open your strips. Then cut another strip from the bottom of panel 2 and layer it face down on top of the previous strip you sewed. Sew the next strip in place.

If your strips are not precisely 1-inch thick, don’t worry. You should line up the top of each new strip with the next grid line, even if the previous strip falls a little short of that line. In the even you have a strip that goes over the line, you may want to trim it so you can see the line or use a ruler to help with alignment. You can use pins to hold the strips in place, but you may find that after some practice they are not necessary.

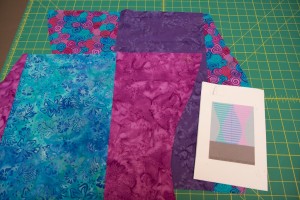
Continue alternating between panel 1 and panel 2 strips until you cover the grid. You may have a couple extra strips left over. (To avoid leftover strips, your grid fabric should be at least .5-inch taller than your fabric tubes.)
Once all your strips have been sewn down, your quilt is not only pieced, but also quilted.
For a little extra pizzazz you may want to do some free motion quilting or other embellishments.
Variations
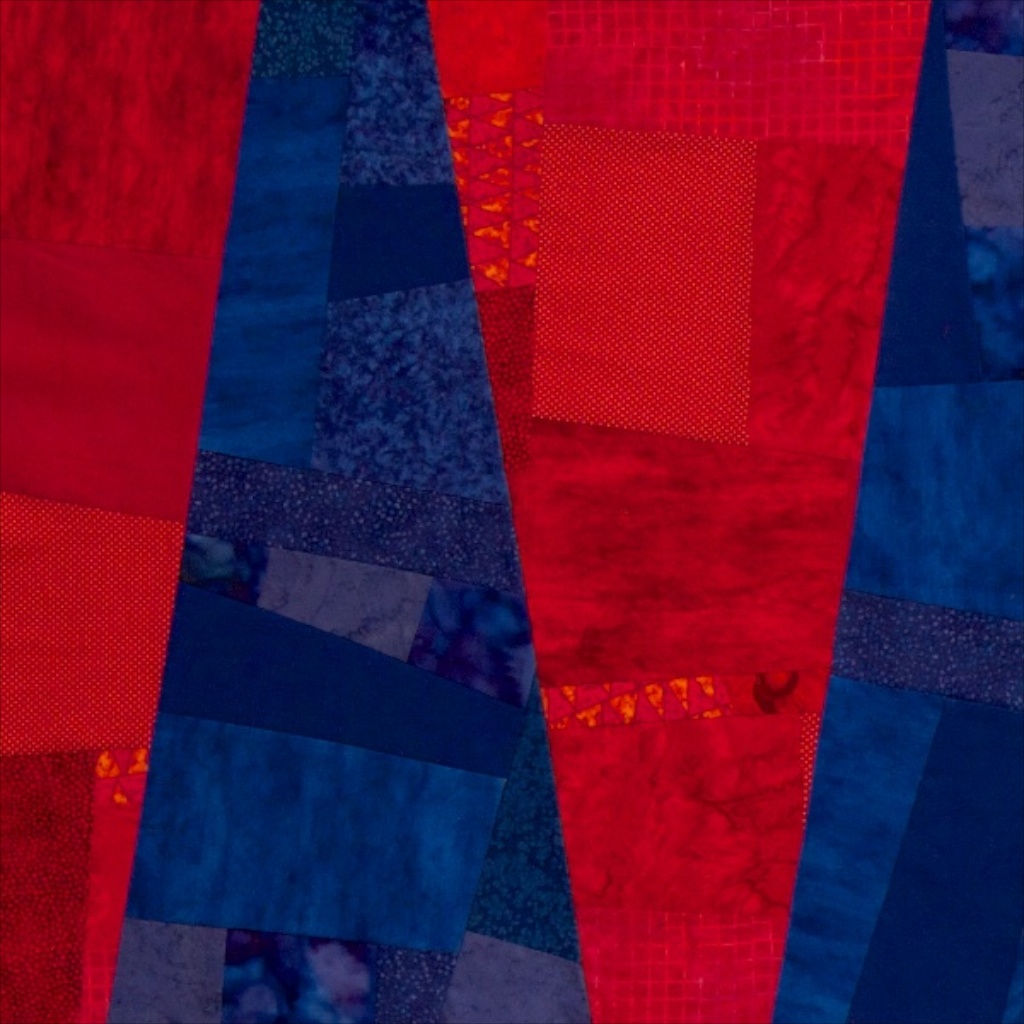
You can achieve some interesting effects by starting with fabric panels that include interesting shapes. For example, you might cut your fabric into right triangles instead of strips, and interleave them without shifting.


You could use the same panels shown above, form them into tubes, cut them open on a curve, and produce one of the designs below, depending on the shape of the curve you use.


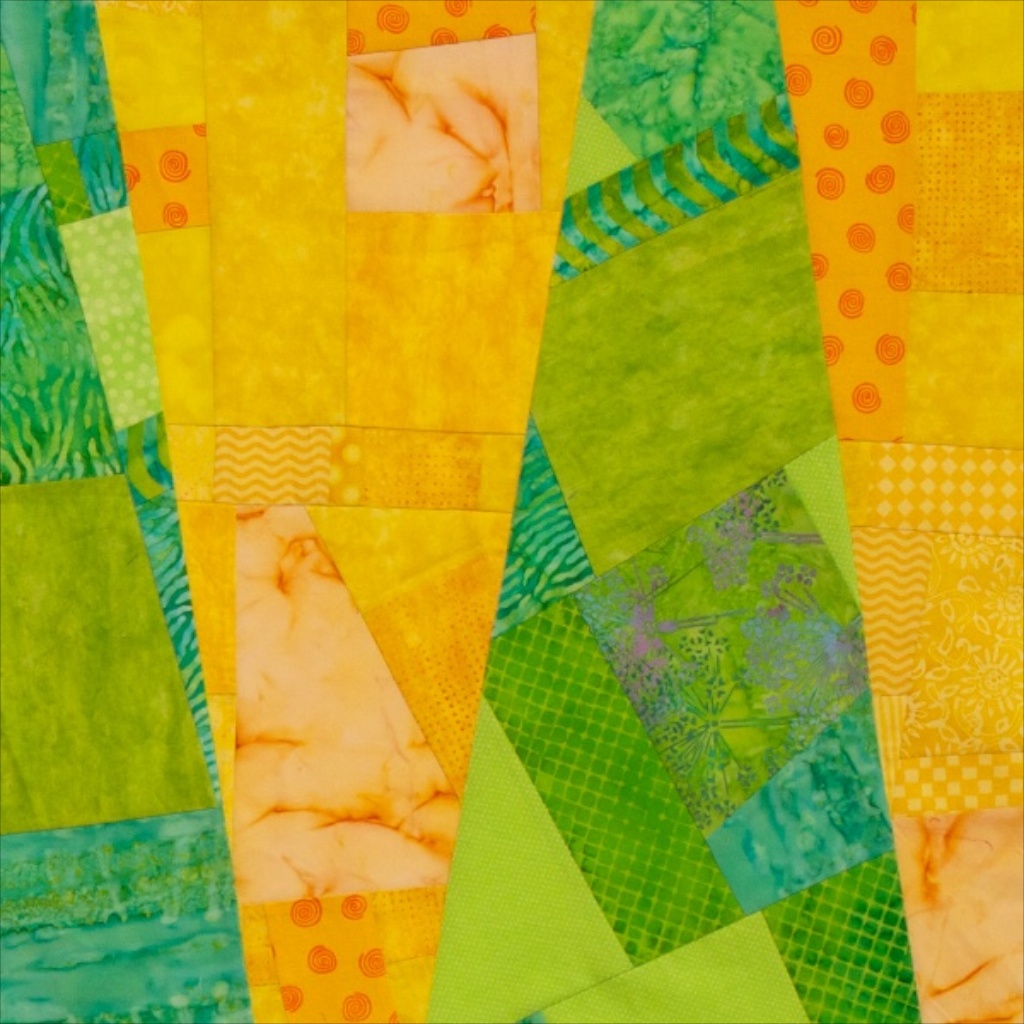
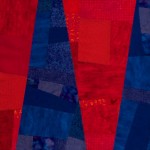
You might also start with panels that have three or more shapes and interleave them as shown on the right below.


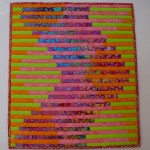
I used this approach to make Interleave #1.

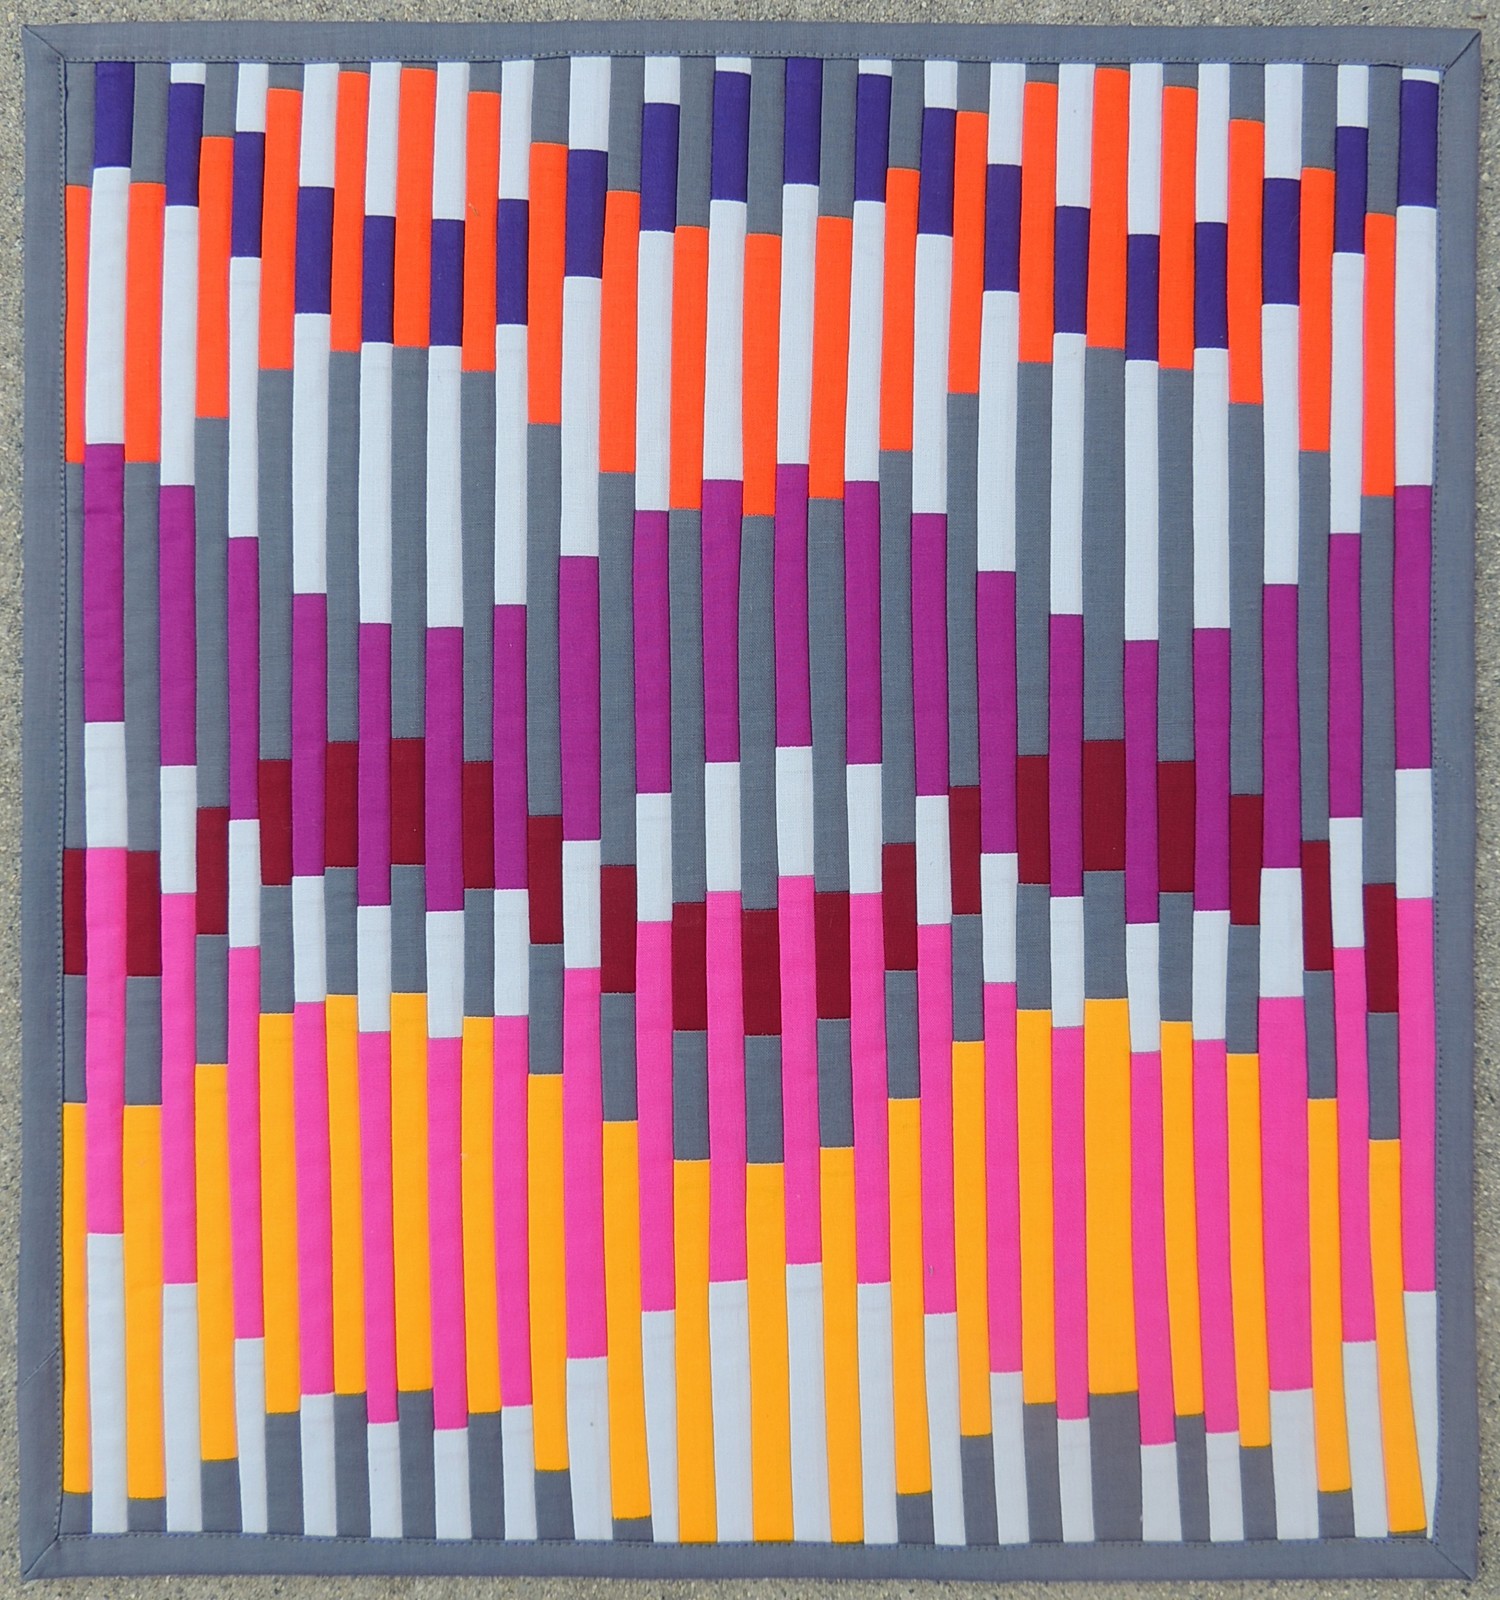
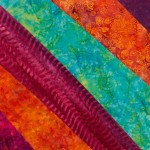
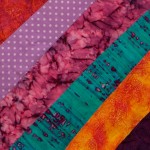
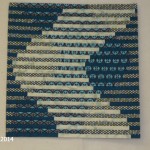
For Interleave #2 I assembled five diagonal strips on each panel. Instead of cutting 1-inch strips for interleaving, I used 1.5-inch strips so that they would end up 1-inch after accounting for seam allowances. In order to keep everything lined up nicely with proper spacing, I had to cut a .5-inch strip after cutting every 1.5-inch strip. These narrow strips are not actually used in the quilt, but they do make for some colorful ribbons. This approach requires more cutting, but a lot less sewing, so the quilt assembly goes faster.

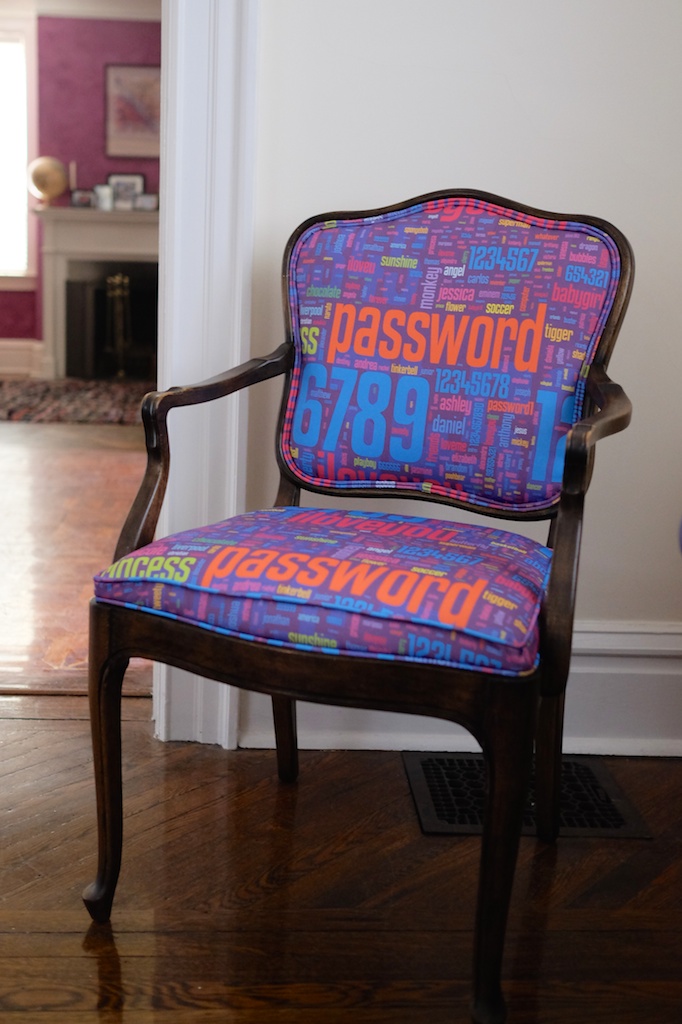
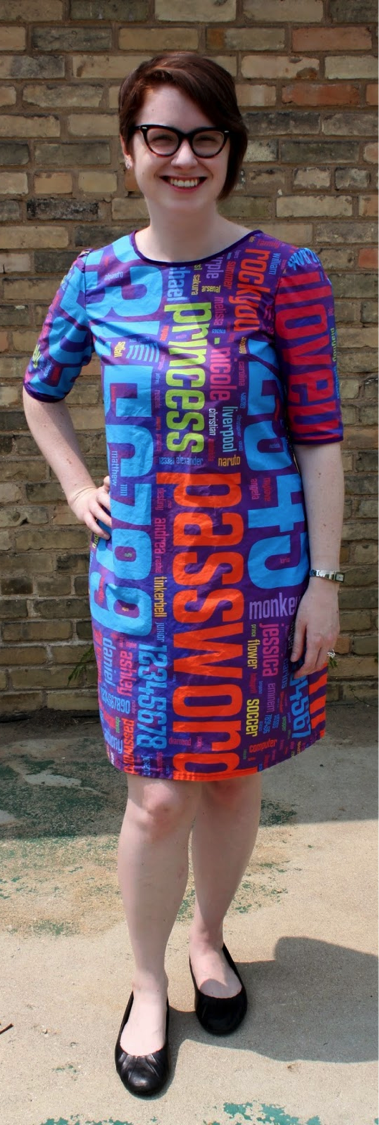
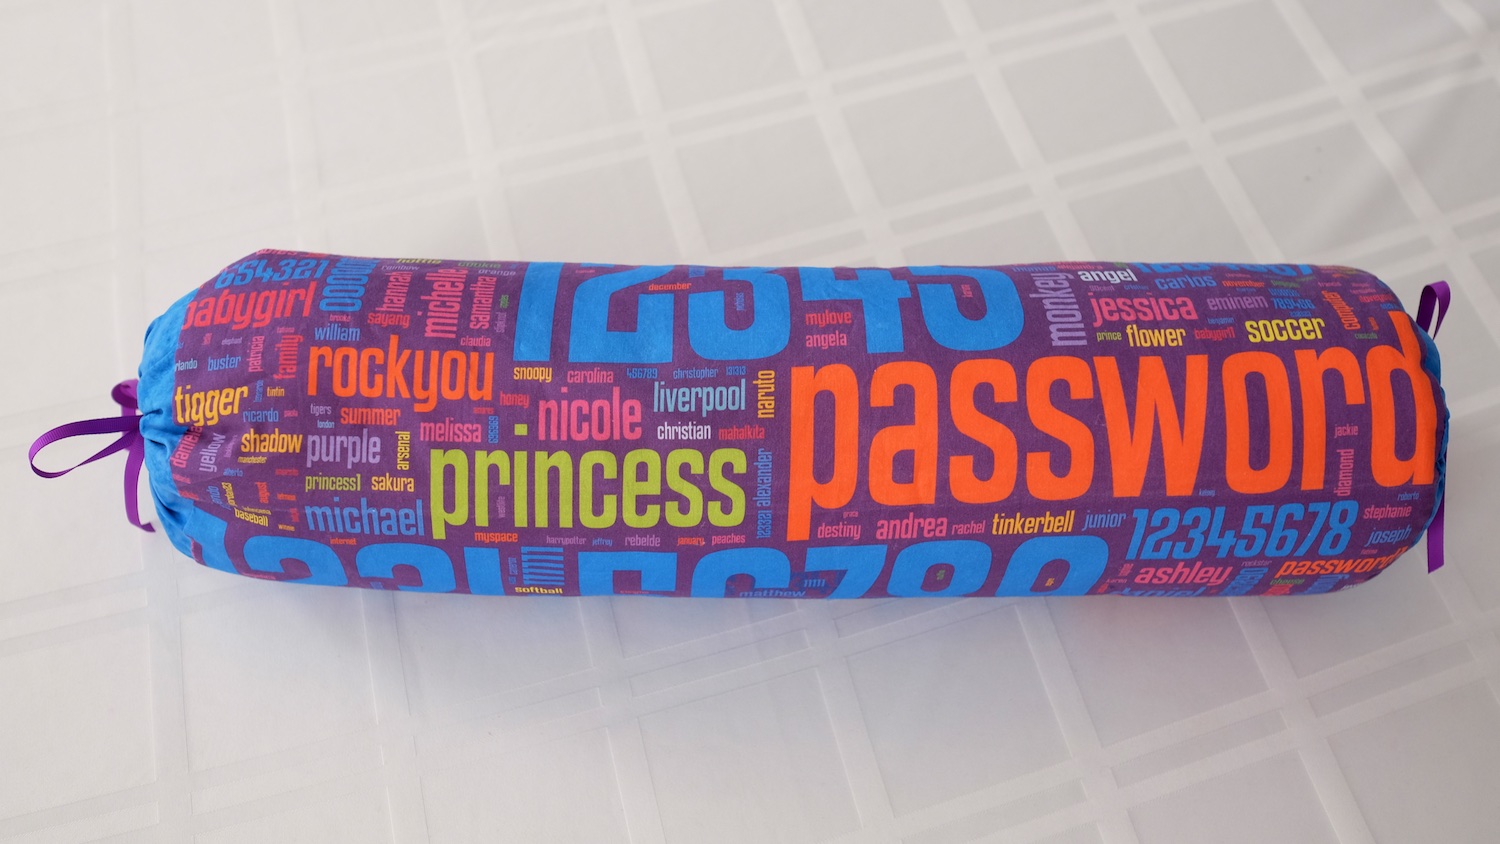
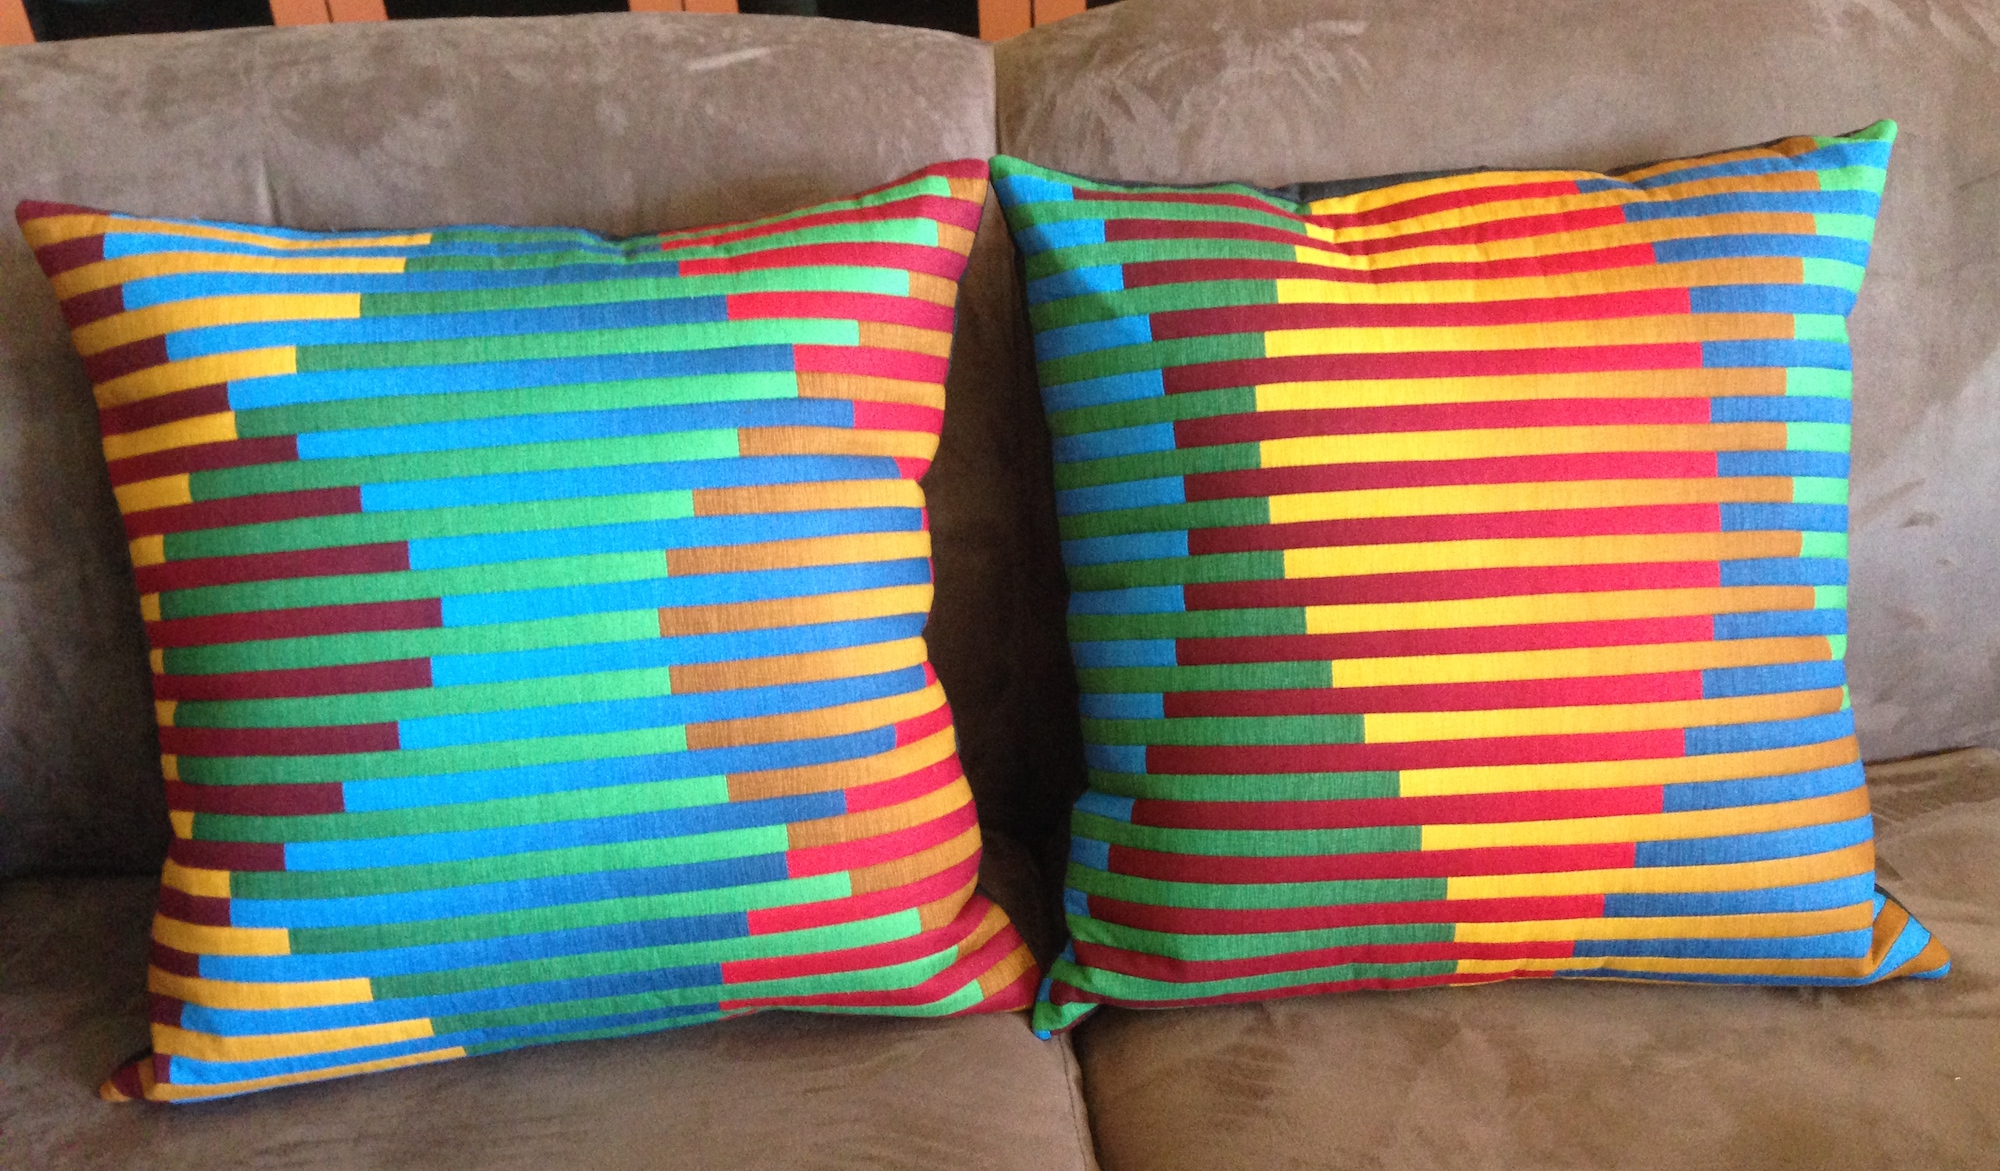
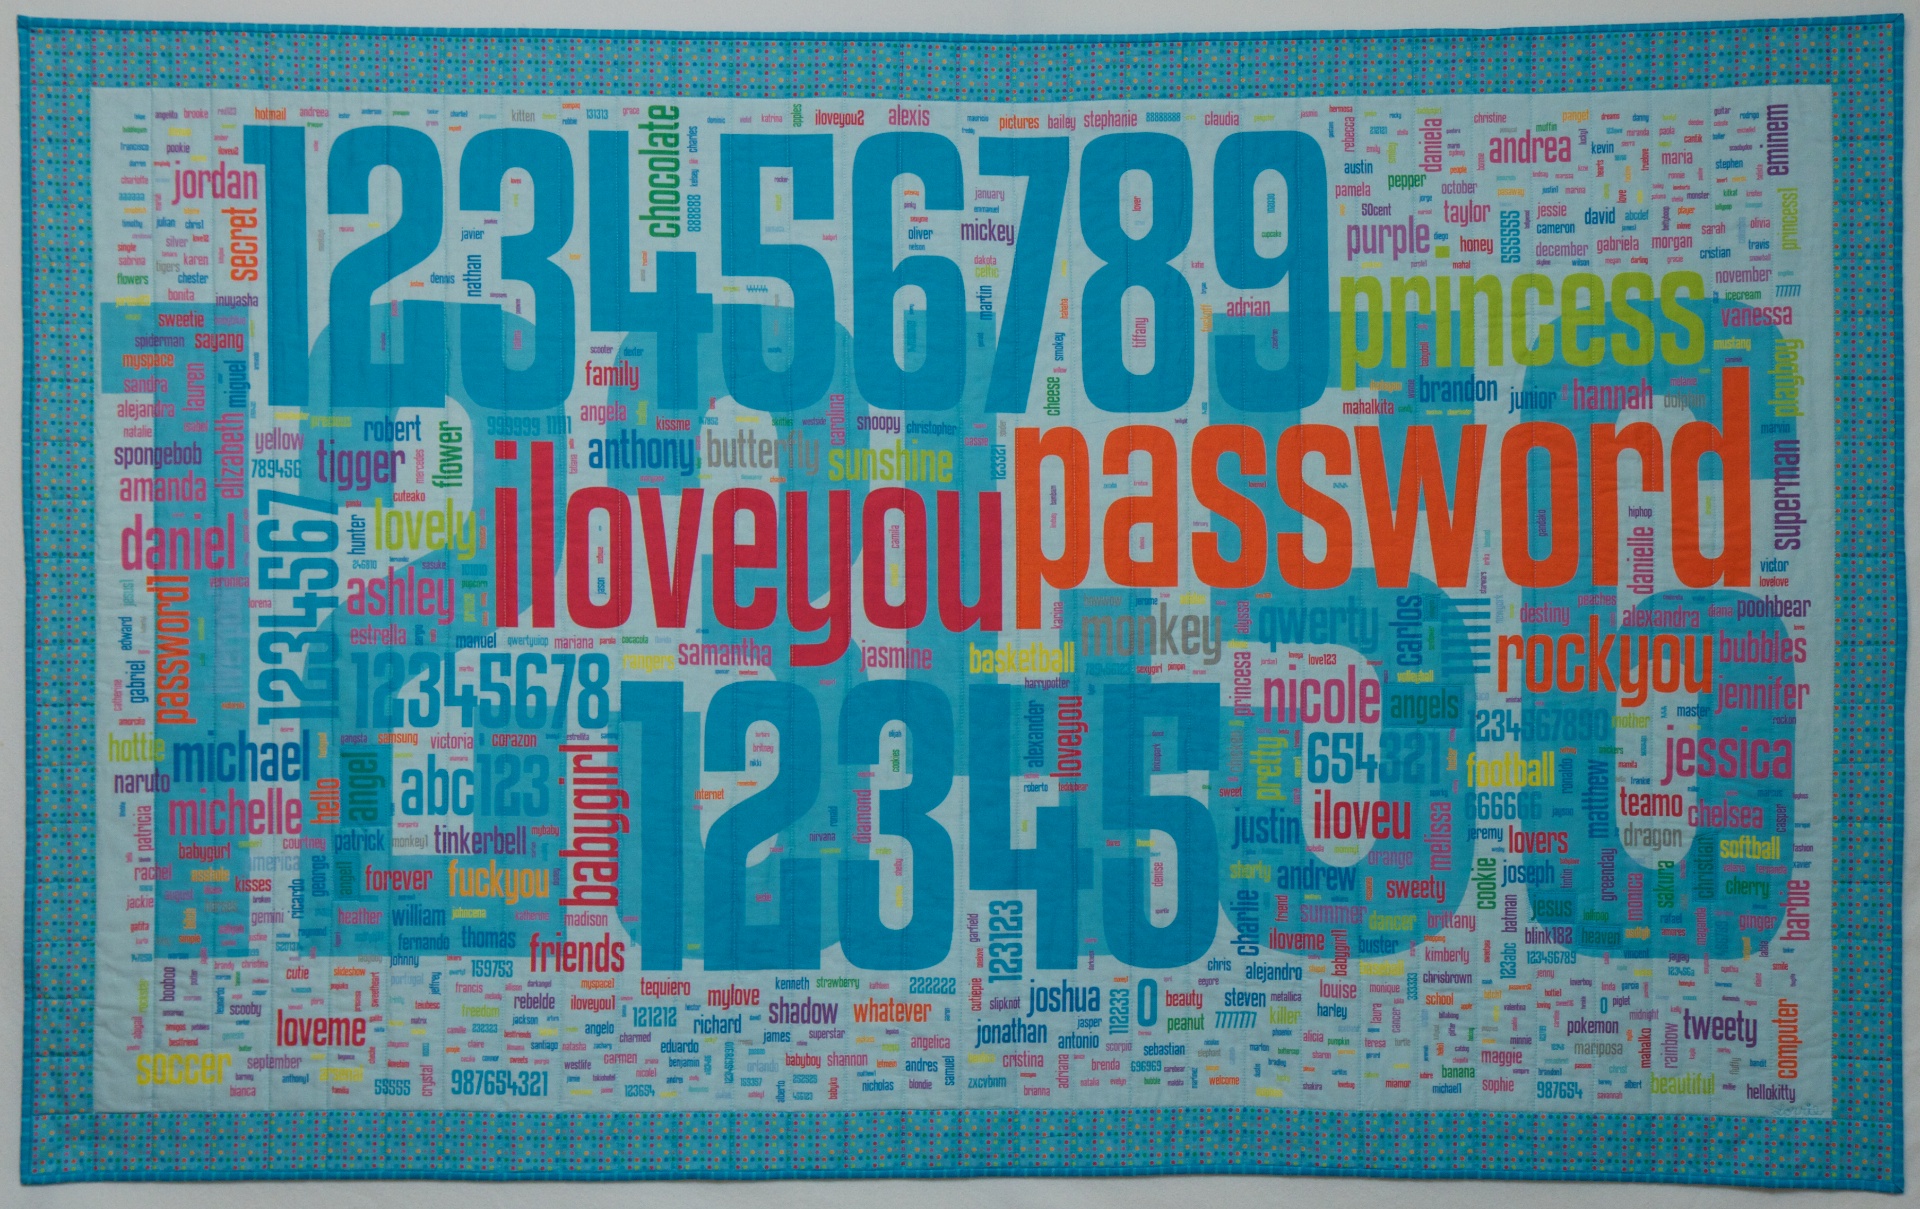
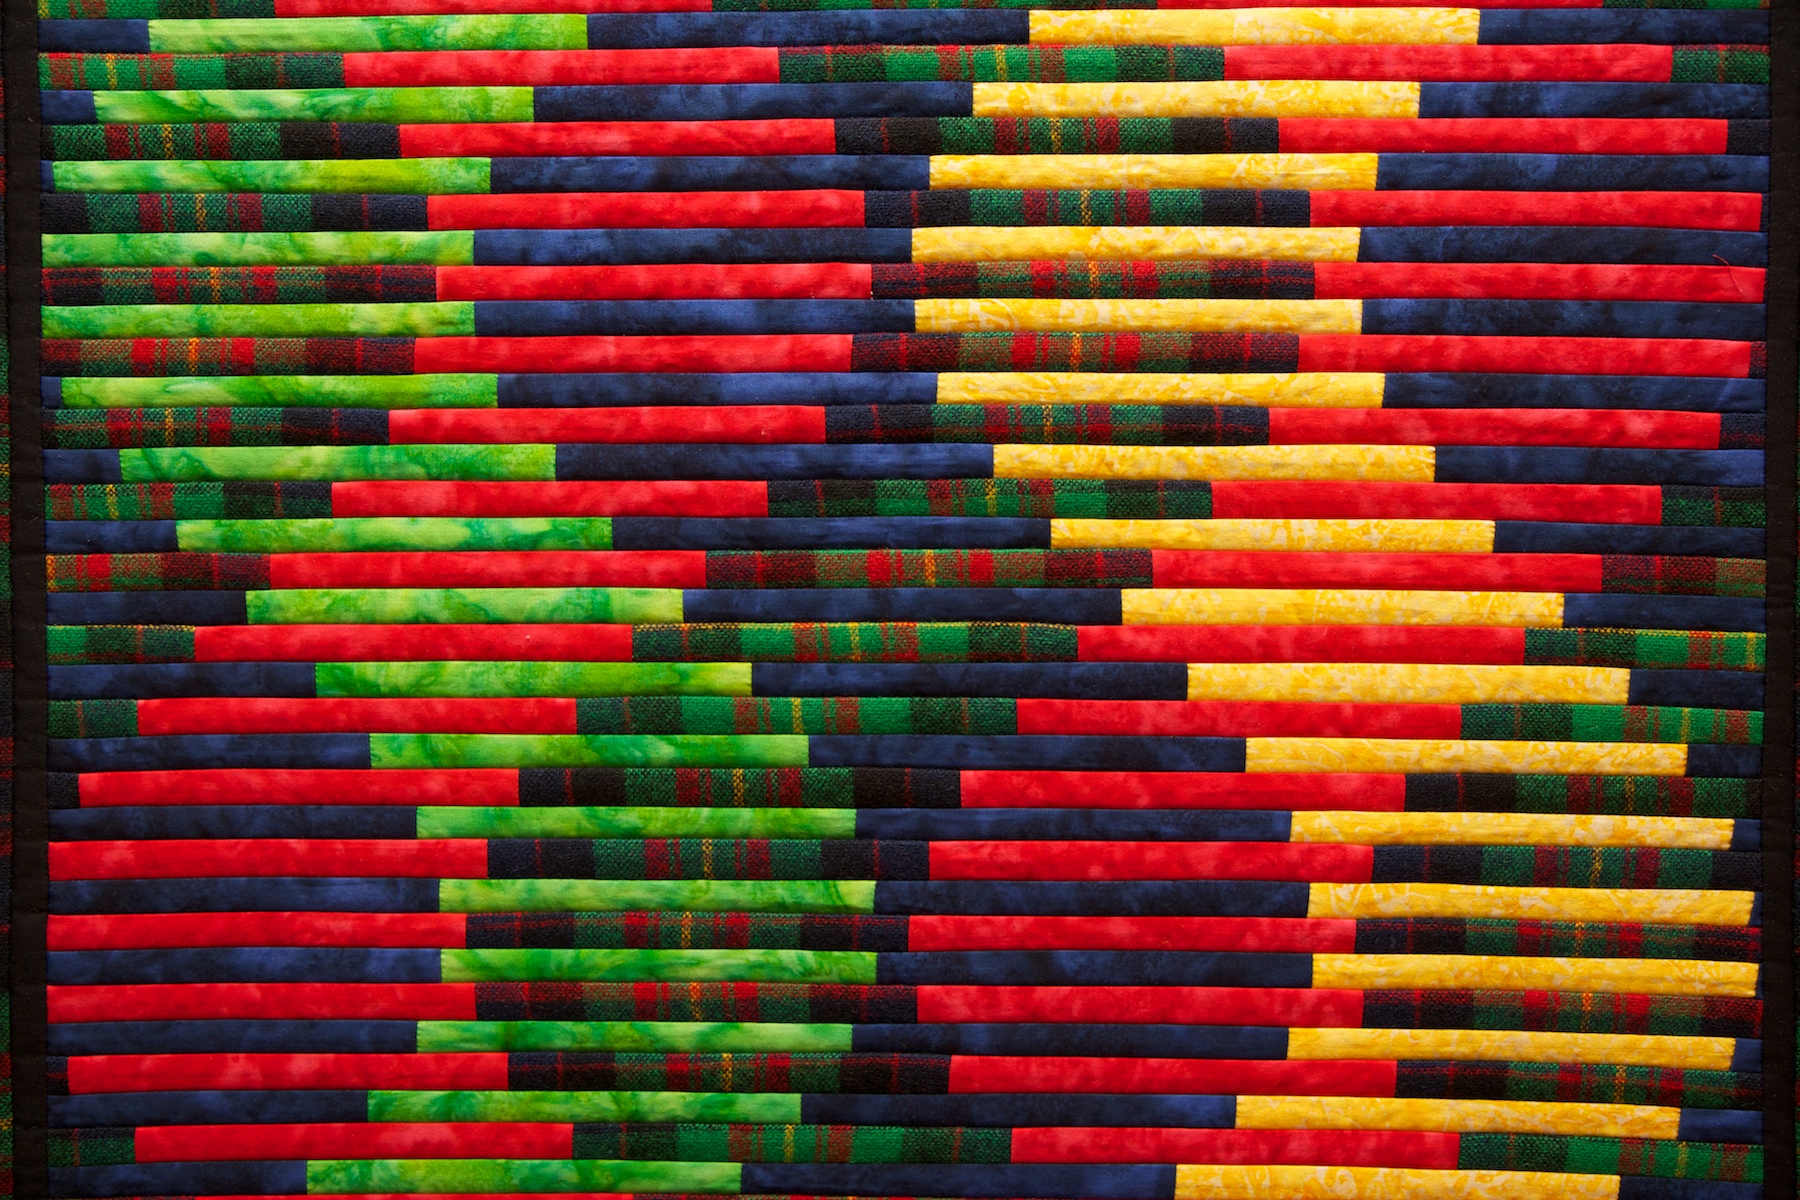
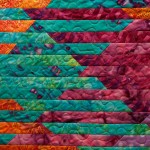
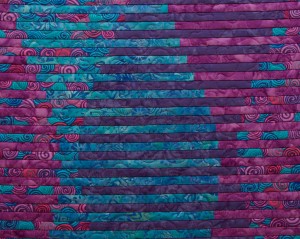
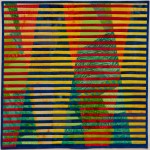
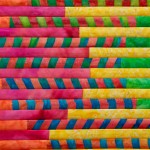
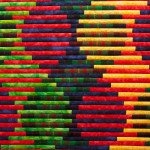
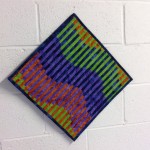
Finally, interleaving large prints or photos printed on fabric, results in all sorts of interesting possibilities. Below are examples of using wavy striped fabric in Interleave #4, plaid fabric in Interleave #5, and photos printed on fabric in Interleave #6.

Have fun, and let me know how you use this technique!
February 17, 2014 Update!
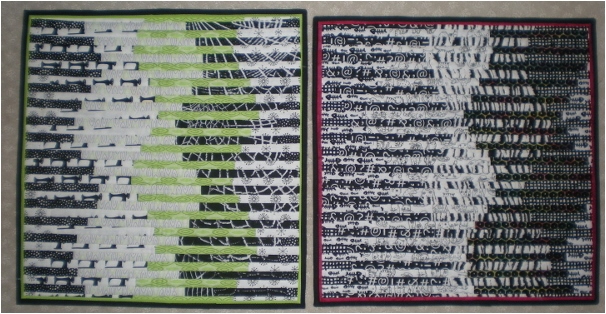
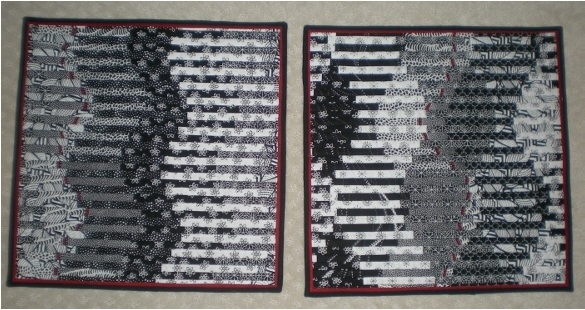
I’ve been so excited to see the quilts created by some of my workshop participants as well as by a quilter in the San Francisco area, Monica Tong, who found my blog post and followed the instructions to make two quilts. Monica adapted the instructions to use three fabrics in each panel instead of two — which is exactly the idea.
-
-
Marlene Fenoglietto’s interleave quilt, started during the workshop
-
-
Diane Werley’s first interleave quilt, started during the workshop.
-
-
Diane Werley’s second interleave quilt.