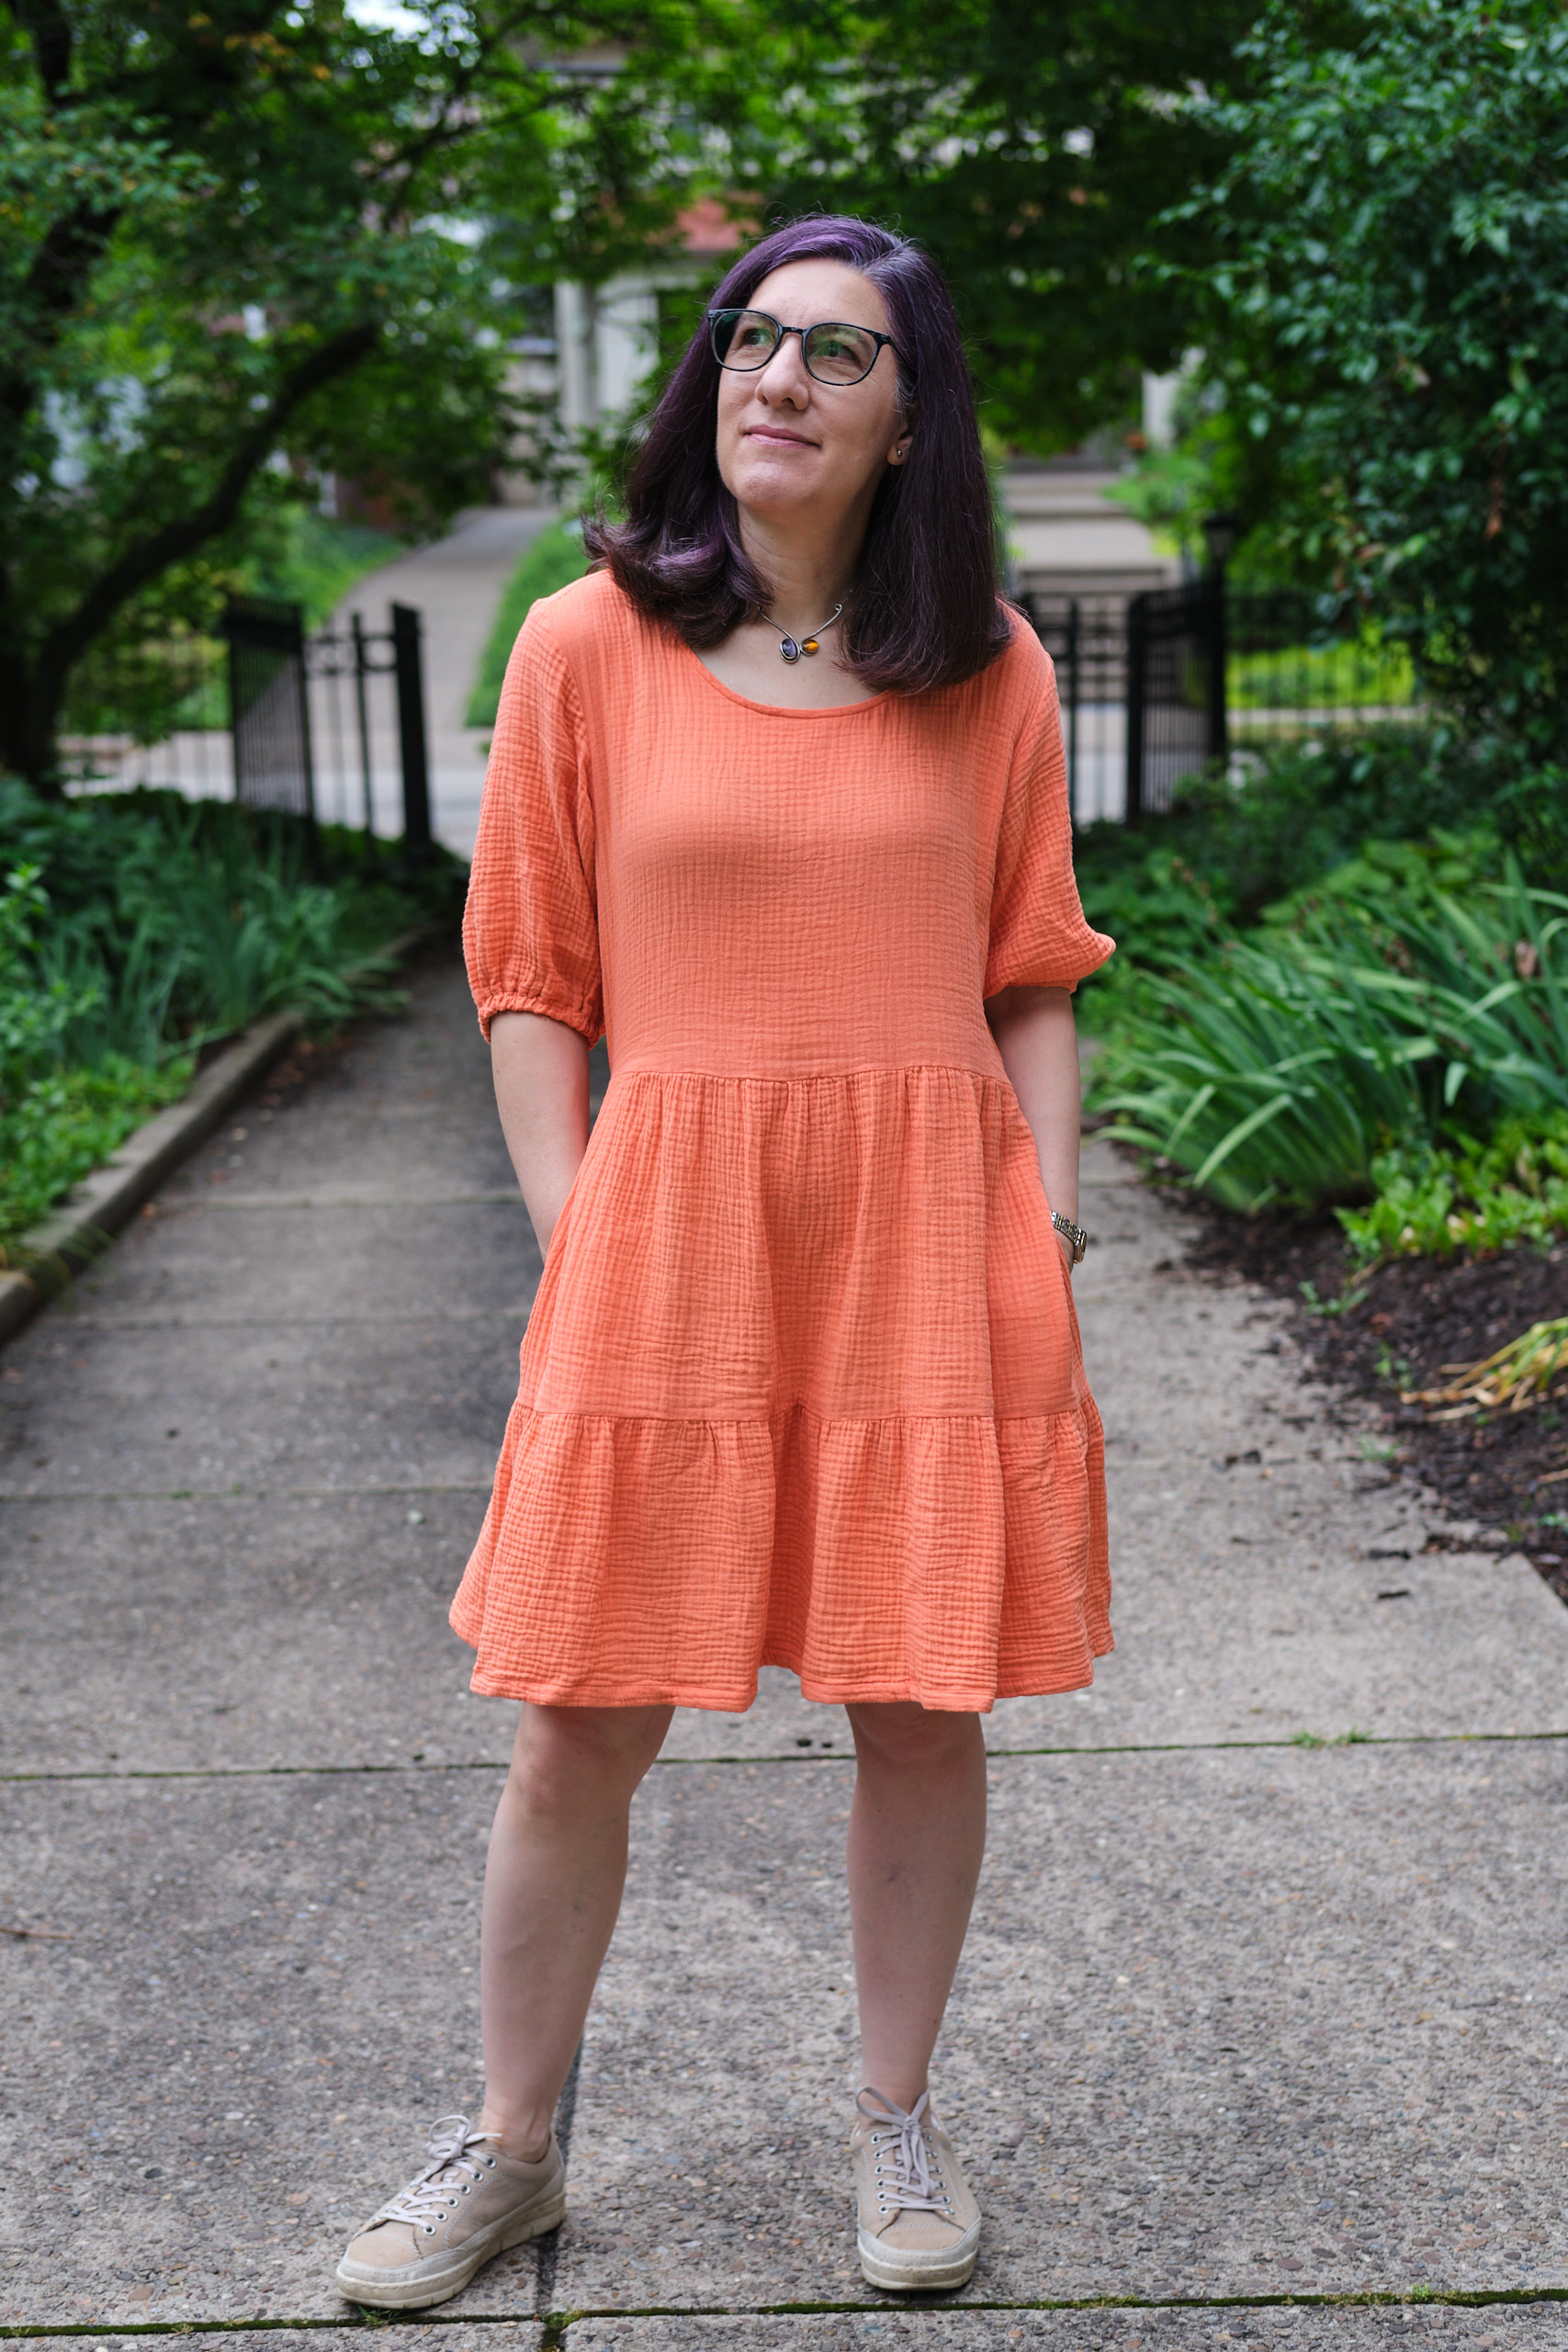
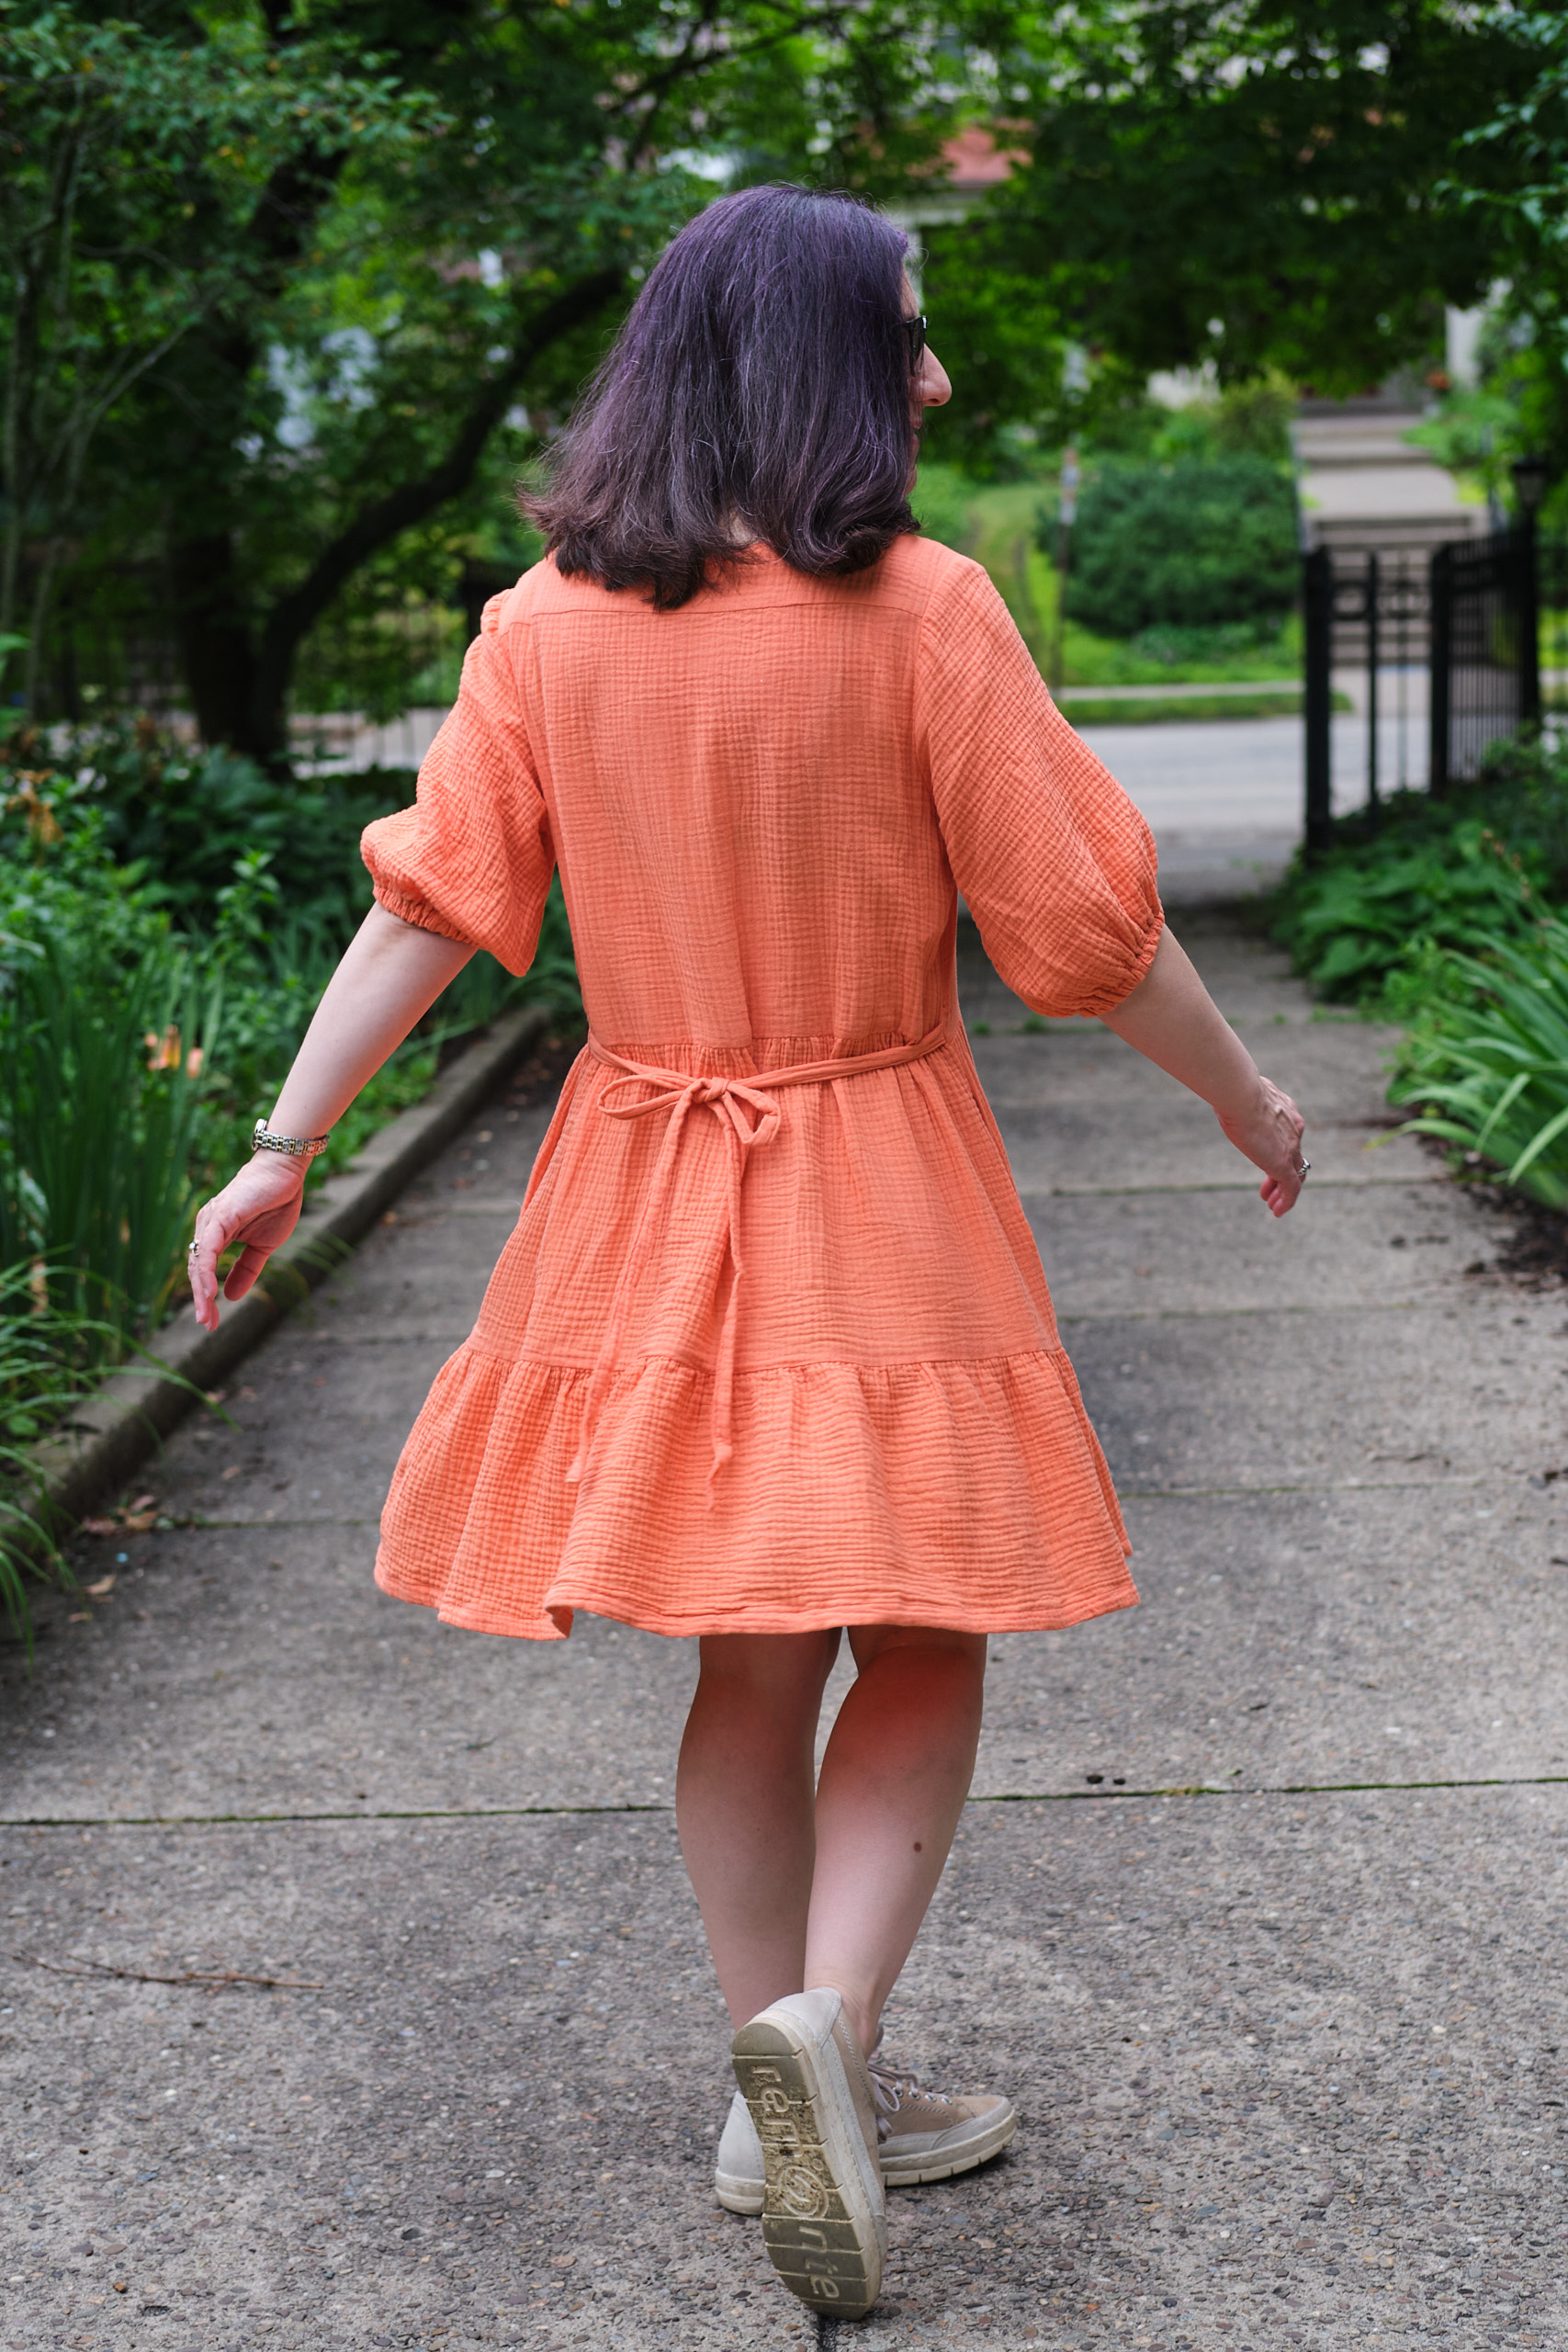
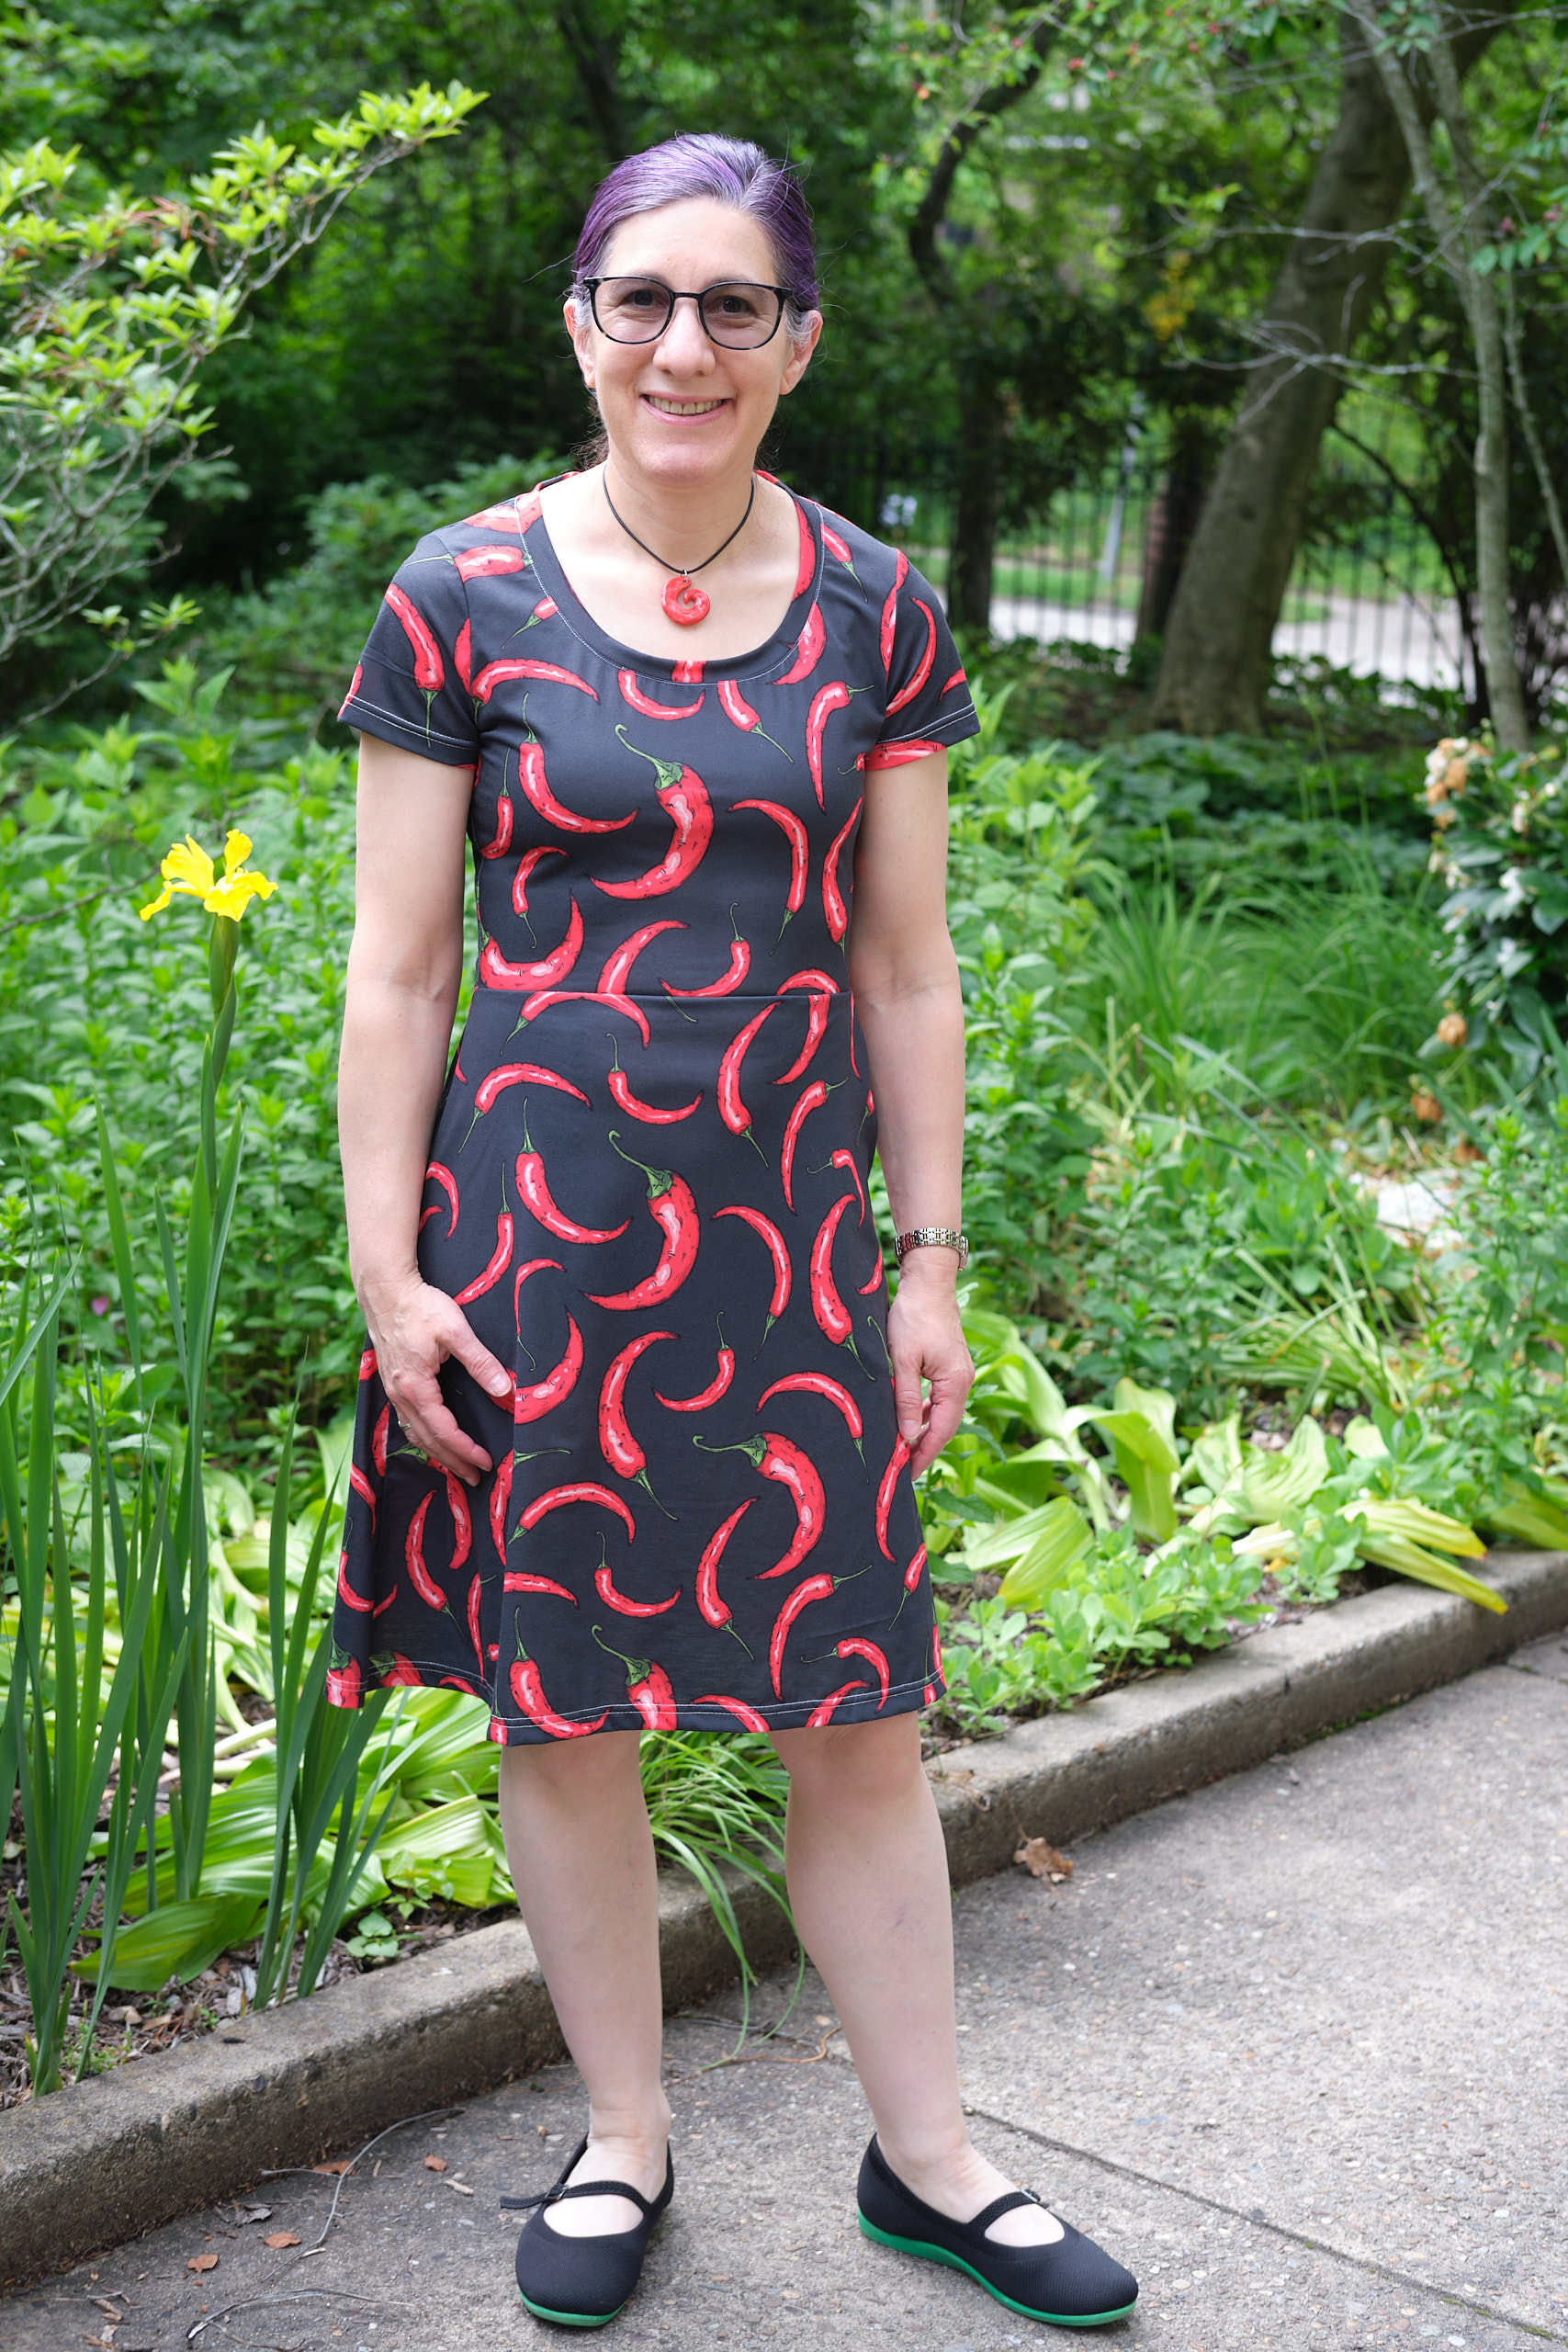
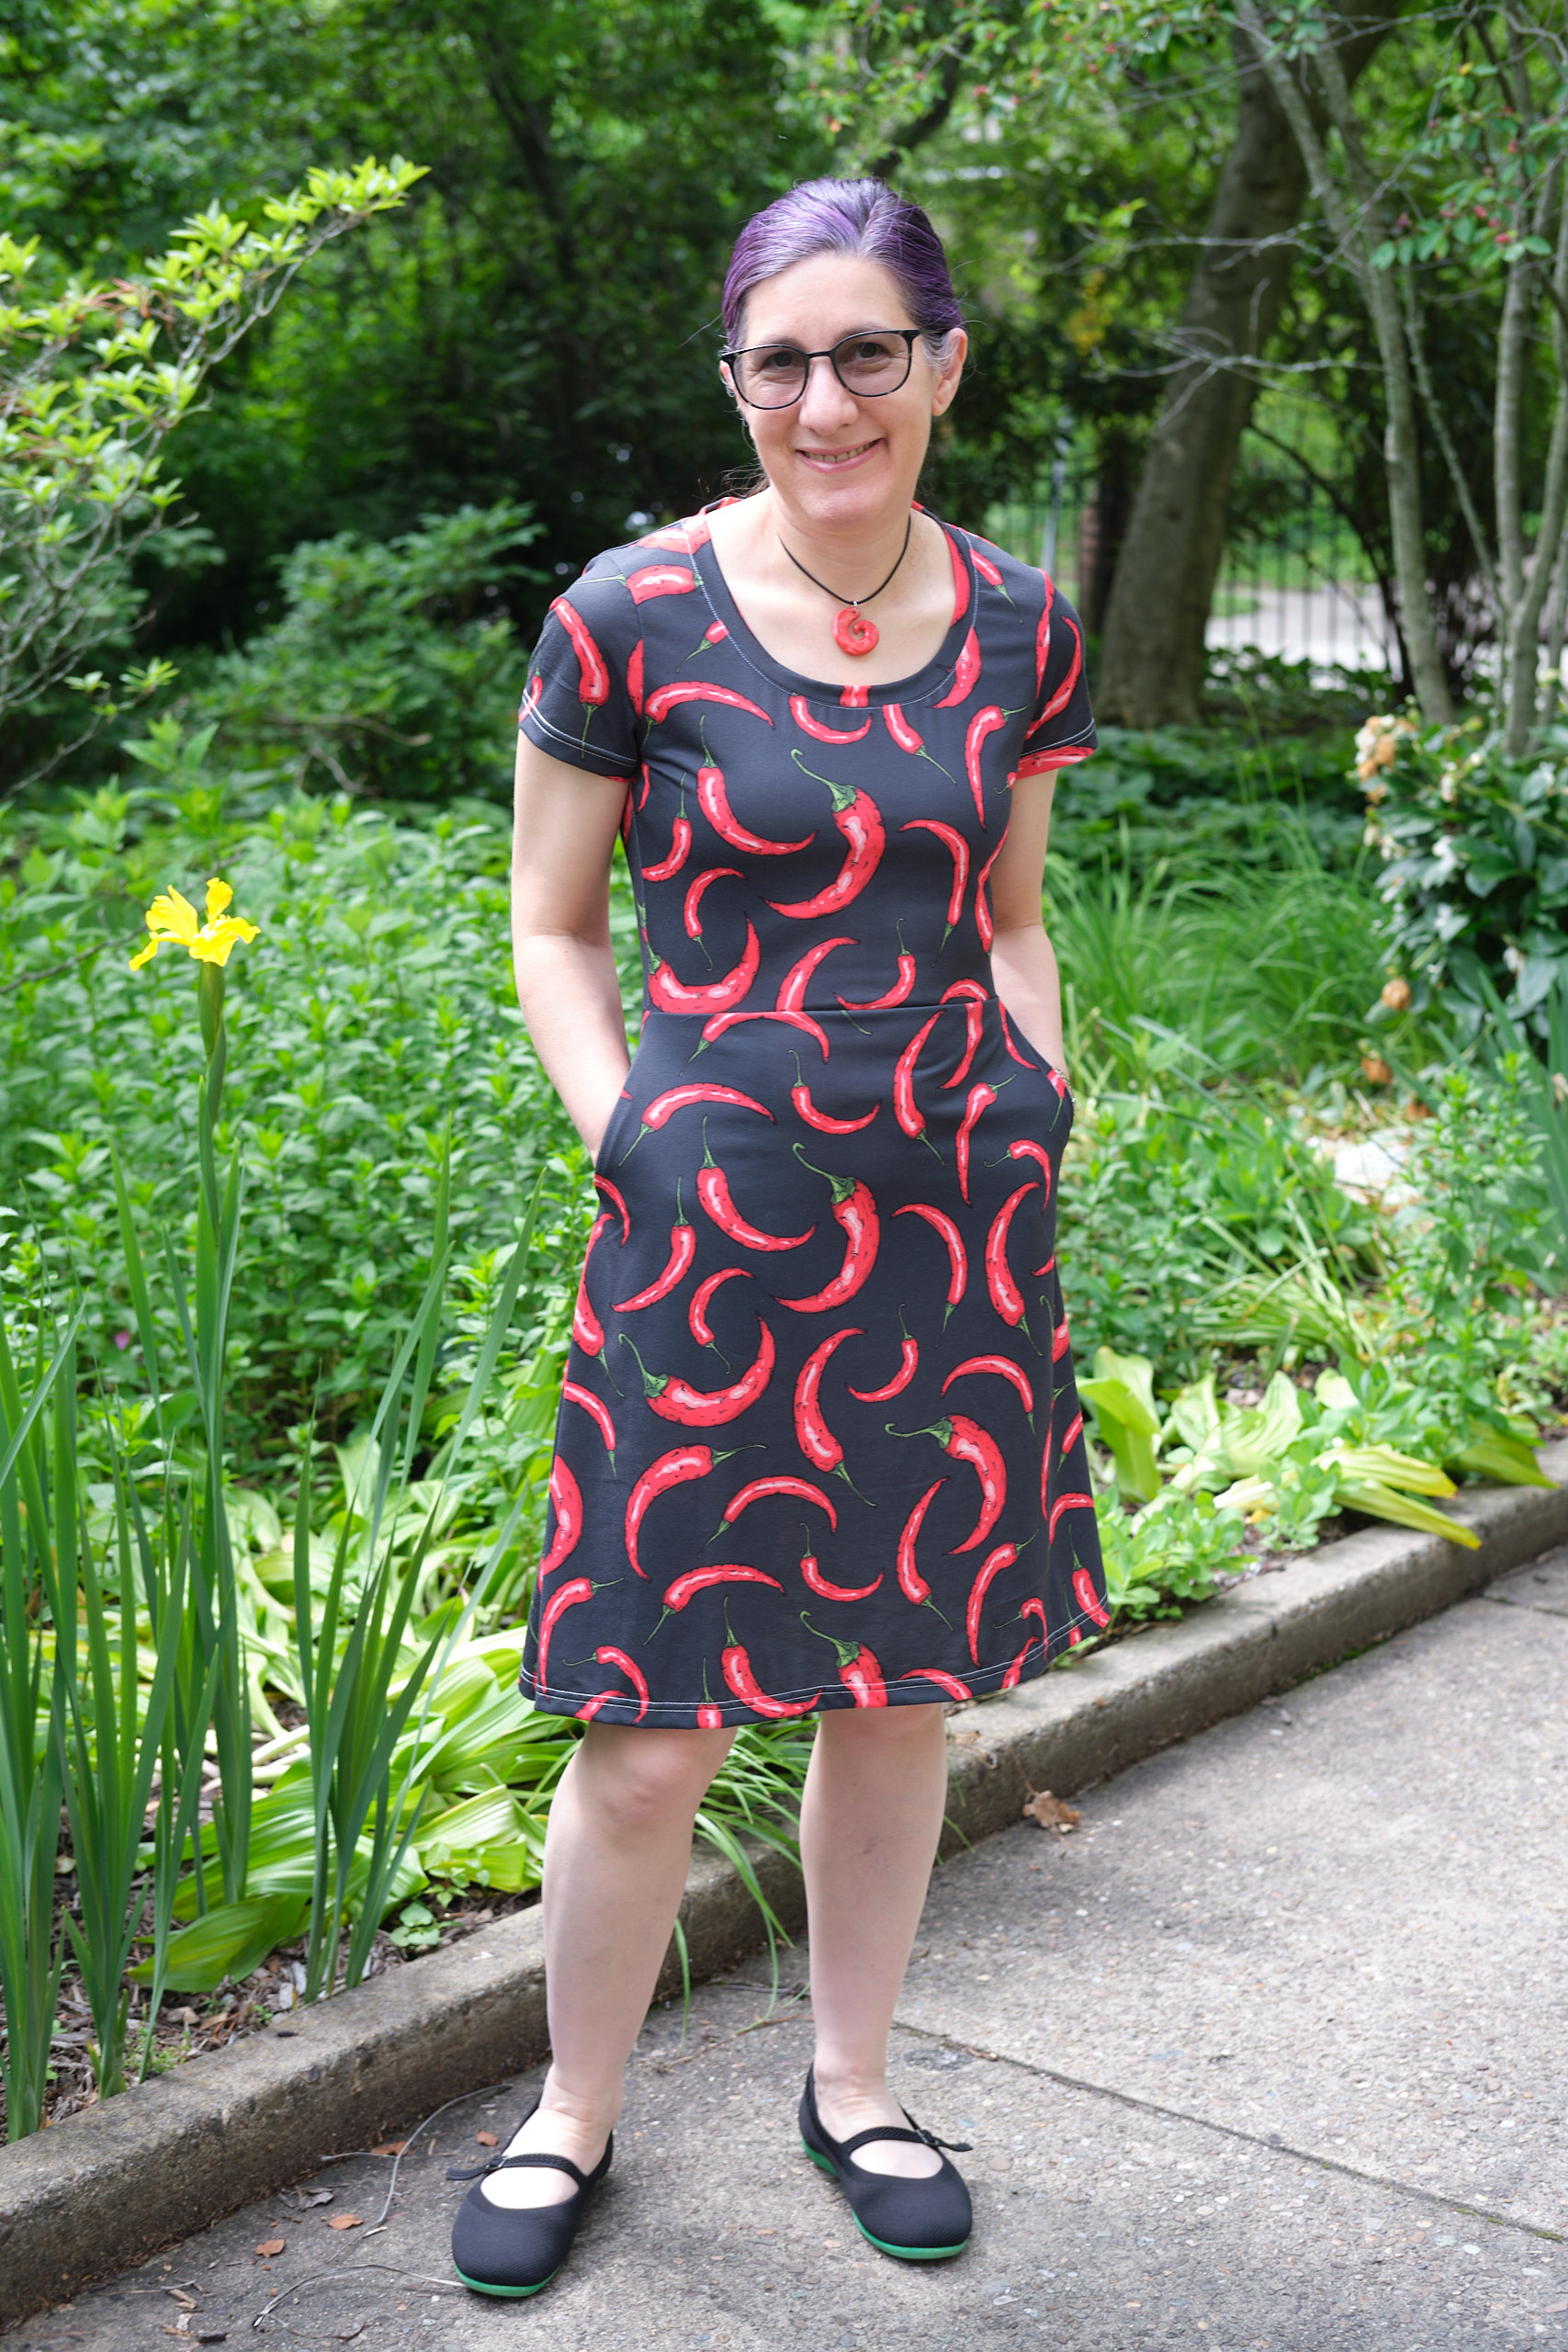
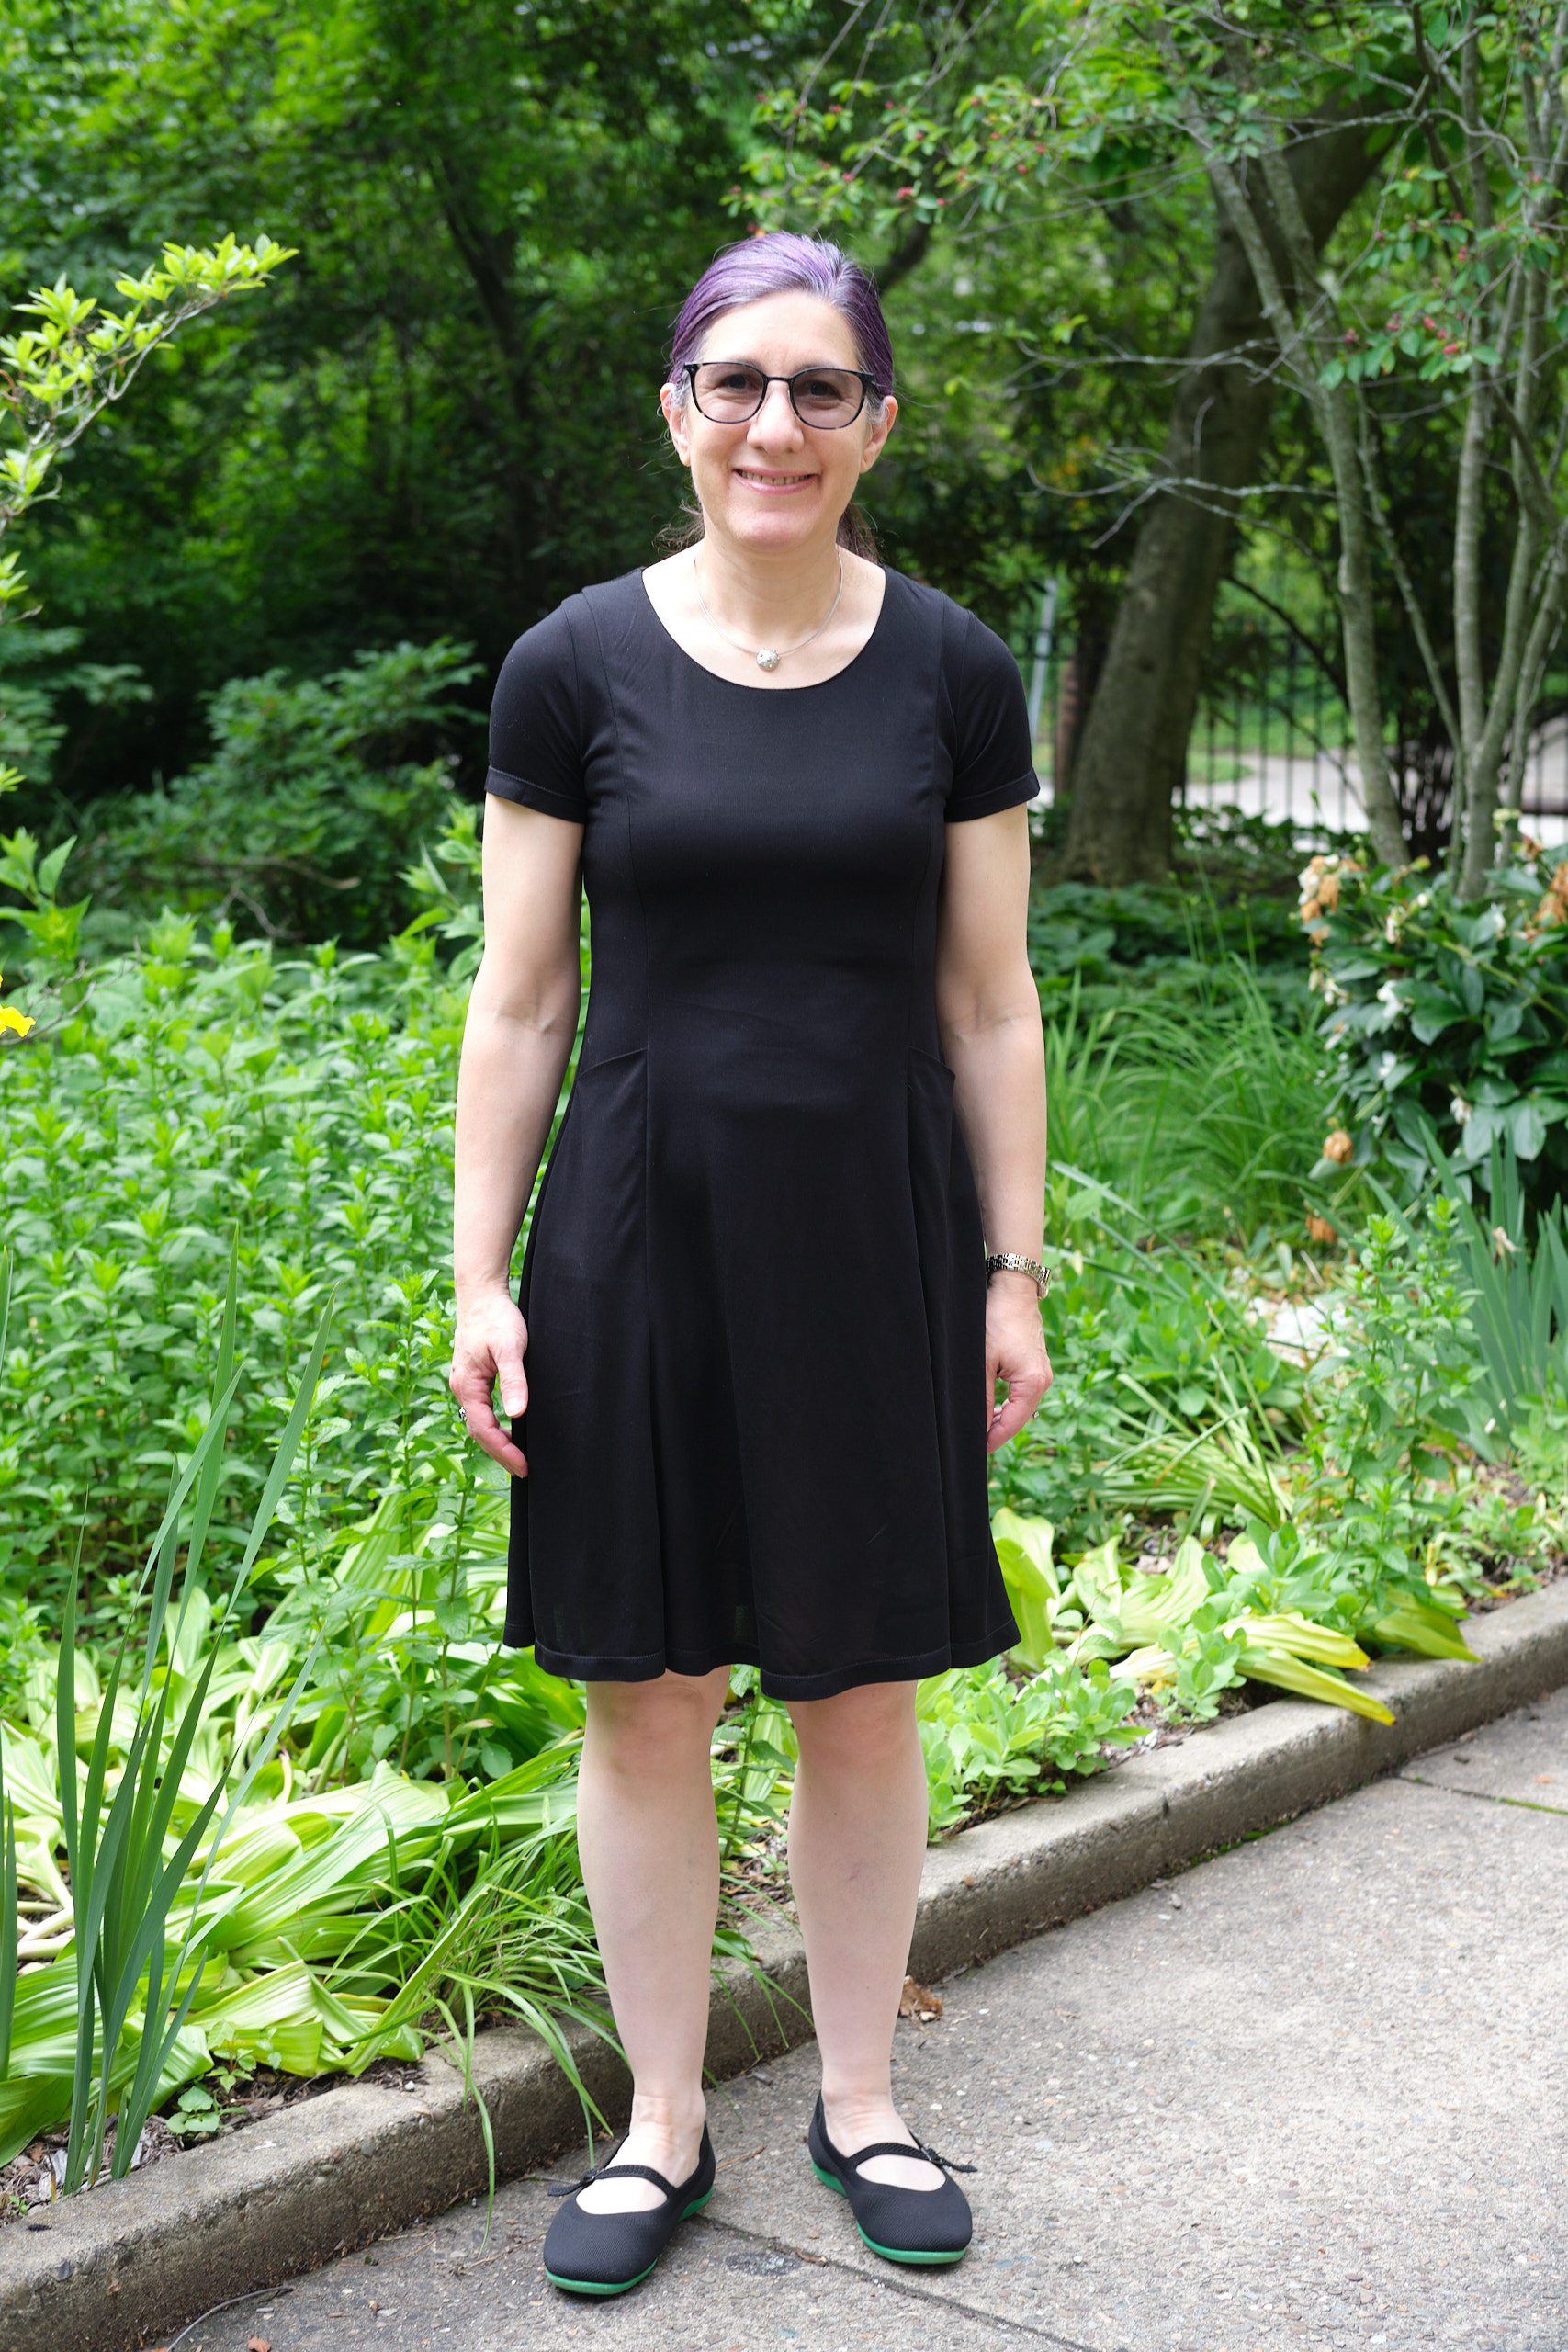
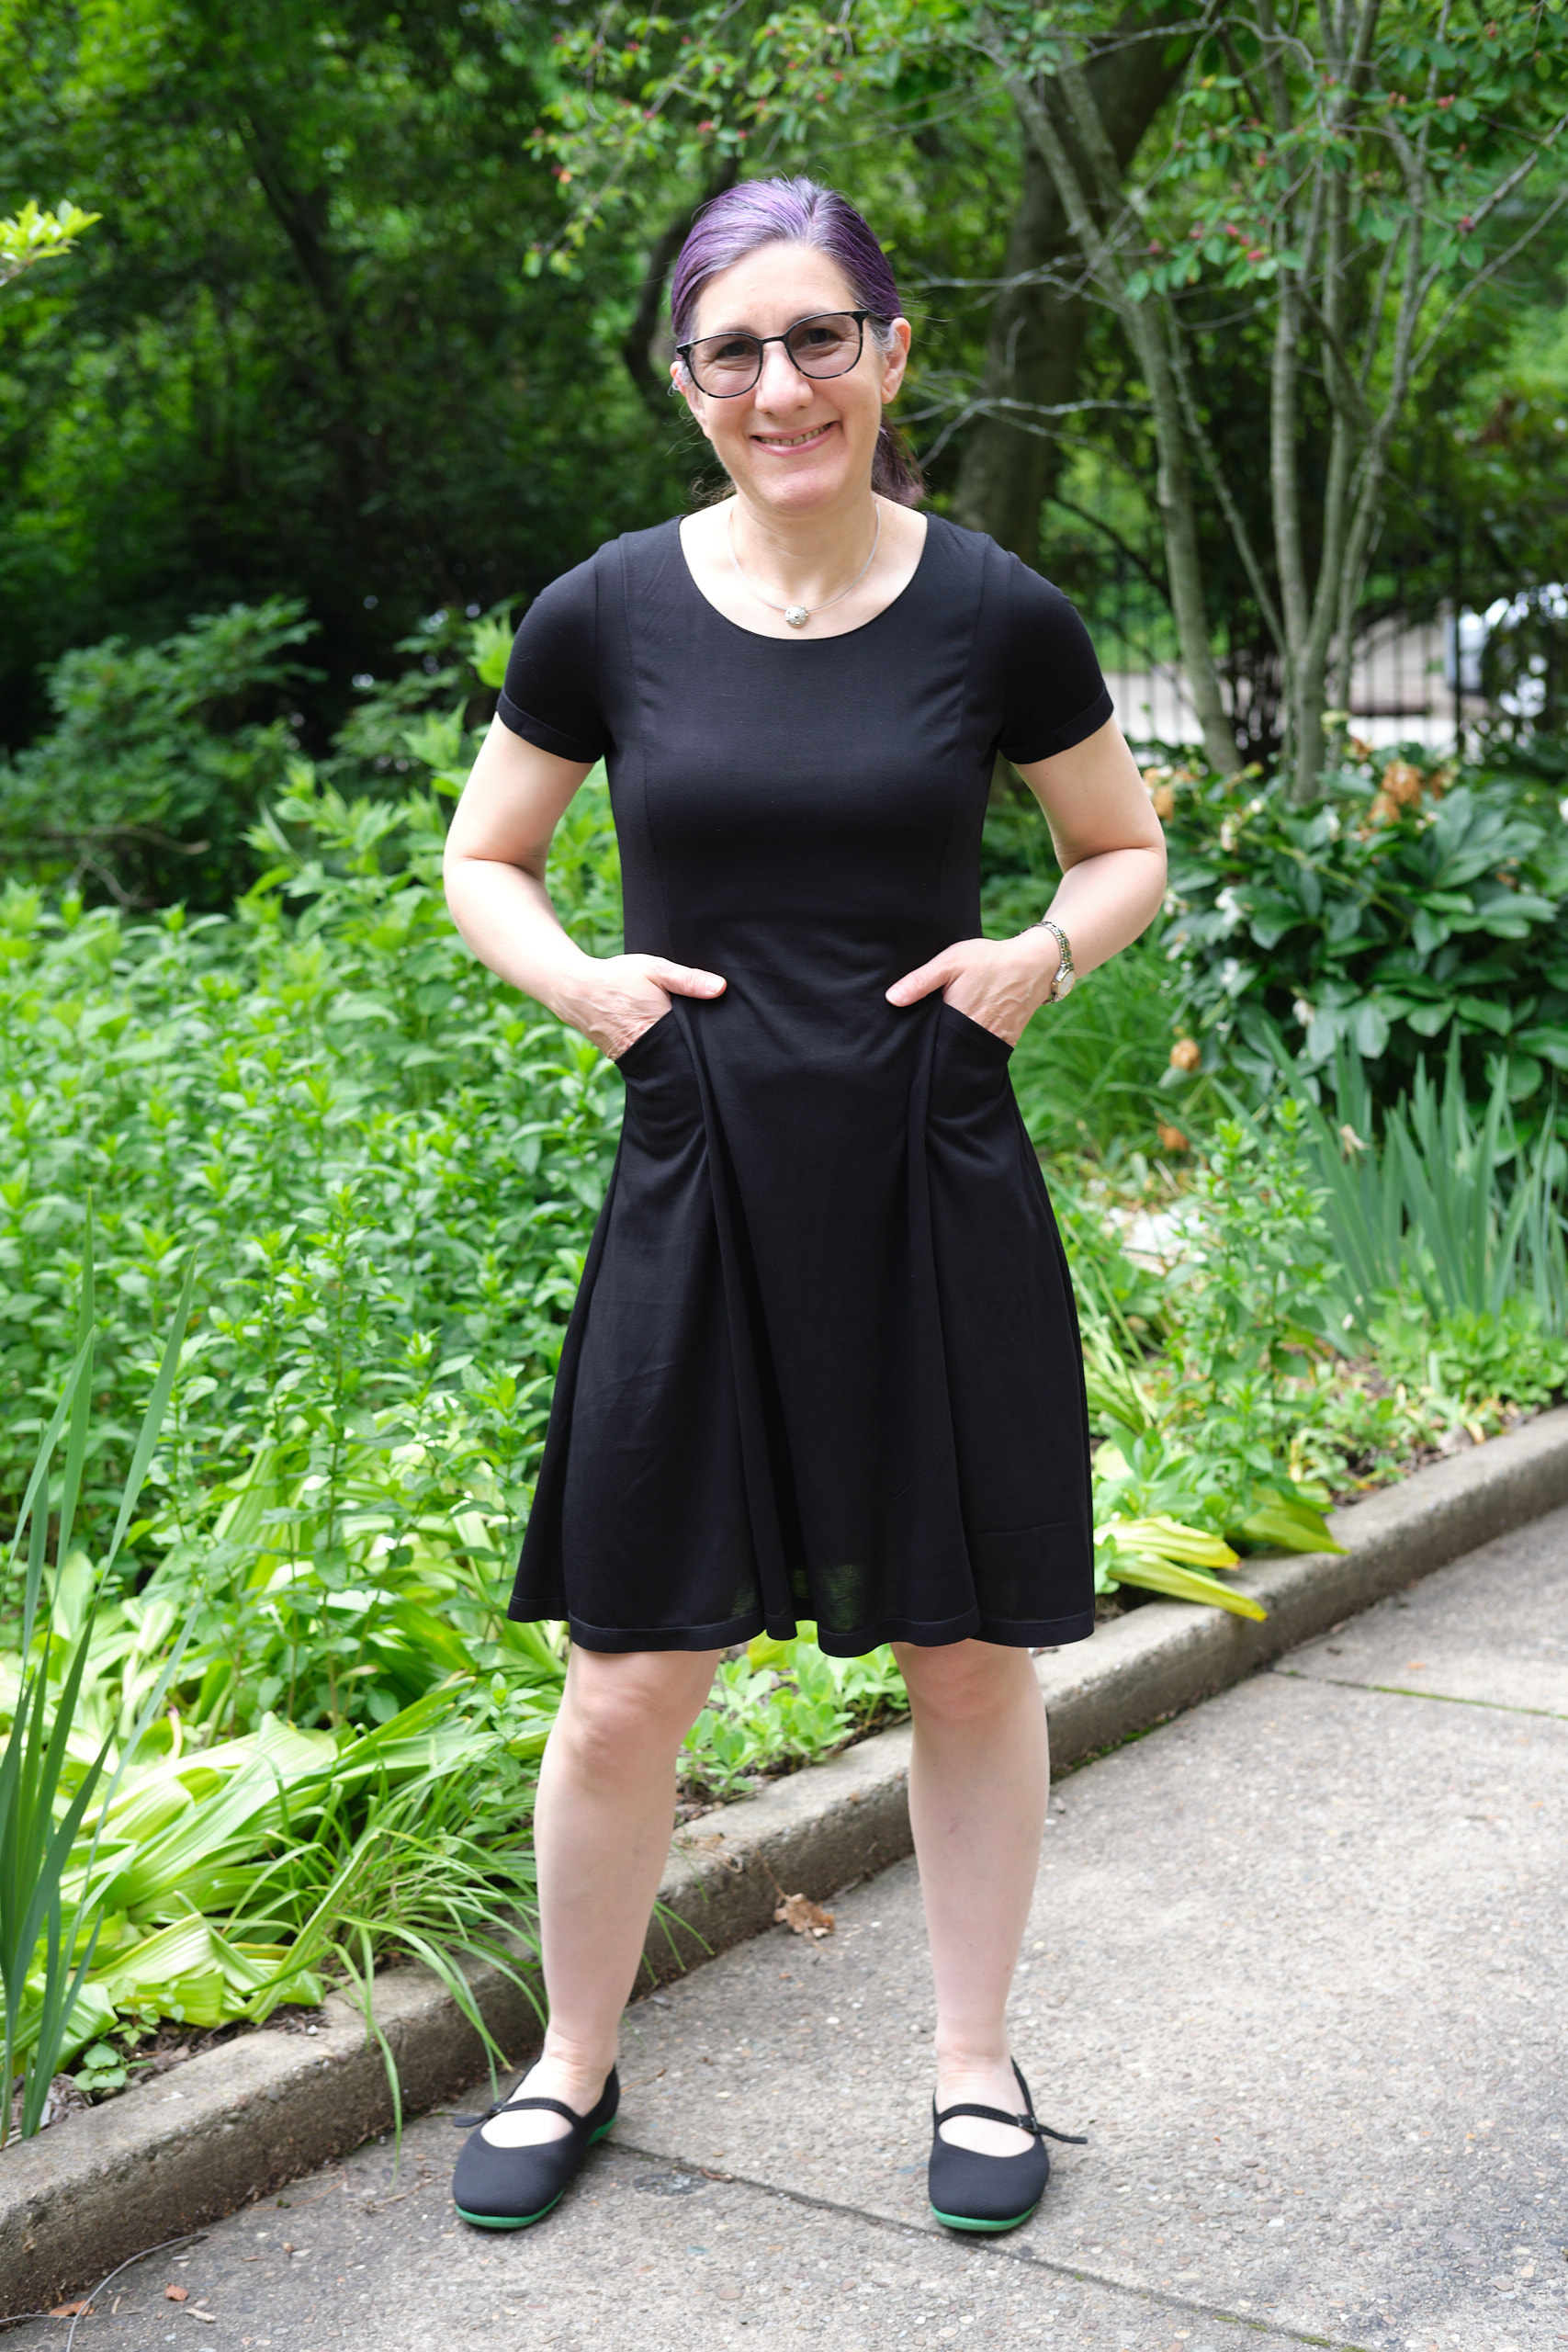
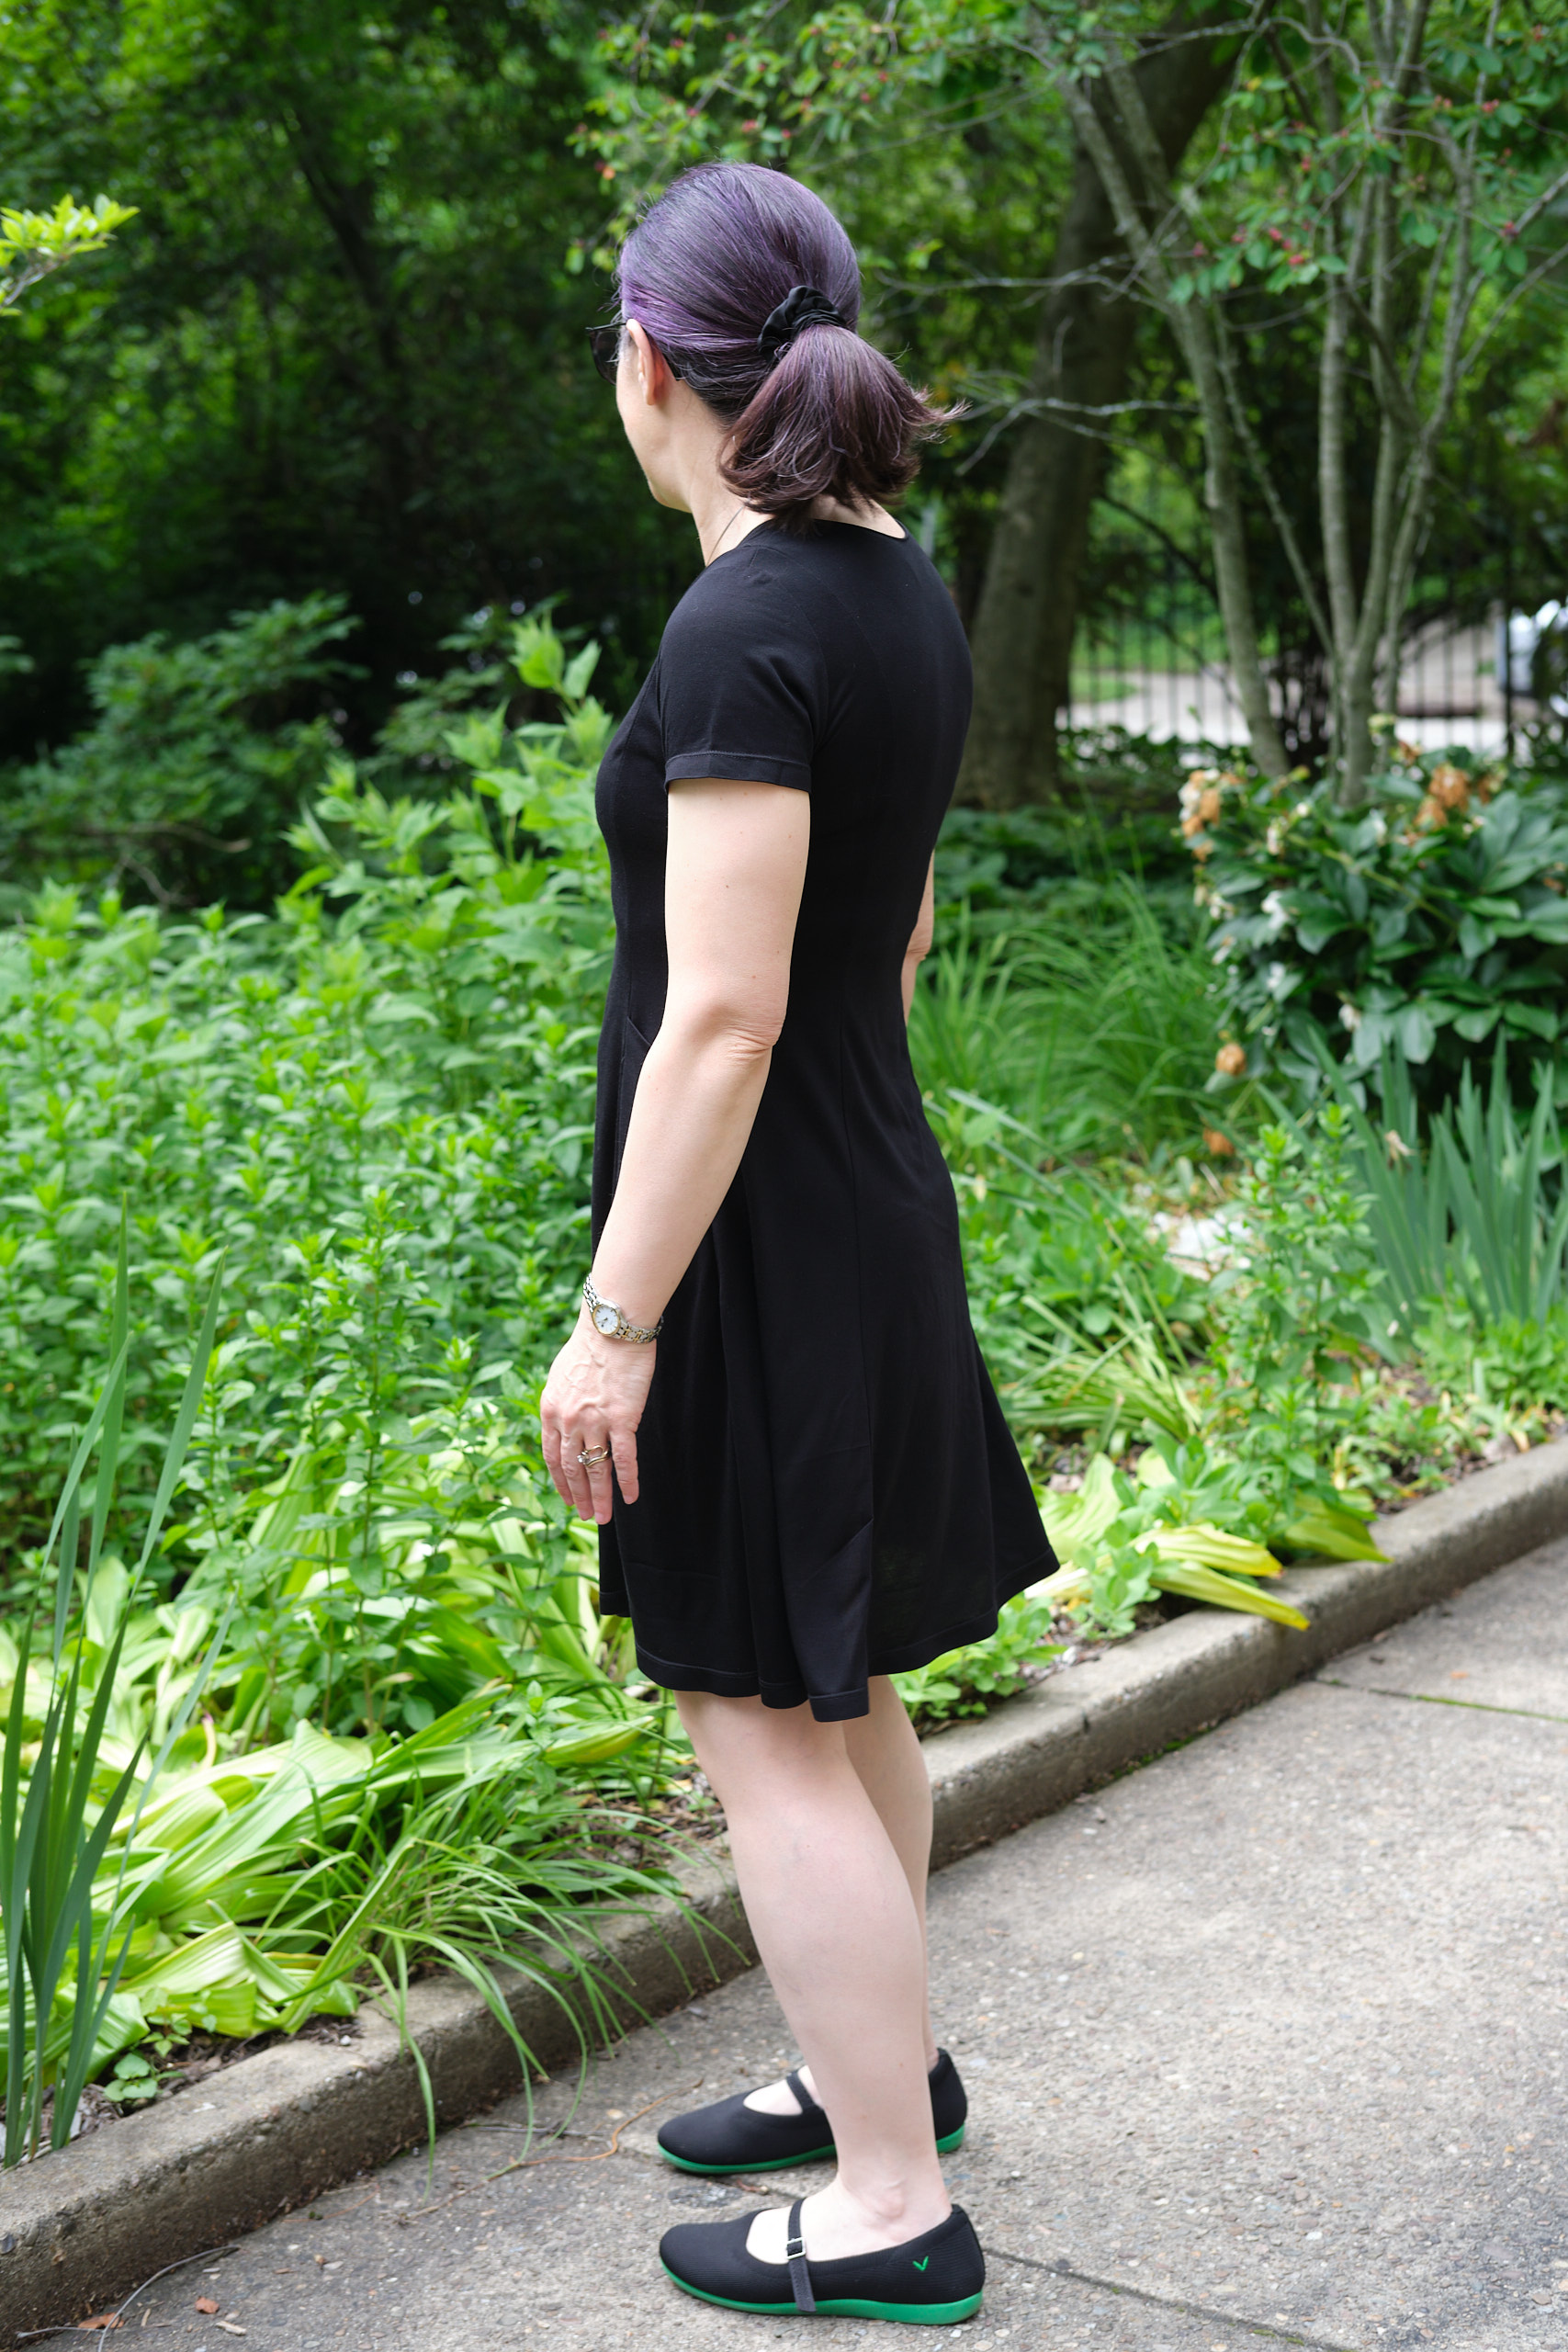
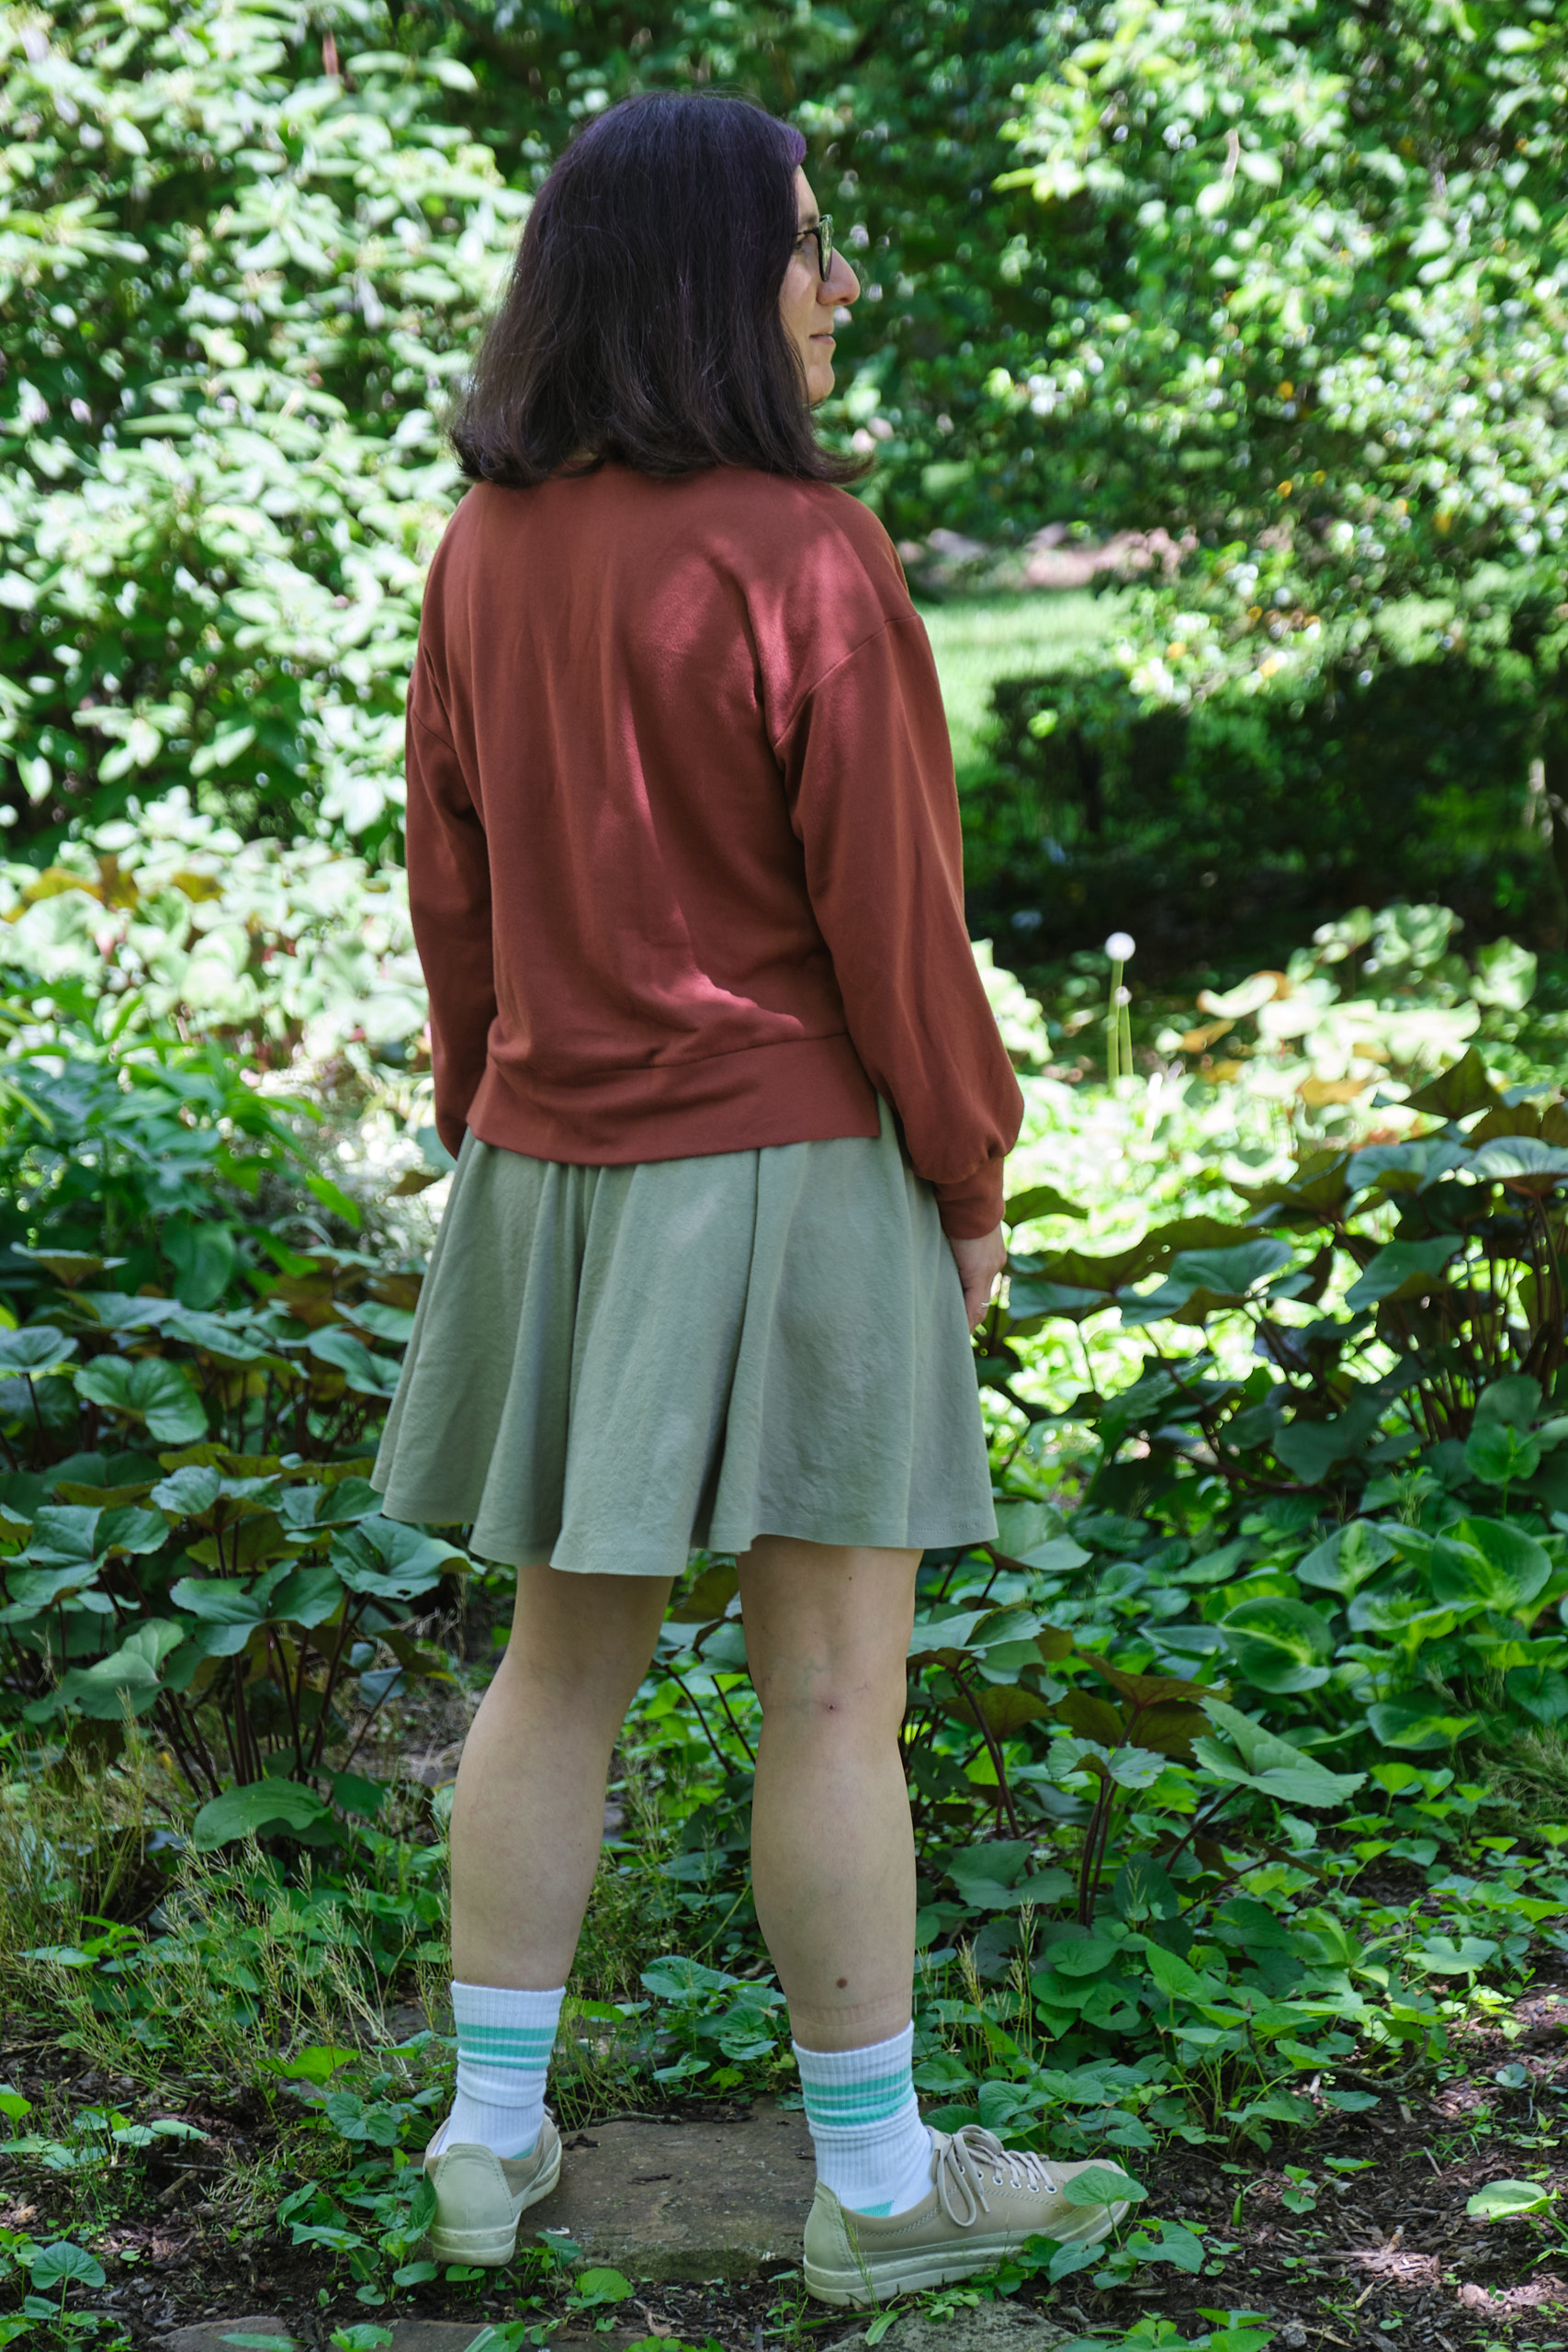
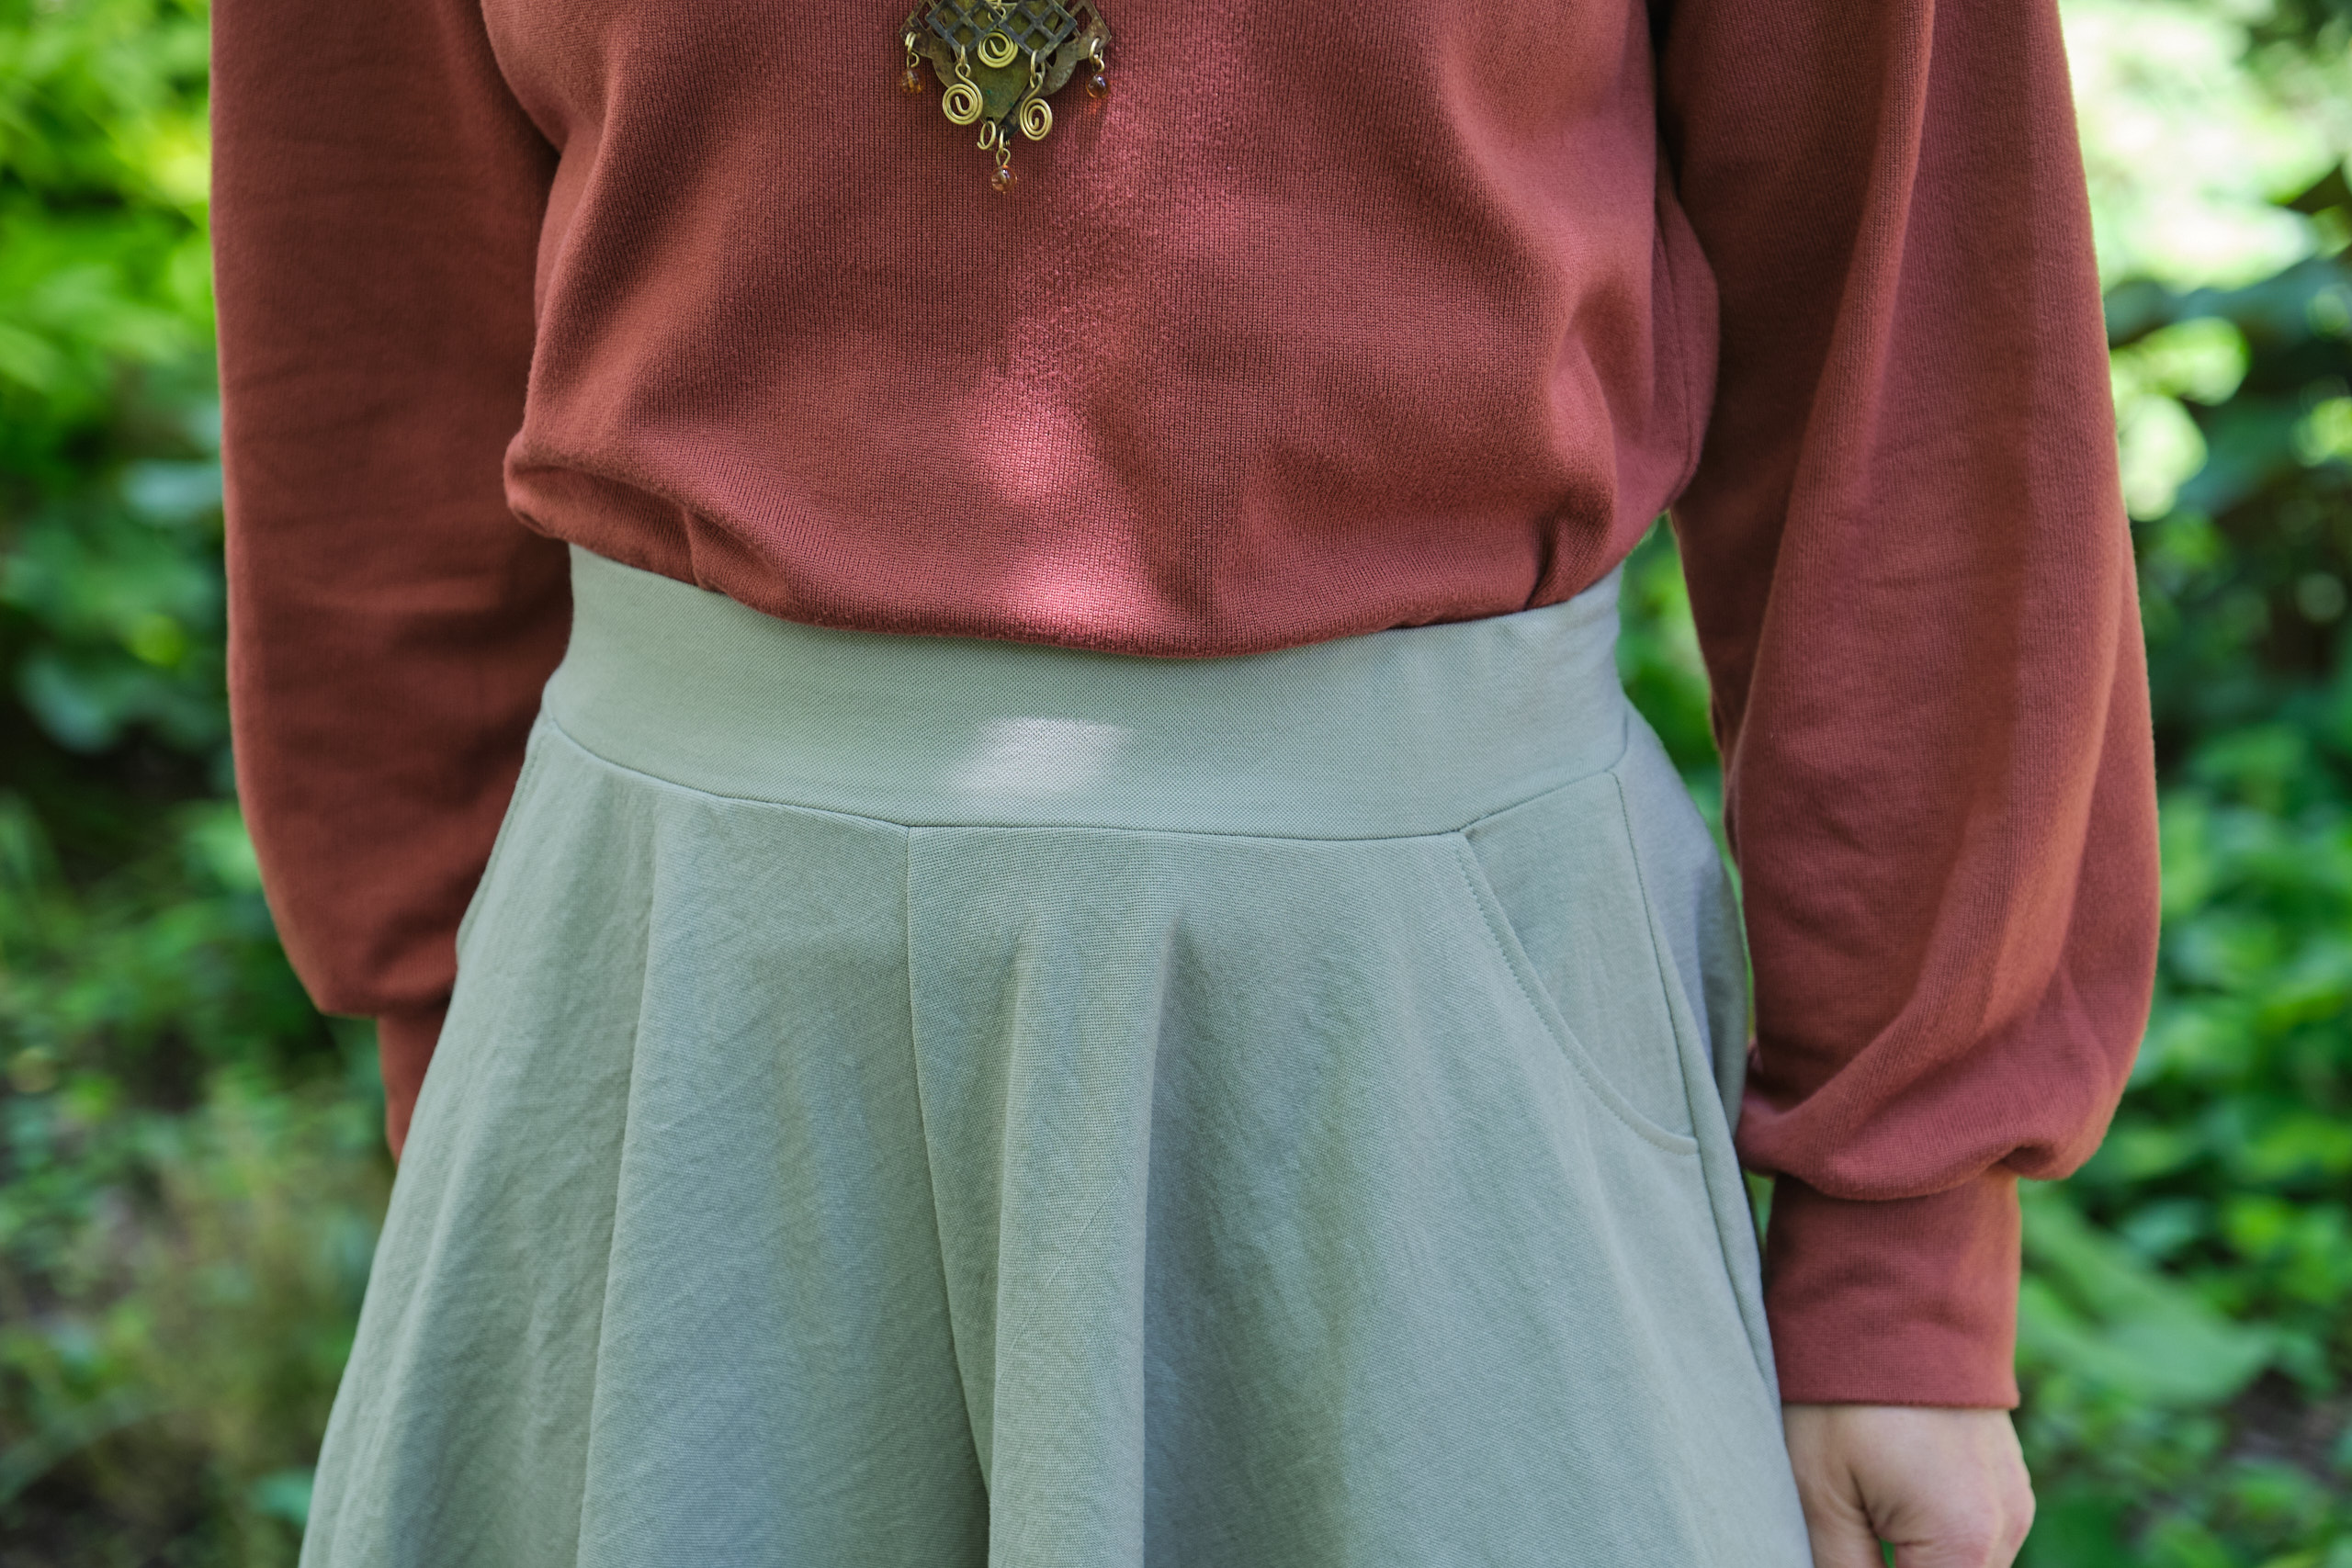
Pattern Emporium Meet You There dress, made of orange cotton double gauze fabric (washed and ironed before cutting), size AU10, knee length (with 2 long tiers, each shortened by 1 inch), mid neck, 1/2 sleeve, back ties, pockets (sewed down bottom of pocket openings)
I may have gone a little overboard when I bought several colors of “fluffy” cotton double gauze, 18 yards total, when it was on clearance at Mily Mae Fabrics for $3/yard last July. But it was really cheap and it is nice summer fabric and it will never go out of style, right?
I saw someone wearing an orange fluffy tiered dress during my travels last summer and it looked very cute and comfortable. I knew I had the orange fabric to make it and thought the PE Meet You There tiered dress pattern would be perfect. But I didn’t get around to actually making it until now.

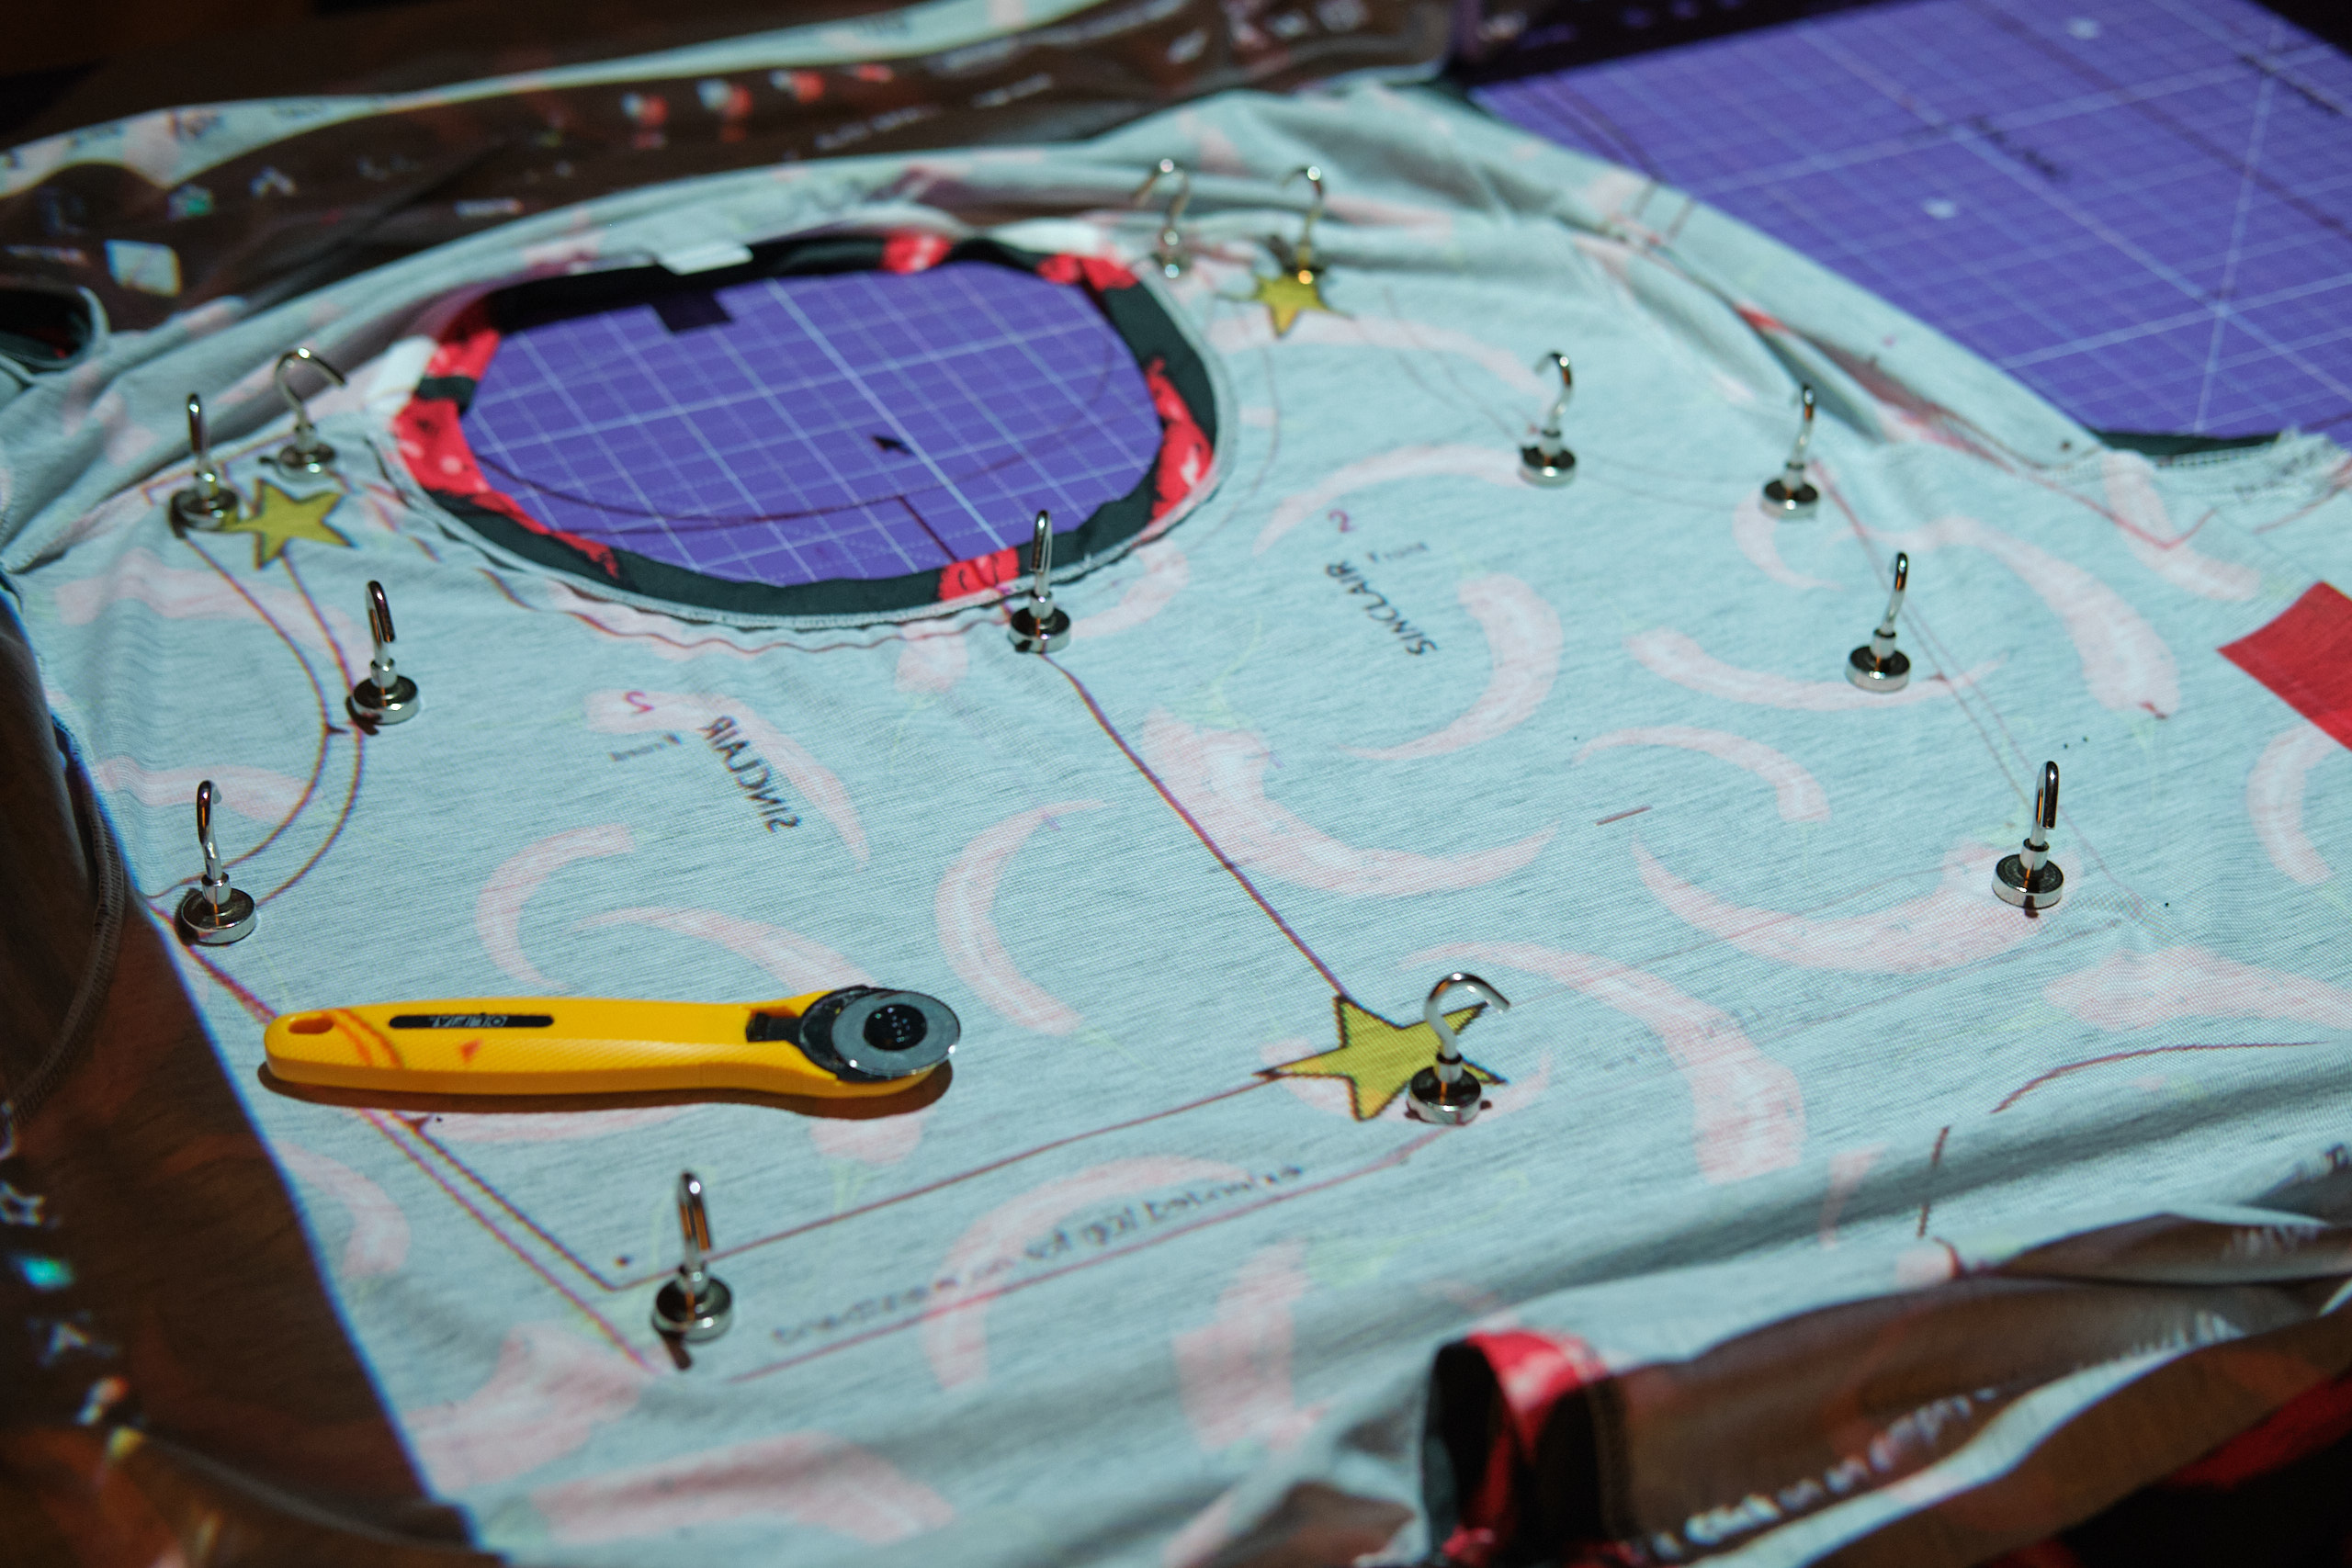
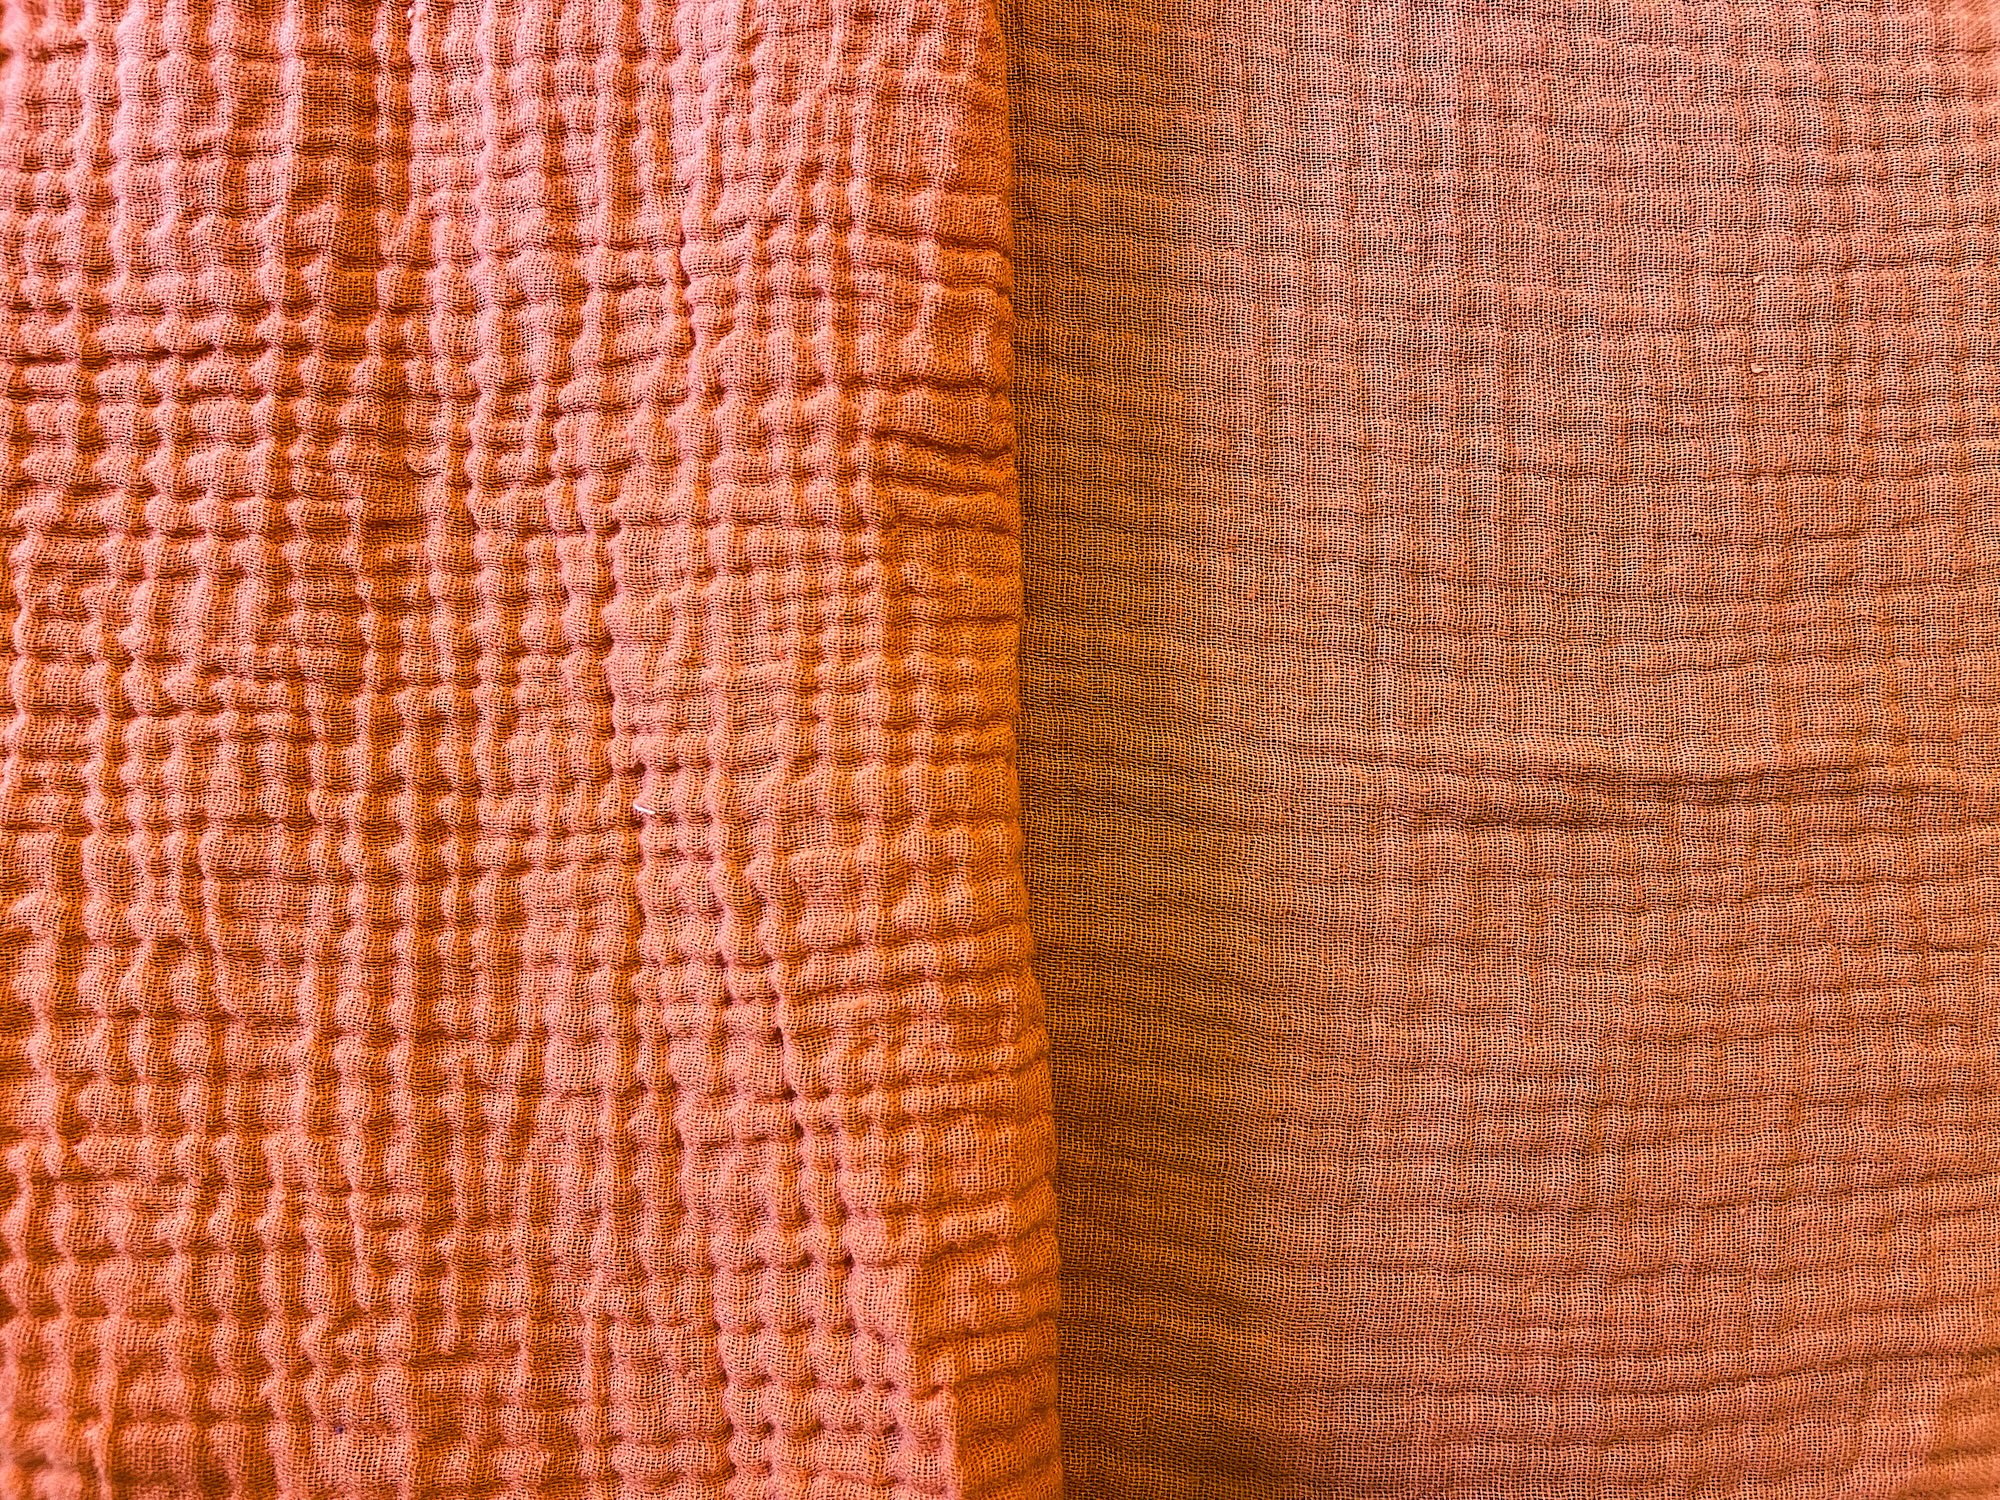
I previously used some of the purple to make a pair of PE Vacation Vibes pants. PE patterns tend to run on the larger side, but these ended up being extra large on me and after I made them I had to cut off the waistband and resew it to remove some of the bulk. Part of the problem was that I didn’t press the fabric before I sewed it. There is a wide range of advice online about how to prepare double gauze for sewing. Everyone seems to agree that you should wash and shrink it, but some argue for pressing and others against. The anti-pressers argue that if you aren’t going to press the garment each time you wear it (and I definitely will not) then you shouldn’t press it before you cut and sew it. As I am definitely an avoid-ironing-at-all-costs sort of person, I decided to go with the no-press approach. But having tried this with the pants, I now see the folly in my ways. This fabric does, in fact, stretch and grow as you wear it, so pressing it before cutting gives you a more accurate size. I decided to go with a light pressing approach, both because I am too lazy to press three yards of fabric until it is perfectly smooth, and because, from what I read, that isn’t actually necessary and could also weaken the fabric. You can see in the photo below my unpressed fabric on the left and my lightly pressed fabric on the right.
The Meet You There dress has lots of options. I decided to cut a size AU 10 regular with the mid neckline, half sleeves, knee length, with pockets and waist ties. The knee-length dress can be achieved with two long tiers, and I shortened each by 1 inch to account for my short stature. That worked out fine, but I think next time I would achieve the same length by shortening the bodice by 1 inch and then shortening only one of the tiers, or perhaps even shortening the bodice by 2 inches and leaving the tiers as is. Because the gauze tends to unravel, I folded the hem under twice for a clean finish (which also shortened it a little bit). I thought the mid-neckline worked well for me. The low would have been too low on me. I think the high would have been fine, but I like the scoop neck styling provided by the mid neckline.
The instructions are great, with lots of nice tips. The instructions for the neck binding were very good, but double gauze is not a great fabric to work with when sewing narrow strips. I should have either been a lot more careful with it or used a tighter woven fabric for the binding (which is on the inside and you never see it so it doesn’t have to match). But I did the best I could, and with the help of my fabric glue stick I mostly got it folded under, but there are some edges sticking out on the inside.
The sneaky sleeve hem tip was fun, and did seem easier than the traditional method of threading elastic into sleeves. But the best tip was using clear elastic to gather the skirt tiers. I followed the instructions and used 1/4-inch light-weight clear elastic and ended up folding and marking it in eighths. I sewed it on using my regular sewing machine foot and a zigzag stitch. I followed the advice to sew everything on a sewing machine with a 3/8-inch seam allowance and then serge the edges to neaten.
I mostly followed the pocket instructions, but found that the pocket opening was too big and I thought my phone might fall out. So I sewed up the bottom two inches of the pocket opening.
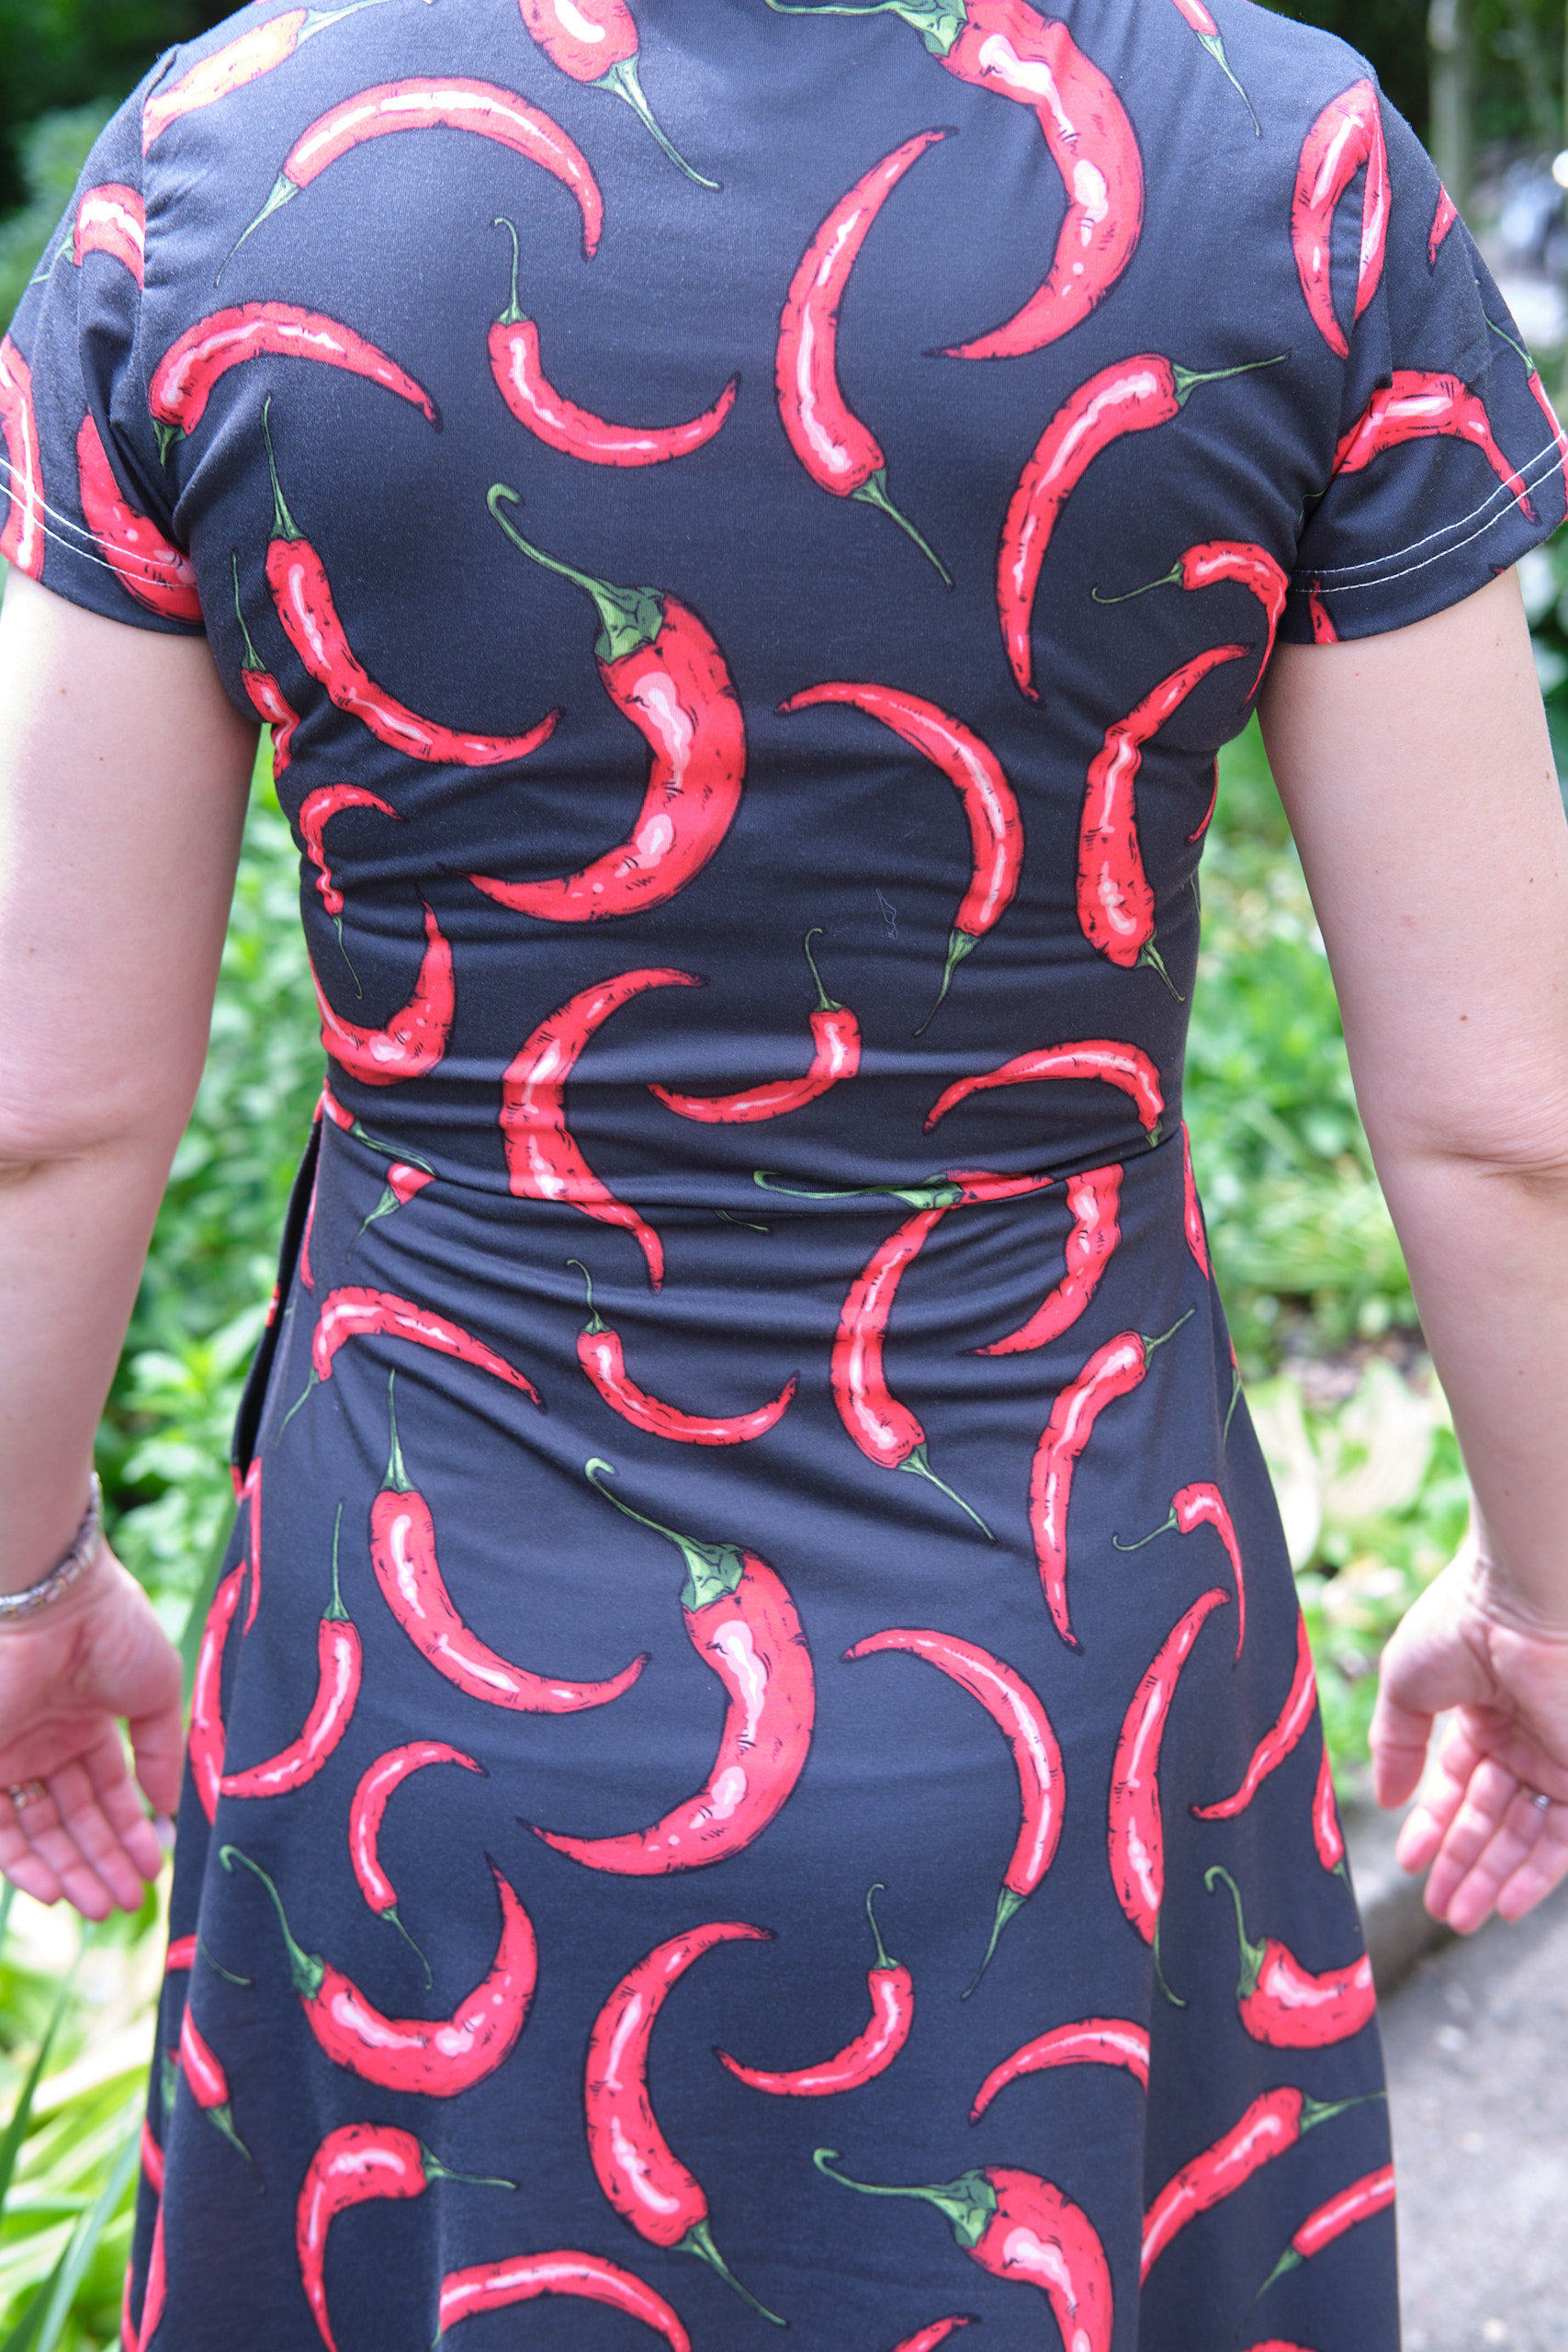
I finished it last night and thought it looked pretty good, but wanted to see it in full fluffy crinkle. So I dunked it in the sink and tossed it in the dryer until it was only damp. Then I hung it up and went to bed. In the morning, it dry and beautifully crinkled, so I wore it to work. It held up well to the heat and humidity and was fairly comfortable. I like the way the crinkles give the skirt and sleeves some extra body. The half sleeves hit me just below the elbow. I think they would also be cute shortened by about 3 inches to hit above my elbow.
Now I just have to figure out what to do with my other 14 yards of double-gauze fabric.