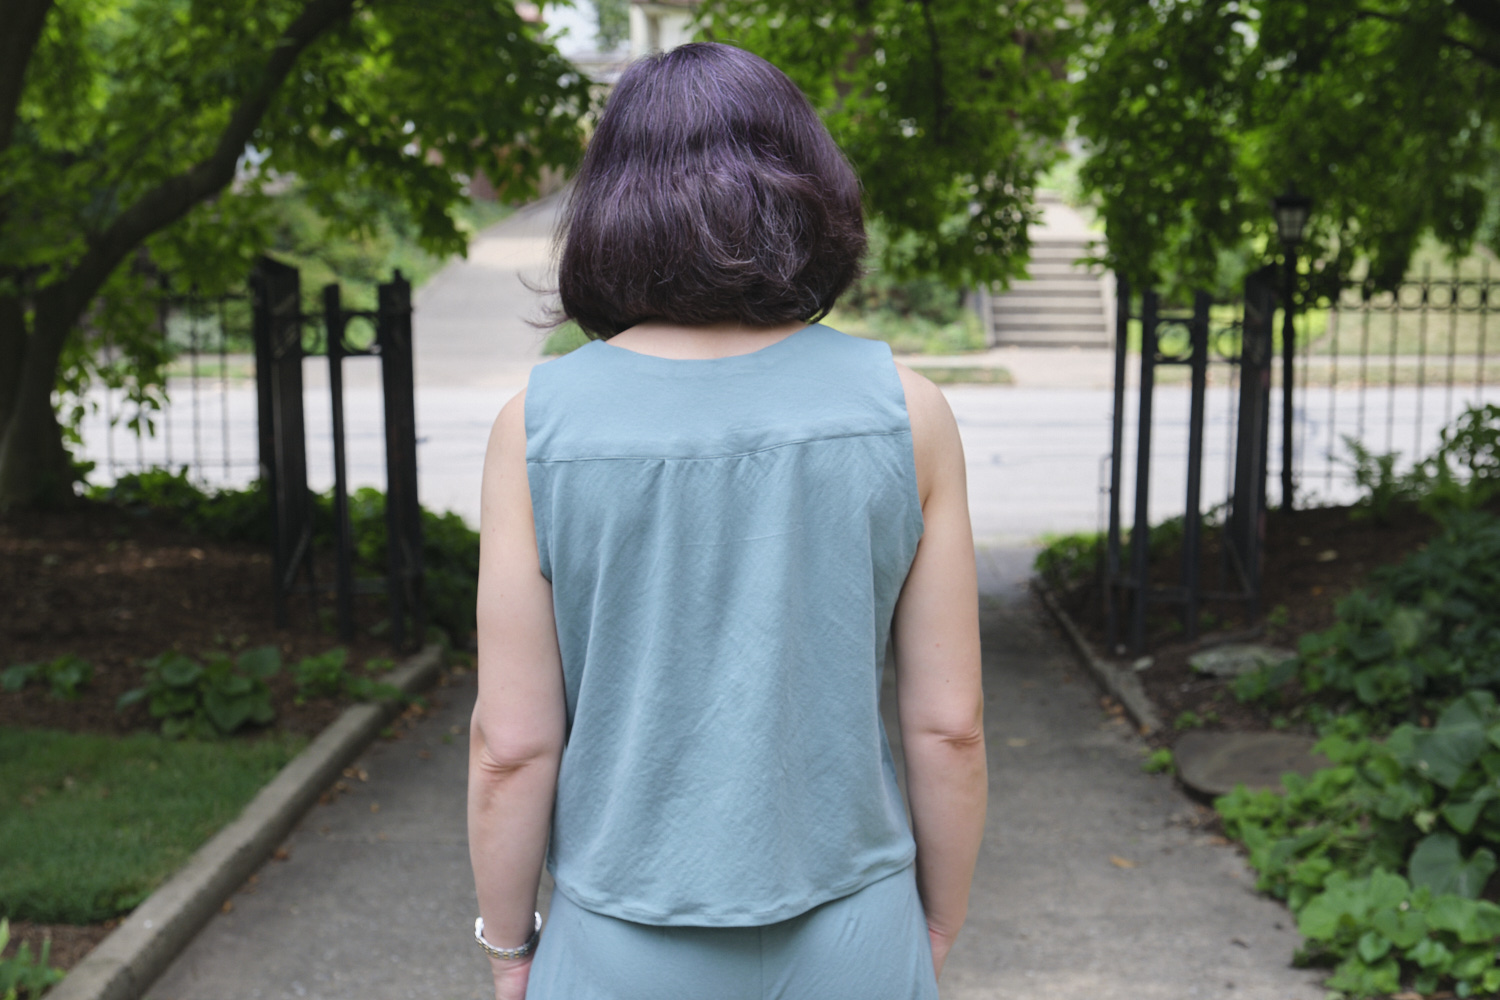
I have made several pairs of pants and a cardigan from PyLos LiKnit fabric and I adore all of them. I made a Sinclair Bondi elbow sleeve top from black LiKnit which is ok, but the LiKnit doesn’t really have enough stretch for this pattern without some adjustments (more ease or maybe adding darts?). Since the LiKnit behaves almost like a woven, I decided to try making a woven top with seafoam LiKnit and I selected the recently-released Sinclair Bloom. I made the sleeveless version at the shortest length with the rounded back neck. I treated the LiKnit fabric exactly as if it were woven, using regular straight stitches for the seams and top stitching.
There is some complexity to this pattern, but as usual, the Sinclair pattern is fairly detailed and pretty easy to follow. The front and back yoke are lined (I used the same LiKnit fabric), and the front yoke is interfaced with fusible woven interfacing. I used a medium weight, which was probably a little heavier than needed–next time I’ll try a lighter weight interfacing. The front and back have some gathers, which I’m afraid I didn’t distribute evenly enough, but they’re mostly ok. The sleeveless version uses the “burrito” method to encase the neck and shoulders, which is a fun technique.
Despite being a knit, the LiKnit fabric worked pretty well with this pattern. I may try one in another color of LiKnit with sleeves. I would also like to try this pattern with cotton double gauze.
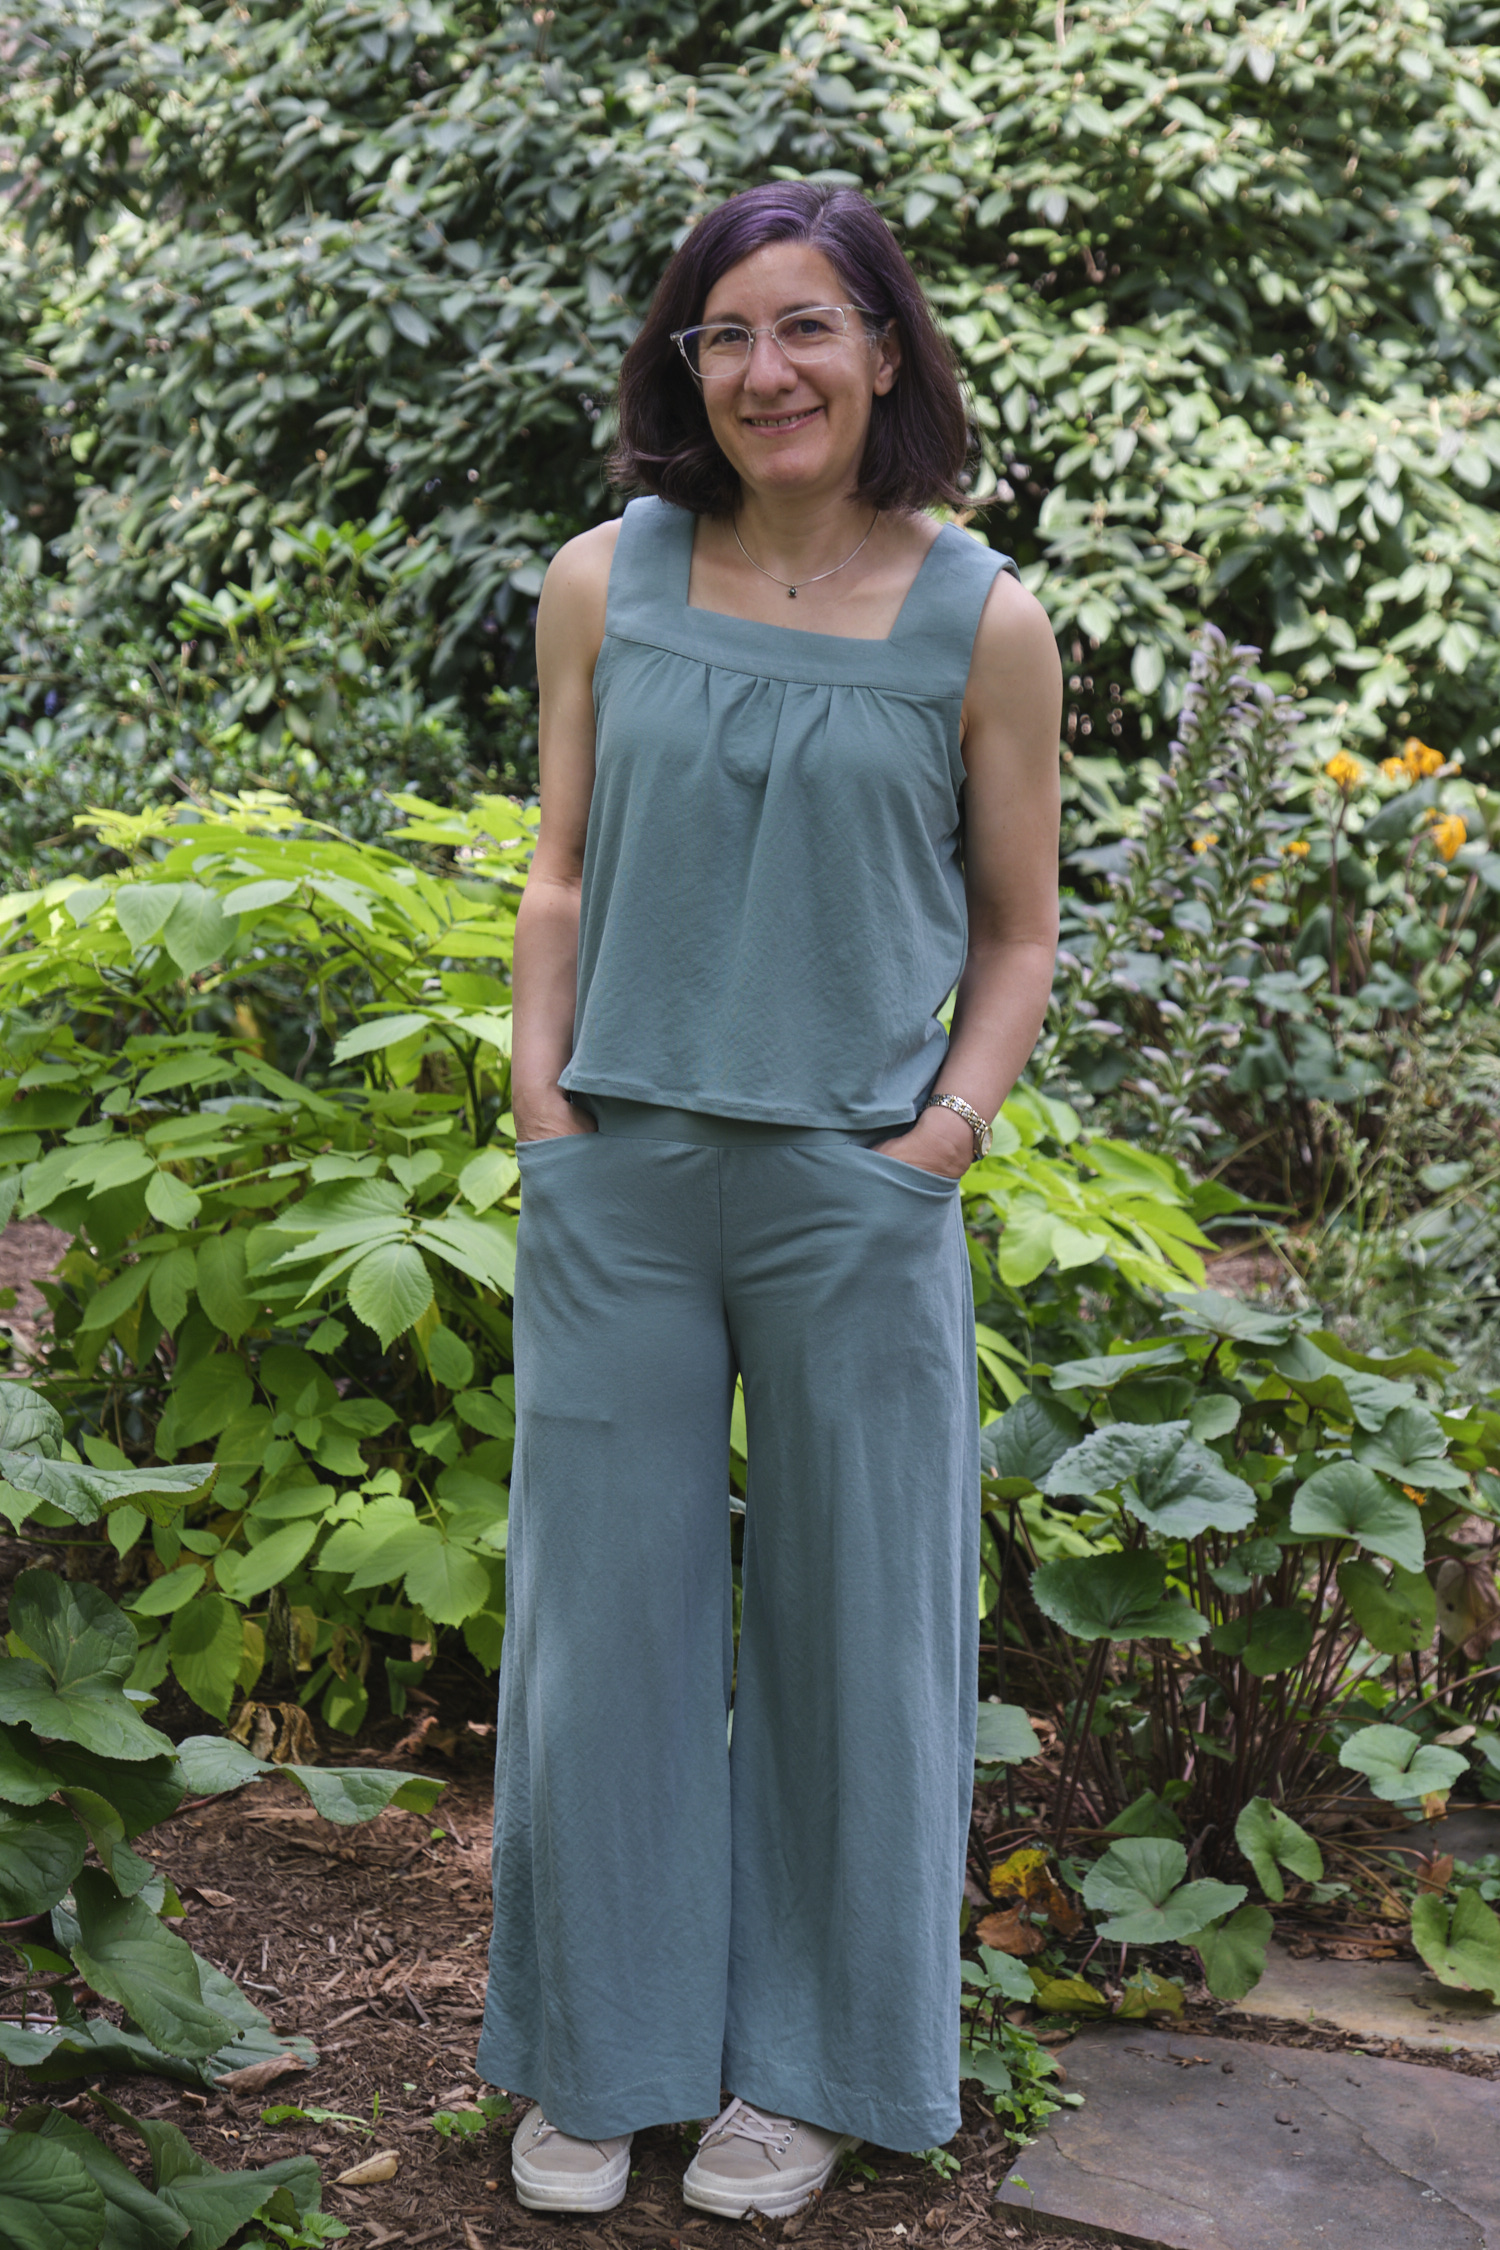
I’m overall pretty happy with how this top came out, and it looks great with my seafoam LiKinit Urban Boldly mashup pants! In fact I wore this outfit to a conference last week and got complements from complete strangers. Also it was very light weight and packable, and doesn’t need to be ironed.
The Pattern Emporium Heartlight Stretch Flared Skirt pattern is a versatile pattern for very flattering flared A-line knit skirts of all lengths. It’s also super fast and easy, unless you’re me and you make it harder for yourself. I did two things that made constructing my skirt harder the first time (adding pockets and using a waistband fabric a lot firmer than the skirt fabric), but now that I know what I’m doing I can continue to add pockets and add firmer waistbands and it shouldn’t be too bad the second time around. And if you want to try either of these things, keep reading for some tips.
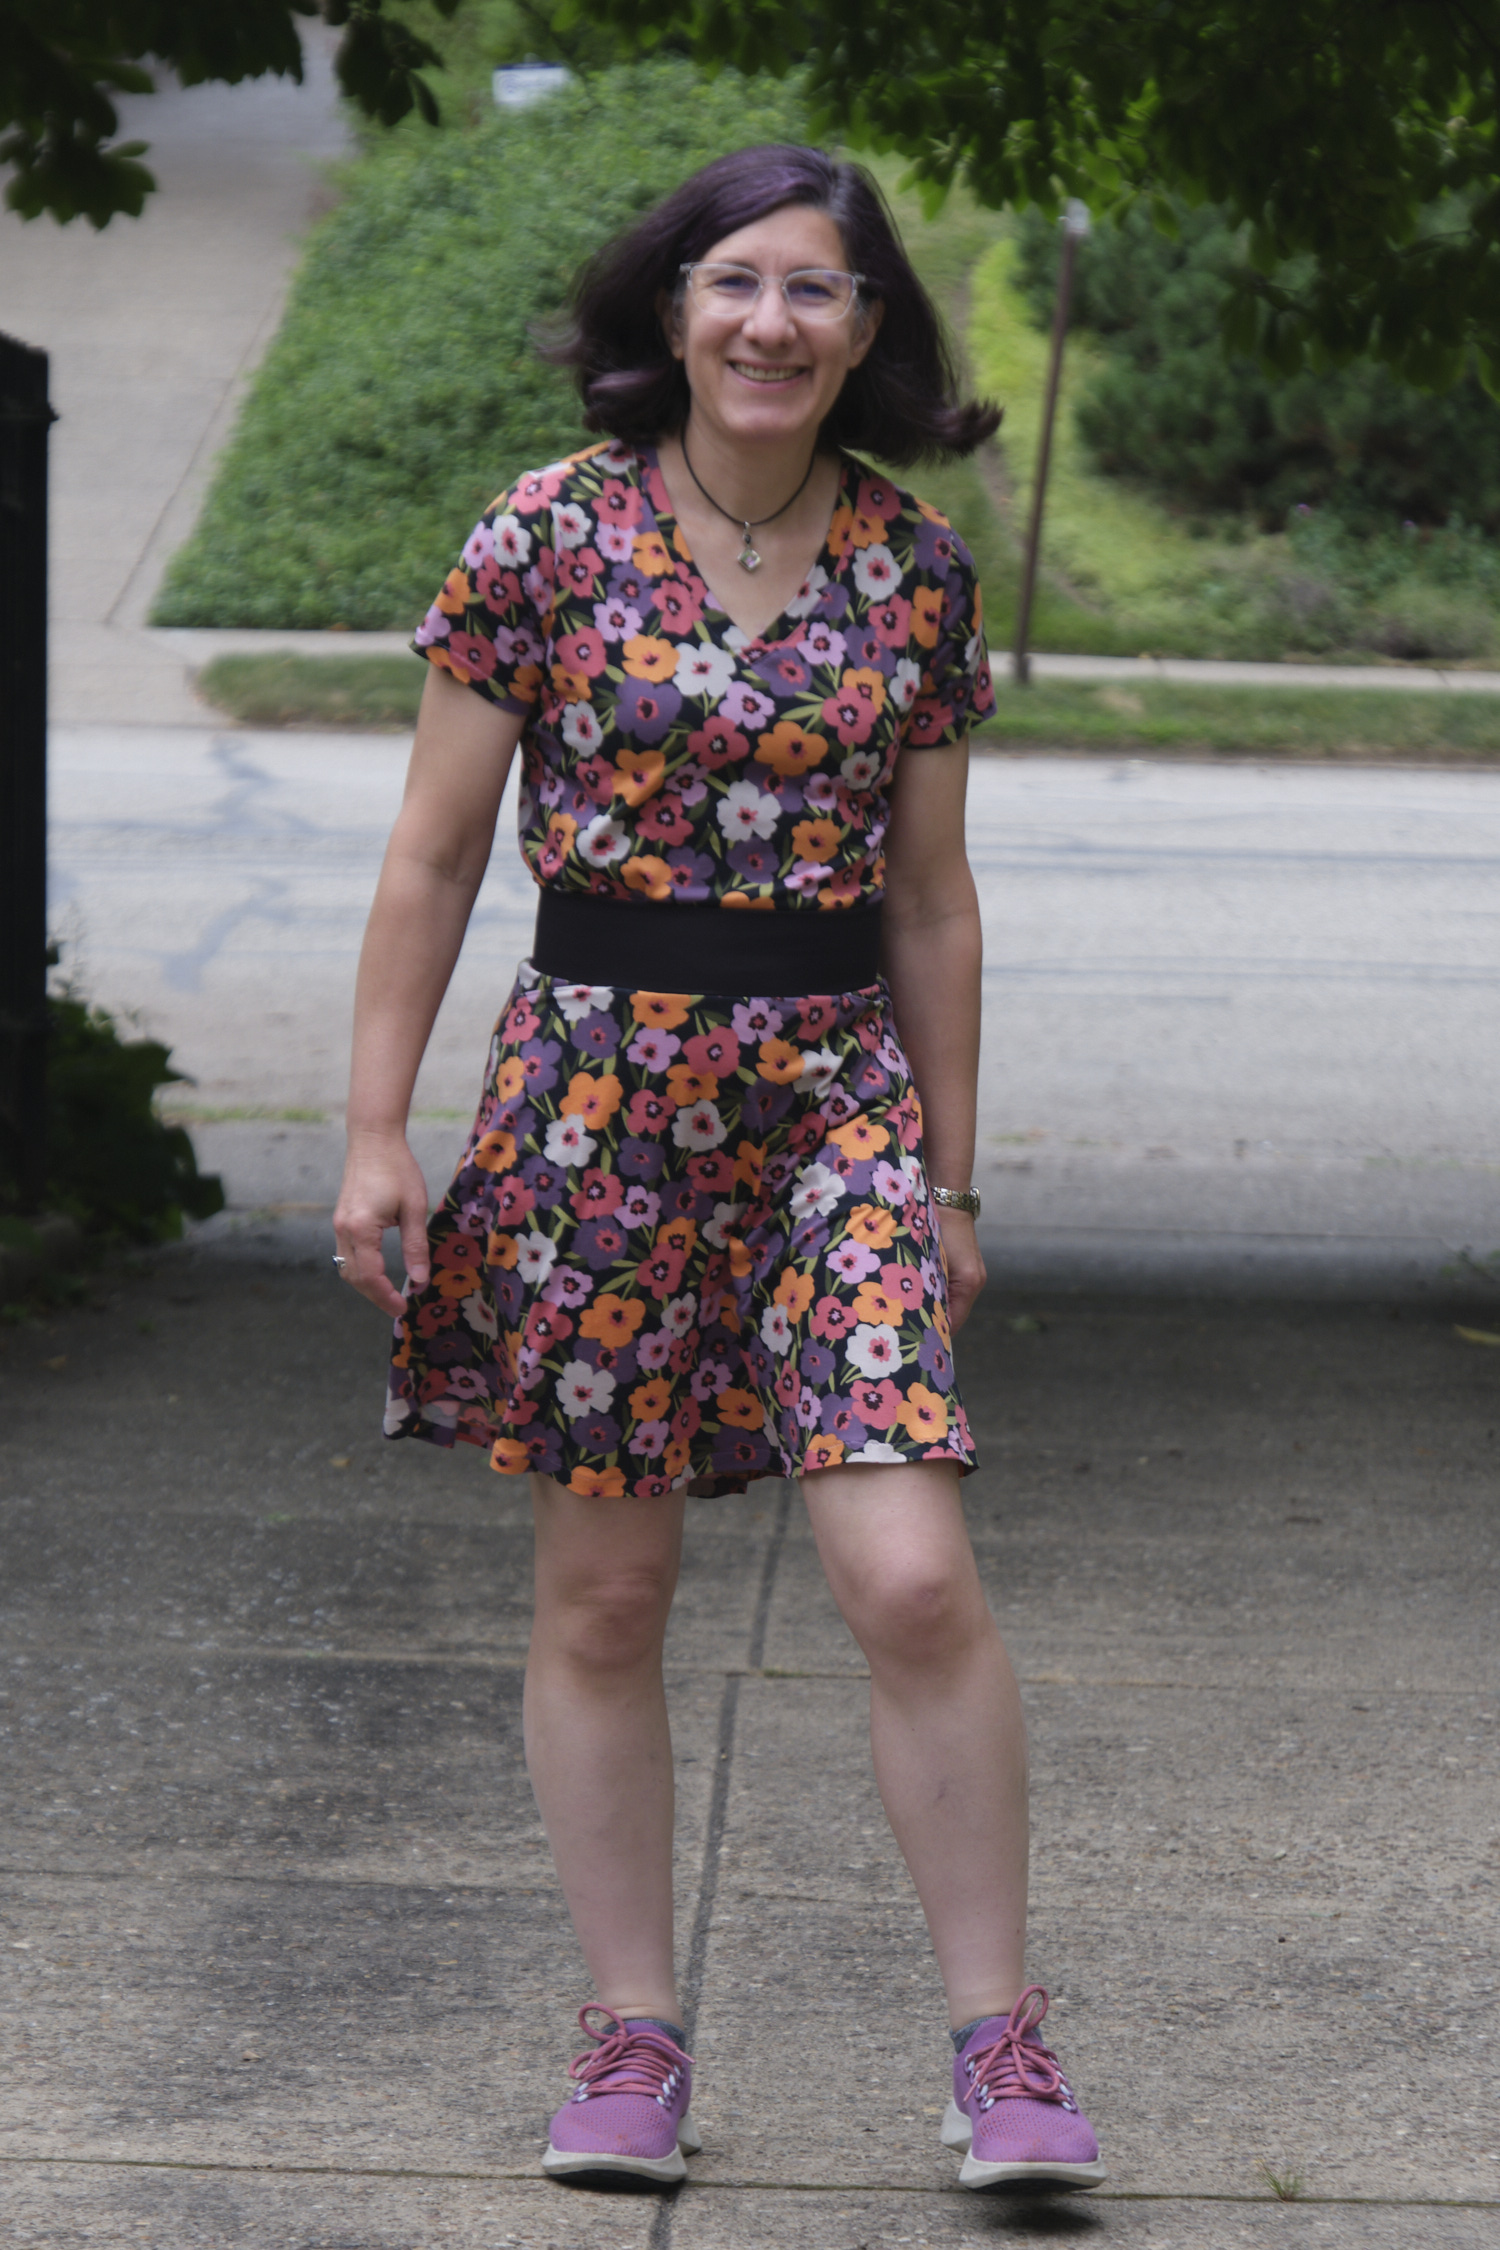
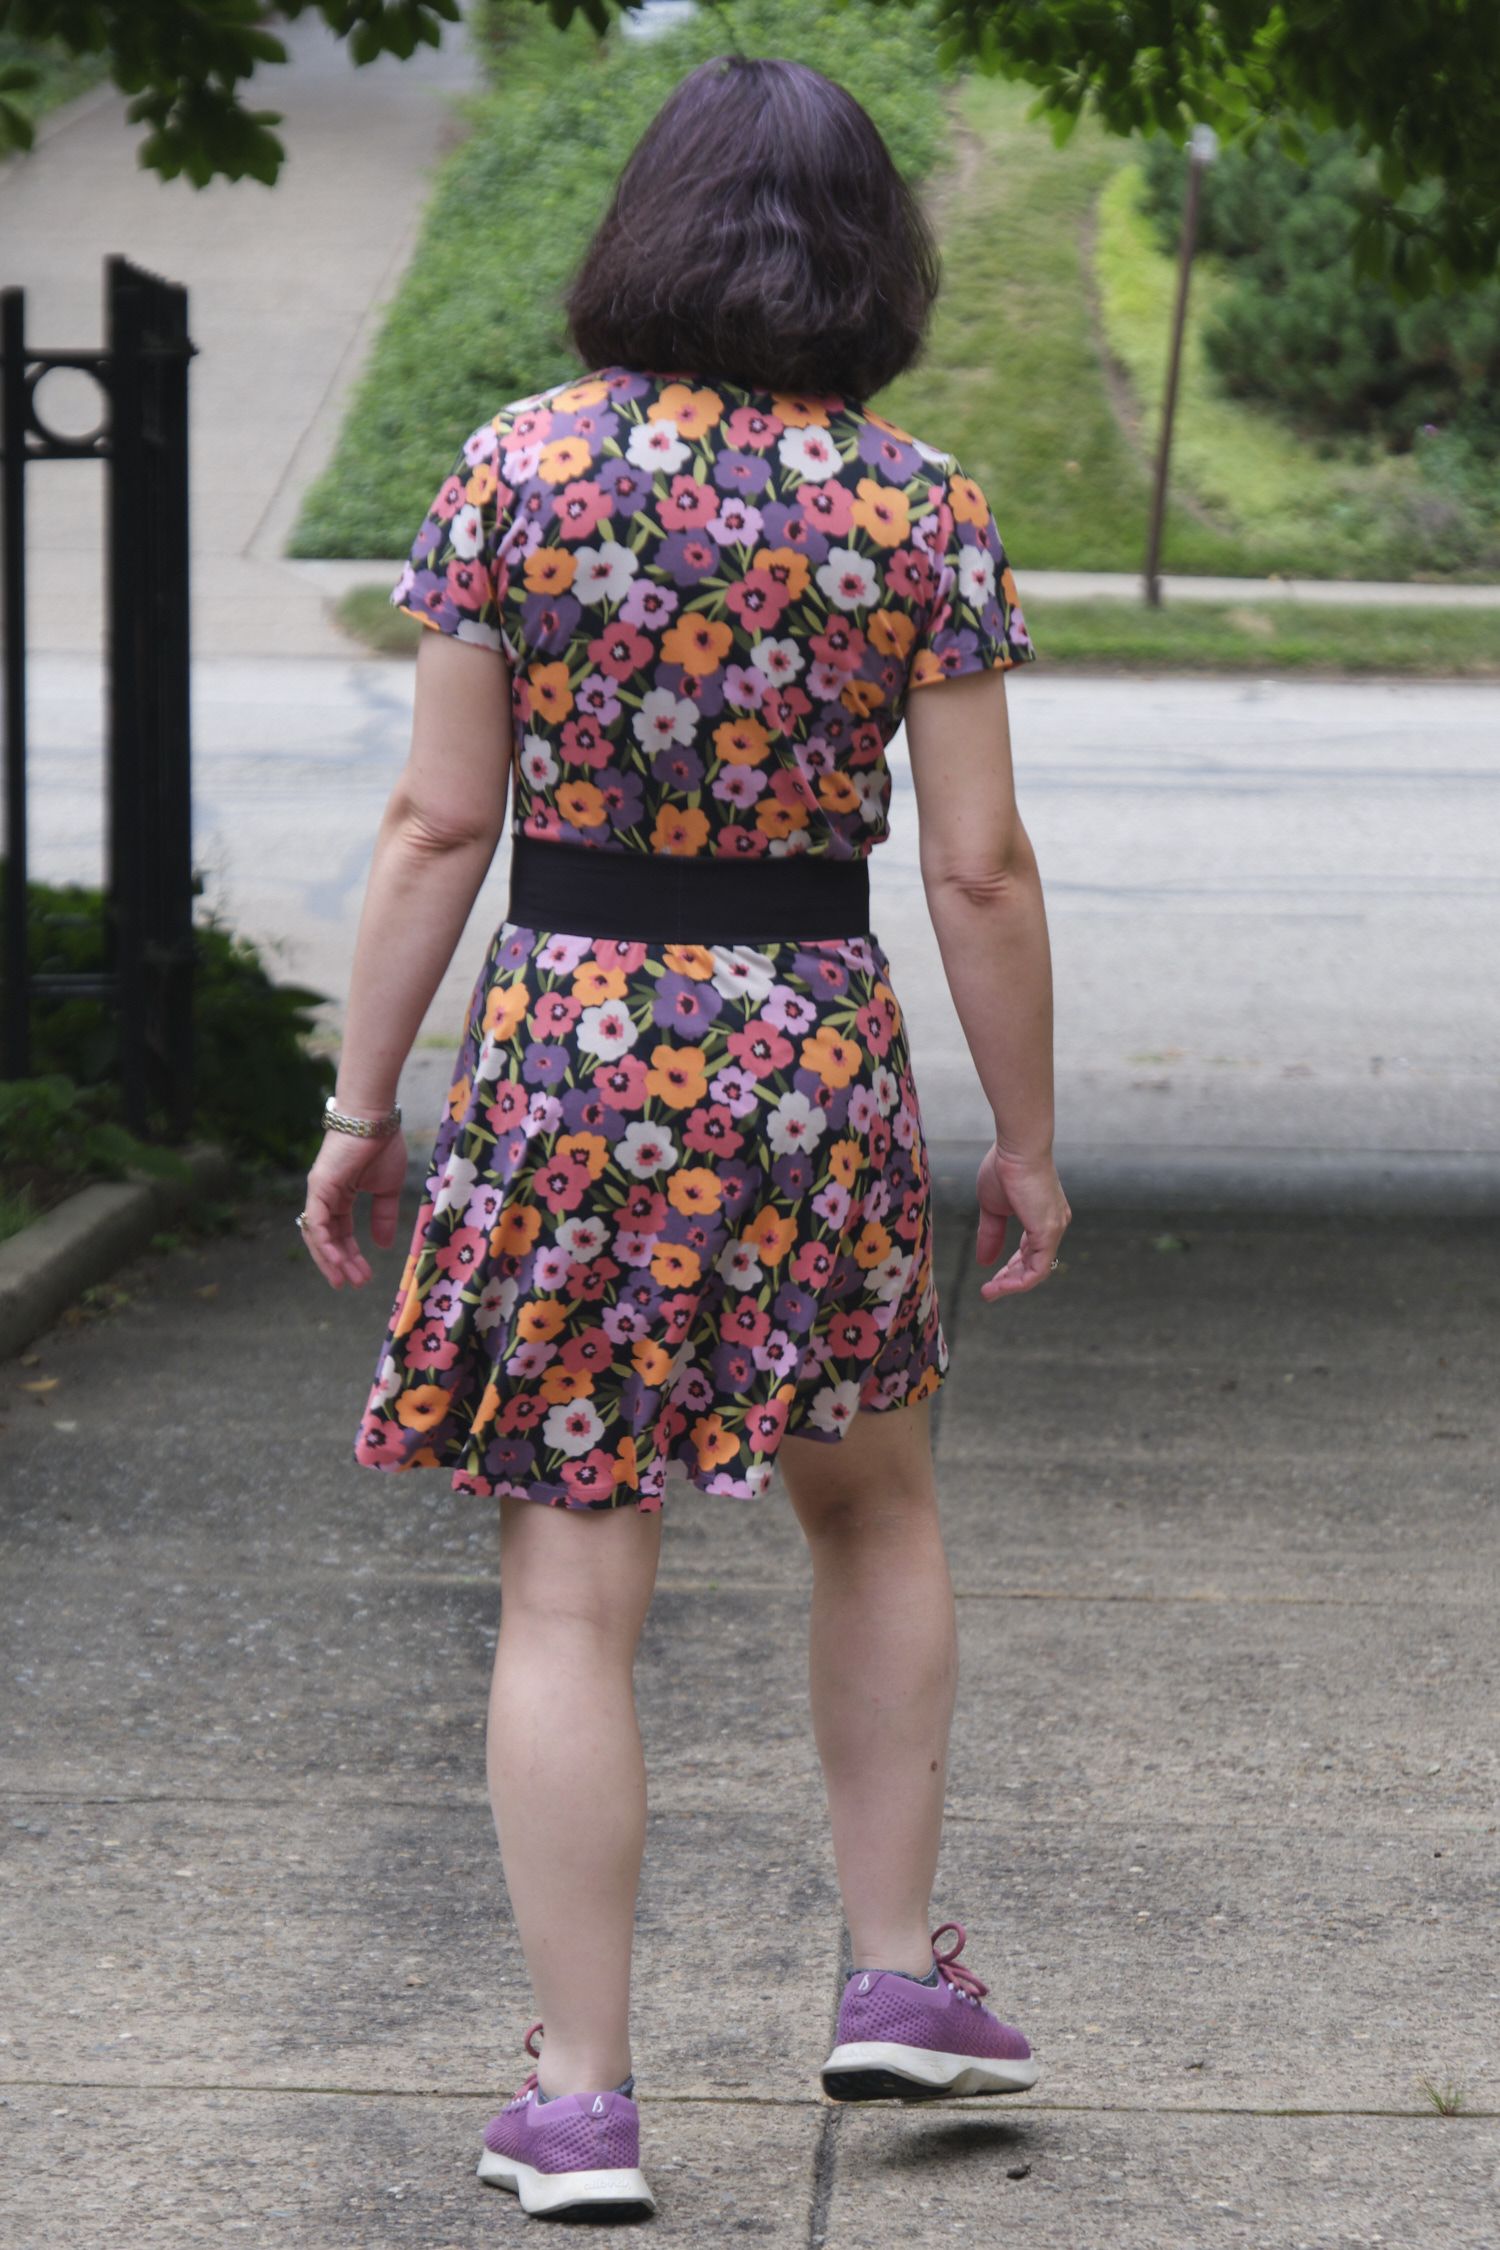
I was planning to use this bright floral DBP fabric for a dress, but liked how it went with my purple double-gauze pants, so made a Sinclair Bondi v-neck t-shirt instead. I also realized that the colors in the fabric coordinate with a number of other things I own (including my sneakers), so having separates in this fabric would be useful. I decided to make a skirt, and coincidentally Heartlight was the Friday discount pattern a couple of weeks ago, so I bought it and figured I would give it a try. I loved the shape of the skirts this pattern makes and the soft yoga waistband, but I was disappointed it didn’t come with pockets. I read on the PE Facebook page that people had added pockets, some using another PE pattern that I don’t own, and others improvised based on the pockets in PE pants patterns.
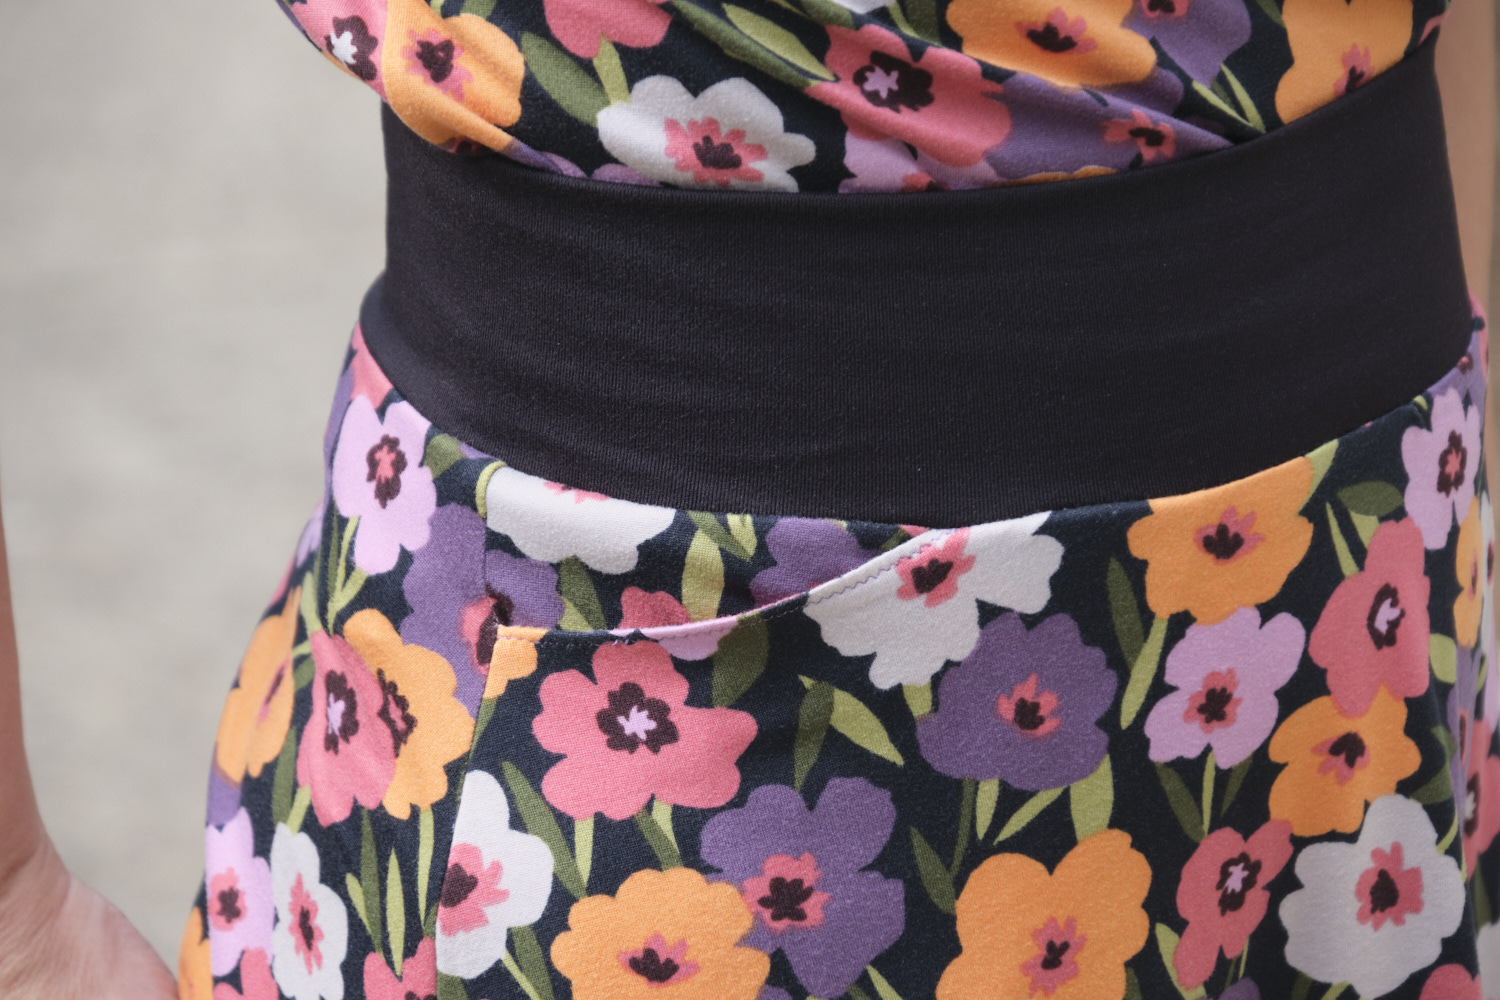
I cut the pattern out using my projector. I cut a size AU10 about 2 inches above the knee length (thinking that since this wasn’t a petite pattern, this is what I would need, but it actually ends up being more above the-knee than I was expecting). The skirt front and back plus the pocket pieces I cut used less than a yard of fabric. If you are taller or want a longer skirt it will obviously use more fabric, but the pattern has some tips about how to cut the skirt in pieces to use the fabric more efficiently and to allow this pattern to be used with narrower fabrics. Because DBP is very soft and stretchy, it does not have enough hold for a yoga waistband unless you add elastic or line it with another fabric. Especially since I was planning to add pockets, I knew I needed a different fabric for the waistband. I also realized that my floral fabric was very busy and might benefit from being broken up by a black waistband. I decided to use black 256 GSM athletic brushed poly for a nice firm yoga waistband.
I referred back to the PE Walk Boldly pants pattern jeans pocket instructions. As the shape of the hip on the pants does not match the skirt I could not use the pants pattern piece, but I improvised following the same concept. I made pocket rectangles about 6 inches wide and 8.5 inches deep, and then doubled them for the front and back of the pocket bag. I angled the rectangle to align with the skirt side seam and adjusted the top edge to align with the waist of the skirt. I opted for a straight slash pocket opening.
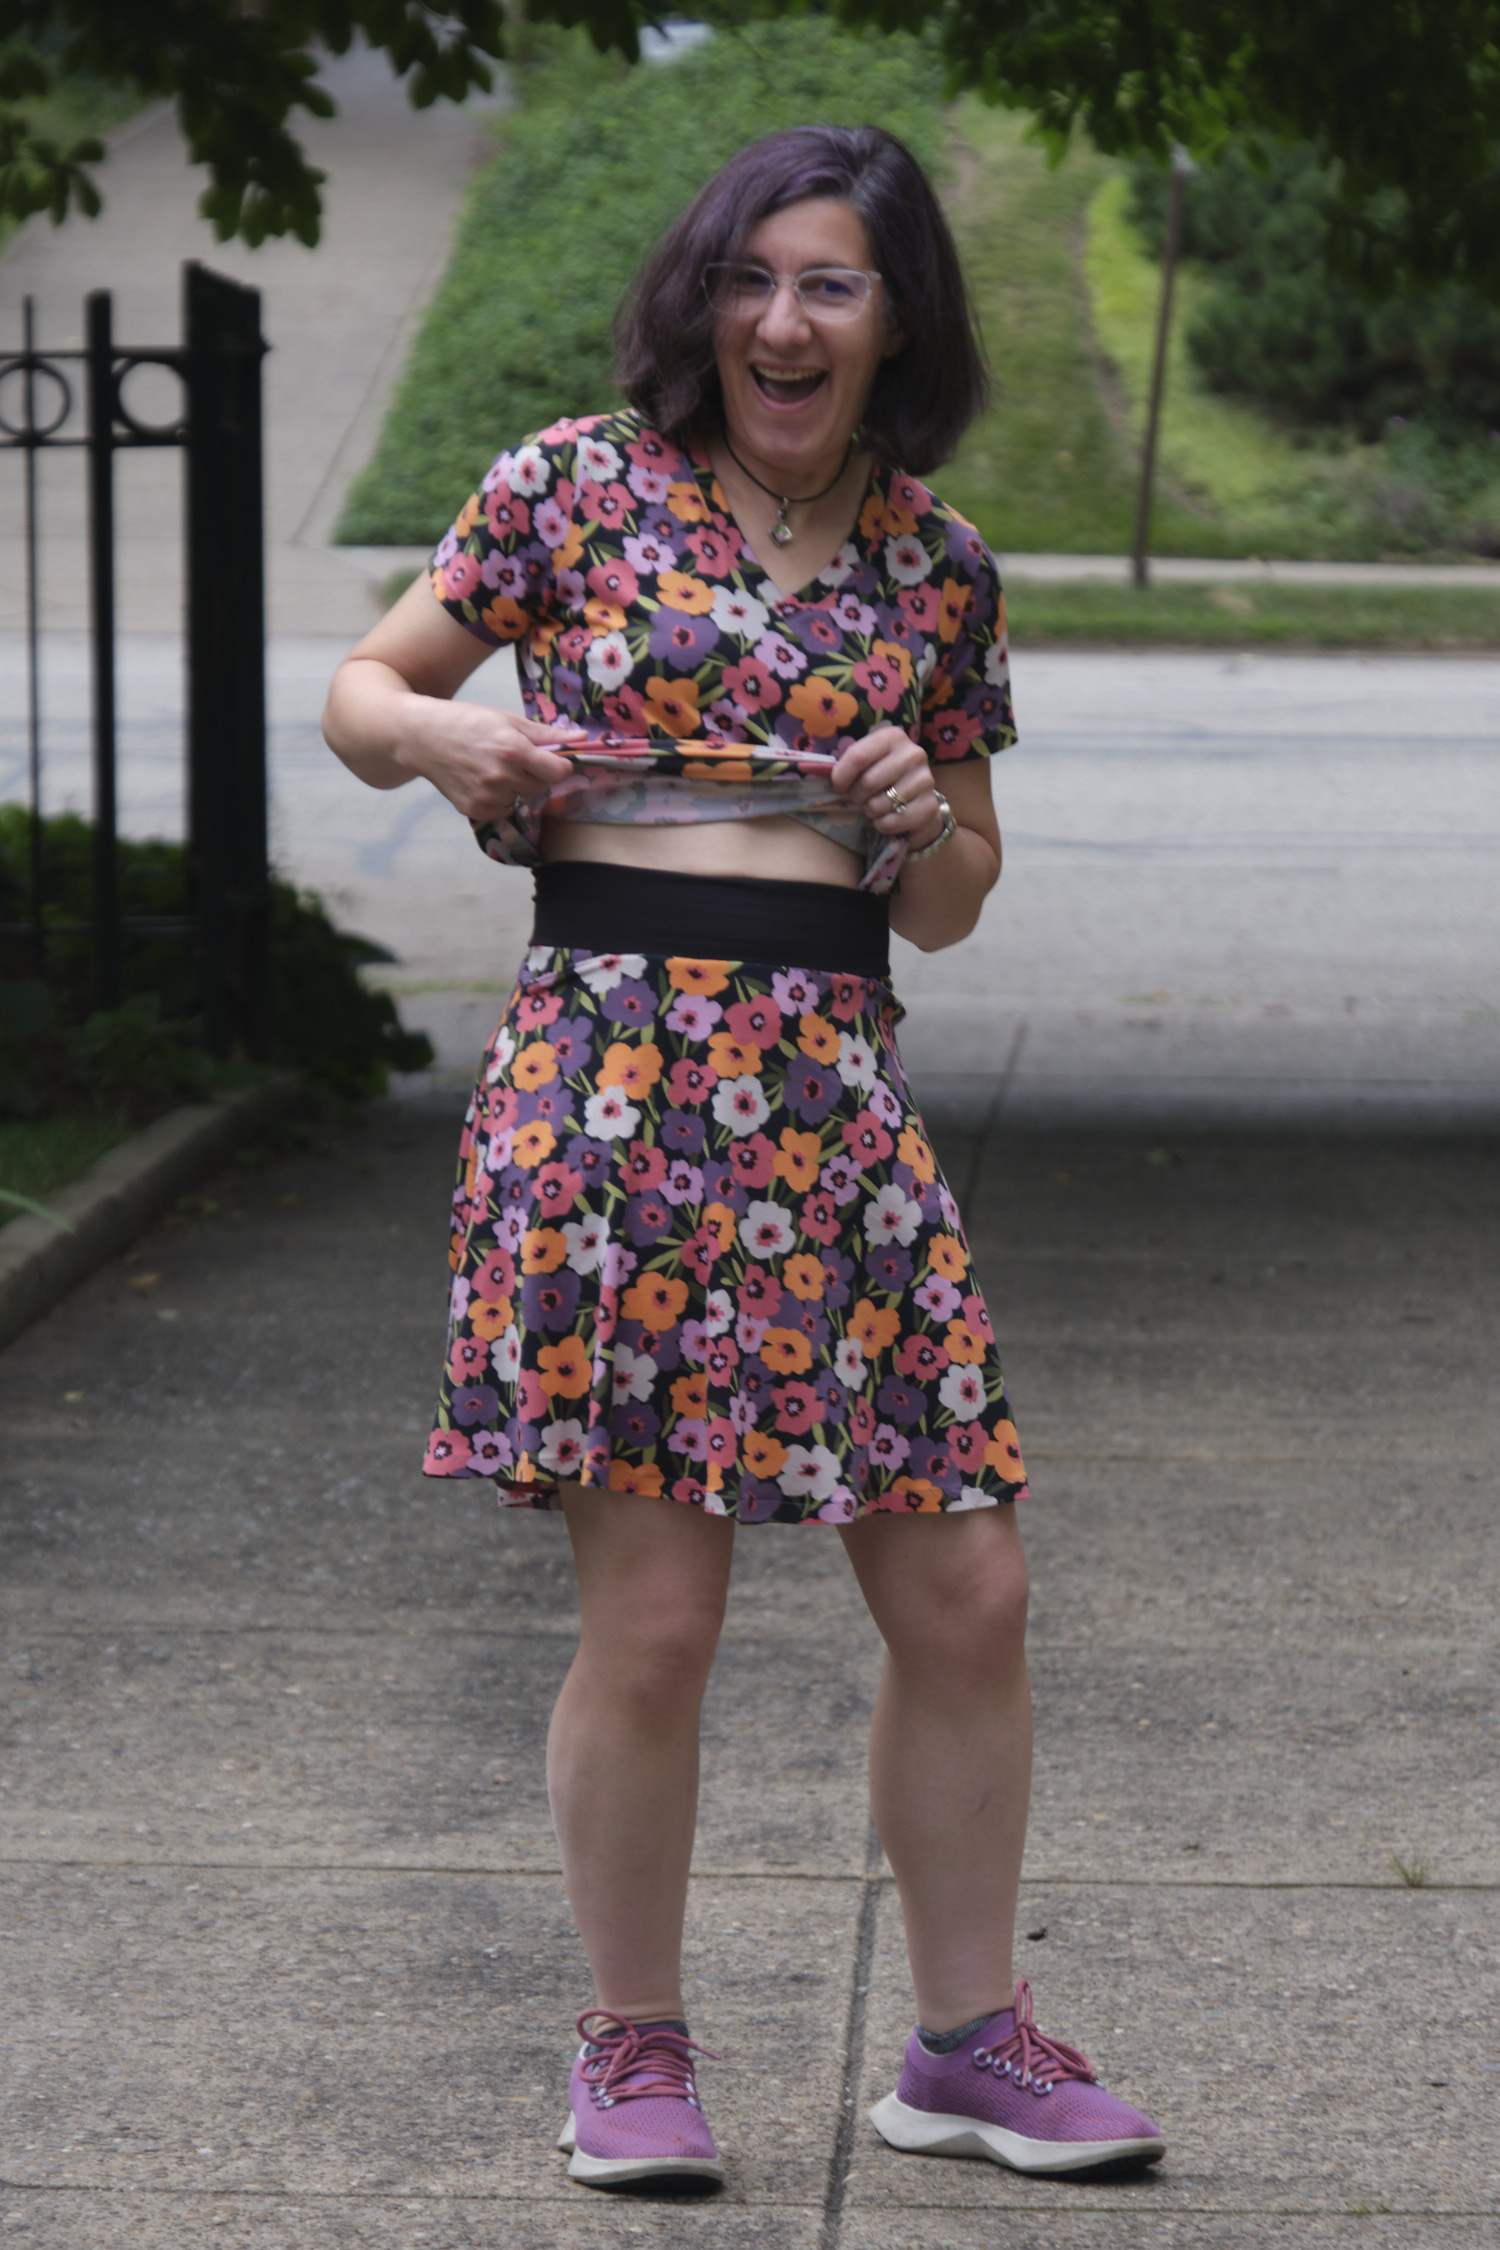
Once I figured out how to make the pockets work they were pretty easy to cut and sew. I stitched the top of the pocket to the skirt front, understitched and topstitched, then folded it in half, surged the bottom, and then basted the rest of the pocket top and side to the skirt front piece (ok I realize that really requires an entire tutorial and not just a diagram and single sentence unless you are already familiar with making these sorts of pockets). The pockets are big enough for my phone and are well anchored in the waistband.
My biggest problem came attaching the waistband, largely due to the difference in stretch and firmness of the two fabrics. I followed the pattern instructions and used the quarter method to distribute fabric and pinned in place with 8 pins. I knew that stretching the athletic knit waistband to fit the DBP skirt would be difficult, so I decided to machine baste it before sewing it together. It was a complete disaster, with parts bunched up too much and some parts not joined together at all because the waistband had curled under. I unpicked a few spots and tried to fix them, and grew increasingly frustrated as I went. I eventually declared it a mess and went out to dinner. After I came back I unpicked the entire waistband (easy because it was basting stitches) and started over. This time I started by basting the two edges of the yoga waistband together with a wide zigzag stitch over the edge. This ensured the two edges would stay together and prevented them from curling. Then I applied the quarter method again, but this time used a lot more pins. I machine basted the whole things and it looked much better. Finally, I surged the layers in place, stretching the waistband as I went. After that all that was left was to hem the bottom, which I did using hem tape and a zigzag stitch.
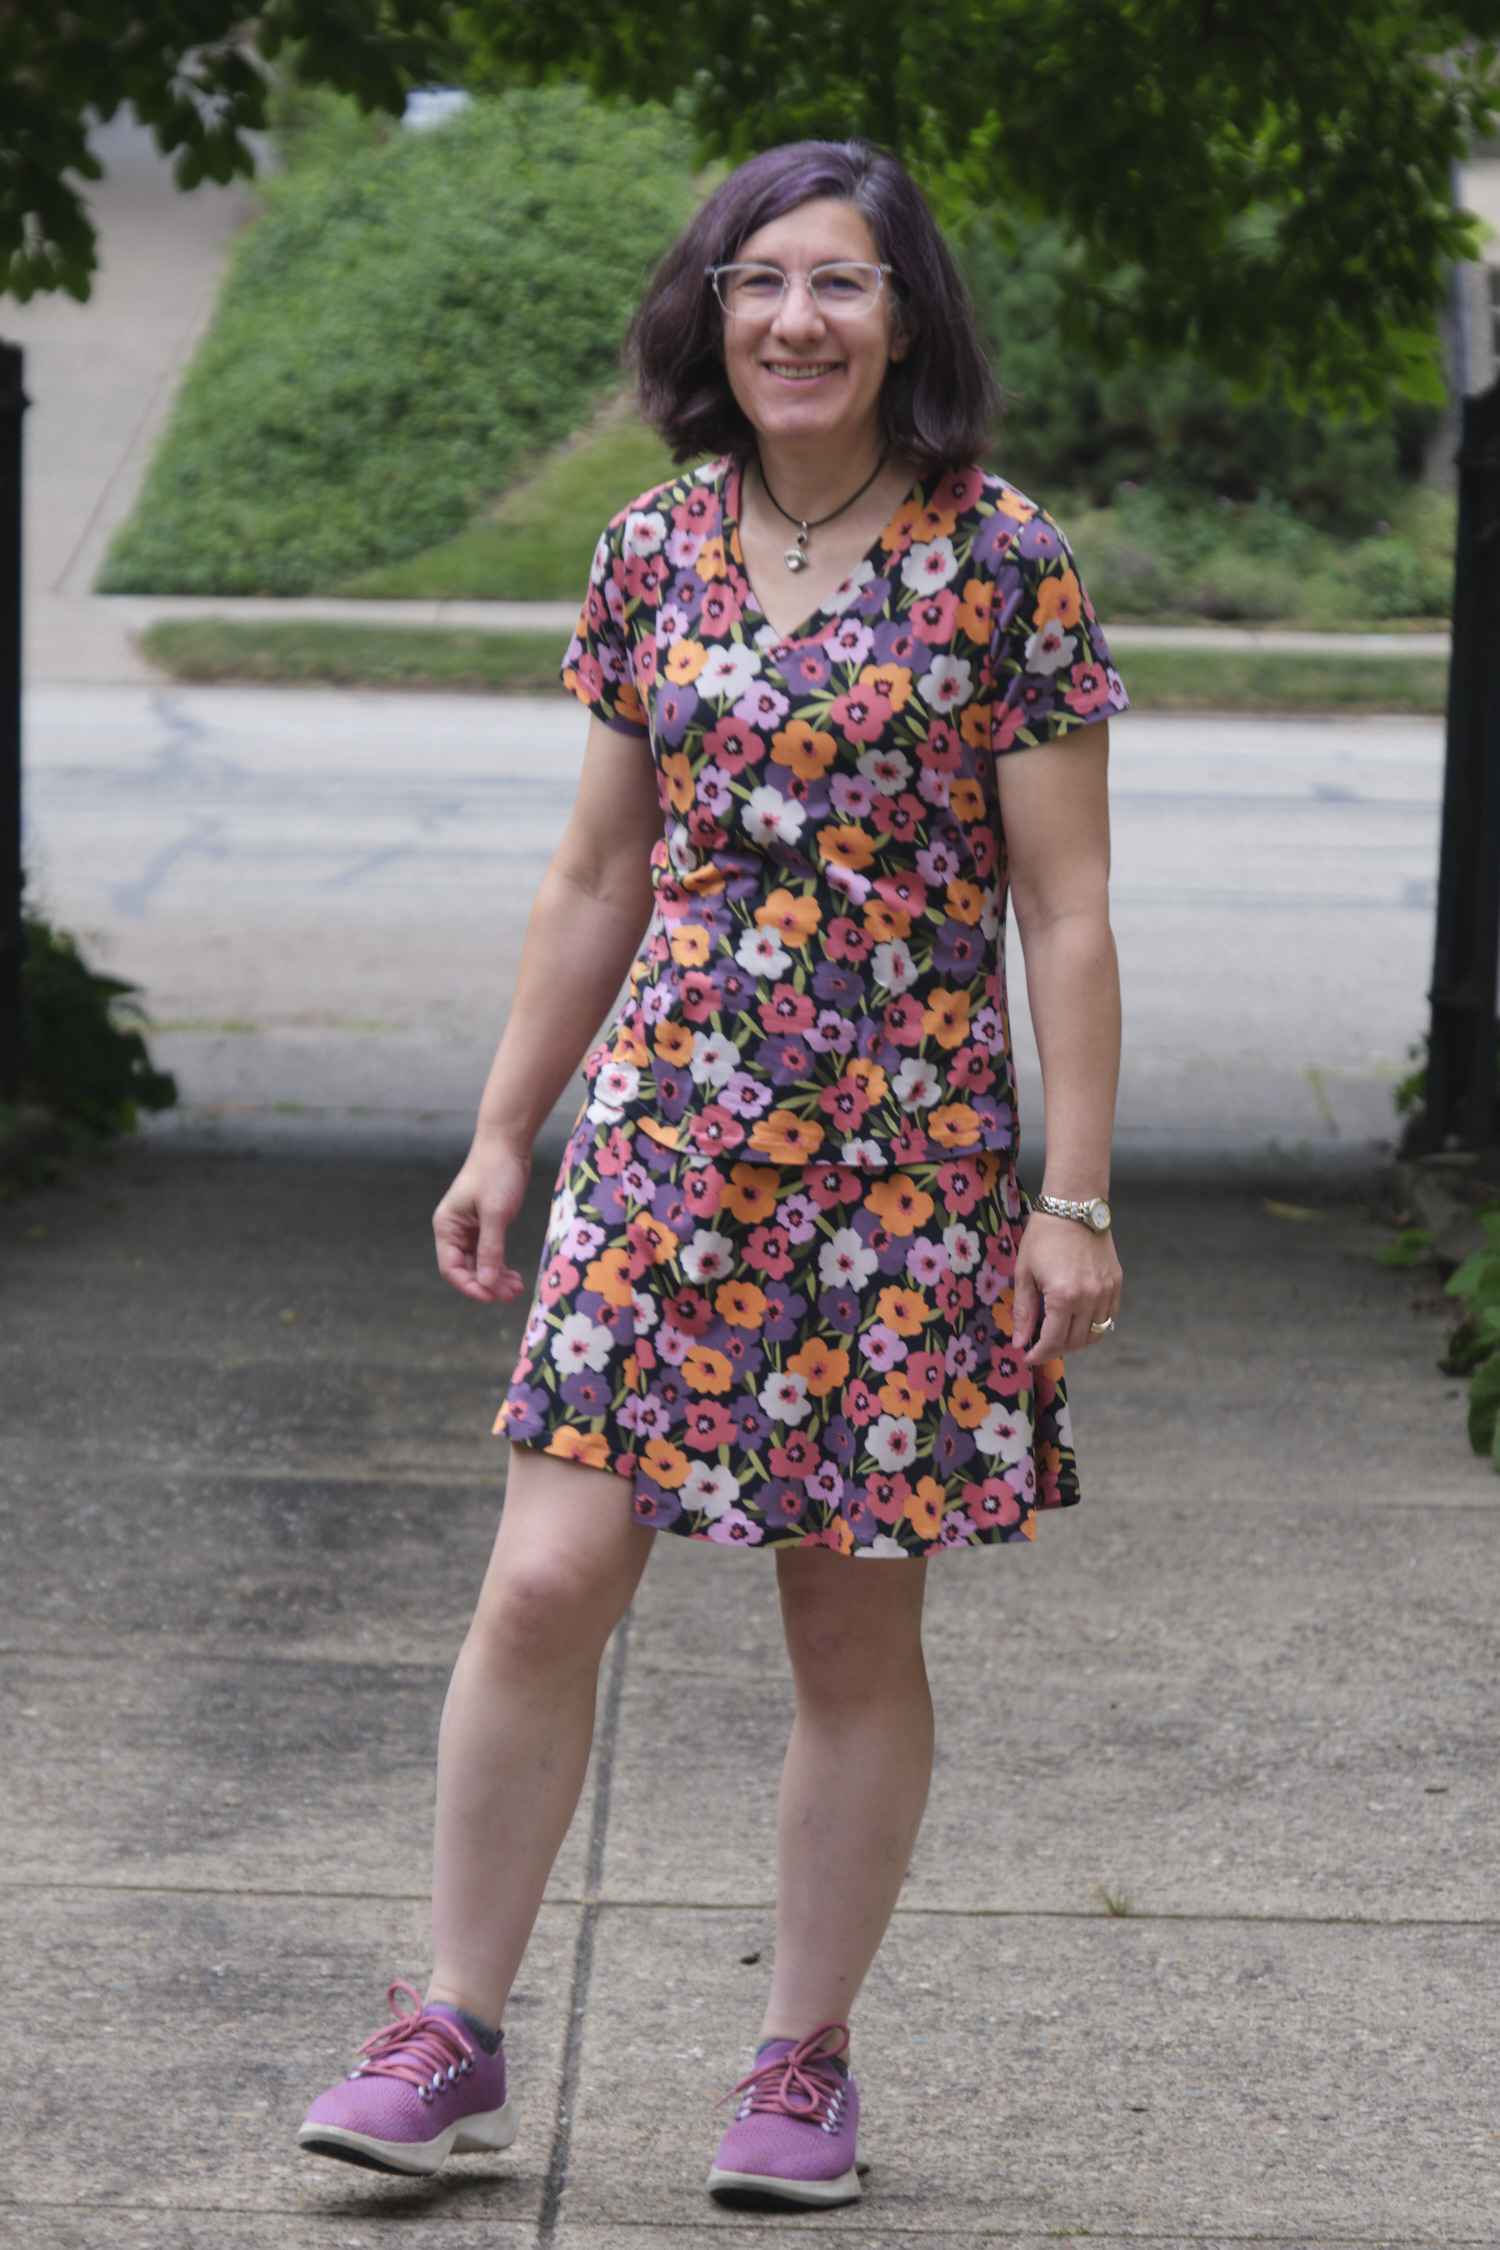
The end result is comfortable and looks good, and I even like it untucked too… actually I’m more likely to wear it that way. I like the fact that the skirt is a little big swishy, without having all the fabric of a full-circle skirt (I love those too, but not for every occasion) and that it doesn’t require any gathering to make it. I’m pretty happy with how the pockets came out, although with DBP you always have to be careful how you load pockets to keep them from stretching out awkwardly. The PE “foxy” pocket style would also probably work with this pattern. Although the firm athletic knit was a bit of a pain to deal with, it makes for a great waistband that feels like it will stay put as I wear it, even with loaded pockets. I might make a black skirt entirely out of this fabric. I would also like to try this pattern in a rayon ponte and also try a longer length.
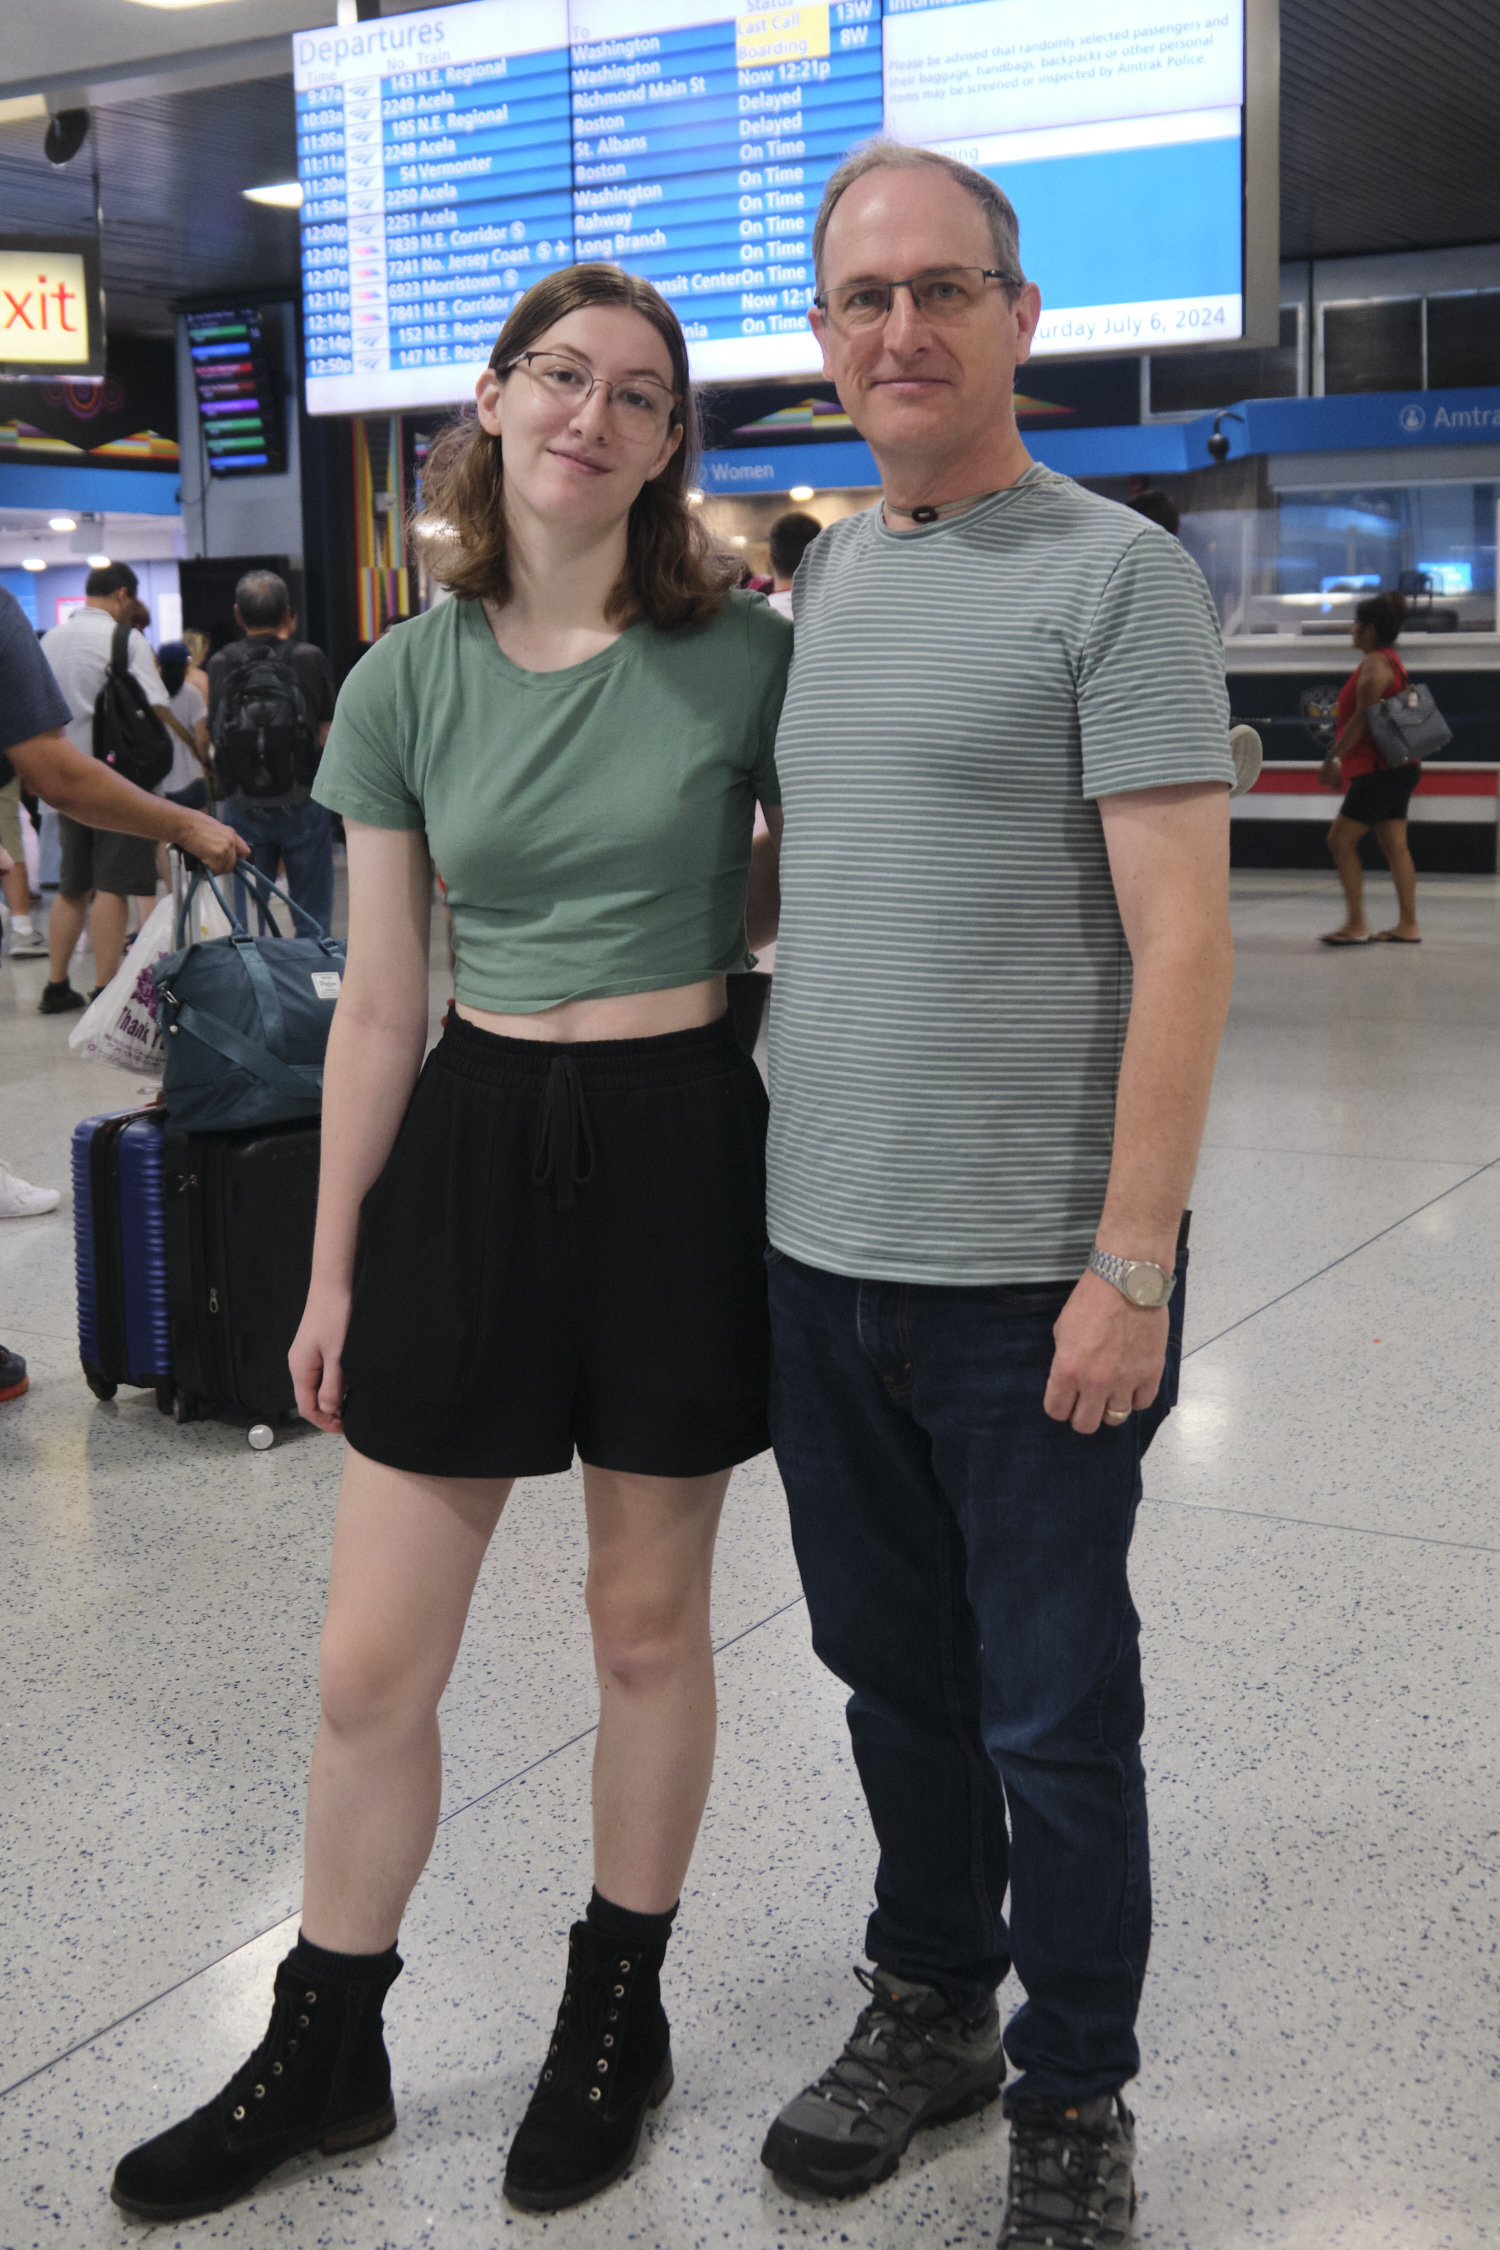
Given my current interests, I couldn’t visit NYC without a trip to the garment district. After all, my wardrobe (and my daughter’s wardrobe too) for the trip was mostly me-made clothes.
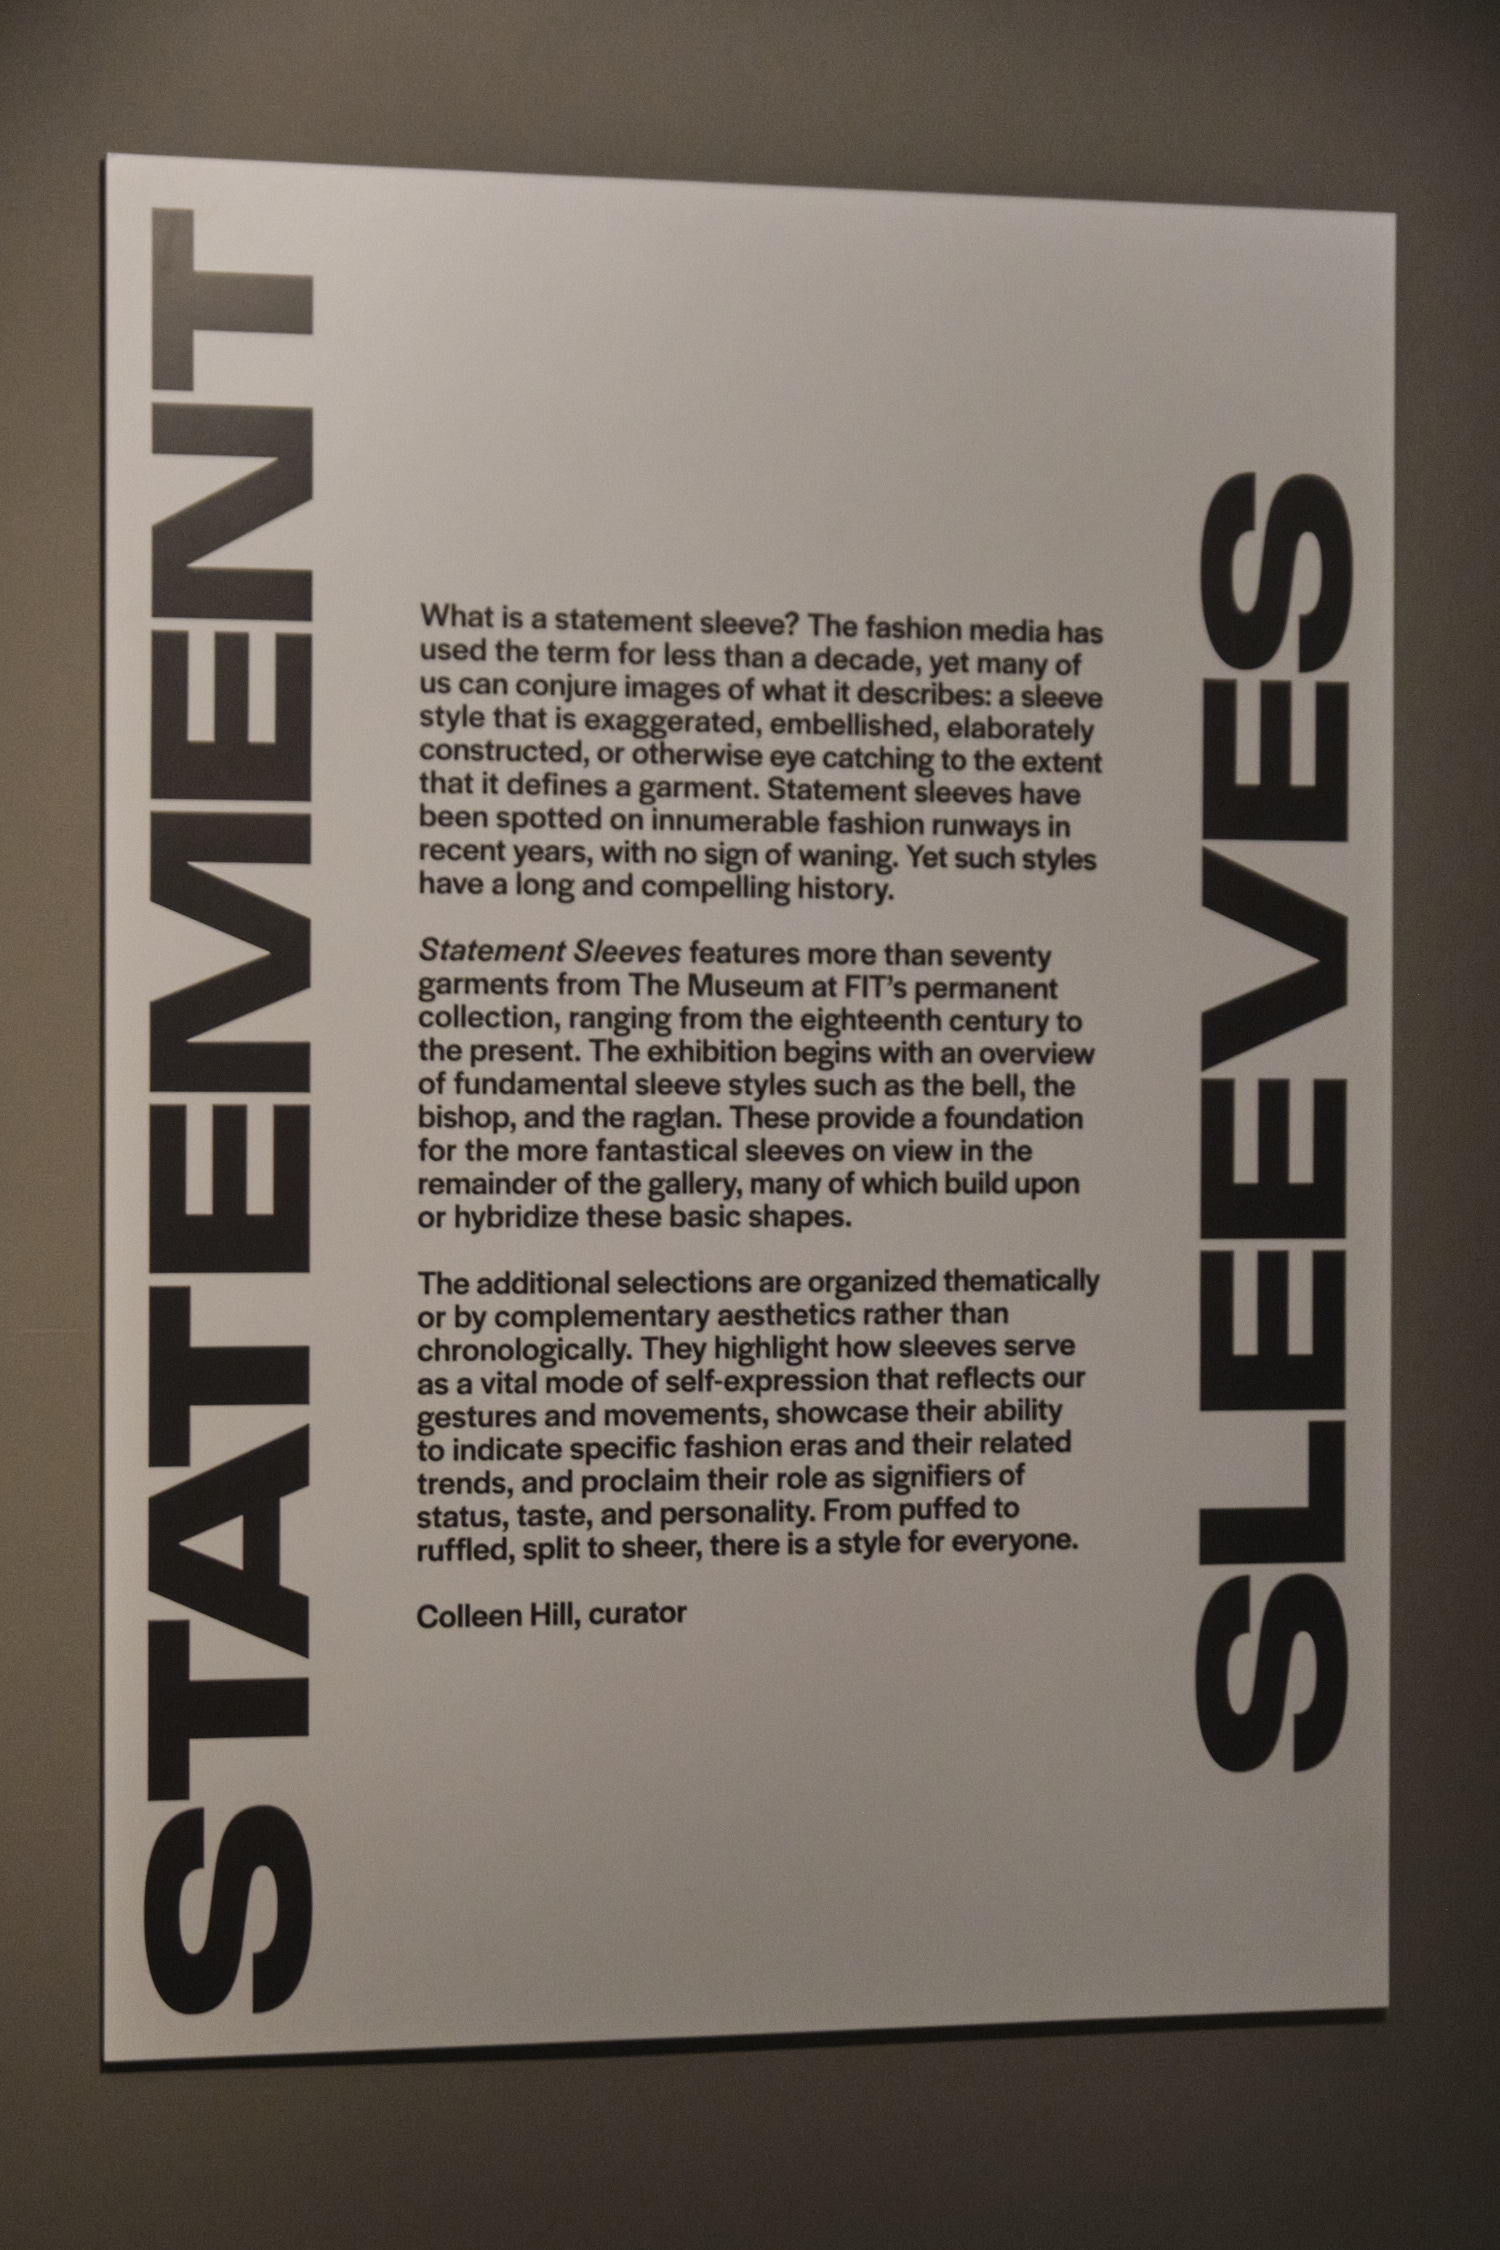
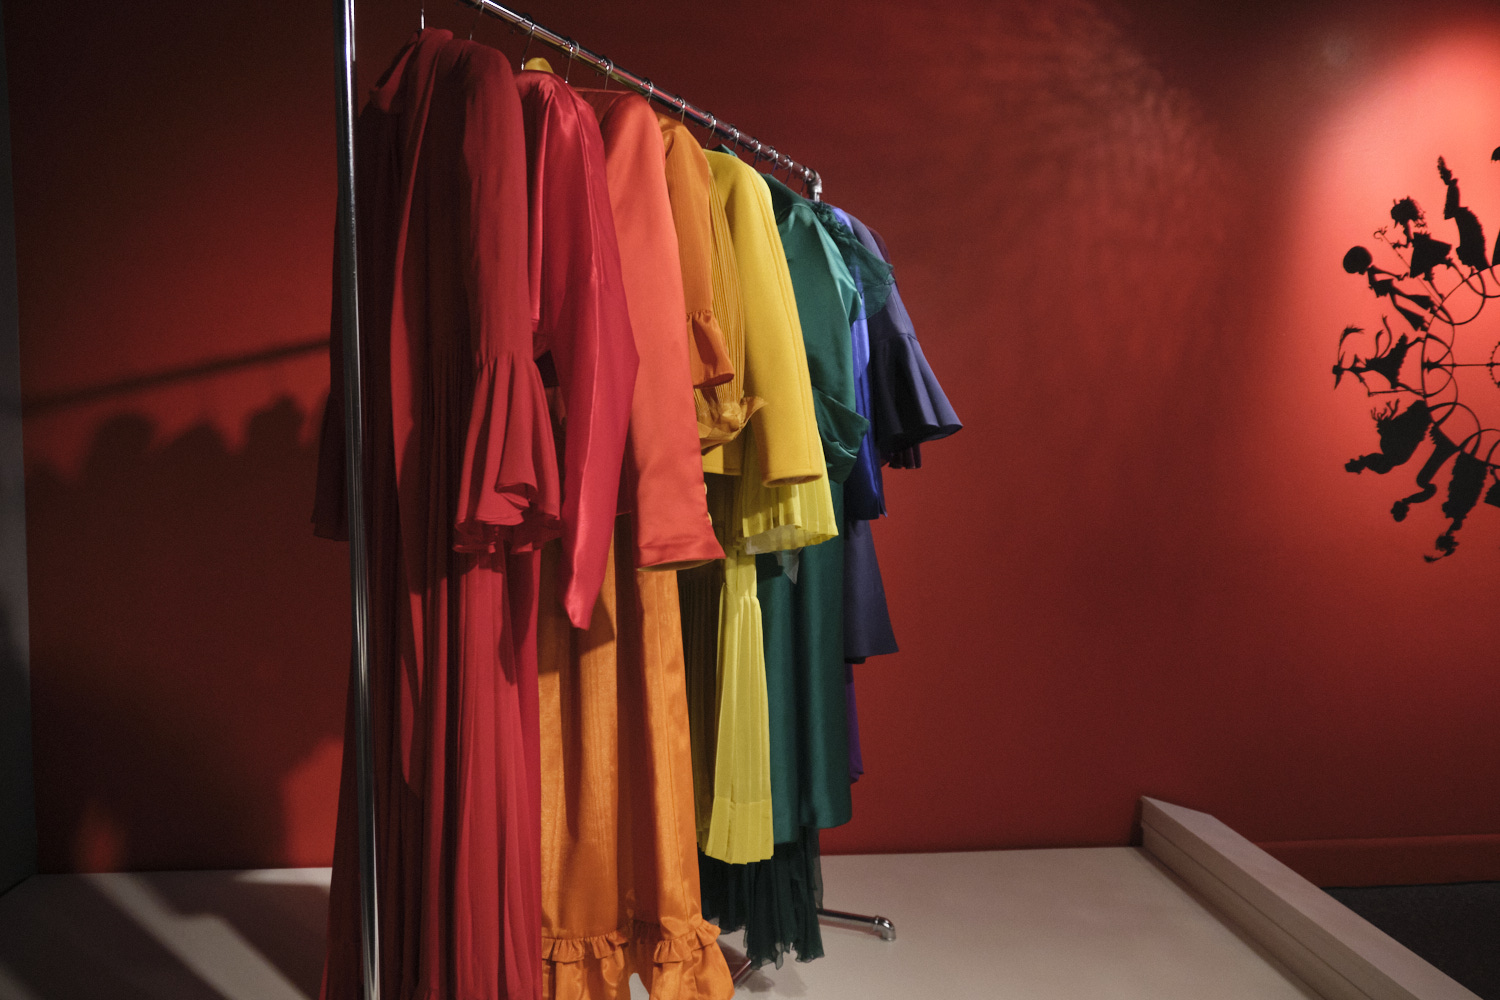
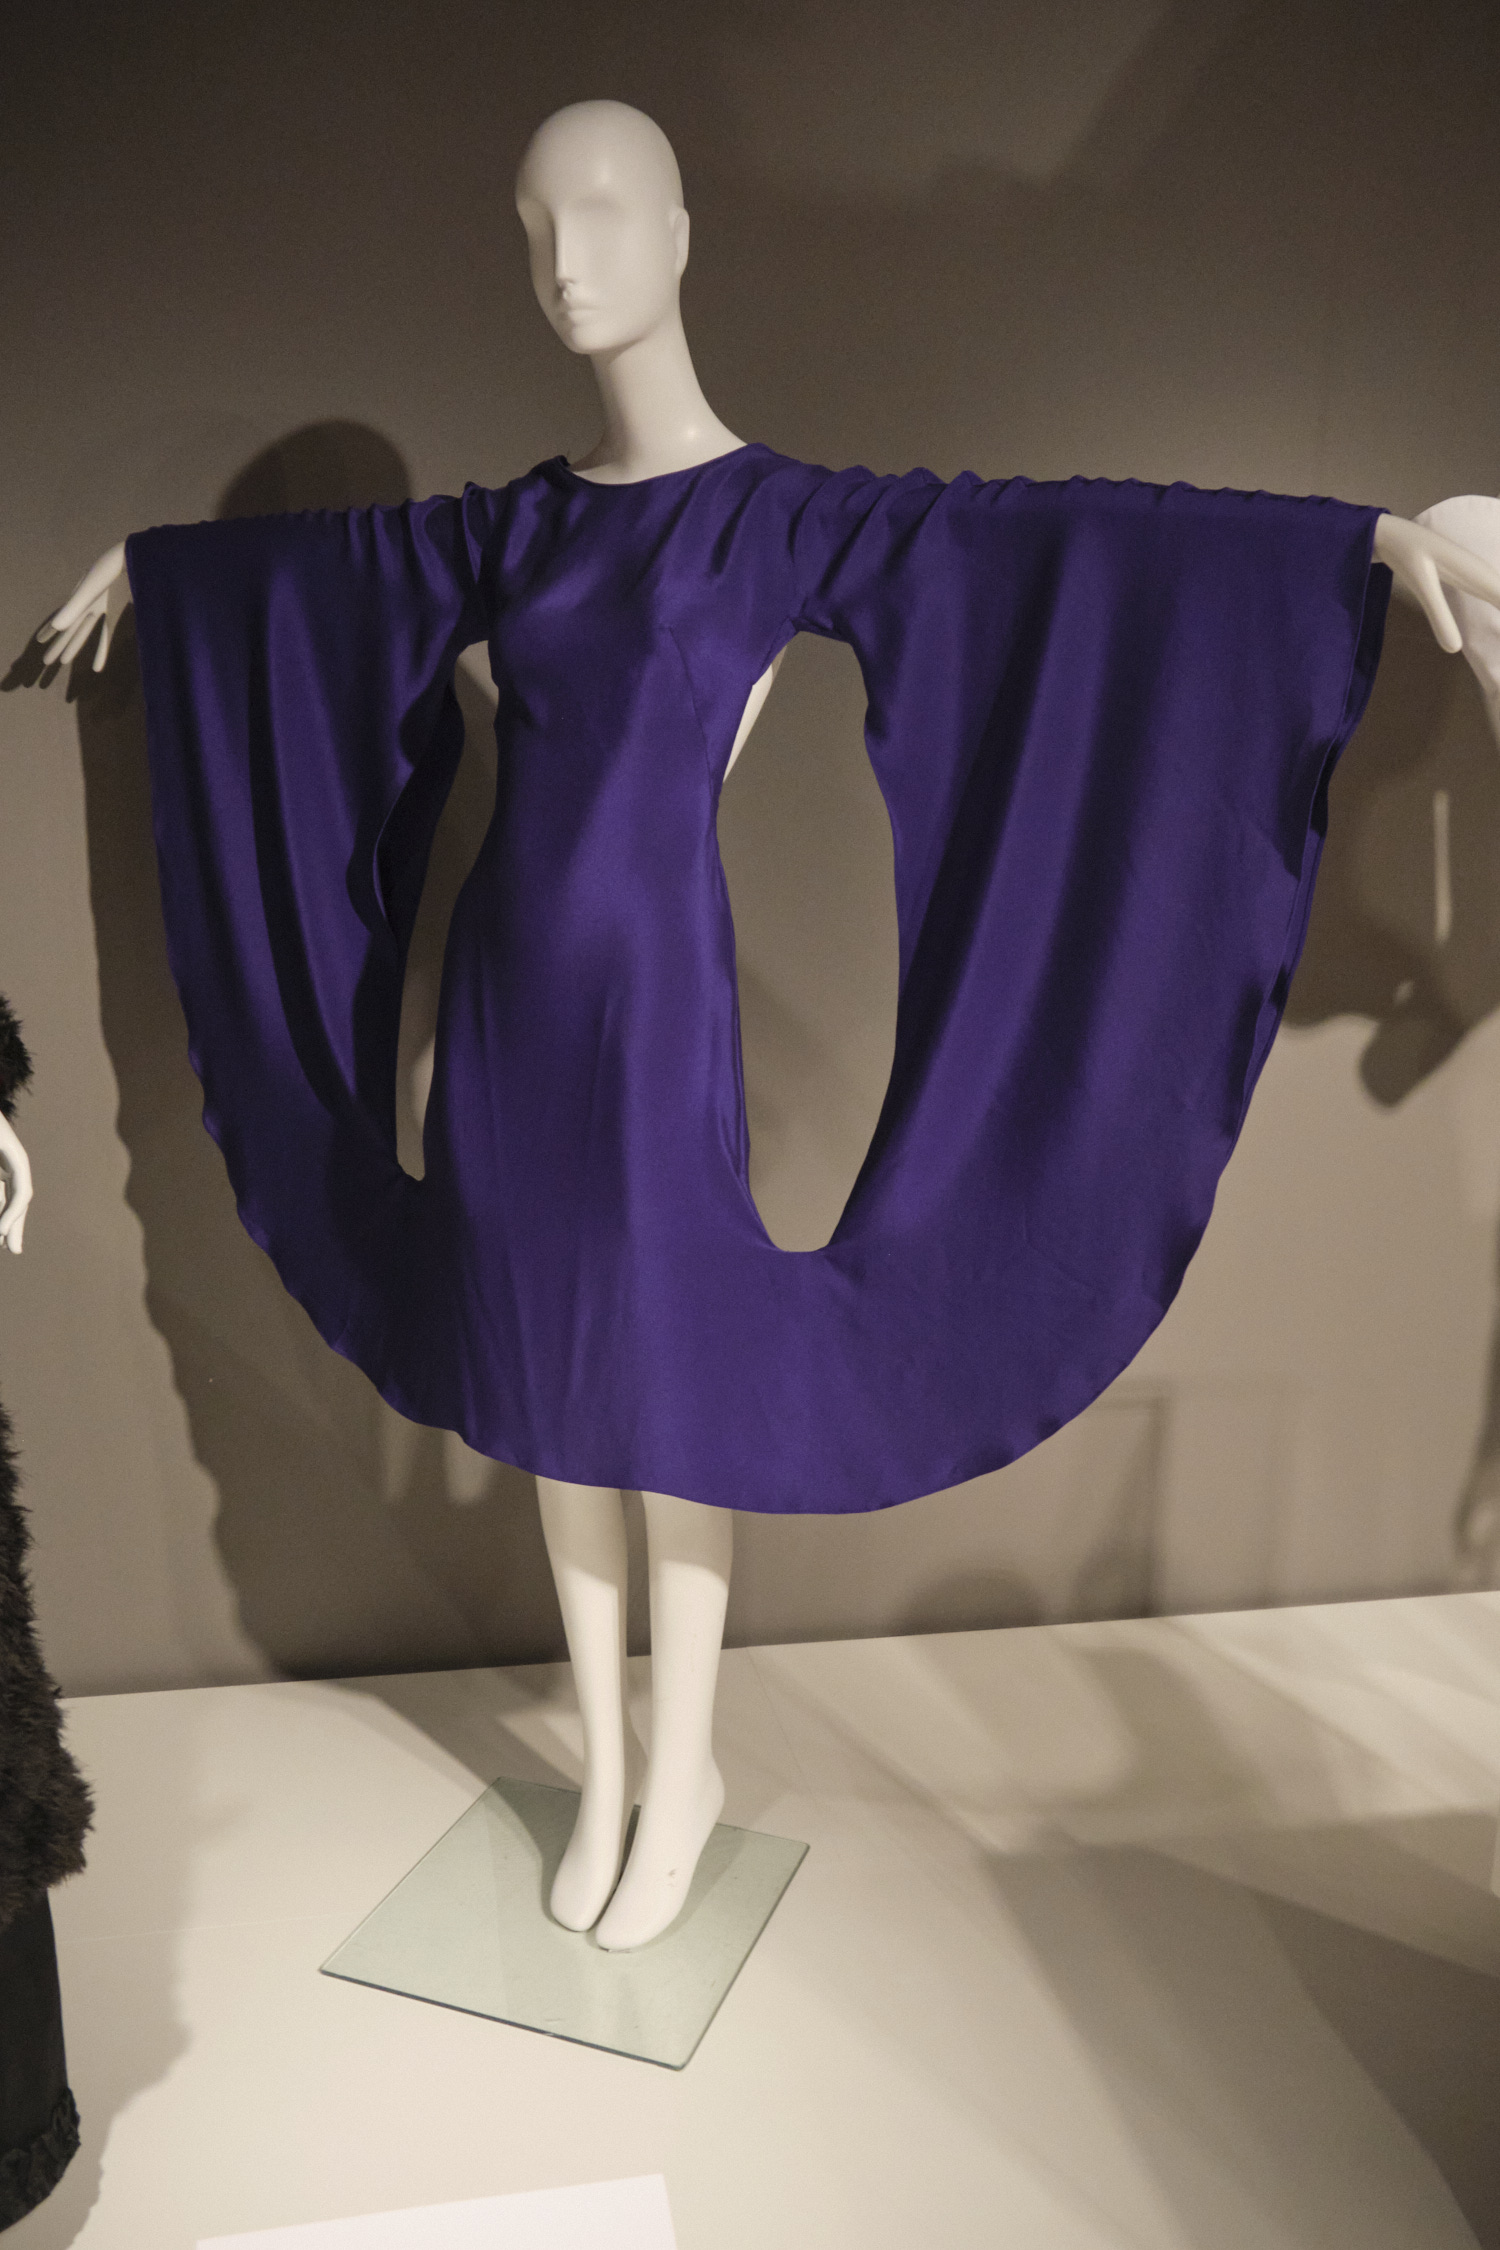
After passing the giant button, we headed to the Fashion Institute of Technology (FIT) museum where the exhibit right now is on statement sleeves. While this might not have been the most fascinating topic for my husband, he has learned to recognize statement sleeves and has been pointing them out to me ever since.
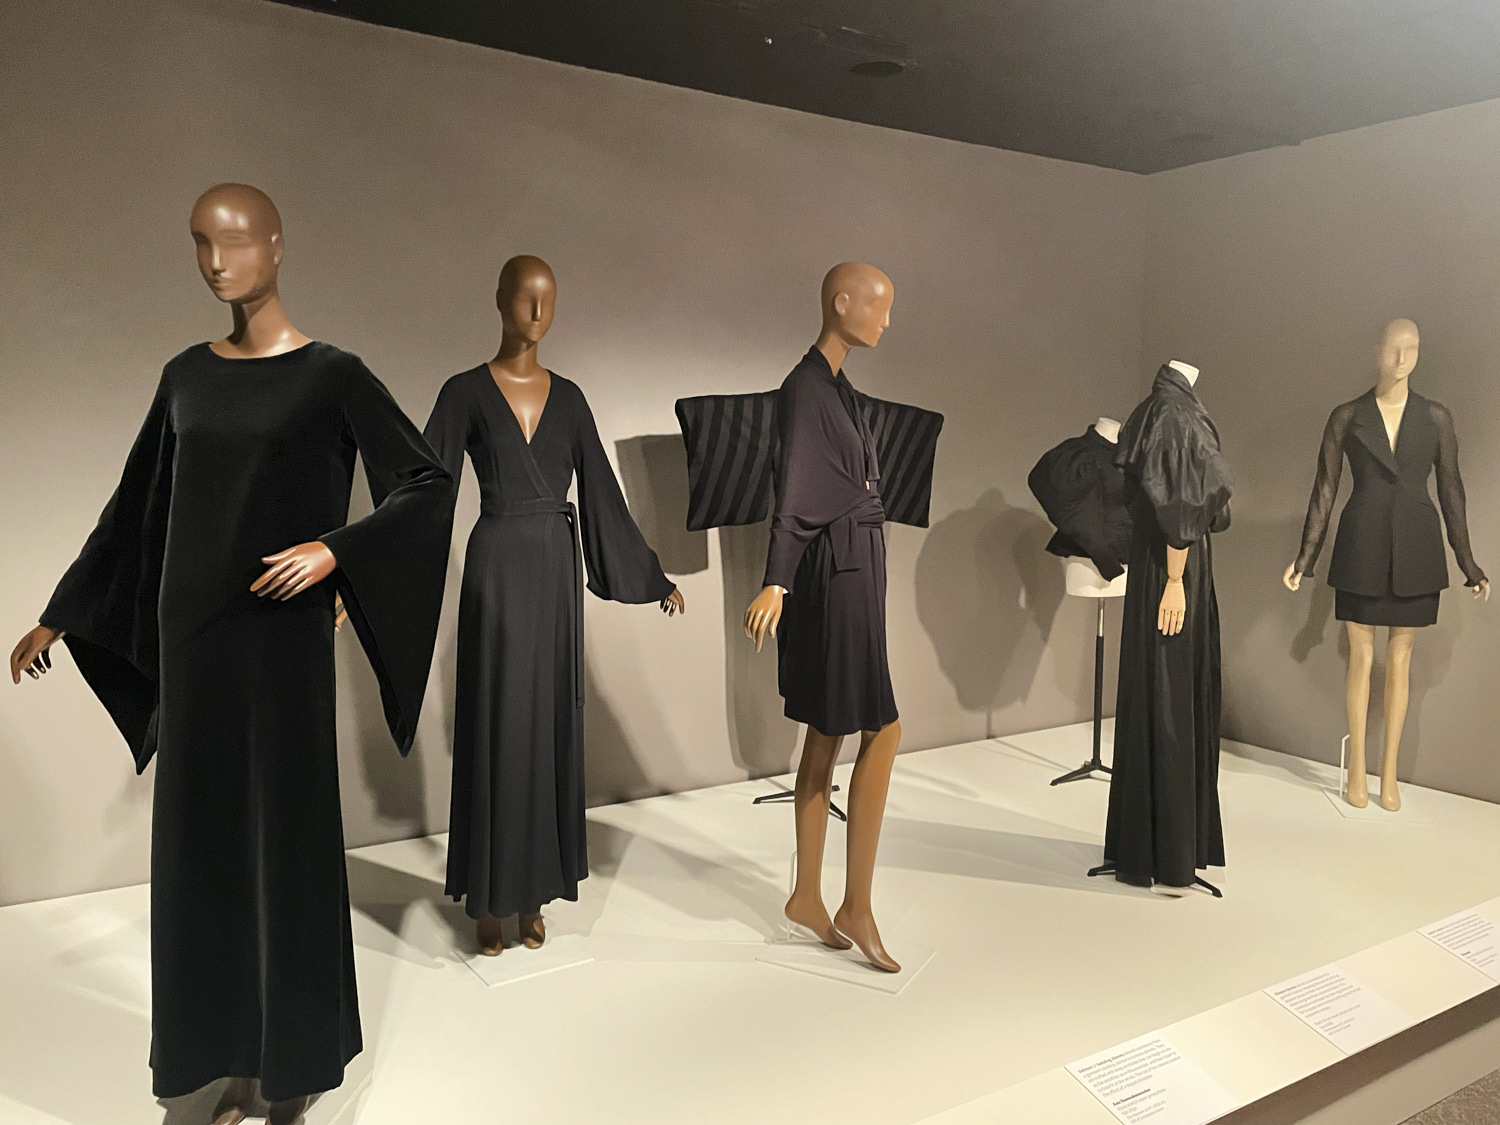
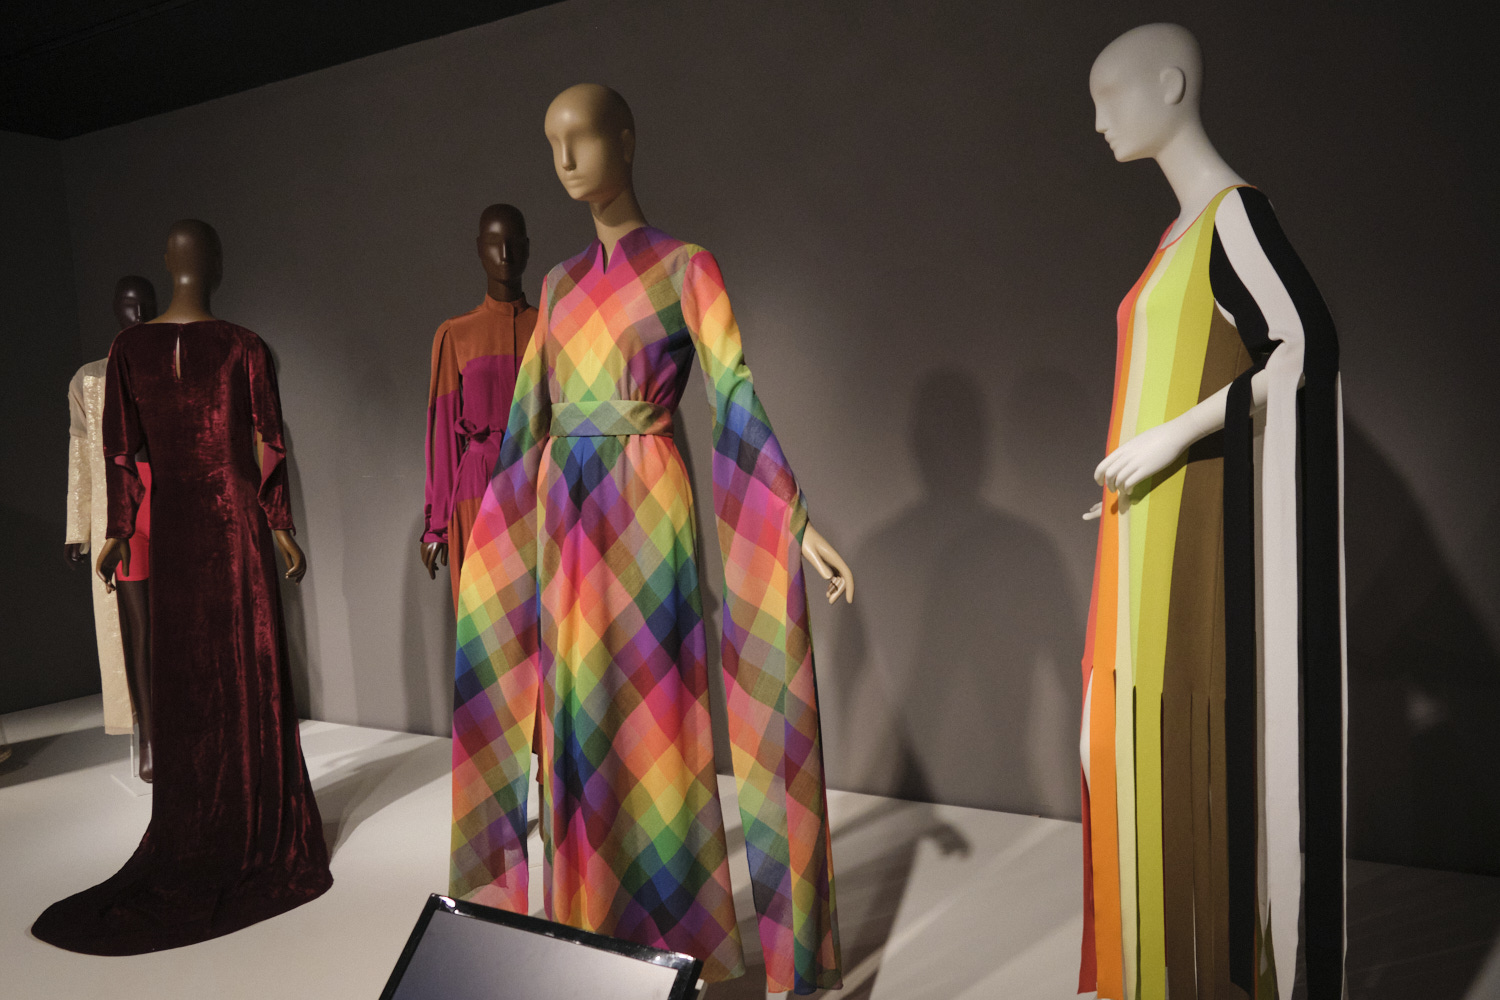
Silk cocktail dress with “bound sleeves” by Tom Ford, 2013
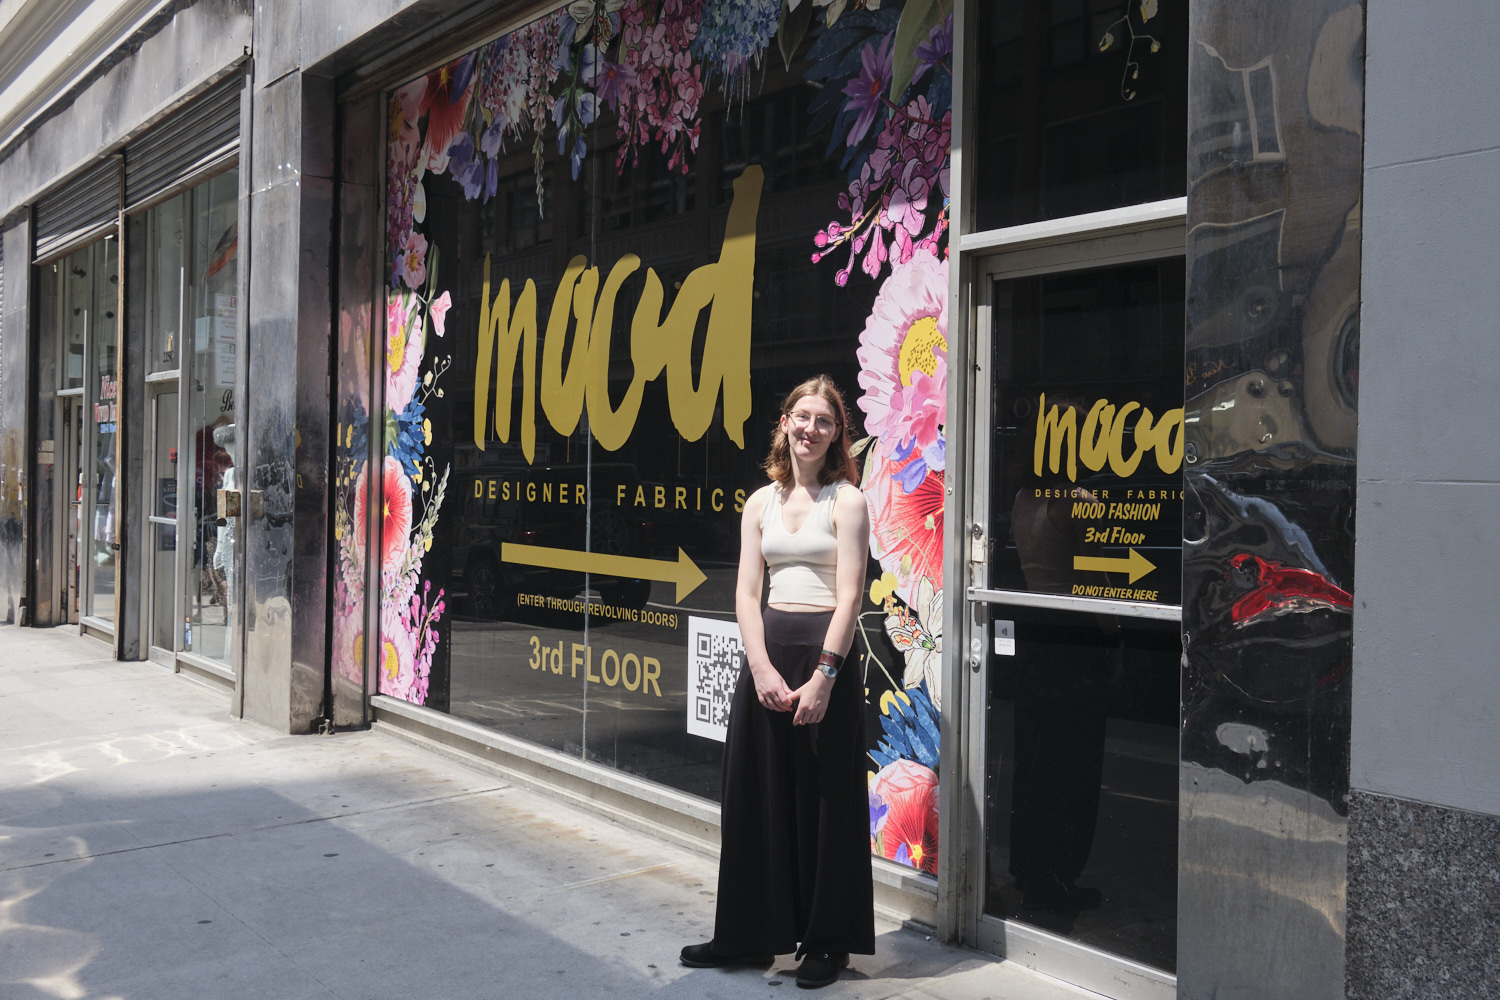
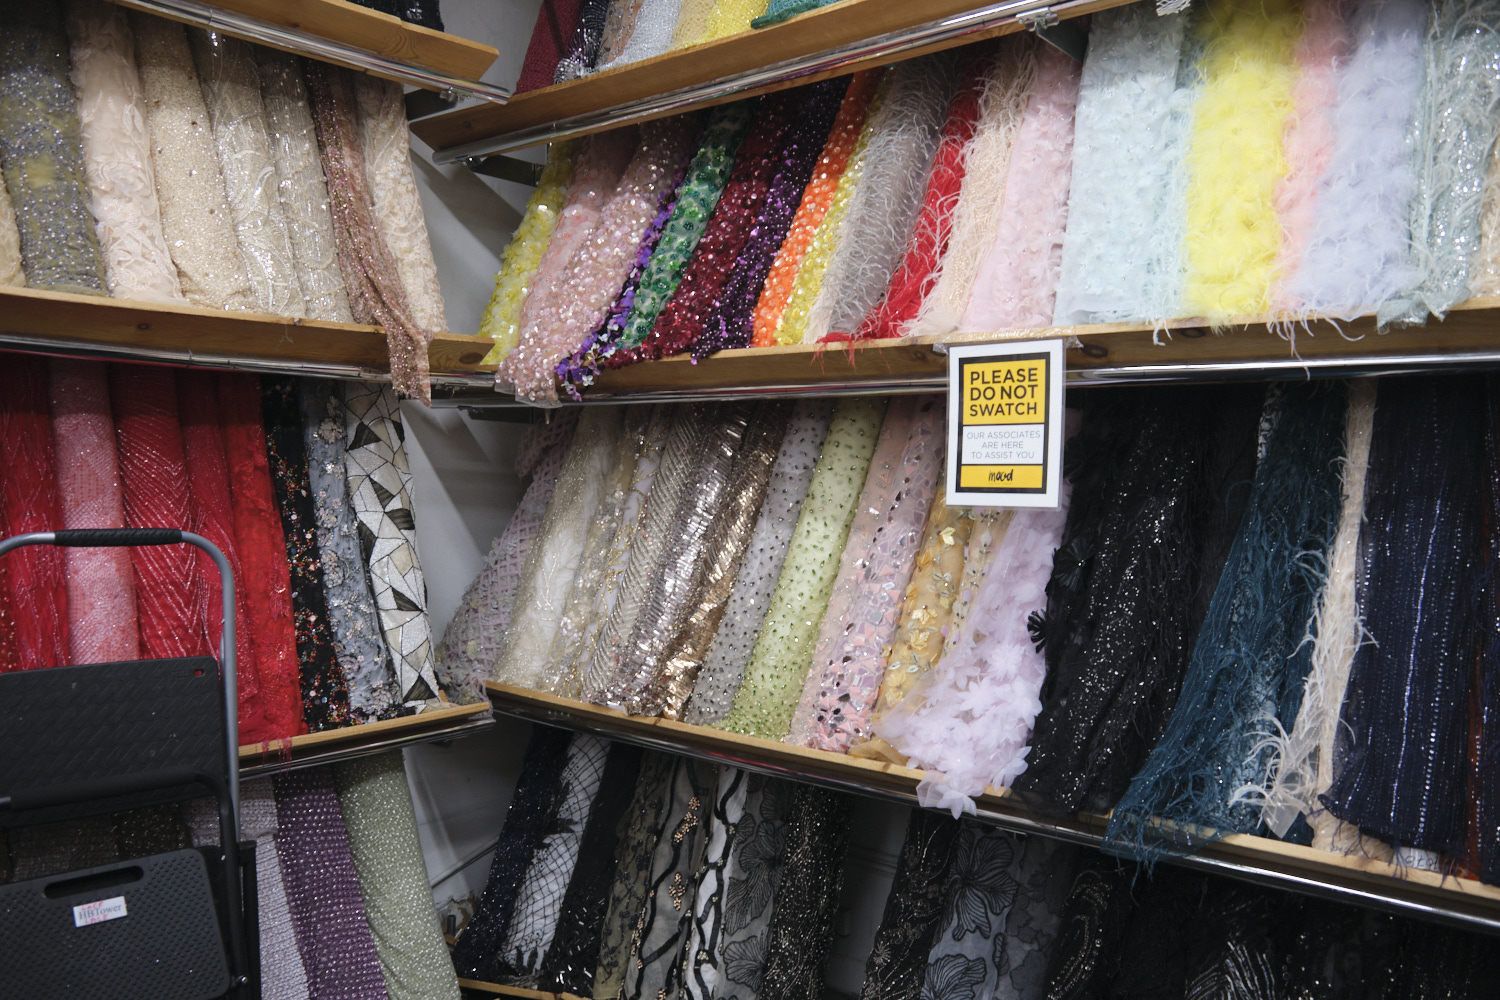
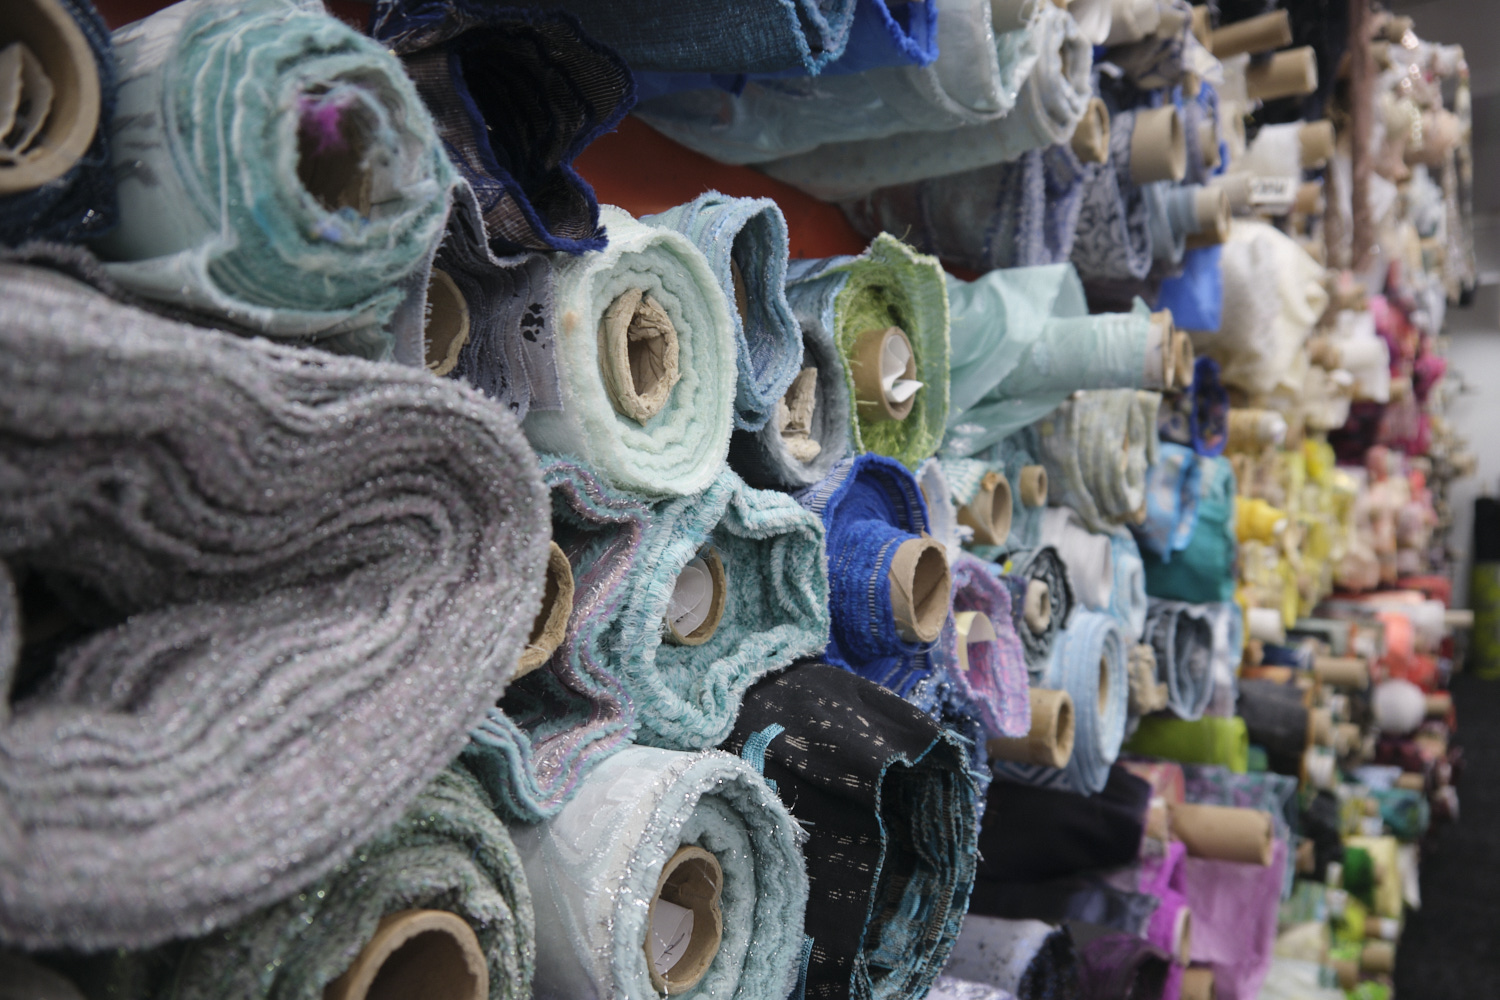
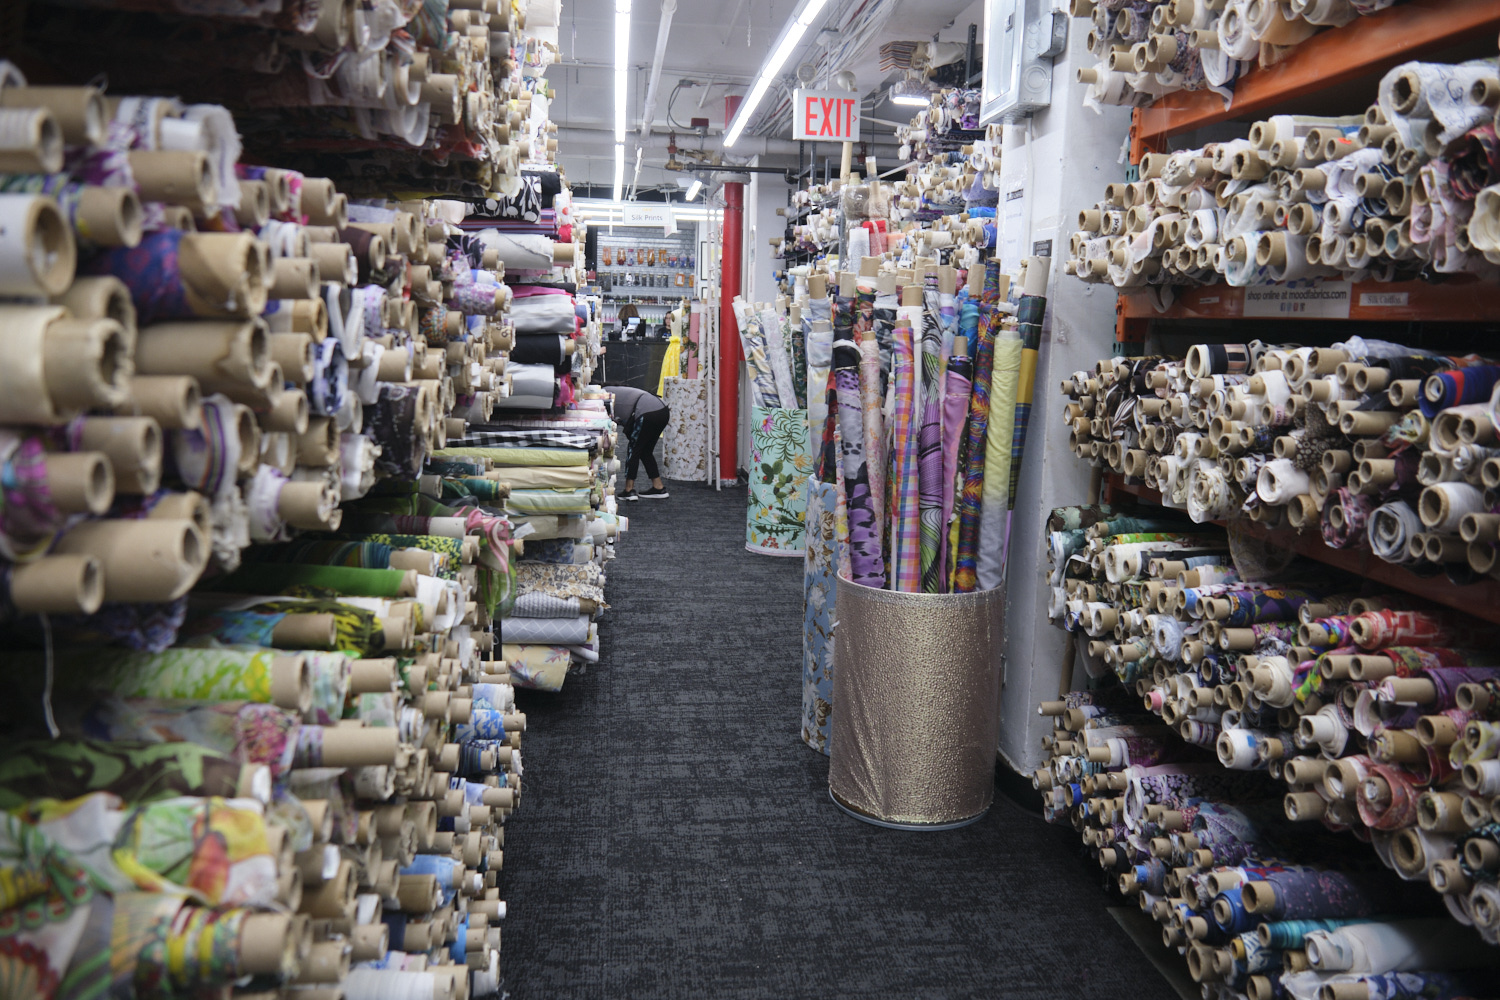
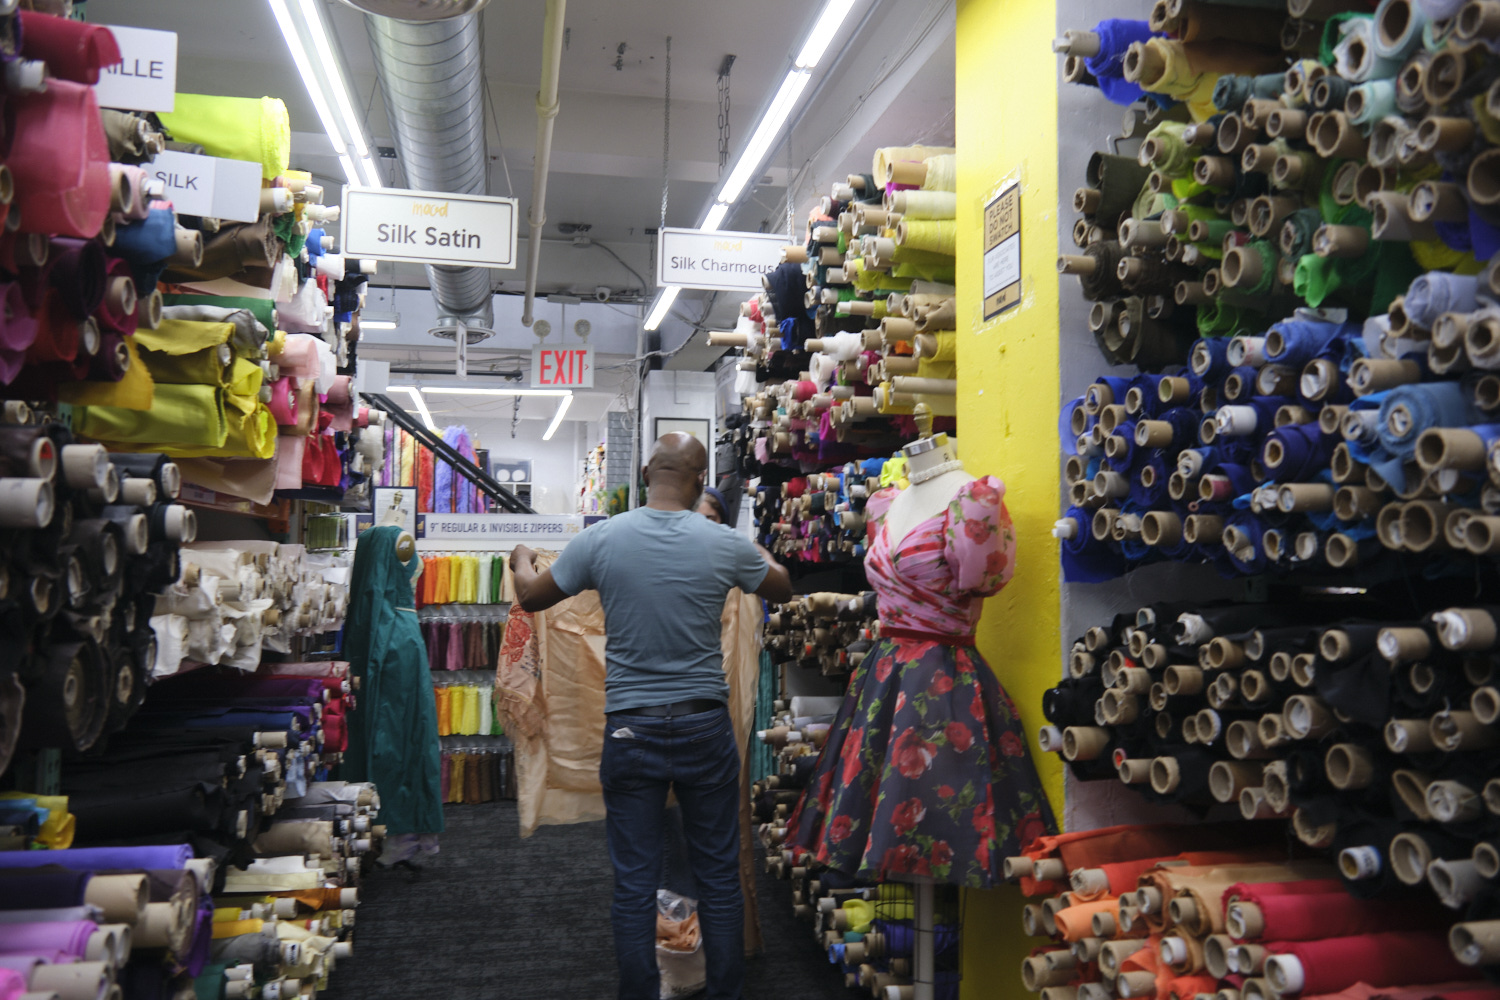
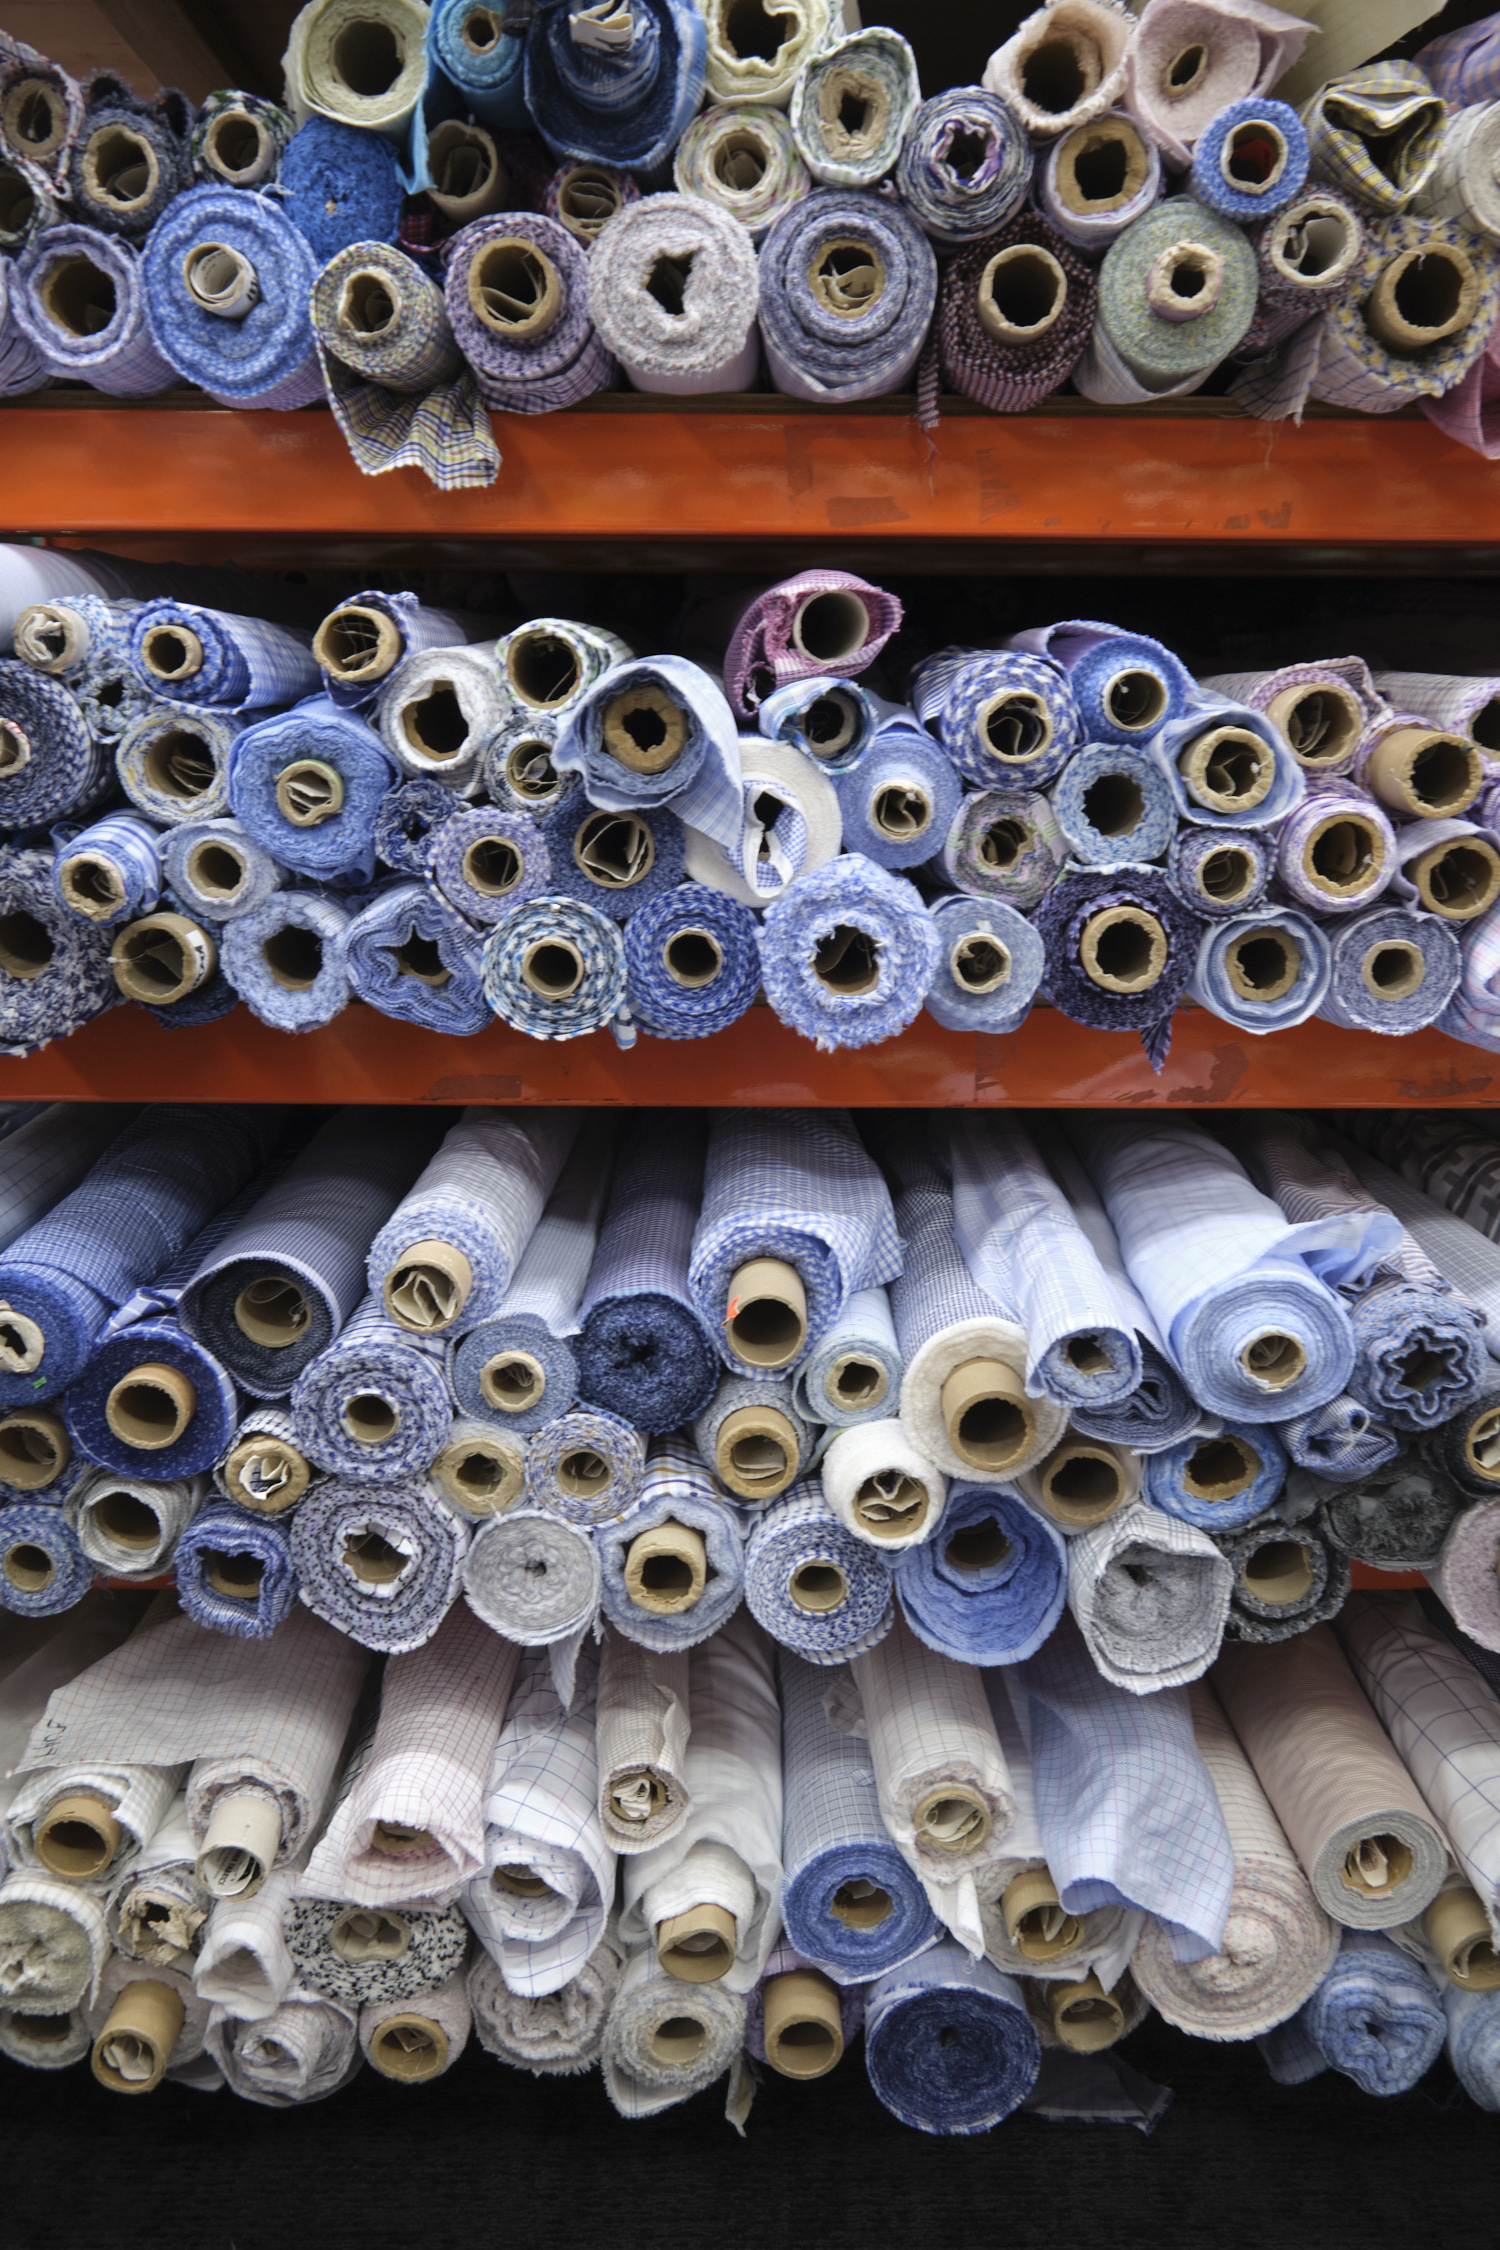
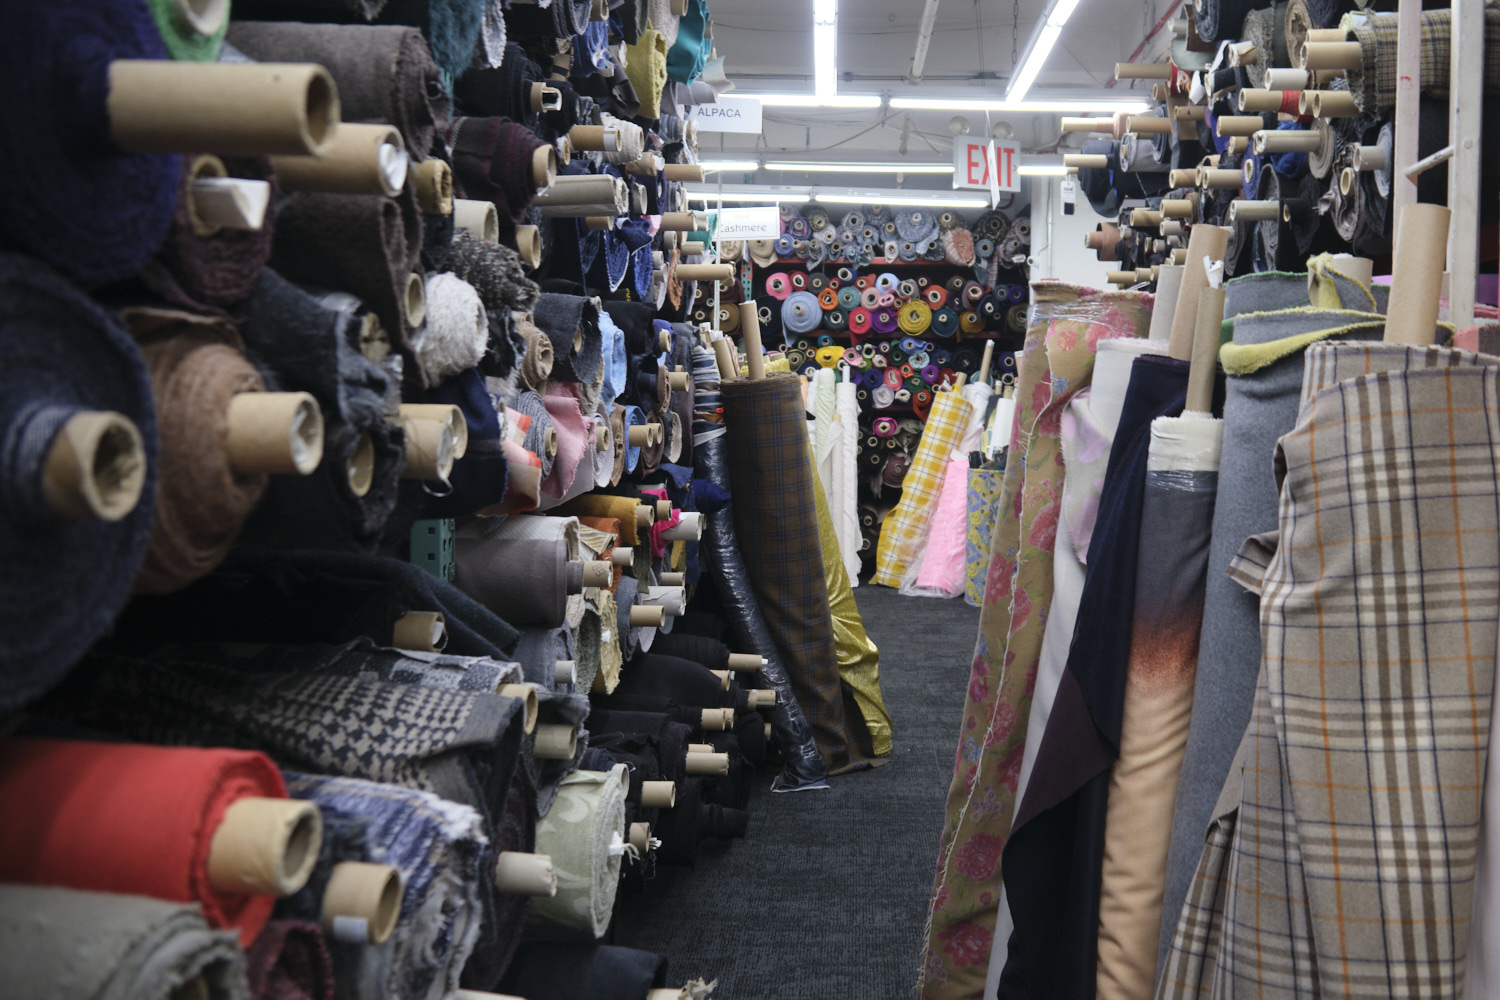
We walked past lots of fabric stores and stopped in at Mood Fabrics to check it out. It was an amazing three floors of fabric sensory overload: floor to ceiling fabrics of every variety! In the end I took a bunch of photos and only bought two yards of fabric because I was just too overwhelmed with choices. It would be very cool to visit with some specific projects in mind.
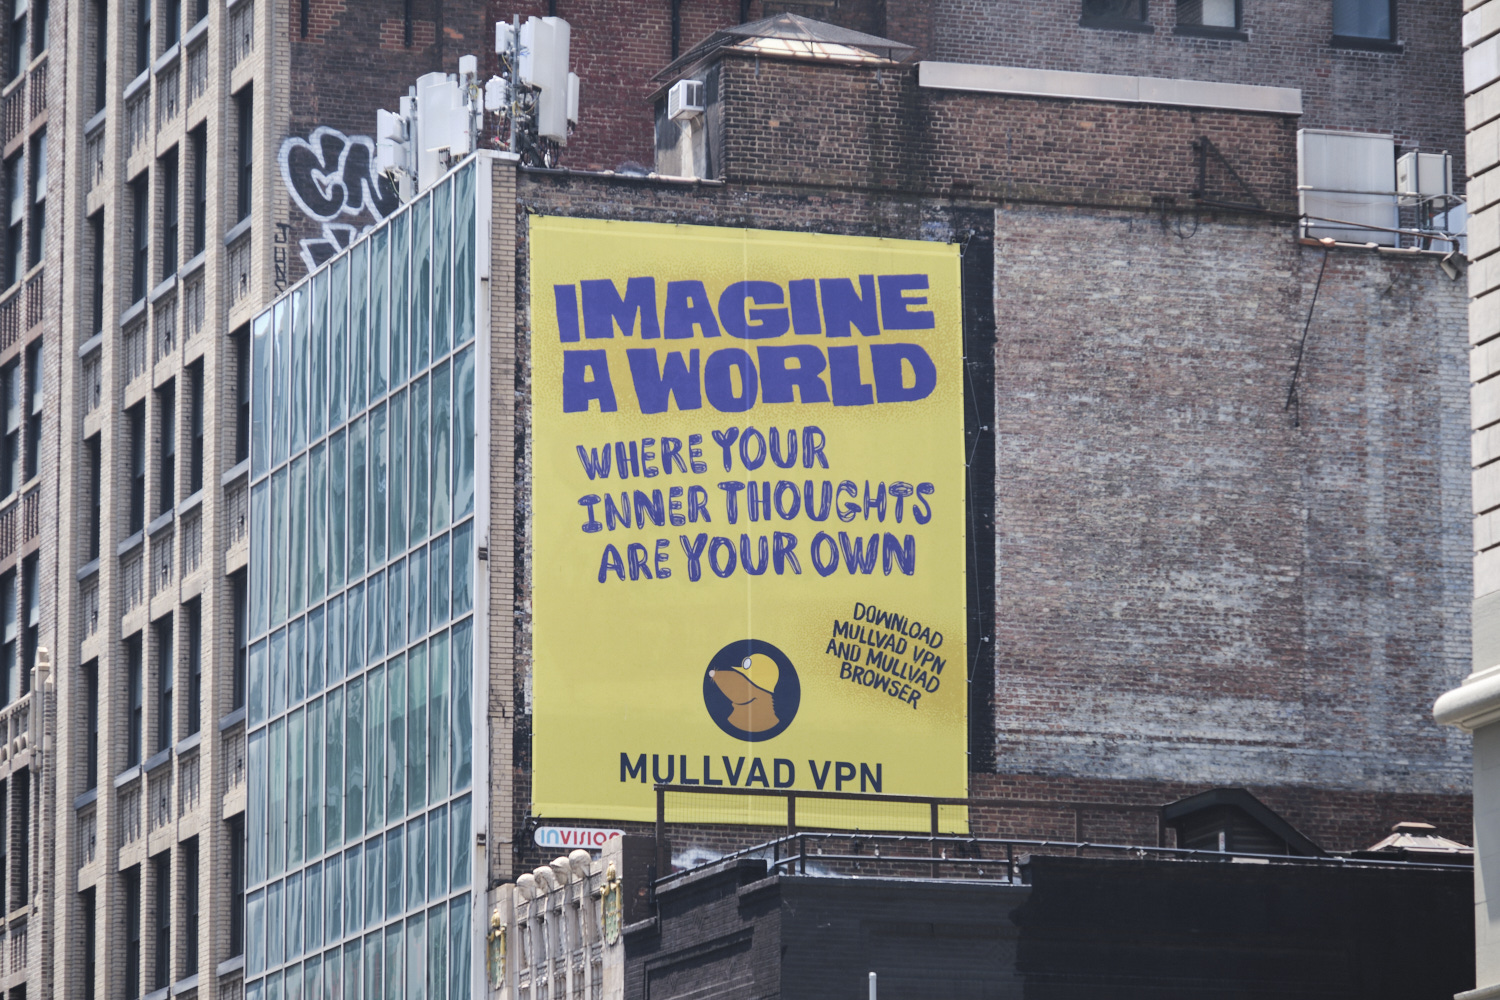
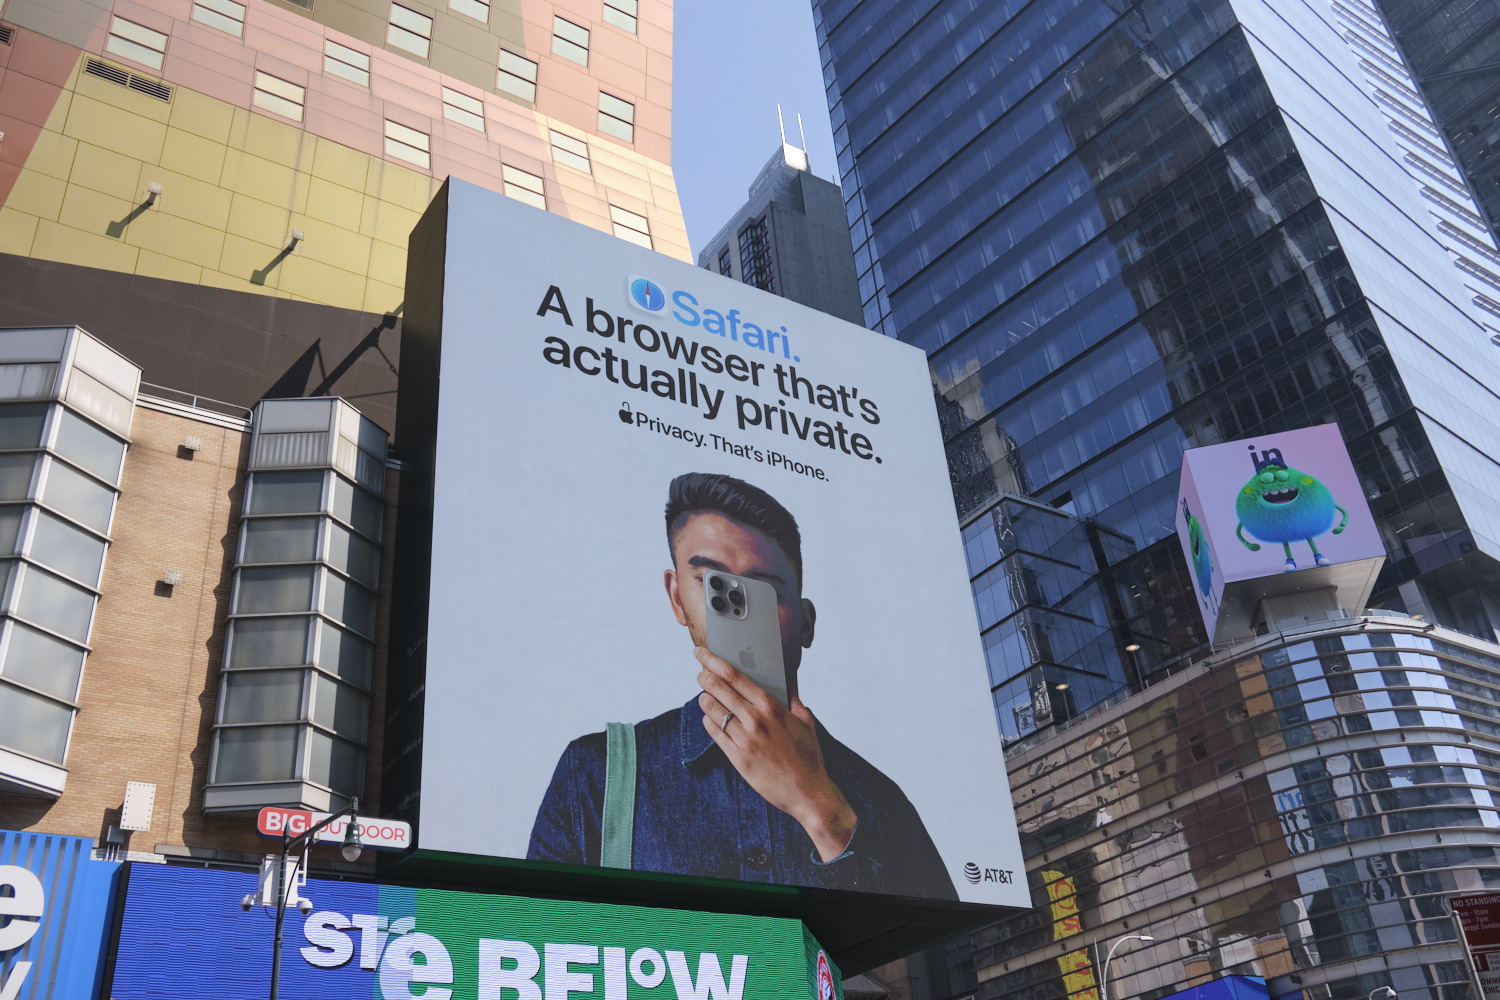
My family has learned that when they travel with me I see messages about privacy (and usability) everywhere and must get out my camera or phone to document what I see. Those who have taken my classes know that I can’t get through a lecture without a photo of a road sign or awkward hotel bathroom. On a recent trip to New York City with my husband and youngest daughter, I was quite pleased to find a large number of billboards appealing to the desire for more privacy along with some surveillance and warning signs.
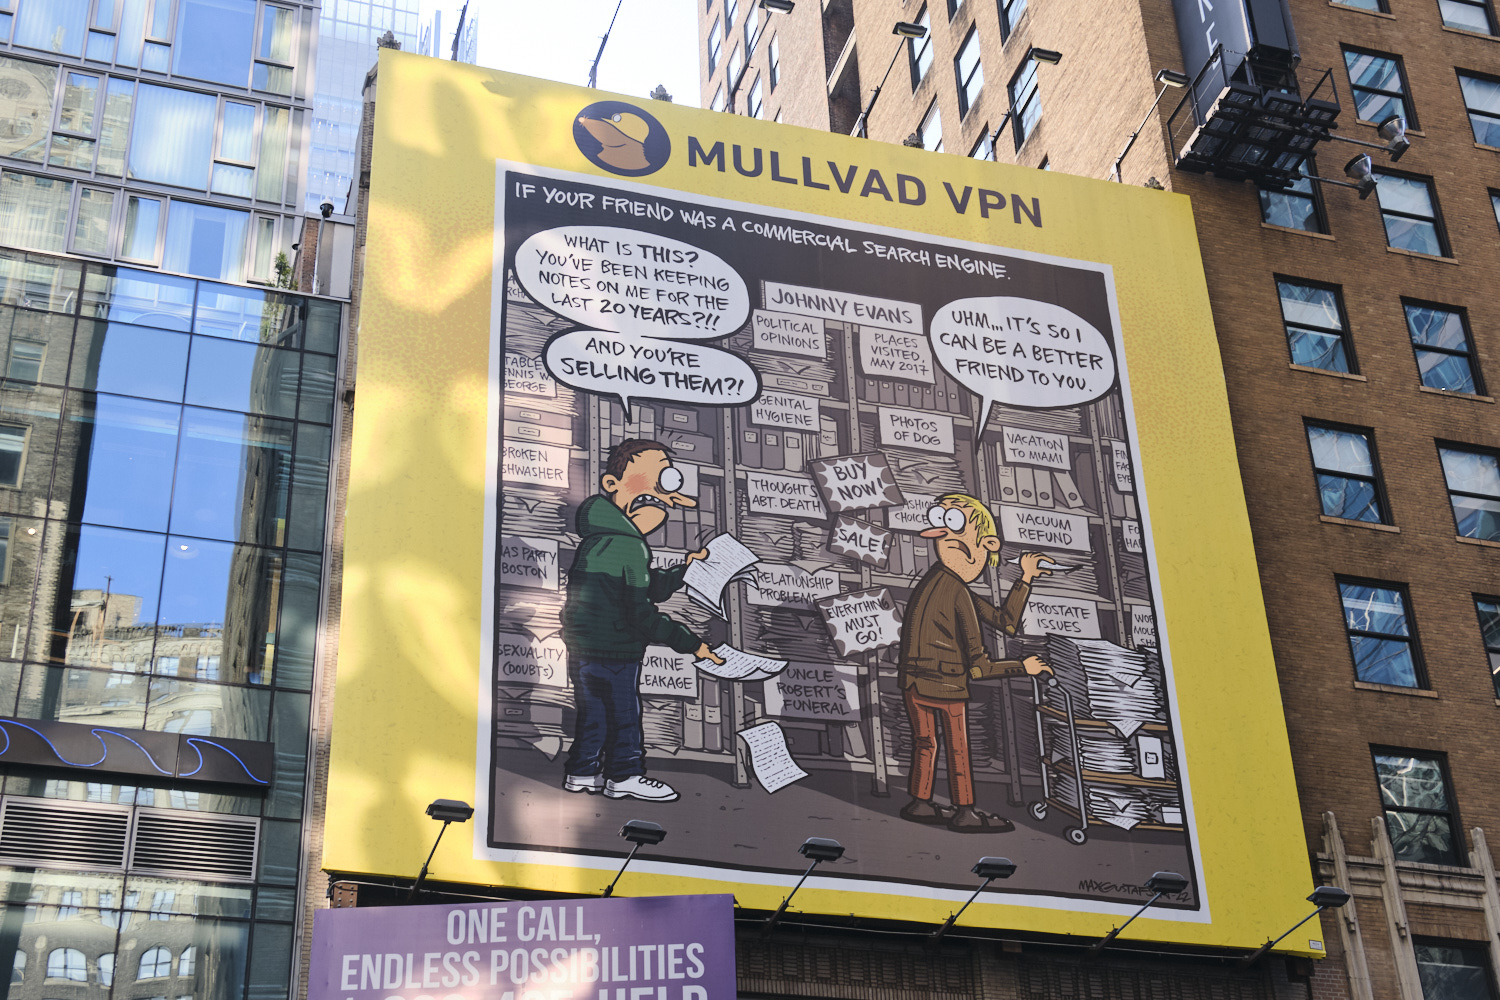
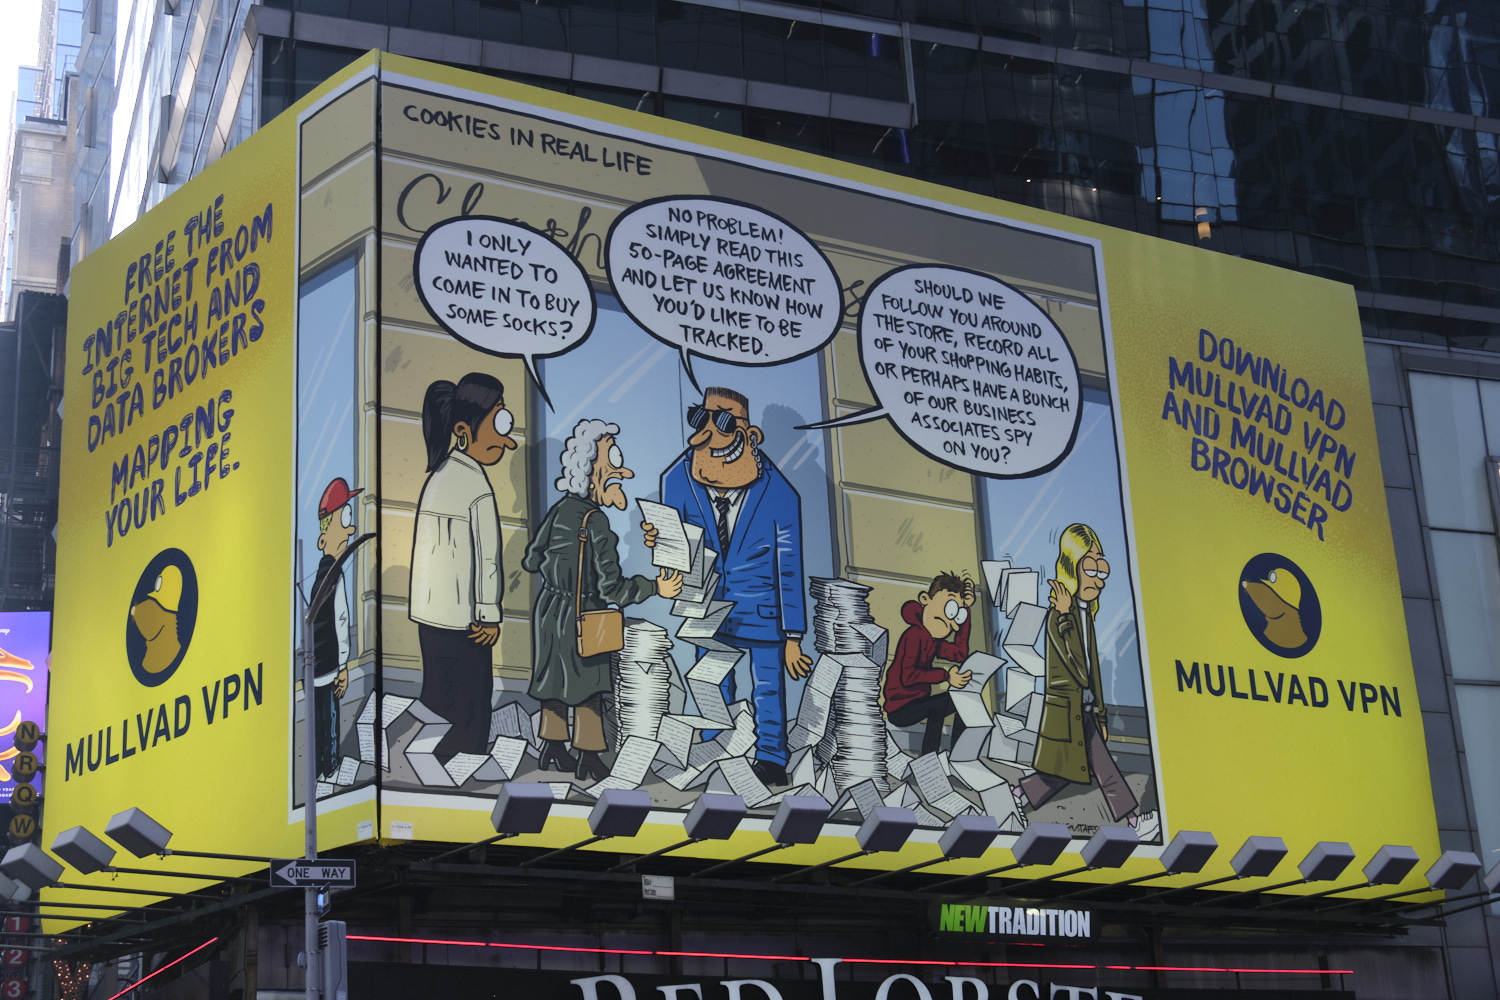
VPNs and private browsers advertise everywhere now, including billboards on NYC buildings. This one emphasizes keeping thoughts private and preventing search engines from selling your information. I had never actually heard of this one despite my keen interest in these sorts of things, so I guess they finally found an effective way to reach me! It’s tough when your target audience uses ad blockers.
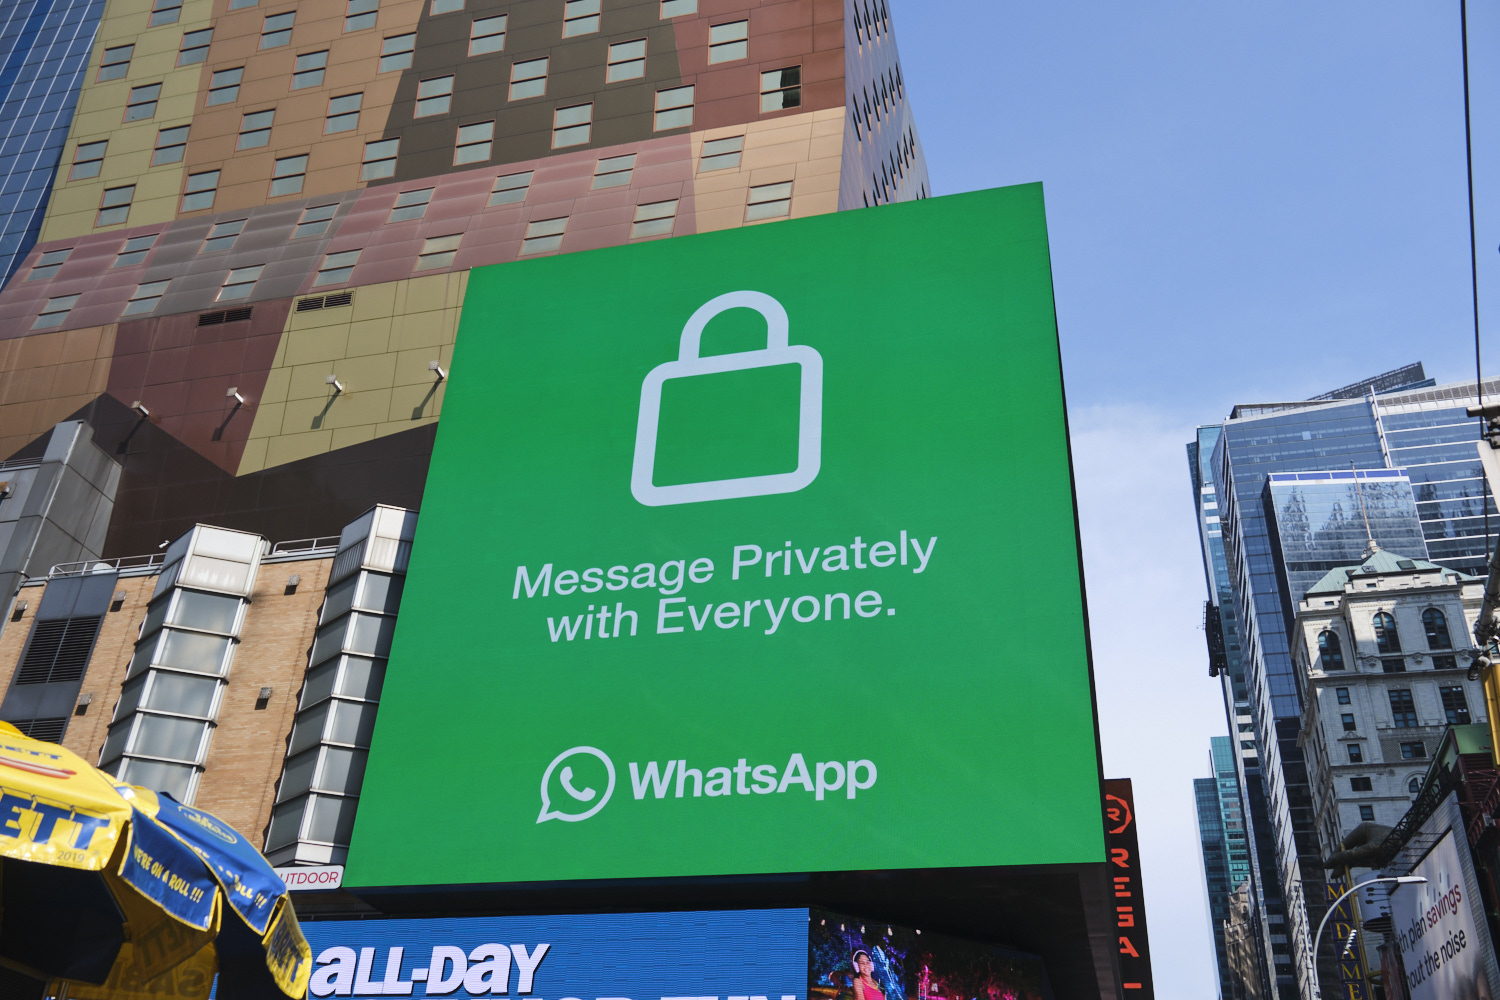
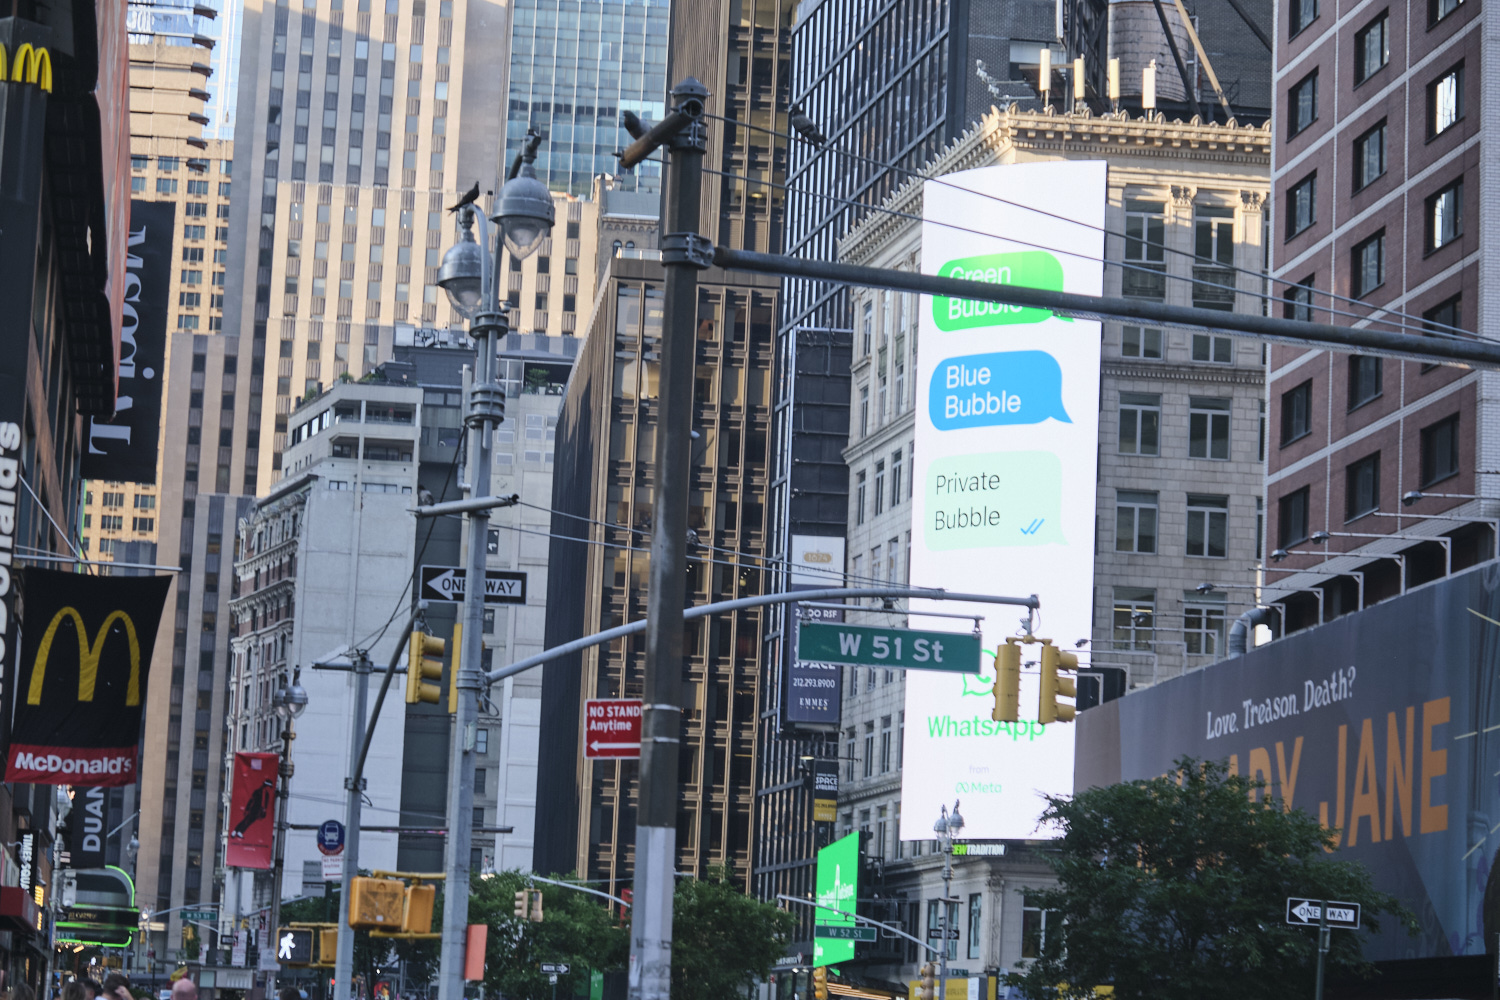
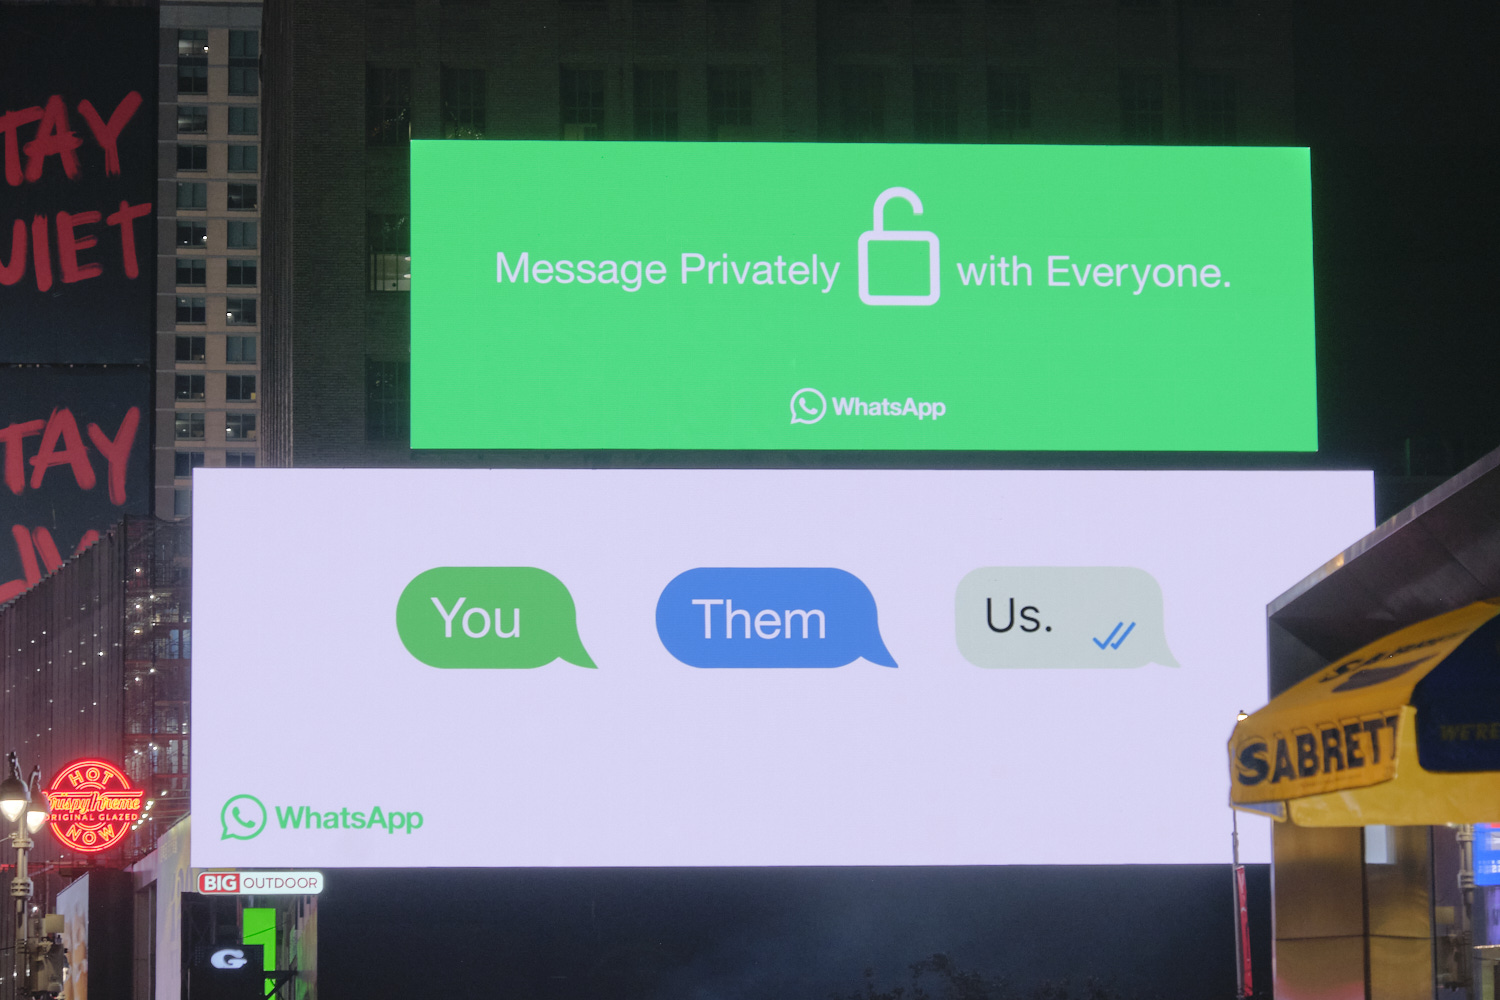
Later, on the same billboard was a privacy add from WhatsApp, which is owned by Meta.
I saw WhatsApp privacy billboards all over the city.
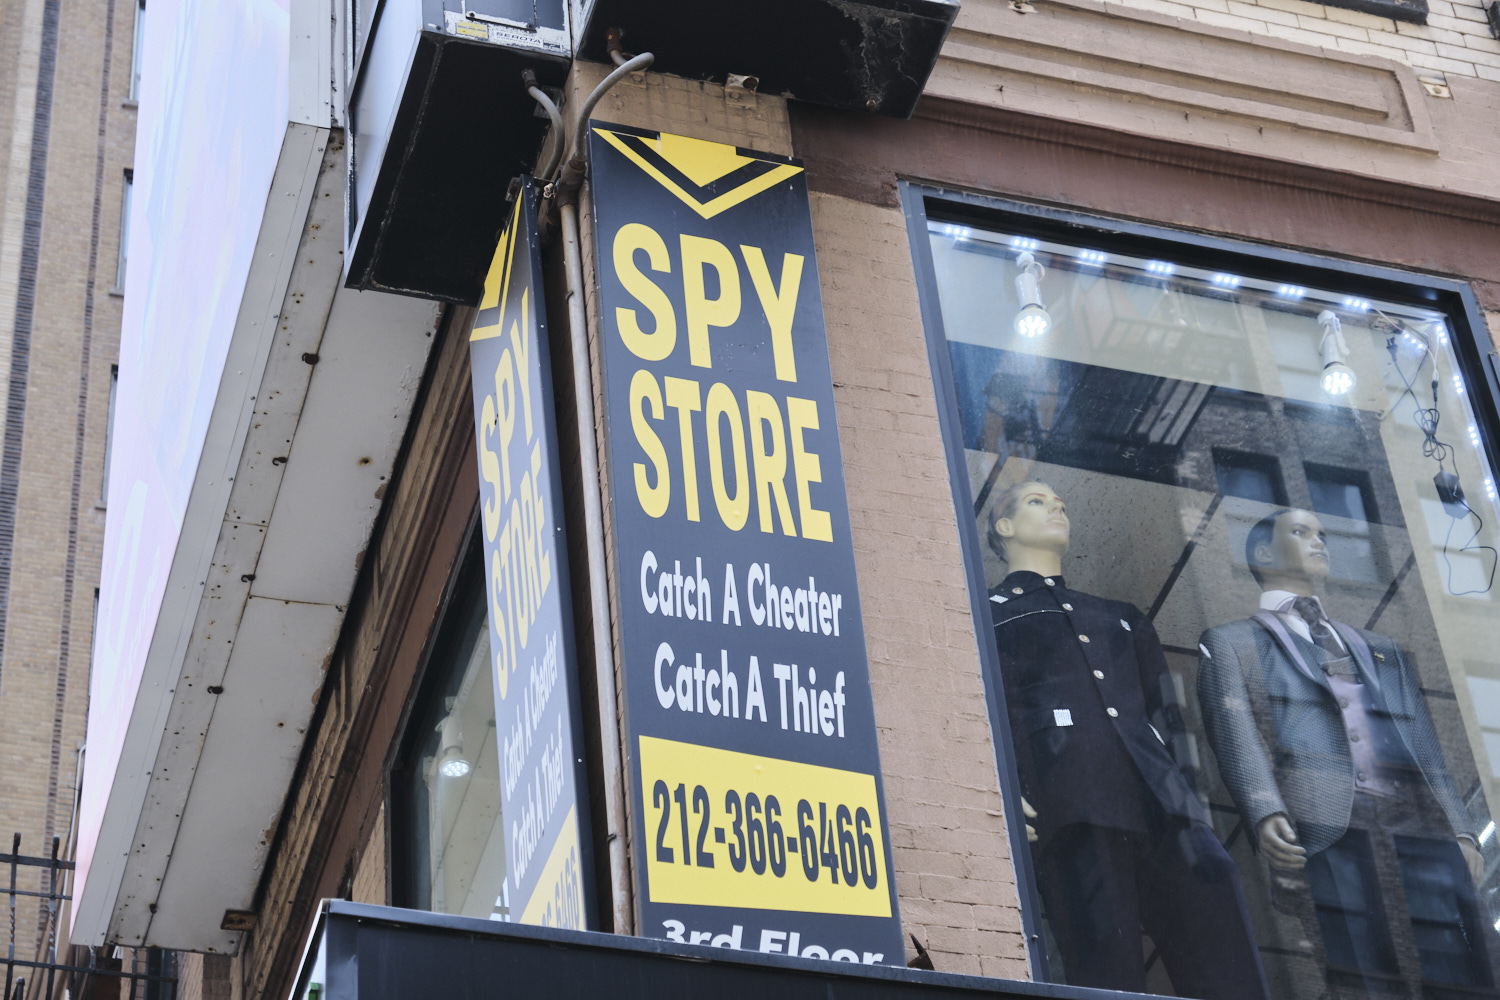
Of course, I also found messages about surveillance. Here’s a store that will help you spy on your loved ones.
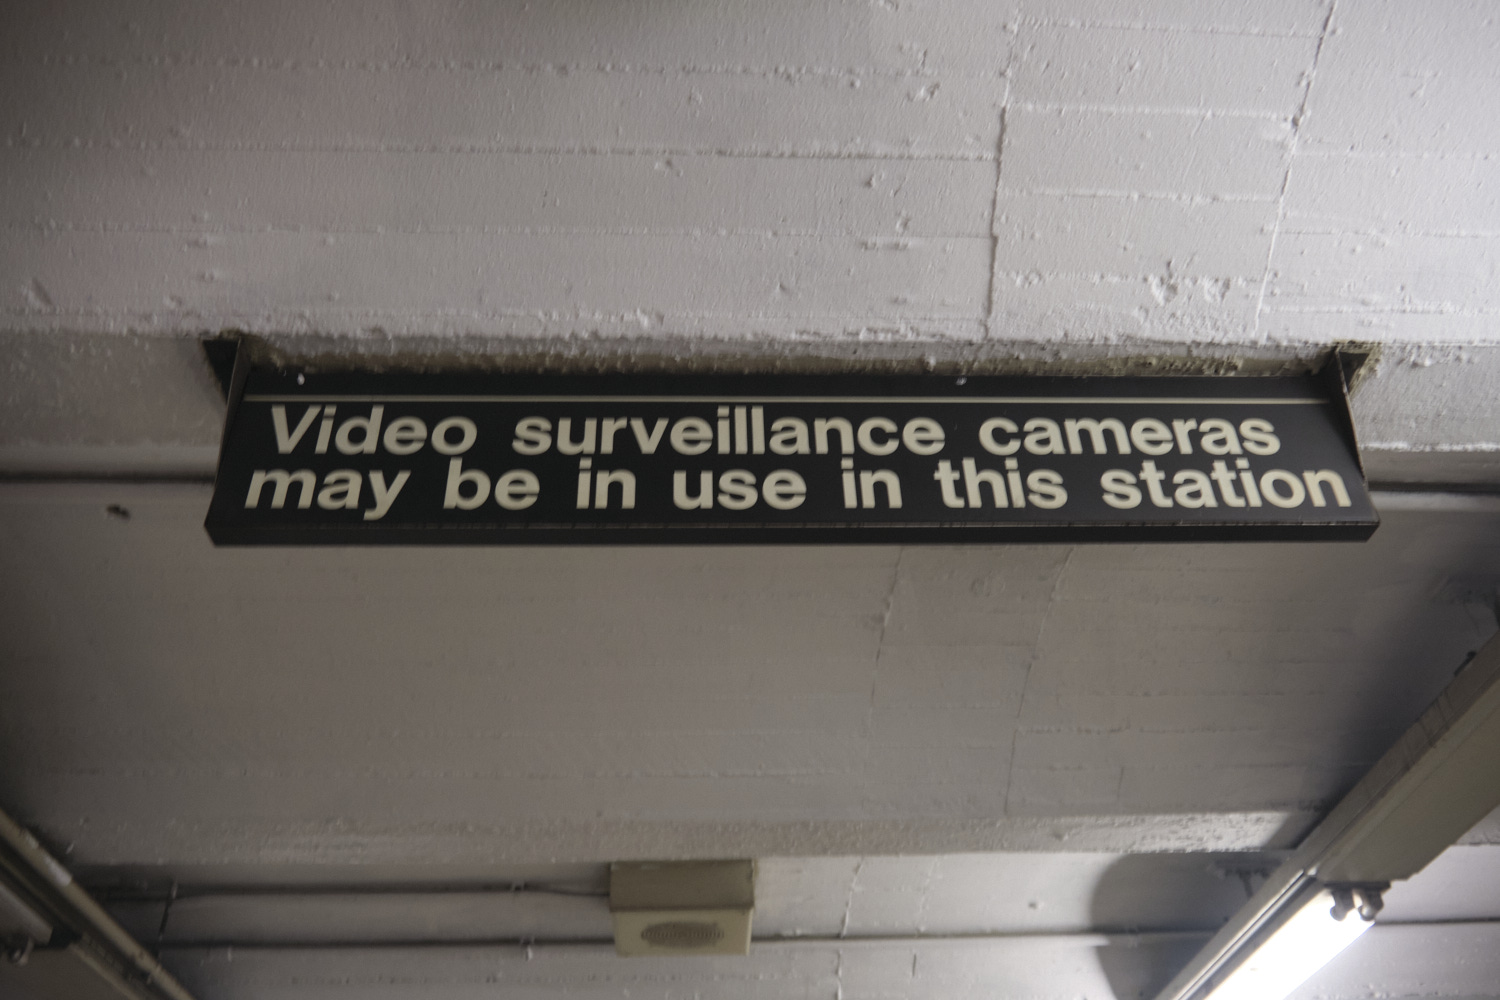
And here’s a reminder that there are surveillance cameras in subway stations (and everywhere else in NYC).
Speaking of the subway…. Subway cars are a great place to find interesting warnings. I get a lot of funny looks when I photograph them on a crowded train, but that doesn’t stop me.
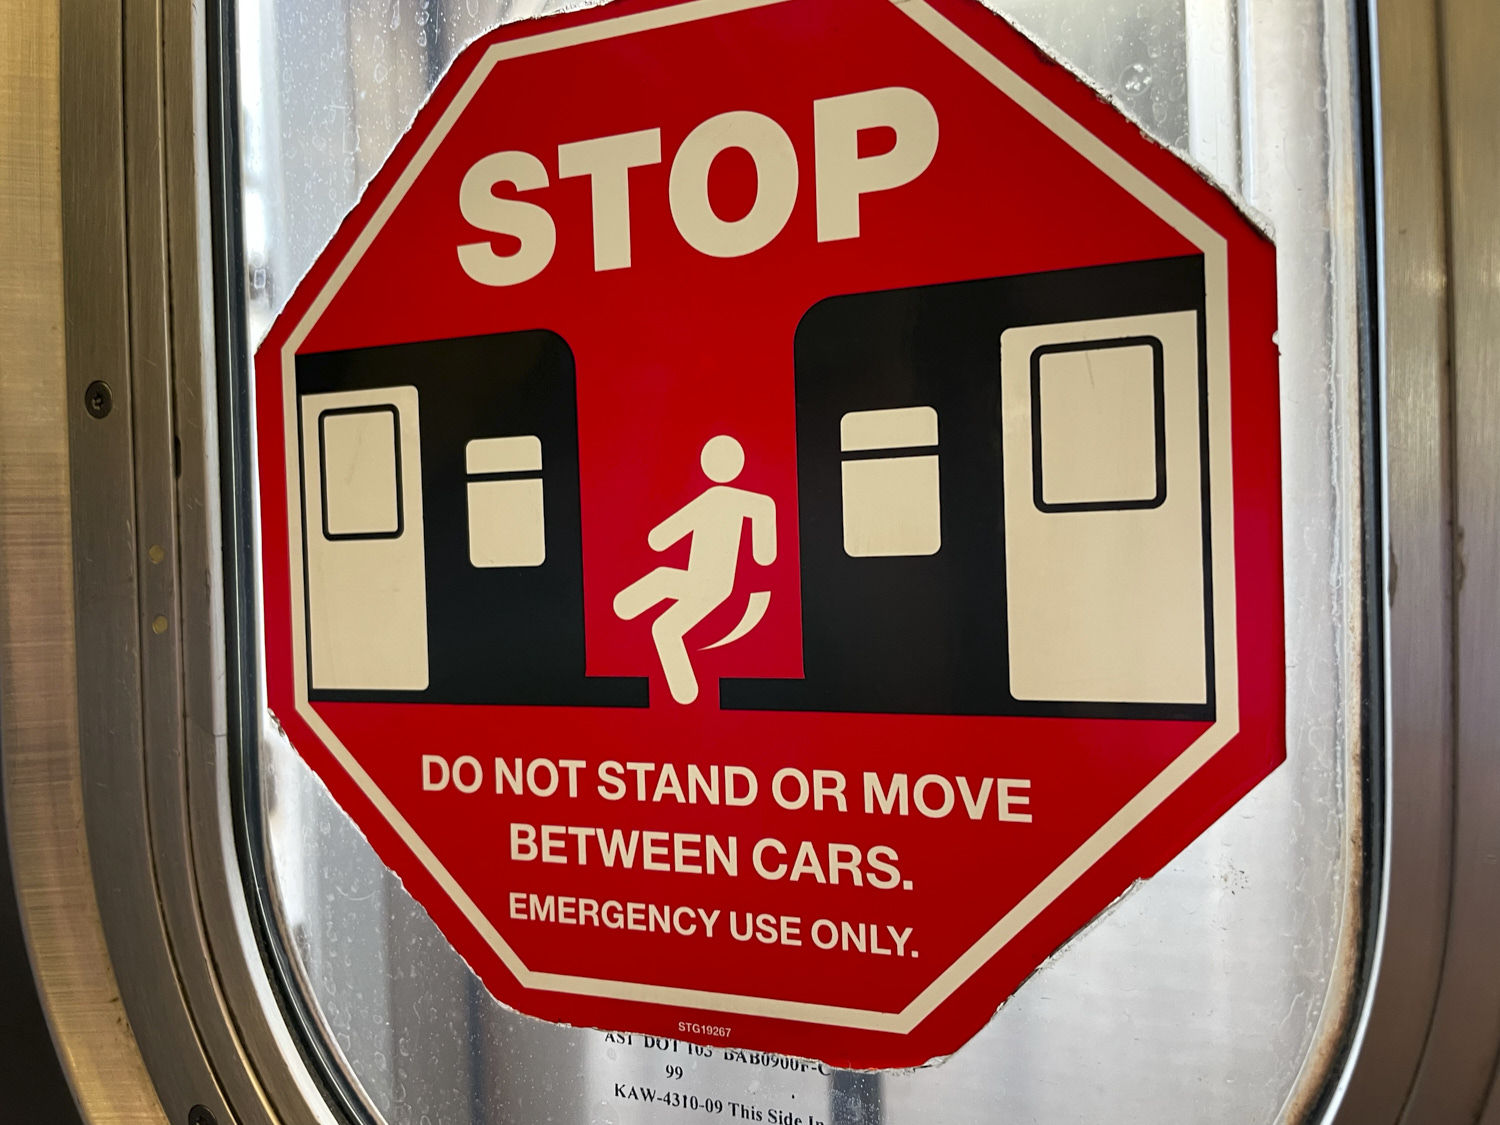
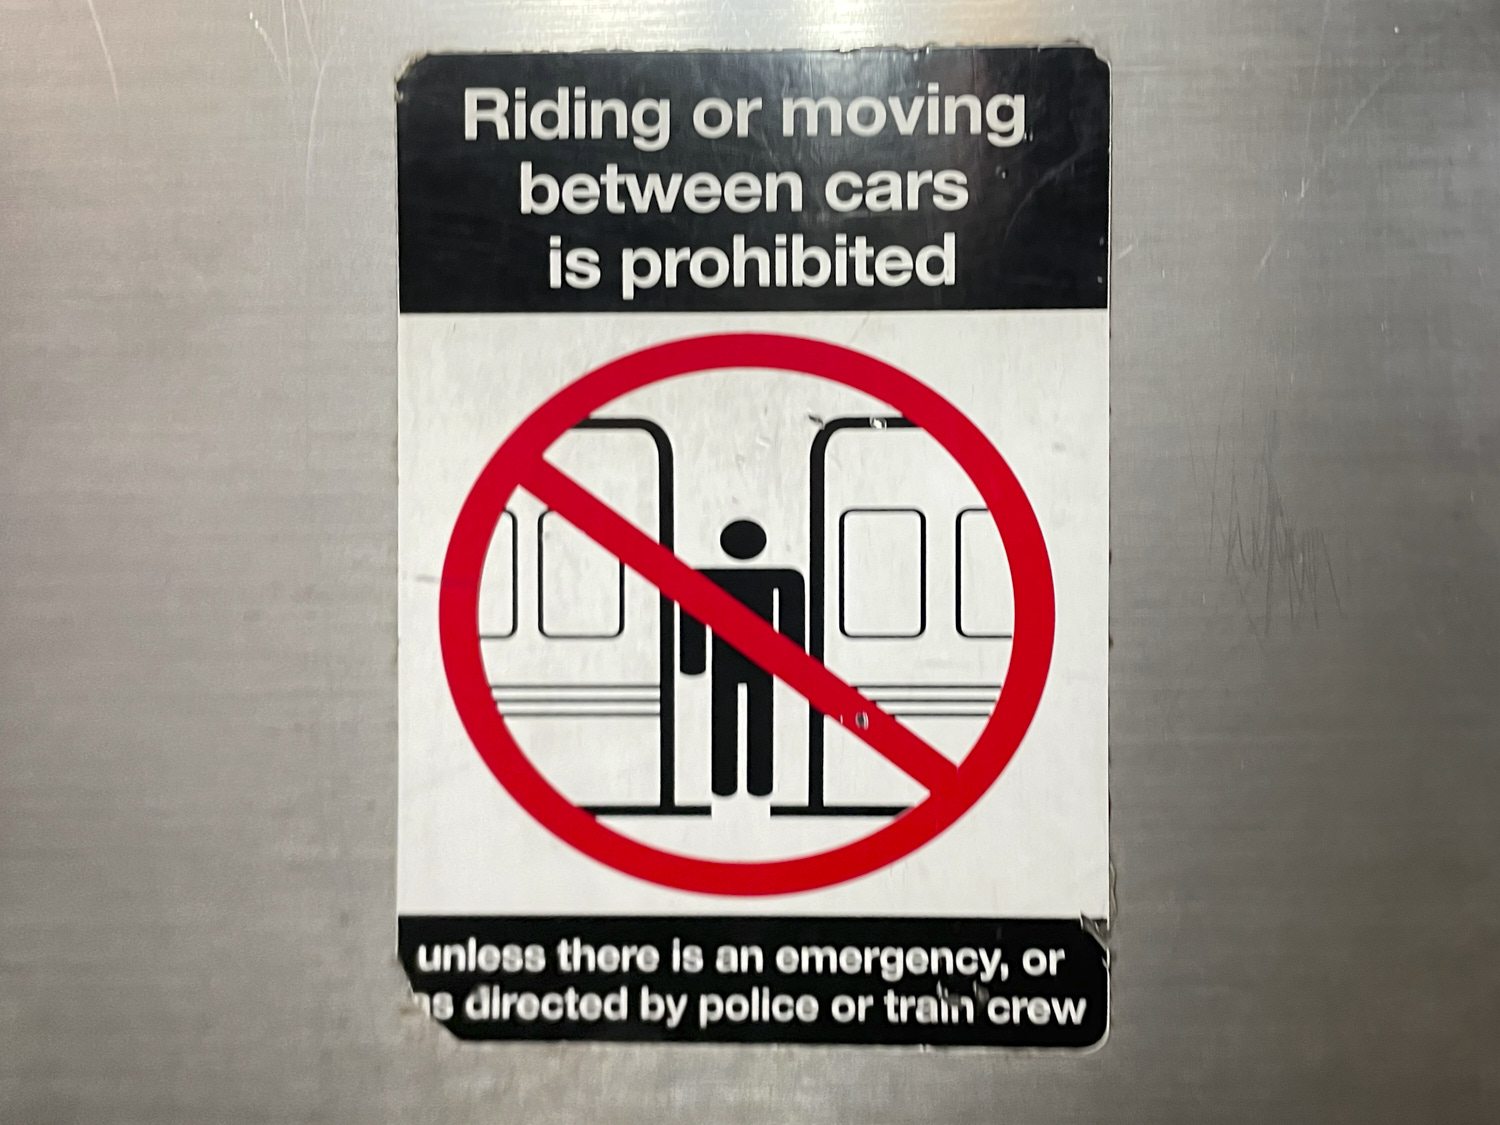
Walking between cars on a moving NYC subway train is actually a super dangerous thing to do and based on a quick glance at news reports it seems that someone dies doing this every couple of months. Apparently there is a disturbing trend of teens taking it a step further and climbing on the roof of moving subway cars to “subway surf” and the MTA has a whole campaign aimed at nipping that in the bud (which I saw briefly and then forgot to photograph). Anyway, I did photograph these two signs that take slightly different approach to convey the same message about not riding between cars. The first one illustrates with a pictogram what the danger is, while the other has a big red circle with a slash and informs you the practice is prohibited.
Riding or moving between cars in prohibited – New York subway
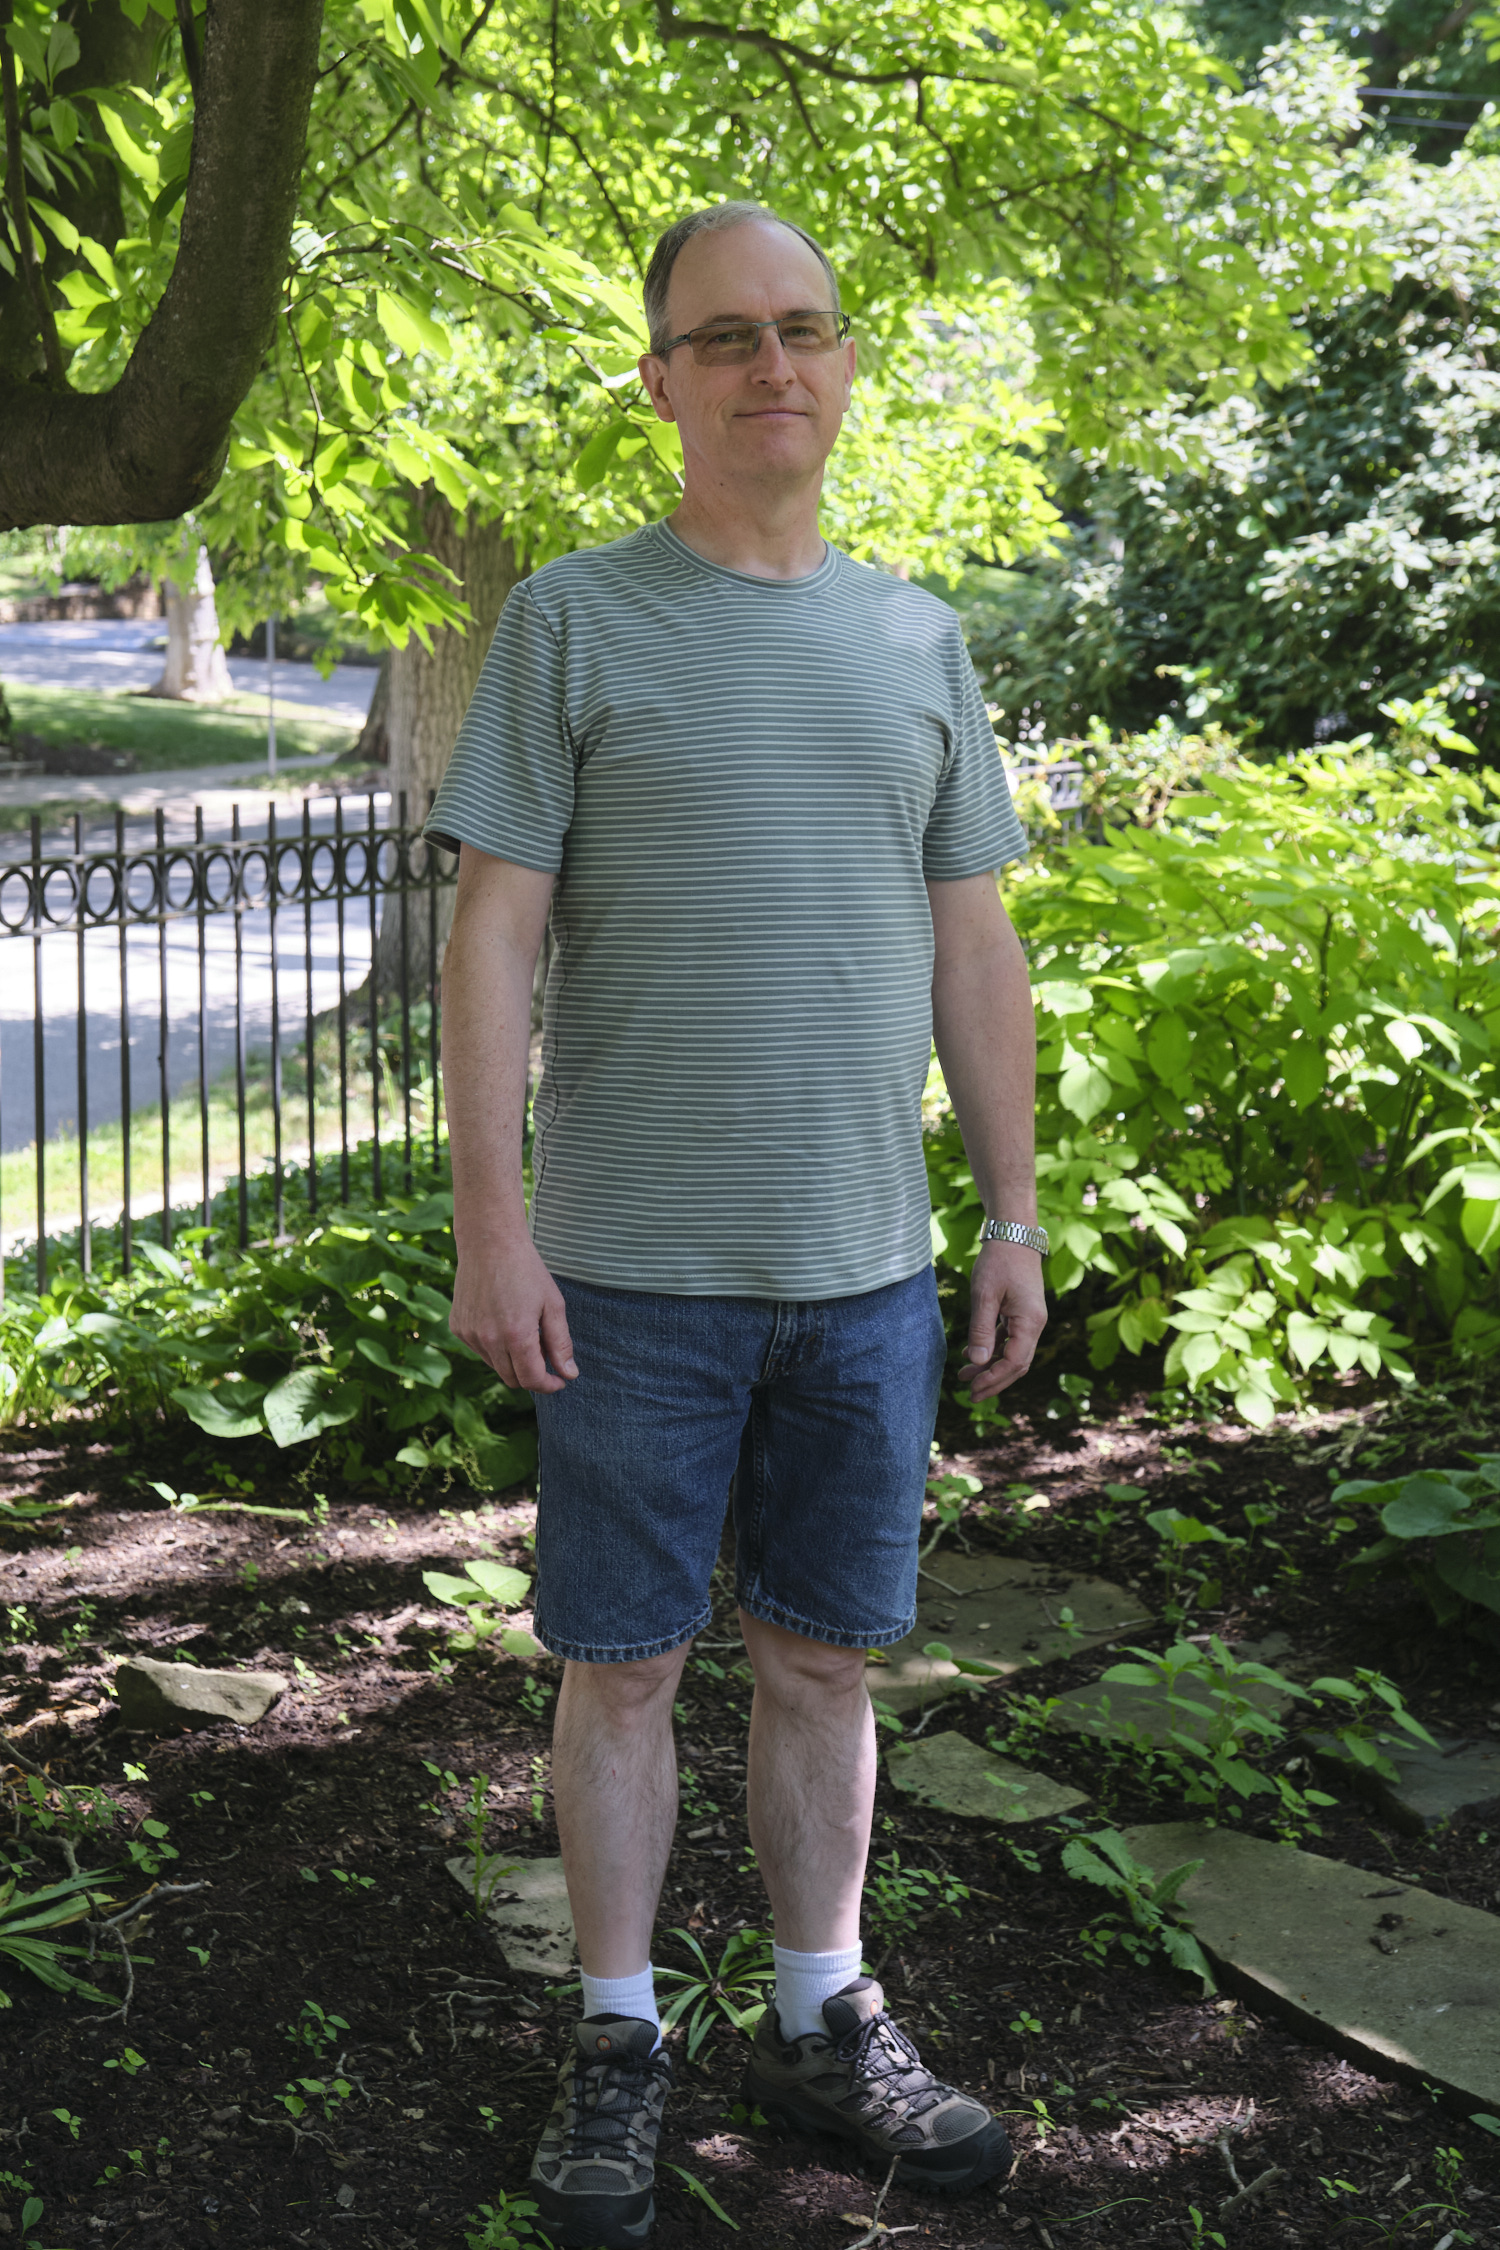
For my husband’s birthday I made him a Sinclair Kai short-sleeved t-shirt in a soft yarn-dyed pine green two-tone striped cotton-Lycra fabric (looks like sage to me) from knitfabric.com. It’s an easy pattern to sew and it looks great! I previously made him two long-sleeve Kai shirts; this was my first short-sleeve Kai.
My husband loves cotton yarn-dyed knit stripes but they aren’t so easy to find in interesting colors (lots of blue and white or off-white stripes). I really like this green stripe and it goes well with all the sage and sea foam I’ve been sewing for myself and my youngest daughter.
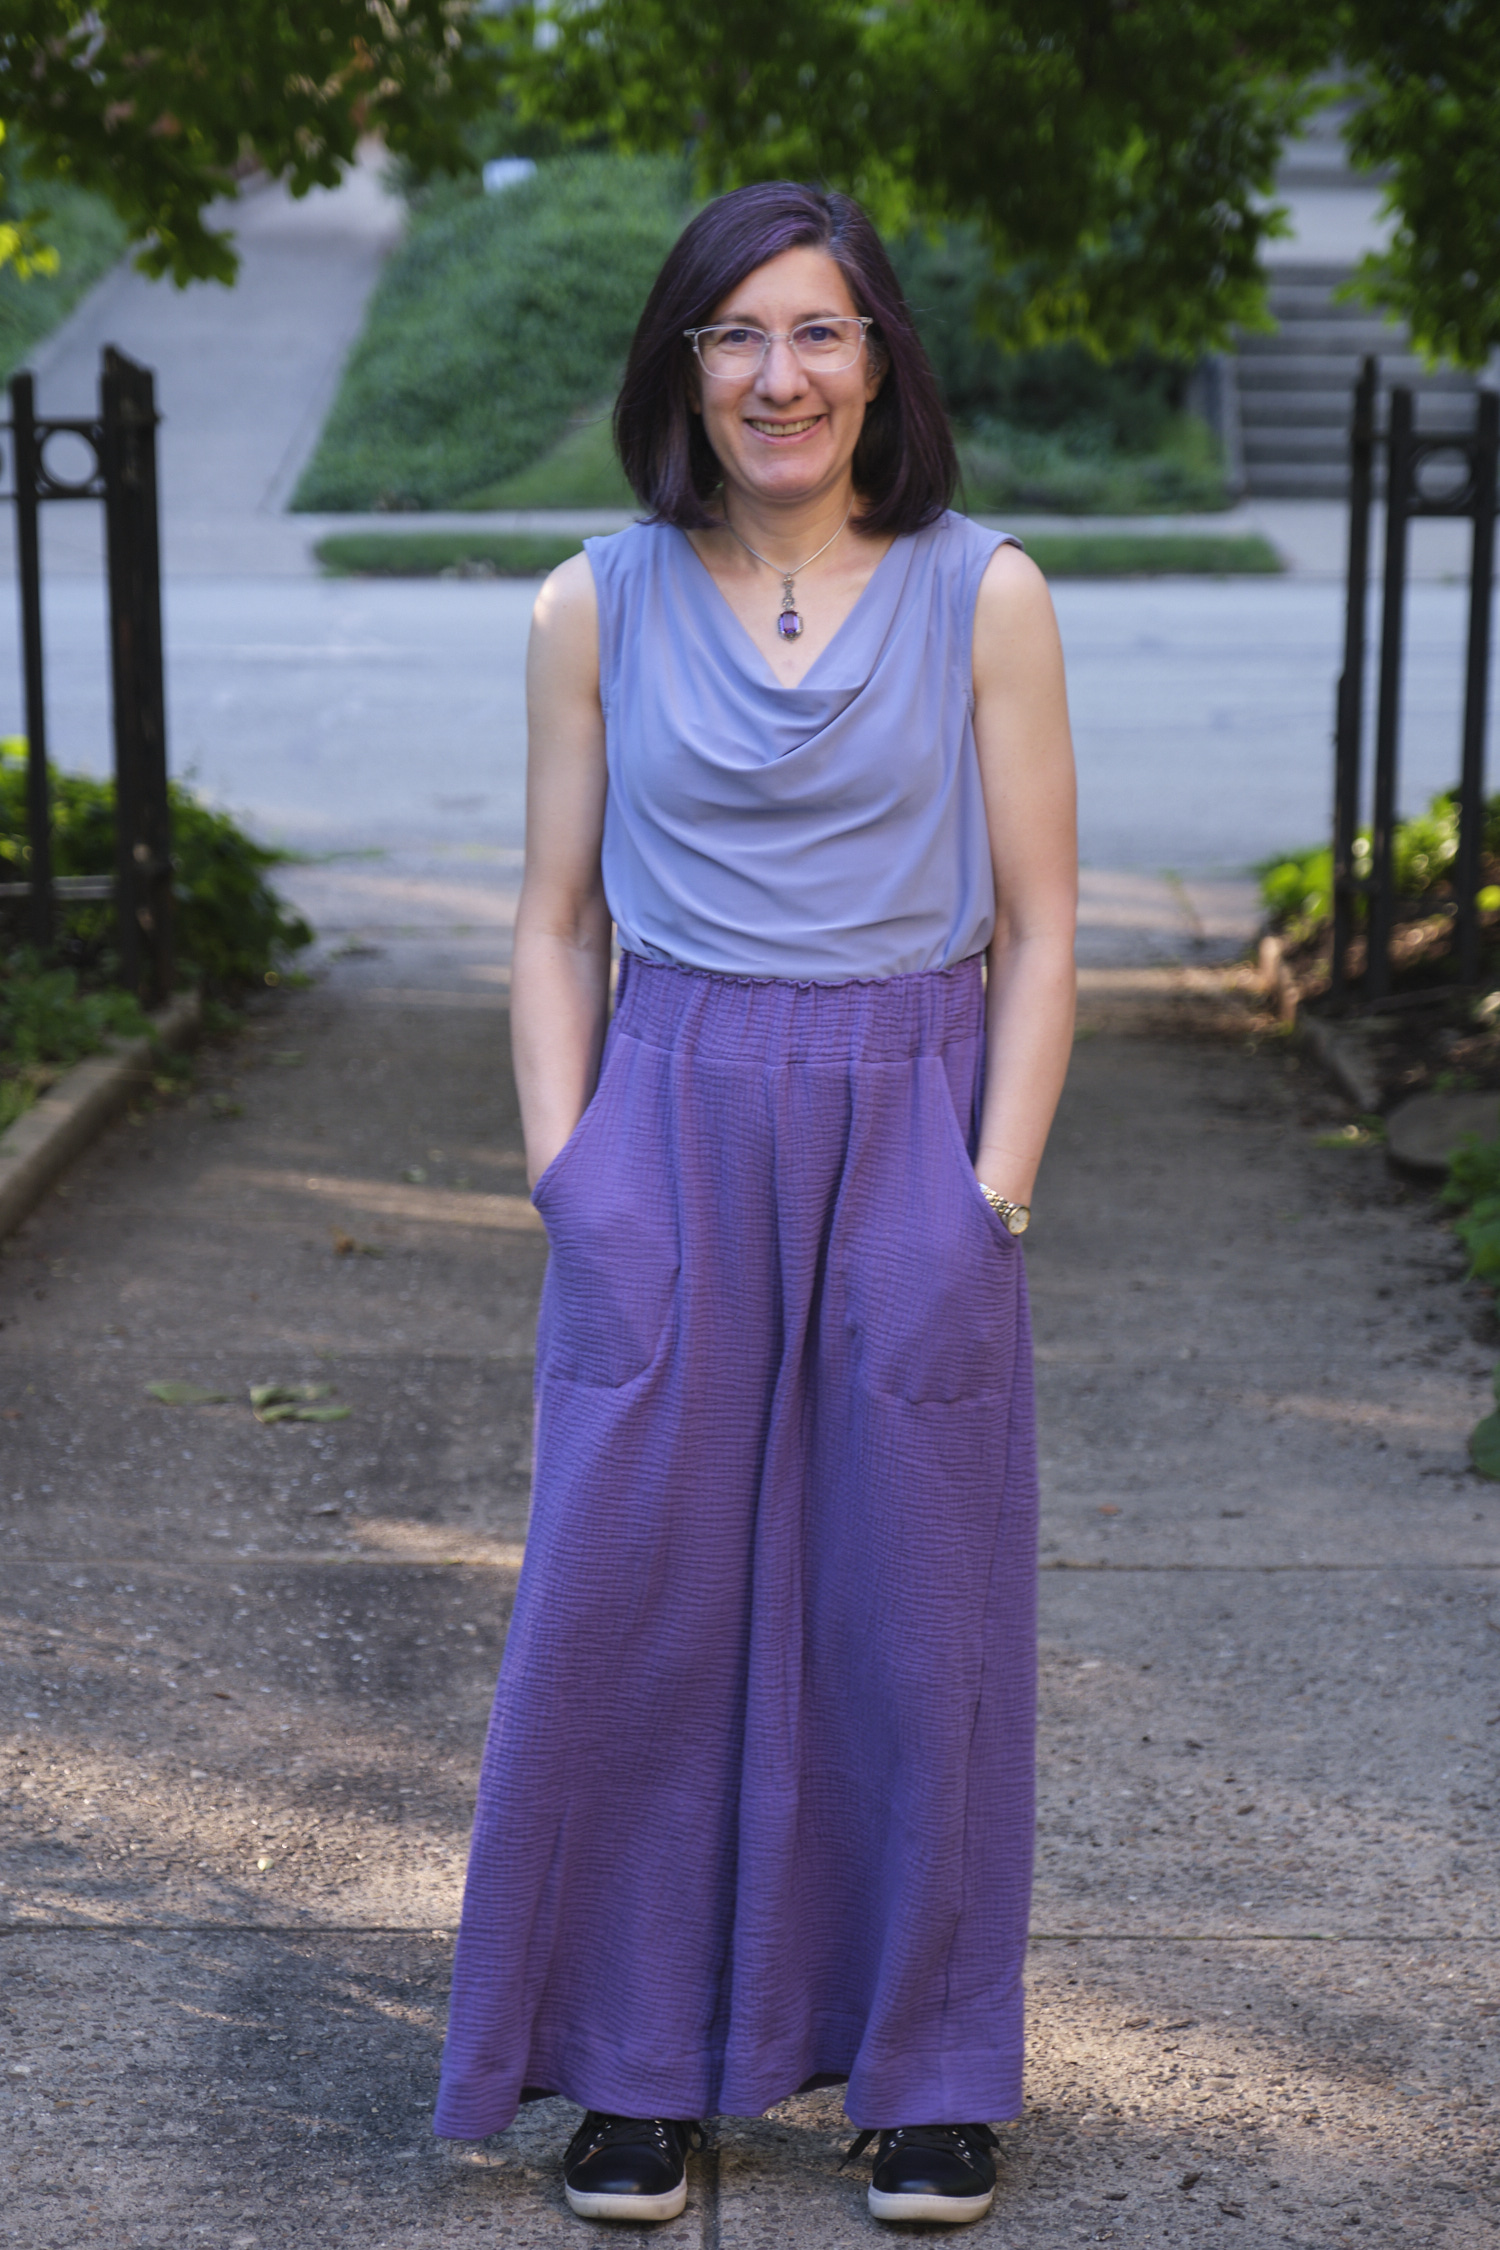
I haven’t sewn many garments with woven fabric lately because I don’t like to iron my clothes after I wash them and I would also rather not deal with zippers. I also find knit clothes just tend to be more comfortable to wear. However, “fluffy” cotton double gauze is trendy right now, you don’t have to (and you really should not) iron it if you wear it crinkled, and when you use it for loose fitting summer clothes it is cool and comfortable and does not need a zipper. I bought three yards of purple fluffy from Mily Mae Fabrics and decided to make some woven palazzo pants.
I love the Pattern Emporium Walk Boldly and Urban knit pants patterns so selected their Vacation Vibes pattern for woven palazzo pants. The pattern has both a low-rise and high-rise option, as well as several pocket choices and options for subtle or dramatic flare legs. I love wearing high-rise pants so I went with the high rise waist, subtle flare leg, and foxy pockets. I cut a size AU10 short and made no pattern modifications whatsoever.
I washed and dried my fluffy fabric before use and did not iron it at all to keep it nice and fluffy. I projected the pattern onto the fluffy and cut it with a rotary cutter. It is a little tricky to sew because you want to avoid having it stretch out. I used a walking foot on my sewing machine with a slightly longer stitch length and surged all the seams after I sewed them to tidy up the edges. every time the pattern suggested pressing with an iron I ignored it, and just did some light finger pressing. I made a bias binding for the large foxy pockets (big enough for my phone without any modifications), but it requires several passes through the sewing machine to attach. By the time I got it attached it had stretched out a bit so I moistened the pocket openings with a damp cloth, reblocked them to their proper shape with my hands, and let them dry before I finished attaching the pockets. The pants were very easy to sew, and went together quickly. The waistband was super easy to assemble as there was nothing to stretch: I made a casing and threaded a piece of 2″ elastic through it. I’m 5’2″ and ended up hemming the short length 2.25 inches to wear with flats. The only time I touched my iron was to very lightly press the hems.
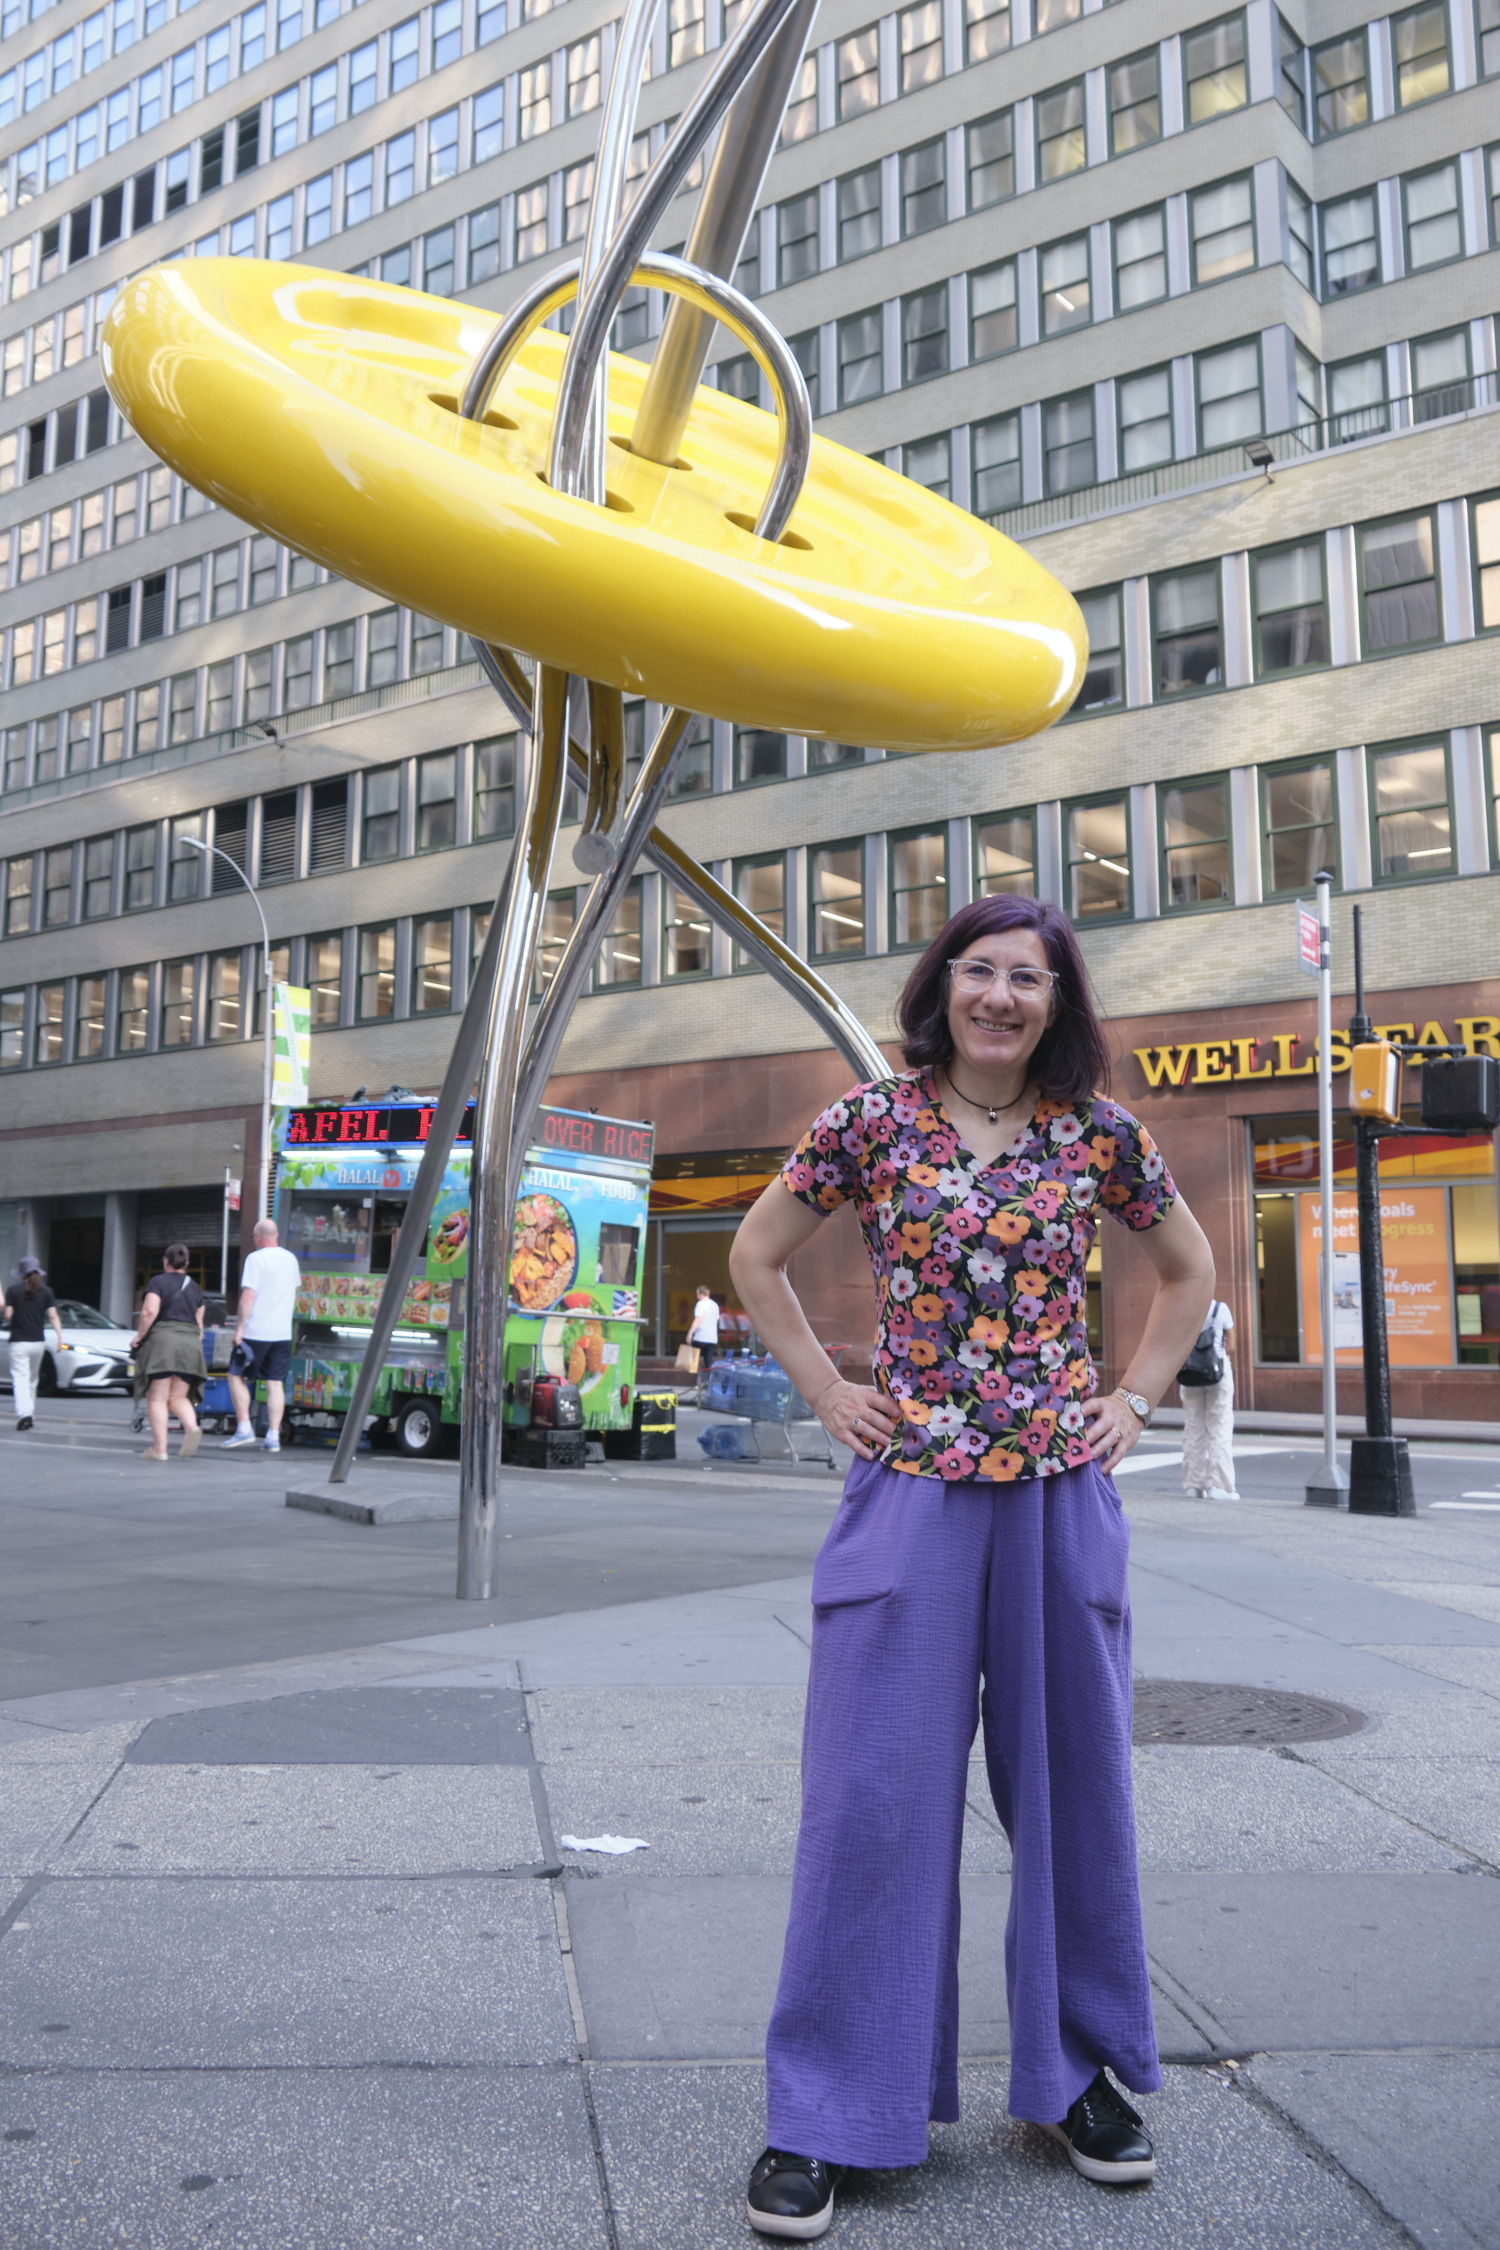
Here I am modeling the pants with my new Chorus top. I tucked it in so you could see the waist band but I will probably wear this shirt untucked. I like the subtle leg option, which is plenty wide on me. The dramatic leg could be fun with the right fabric, but may be more pants than I really need.
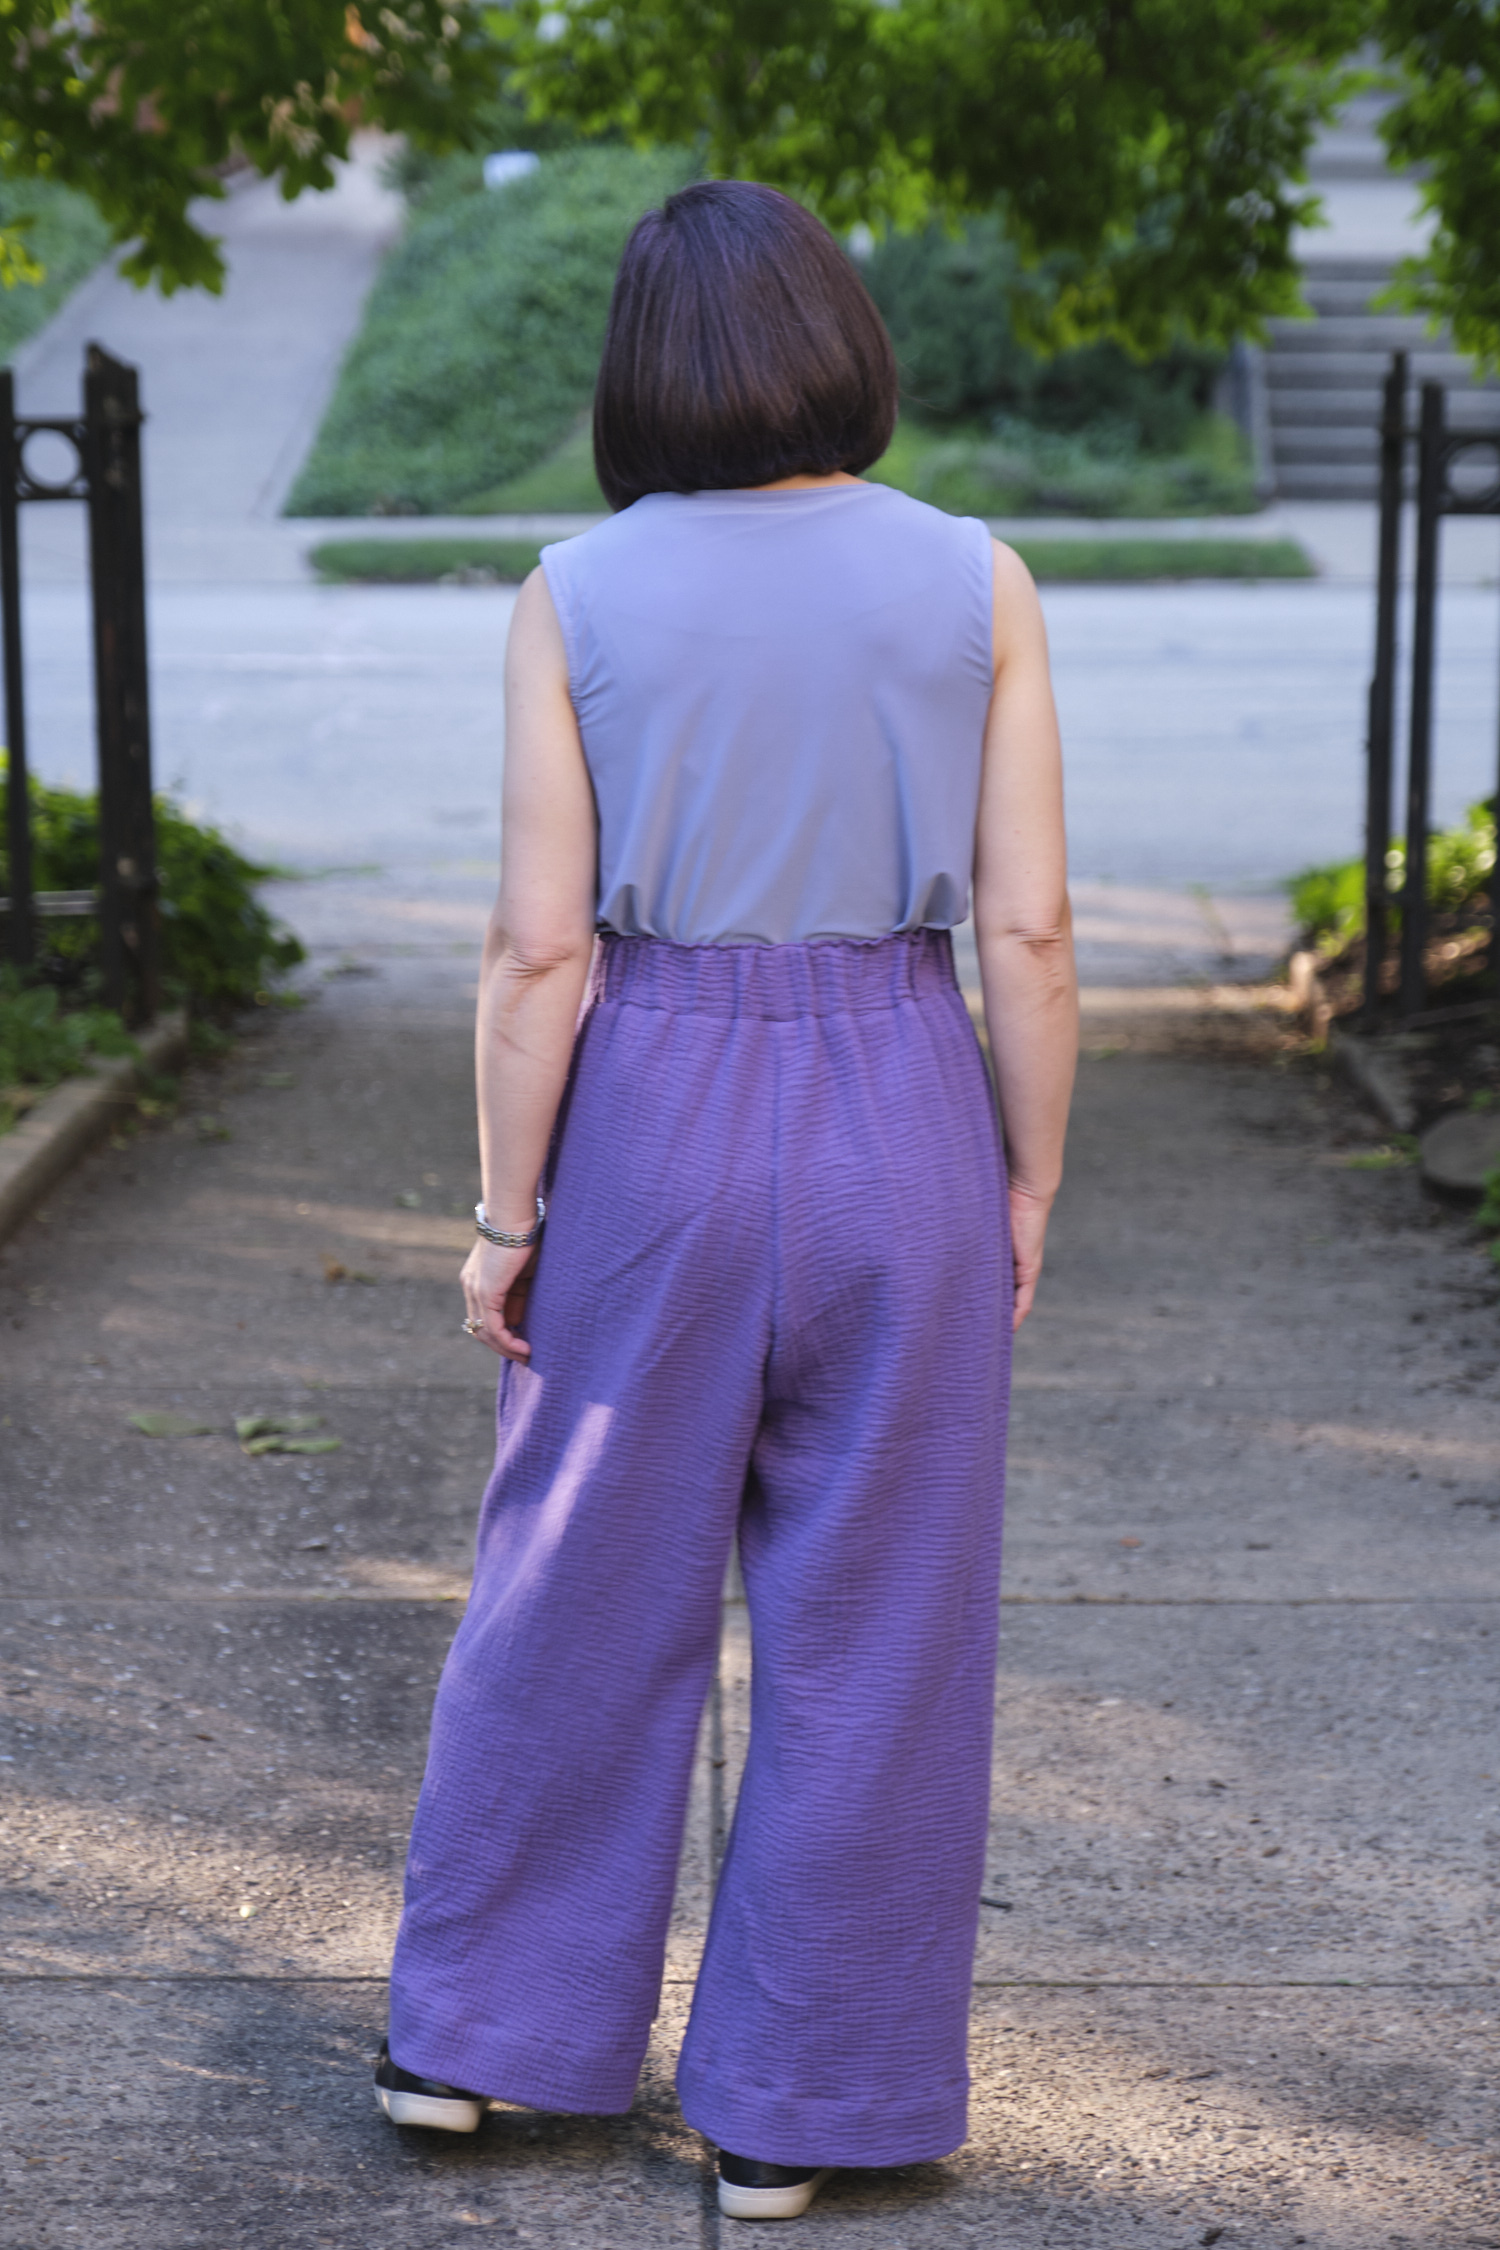
I thought the pants looked pretty good and were comfy to wear. But the rise was really sky high on me and the crotch was sitting pretty low. I am a big fan of high-rise pants, but as a short person, I sometimes find high-rise too high when there is no petite version. I also find I frequently have to size down and/or grade in the waist on PE patterns, despite choosing sizes that match my measurement. I decided to wear my pants to work all day and see how they did. They were comfortable and looked alright, and the double gauze was just right in both the 75-degree F outdoor weather and indoor air conditioning. but by the end of the day I was convinced that the waist was definitely too high for me. I also noticed that the pants slipped down a bit as I wore them and I kept stepping on the hem. The pockets were kind of droopy and I was concerned my phone could fall out when I sat down.
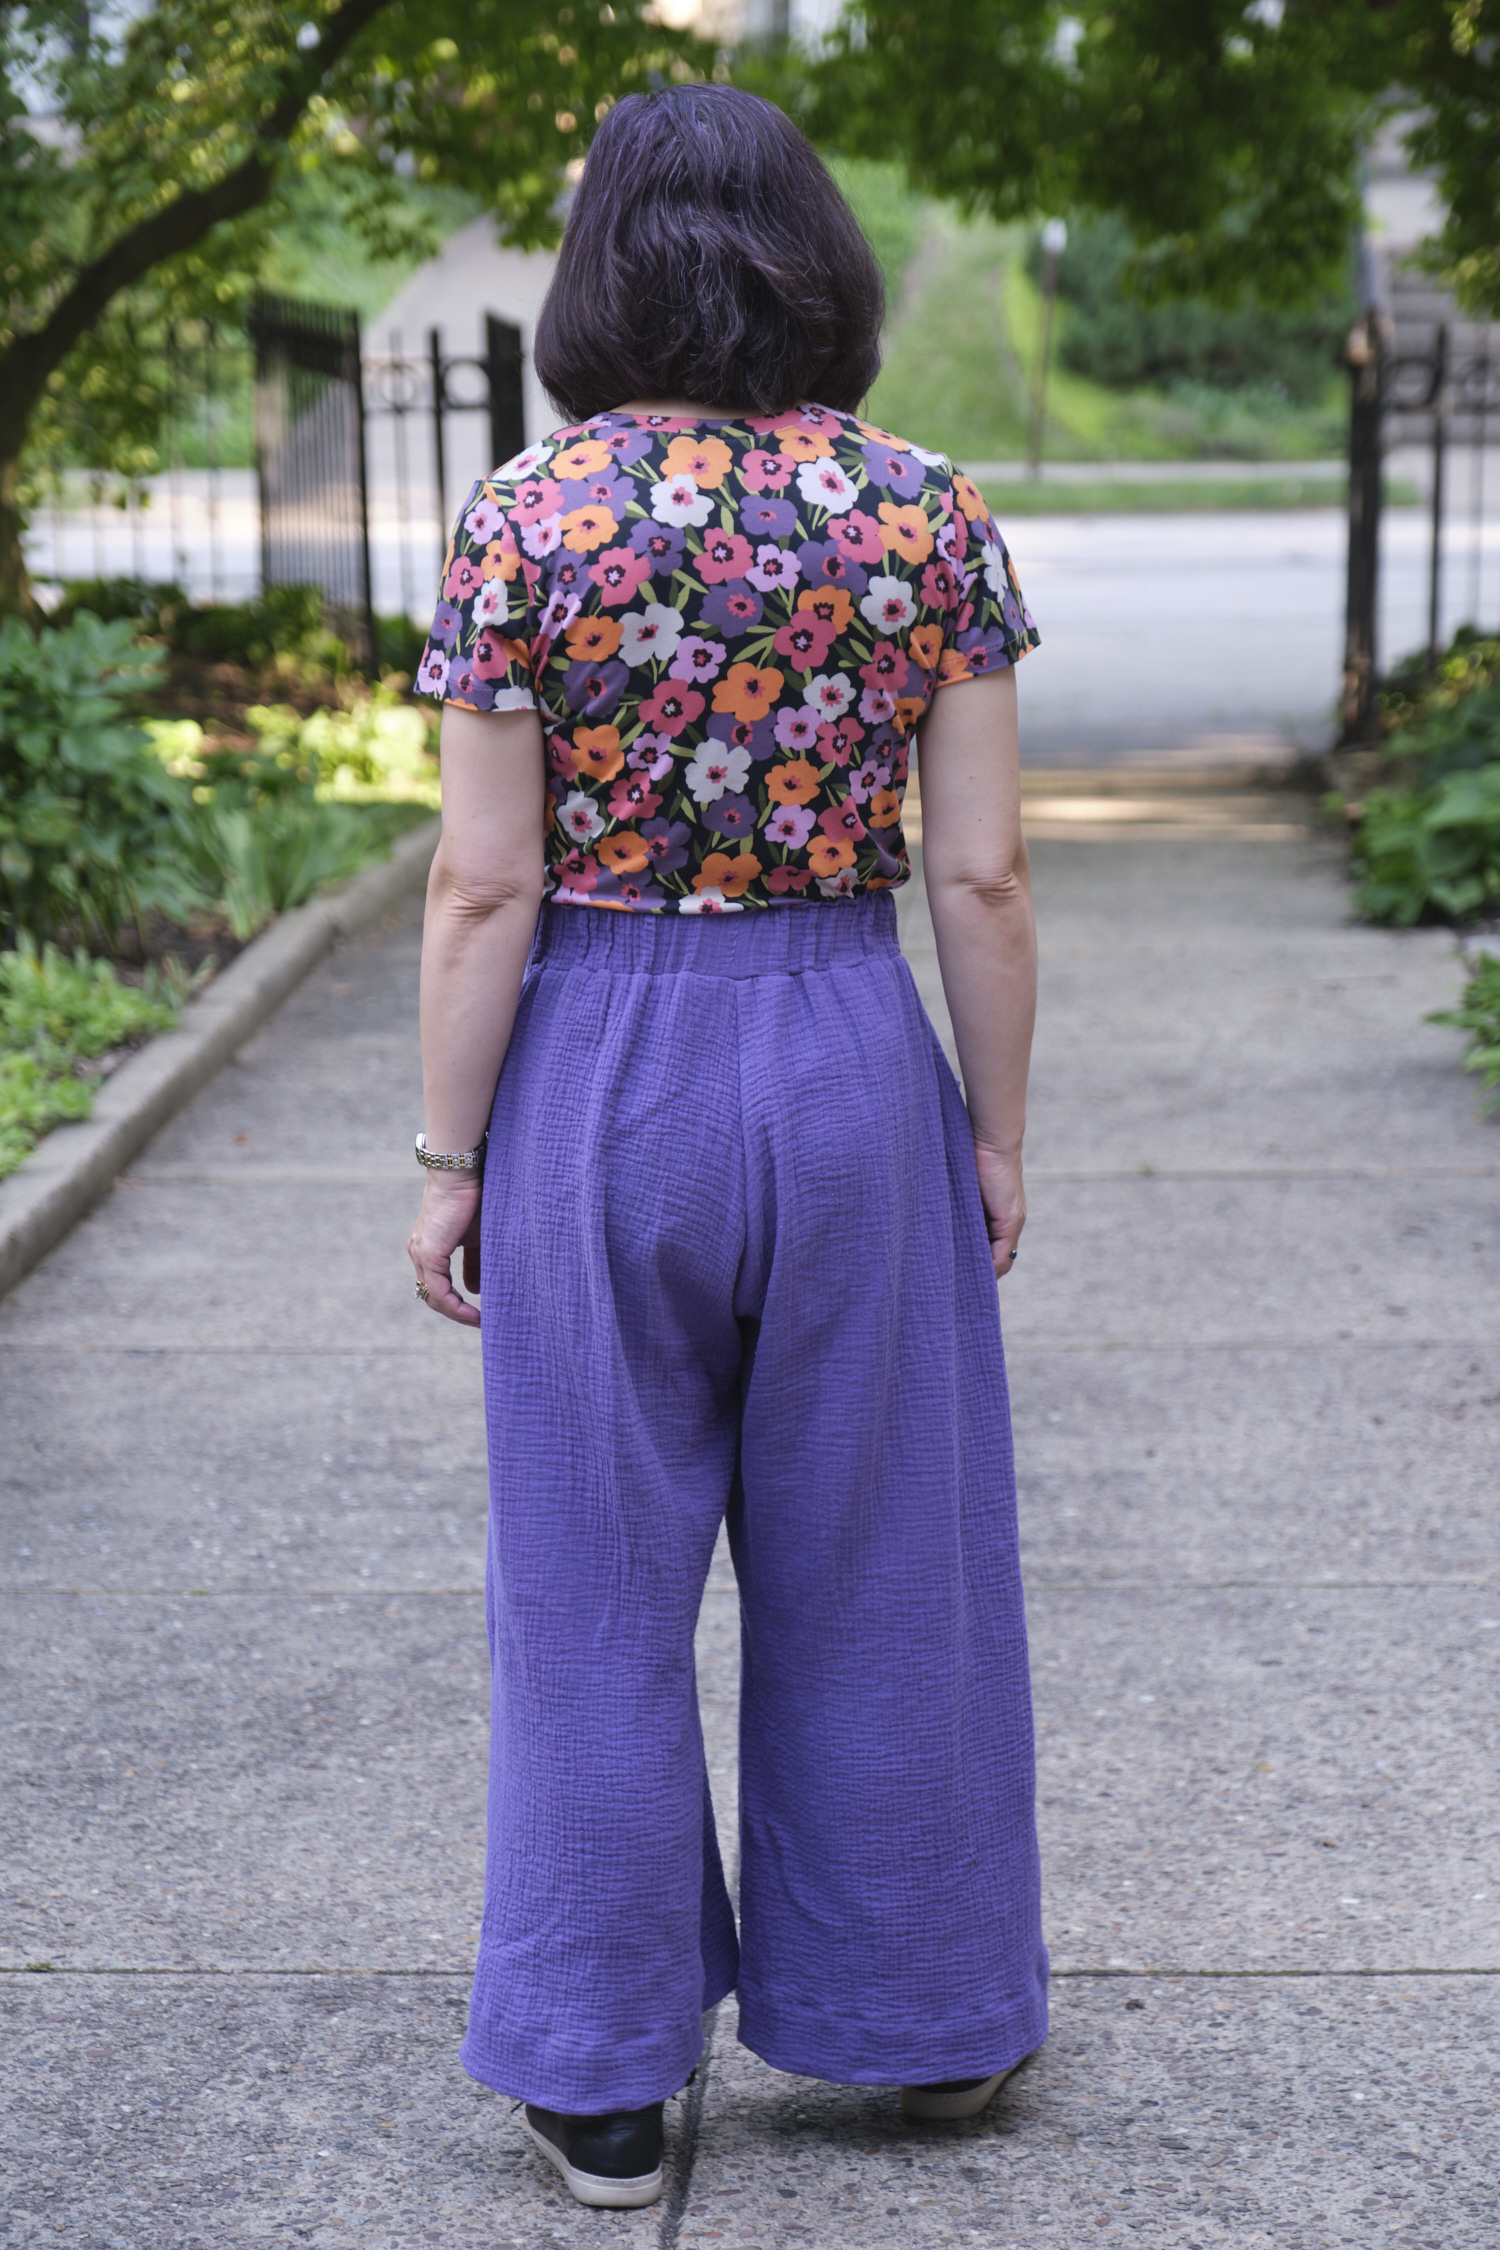
I cut off the waistband, removed about 2 inches from the top of the pants and graded in the sides from the hip up to the waist. I took about 3 inches out of the waistband circumference and sewed it back on. I think they fit much better now. They sit right at my natural waist rather than above it and there isn’t so much extra fabric around the waist. Next time I make these I think I would cut a size smaller (especially if I use double gauze since it stretches out a bit when you wear it), low rise, and still probably grade in the waist. I would also reshape the pocket opening to attach higher on the leg and hem them a bit higher. I might try a yoga waist band in a coordinating athletic knit (the pattern has instructions for that too!).
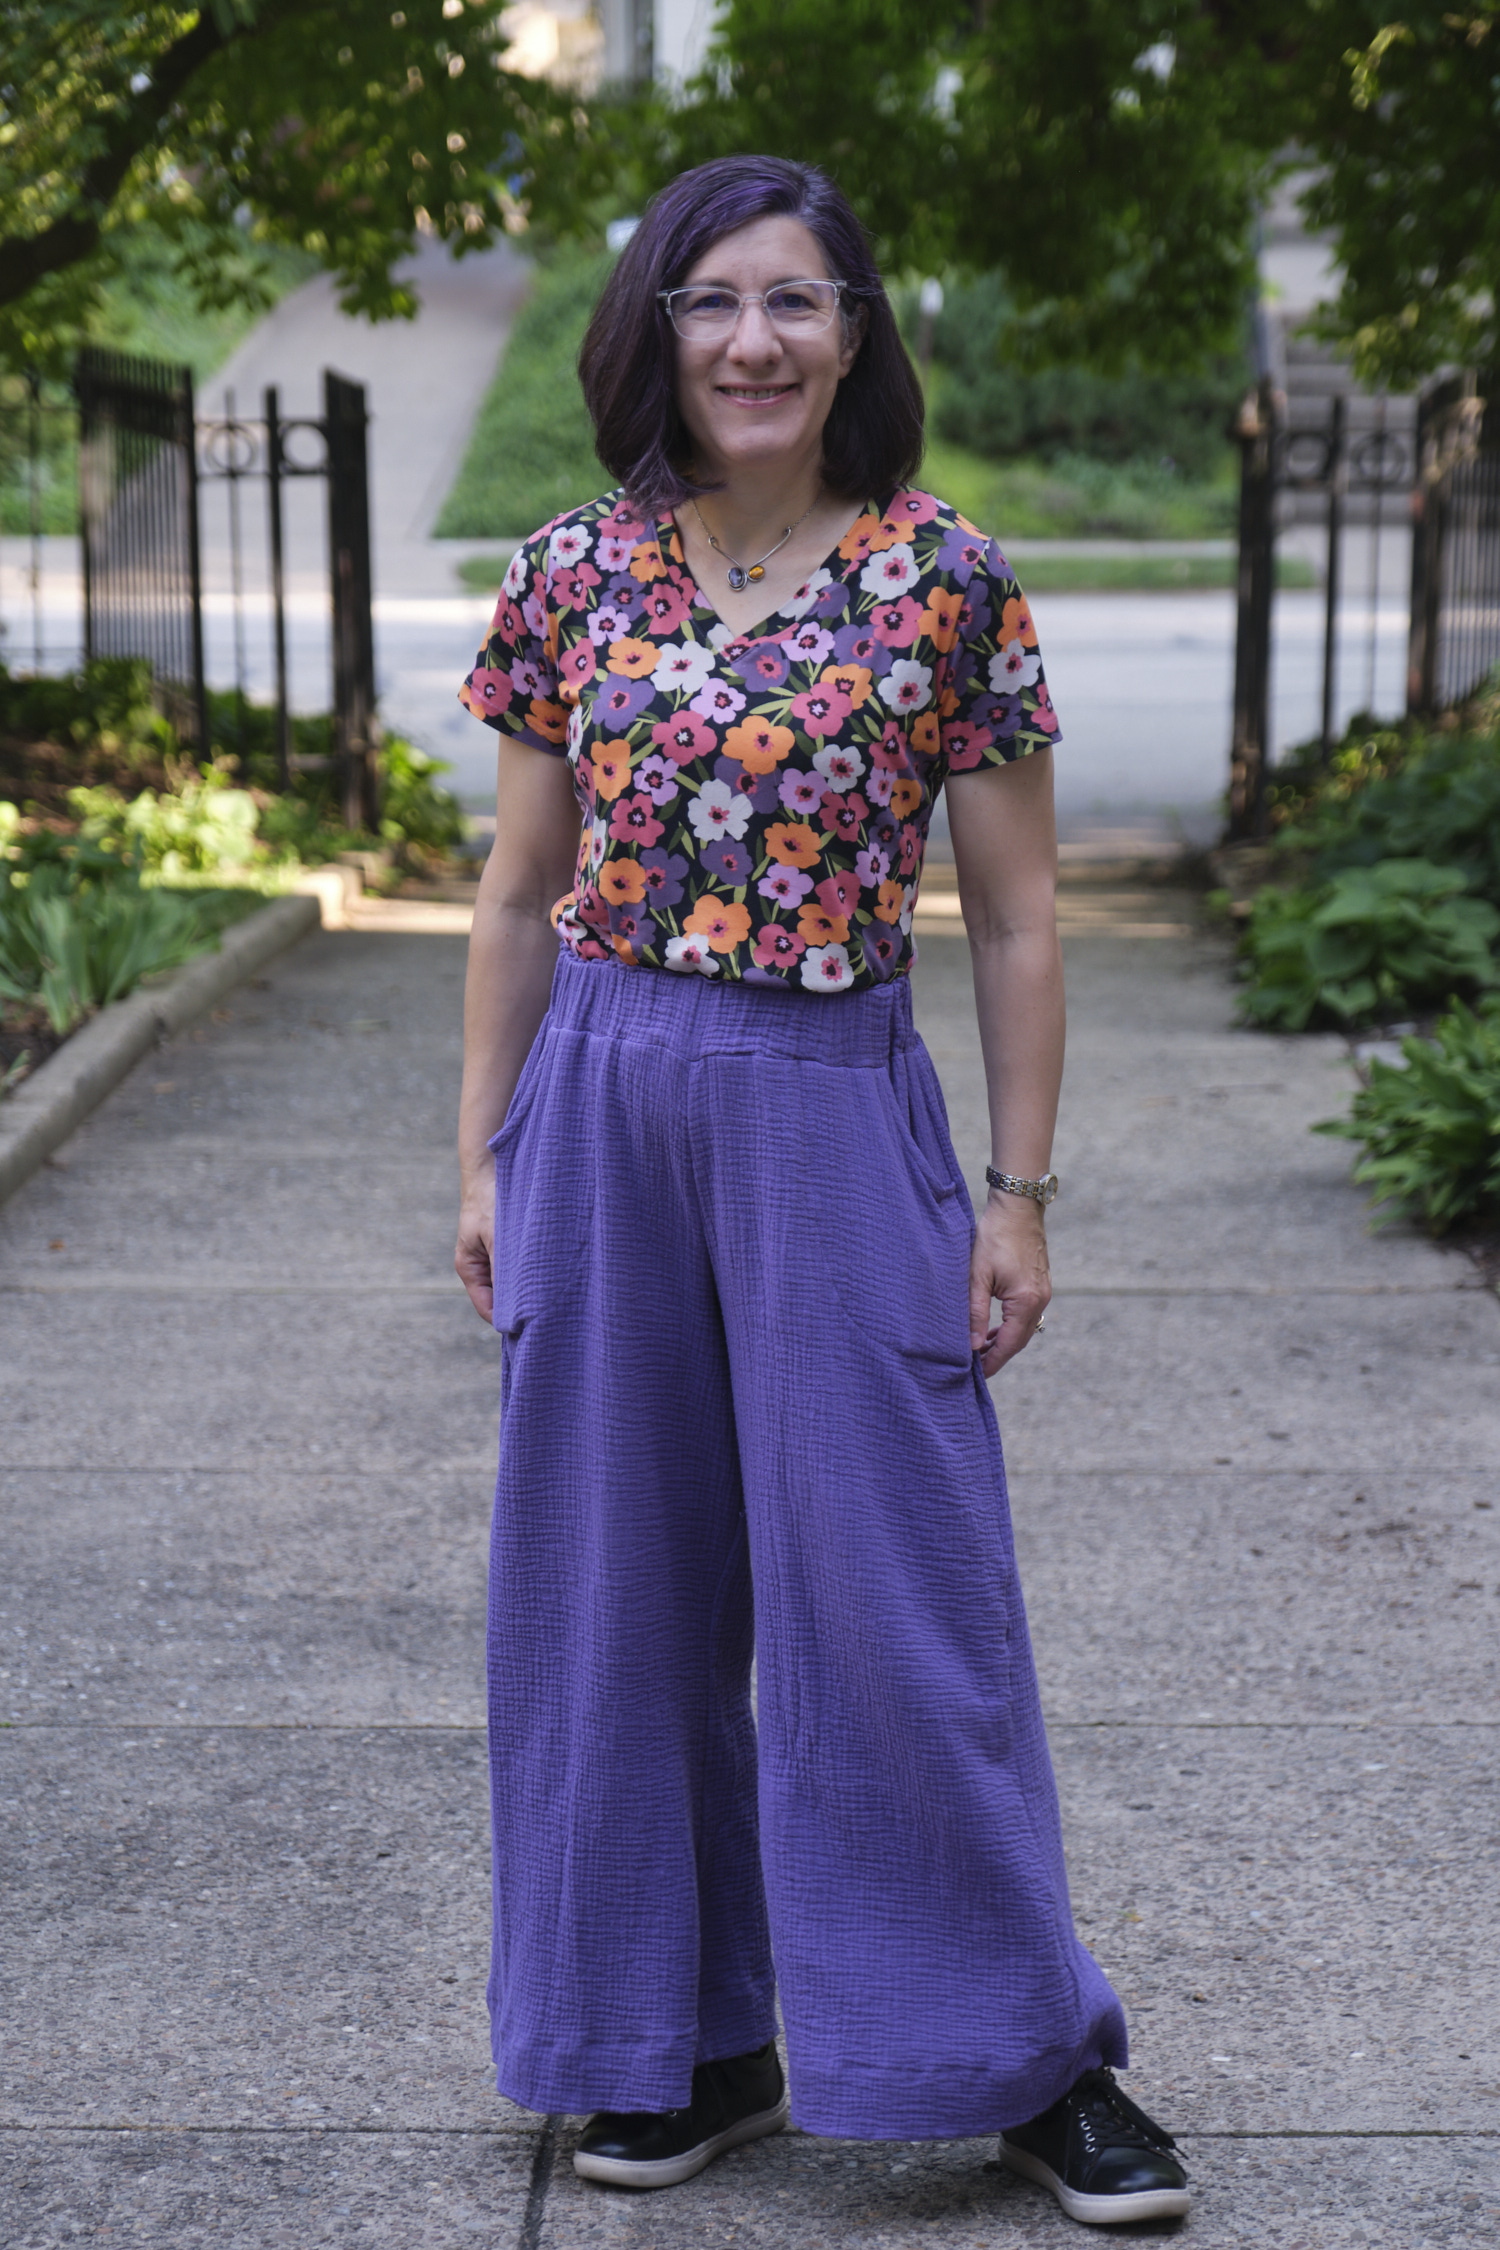
New photos show the reconfigured waistband. As an added bonus, since the pants are pulled up more the hems have risen and I no longer trip over them. I made a Sinclair Bondi v-neck tshirt (my first Bondi v-neck) out of a floral DBP in my stash to match the pants. I was going to make a dress from this fabric, but I liked how it paired with the pants so decided to make separates instead. I also like the shirt untucked. Skirt coming soon. I wore this outfit to work, and by the time I walked home it was 92 degrees F. The whole outfit was still comfortable, even in the heat and humidity!