Boo & Lu Periwinkle Dress, size 4, dress skirt shortened 1 inch, long sleeves shortened 2-inches, 2 yards black butter scuba with black ITY lining.
I have plans to make a long gown with a stretch lace overlay and was looking for the right pattern. I wanted a princess-seamed lined bodice without a neck band and a flared long skirt, but not a full circle skirt. I was thinking about using the Patterns for Pirates Gala Gown, which has a 3/4 circle skirt with an optional slit. I was hoping for a pattern that used less fabric in the skirt and was a little bit sleeker, but without being a fitted skirt. I thought about just modifying the Gala skirt, but then I noticed the Boo & Lu Periwinkle Dress, which I hadn’t previously considered because I wasn’t interested in the bodice flounce, which, while actually pretty cute, reminds me too much of dresses I wore in the 80s. But when I noticed that the bodice flounce was optional, I looked at the pattern again more closely. Periwinkle has half-circle skirt and for the maxi version it is closer to a one-third-circle skirt, which was exactly what I was looking for. I’m sure I’ll sue the Gala pattern for something else, but I think Periwinkle will work better for this particular project.

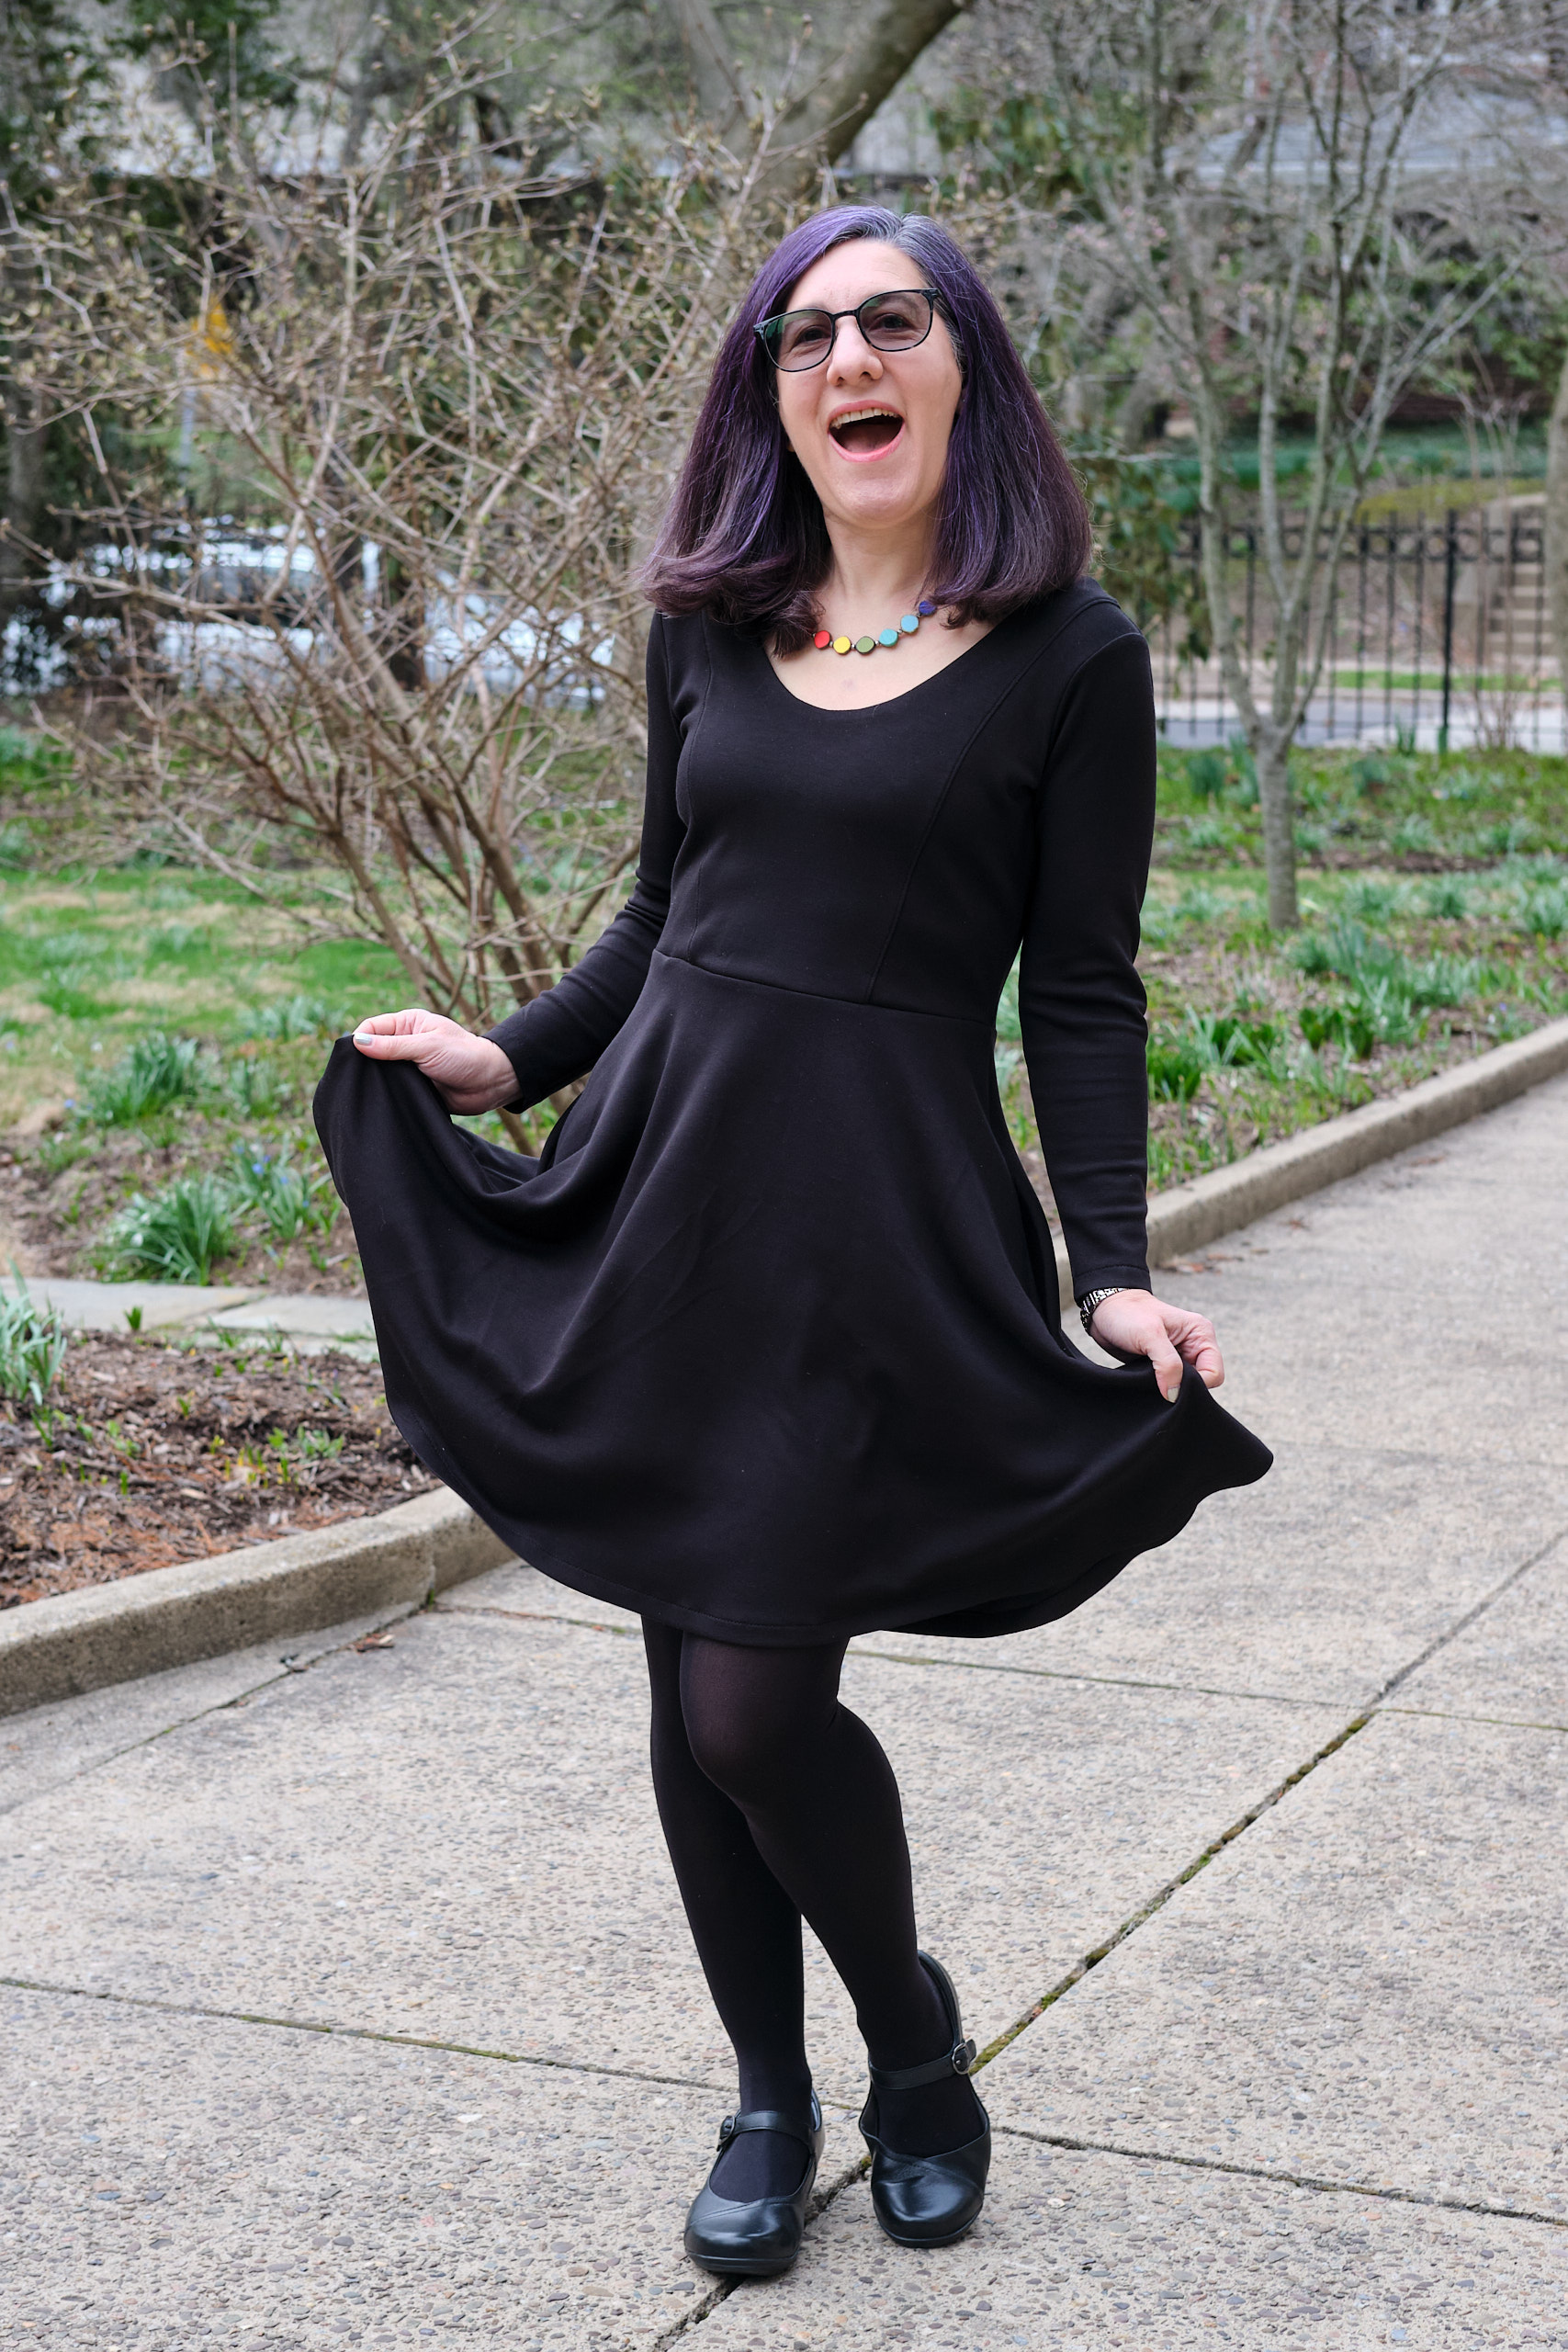
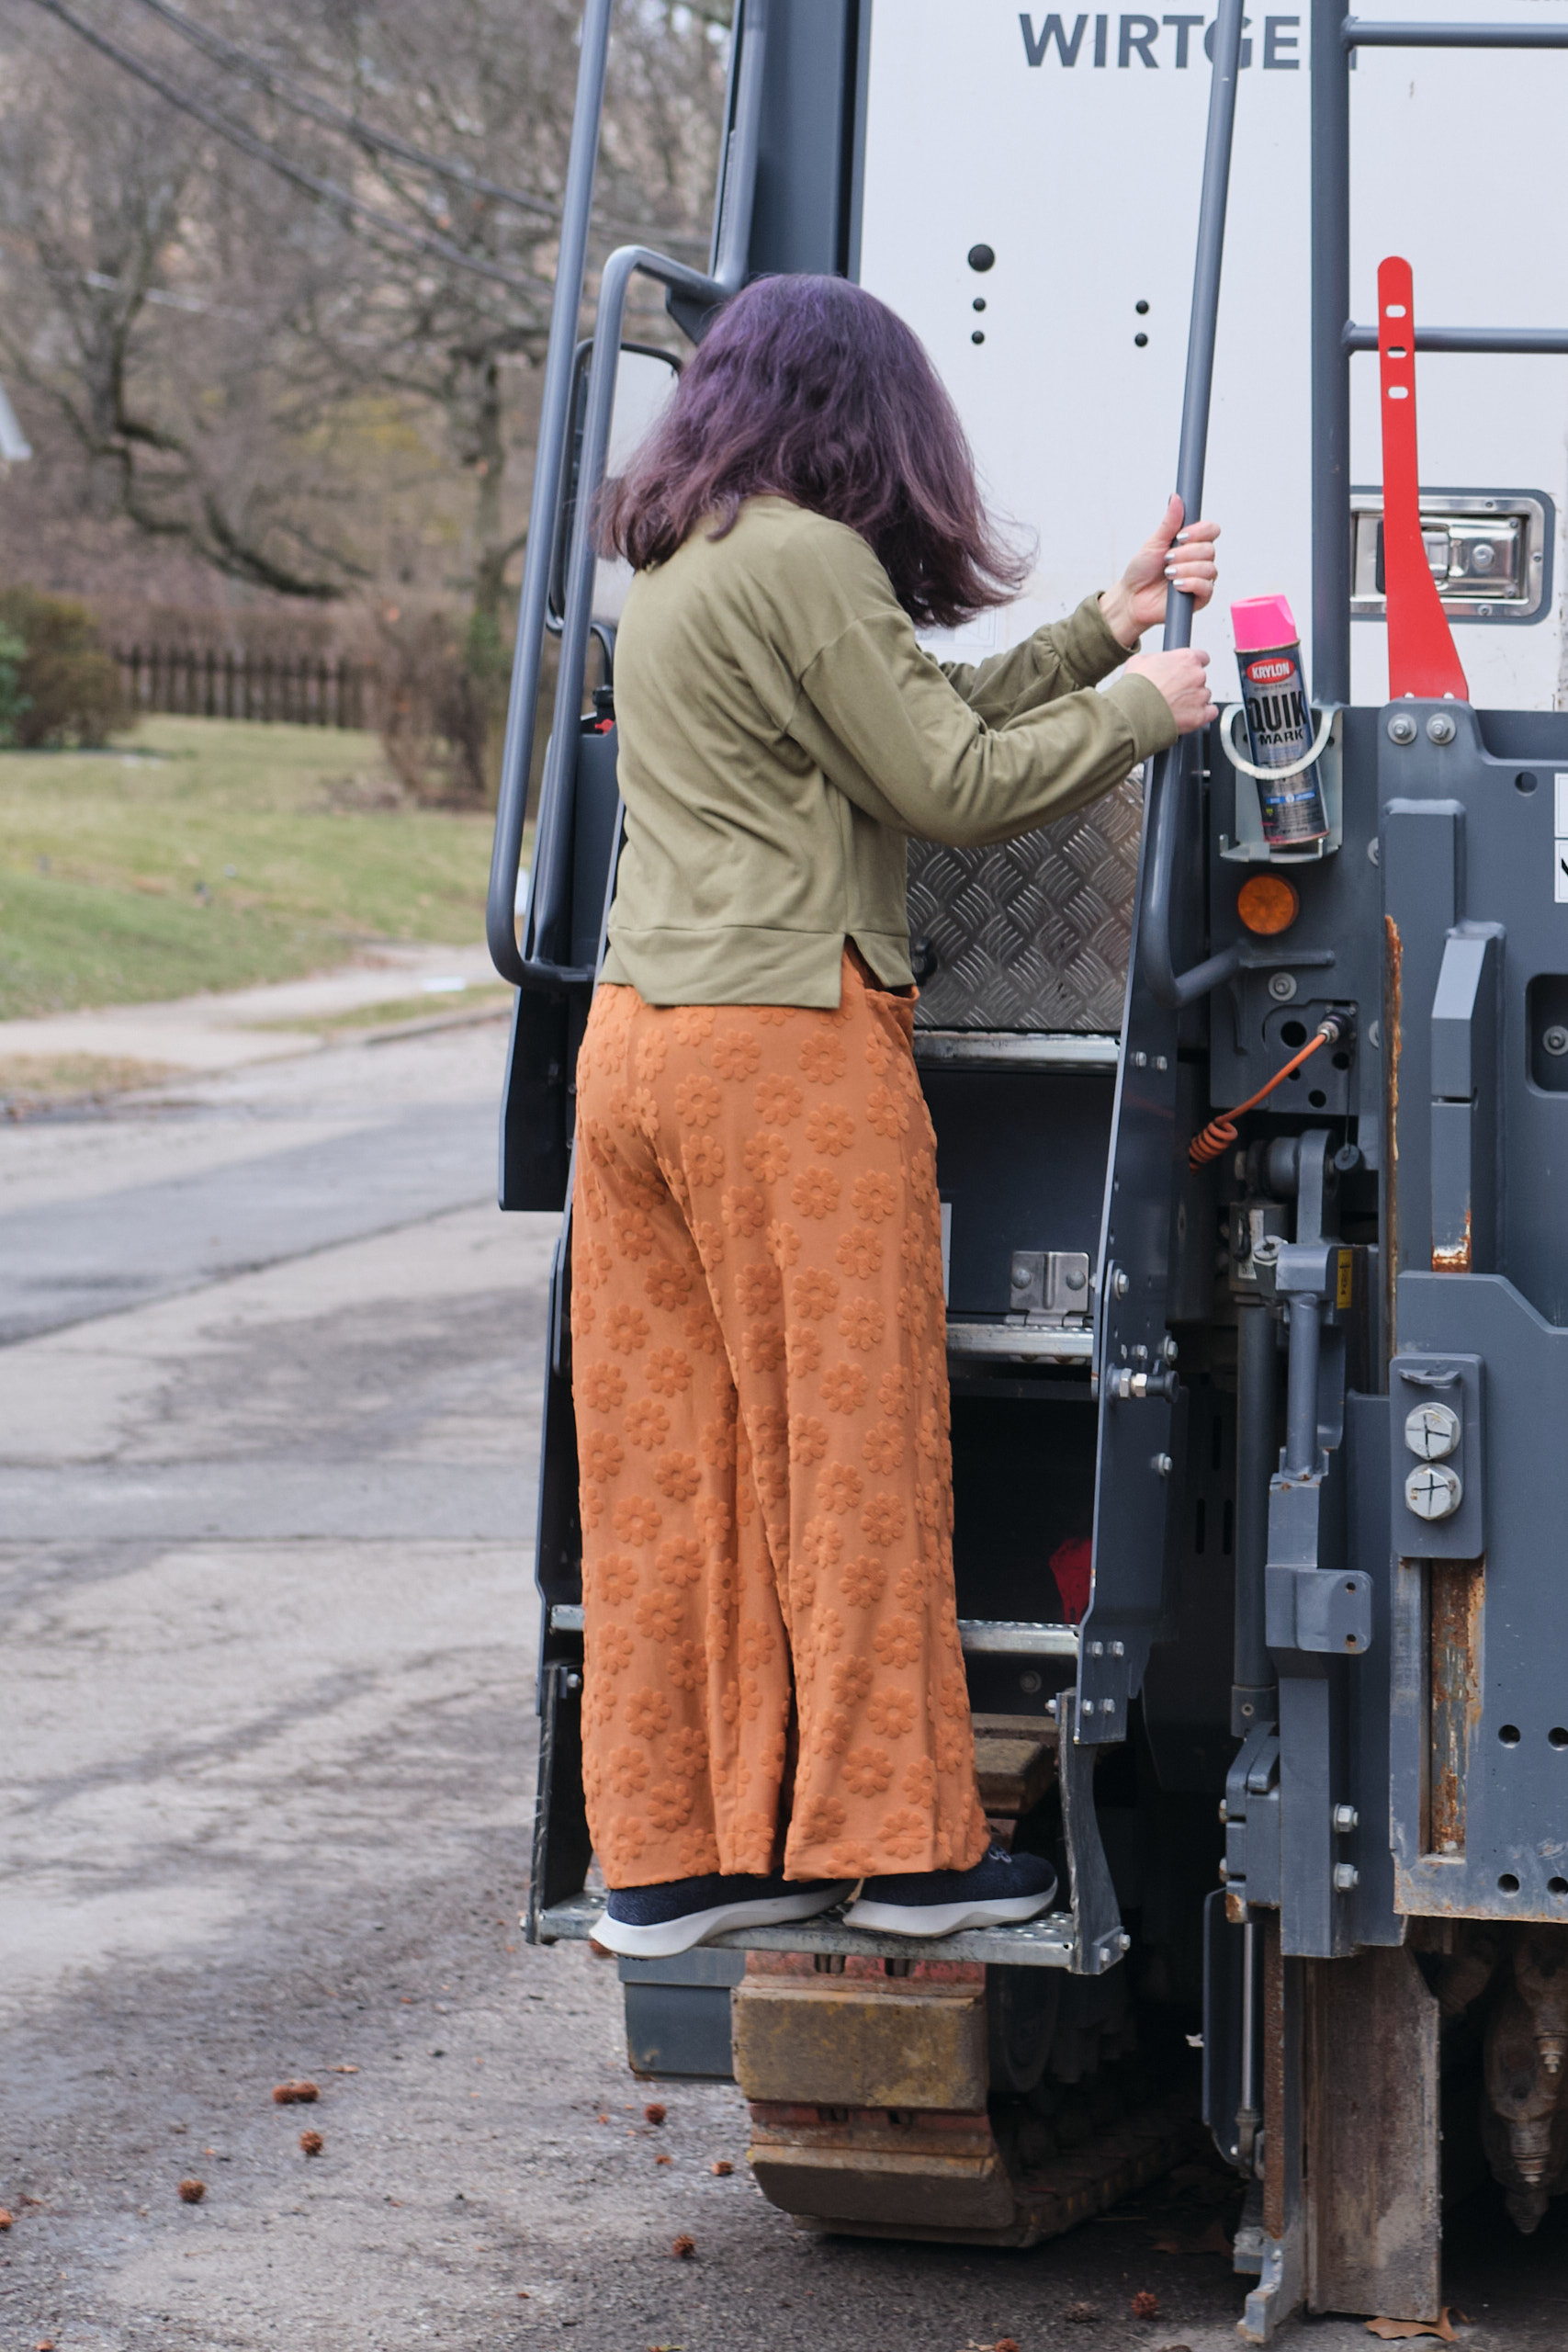
Before I make the gown, I decided to try out Periwinkle in the regular dress length for a basic little black dress. I used Mily Mae black butter scuba, which is a medium-weight rayon/poly/spandex that has a smooth “buttery” texture on the right side and a very smooth and shiny texture on the wrong side. I previously used this fabric to make a pair of black wide-leg pants. I used about 2 yards of the scuba for the dress and lined the bodice with black ITY for a nice lightweight lining. I made the pattern as written except or shortening the skirt by 1 inch and the sleeves by 2 inches and using pocket bags I have used previously on other dresses.
The pattern was fairly easy to understand and sew. The princess seams and lining were pretty straightforward. I did all top-stitching with a shallow zigzag. The pocket instructions say to baste the pocket seam before topstitching, and I decided to actually sew it because just basting it doesn’t make sense to me. Also, the pocket instructions fail to suggest sewing up part of the pocket bag opening to keep things from falling out of your pocket. But I went ahead and did that anyway.
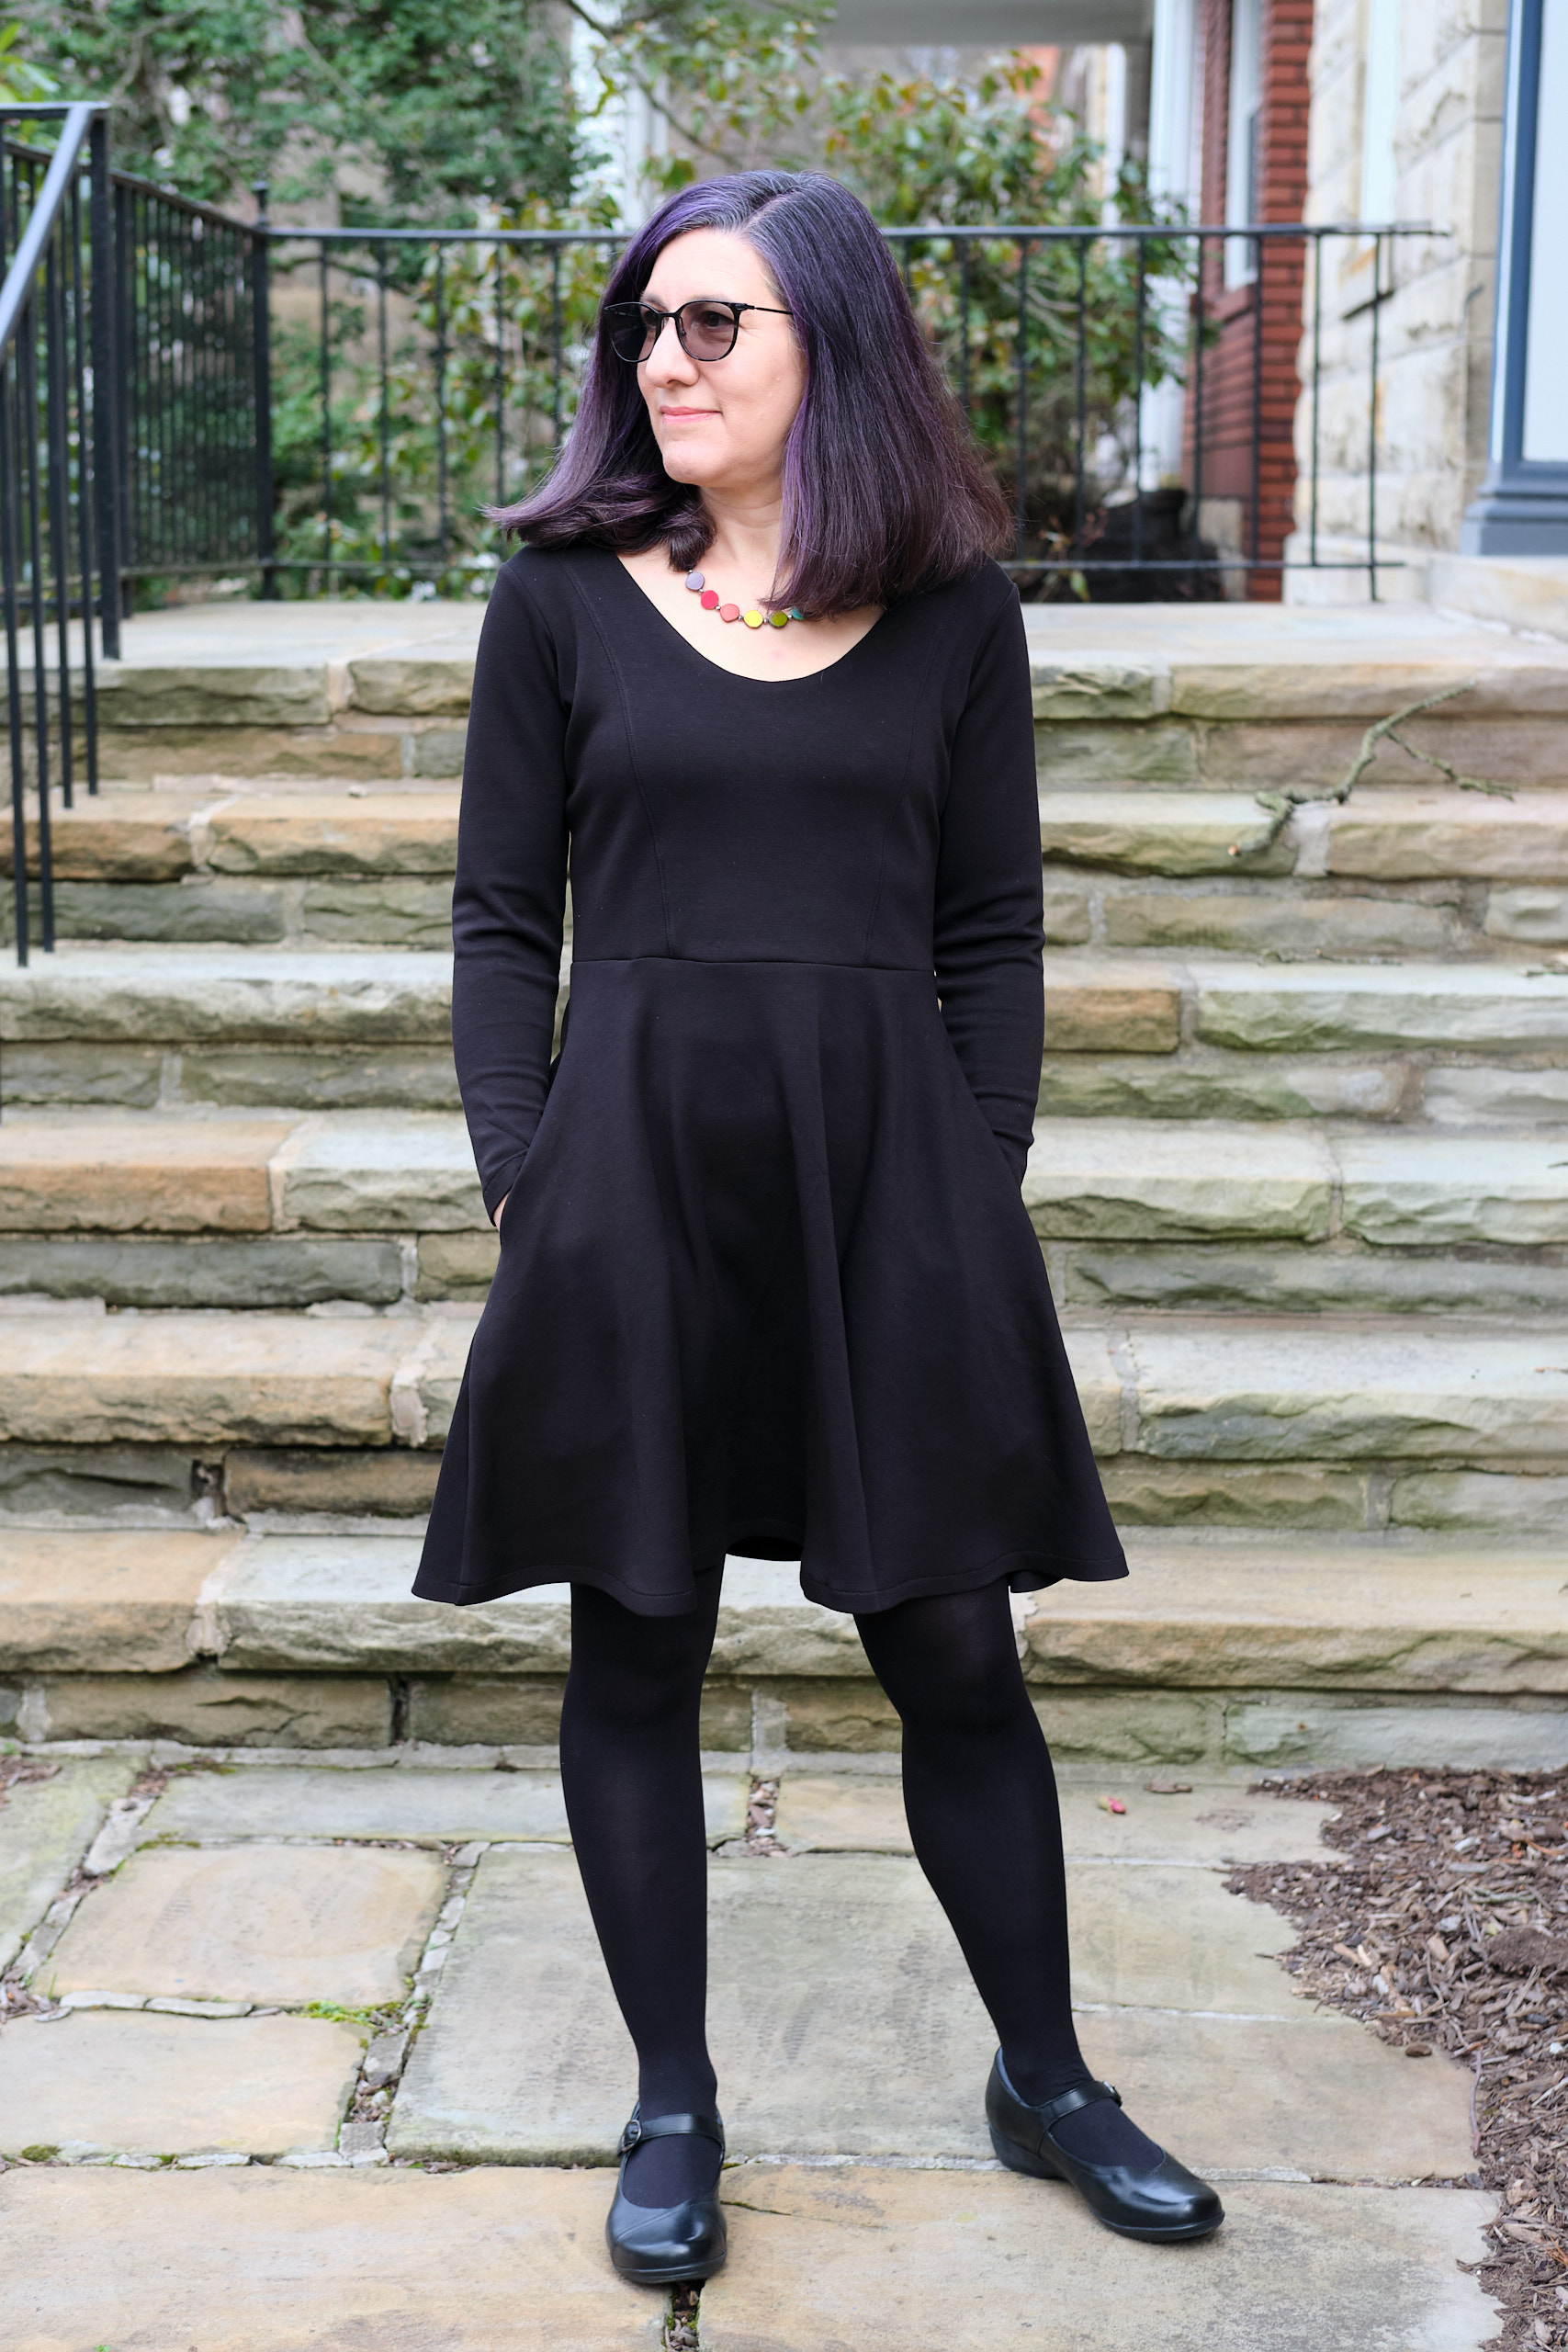
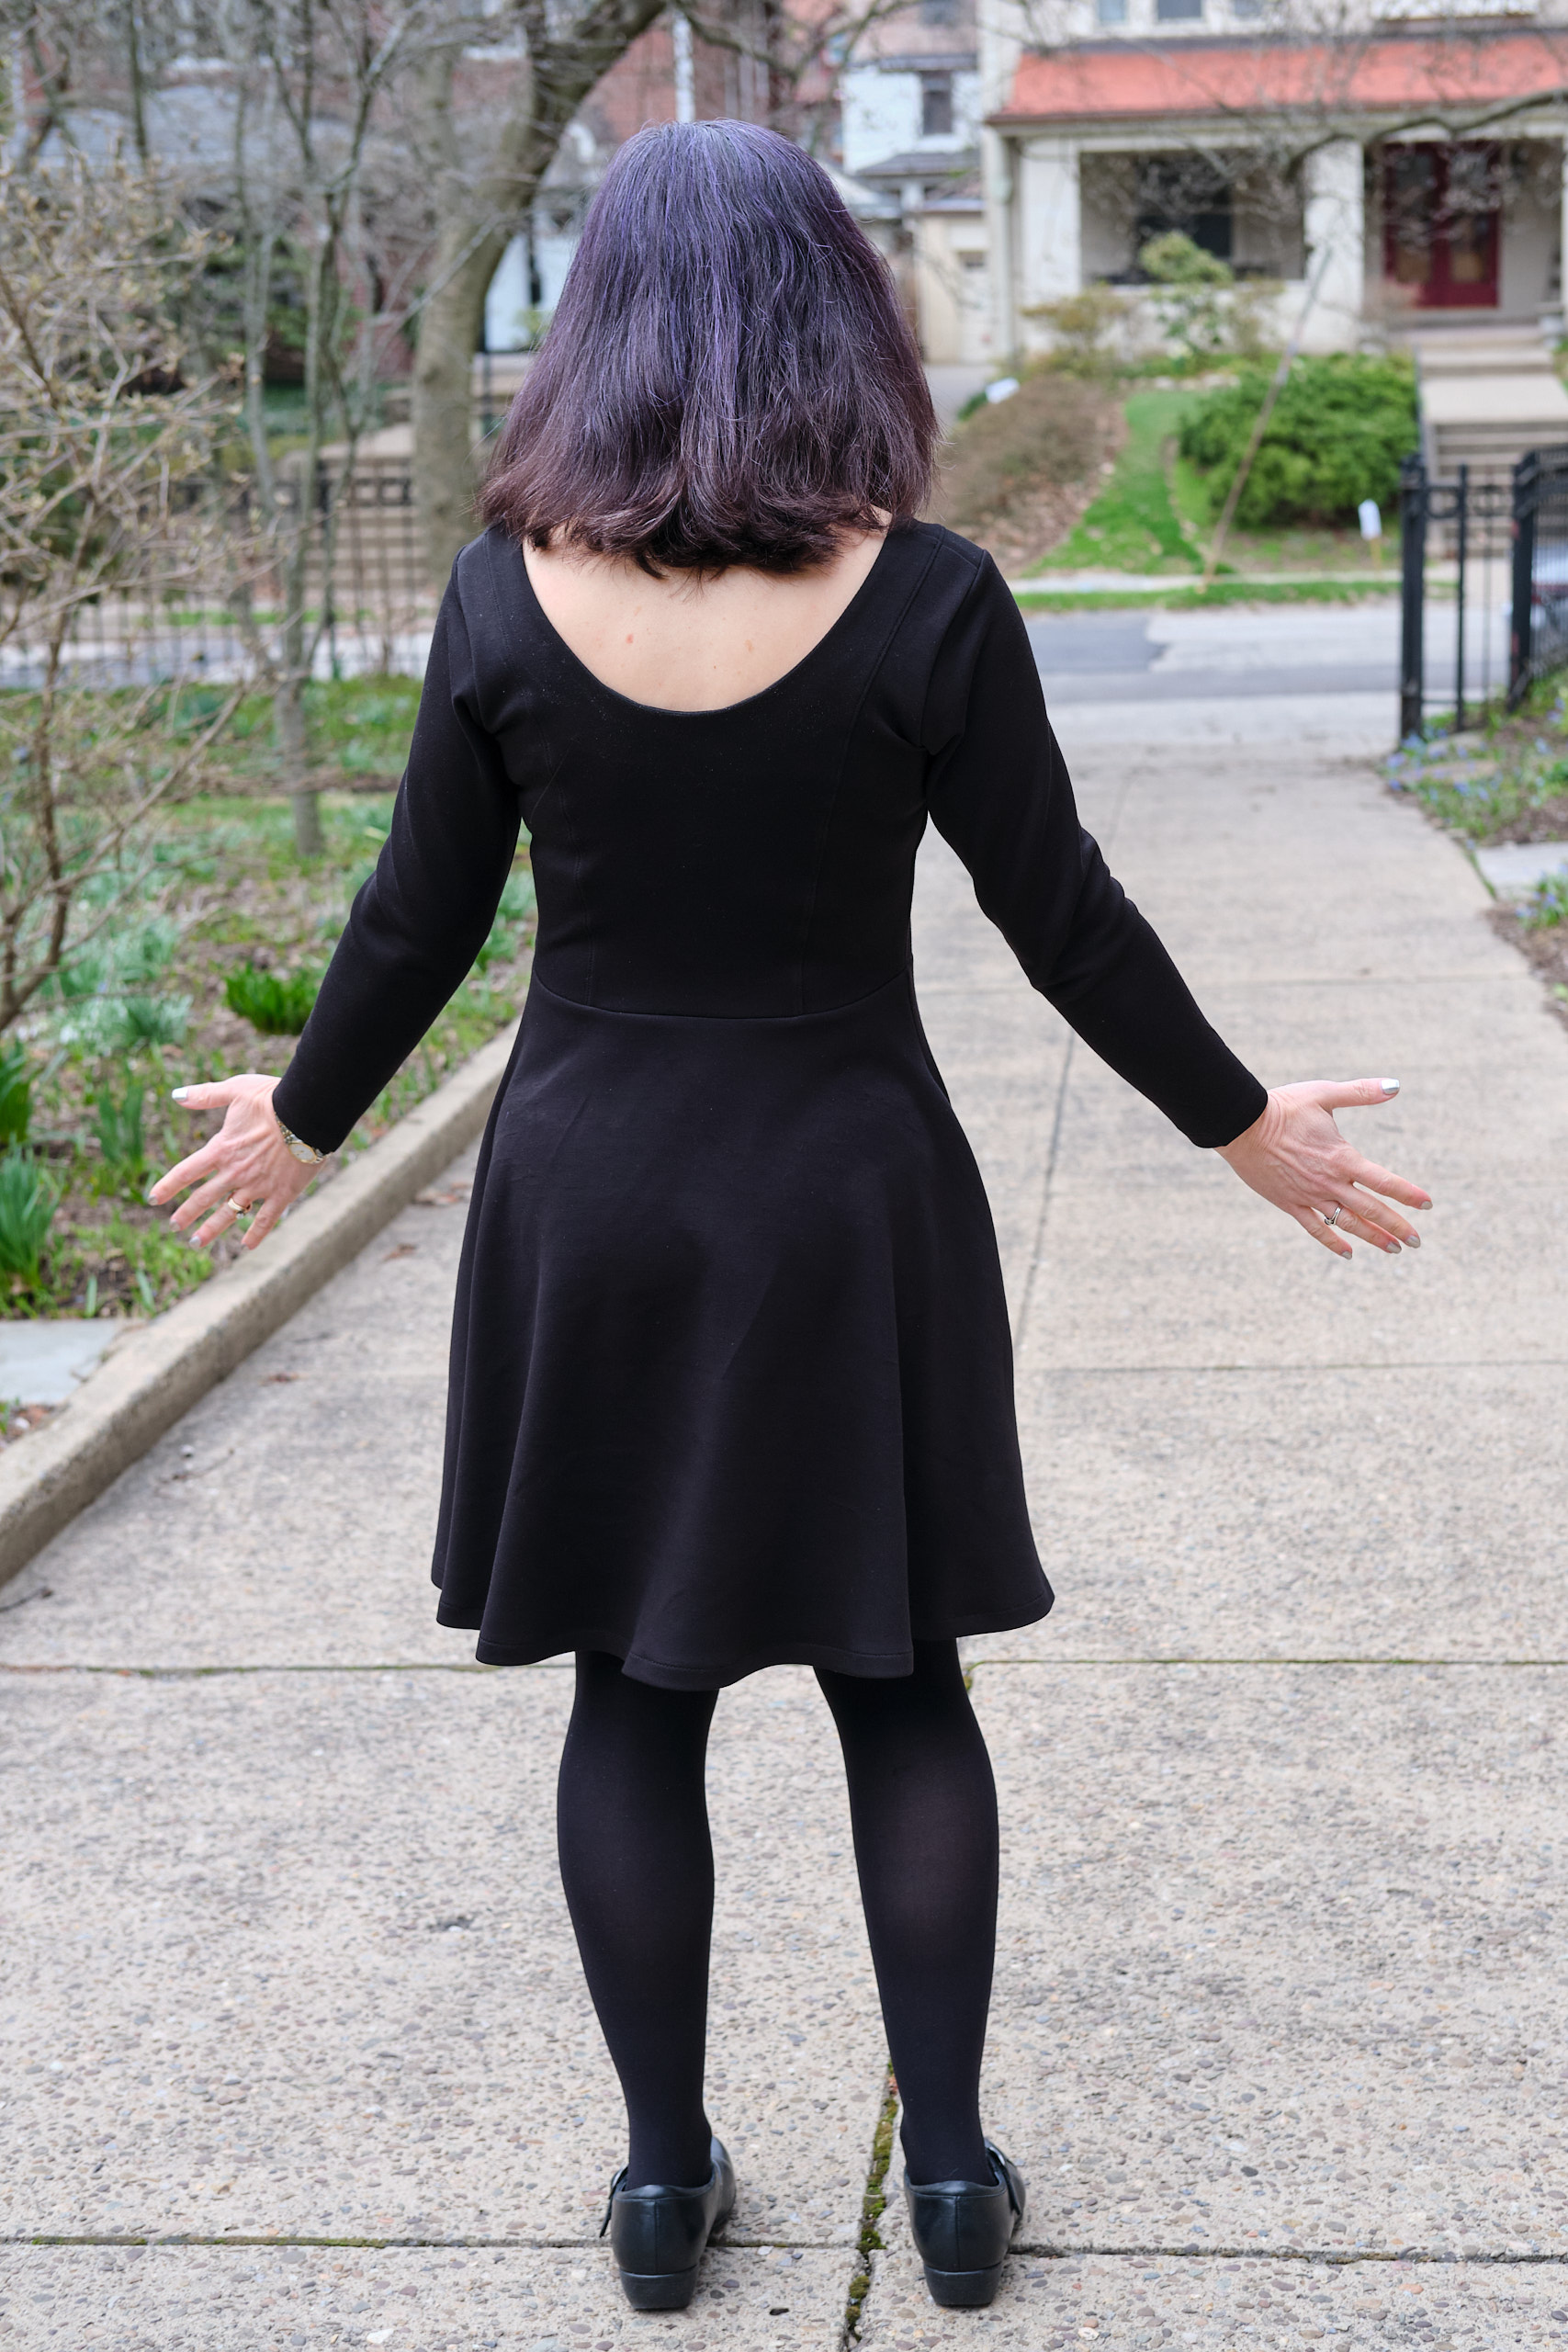
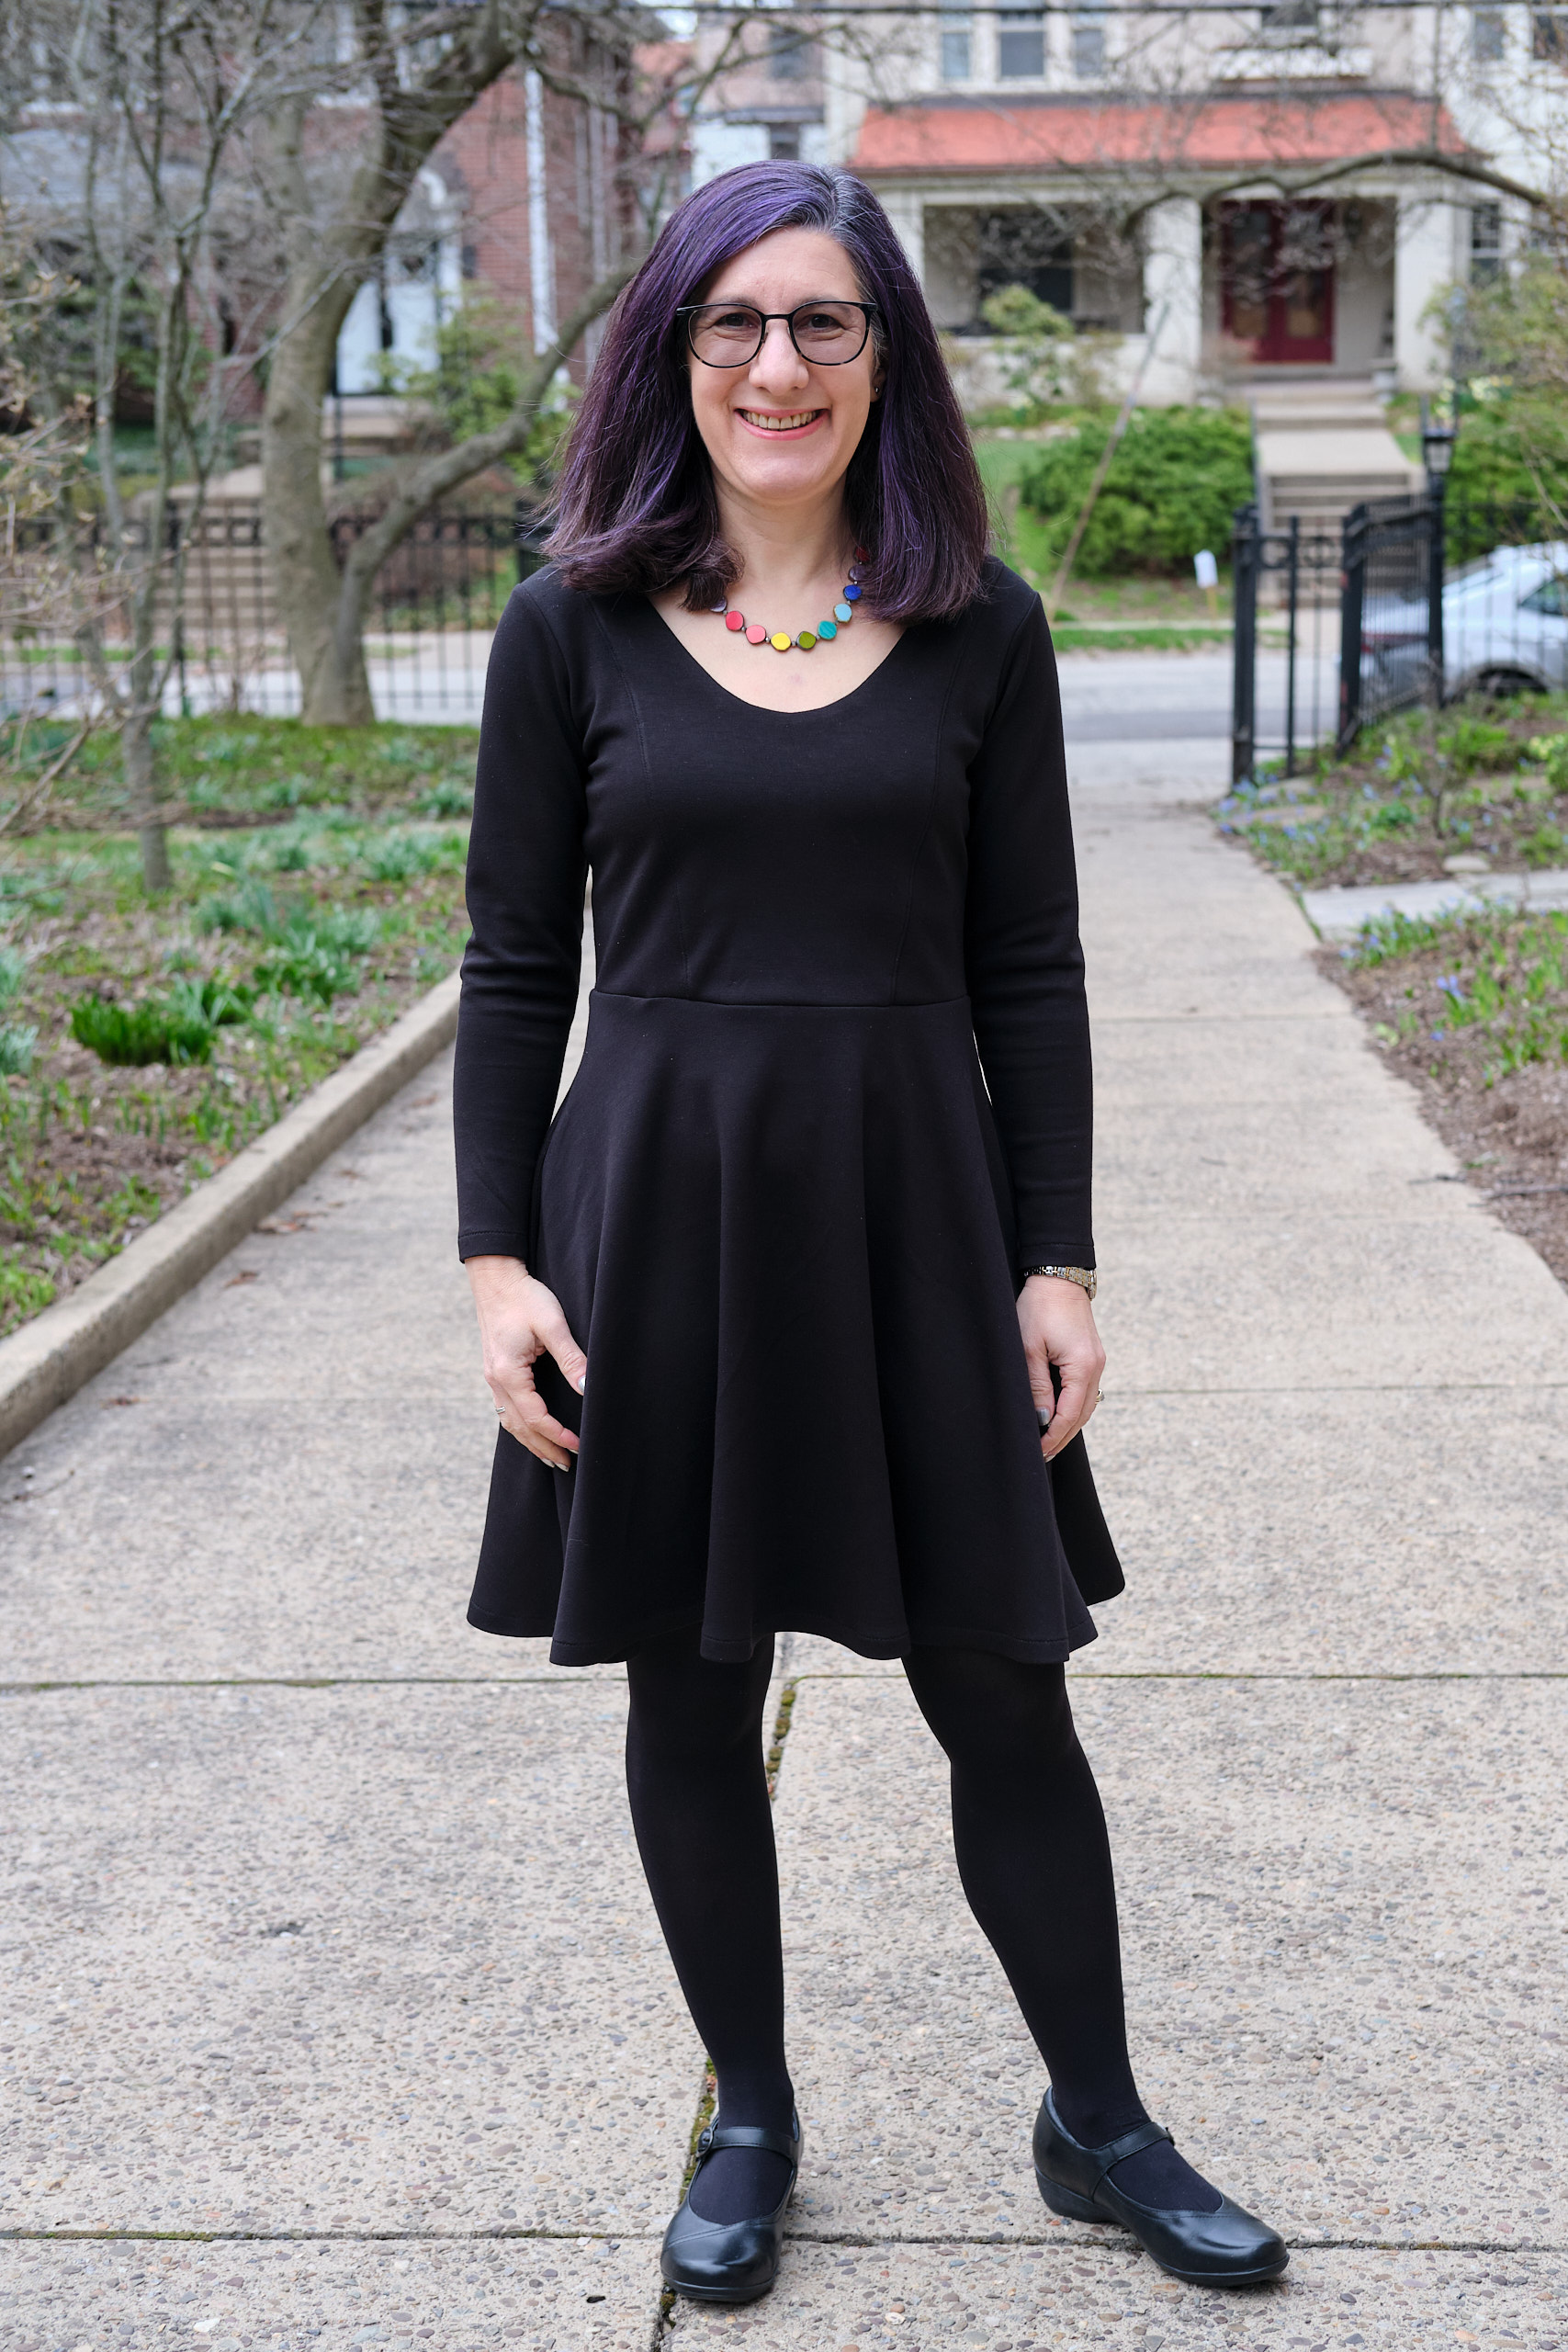
The front and back neckline plunge pretty deep on me, more than I was expecting, but I think they look good. I can still wear this dress with a normal bra, but my back may be chilly in the winter without a sweater or jacket. After looking at the photos of the back, I think I accidentally swapped the front and back center bodice pieces. If I had sewn them correctly, I think the front would be a little shallower and wider and the back would be a little narrower and deeper, not pull towards the shoulders so much, and the little bit of bunching in the back armscye would go away. Next time I will try to sew it correctly, but I also think I may raise the back scoop a tad. But these are minor issues. I think the pattern elevates my basic black dress to a not-so-basic level. I can dress it up or down for work or dressy occasions. I’m pretty happy with how it came out despite the oops, and I expect I will use this pattern for the lace-overlay gown when I get around to making it.