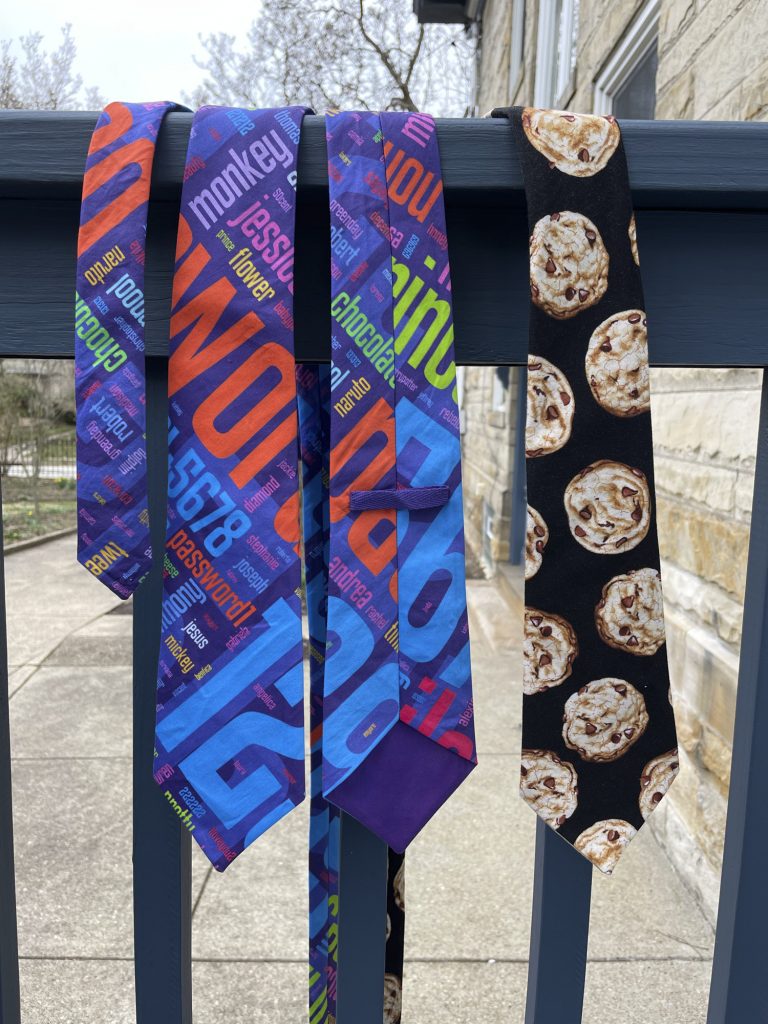
A while ago I made a bunch of ties and never got around to blogging about them. Here they are. Details on pattern below.

I previously had commissioned a tie-seller on Etsy to make some ties out of my bad passwords fabric. But she isn’t on Etsy any more so I decided to try sewing some times myself. There are lots of tie patterns available online, some of them free. Most require a main fabric, interfacing, and lining, and require some hand sewing along the center back seam. So I was excited to find Bryanna’ Free Neck Tie Pattern and Tutorial that was super easy and can be made without any interfacing or hand sewing (except for tacking down the tie keeper ribbon on the back). I tried it and it was great, but when I came back later to find it I saw that Bryanna had taken down her sewing site some time in 2023. Fortunately, you can still view her tutorial using the Wayback Machine. Unfortunately, you cannot view her pattern. But I had previously saved it and hacked it a bit. So I will share my hacked version of it here.
First I merged the multi-page file into a single page, suitable for projector sewing. For those of you who are printing out your patterns on 8.5×11 pages, sorry this may not work for you. You may be able to print it tiled. The pattern calls for cutting the tie in two long strips diagonally (on the bias). The front is much longer than the back and requires a really long piece. This minimizes the number of ties you can get out of a yard of fabric. The long front piece is also too long to easily project. So I took a segment of the tie front and moved it to the tie back. In my hacked pattern you can see the segment and you can put it on the front or the back as you see fit. Just don’t put it in both places or you will end up with an extra long tie. You do end up with a seam where the front and back connect, but in my experience, even in my hacked short front, the seam does not end up in a visible part of the tie when being worn.
The great part about this pattern is you layer your main fabric and your lining, fold them, and sew the whole thing together in one long seam on your sewing machine. You then turn the whole thing inside out in step 7 and you are basically done. The tricky part, is in the turning the whole thing inside out with a safety pin. You have to feed the thick part of the tie through the narrow neck, and that is not all that easy to do. Just take it slowly and you’ll get there eventually.
Bryanna suggests folding the ends of a 3″ tie keeper and hand sewing them in place. Instead I recommend cutting a 4.5″ tie keeper, folding it in half, and sewing it into the main seam of the tie as part of step 6 (just the ends will be sticking out of the seam at the end of step 6). After the tie is turned right side out in step 7, you will have a tie keeper tucked into the seam, with no raw edges. At that point you just need to flatten it out and stitch down the sides. I think it looks a little neater this way.
After I made a few password ties, I found the cookie fabric and decided to make a tie for my student who was presenting our research paper on cookie consent banners at a conference.
