Sinclair Nori Woven Peg Trousers, size P6, 2 yards batik quilting cotton, 2-inch elastic waist
Sinclair Alva Woven Dolman Style Top, size P2, A/B cup, 1 yard double gauze, shorter deep hem, cuffed arm holes
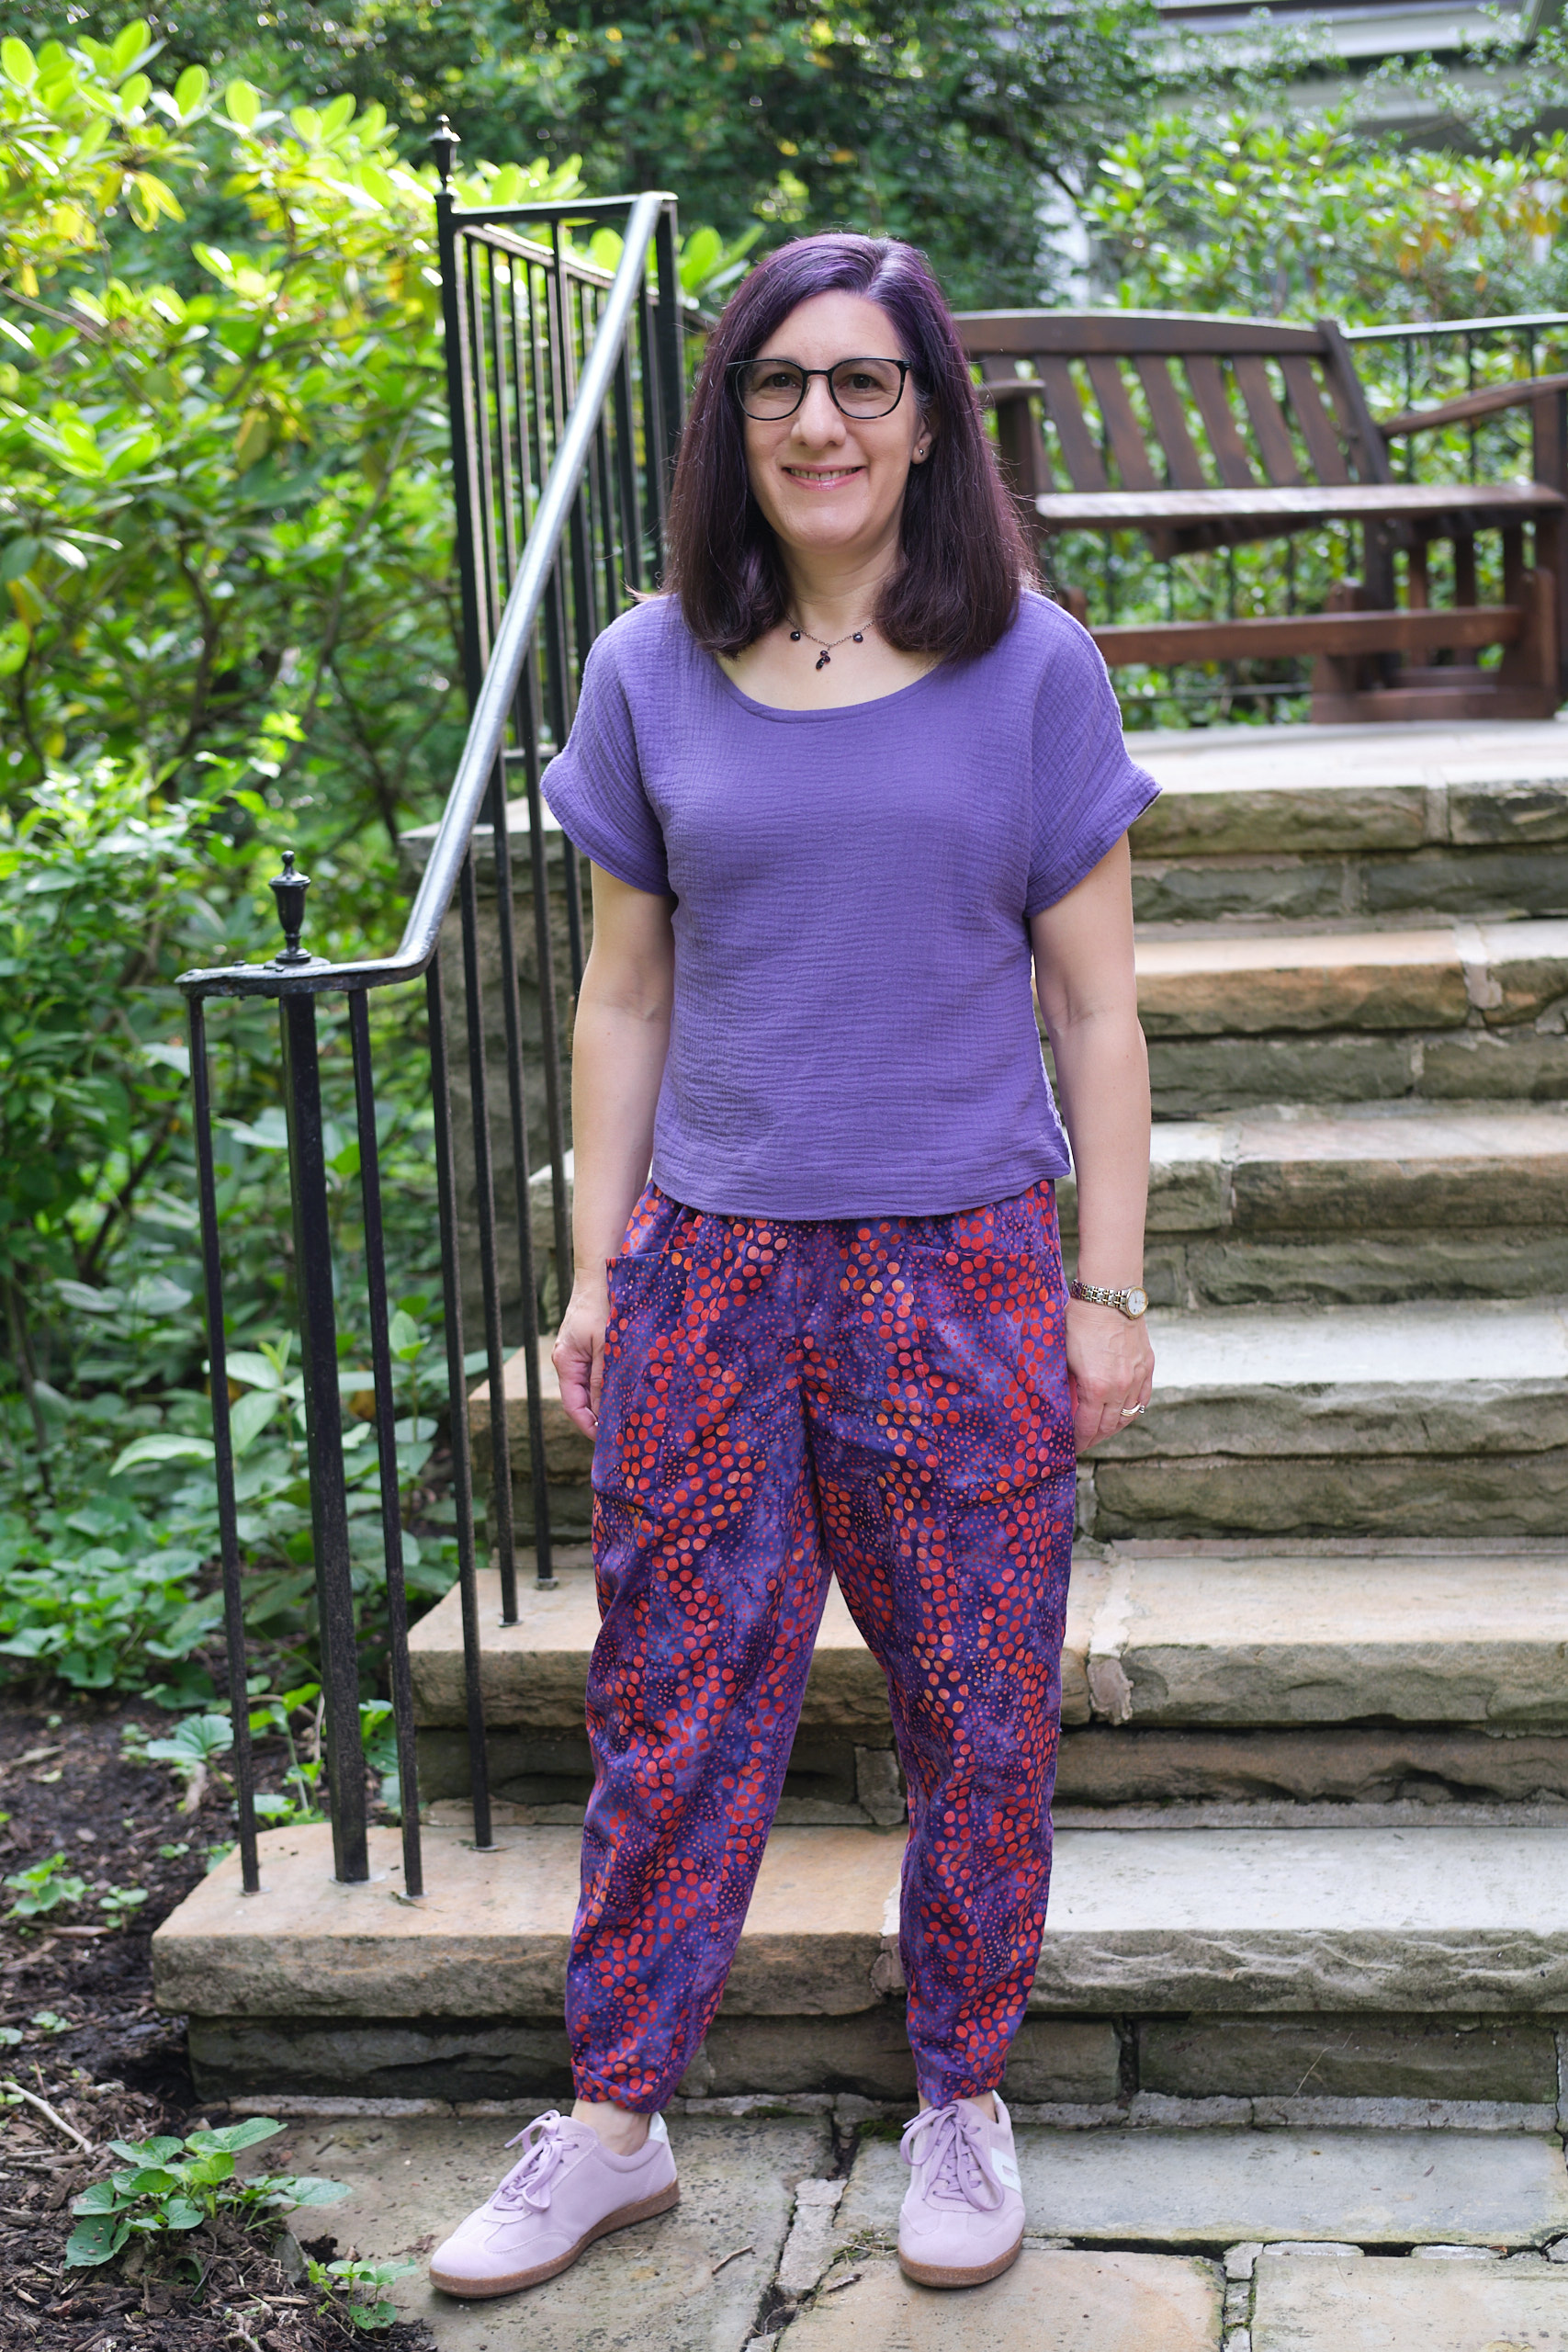
I’ve never sewn pants out of woven fabric, but I liked the peg-leg (almost barrel leg) style and pocket style on the new Sinclair Nori Woven Peg Trousers so I decided to give the pattern a try. I don’t have a lot of woven garment fabric in my stash, but the instructions said it worked with quilting cotton, and I do have a lot of that. I selected a fun batik fabric that I had several yards of, but I ended up needing only about 2 yards of it.
I cut out a size 6P and machine-basted it together to check the fit. I was very happy with the fit, but prefer a higher back rise. I reduced the seam allowance where the center back meets the waistband to increase the rise by almost half an inch (and I marked this on my pattern so that I will cut a higher back rise next time). Then I removed the basting and sewed the pants together according to the pattern instructions. Most seams were sewn on my sewing machine with a 5/8-inch seam allowance, then surged, and then top stitched. This process is much more involved than sewing knits, but it produces a nice finish.
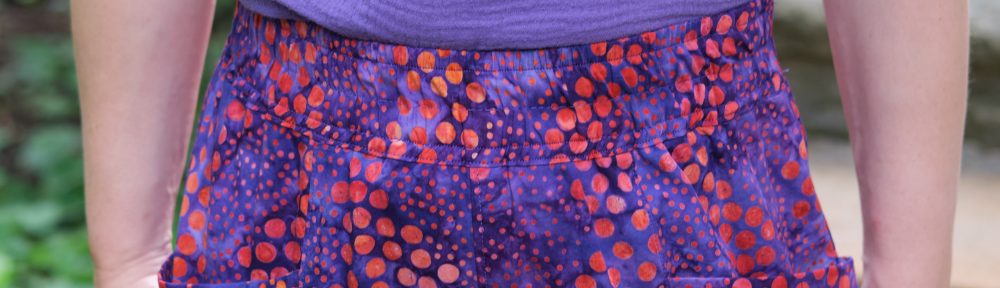
I went with the 2-inch elastic option for the waistband. As there is no stretch in this pattern, the waistband casing is the same size as the top of the pants, and thus become quite gathered after you insert the elastic. To keep everything smooth, the instructions recommended adding three rows of stitching through the waistband. That was a little tricky to do while stretching the elastic and the stitching isn’t as consistent as I would have liked, but I got it done and it looks pretty good. It is also comfortable to wear. Here’s a photo with my shirt tucked in so you can see the waistband.
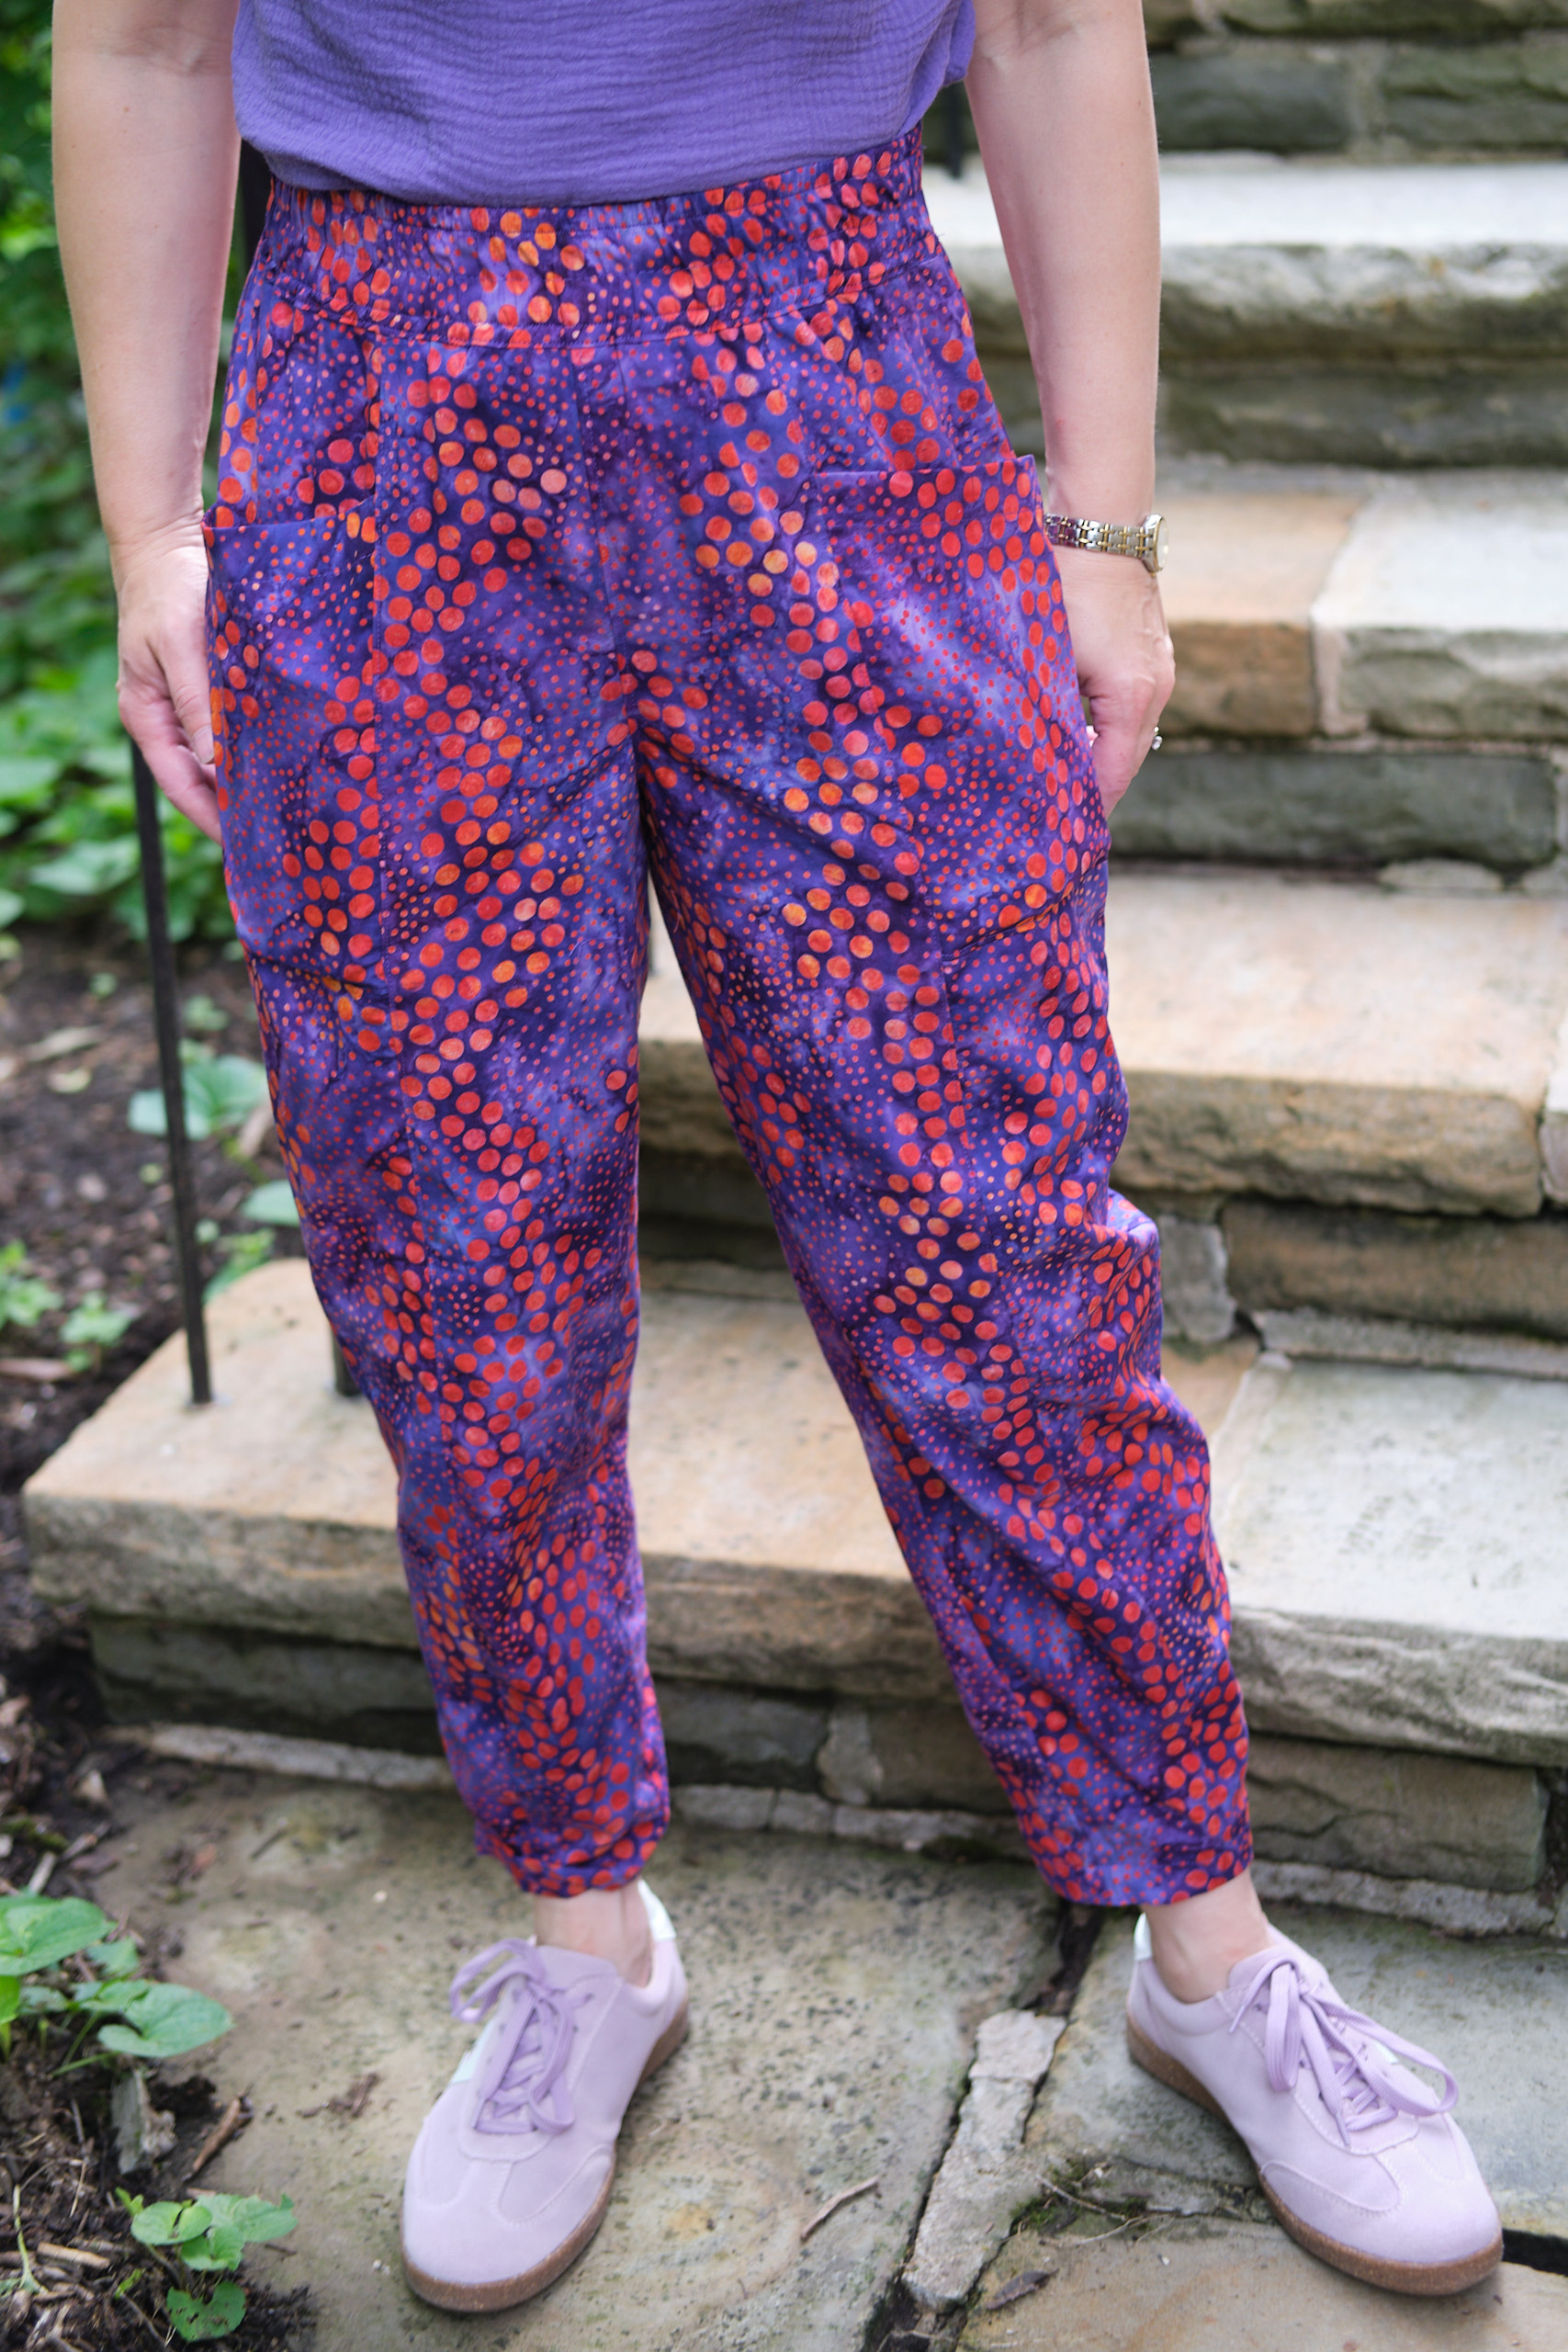
The pattern offers cuffed or hemmed options. I went with the simple hem.
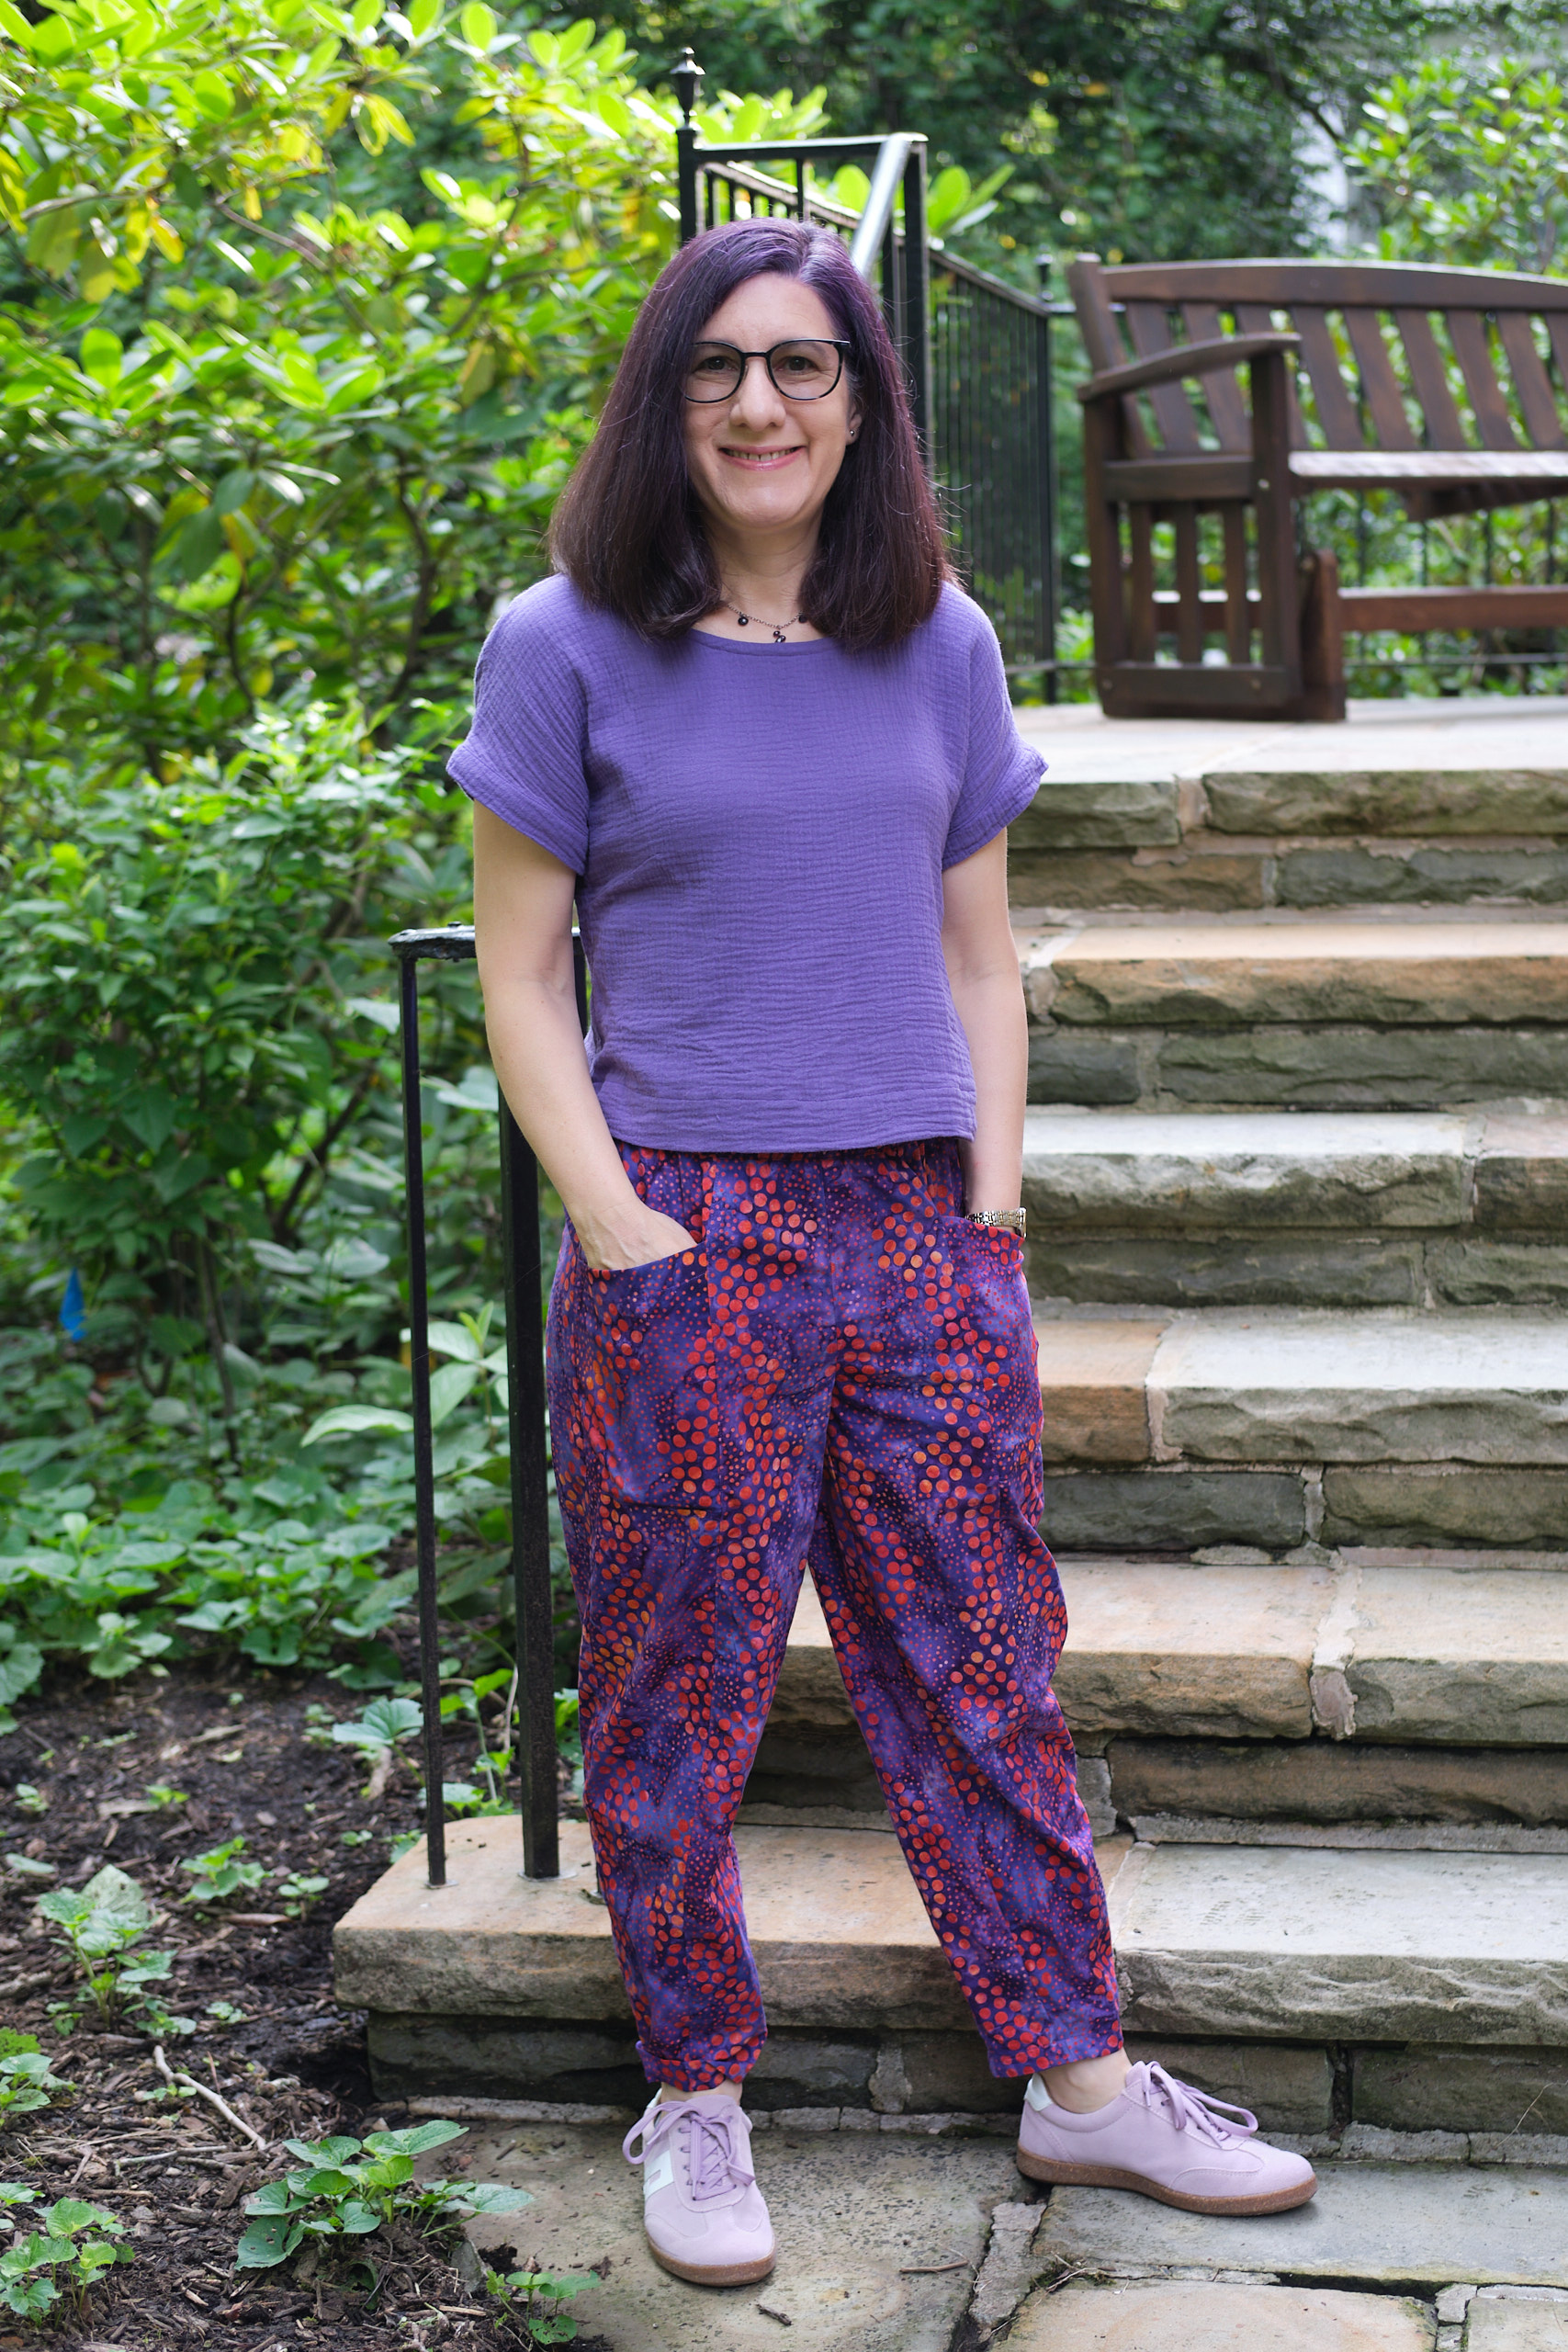
The pants are very comfortable but don’t look sloppy. And the pockets are plenty big and I love them! I expect I will enjoy wearing these pants and will probably make more in other fabrics. I would like to try these in chambray and perhaps a lightweight stretch woven. It would also be fun to try a colorblocked version of these pants.
My Bernina 440 QE sewing machine has been giving me trouble for a while, and in the middle of this project I got so frustrated with it that I packed it up and got my old Viking 500 out from under the table, wound a bobbin, and used it to finish the project. There’s a reason I’ve kept it all these years. Now I just need to find someone in Pittsburgh who will fix my Bernina.
Next, I decided to make a purple Alva top to go with the pants (and lots of other things in my wardrobe). Recall that I bought 18 yards of cotton double gauze when it was on $3/yard clearance last summer. This top used up less than a yard of it! Before I started cutting I ironed a 3-yard piece of it, so now I need to find something else to make with the rest of the ironed piece.
After reading comments from other sewists on the small end of the size range that the Alva top runs large, I sized down to a P2 (normally I would make a P4 or P6 in Sinclair tops). I cut the A/B cup version with a small dart, but I’m not sure the dart is actually needed for those with small busts and it doesn’t hit me in quite the right place. I will try modifying the pattern to leave it out next time.
I sewed this top entirely on my regular sewing machine without using my serger (which was sad because I had to use my Viking, which is actually a fine machine, but doesn’t have some of the conveniences I have grown accustomed to). This pattern includes instructions for French seams. I’ve never sewn French seams before, but this seemed like an easy pattern to try them on. They are more work than serging the edges, but they do give a nice finish and weren’t that hard to do. I managed to do the collar binding more neatly than I did on my double gauze dress last month, largely because I followed the advice to hand baste the binding in place (that made it much easier).
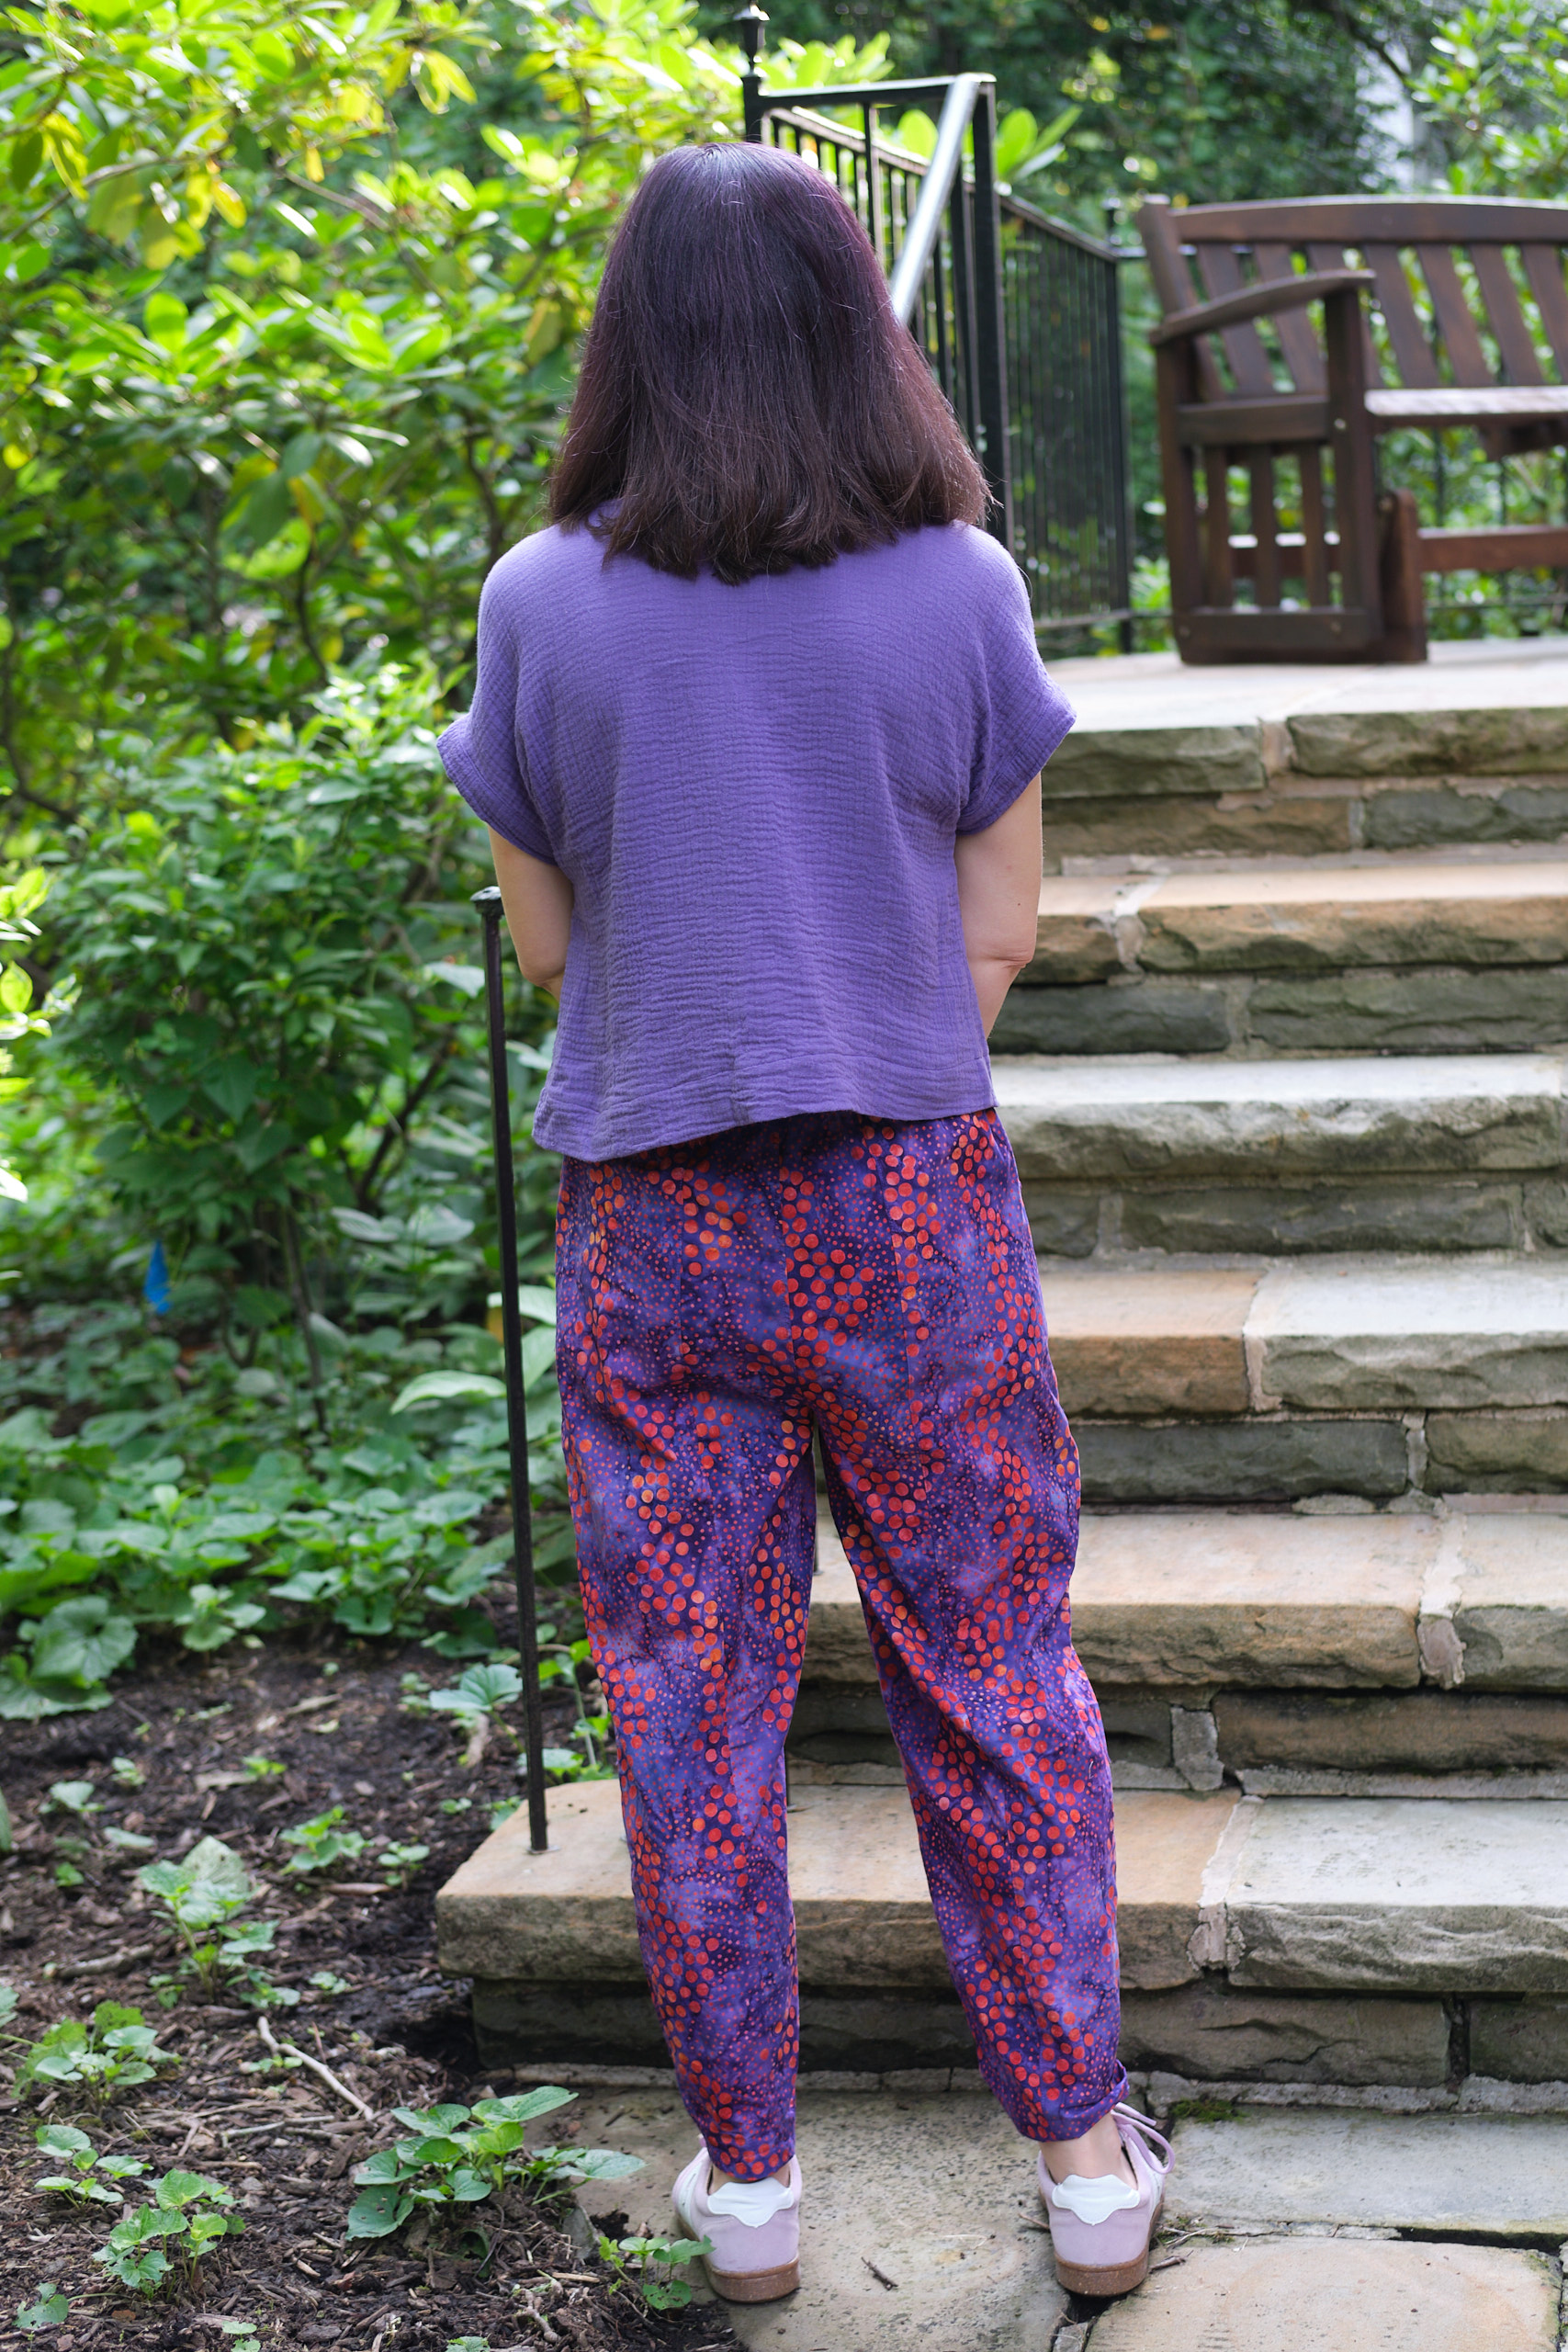
I decided to use the deep hem option but wasn’t sure whether to go higher or lower. I cut the lower option. When I tried it on before hemming I decided I liked the lower option better so cut off the bottom two inches before hemming. I also debated plain sleeve openings or adding cuffs, and in the end added the cuffs for a more finished look.
Overall I’m happy with the Alva top, and it does go nicely with my Nori pants and the wide leg pants I made out of the same fabric. With this fabric, the Alva doesn’t drape all that well, and it tends to hang away from my body, especially in the back. This might be less of an issue with the longer hem length or a more drapy fabric.