Sinclair Helen stretch pants with a yoke and contoured waistband, 6p in 1.5 yard black ponte with front and back pockets and in 1.5 yard light yellow urban rib with front pockets.
When Sanna Sinclair announced she was looking for pattern testers for a pull-on ponte pants pattern, I had to sign up. This is my most-frequently worn type of pant. Most of my ponte pants are wide-leg, so was eager to try this straight-leg version. This style also includes a back yoke for shaping instead of back darts.

Sanna introduced a new collaboration platform for this test, which I found somewhat frustrating to use, but hopefully will improve over time. Other than the platform glitches and confusion, this pattern test was fun to do and the pattern was very fast and easy.
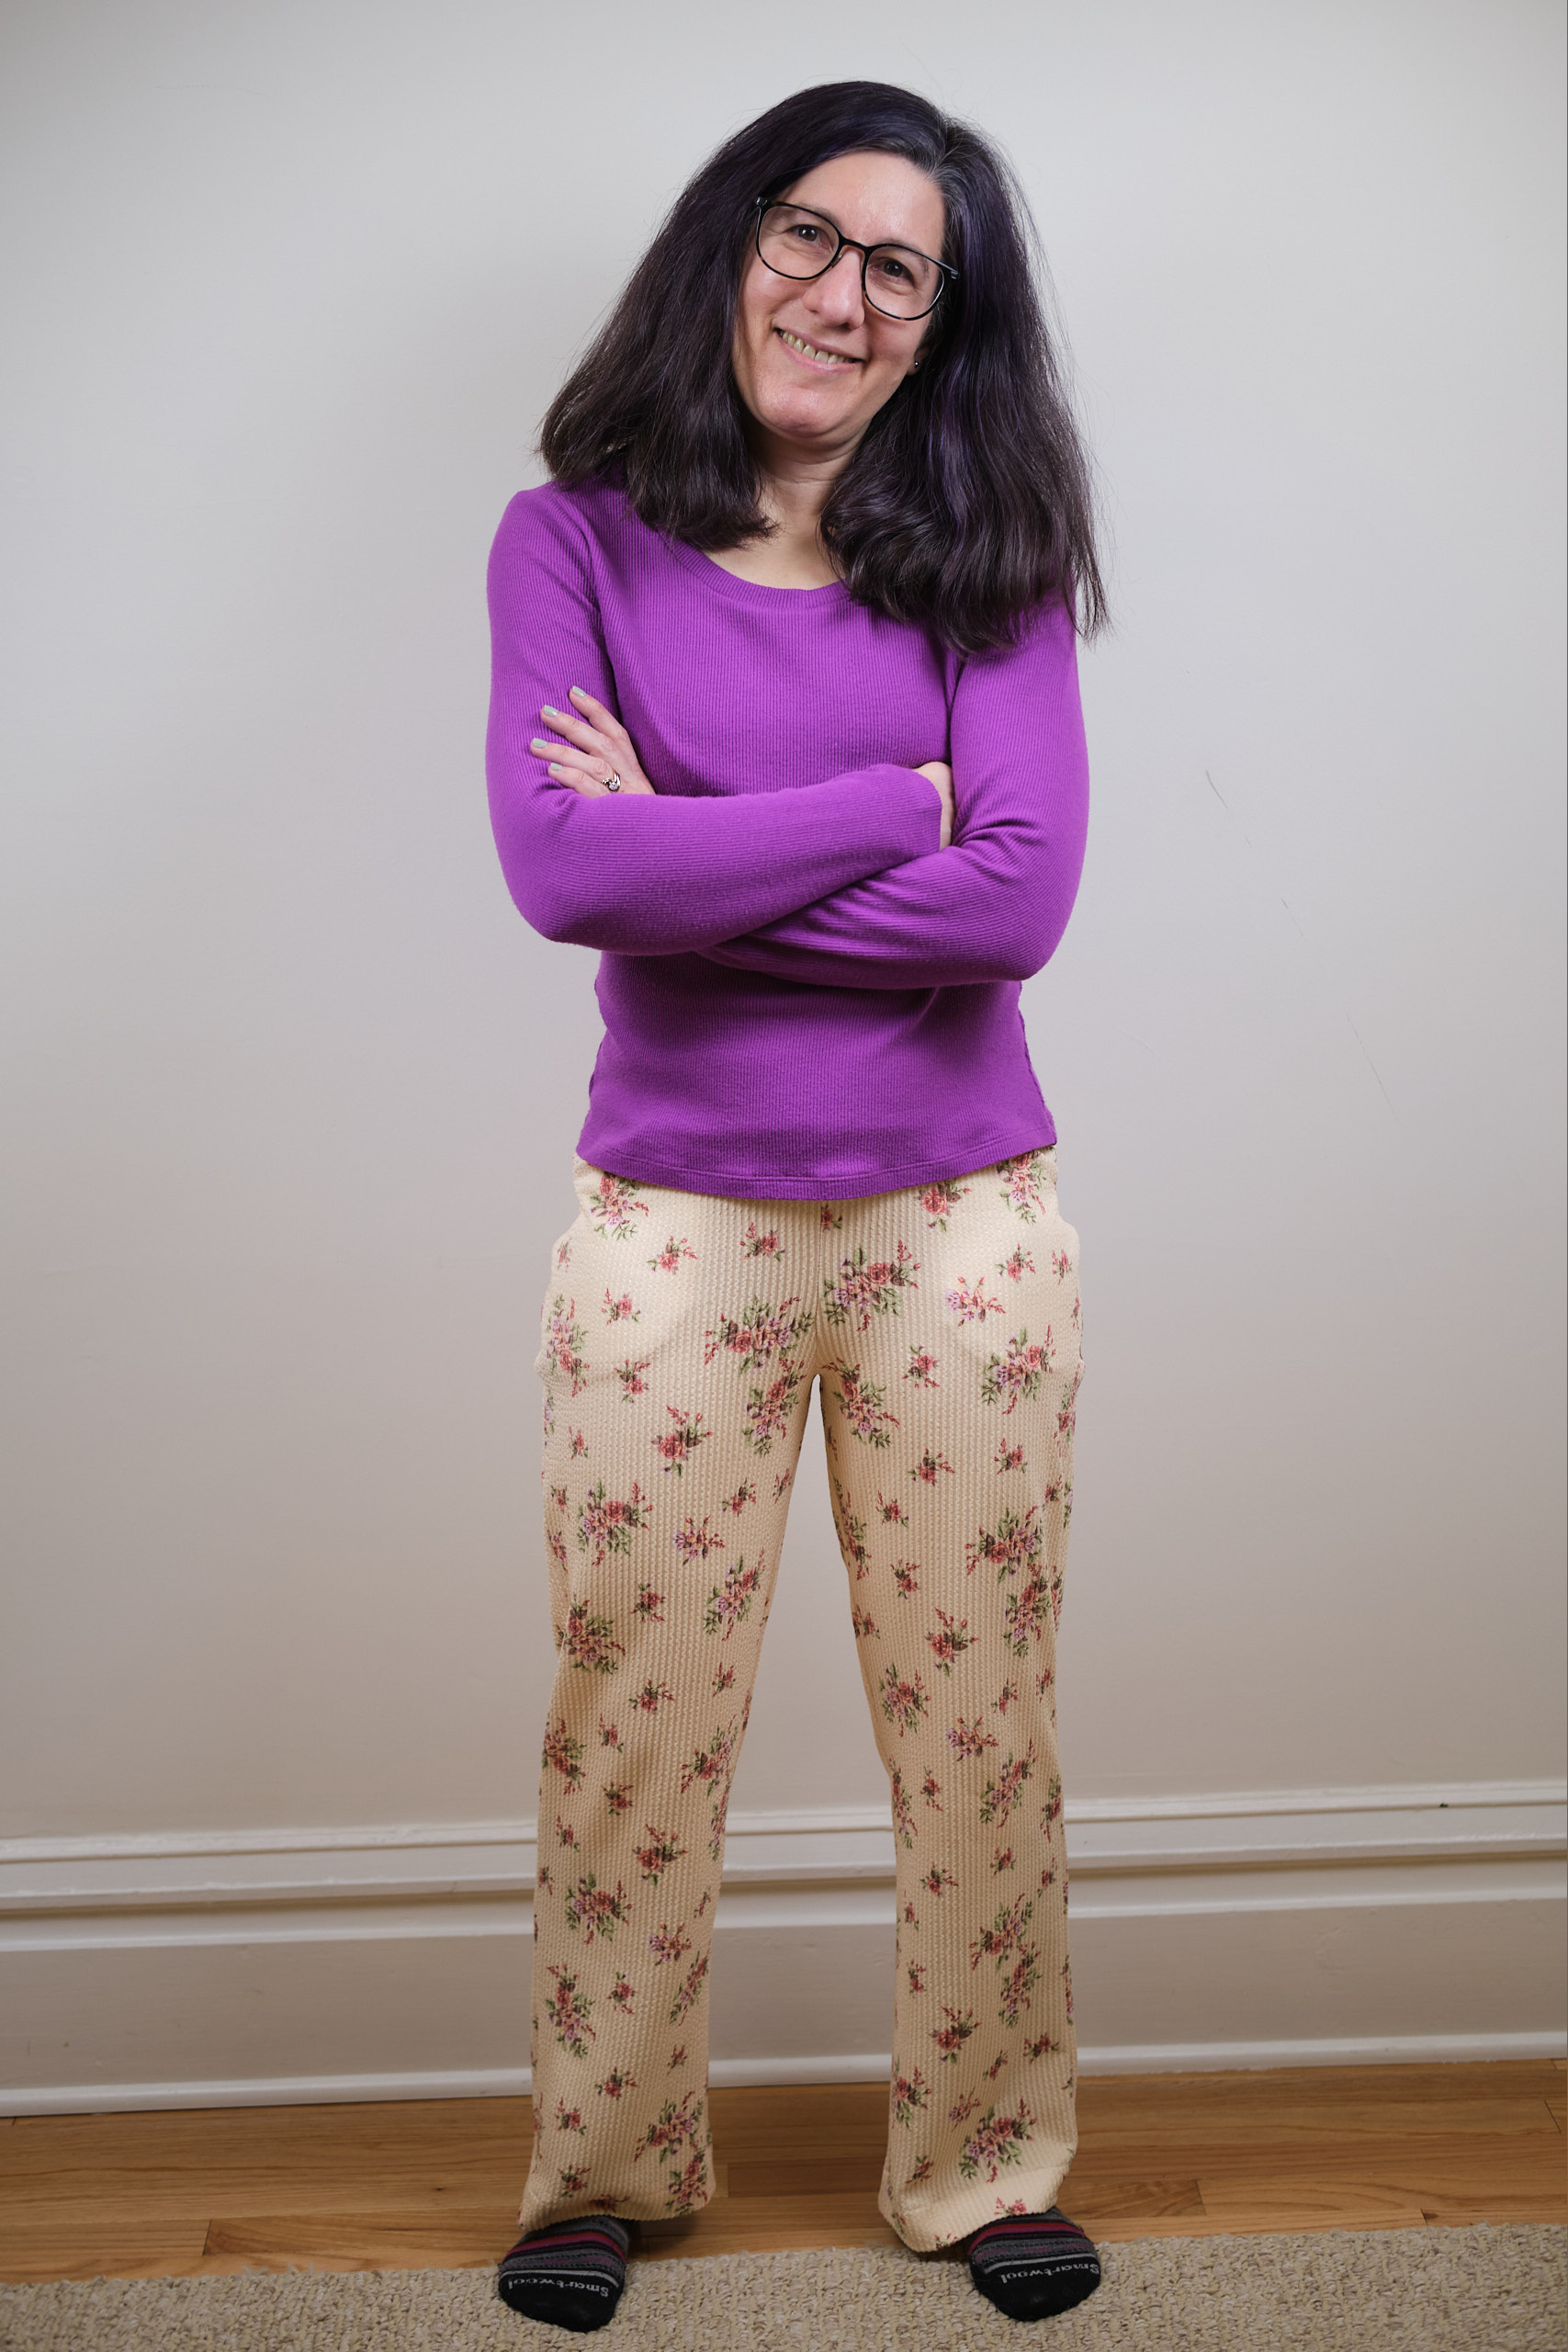
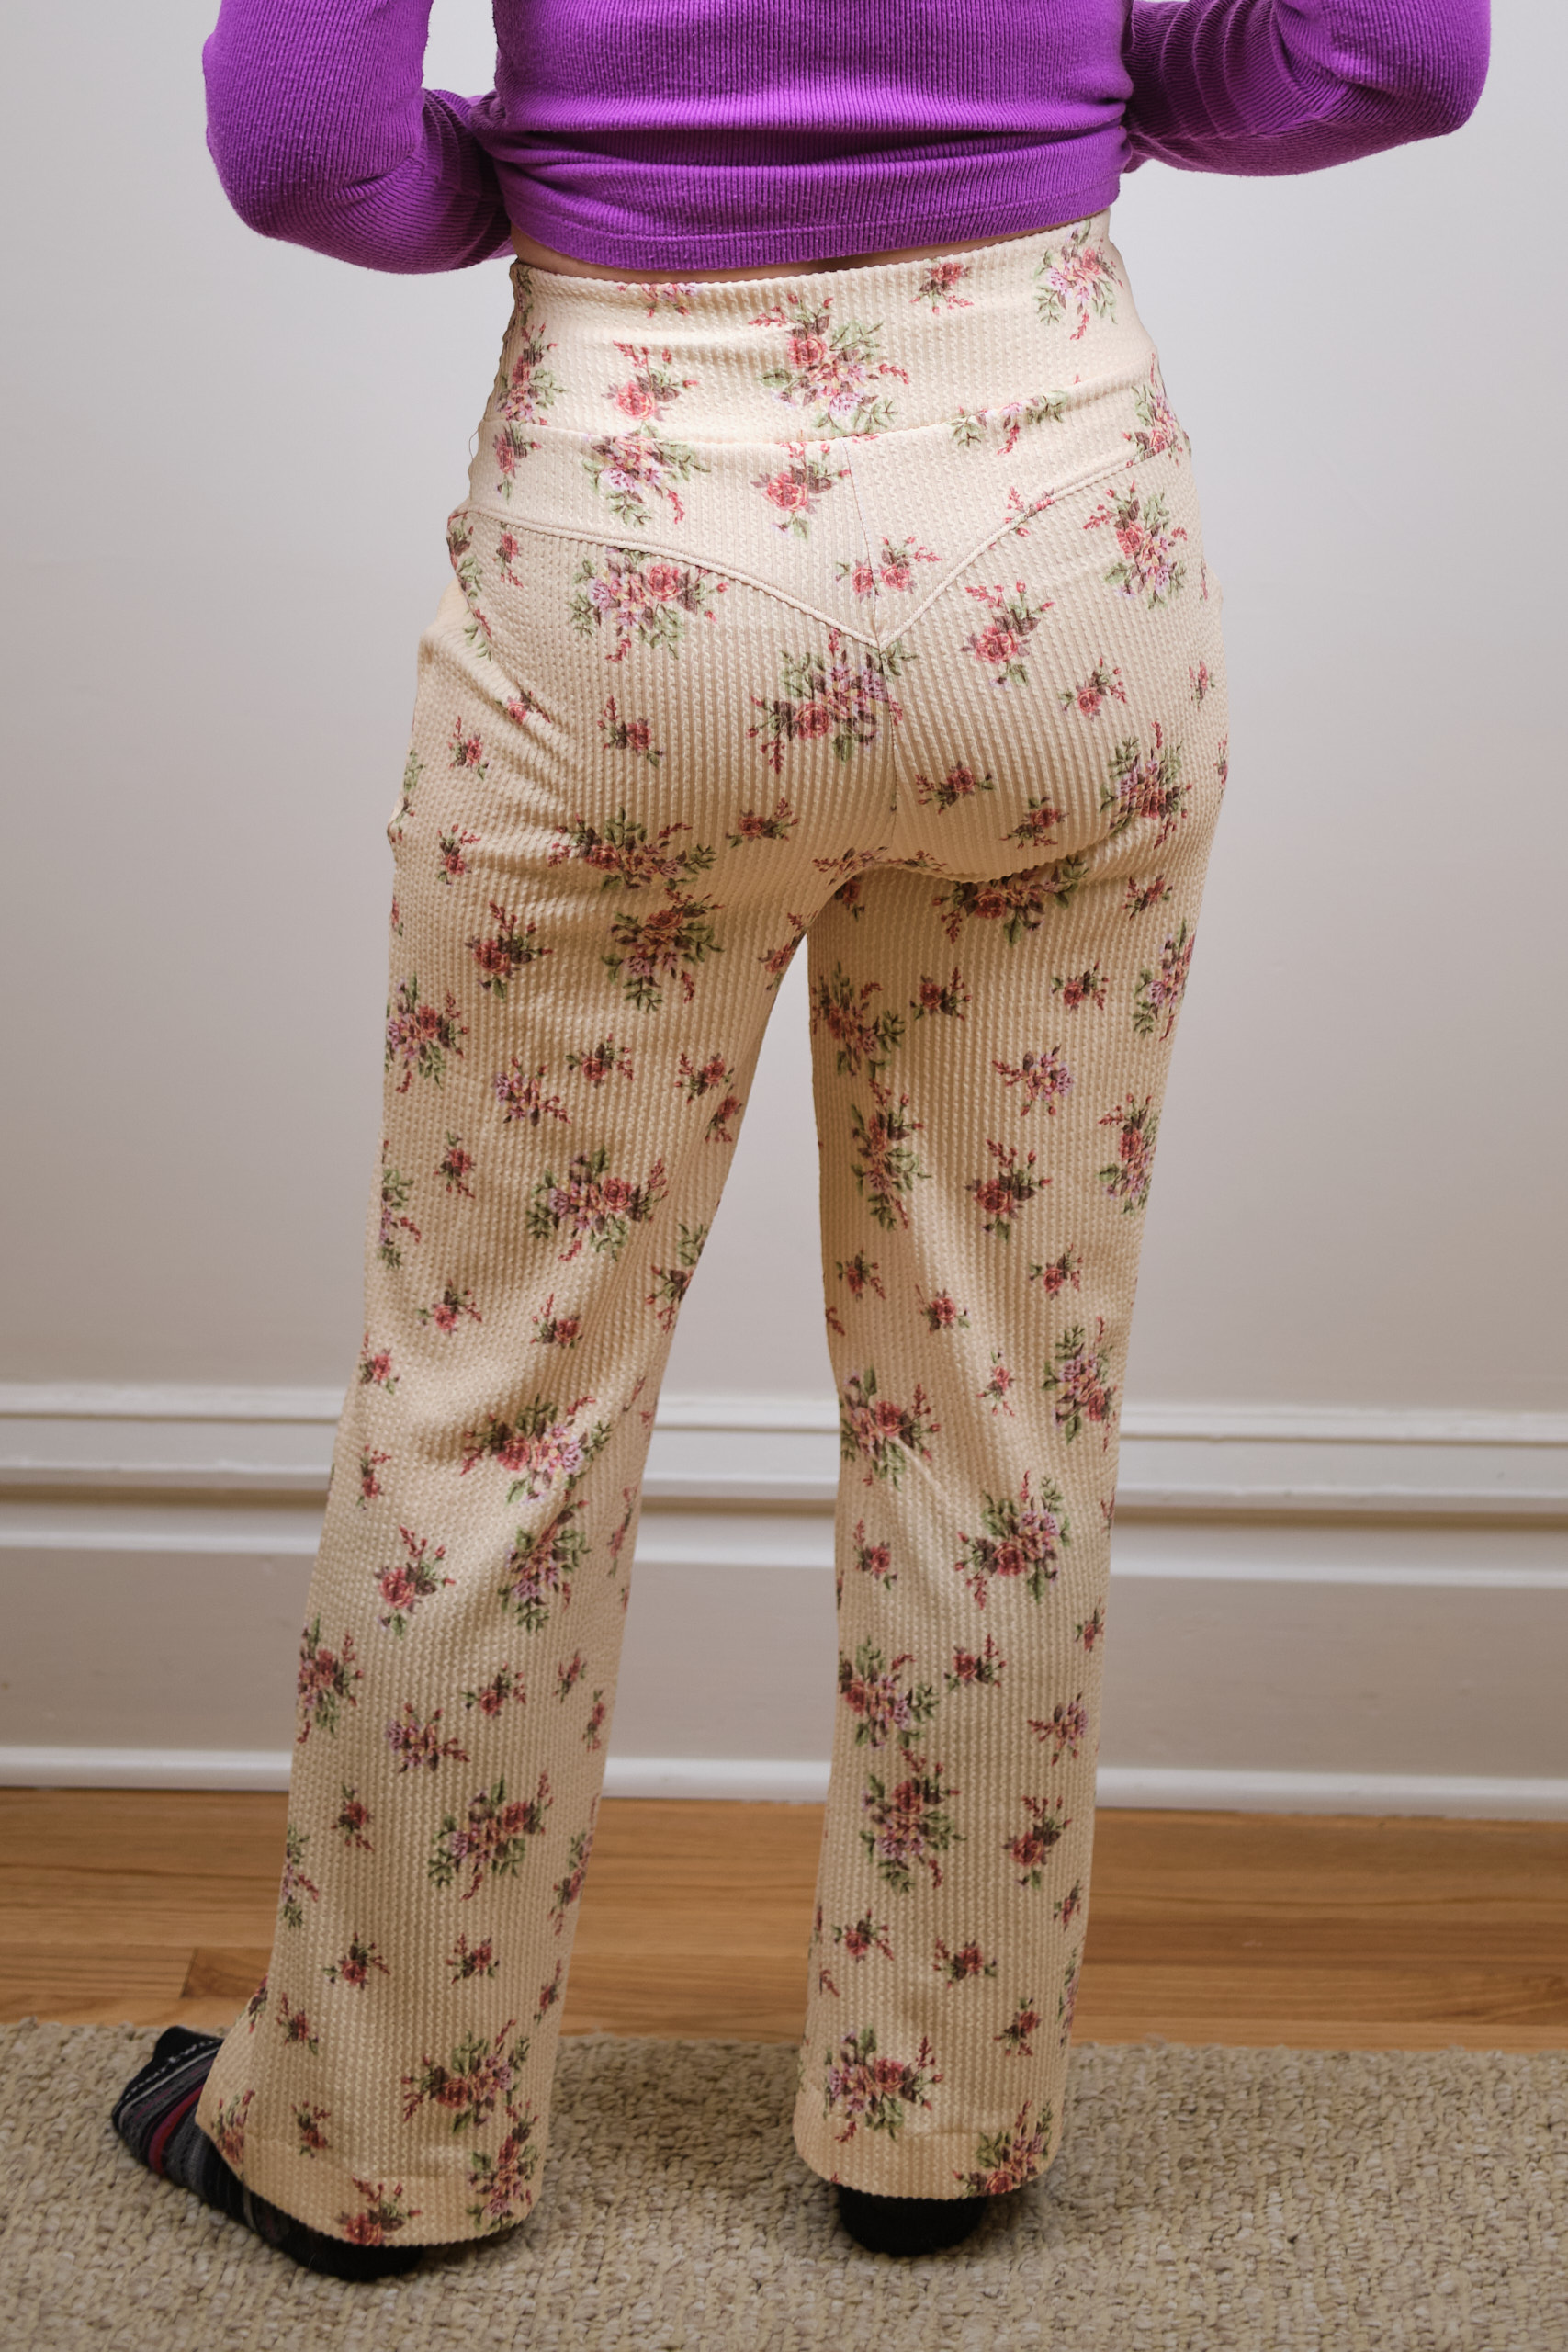
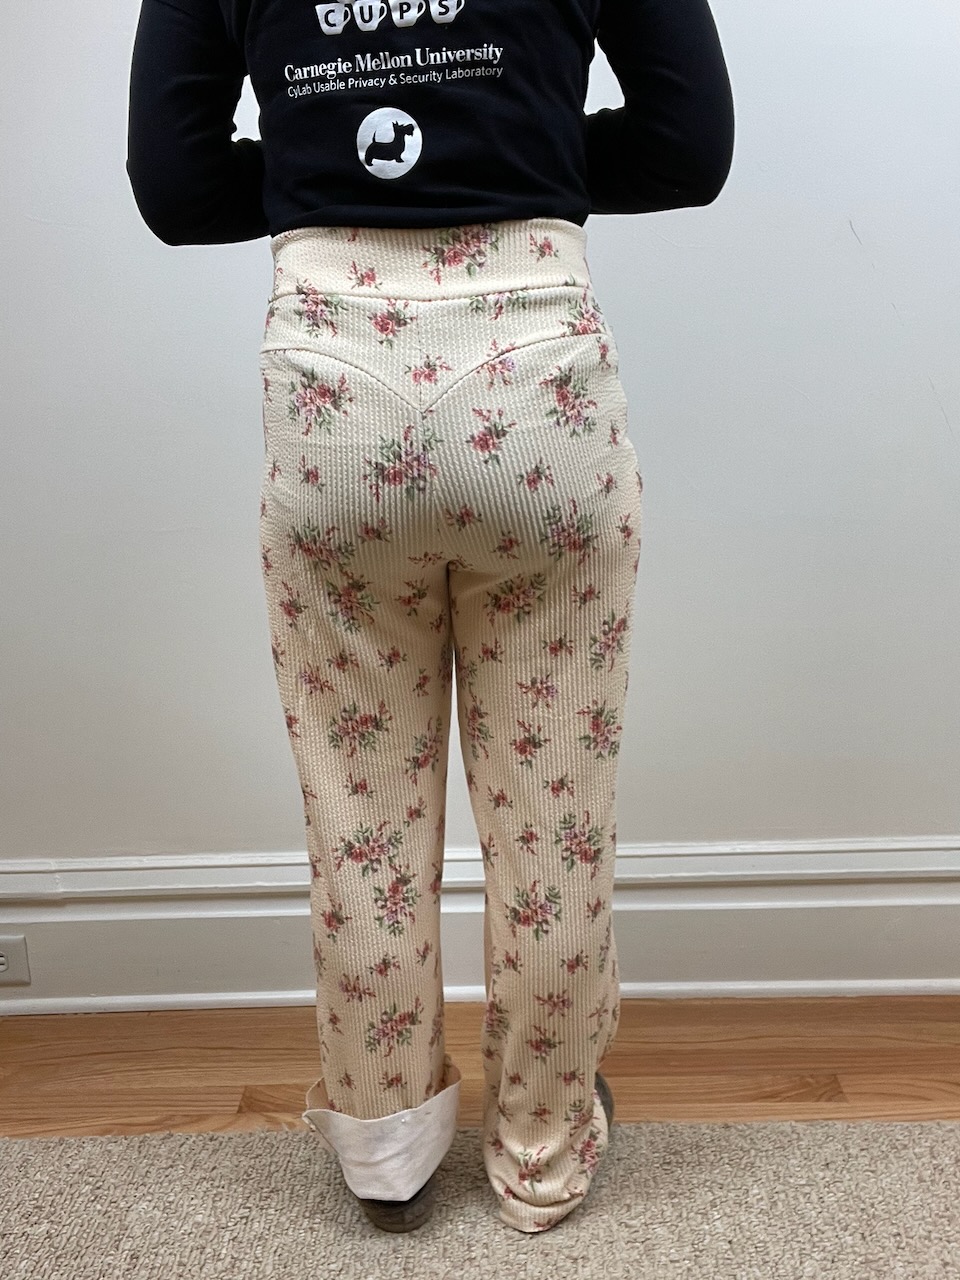
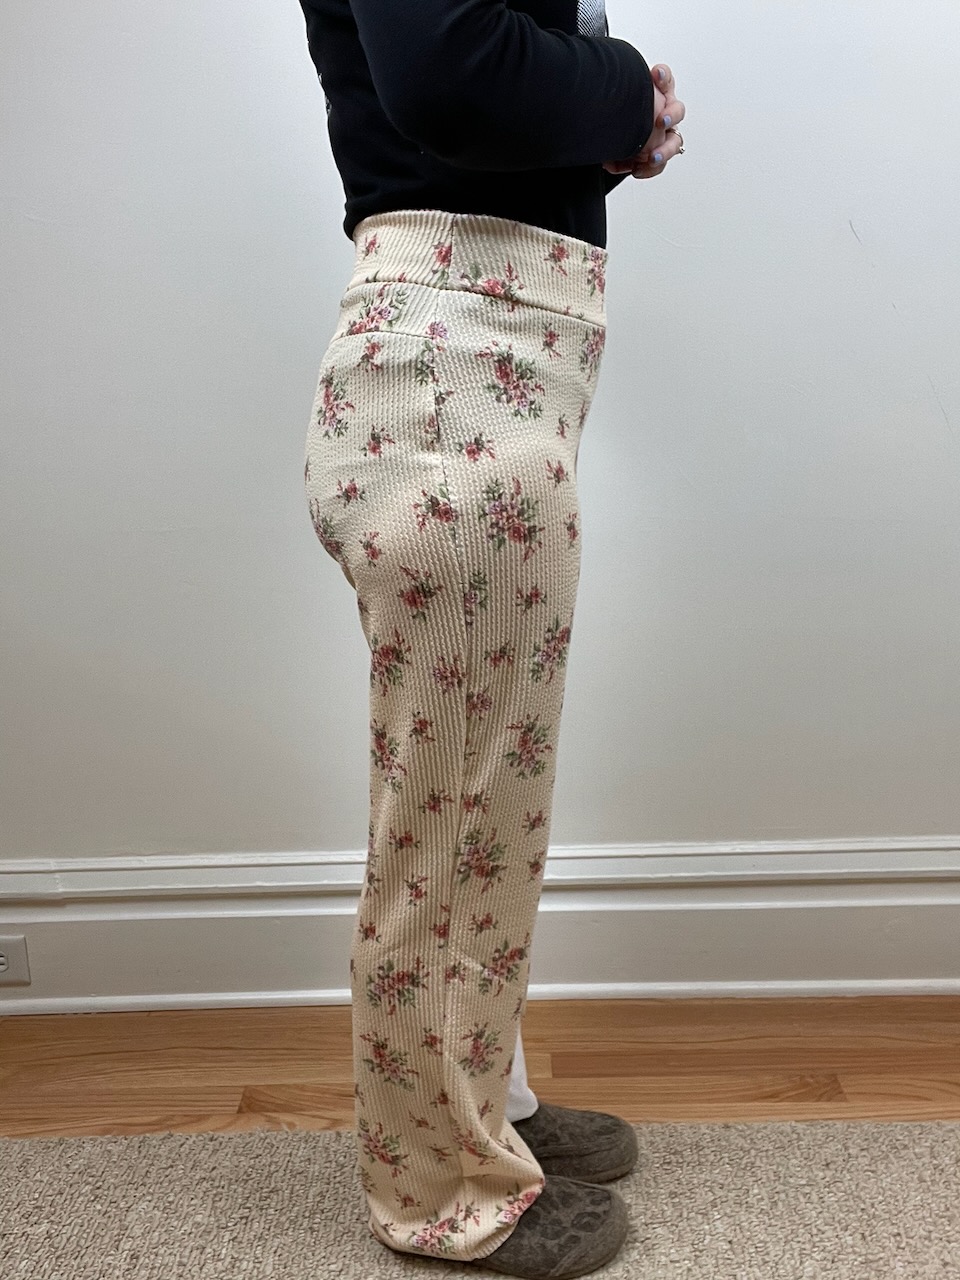
I decided to make a muslin before cutting into my ponte fabric. I have about 5 yards of a yellow floral polyester urban rib fabric that an online fabric store sent me by mistake with my order. Of all the surprise fabrics to find in your order, this was not one I was particularly excited about. I call it the “ugly fabric.” It is not actually that bad, but it is not a fabric that I would have bought. so I decided I might as well use it to practice. I cut out a pair of Helen 6p pants from the rib fabric and basted them together. Since I wasn’t planning on actually wearing these pants I didn’t bother with pockets or elastic. However, the fit turned out to be quite good so I decided I would finish them later and turn them into PJs.

I moved on to making a good pair from black designer ponte fabric. I sewed both the front and back pockets on this pair, and shortened them by 2 inches when I cut them out. Otherwise, I followed the pattern as written. I found it to be easy to follow and overall a quick an satisfying sew. The order of sewing the pant leg seams is a bit difference than what the Pattern Emporium knit pants patterns call for, but this way seemed to work just fine. The pattern advises using a piece of 1-inch elastic in the contour waistband. I did that and the fit is good, but when I don’t tuck in my shirt it does slip a bit. Next time I think I will grade the waist to a 4p. The pockets were not that hard to make and I think both the front and back are a good size. However, I don’t love the shape of the rectangular back pockets and the front pockets gape open a bit, despite stitching clear elastic between the facing and the lining at the pocket opening. This was discussed during the fit test, and the final V2 version offers an alternate back pocket shape and changes the angle of the front pocket opening — both great improvements.
I took photos of my black V1 pants for the finals as I didn’t have time to sew up a V2. Taking photos of black pants is actually really hard to do, and it was really cold that day. I’ve worn these to work multiple times. I think they look great on, and they feel like secret pajamas. Modeled here with a wool Bondi long-sleeve shirt.


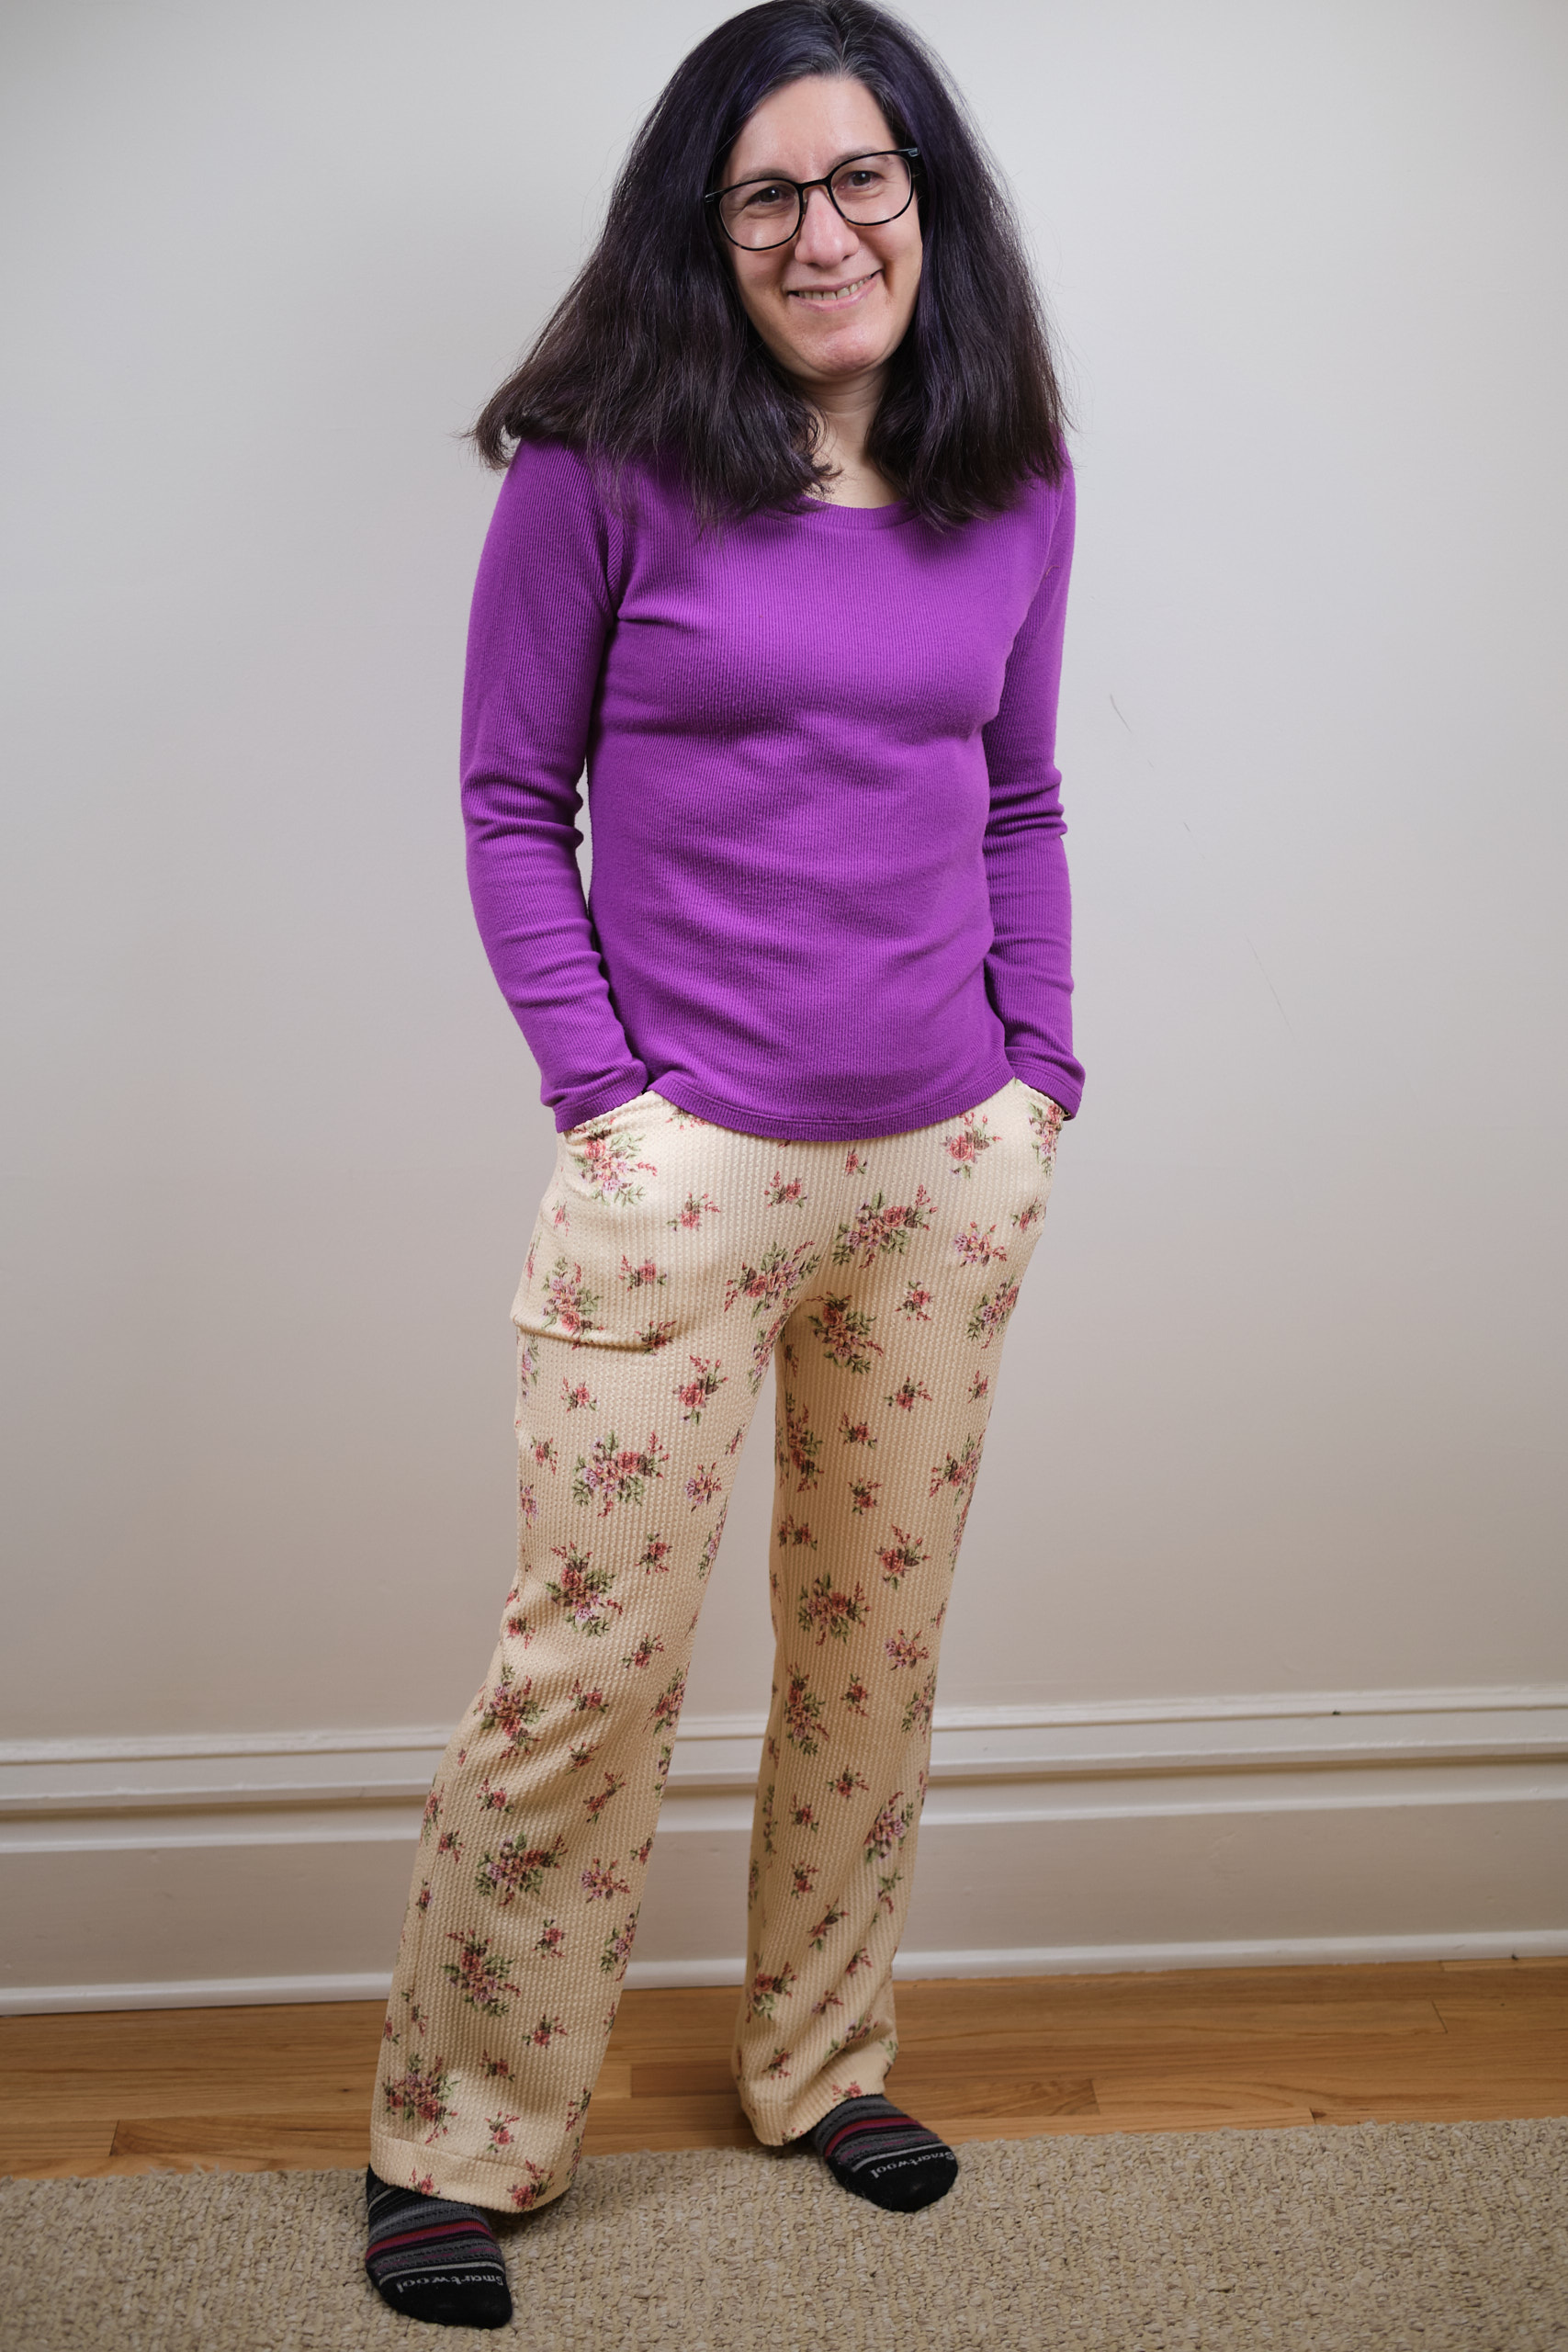
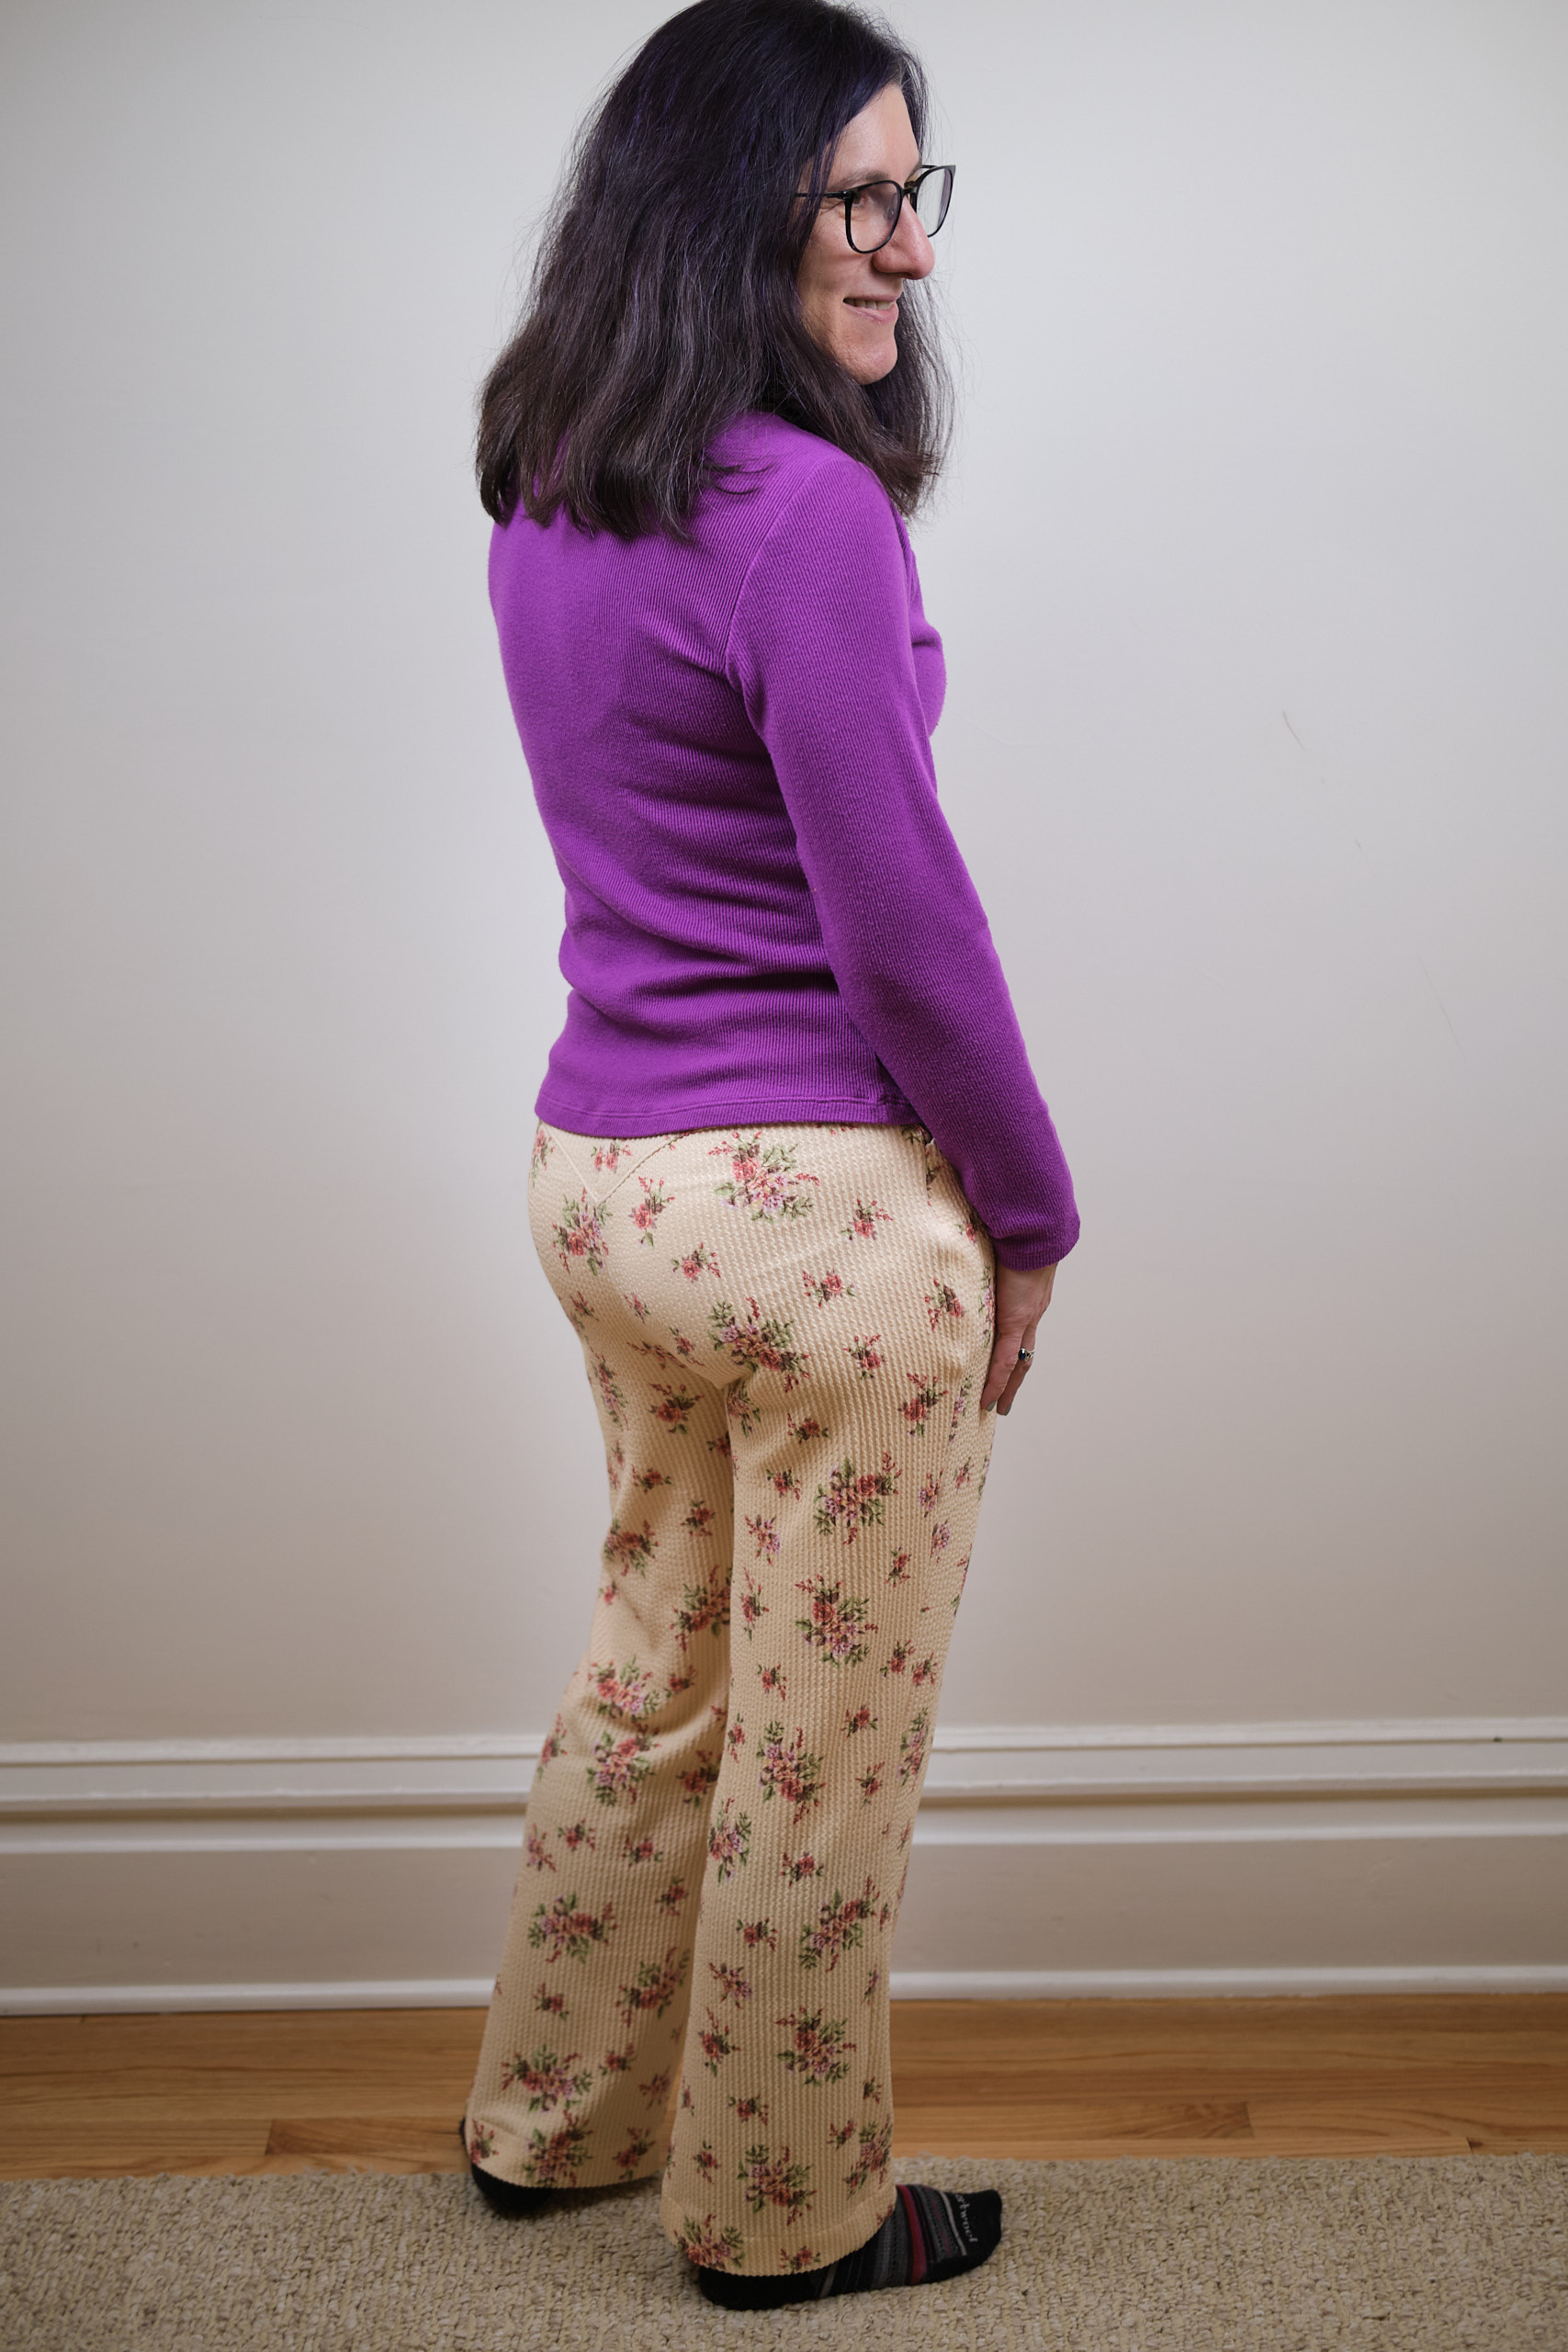
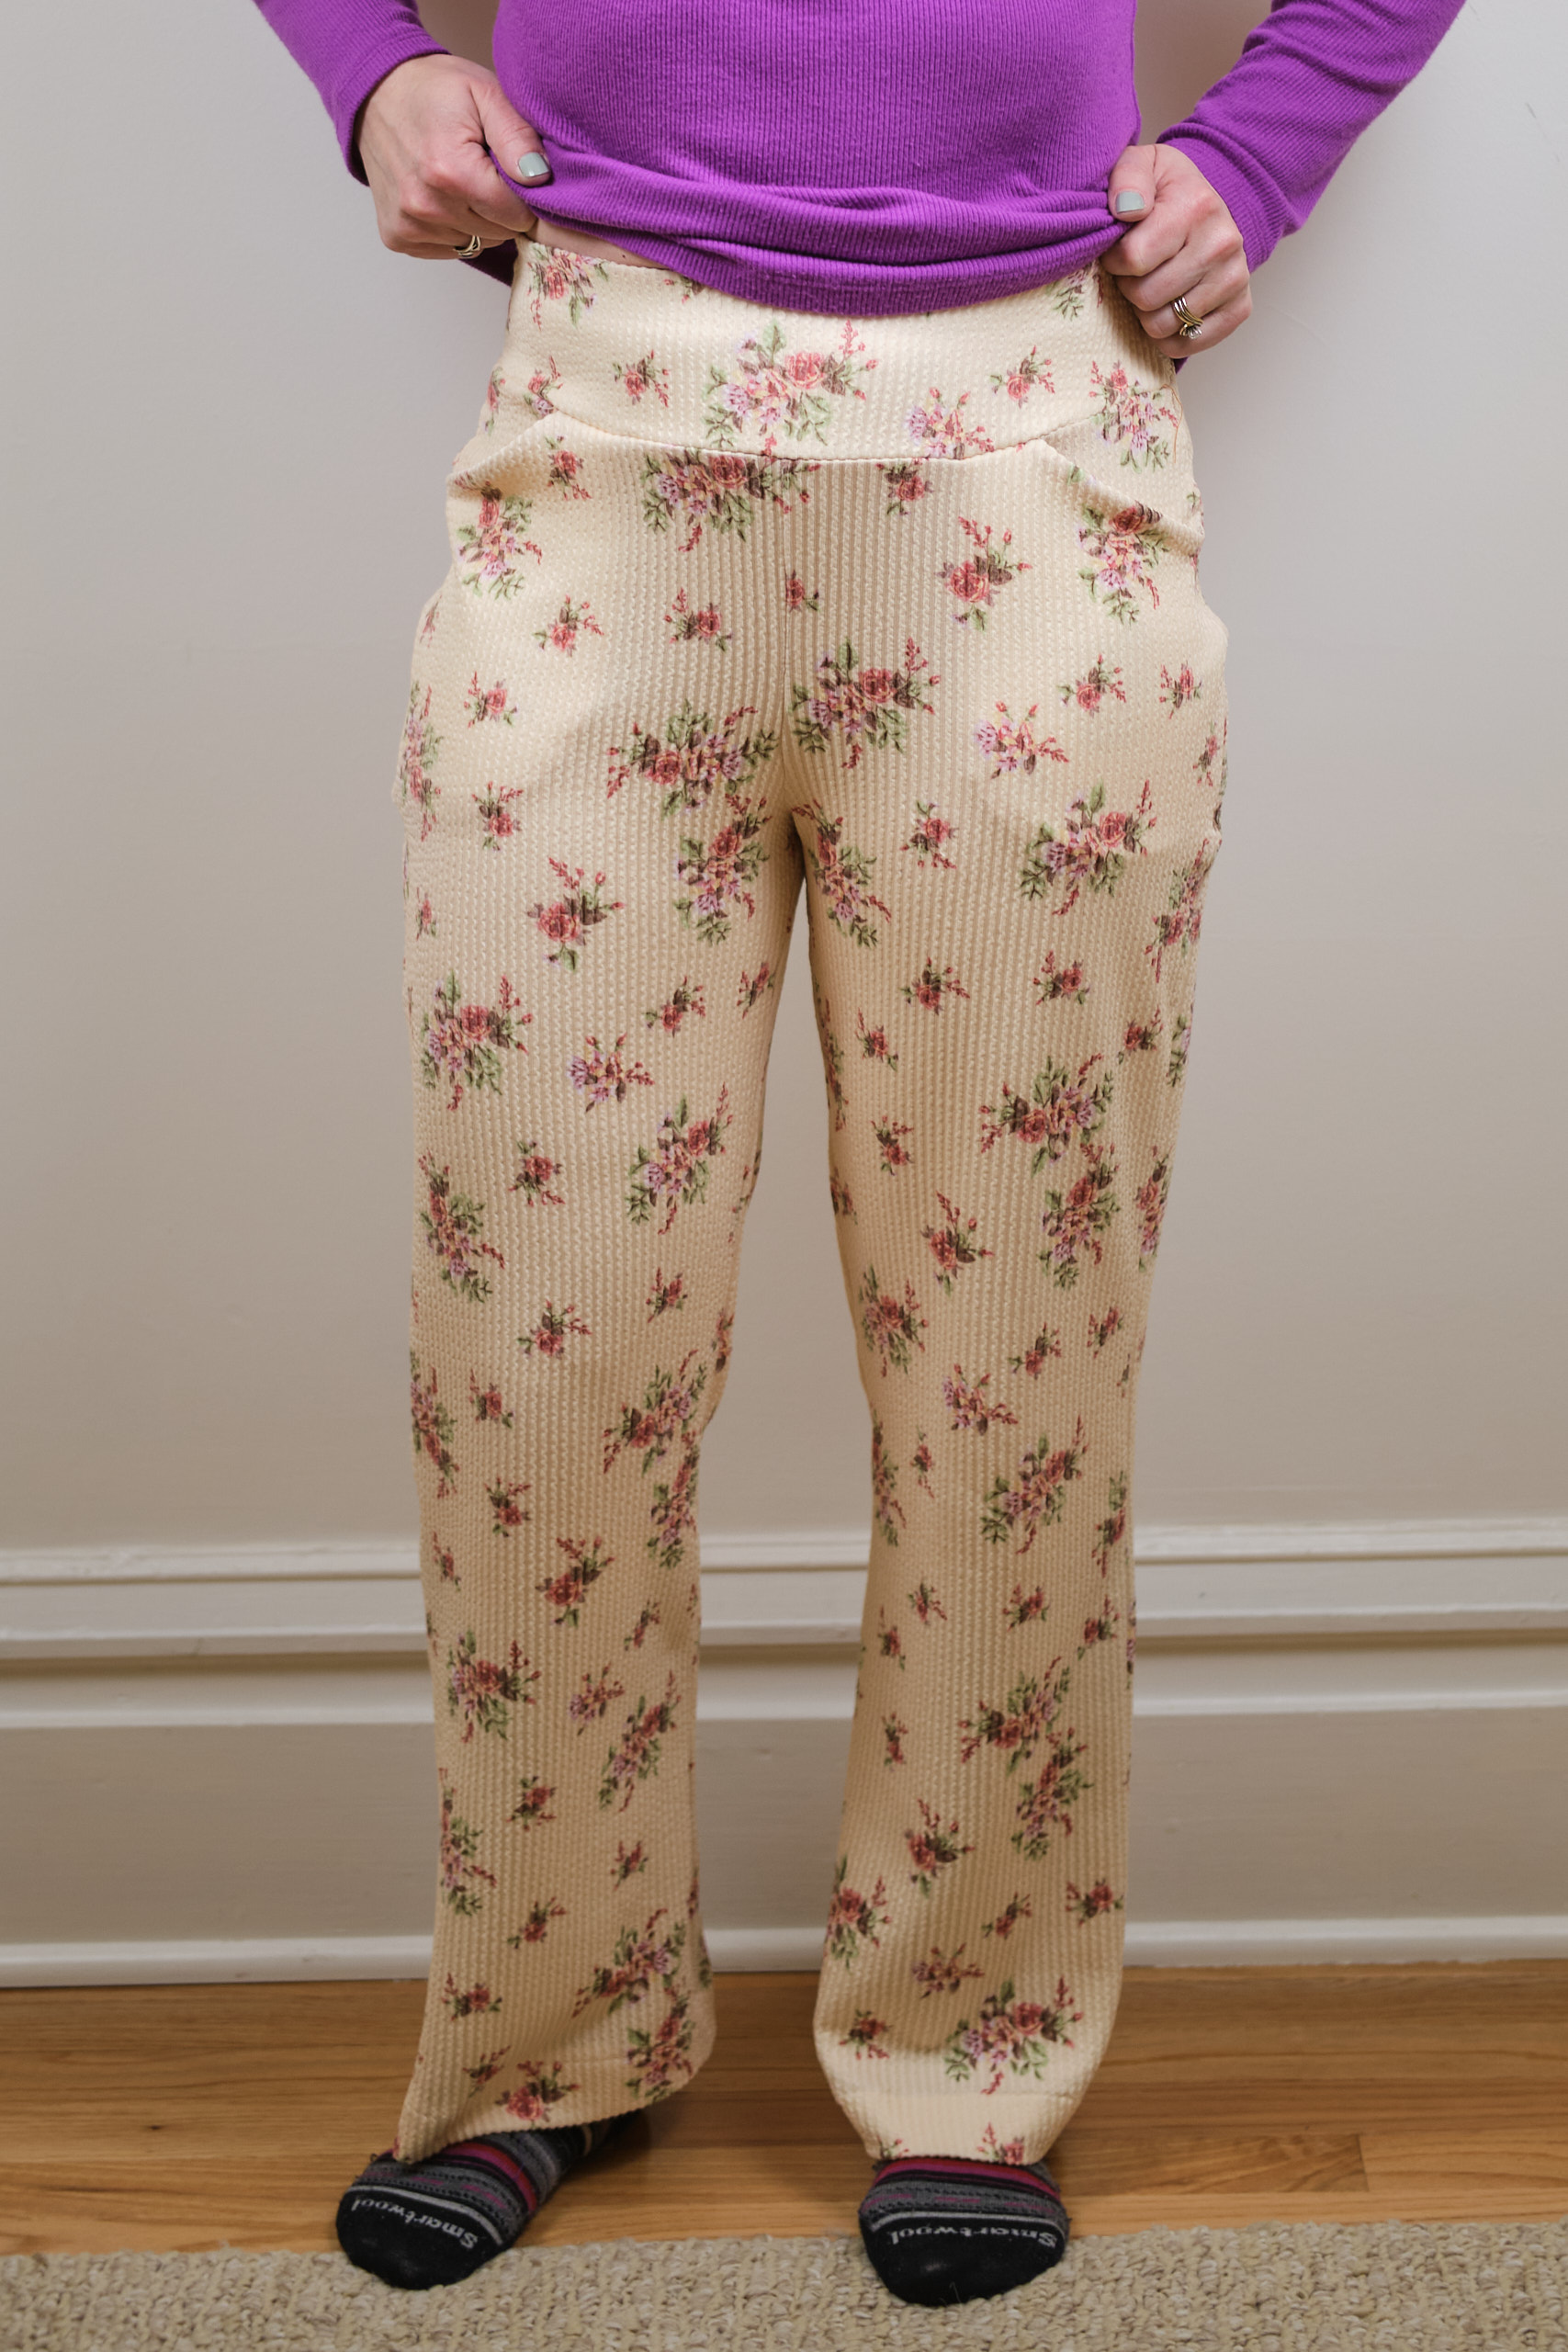
This week I returned to the ugly fabric PJ pants. I removed all the basting stitches, laid the pieces out on my cutting table, and projected the V2 pattern onto them. I trimmed the legs to match the minor changes that were made to V2 and also added the front pockets, because even PJs should have pockets. I recut the waistband pieces with the top graded to size P4, and I cut out the front pocket linings and facings. In a couple of hours, I had the whole thing sewn back together, this time with elastic and front pockets. The fit is very good, and I’m sure I’ll be wearing these a lot around the house. Modeled here with a magenta Bondi. The V2 fit is even better than V1, and the front pockets are great. I also love the back yoke on these pants: they make my butt look great! I look forward to making another pair in ponte or other office-worthy fabric and trying the new back pockets and the faux fly (which I usually skip, but I’ve seen it on pants made by other testers, and it is super cute).