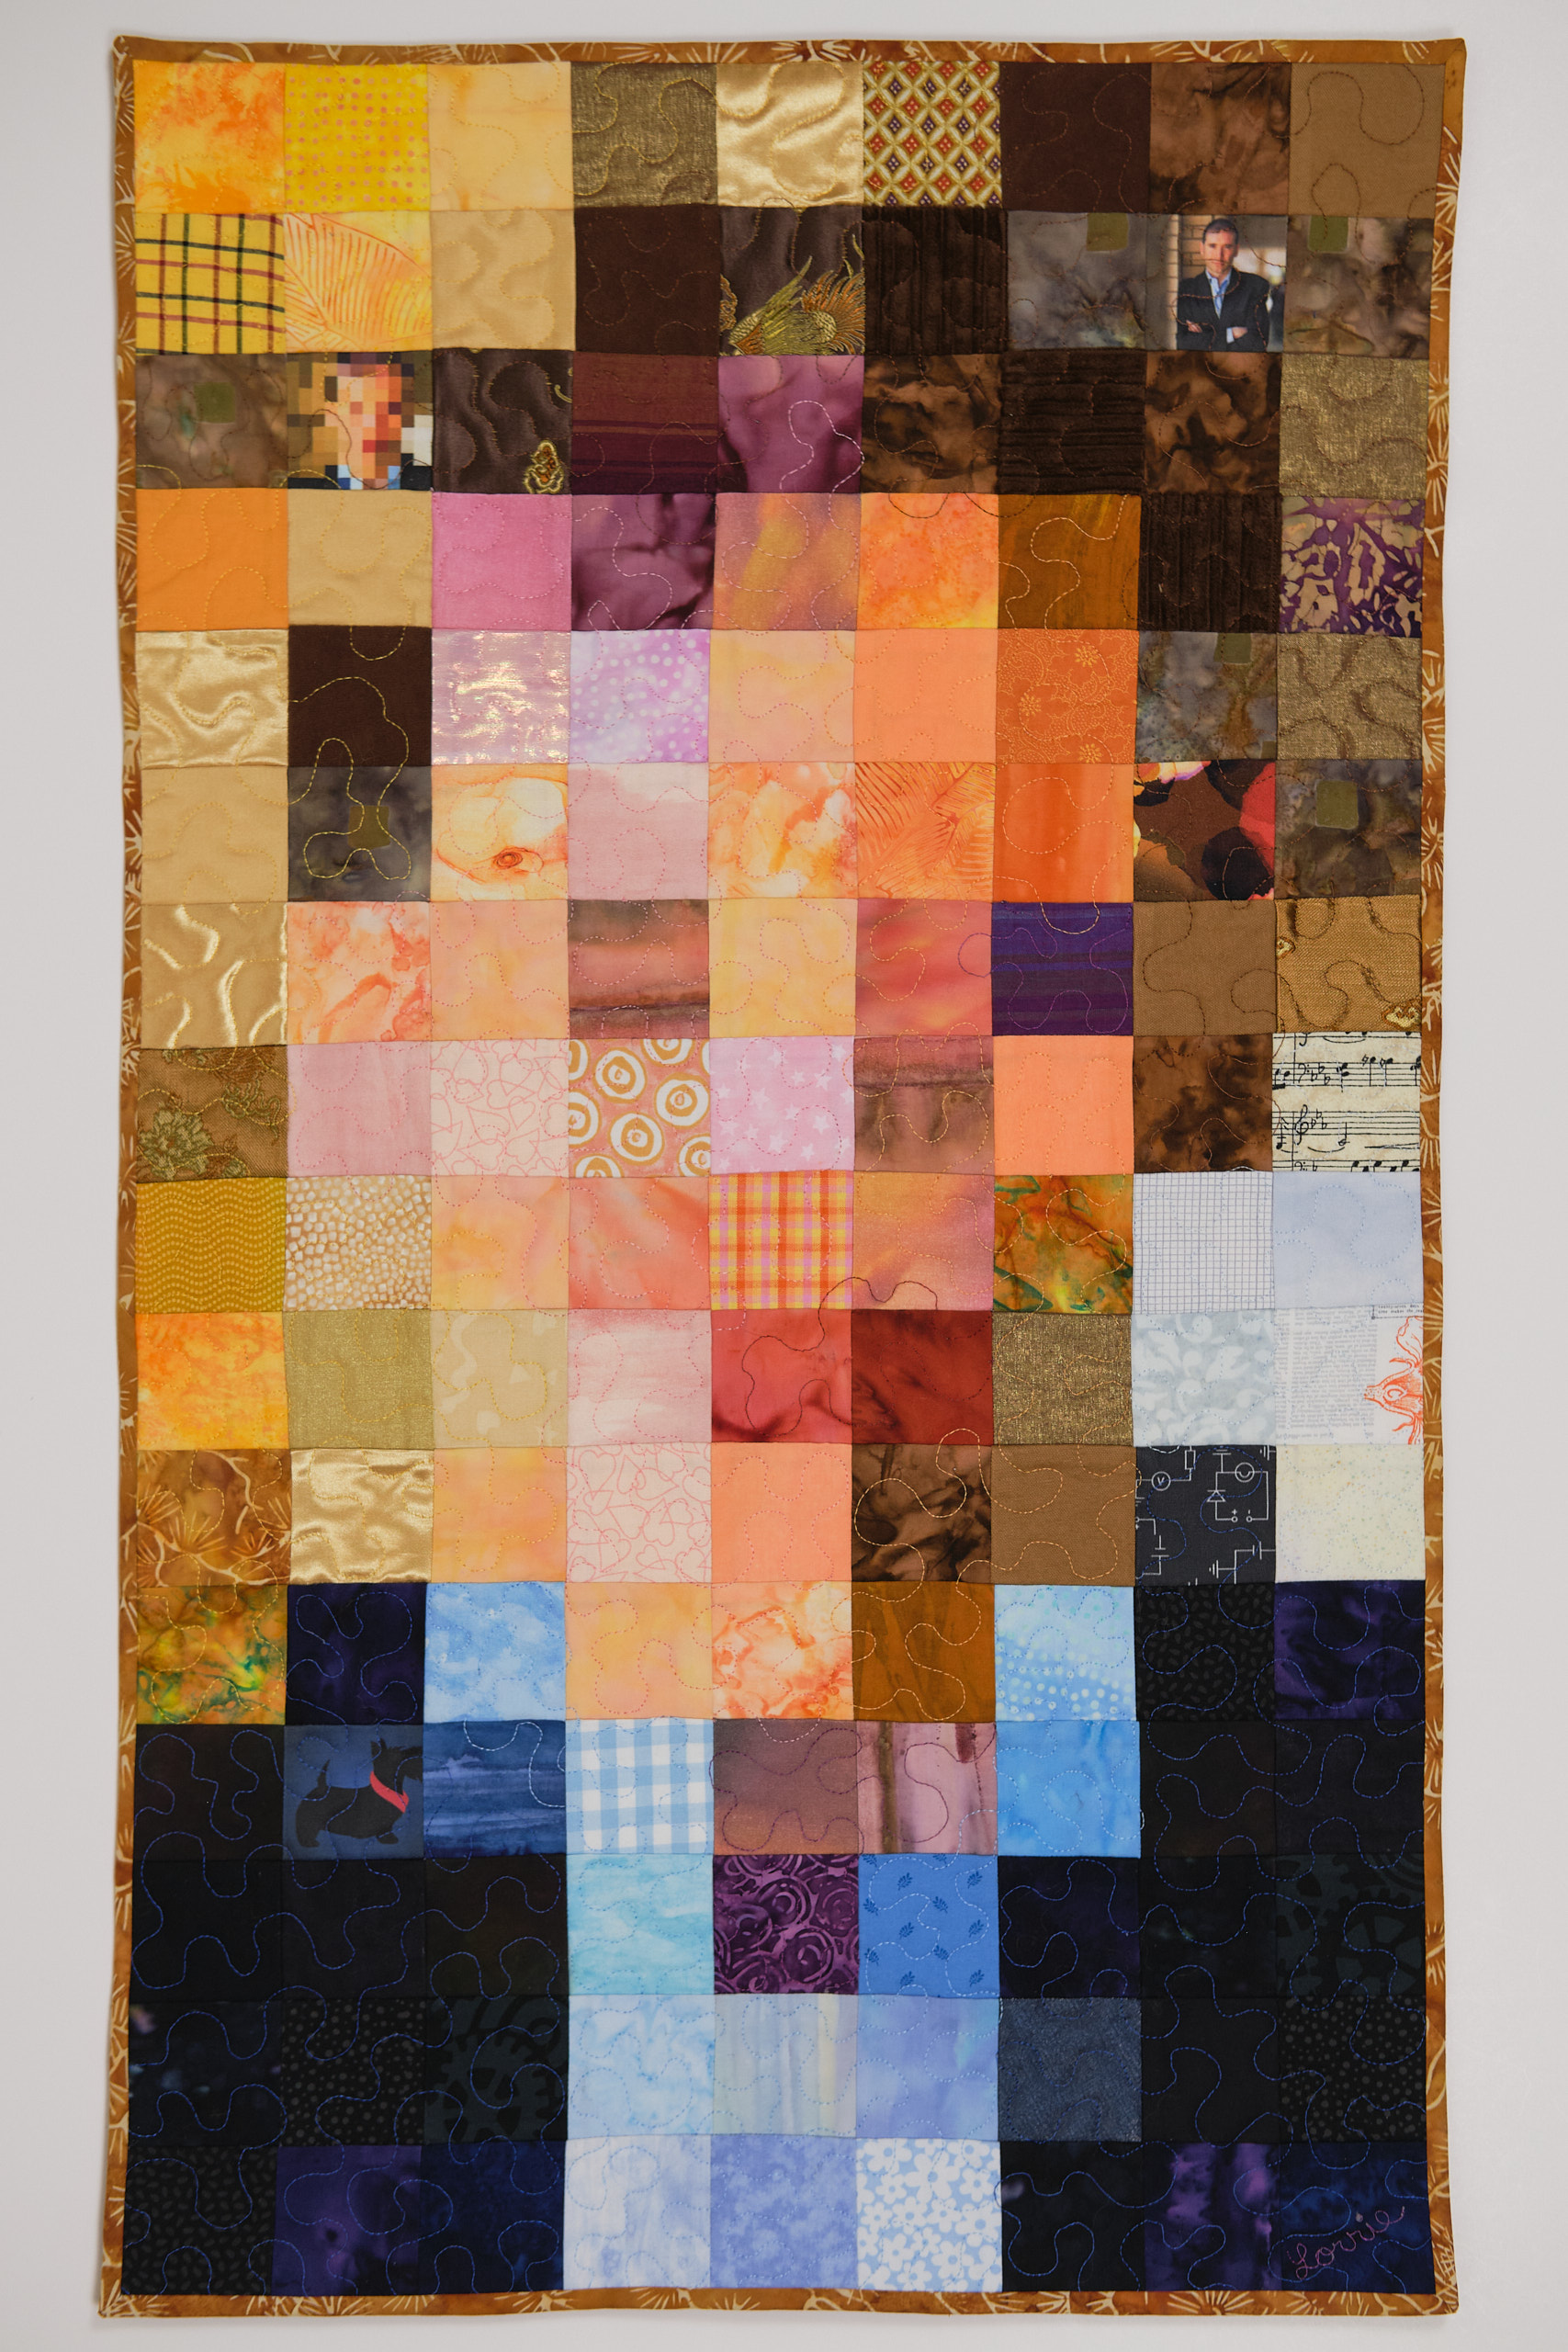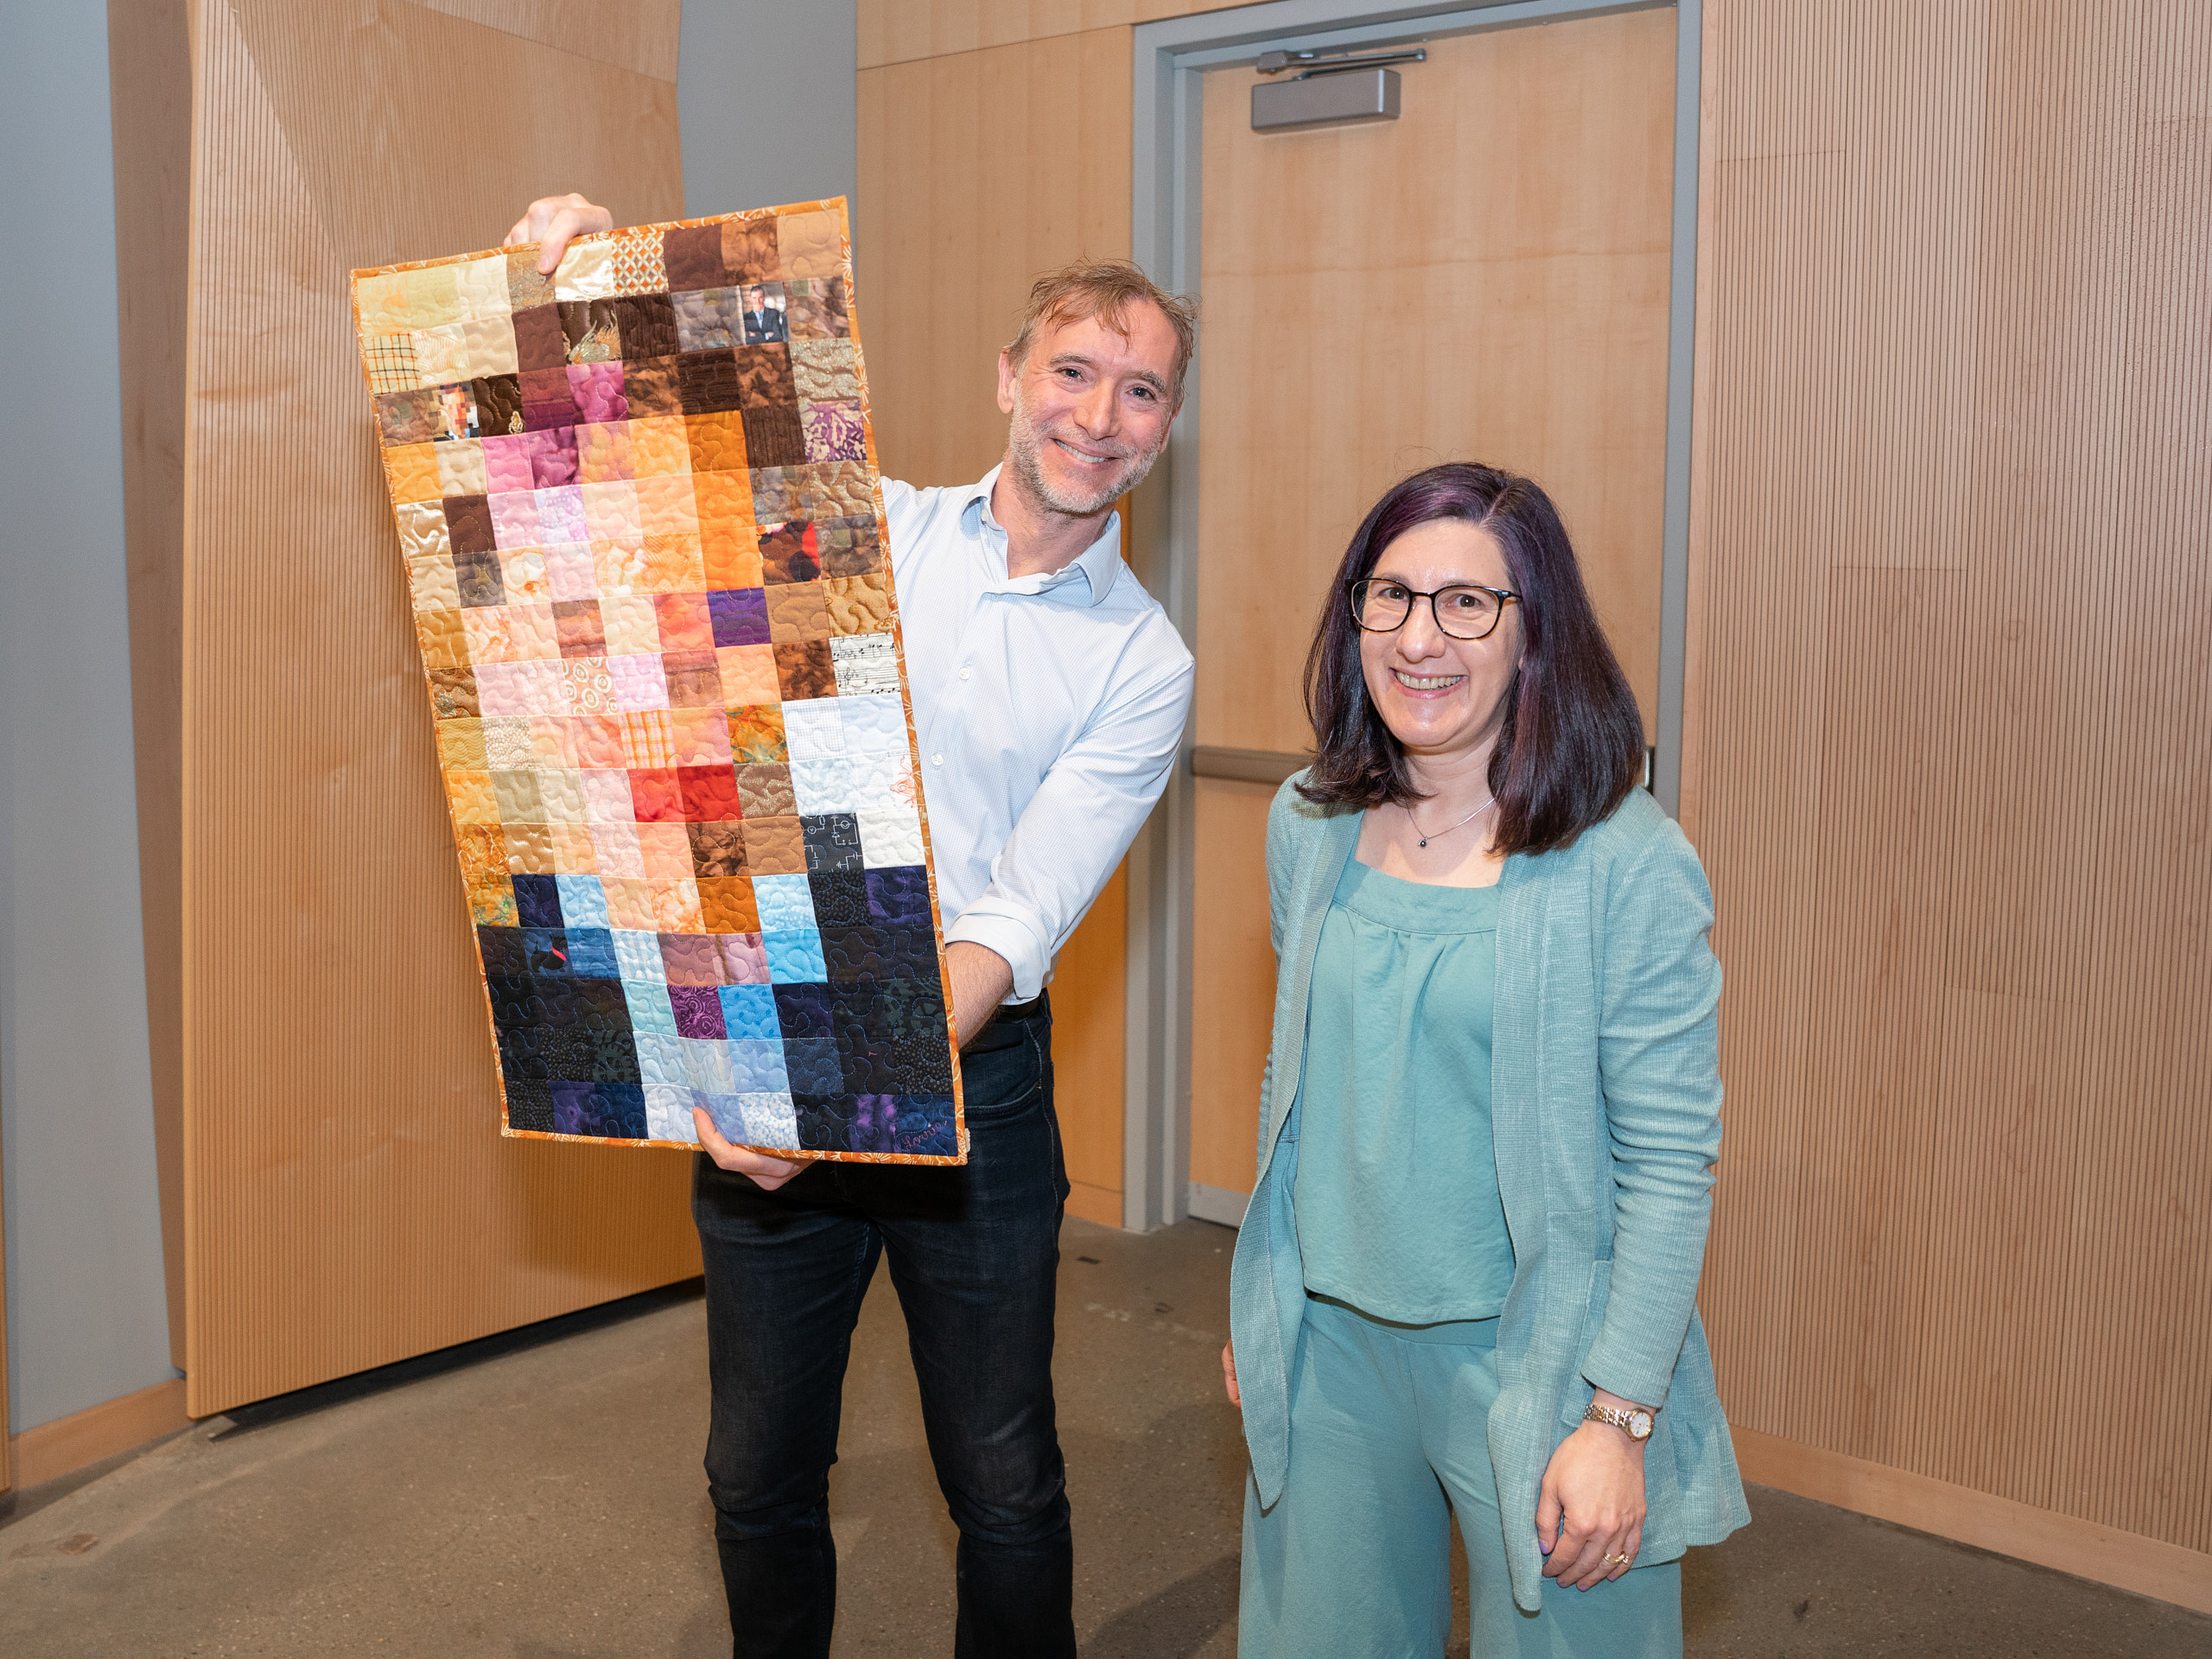
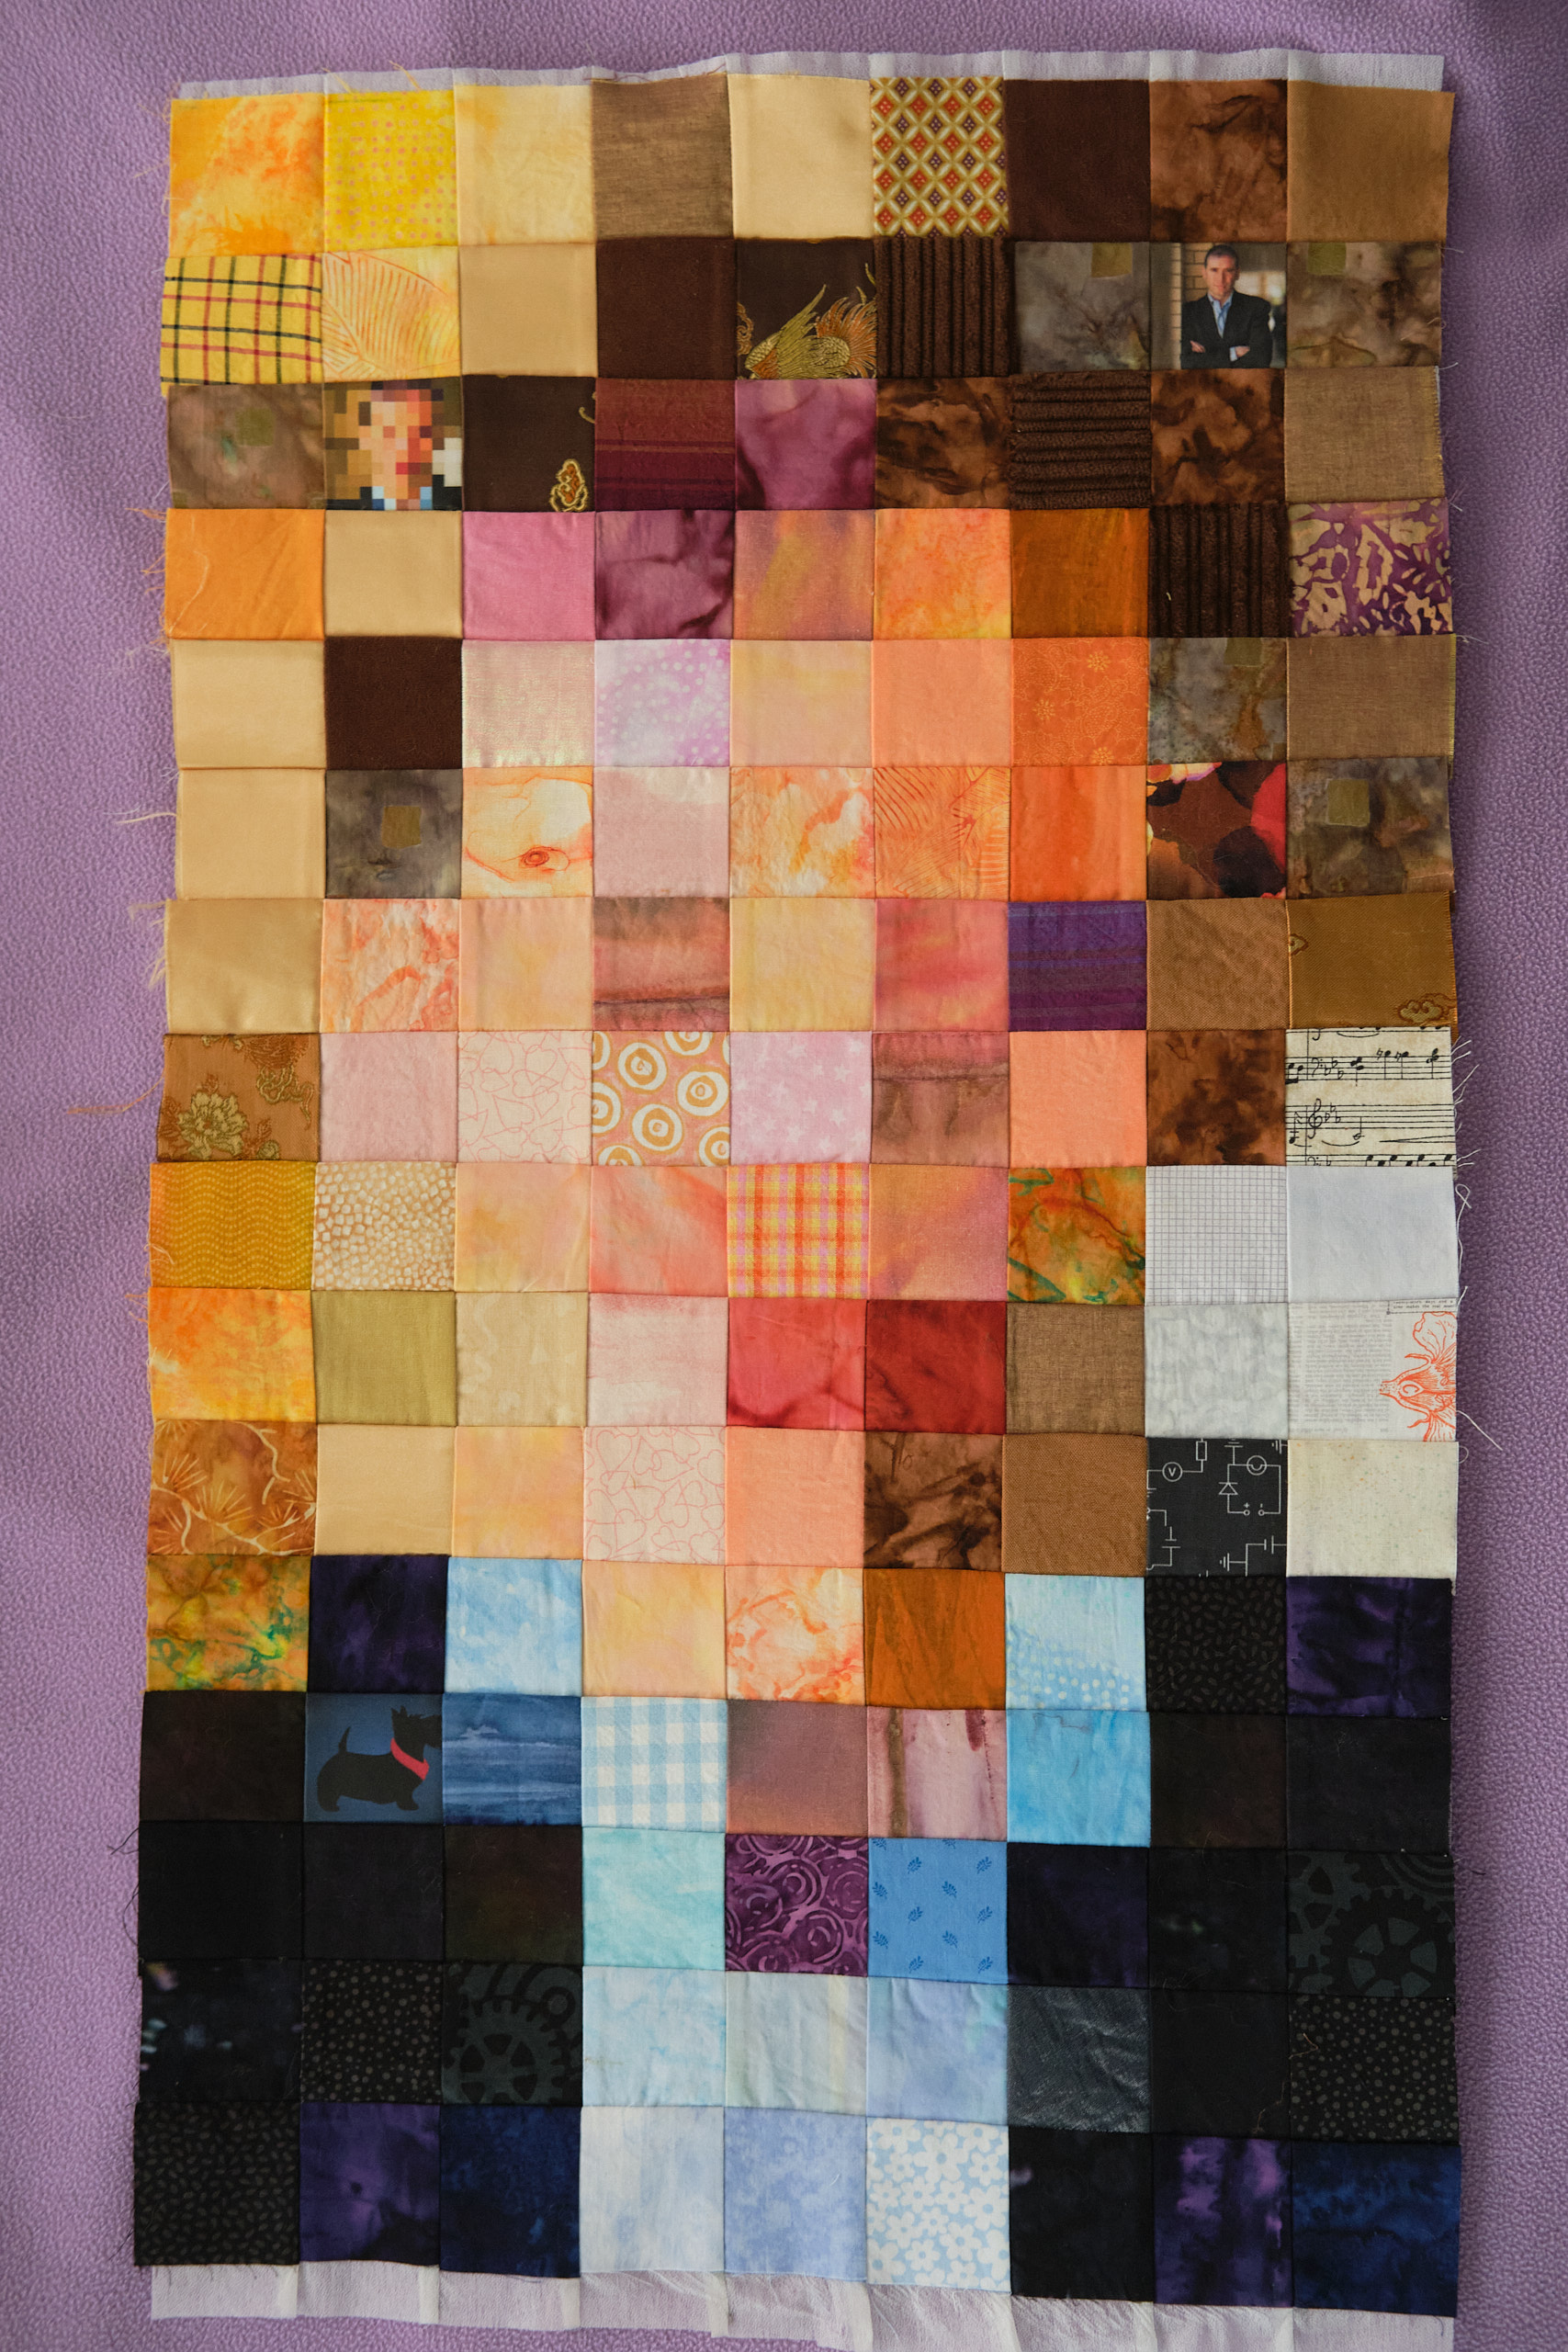
During my 2013 sabbatical I quilted a pixelated self portrait, based on the Salvador Dali painting Lincoln in Dalivision (1977), which was inspired by Leon Harmon’s grey photomosaic of Abraham Lincoln (1973) that was published in Scientific American. Twelve years later, I decided to take a similar approach to creating a portrait of a dear colleague and renowned privacy scholar who is moving to another university.
I began with a photo of my colleague, brightened the colors, ran it through a pixelator, and cropped it a bit.


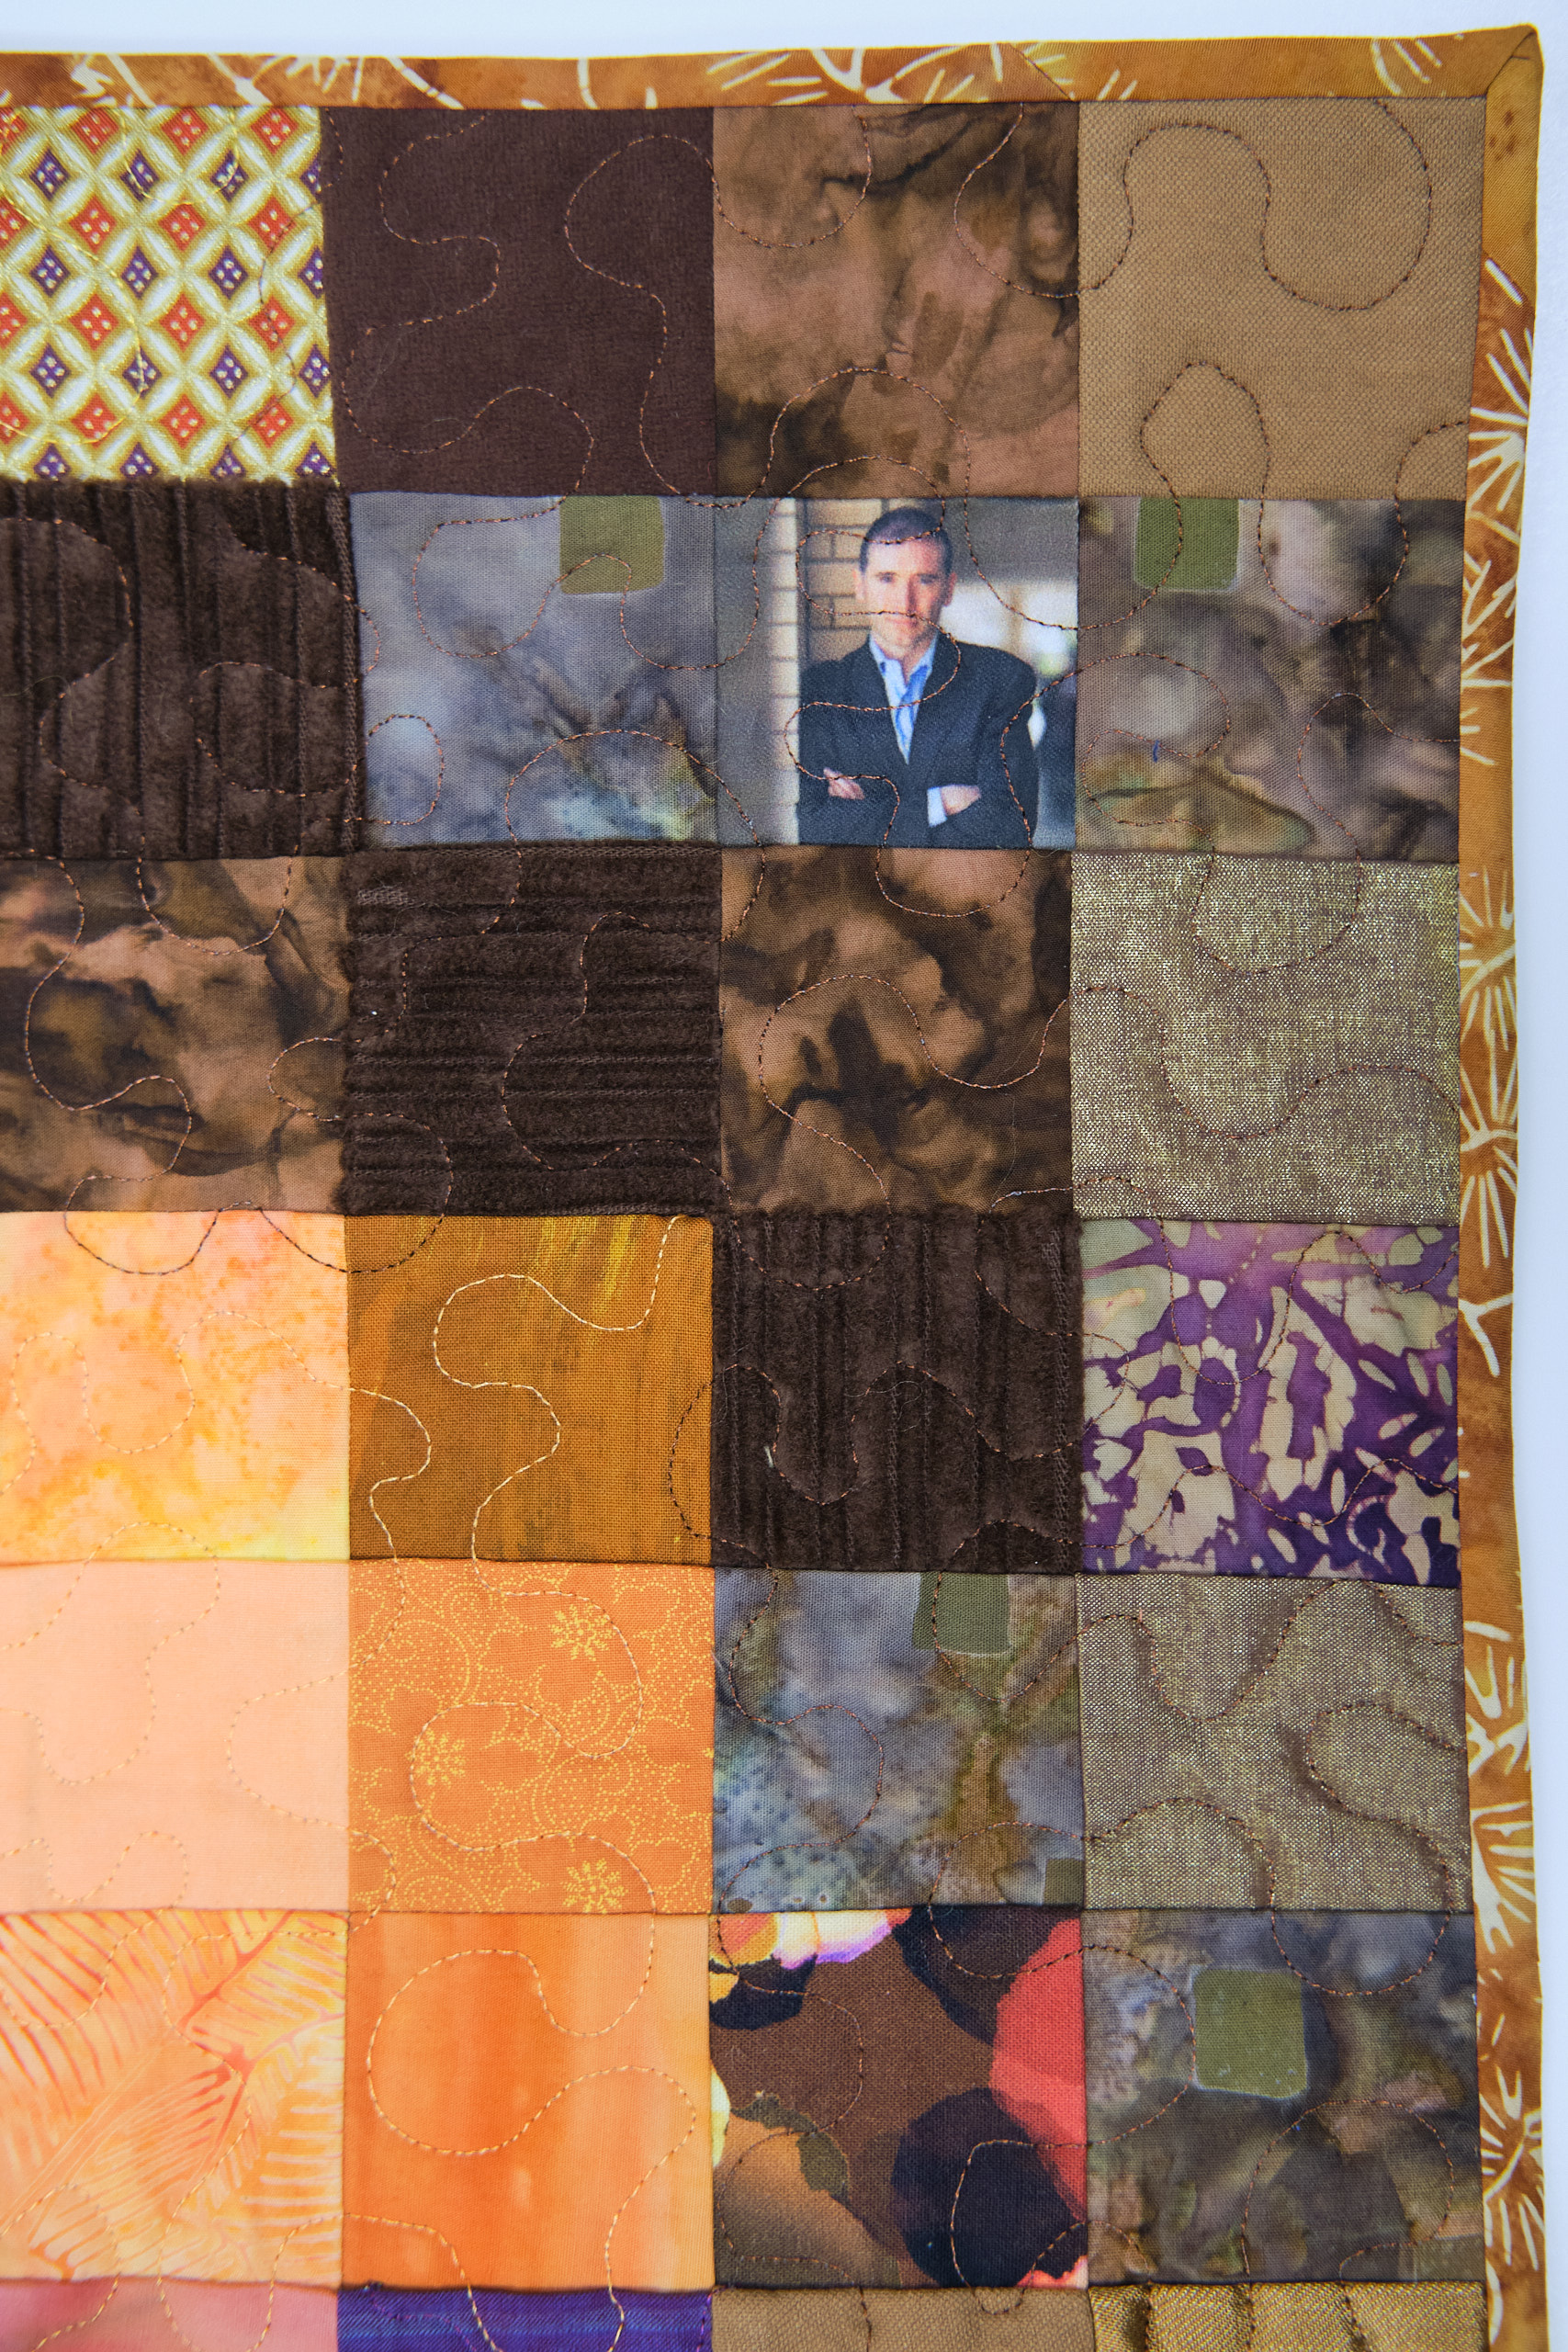
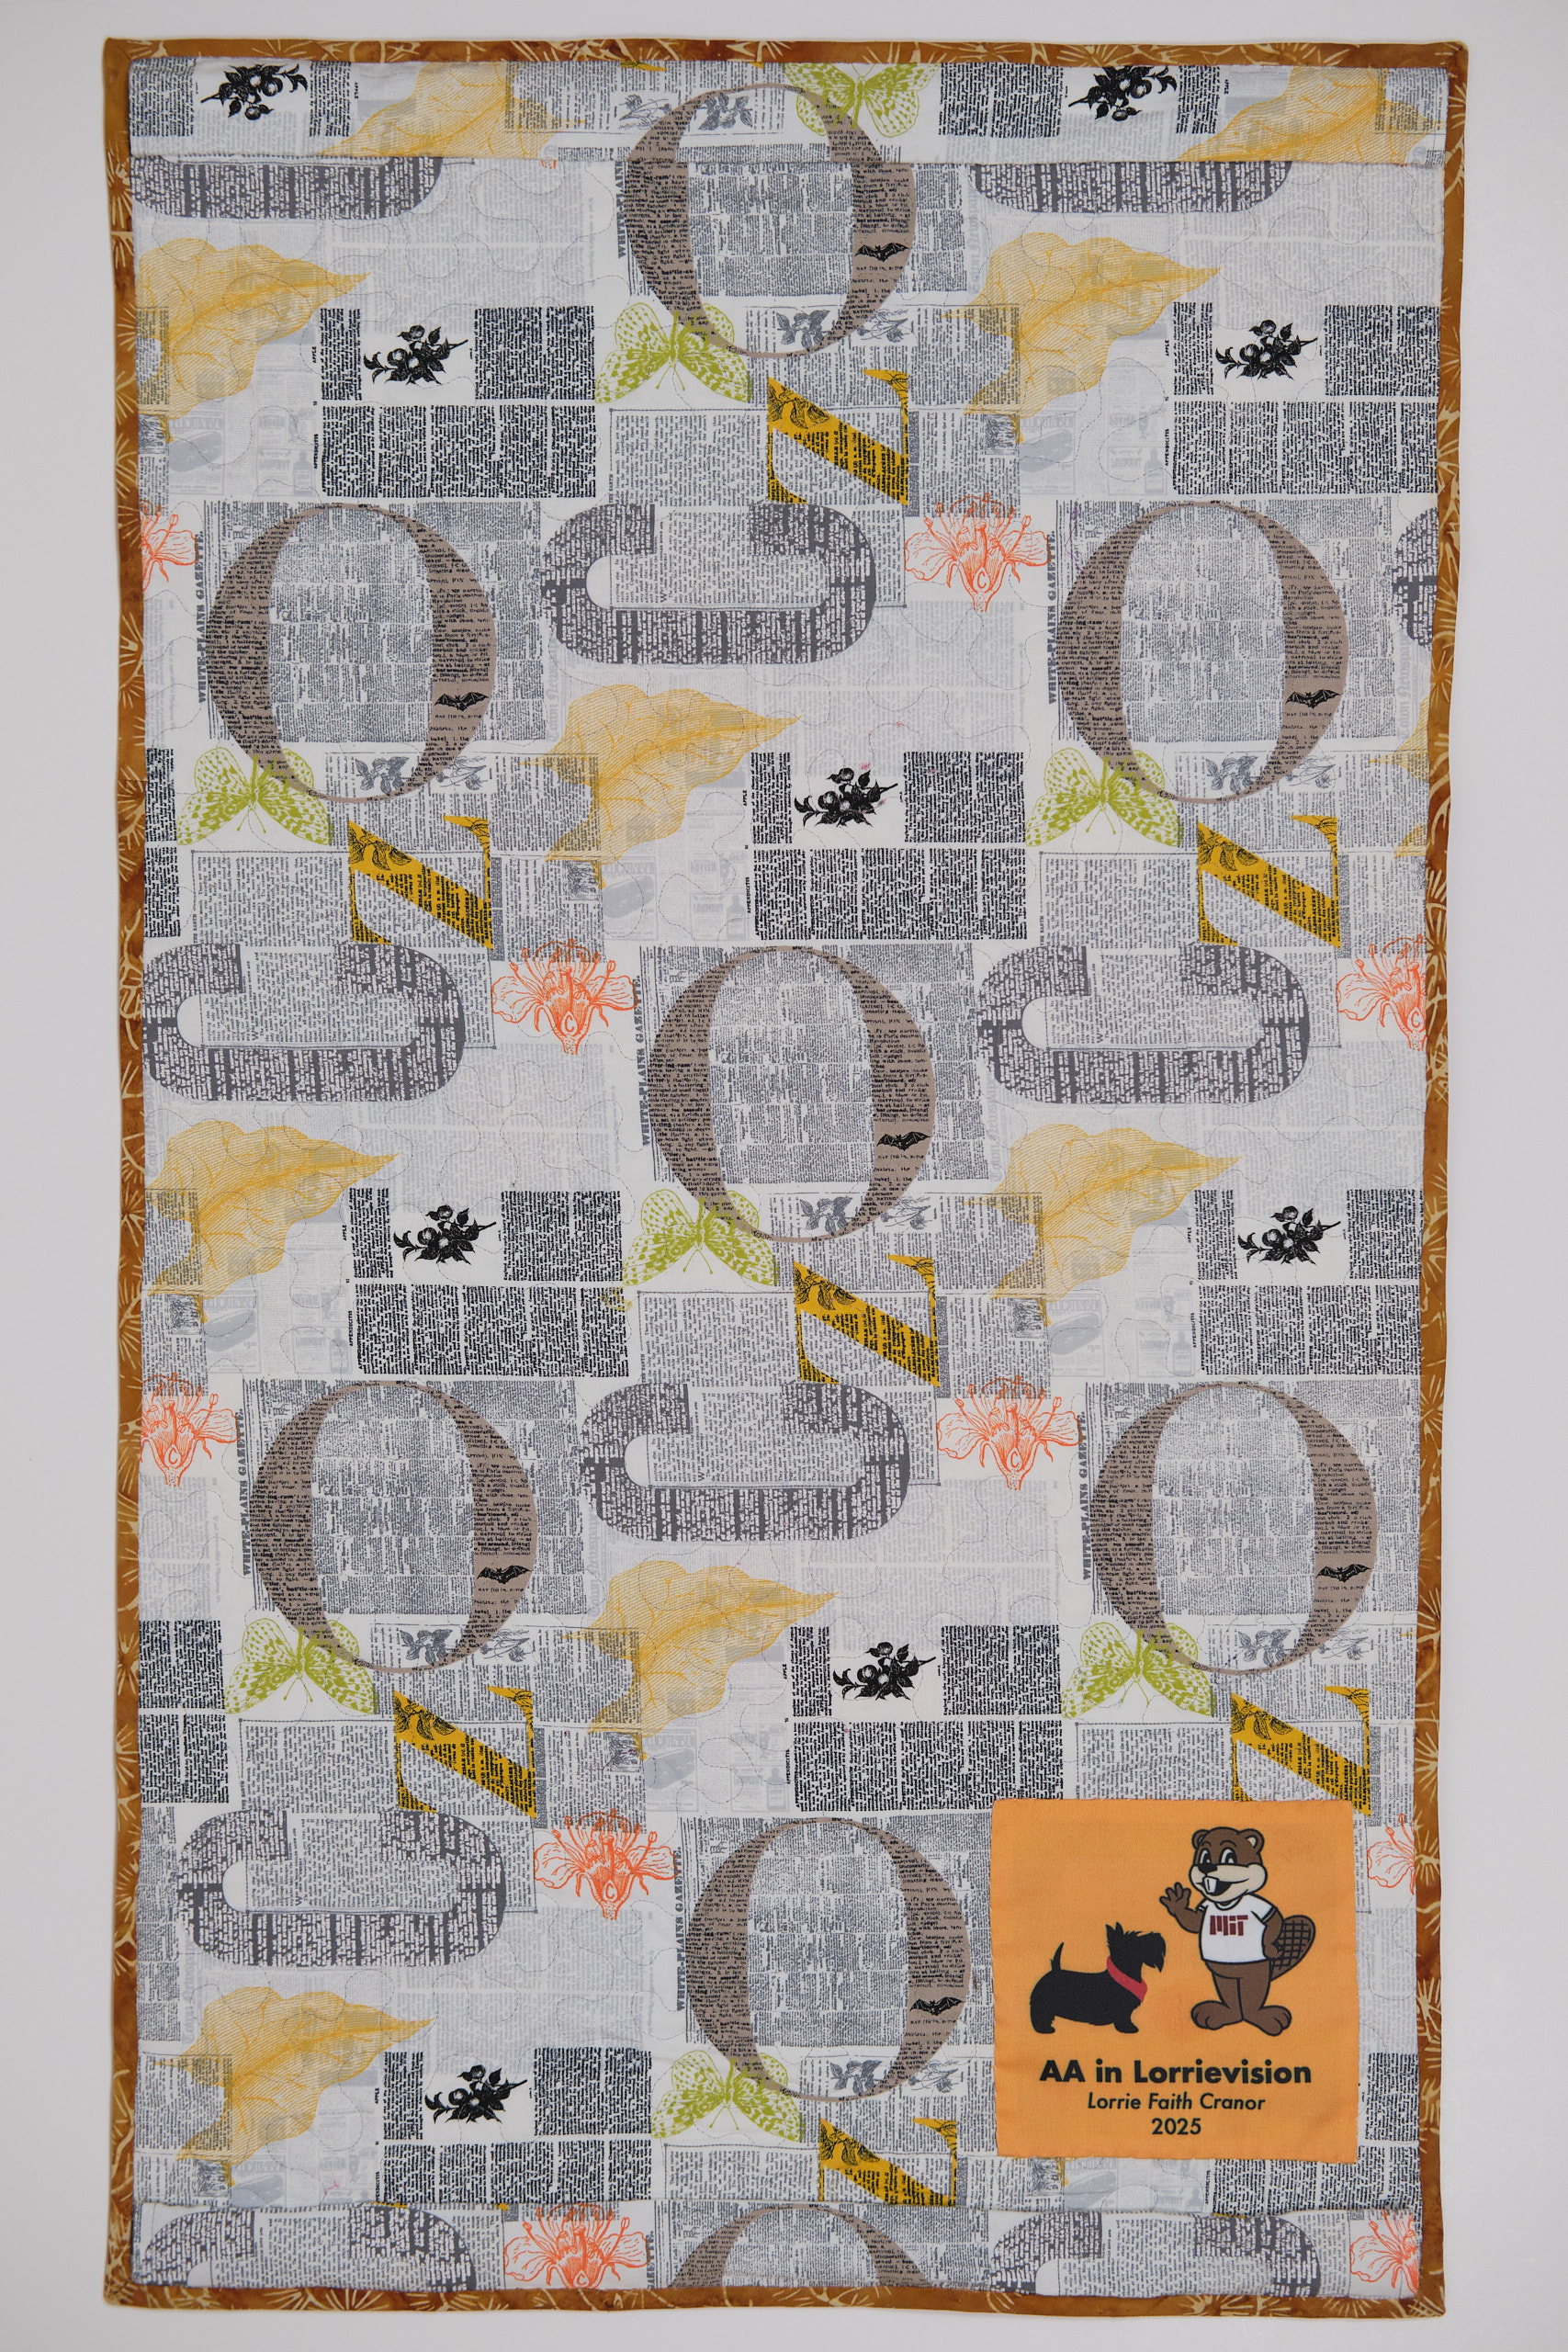
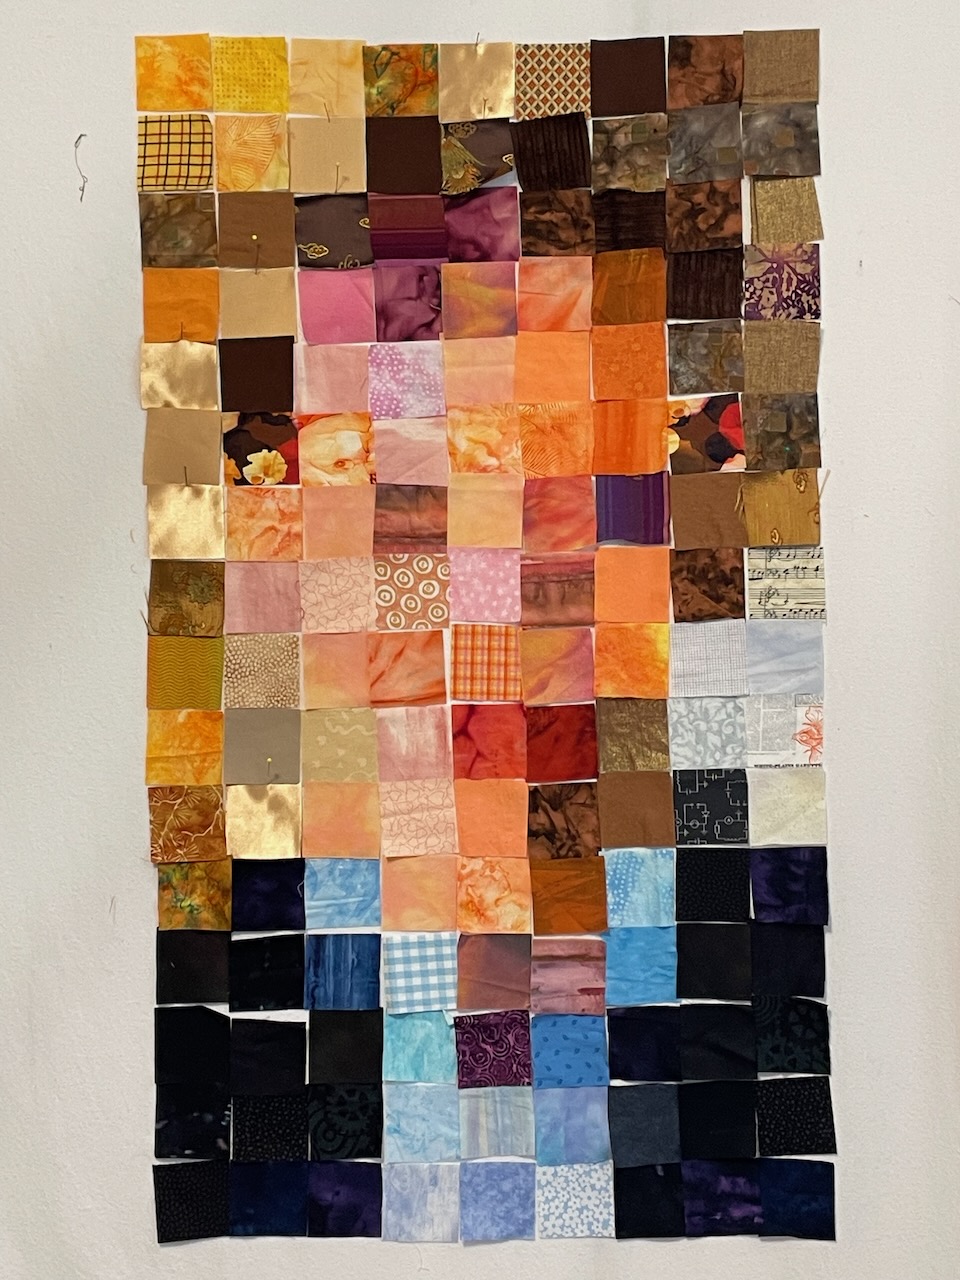
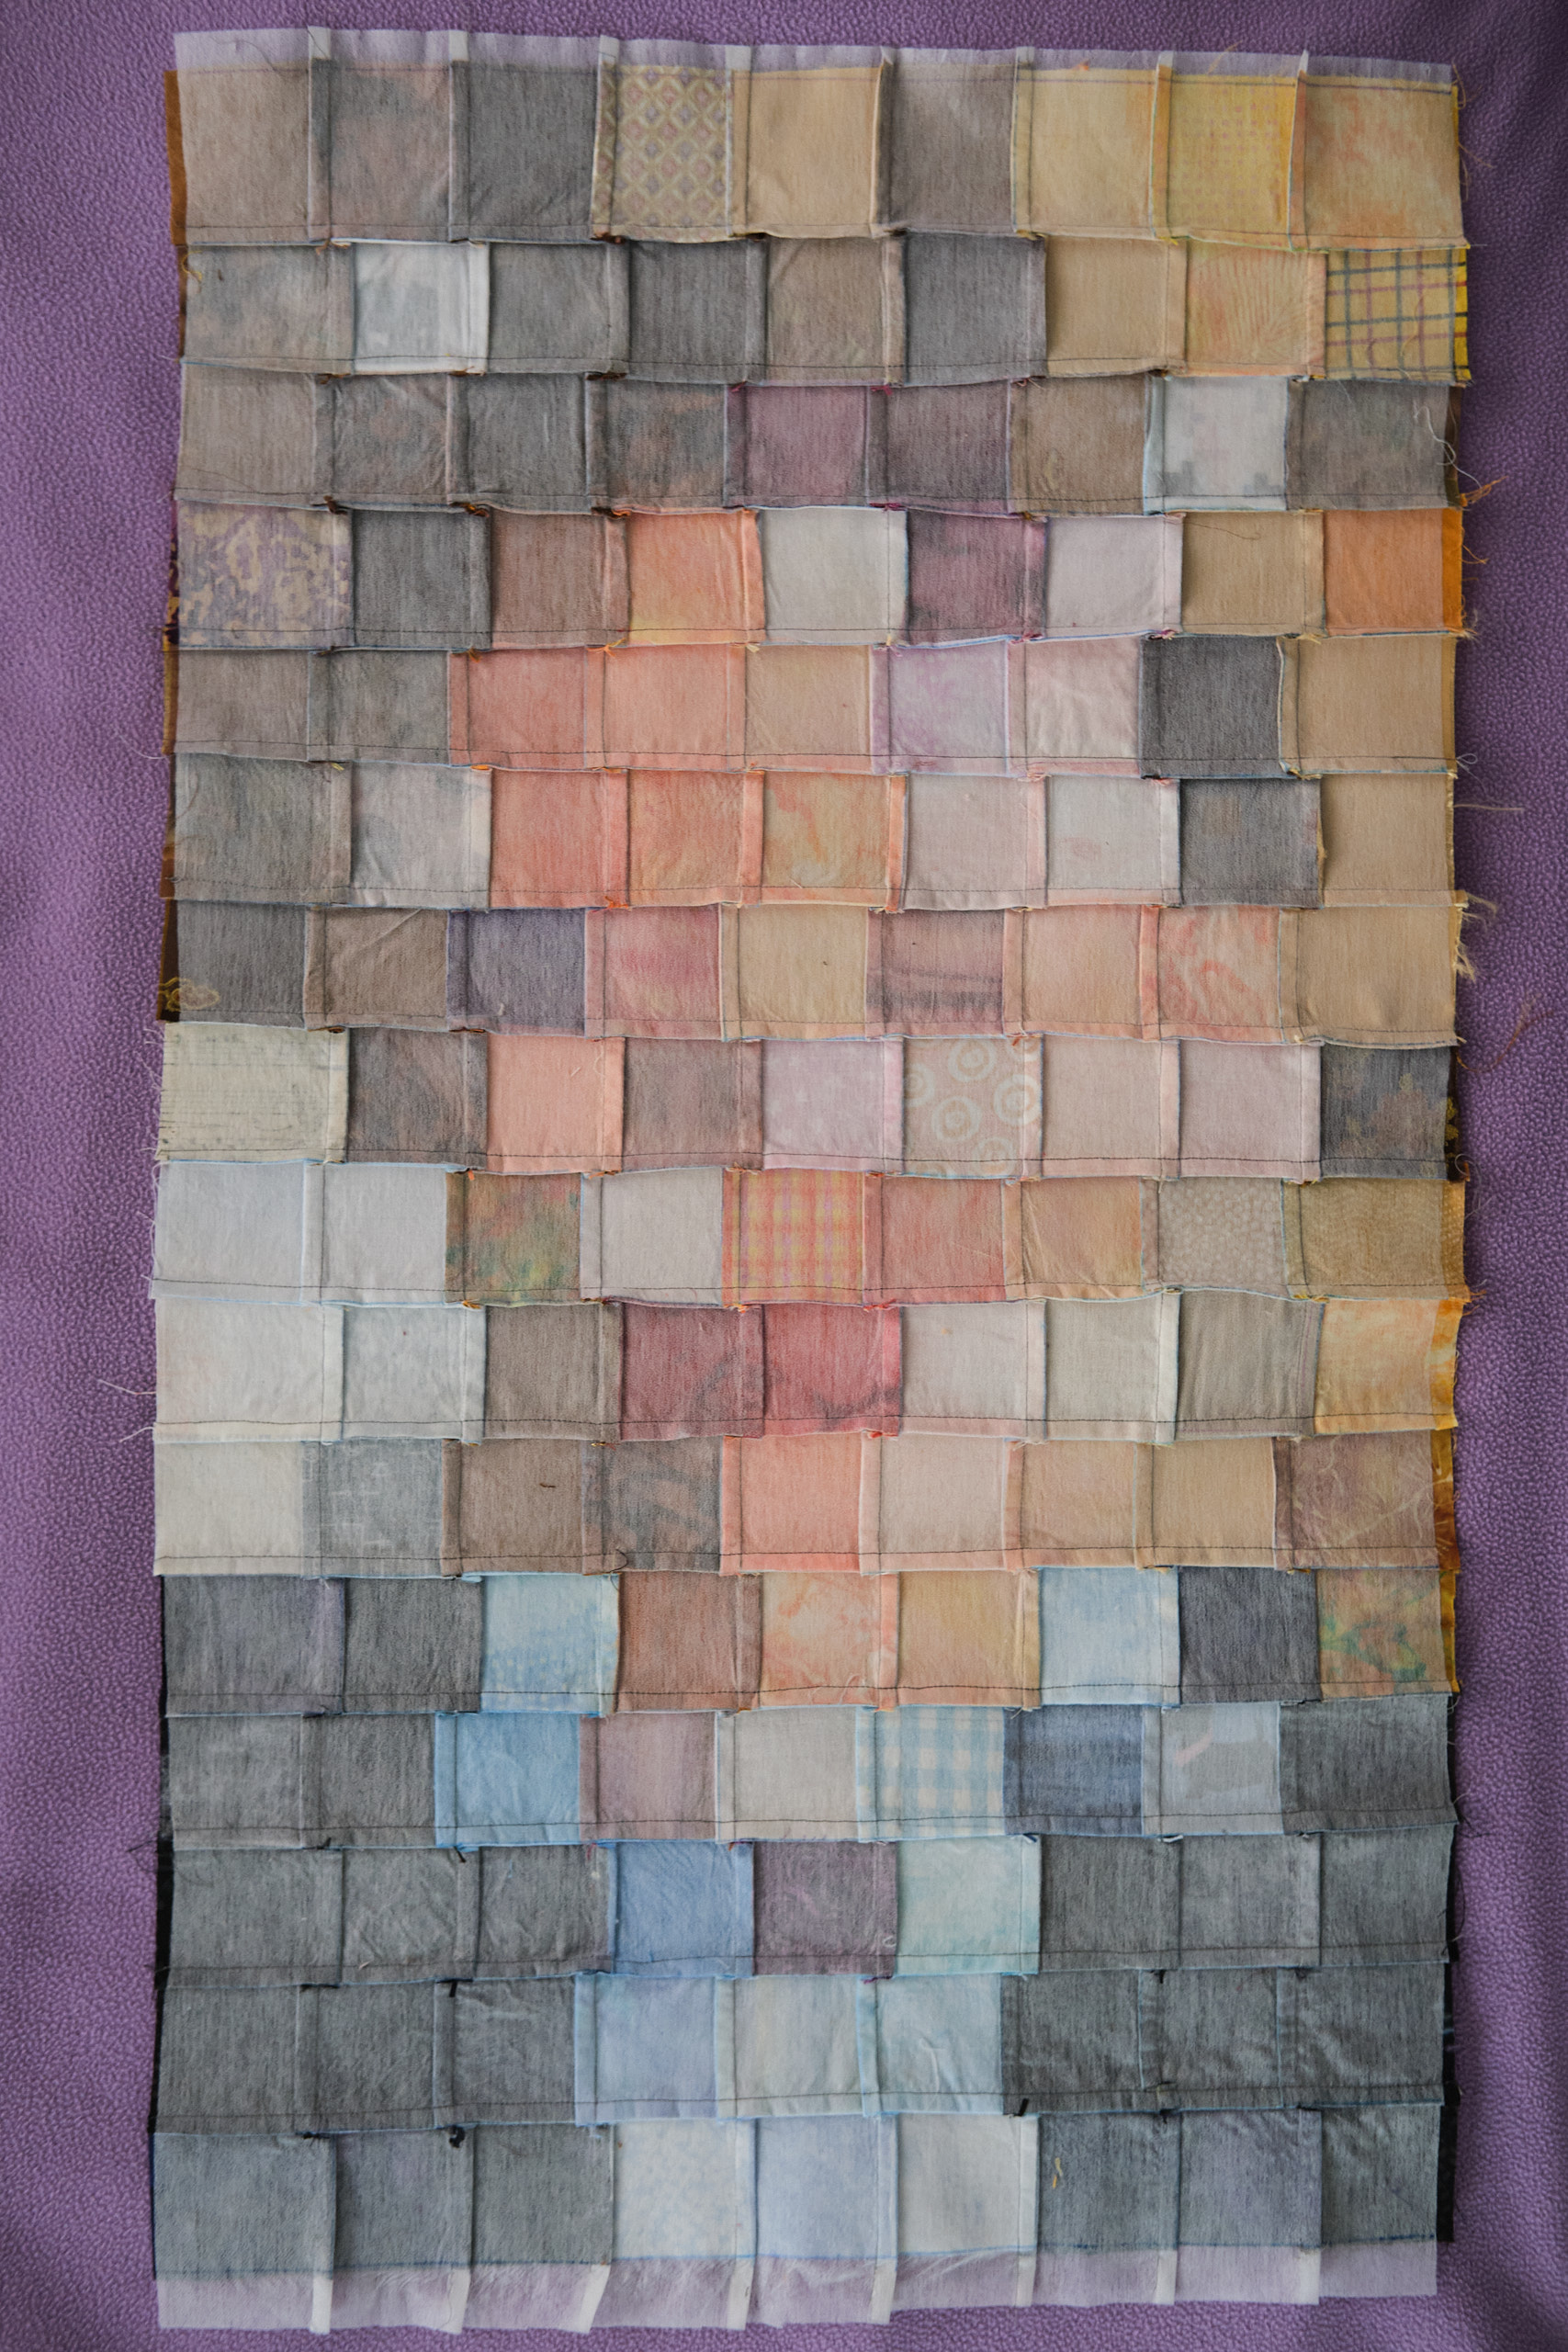
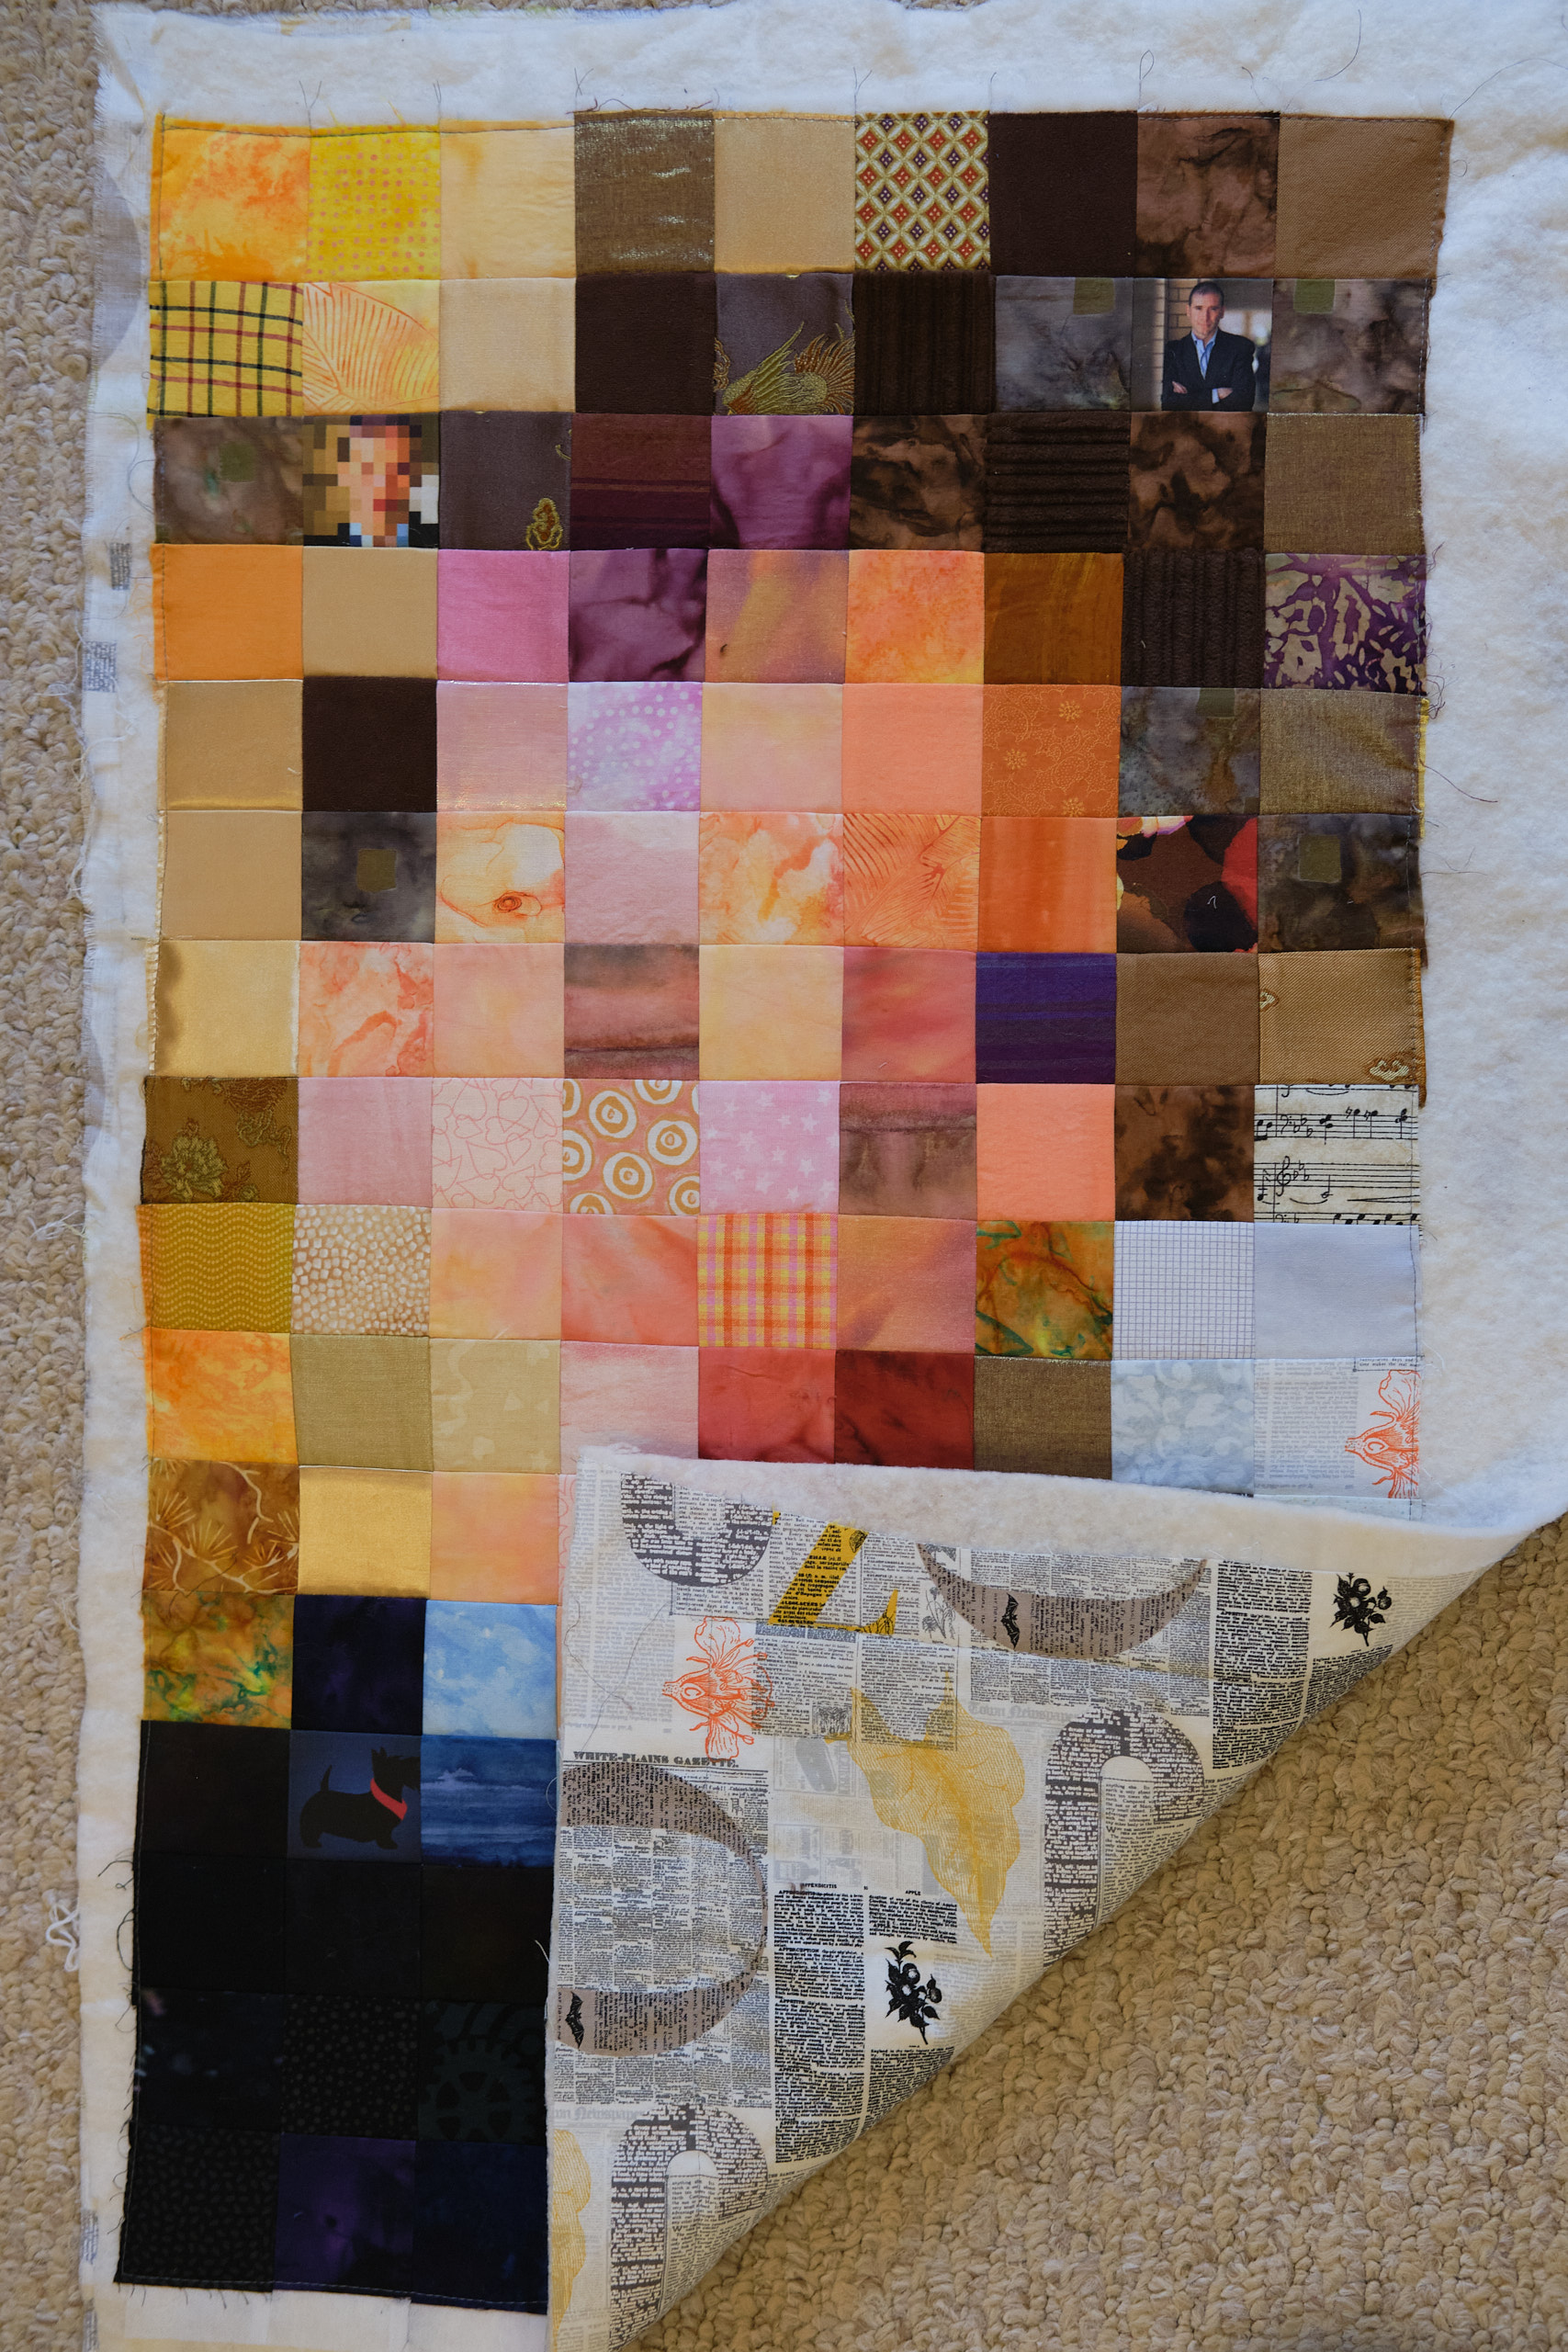
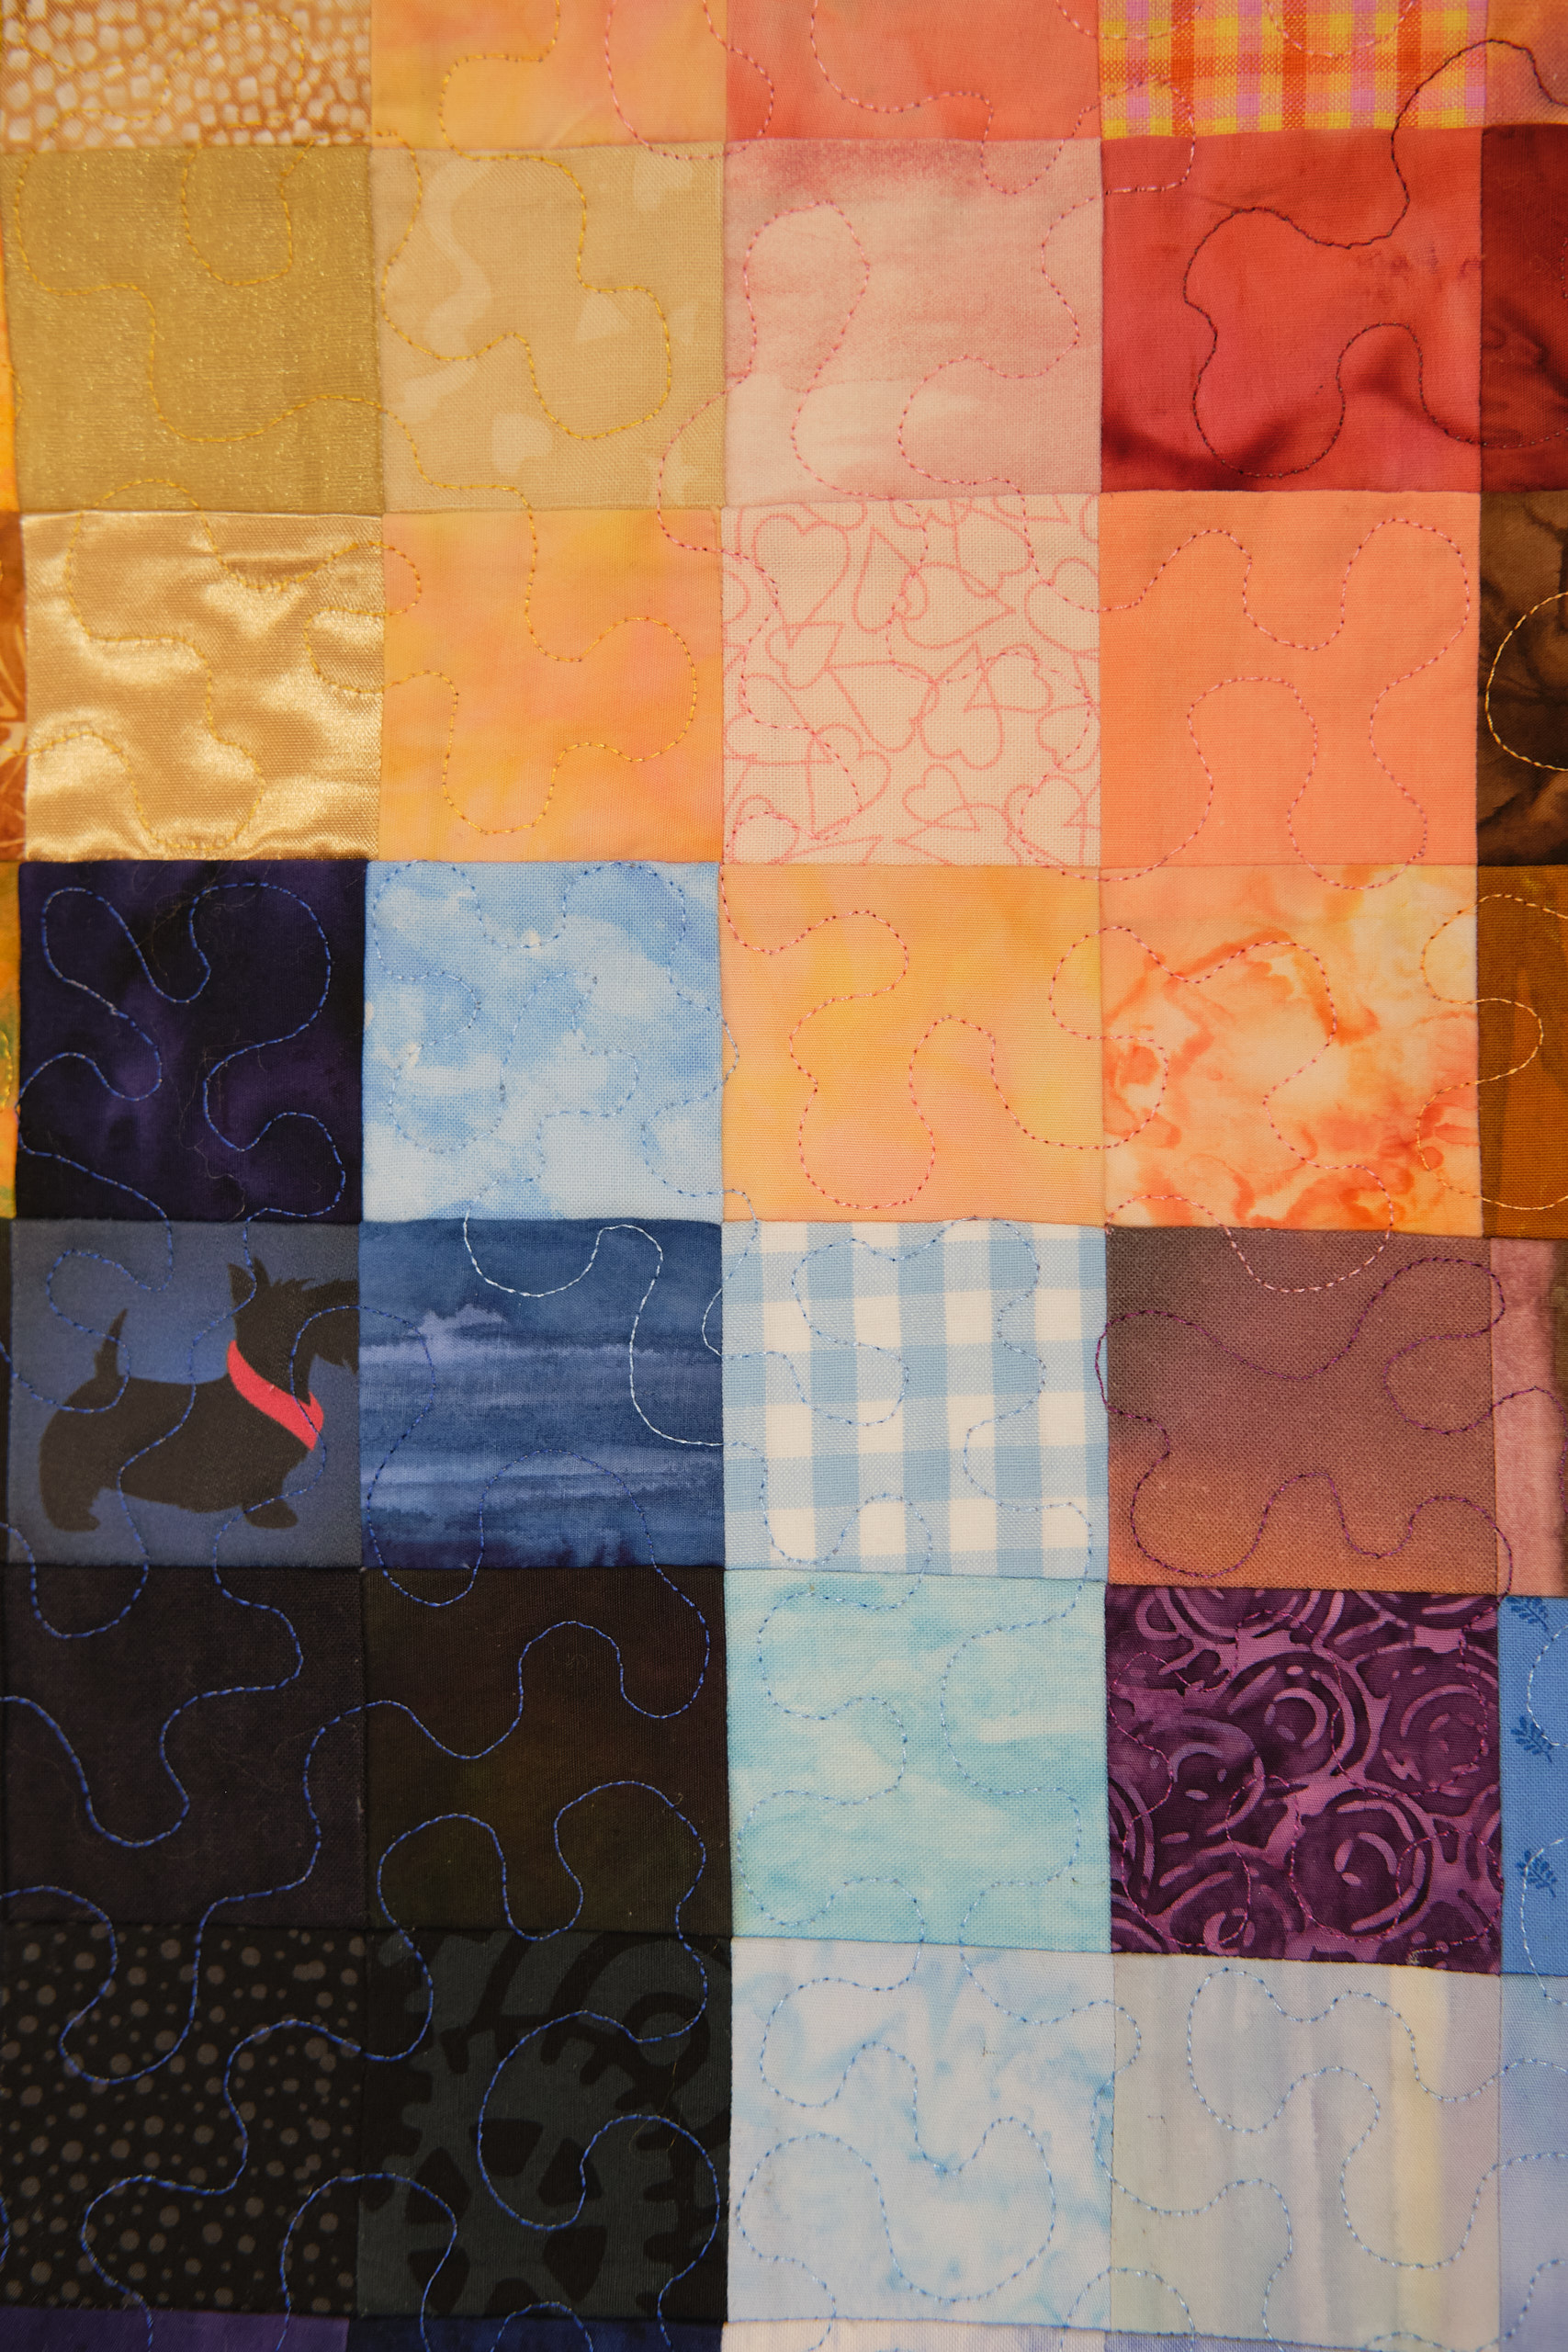
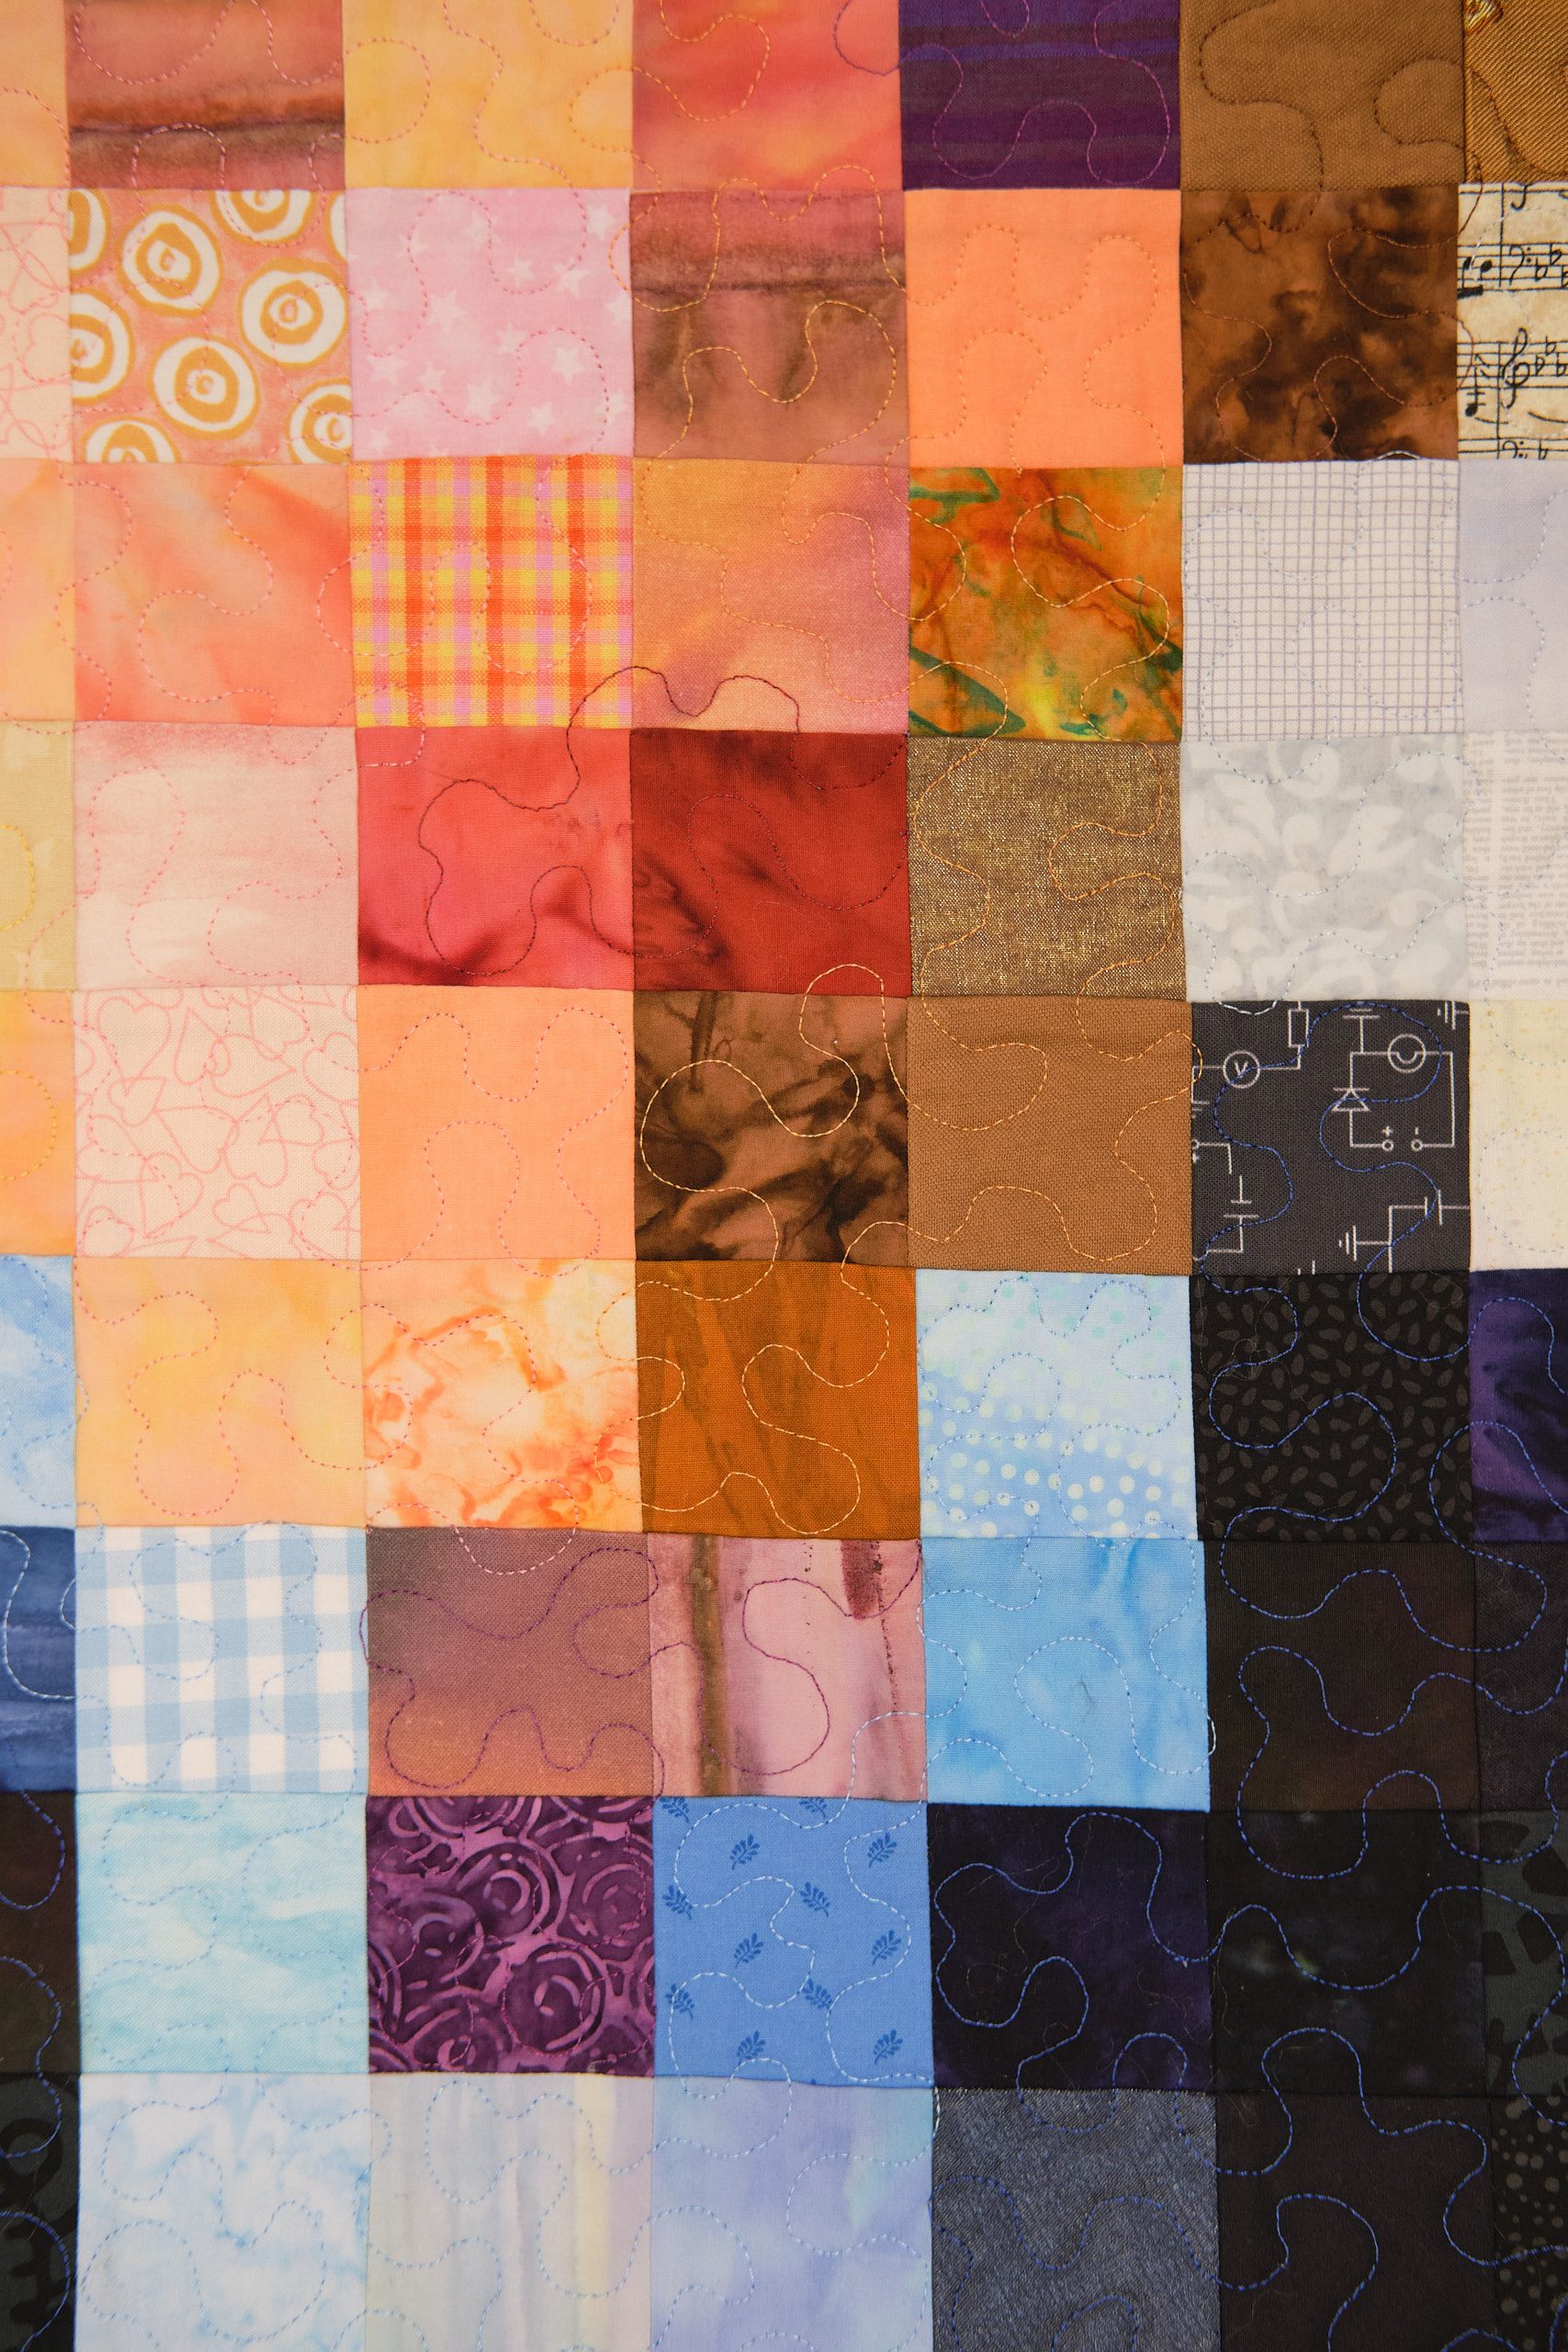
I printed out the pixelated image, tacked it to my design wall, and began digging through my quilting fabric stash for matching colors. I cut 2.5-inch squares of fabrics and tacked them up next to the printout. I easily matched all of the blue and off-white pixels, but struggled to find enough of some of the other colors and had to resort to some duplicates. I asked a friend to contribute a few fabrics from her stash, which helped to add some more gold, brown, and black pixels. I also used some fabric scraps from garments, including corduroy, liknit, brocade, and some shiny gold fabric (which I also reversed and used its matte back). I designed a label for the back and uploaded it to spooflower.com for digital printing. While I was at it I printed the original image, the pixelated image, and the CMU Scotty dog mascot in 2.5-inch squares as well. Then I drew a 2.5-inch grid on a piece of light-weight fusible interfacing and transferred the squared from my design wall to the interfacing.
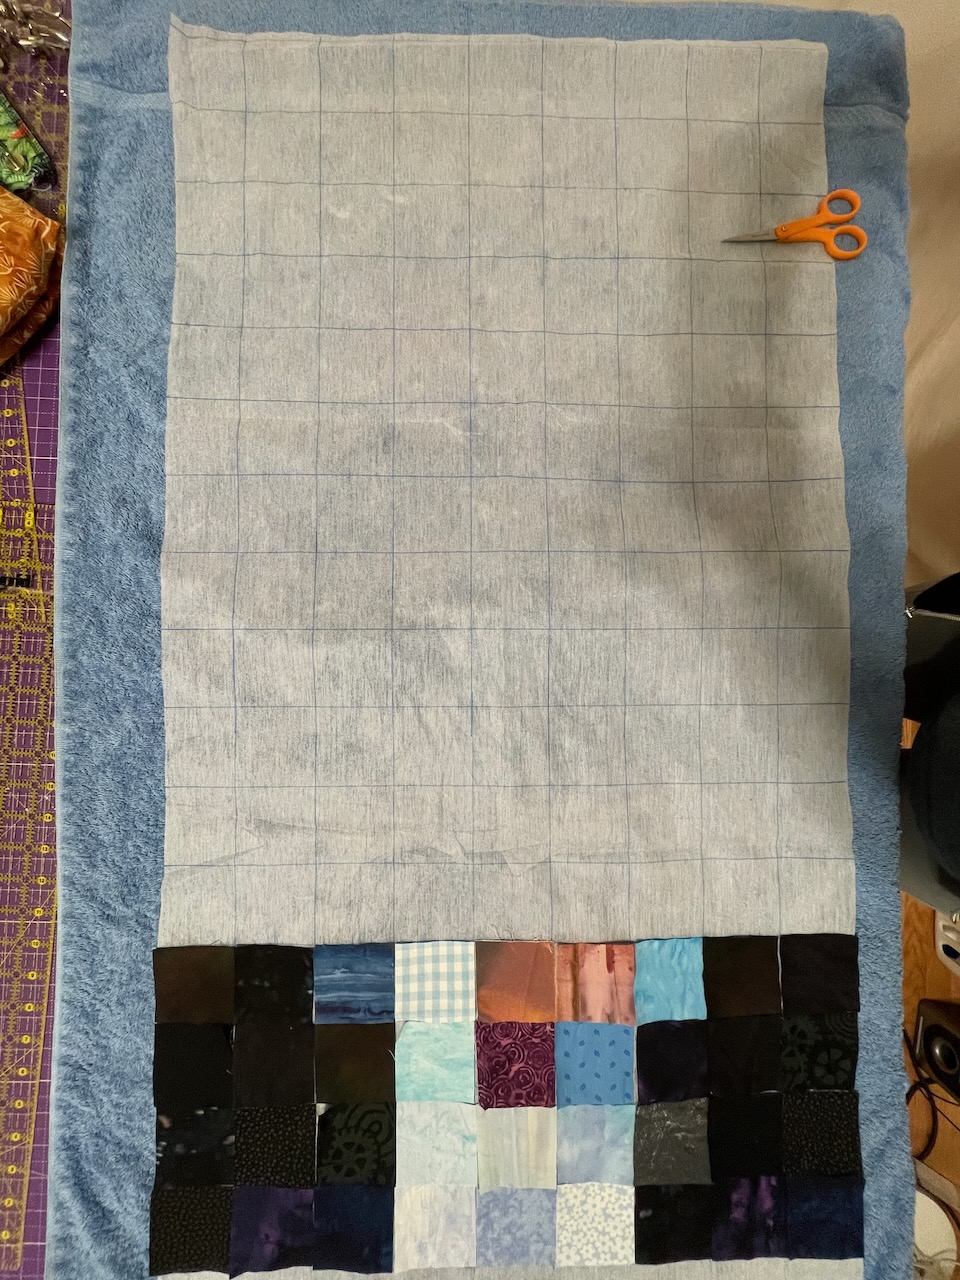
Once everything was transferred (and after a 4-day power outage that delayed this project), I used my steam iron to fuse the squares to the interfacing. Then I folded along each vertical line and sewed each column with a 1/4-inch seam allowance. I clipped the seams at each horizontal line and pressed the rows in alternating directions.
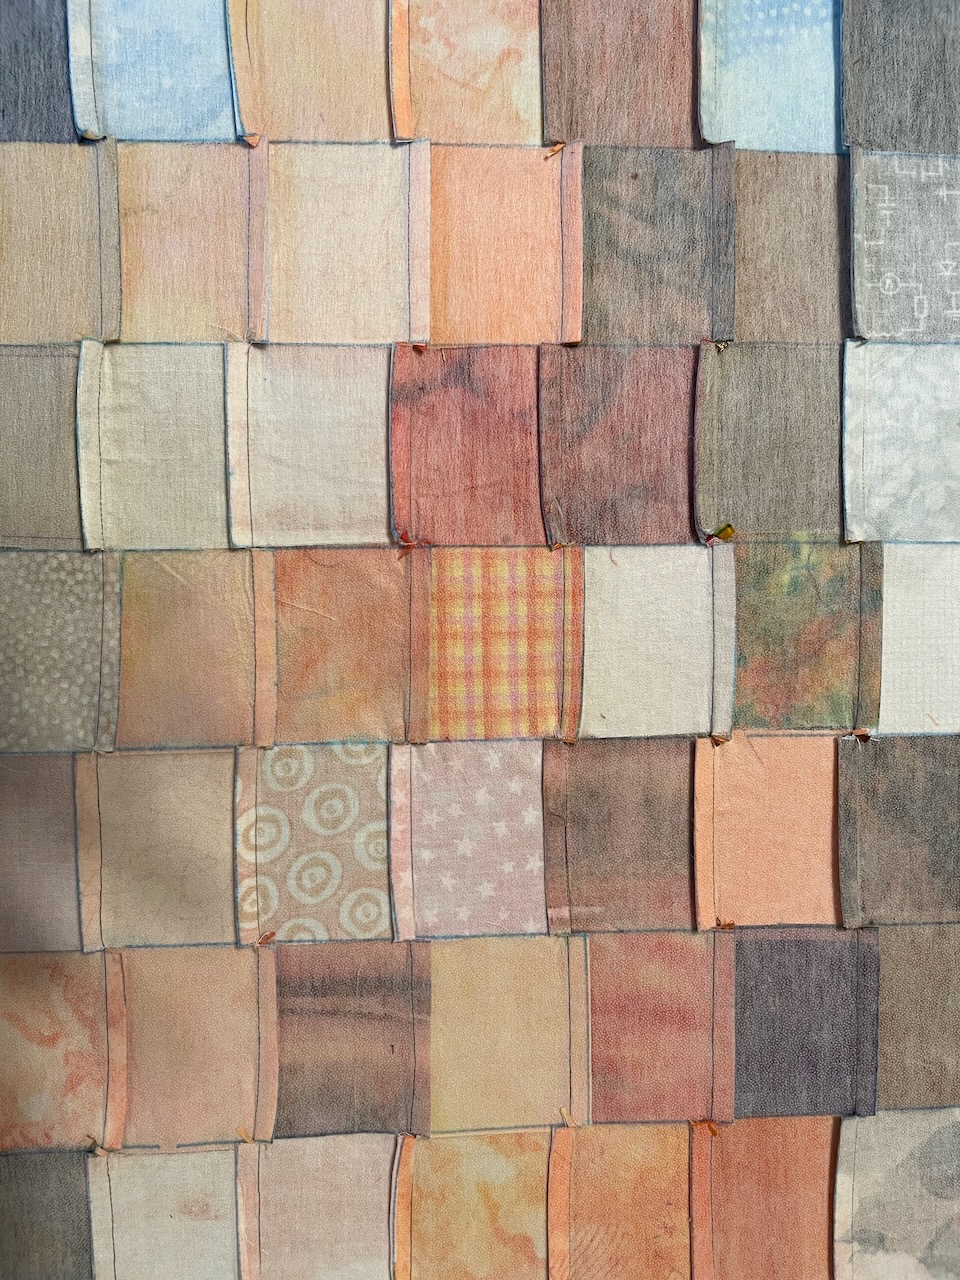
Then I folded along the horizontal lines and sewed each row.The result was a reasonably neat grid of squares without having to piece each one individually. The squares came out less square than I had hoped. The columns were almost perfectly sized but the rows came out a bit shorter than I had planned — note to self that the seam allowances in the second direction may “eat” more fabric than intended.
Next I layered the quilt top on a piece of fusible polyester cotton batting, and layered that on top of a fun newsprint fabric leftover from a dress I made my youngest daughter. I fused it all together and selected embroidery threads to match the colors in the quilt top.
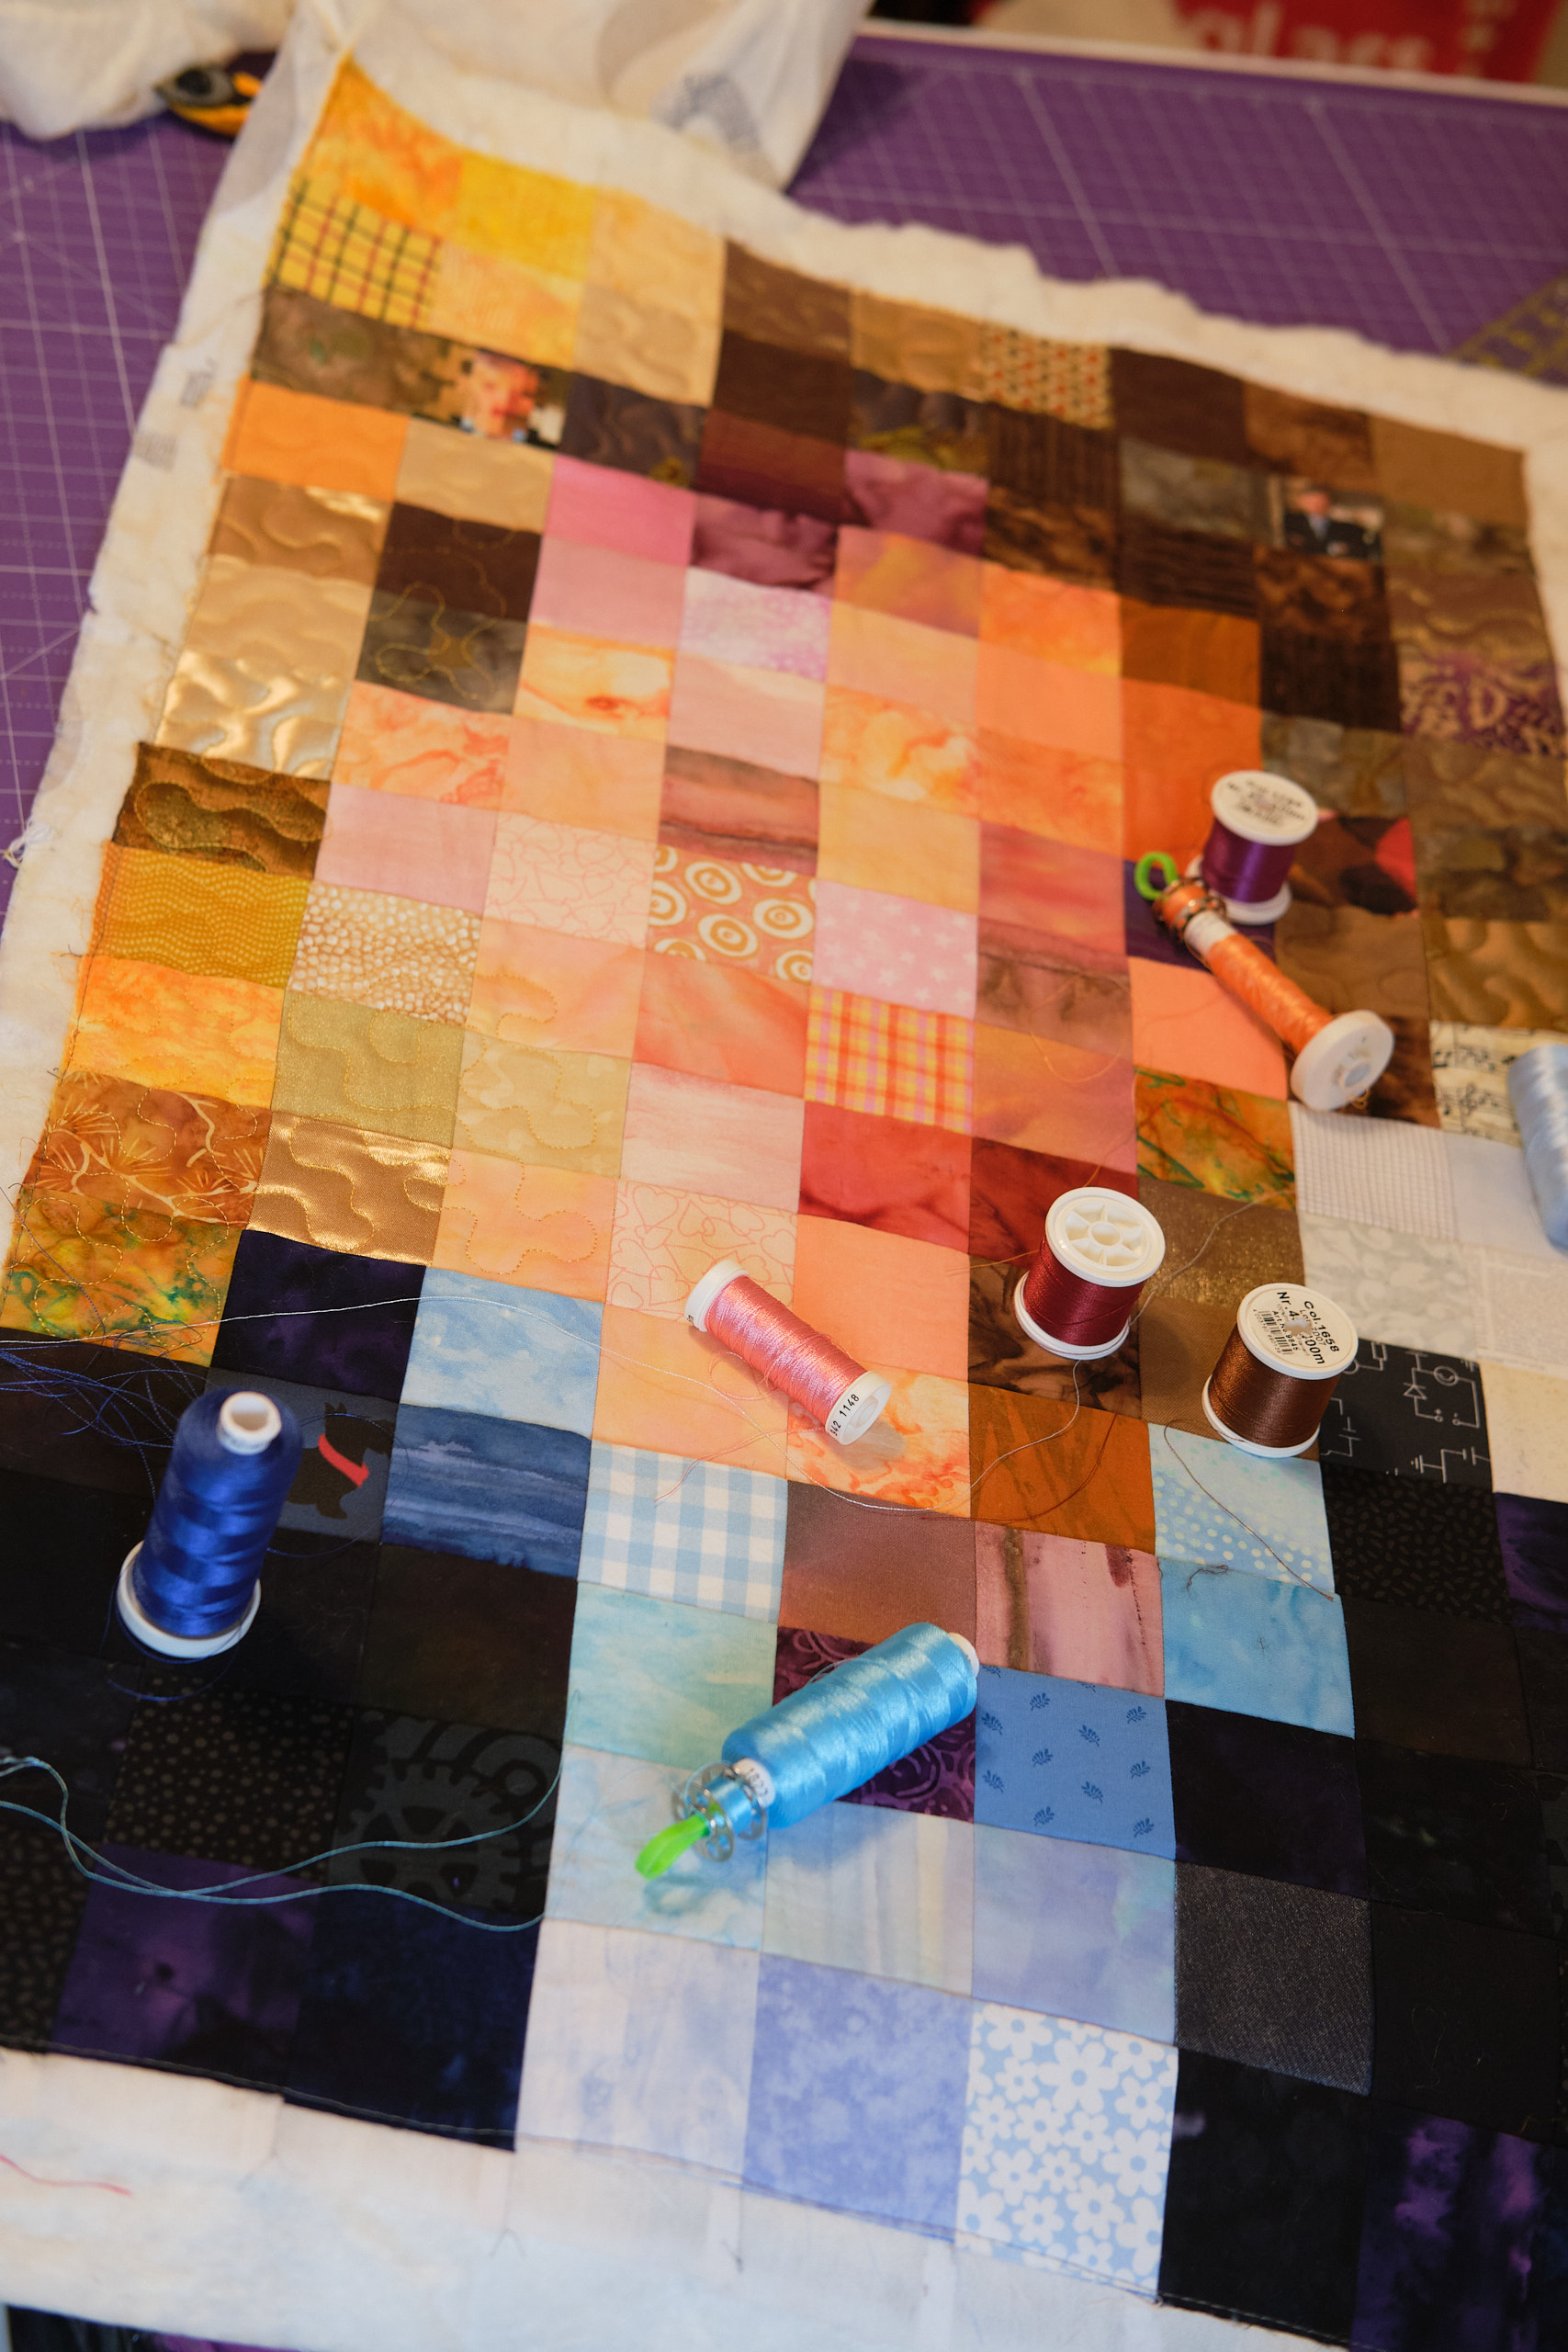
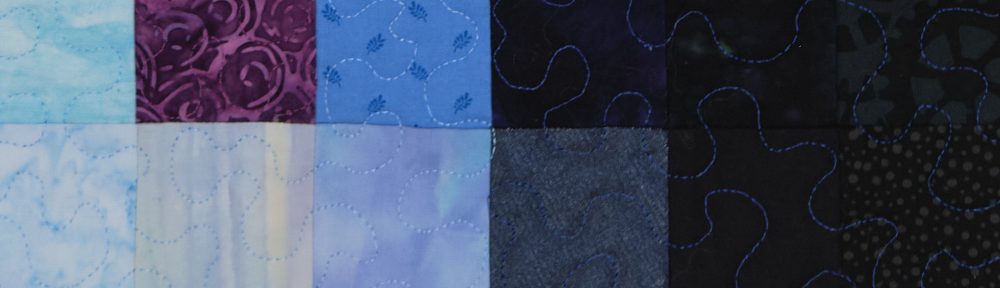
Finally, I was ready to quilt! I used my free-motion quilting foot to quilt the top with squiggles, basically doodling with thread. I signed my name in thread in the lower right.
Then I cut 1.25″ bias binding strips from a square of fabric and used my bias binding tool to make double-fold binding using my favorite technique. I sewed the binding to the front of the quilt, glue basted it to the back using Elmer’s glue, and then hand stitched in place.
Despite the power outage delay, I finished the quilt just in time to present at a scheduled farewell event.