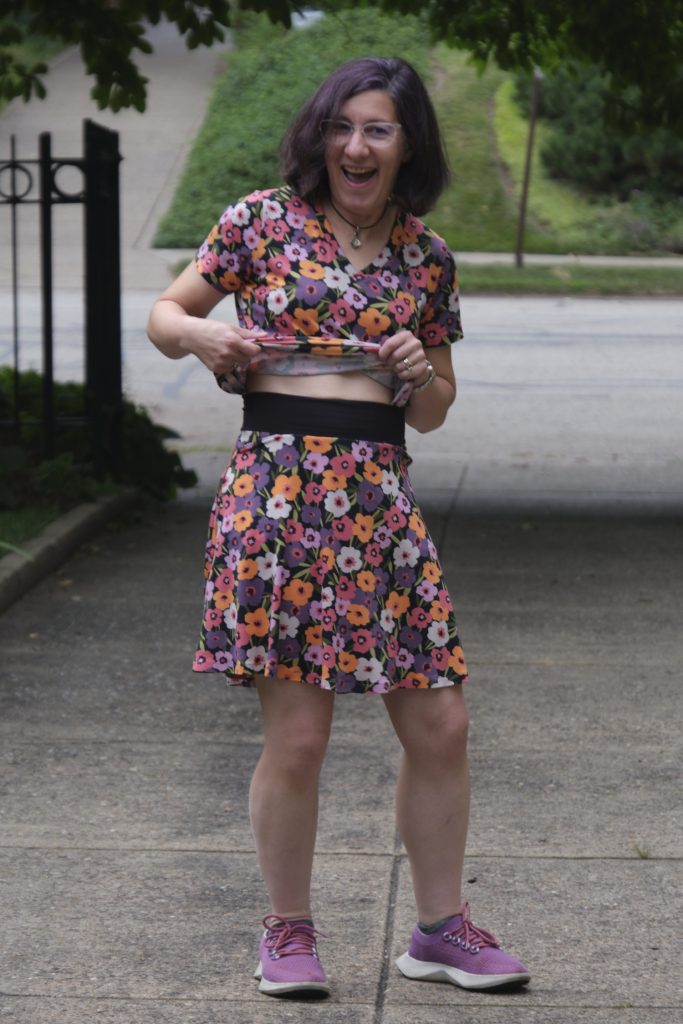
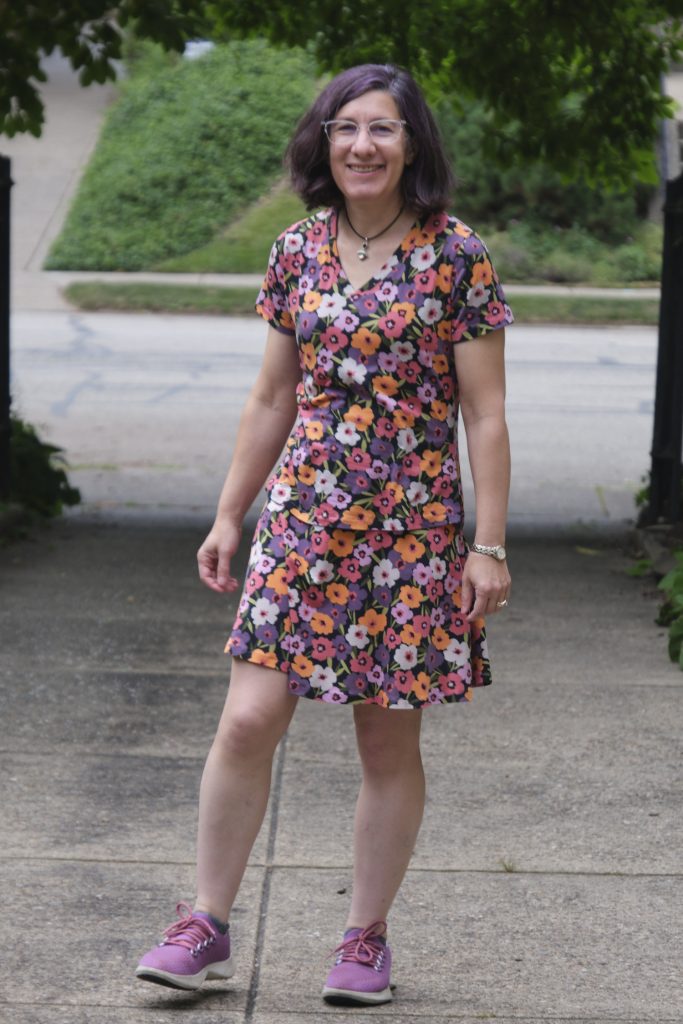
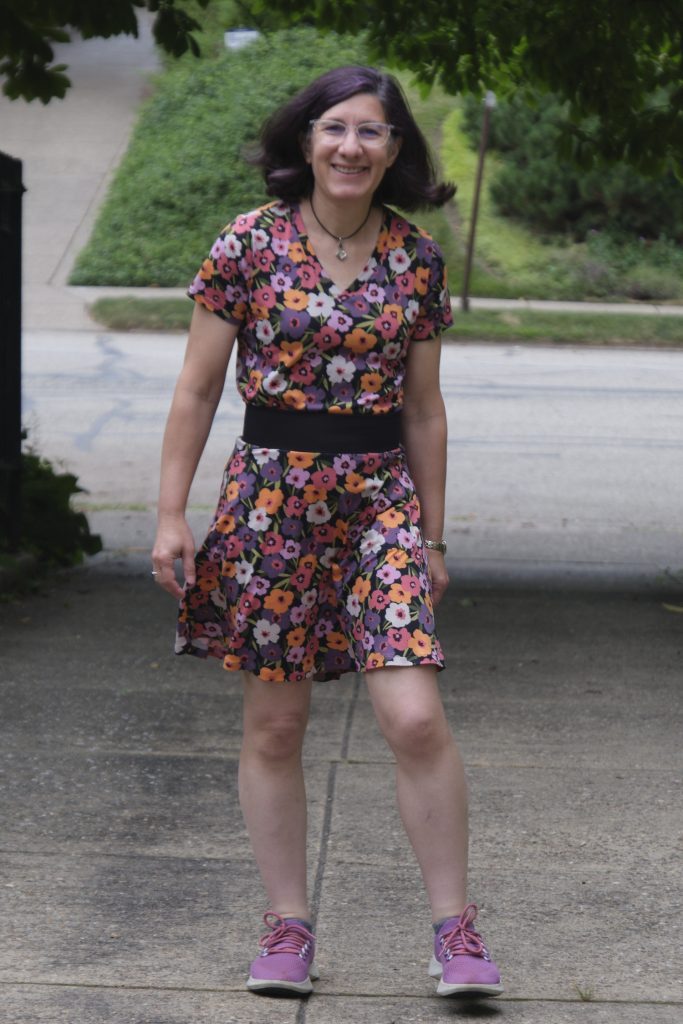
The Pattern Emporium Heartlight Stretch Flared Skirt pattern is a versatile pattern for very flattering flared A-line knit skirts of all lengths. It’s also super fast and easy, unless you’re me and you make it harder for yourself. I did two things that made constructing my skirt harder the first time (adding pockets and using a waistband fabric a lot firmer than the skirt fabric), but now that I know what I’m doing I can continue to add pockets and add firmer waistbands and it shouldn’t be too bad the second time around. And if you want to try either of these things, keep reading for some tips.
I was planning to use this bright floral DBP fabric for a dress, but liked how it went with my purple double-gauze pants, so made a Sinclair Bondi v-neck t-shirt instead. I also realized that the colors in the fabric coordinate with a number of other things I own (including my sneakers), so having separates in this fabric would be useful. I decided to make a skirt, and coincidentally Heartlight was the Friday discount pattern a couple of weeks ago, so I bought it and figured I would give it a try. I loved the shape of the skirts this pattern makes and the soft yoga waistband, but I was disappointed it didn’t come with pockets. I read on the PE Facebook page that people had added pockets, some using another PE pattern that I don’t own, and others improvised based on the pockets in PE pants patterns.
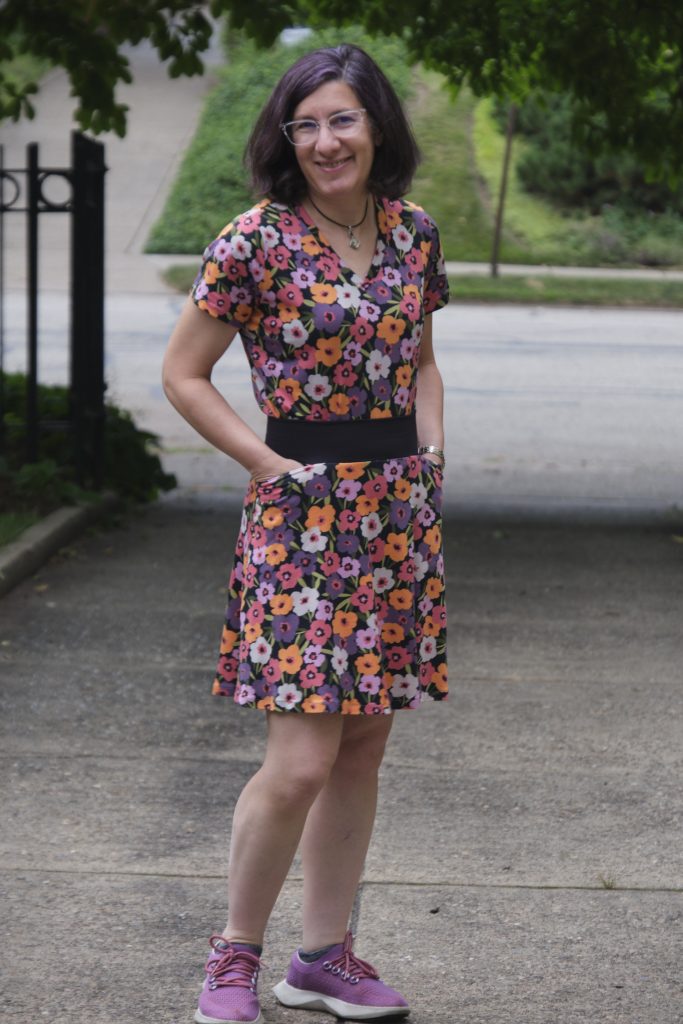
I cut the pattern out using my projector. I cut a size AU10 about 2 inches above the knee length (thinking that since this wasn’t a petite pattern, this is what I would need, but it actually ends up being more above the-knee than I was expecting). The skirt front and back plus the pocket pieces I cut used less than a yard of fabric. If you are taller or want a longer skirt it will obviously use more fabric, but the pattern has some tips about how to cut the skirt in pieces to use the fabric more efficiently and to allow this pattern to be used with narrower fabrics. Because DBP is very soft and stretchy, it does not have enough hold for a yoga waistband unless you add elastic or line it with another fabric. Especially since I was planning to add pockets, I knew I needed a different fabric for the waistband. I also realized that my floral fabric was very busy and might benefit from being broken up by a black waistband. I decided to use black 256 GSM athletic brushed poly for a nice firm yoga waistband.
I referred back to the PE Walk Boldly pants pattern jeans pocket instructions. As the shape of the hip on the pants does not match the skirt I could not use the pants pattern piece, but I improvised following the same concept. I made pocket rectangles about 6 inches wide and 8.5 inches deep, and then doubled them for the front and back of the pocket bag. I angled the rectangle to align with the skirt side seam and adjusted the top edge to align with the waist of the skirt. I opted for a straight slash pocket opening.

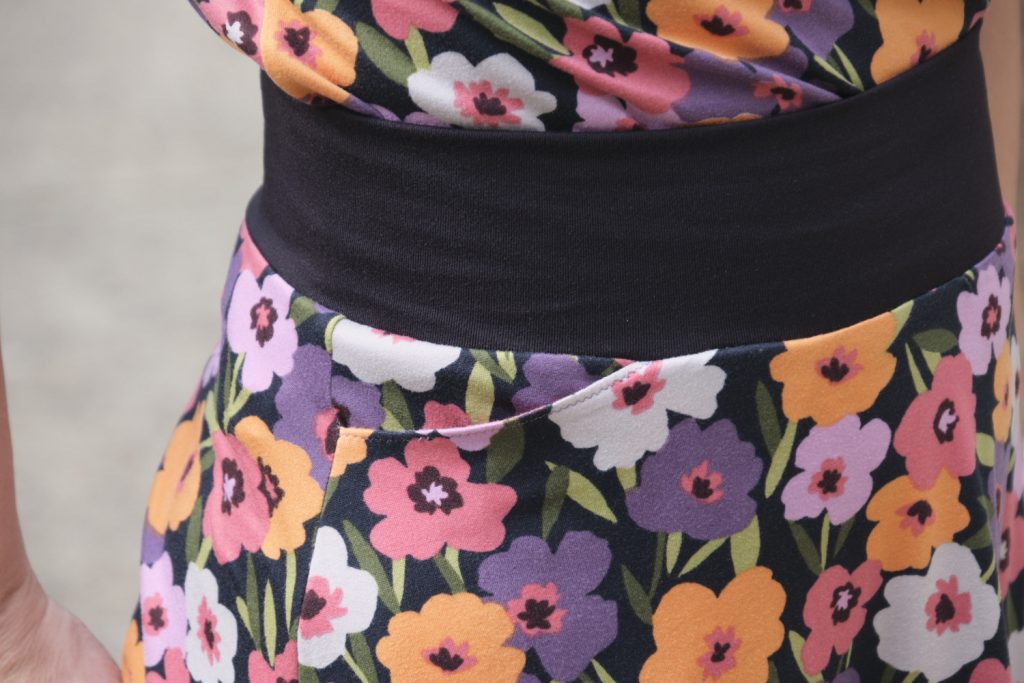
Once I figured out how to make the pockets work they were pretty easy to cut and sew. I stitched the top of the pocket to the skirt front, understitched and topstitched, then folded it in half, surged the bottom, and then basted the rest of the pocket top and side to the skirt front piece (ok I realize that really requires an entire tutorial and not just a diagram and single sentence unless you are already familiar with making these sorts of pockets). The pockets are big enough for my phone and are well anchored in the waistband.
My biggest problem came attaching the waistband, largely due to the difference in stretch and firmness of the two fabrics. I followed the pattern instructions and used the quarter method to distribute fabric and pinned in place with 8 pins. I knew that stretching the athletic knit waistband to fit the DBP skirt would be difficult, so I decided to machine baste it before sewing it together. It was a complete disaster, with parts bunched up too much and some parts not joined together at all because the waistband had curled under. I unpicked a few spots and tried to fix them, and grew increasingly frustrated as I went. I eventually declared it a mess and went out to dinner. After I came back I unpicked the entire waistband (easy because it was basting stitches) and started over. This time I started by basting the two edges of the yoga waistband together with a wide zigzag stitch over the edge. This ensured the two edges would stay together and prevented them from curling. Then I applied the quarter method again, but this time used a lot more pins. I machine basted the whole things and it looked much better. Finally, I surged the layers in place, stretching the waistband as I went. After that all that was left was to hem the bottom, which I did using hem tape and a zigzag stitch.
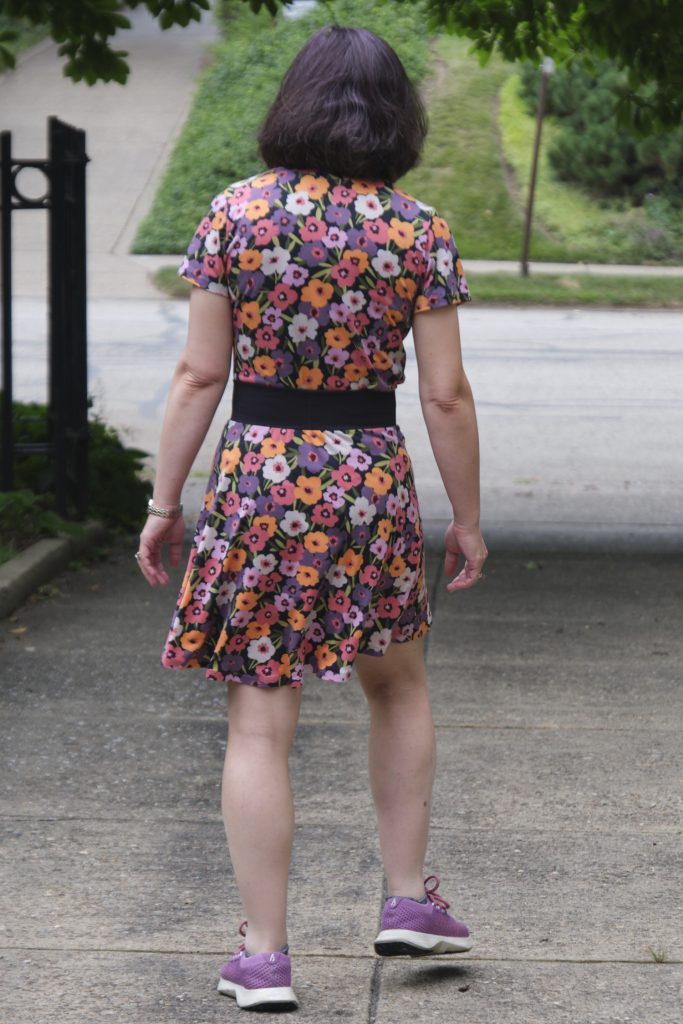
The end result is comfortable and looks good, and I even like it untucked too… actually I’m more likely to wear it that way. I like the fact that the skirt is a little big swishy, without having all the fabric of a full-circle skirt (I love those too, but not for every occasion) and that it doesn’t require any gathering to make it. I’m pretty happy with how the pockets came out, although with DBP you always have to be careful how you load pockets to keep them from stretching out awkwardly. The PE “foxy” pocket style would also probably work with this pattern. Although the firm athletic knit was a bit of a pain to deal with, it makes for a great waistband that feels like it will stay put as I wear it, even with loaded pockets. I might make a black skirt entirely out of this fabric. I would also like to try this pattern in a rayon ponte and also try a longer length.
