After making my tulip Onyx Blazer, I went down a rabbit hole of fitting adjustments. My first Boo & Lu Onyx fit reasonably well, but seemed too loose in the back. After much experimentation and sewing up an entire muslin of the hip-length version with pockets out of an old couch cover, I came to the conclusion that 1) a size 4 would fit me better than the size 6 that I sewed and 2) I need a round back adjustment. Although I have recently also discovered that I need sloped shoulders, broad shoulders, and sway back adjustments on some patterns, it wasn’t clear that these were needed here so I decided to proceed with my cropped purple scuba suede Onyx without these adjustments, although now I am reconsidering.
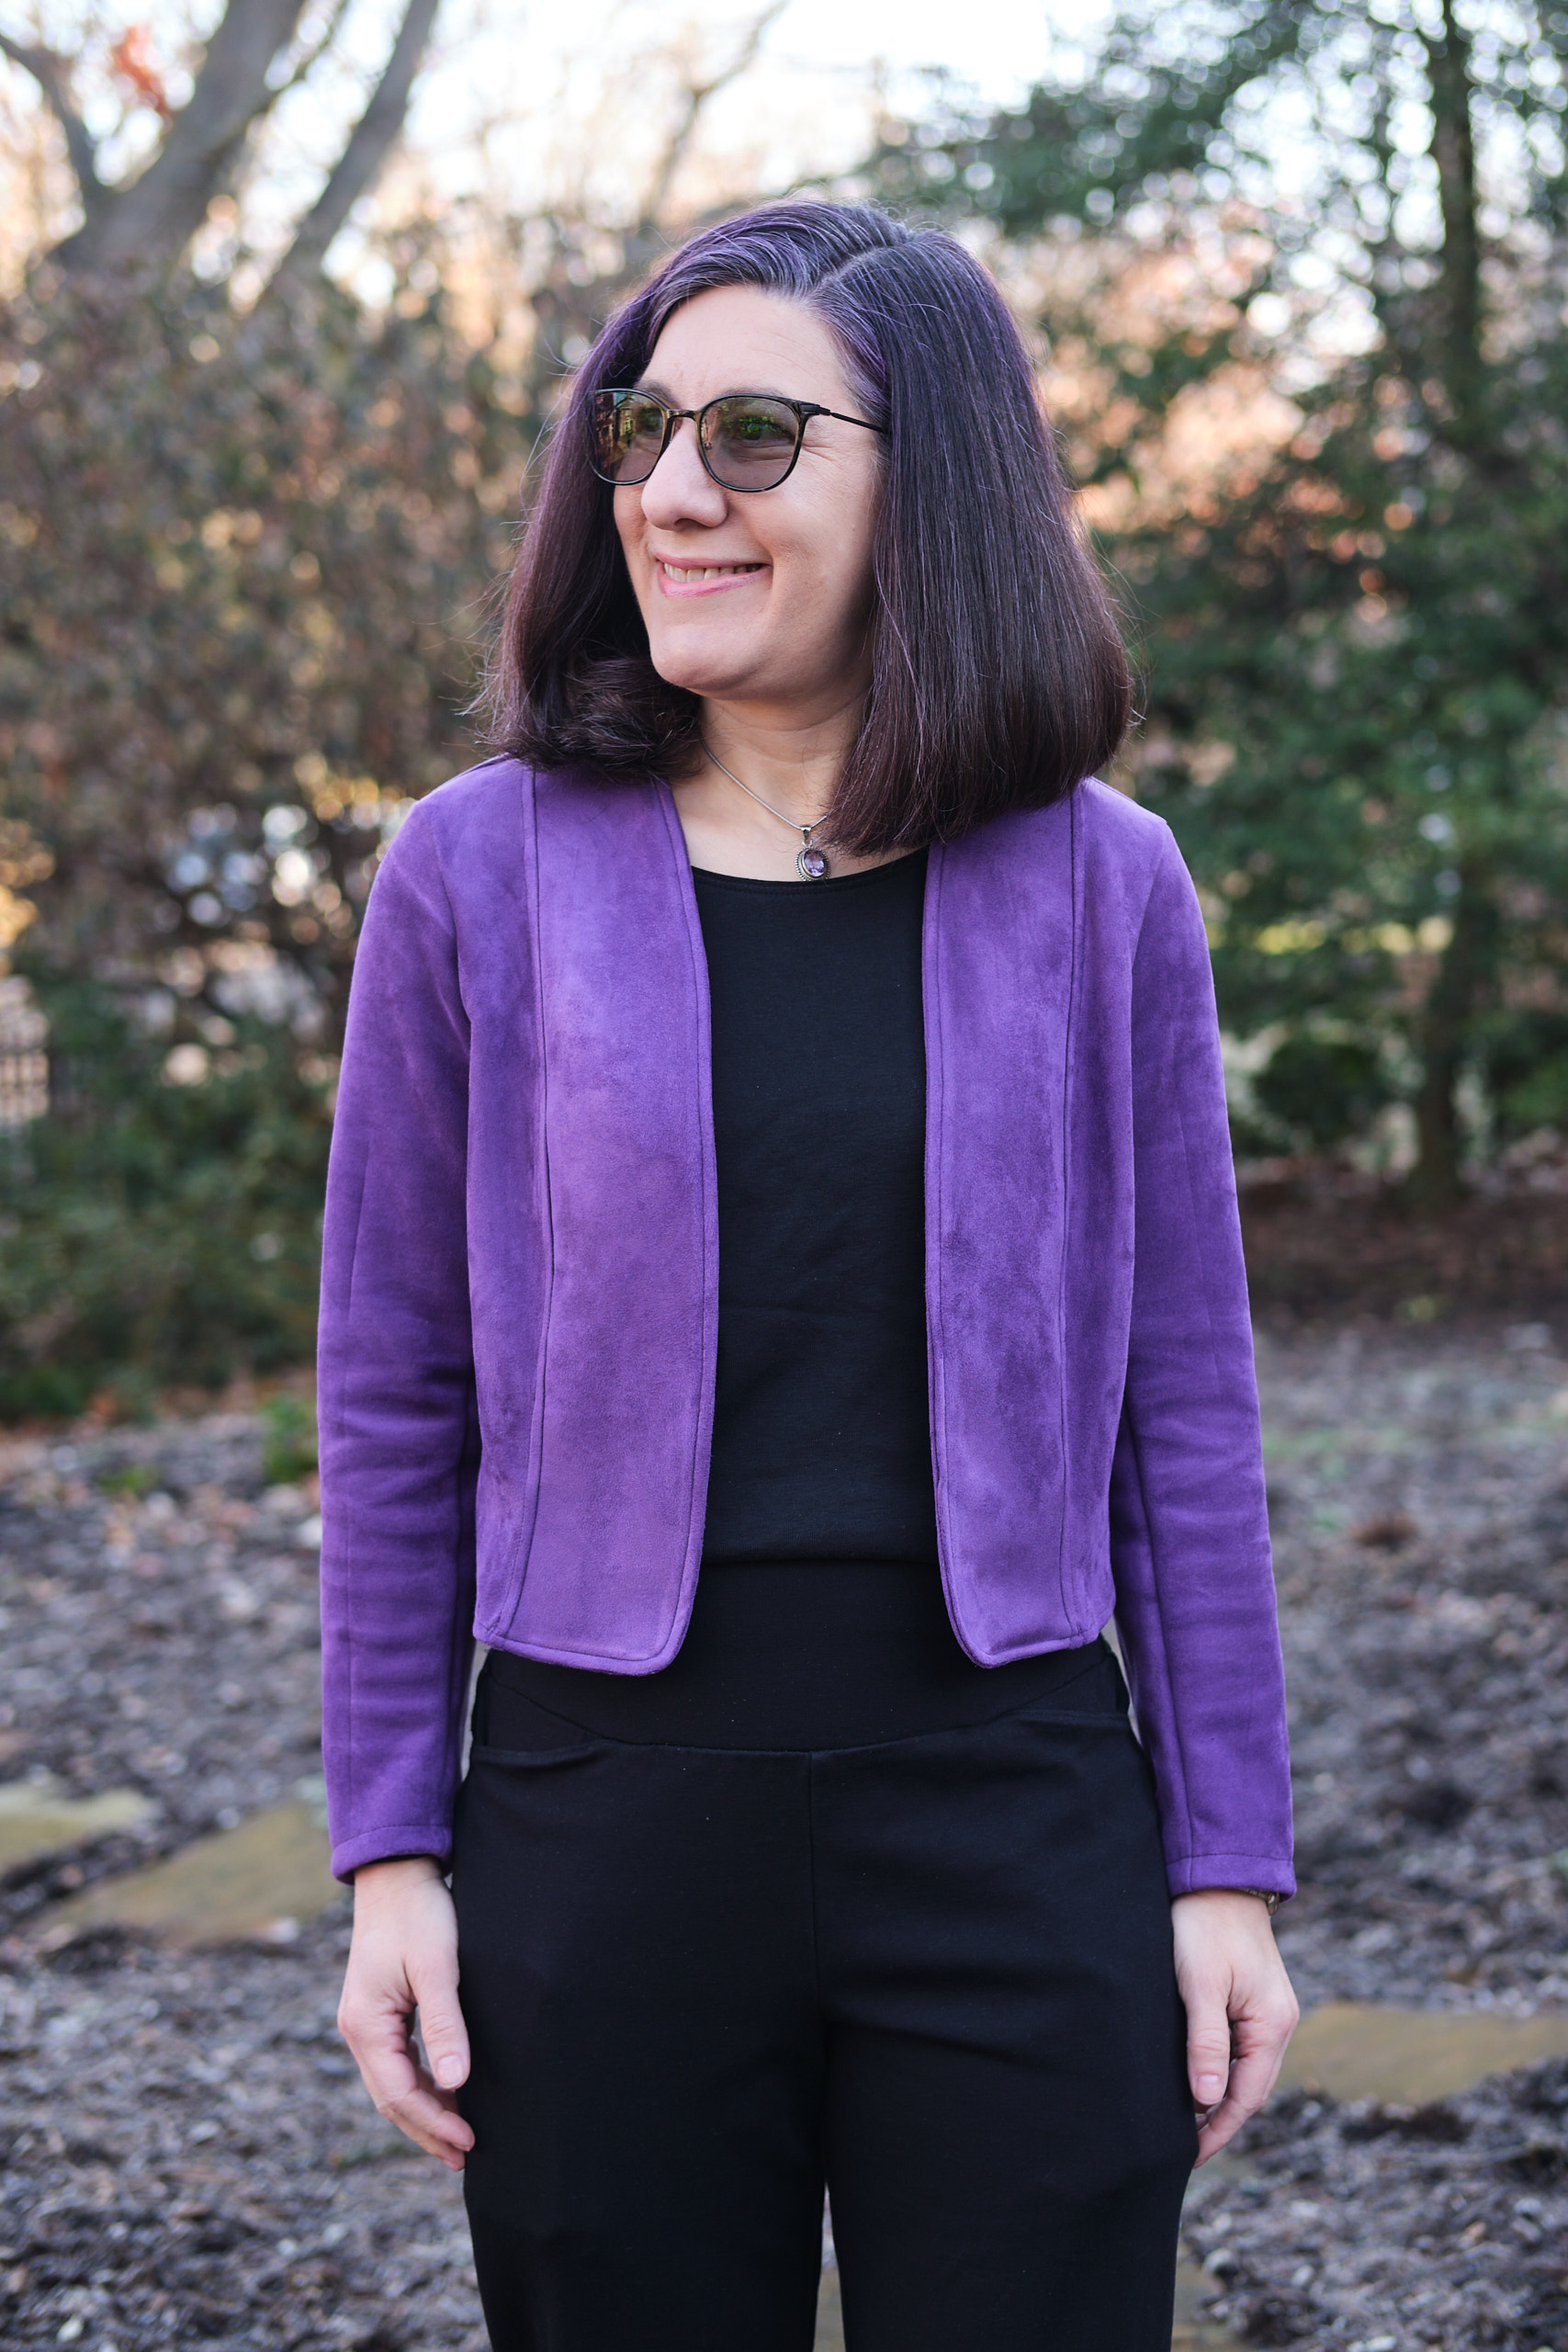
I finished the blazer yesterday and it was warm enough this morning to snap a few photos outside before I walked to work.
I started with the size 4 pattern, opened it in Affinity Designer, and added two 5/8-in round back adjustments near the top and bottom of the armscye. I had added a small-bust adjustment to the size 6 version that was a bit difficult to execute and did not result in the contour I really wanted. I read in the Boo & Lu Facebook group about an alternative SBA that involved simply redrawing the inner curve on the side-front pieces to have less of a contour, and then shortening the center front pieces to match the length of the new curve. This was easy to implement. I also slightly lowered the back neck line (I find this more comfortable, in part due to the round back issue) and adjusted the neck facing accordingly. I used the crop length and extended it by two inches so that it wouldn’t be quite so short. I shortened the sleeves by two inches because I am short and have short arms. Finally, instead of using the front facing pieces, I cut extra center front pieces to use as facing. This allowed me to solve the problem of the front facings not lying flat by stitching them down when I top stitched all the seam joining the side and center front pieces.
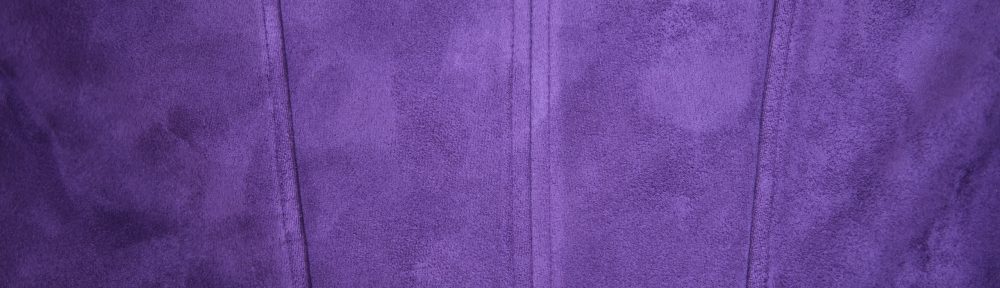
I cut out my cropped onyx from leftover purple scuba suede I had used to make a Sinclair Alana dress two years ago. This fabric is thick and stretchy, so wasn’t the easiest to work with. I fused ultra-light interfacing to the facing pieces, which stabilized them. However, even though I had stay-stitched as recommended, it was still difficult to join the facing pieces to the front pieces that did not have interfacings as the front pieces had a tendency to stretch more than the facing pieces I was trying to match them with. I had to unpick and resew one side twice until I got it right. I also wasn’t able to achieve a really sharp edge. After it was all sewn together I topstitched along the front and back seams, using my quarter-inch edge foot as a guide. My first attempt at this was a mess — the lines weren’t straight and the facing didn’t fully catch in the stitching. I unpicked the top stitching and used Steam-a-Seam 2 fusible tape to glue the edge of the facing to the inside seam it was supposed to align with. Then I carefully redid the stitching and it came out much better.
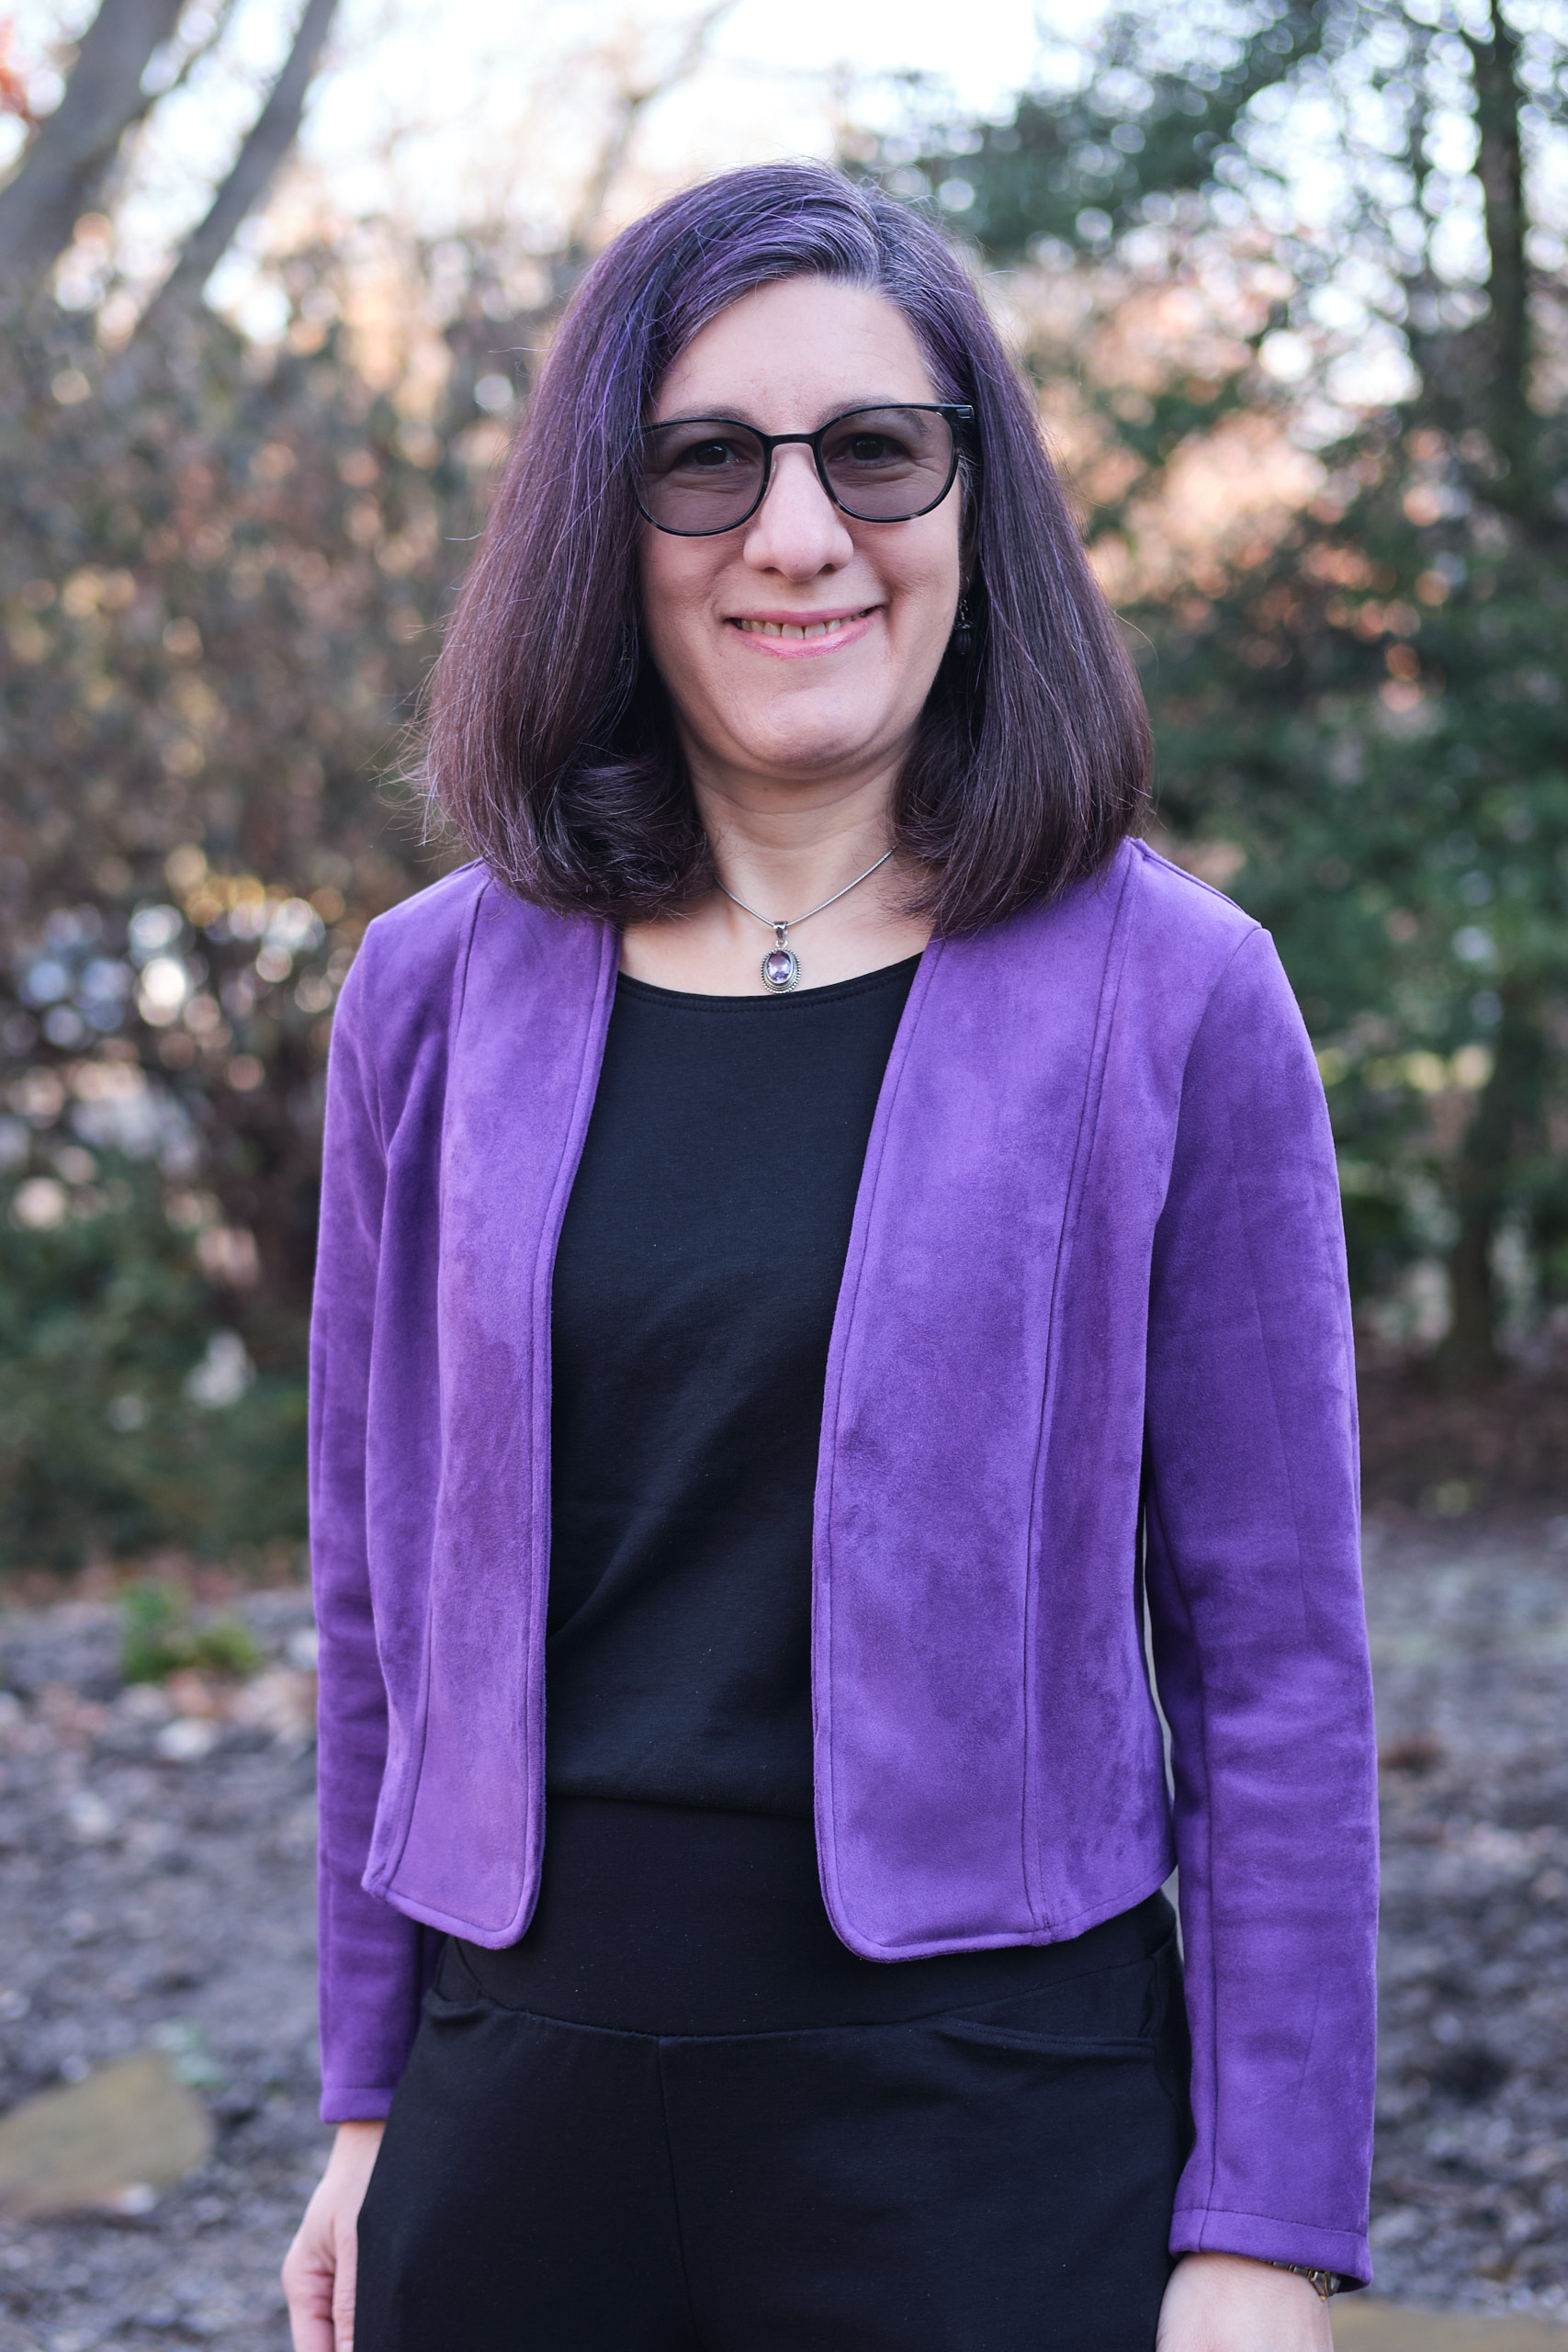

I’m pretty happy with the end result. It fits better than my first Onyx and the fabric is fun. The length works really well with dresses, but as you can see here it also works with pants. I don’t think this length looks as good with shirts not tucked in though, so I’ll probably make a longer one. It does go perfectly with the dress I made from the same fabric. The rounded back adjustment and lower back neck were a good improvement that makes the blazer more comfortable to wear and keep the back closer to my body. I feel like there is still something more I should be doing on the side back pieces to reduce the drag lines pointing to my armpits (which were not as prominent on my muslin, but maybe because it was made from a woven fabric with less drape). Maybe I do need a sloped shoulder adjustment? Also note that the front is fairly open in the photos and so you can see some fabric bunching under the right arm. When I pull the front pieces closer together that goes away.
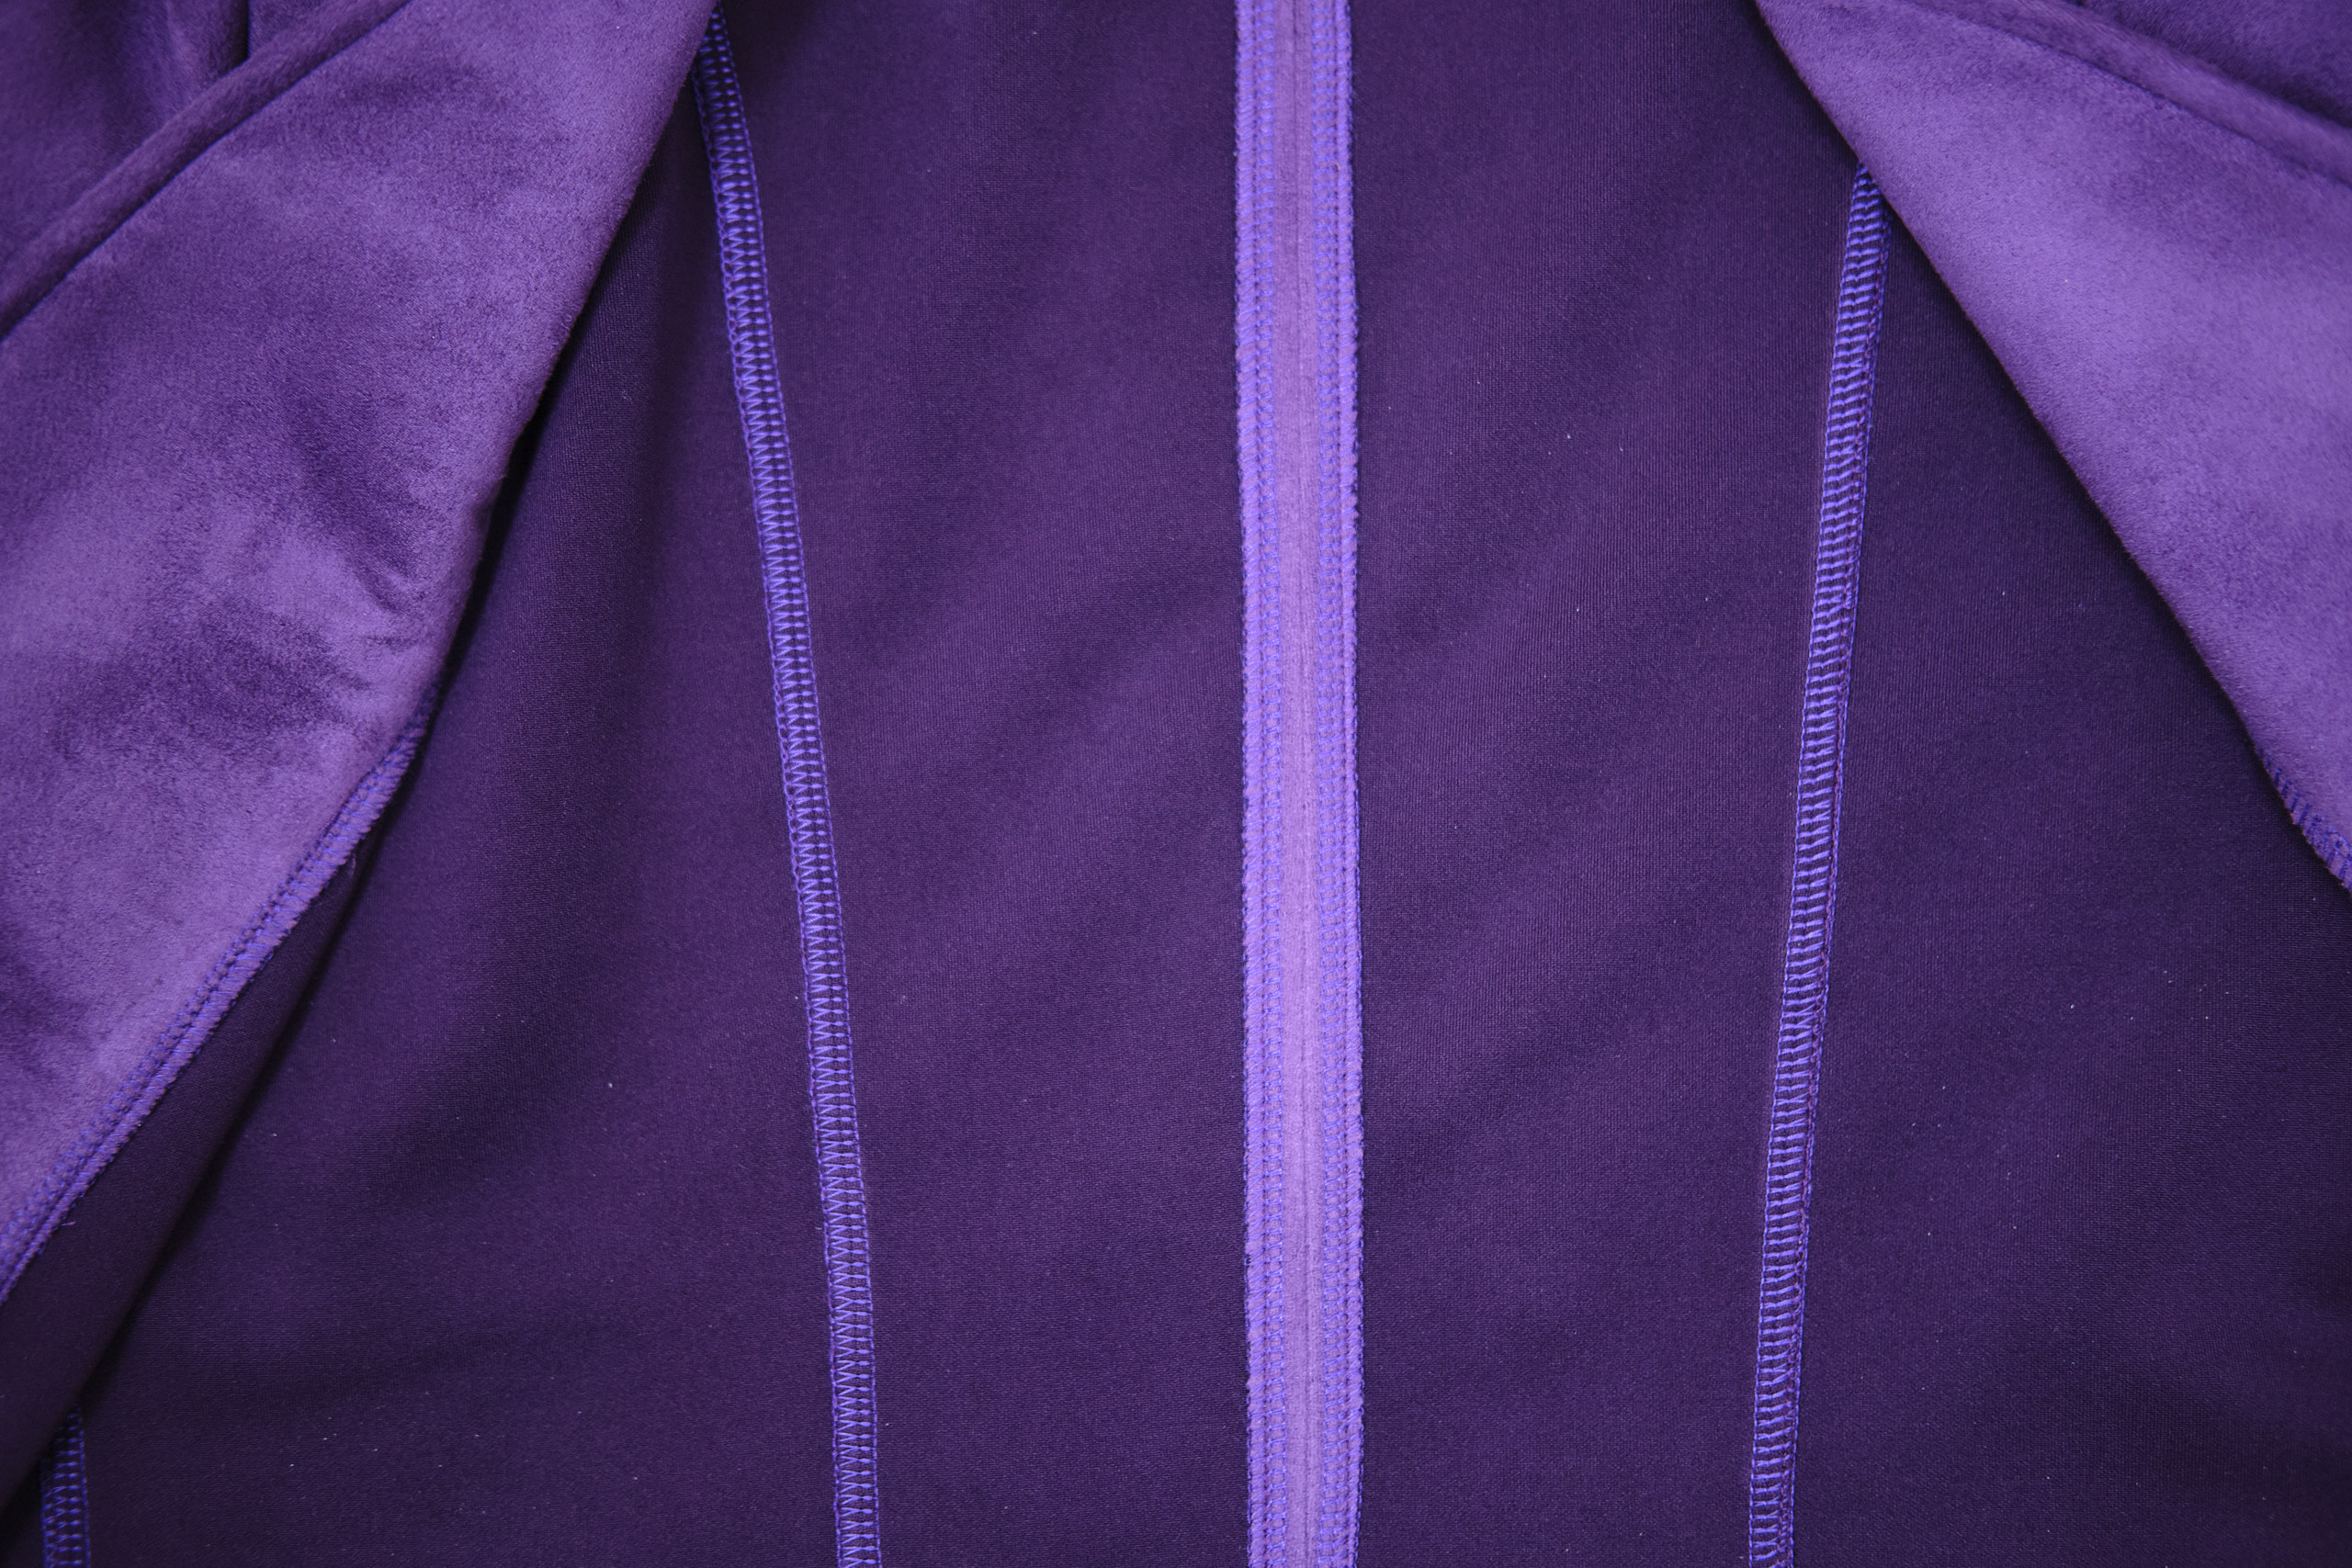
Even though I didn’t do any of the fancy seam finishes, I do like how the seams look on the inside, sewn with my serger and neatly top-stitched in place. I did sew the center back seam on my sewing machine and serged the edges so that I could press it open.
Now that I have a collarless blazer pattern that fits pretty well, I want to make more! (But maybe keep trying to address the back drag lines with a sloped shoulder adjustment?) Next up, the hip-length version with pockets.