I’ve collected a few Boo & Lu PDF sewing patterns but had not gotten around to sewing any of them until now. I’ve been thinking about sewing up the Onyx blazer since it came out because it has princess seams for nice shaping, can be made in either knit or woven fabrics, and it is collarless. I have a closet full of blazers with collars, but over the past few years have found that blazer collars are increasingly uncomfortable on the back of my neck so I’m looking to expand my collection of collarless blazers, which it seems are harder to find (both ready made and in patterns). The Onyx also has several options, including a hip-length version with optional pockets, a peplum version, a tulip-bottom version, and a cropped version. I may eventually try them all. The pattern also includes options for bows on the back of the blazer. While they are cute, I am less likely to add them to a blazer for me to wear. There is a kid’s version of this pattern and I think the bows would be super cute on a blazer for a child.
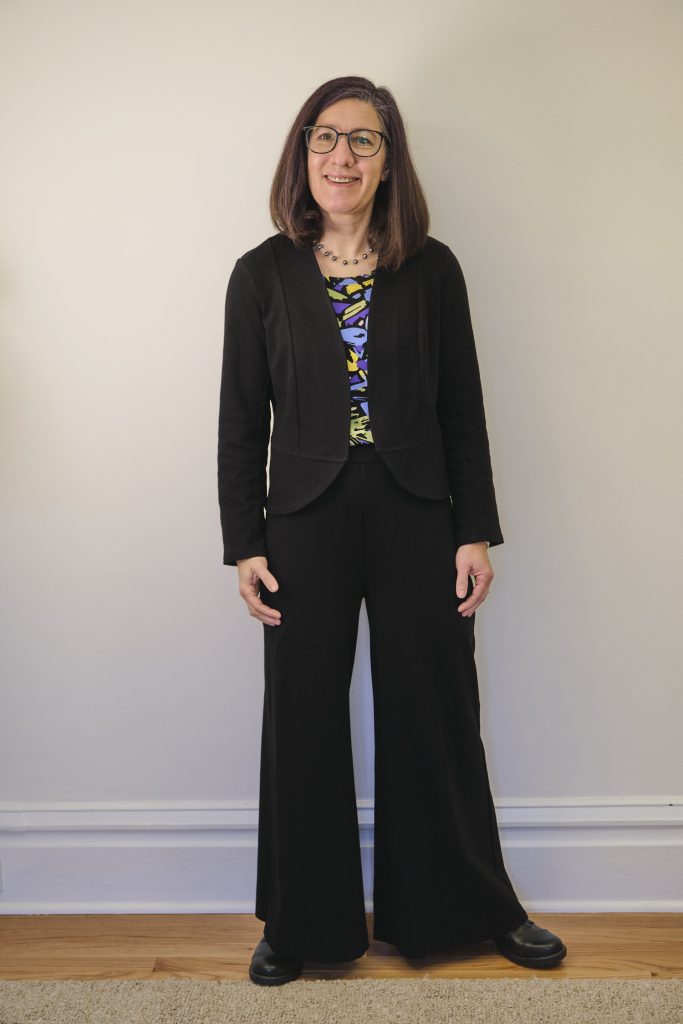
I started with the tulip version since it looked like a style I would likely wear a lot and it looked like I had enough leftover black ponte fabric from a pair of pants to make it. It has a lot of pieces, but they are all fairly small, so I was able to make good use of some of the scraps. This version requires only a little bit more than a yard of fabric (assuming ~58 inch width) in my size. I made a size 6, with a 1/2-inch small bust adjustment and sleeves shortened by 2 inches. (And it matches the pants — PE Walk Boldly — so now I have a suit!)

The pattern includes a lot of instructions and notes, including suggestions for a full bust adjustment and small bust adjustment. In my case, I needed a small bust adjustment, something I had never attempted previously. The pattern has step-by-step instructions for the full bust adjustment, and then suggests doing the opposite for a small-bust adjustment. Most online tutorials take a similar approach. Bust adjustments are somewhat complicated as they involve making adjustments to a flat pattern piece designed to fit a round part of the body. Generally, you take paper pattern pieces and cut them apart and tape them back together. Since I am working with projected PDF files, I figured I should be able to do this electronically in Affinity Designer. I found an AD tutorial that explained how to do full bust adjustments. After watching the tutorial I attempted to follow the steps on my own, except the opposite. I realized that my AD skills are still fairly poor, but I learned quite a few things about using AD in the process — I should really watch more AD tutorials when I get a chance! I had trouble getting my head around how to execute this adjustment in the opposite direction, but after a lot of puzzling, I eventually figured it out and completed an adjustment that seems to have worked out ok.
I projected my pattern pieces with the adjustment and cut out the Onyx tulip pattern with no other adjustments. I knew the sleeves would be too long (they always are unless the pattern comes in petite sizes) but decided to cut the full length and adjust the sleeves on the finished garment after I tried it on.
The pattern has 3/8-inch seam allowances and offers five options for finishing the seam allowances. I chose the easiest, which was to just surge all the seams with a 1/4 seam allowance, trimming off 1/8-inch as I went. Since ponte is a knit, this works well and with all black fabric and black thread, it looks fairly neat too, although of course not nearly as nice as a bound seam allowance. The main downside is that ponte is fairly thick fabric and it would have been nice to be able to press some of the seams open rather than having them pressed together to one side. I think if I make another Onyx in ponte or other heavy fabric I might take the time to serge all the edges (without trimming) that will be seamed and then sew the 3/8-inch seam allowance on my sewing machine. But I am somewhat of a lazy sewist, so then again I might not!
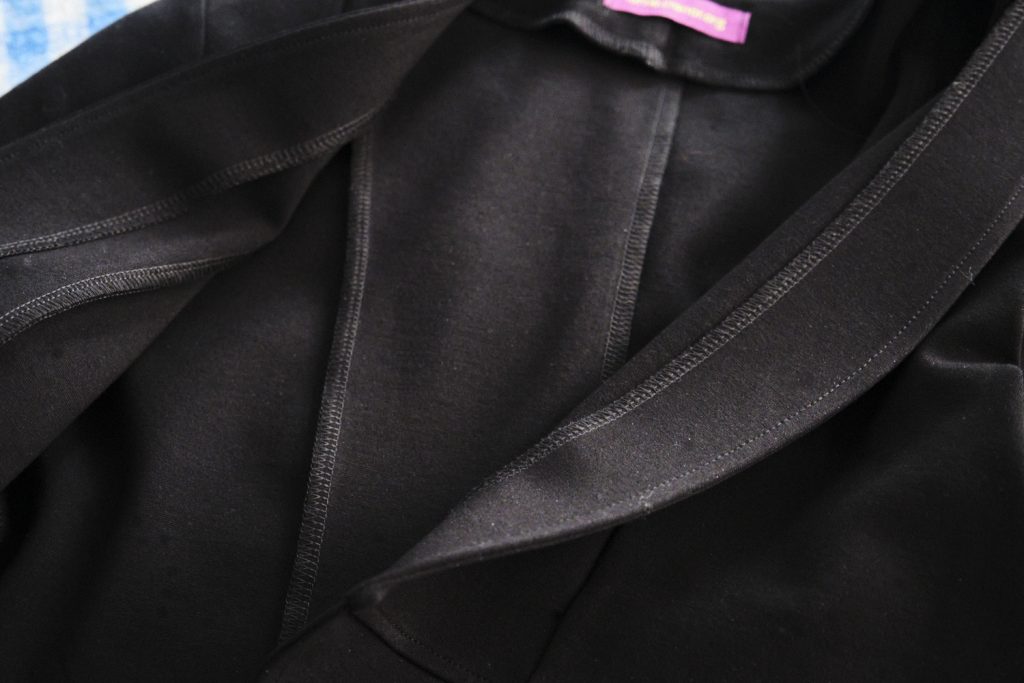
For the most part, the blazer went together fairly easily, but I struggled a bit with attaching the sleeves. The pattern has great instructions and everything is nicely marked, but I still somehow clipped everything together backward, but realized something was off before sewing. I eventually figured it out, clipped everything together properly, and basted it with my sewing machine. Then I serged it together, but made the mistake of starting and stopping at the shoulder, which made it more difficult to smooth out the shoulder line. Next time I will start and stop in the armpit — or maybe just do this on my sewing machine and skip the serging.
Another problem I ran into was one of the front princess seams not lying as smoothly as I wanted. At first I thought it was a pressing issue, but after pressing again I realized one of my seams actually had an unwanted dip in it — it was only off by about an eighth of an inch, but it was enough to cause a noticeable bump in the princess seam right in the middle of the bust line. I resewed about 3 inches of seam on the correct seam line and that fixed the problem.
The instructions noted that the facings might not stay smoothly in place, and indeed mine did not. I tried their suggestion of fusing them in place with a few small pieces of fusible hem tape, and that did the trick. The interfacing I used on my facings was some leftovers from another project that I grabbed, and it was more of a medium weight than a lightweight interfacing. Next time I might try a lighter-weight interfacing.
Attaching the tulip pieces was fairly straightforward except for lining the corner of the tulip up with the front facing. Perhaps due to my heavy fabric and interfacing, I could not get the tulip corner aligned perfectly. I did try unpicking a few stitches at the bottom of the facing and clipping the corner, but it is not aligned as well as I would have liked. This is one downside of the tulip version that should not be an issue in the cropped or hip-length version of this pattern.
I made good use of several feet on my Bernina sewing machine. The patchwork foot with guide made the quarter-inch top stitching around the edges very easy. I also used my darning foot to stitch in the ditch to hold the facings down and my edgestitch foot for the sleeve hems.
Overall, I liked the instructions in the pattern and found the suggestions and photos helpful. I did find a couple of things that are probably errors. On page 11 the finished measurements for the four variations appear to be mislabelled. The crop version has the longest length, but clearly it should be the shortest. Even accounting for that, my finished garment was about an inch shorter than the measurements would suggest. The other error is on page 71 where dark lines are drawn on a photo of the facing to show the raw edges finished with a serger. I believe the lines on the top of the neck facing should be on the bottom of the neck facing.
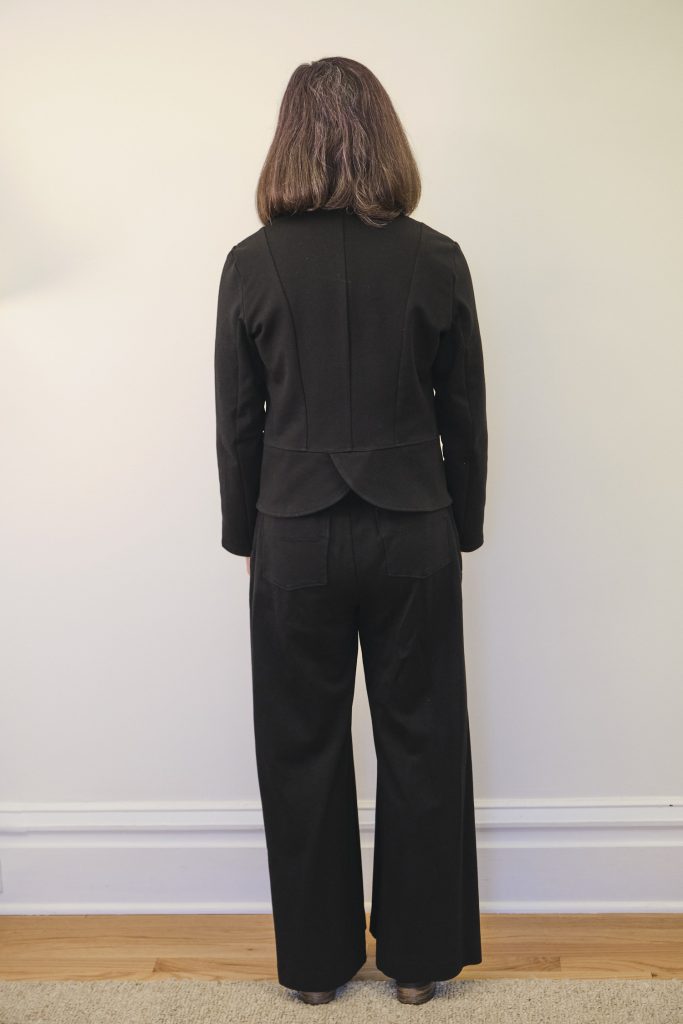
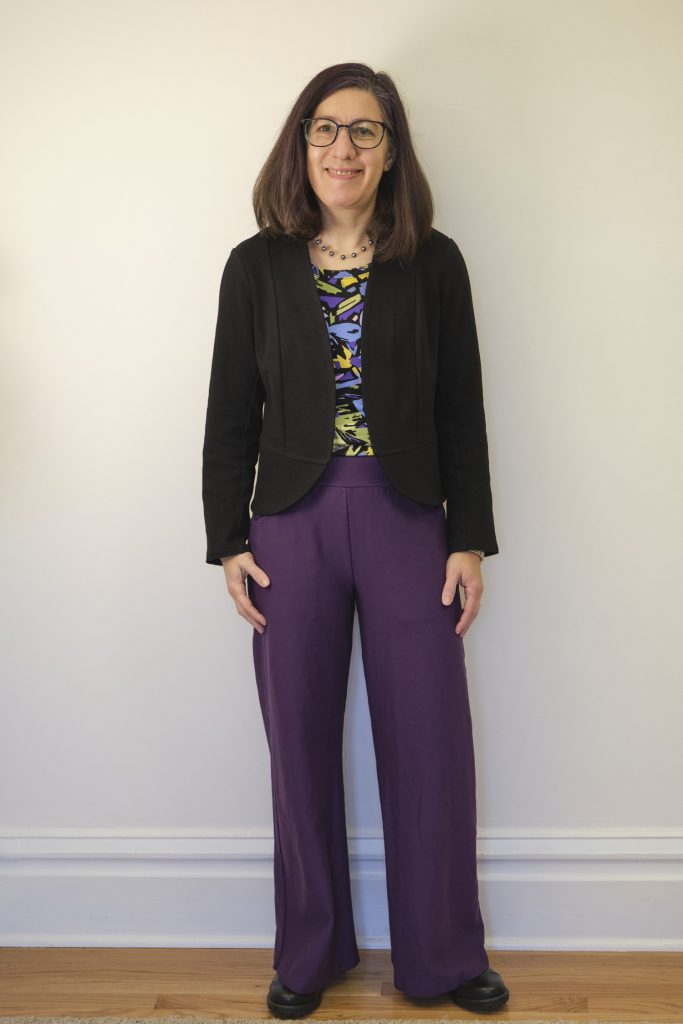
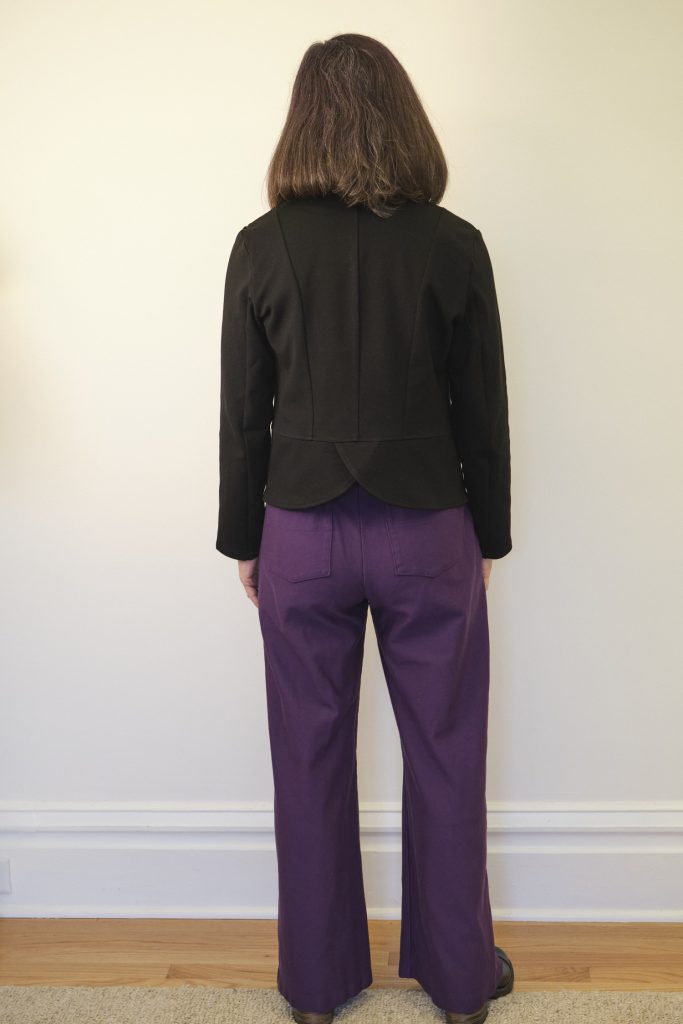
The blazer fits me well and goes well with both pants and dresses. It has a really nice tailored look, but is less work than a fully lined tailored blazer. I expect I will wear it a lot. When I took photos of the back (see below with PE Walk Boldly pants in black and PE Urban Wide Leg pants in purple, Sinclair Bondi top) I did notice some drag lines beneath the back shoulders. After pondering the cause, I believe it is likely a shoulder slope issue so I plan to try a muslin with a sloped shoulder adjustment and see if it helps before I make another one.
I’m looking forward to making more Onyx blazers. I’m planning out a ponte suit in a bright color with matching wide-leg pants. I’ve already worked out how to cut the blazer and the pants out together from 3 yards of fabric. I love the length on the tulip version, but would also like to try the hip-length with pockets (I will certainly have to shorten it though). The cropped length is fairly short, but I might make it specifically to wear with a dress, and I might round the front corner more similar to the tulip version. The peplum version is also cute, although wonder if it will be too poofy around my waist. I could also see lengthening the cropped version to be the same length as the tulip version…. so many options!
(It’s too cold outside for outdoor photos now so will have to make due with indoor fashion shoots. I’ll try to improve the lighting though.)

